For wildcard week, I decided to do the composites workshop with Alfonso. In hindsight, I had no idea what I was signing up for because I didn't really know what composites were but I figured making something strong and light would be useful for my final project.
We started off with training on Friday morning, where Alfonso showed us the composite process and made a bike fender. To prepare the mold, we had to design, print or cut, sand, then apply an epoxy release agent to it. To lay the composite, we mixed epoxy resin, then laid layers of the carbon fiber and applied the resin to them. We learned a neat hack, which is to tape the fibers and cut on the tape, which makes for easier cuts and keeps the fiber layer from fraying. We laid the fibers onto the mold on a vacuum bag, and once we were done, covered our mold and layers with a porous film, then a breather, which would absorb excess epoxy while curing in the vacuum bag. The last step was to seal the bag and ensure that there were no pockets around the mold so that the resin would cure very closely to the mold.
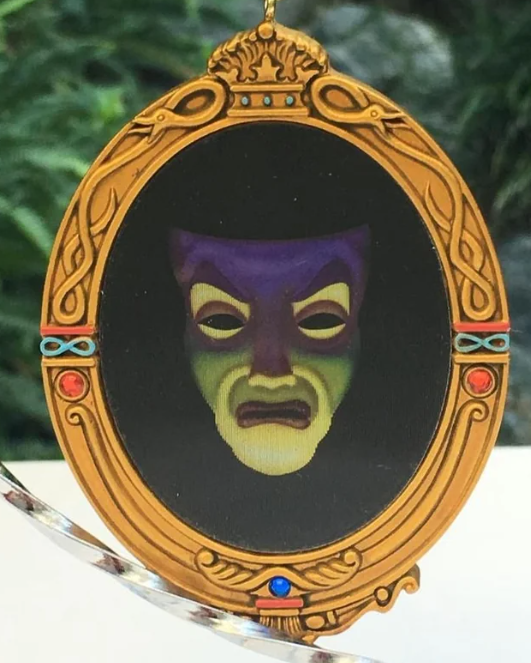
After the training, I realized that idea was too complicated. I had wanted to make my final project frame for the magic mirror this week, but the geometry of the object and size wouldn't be possible, since there would be no way to remove the mold once something was wrapped around it. Instead, I decided to make the face inside the mirror. Looking back, this didn't make my life that much easier, but it was definitely more tackle-able for the week.
I spent the weekend working on a CAD model. Originally, I tried to take a hacker mask model from V for Vendetta I found online, and modify it slightly in Fusion. This proved extremely difficult because it was hard to manipulate the created components without their sketches. I decided to go into Blender instead and use the sculpture tools. I ended up with a slightly asymmetrical face, but it looks tortured enough to be stuck in a mirror for eternity, so I was satisfied.
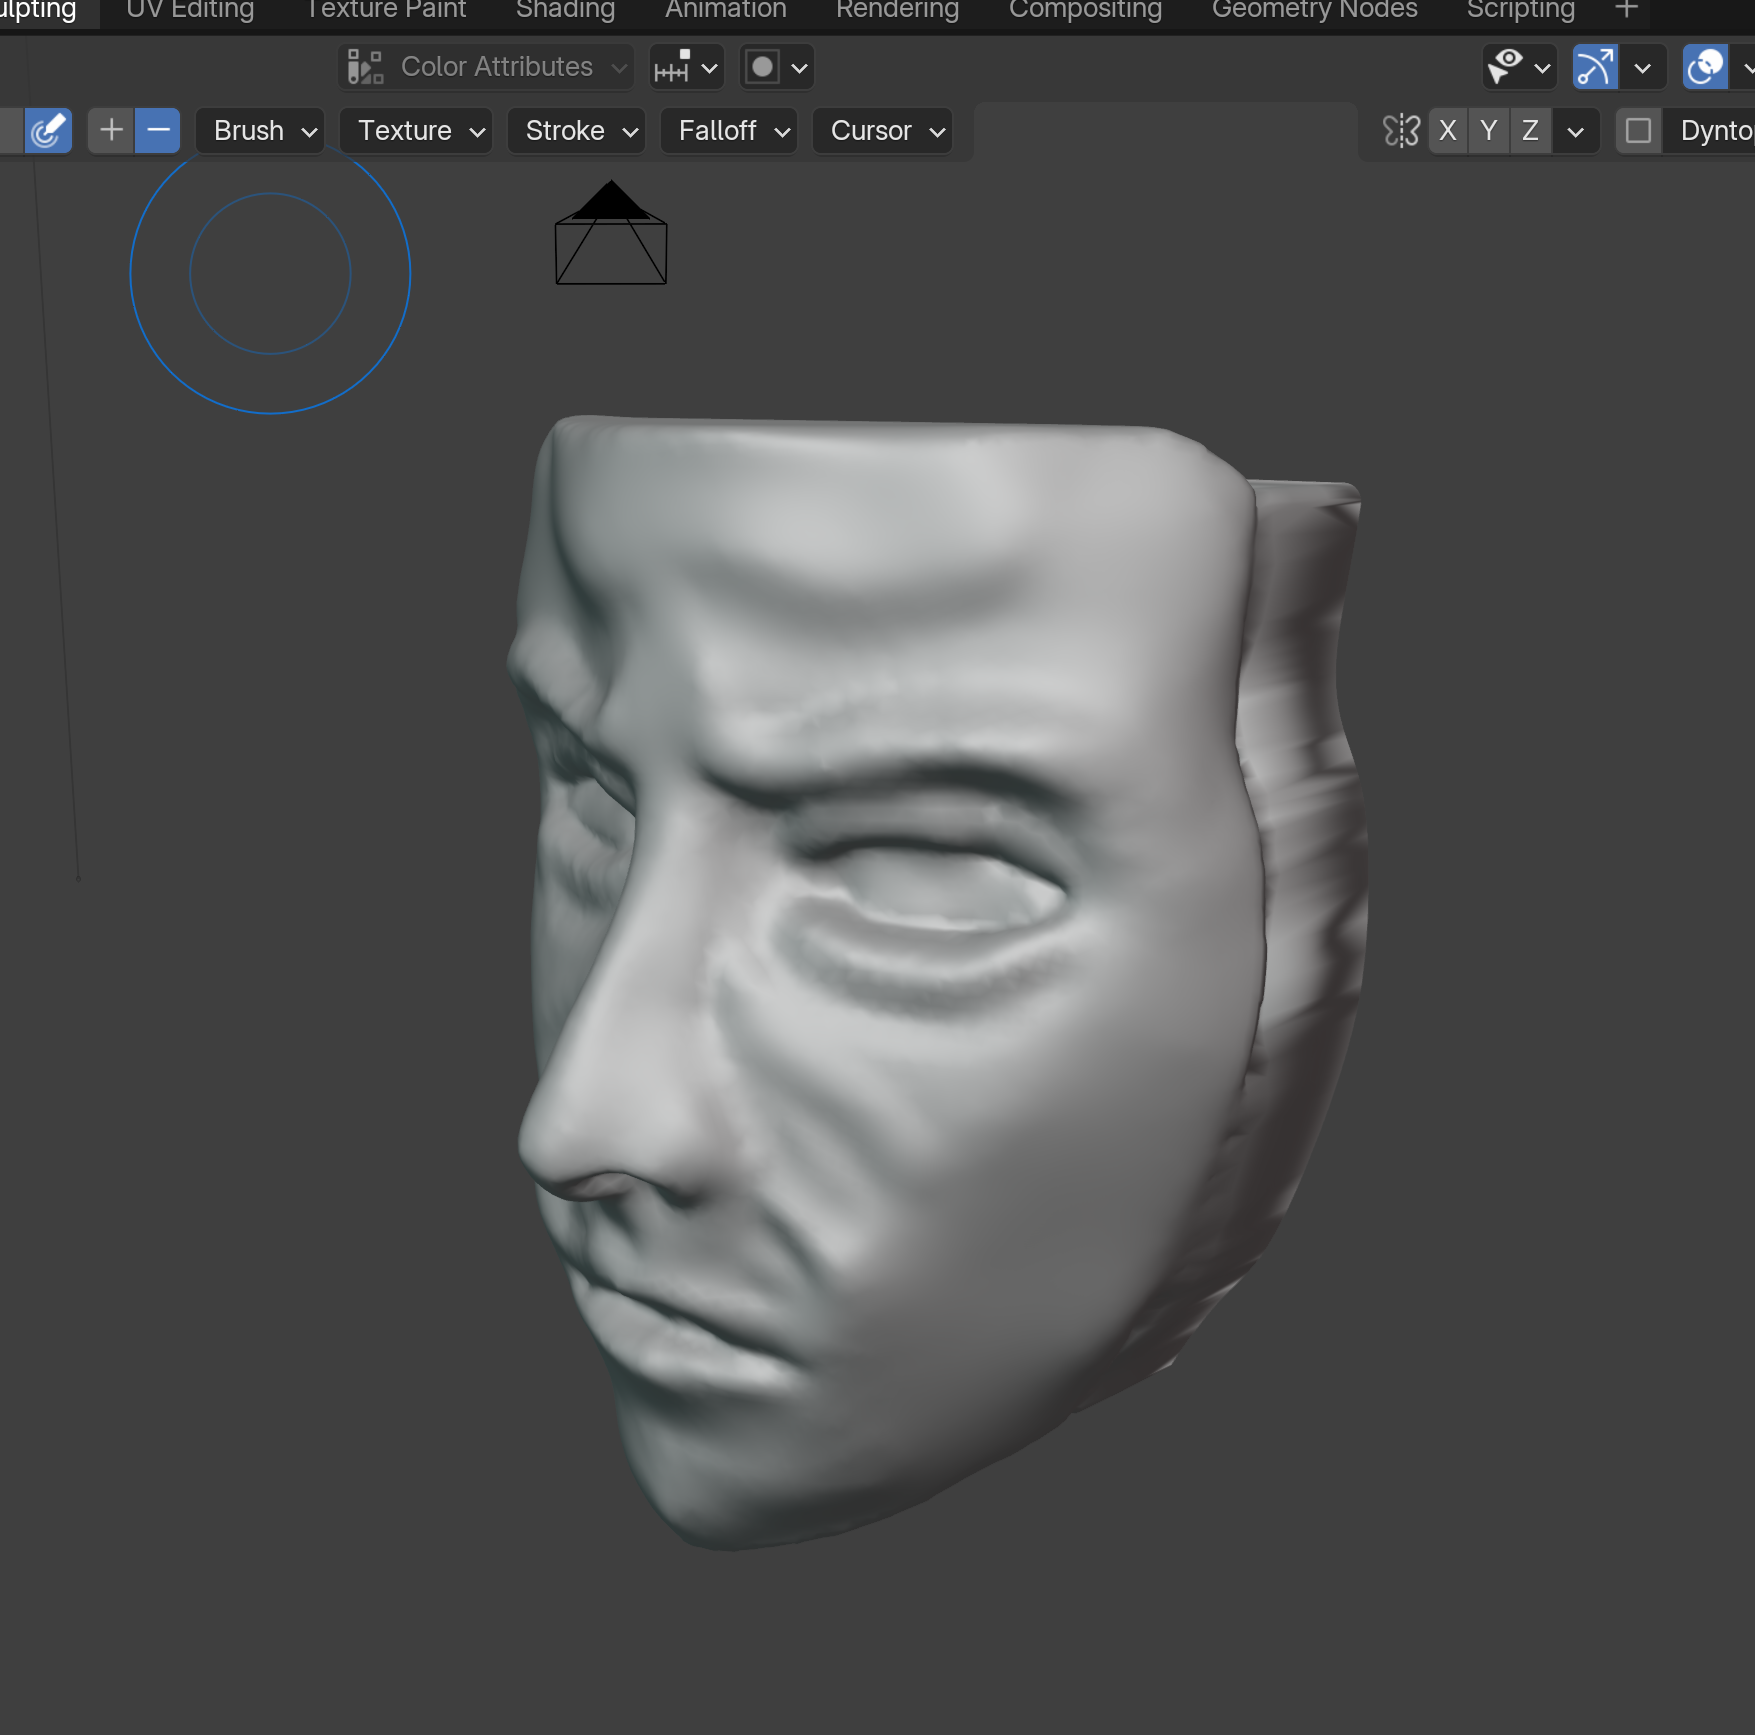
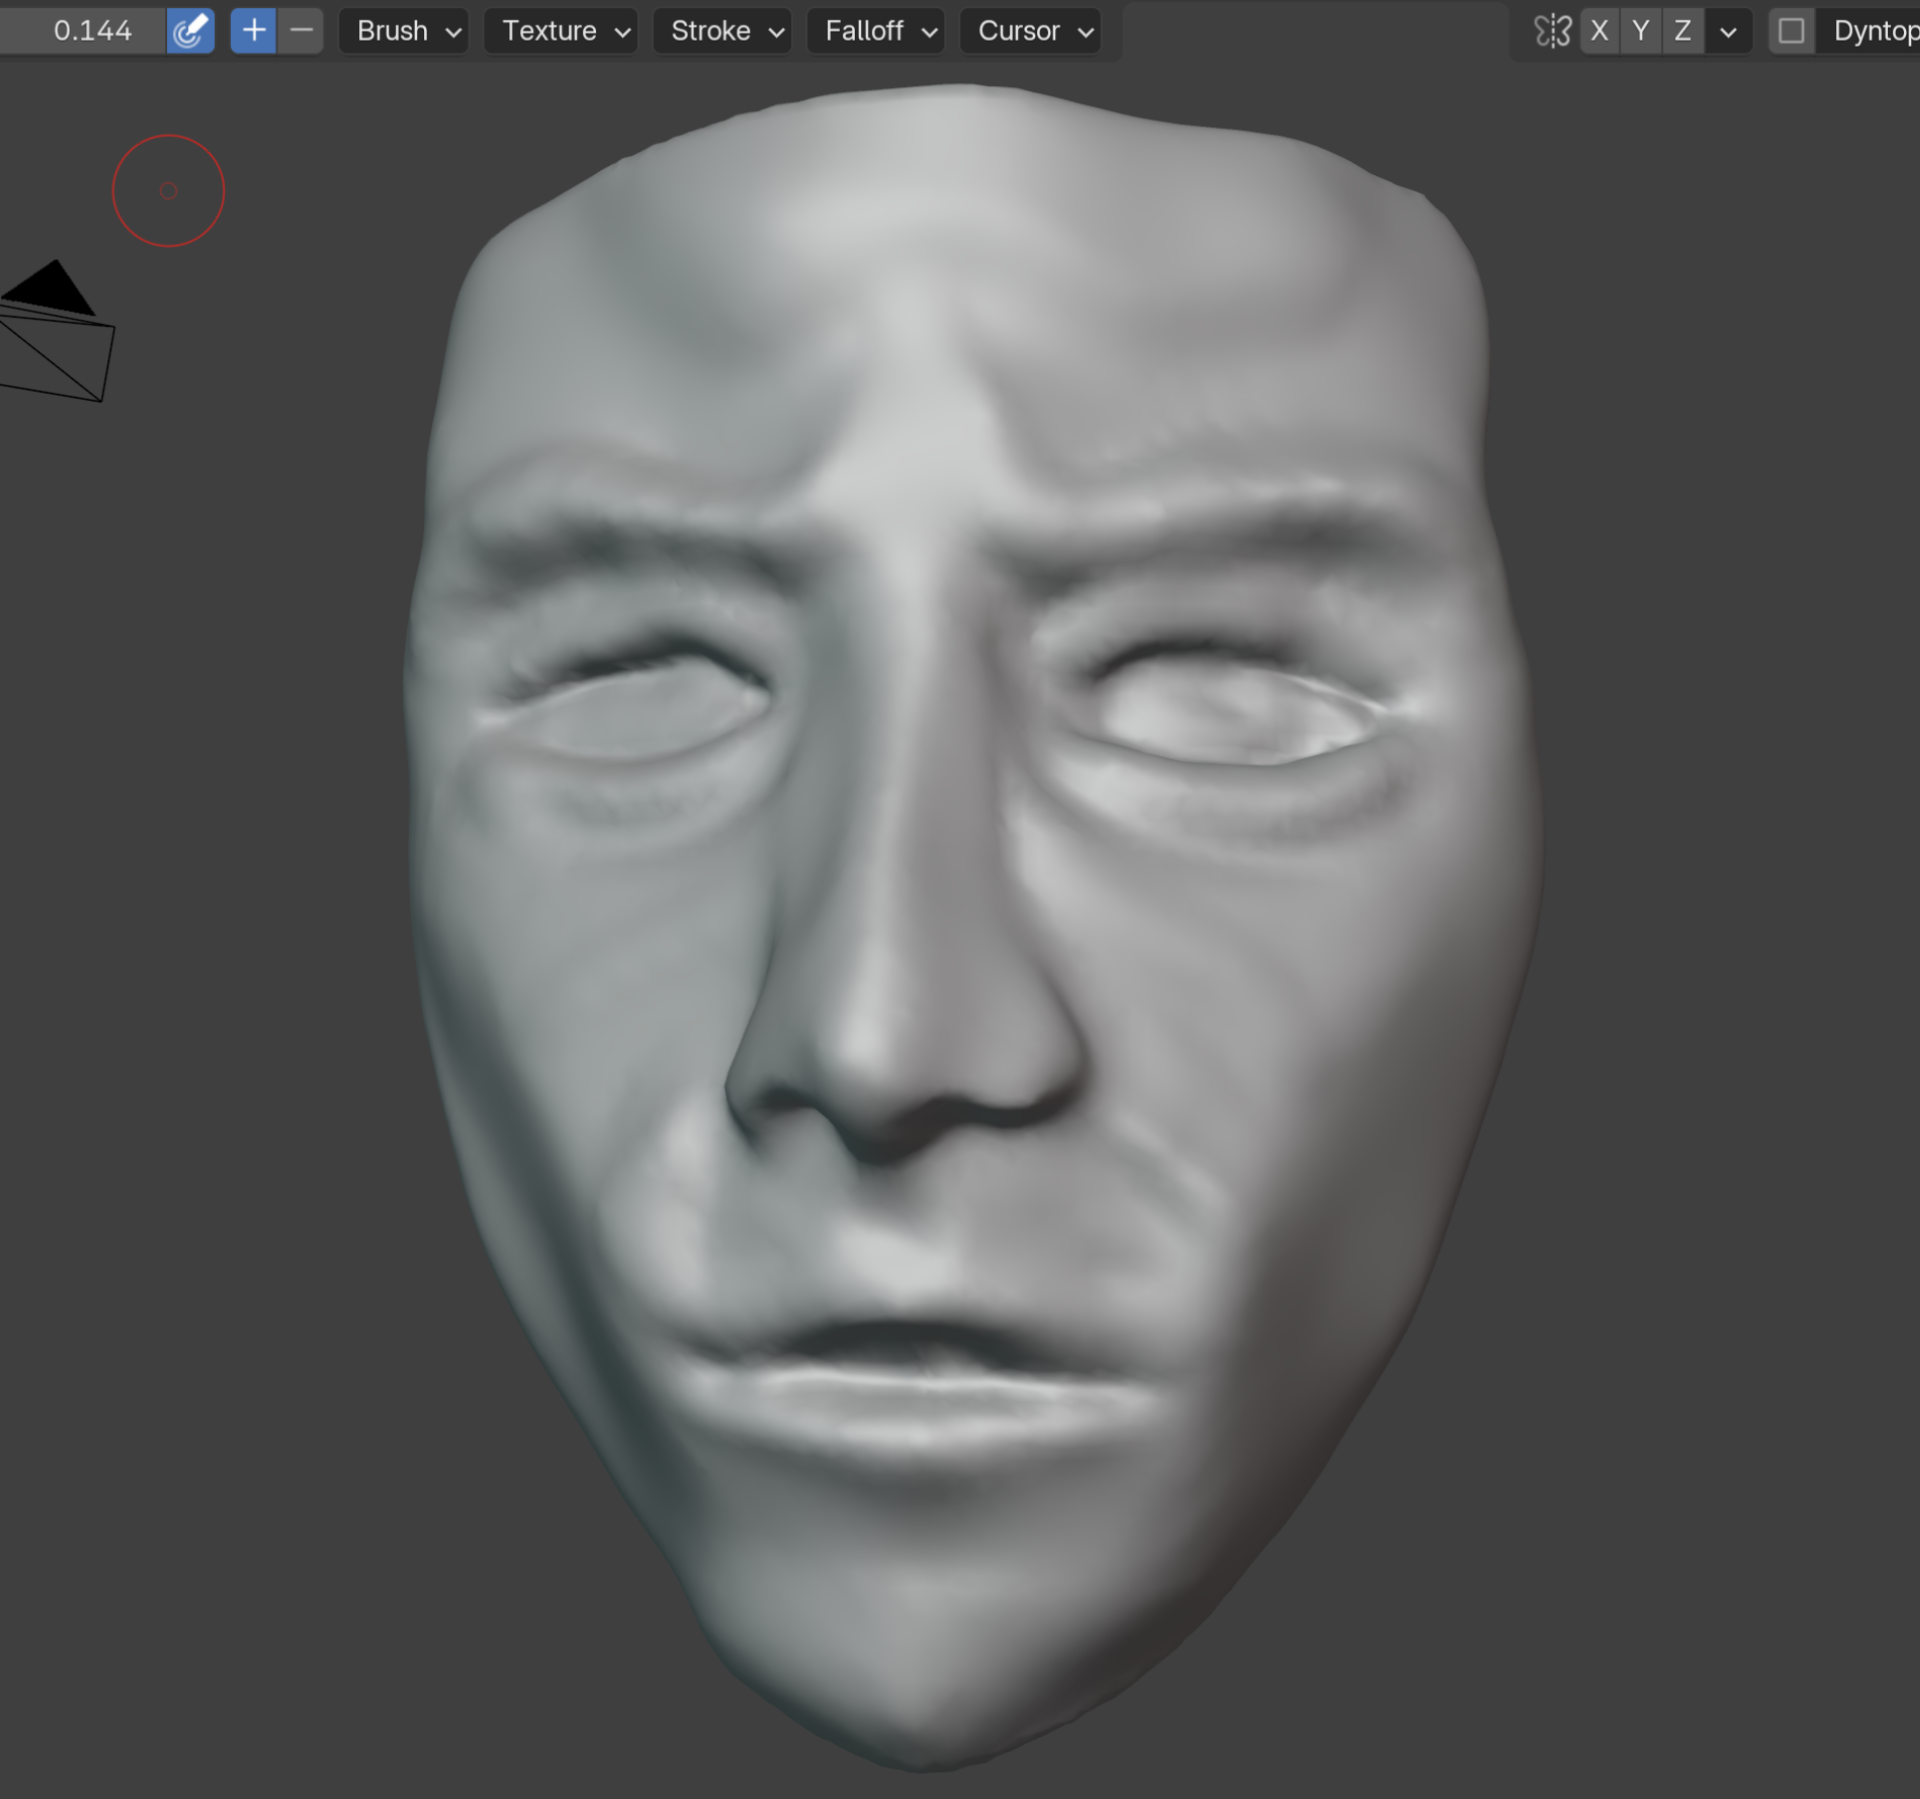

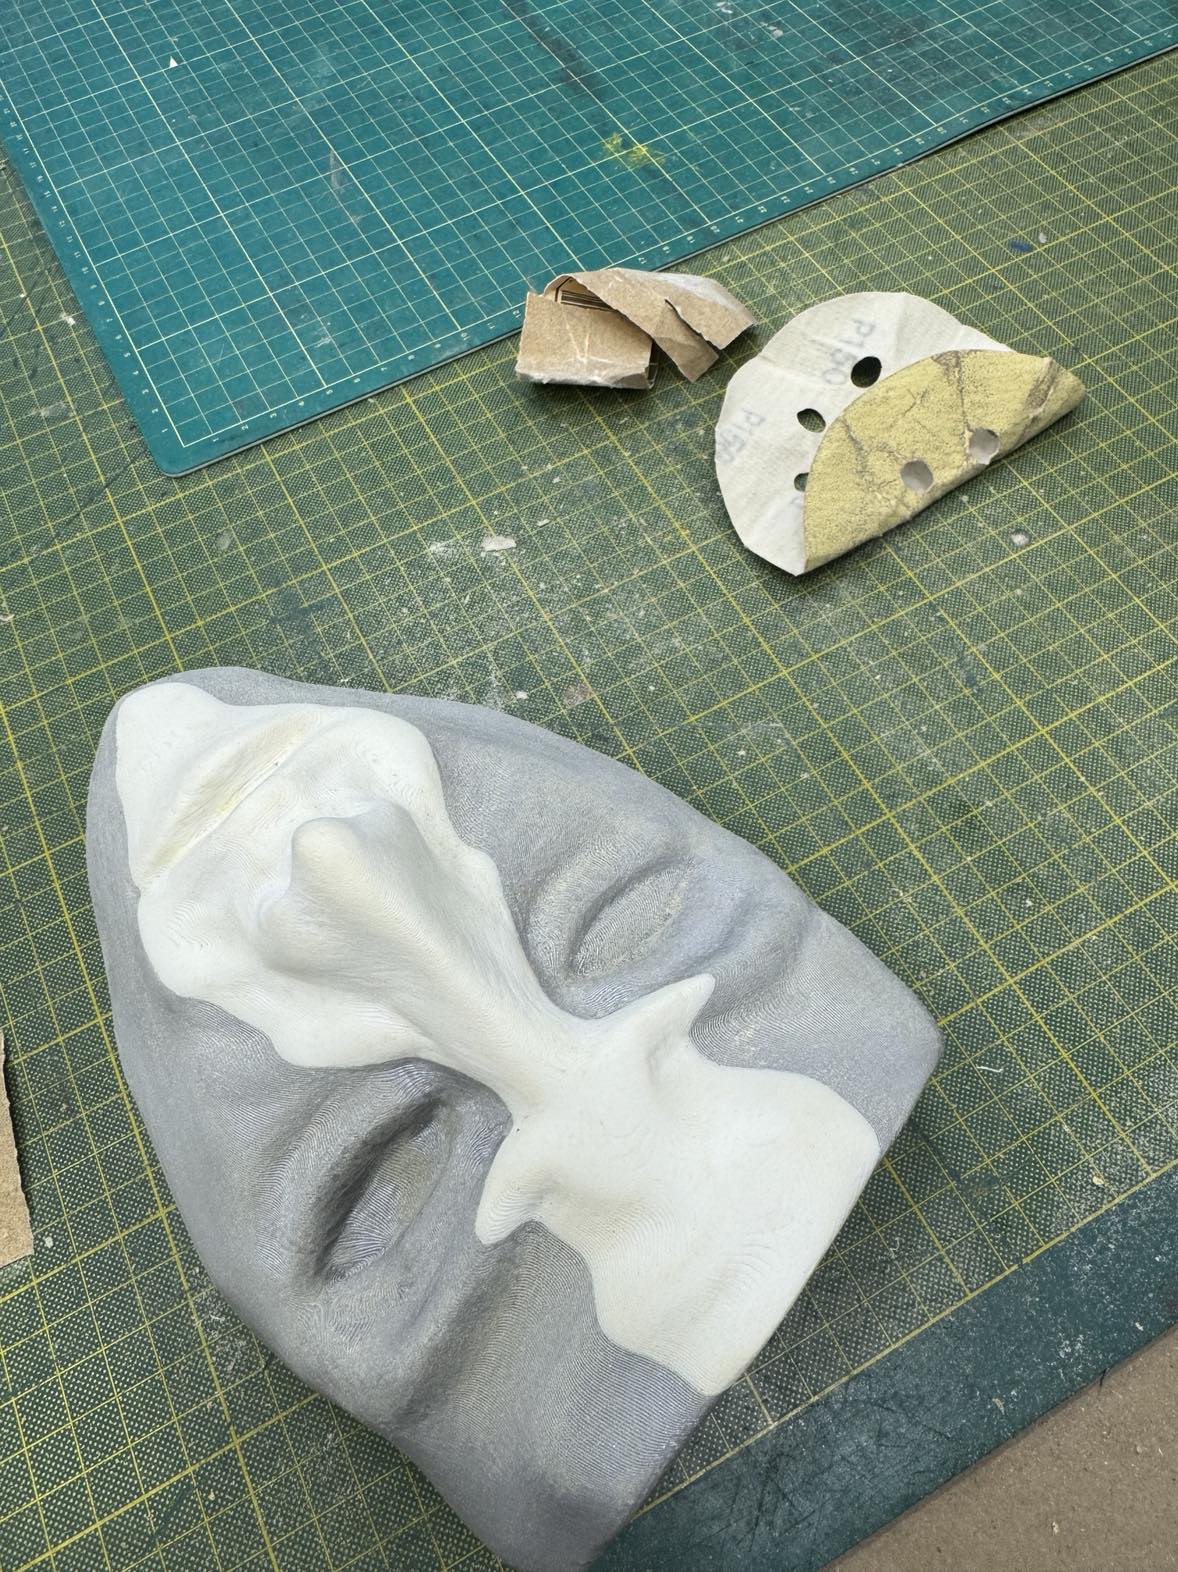
Purely for comedic relief, here is how our masked soul started.
Because the geometry was so complicated, I had to sand by hand. I used 220 and 240 grit sandpaper, but after an hour of little progress, I gave up on a smoother finish. At this point, we were ready for composite forming!
Unfortunately, I do not have photos of the fabric laying process because once the resin was mixed, I was on a tight timeline to finish laying the fiber pieces. One main note about the process was: because my mold was so detailed and had more dramatic geometries (ie. nose, eye cavities), I wasn't able to just cut large pieces of the fiber material and lay those on. Instead, I cut pieces of fabric and lay them as I went, much like paper mache. We used a fabric material instead of carbon fiber so that it was more pliable, and did roughly two layers on most areas, though the overall laying was not very consistent and methodical because the geometry of the different areas was varied and the face itself asymmetrical.
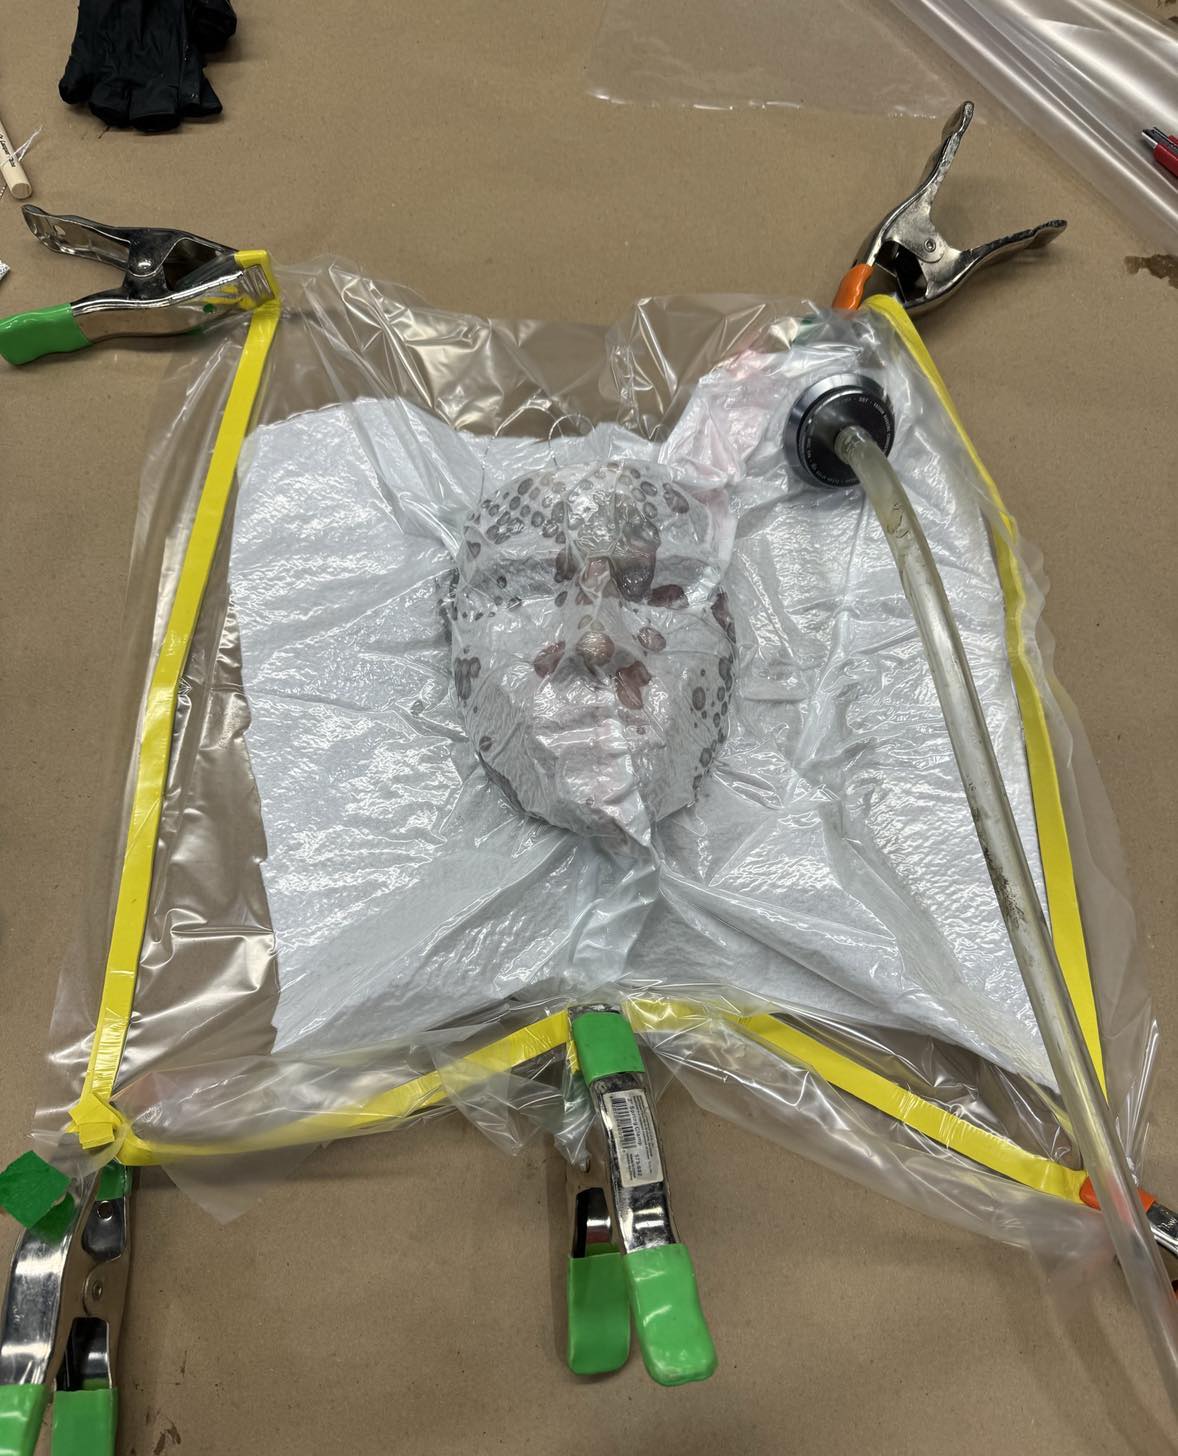
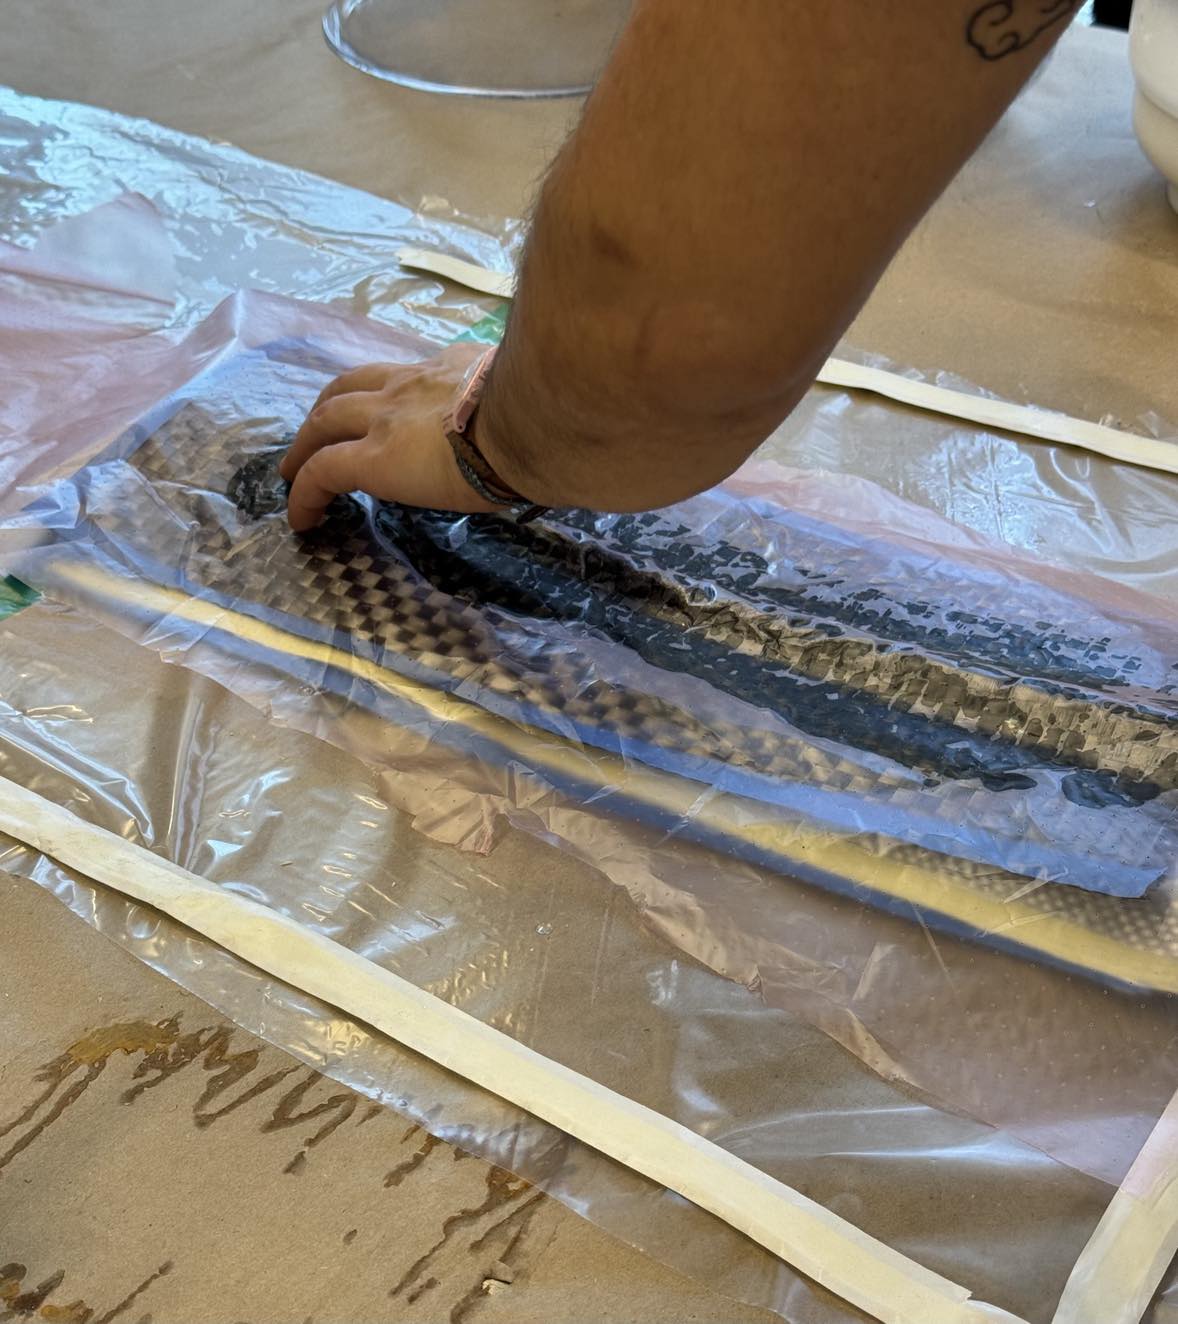
Here is our poor soul being vacuumed, as if eternal torture wasn't enough. The vacuum was able to form around the mold relatively well, and I left this setup overnight to cure.
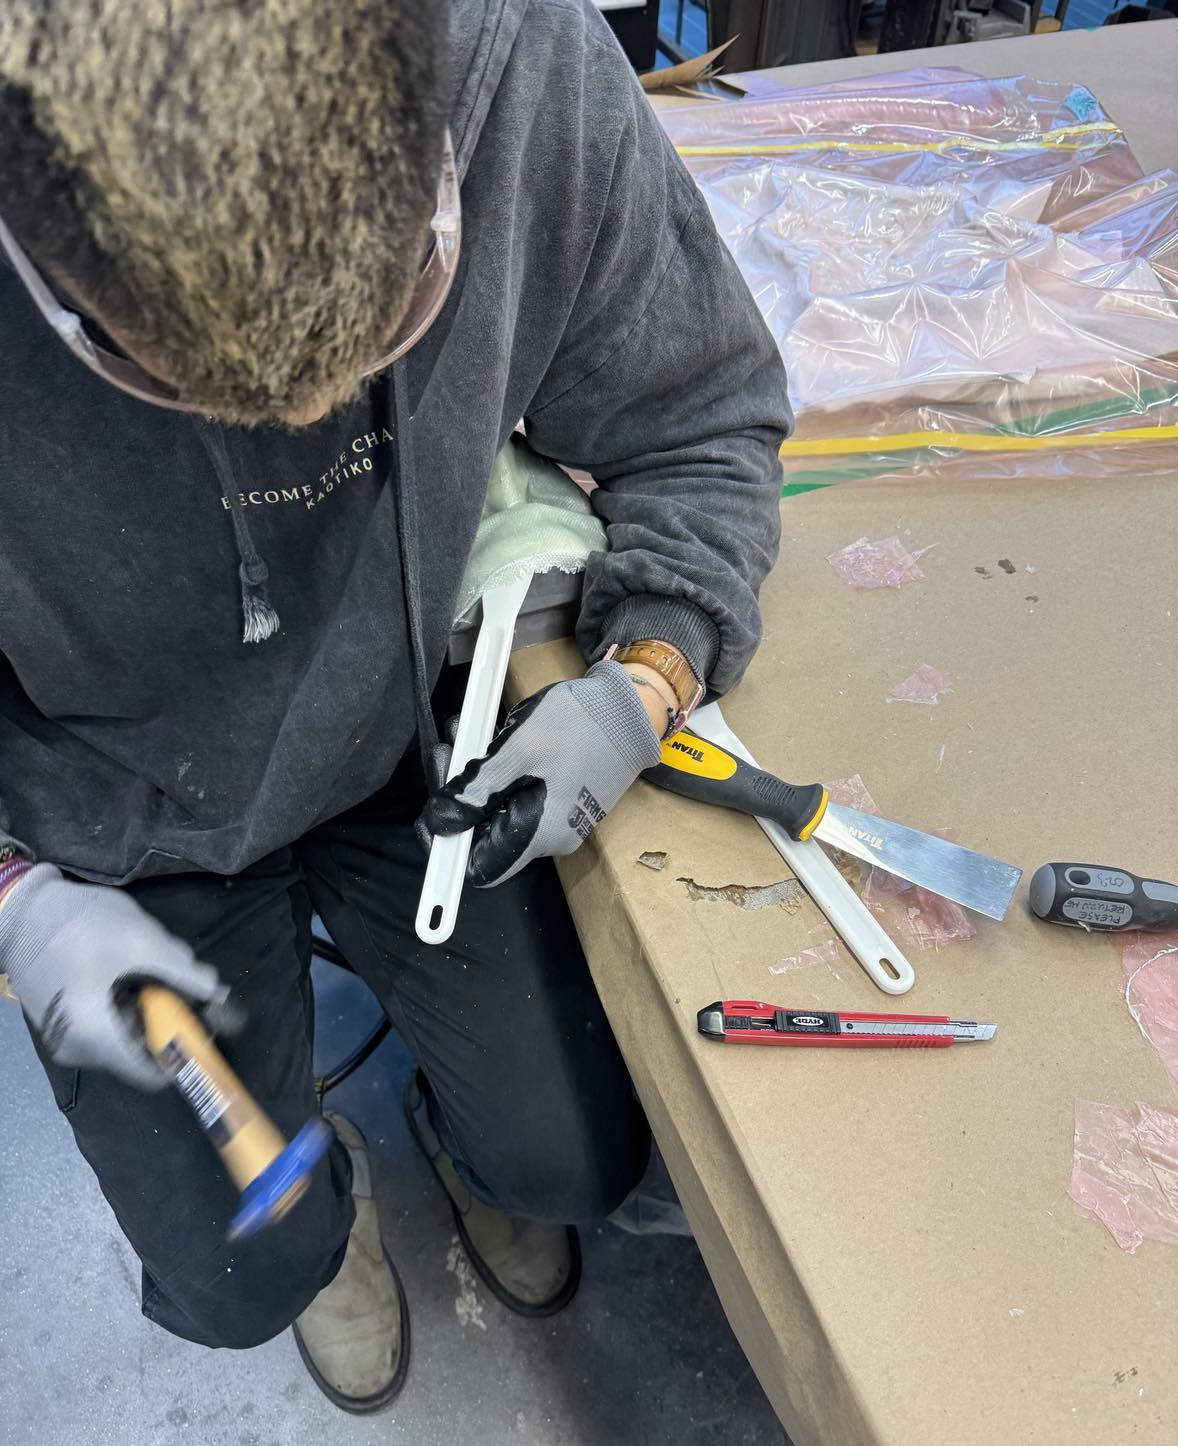
The next morning was the demolding process, which was a journey itself. Alfonso set me up with a scraper and thin flat screwdriver, and I made microprogress on the edges of the mold. Because both the mold and the composite were very stiff at this point, the mask clung to the mold and it was very difficult to get it to release. Fortunately, with Alfonso's master lobotomy skills, demolding was a success! Here are some photos from the process.
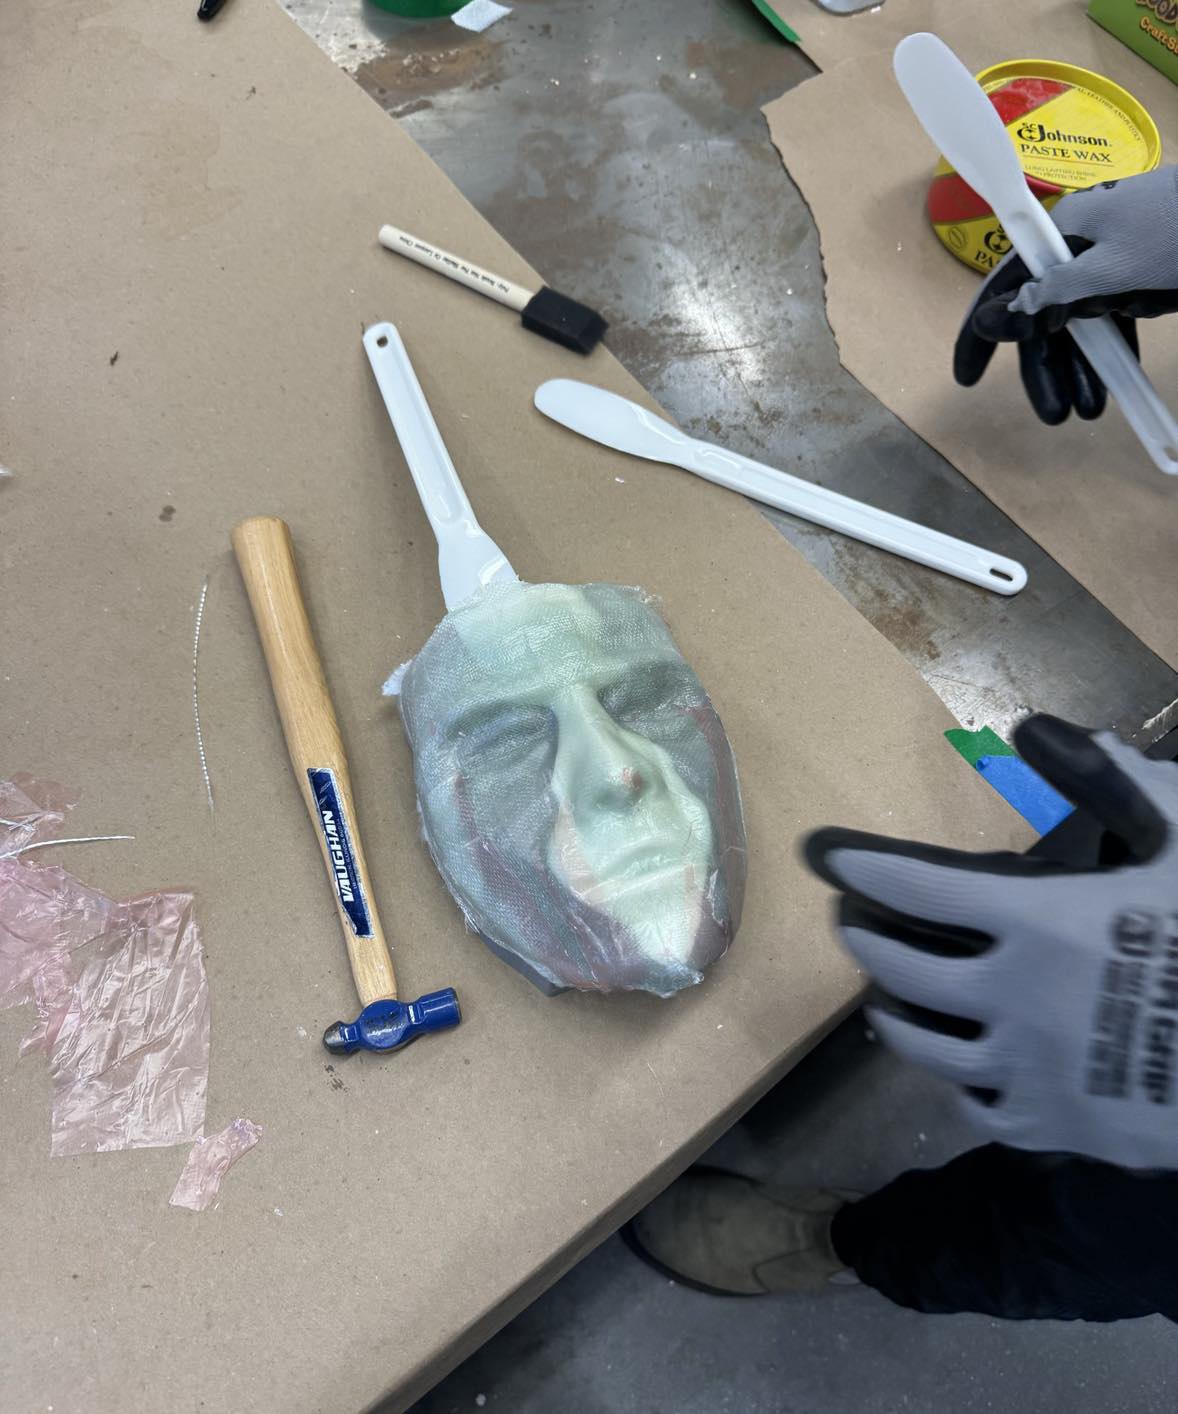
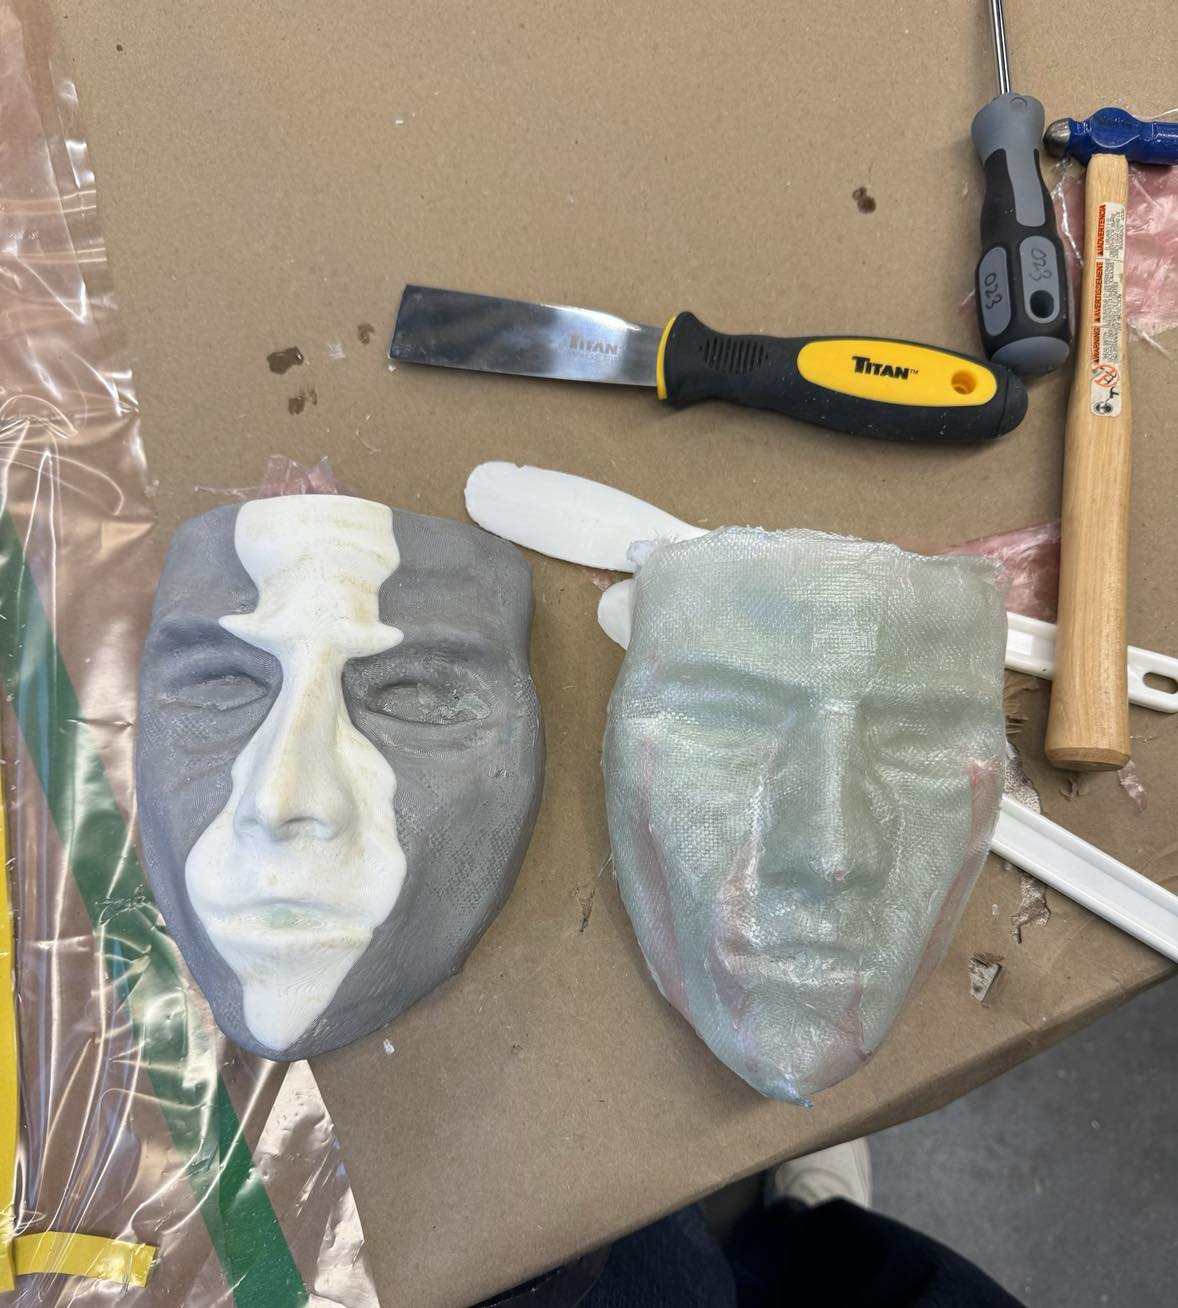
Here is the demolded mask. I then left this to cure for a little more before cutting down the edges and polishing.