This week, I wanted to start to implement how to transcribe audio on an ESP32 for my final project. I picked the ESP32 to have WiFi capabilities, as well as since there is a lot of documentation online. I found looking at examples in the Wokwi repository online very helpful for getting a sense of what types of connections made sense as well as the general structure of what I needed to include in my code blocks. For the final project, I would need to connect a microphone, several buttons, a speaker, and a screen. This week, I learned how to connect to WiFi, access an SD card, and add button and light features. Since Wokwi has their own version of a microphone, I didn't test or dig too deep into I2S microphones, which I will need to do in the future.
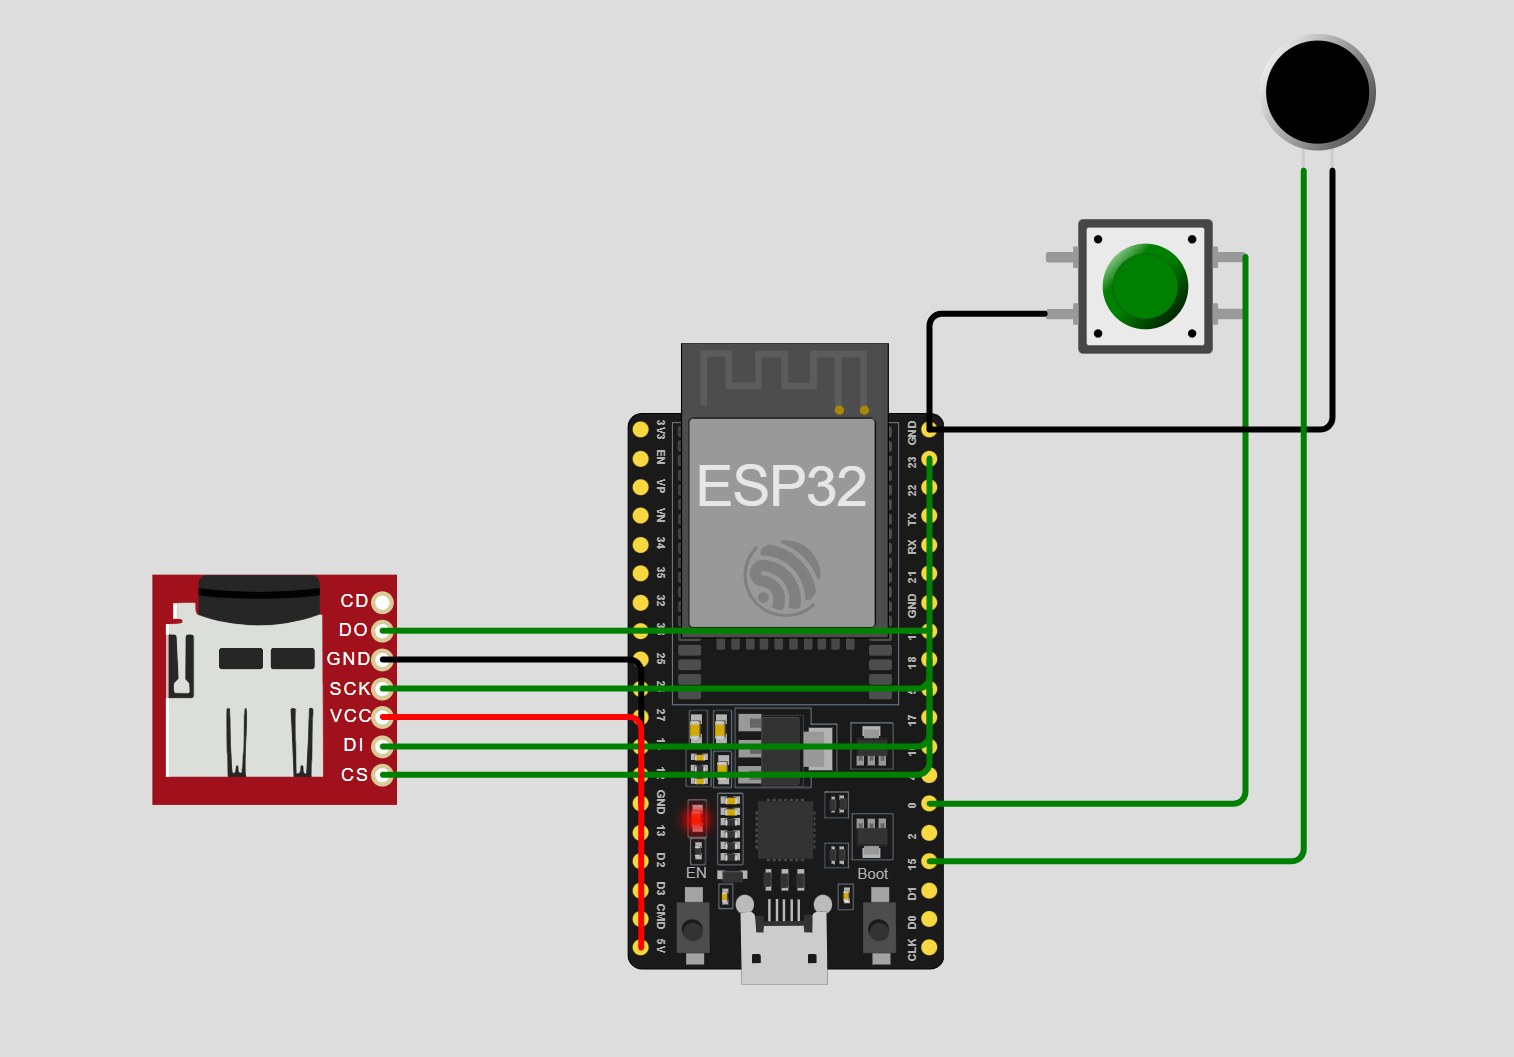
First, I connected the Wokwi microphone to an ESP32 as well as a pushbutton. I coded it for a push-to-speak feature. Here you can see the button being pushed, which prints the analog reading of the Wokwi microphone to the Serial monitor.
#define Button 0
#define LED 2
#define Microphone 15

bool isRecording = false;

void setup() {
    // Initialize Serial Monitor
    Serial.begin(9600);
    Serial.println("Hello, ESP32!");

    // Initialize connections
    pinMode(Button, INPUT_PULLUP);
    pinMode(LED, OUTPUT);
    pinMode(Microphone, INPUT);
}

void loop() {
    delay(10); // this speeds up the simulation

    // Button press detection
    if (digitalRead(Button) == LOW && !isRecording) {
        Serial.println("Button Pressed, Start Recording...");
        isRecording = true;
    }

    // Button release detection
    if (digitalRead(Button) == HIGH && isRecording) {
        Serial.println("Button Released, Stop Recording...");
        isRecording = false;
    }
    readSound();
}

void readSound(){
    if (isRecording){
        int soundFrame = analogRead(Microphone);
        Serial.println(soundFrame);
    }
}
Here is the code block for the above function. I connected the microphone to pin 15, which is ADC (Analog-to-Digital), and the button to pin 0, which is also ADC. I connect the pins, then if the button is being pushed, the readSound function is called, which for now just prints the analog reading of the microphone to the serial monitor.
I did keep running into delays with Wokwi, in that if my program was any longer than something simple like the above, it would take extremely long to compile. I tried combining both WiFi connecting and the microphone reading, which was either taking almost 2 minutes to compile, or failing to build, so I decided to test these components out separately.
My next task was to connect to WiFi, and I also wanted to test lighting up an LED as an output. Here you can see the ESP32 connecting to WiFi, and lighting up the LED once it is connected.
Here is the code block. You can see that I connect to a WiFi called "Wokwi-GUEST", but on a physical device I would put the credentials for the WiFi network I am connecting to.
#includeconst char* ssid = "Wokwi-GUEST"; const char* password = ""; #define pin_LED 13 void setup() { Serial.begin(9600); pinMode(pin_LED, OUTPUT); while (WiFi.status() != WL_CONNECTED) { Serial.print("."); delay(100); } digitalWrite(pin_LED, HIGH); } void loop() { delay(100); }


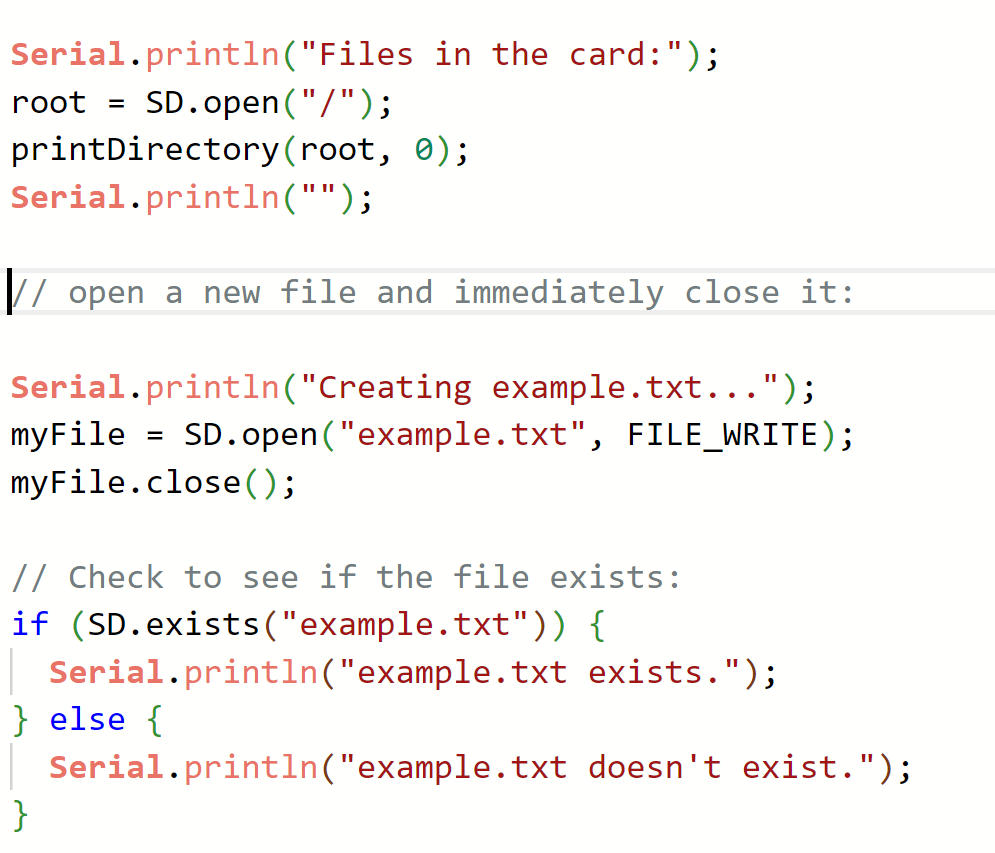
I briefly tested opening and writing files in an SD card, connecting it in this schematic.
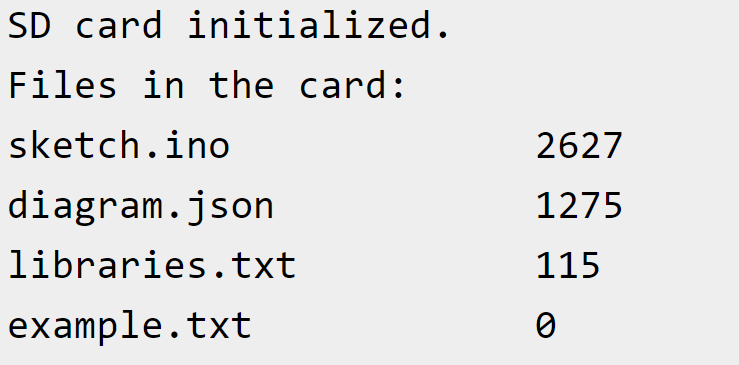
However, I kept getting issues opening files, even though I could see the files listed when printing the directory.


I put this on pause, as I was having a lot of other compiling issues with Wokwi and it took almost a minute every time I tried to test something new with the SD card.
For the final project, I started looking into speech-to-text on cloud, as I would need to connect to cloud anyways to upload my transcriptions and didn't want to use a microcontroller that could run machine learning applications. I found this repository on github from Kalo that seems promising, but would need further testing to see. Since I couldn't upload files to the SD card on Wokwi, I put it off for now. The repository uses Deepgram, which should be sufficient for my project, though ideally I would be able to run speech-to-text locally on my laptop or another device the ESP32 could connect to.