For this week's topic, I thought about how to include the final project, since we have been talking about spiral development during class. My project itself will not require any complex parts made with 3D printing (that I am aware of), especially not parts that cannot be made subtractively. If anything, I would want to mold or cast parts so that they look very polished. Instead, I wanted to learn how to use the sculpting tool in Blender so that I could more freely sculpt and design parts. as I felt limited in the regularity of shapes I could make with Fusion.
I decided to scult a little ring holder in the shape of an orchid. I was inspired by soldered metal jewlery and wanted the texture to slightly reflect it. I started with a solid sphere in blender and used the draw tool, with dynamic topography as well as the snake hook tool to make a orchid.

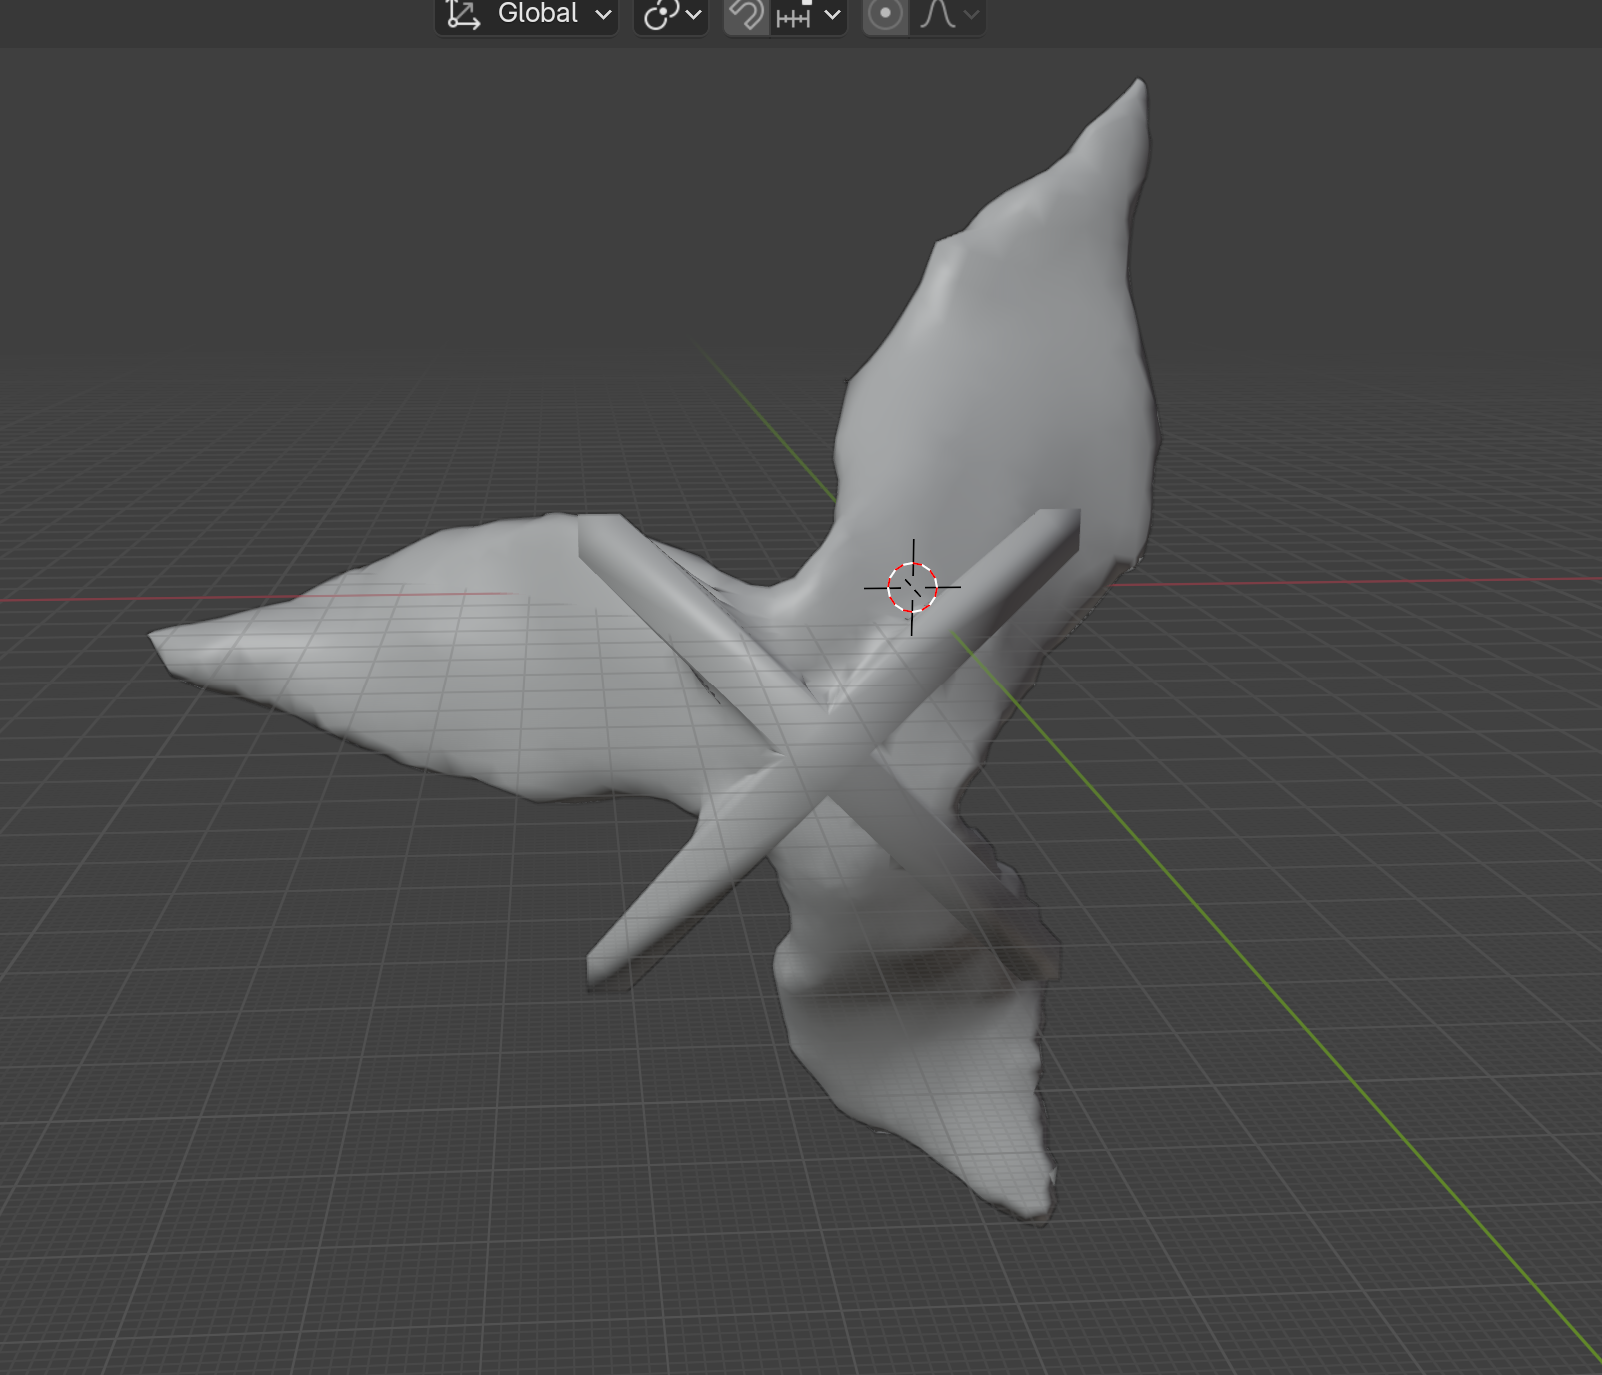
I imported this structure into Fusion and then scaled it up so that it would be about 3 inches wide. I also added a symmetrical and flat base, before exporting the stl and moving it back into Blender to give it the sculpted look I wanted.
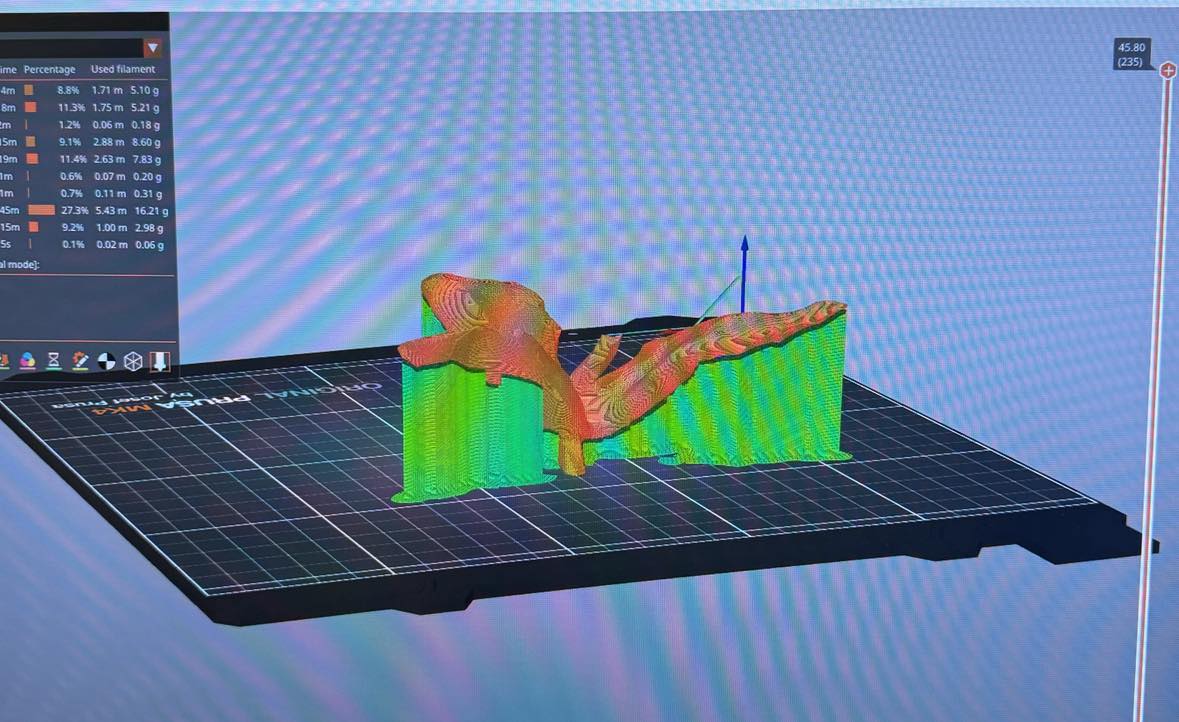
The orchid itself hangs over a bit at parts, so from class I knew we would need to print with lots of support. To the shop! From the group project, we found that the minimum gap we could have was 0.2mm- anything less and pieces would fuse together. Same with the wall and slot thickness. For overhangs, we didn't get much spaghetti, even when printing at angles under 20 degrees, although I wouldn't print at a degree smaller than 30 if I wanted my print to look coherent. One big challenge of using the sculpt tool was that I had no simple way of checking my angles which led to me needing many supports. Our training taught us to use a 15% infill.
Here is the mesh being loaded into Prusa, and how it looked as the printer laid out the base.
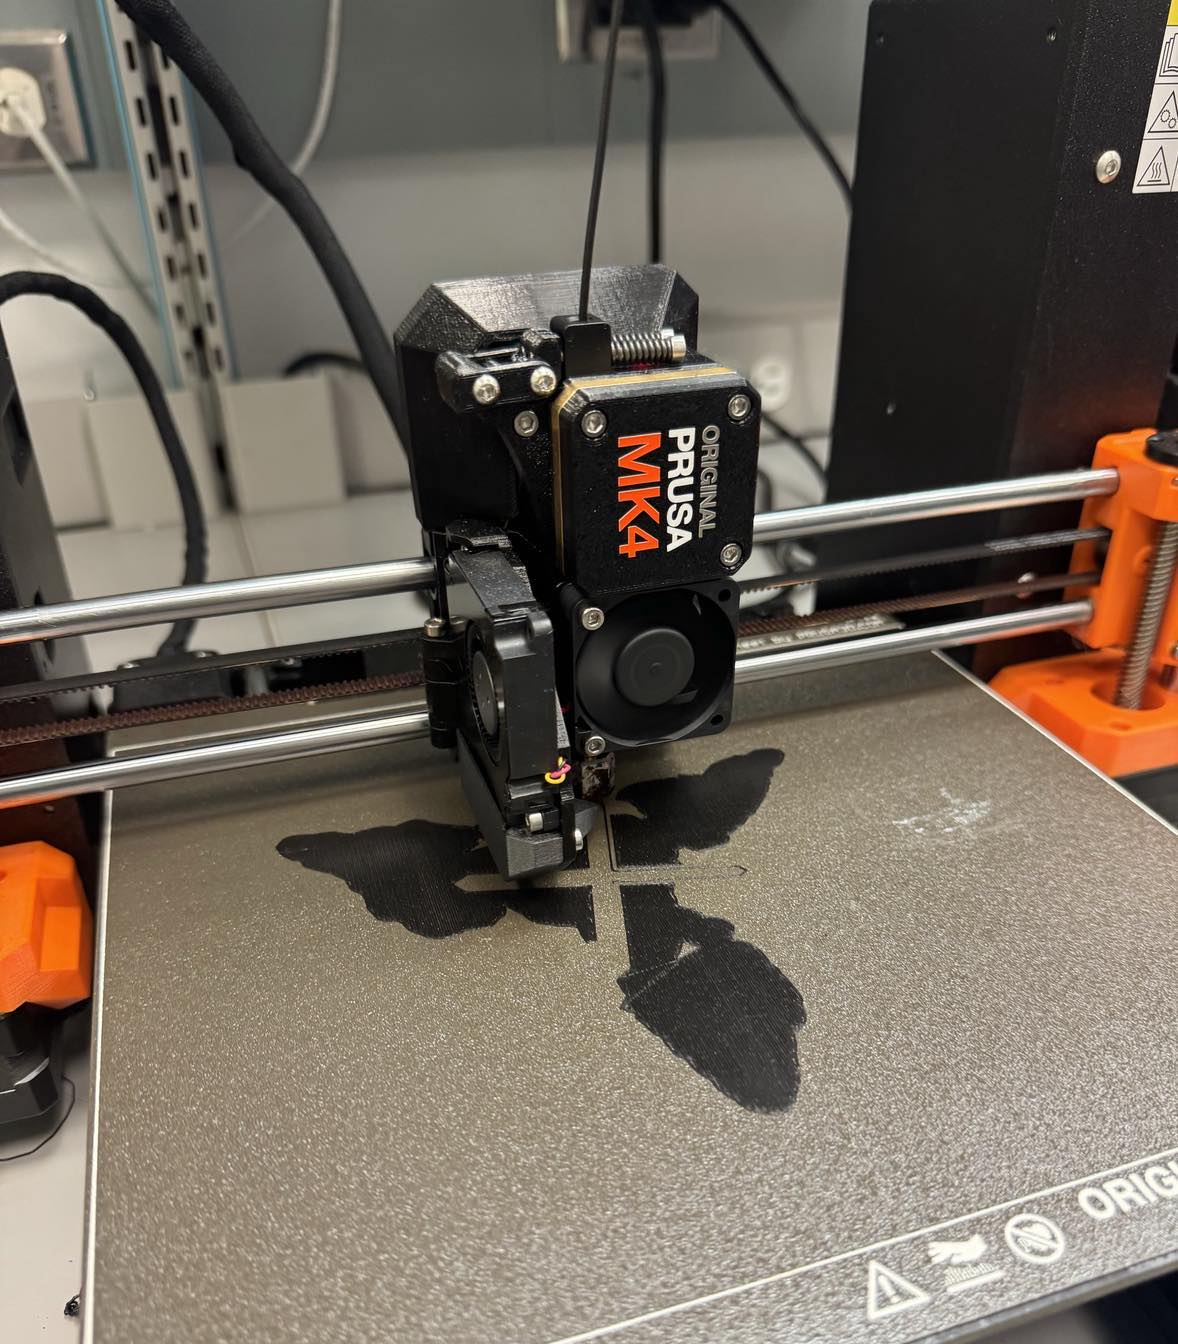
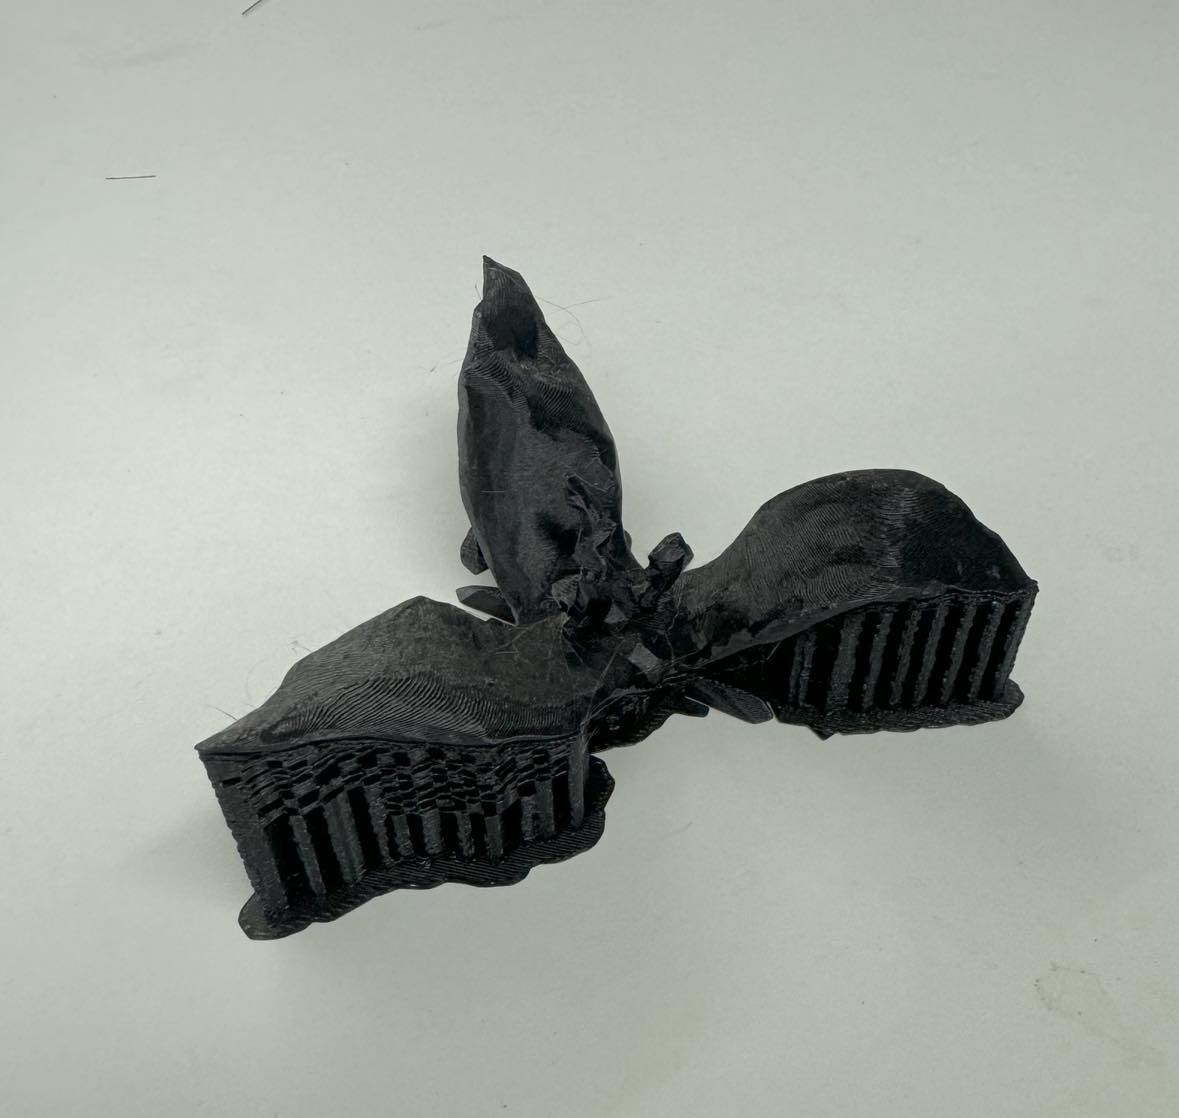
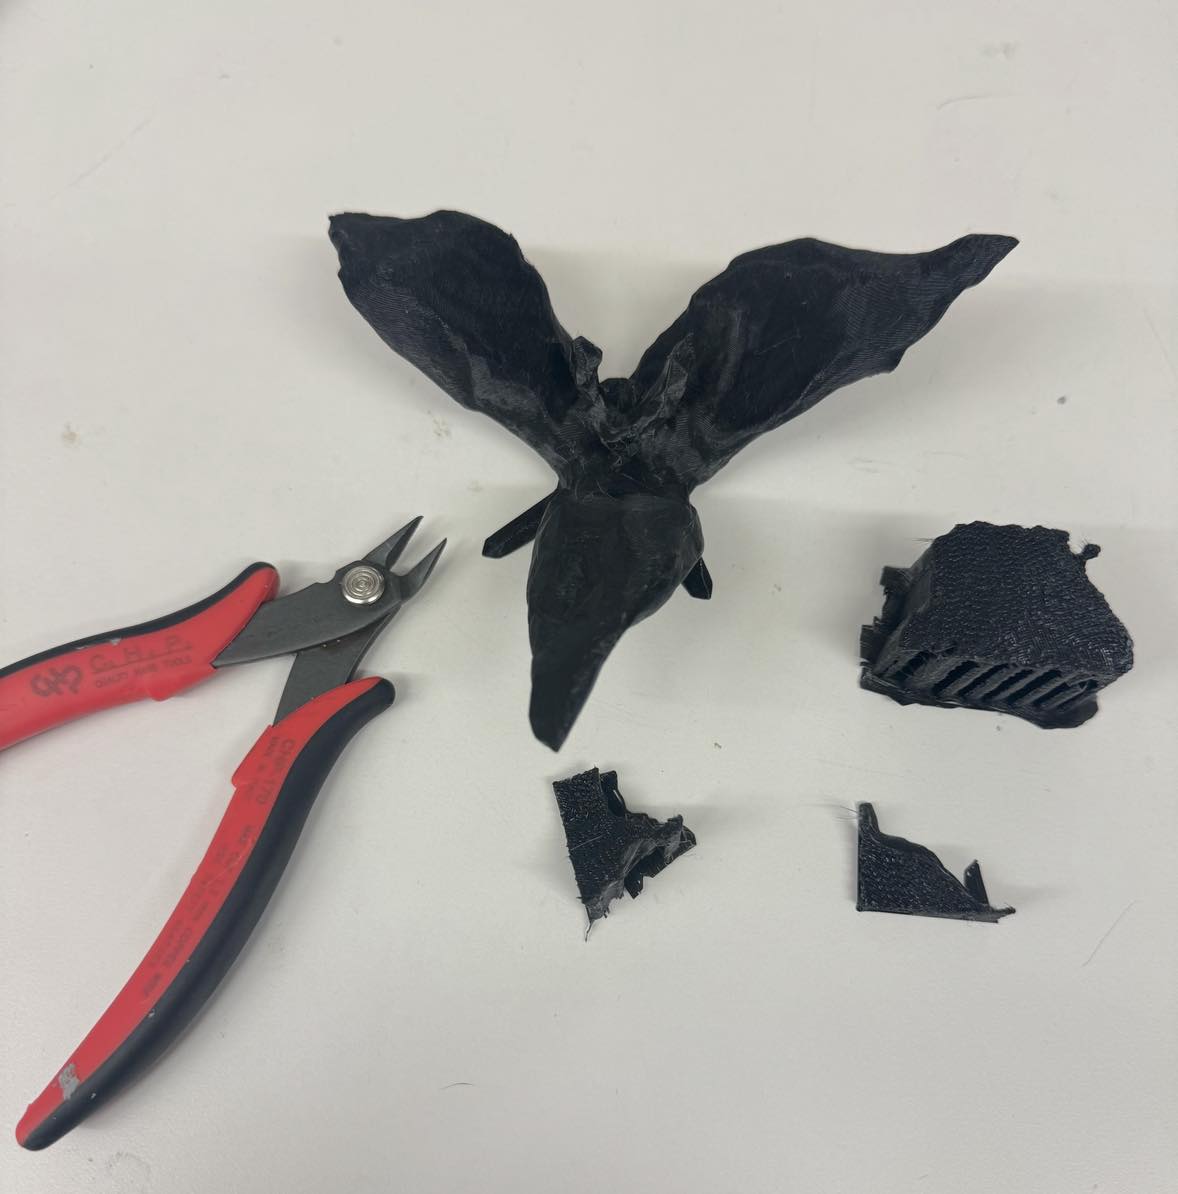
Here is it just printed and after supports were removed.
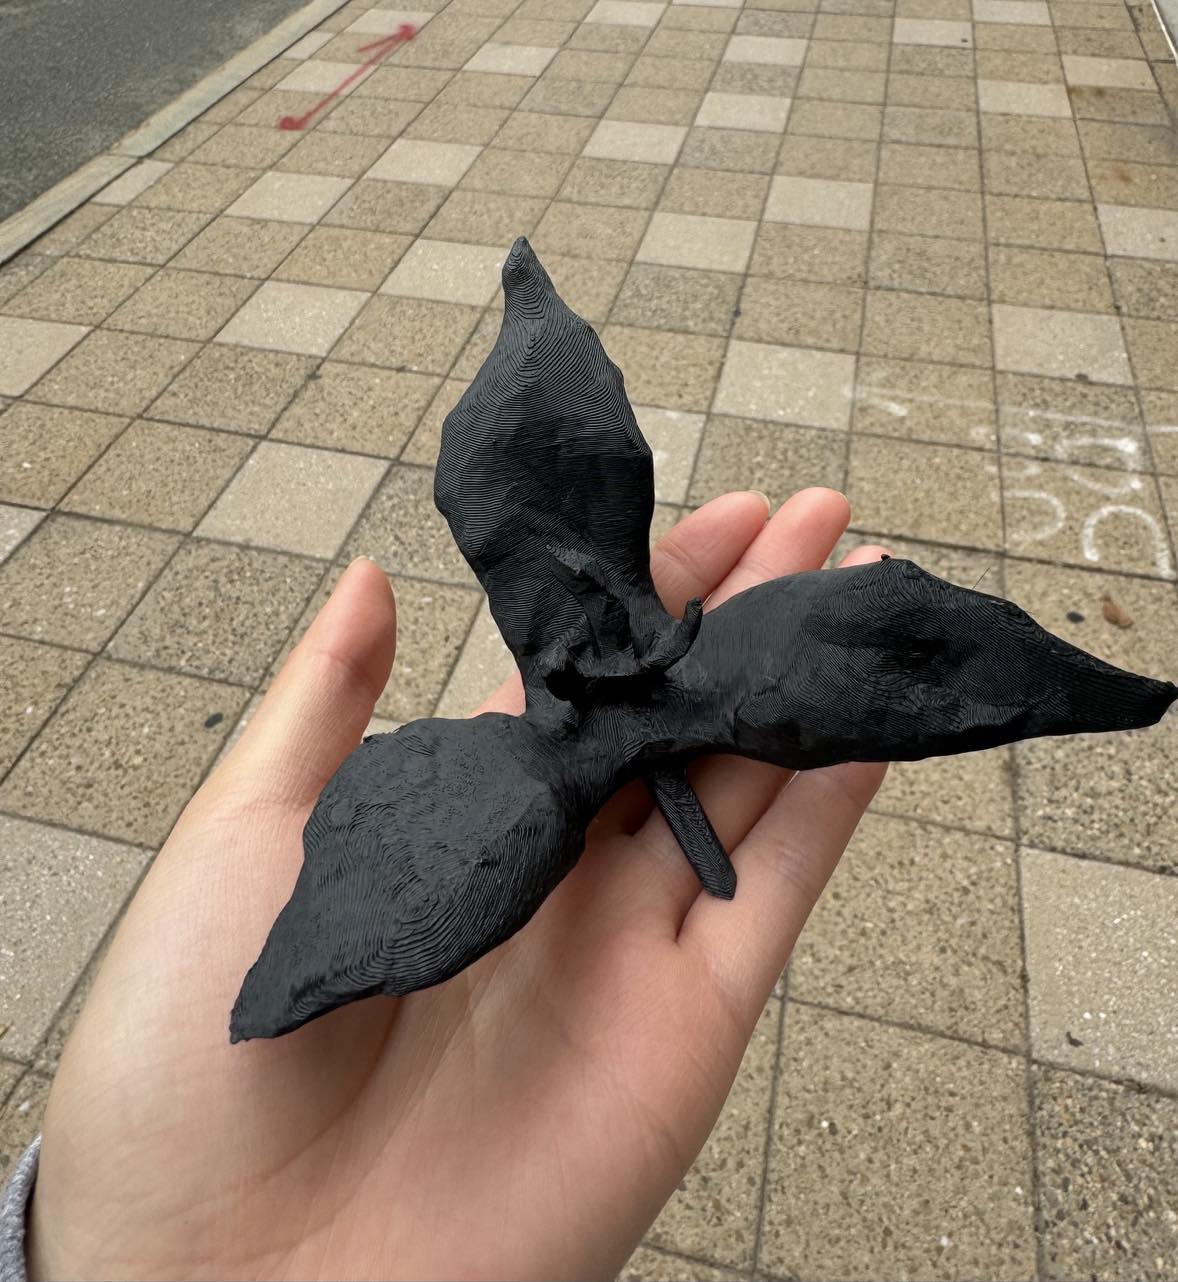
Once I moved it to better lighting, you can see it's texture and form better! I am happy with how it turned out and how I learned how to use the sculpt tools!
Now scanning on the other hand... I admit I was overconfident in my phone's ability to conduct a scan and will return to the shop to be trained on how to use proper scanning equipment.
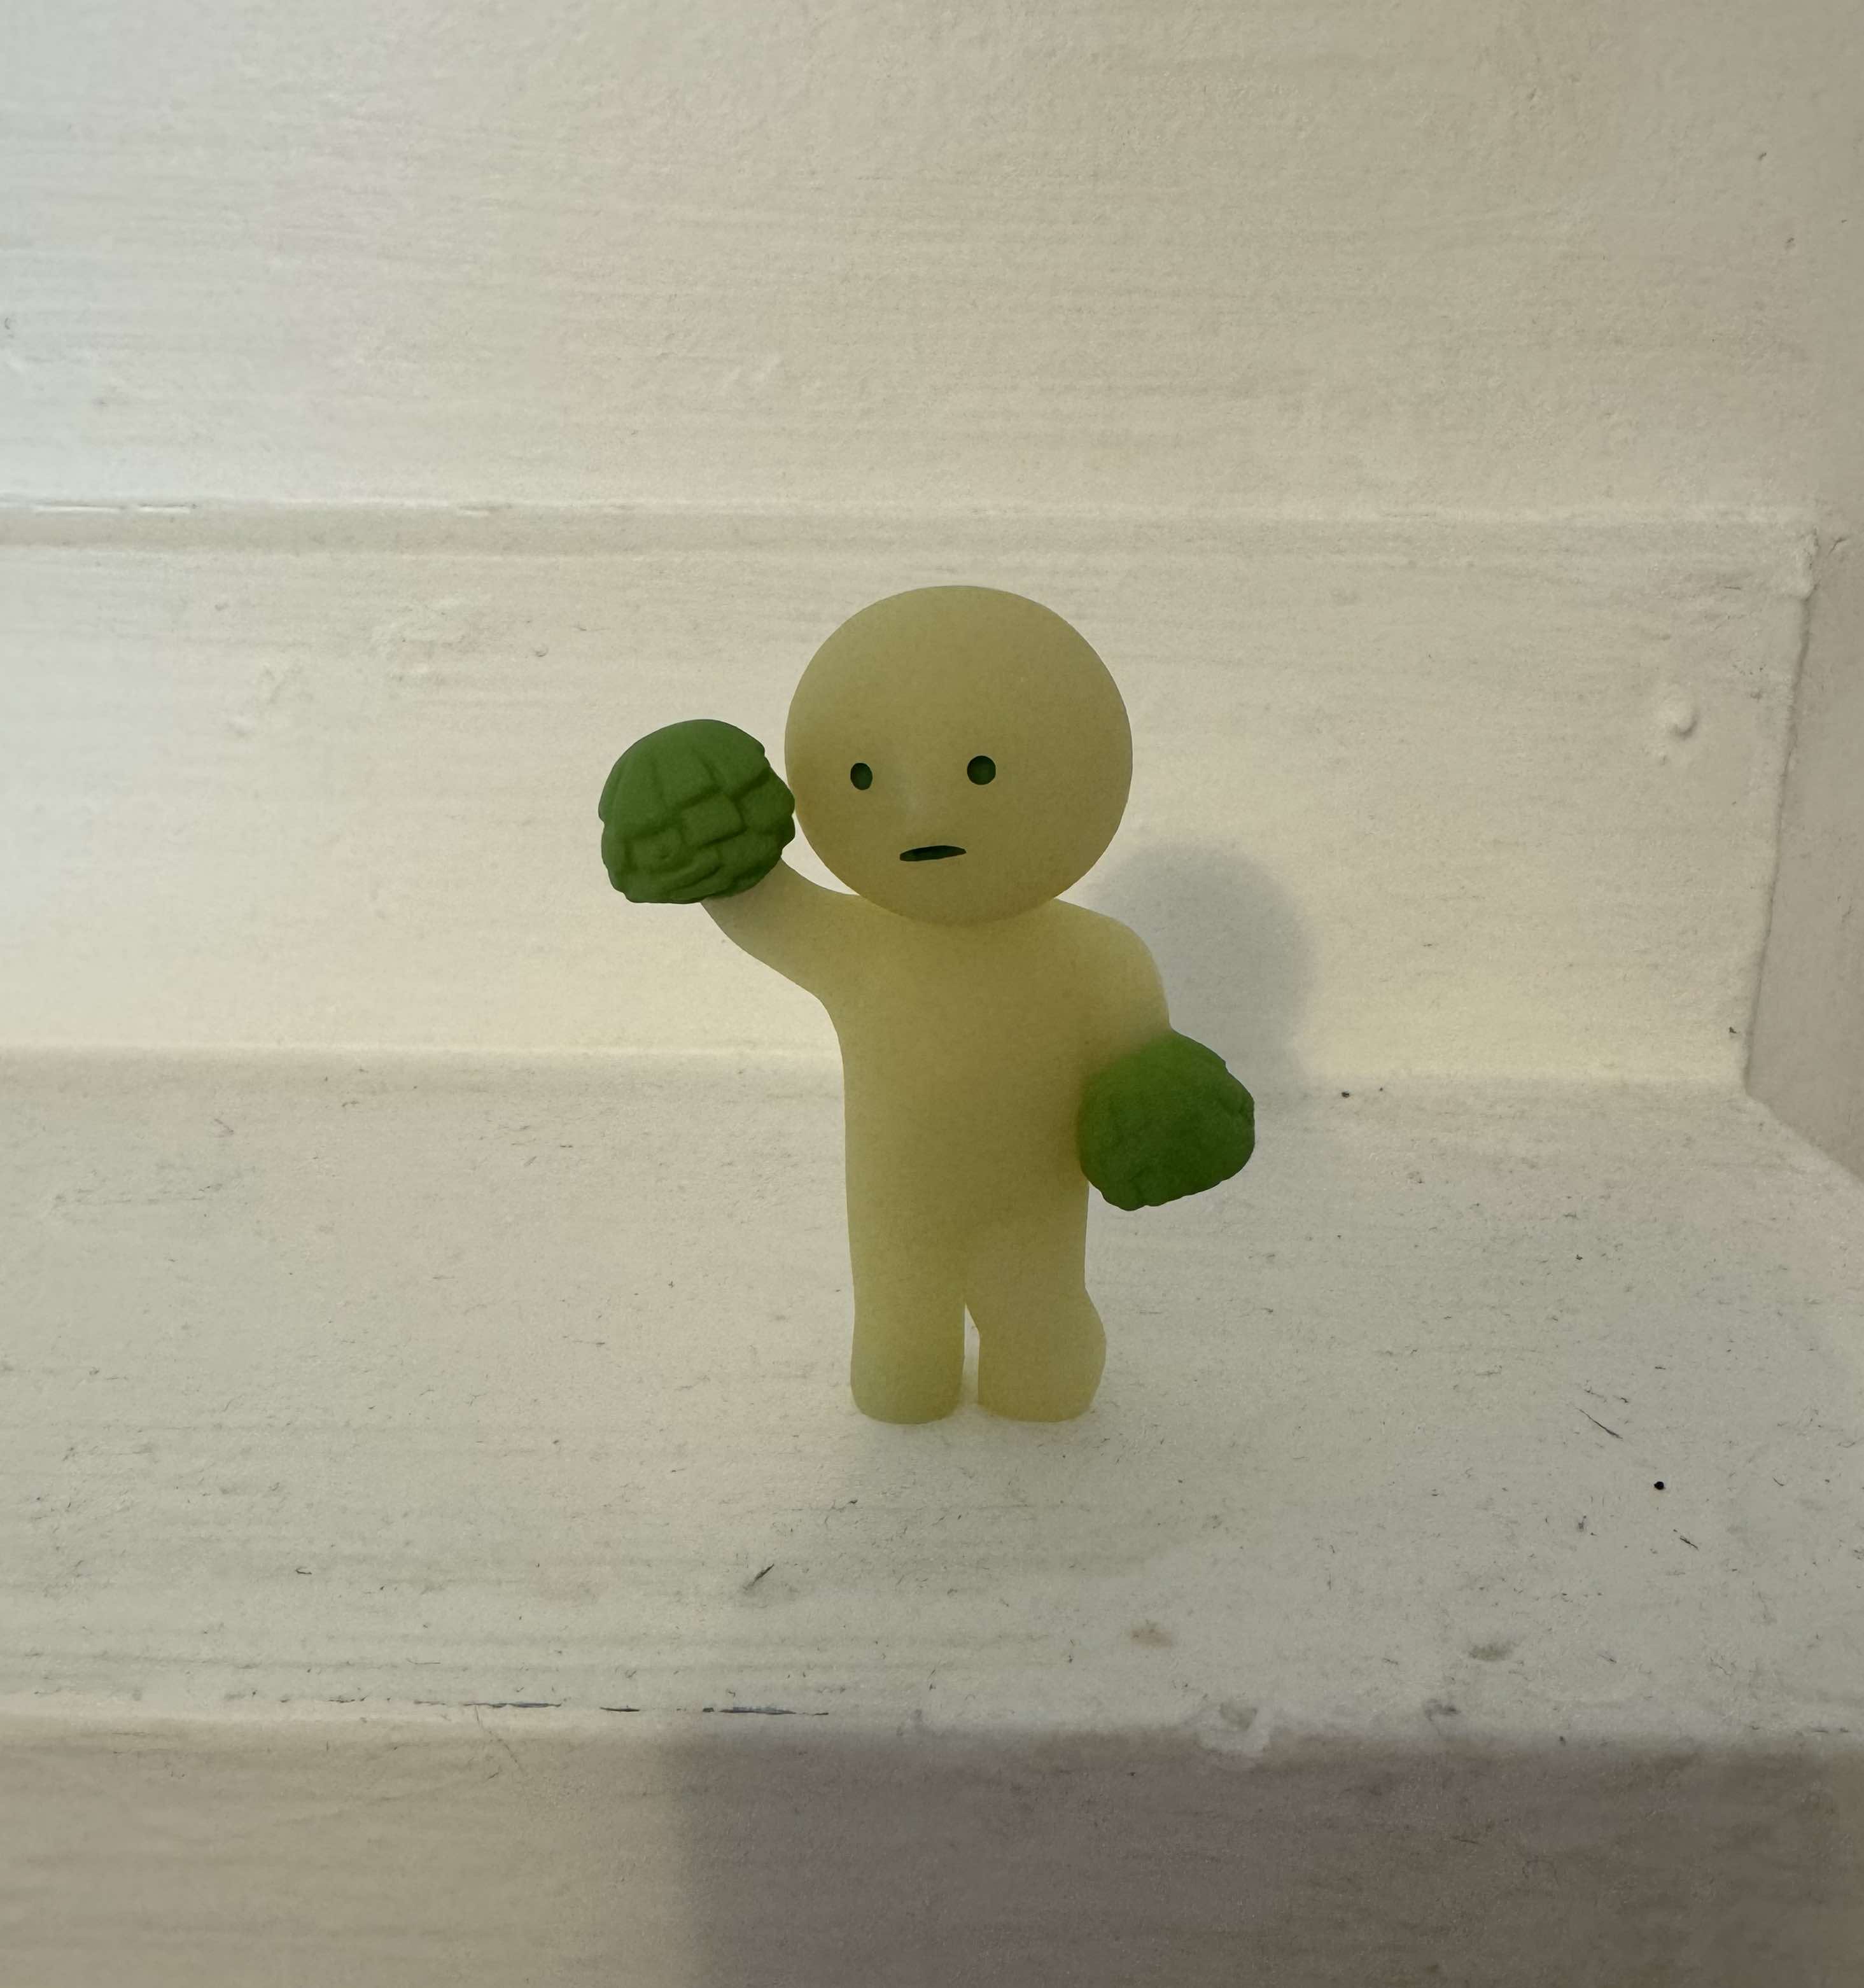
For reference, this is the object I was trying to scan:
And this is how the scans from the Polycam app on IOS turned out. This is an IPhone 15 by the way. I assume this is due to the background being of different depths, as well as the material being visually confusing, since the figurine is mostly opaque but slightly see through.
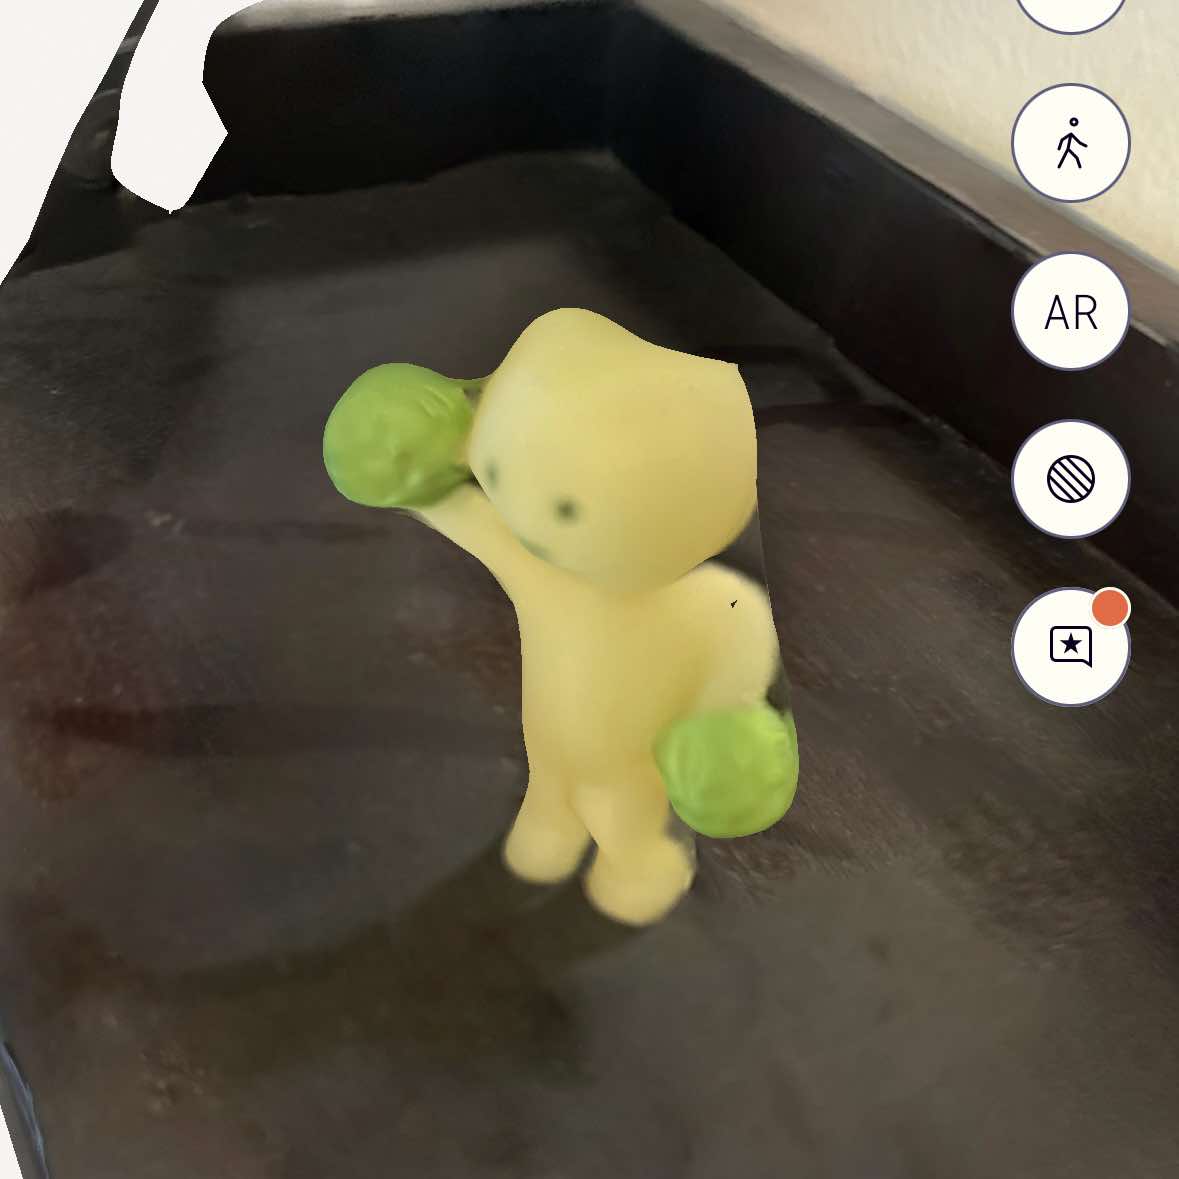
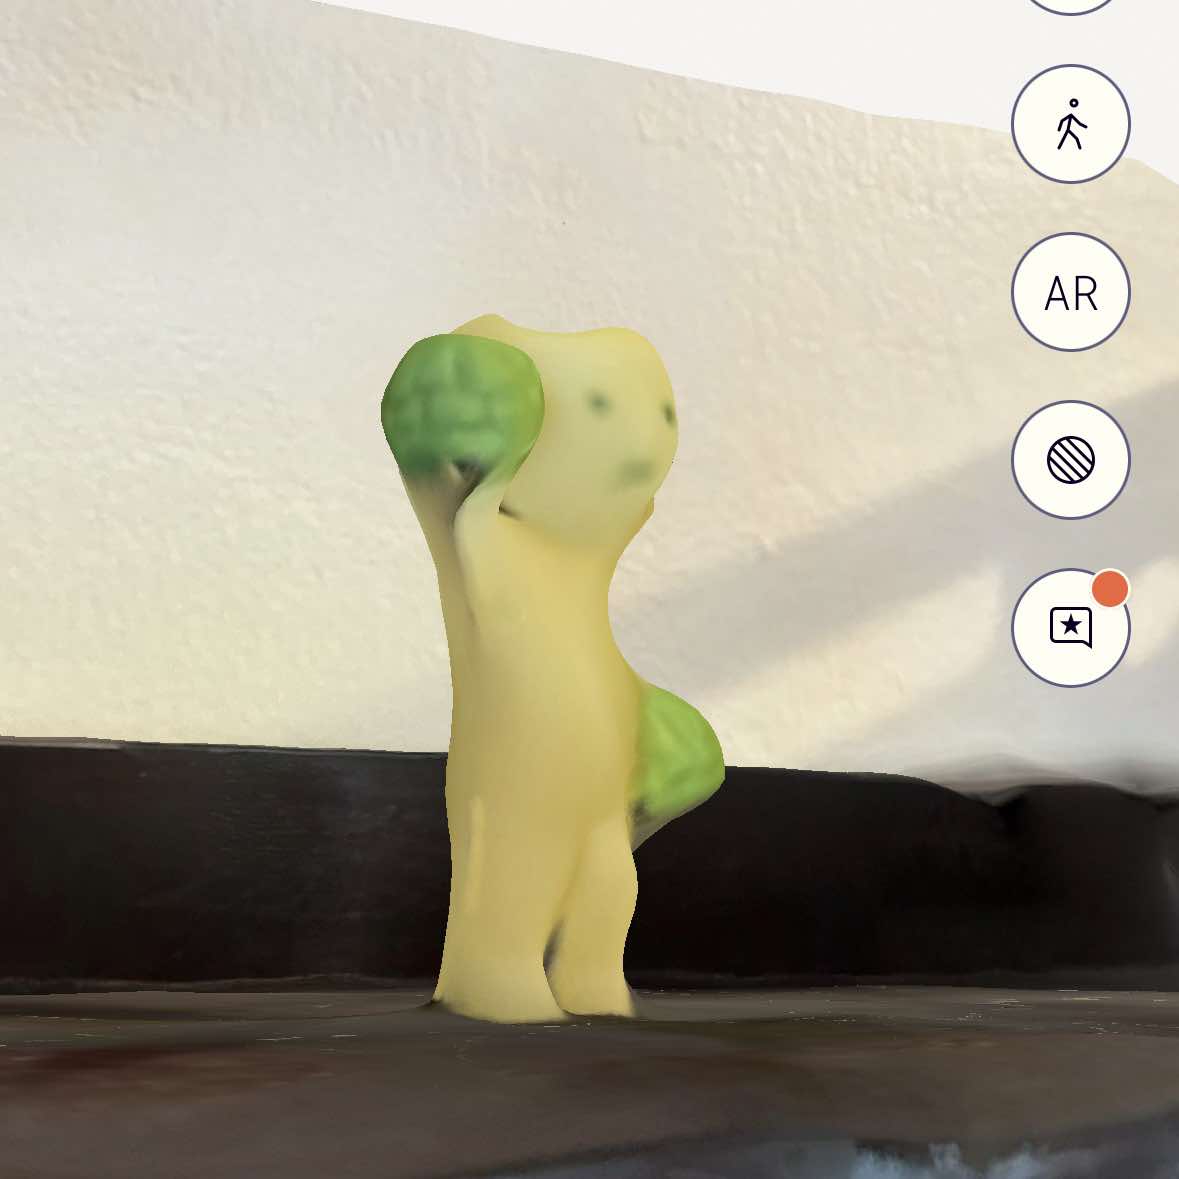
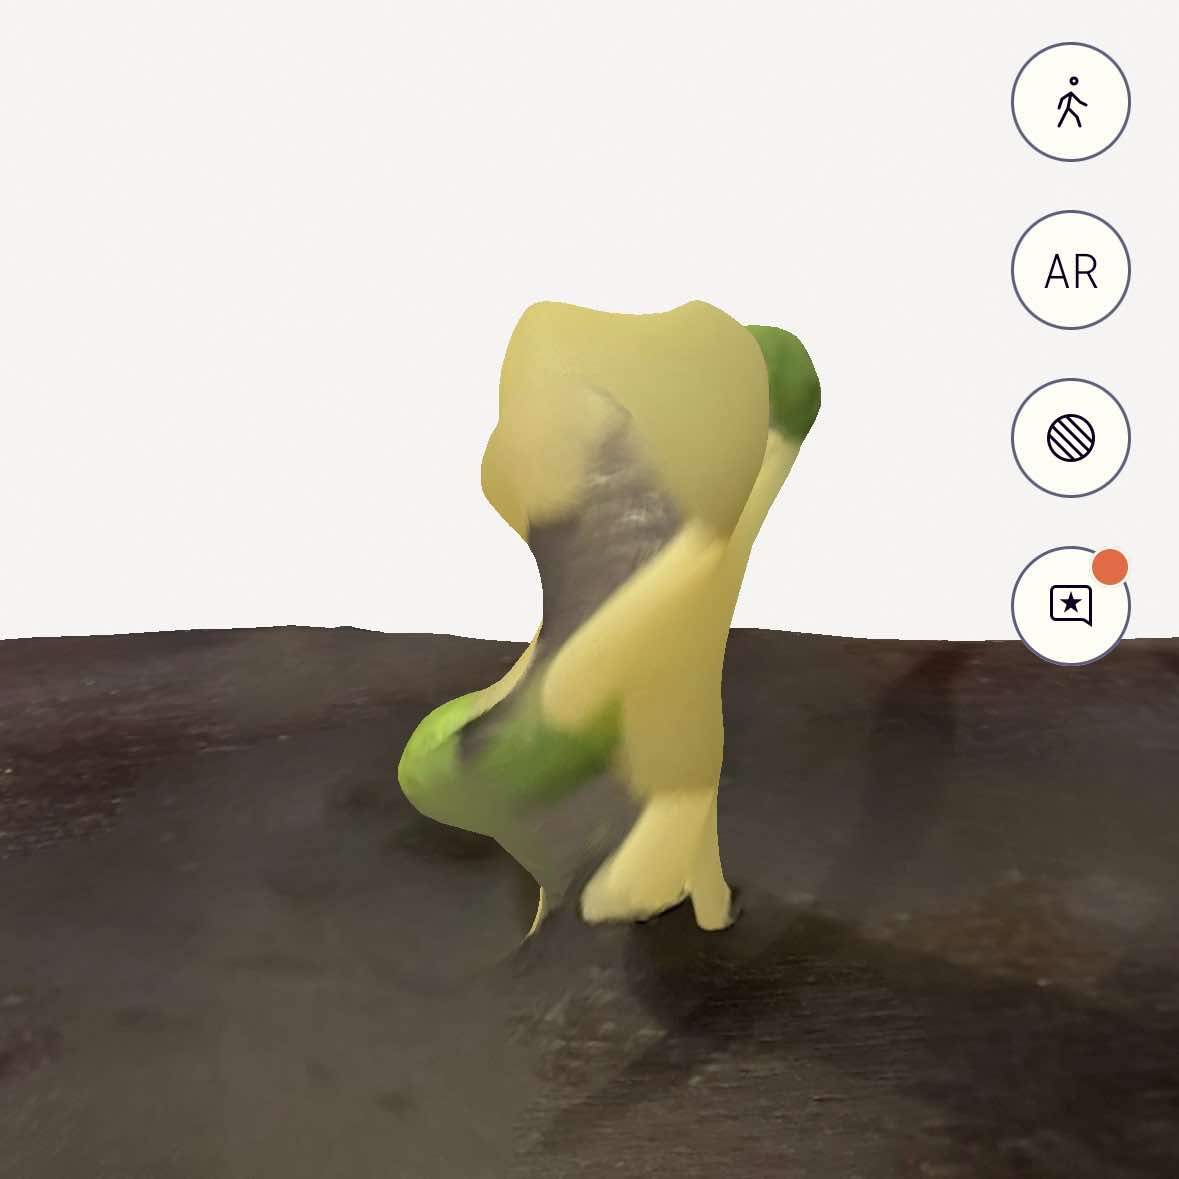
And this was attempt 2.
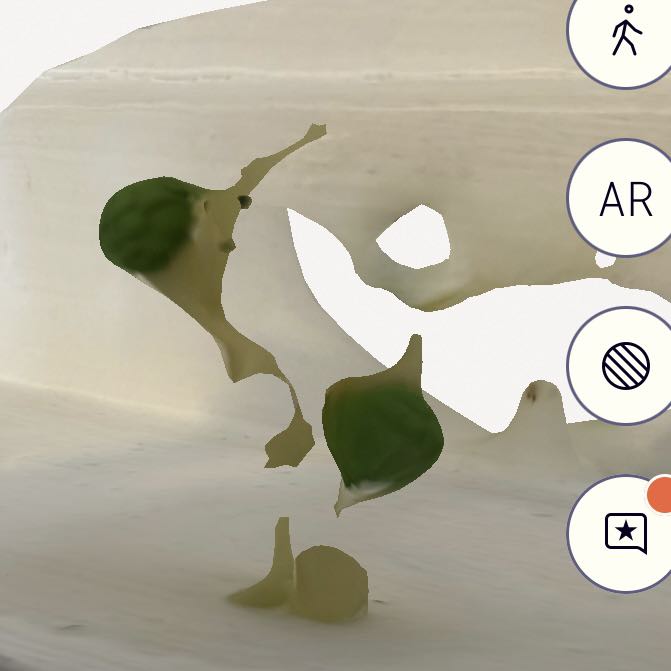
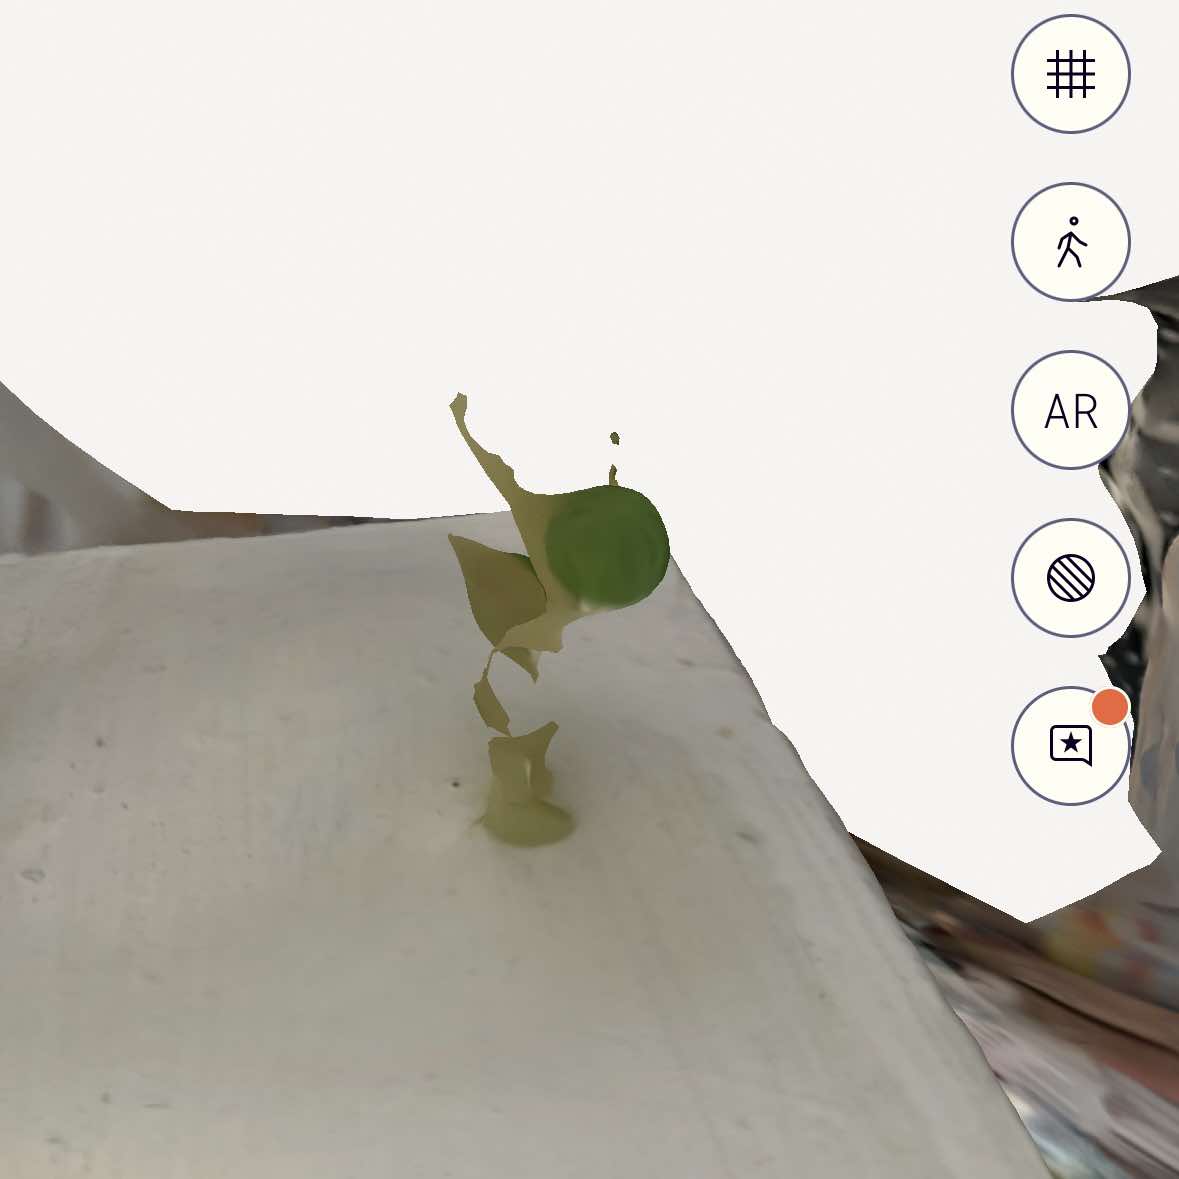
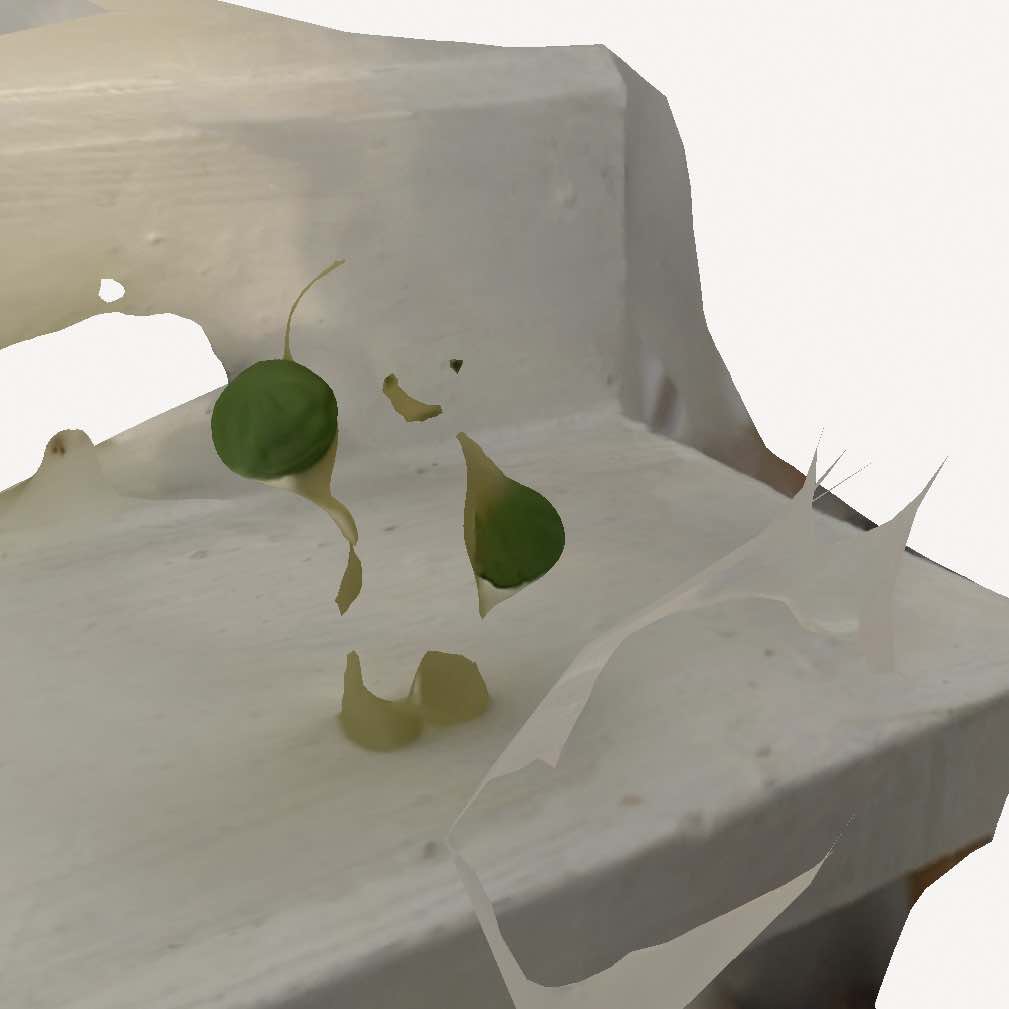
Not really something to write home about! But we will continue improving, and hopefully create a usable scan with different technologies in the future.