HTMAA 2024 - Jonathan Cohen
The group assignment this week was to do the safety training and then benchmark the shopbot across the important parameters for building with it.
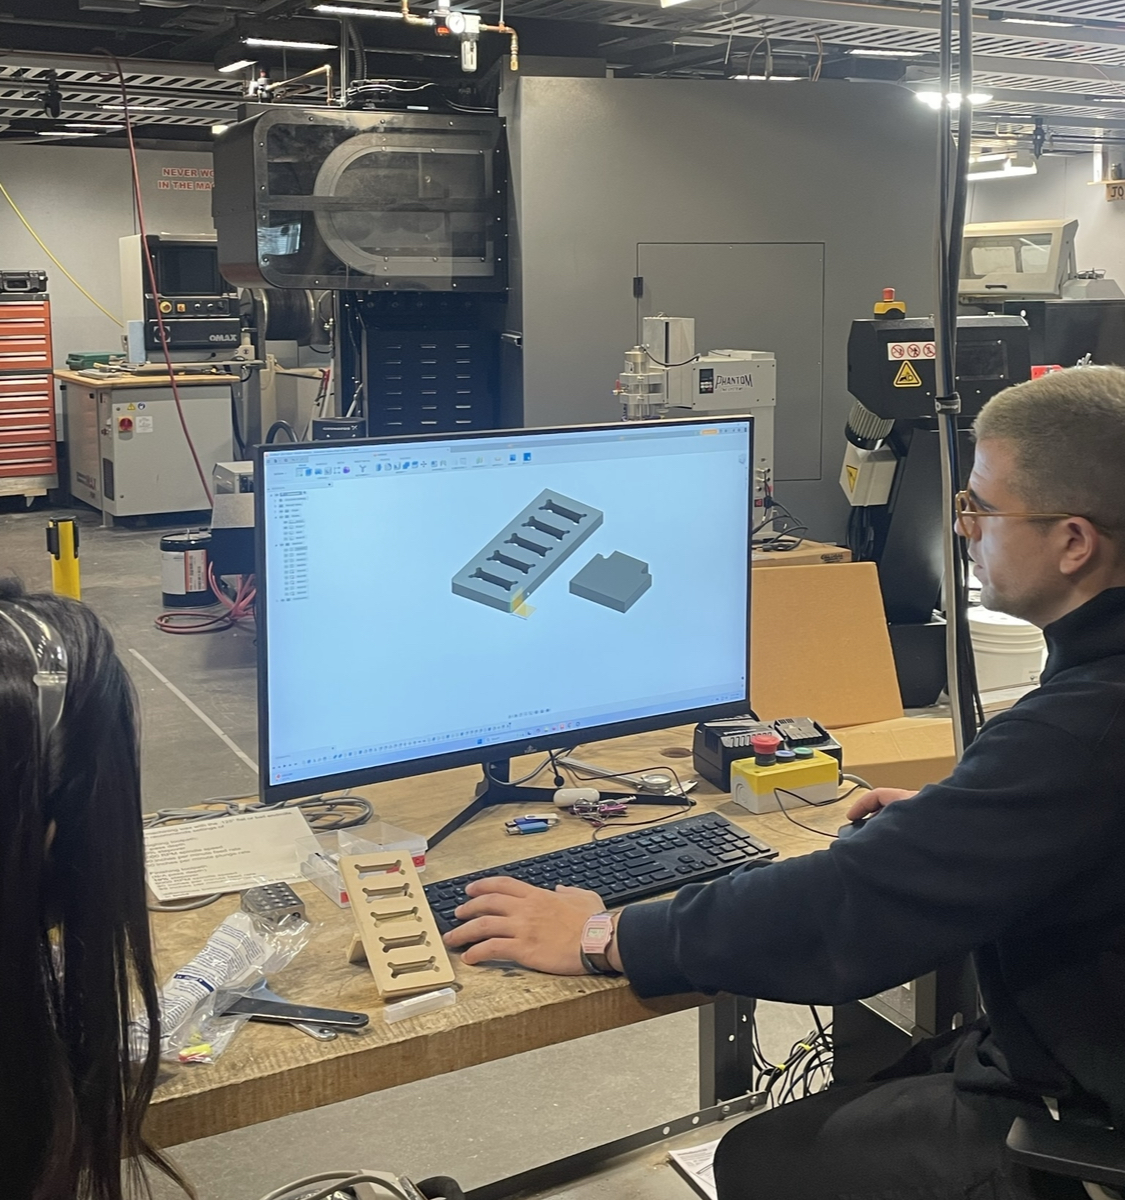
During the shop trianing Alfonso cut some joints with different offsets. The 0.1mm offset or 0.2m interference fit was very snug! Nominal was nice as well but did not secure the parts as much. We learned that you need to use the down cut endmill (chips go down) for the first pass and then the upcut (chips vent up) for the final cut.
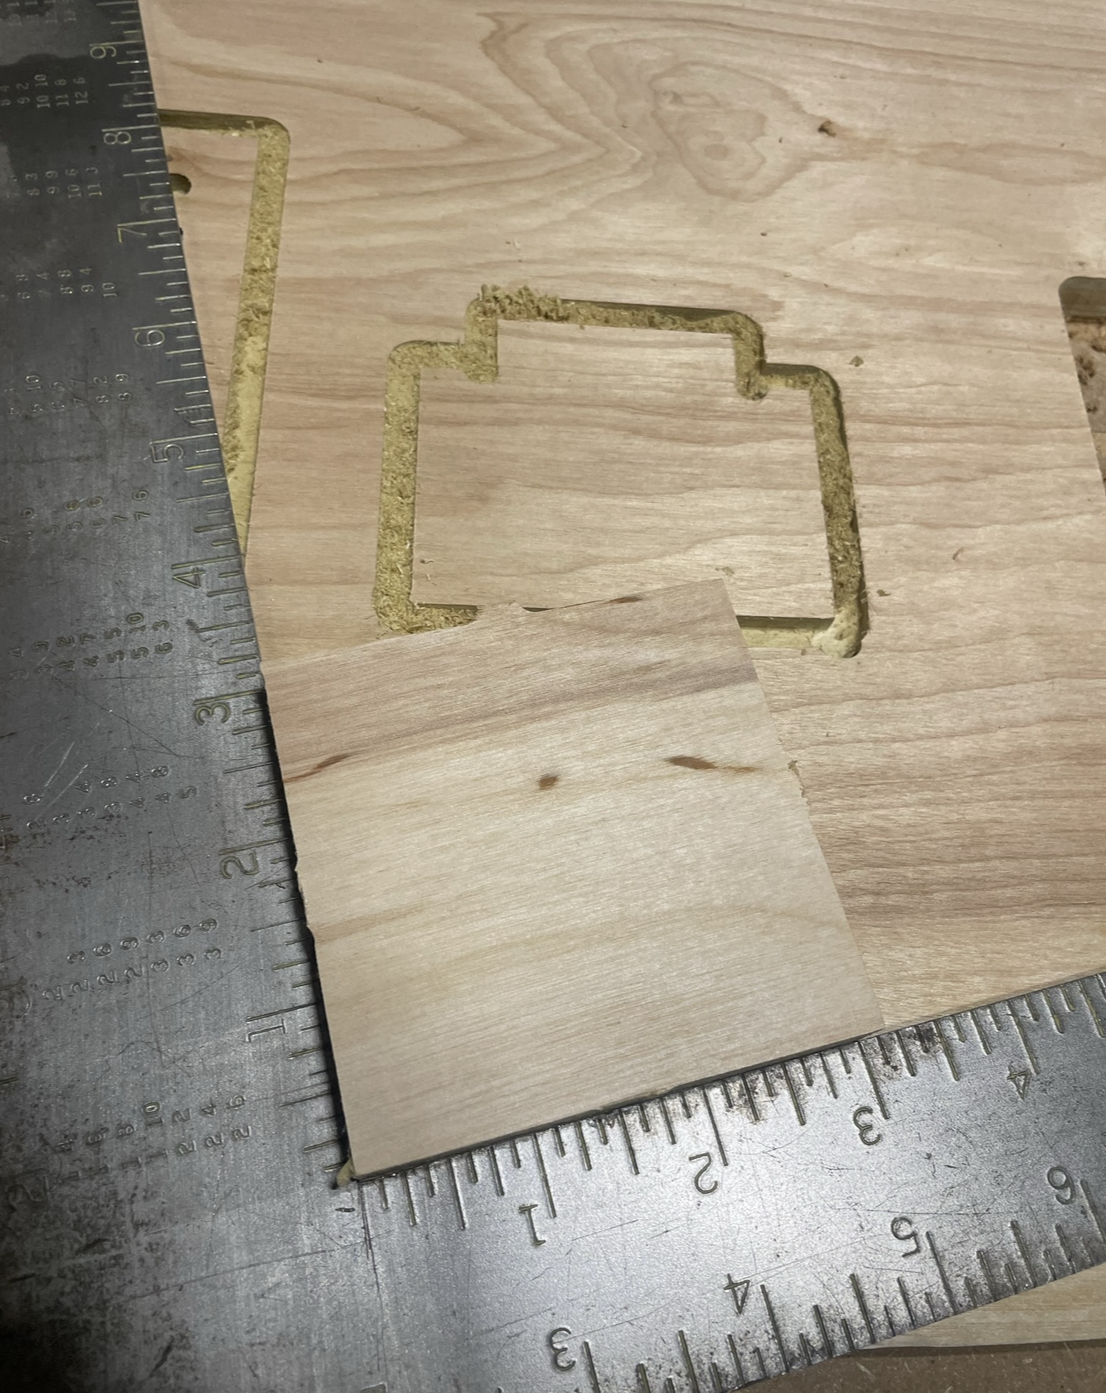
We later met up as a group to cut some squares with the shopbot to measure the other parameters. (Measuring the orthogonality
ShopBot Knowledge
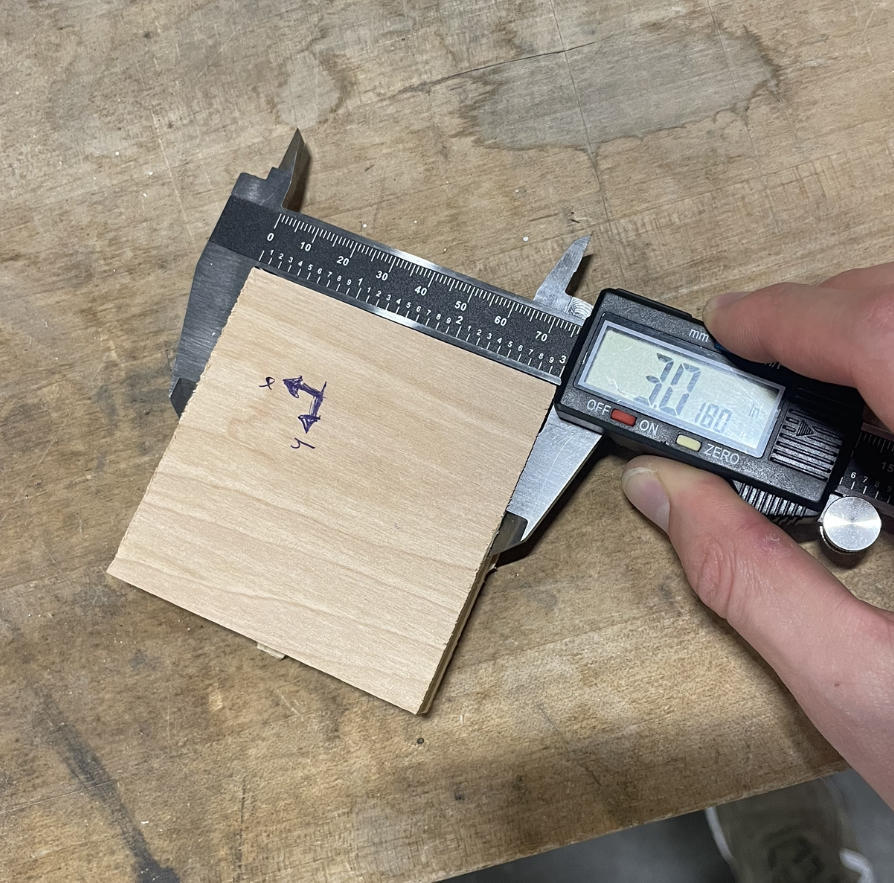
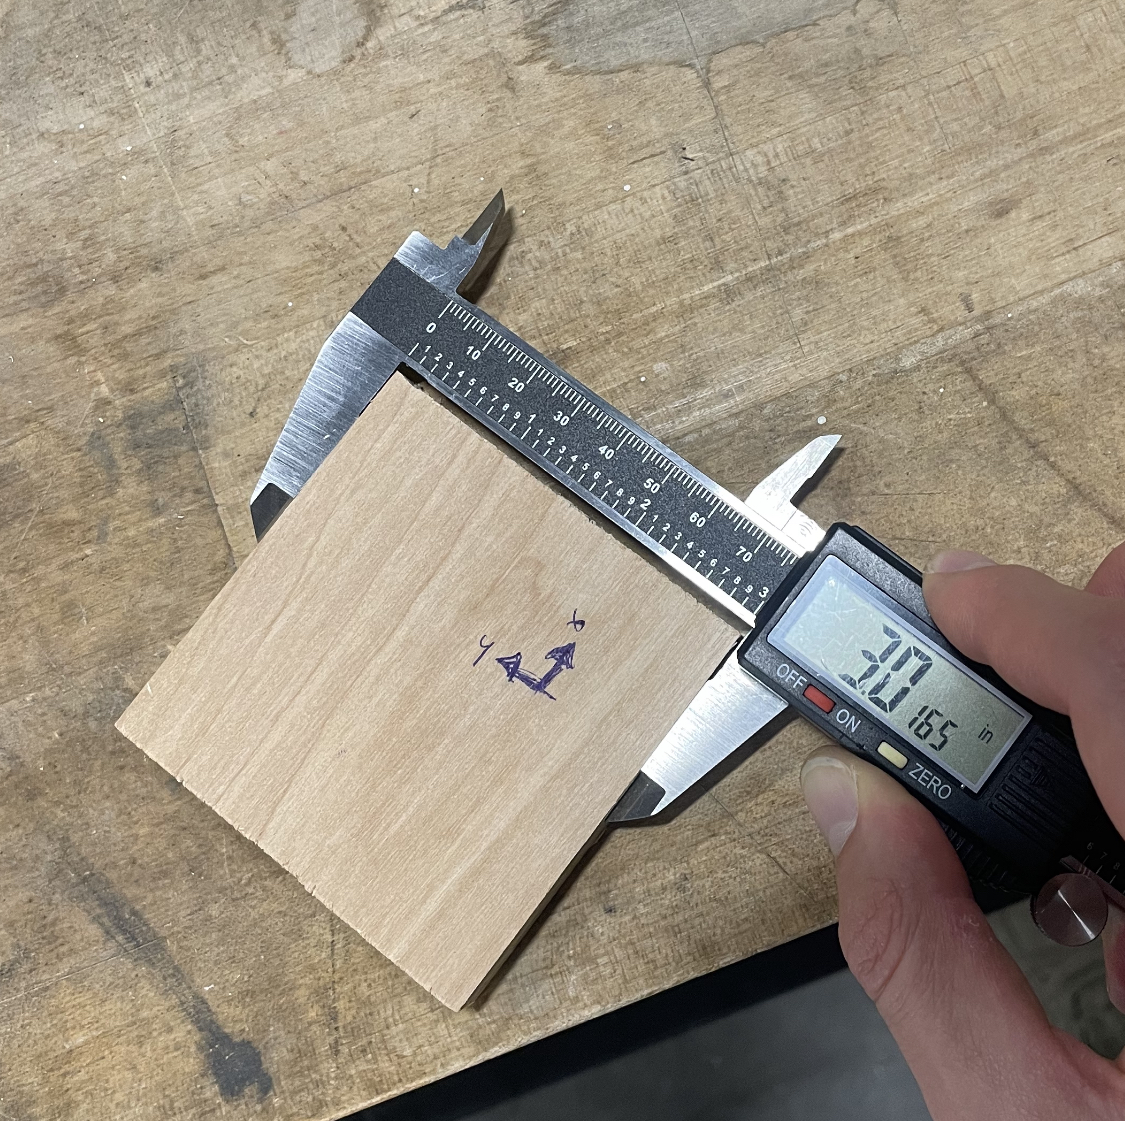
The 3" square was oversized by 0.0165 and 0.018 in X and Y respectively.
For the individual assignment we were all given a 4x8' sheet of 1/2" plywood that is really nice. My first idea was to make a new and nice looking donald judd esque shoe rack since mine is falling apart.
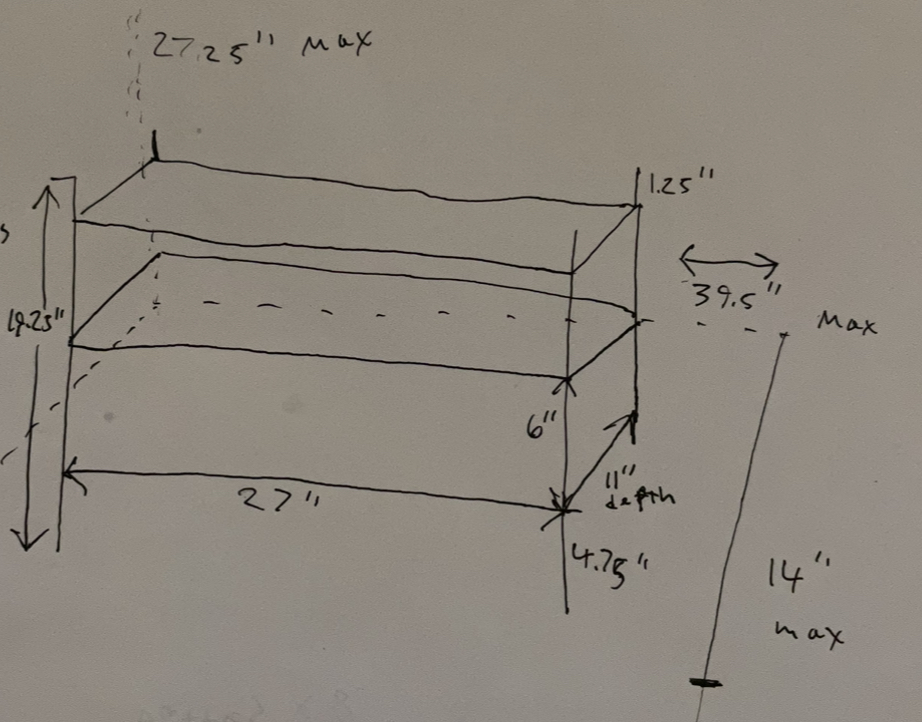
I started with a napkin sketch of my entryway with the existing rack in space I was dealing with.


I practiced making dogbone slots and space for the endmill to allow for a flush fit between the parts.
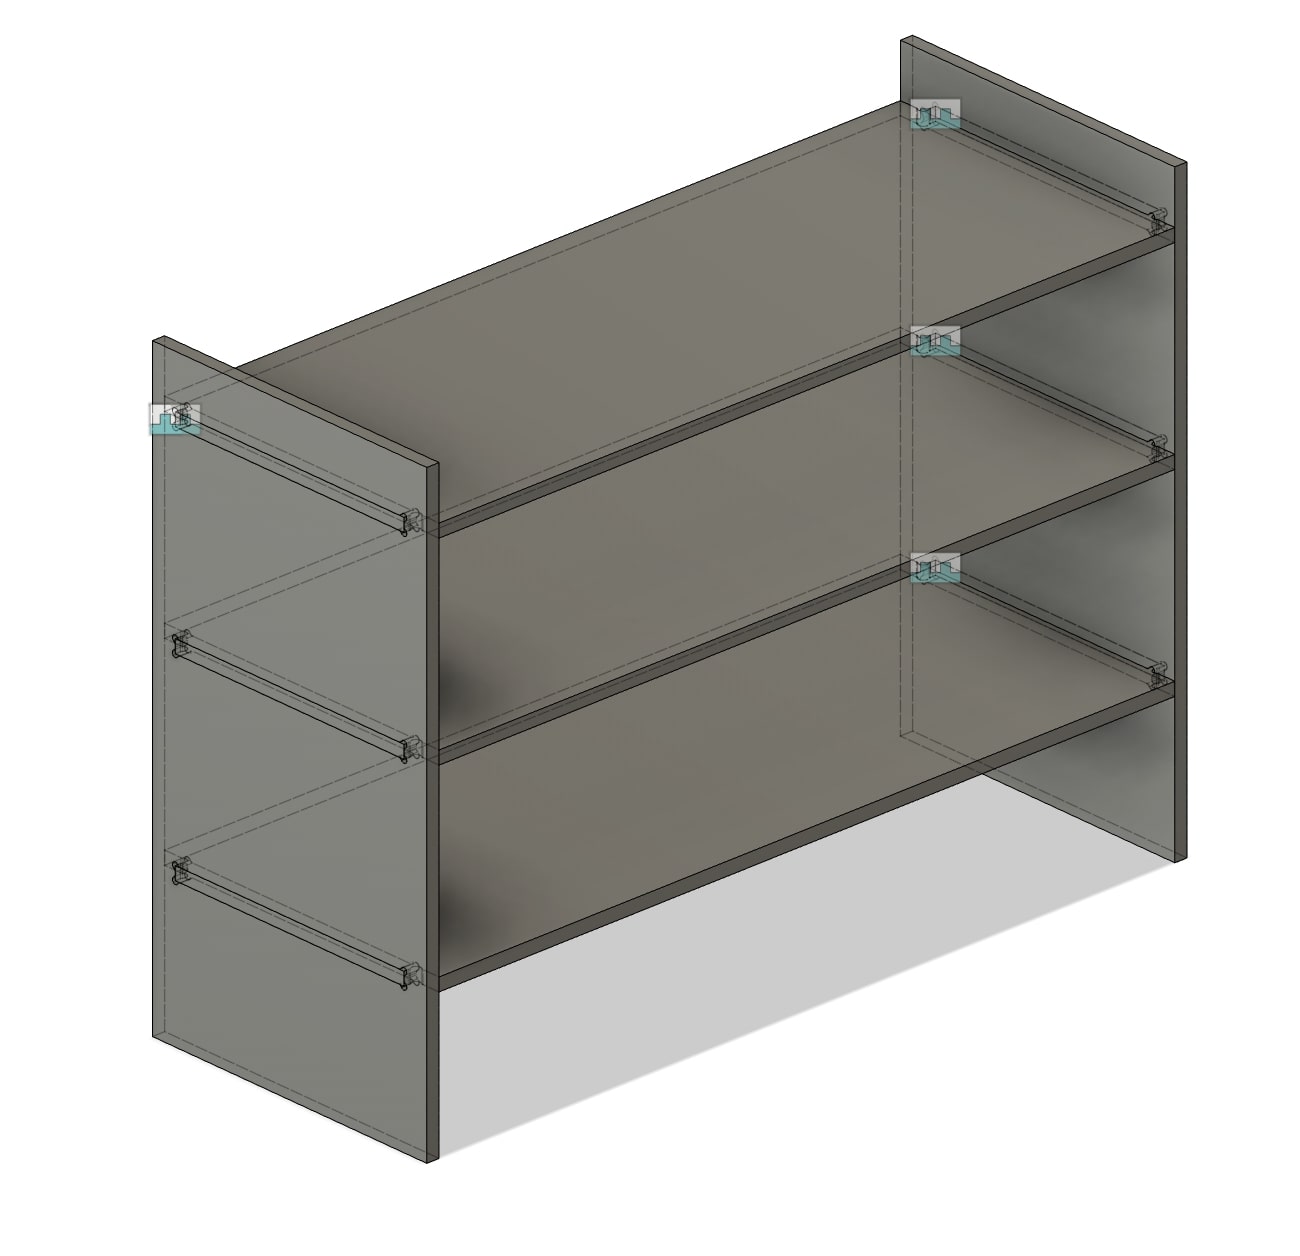
The rack assembles simply by pushing it together.
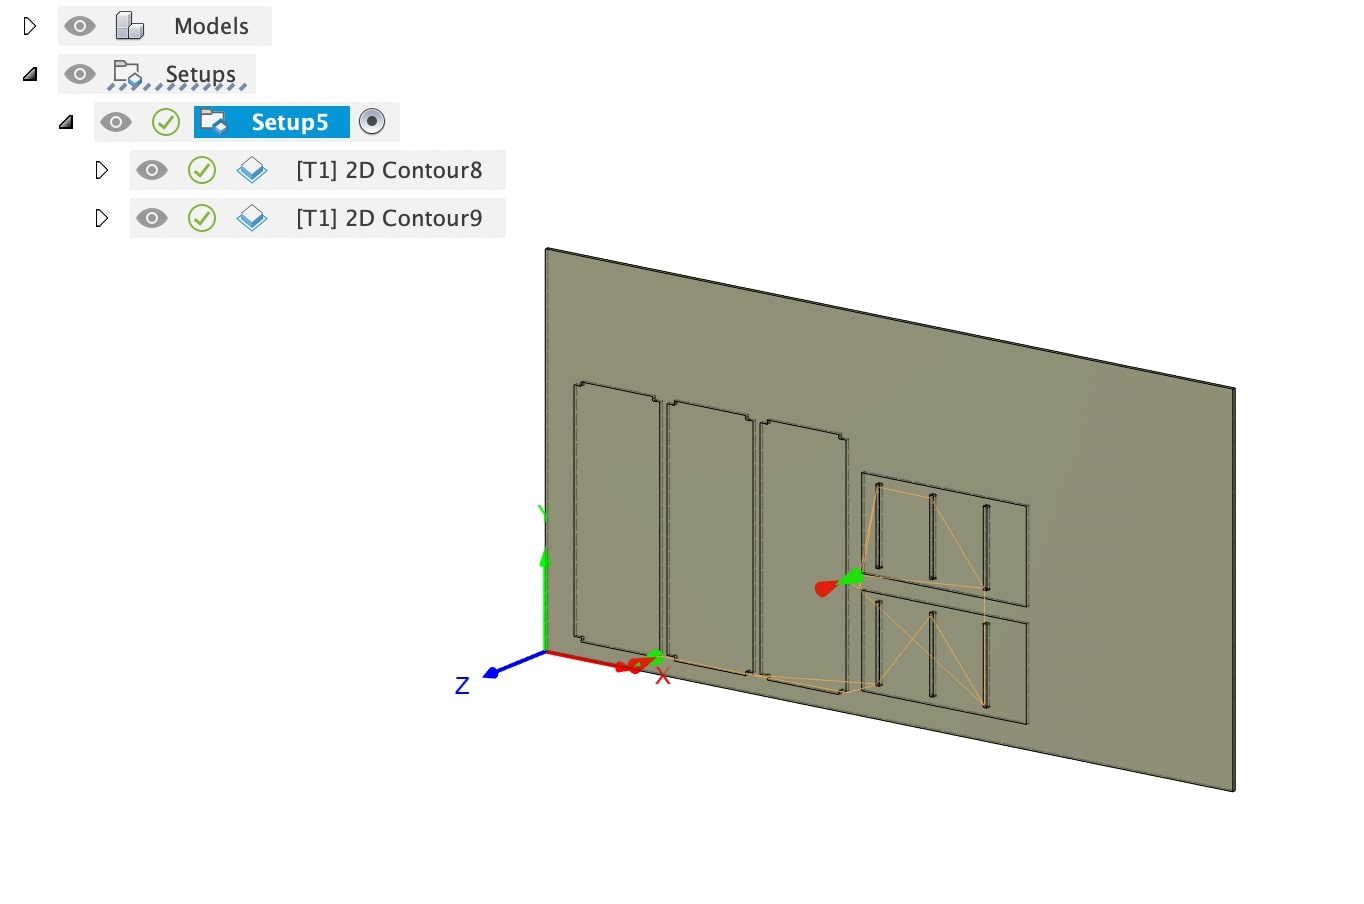
While I did finish the Shoe Rack design and CAM for it (CAD link for Fusion360) I decided that I wanted to be more ambitious since we were getting such a nice piece of plywood!
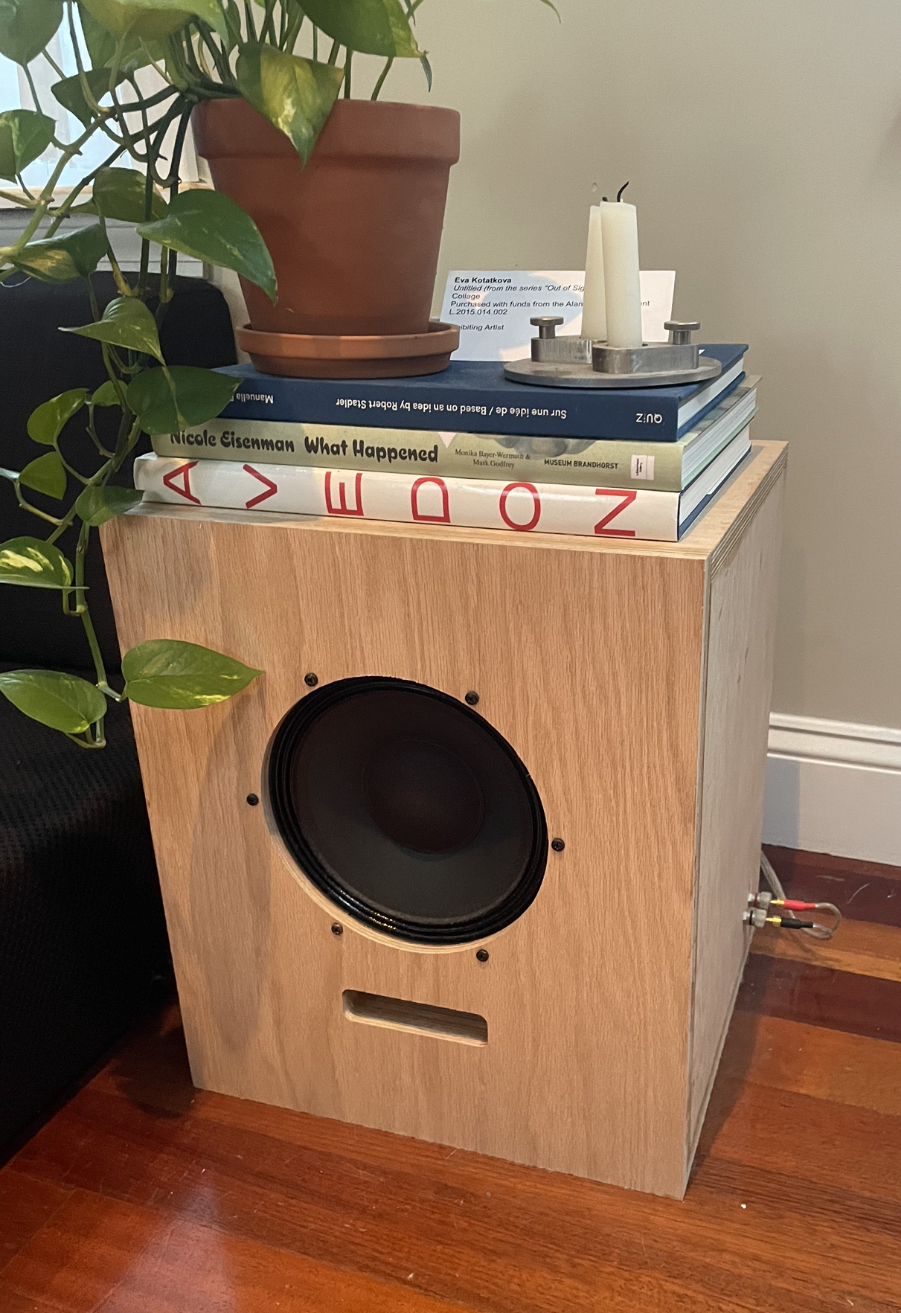
Last year I ordered a DIY speaker Kit from Devon Turnbull (aka OJAS) for his Artbook speaker design that features a 8" coaxial JBL 328c driver. They sound fantastic and so I was thinking about how nice it would be to have another pair for my bedroom or to use with the TV...
The original design uses a 3/4" plywood that has more plys that are ideal for speaker building. We are going to use 1/2" with low plys and voids but...free is free :)
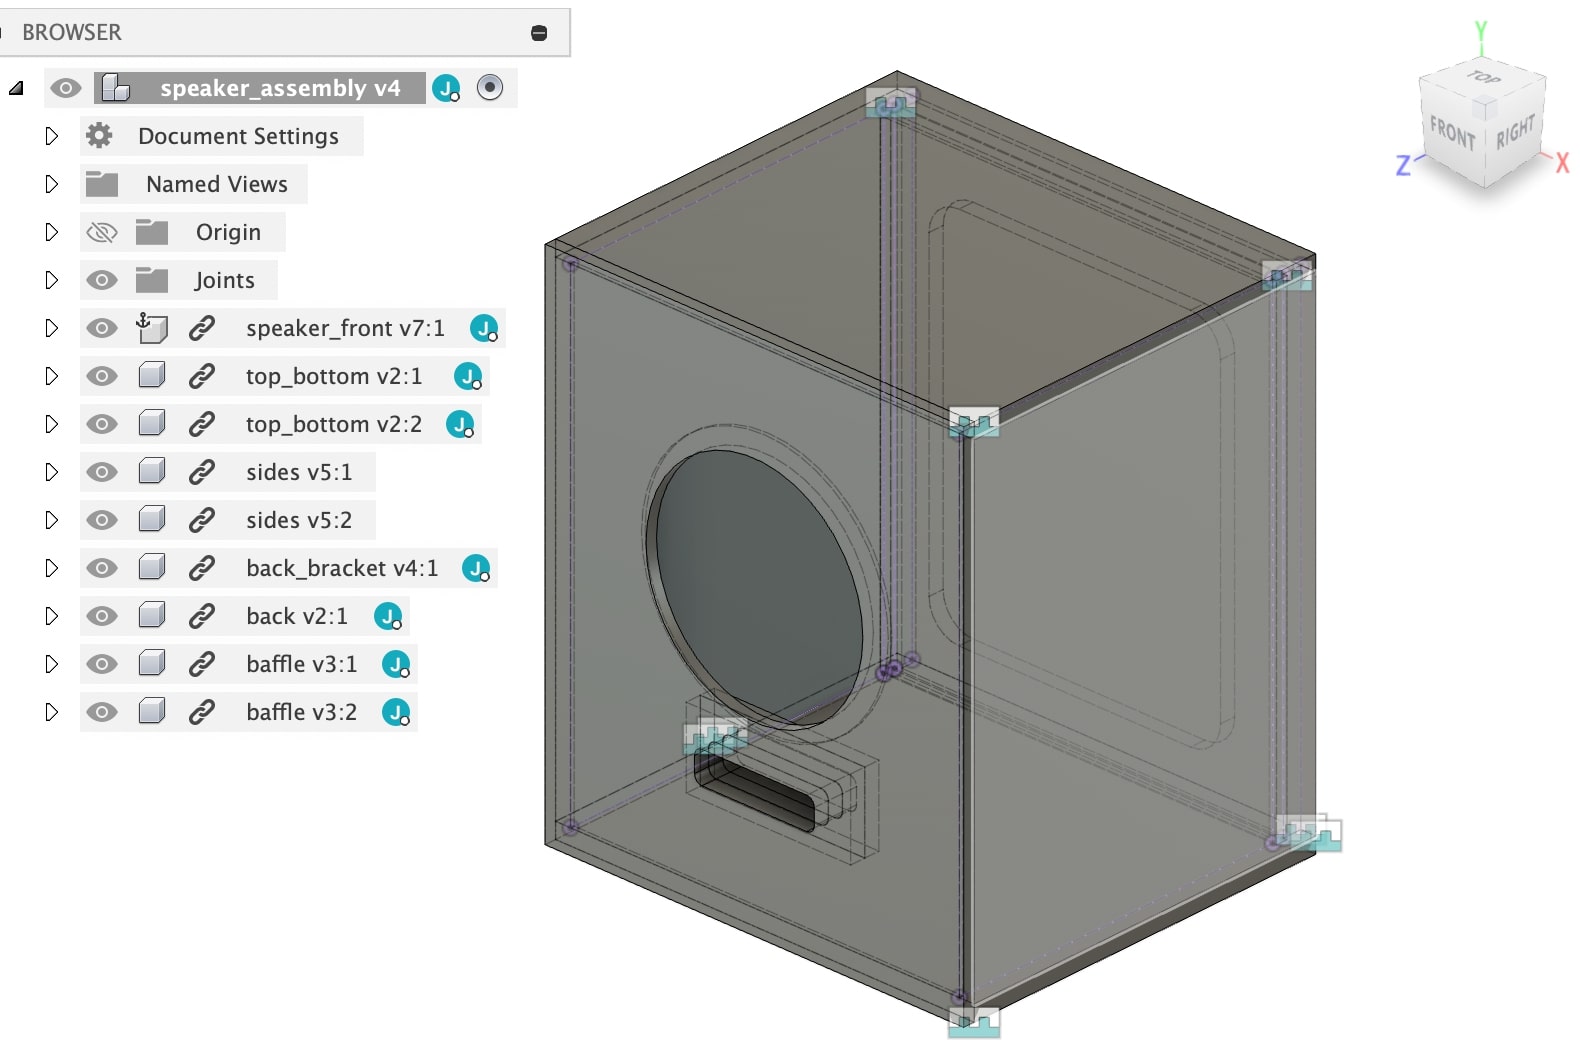
Speaker Design CAD (CAD link for Fusion360).
Text
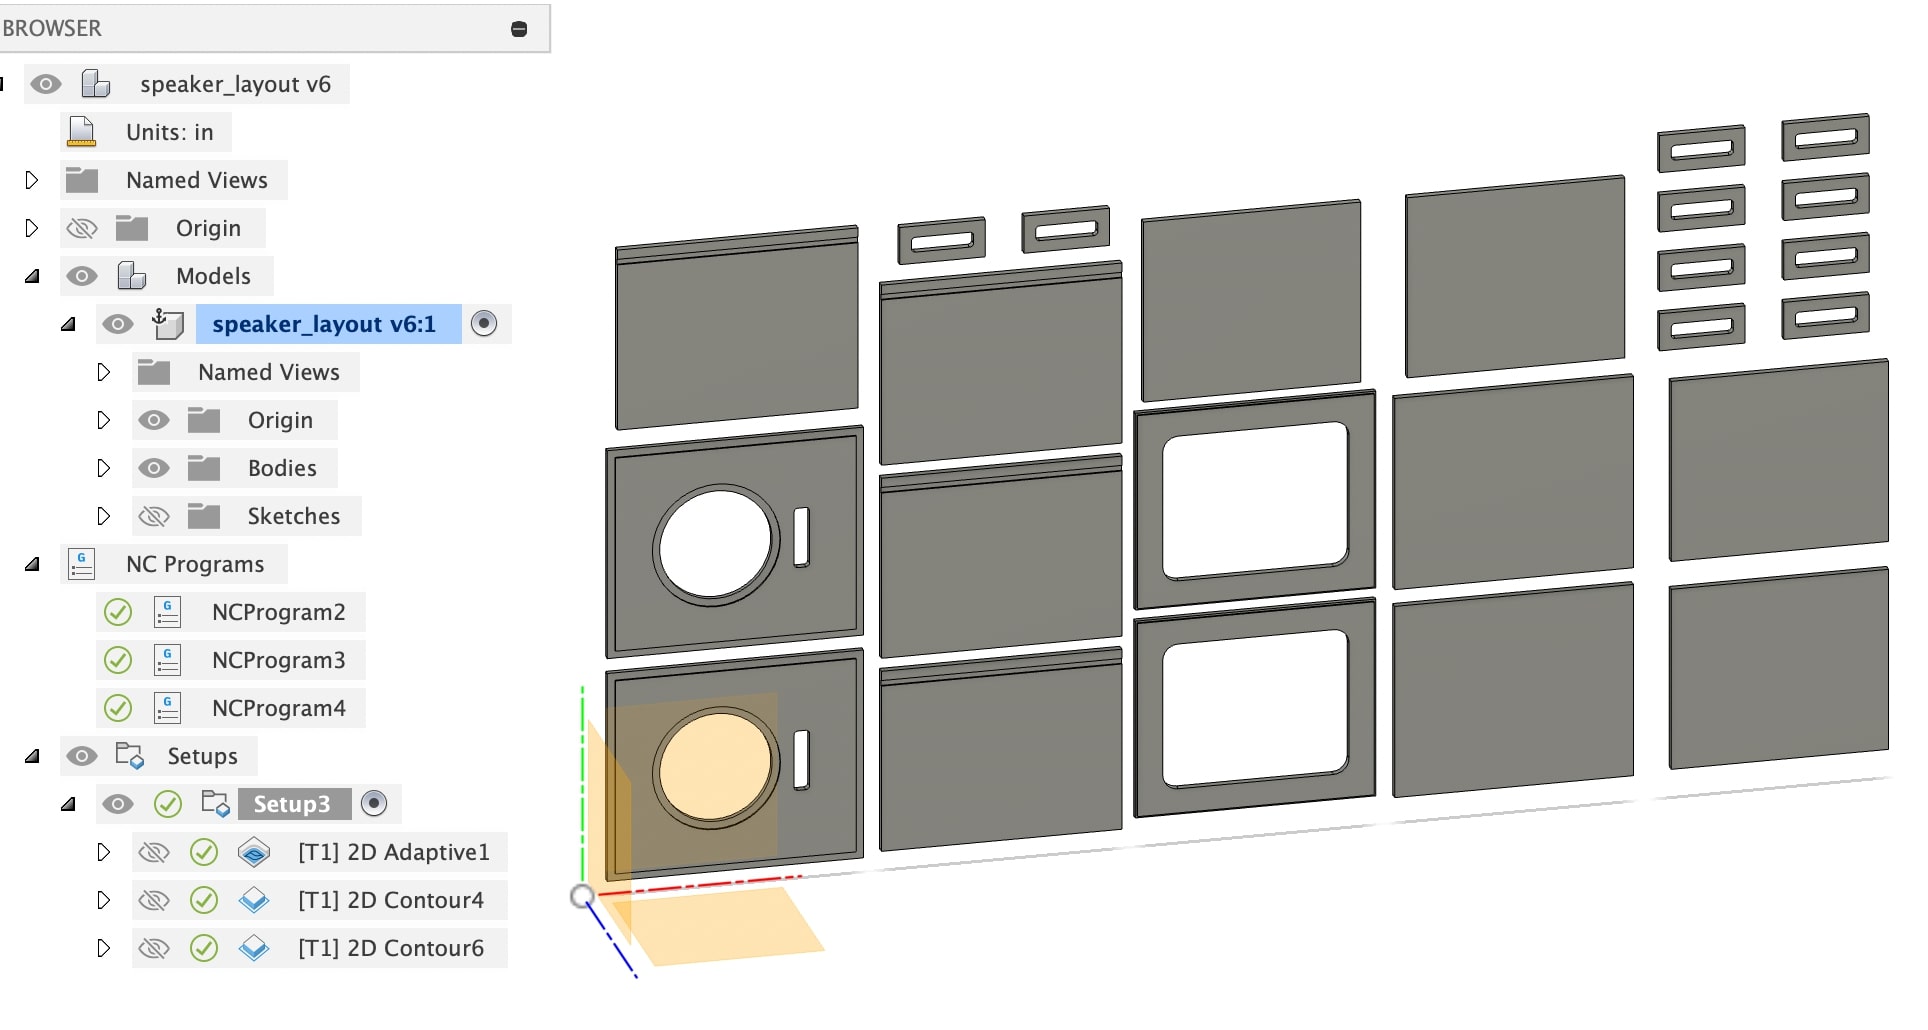
CAM CAD (CAD link for Fusion360).
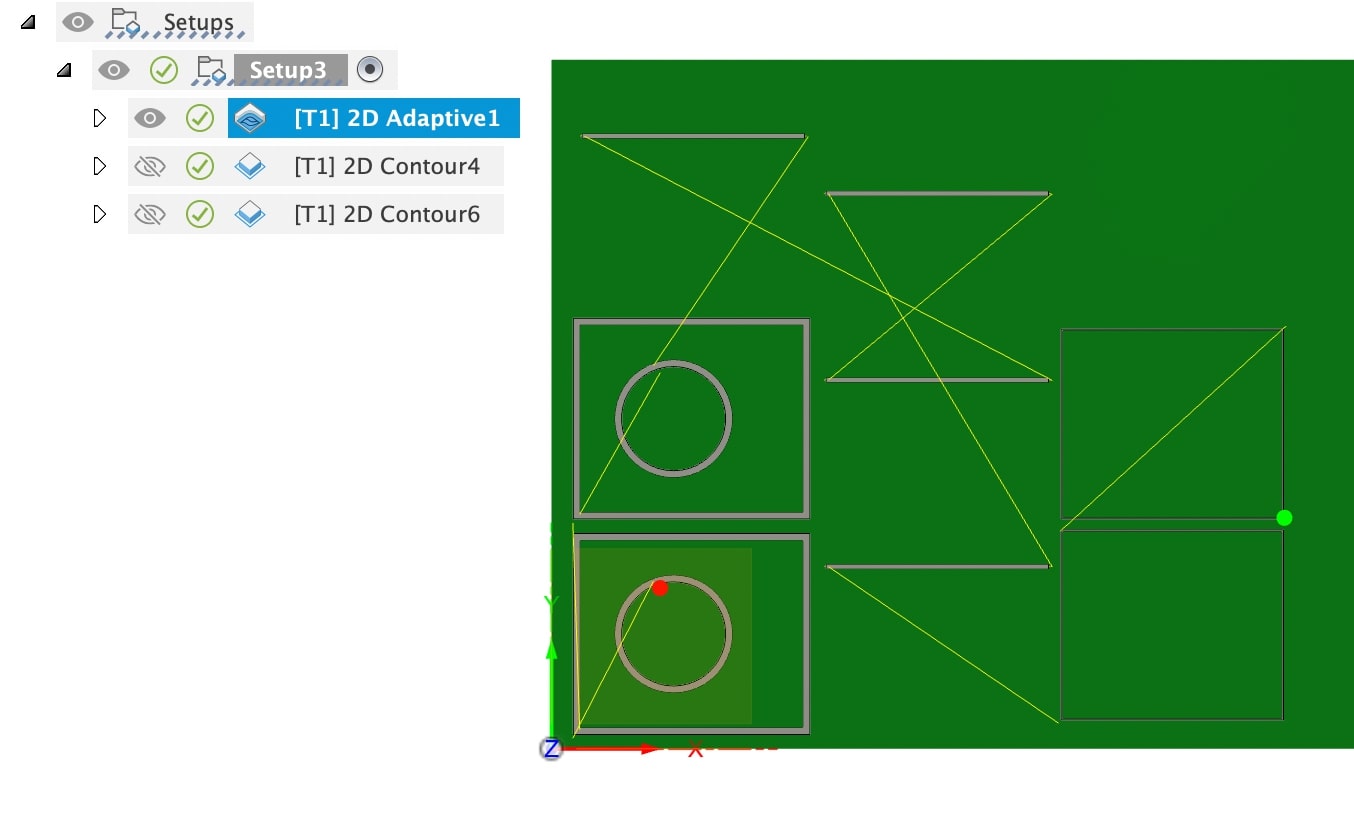
The first cut was an adaptive cut since I needed to create pockets for the speaker driver and also create a reccessed area around the edgest to create a better joint between sides.
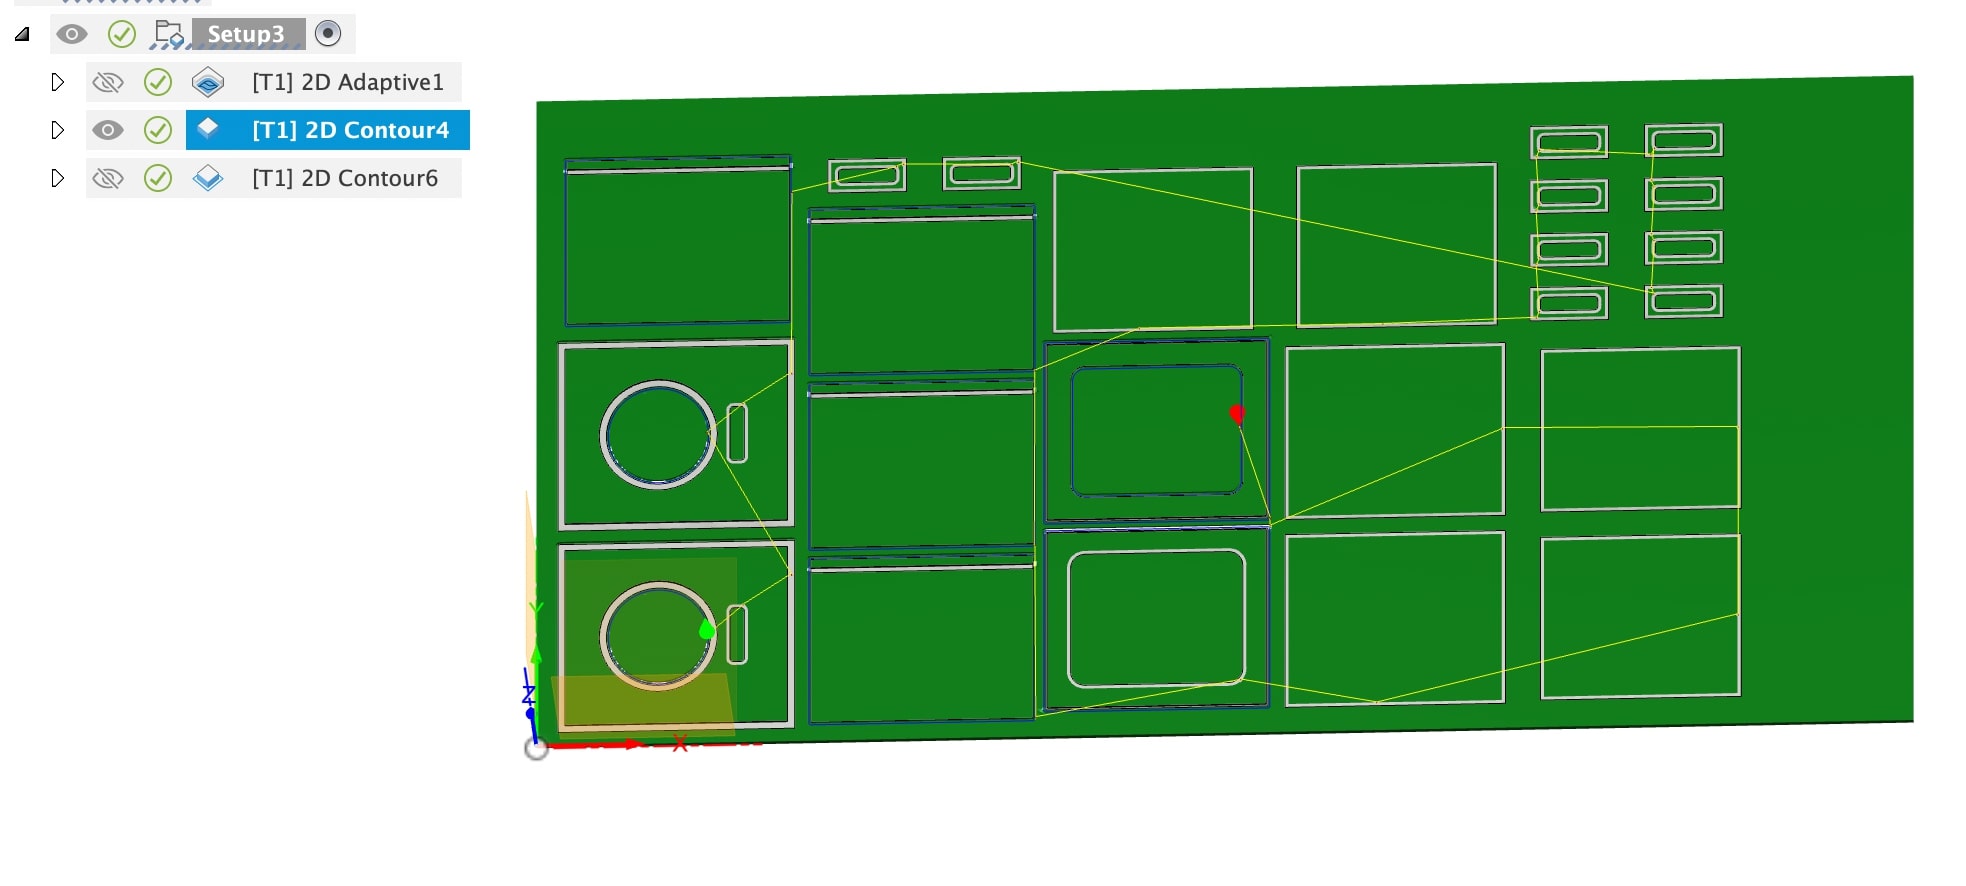
The second cut was a 2d contour for the downcut that will be used to keep the top layer nice and will remove material in the areas that will be cut all the way through
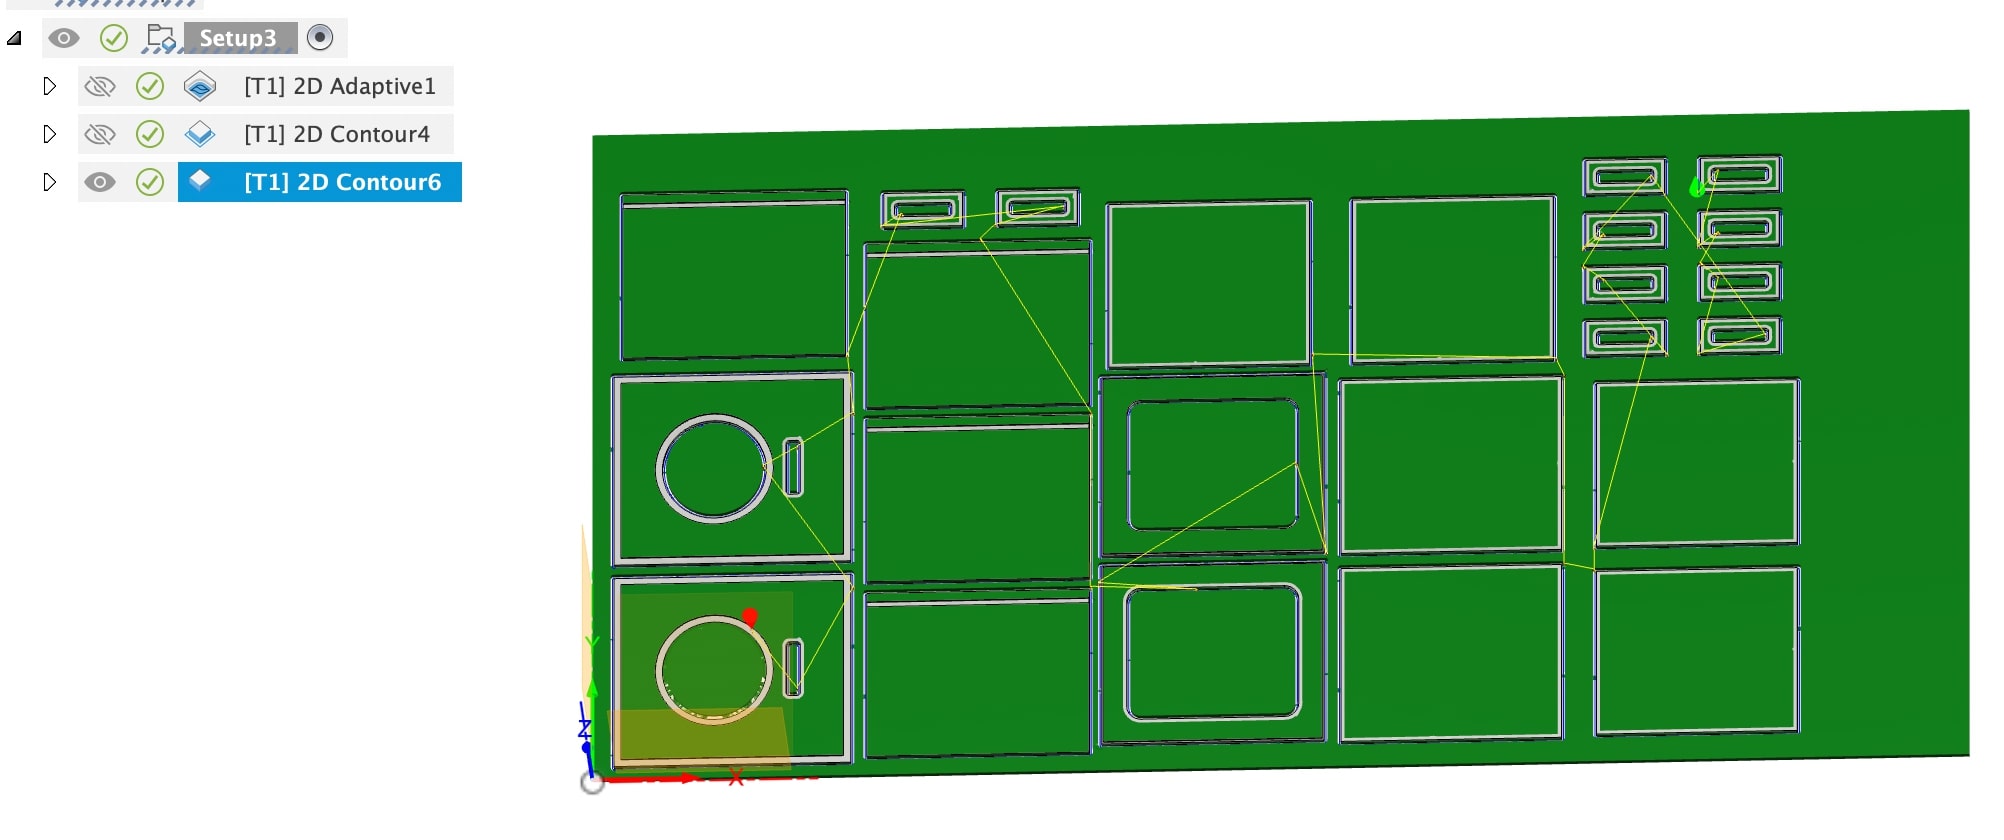
The final cut will be using the upcut endmill. This will go 0.025in into the mdf below the part.
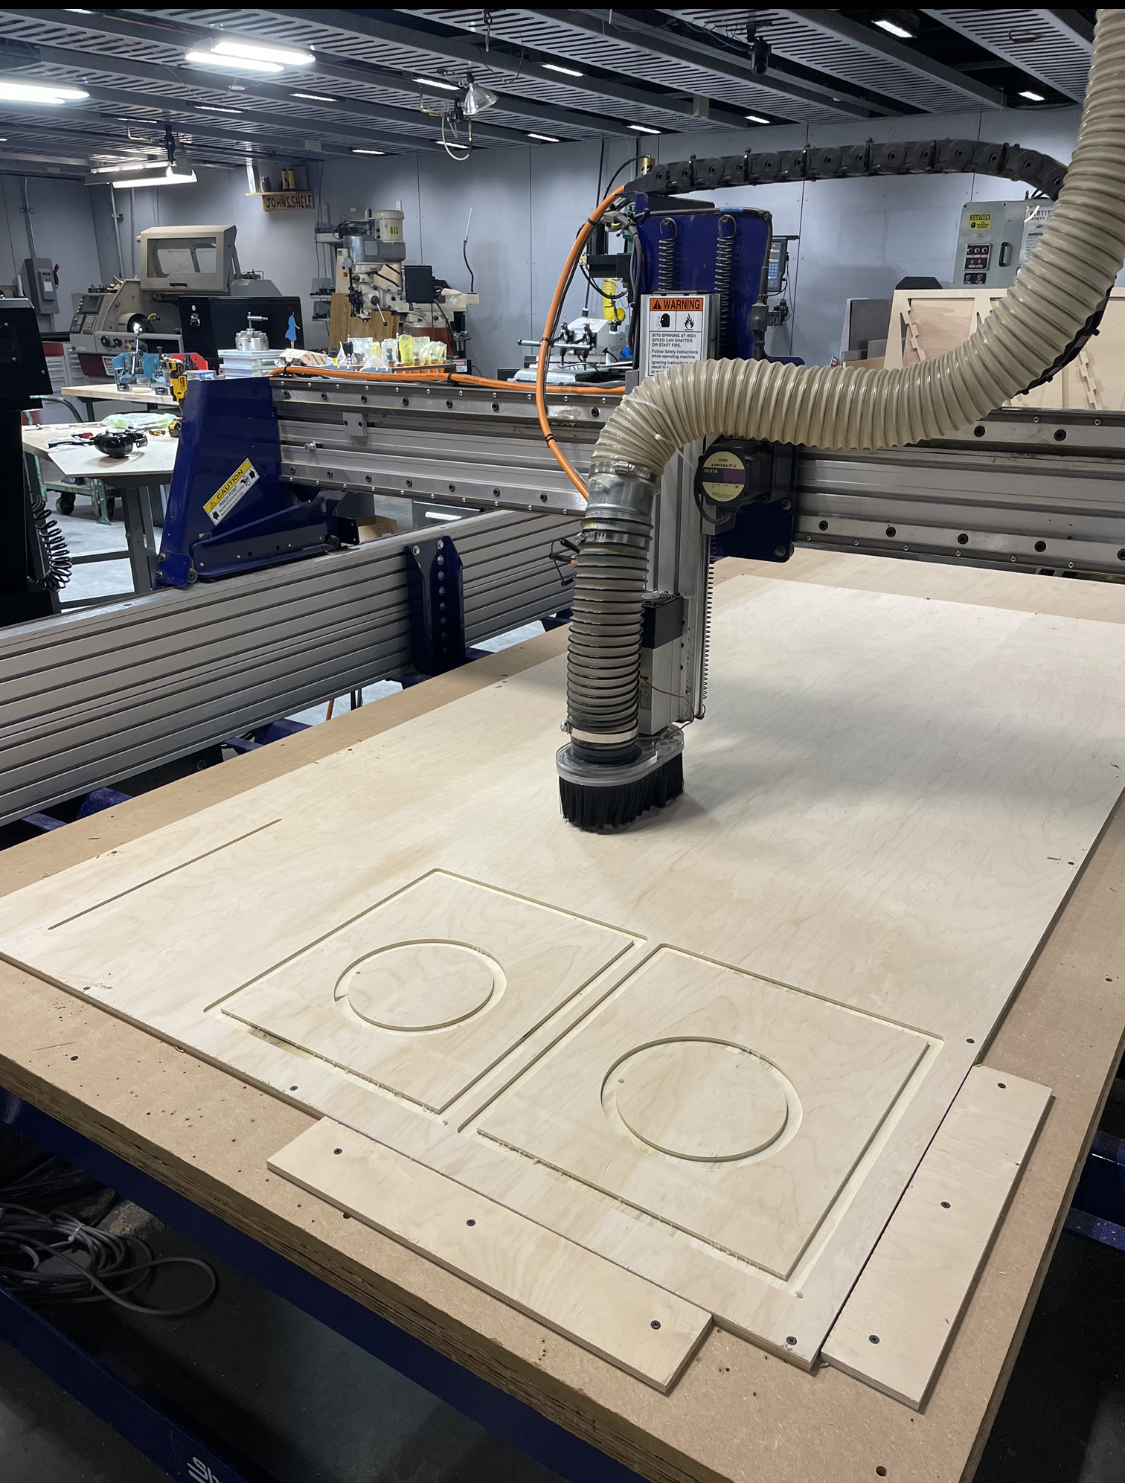
Time to actually make the speaker. My milling partner was Kye. Shoutout to Alfonso.
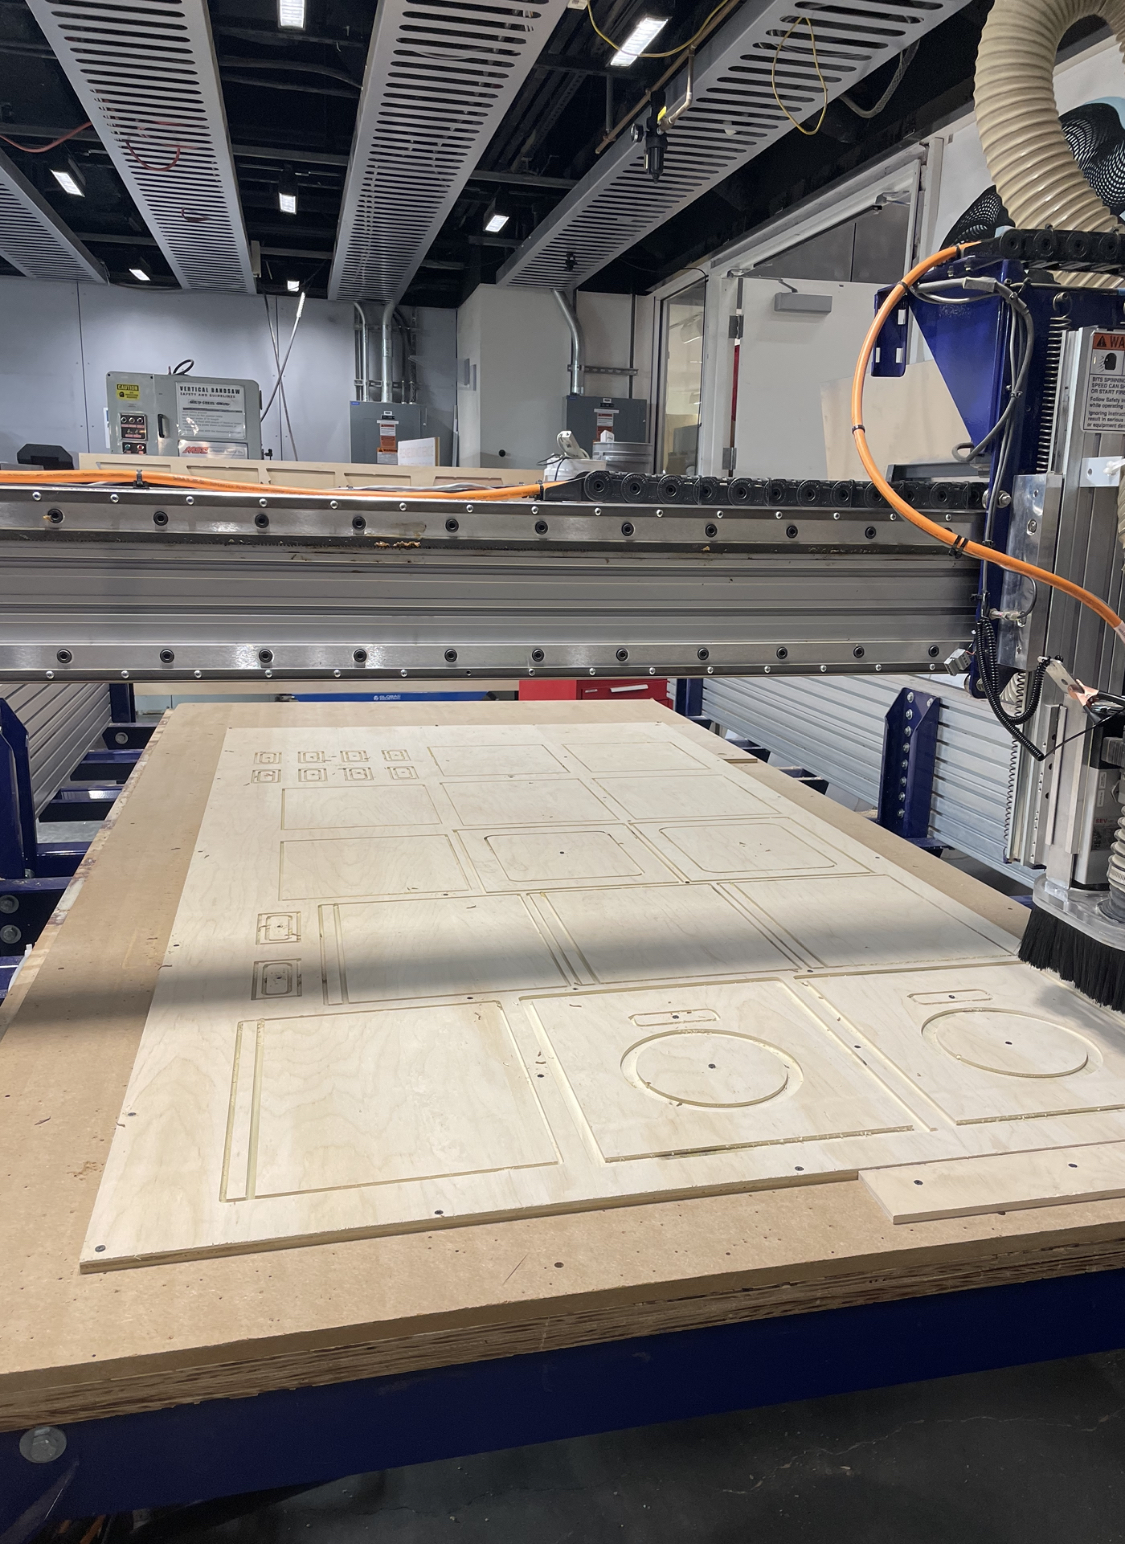
The milling profile I was using was not optimal for the endmills so it made too much noise. The design needed smaller steps. Quentin and Mark helped explain why the shape of the endmill wasn't optimal for this cut. They also explained that the wrong direction for the contour got selected on a few parts.
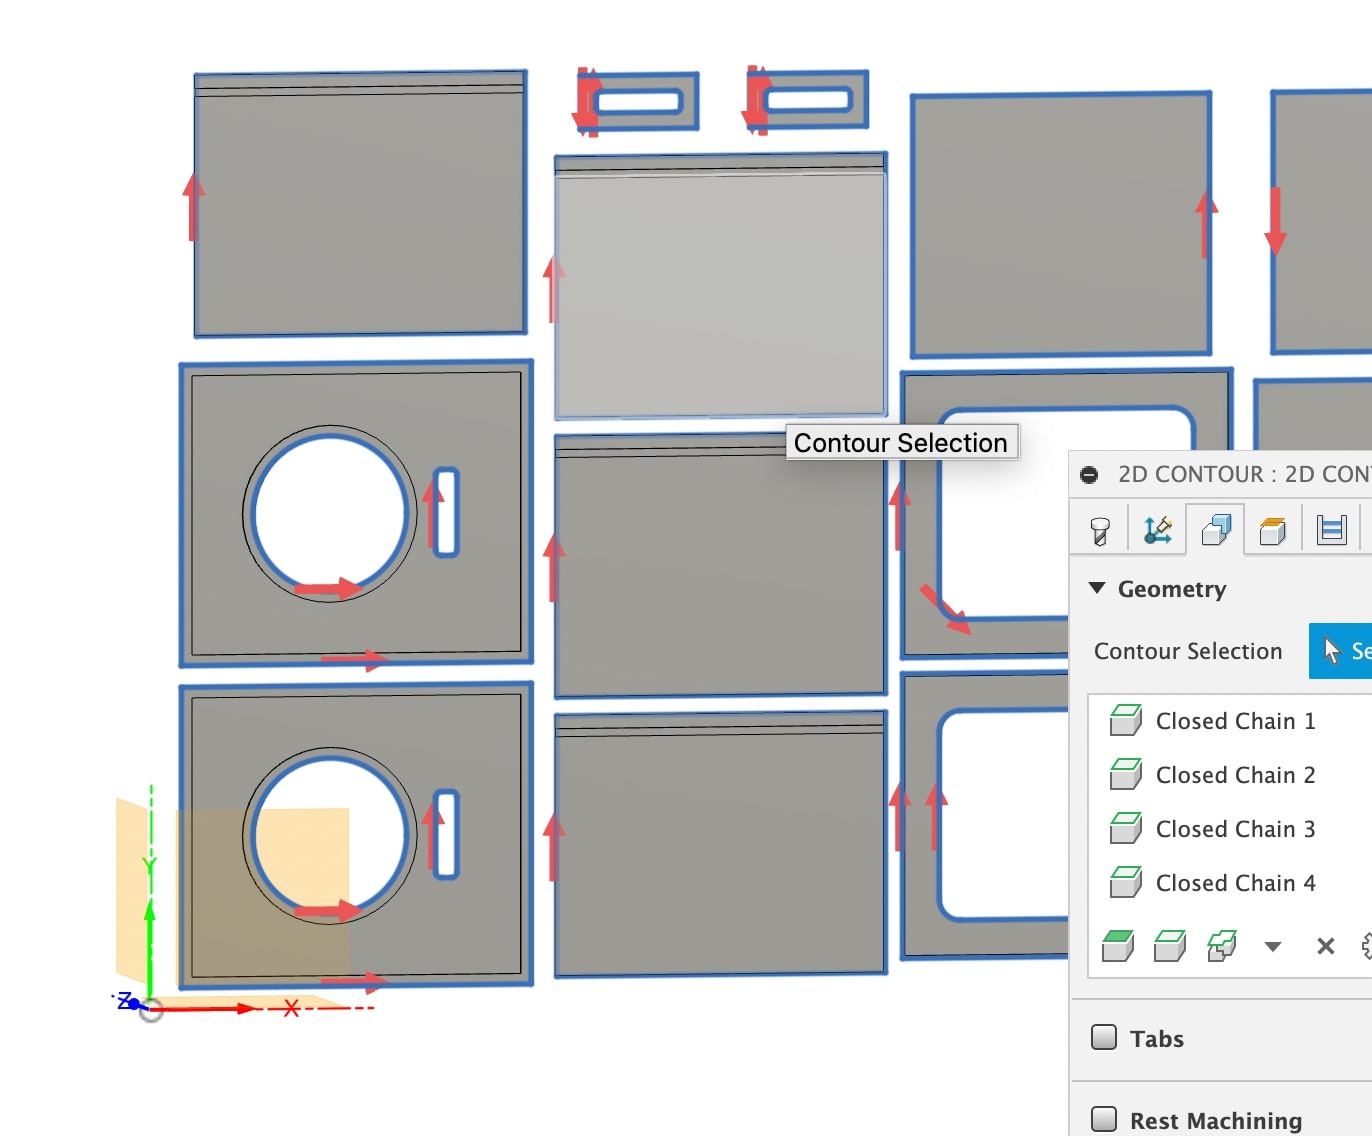
Mark and Quentin showed me how to adjust the profile selection. We also discussed that using the adaptive milling for the baffles where you need to remove a small pocket when tabs won't do the trick.
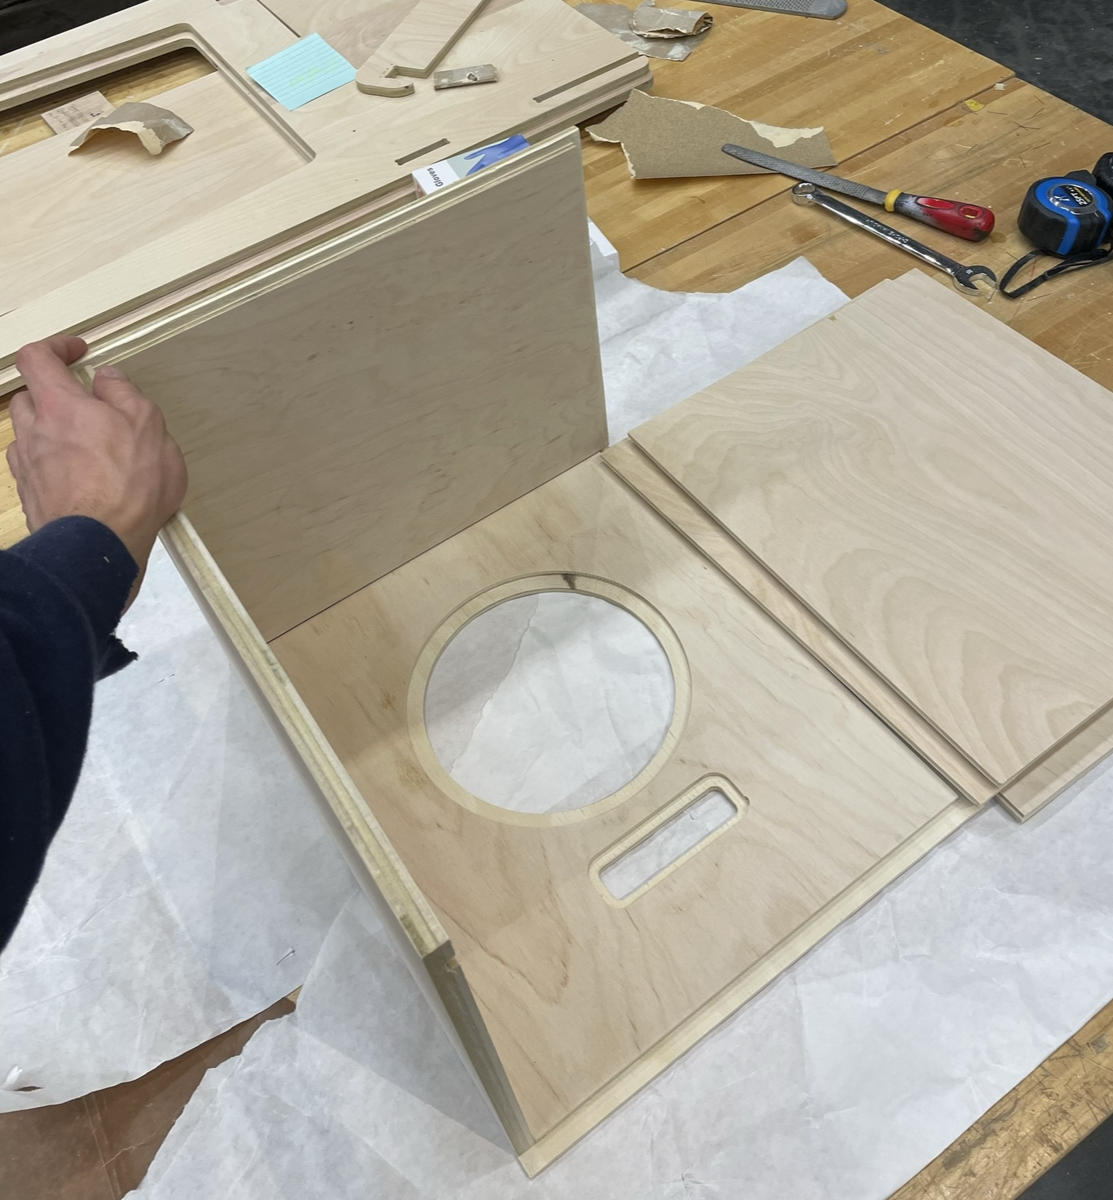
Time to put it all together!
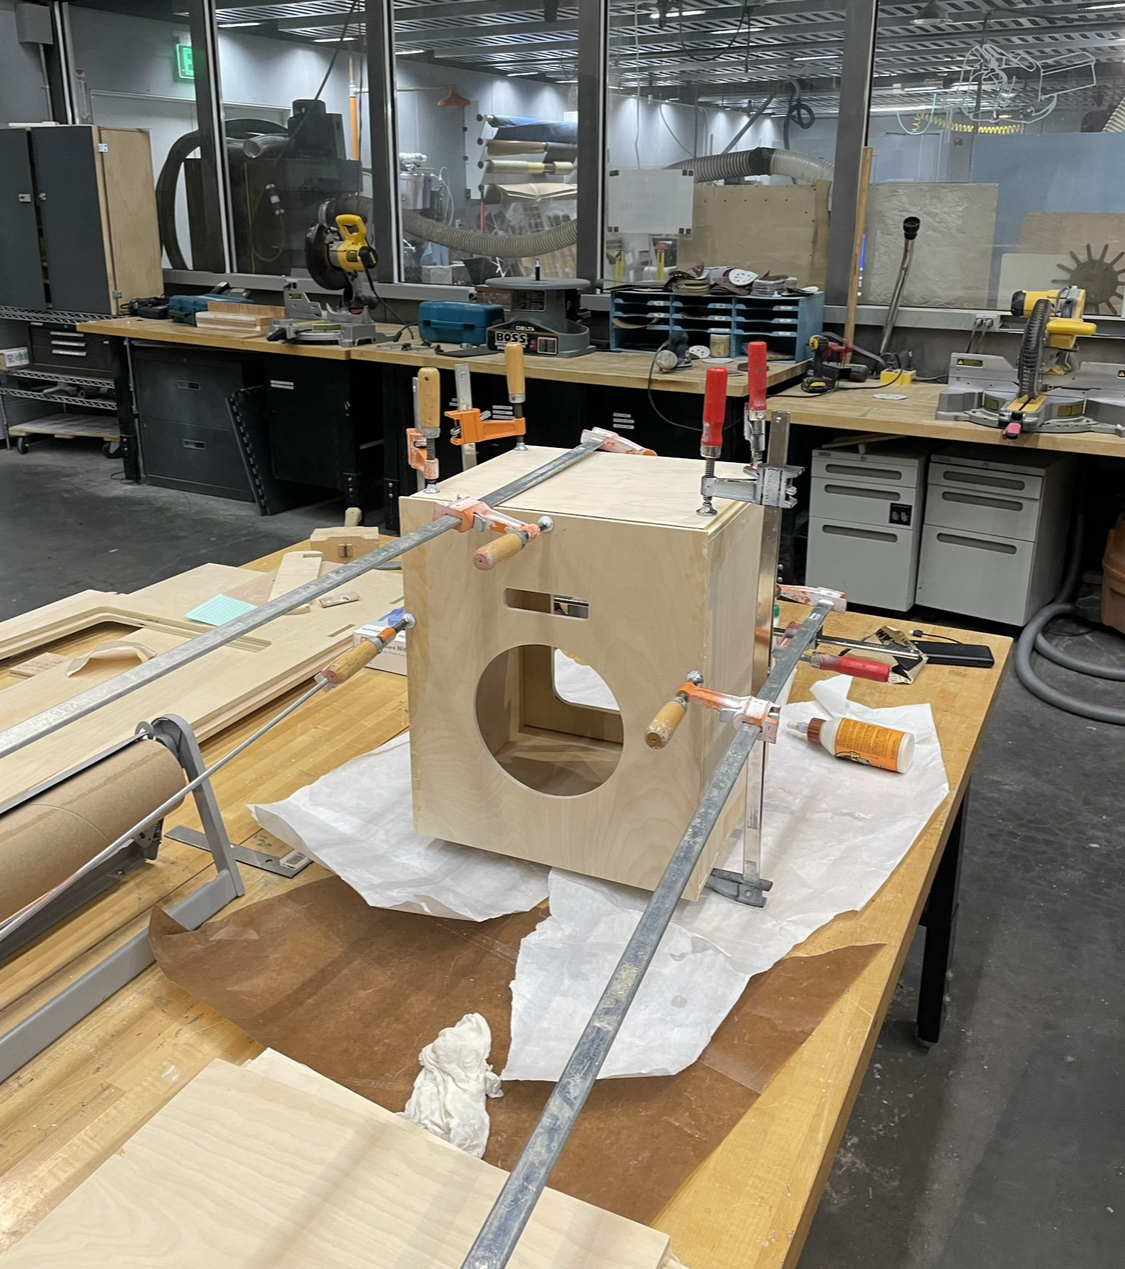
Sorry about the glue but speakers must be sealed and so it is important to glue the joints.
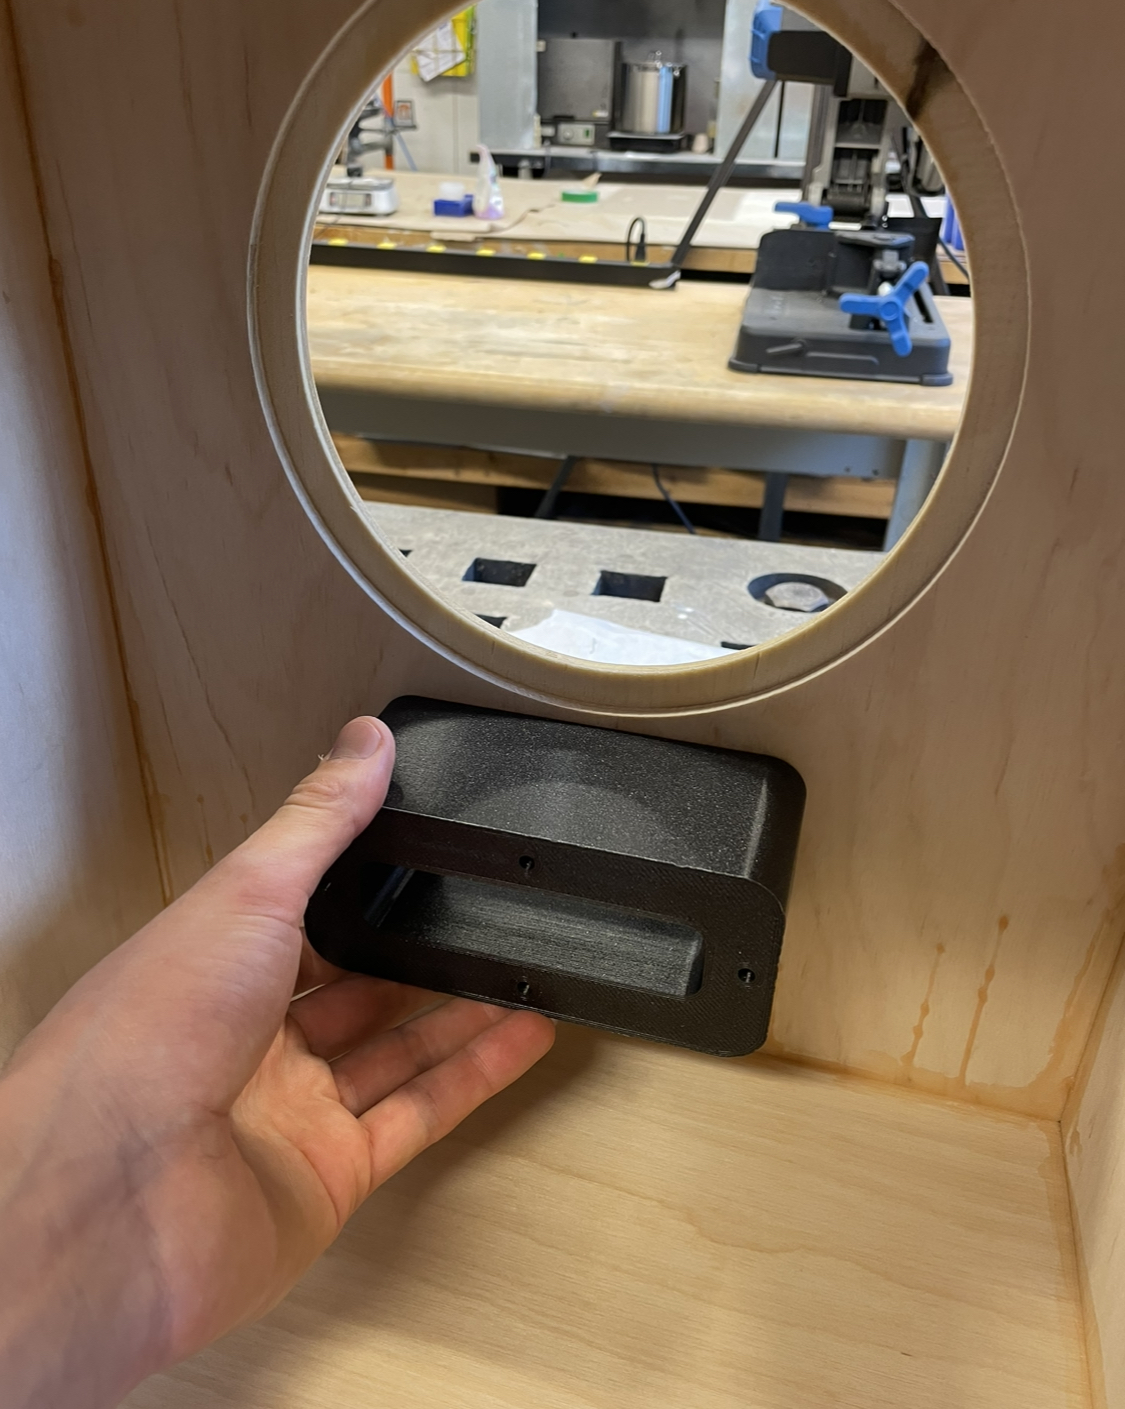
Since the CNC cut the internal profile instead of the external profile, I needed to remake the baffle and so I 3D printed it since I was out of wood.
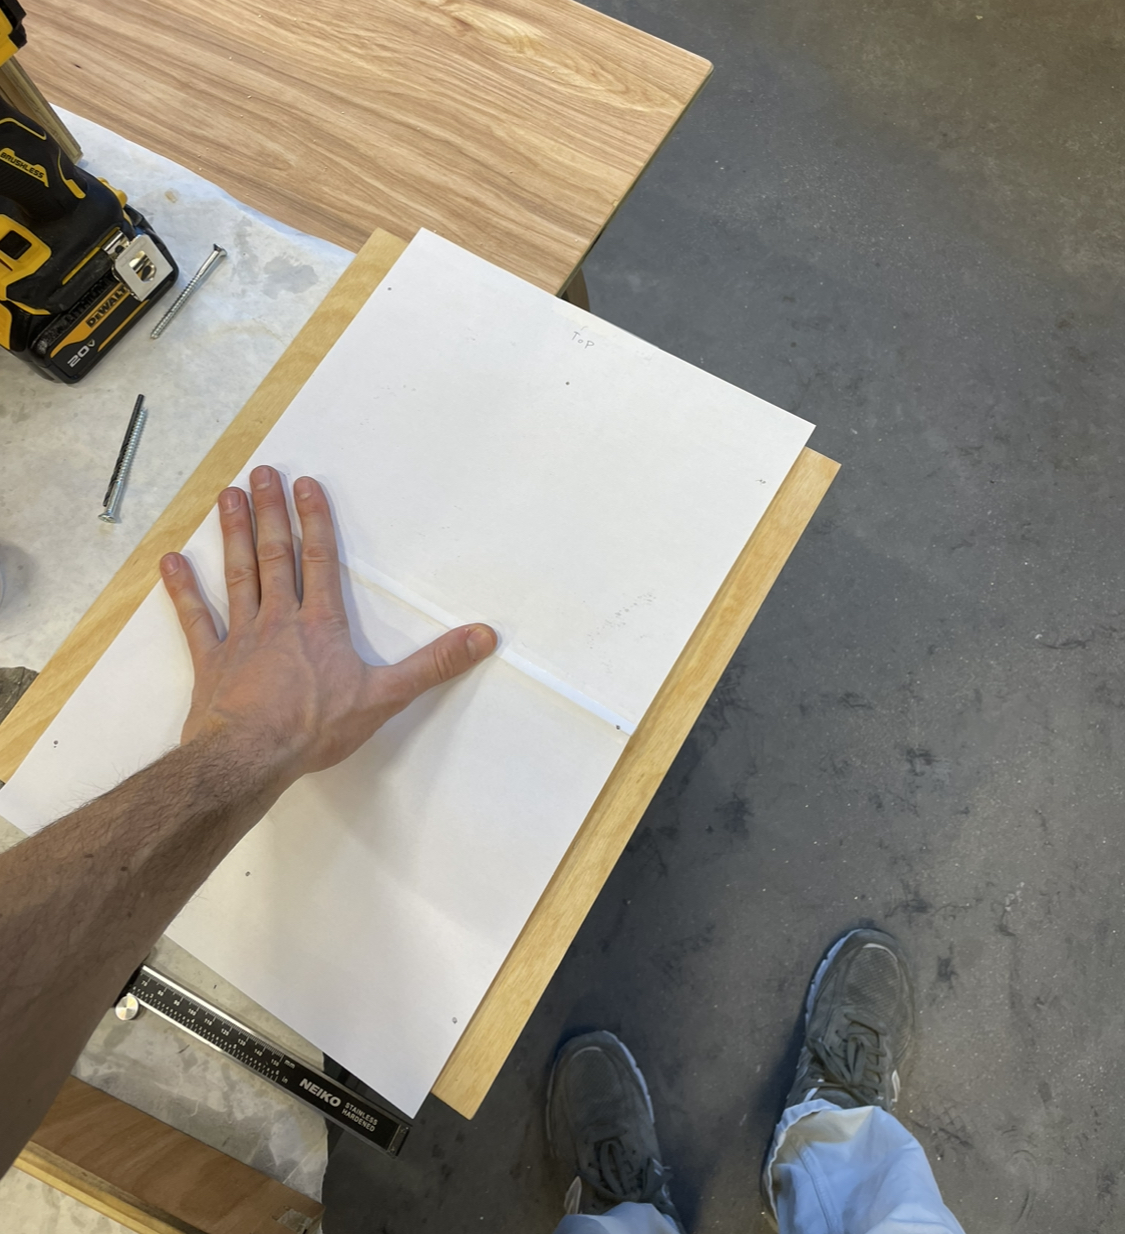
I made a template to drill the bolt pattern for the back panel and the back bracket.
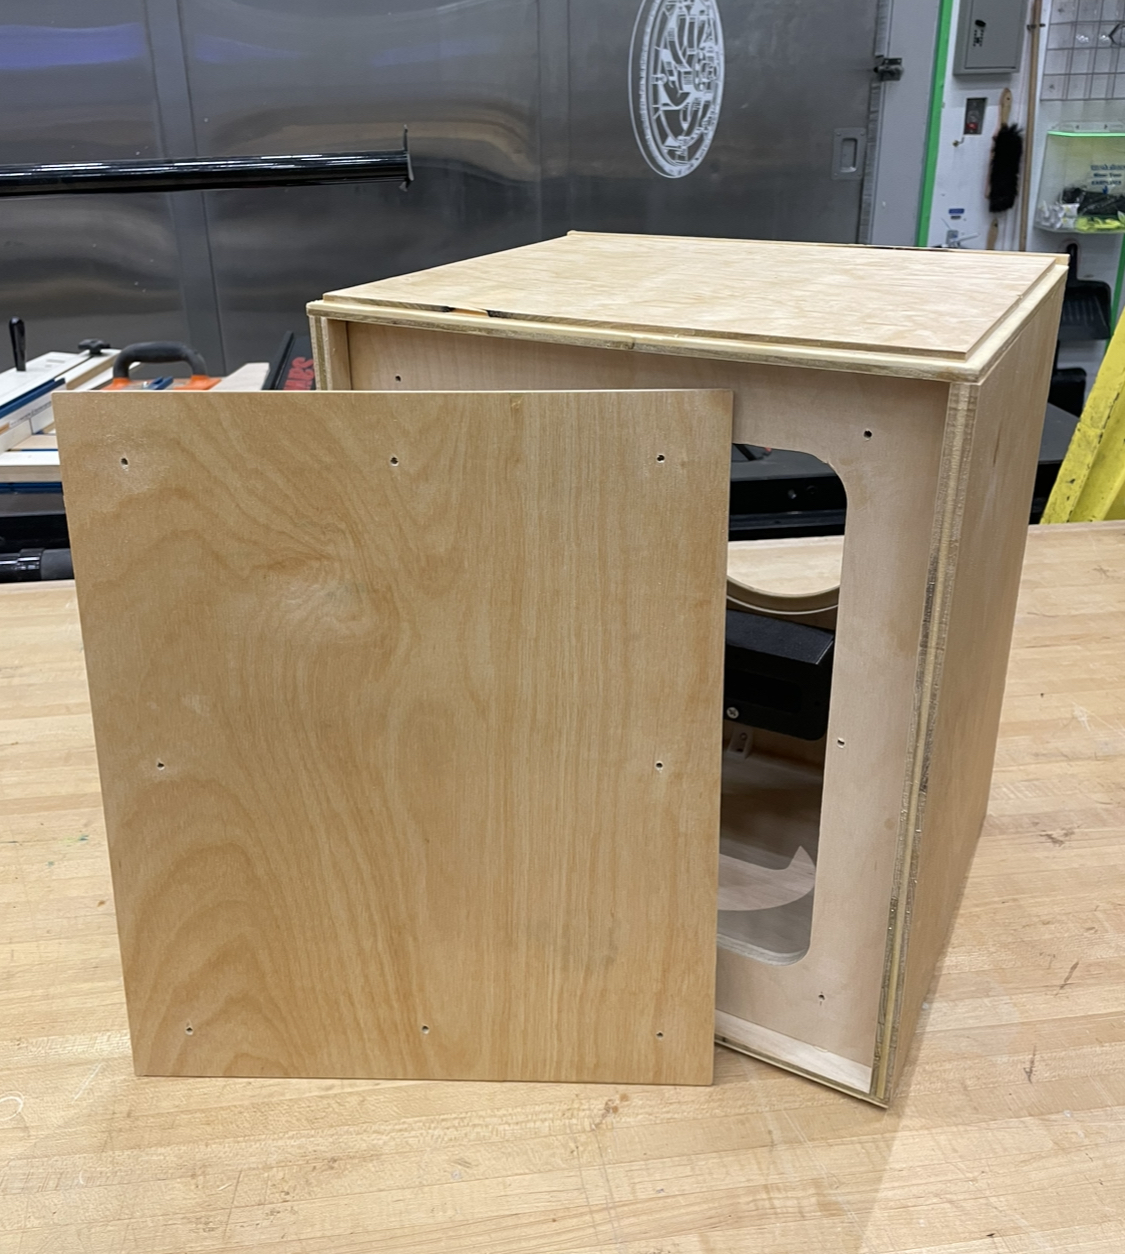
Holes for the removable back panel
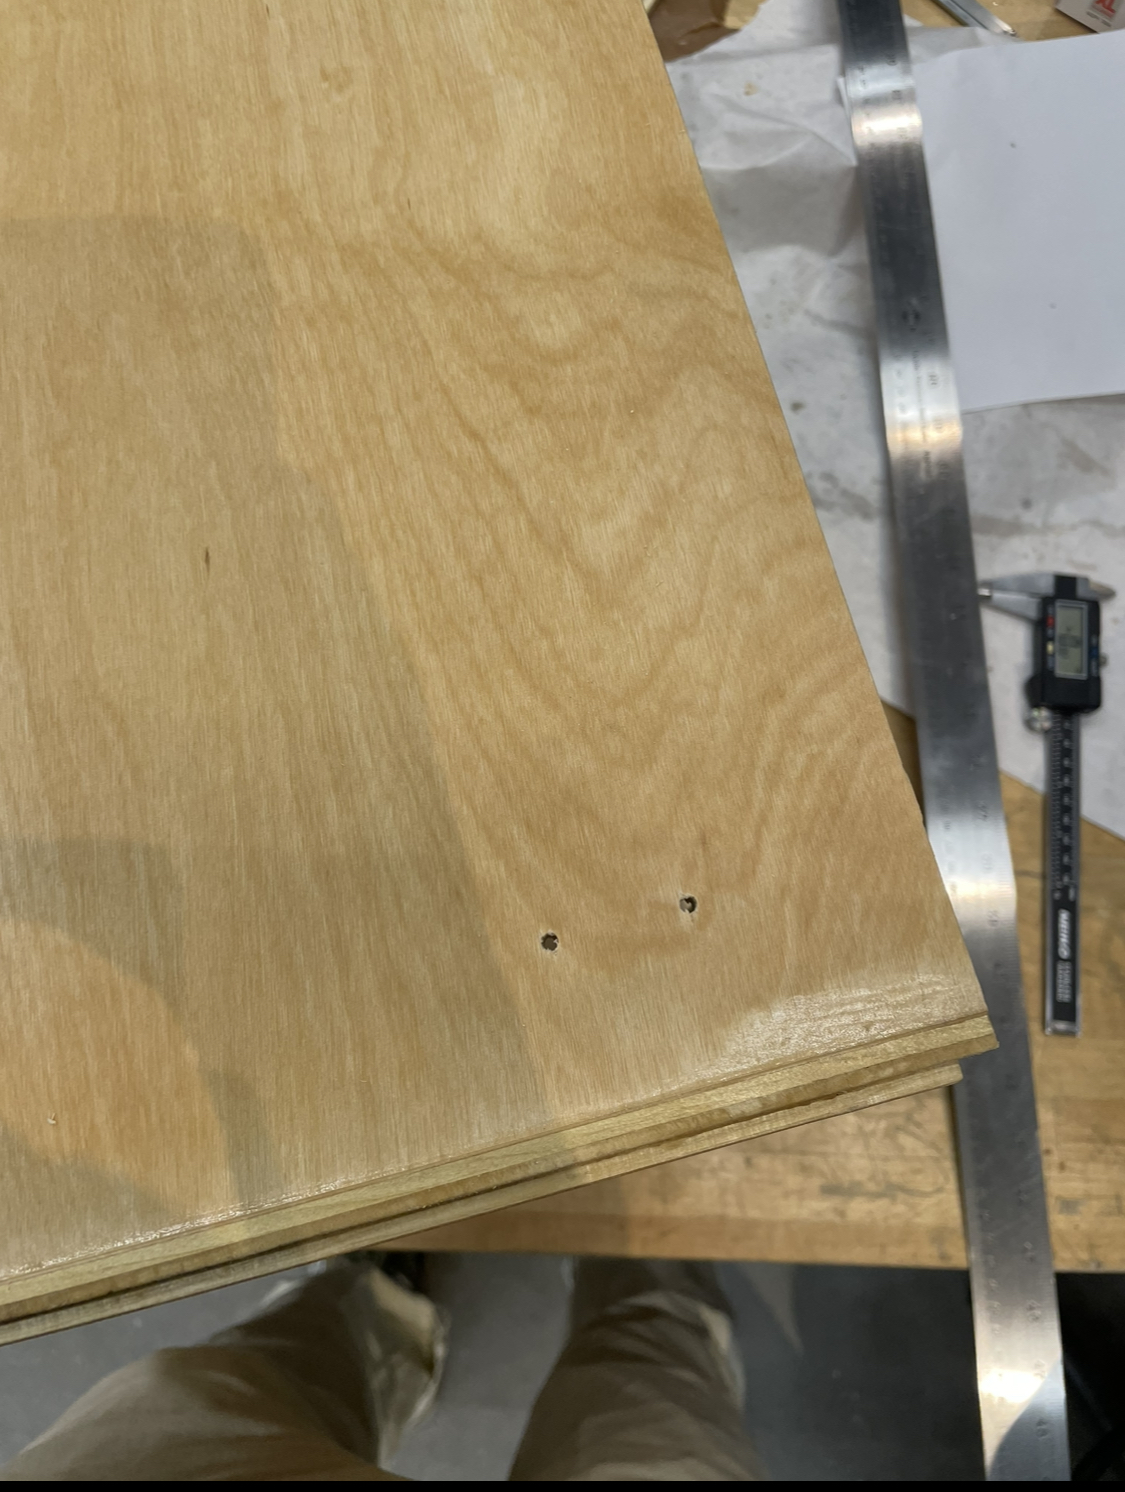
Holes for the speaker terminal connectors

Voila! I used a little danish oil on the wood to improve the finish. I am now waiting for the right drivers and crossovers to come up on ebay and I will finish the project! I also need to add speaker terminals and foam tape for sealing the box but those are on the way. I learned that double double double checking your CAM and very closely watching your simulations in fusion is extremely important. You have to be very careful about selecting the corect profile in the correct plane. With so many individual cuts with individual cuts it is easy to mess this up. I think it would be pretty cool to put together a site for a parametric open source speaker design so that more people can build their own systems. It would be fun to run a speaker building workshop with CBA were we all order nice wood together and make speakers together!