HTMAA 2024 - Jonathan Cohen
We had a group session with Jack Forman who taught us all how to 3D scan and print things in the MARS lab. The lab has many printers including FDM, Resin, and a cool J55 Polyjet printer that can even print in full color so I am looking forward to testing out these printers.
Important notes: If you print fails 3 x times after making sure the bed is clean etc, you must review your print settings with CBA before trying again. Don't leave until the first layer is down!
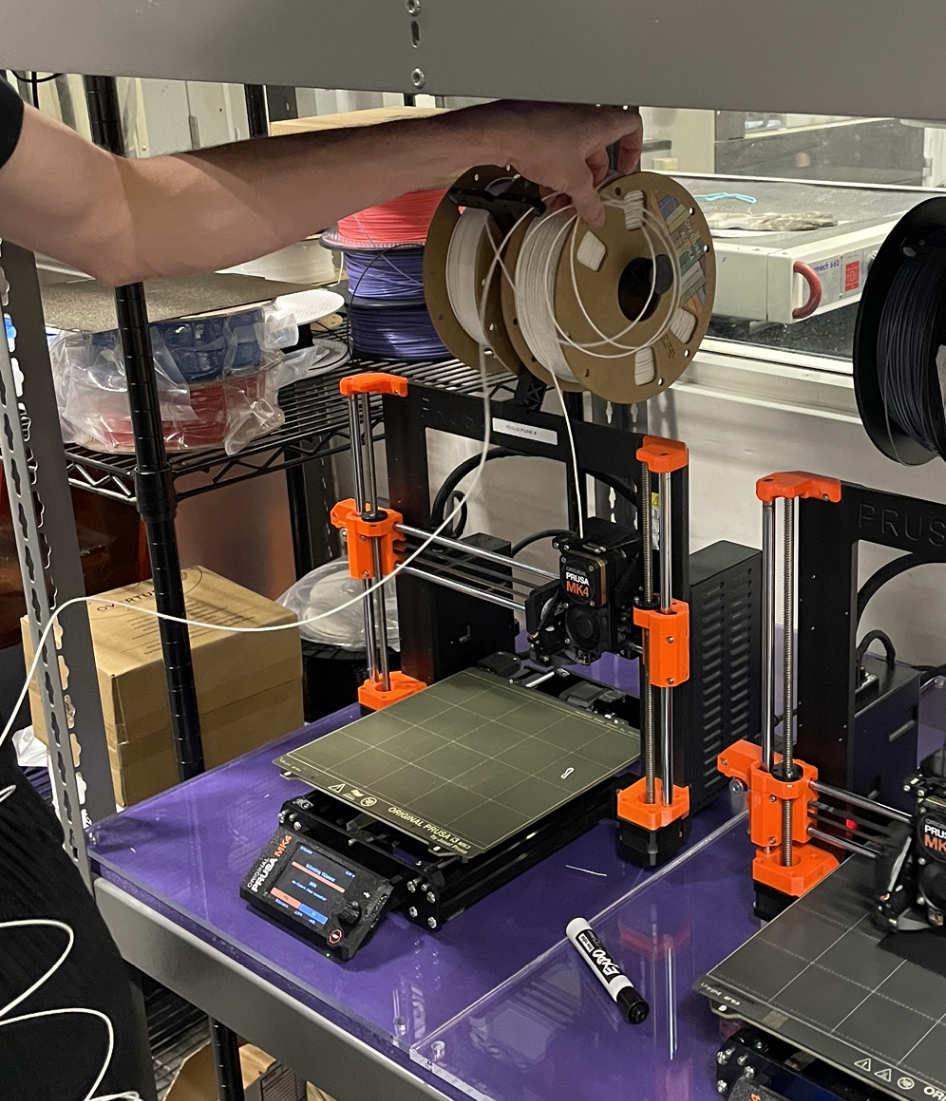
Remember to properly secure a filament role in the side of the reel when swapping so it doesn't become unraveled or tangled. Also, check that the roll you are loading in is not tangled and is actually the material that you want.
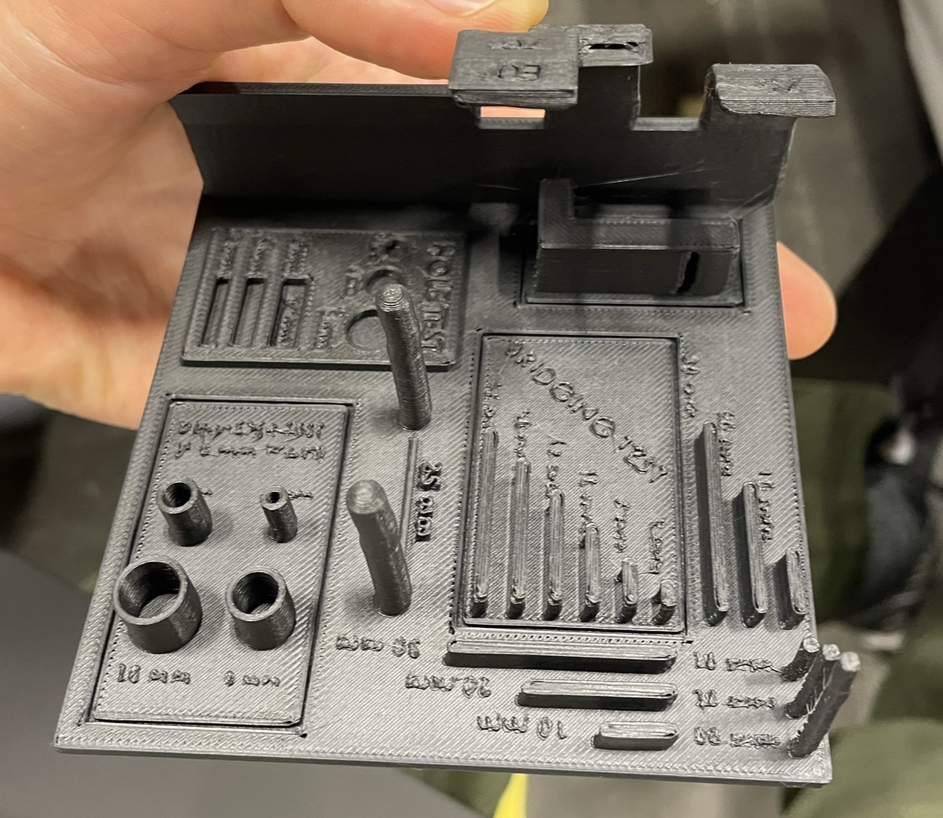
We finished up the session by printing the group assignment together to characterize the printer. Note the overhang, bridging, dimensional accuracy, and other capabilities in the benchmark part.
The MARS lab has a stero camera creality scanner that can be used with the CRStudio 2.0 software to scan objects.
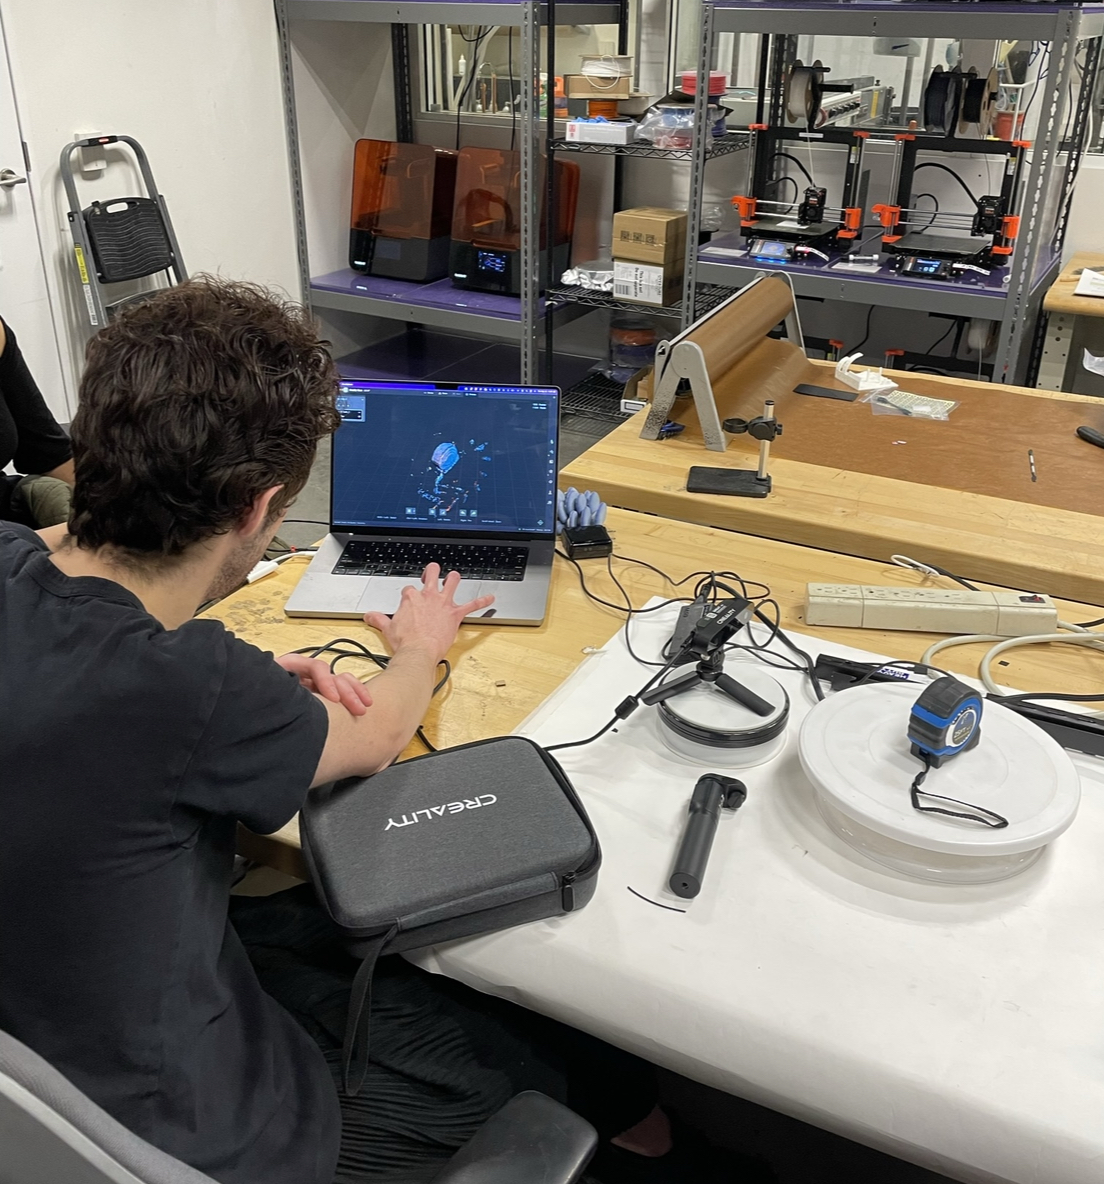
Lets get scanning!
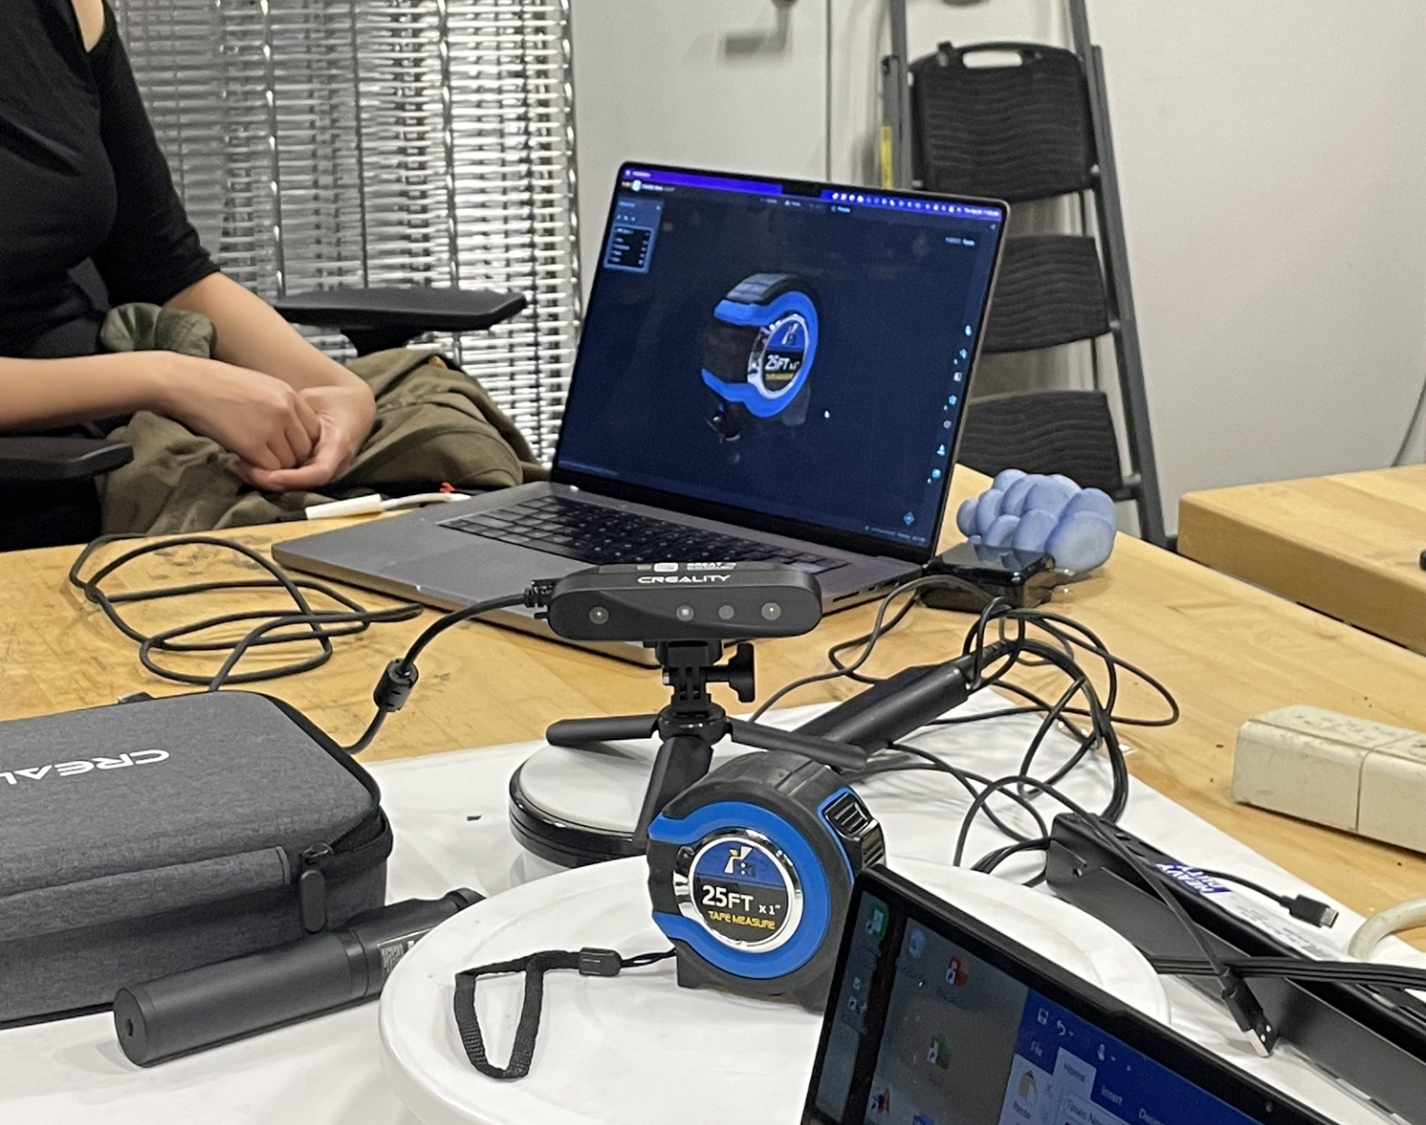
Look at that nice 3D scan of the tape measure! Notice how the creality scanner did a nice job of even capturing the reflective surface.
I wired up the 3D scanner and tried to connect the scanner to my laptop. My laptop wasn't recognizing the USB of the scanner so I connected to the scanner via WiFi which was pretty easy. My goal was to scan my glasses.
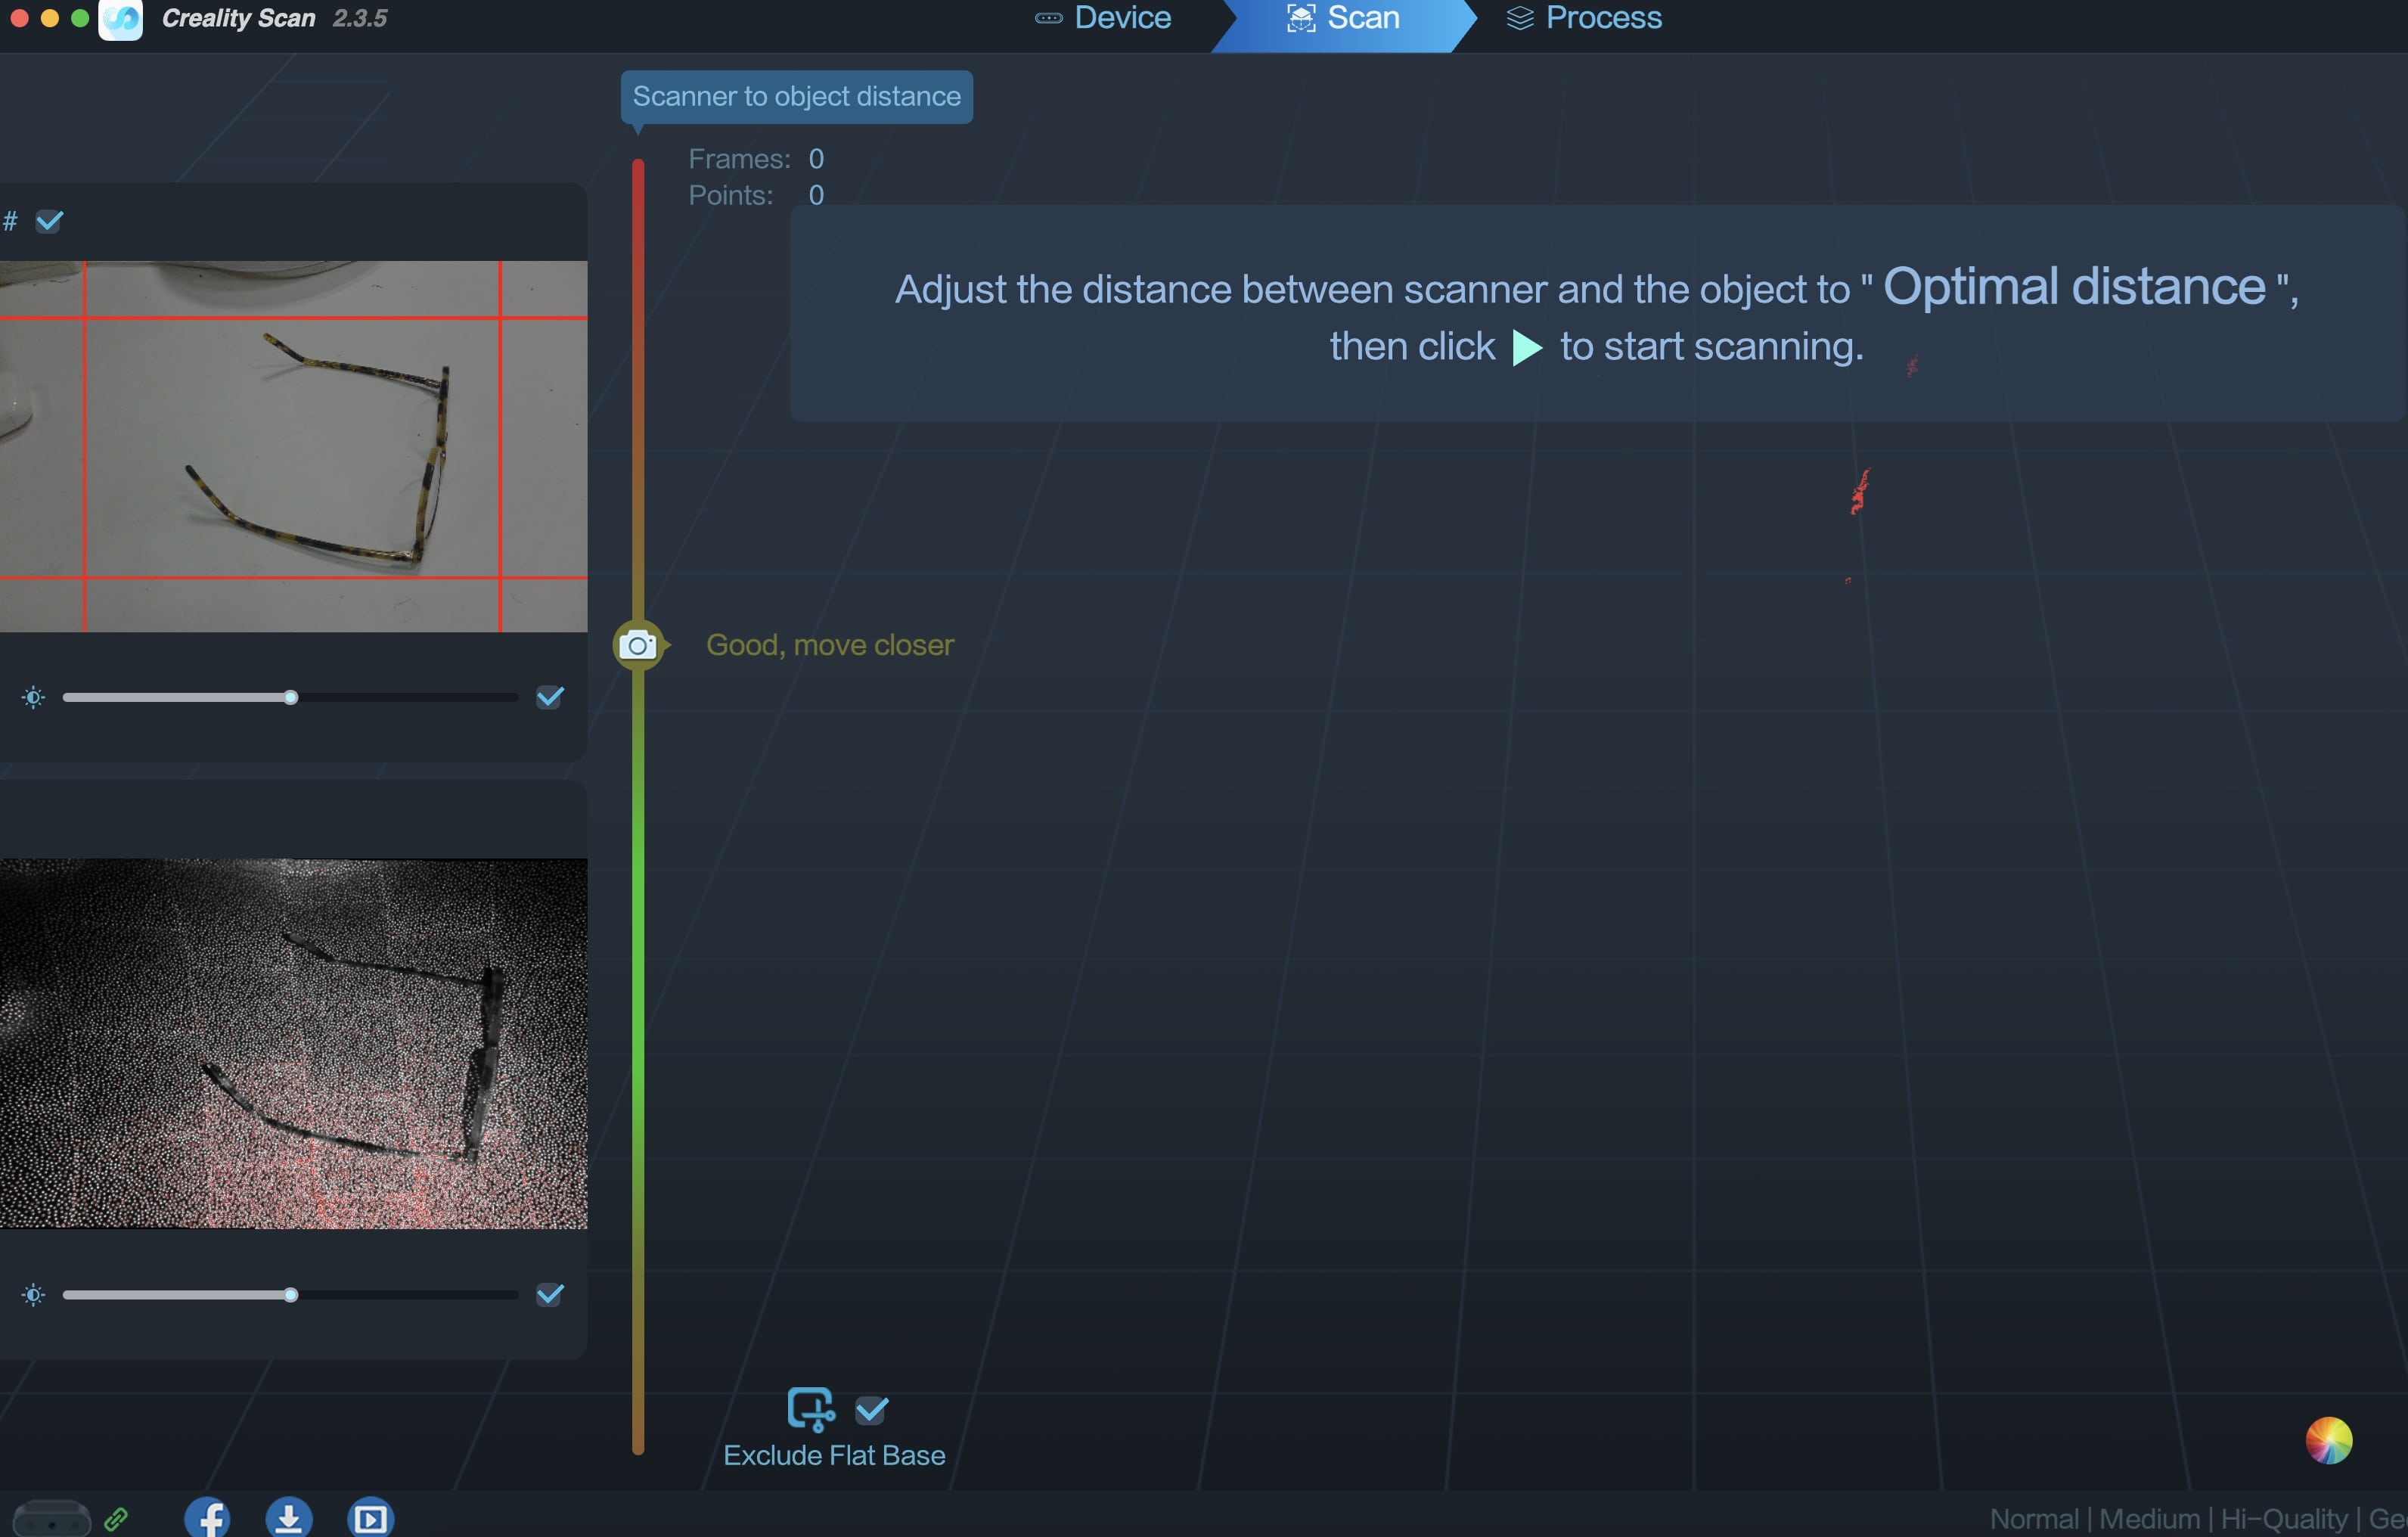
After a few tries, I gave up on scanning the glasses on the turntable. They are very thin and the lenses are transparent. I bet with matte spray the glassed could be scanned but it is not easy without.
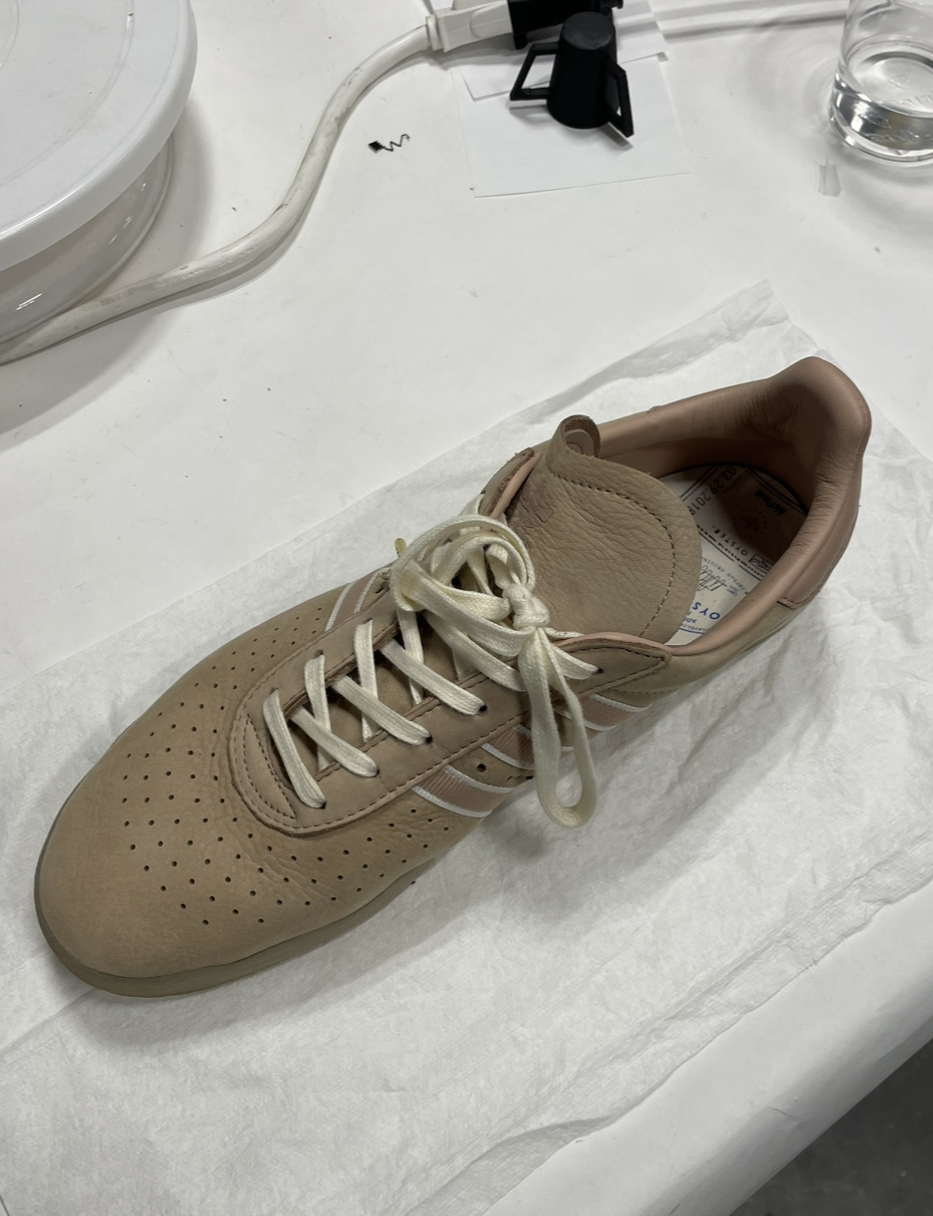
Next up on the list of scannable items that I had on hand was...my shoe! This should be a lot easier.
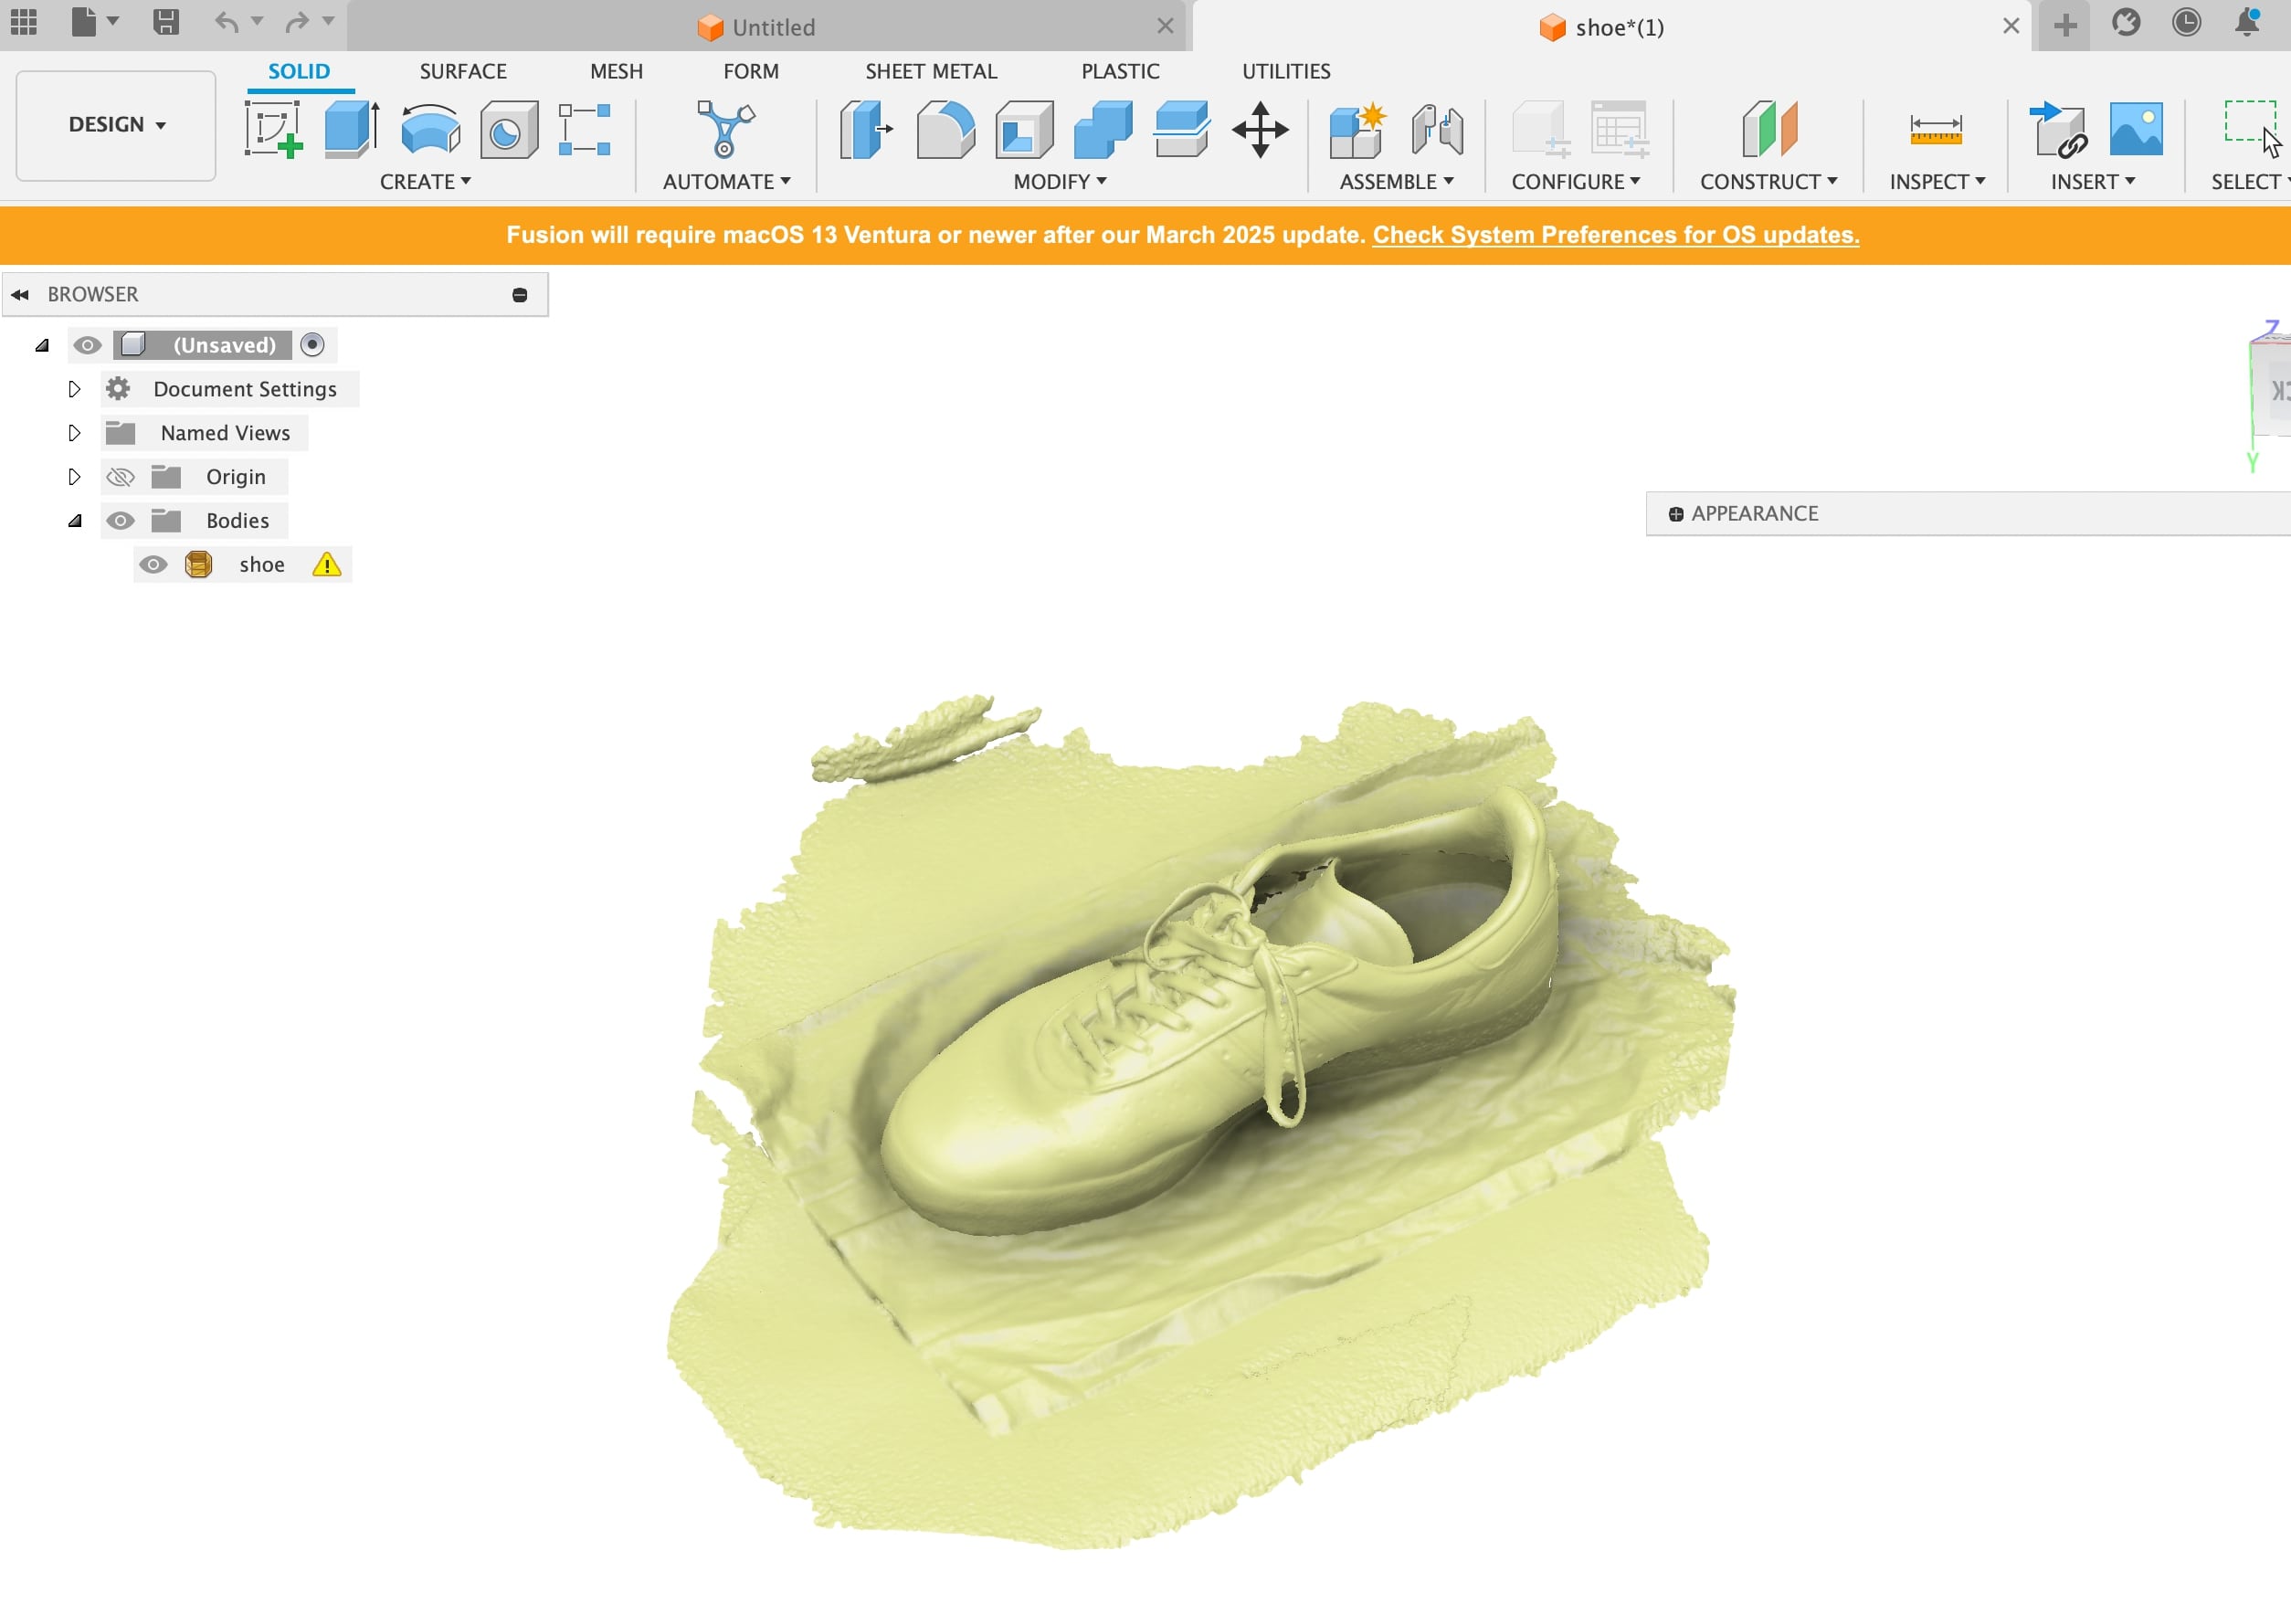
Instead of using the turntable (like we had in the demo), I wanted to test out the freehand scanning. If you move too fast the scanner loses its tracking and you need to slow down. Anyways, here is the scanned shoe!
For the individual assignment, I will be using the City Science's Prusa MK3 to reduce the load on the MARS lab printers.

I designed the cube in fusion360 and made sure I did not forget the assignment by debossing it onto the top of the cube.
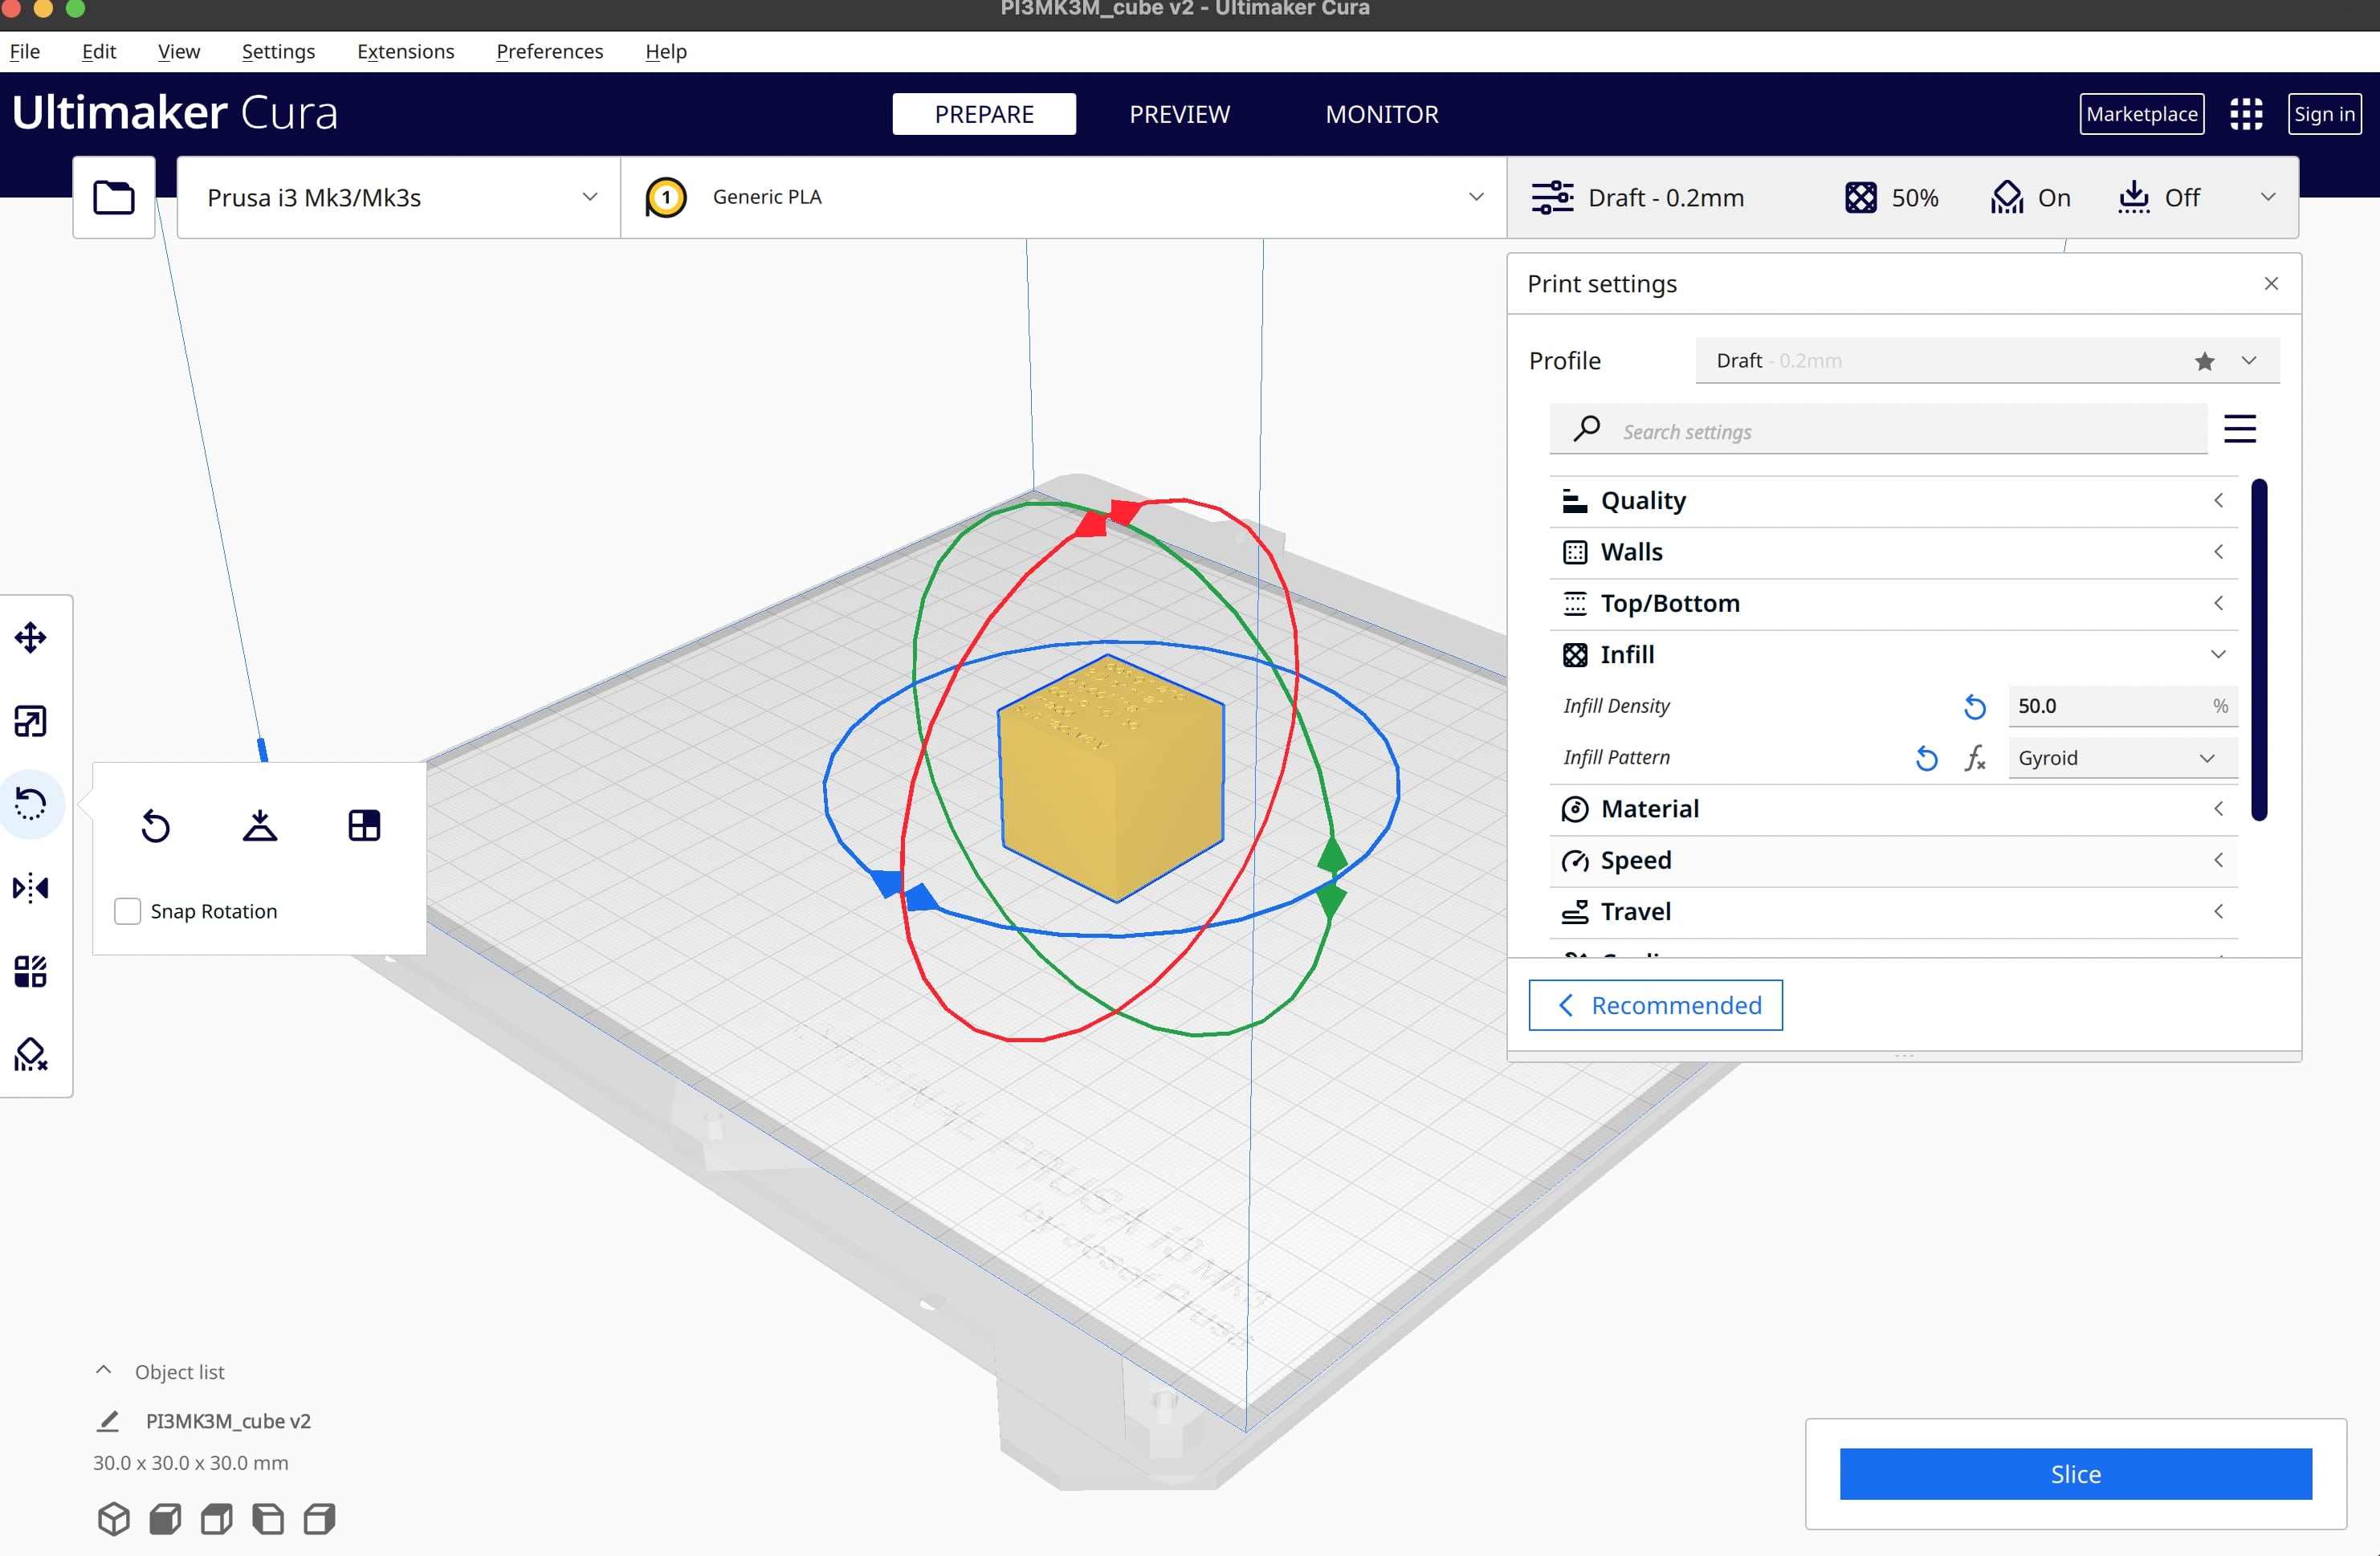
I was using the Ultimaker CURA slicer program with our printer. I selected a layer height of 0.2mm and 30% infill to make sure the print didn't use excessive material.
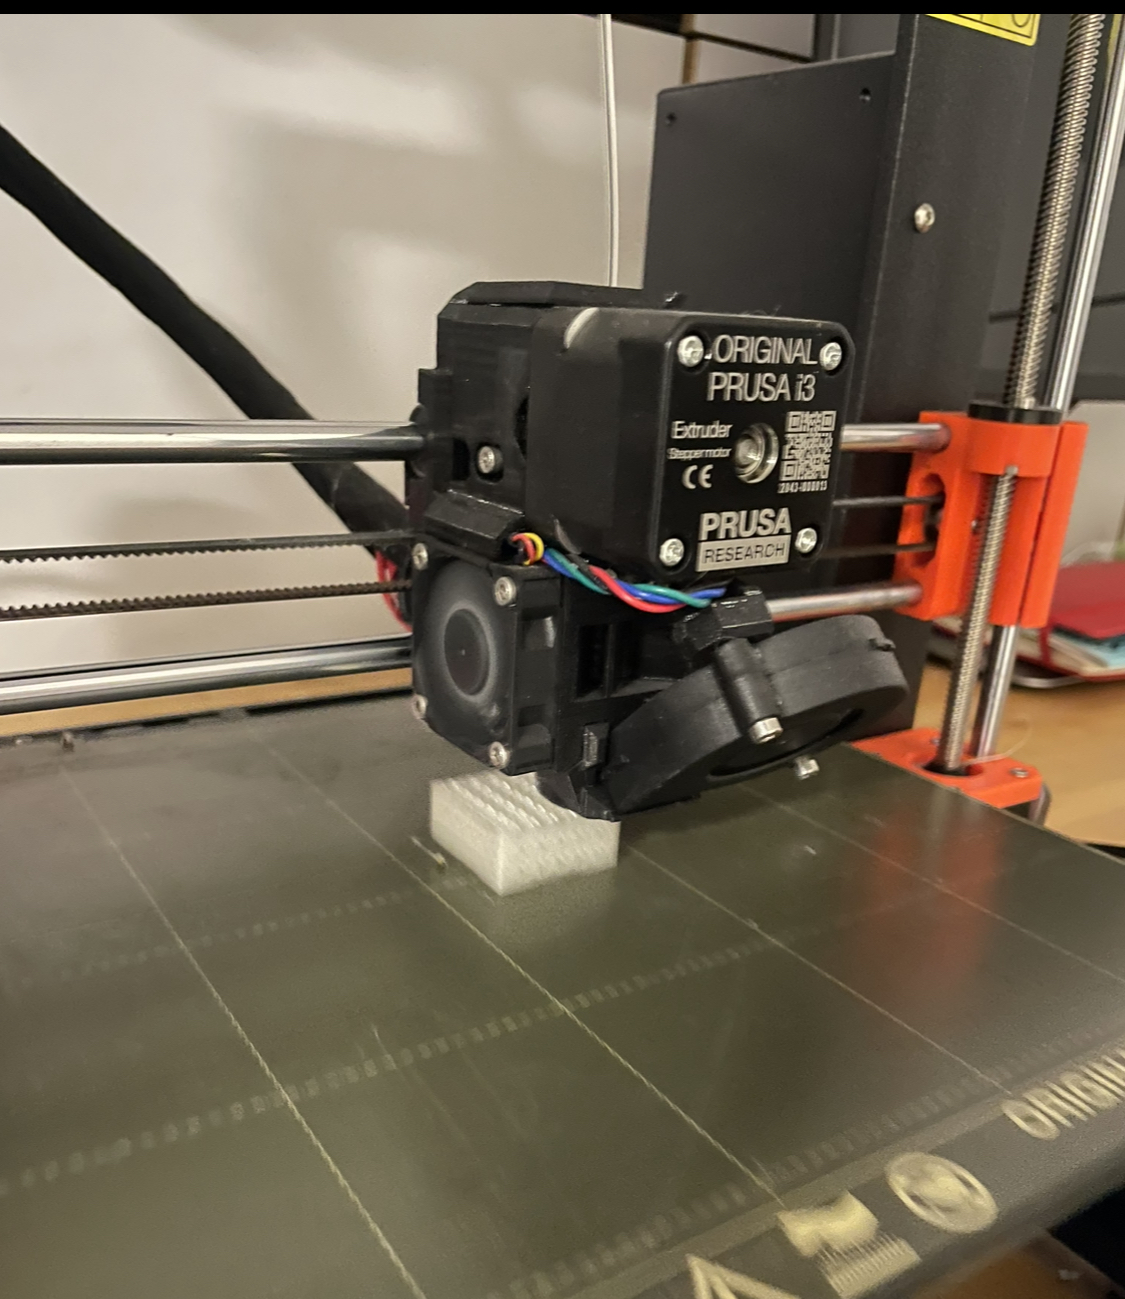
After cleaning the bed and loading the fillament I started the print. Look at those cool little gyroids! I was working next to the printer until about 50% of the print was done and then decided to go home. :)
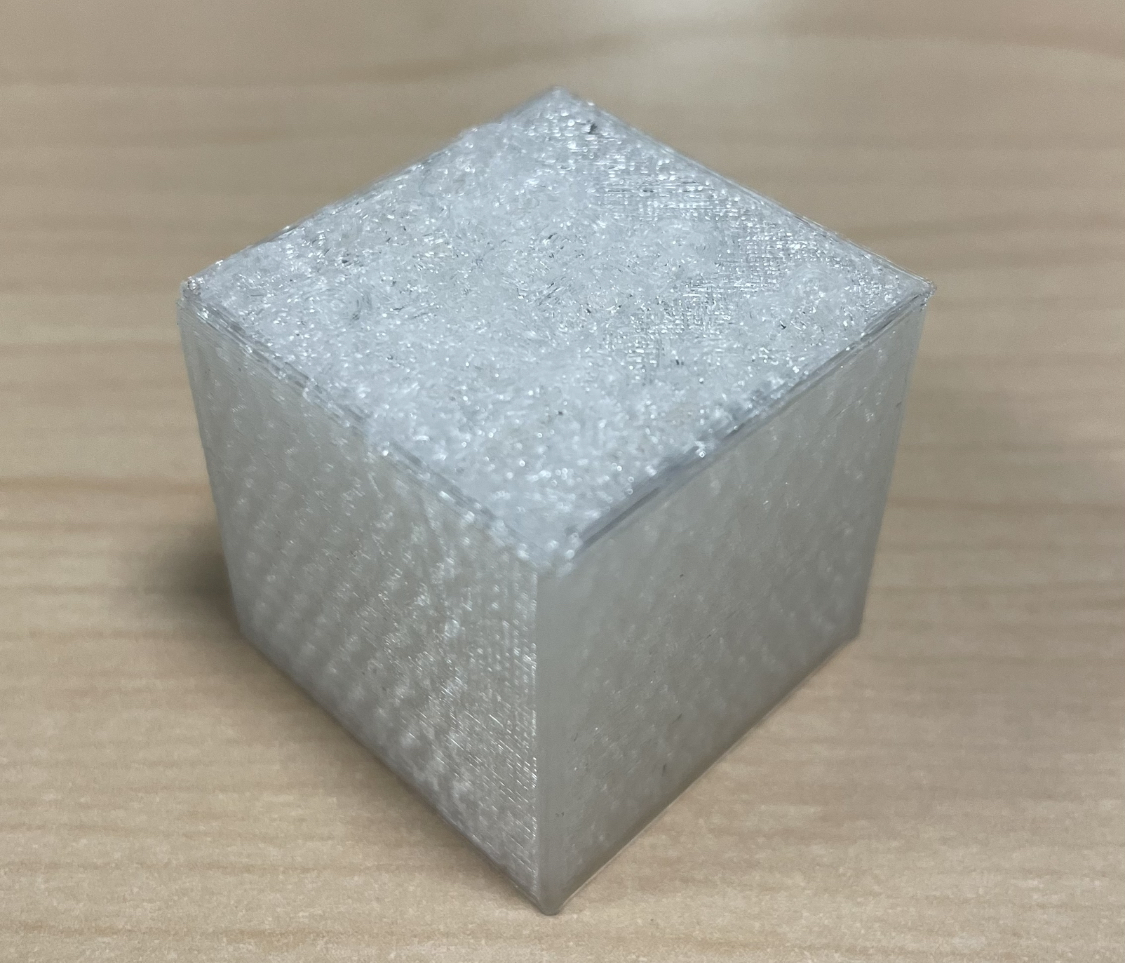
Voila! A cube with gyroidal infill that is only possible with additive manufacturing. Some learnings are that the debossed text on the top of the cube is much less legible than if it were embossed and that making sure you have a clean print bed to start can save you a lot of frustration. (CAD Link )I also did 3D printing in several other weeks like 9 and 10.