I began the embroidery project by first setting up Inkscape, a versatile vector graphics editor that would serve as the foundation for creating and preparing my design. Inkscape allows for precise control over vector shapes, which is essential for generating clean, crisp designs for embroidery. Once Inkscape was installed and opened, I proceeded to install the Ink/Stitch extension, which is a plugin specifically designed for preparing embroidery files. Ink/Stitch integrates directly with Inkscape, enabling the creation and export of embroidery-ready files in formats like SVG, PES, or DST. To install the extension, I navigated to the Inkscape preferences, found the "Extensions" section, and downloaded the latest version of Ink/Stitch. After installation, I restarted Inkscape to ensure the extension was properly integrated and ready for use. With this setup complete, I was ready to start designing or importing an image for embroidery.
Next, I focused on preparing the image that I intended to embroider. For this, I imported an existing design . I converted it to a vector graphic using Inkscape's "Trace Bitmap" tool. This tool traced the edges of the image, turning it into paths that Ink/Stitch could interpret as embroidery stitches. After converting the image, I resized it to match the dimensions of the embroidery hoop and made sure the design was simple enough to be embroidered, ensuring there were no small, intricate details that could be lost during stitching. I then used the Ink/Stitch extension’s tools to add stitch properties to the design. These tools let me choose the type of stitches (e.g., running stitch, satin stitch), assign stitch densities, and adjust the stitch directions, which are critical for achieving the desired texture and appearance in the final embroidered piece.
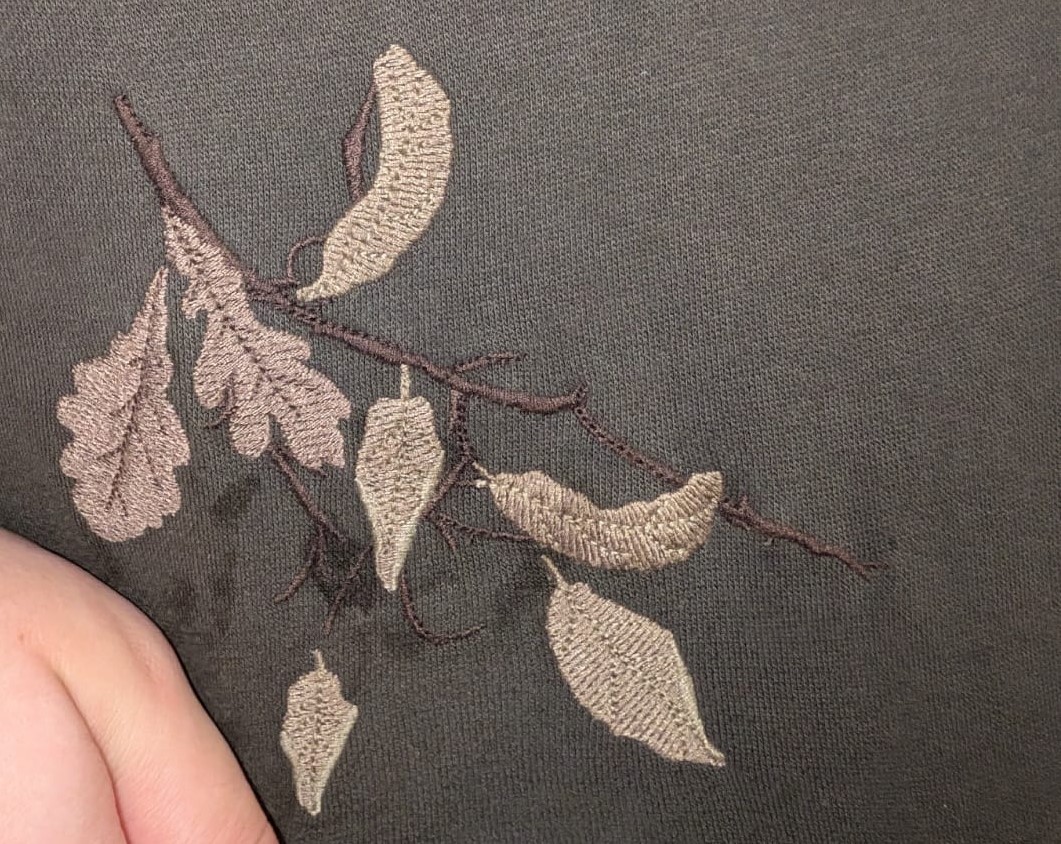
Once the design was fully prepared, it was time to export it and send it to the embroidery machine. Using the Ink/Stitch extension, I exported the file in a PES format compatible with the Brother's embroidery machine we used. After exporting, I transferred the file to the embroidery machine through USB. With the machine set up with the appropriate fabric and thread colors, I started the embroidery process. The machine followed the path I had defined in the design, stitching the image onto the fabric. The result came out clean & professional-looking.