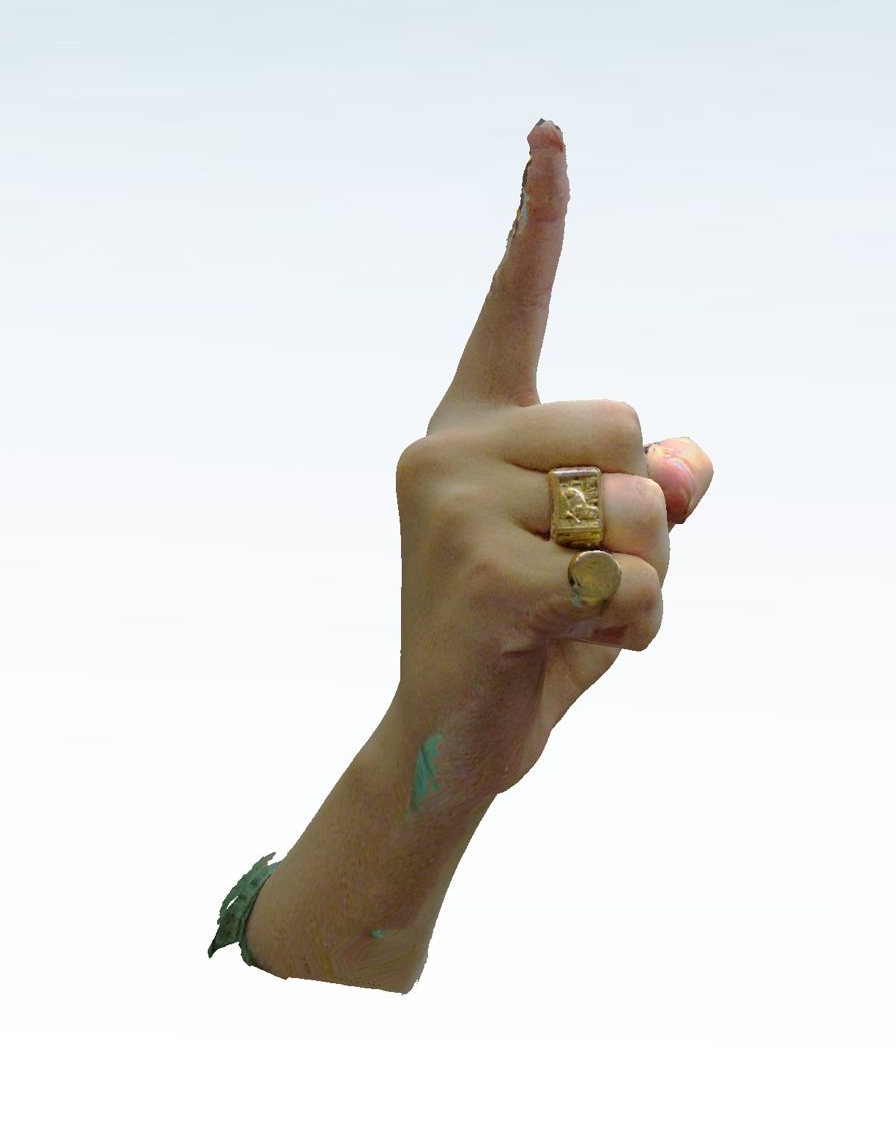
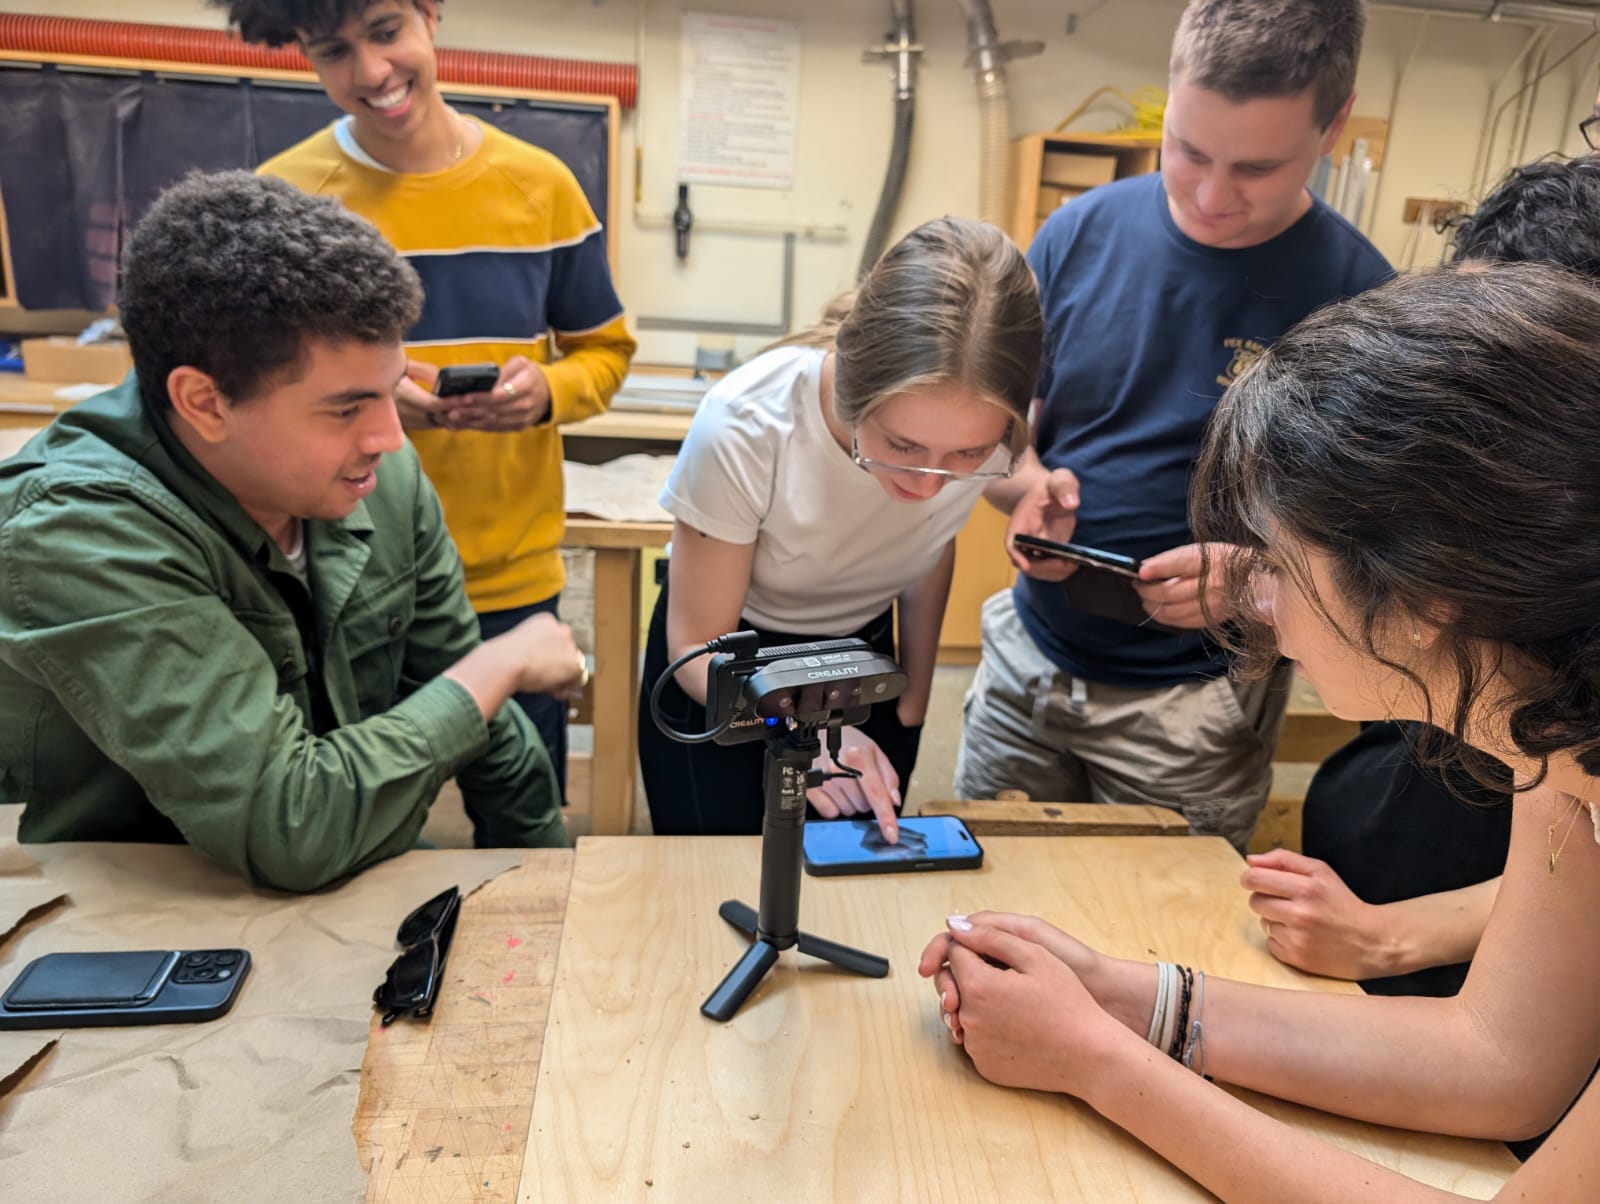
Group Assignment: In our group assignment, we utilized the Creality CR-Scan Ferret Pro 3D scanner to scan a classmate’s hand. This process began with familiarizing ourselves with the scanner’s software interface and aligning the scanner at an optimal distance from the object—approximately 20-30 cm. With this, we ensured good lighting to capture the finer details of the hand, especially around the fingers and knuckles, where shadows and minor movements could affect the scan's precision.
As we slowly moved the scanner around the hand, we ensured to capture every angle, moving from different perspectives—top, bottom, and sides. This step took several minutes as we continuously adjusted the scanner’s position, ensuring that the software mapped all areas without leaving voids. At the end of the process, we exported the mesh to a file format compatible with 3D printing software. The result was a highly detailed 3D model of the hand, complete with textures. However, small glitches appeared in areas where the hand moved slightly, which could be refined using post-processing software. From this, we learned that maintaining a static object and consistent scanning speed greatly improves scan quality.
Image of Scanned Hand:
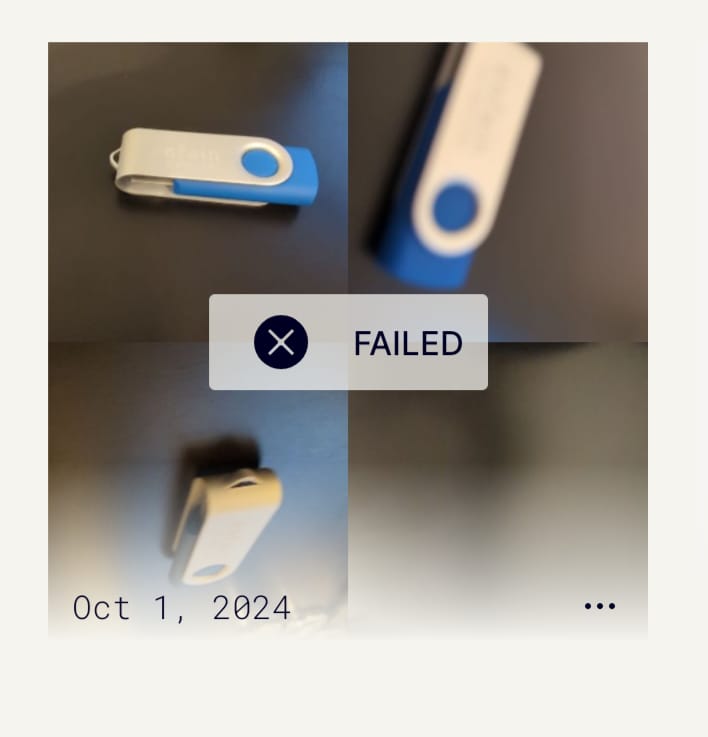
Individual Scanning: For the individual scanning task, I explored Polycam, a mobile app that allows users to 3D scan using the phone’s camera. The ease of use was impressive, as I could scan various small objects like a screwdriver and a USB stick. The scanning process involved slowly rotating the camera around each object to capture multiple images from different angles, similar to photogrammetry. While the screwdriver came out fairly detailed, the USB stick scan was not as successful.
The smaller dimensions of the USB stick made it harder for the software to distinguish the object from the background, resulting in blurred or incomplete edges. Additionally, the background played a significant role in scan clarity—objects scanned against a dark background showed poor separation between the object and its surroundings, affecting the final model’s accuracy (include images). Through this, I learned that using a lighter, uniform background is essential for small object scanning.
Moreover, increasing the number of photos significantly improved the scan resolution. For instance, when I captured 60+ images of the game controller, it resulted in a much sharper 3D model compared to the USB stick, which had fewer images taken. Capture speed and orientation were also crucial factors. When scanning a portable speaker, the lack of a rotating stage caused the model to appear skewed as I manually moved around the object. From this, I concluded that a 360-degree rotating stage is ideal for maintaining consistent angles and improving scan accuracy.
Image of Scanned Screwdriver:
Video of Skewed Portable Speaker:
Video of Skewed Portable Speaker:
