Molding and Casting
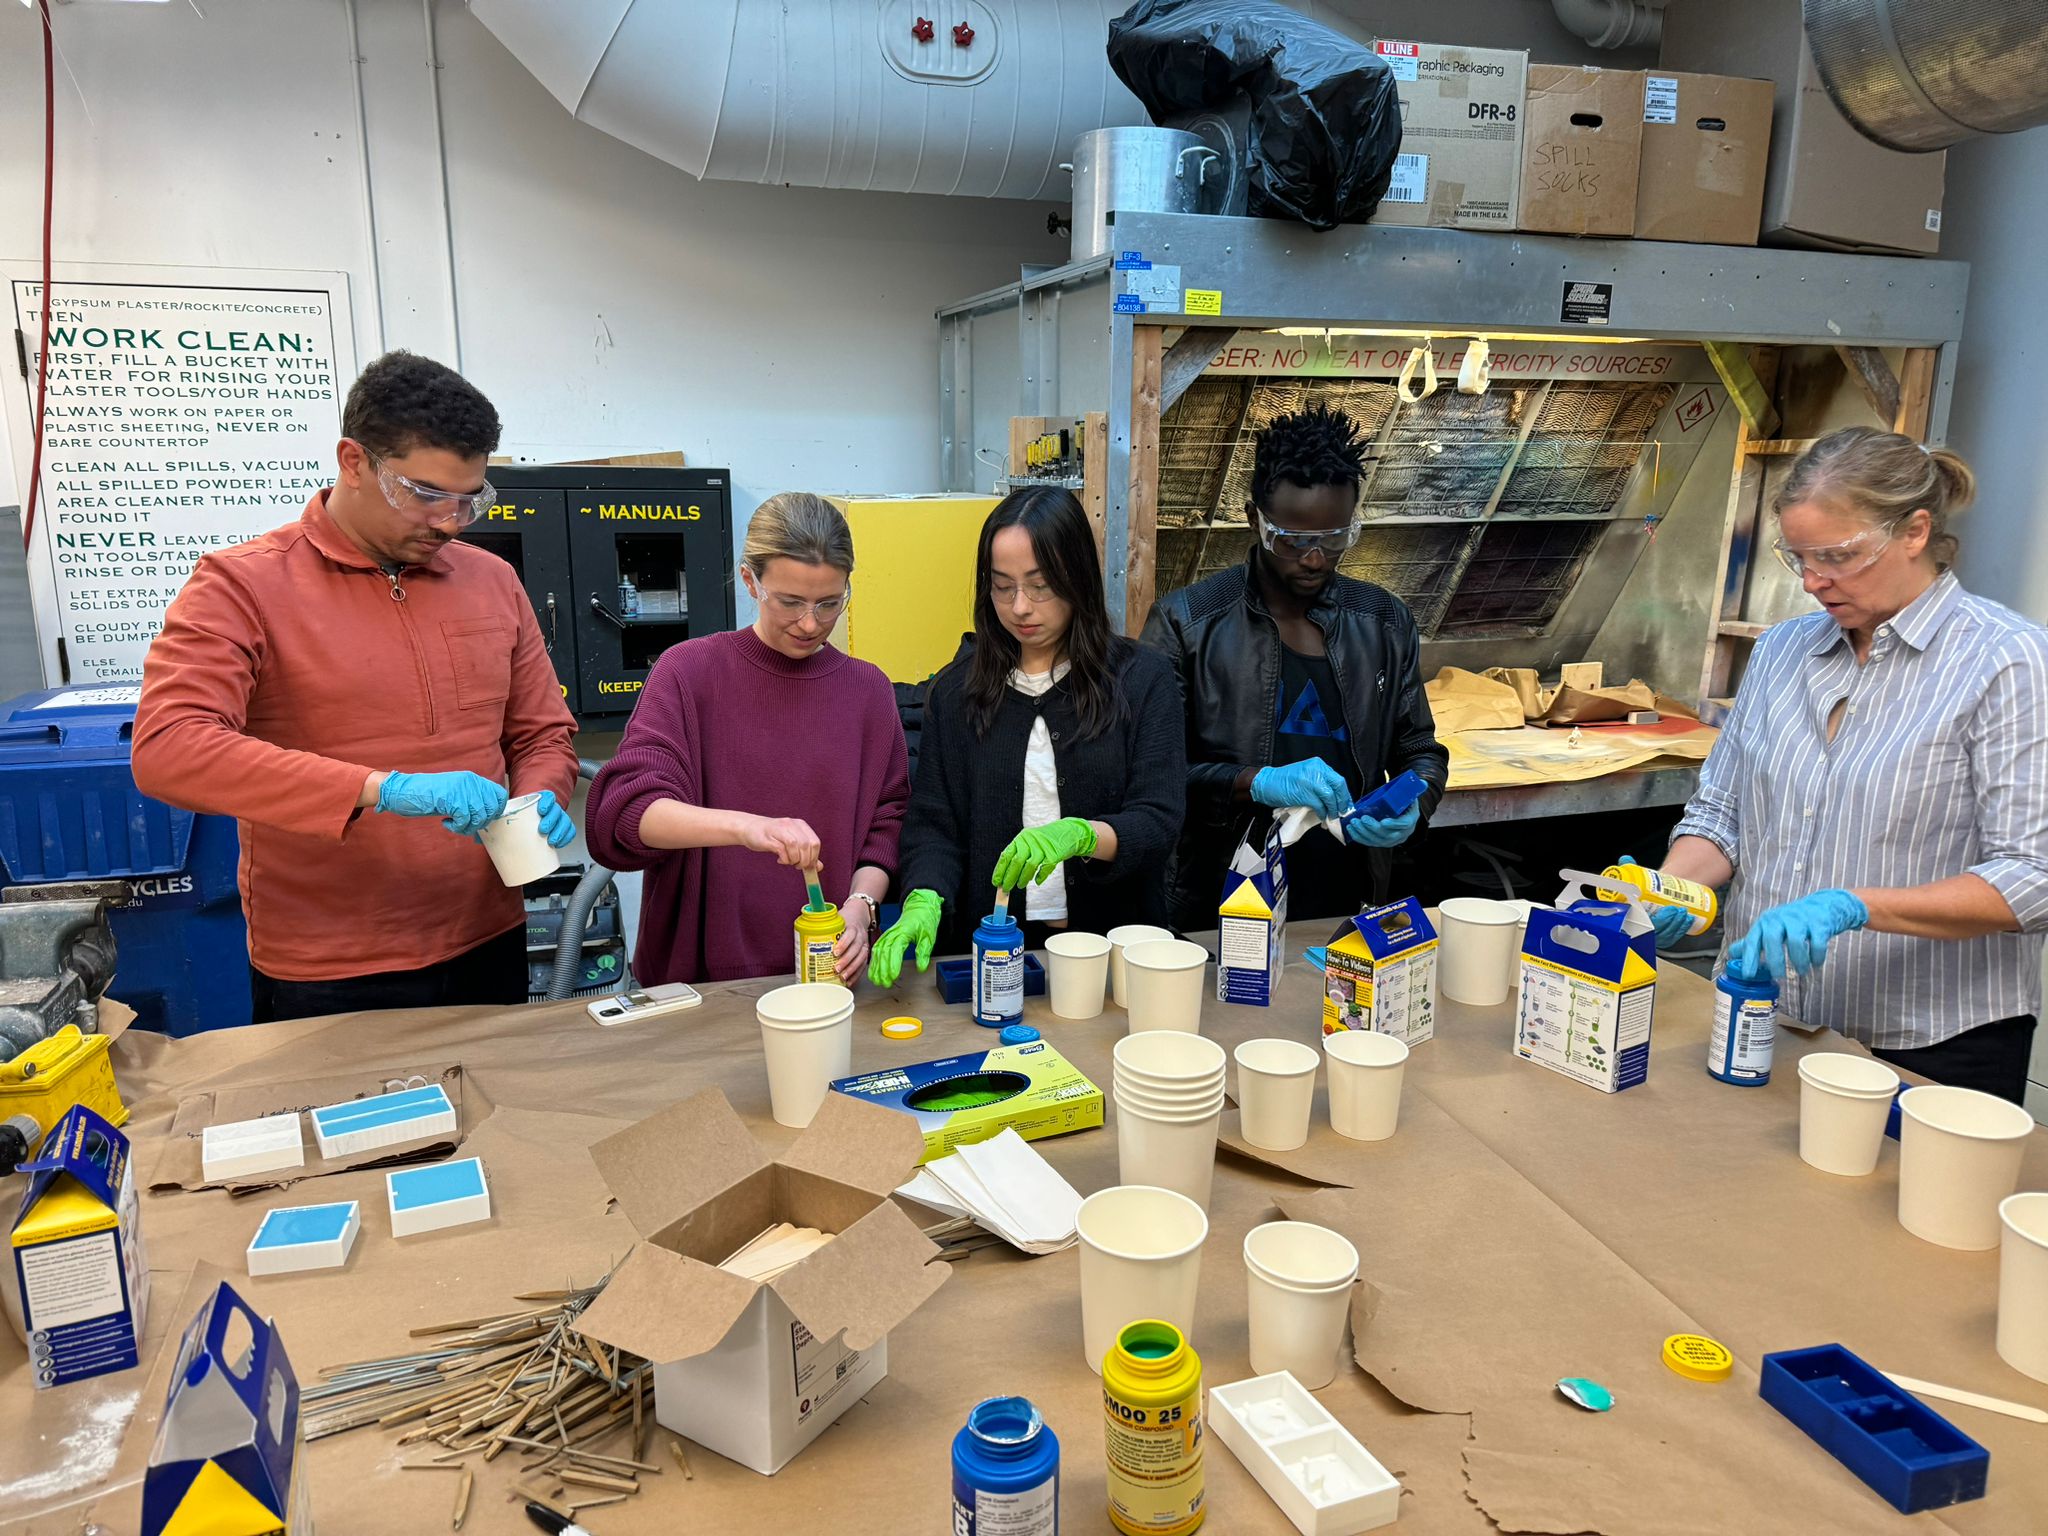
Diana, our TA, began the session by teaching us the fundamentals of mold-making and casting. She introduced us to OOMOO silicone and Sorta-Clear food-safe silicone, walking us through the process of maintaining a 1:1 volume ratio while mixing both components. Diana demonstrated the importance of thorough mixing to prevent air bubbles from forming, which could affect the final mold’s quality. After mixing, she instructed us to pour slowly and carefully, tapping the mold periodically to release trapped air. For curing, Diana recommended leaving the mold overnight for optimal results, though OOMOO typically begins to set within 6 hours. Her practical insights into silicone properties and careful handling techniques laid the foundation for my own project.
For my project, I designed a one-part positive mold (as shown in the images below), focusing on precision and surface quality. I printed the design using the Bambu Lab P1S printer with a 0.1 mm layer height to capture intricate details and configured the cooling settings to prevent warping and stringing during the print. Once printed, I noticed minor surface imperfections, so I used a heat gun to smooth out tool paths, further enhancing the finish. This preparation ensured the mold would produce a clean cast, minimizing the chance of defects transferring from the print to the final mold.
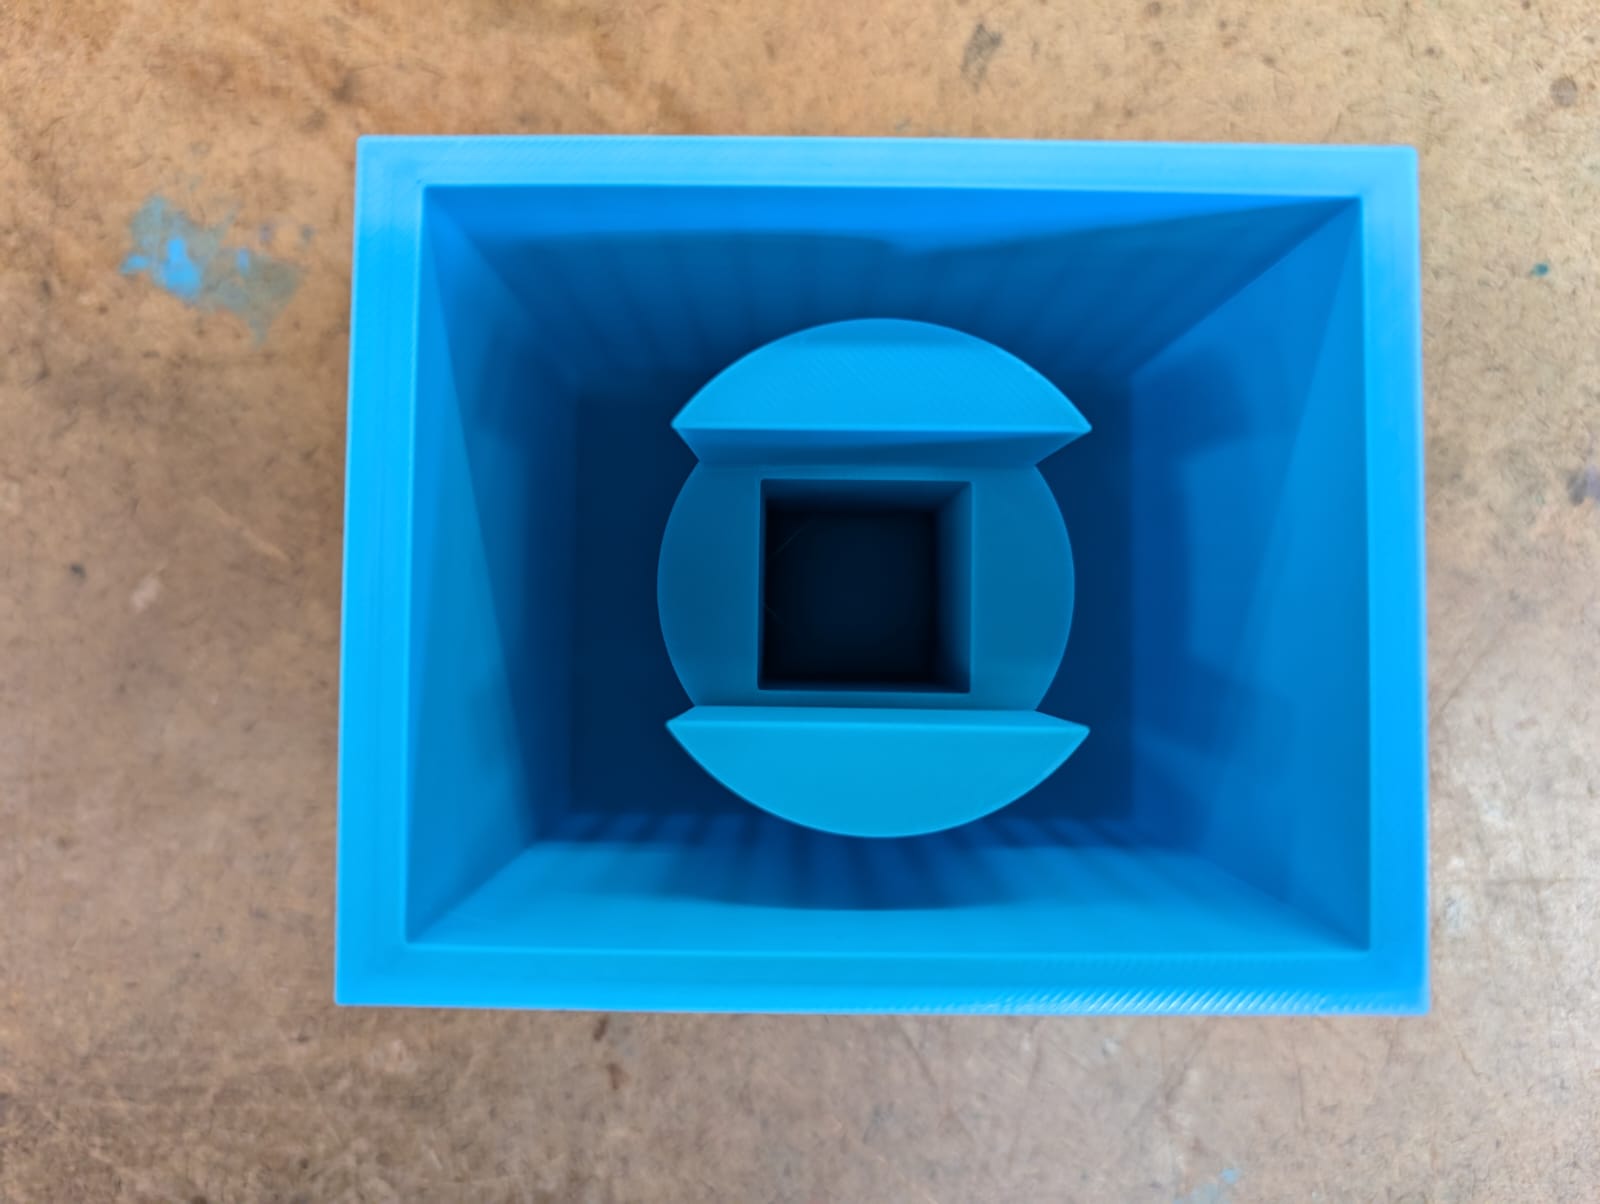
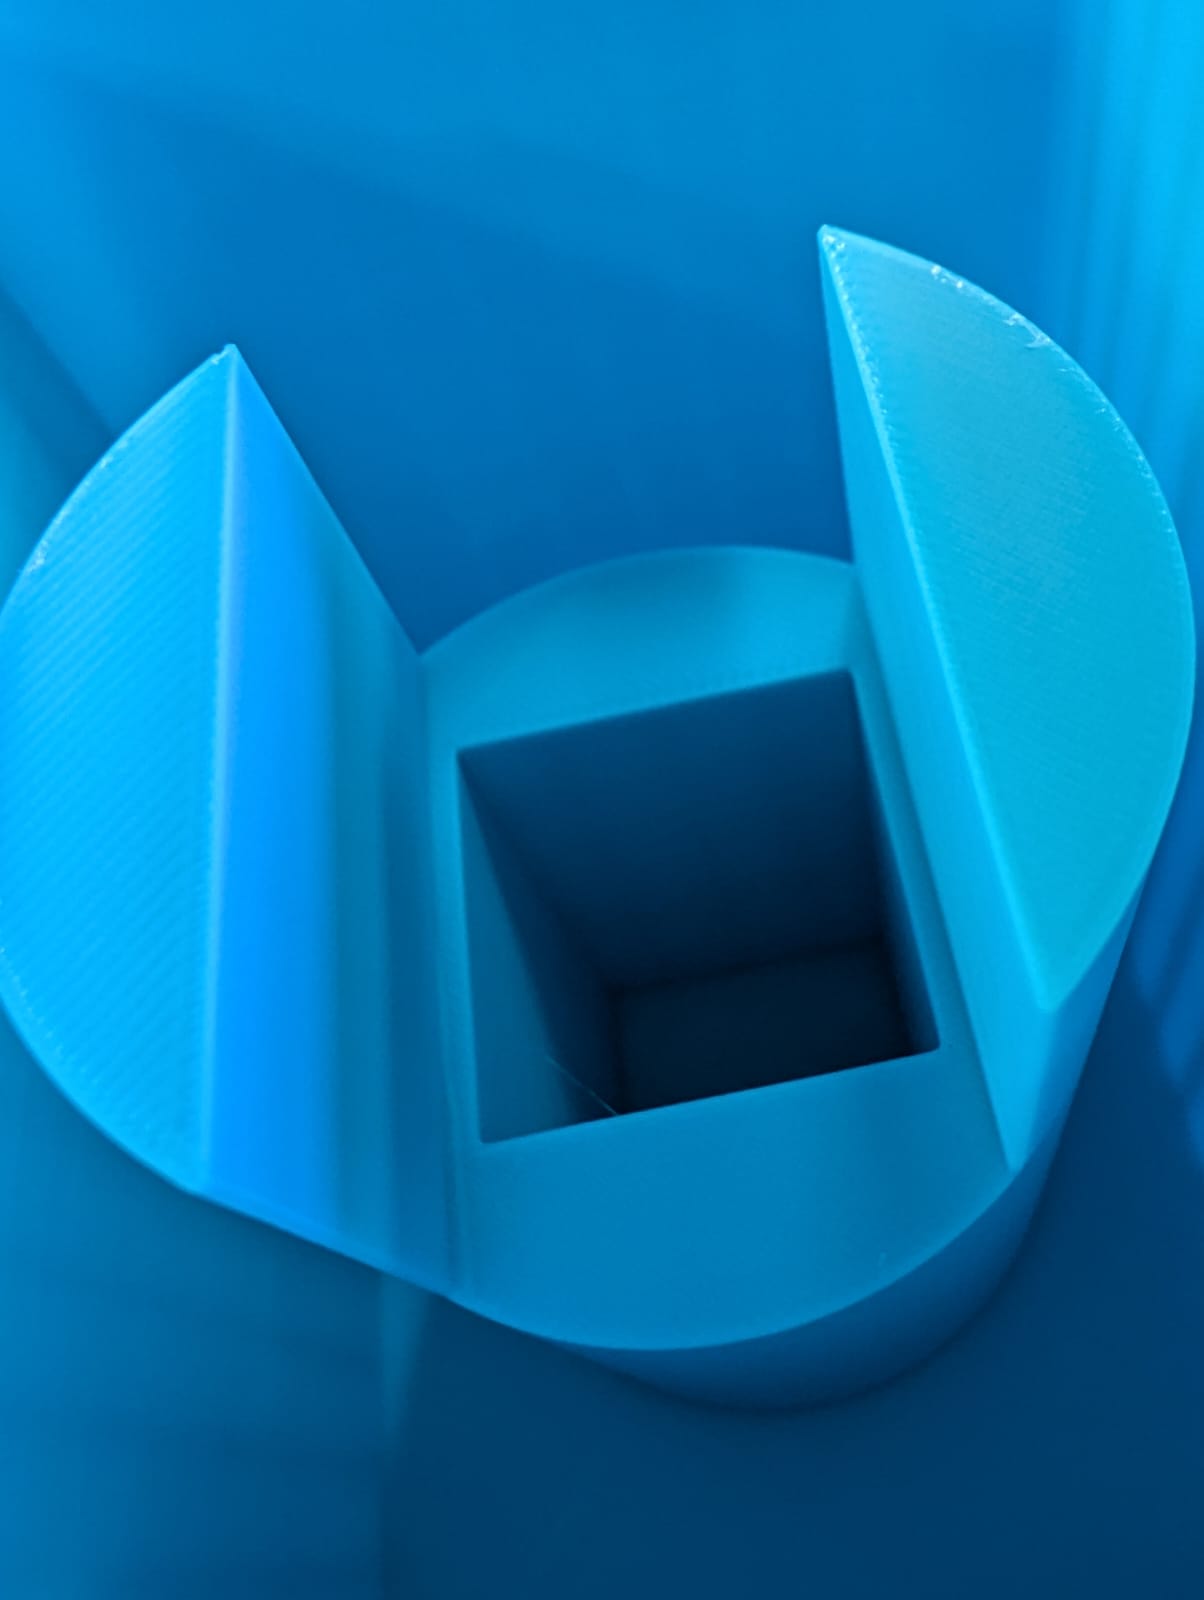
With the printed positive ready, I moved on to molding using OOMOO silicone. Following Diana’s advice, I mixed the silicone components thoroughly and poured it steadily into the mold, taking care to fill every crevice. Despite my efforts, the positive became stuck in the mold after curing. As I attempted to demold it, the print broke apart, reinforcing the importance of smooth edges and careful handling when working with complex geometries. However, I managed to salvage the mold and proceed with the casting phase.
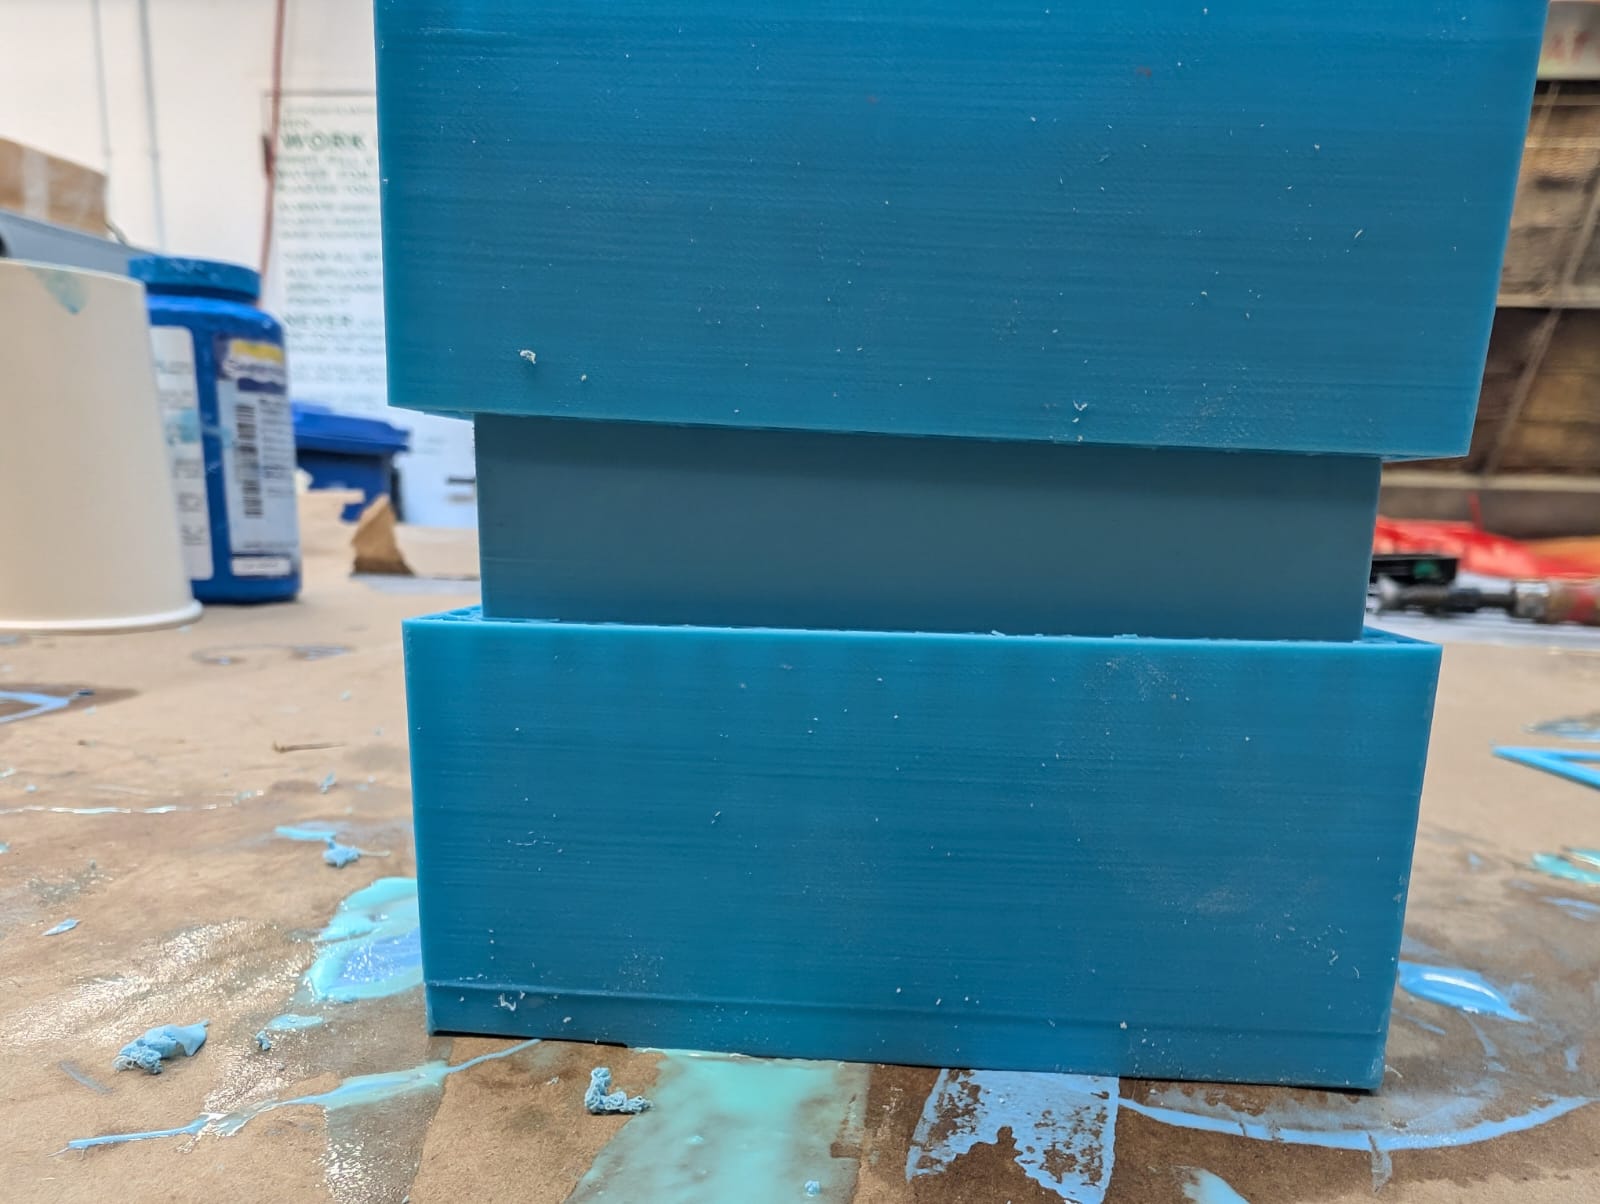
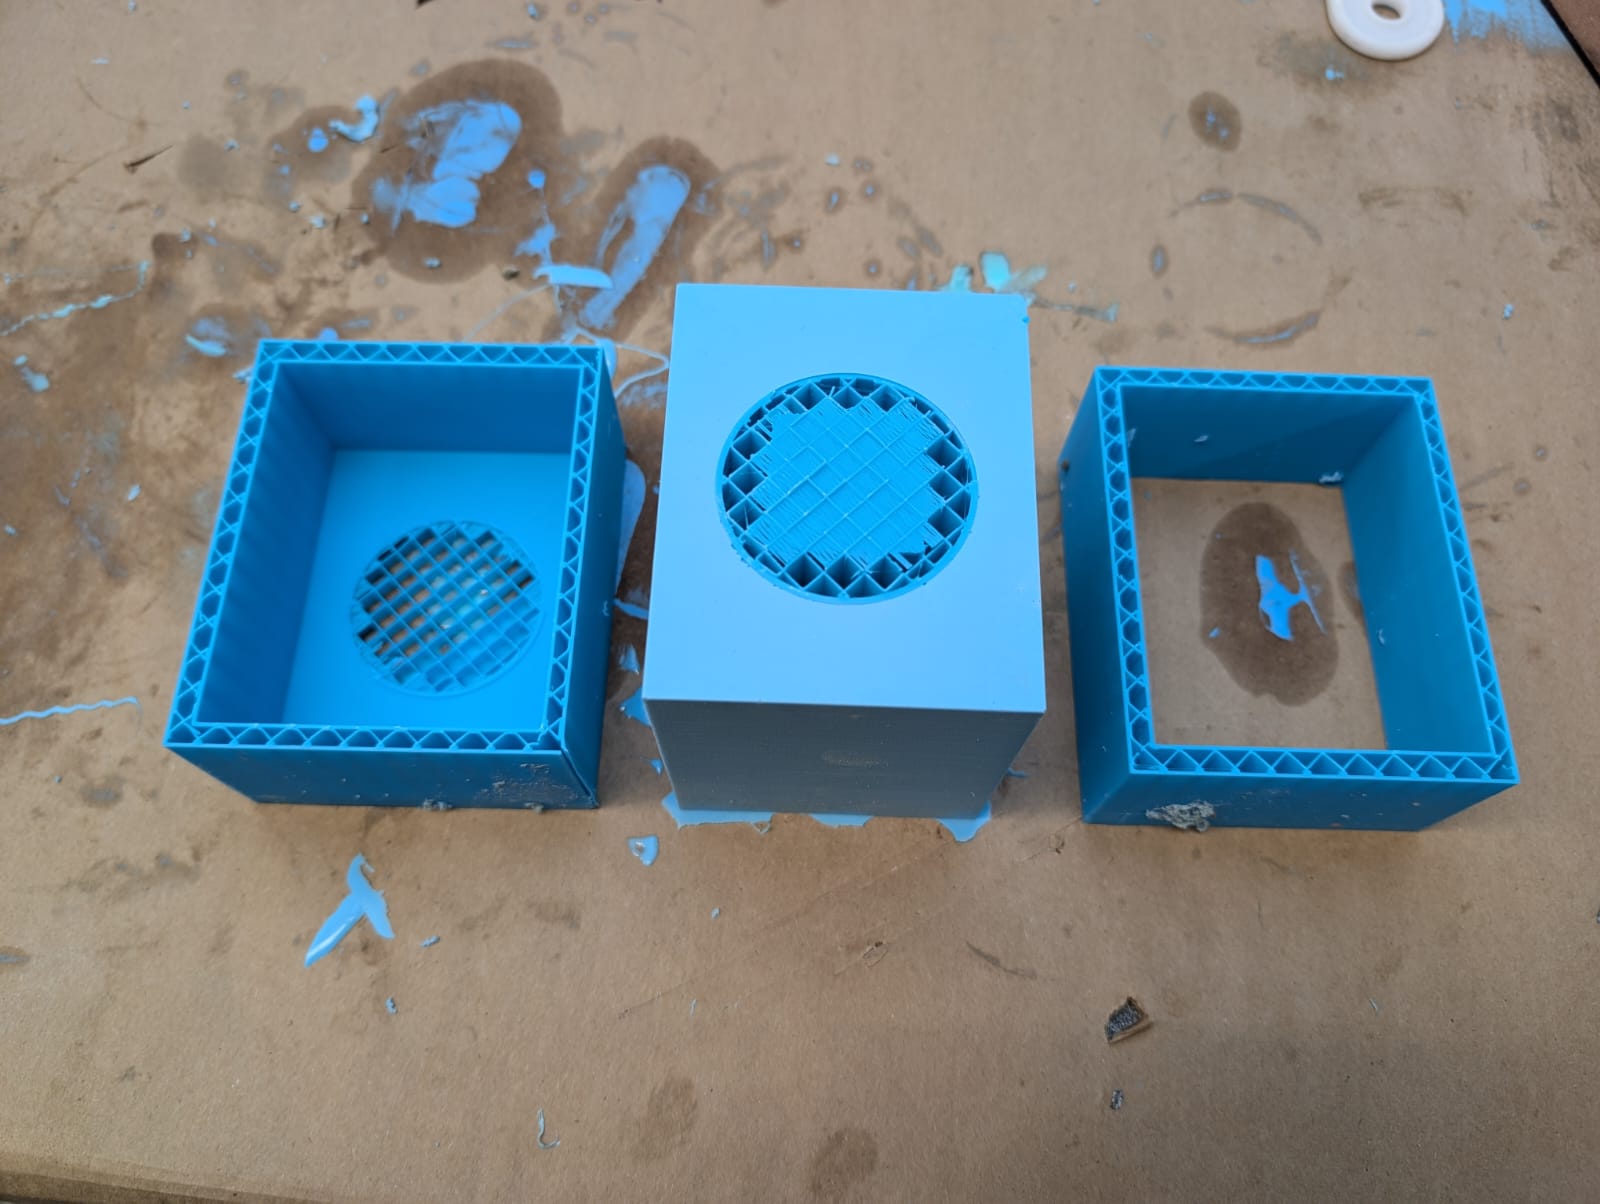
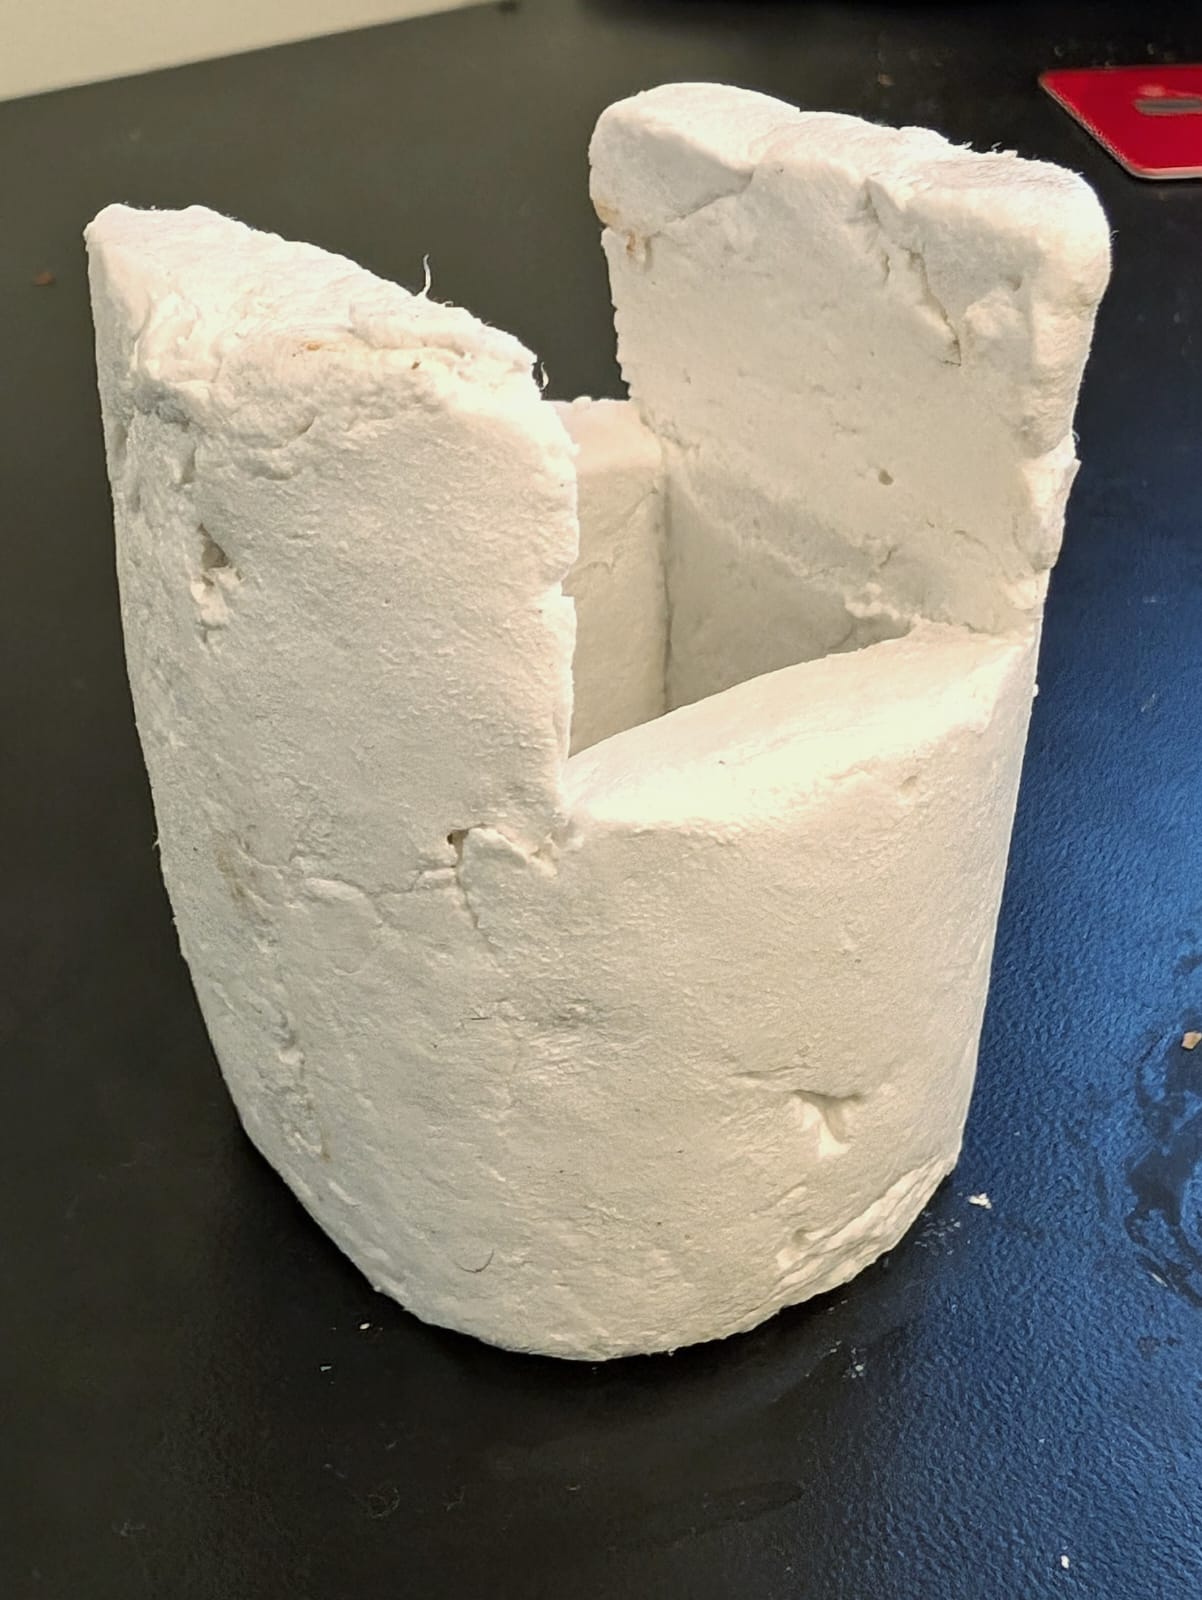
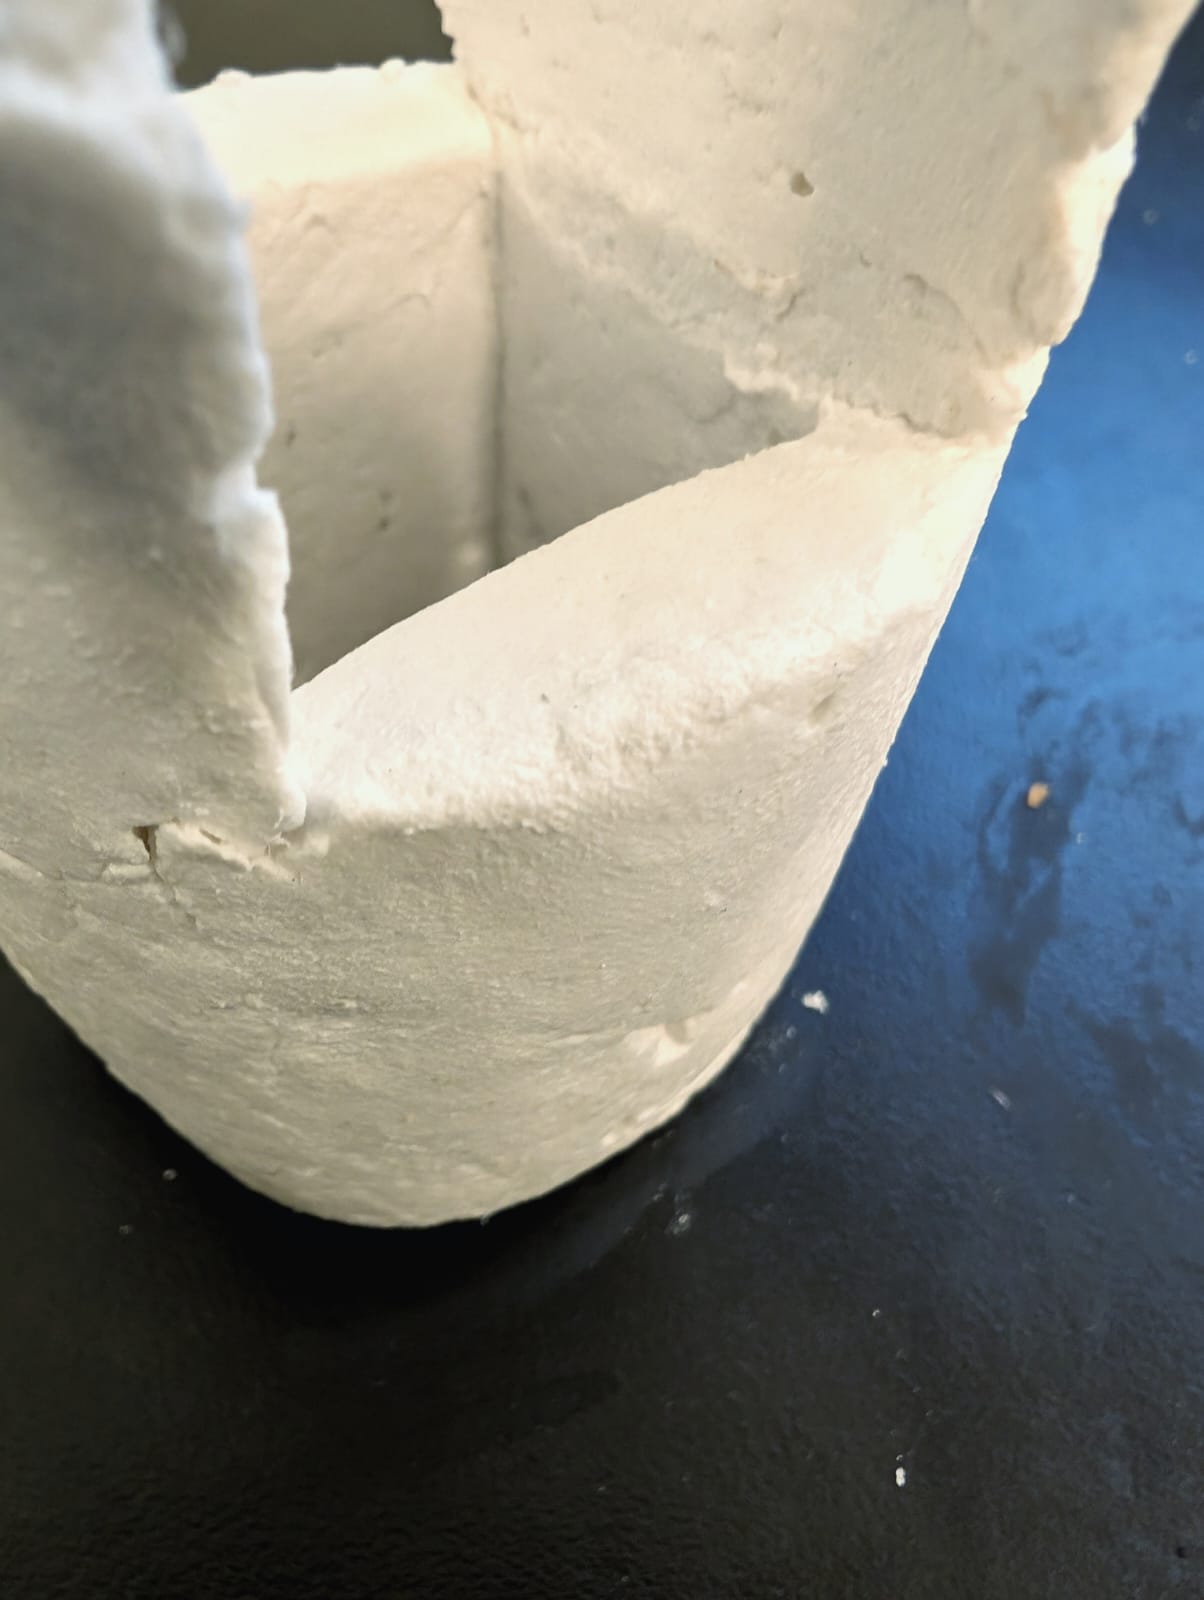
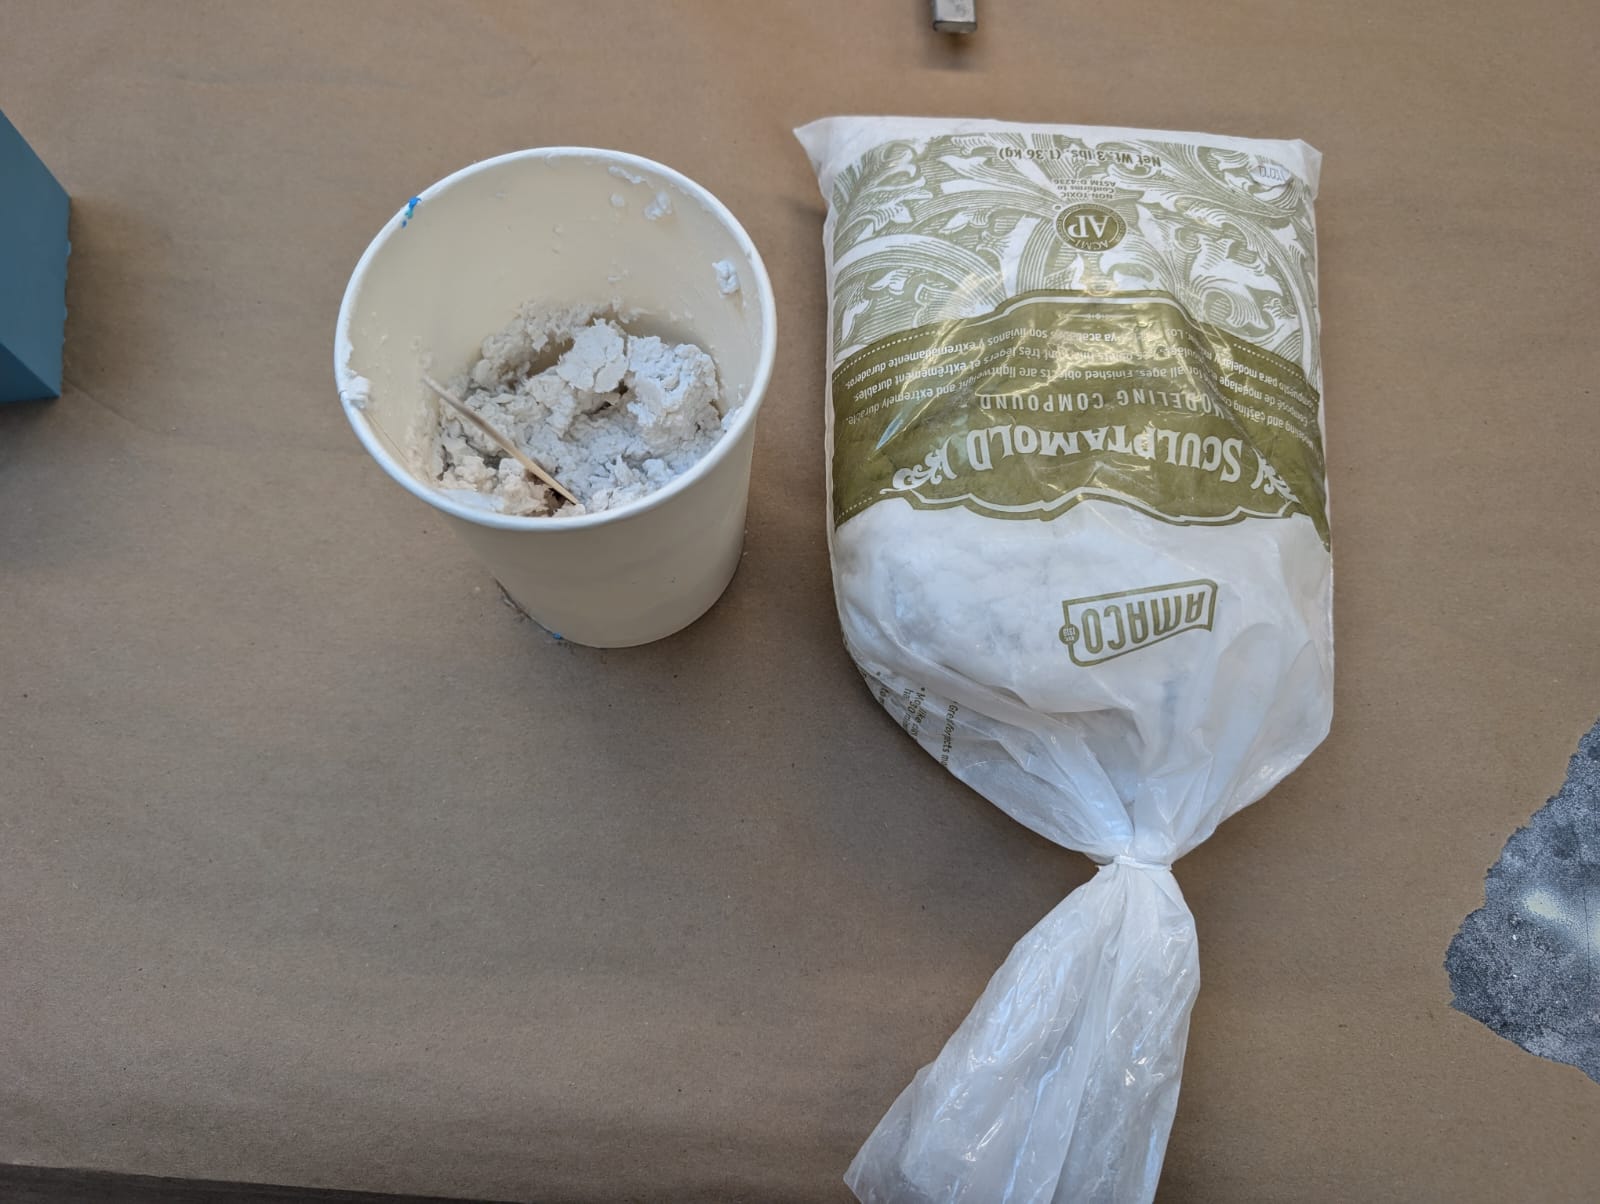
For the casting, I used Sculptamold mixed at a 1:1 ratio of powder to water. I stirred the mixture for 3-4 minutes to achieve a smooth consistency and avoid air pockets. As per Diana’s instructions, I filled the mold in increments, tapping it between pours to release trapped air bubbles. After an initial 24-hour curing period, the cast was still not fully set, so I allowed it to cure for an additional 48 hours. This extended curing ensured that the Sculptamold hardened properly, though some minor surface imperfections persisted.
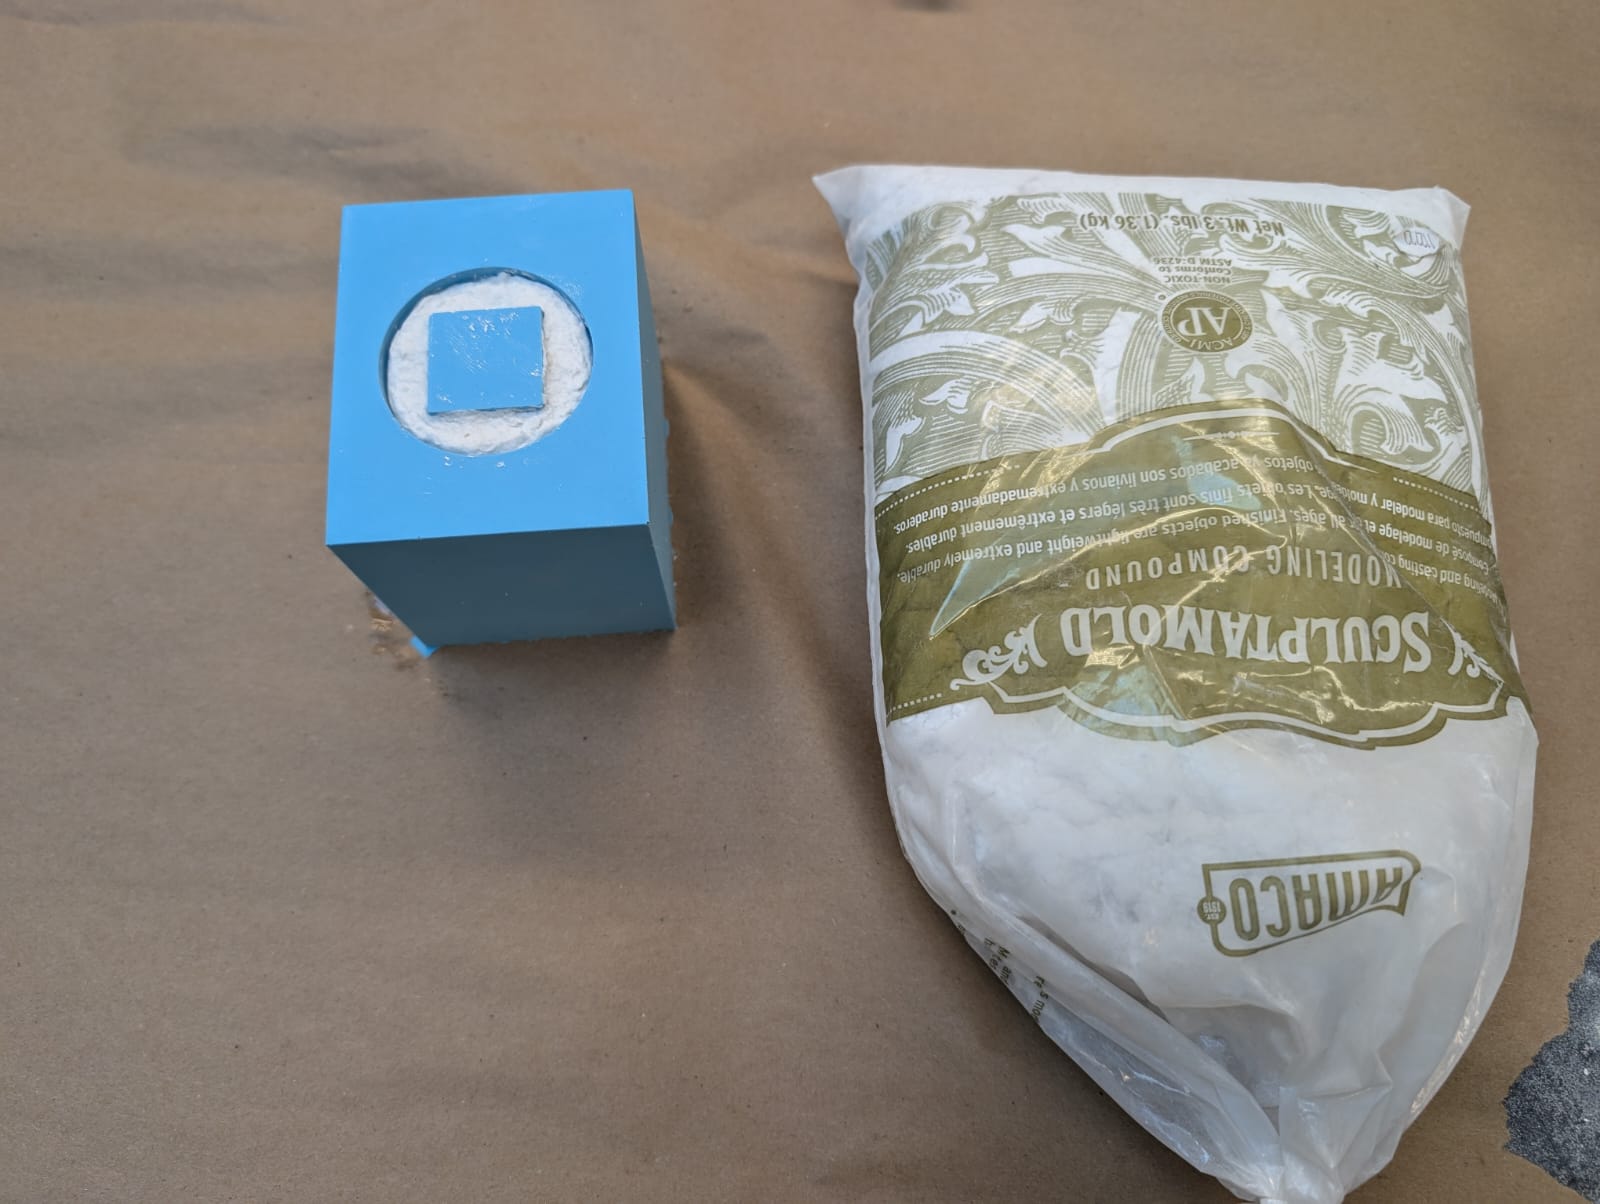
Upon demolding, I found that while the edges of the mold were smooth, the cast displayed small troughs and ridges, likely due to air bubbles that remained trapped during the pour. Additionally, I suspect that the uneven curing resulted from variations in the Sculptamold’s setting process. This hands-on experience taught me the importance of careful preparation, proper mixing, and extended curing times to achieve optimal results.
