Exploring Embroidery
This week, I ventured into digital embroidery using the Brother SE1800 embroidery machine at EDS (with Alec supervising). My goal was to create a design featuring seven piano keys (three black, four white): the notes F through C.
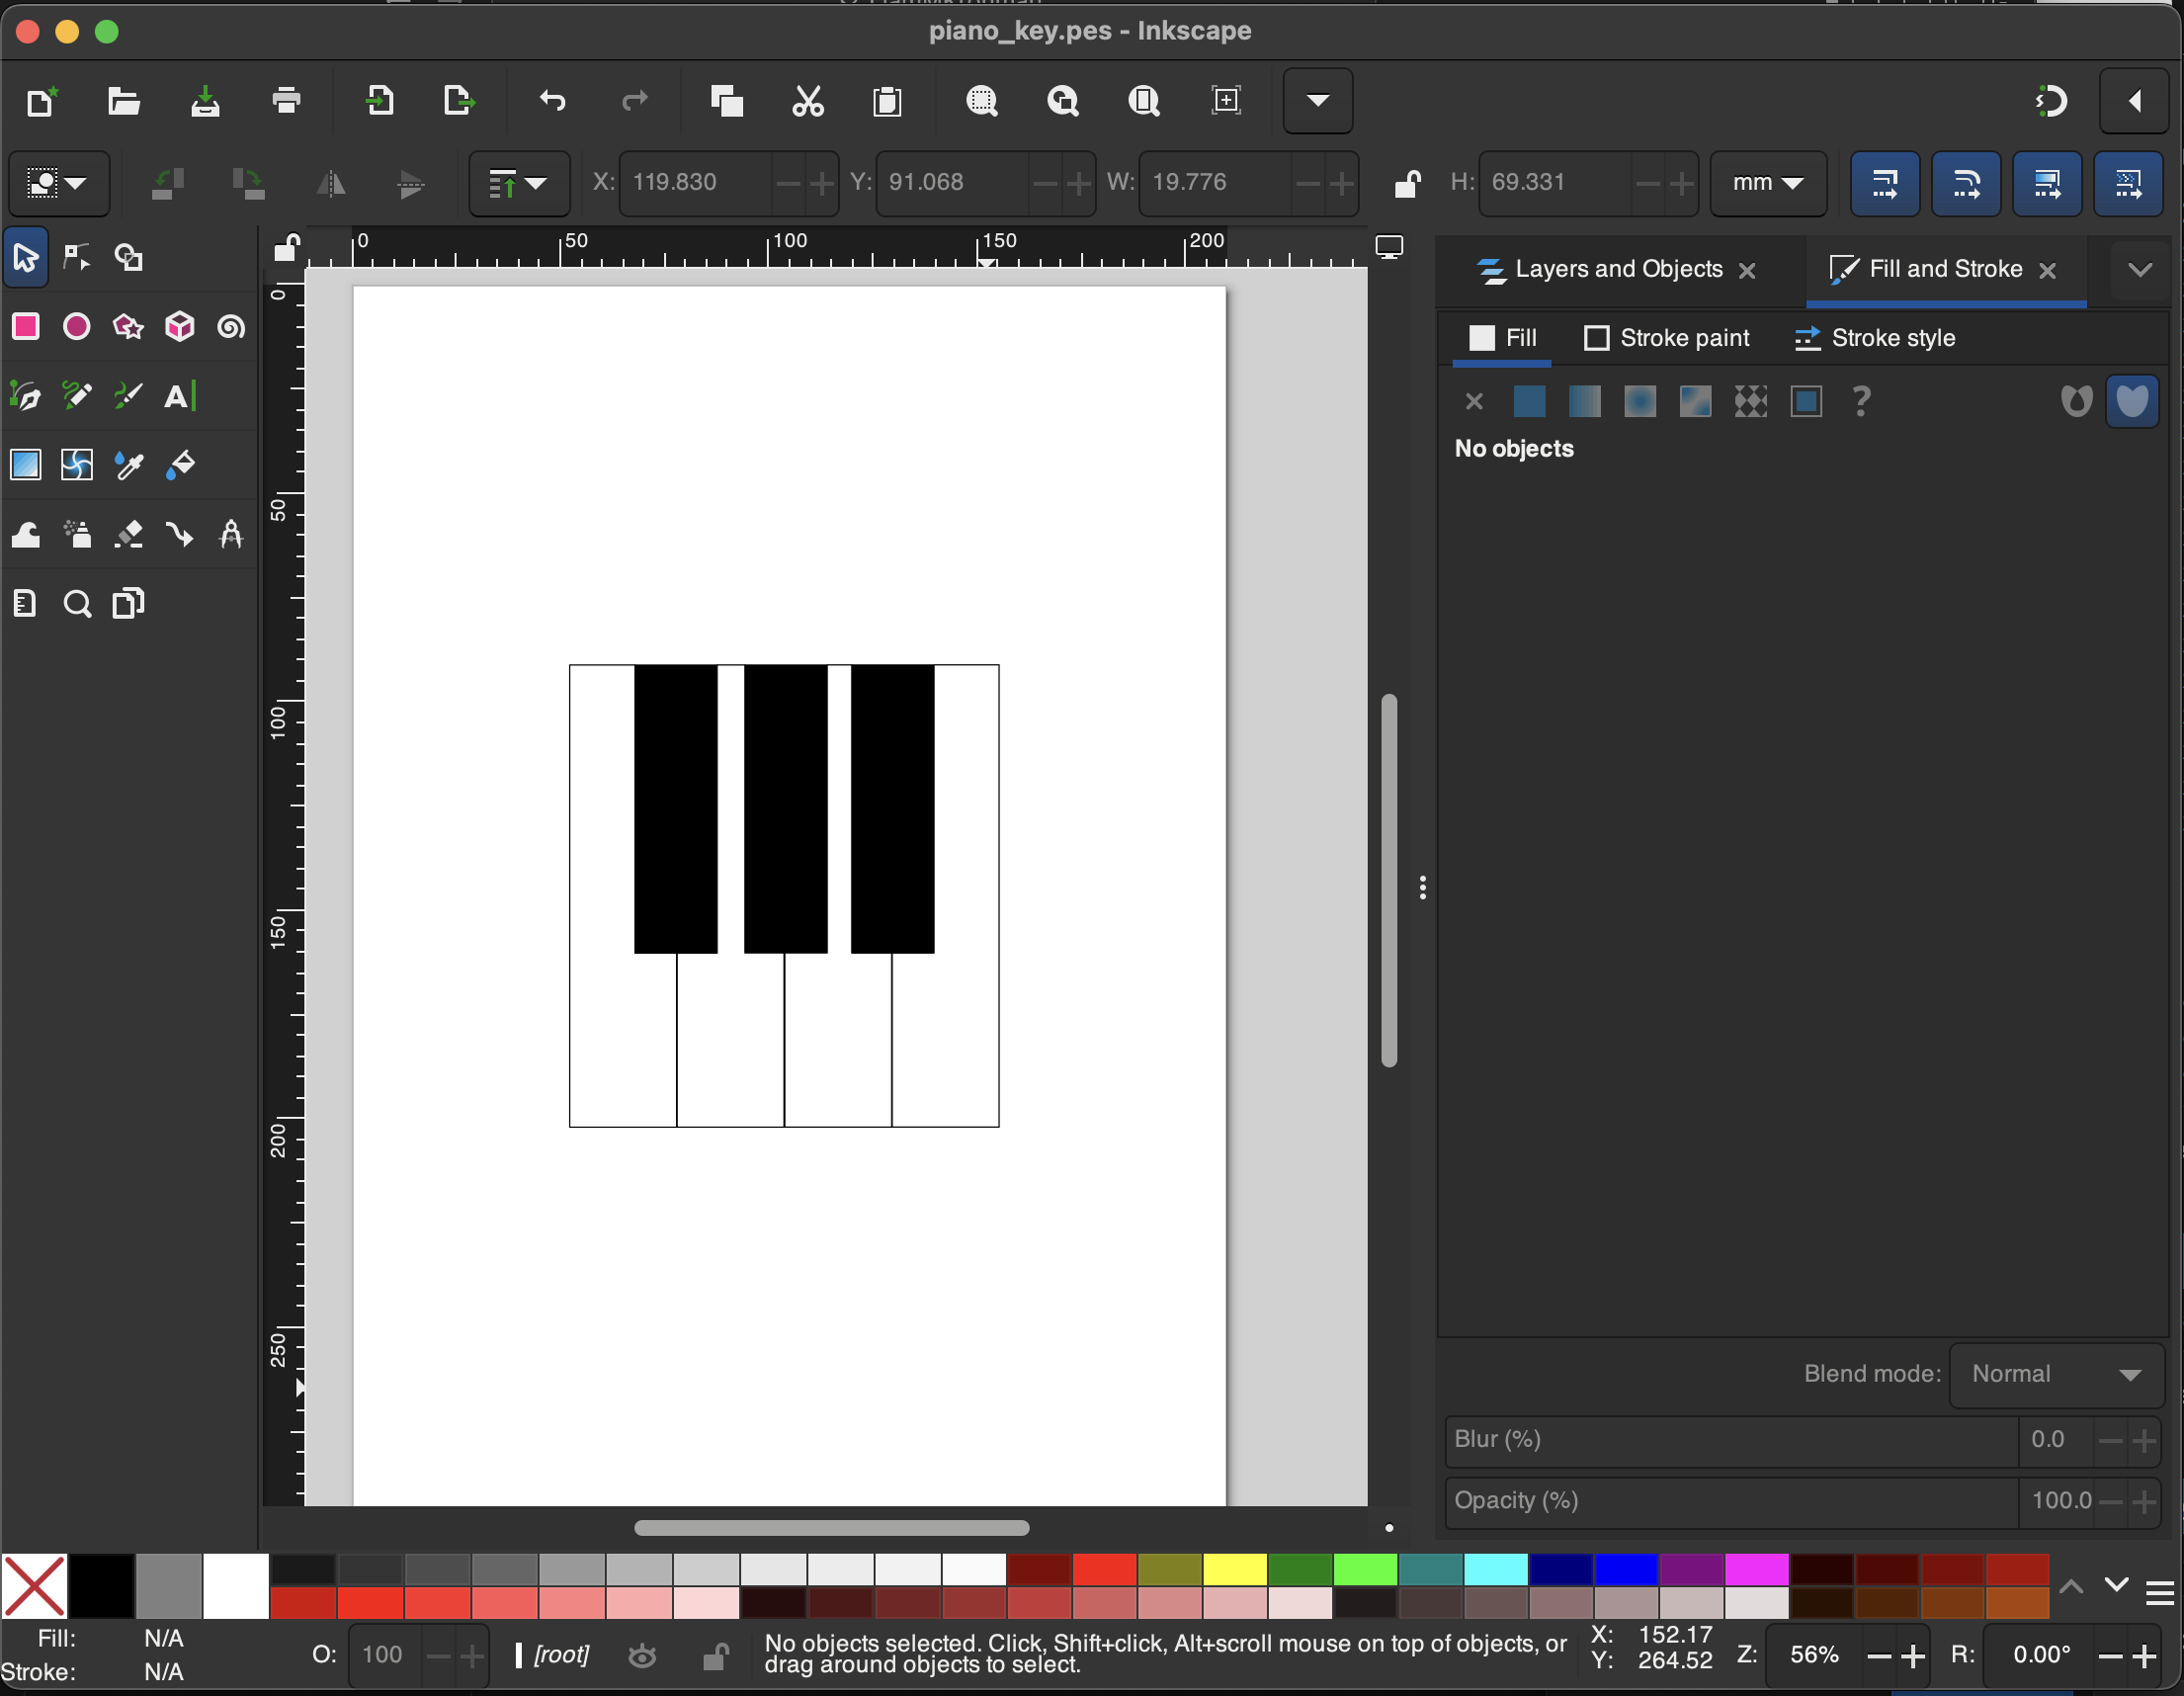
I started by creating the design in Inkscape. Using the Ink/Stitch plugin, I converted my design into a PES file, which is compatible with the SE1800. Here’s an image of the piano key design I made:

Embroidery Parameters
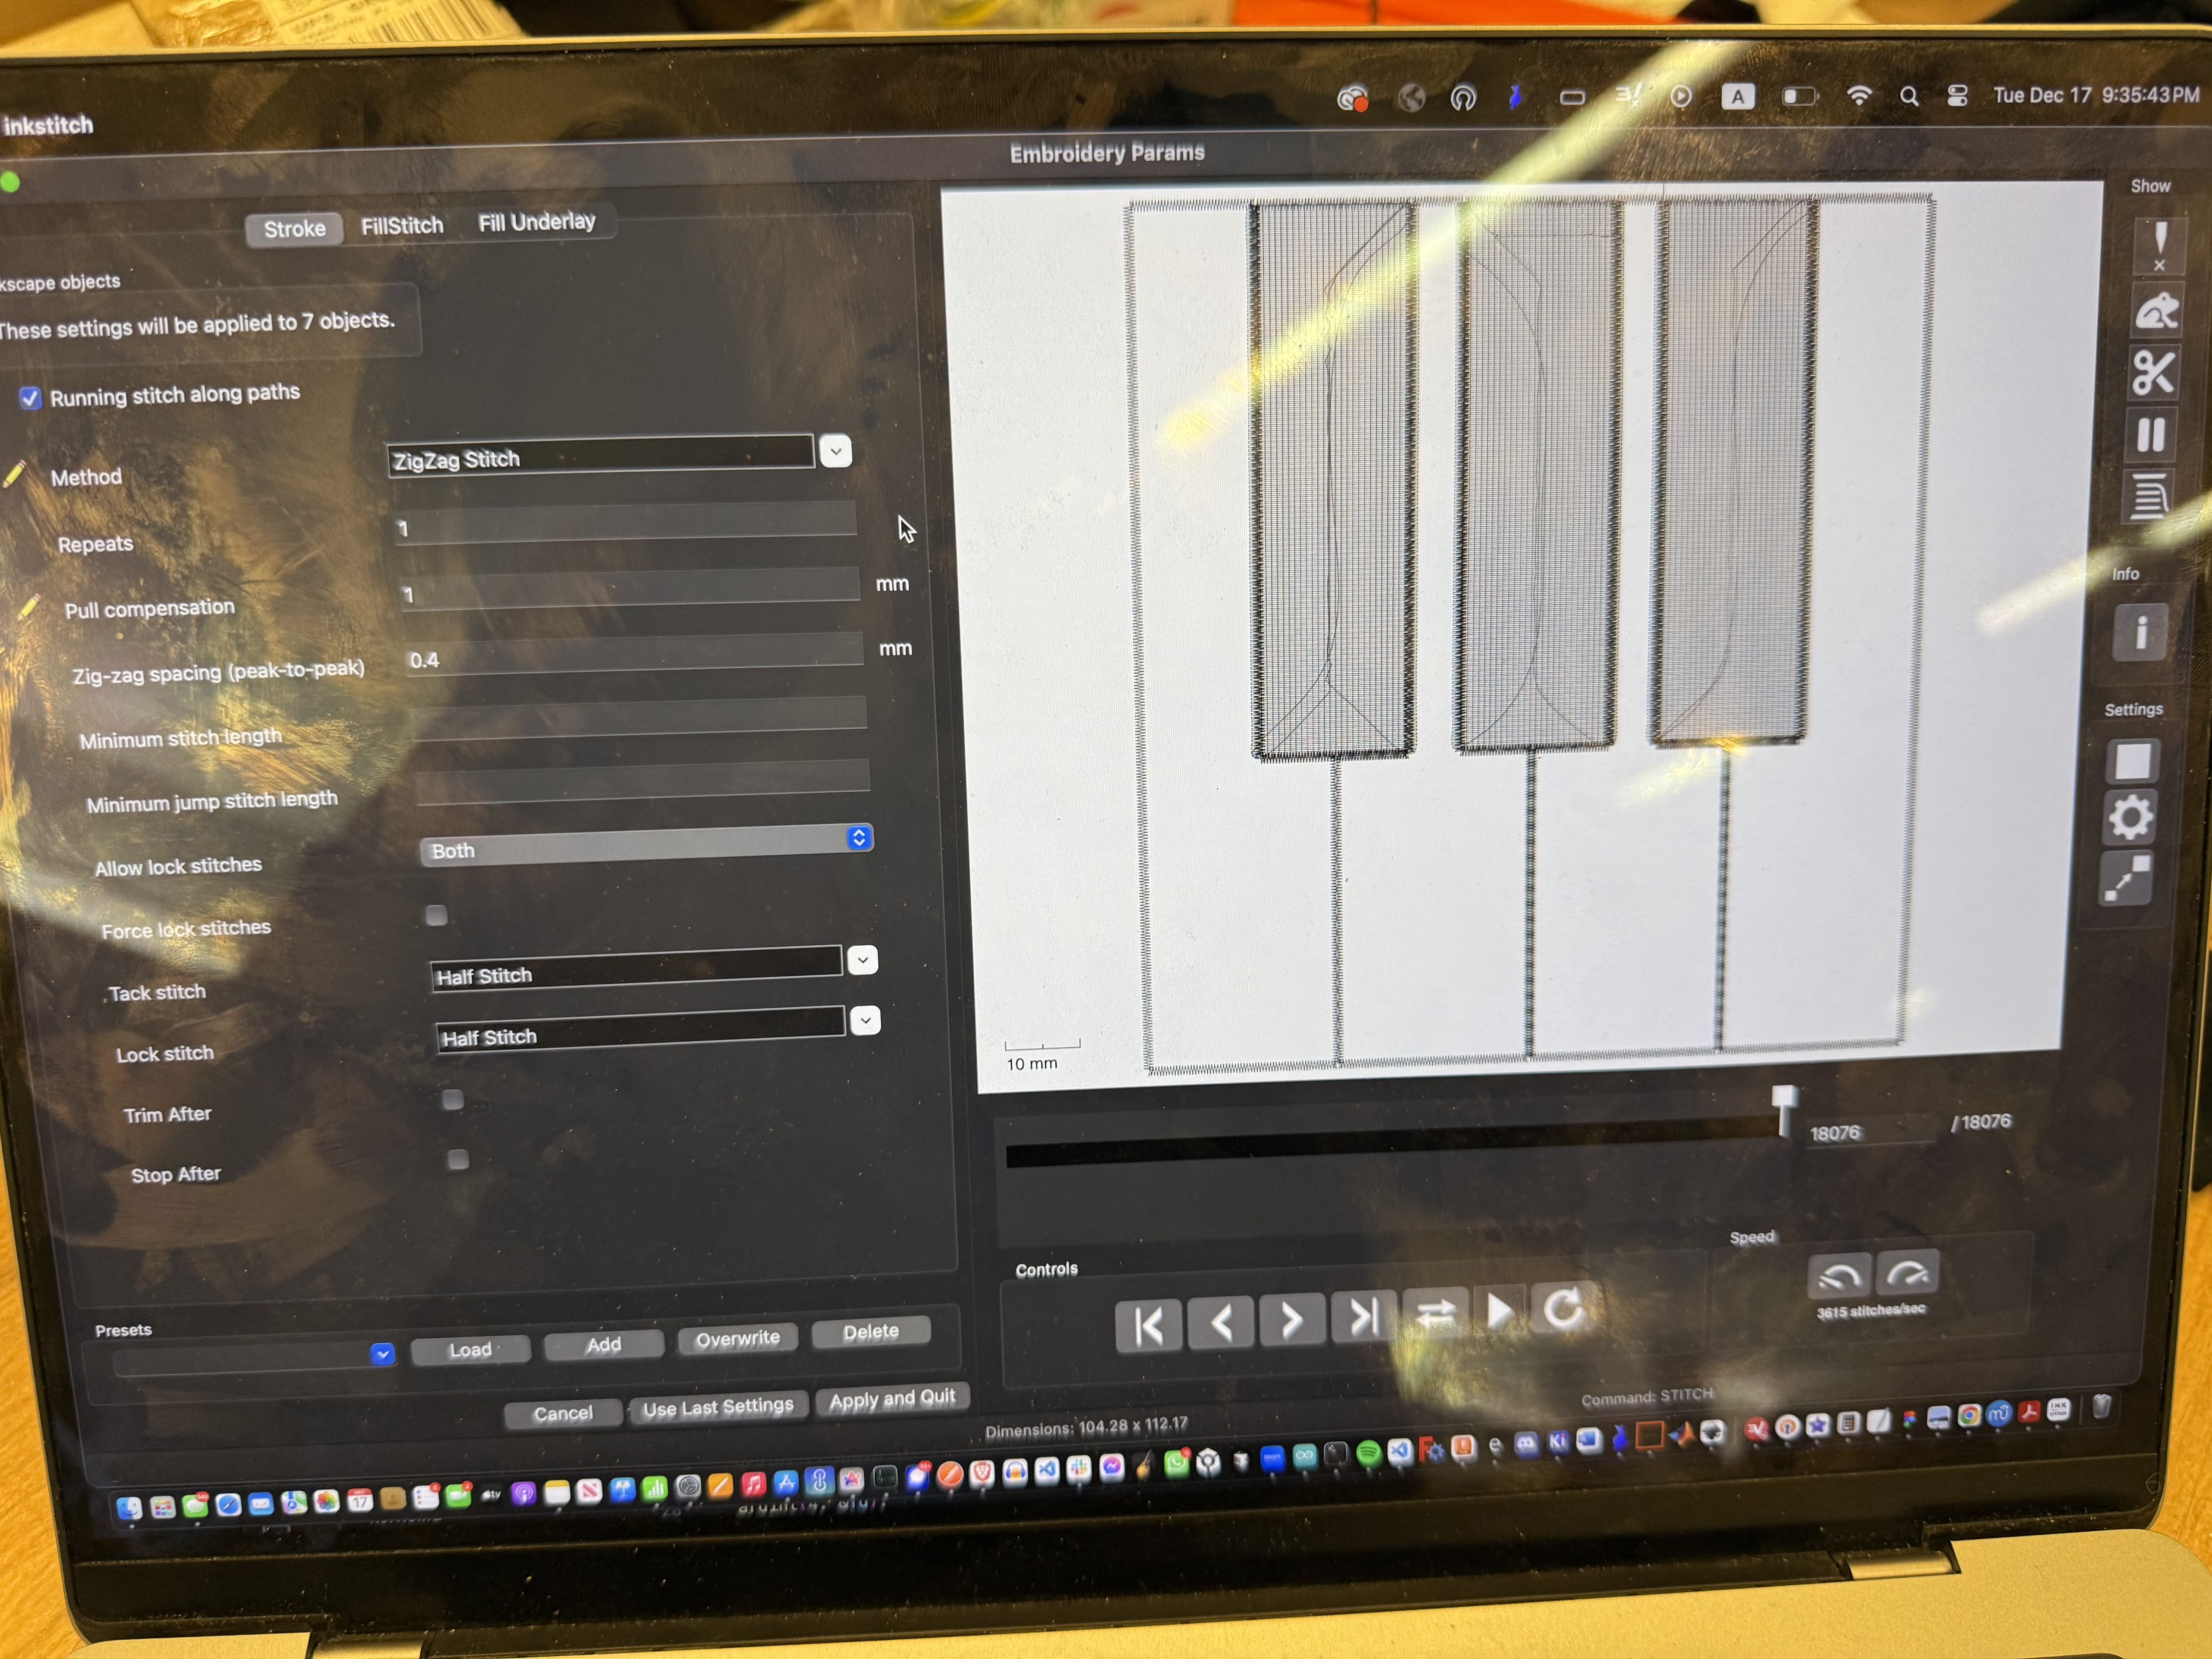
Using Ink/Stitch, I explored different stitch settings. The most interesting parameter I found was the ZigZag Stitch with 1mm pull compensation. This setting helped ensure that the stitches would maintain their structure and alignment when embroidered.
Here’s a screenshot of the stitch settings and the predicted output from Ink/Stitch:

The Embroidery Process
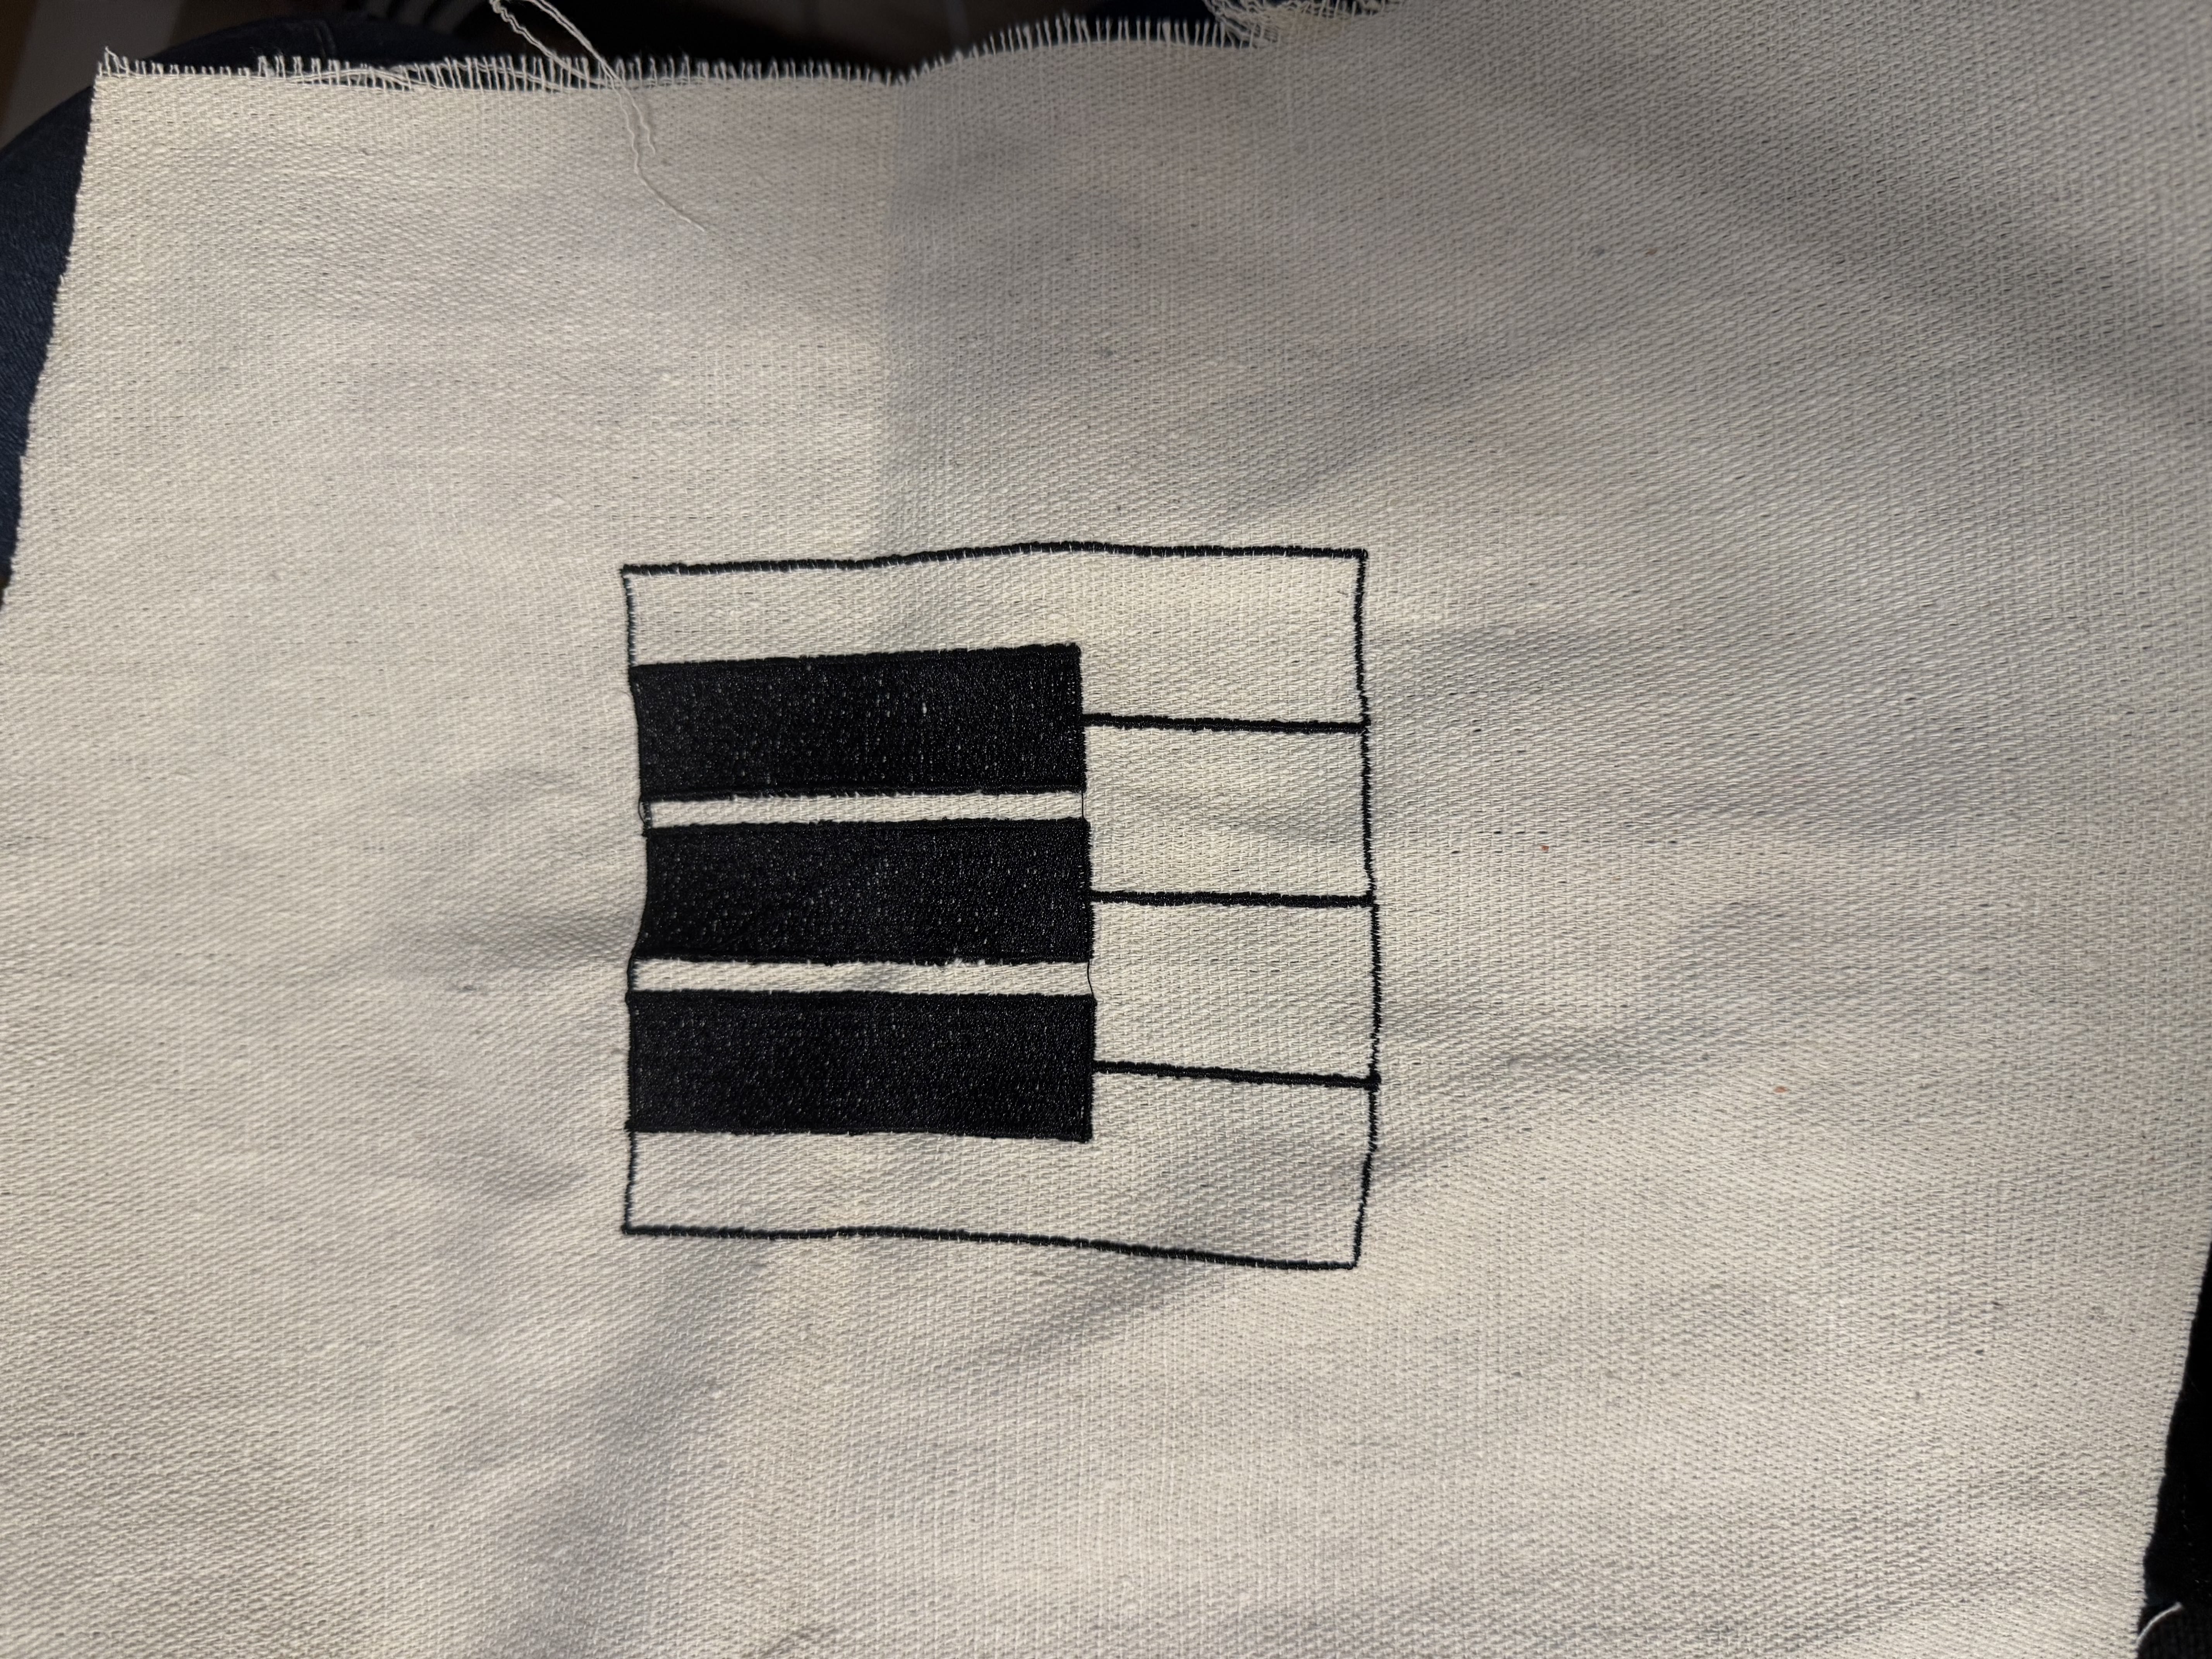
I had been advised that the actual embroidery process would take around 10 minutes. However, at the size I defined, it ended up taking a full hour to complete!
Here’s the final product after an hour of meticulous stitching:

Action Video
Here’s a video showing the SE1800 in action, embroidering my design onto a piece of fabric:
Final Thoughts
I printed the design onto a scrap piece of fabric I found at EDS. However, I think it turned out so well that I’m considering embroidering it onto a sweatshirt next!
Next: Final Project →