Han Solo in Carbonite
This week I decided to make a mini version of Han Solo in Carbonite from *Empire Strikes Back*. I found an excellent STL for free online: Han Solo in Carbonite STL.
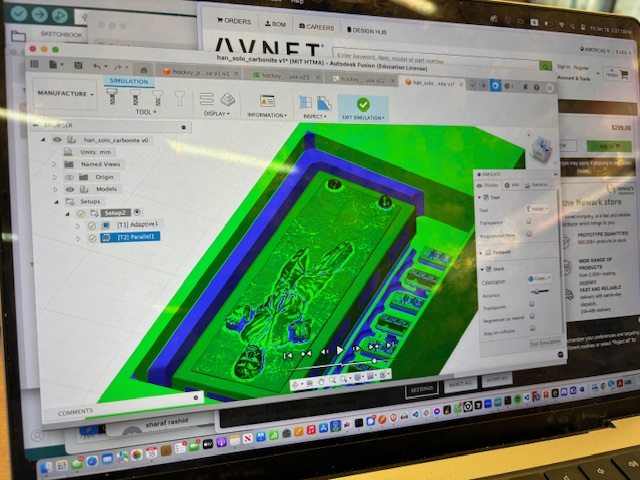
I imported the model into Fusion 360 and adjusted it to fit within a 3in x 7in x 1.5in wax block, adding walls for the silicone negative. After setting everything up, I generated the CAM with adaptive and parallel strategies and sent it over to the big CNC machine at EDS. The CNC took over an hour and a half to mill. Here's a screenshot from Fusion and a video of the milling process:
Here’s the finished wax block after sweeping off all the blue dust:
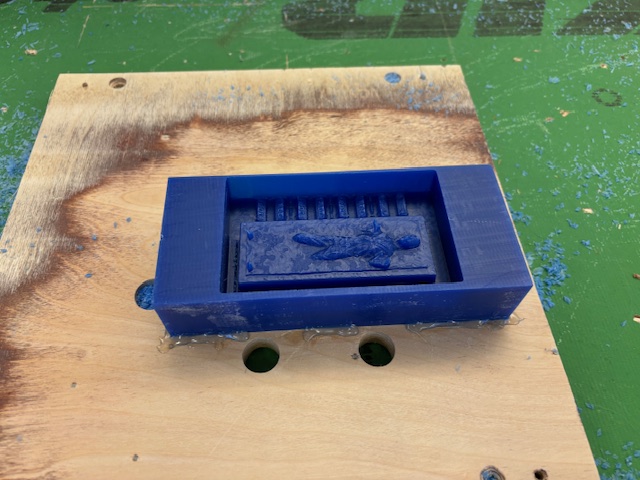
Unfortunately, I chipped one of the walls, but I hot-glued a piece of scrap acrylic to hold it together.
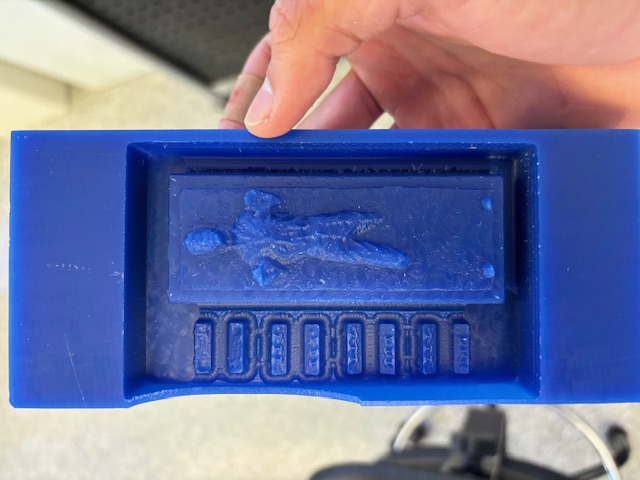
I then poured green silicone (Moldstar 15) into the mold and left it to cure under a heat lamp for several hours.
Once the silicone cured, I removed the negative:
Here’s the wax and the silicone side-by-side:
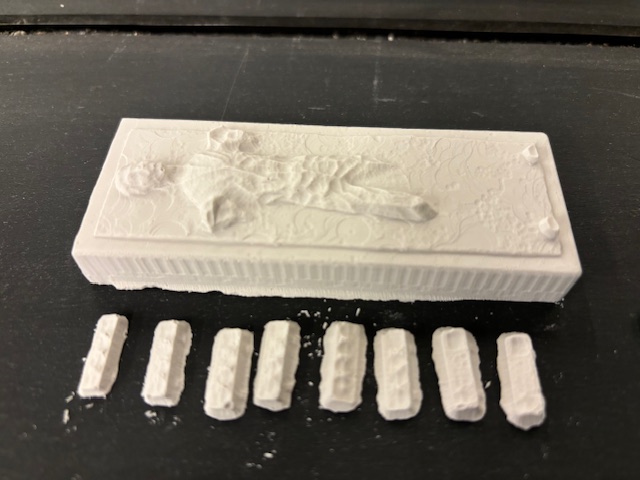
Next, I mixed some Drystone and poured it into the silicone mold to create the final cast. After letting it cure overnight, I took it out:
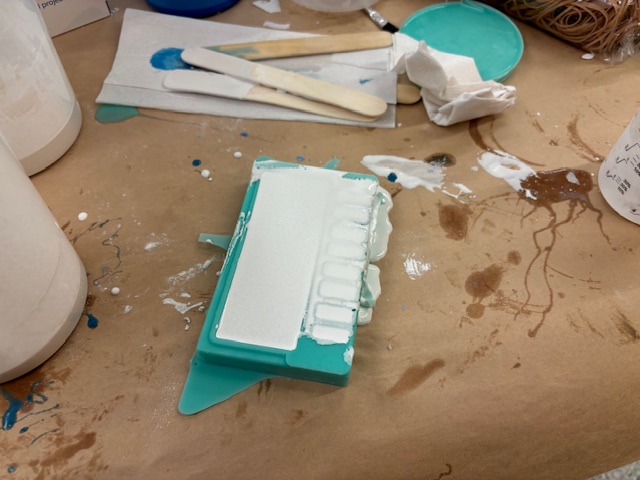
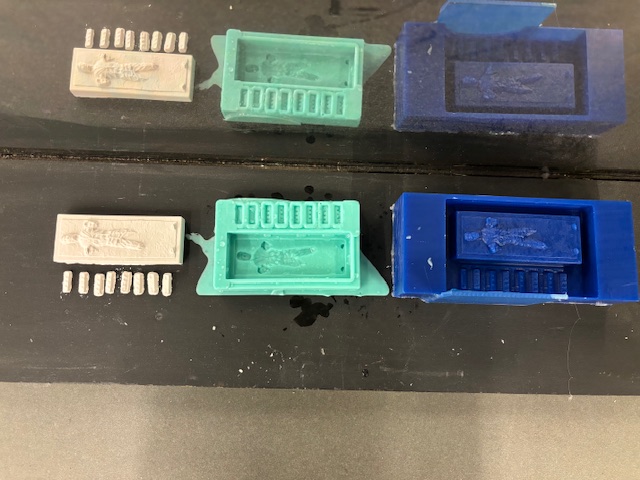
Here’s a shot of the wax, silicone mold, and Drystone cast side-by-side:
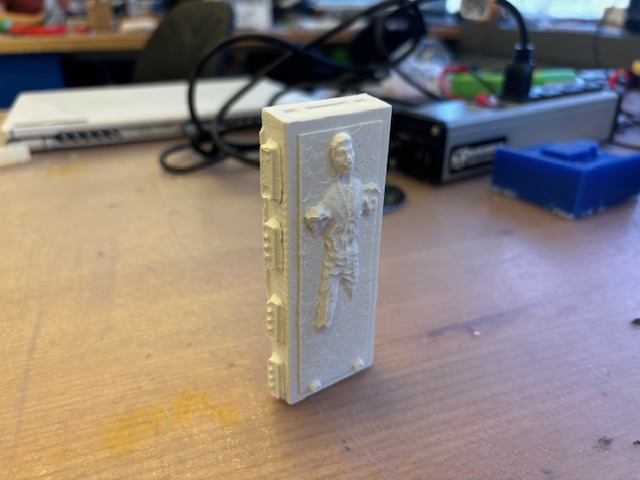
To finish up, I used superglue to attach the accessory pieces to the Han Solo cast:
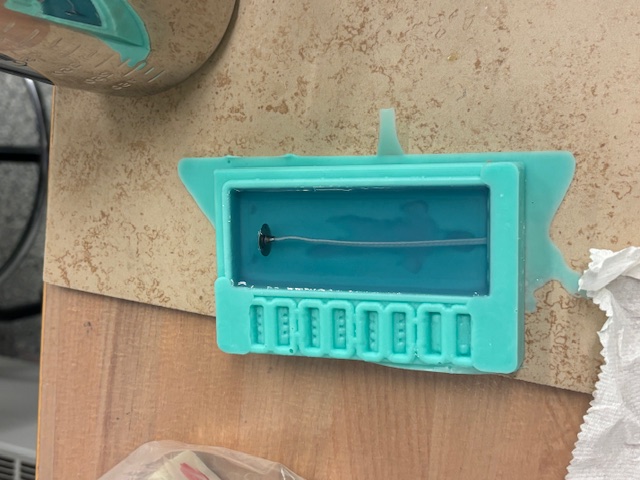
Later, Nathaniel brought some candle-making equipment and shared some scented wax with me after he poured his TARDIS. Here’s a photo right after pouring the wax into my mold:
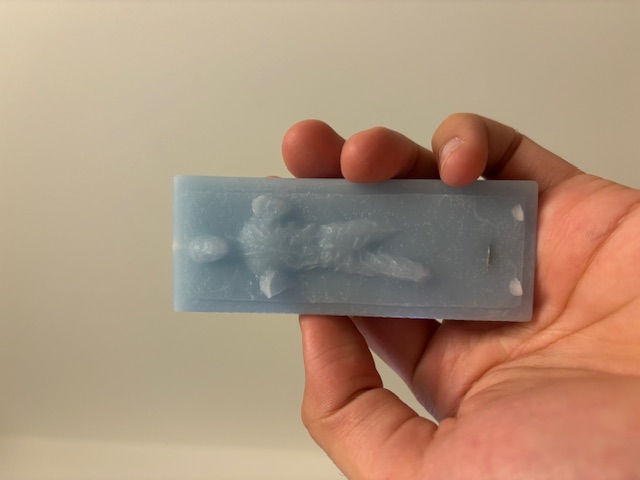
In hindsight, I would have made the model bigger and skipped the side accessories to capture more detail on Han Solo’s face. With more time, I’d also like to experiment with casting in metal. It’d be fun to replace Han’s face with my own STL!
← Back to main page