Introduction
This week I experimented with servos and solenoids, either/both of which I would eventually like to use in my final project (a piano-playing robot).
Testing a Servo Motor
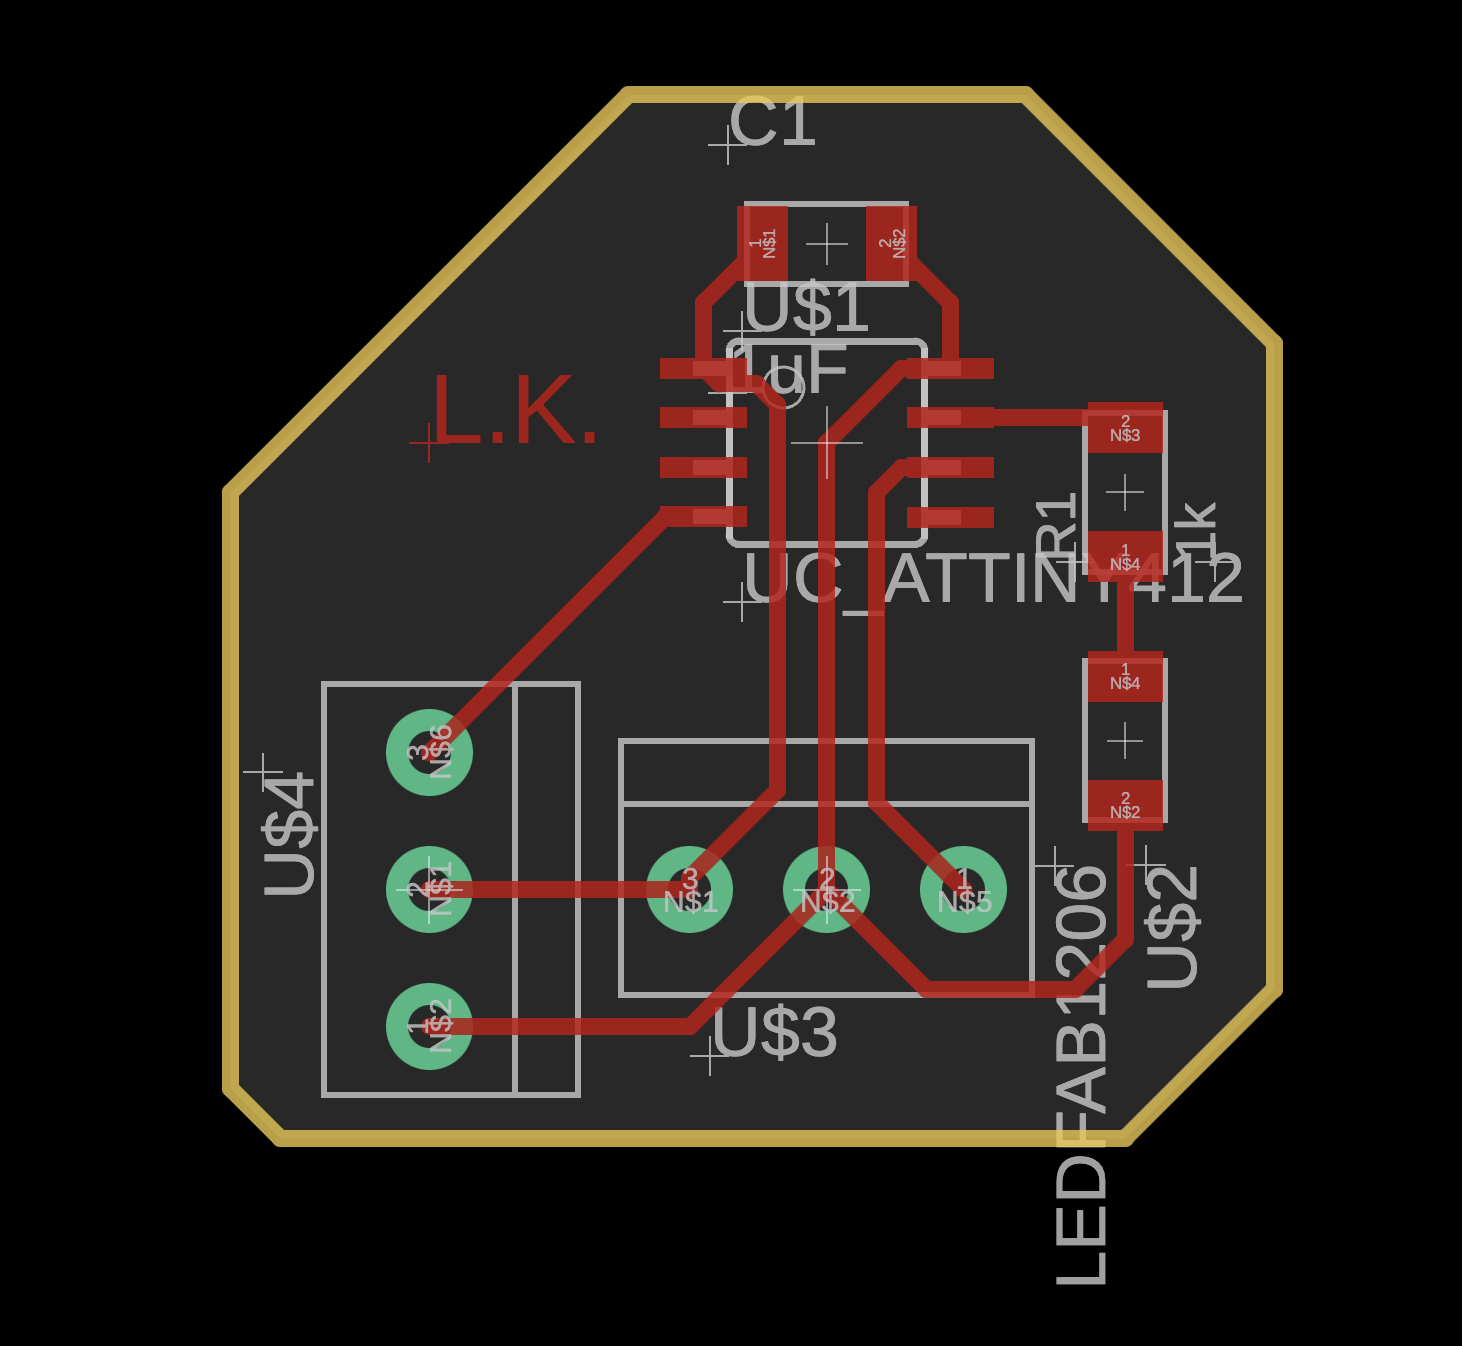
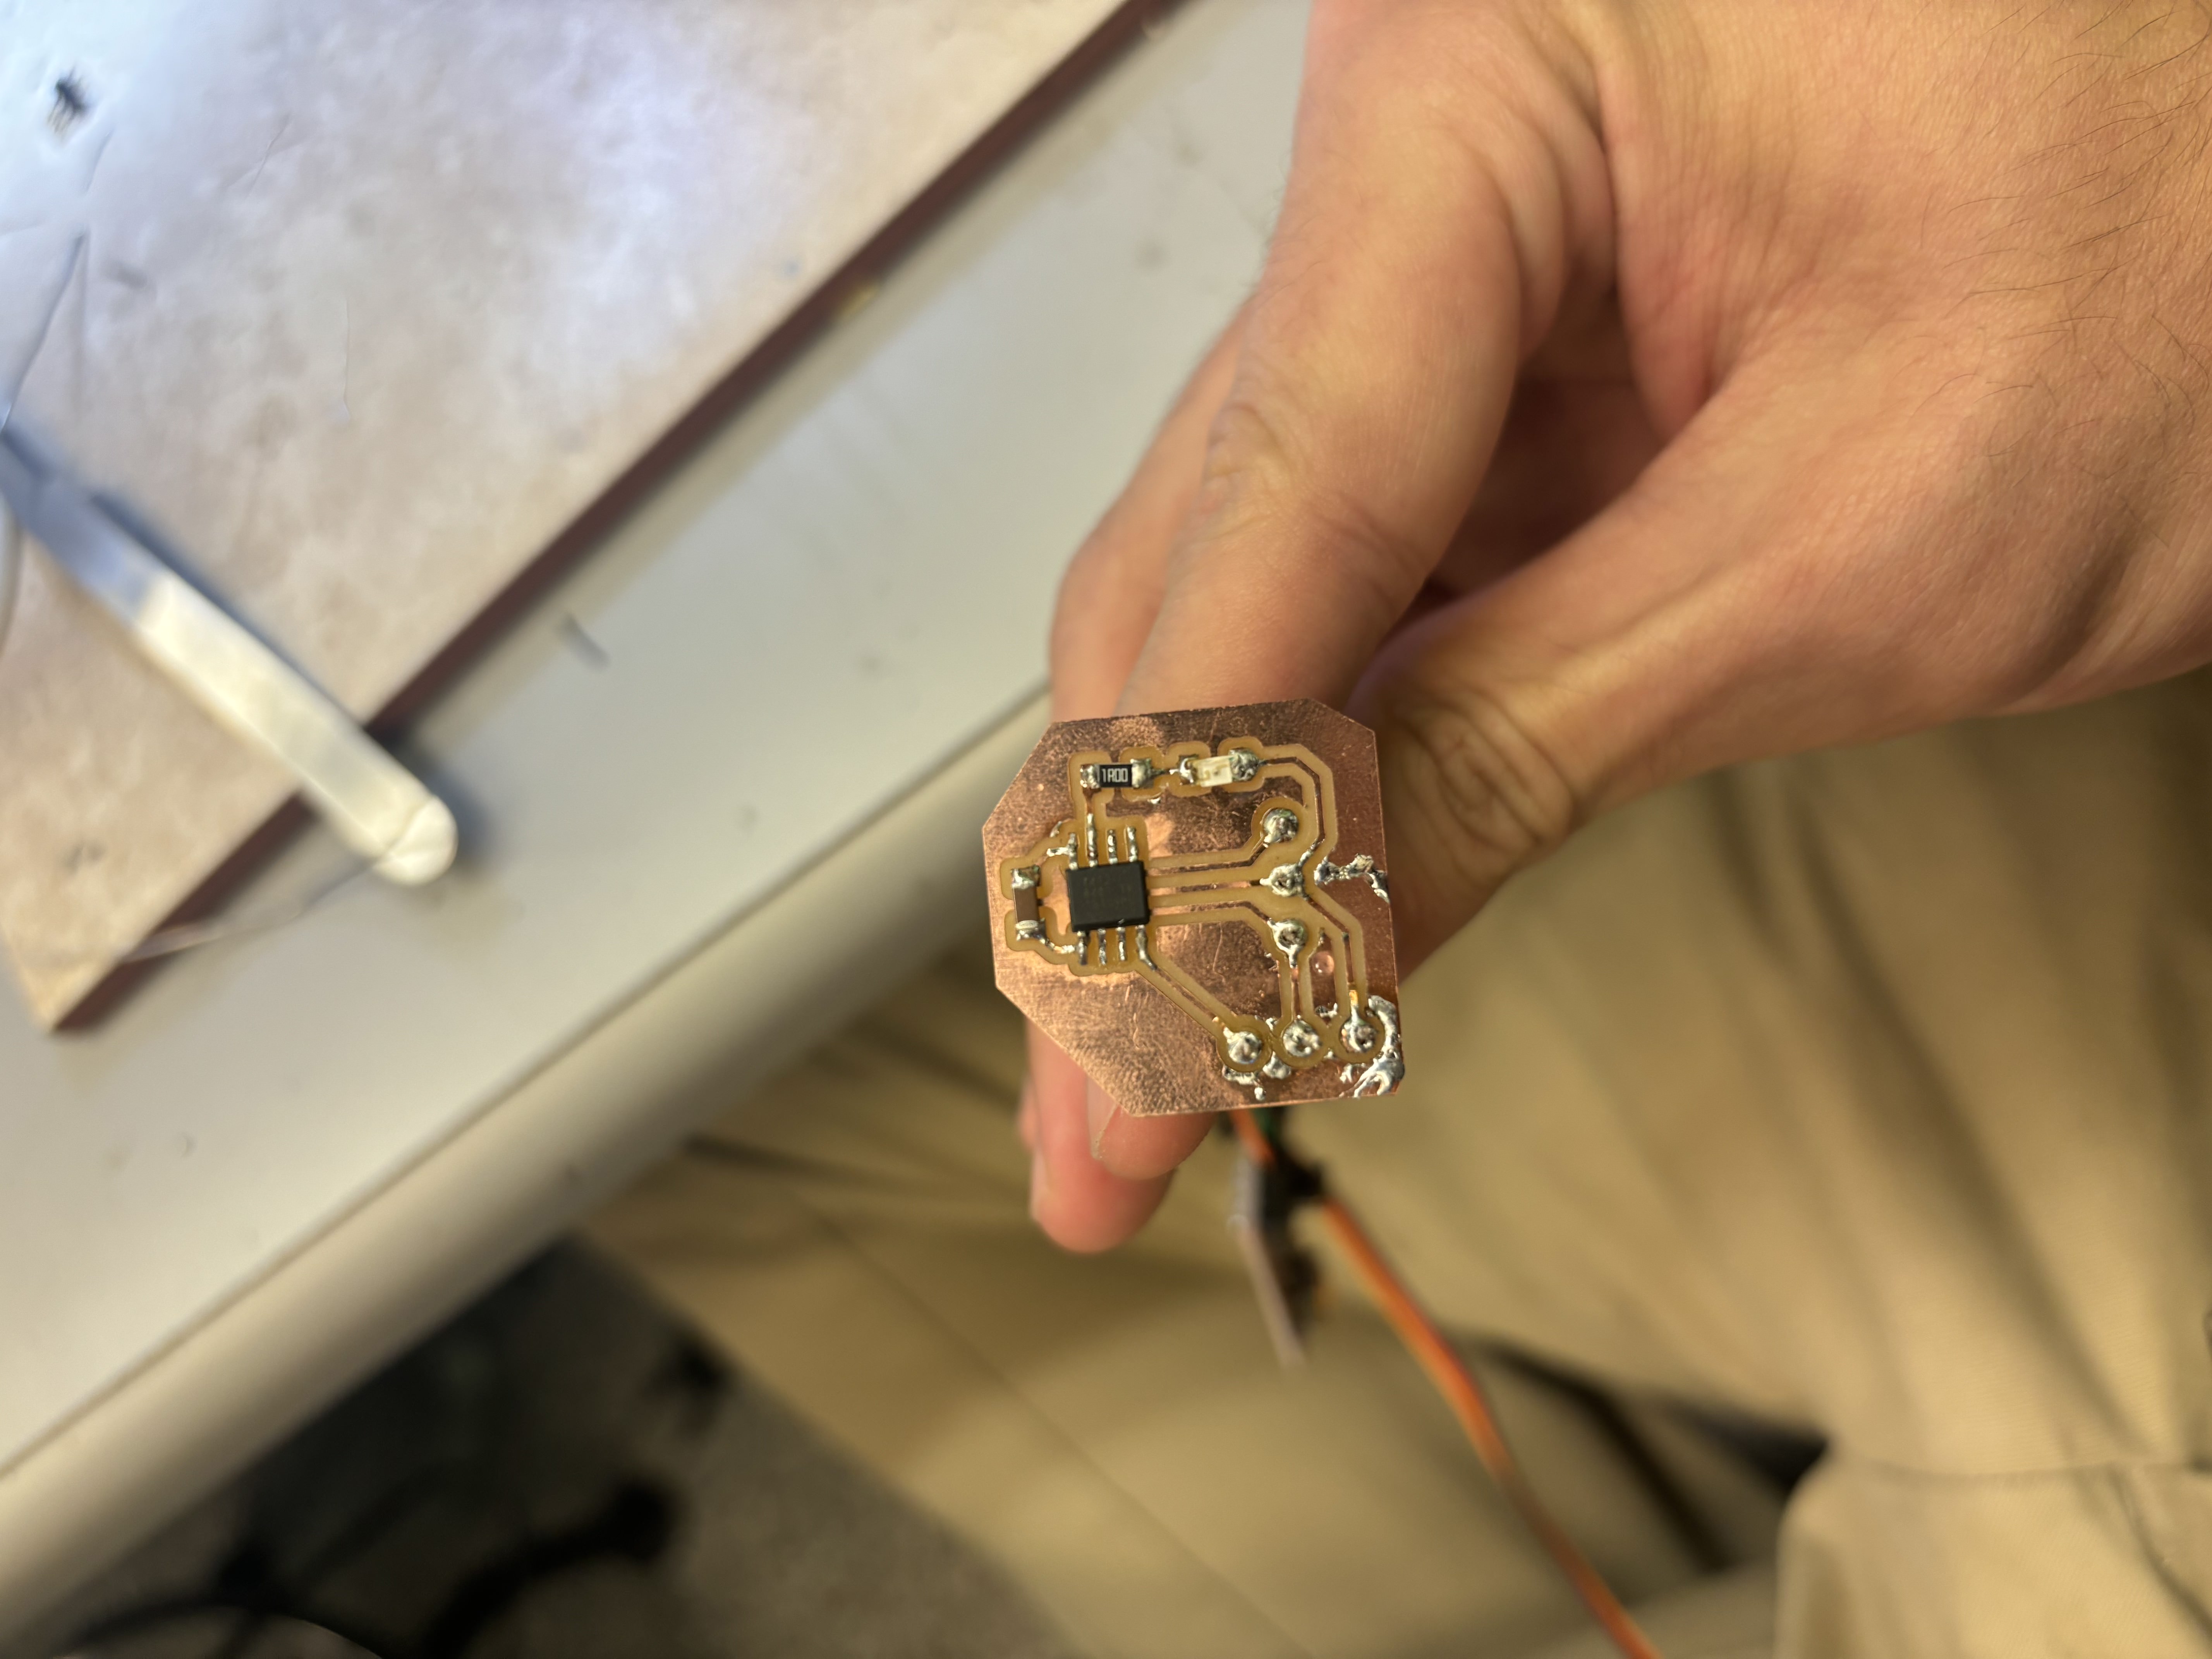
I first experimented with driving a servo motor. I created a test board for the ATTiny412 based on class board diagrams. Here is the PCB design and a photo of the soldered board:
I successfully drove a single servo motor using the following code:
#include <Servo.h>

#define delaytime 50
#define LED 4
#define SERVO 2

Servo servo;
int angle = 0;

void setup() {
    pinMode(LED, OUTPUT);
    servo.attach(SERVO);
}

void loop() {
    for (angle = 0; angle <= 180; ++angle) {
        servo.write(angle);
        delay(delaytime);
    }
    for (angle = 180; angle >= 0; --angle) {
        servo.write(angle);
        delay(delaytime);
    }
}
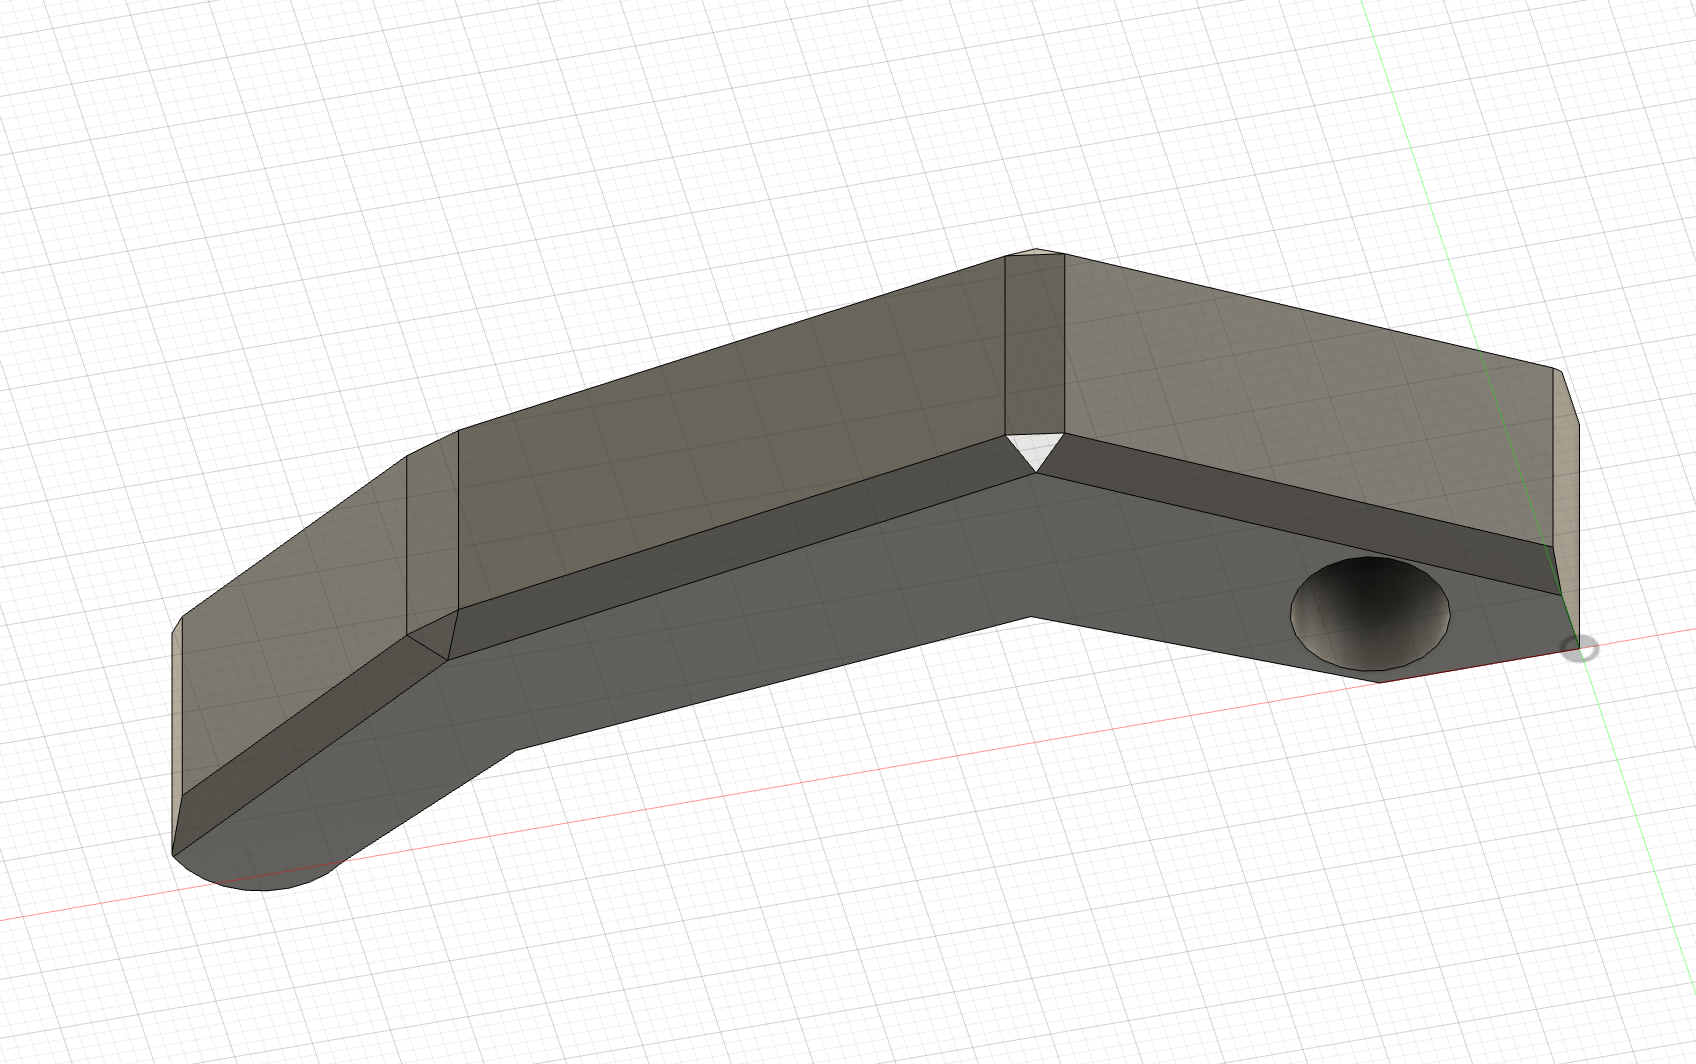
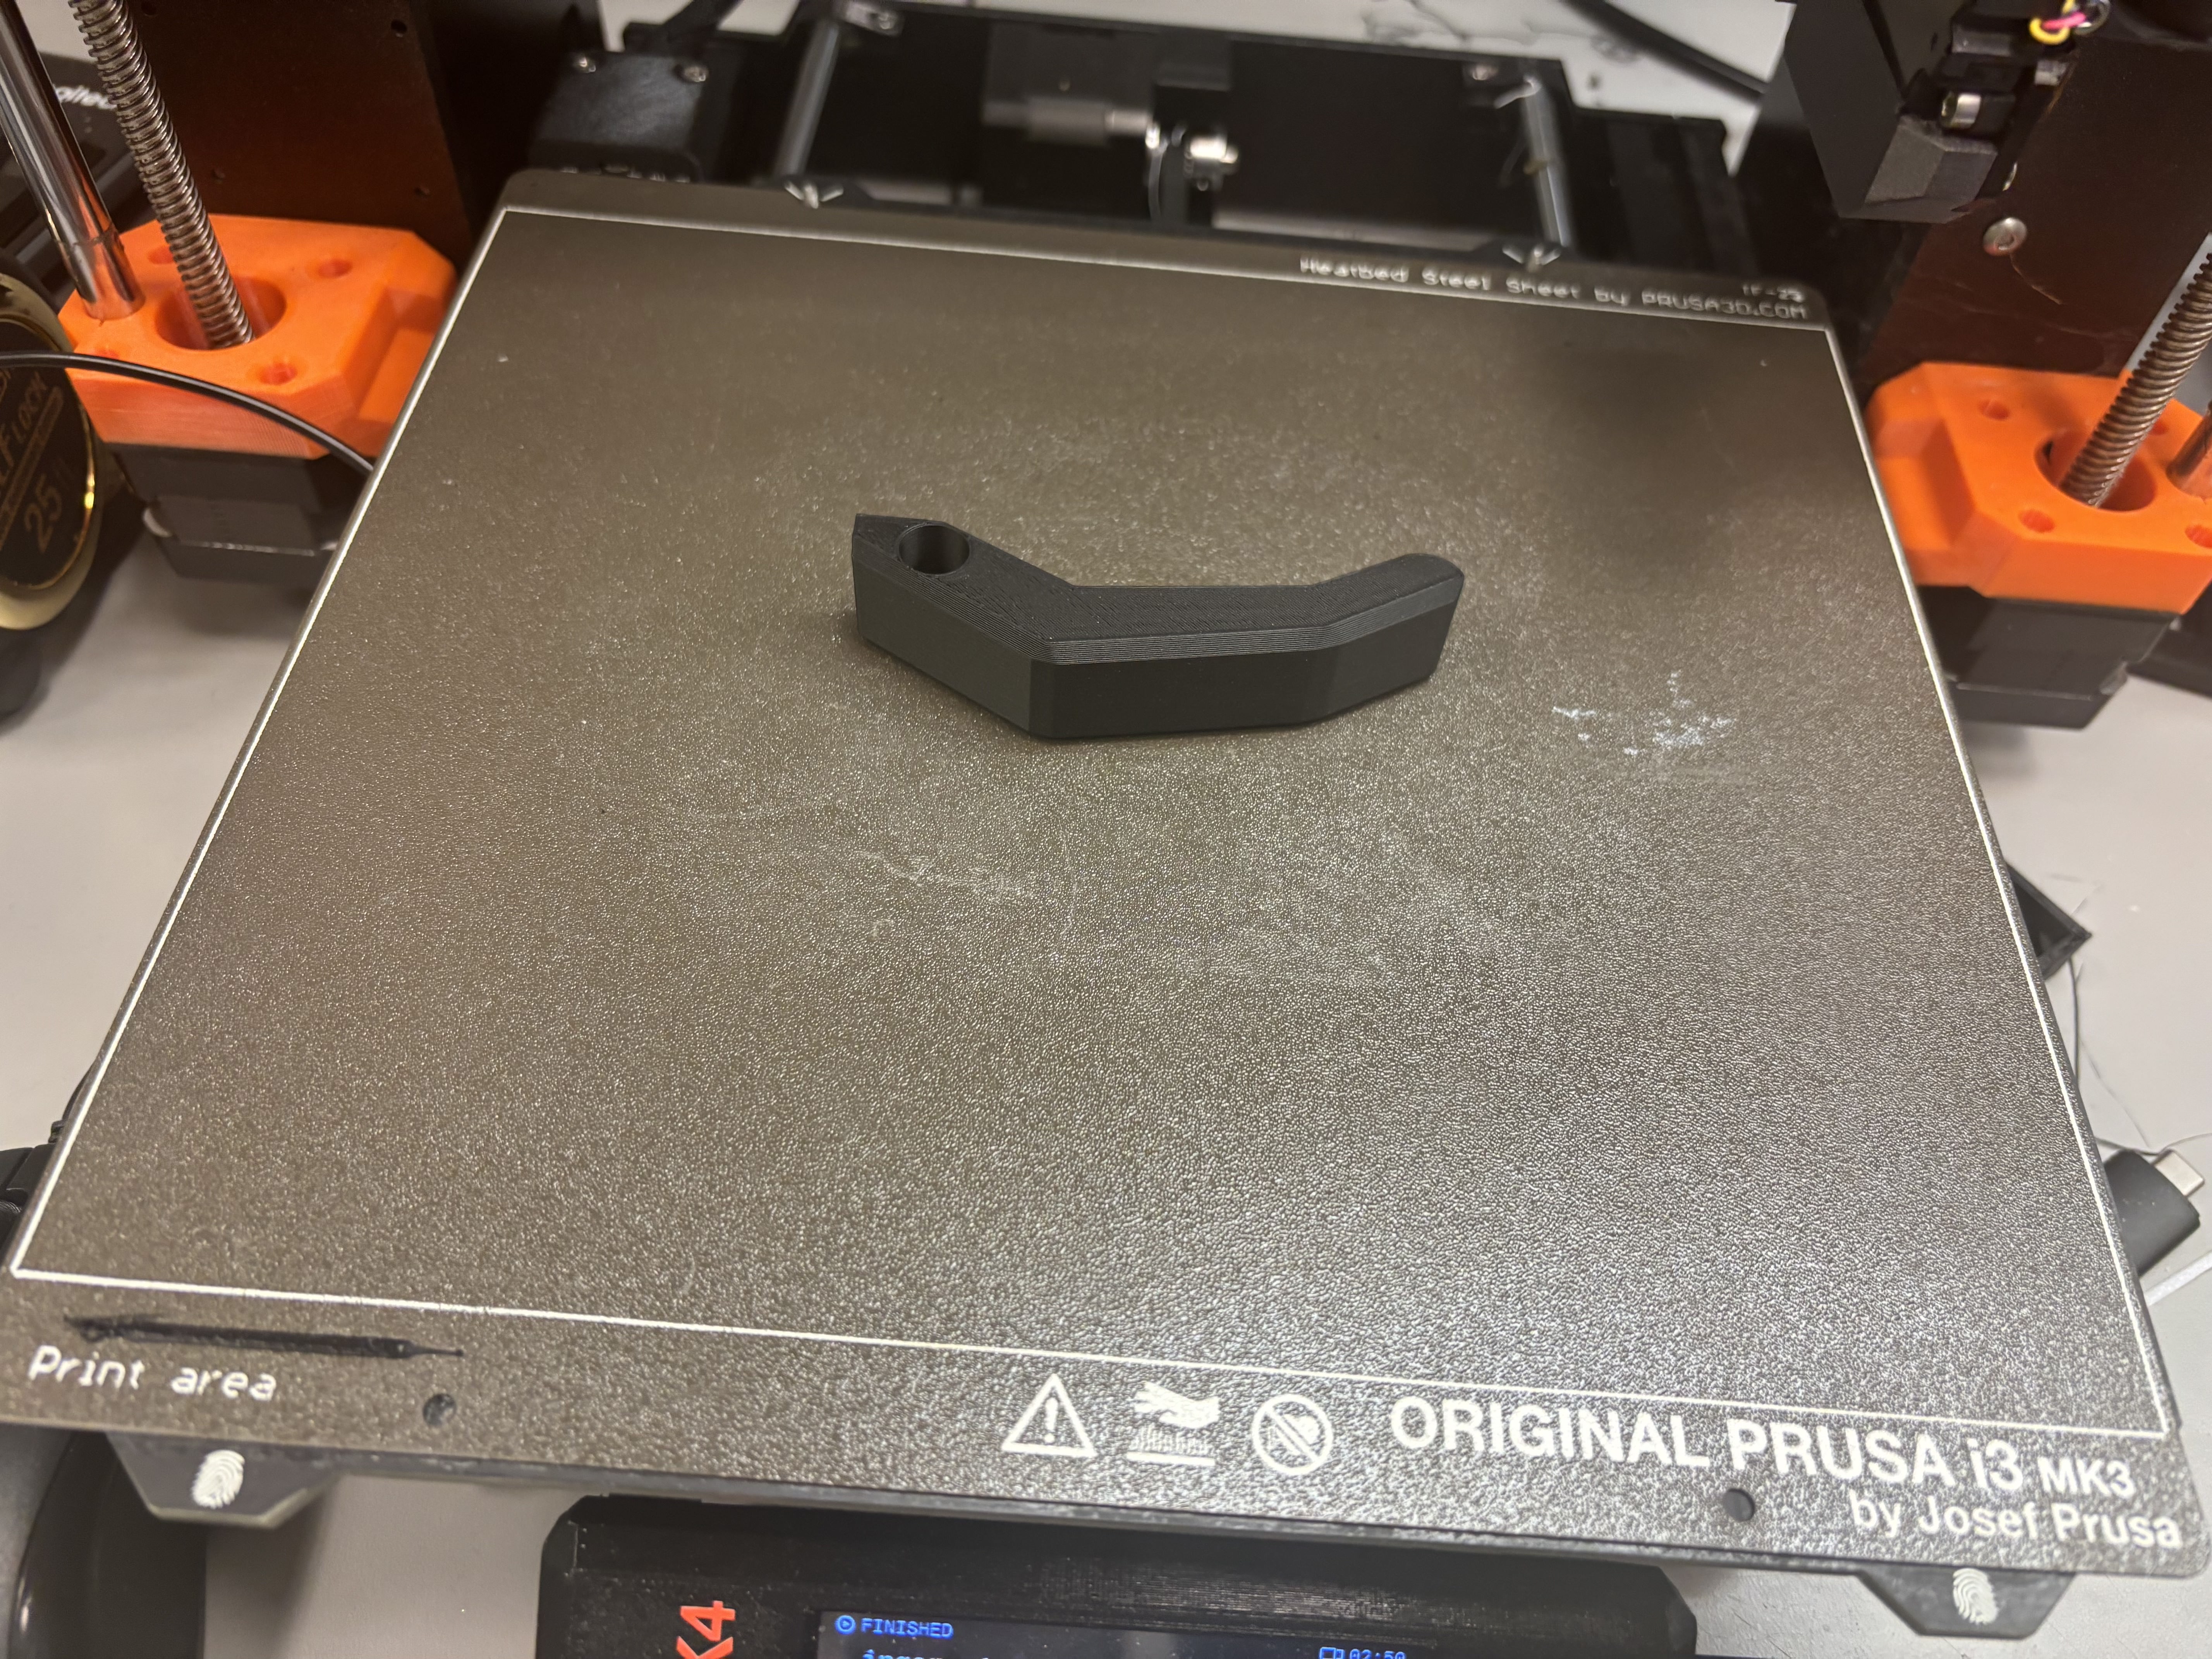
This code worked, although there was some nondeterministic behavior, likely due to power issues. I then designed and 3D-printed a "finger" attachment to fit onto the spindle of the servo to press down a piano key. Here is the model and a photo of the printed part:
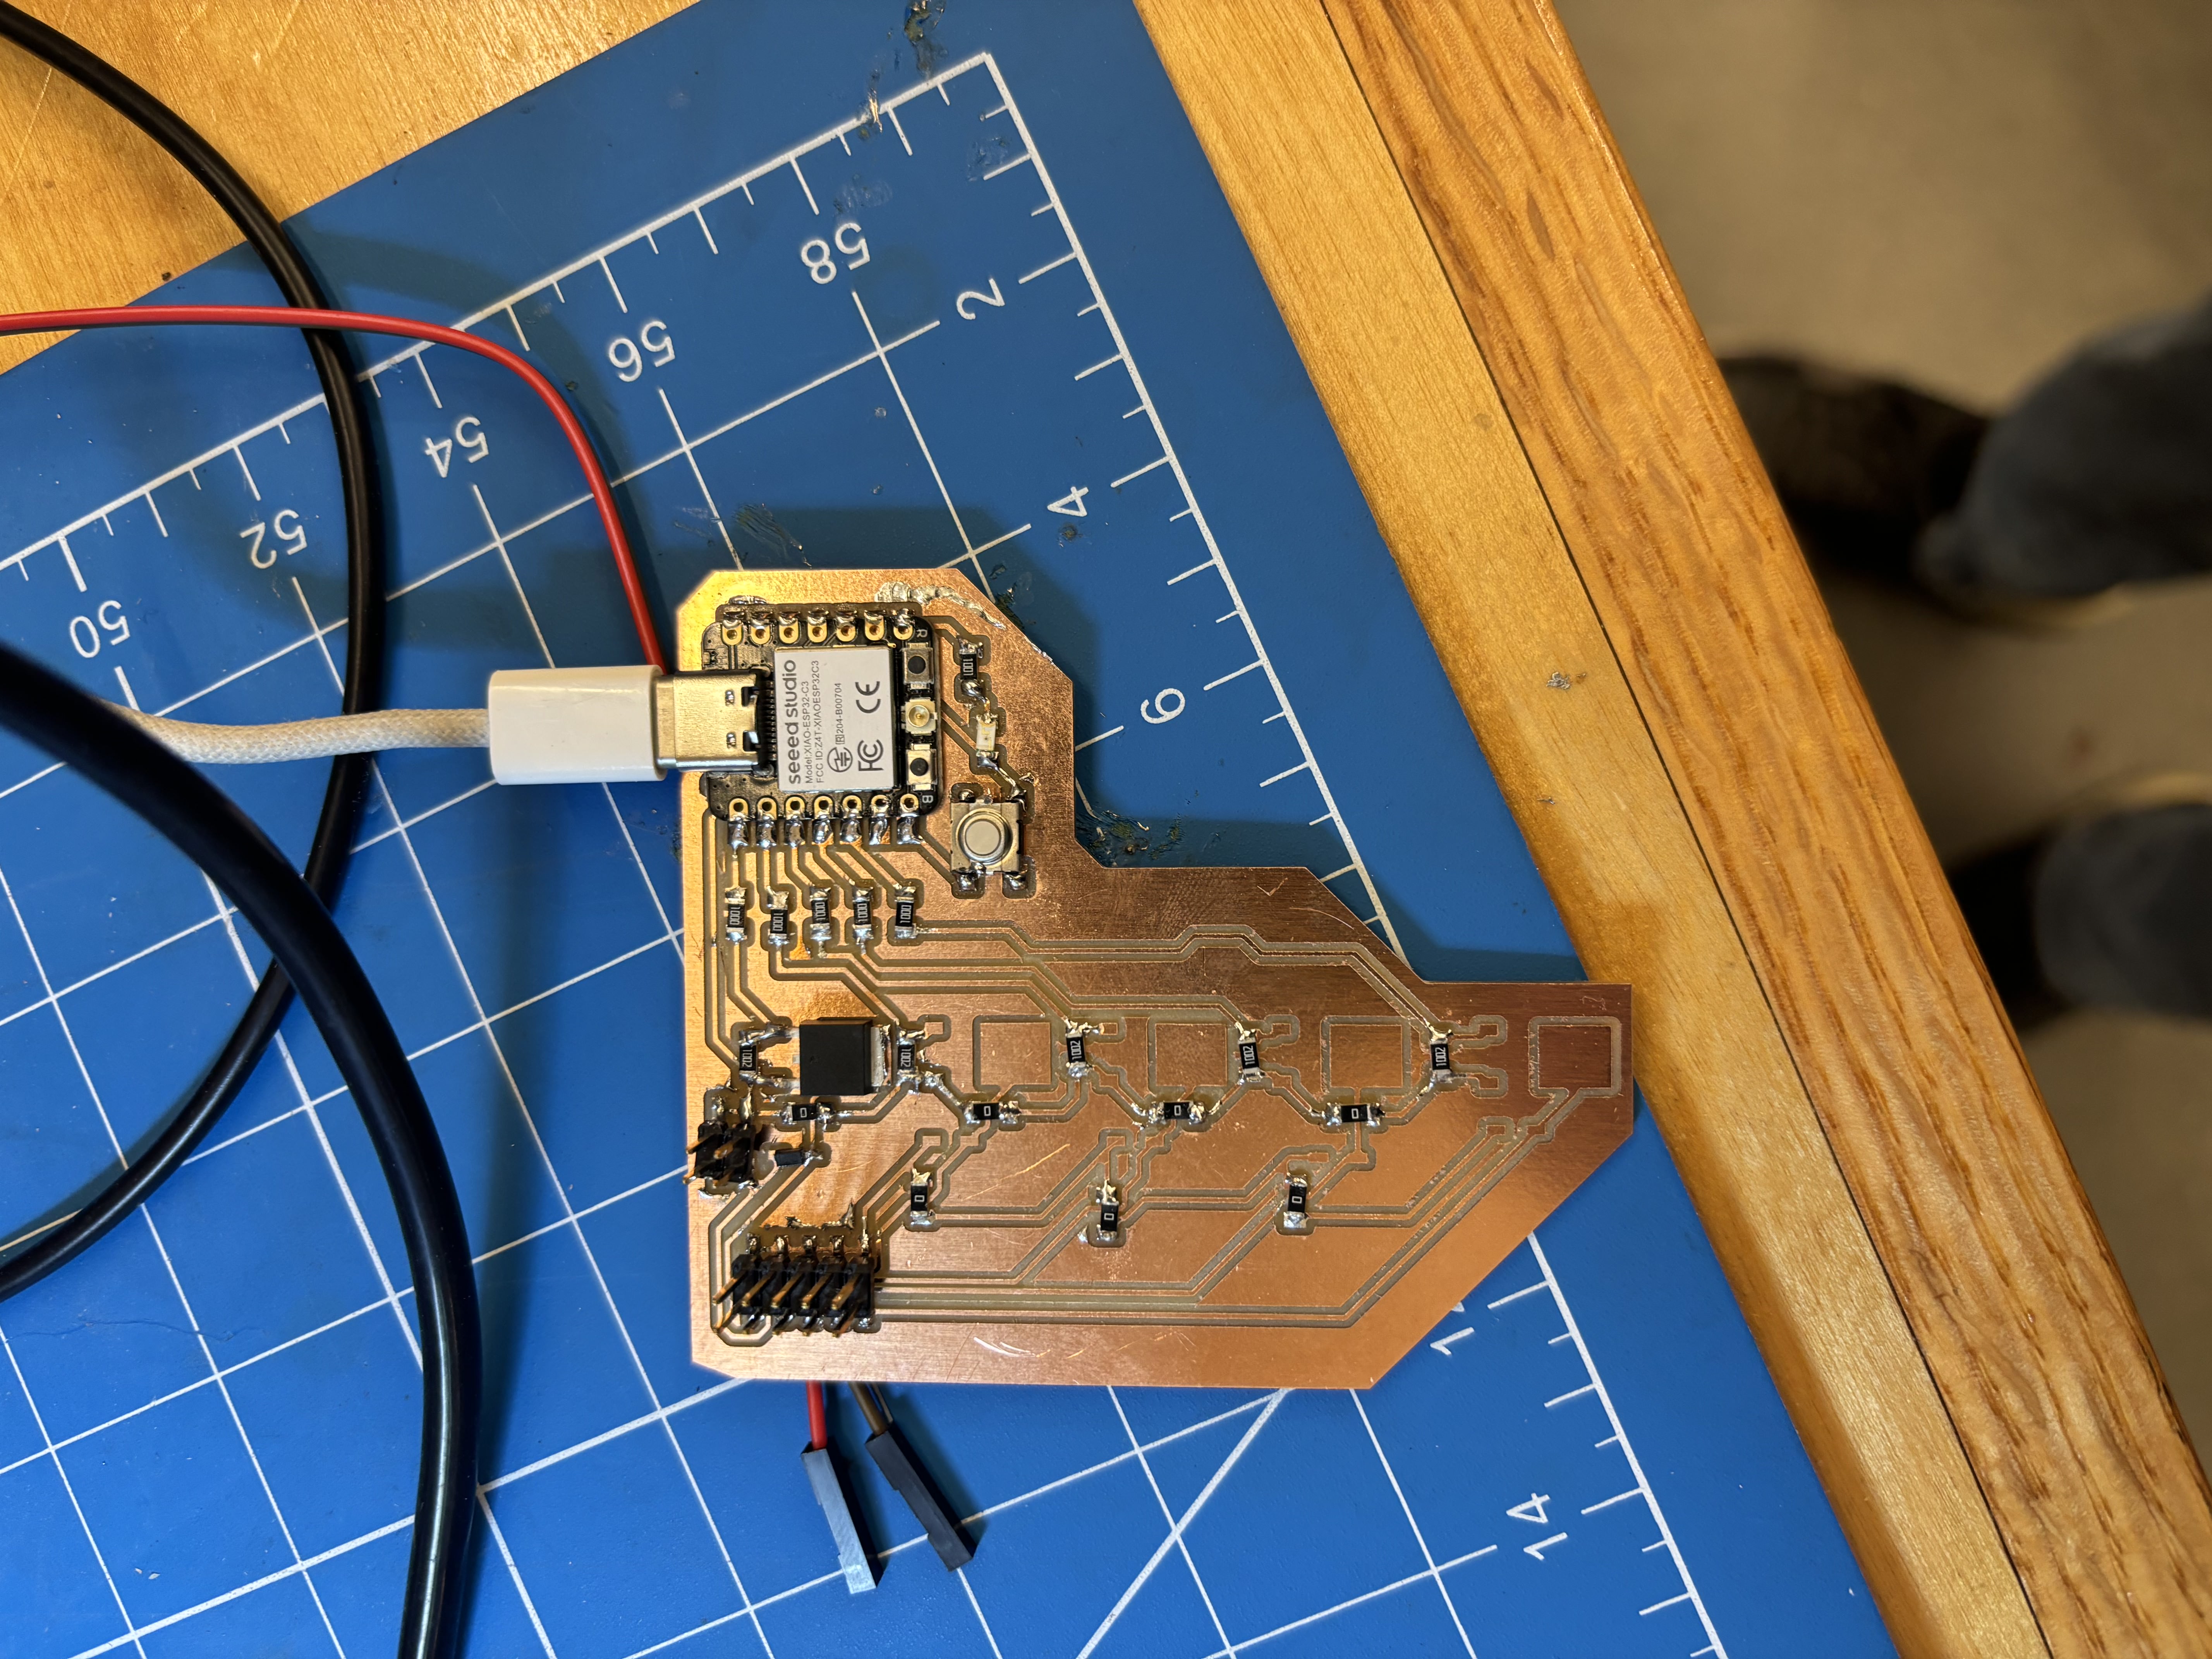
Testing Solenoids with XIAO ESP32-C3
Next, I designed and milled a PCB using the XIAO ESP32-C3 to control 5 N-MOSFETs, which guide 5 solenoids powered by a 12V supply. Here’s the PCB design:

After milling and soldering the necessary components, I tested a single solenoid, then moved on to controlling all five solenoids. Here’s the code I used for driving the solenoids:
#define NUM_SOLENOIDS 5
int solenoidPins[NUM_SOLENOIDS] = {D0, D1, D2, D3, D4};  // Define solenoid GPIO pins

void setup() {
    for (int i = 0; i < NUM_SOLENOIDS; i++) {
        pinMode(solenoidPins[i], OUTPUT);  // Set each solenoid pin as output
    }
}

void loop() {
    for (int i = 0; i < NUM_SOLENOIDS; i++) {
        digitalWrite(solenoidPins[i], HIGH);  // Activate the current solenoid
        delay(1000);                          // Keep it activated for 1 second
        digitalWrite(solenoidPins[i], LOW);   // Deactivate the current solenoid
        delay(1000);                          // Keep it deactivated for 1 second
    }
}
Here are the videos demonstrating the solenoids in action:
One challenge was ensuring the ESP32-C3 and 12V power supply grounds were connected to activate the solenoids correctly.
Testing Solenoid on Piano Key
I attached my 3D-printed finger underneath the solenoid rod and tested it on a piano key. Here’s the video:
Testing LM4871 Circuit for Audio Output
Finally, I added a speaker to the LM4871 amplifier circuit from my PCB Piano project (Week 5). Here it is in action, demonstrating sine, square, triangle, and sawtooth waveforms: