Overview
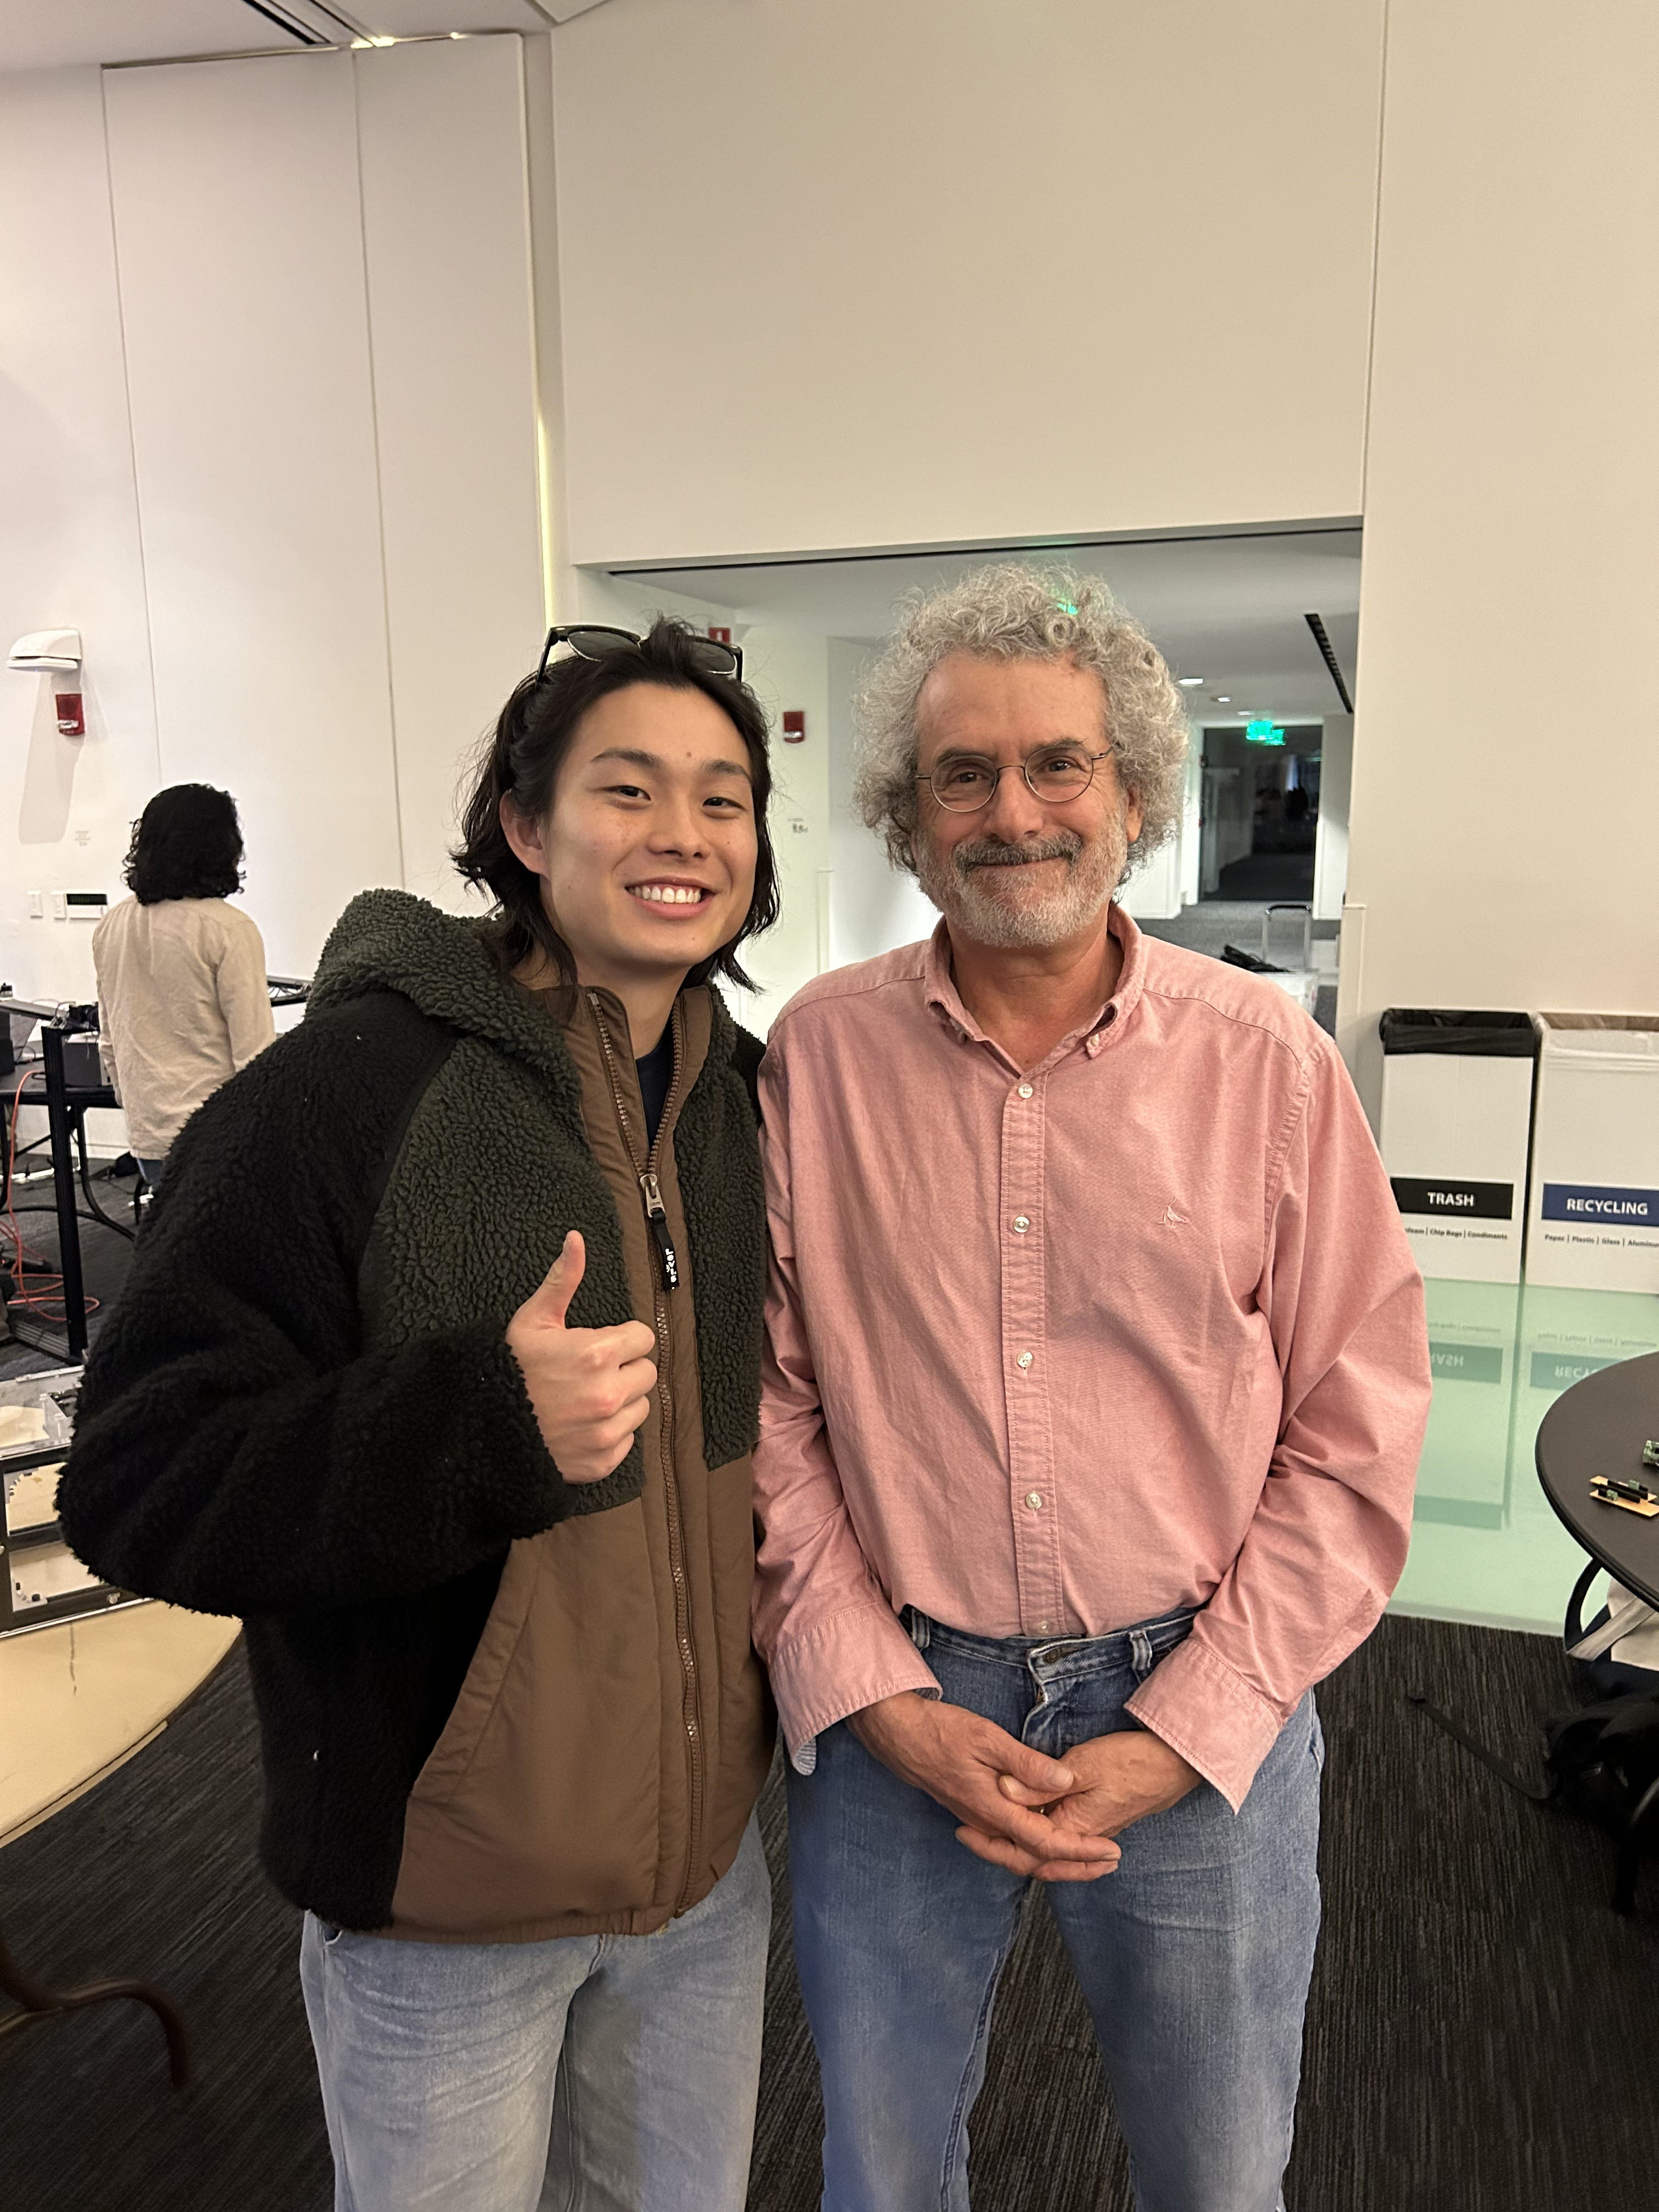
Holy shit. This has been my absolute favorite class this semester. I've learned so much—not just how to make things, but how to think. How to problem-solve, be creative, ask dumb questions, bang my head against the wall until an idea clicks. I've never felt this immersed, especially this past week of grinding. It's freeing in a way that's hard to describe—working all the time, but not wanting to do anything else. I was nervous about the hours, but this is what I came to MIT for.
Shoutouts
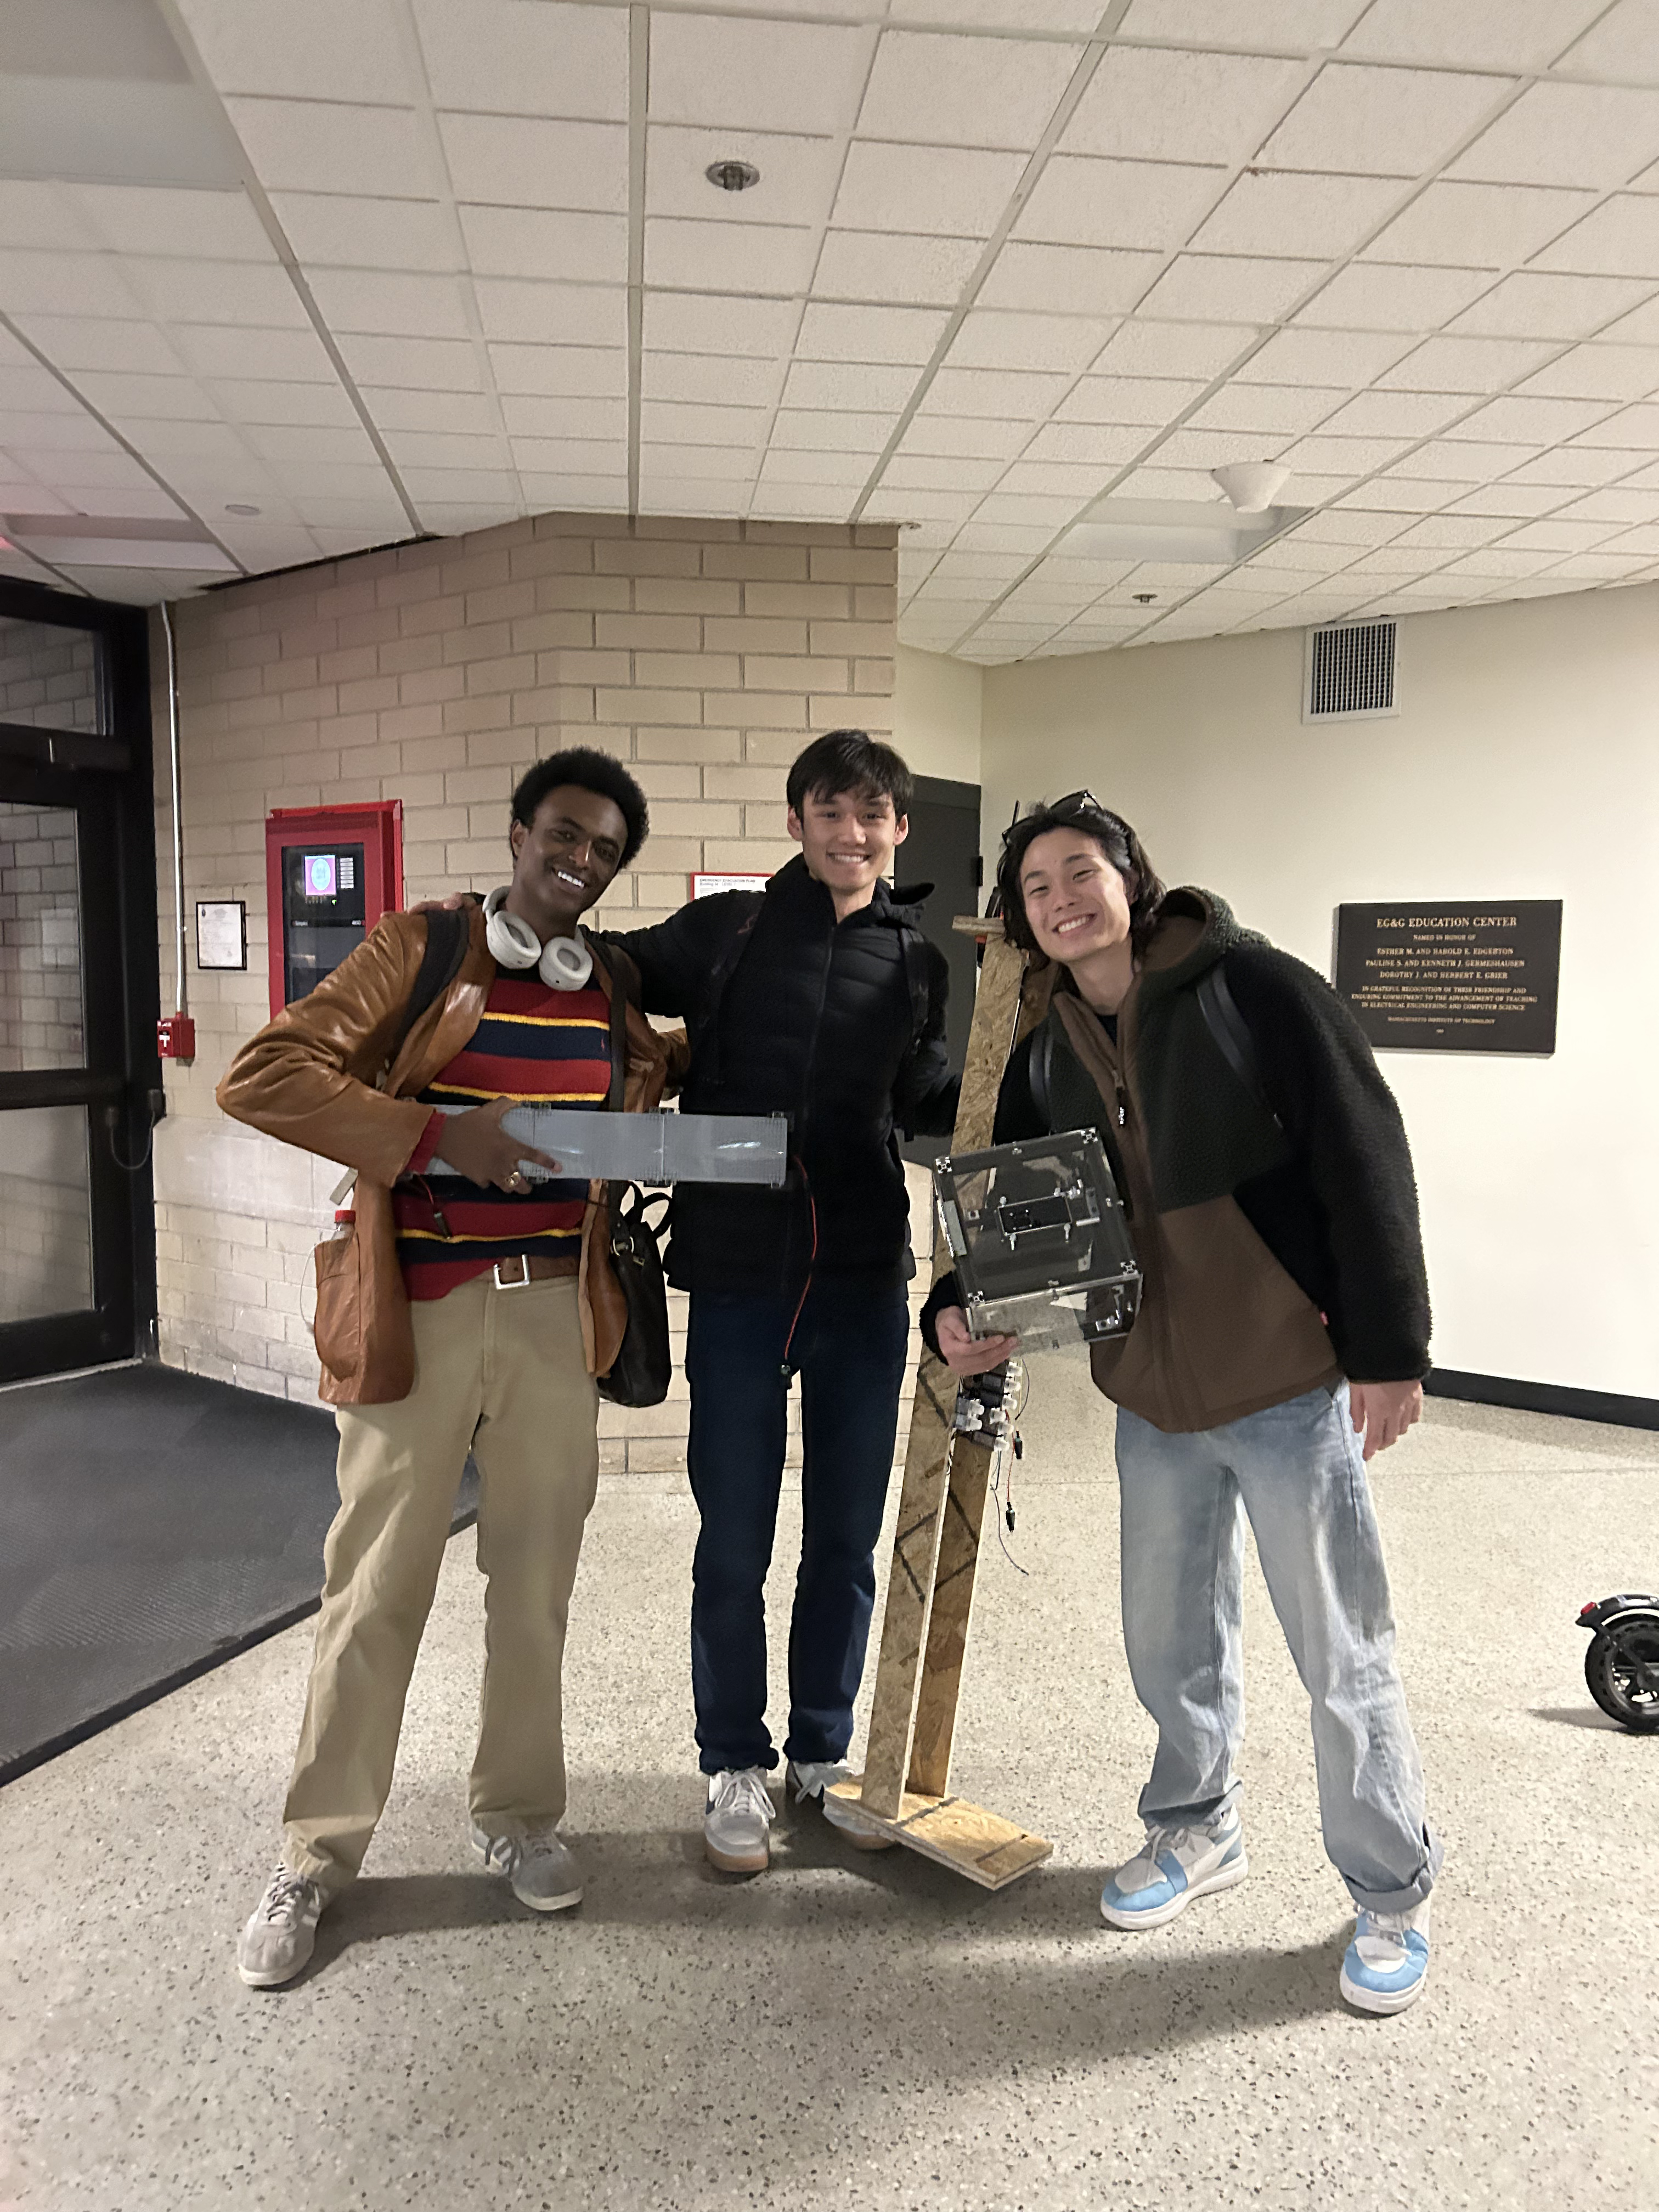
I need to start with the biggest shoutouts because this project wouldn't have been possible without an incredible support crew:
- Sam Bruce, the G.O.A.T.—helped me plan my PCB, debug my Arduino code, and find joy in hardware. Super reliable guy with so much patience.
- Yuval, my Israeli brother—Brother has a gift for design like Steve Jobs.
- Alec, who isn't even affiliated with the How to make class but I just be bothering him a lot and feel bad but he's always willing to help.
- Anthony Pennes, putting his health on the line selflessly pulling all nighters to help us deliver our projects in time.
- Laxman Kafles, one of the leaders in the EECS sections and always willing to help me.
The Project
For my final project, I decided to make a smart lock that could do facial recognition. My initial ambitious goal was to have a lock that could 1) recognize my face 2) recognize my voice 3) recognize my fingerprint. But due to the constraints of the EDS lab I ended up putting all my eggs on facial recognition. The goal was to build something complete that involved many of the weeks that we learned from. I wanted it to be wireless, connect to the wifi, and build something big around it.
Building up towards the final project I am very glad that I took Neil's advice to start early on and build towards my final project. I was able to use some previous week's work as proof of concept working towards my final project. My main tools to build the project was Fusion360 and Arduino. All of my design and code will be attached to the bottom open source so you guys can plagiarize anytime.
Tools and Build Process
I relied heavily on Fusion360 for design and Arduino for coding. My microcontroller of choice: the Xiao ESP32-S3—Wi-Fi, Bluetooth, integrated camera, and microphone. An elite microcontroller (and definitely not because everyone told me to use it).
Power and PCB Design
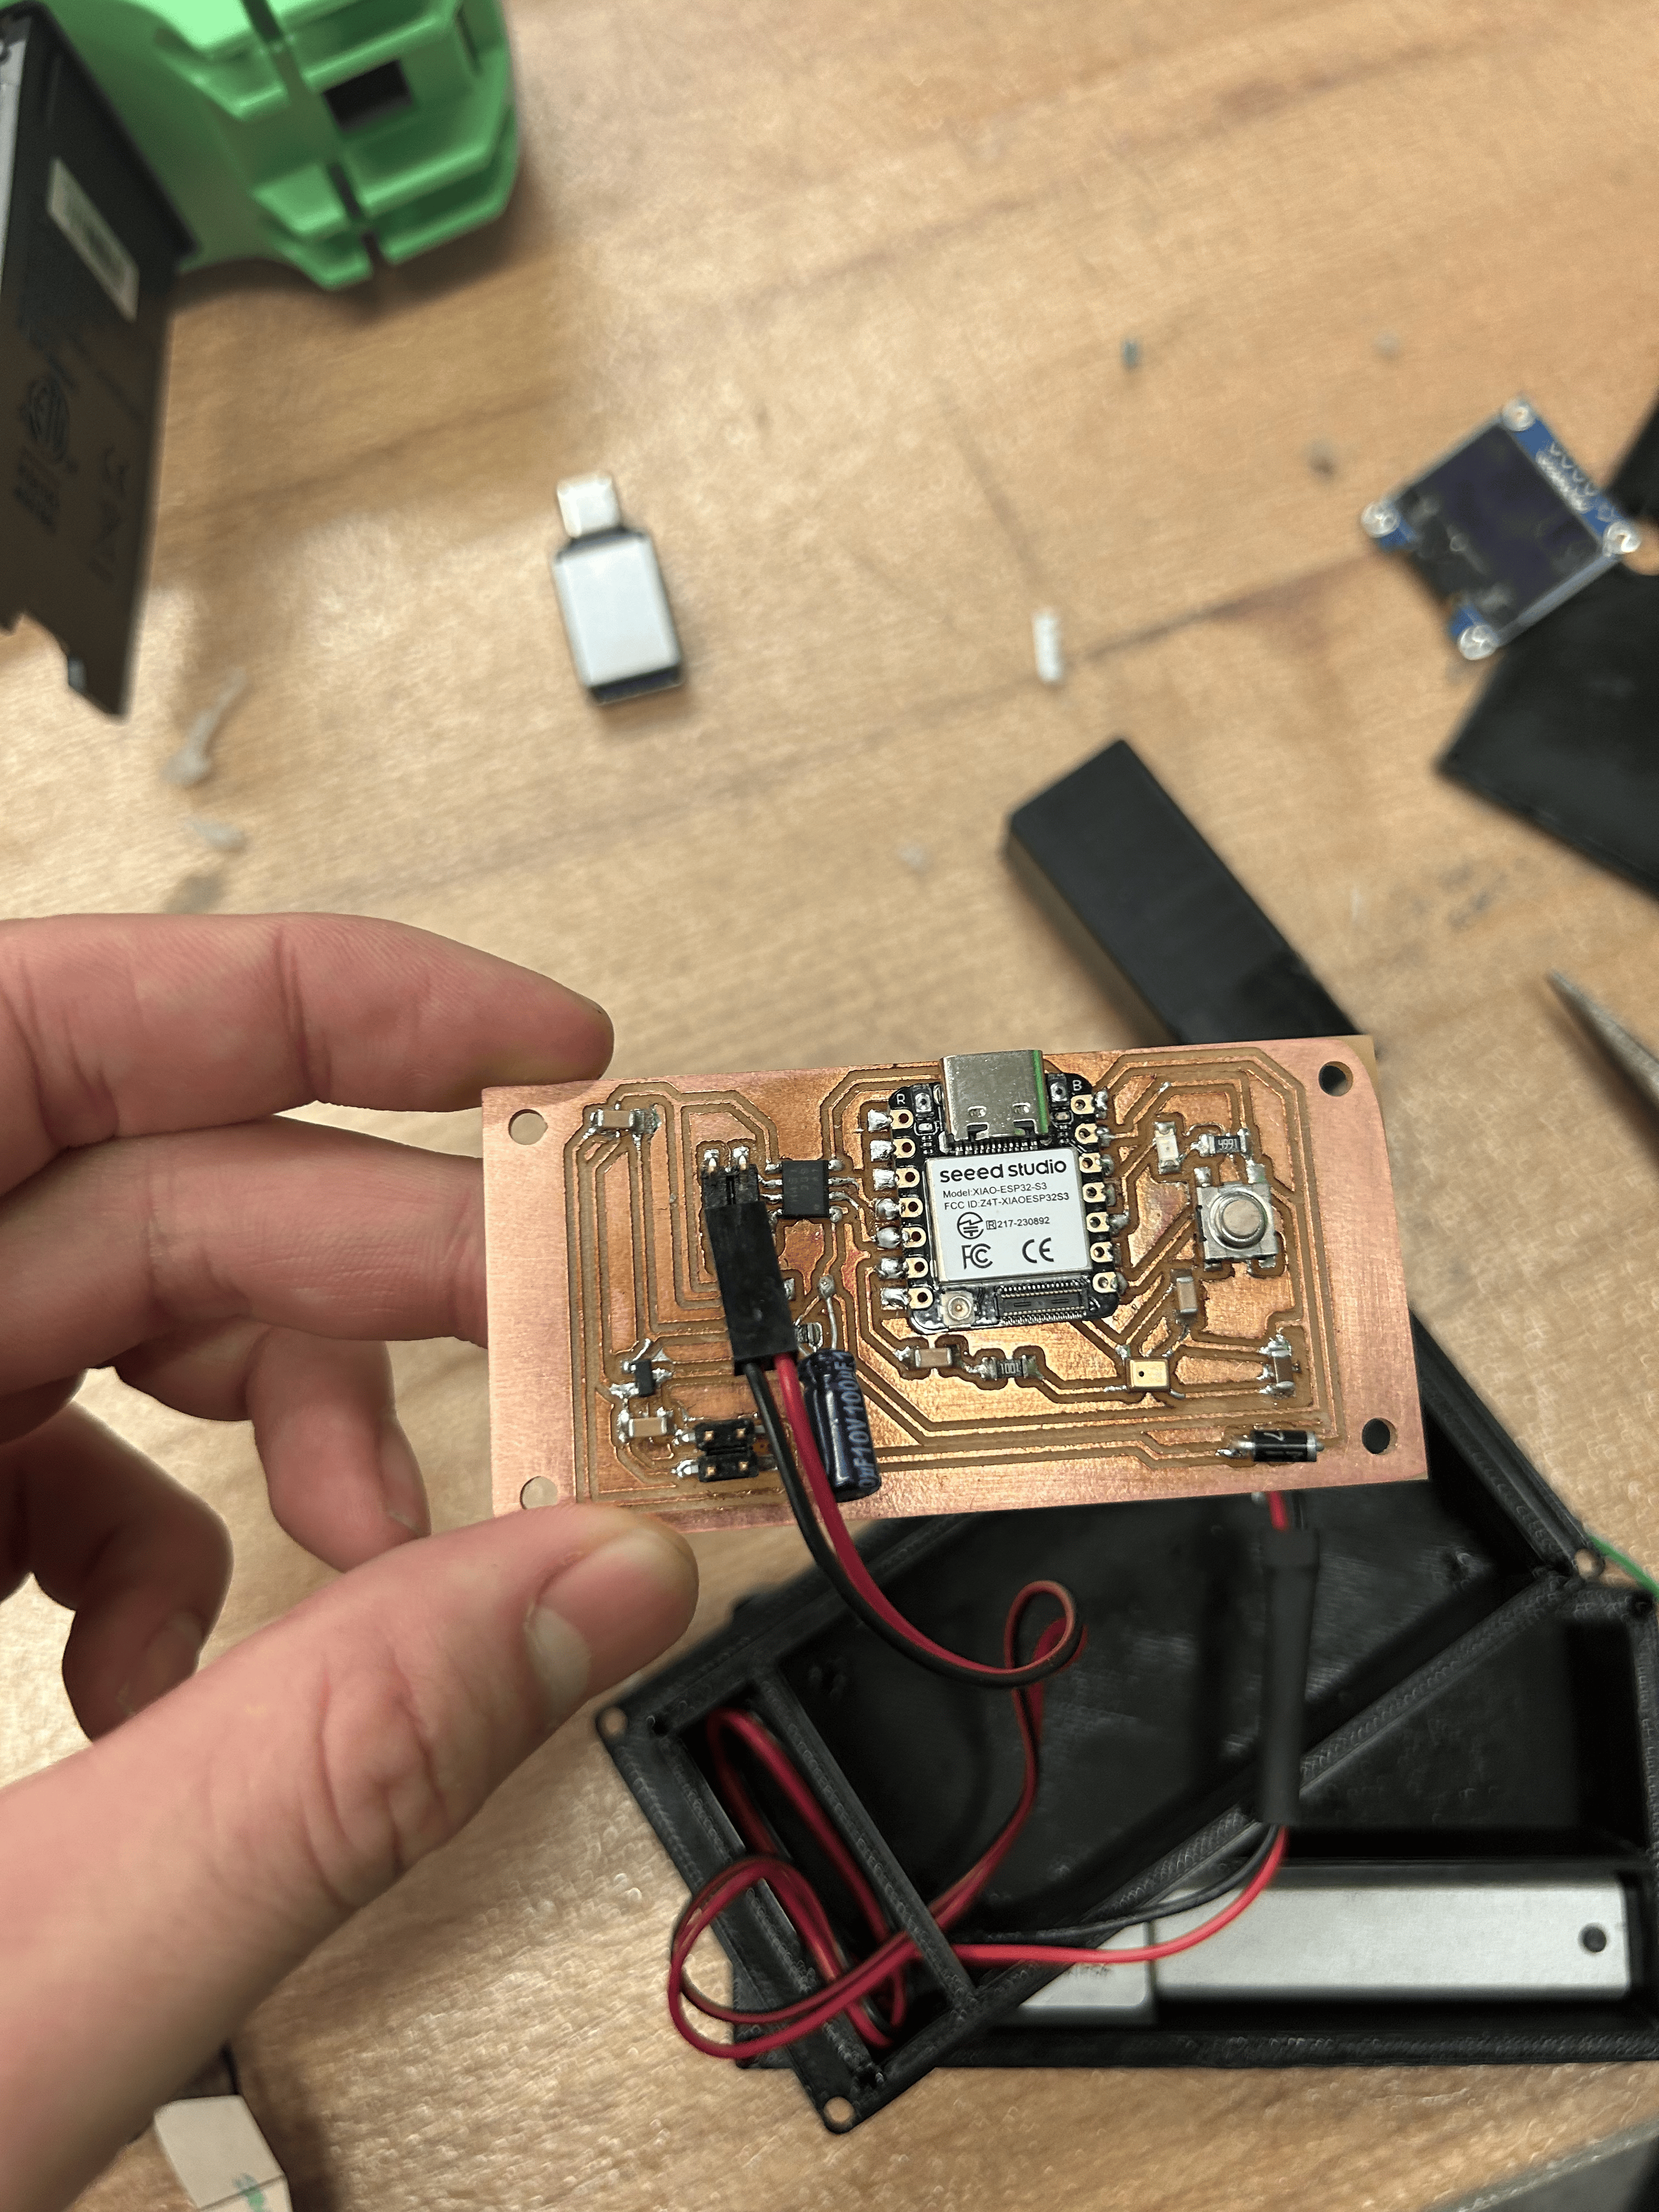
With guidance from Sam, I powered a 12V linear actuator using an H-bridge to control polarity, enabling bidirectional movement. This project taught me the importance of:
- Voltage regulation: I used a 9V battery connected to a regulator to supply 5V to the microcontroller.
- Diodes: Prevent voltage backflow that could damage components.
- Resistors and capacitors: I still don't fully understand their magic, but I now respect their necessity.
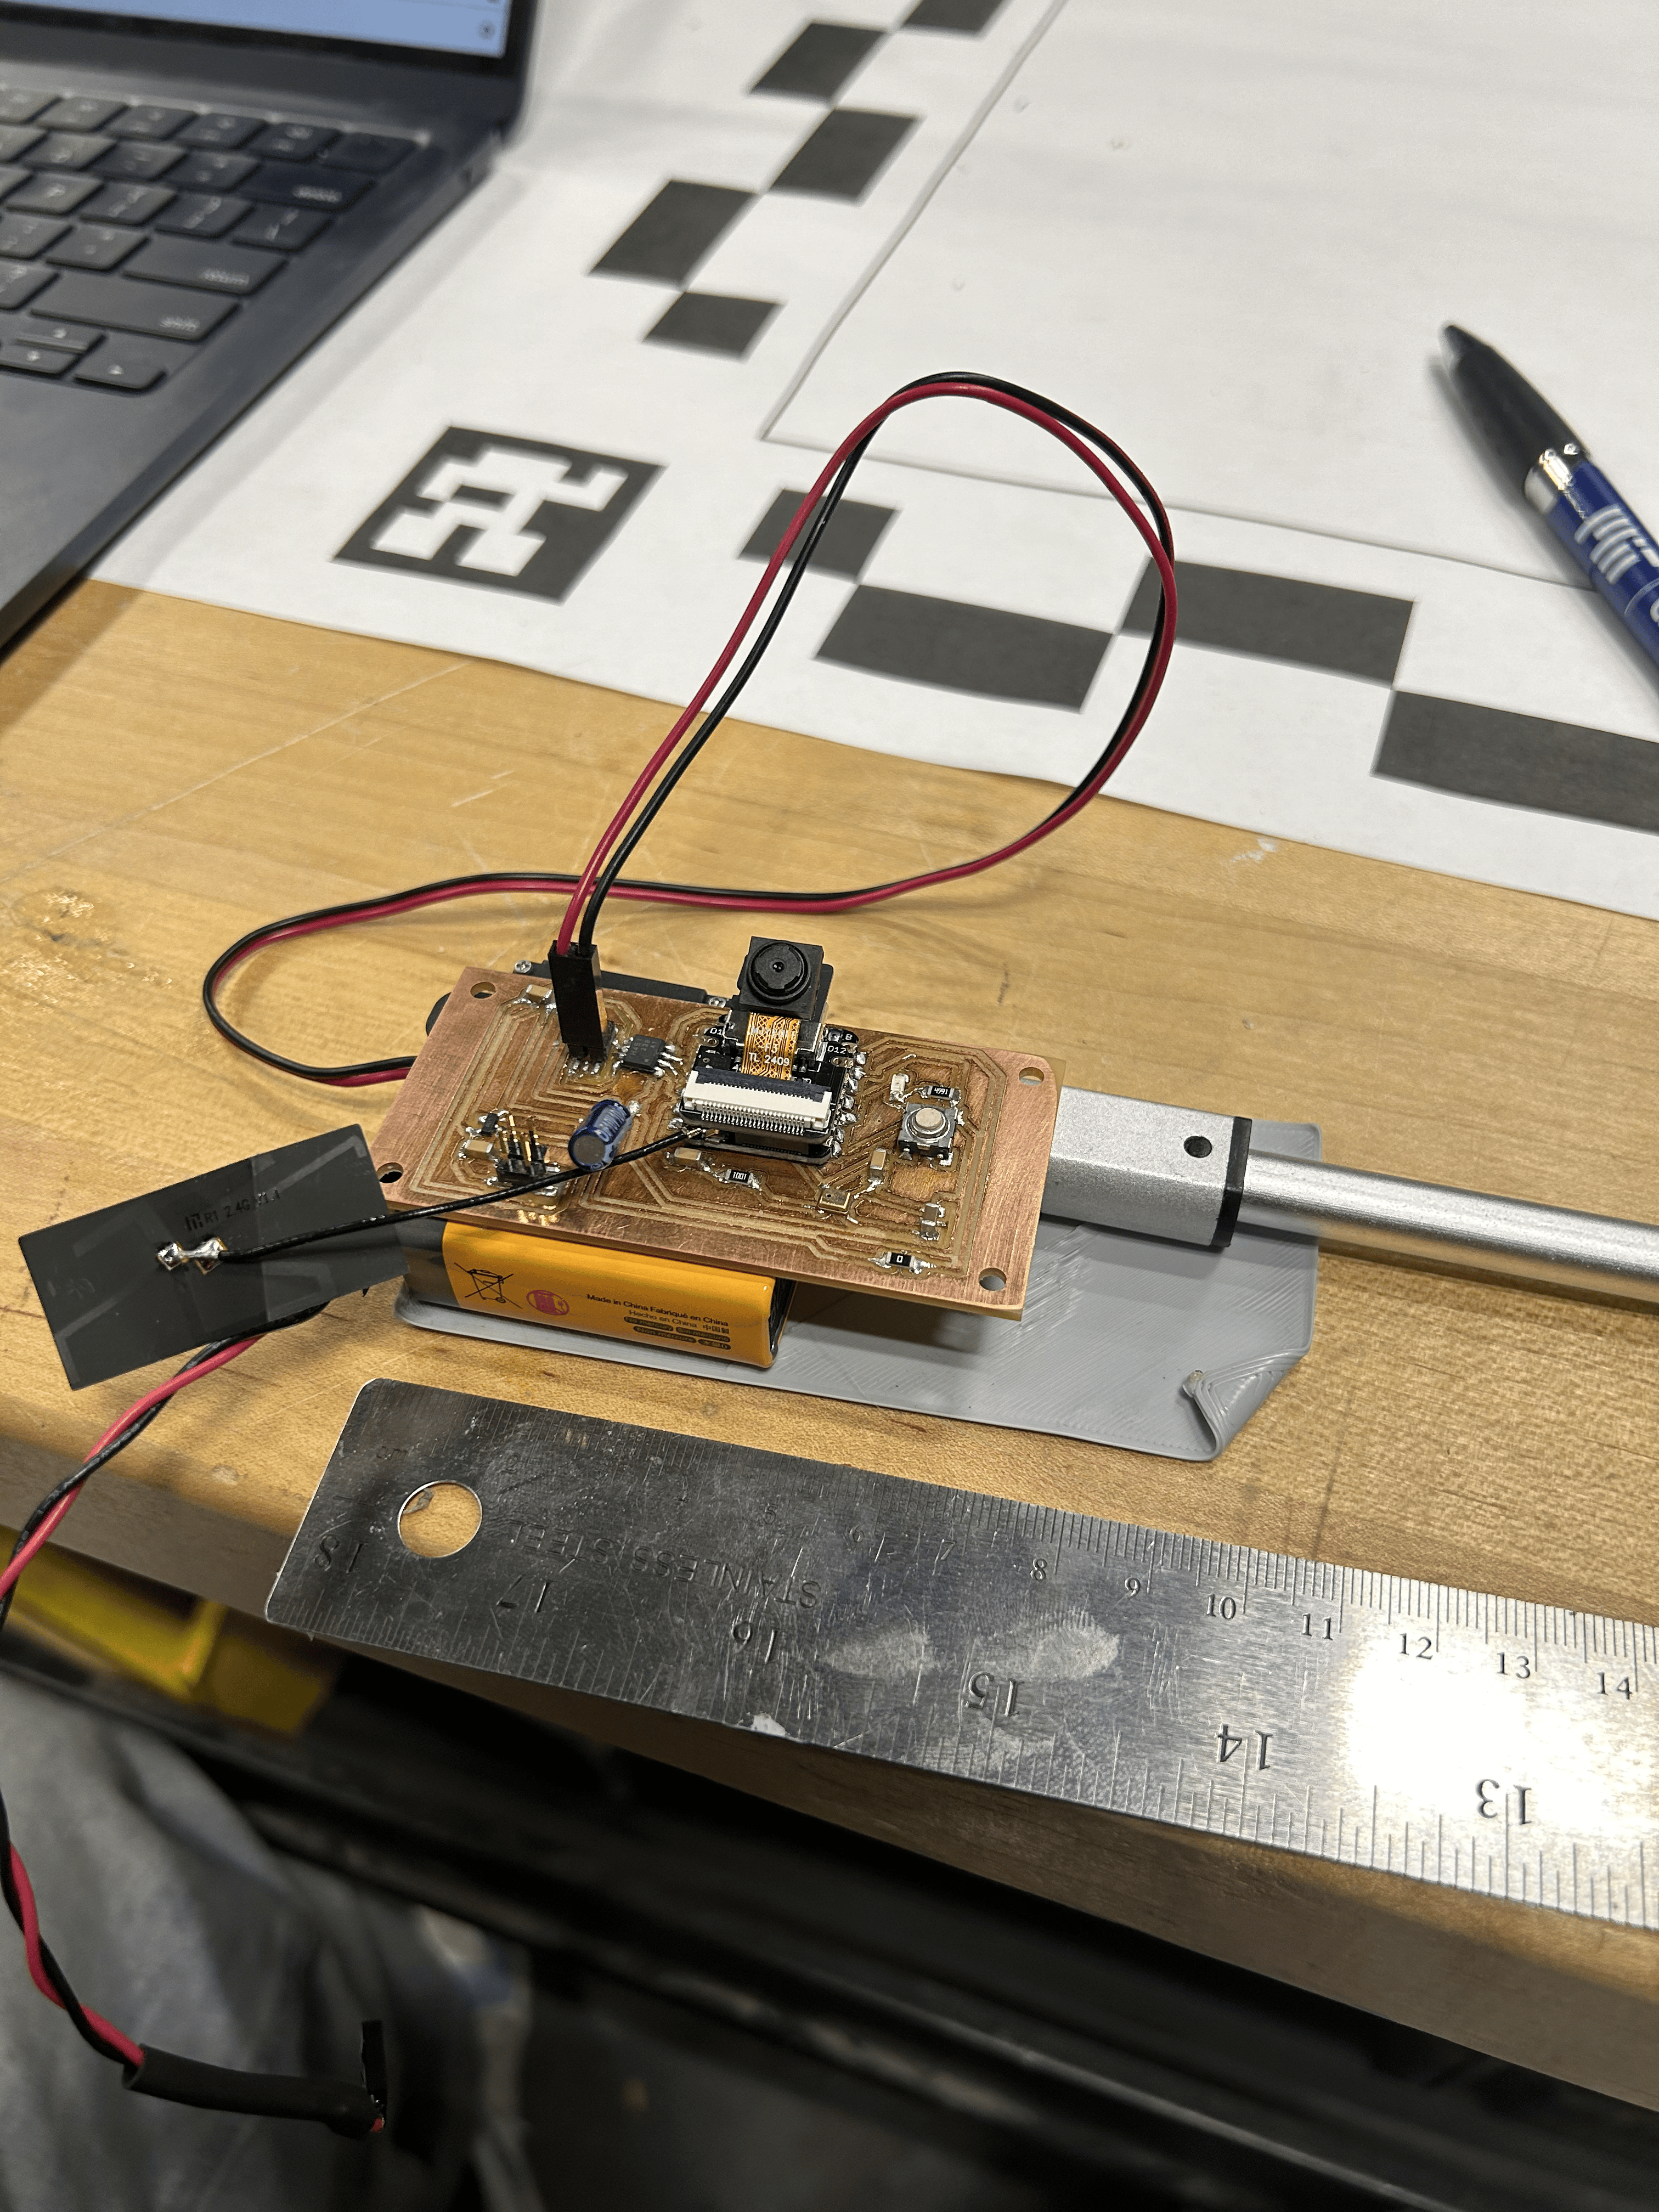
There is so much stuff that goes into hardware I have gained respect to all the course 2 homies. Thanks to Sam, he taught me to use this crazy thing called an H bridge, which controls the polarity of a voltage applied to a load, allowing the load to run in either direction. Why dont linear actuators already have that stuff built in to it? Then I have a pinhead where I will connect my power source to which I will end up using a 9V battery but it connects to a regulator which will then power my microcontroller which could only handle 5V.
Designing and iterating 8+ PCB boards made me feel like Iron Man tweaking his suits. Along the way, I learned to:
- Unit test early to avoid wasted time.
- Use a multimeter to debug shorts and measure voltages.
- Work in iterations—Spiral development and the 80/20 rule are real.
I honestly still don't really get why we gotta use so much resistors and capacitors but I guess that's the way things work. I got pretty decent at skimming through data sheets after this class.

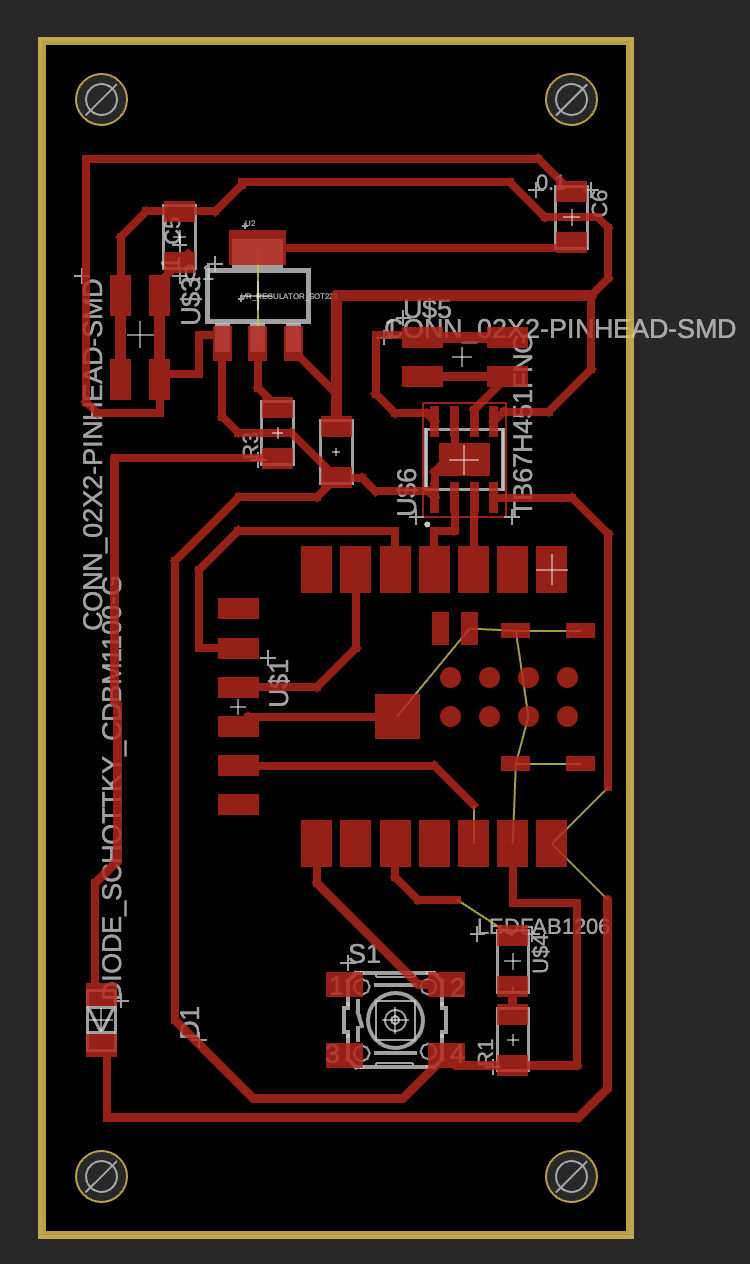
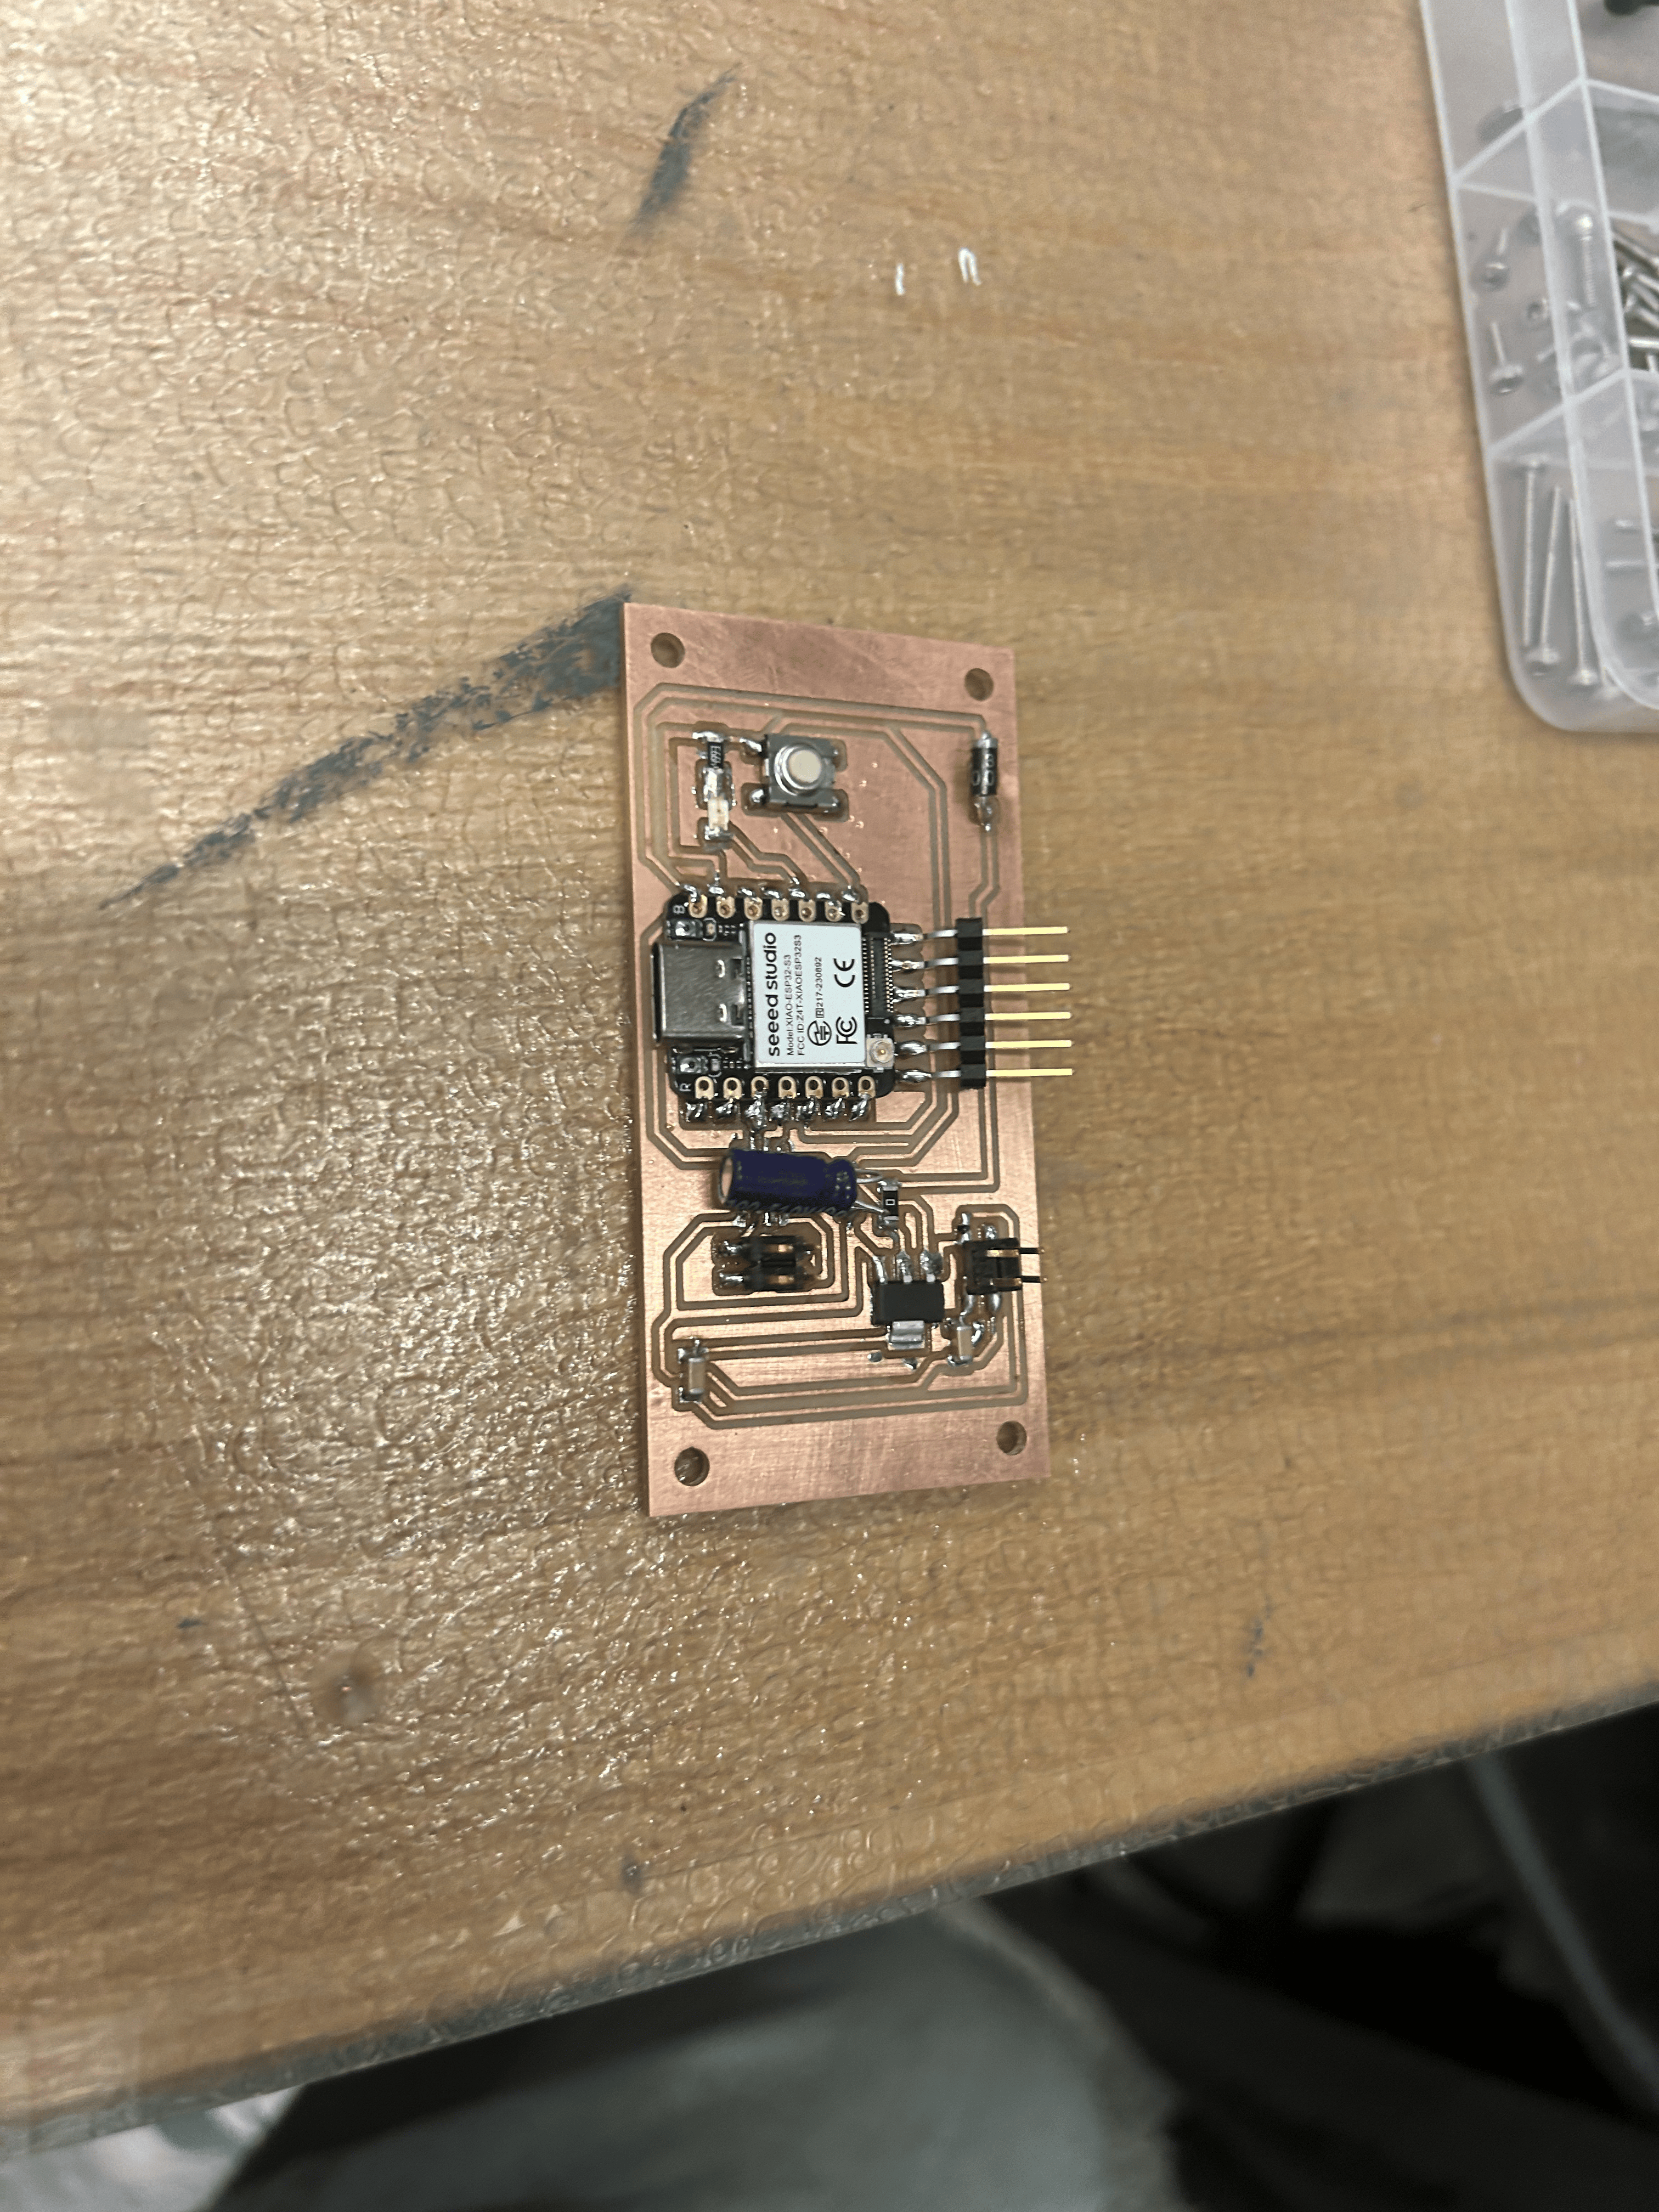
After trial and error, I've designed at least 8+ different PCB boards for my final project. Feeling like iron man when he iterates on the different marks for his suits. Milling the PCB is chill but soldering can be super tricky. Especially with the smaller pieces where you gotta use the hot air gun to melt the solder. I hope I don't develop cancer from this class from breathing all the toxic fumes.
Seriously this class made me realize I make a lot of dumb mistakes. Some attributed to my shaky hands which may be a pre onset for Parkinsons. But most of the time it's just me trying random stuff. I've made several wrong connections but I learned to Hotwire. I short the circuit a lot but learned to use a multimeter to check for shorts and measure voltage. I often times would solder the entire board and not test in between but I learned to do unit tests before so I don't waste all that time. Spiral development. 80/20 rule. I get it.
Facial Recognition Journey
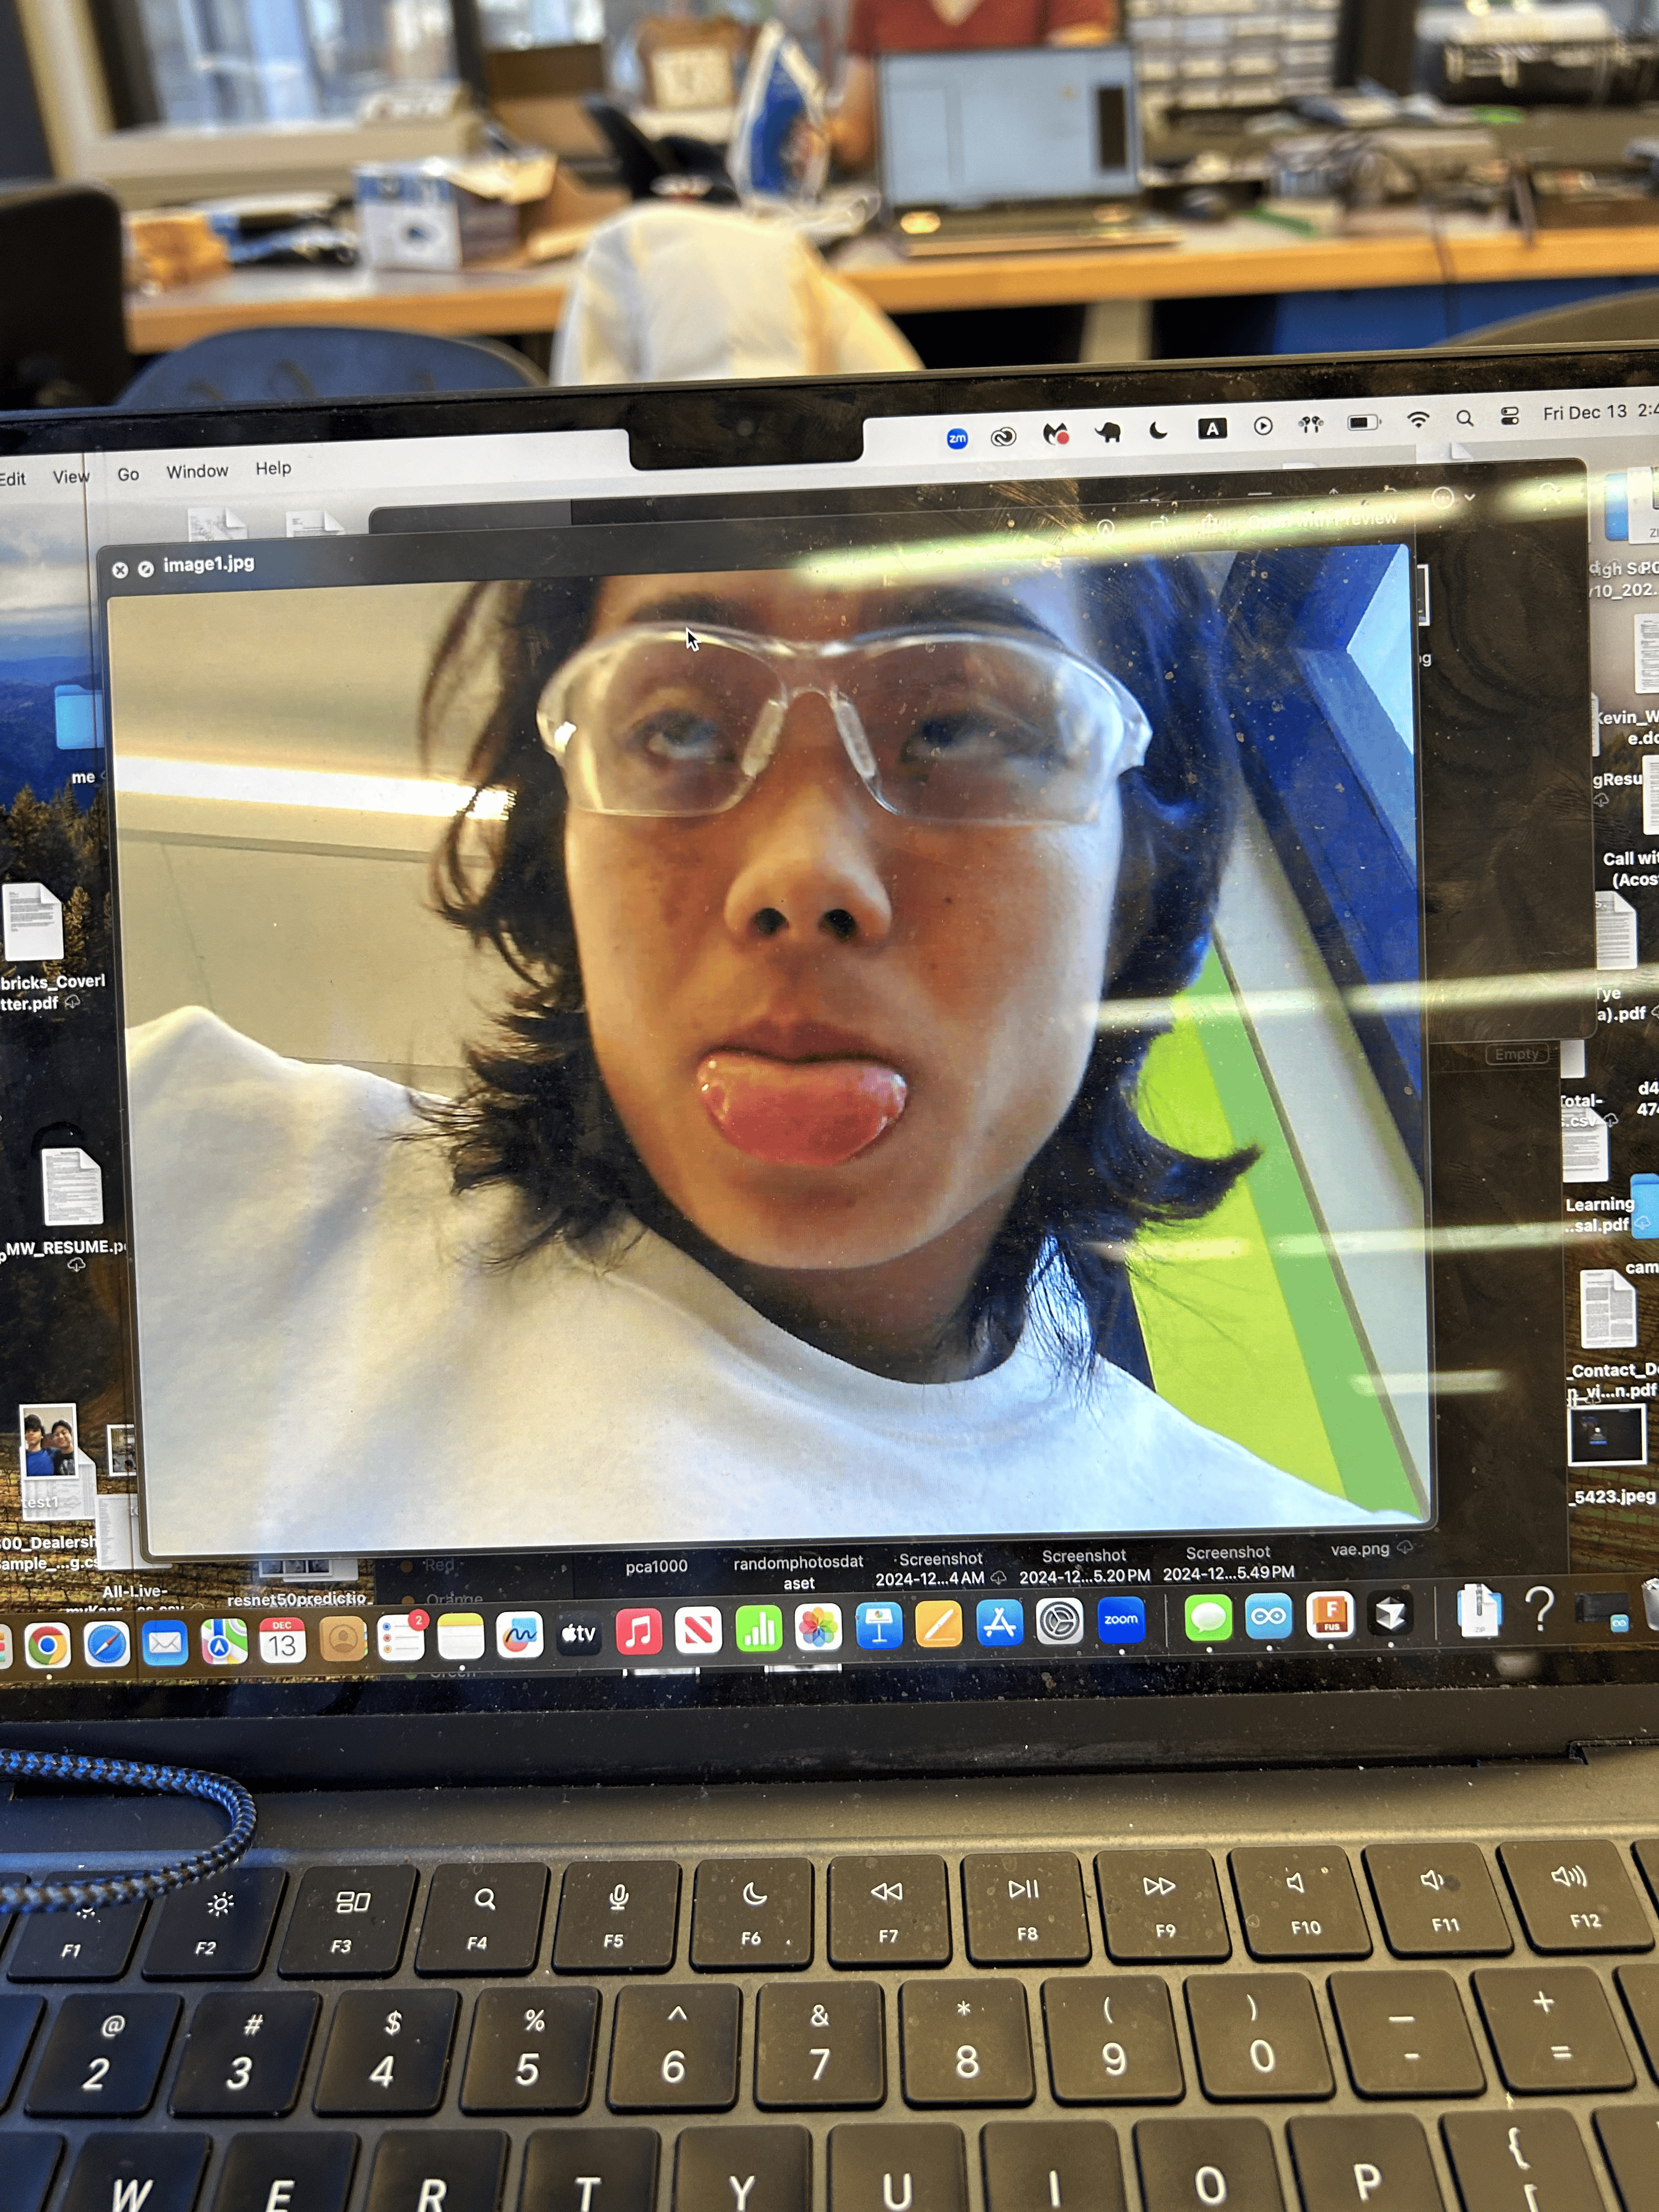
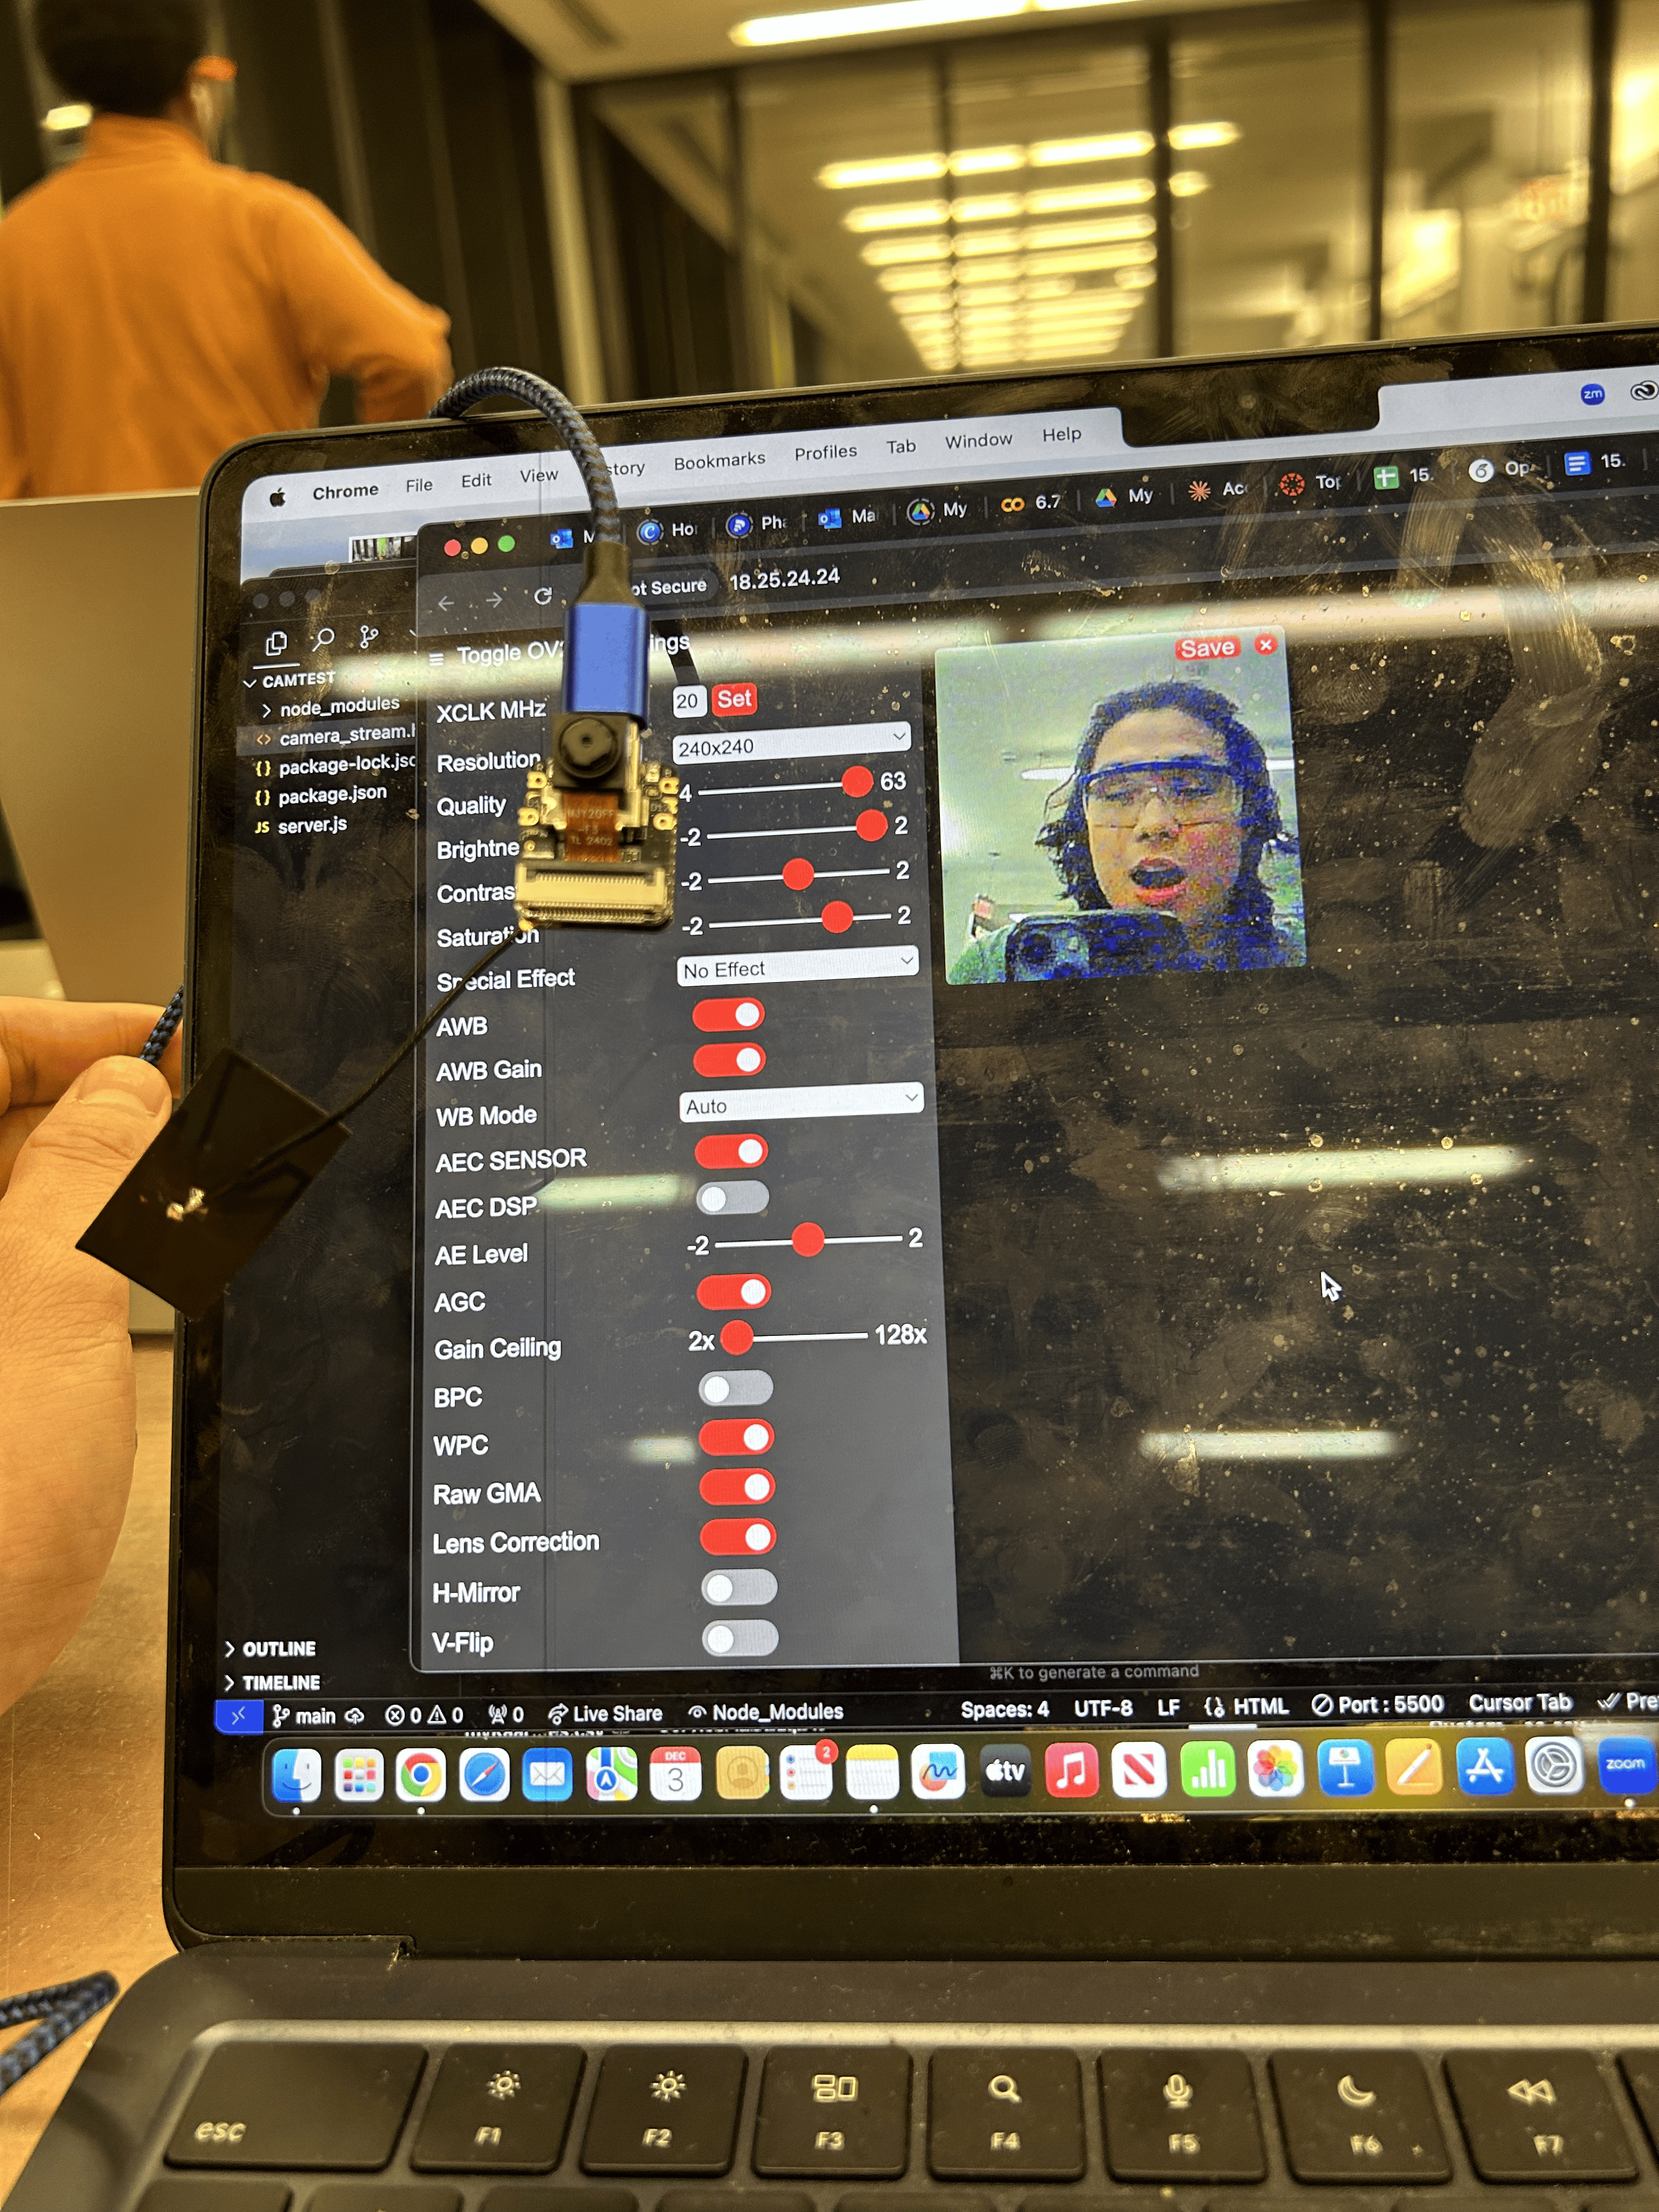
No shame, I abused ChatGPT a lot for this. I realized the LED is really useful to test out whether other components work. I was able to connect SENSE camera onto my S3 and run up some Camera Web Server example code which worked really well. Although it was lagging a lot all the time.
To make facial recognition happen, I tried 3 things:
- Initially thought I had to stream data from the camera and host it on some server where I would then just use OpenCV to detect faces. This turned out pretty poorly considering the amount of lag coming from the camera which has got the compute of a potato.
- Then I tried to follow this tutorial of collecting data directly through the camera and then training it on TinyML to see if it worked. After spending 20+ hours of work on it I decided to give this up.
- I then f*cked around more and found out that there was an in built feature from Xiao where you can Enroll faces and then detect them, which ended up being super clutch.
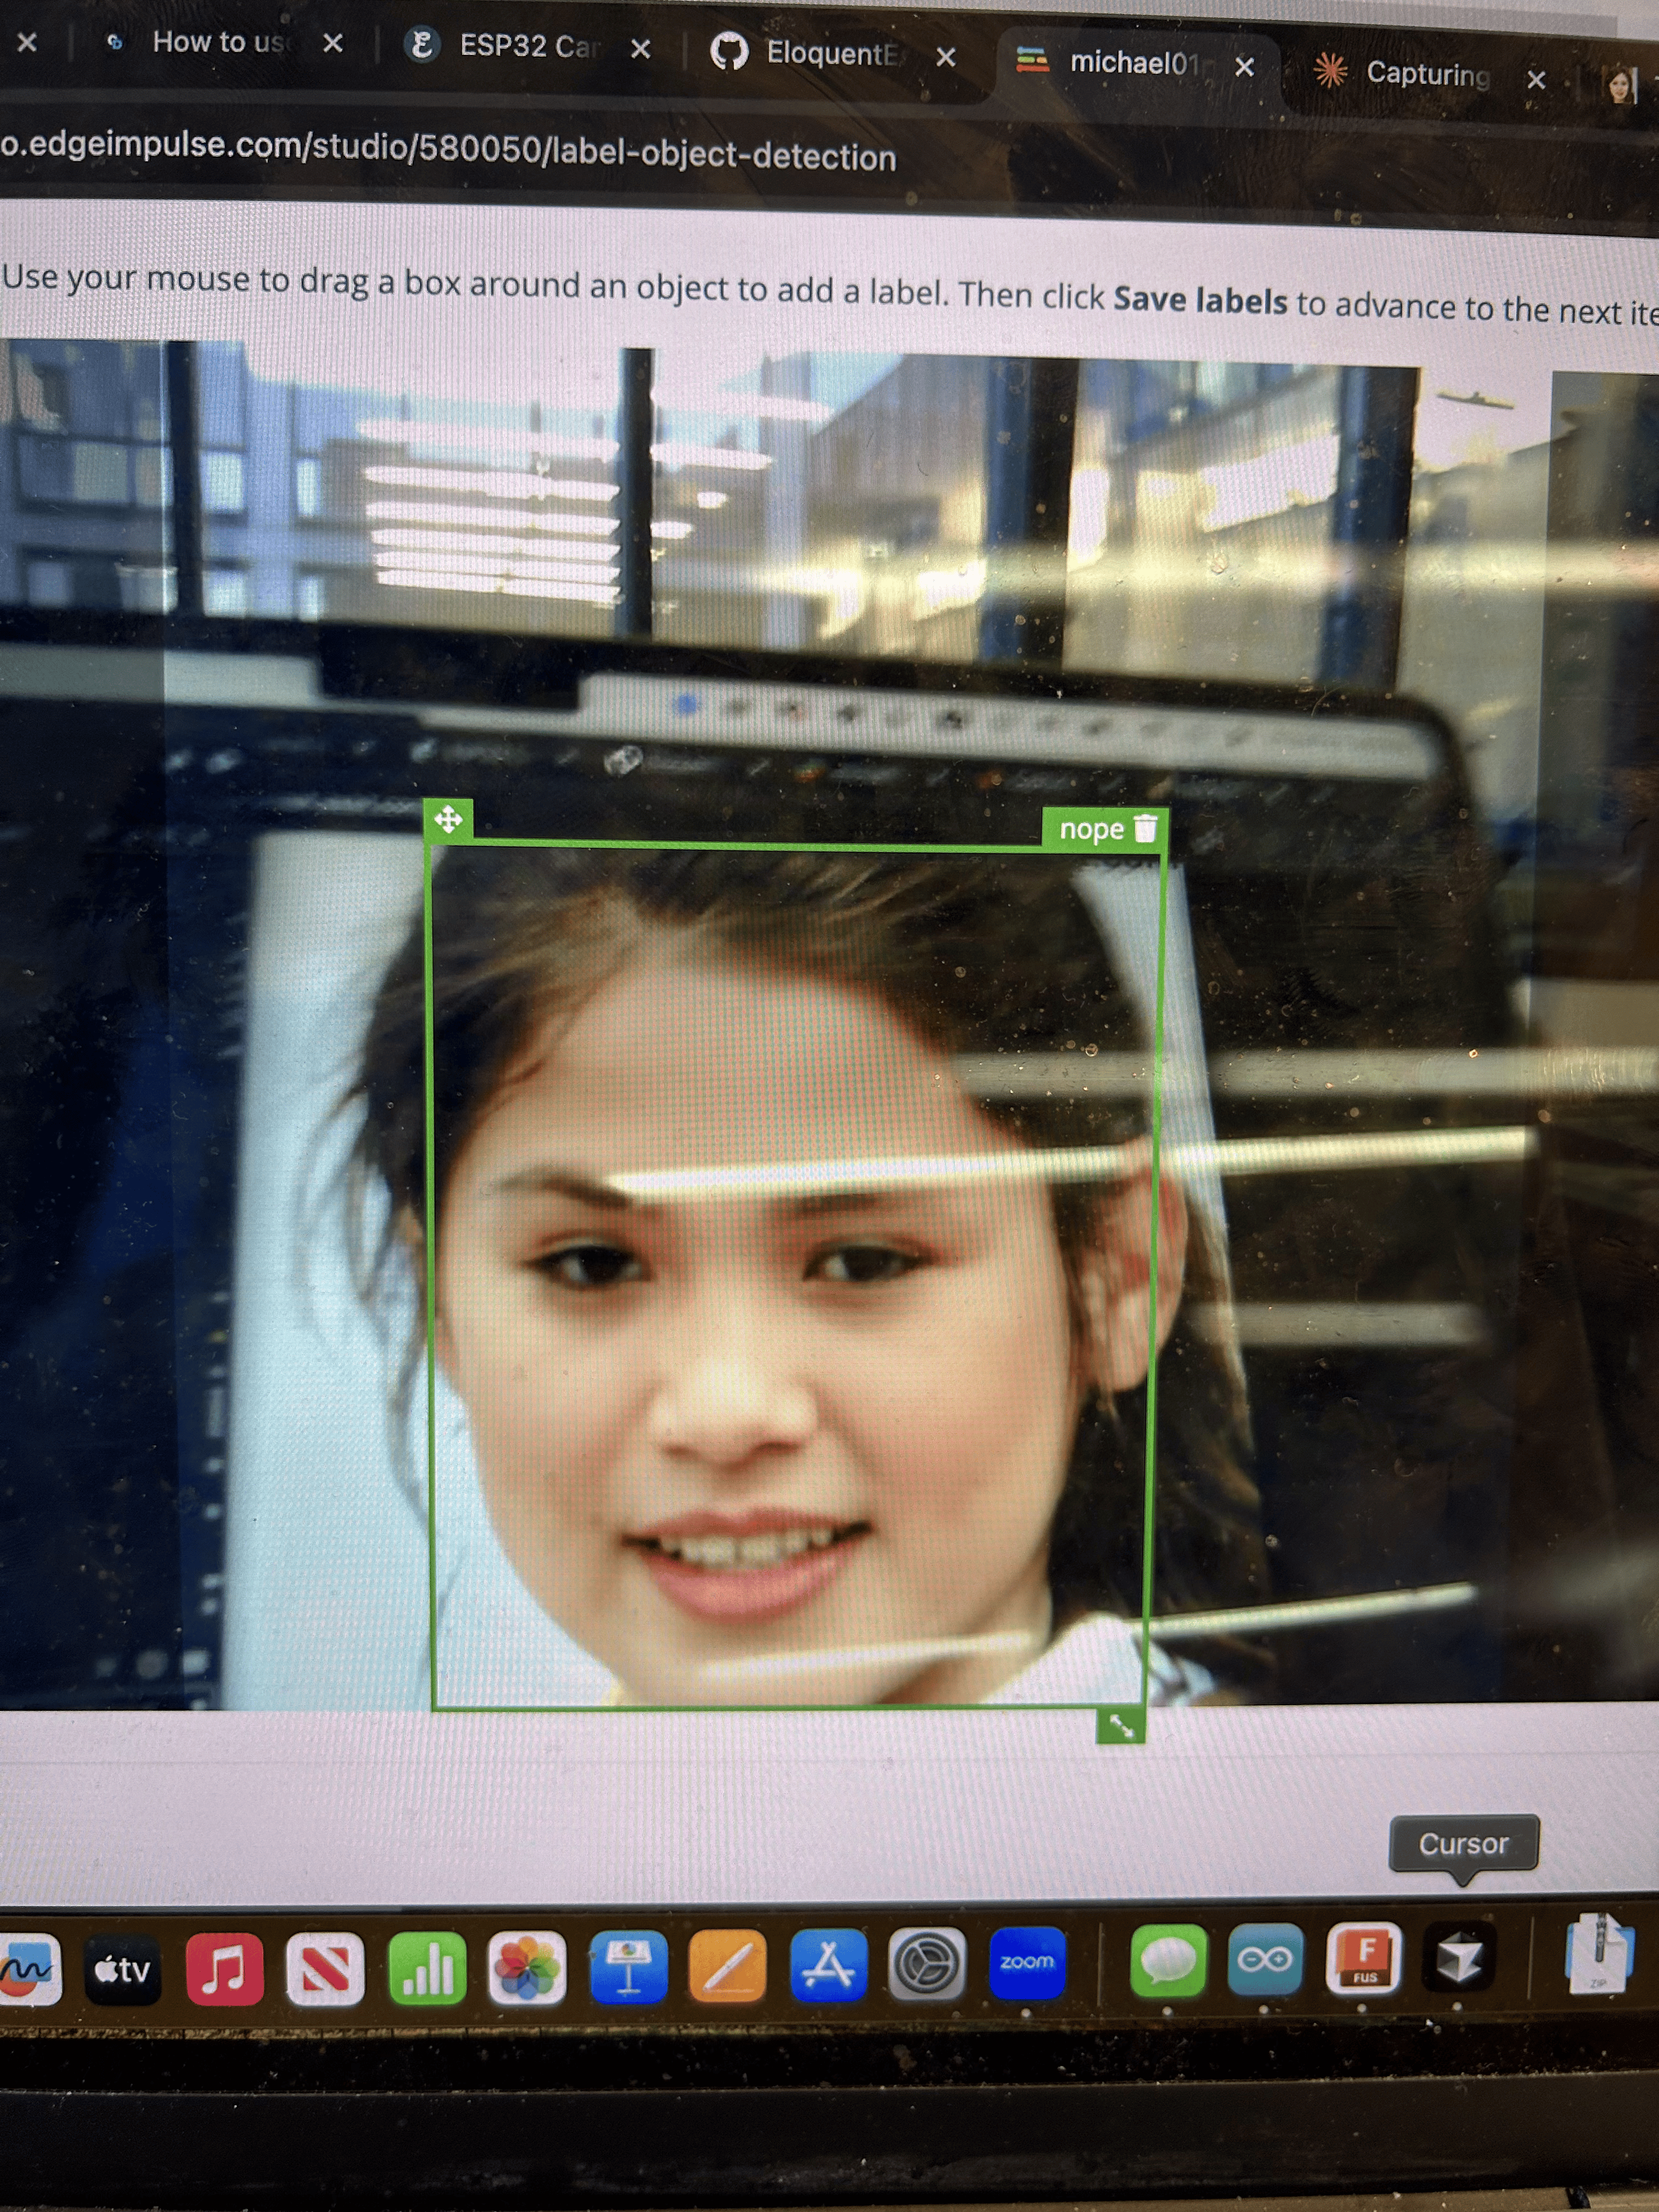
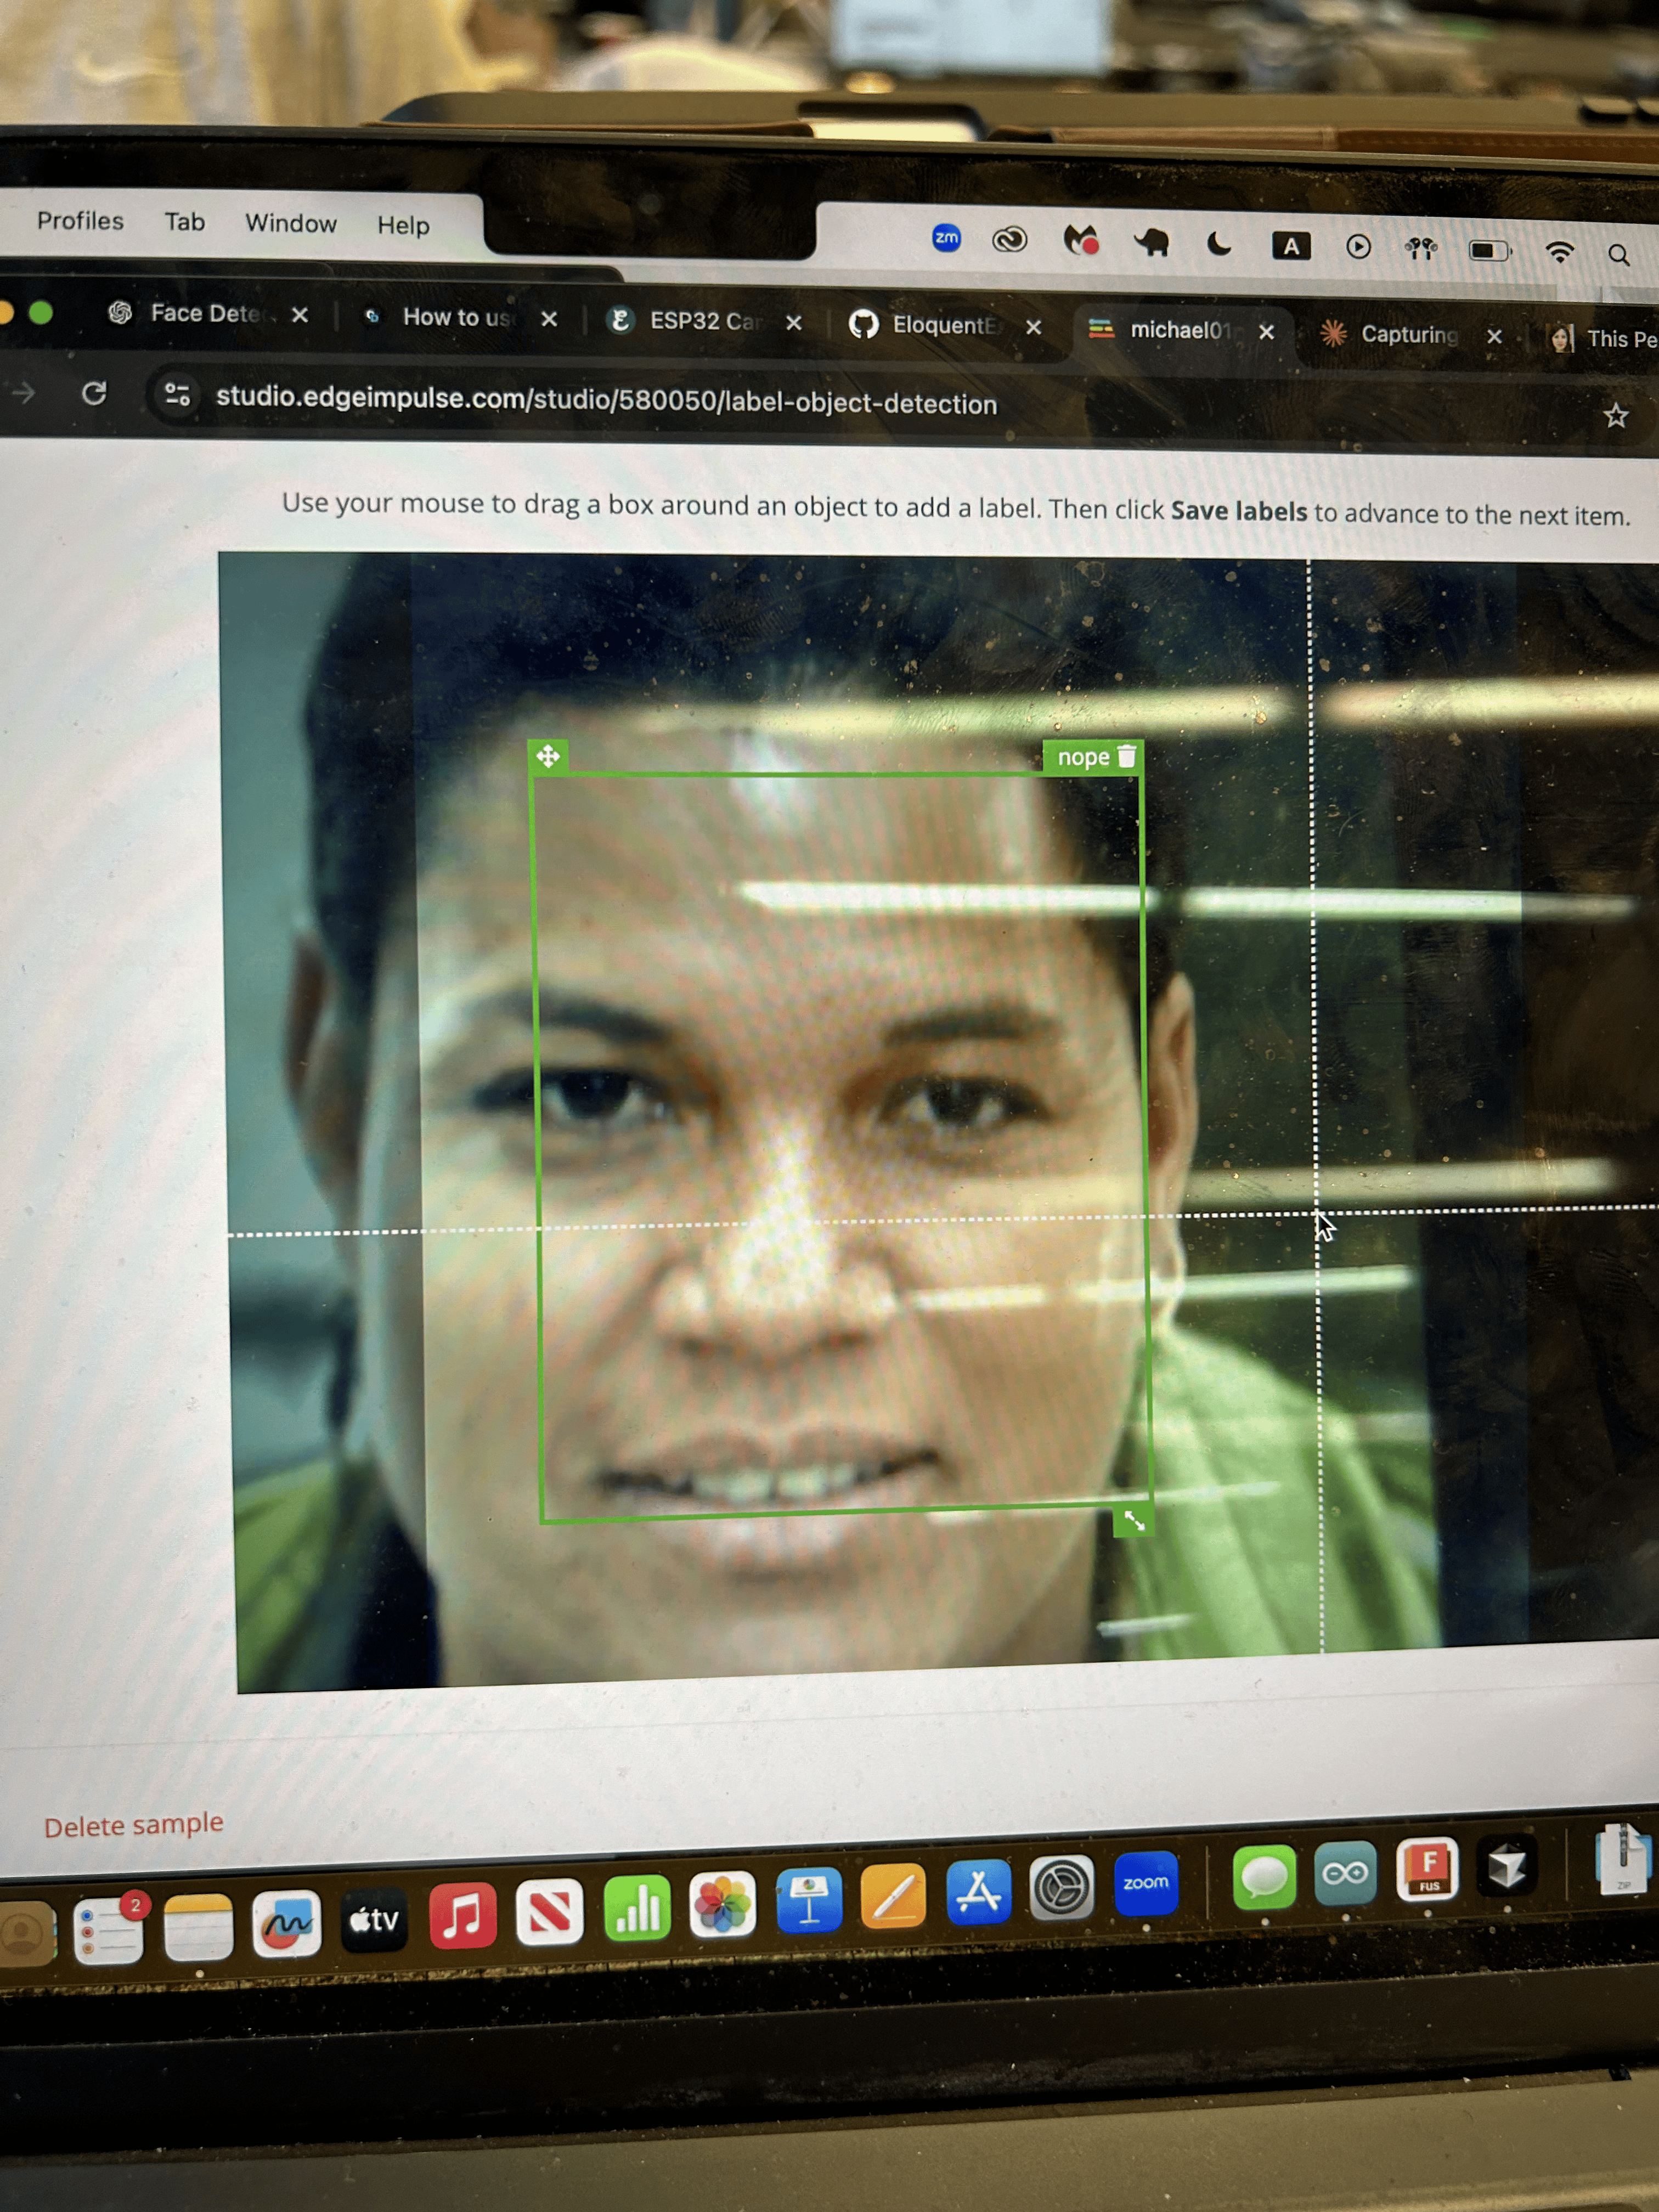
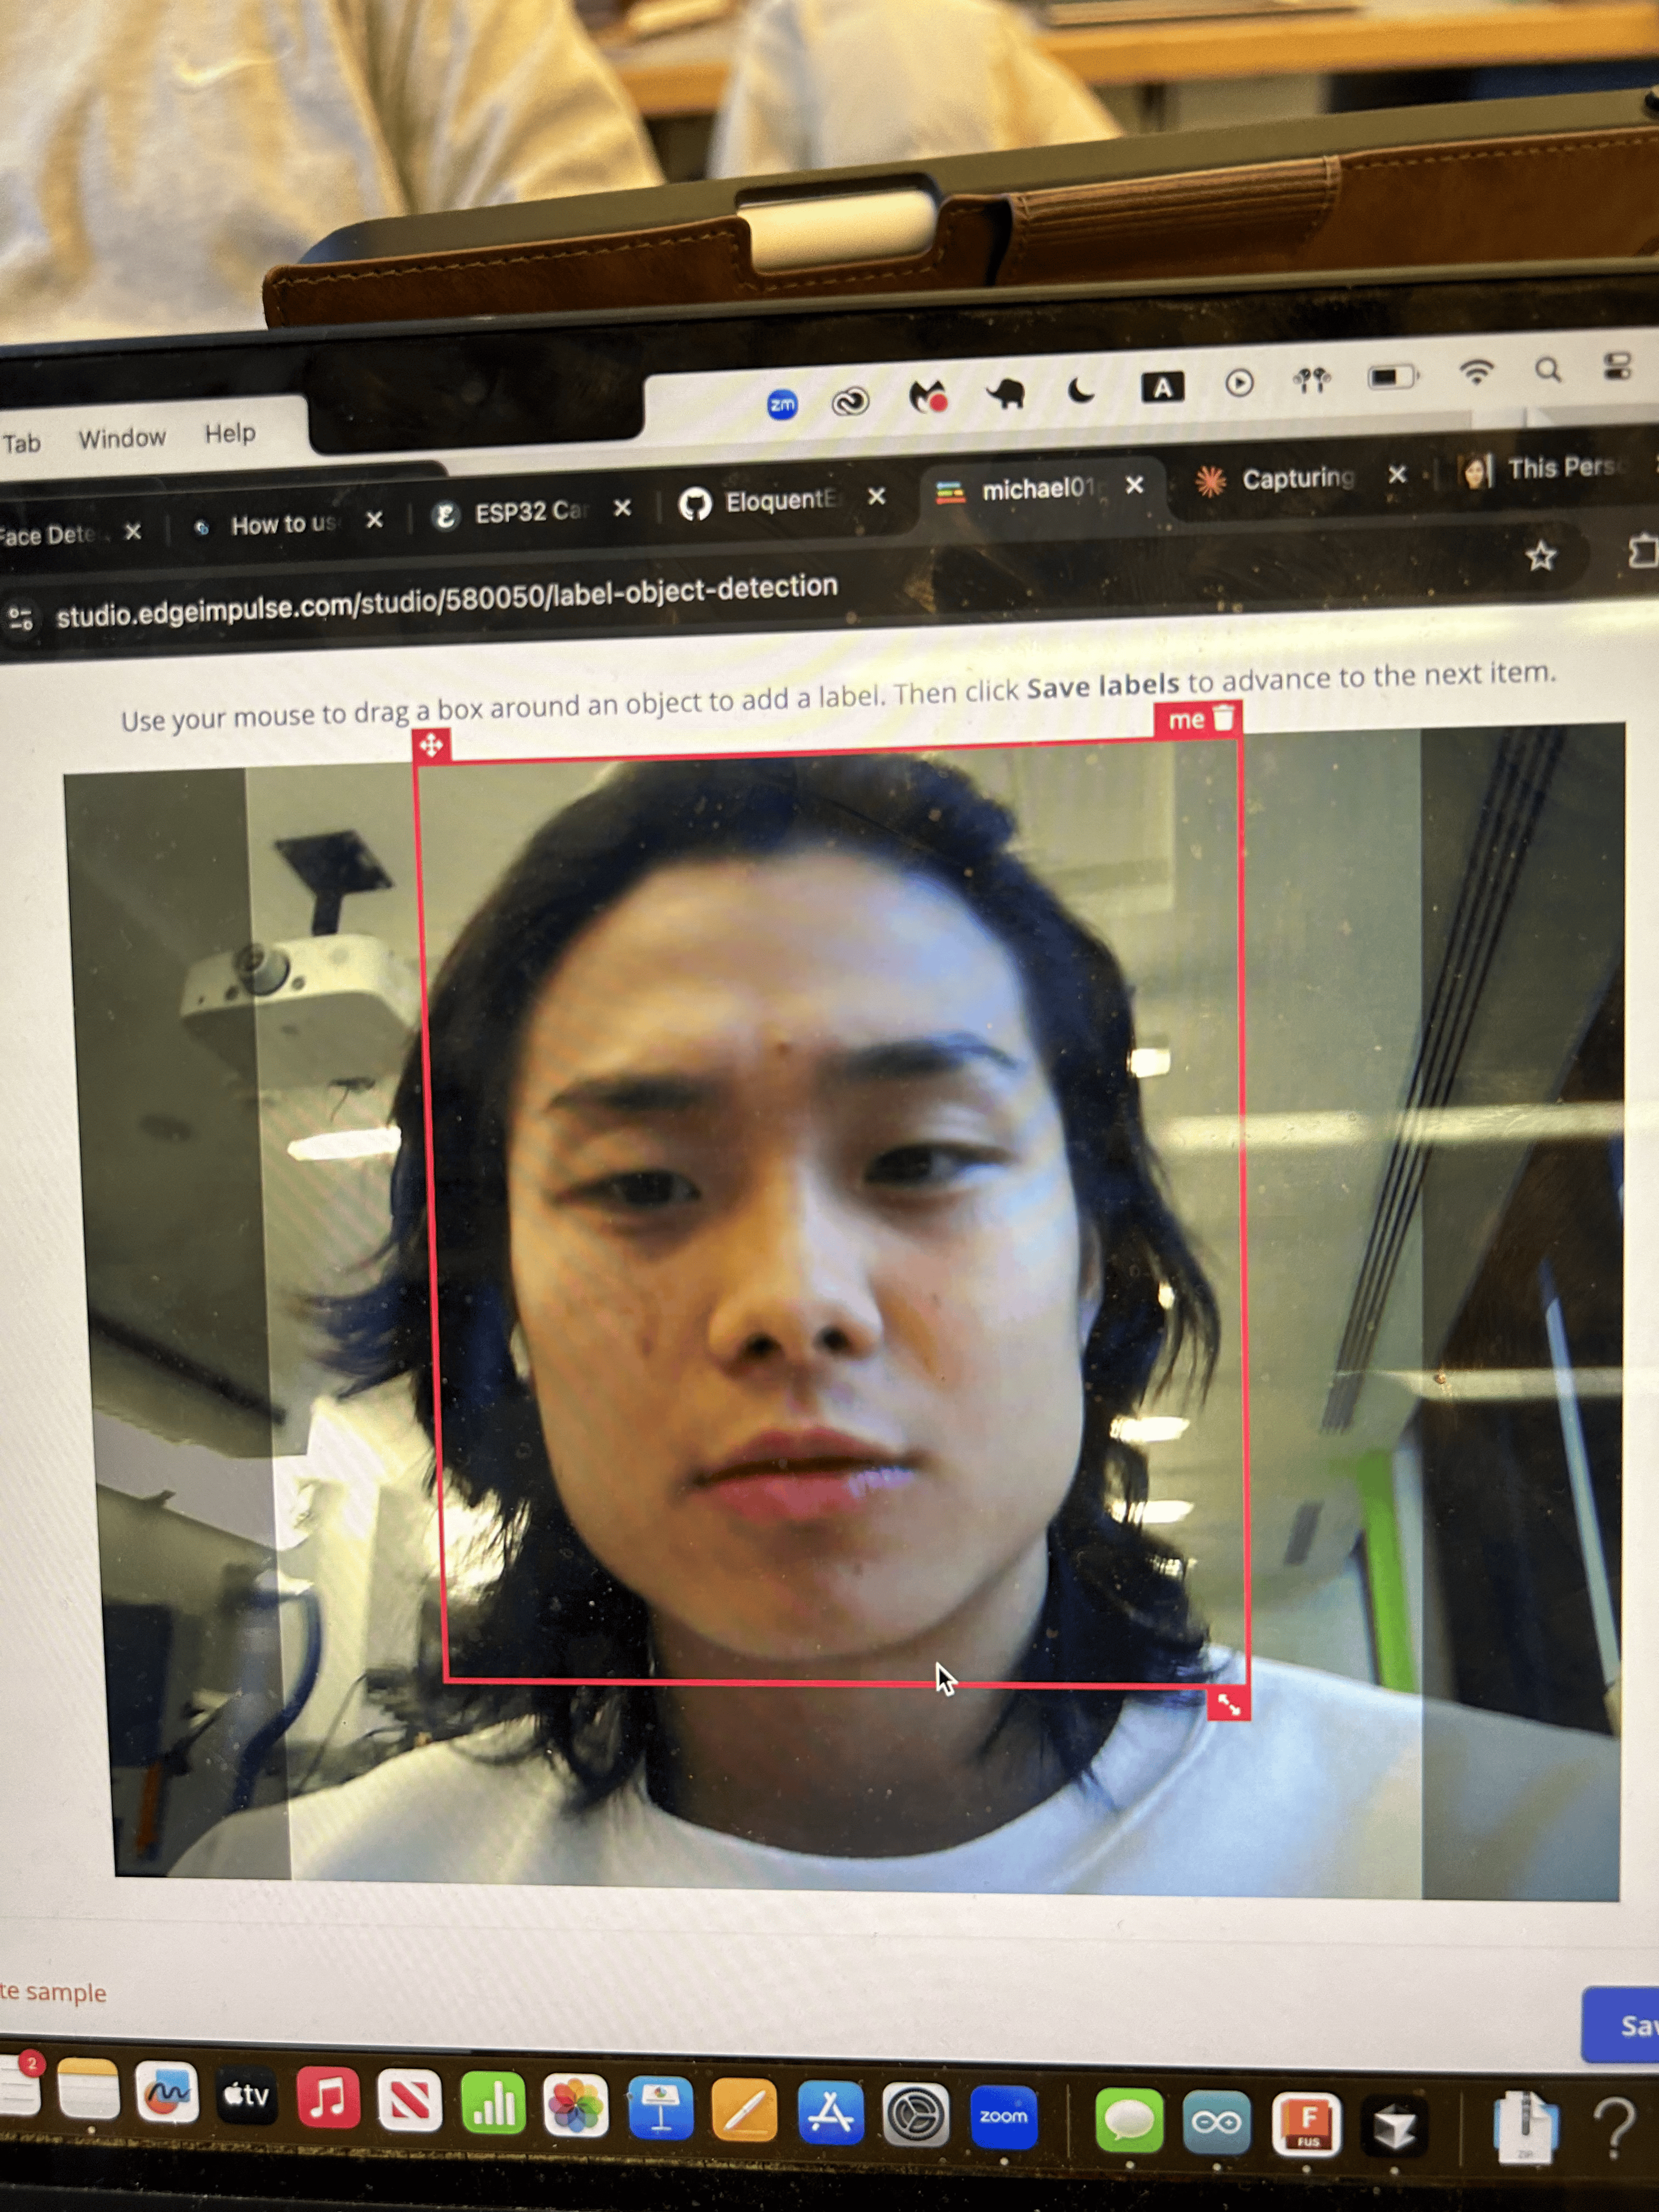
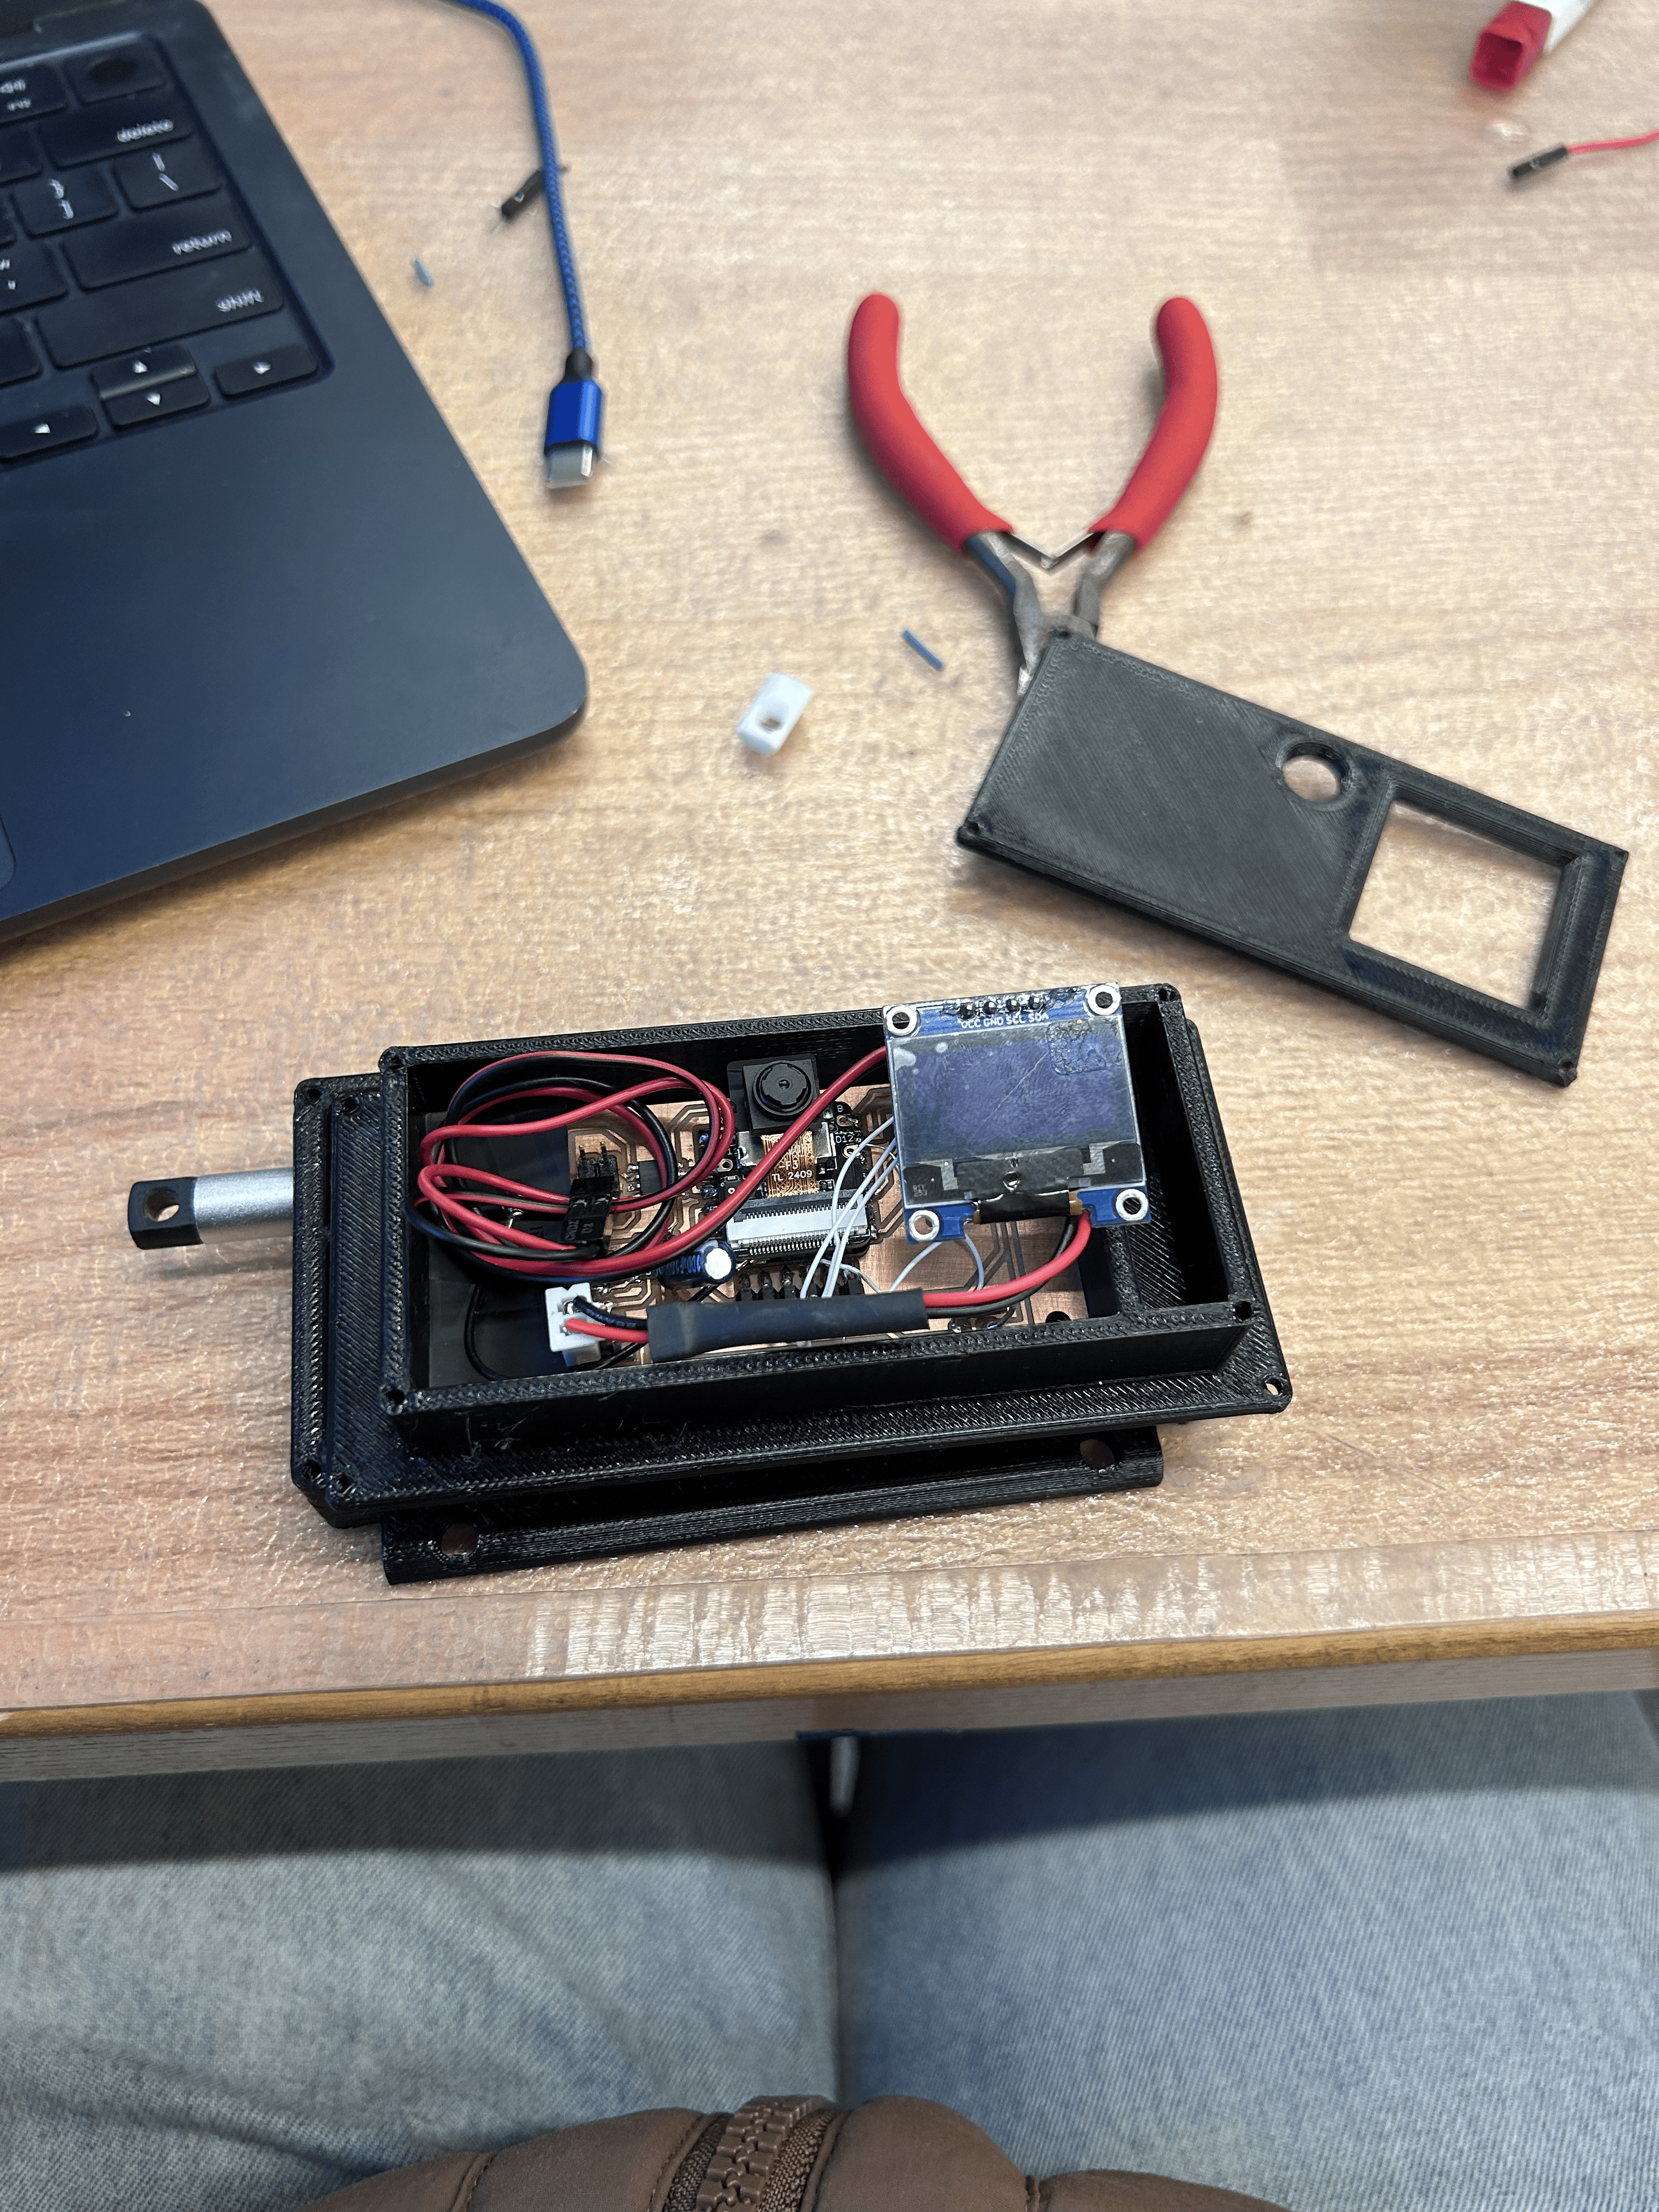
With Sam's help, I streamlined the code, added LED tests, and connected the facial recognition output to my linear actuator. Recognized faces triggered the lock, while "stranger danger" displayed a red bounding box. I also hotwired an LCD screen to display messages.
Hardware Integration
3D Printing and Case Design
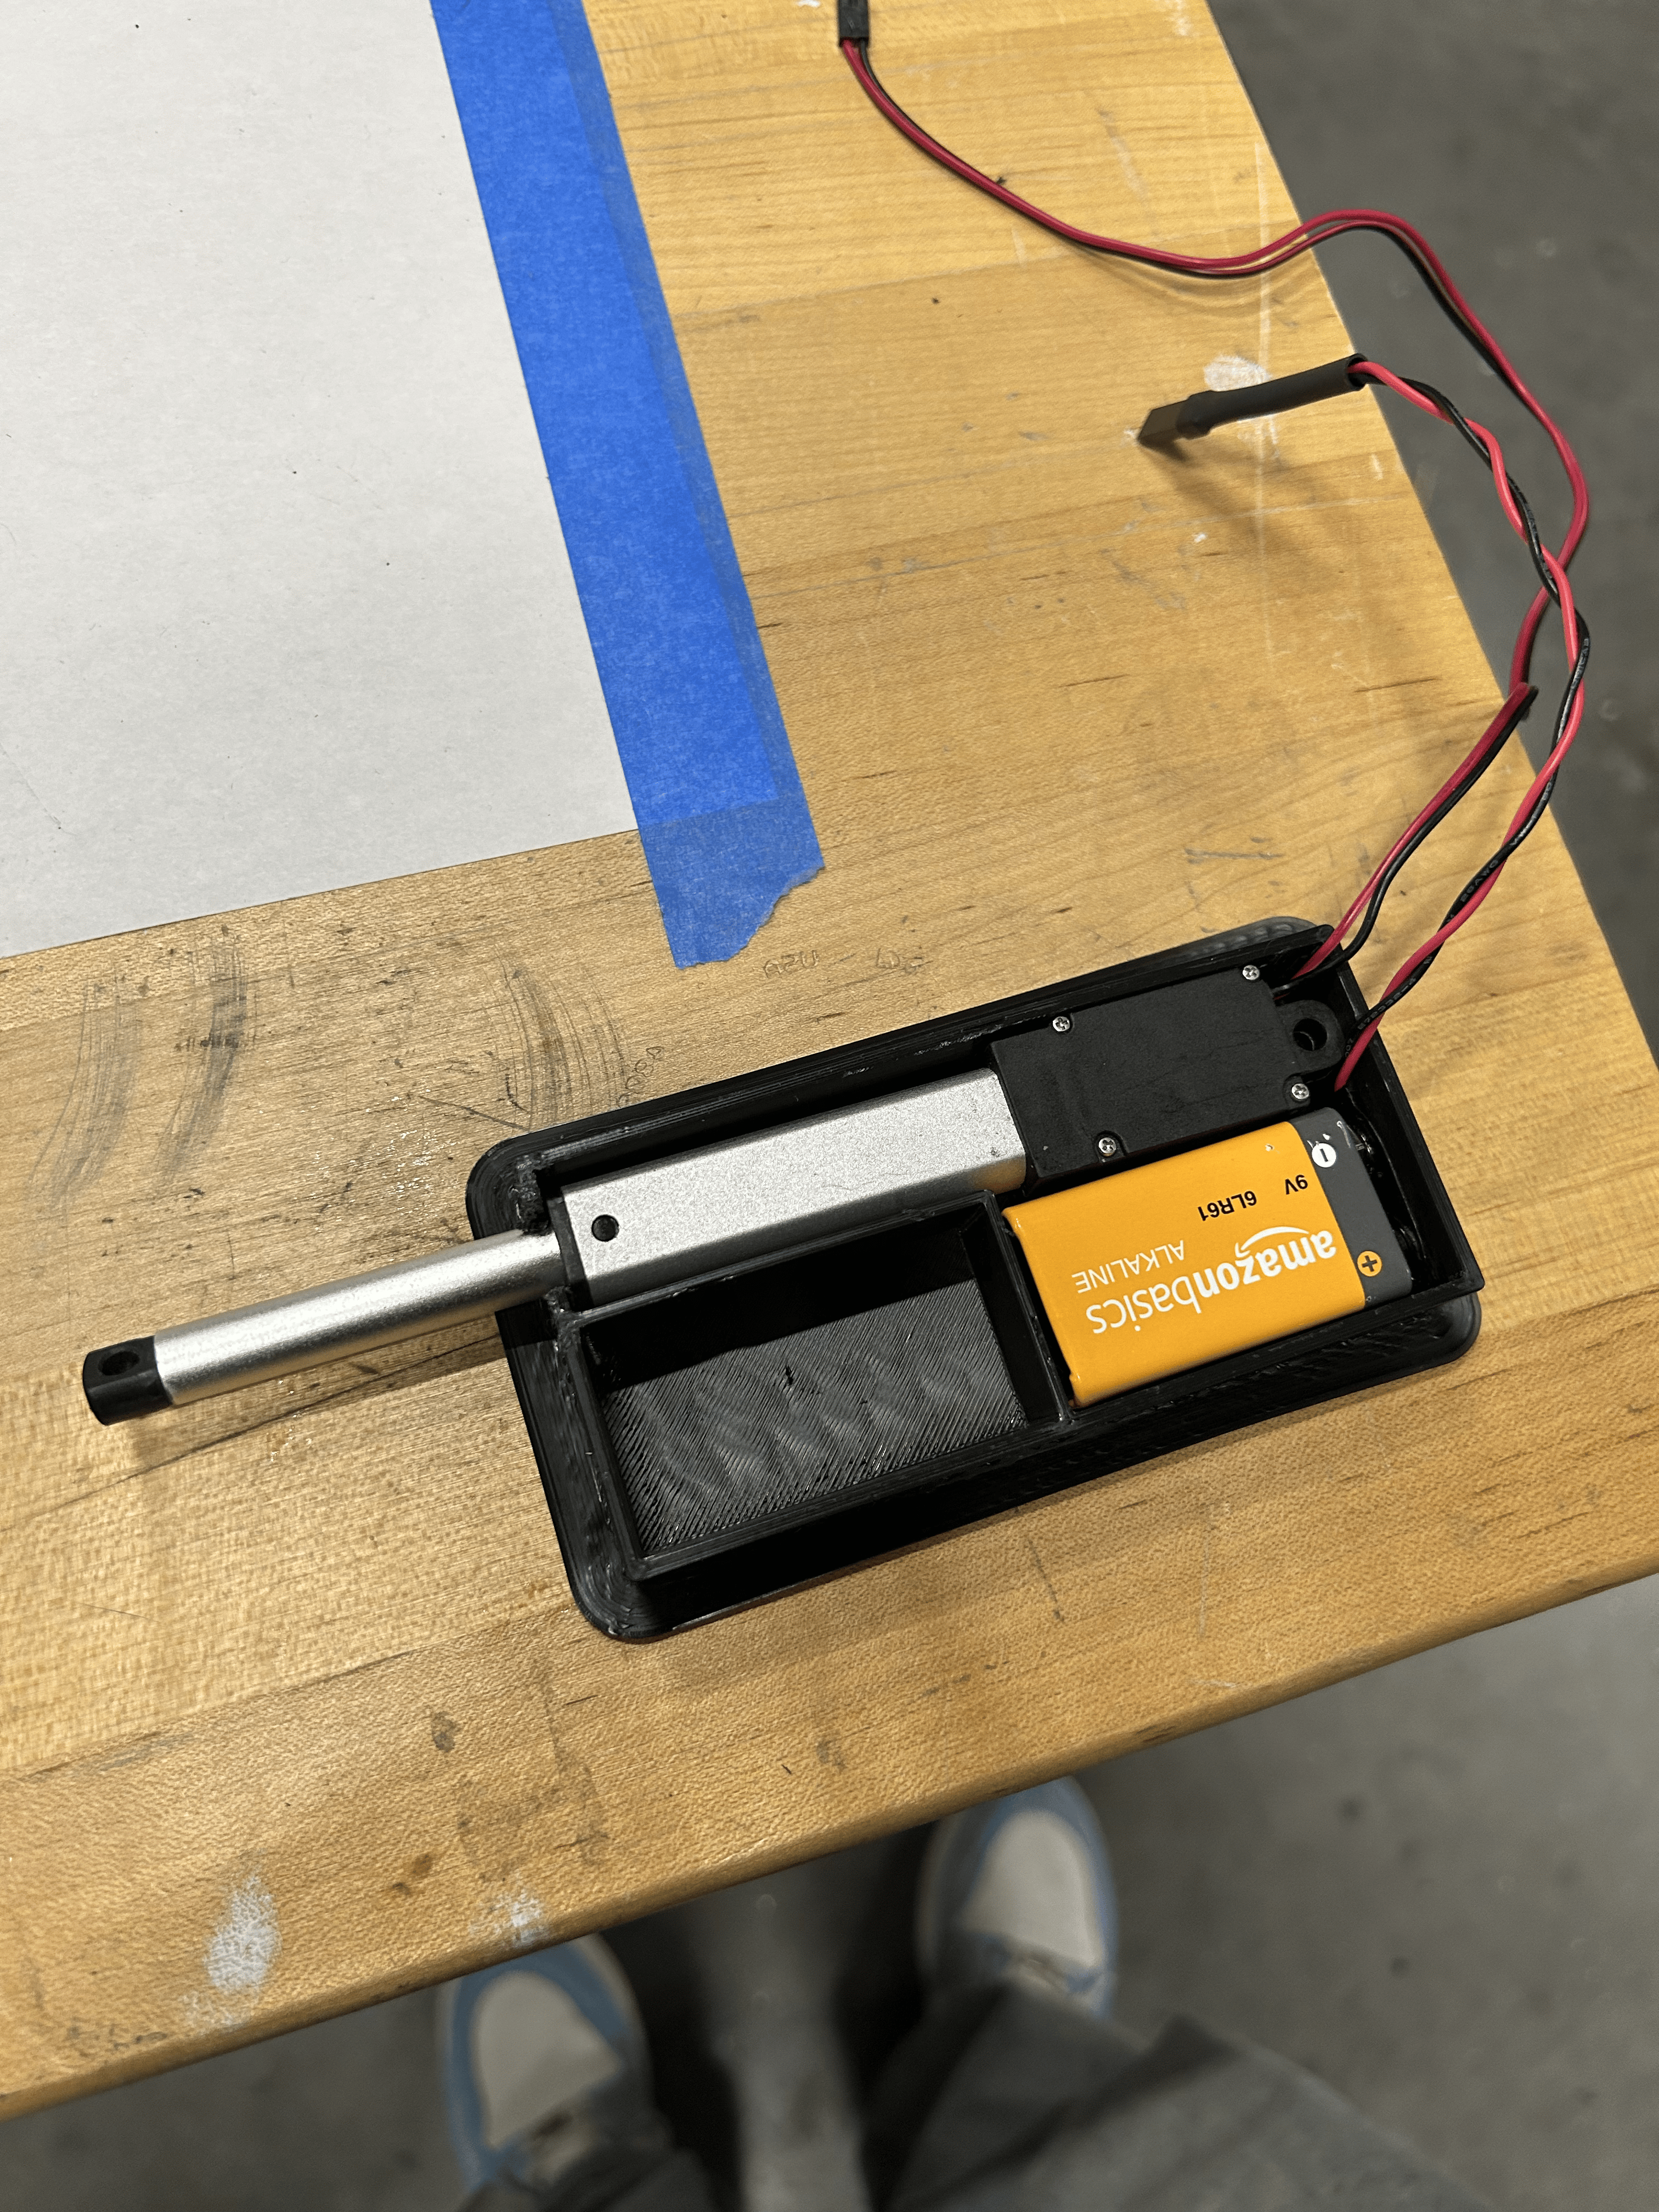
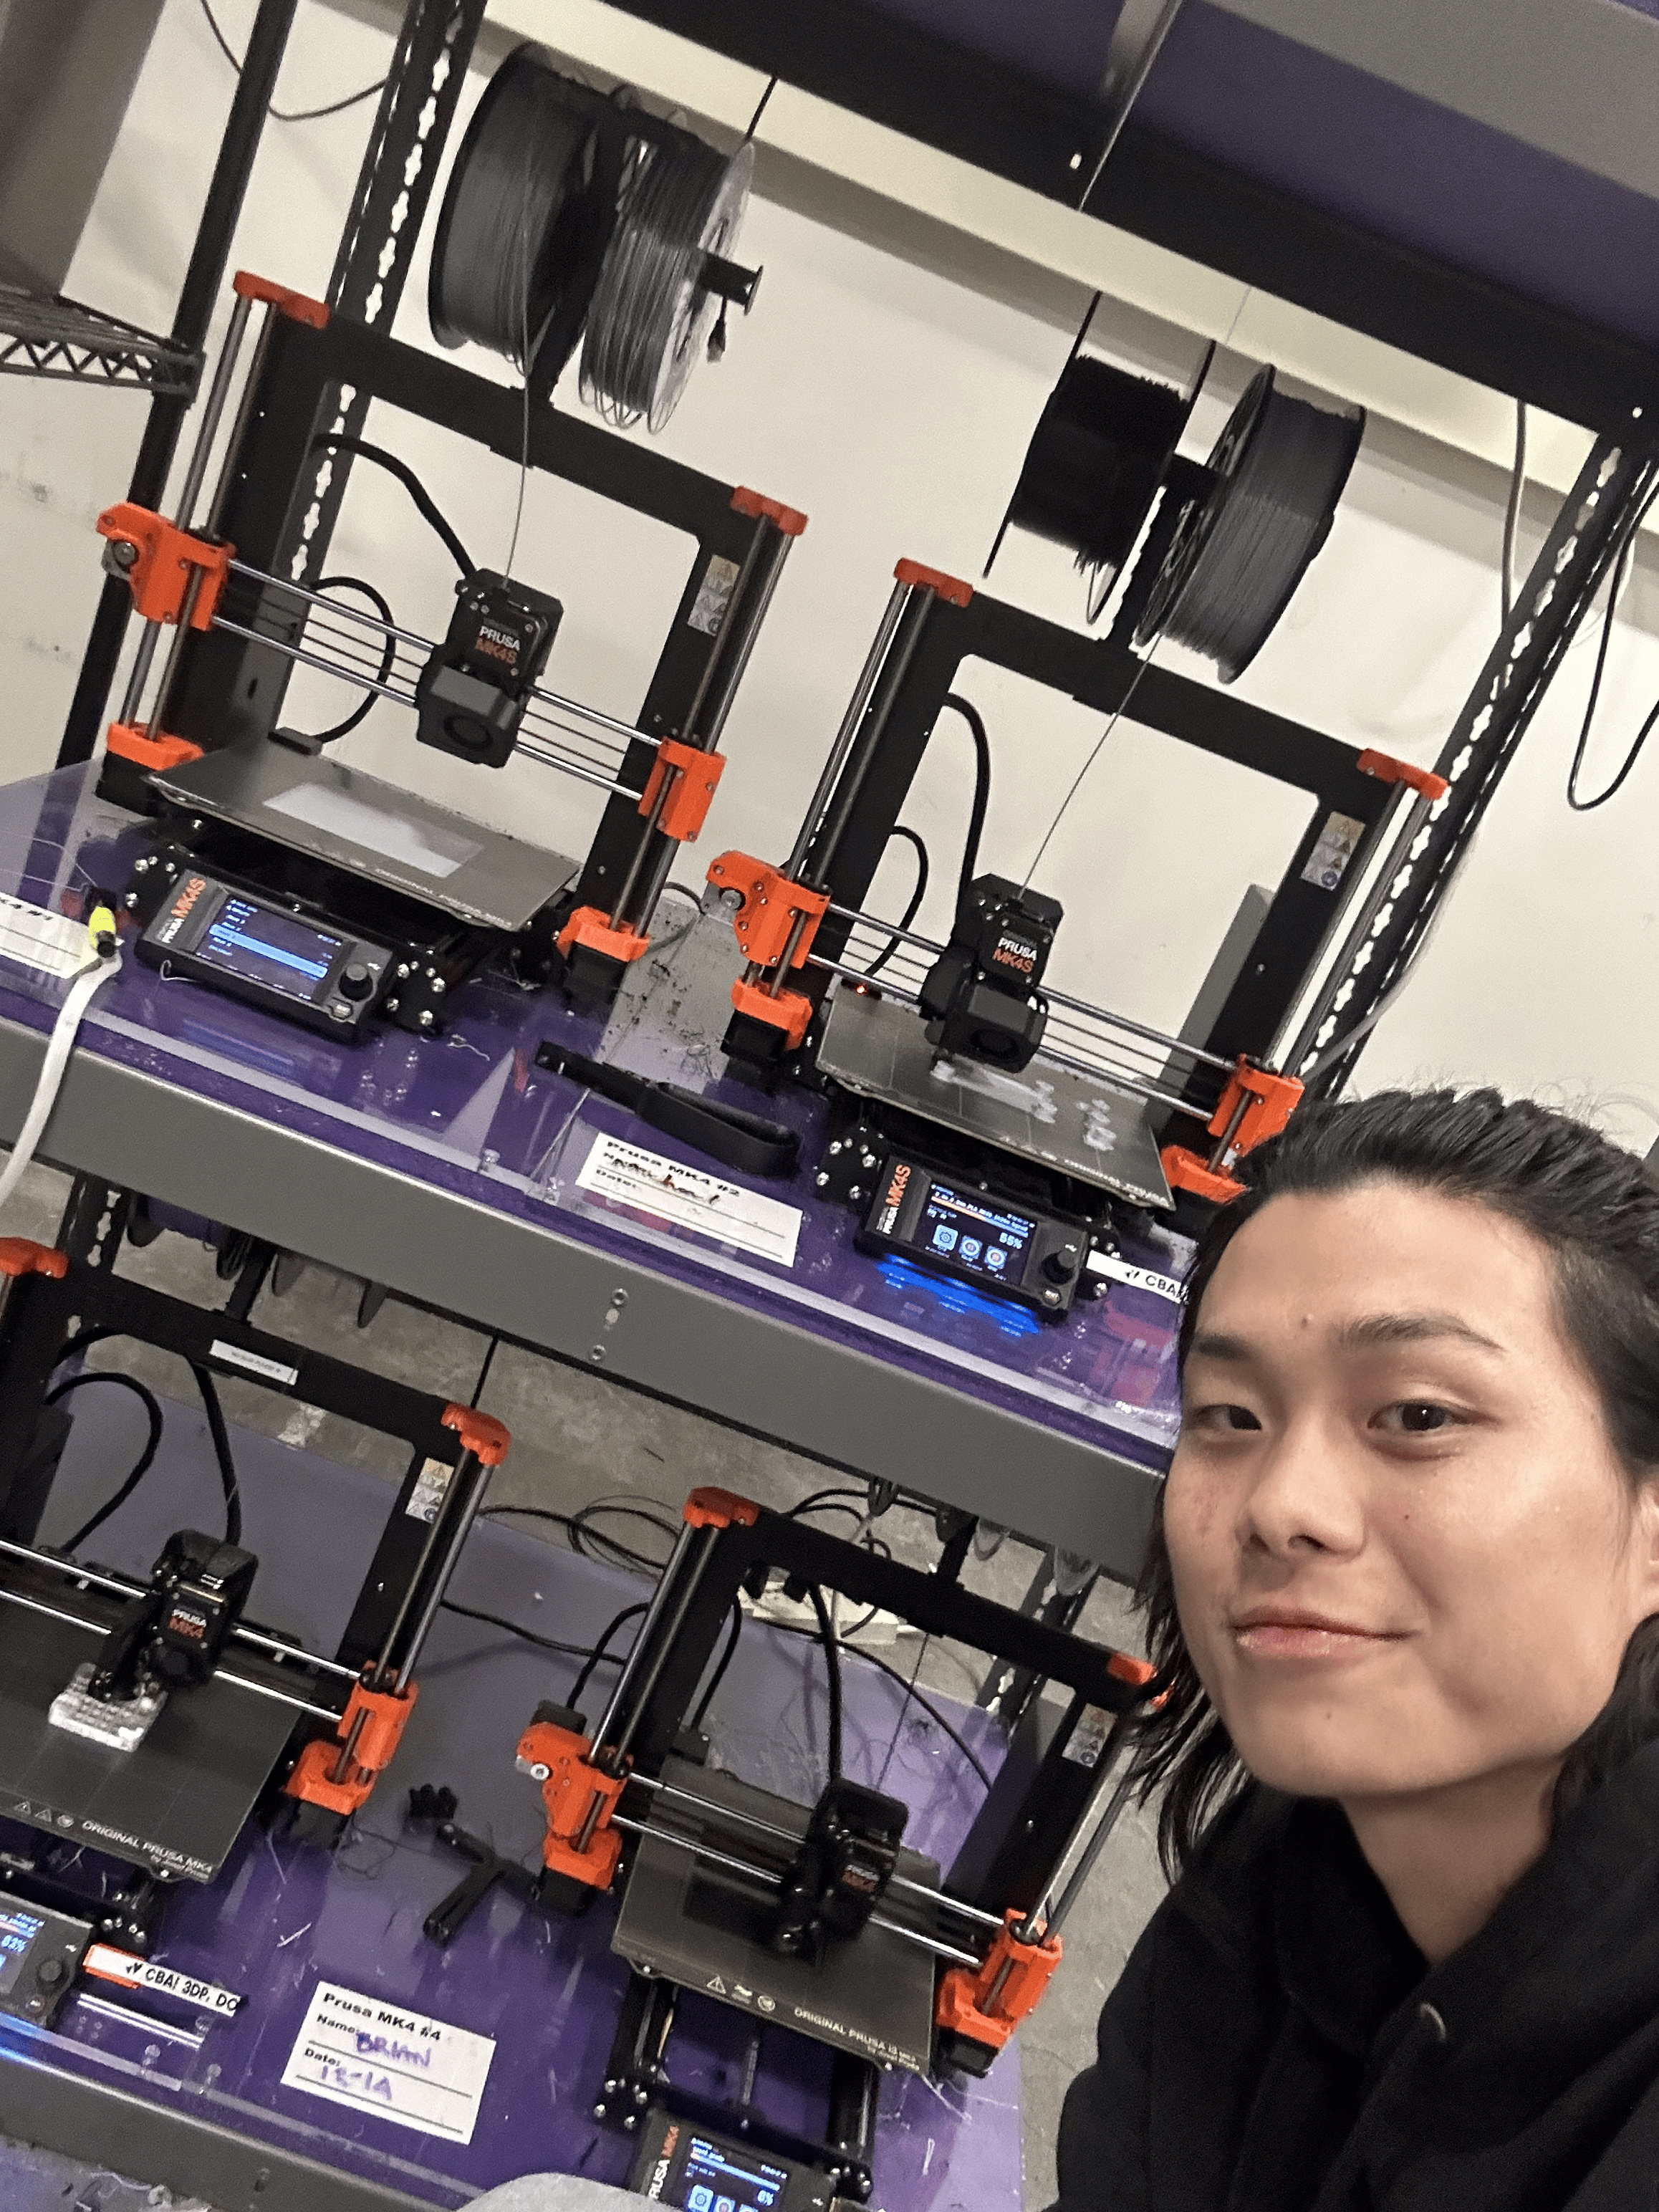
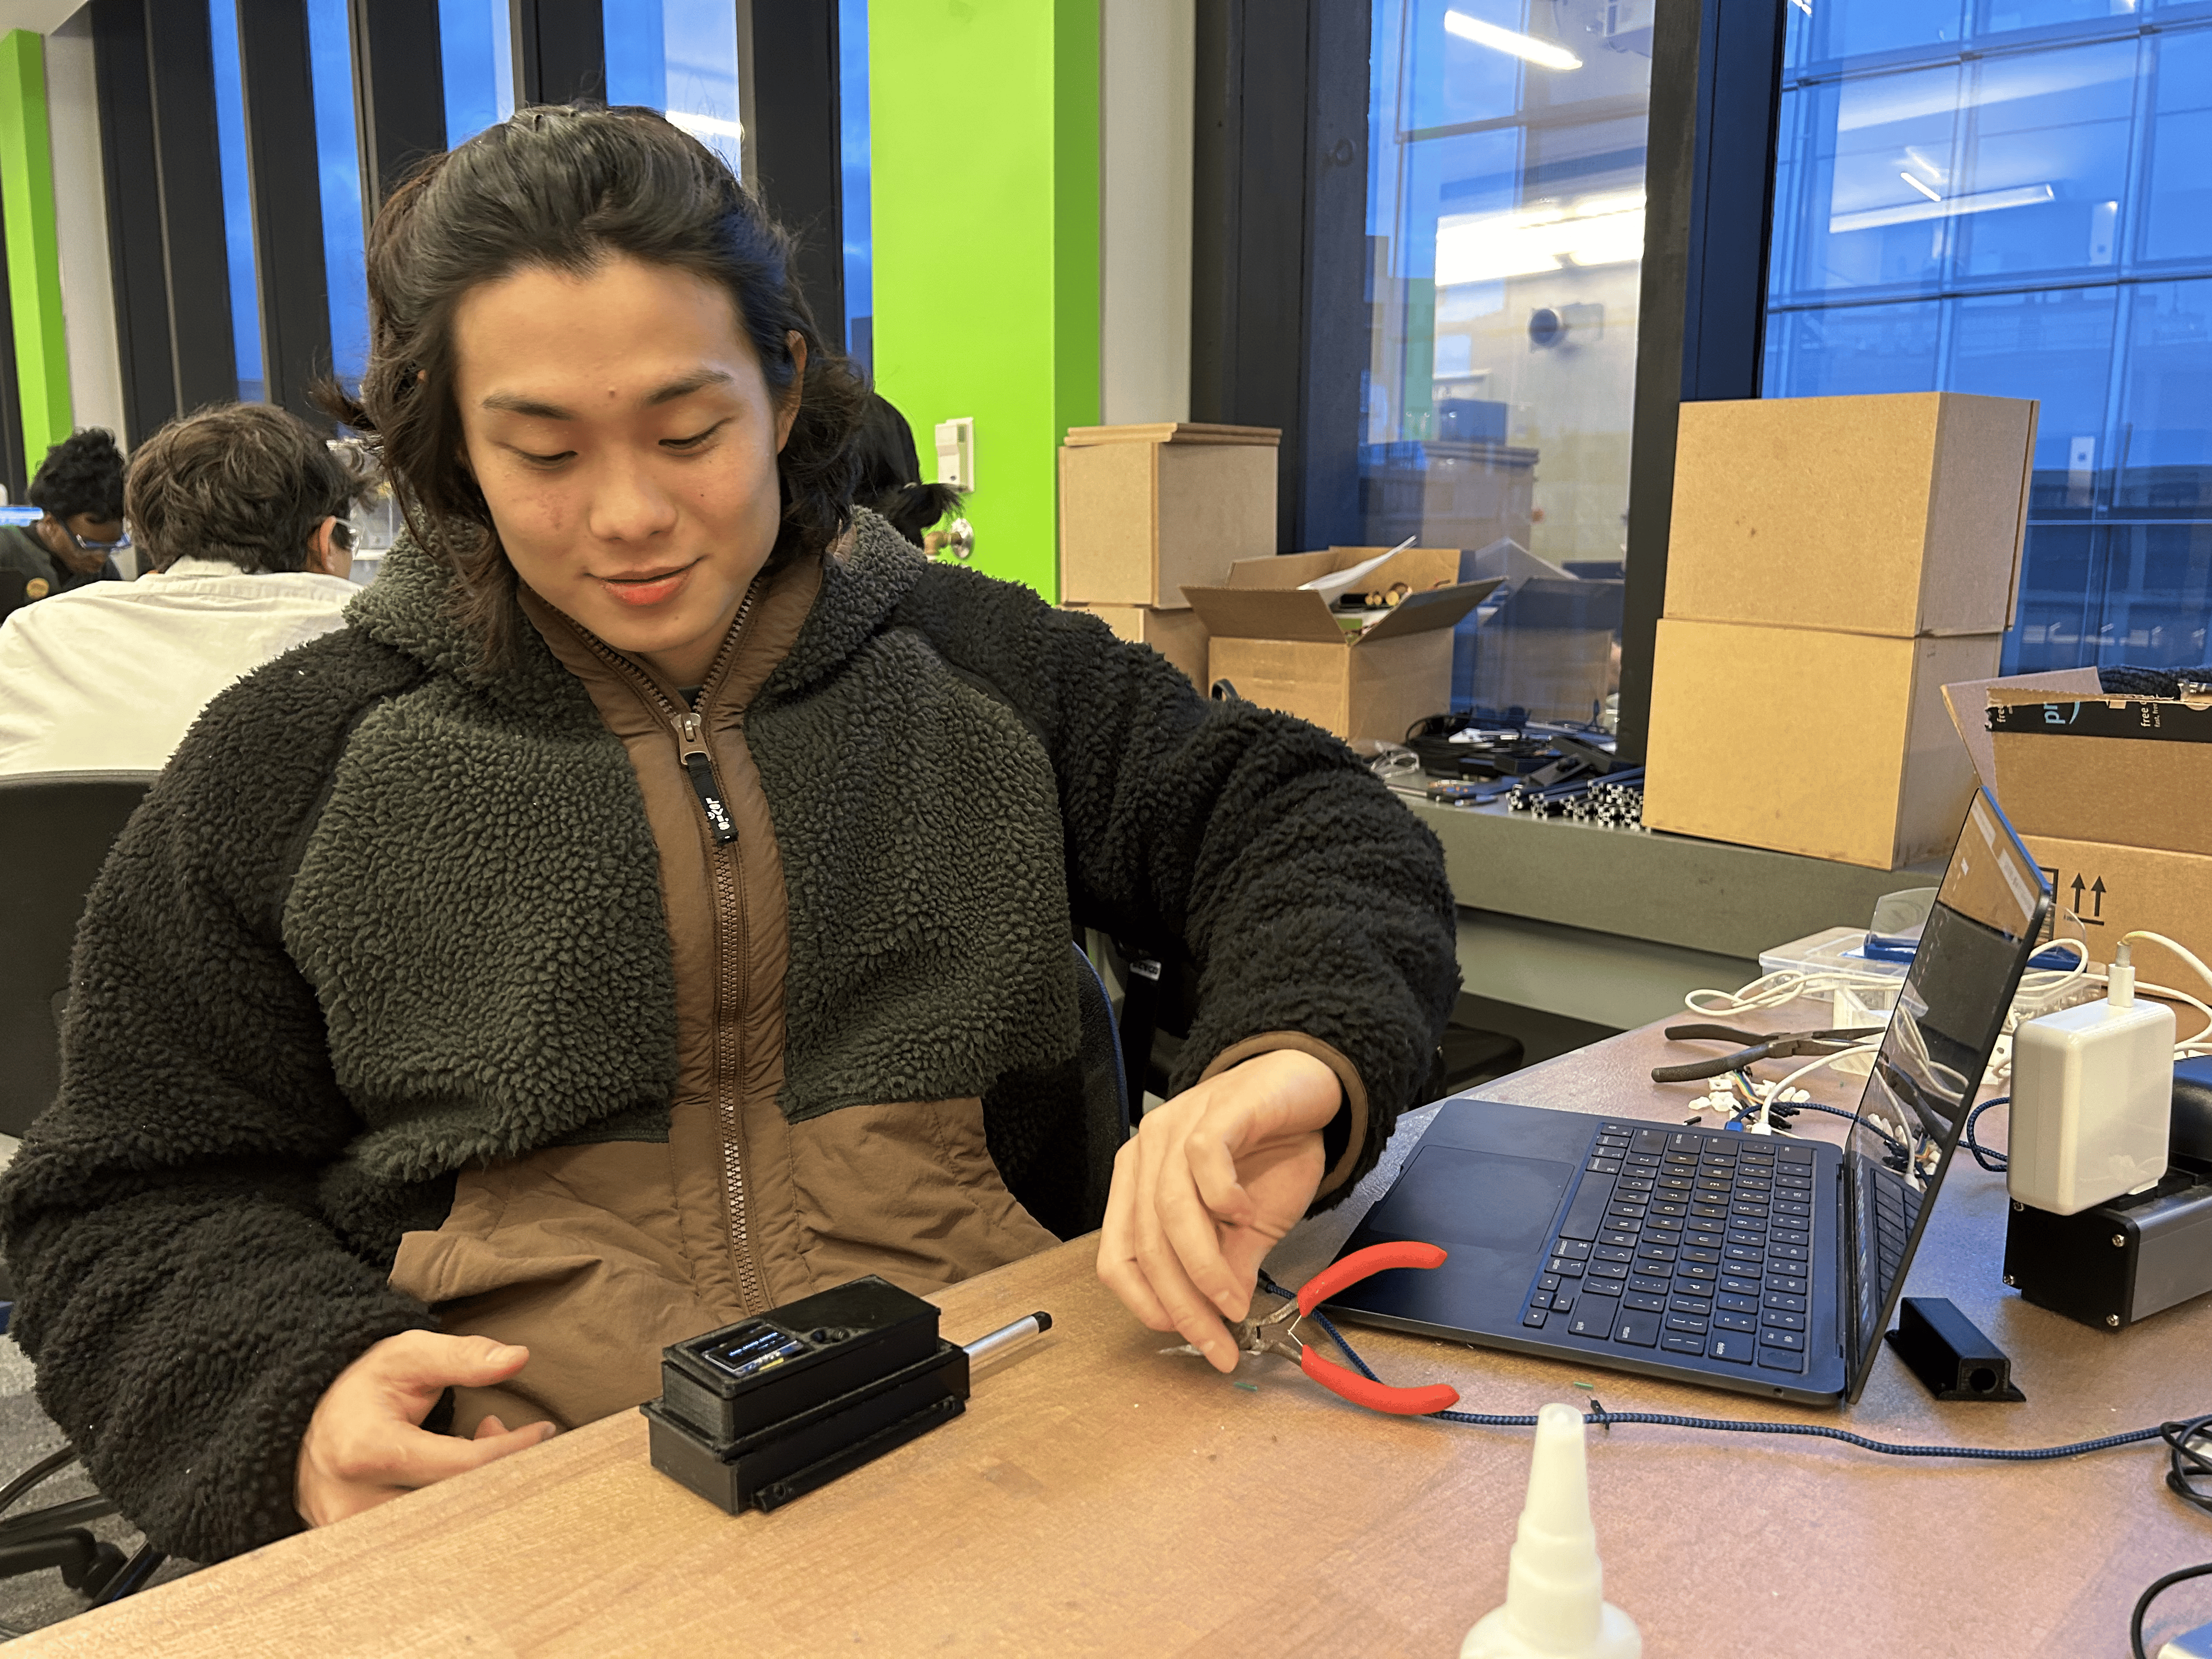
As I was basically done with the embedded, it's time to think about the casing of my lock. Designing the casing for the lock and PCB was my next step. Laxman taught me to include mounting holes for practical assembly. 3D printing took time, and with people abusing the printers, I headed to the CBA to use their 16 different Prusa printers. It was pretty intimidating there, not gonna lie.
Safe Construction
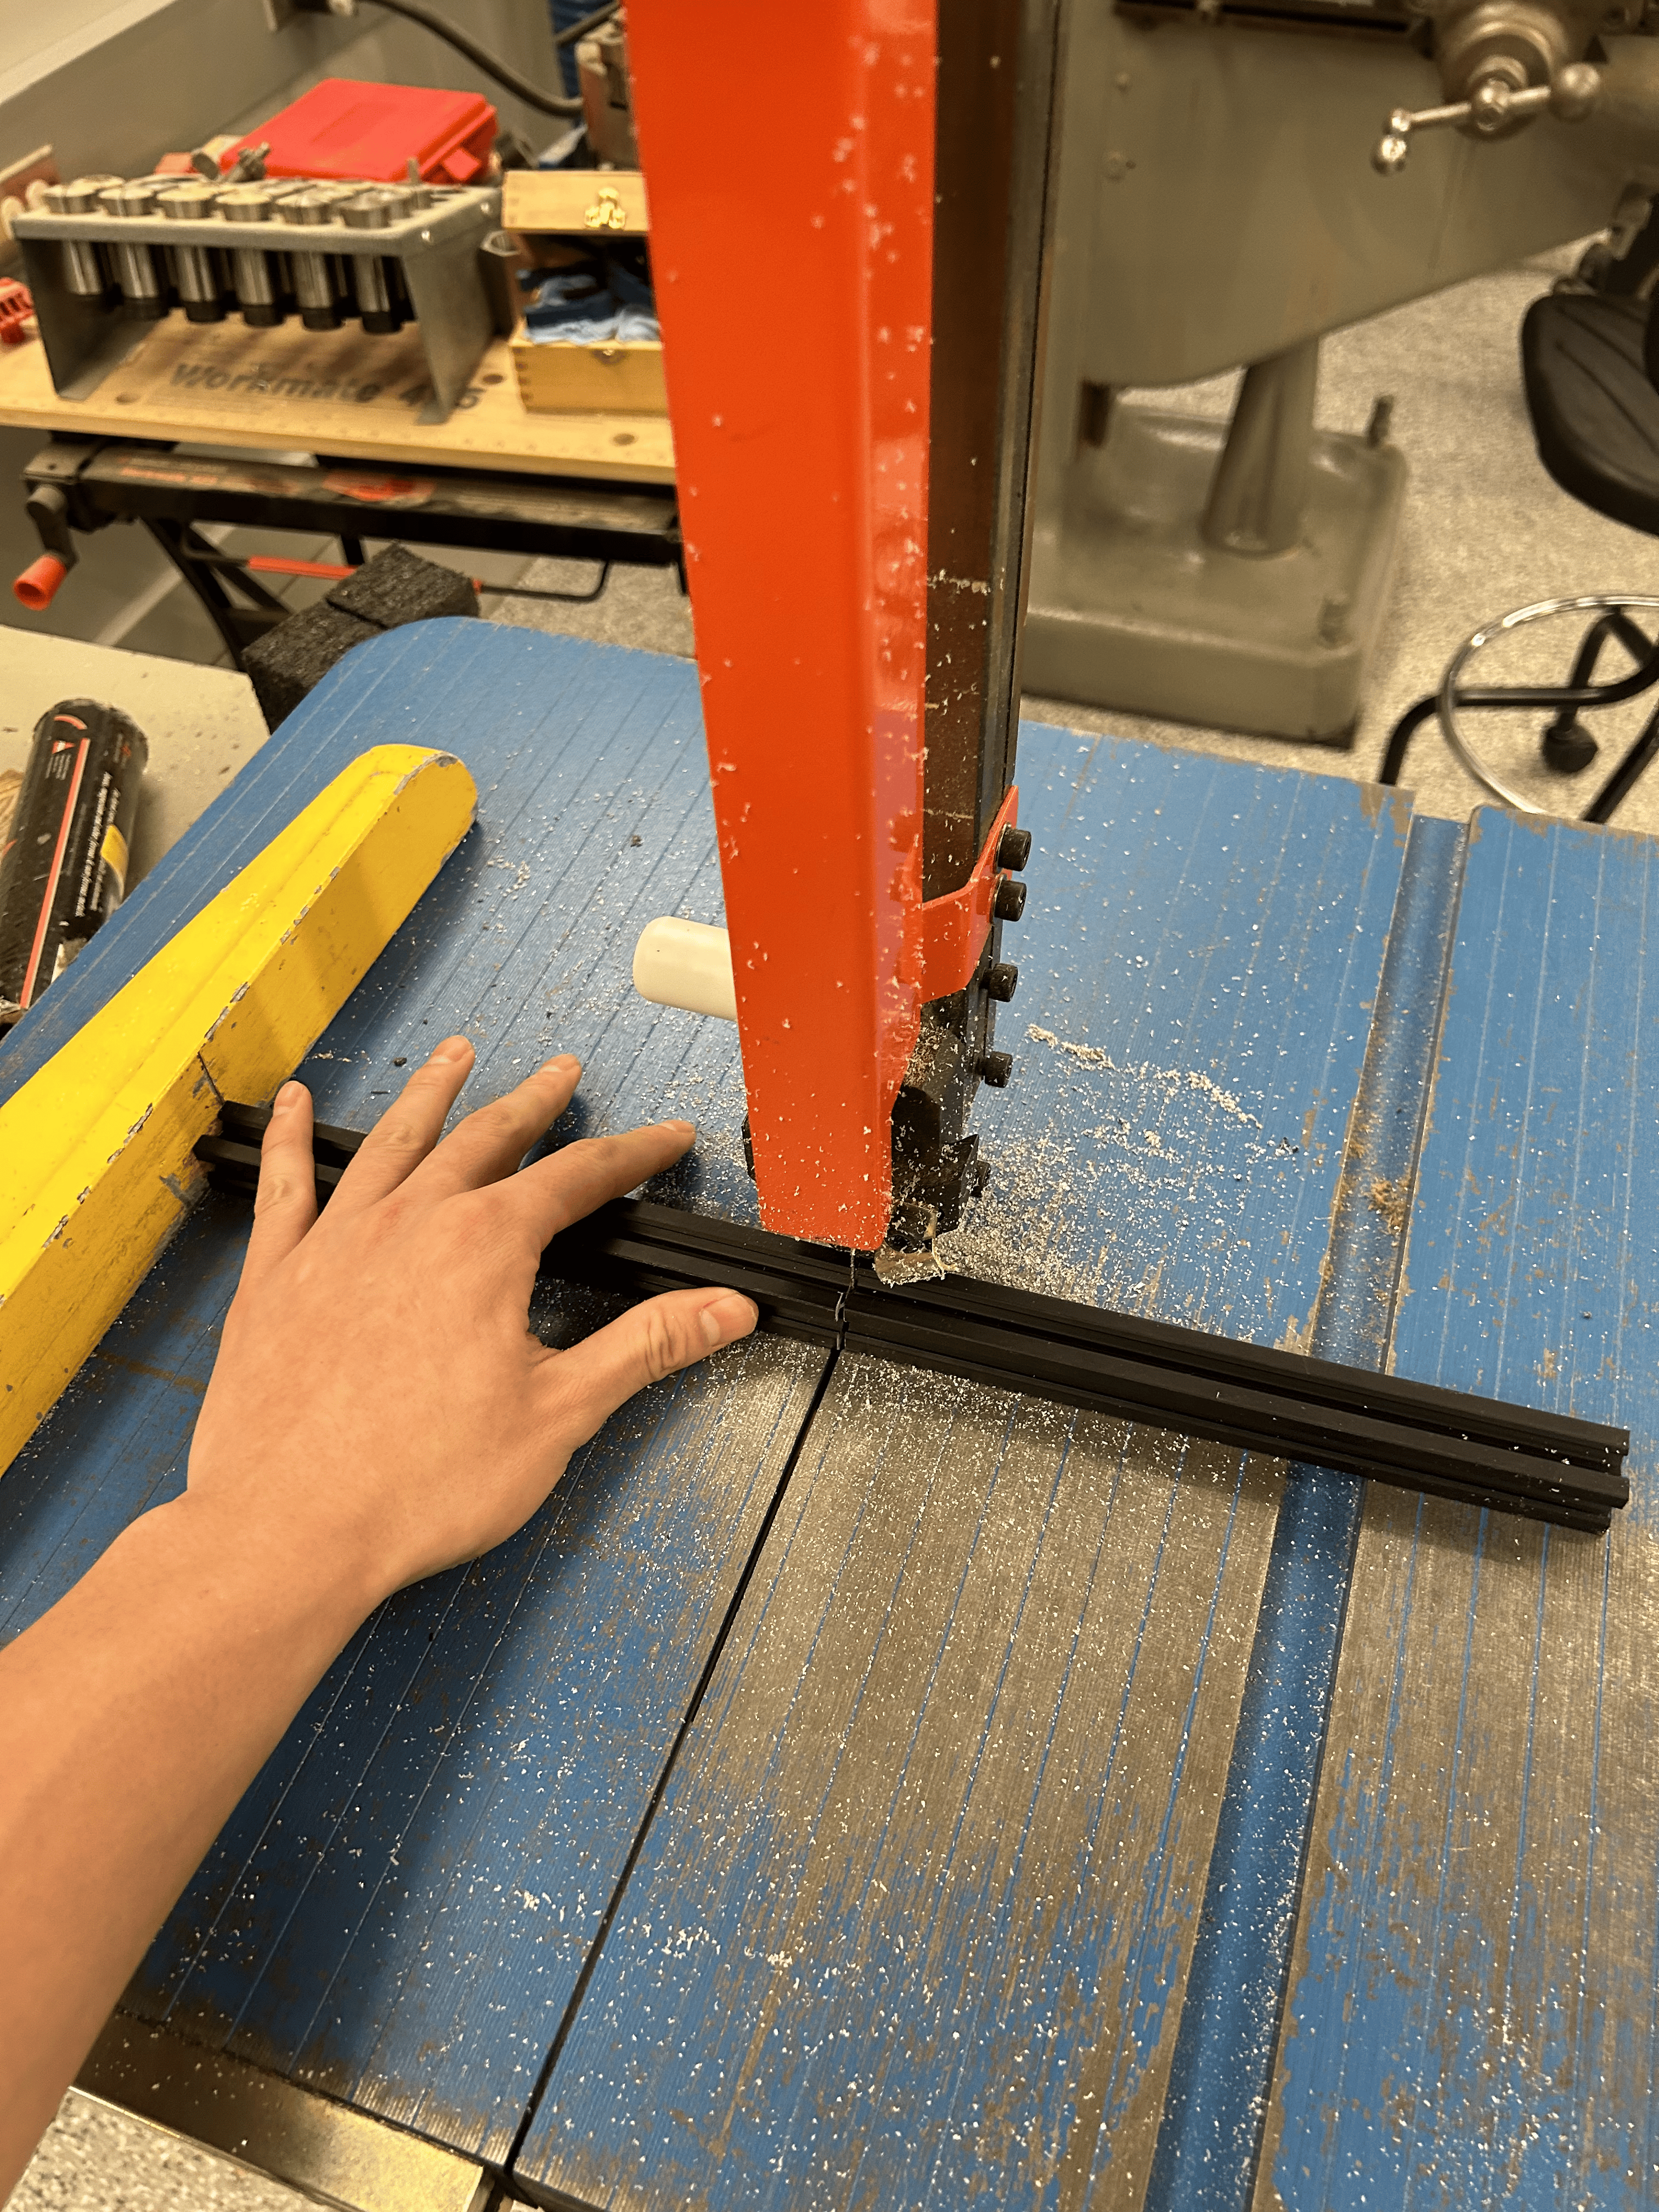
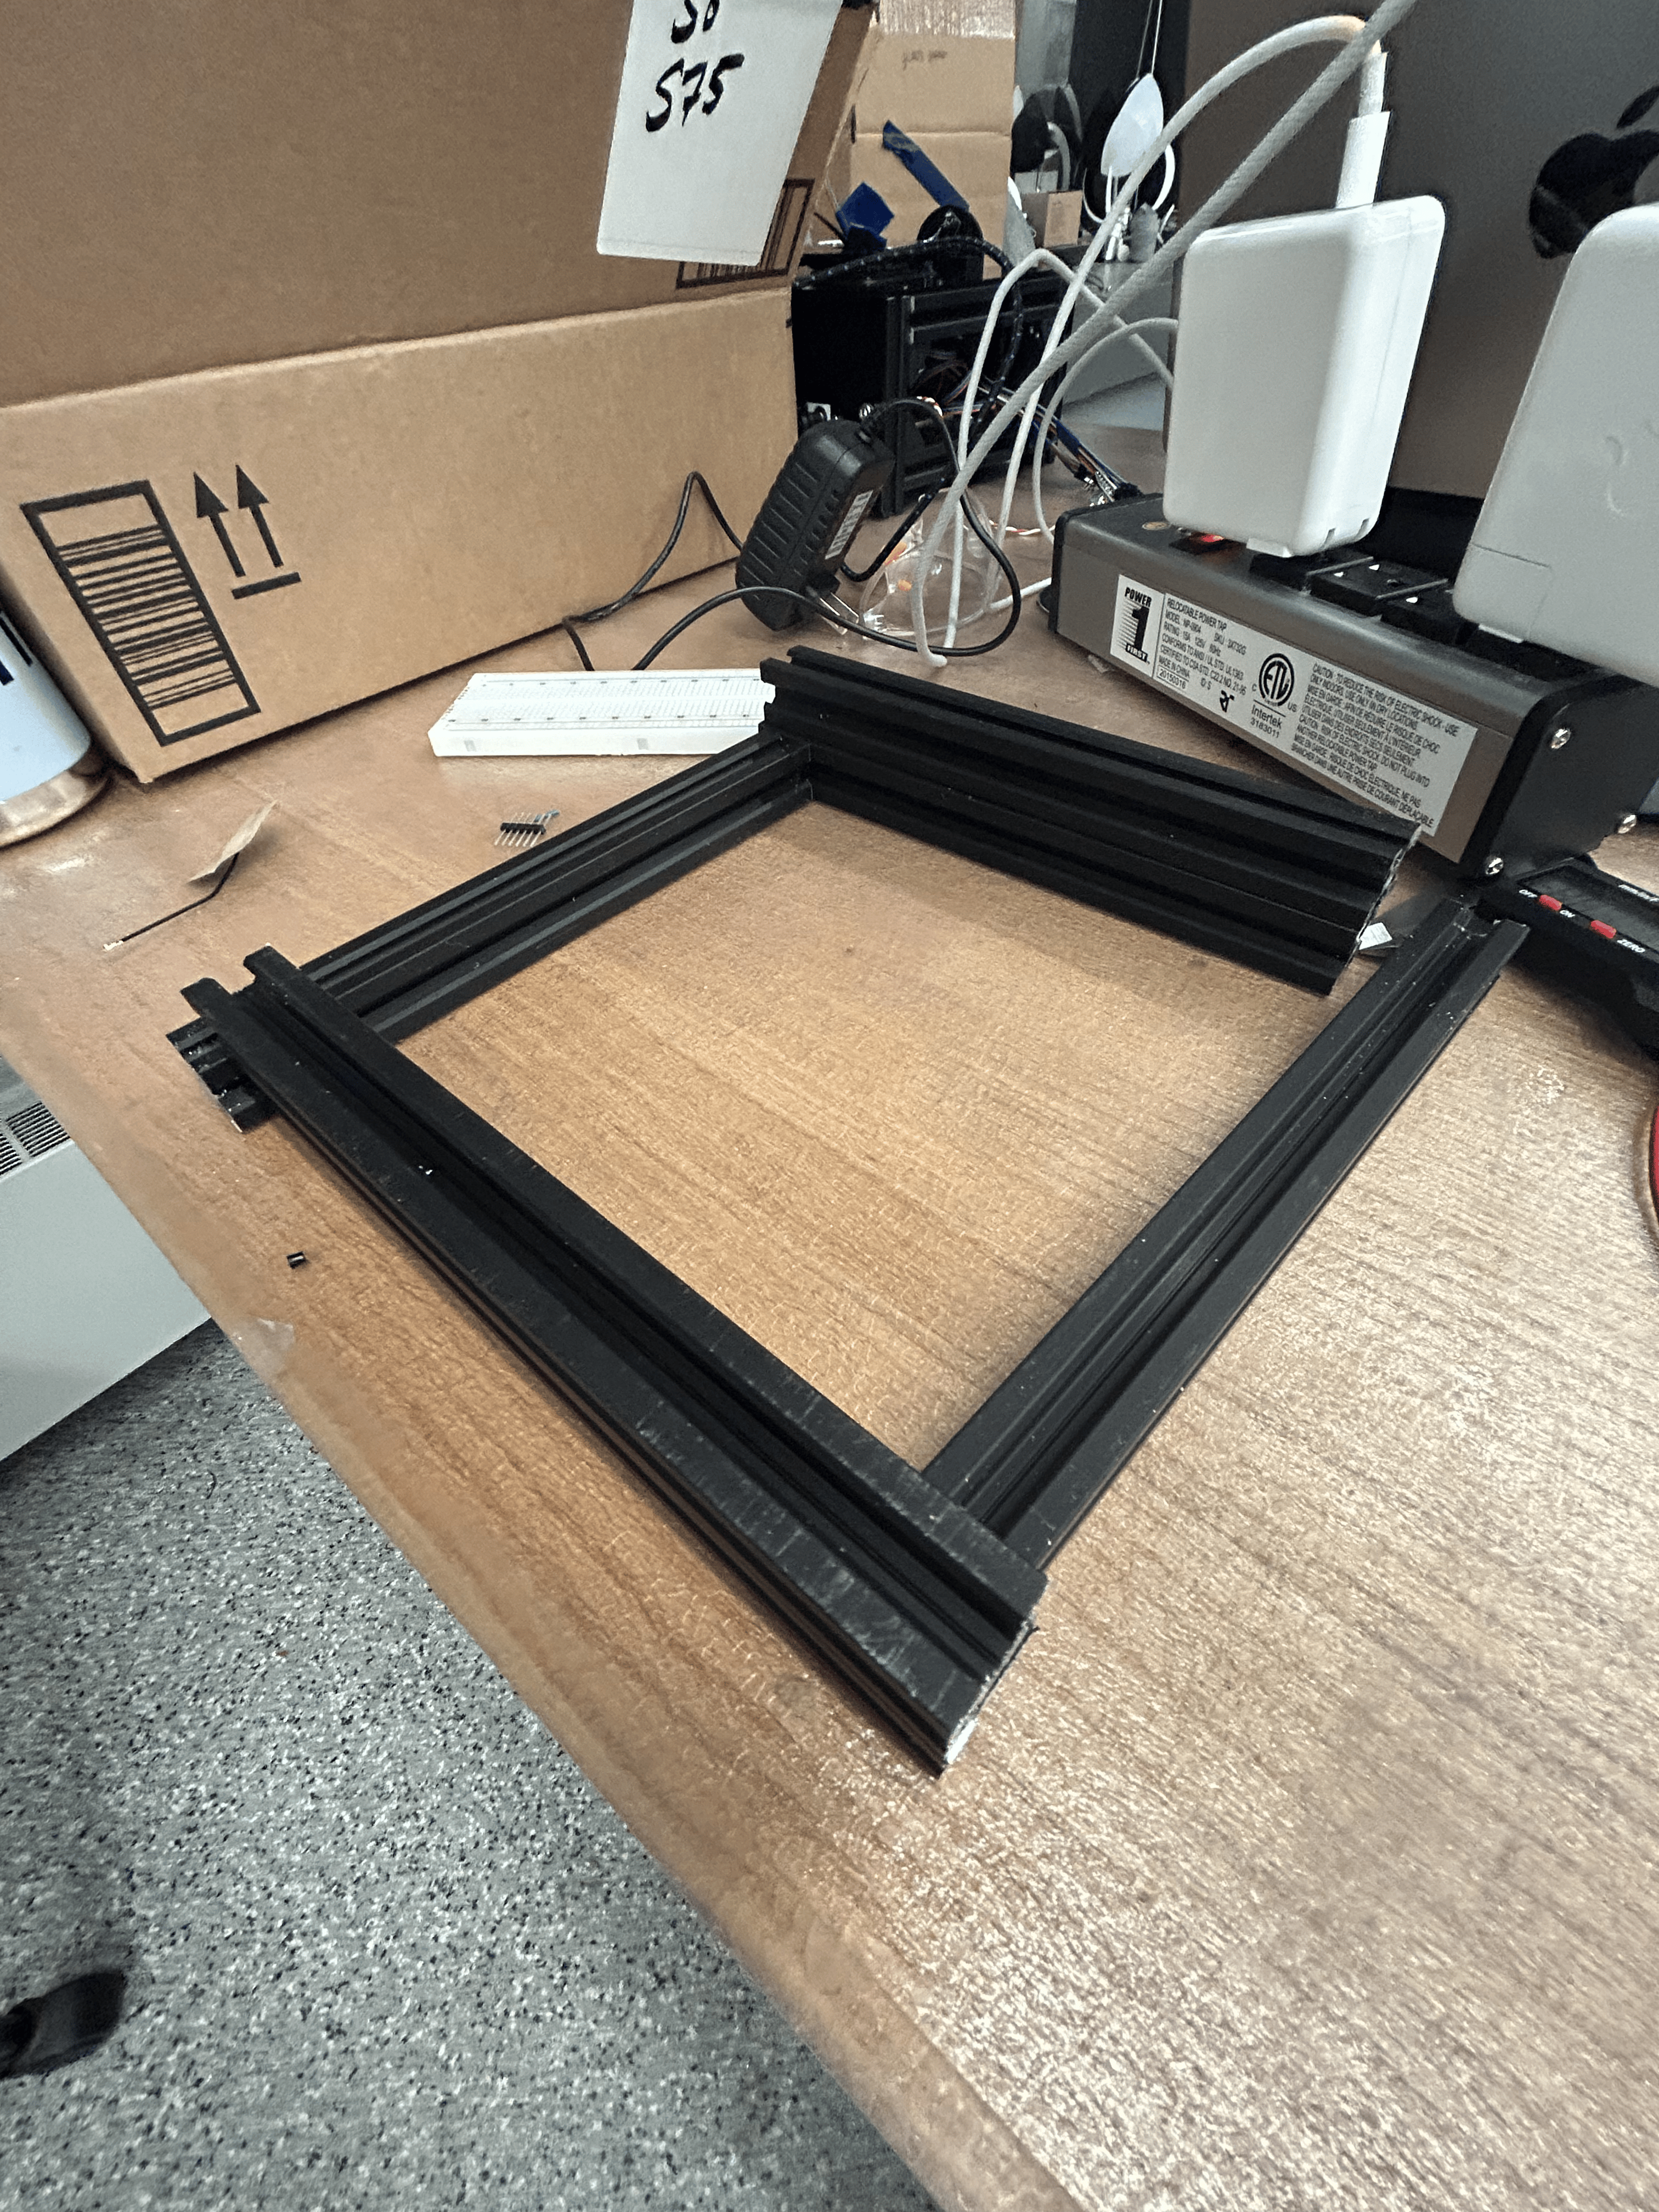
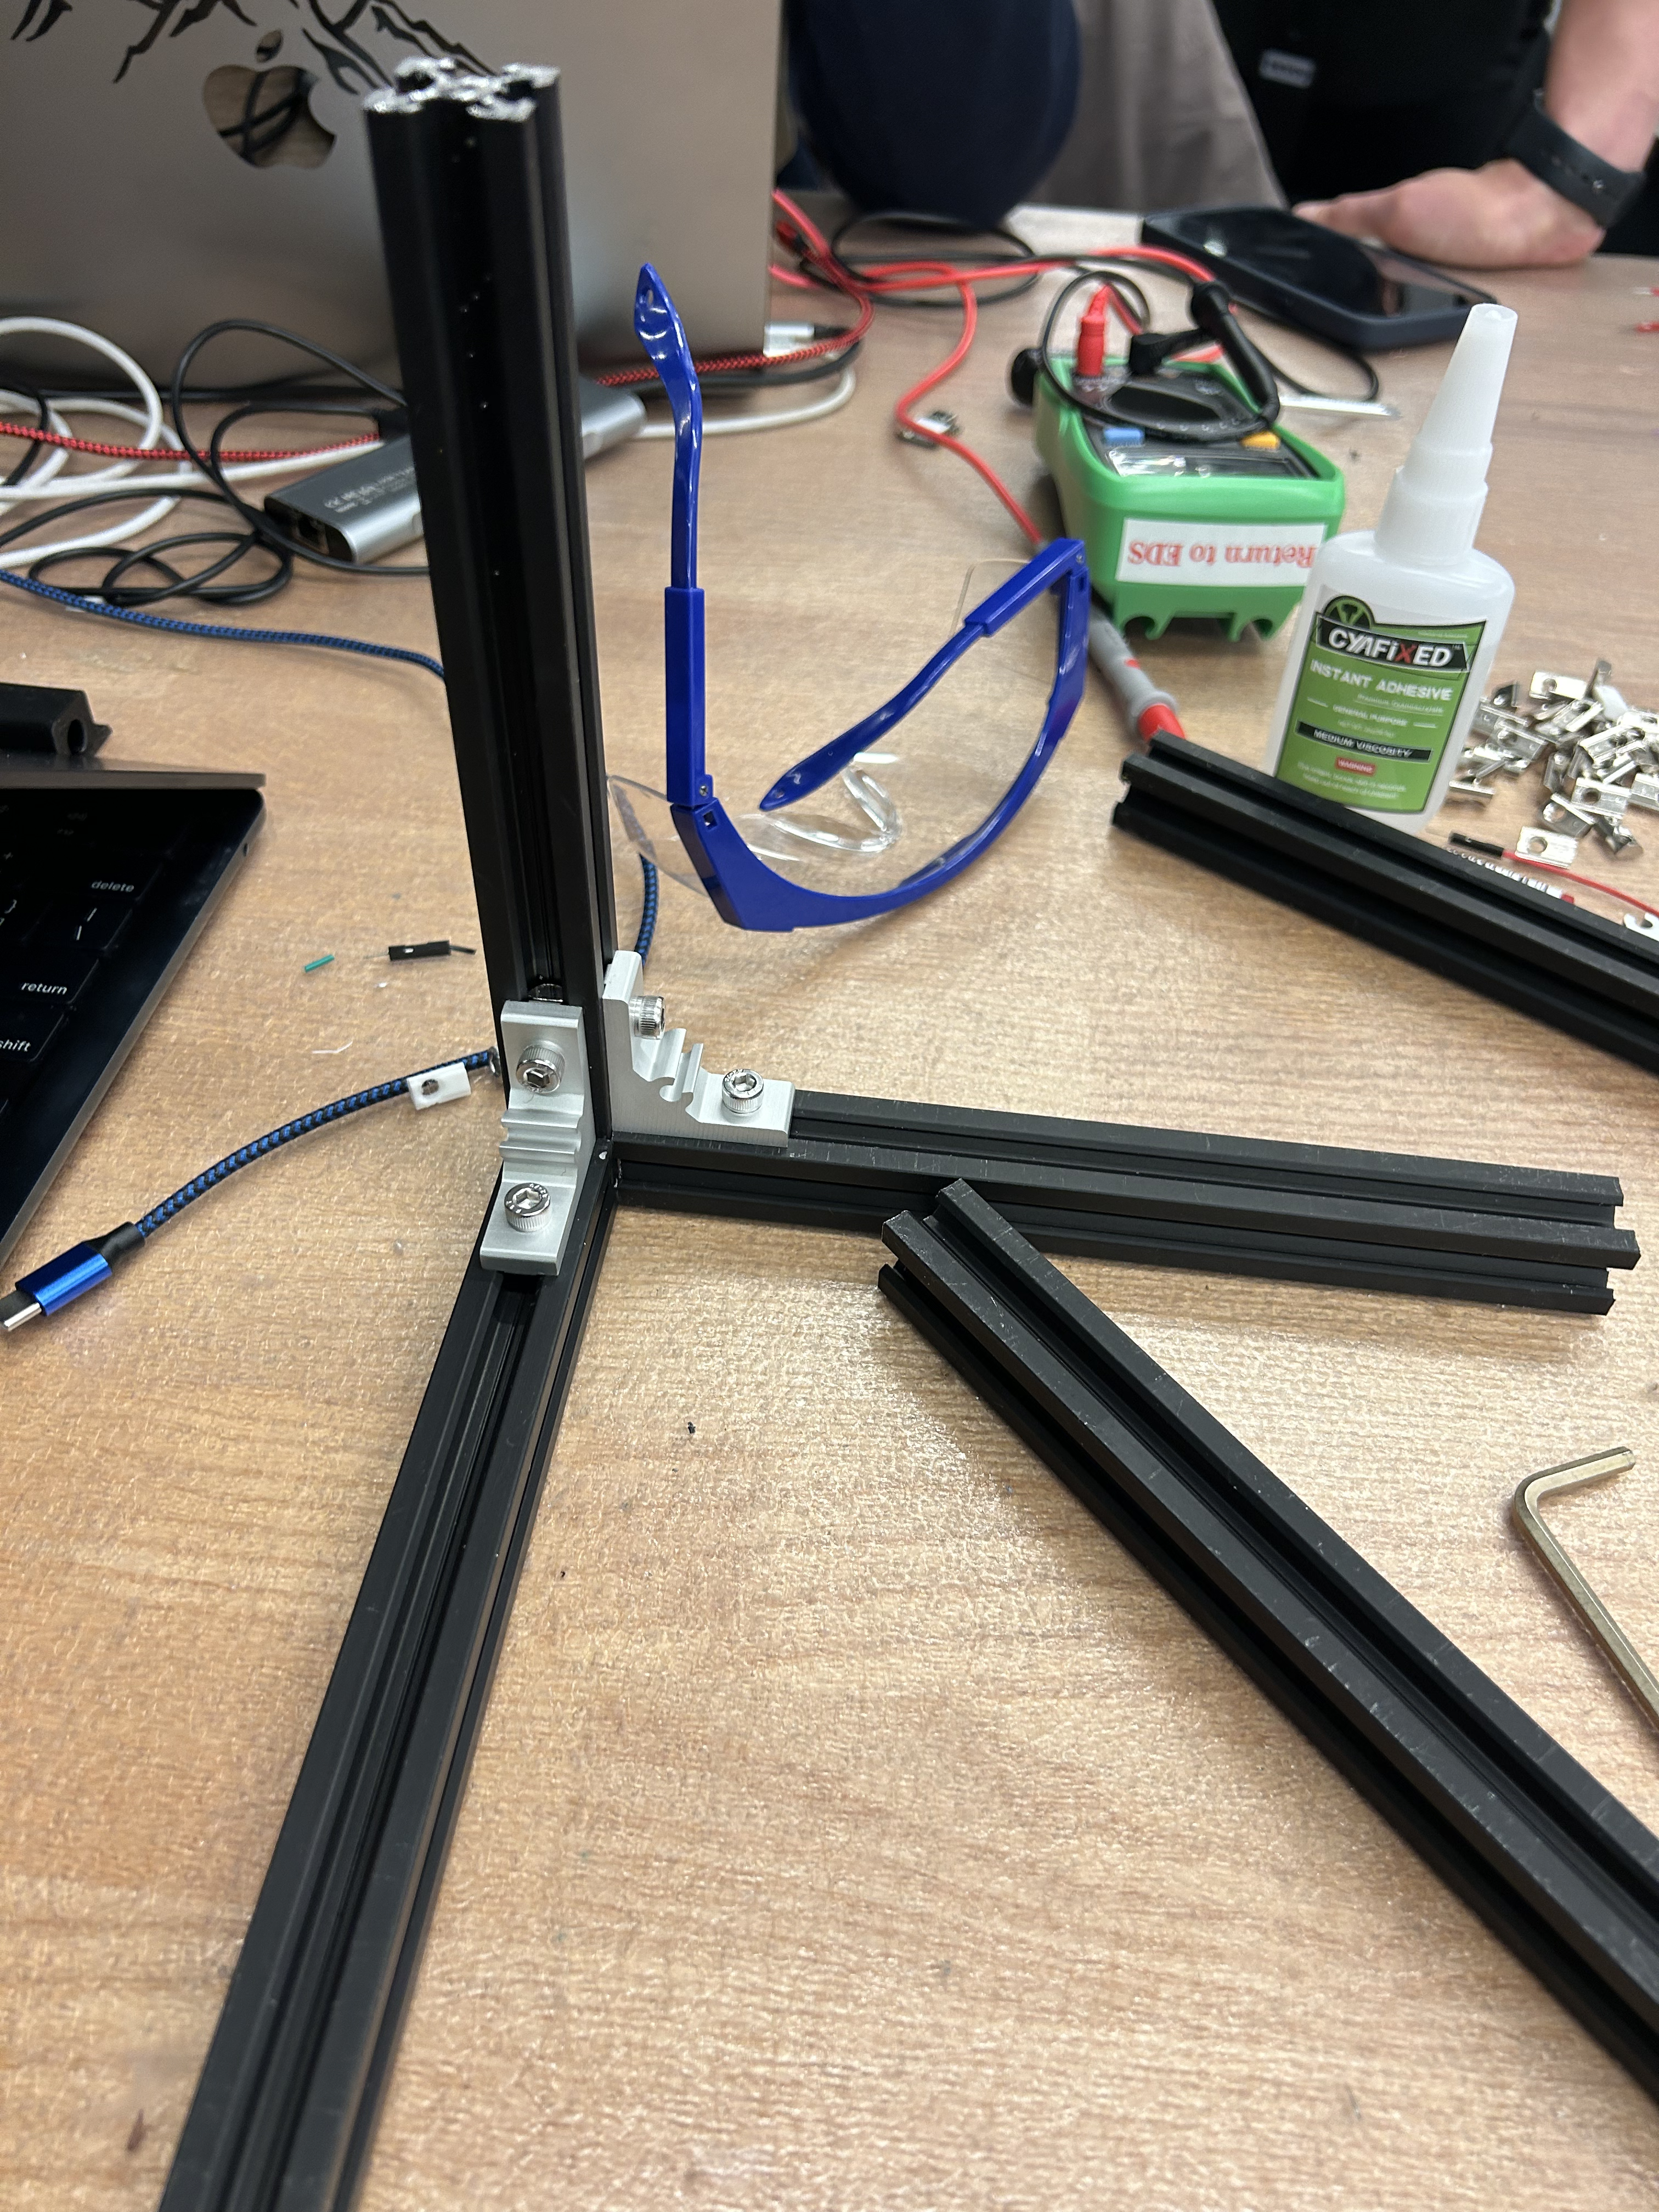
Almost done. I wanted to apply some stuff I learned from machine week, so I used aluminum extrusions to create a frame that would eventually become my safe. It was fun putting everything together until I ran out of T nuts, which sent me back to the CBA begging for more. I tried printing T nuts at some point but learned the hard way - printing plastic T nuts doesn't work. I also laser cut some clear acrylic to make the sides of the safe, combining everything for a polished finish.
Final Demo
Lessons Learned
- Always unit test, do proof of concept before you move onto the next. Don't skip steps because it will come back to bite you.
- Try iterating as much as possible to see what you're doing.
- Don't be afraid to give up a method you're trying. Pivot when you need to
- Aim for completion over perfection at first
Final Thoughts
This class has been everything I hoped for—and more. I've learned to think, to create, to persist. Hardware is hard, but it's also incredibly rewarding. Thank you, Neil, for leading this journey, and to the TAs and friends who made this possible.
Honestly this class gave me a lot of confidence when it comes to hardware. I am now confident that I can tackle more ambitious projects in the future. Some part of my wishes I took on a harder project but that's just hindsight bias. Thank you everyone and peace out to my favorite class at MIT.
