Vinyl Cutter
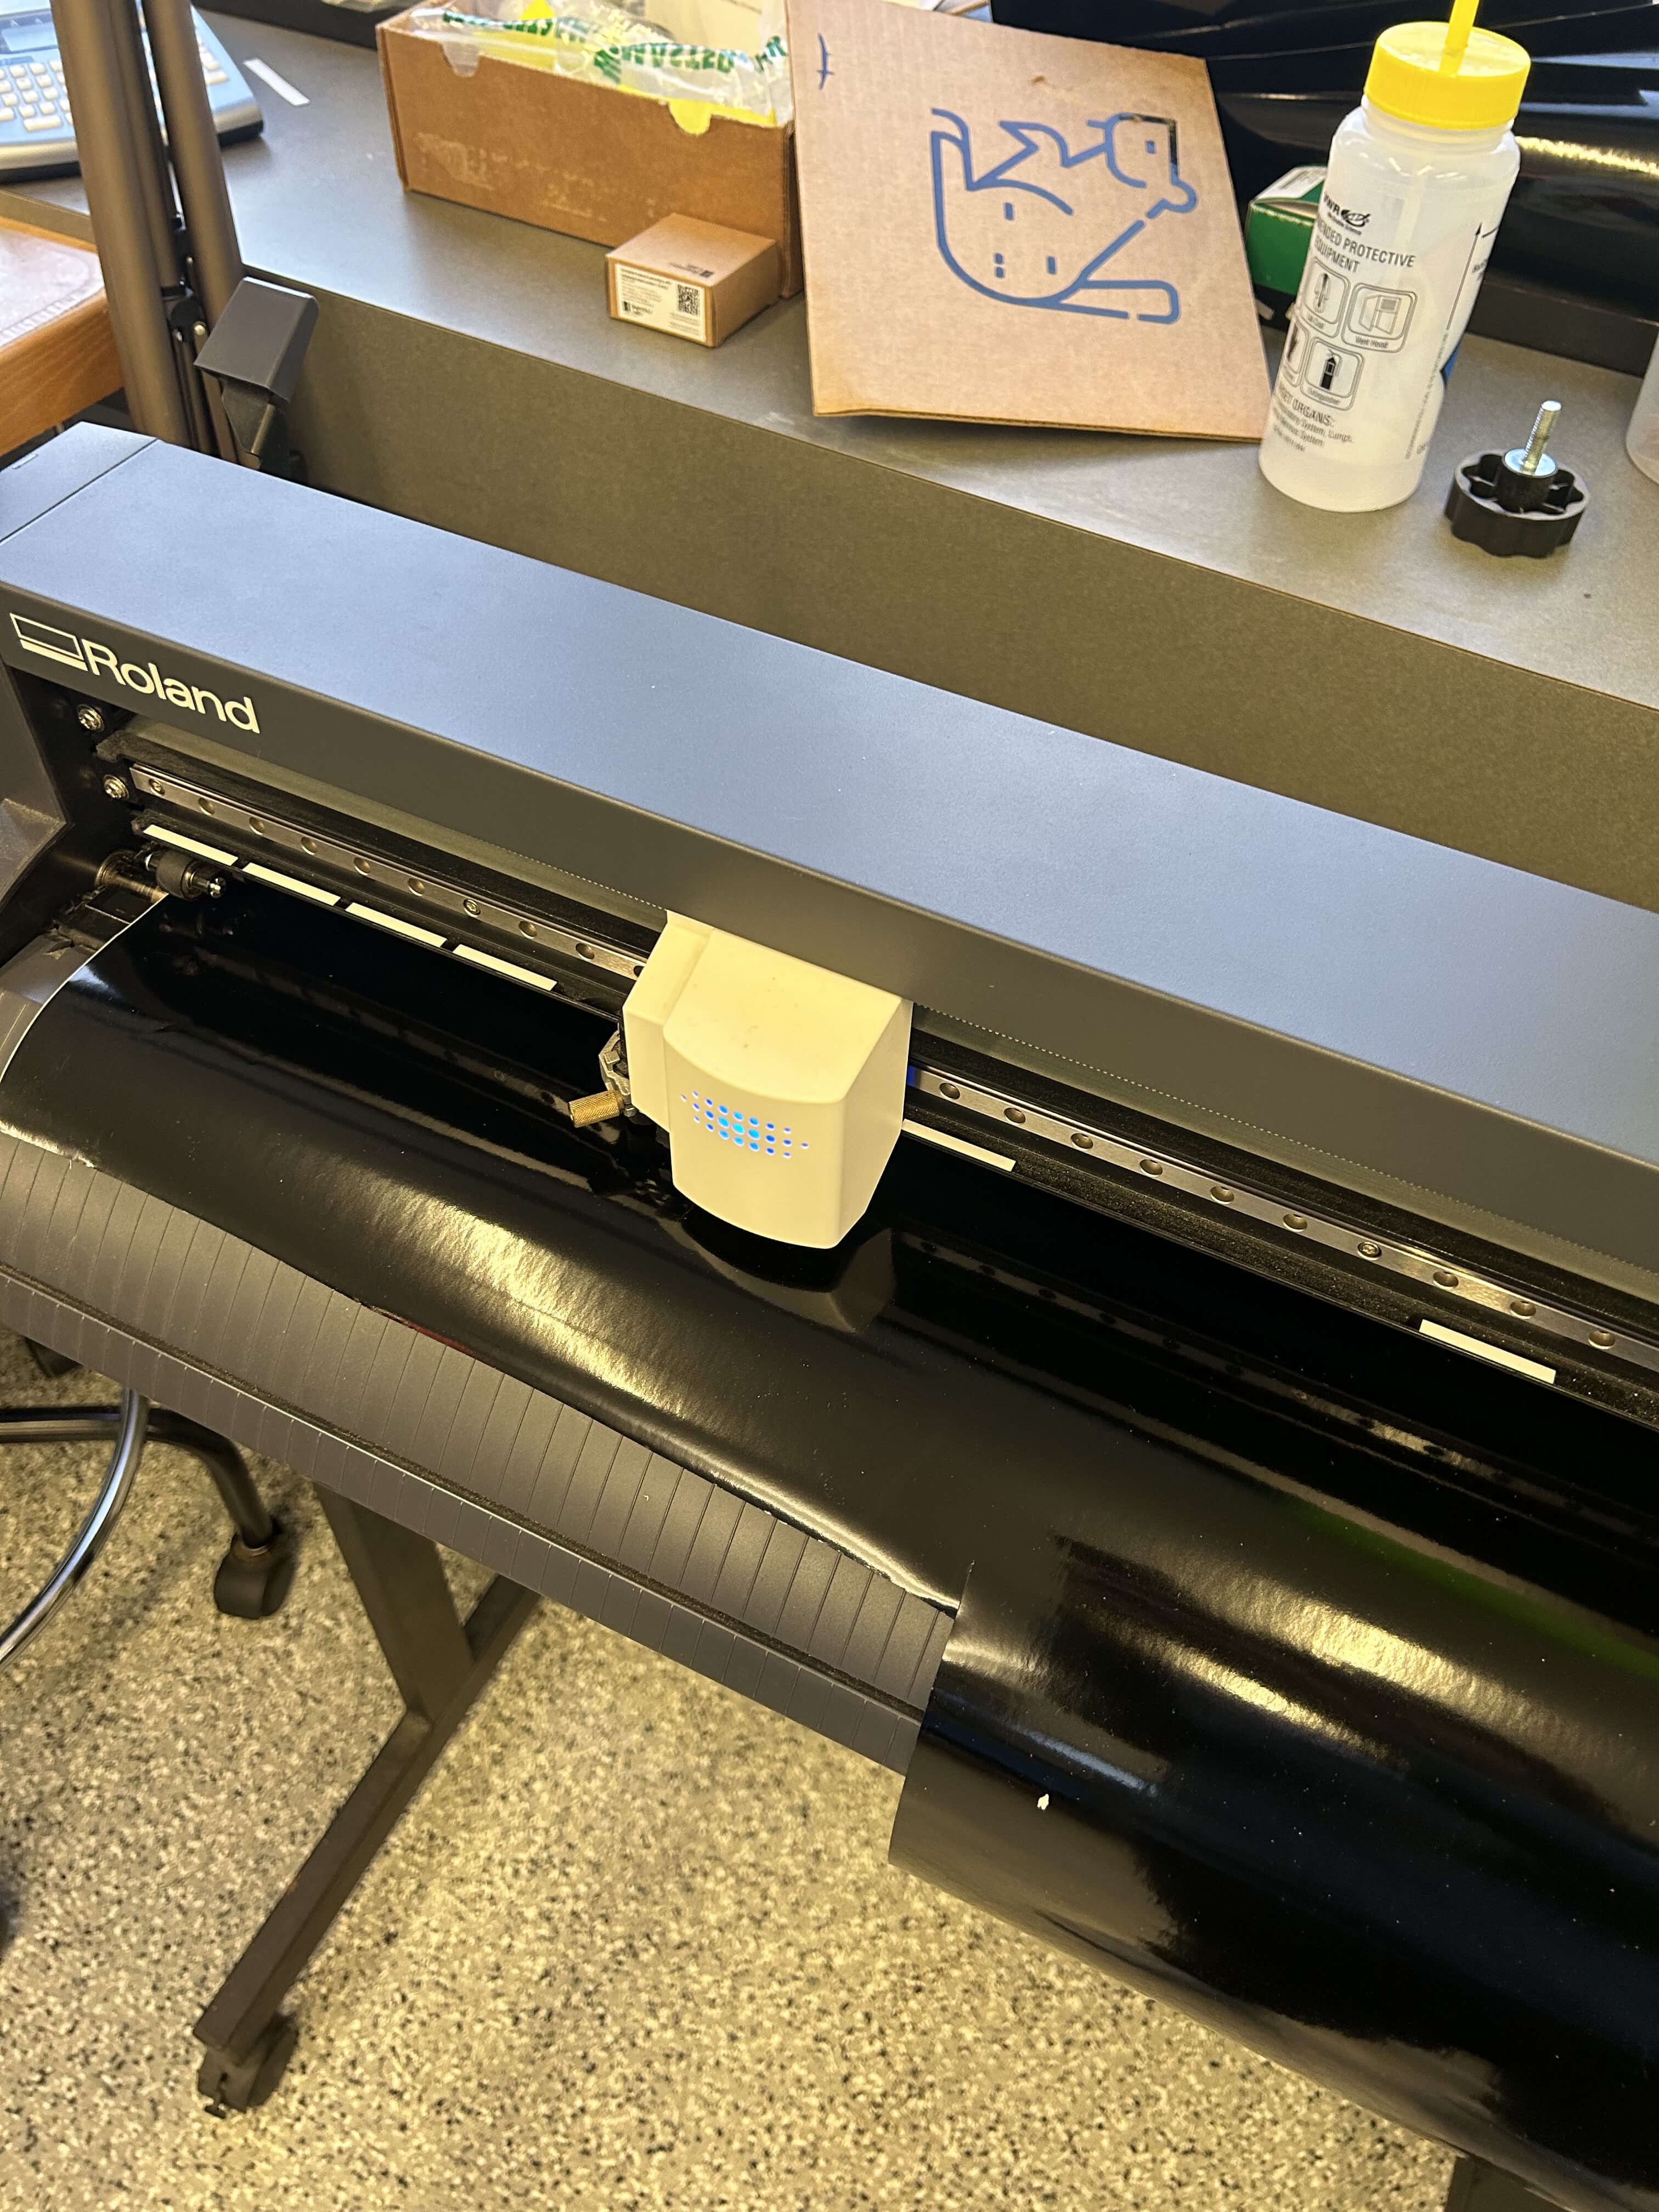
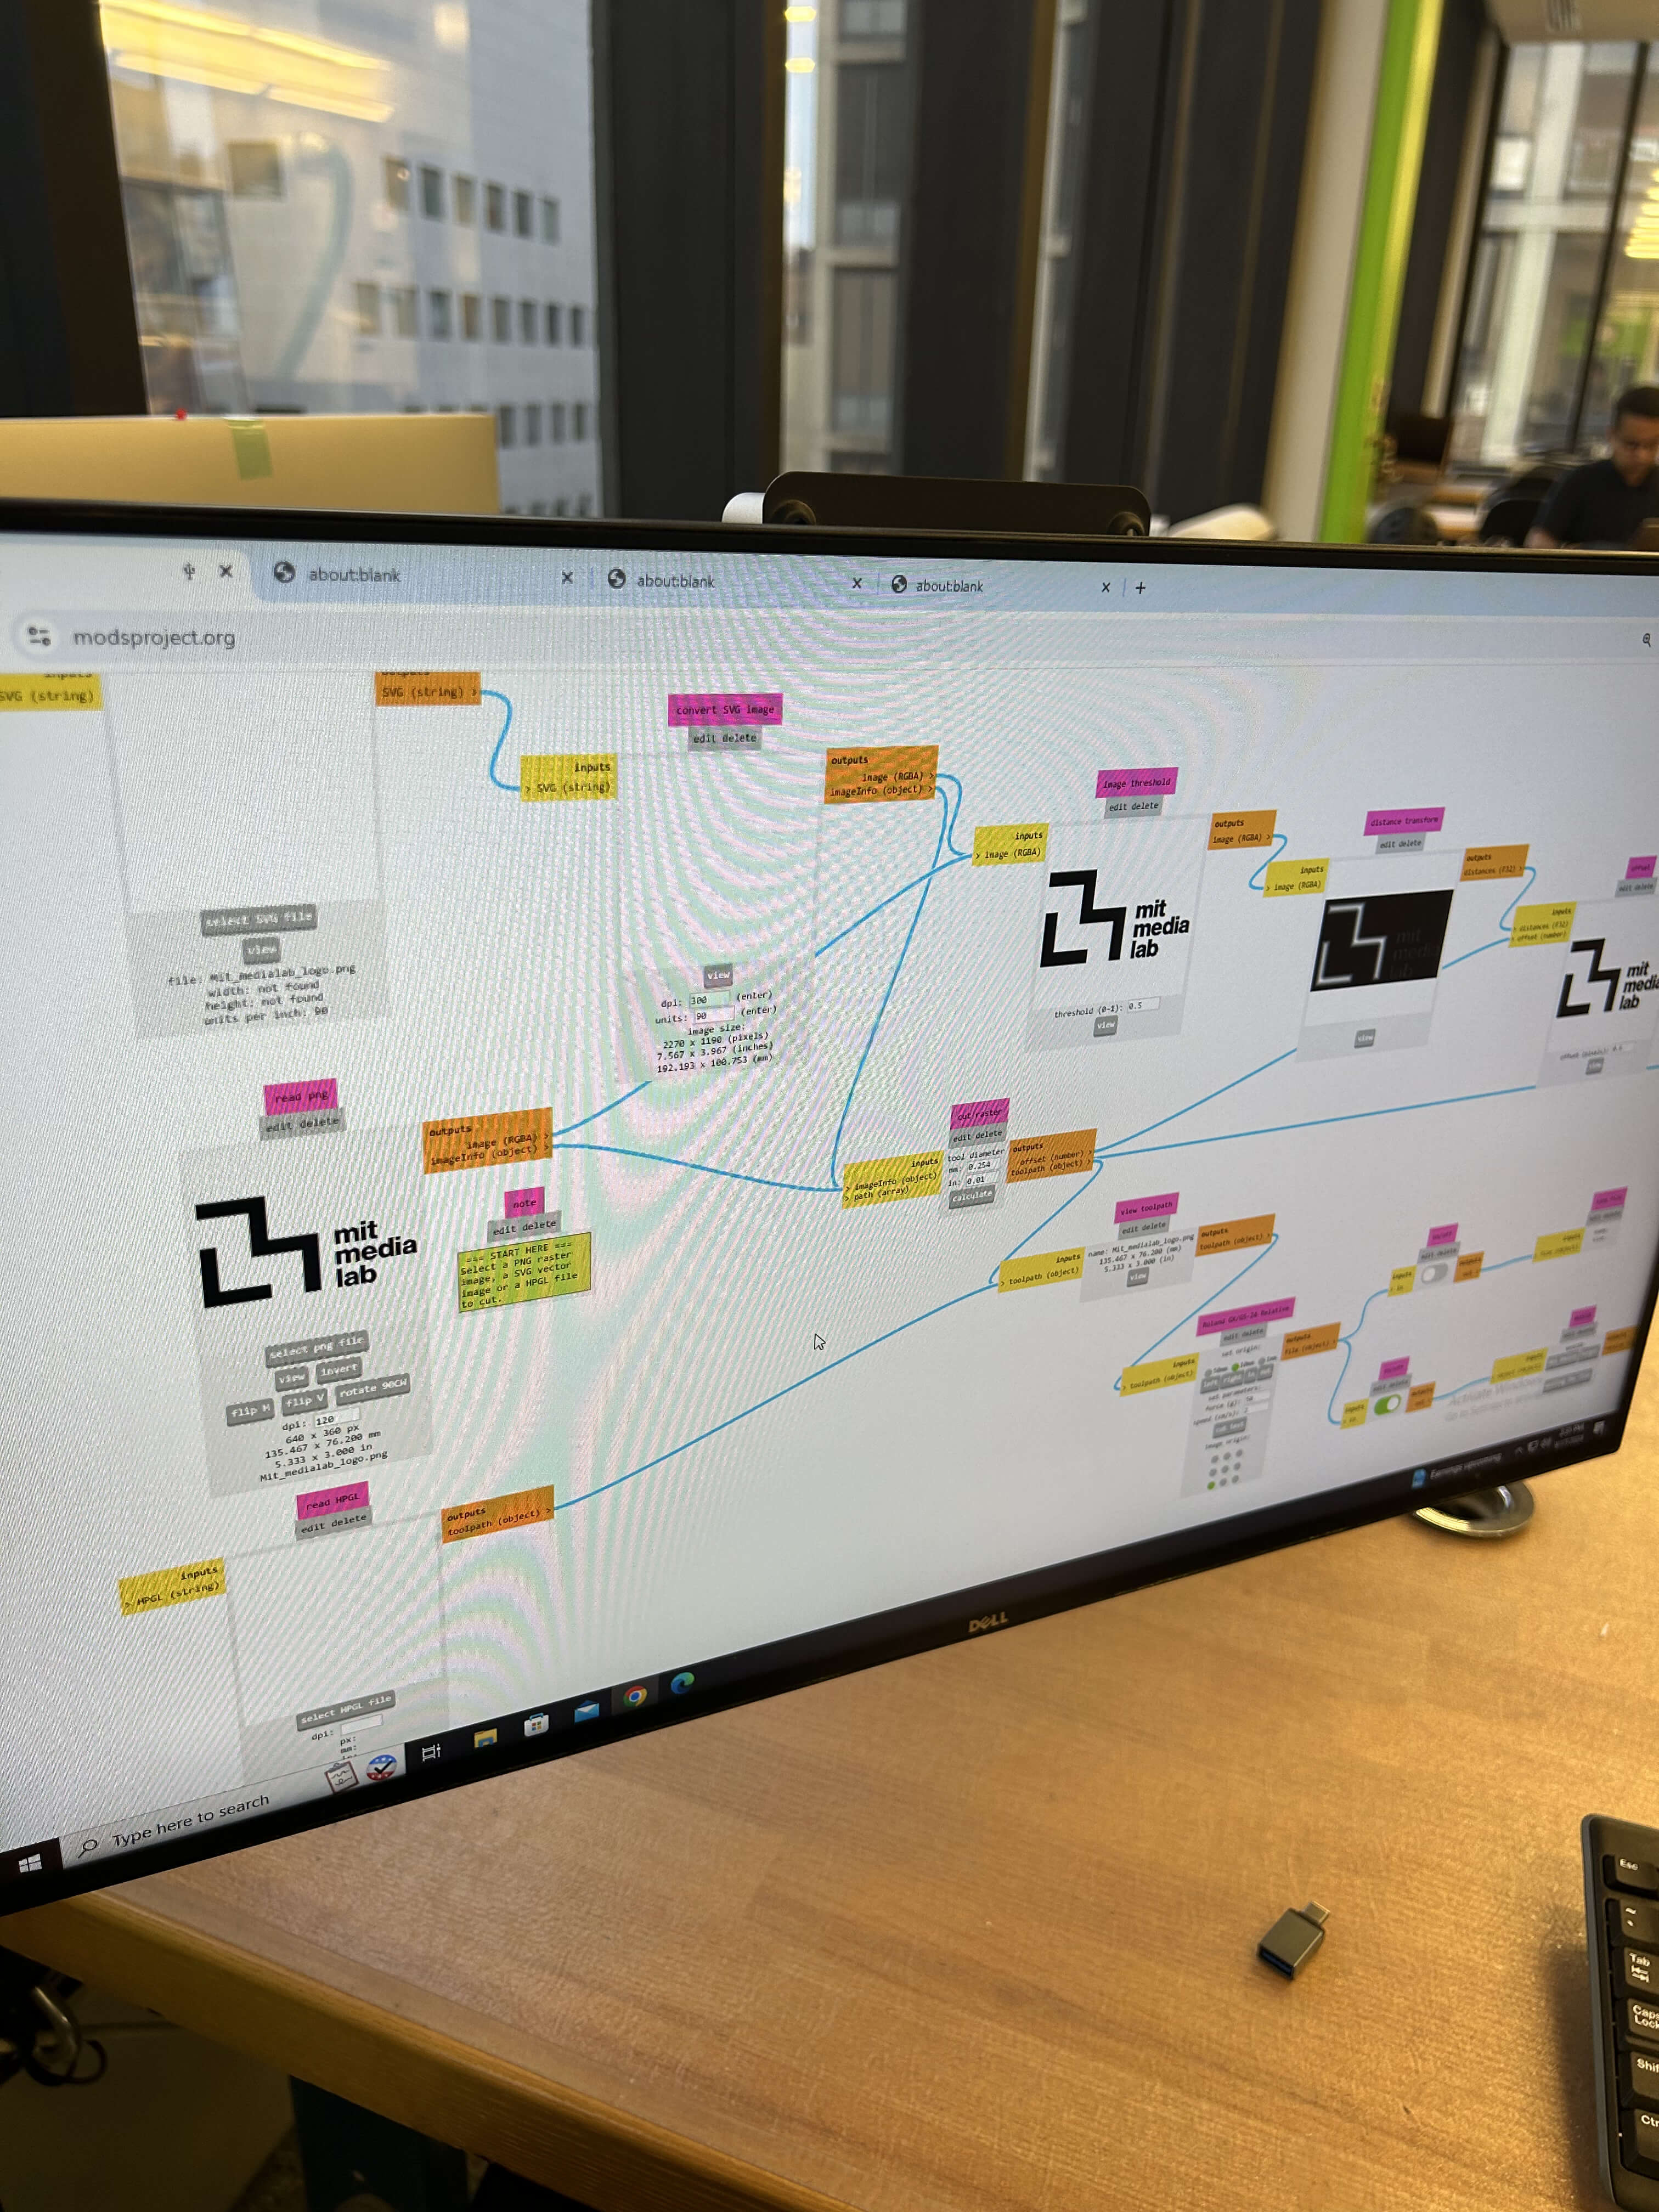
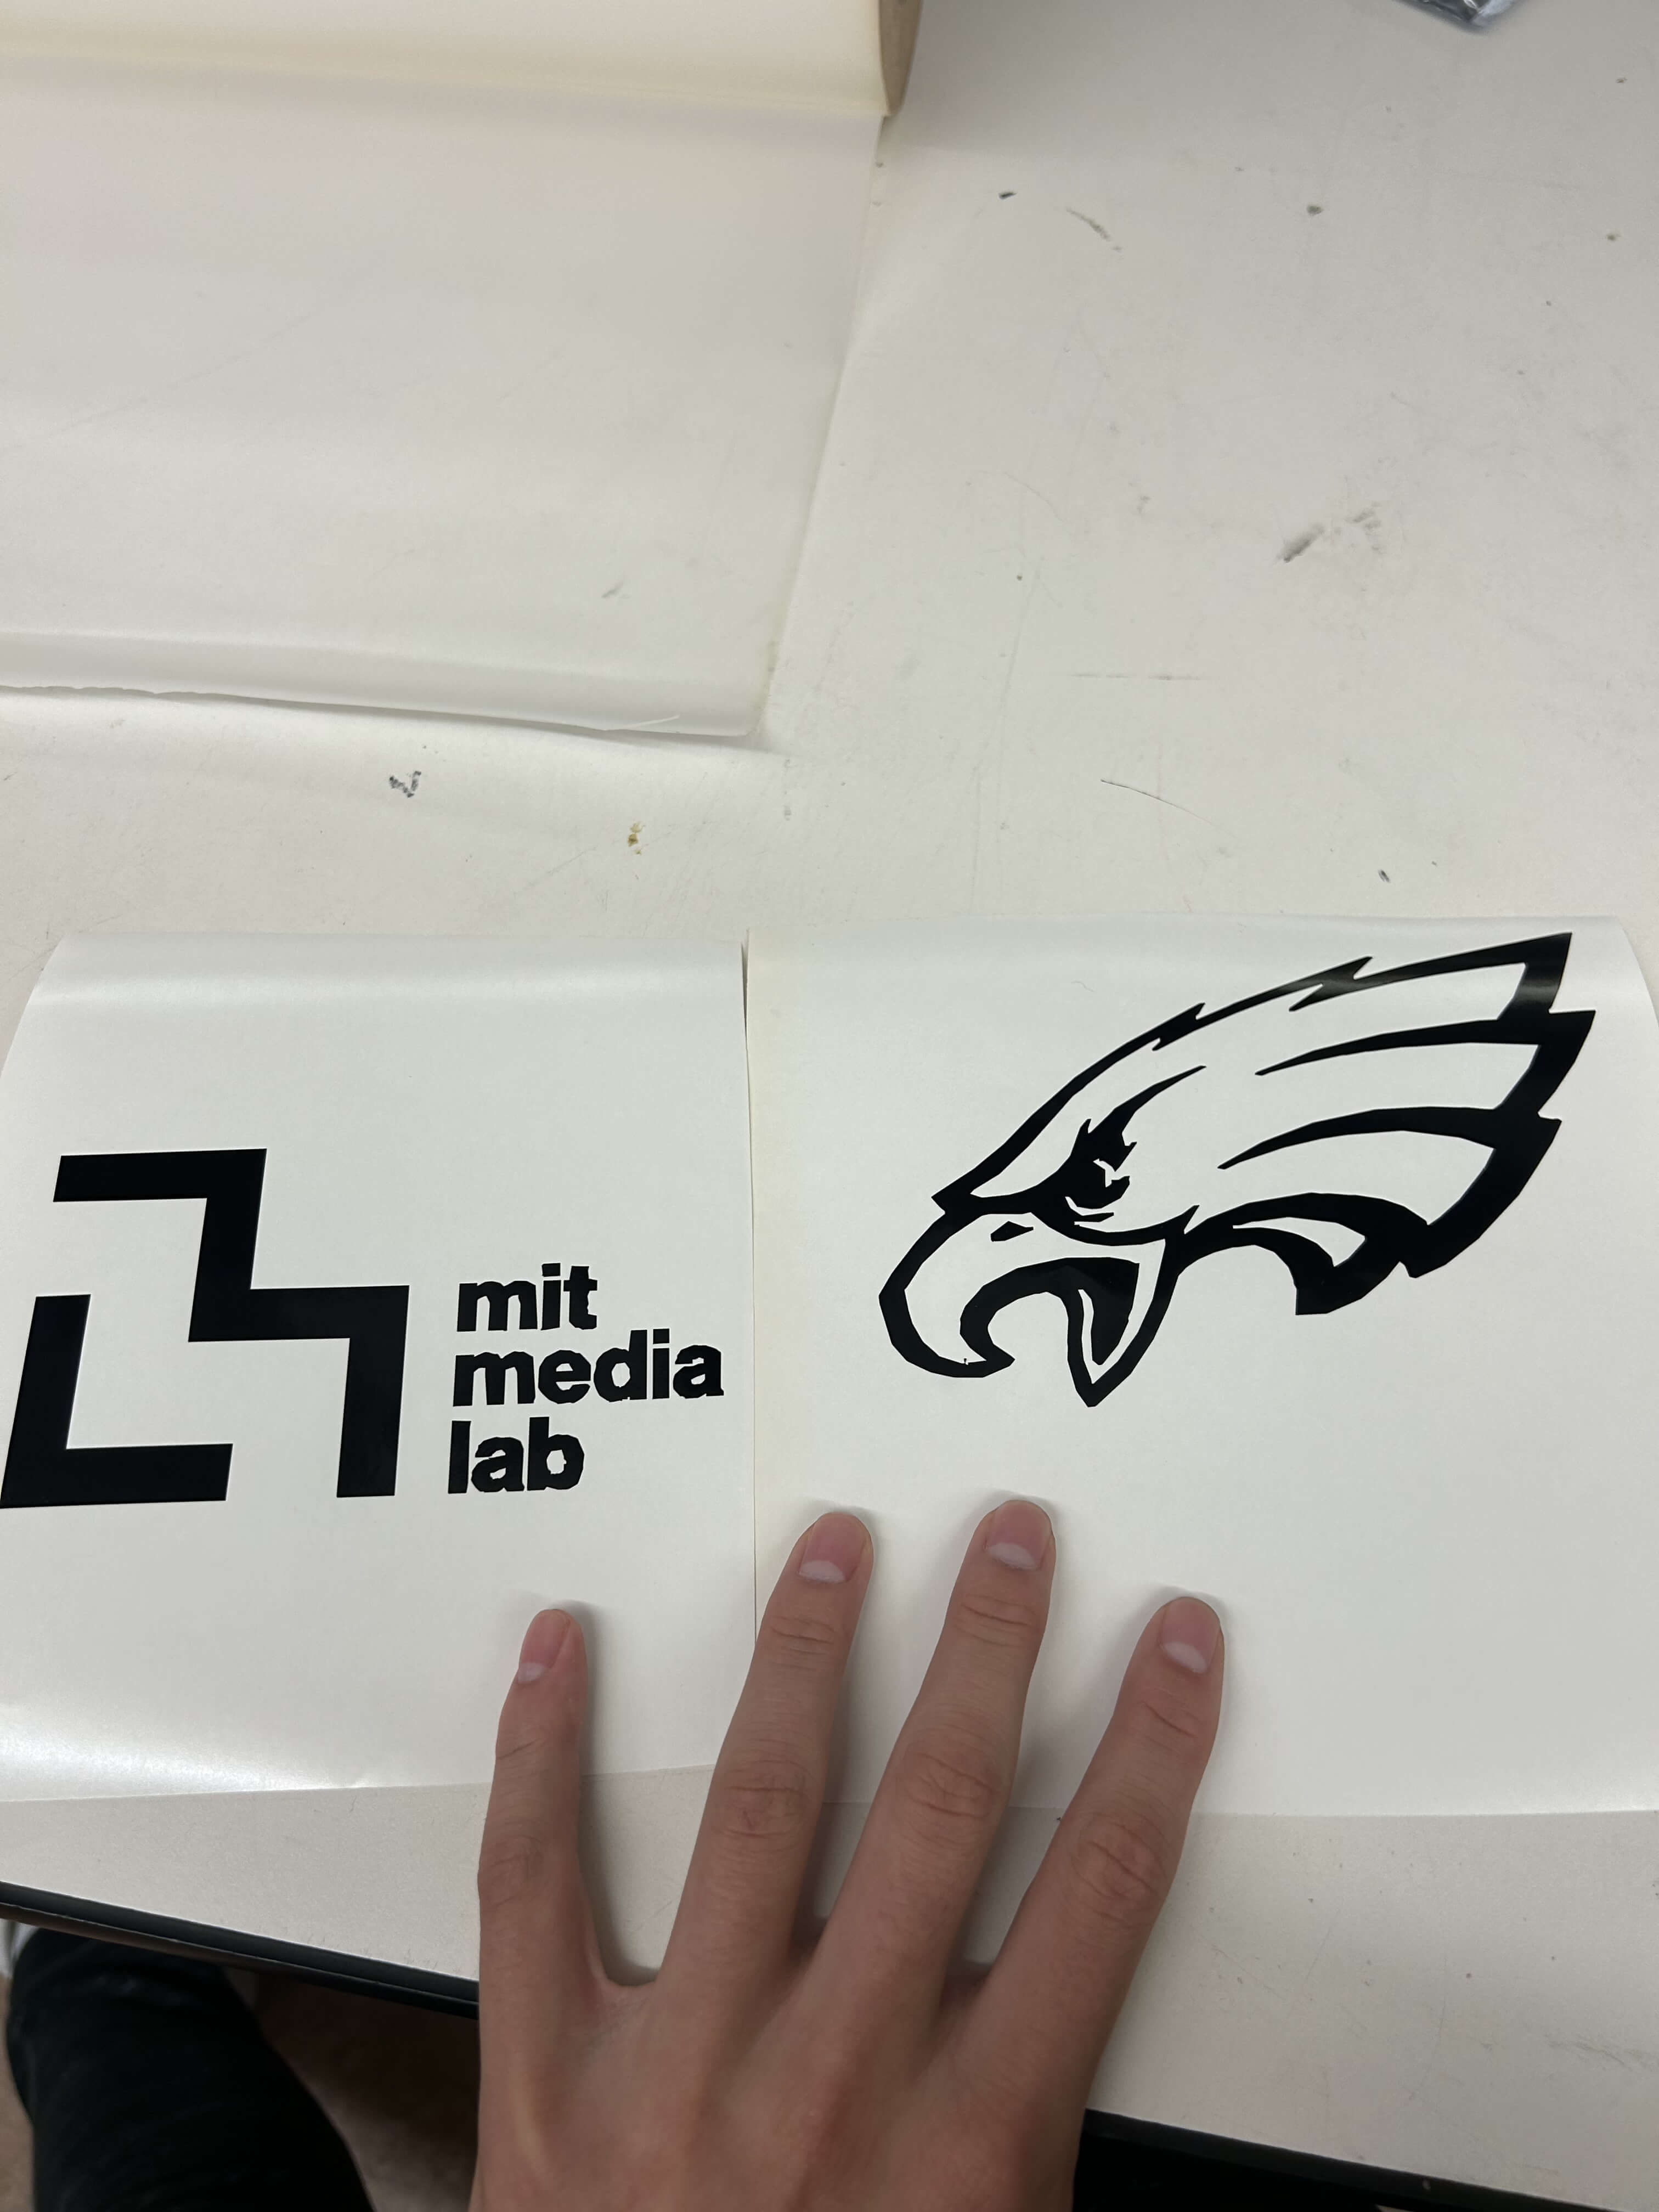
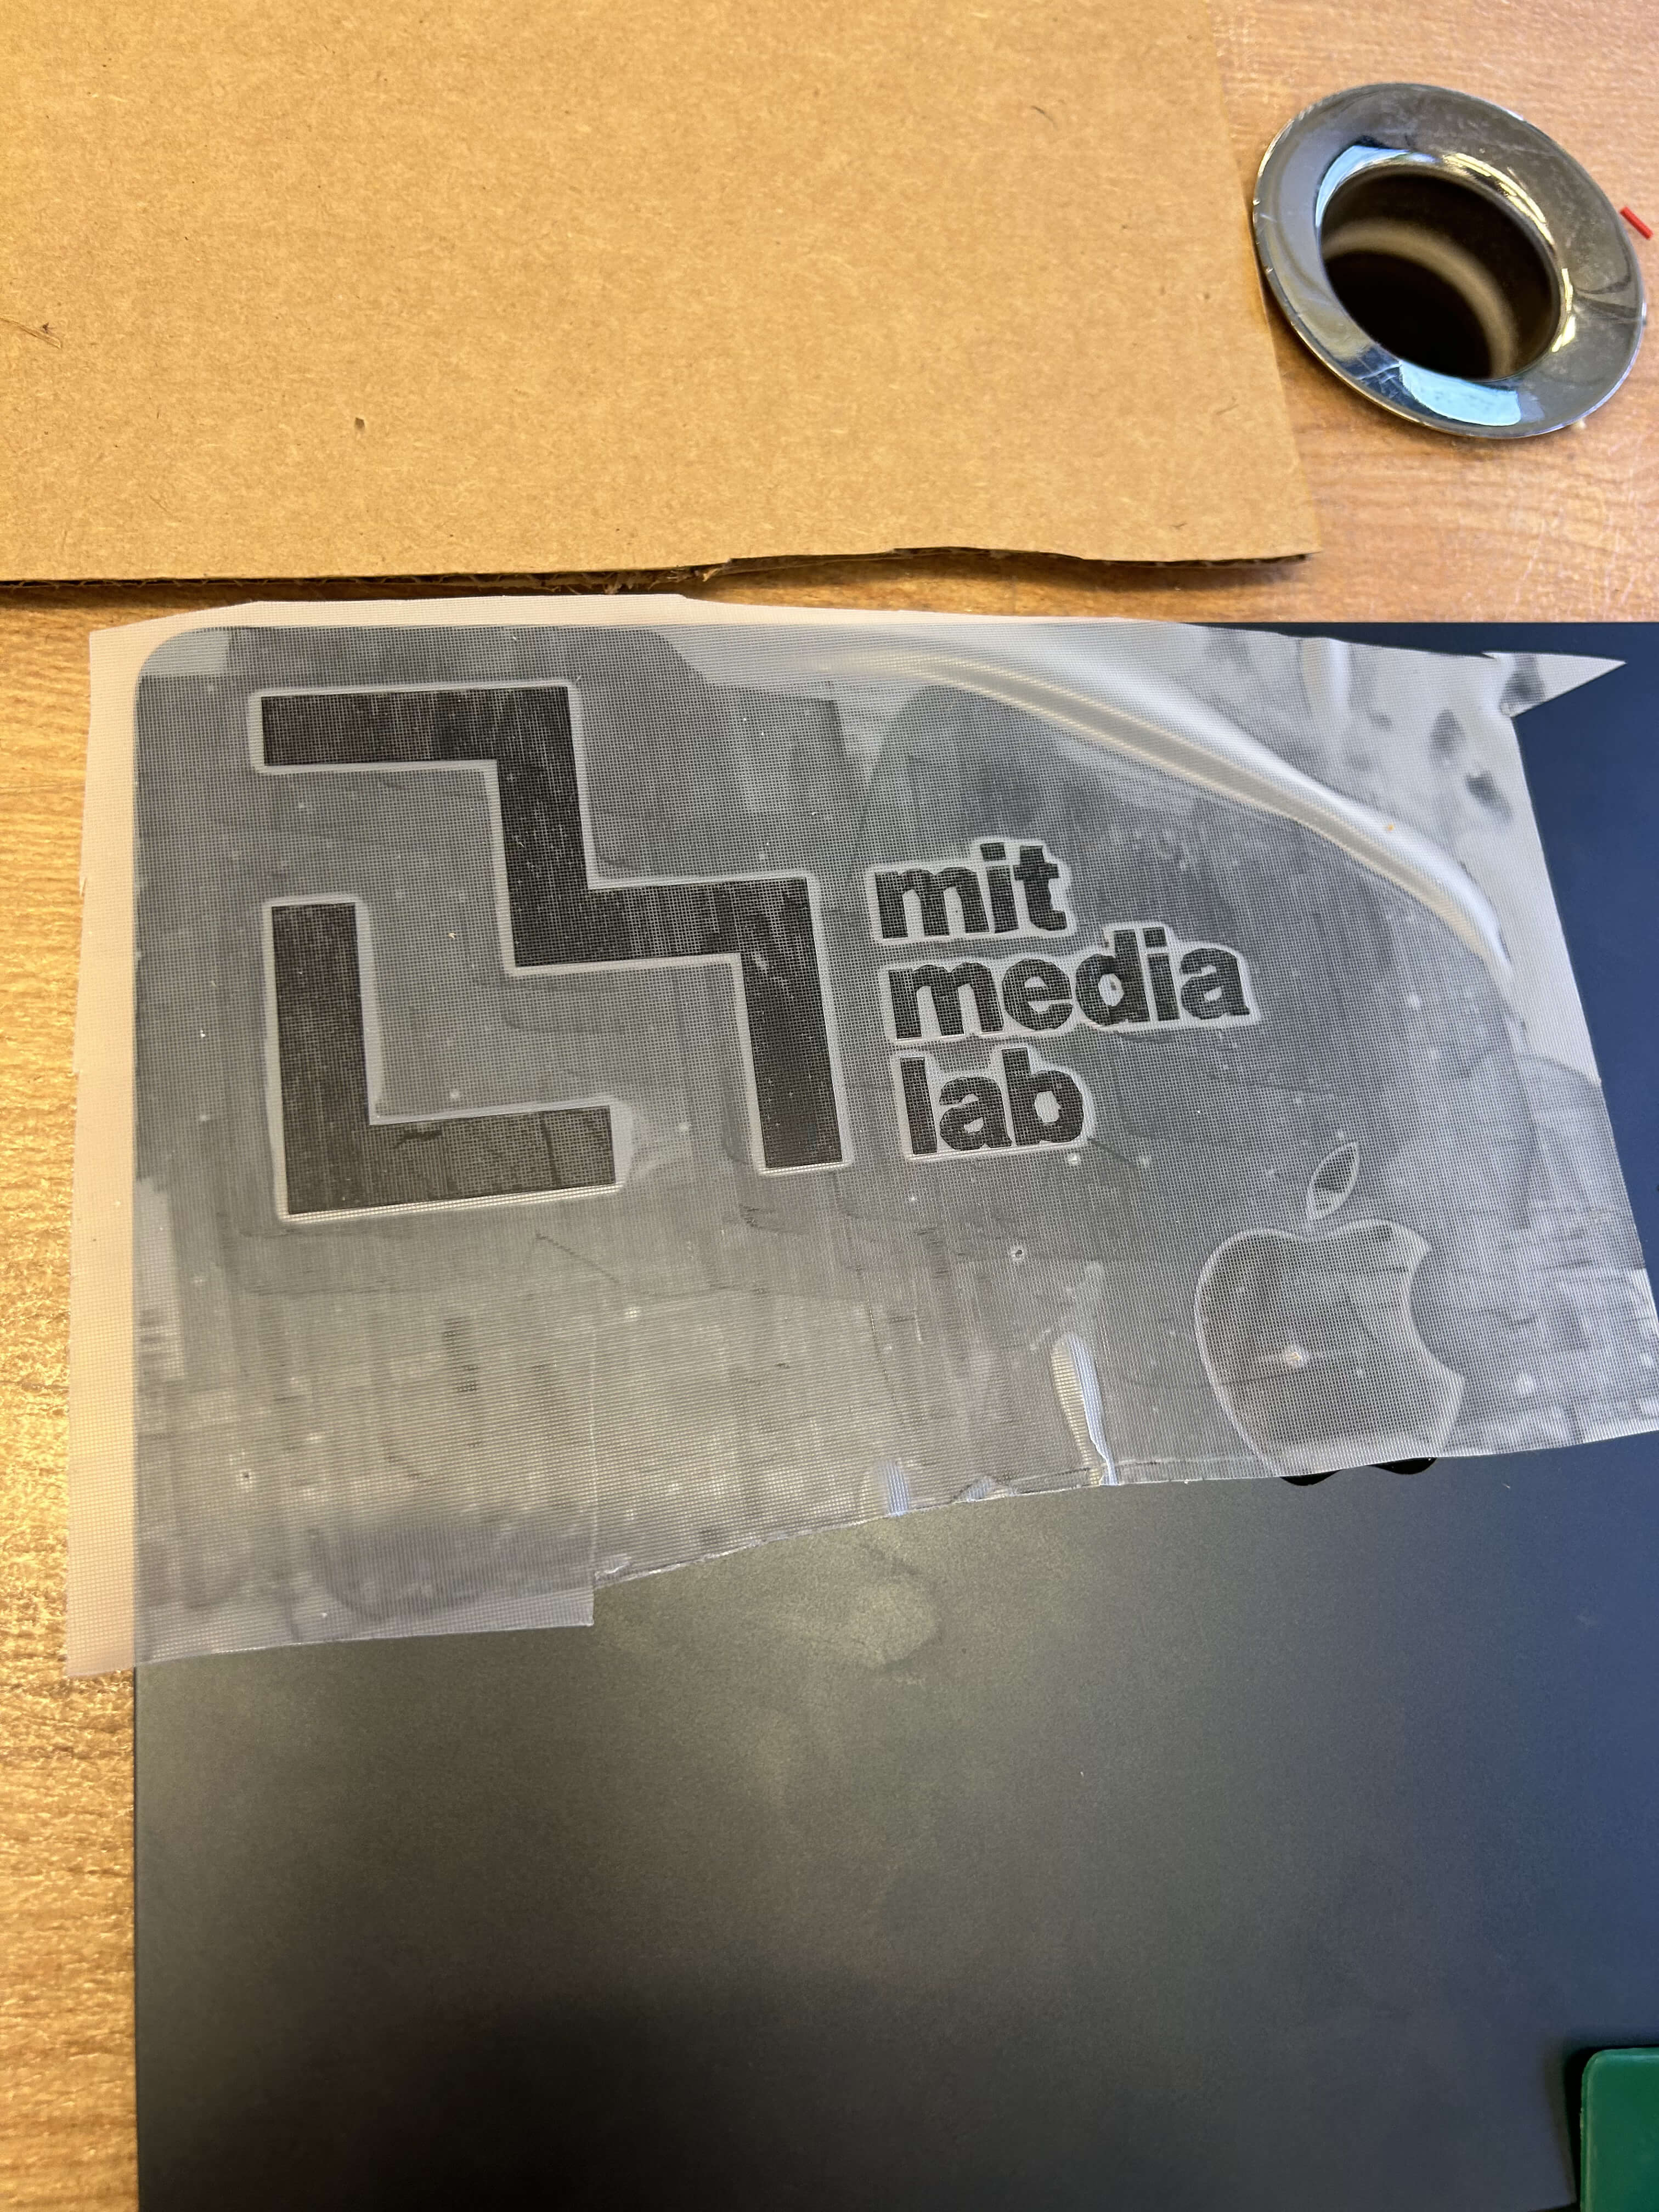
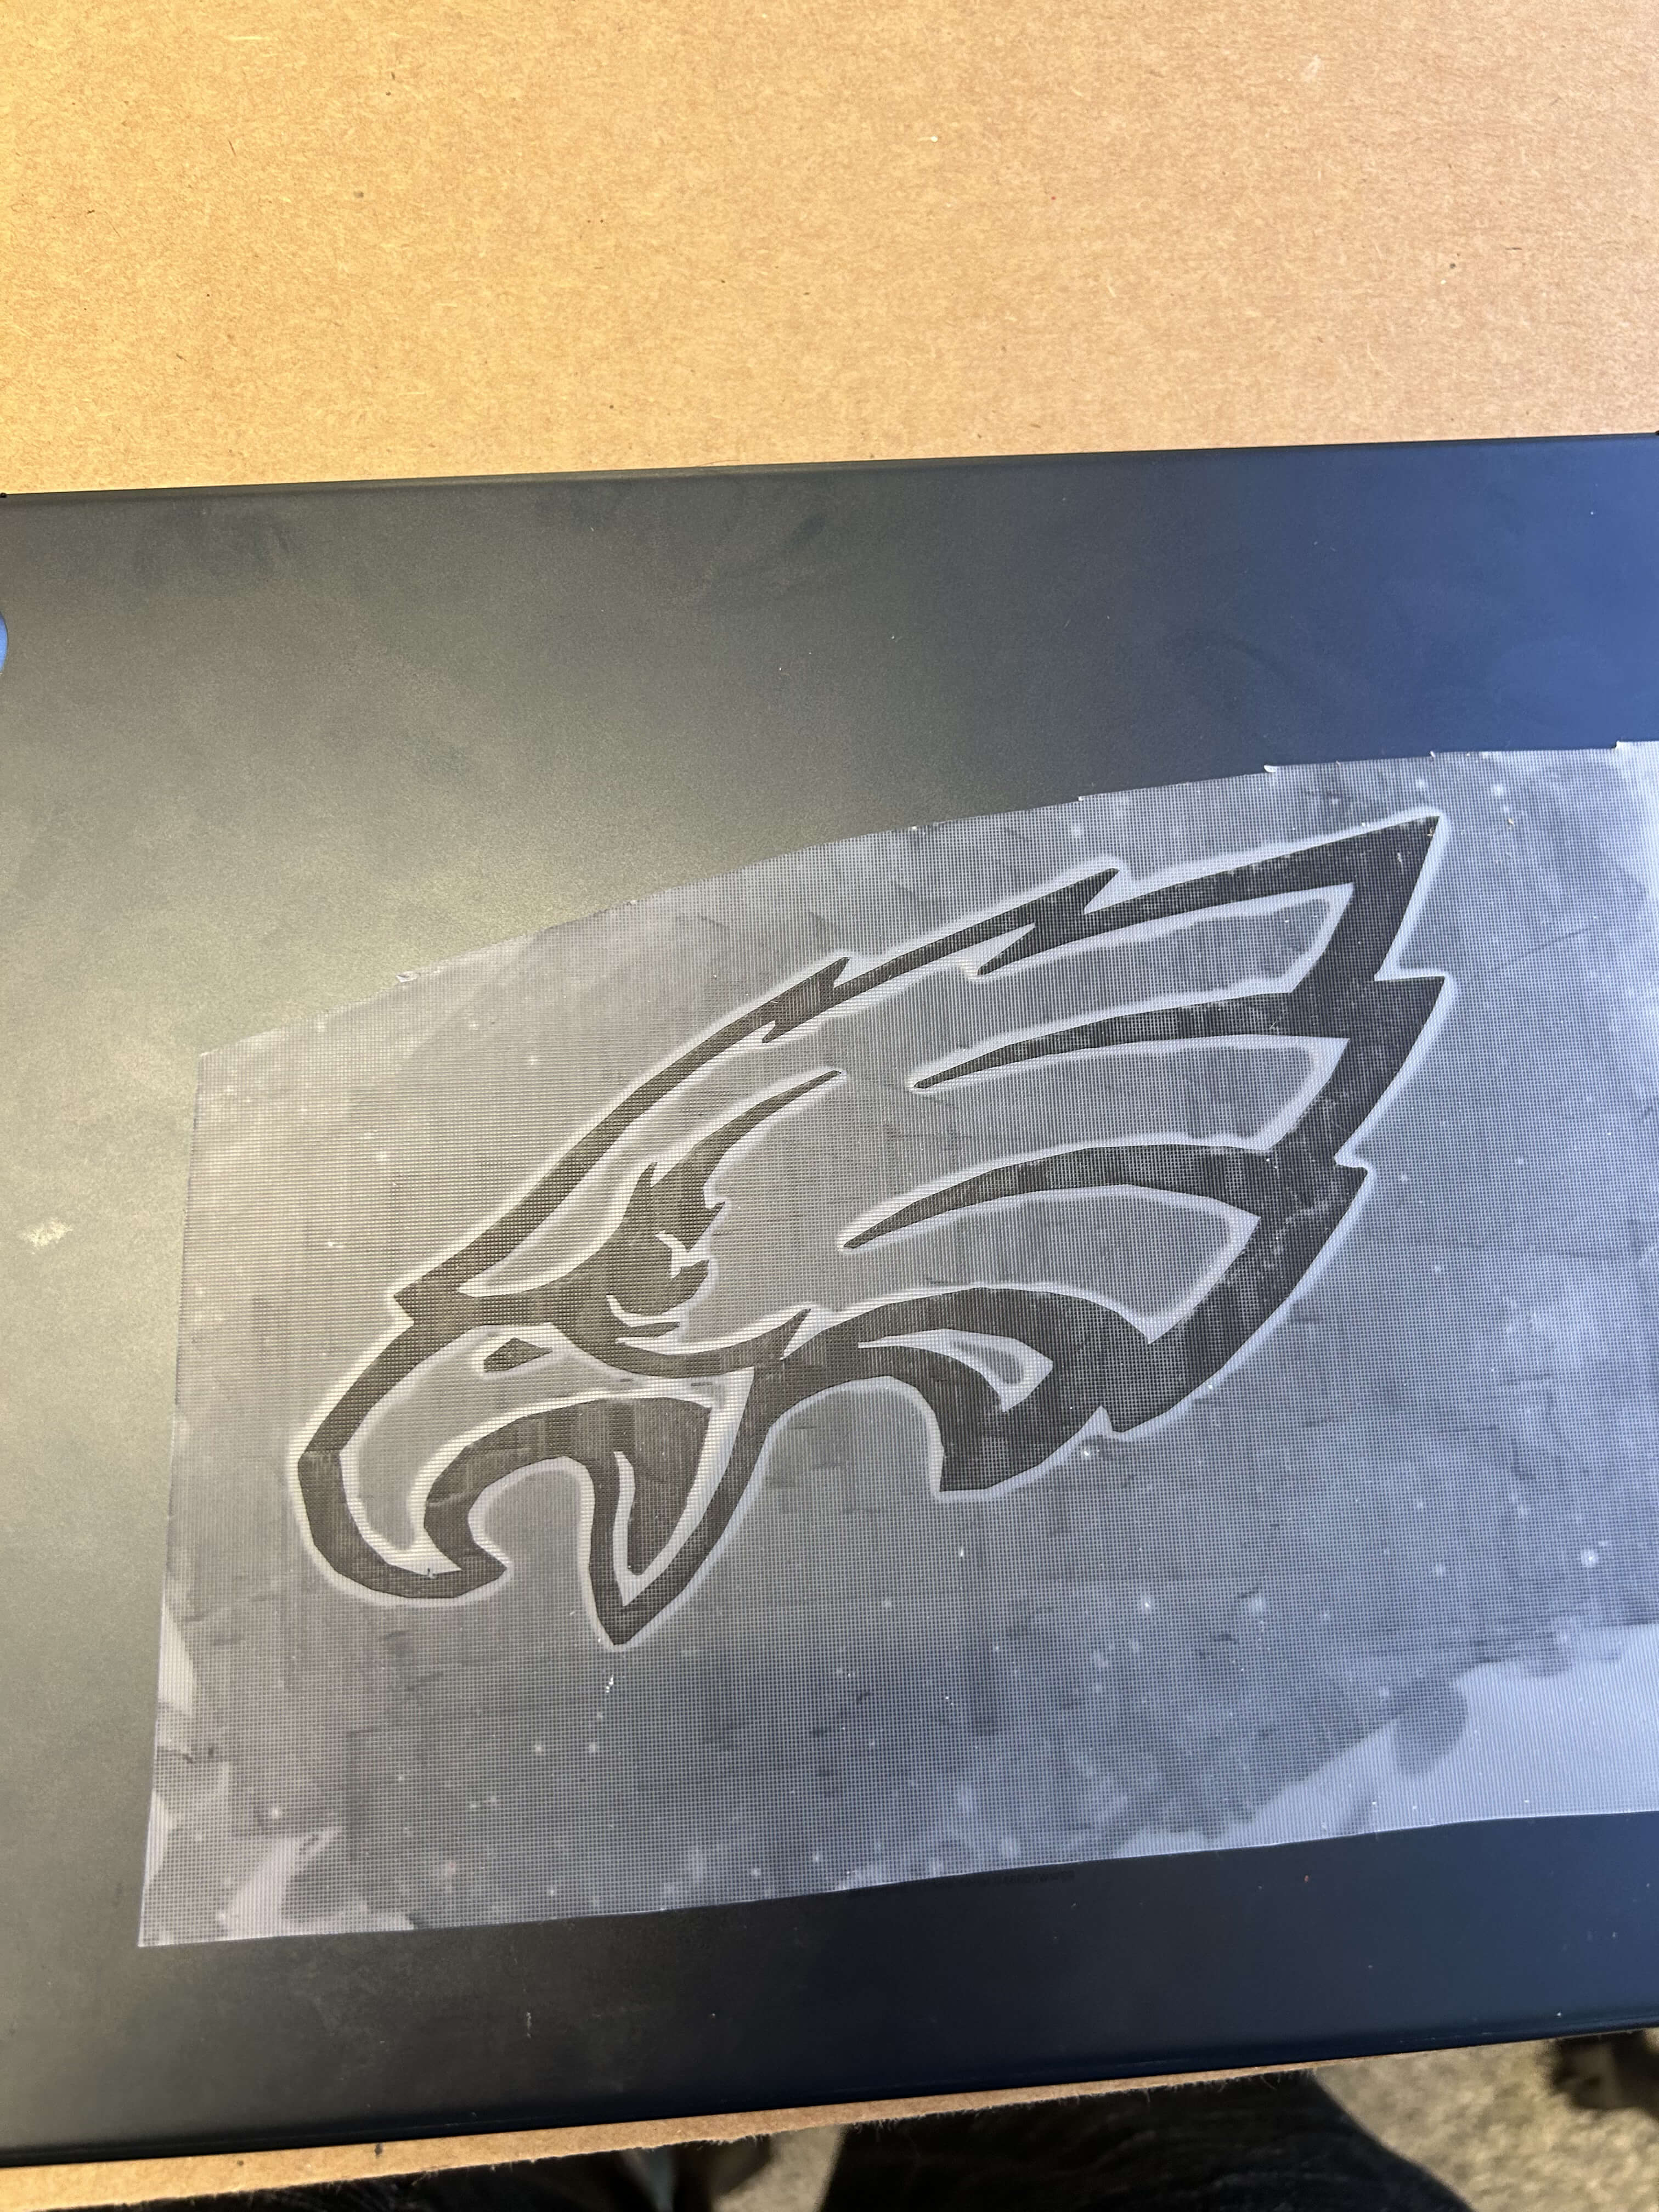
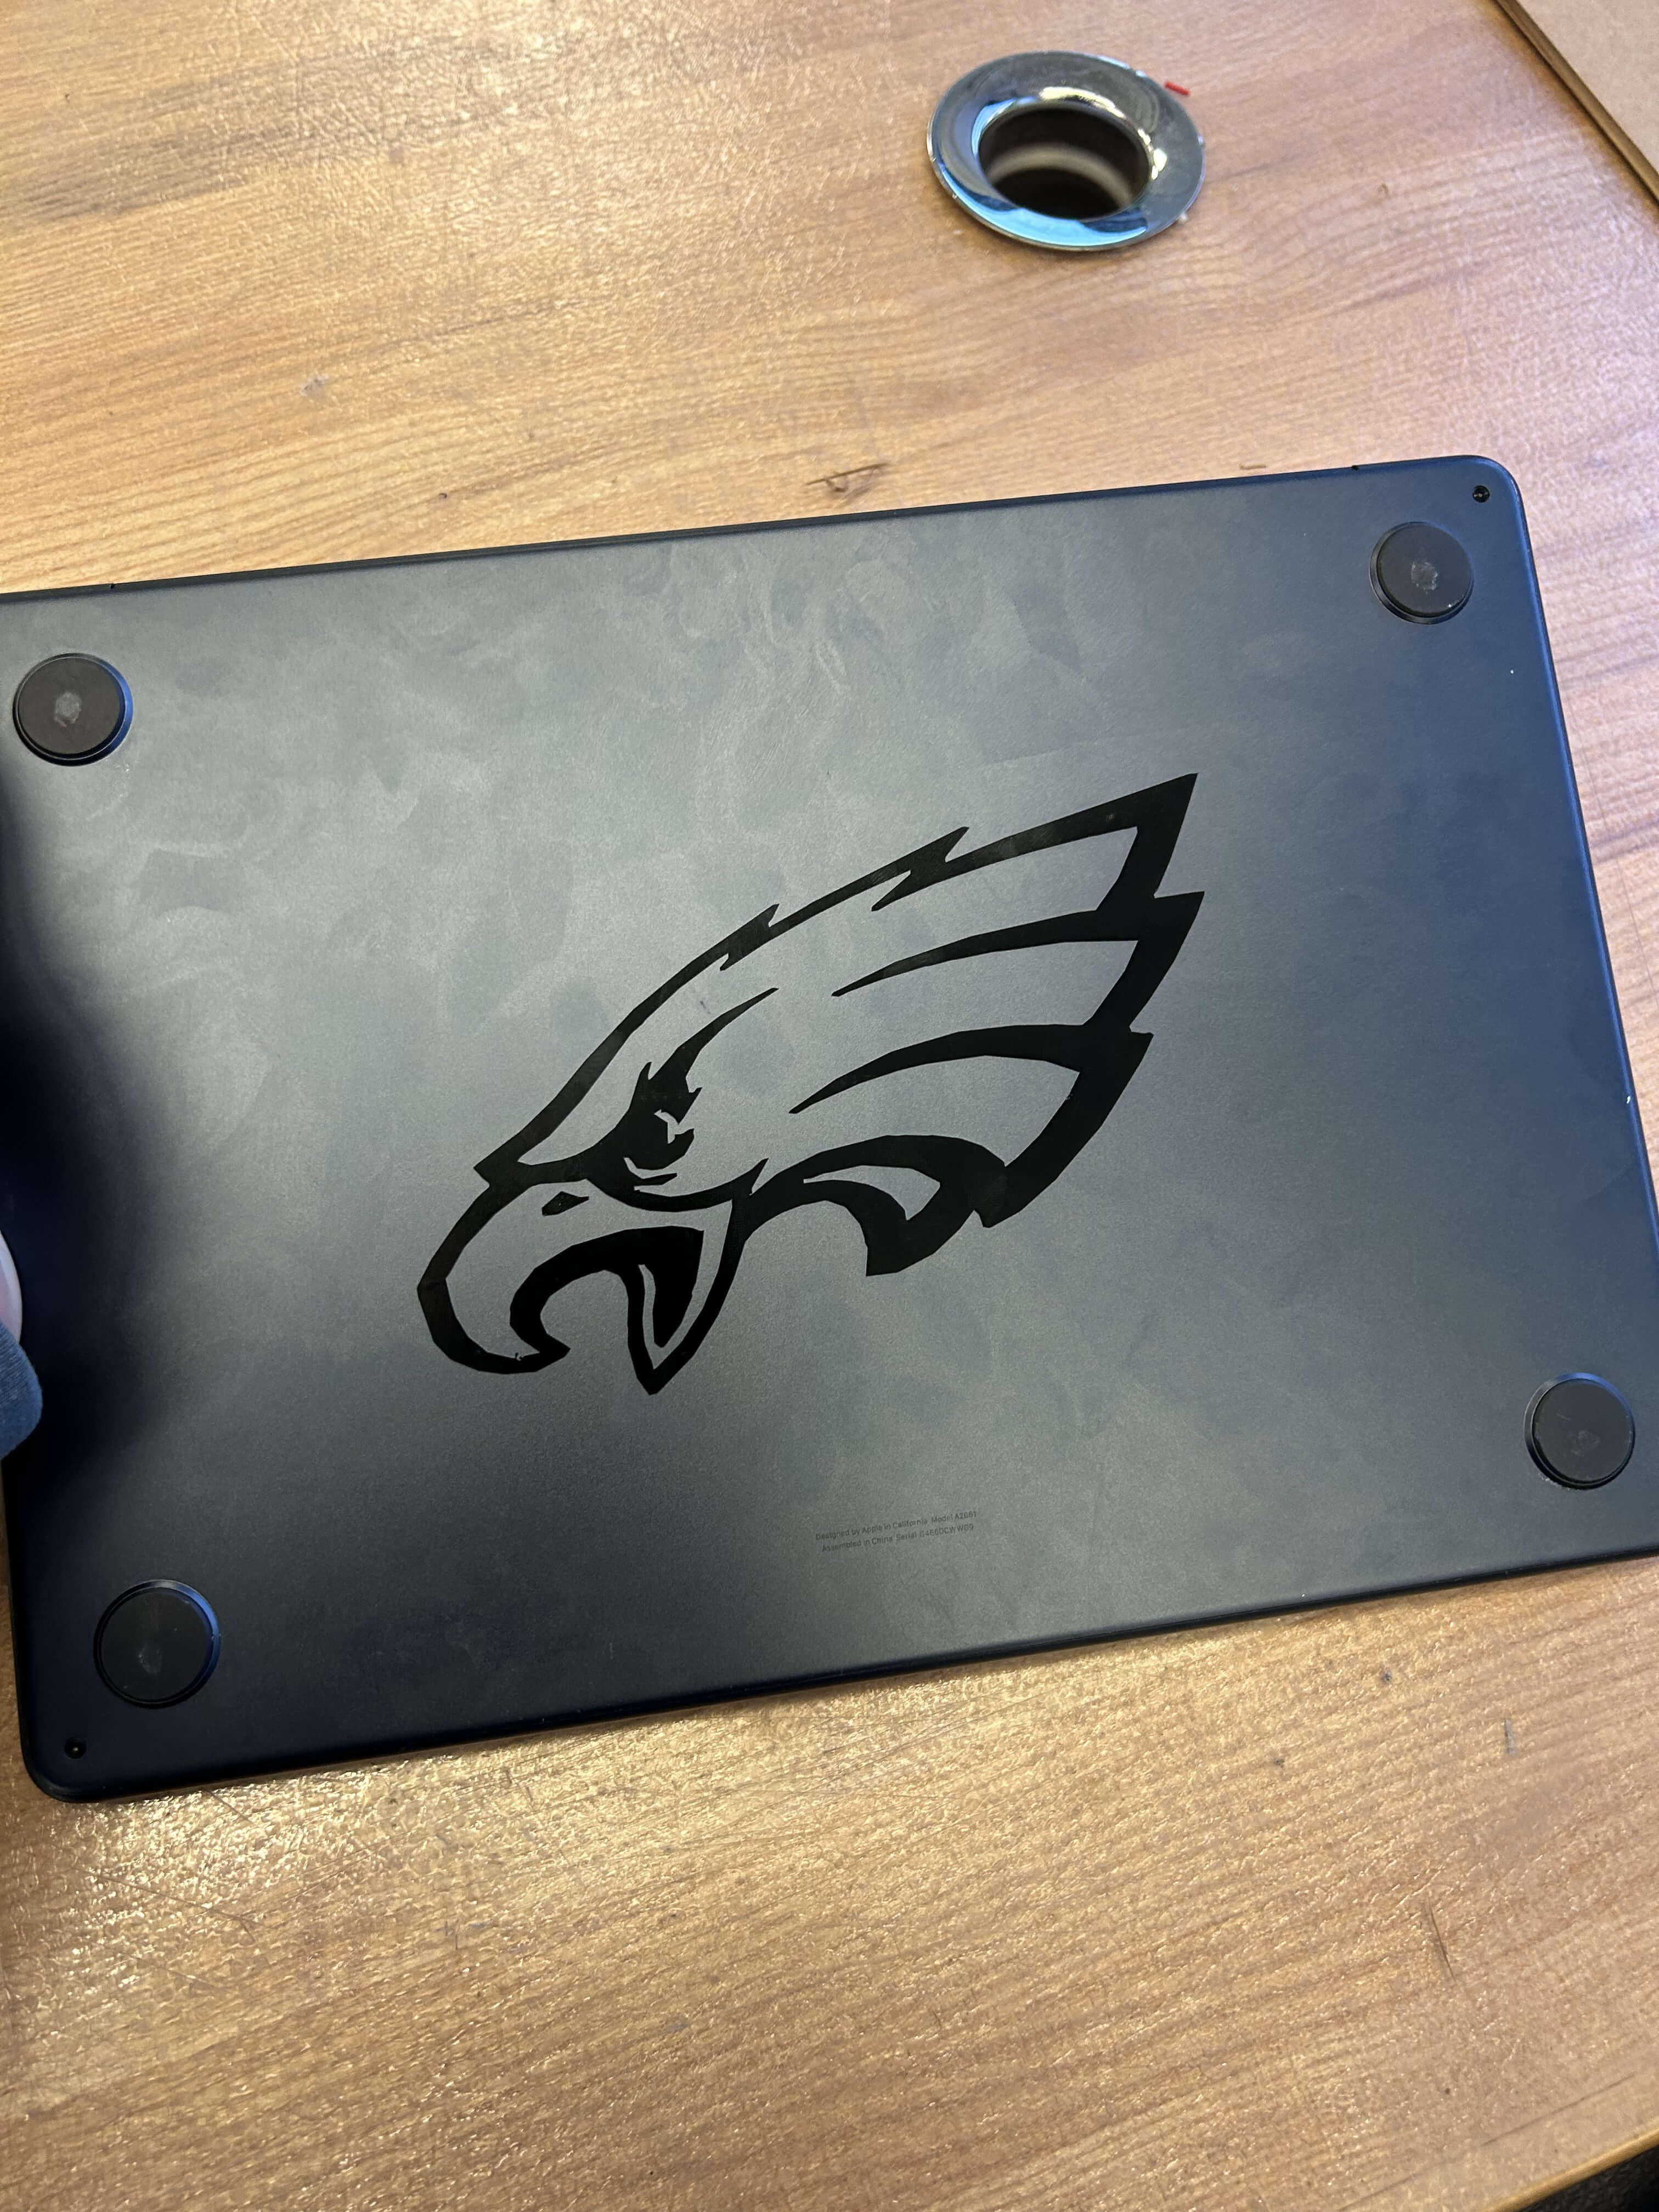
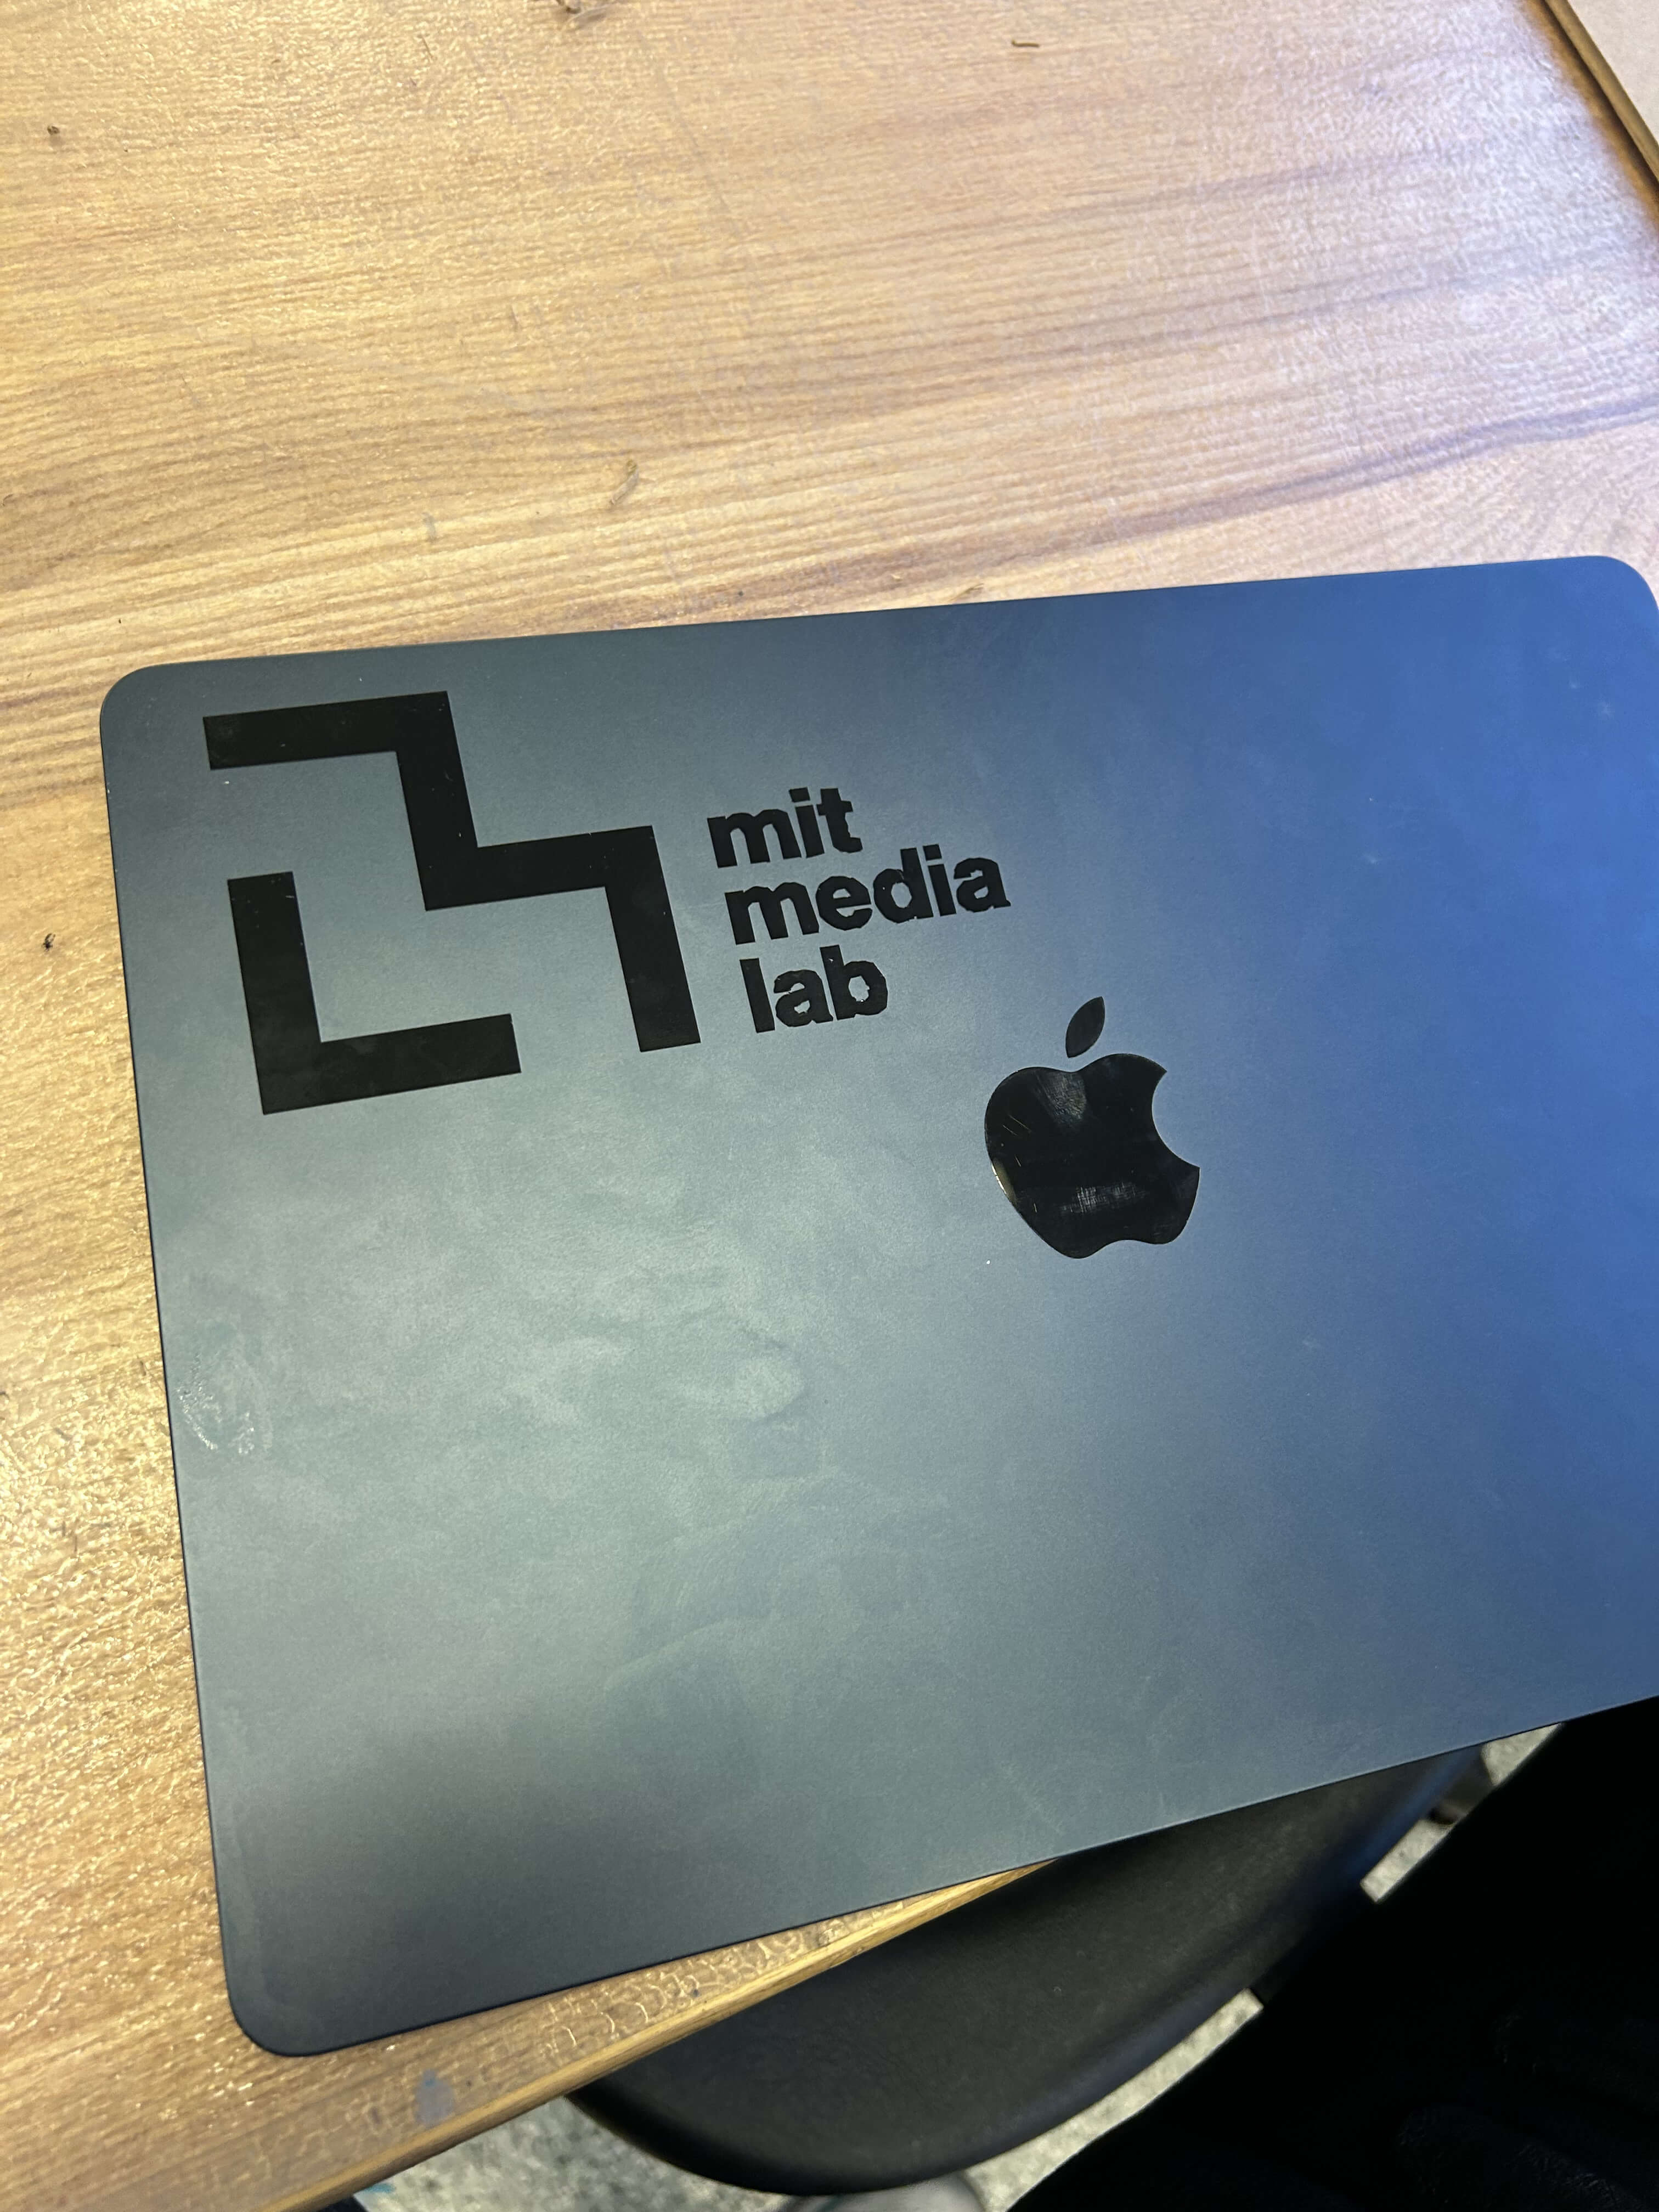
As part of the assignment, I was tasked with cutting something on the vinyl cutter. Being an Eagles fan and a student who UROPed at the Media Lab, I naturally used those two designs for my project. I cut them out in black vinyl, planning to place them on my laptop. To my surprise, I later realized my laptop was also black, so the designs didn't stand out as much as I'd hoped. But I applied them anyway, and they still looked pretty good. Go Eagles!
Parametric Construction Kit
For the parametric construction kit, I wanted to make something special for my mom. As a loving son, I designed a heart-shaped box where she could store chocolates and candy.
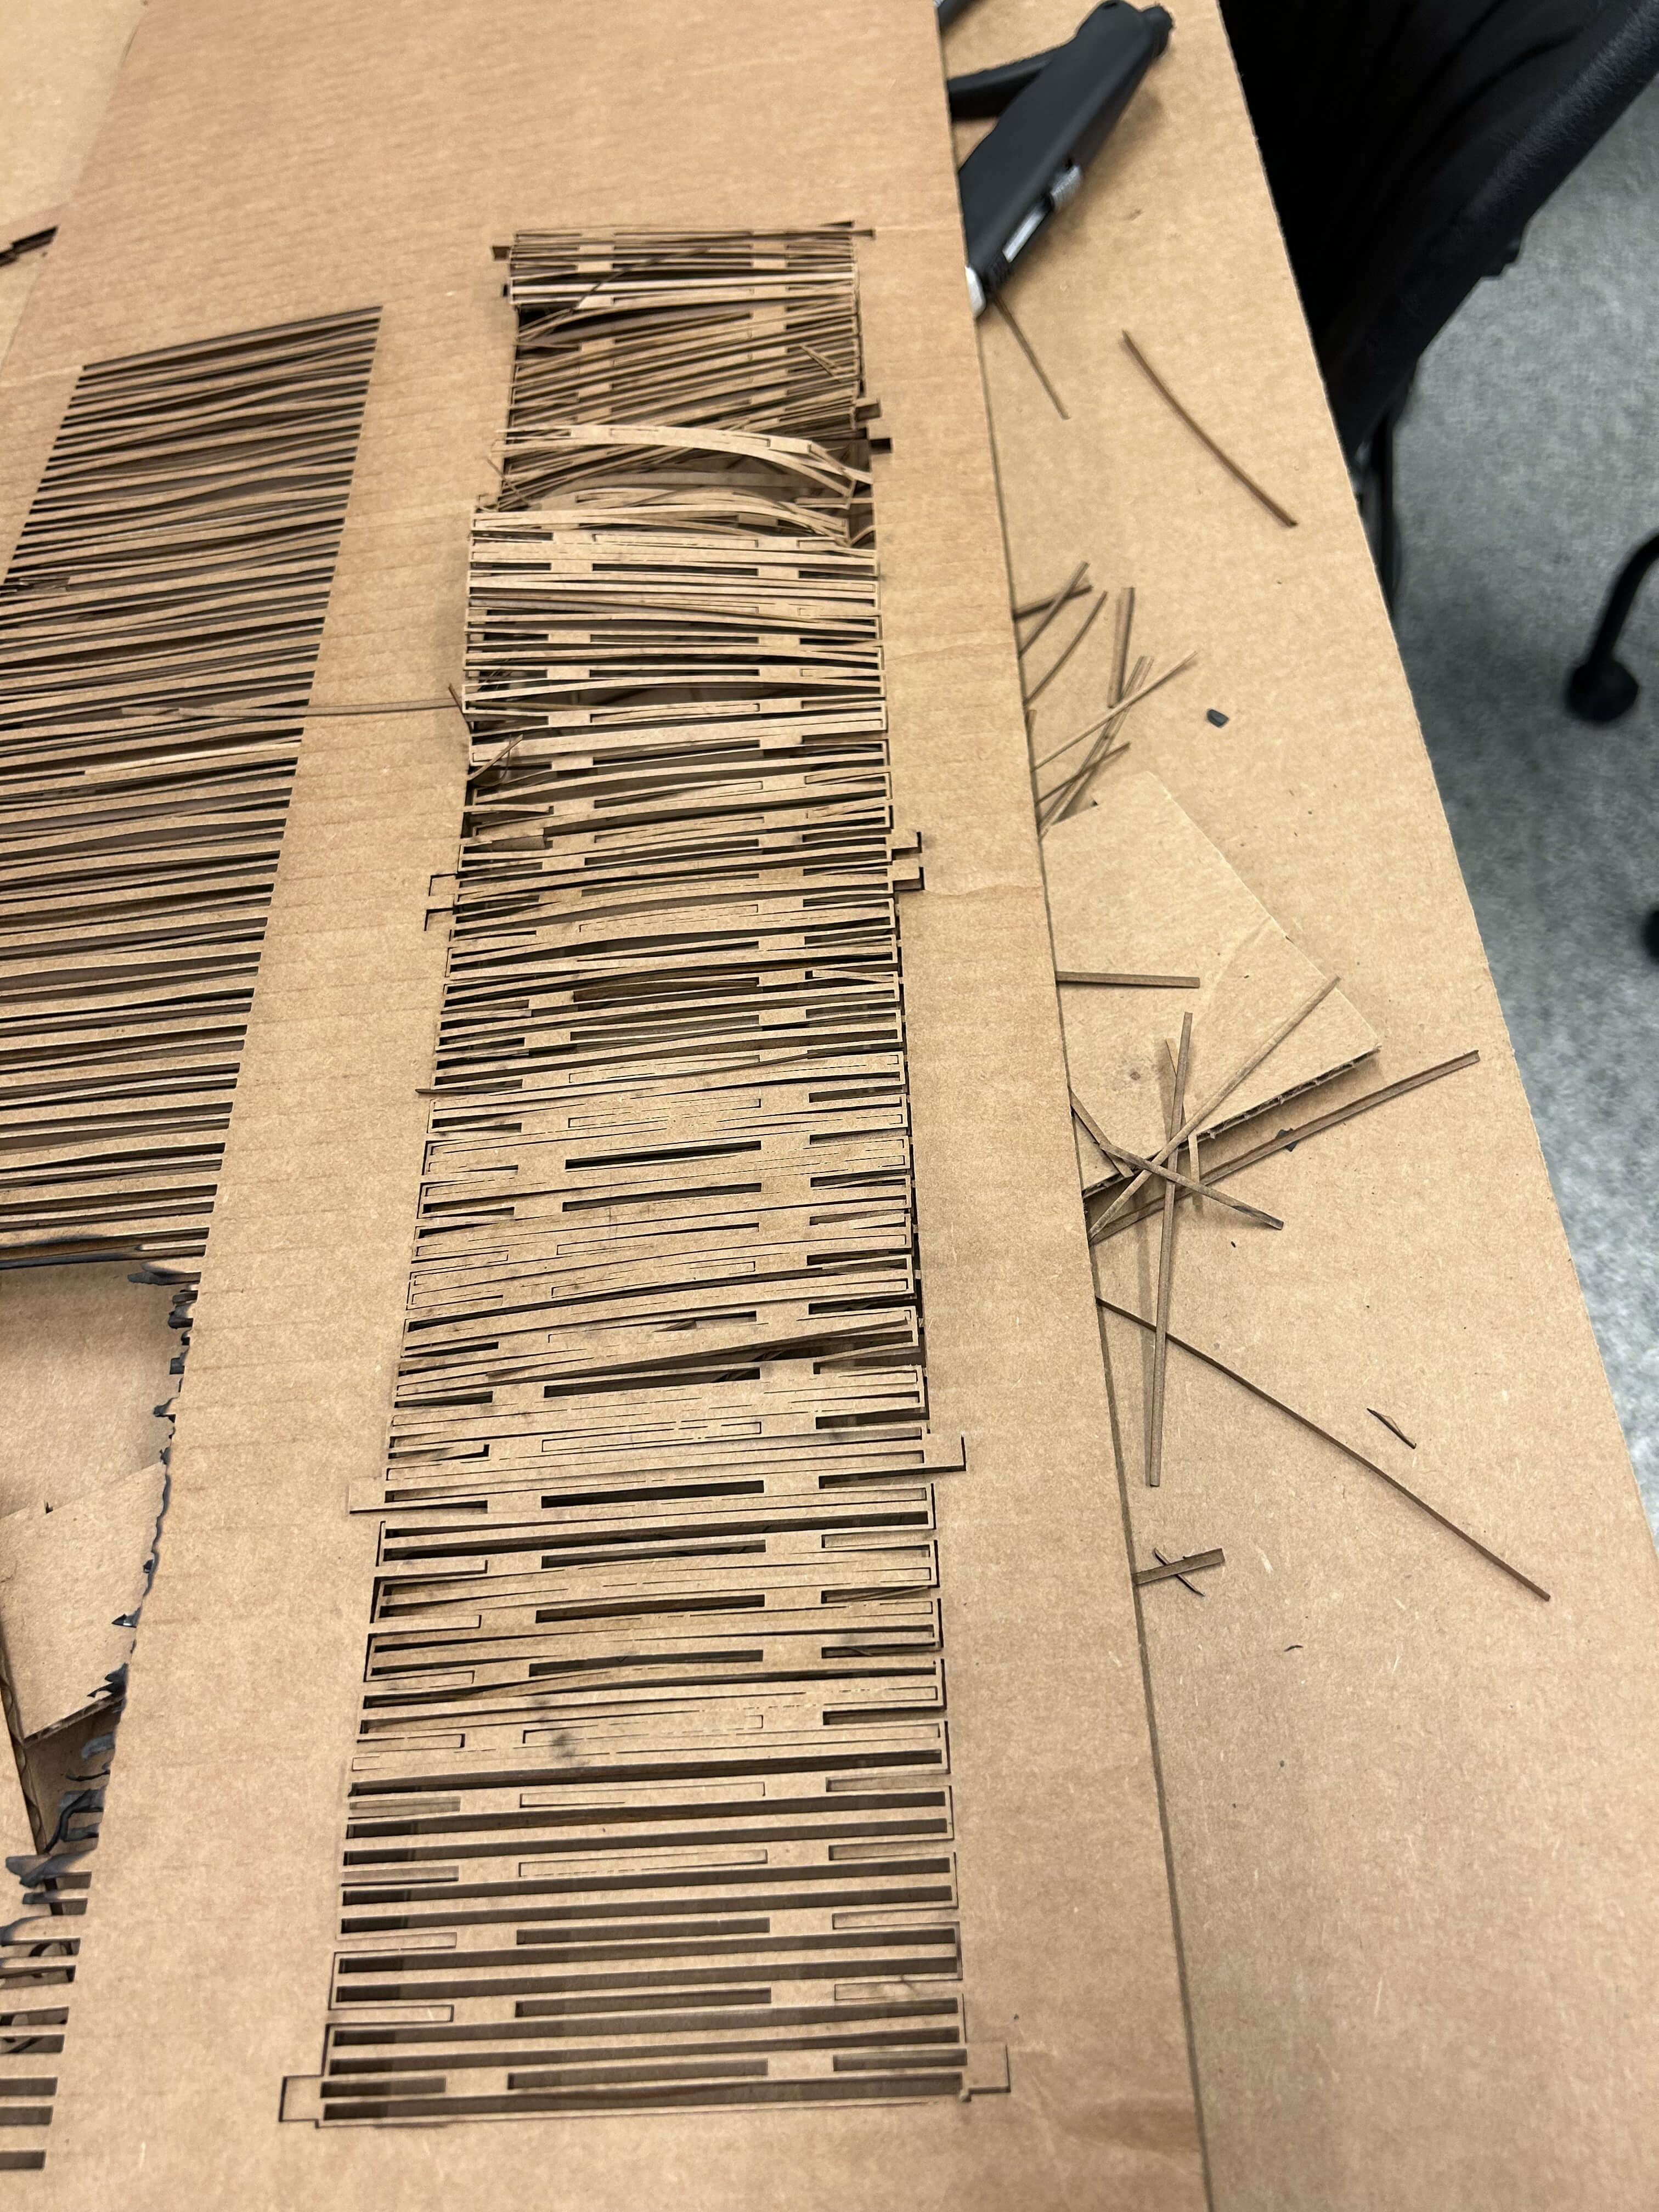
The process took a lot of time, and I experimented with flexures in my design. Unfortunately, I faced several setbacks:
- First, I accidentally set the laser cutter settings too high, and the cardboard caught fire because the pieces were too close together.
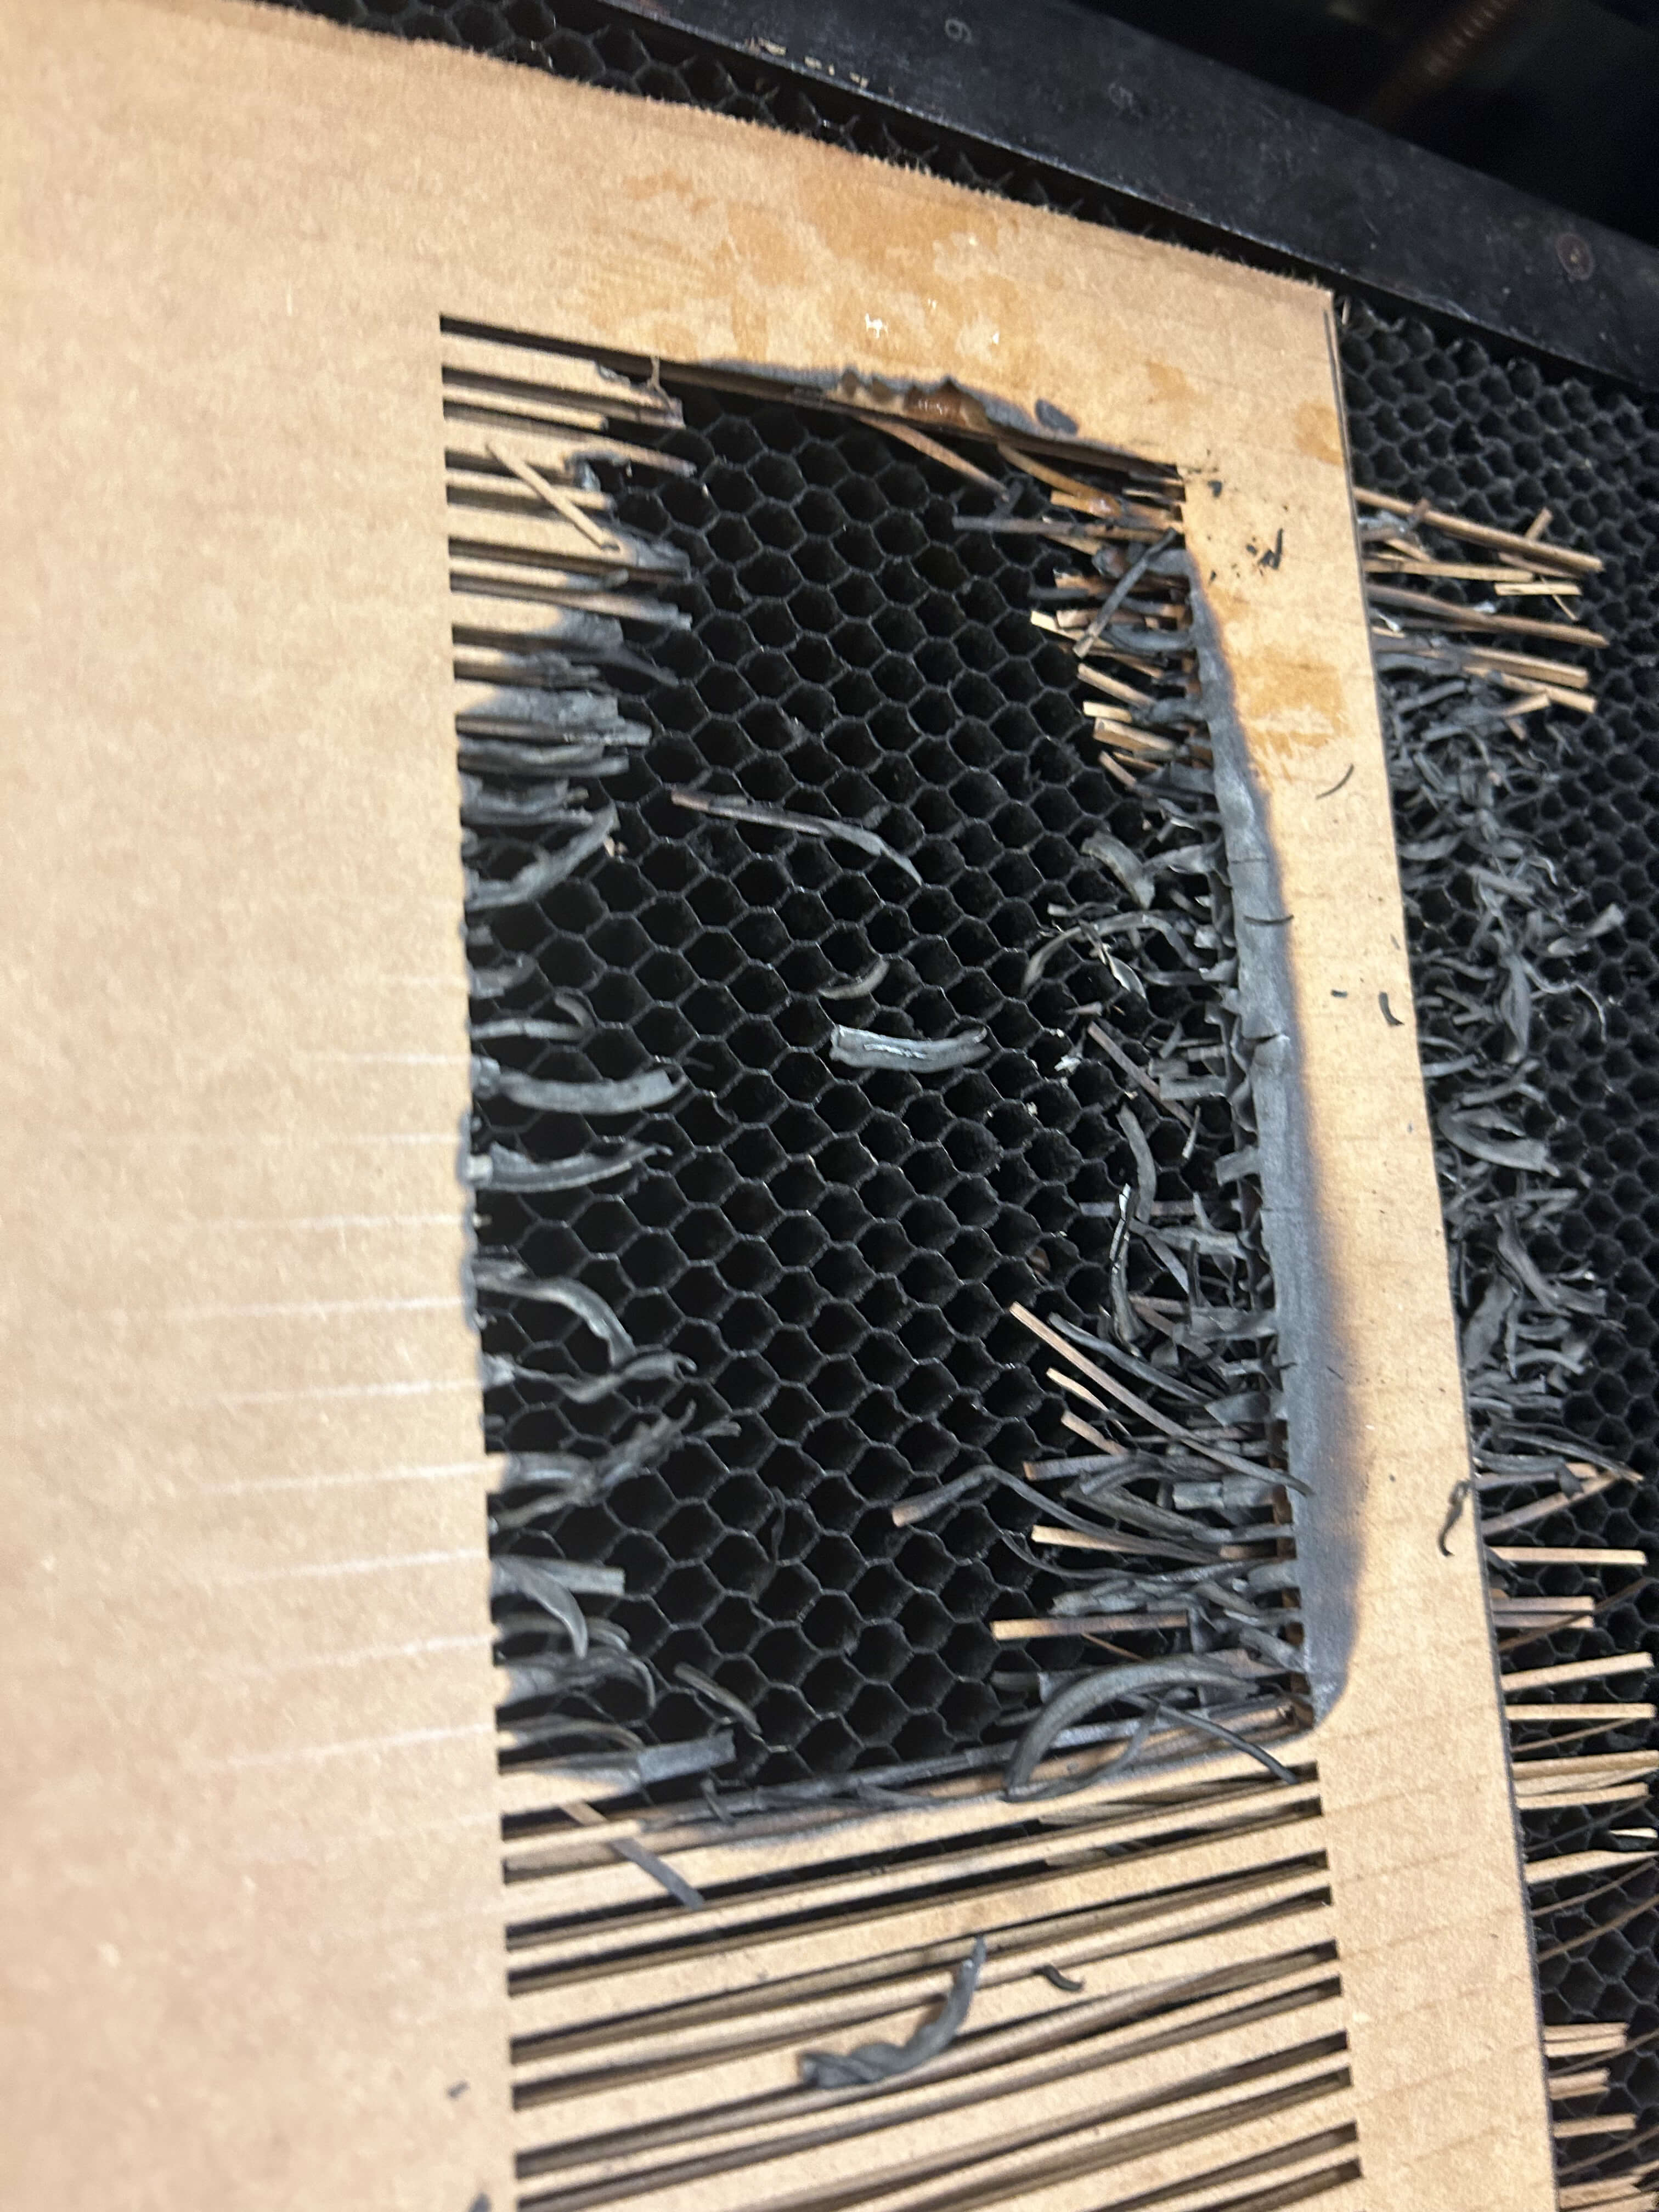
- In the second attempt, while it didn't catch fire, the pieces were too hard to remove from the cardboard, forcing me to discard it.
After eight different versions of flexure patterns, I finally created a stable one that was both flimsy and had the right shape. Ultimately, I assembled the box, and it turned out looking decent. Next time, I might create a cage for some rats in Baker House!
Design

Failure One
Failure Two
Success!
Reflection
CADing took up about 95% of my time, and it was challenging to learn how to work with constraints and orientations to keep everything consistent. I often tried to manually create everything, although I should have used tools like mirror or pattern features to make my work easier.
During this process, I learned several skills, including laser cutting and setting parameters. After conducting a few binary searches, I found that Speed 10 and Power 100 was way too slow, turning half the cardboard black. Speed 30 and Power 100 didn’t cut through, but Speed 20 ended up working perfectly.
I also learned how to set the kerf offset and create joint notches with parameters—my favorite was using the Chamfer feature. As for the vinyl cutting, it was relatively easy compared to the laser cutting process.
