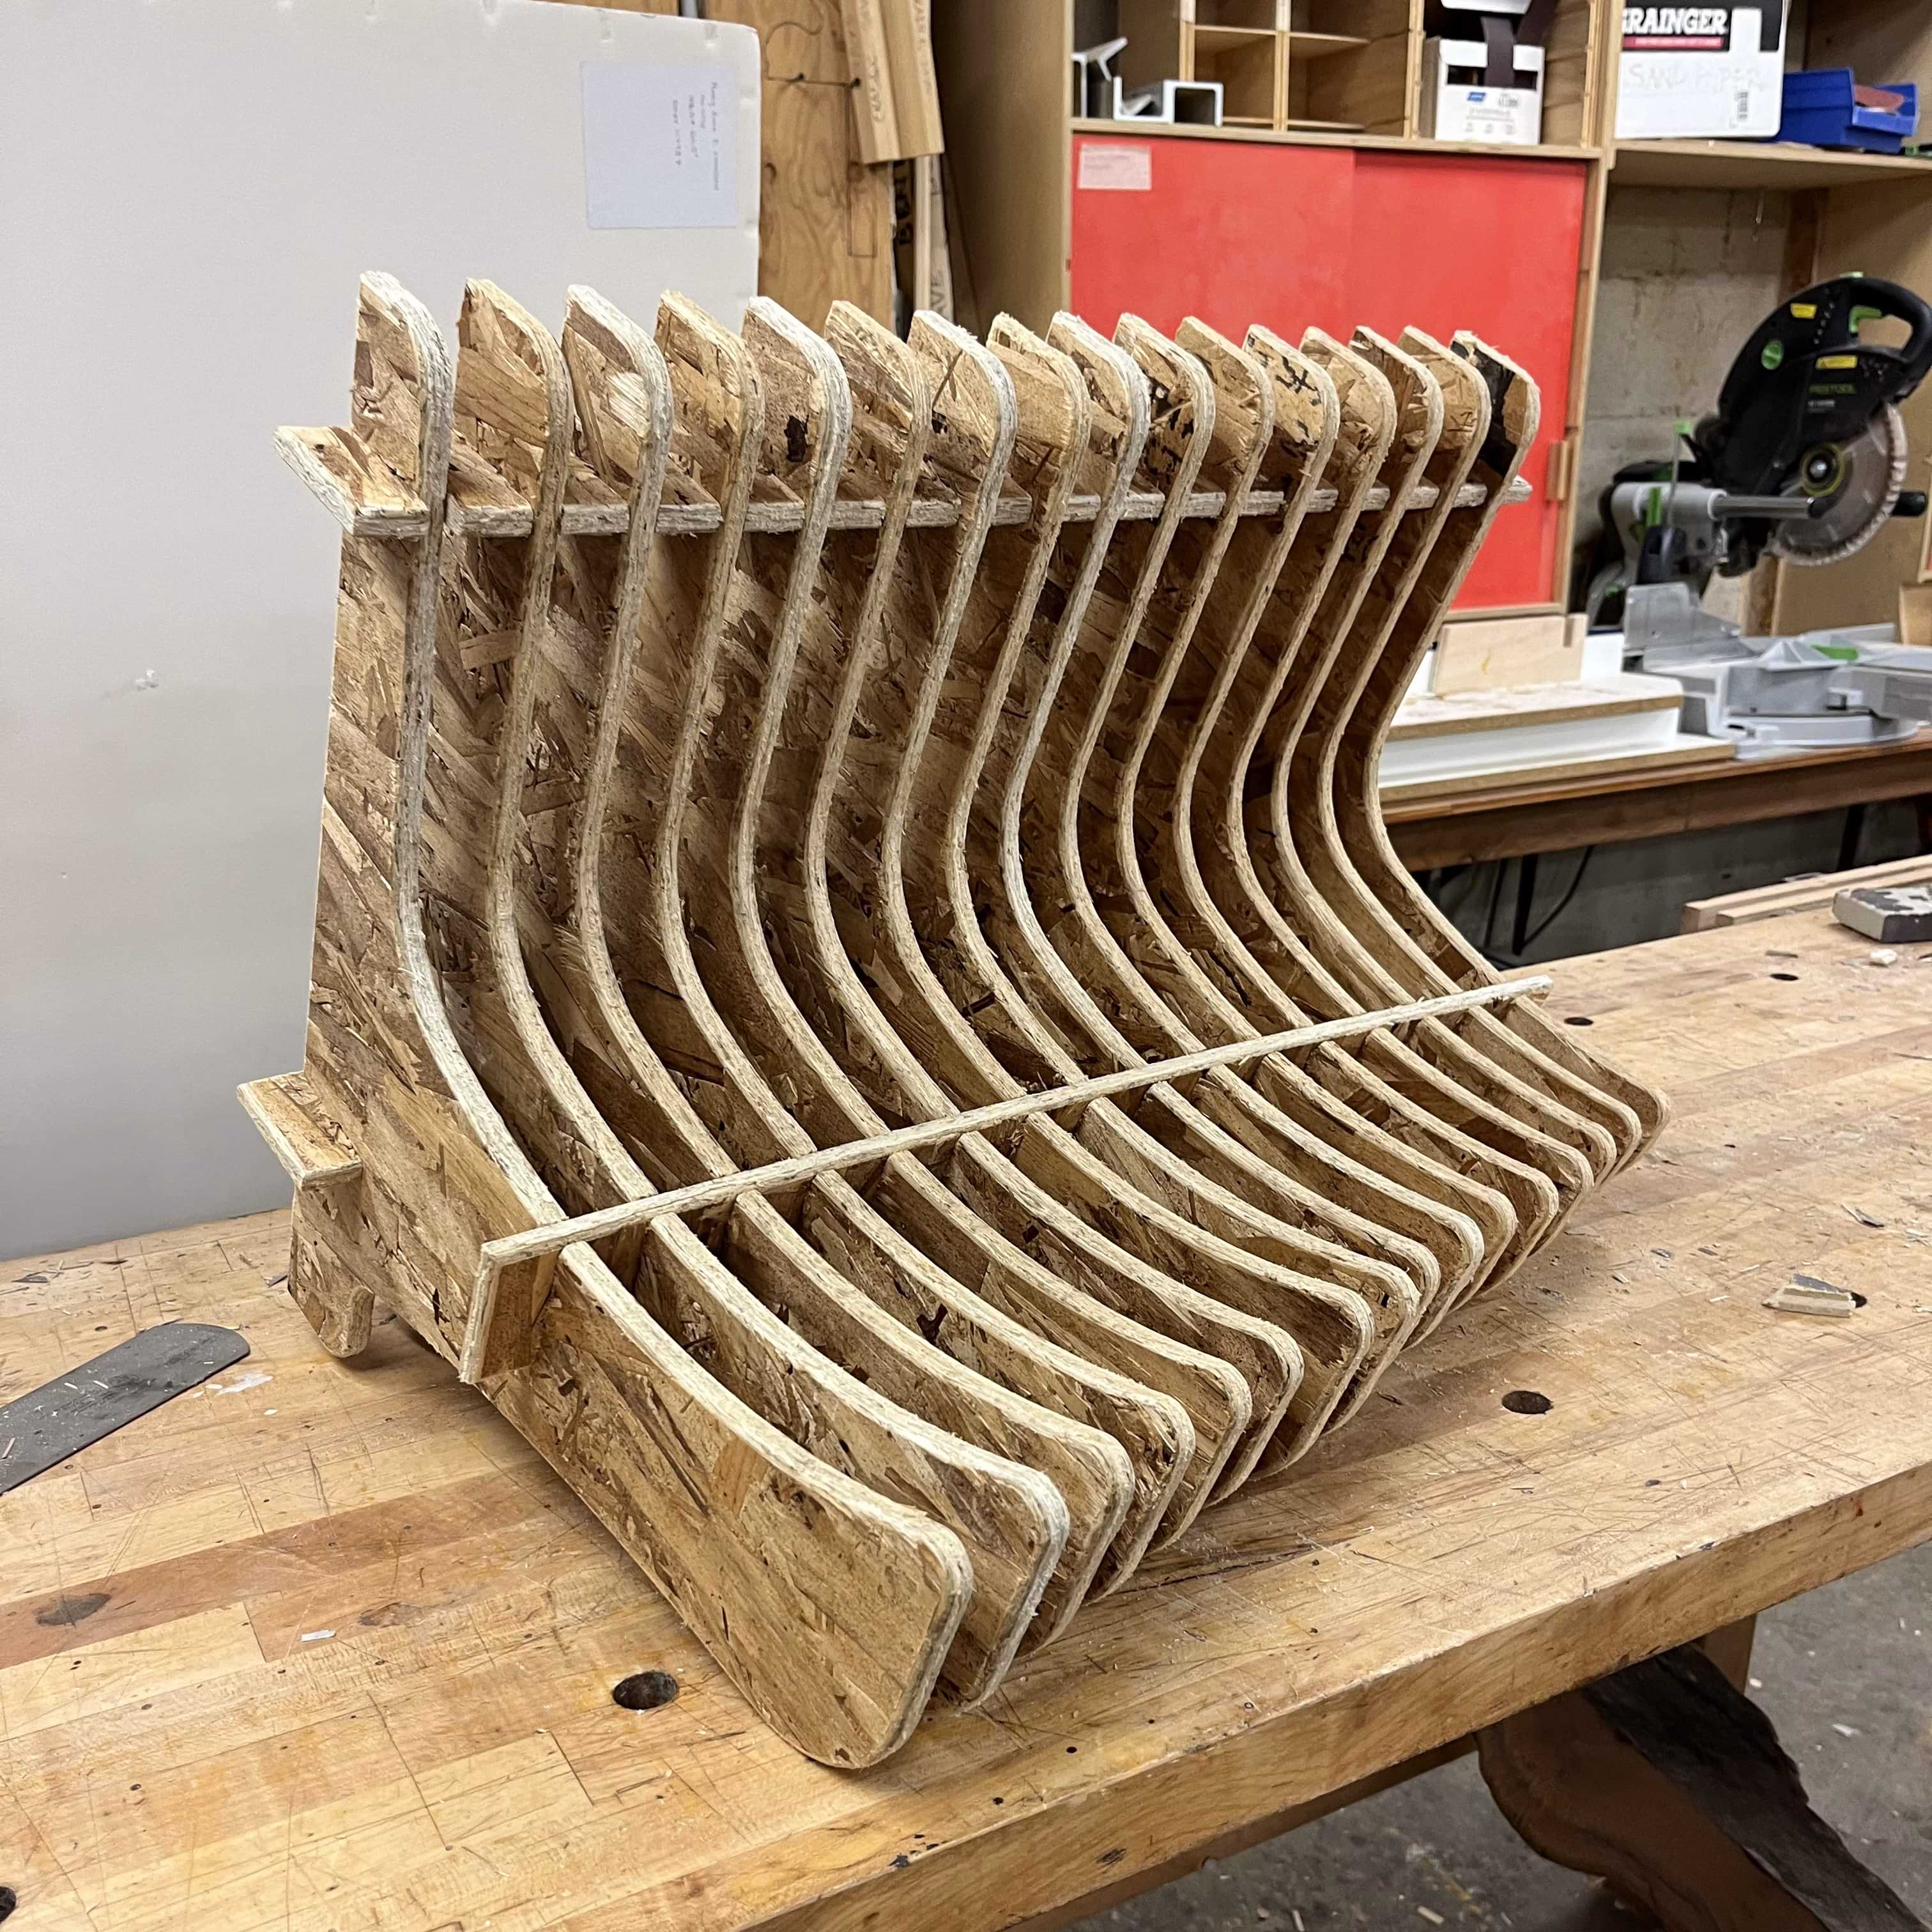
Objective
This week, the objective is to make something big out of OSB using a large-scale CNC machine. In a way it’s like week 2 with the laser cutter, only bigger. This means a big emphasis on parametric design and understanding the machine’s limitations.
Group Work
Group work this focused on safety considerations in the wood shop, as well as understanding the tolerances of the machines.
The biggest lesson for designing out projects was that OSB thickness varies; OSB is essentially a collection of scrap wood pressed into a sheet, so thickness varies batch to batch. This can have a major effect on press-fit joints like we’re using this week.
Using out test cut, we found that setting the width of our joints to .46in worked best, though we’d need to keep adjusting for OSB sheets from differetn batches.

Design
For make something big, I wanted to make a prototype cat shelf modeled after a very expensive one I found online:

Given the space and time constrants, I decided to make only a single-level shelf and to put space between each of the sheets. This way, rather than needing upwards of 50 cuts of OSB, I could get away with 16 to achieve a good width. This also simplified the design by letting me make a “rail” of joints to press into the individual shelf sheets for easy assembly (as opposed to likely needing glue with no space between the sheets).

This took me longer than I expected; I wanted each “sheet” of the shelf to get progressively shorter to give a flowy feel, but I also needed the joints to stay aligned with each other so that I could easily assemble to rail. I also initially mis-measured and made the components too big to fit on my sheet of OSB, requiring me to backtrack a bit.
Eventually, though, I had a layout that fit!

It took a bit of rotating to arrange all shelf sheets in a way that they’d fit.

I also made sure to add points on top of the corners in each of my joints so that a dogbone could be cut out to ensure a close fit.

Cutting
Cutting was a realtively straightforward process. My file needed a little bit of editing because it didn’t scale properly coming from Fusion, but after a few tweaks from Chris it was ready to roll. The job took about an hour to run.
It was interesting watching as the Onsrud milled through my sheet of OSB. I knew the “onion skin” layer on the back would likely prevent the Onsrud from completely cutting through all my pieces, but I was surprised as how much OSB was left behind. I guess I expected something more like the laster cutter where your cuts often fell out as you removed your sheet of cardboard from the machine.

After a little manual cutting with a knife, I was left with some splintery, unfinished cuts for all my shelf pieces.

Finishing
To remove a lot of the splinters and remaining onion skin from my components, I used an edge banding machine around the edges of each piece. The bit was unfortunately slightly too big to get inside the joints, but for everything else it worked great.

After around another hour, I was ready for assembly.
Assembly
I started by inserting the two back braces before attaching the one that went through the shelves. Despite some splinters still in the joints, the first two braces attached without much of a fuss. The joint sizes were perfect; just loose enough to easily insert the braces by hand with a little force, but secure once attached.

Unfortunately, as you can likely see in this photo, the in-shelf joints did not line up the way I’d hoped (despite repeated double-checking). Still, they were relatively close, so I lined up the brace and gave it a try.

By using a mallet, I was able to get the brace to press into all joints. It was a little warped (you can probably see that some of the shelf pieces are being pulled out of place), but by the time it was fully inserted the shelf felt rock solid.

In the end I’d say I reached an 80% solution for my original concept. There were definitely some things out of alignment with my design, and I think I got some of the shelf pieces in the wrong place instead of having them all declining in length as they went along.


Now that I’ve gotten this close, I really want to try again but with some key changes:
- Use some nicer wood than OSB that will be less prone to splintering
- Realign all joints to ensure a smooth fit
- Shrink the gap between pieces to more like .75in instead of 1in for a more seamless look
- Vary the size of the shelves more for a more dramatic look
- Add markings to each shelf for its size / order to prevent confusion during assembly
And as a final bonus, here are my cats:


