Objective
The goal for this week is to develop an understanding of 3D printers and how to use them, as well as to experiment with the capabilities and limitations of 3D scanners.
Orientation to the 3D Printer
Learning about the 3D printer largely focused on understanding its limitations. We used some existing test prints to observe the limits on angles without supports and for detail work.
 Left is Prusa MK4, Right is Bambu X1 Carbon
We found that most intense angle before needing supports was around 65 degrees and that the Bambu X1 Carbon, while extremely fast and very accurate with cuts, struggled a bit to do thin extruded text. We did our own test print to check its capabilities for cut / etched test.

Designing a Spooky Print
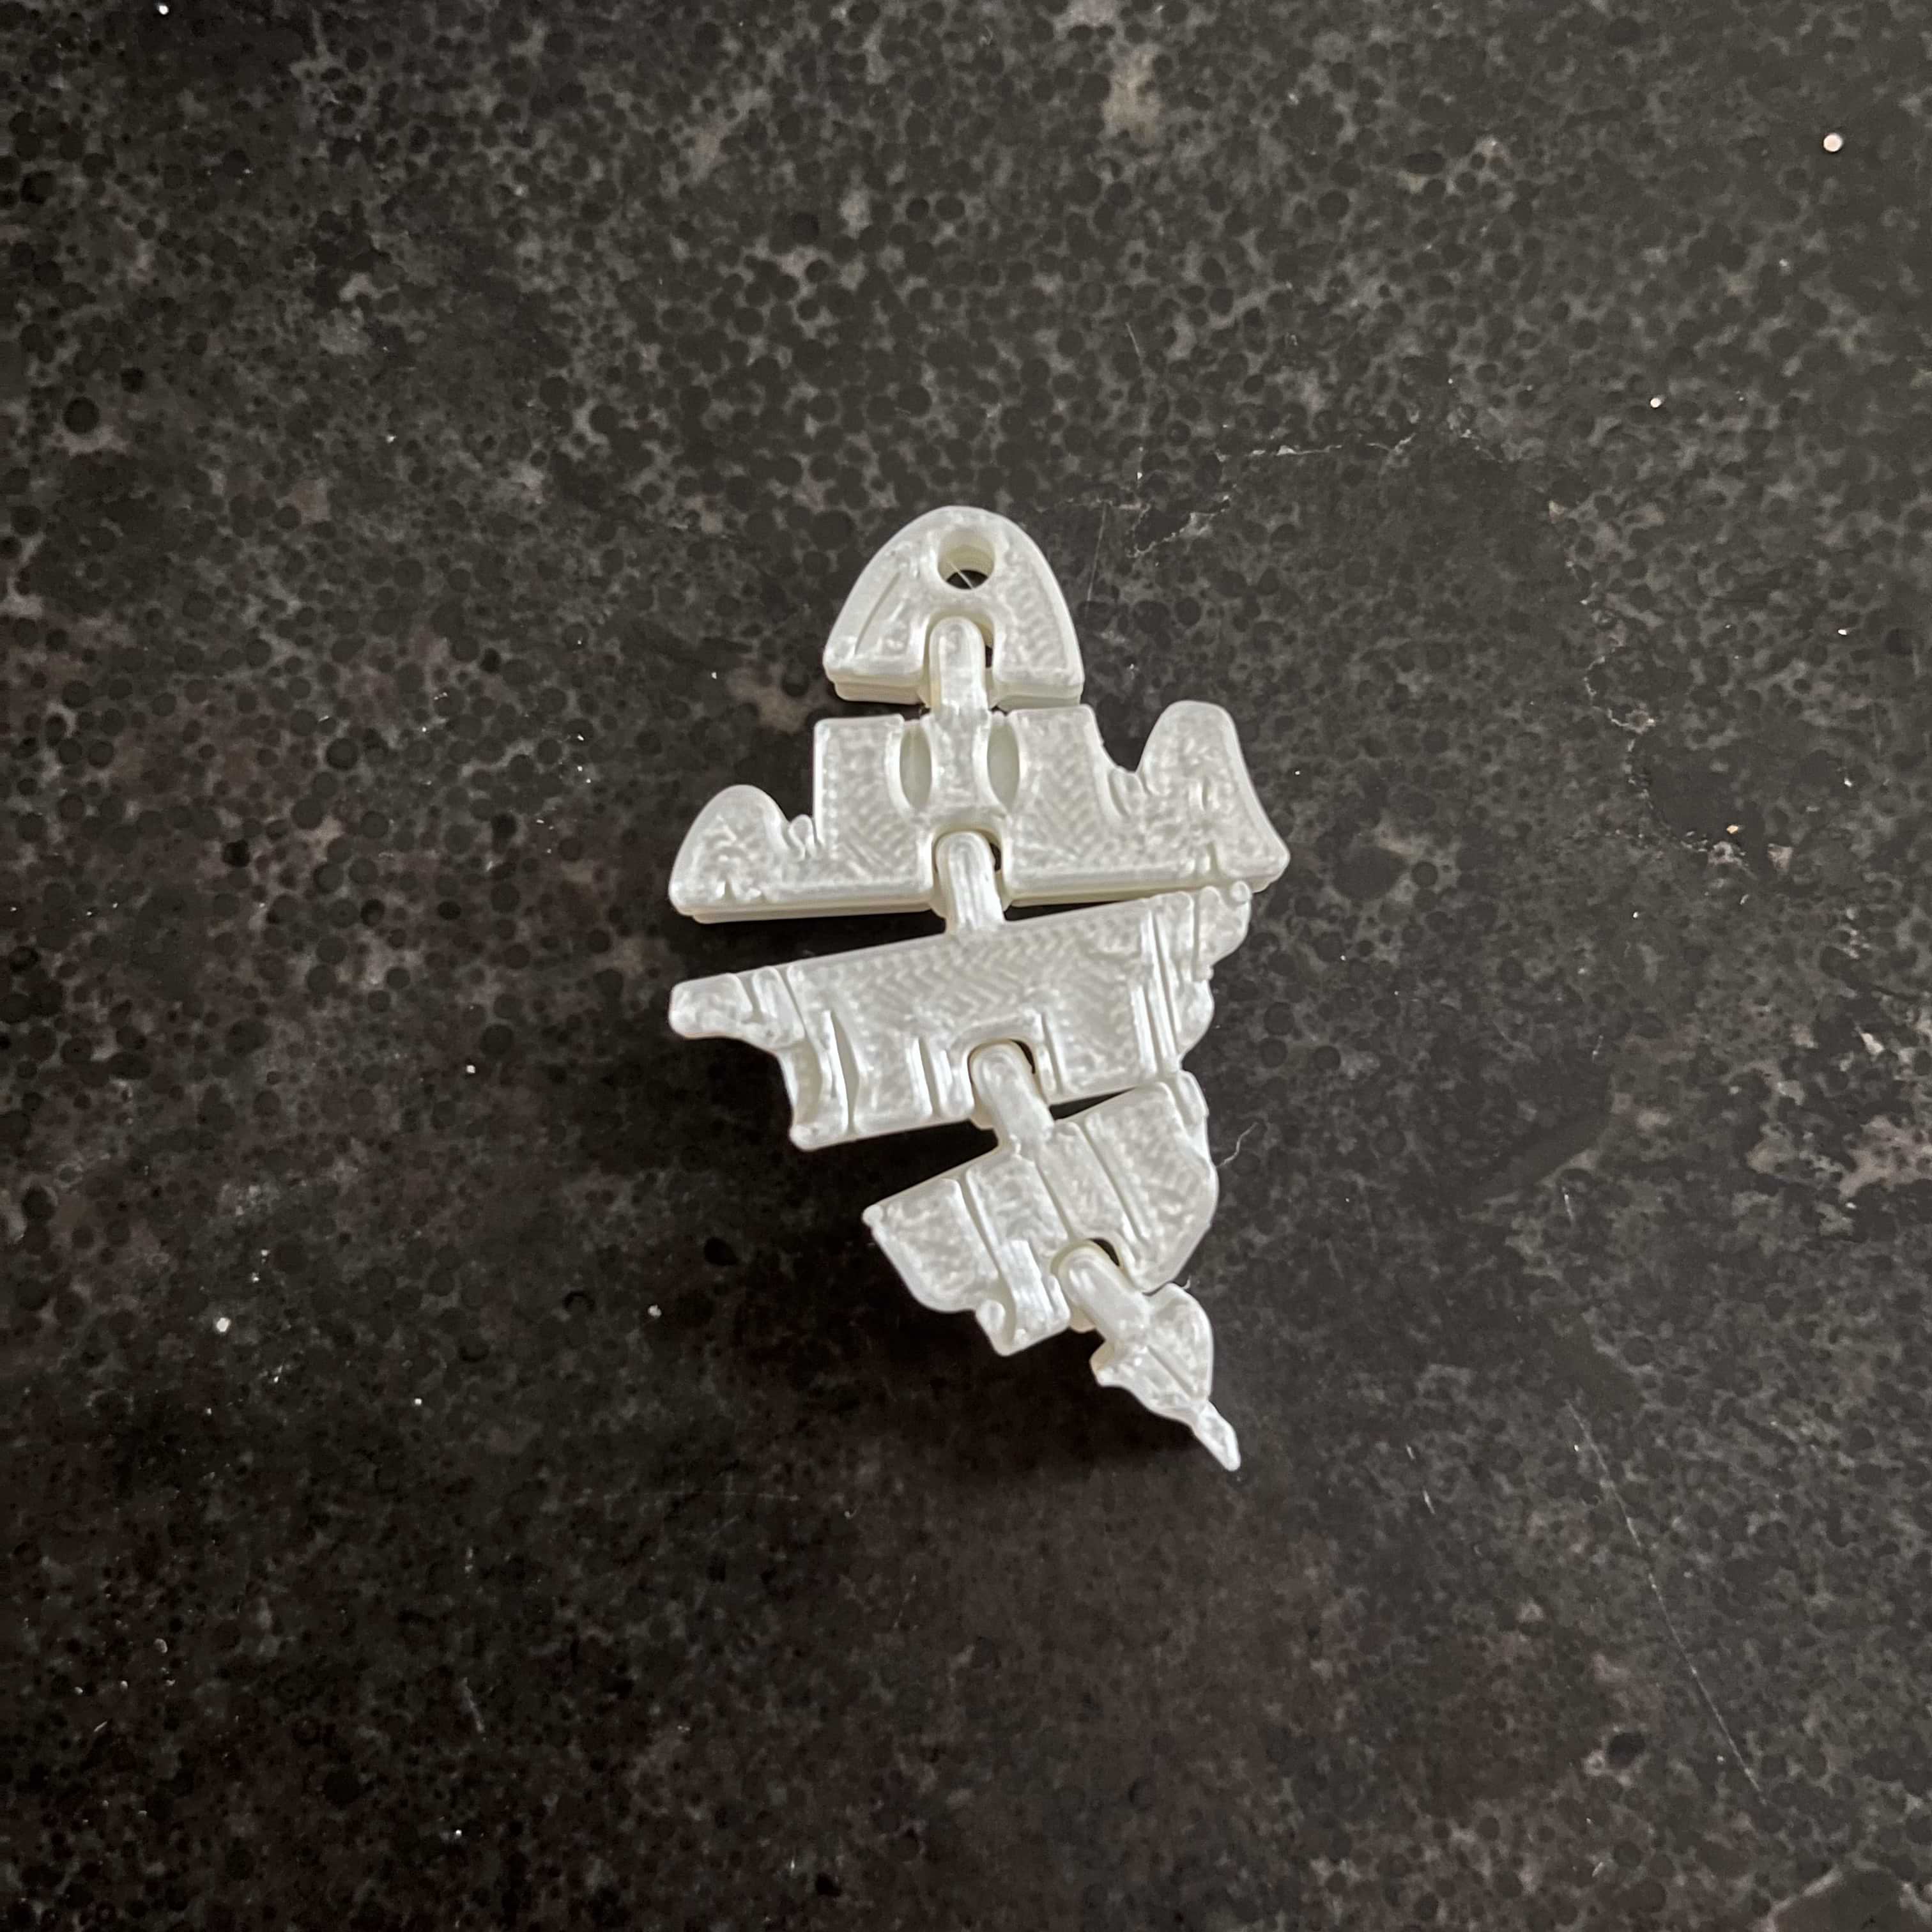
Coming into this week I was excited at the idea of 3D printing links that did not require assembly. I’d previously seen the Flexi Rex and loved the concept, so I decided to learn how its links were modeled and then try applying this to my own model. As a personal challenge, I also wanted to see if I could print my design without using any supports (spoiler: I was successful).
This turned out to be a great way to learn more about Fusion, as the simplest way to make the joints involved building each end of the link on a generic rectangle and then creating a linear pattern to copy it. From there, the last step was to trace a design into a sketch and extrude (cut) around it, leaving a series of links in the shape of my design.


For subject matter, I settled on a ghost for two reasons:
- A ghost is the historical symbol for Army PSYOP
- October is starting so it’s time for spooky vibes
I looked for basic sketches and found a few that looked good. I imported them into my model as canvases, and then traced its outline in a sketch using the ‘spline’ function. One problem I did not anticipate was how difficult it was to make the model look distinctly like a ghost rather than an amorphous blob.

Still, after a few tries, I had a form factor I was happy with. I even added some shallow cuts for eyes and other more flowy details.


Actually Printing a Spooky Print
Majority of my training was with the Bambu X1 Carbon, so I was disappointed to see that they all were in use when I arrived to the shop. Instead, I opted to do my print with the Prusa MK4. I went with a 15% fill and .2mm layer width.
I’m going to blame my first major mistake on my lack of familiarity with the Prusa: when setting up my print in the Prusa Slicer software, I completely missed that the default material had been set to ‘Generic ABS’ instead of PLA.
Around halfway through the print I was fairly sure something was off, but I mainly blamed my design choices; 15mm thick for a keychain just seemed much too large once I saw it, so I used the timeline feature in Fusion to go back and reduce the thickness to 8mm while the print finished.
When examining the finished product, however, I found that thickness was far from my only problem. This first ghost was a stiff, bloated version of my ghost with minimal flexi capabilities.

Eventually I identified the material selection issue and immediately cued up another print, this time with PLA selected and with an updated depth for the keychain. I could immediately see an improvement in the precision of the print. As a bonus, this second print took nearly hald the time (59min vs 34min).
Finally, my flexi ghost could really flex and move! Below you can see a side-by-side of the two (I like to call them pre and post Ozempic versions).

Takeaways
- Settings on printers will make all the difference; be sure to double check selected materials, plates, etc. to ensure the right outcome
- When making designs with moving parts and joints, it can be helpful to design the joints first and then build around them.
- Likewise, designing like a sculptor in Fusion can save some time; rather than create each detail from scratch, starting with a large form and then cutting away material is often more efficient
Files Links:
