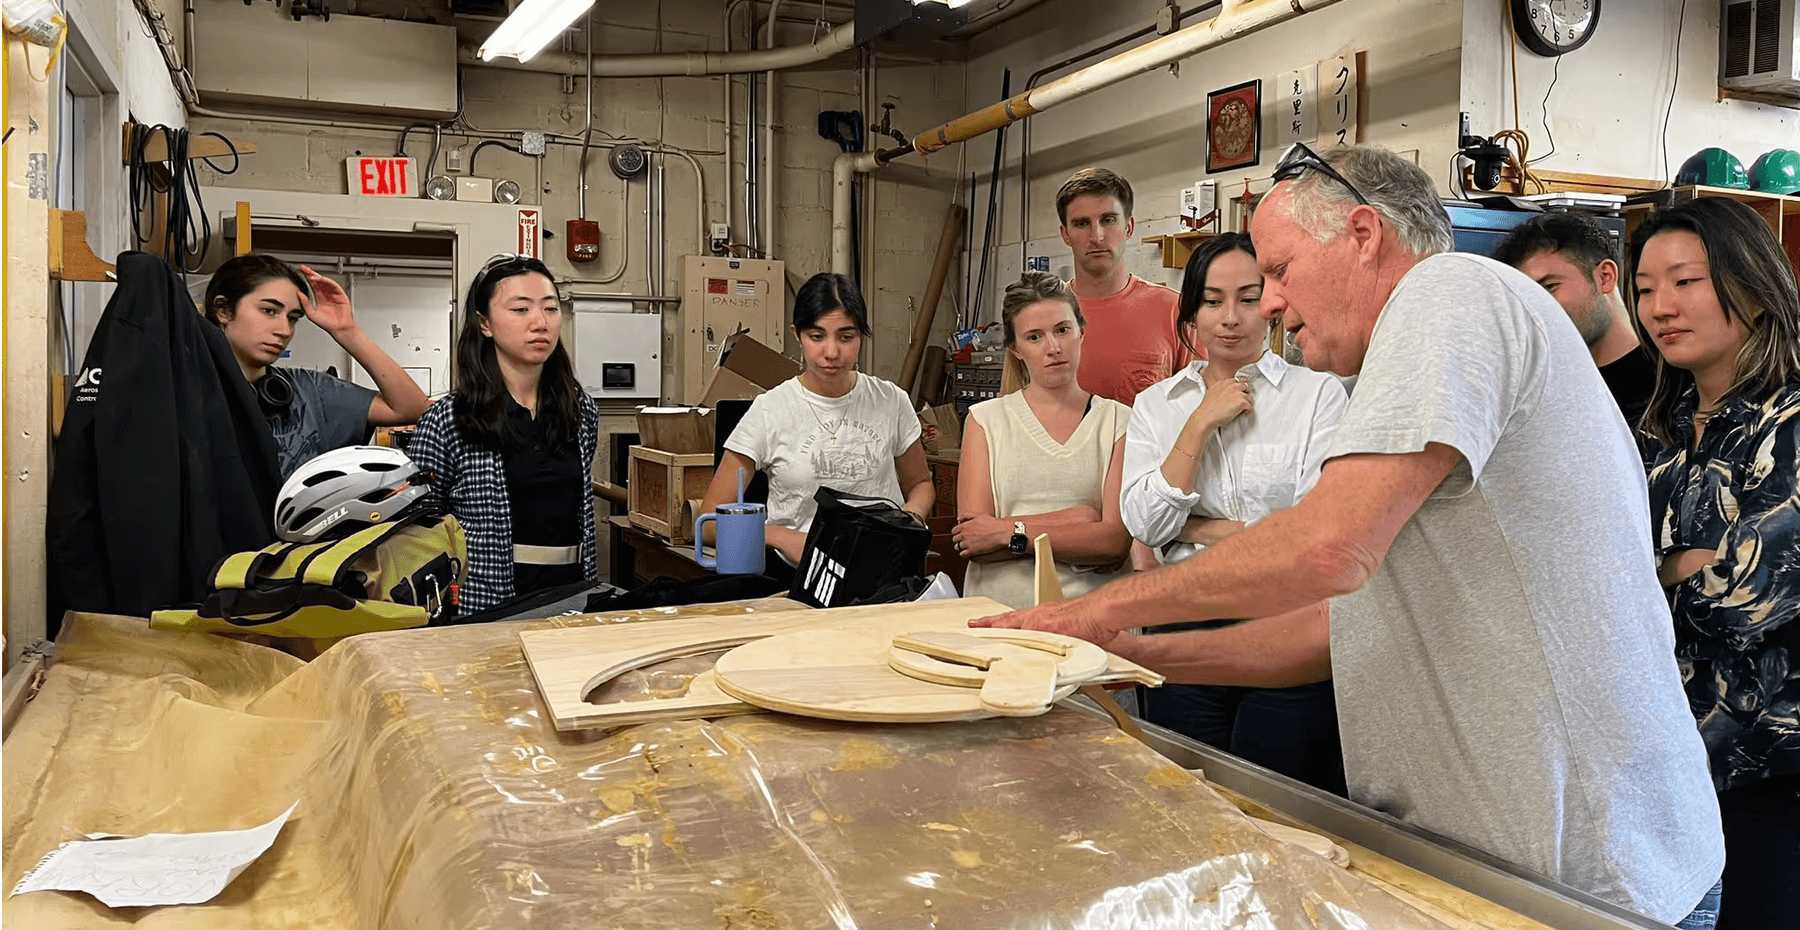
We covered quite a bit in the lab with Chris. He explained that OSB thickness can vary depending on the batch and even the weather—it’s generally around 0.5 inches, but the piece he cut was closer to 0.466 inches. We learned about using an “onion skin” layer for cuts, which Chris adjusts based on material thickness. Small parts should ideally be no smaller than 6” x12” for stability. The OSB we were working with measured 96”x48” overall.
Chris then walked us through the safety procedures for using the CNC machine, covering everything from checking the tool runout to alignment, fixturing, and setting speeds and feeds. He stressed the importance of designing with OSB’s properties in mind, especially since it can be pretty fragile when cut too thin. He literally compared it to a cookie's strength.
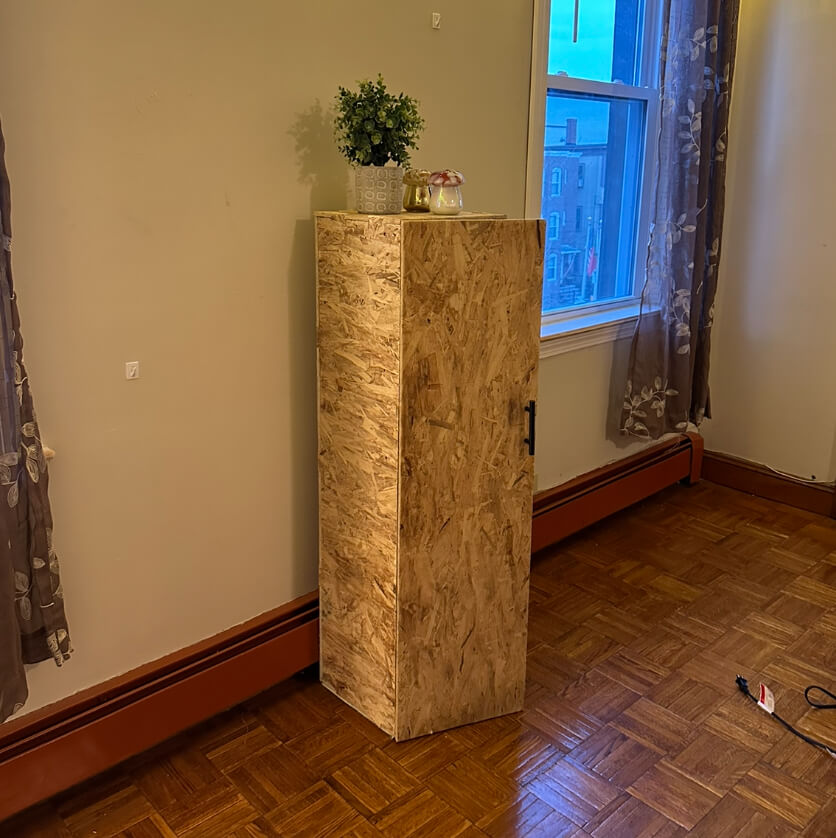
My apartment is still coming together, and right now, my vacuum cleaner is just sitting against the wall. I decided to make a mini cupboard/closet for it. That way, it can be out of sight, and I can use the top of the cabinet for decorative purposes. To start, I measured the vacuum cleaner, and decided that the inside of the cabinet should be 12"x10"x46".

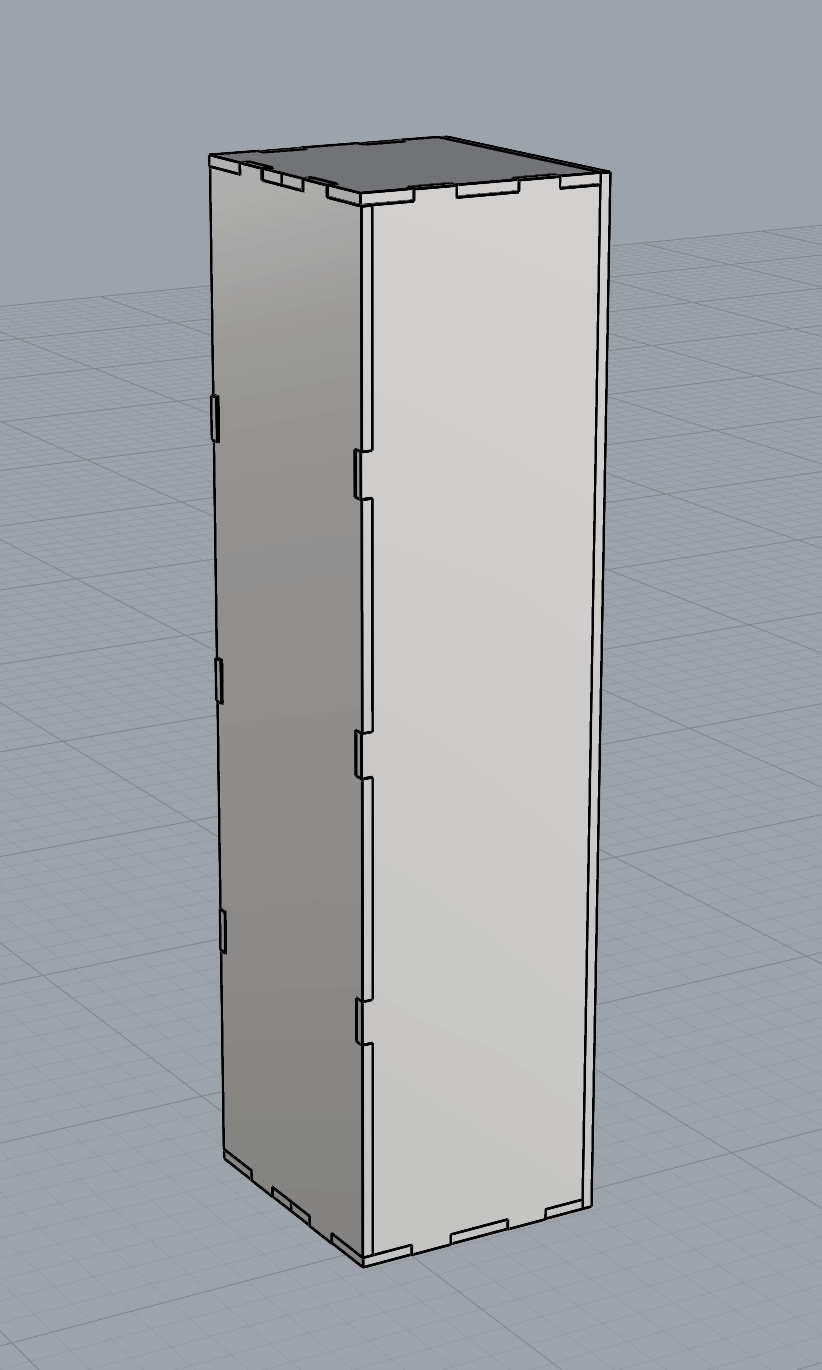
I made the finger slots 2 inches wide, and stock thickness deep (0.488 inches). In this initial brainstorming, I wanted to include a kerf in my design, but I ended up not doing that because I was told we didn't need to. I transferred all 6 faces to Rhino, extruded them, and assembled the cabinet to see if everything fit together okay. I was really glad I didn't just rush to send it, because I noticed many mistakes. The front face needed to be made 2*(0.488) inches taller to make up for the top and bottom faces' thicknesses. Some of my fingers and slots didn't align either, so I fixed those and tried assembling it again. Everything worked apart from the top and bottom faces, which suddenly became way worse than they were the first time. I'm honestly not sure what went wrong there, but I must've gotten distracted while doing it, and somehow switched orientation midway through. Third time's the charm, so I managed to get it right the next time. I did not want to take any chances, so I manually measured all the different dimensions that the top and bottom face needed to have, and transferred them to Rhino.

After that, I was satisfied with the outcome!
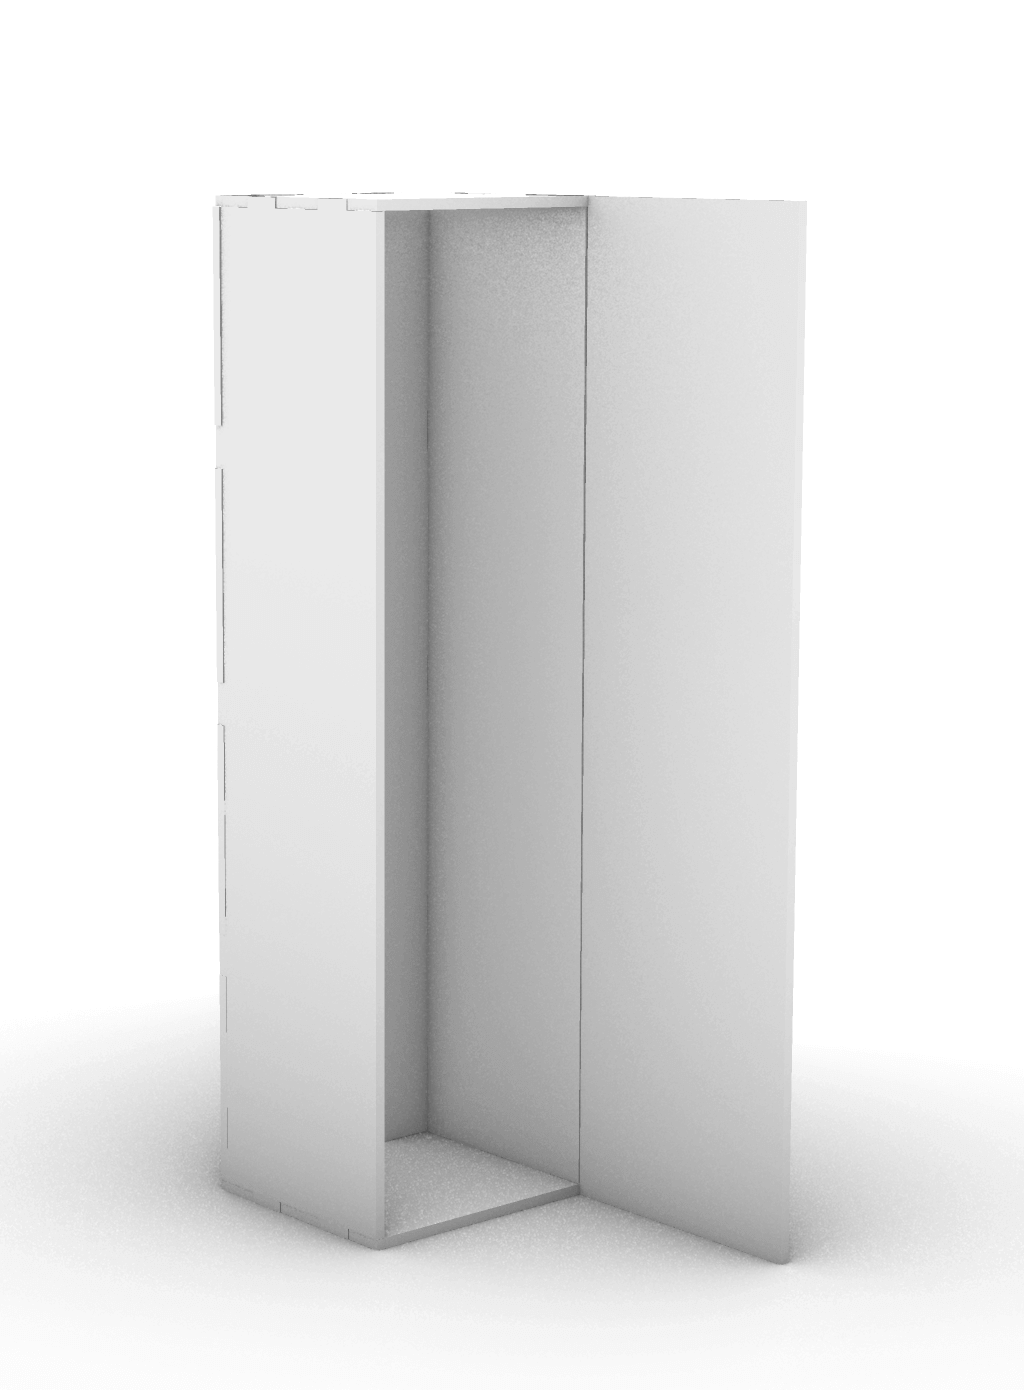
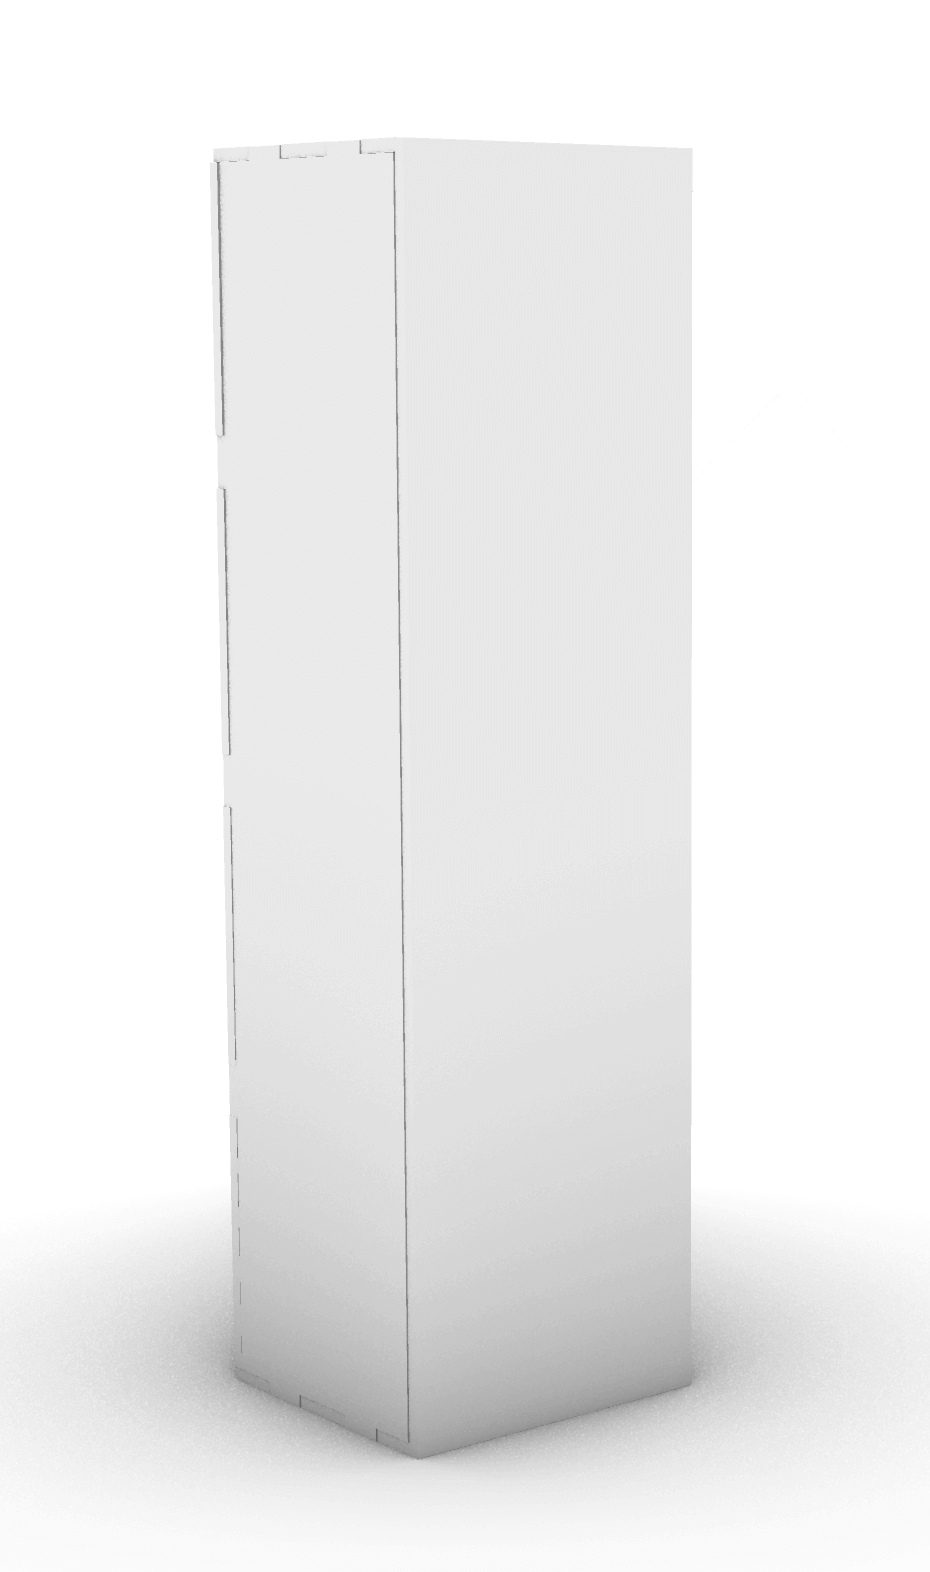
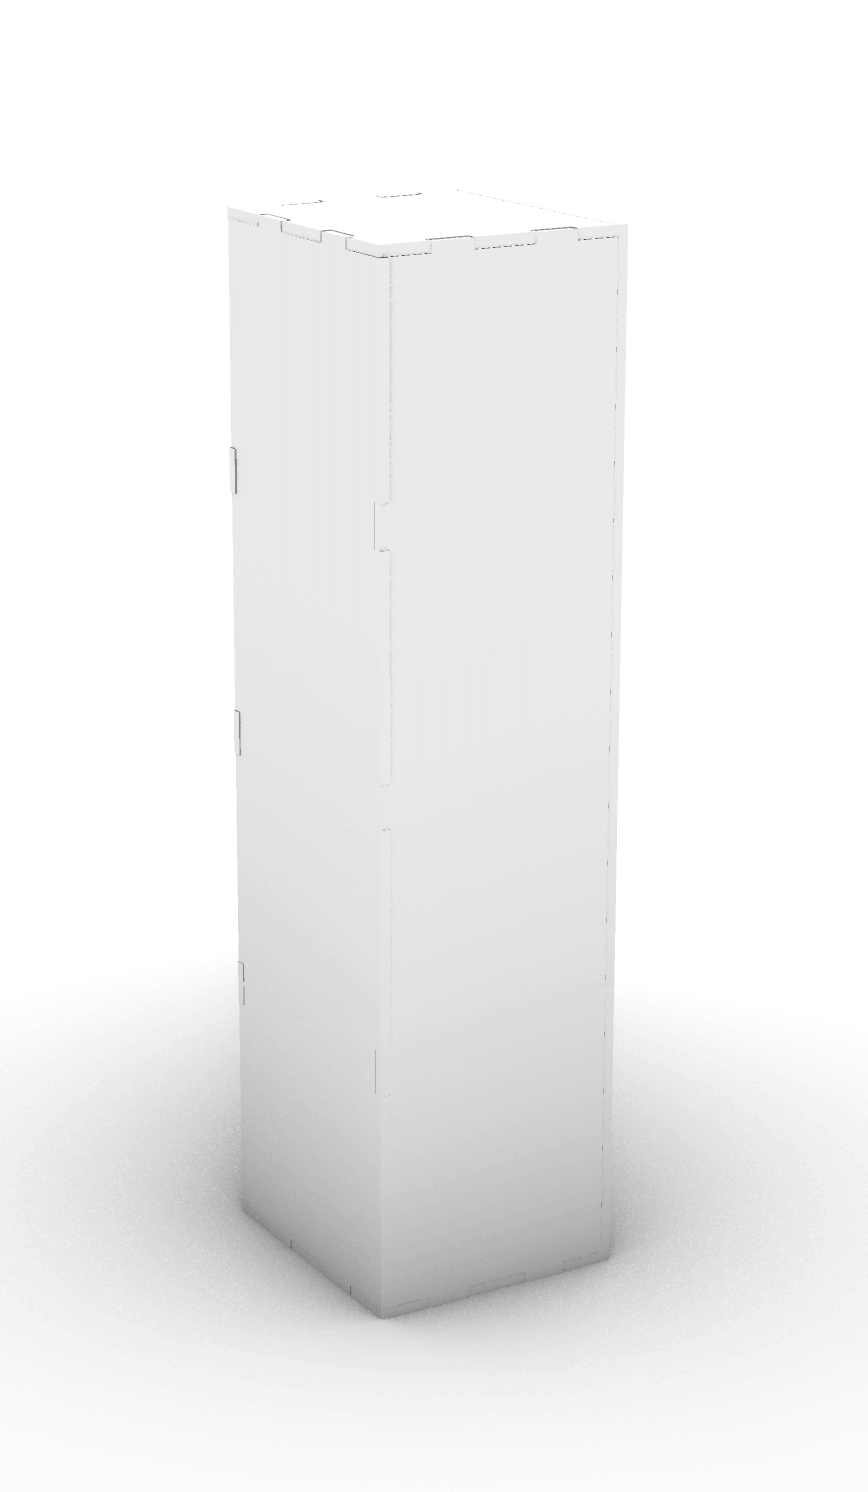
The connections show better in shaded mode:
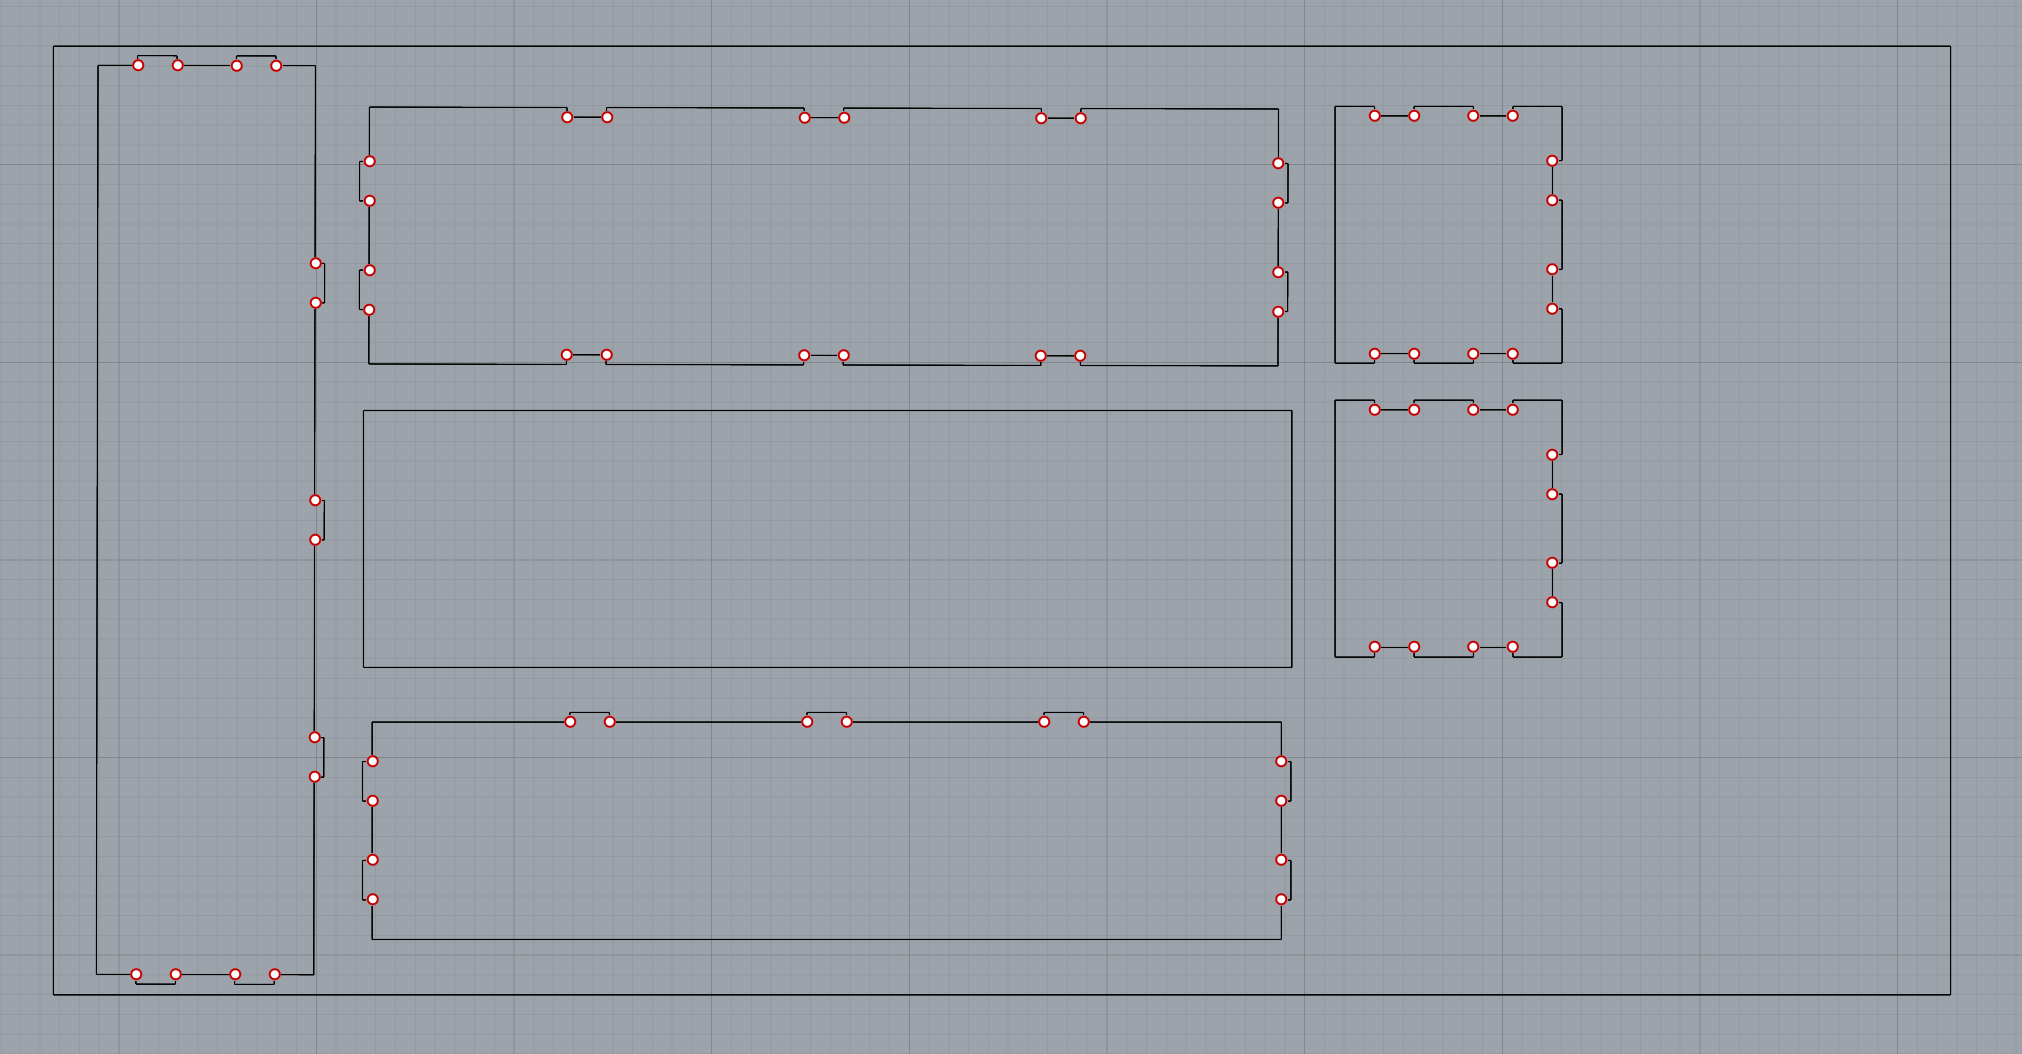
I then rearranged the curves in a 4 ft x 8 ft rectangle, and added points on the inside corners on a separate layer. My file was now ready to send to the Archshops team!

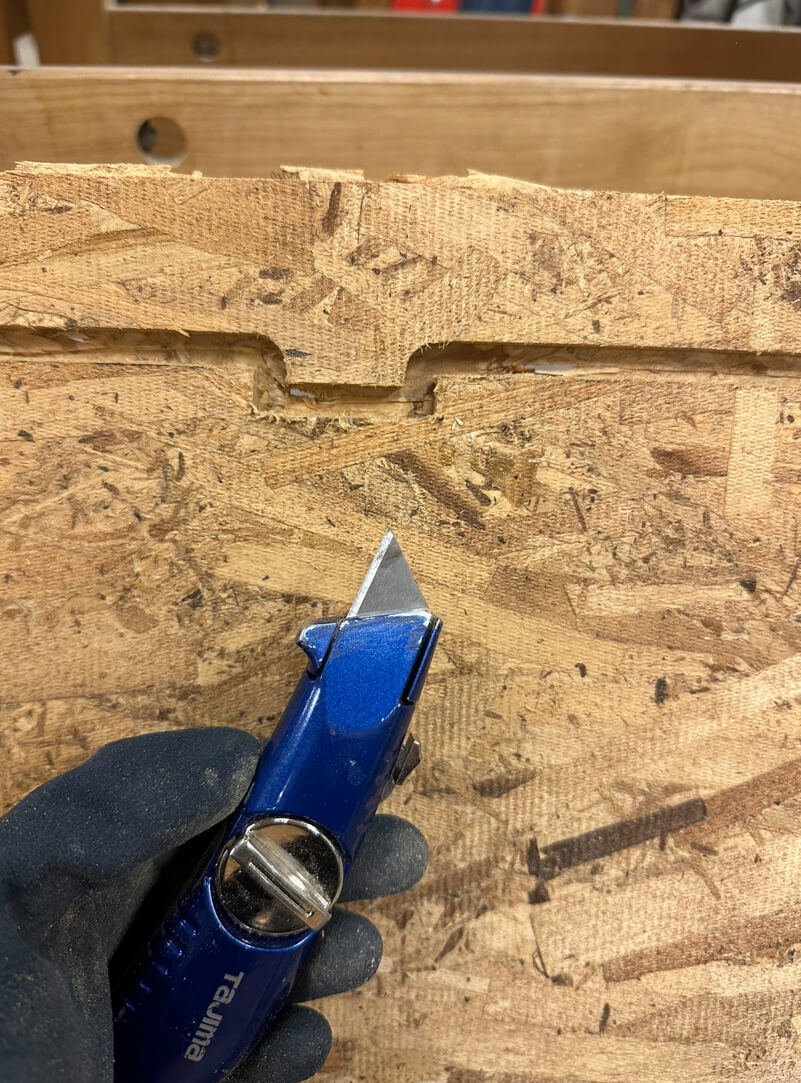
Even days after sending my file, I wasn't able to start cutting it because the ONSRUD machine in N51 stopped working. I was eventually able to cut and it took about 15 minutes. I used a razor to cut the "onion skin" layer and remove the pieces:

Then, I sanded the edges of each piece on the router:

Then, I clamped and sanded both faces of each piece:

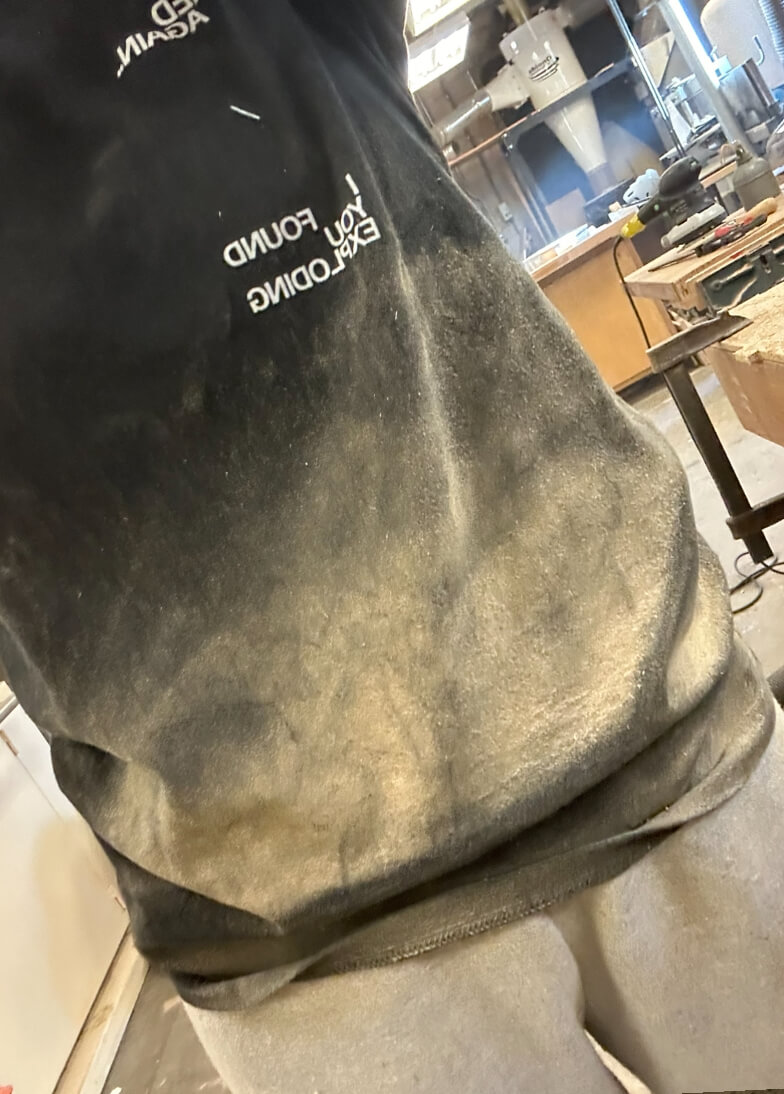
Don't forget to connect the vacuum cleaner to the sander, or the following will happen. I think I still have sawdust in my system.

Next was assembly. I laid the back piece down and used a mallet to lock the finger joints into each other when I added the side pieces.
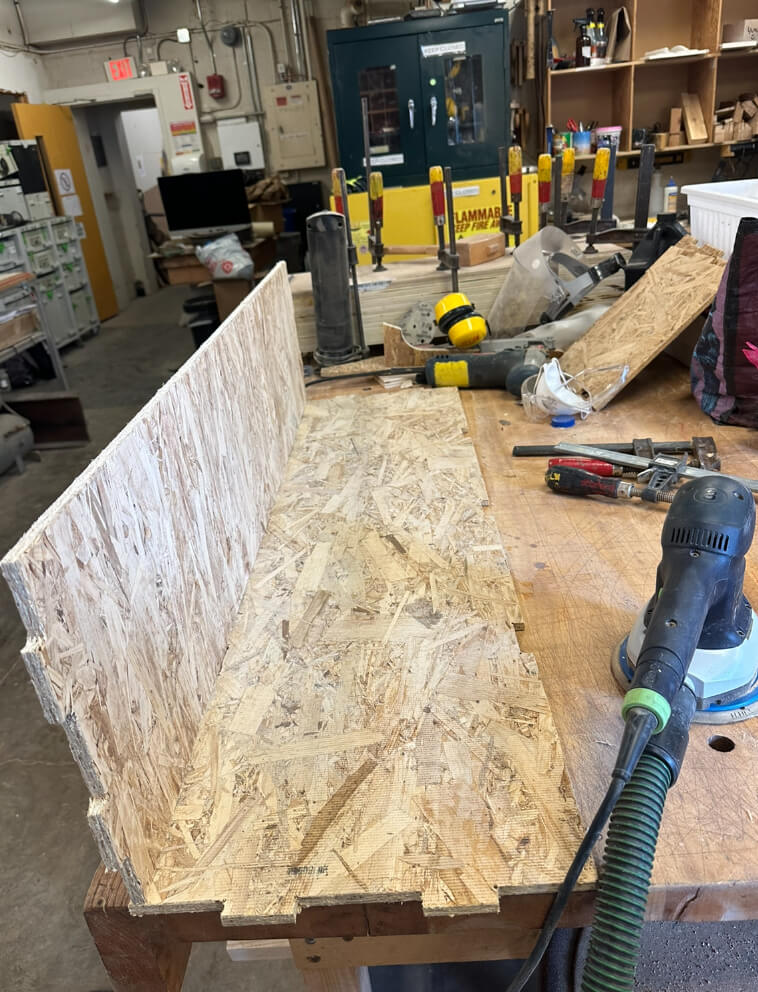
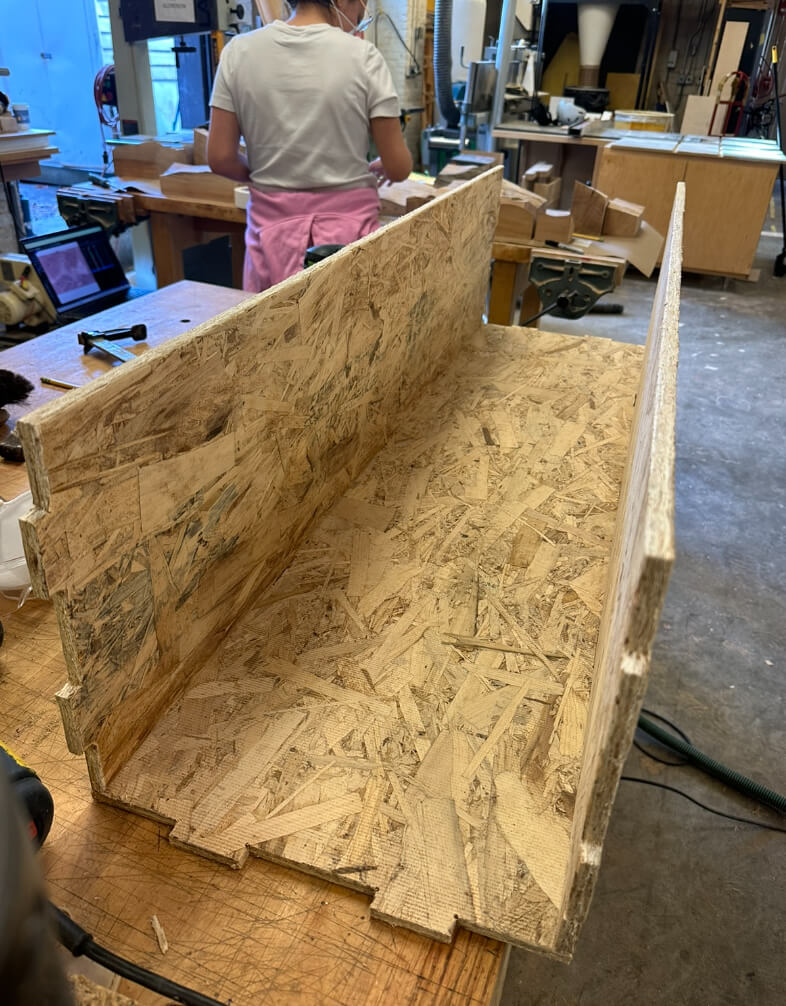

In the same way, I added the top and bottom pieces. Then came the toughest part of all: adding the door hinges. I had bought hinges on amazon, and drilled small holes to screw them in place.


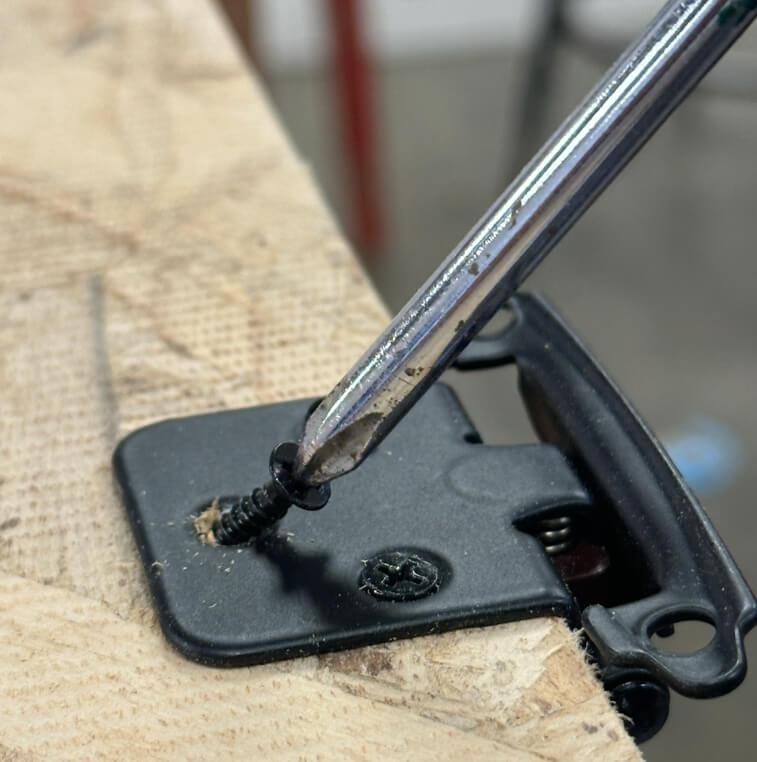
Very unfortunately, I forgot to check the screws' length and this happened:
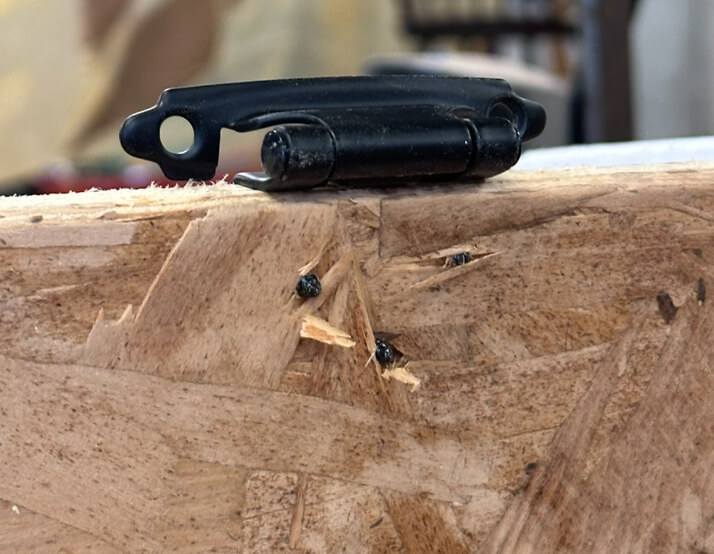
So, I took them out and reinserted them but slanted. Sanding the front layer made it look like nothing had happened.
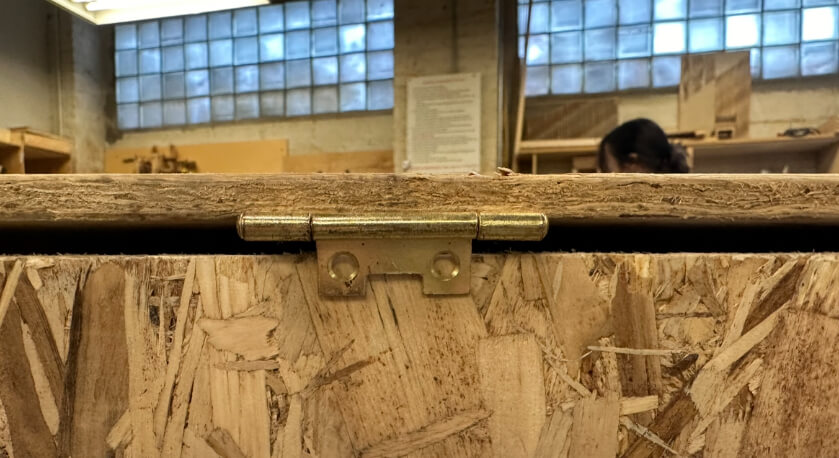
When I put the front piece on the rest of the closet to secure it, I realized that the hinge itself was way too thick for my design (sorry, forgot to take a picture!!). I tried another hinge I found in the shop, and it had the same problem:
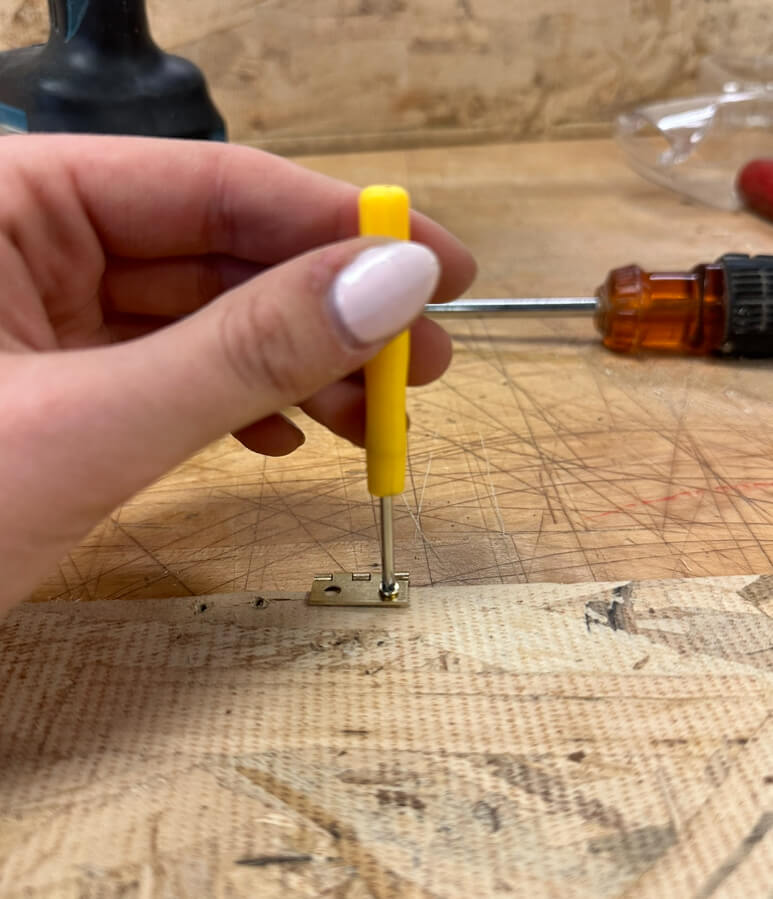
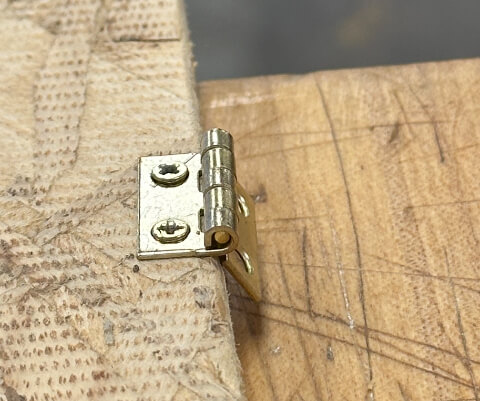
I then looked for even smaller hinges, and found really tiny ones. I was scared they wouldn't suffice, so I used four of them. They came with screws so tiny, I had to use a tiny screwdriver.
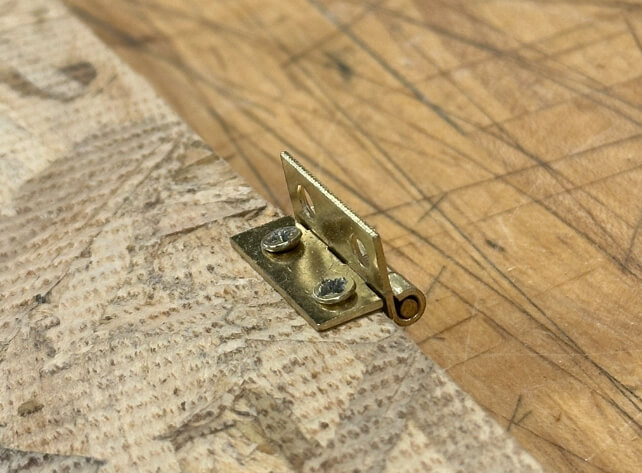
I originally put them all wrong. They were in a wrong orientation. So, for the fifth time, I unscrewed my hinges to screw them back again. Here is a side-by-side of the correct way to put it (left) vs the incorrect (right):
To put the handle in, I drilled a hole that fits the bolts I had.

And that was it! I took it home in an Uber (the Uber driver did not believe me when I said I made it, and I take that as a win!). To be honest, I don't love how the OSB looks, but it looked a bit better when I put decoration on top. It also fits my vacuum cleaner well!


