Assignment: Cut something on the vinyl cutter
I was not able to make this group training because, frankly, I did not know it was happening. I was not in the Whatsapp group chat for our section for the first couple of weeks, so it was rather confusing. I therefore asked Shah to show me how to use the vinyl cutter on my own time, and he showed me how to do everything step by step! In the beginning, I wanted to make a sticker for my laptop, and thought of some designs I have been wanting.
I sketched the following drawing, which means a lot to me. It's inspired by a photo that went viral this past month. What it shows is basically cars stuck in traffic in Tyre, Lebanon, after a mass displacement from South Lebanon.
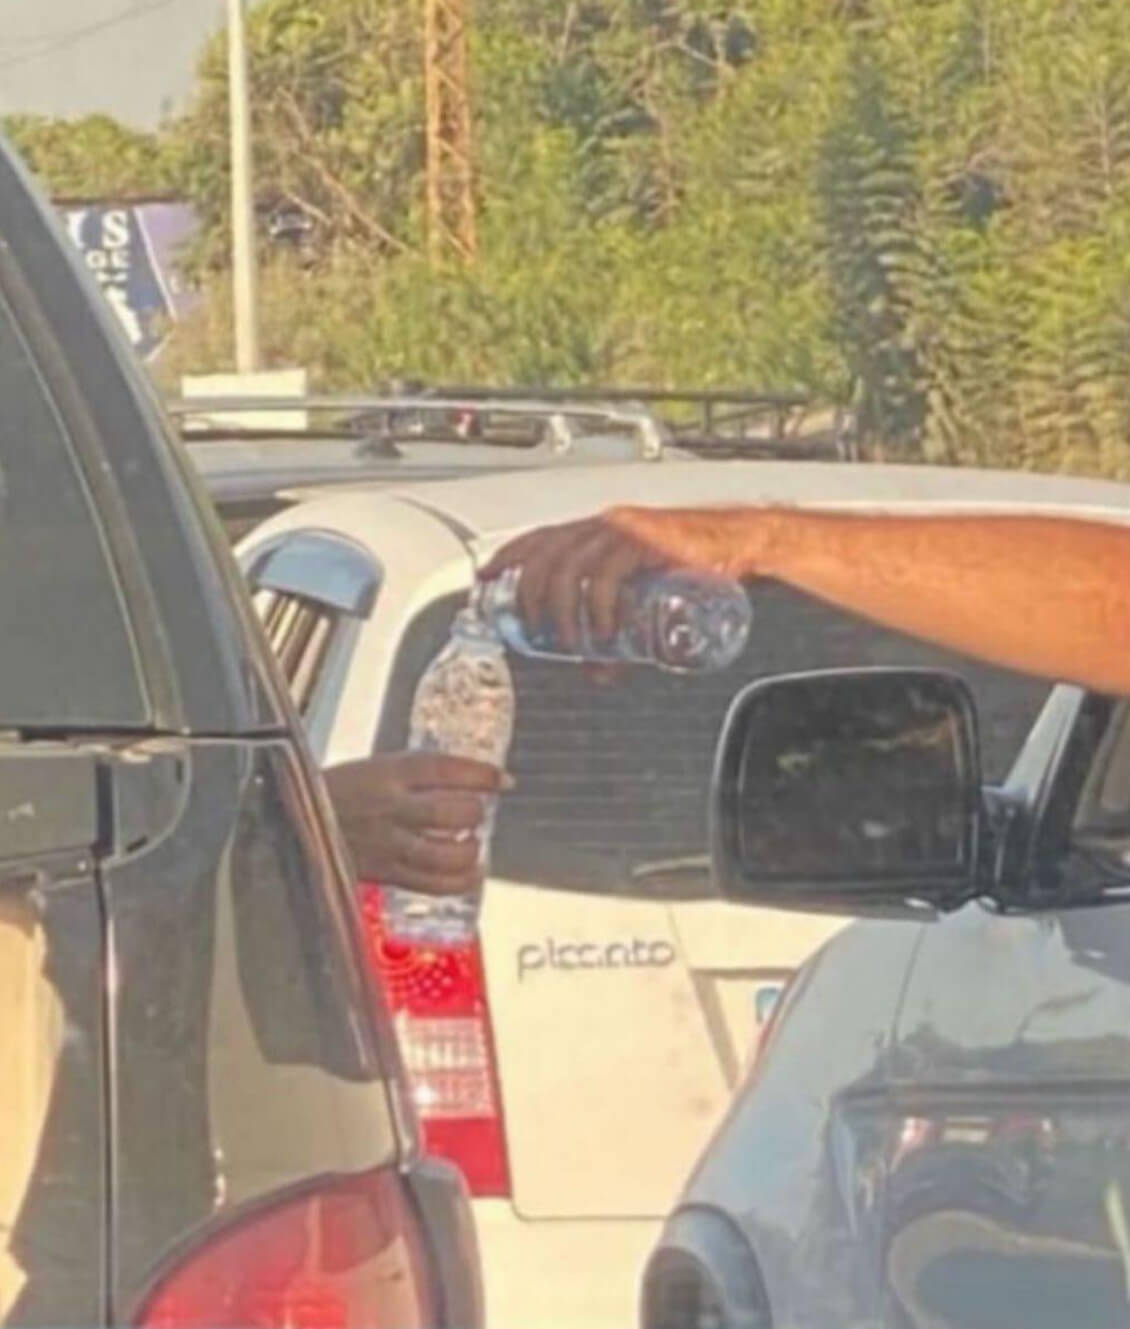

Shah looked at it for less than one second before telling me it was gonna be challenging. I realized that I had way too many details for my first time using the vinyl cutter. Shah recommended something much simpler, so I created the following png:

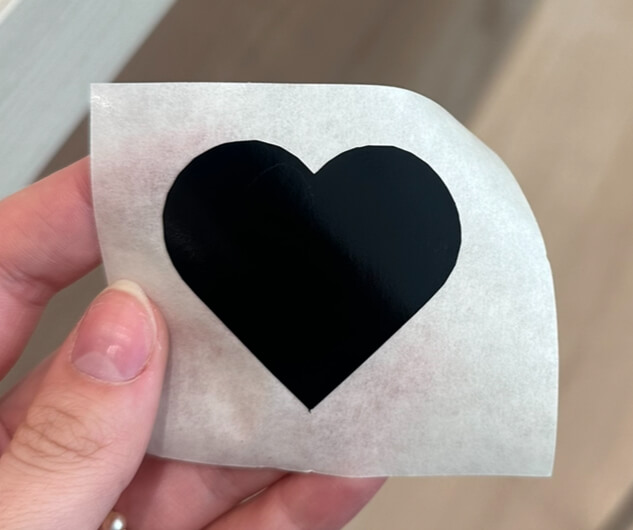
It's much less exciting, in my opinion, but much more manageable on the vinyl cutter. We put it in the mods and kept the original settings that the archshop staff had set. Then, we sent it to the cutter and set the origin to be the leftmost point possible.
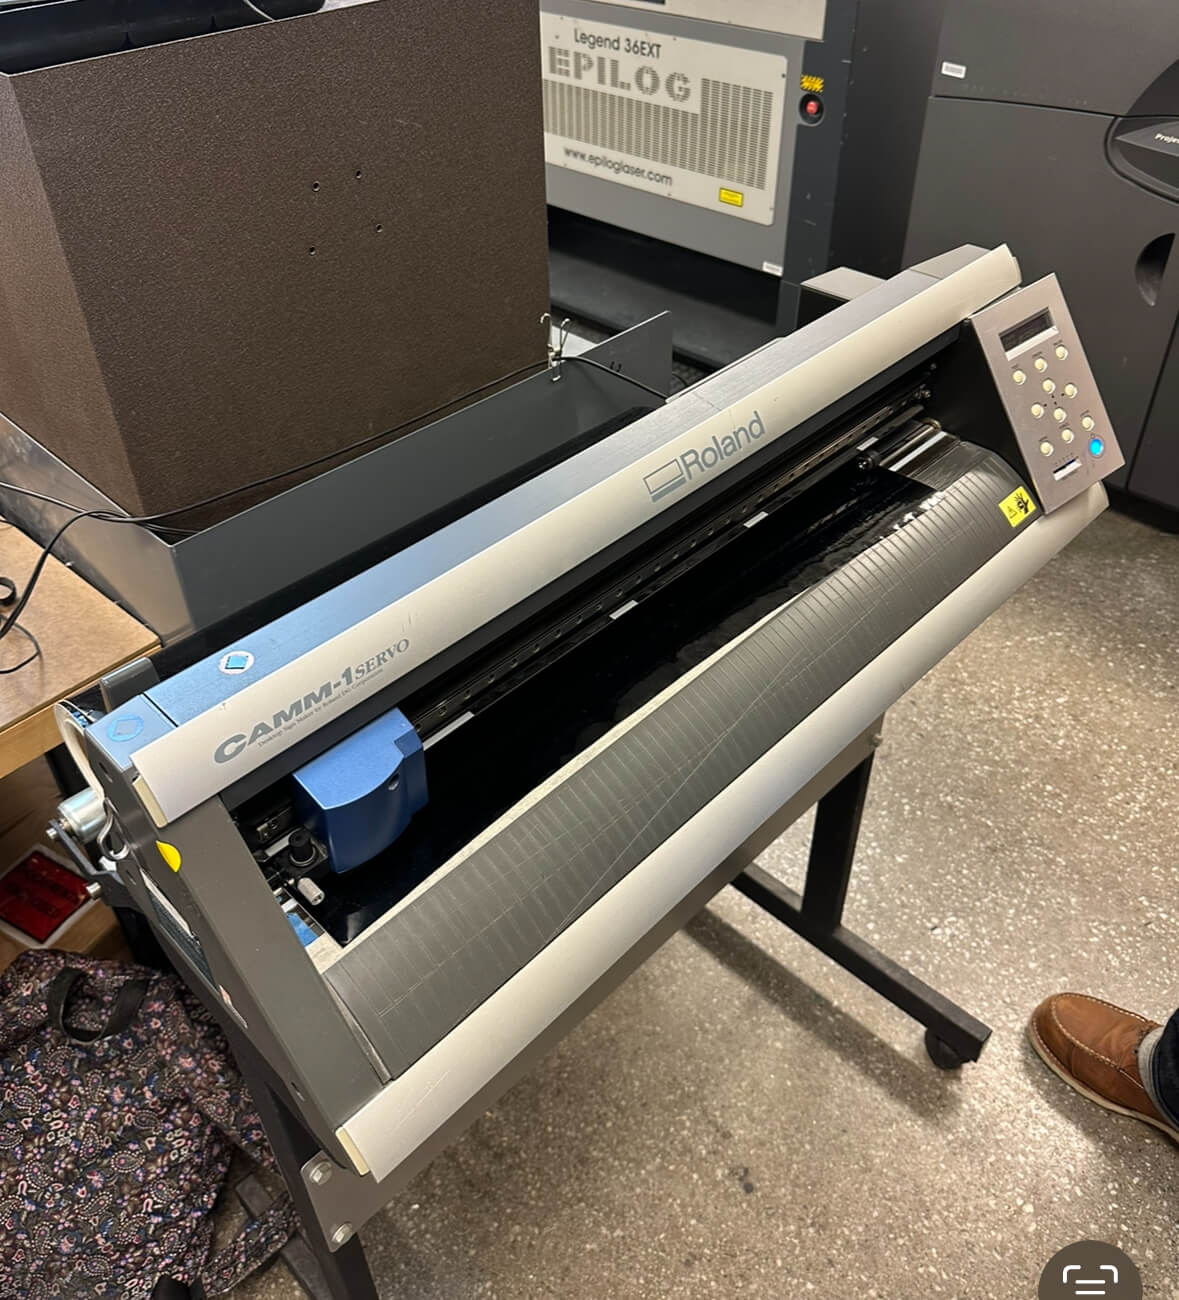
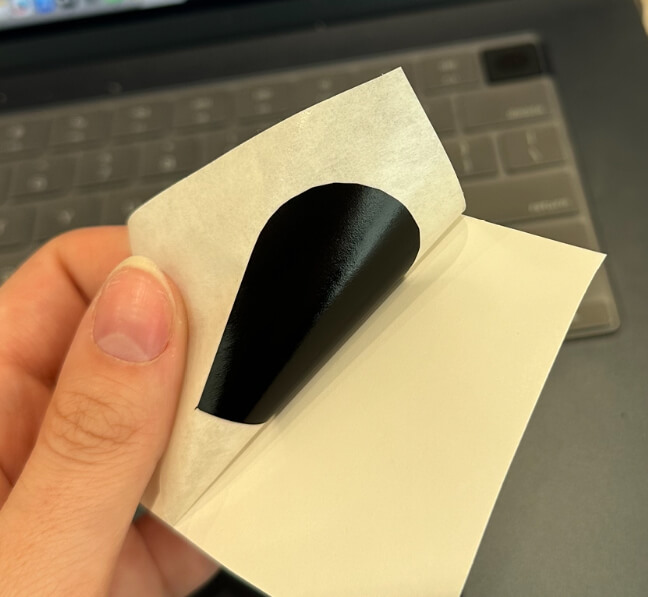
Then, we set it to cut! We used scissors to cut out a square with my sticker in it. Then, we peeled off the excess vinyl and stuck the transfer material to it instead. To do this, we made sure to start a point in the center, and then stick it outwards. We used the yellow plastic pieces to make sure everything was flat.

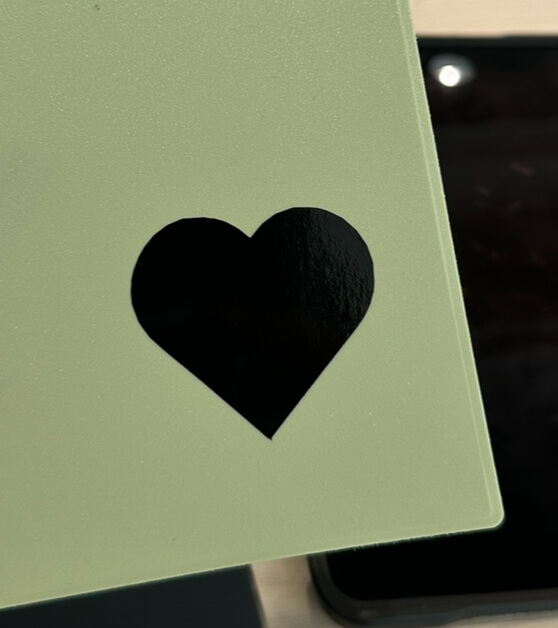
I peeled off the transfer paper layer, revealing the sticky side of the sticker. I put it on the inside of my journal!
Assignment: Design, lasercut, and document a parametric construction kit, accounting for the laser cutter kerf, which can be assembled in multiple ways.

The first few weeks of the semester are coinciding with my move-in to a new apartment. I have therefore been juggling my homework and various home chores such as assembling my desk and putting up my shelves.
It was only natural, then, that when brainstorming what to make for our laser cutter assignment, the majority of my inspiration came from a home improvement aspect. I stood in my cluttered room and looked around,
seeing various pieces of jewelry strewn everywhere.That’s it! I decided to make a jewelry organizer. I looked at various ones online and combined the aspects I liked in each.
I wanted it to be able to stand independently on my shelf. I also saw that most of those that already existed featured hooks for necklaces, but most of my jewelry collection is made up of rings and earrings.
With these constraints in mind, I set to drawing some initial (messy) design sketches.
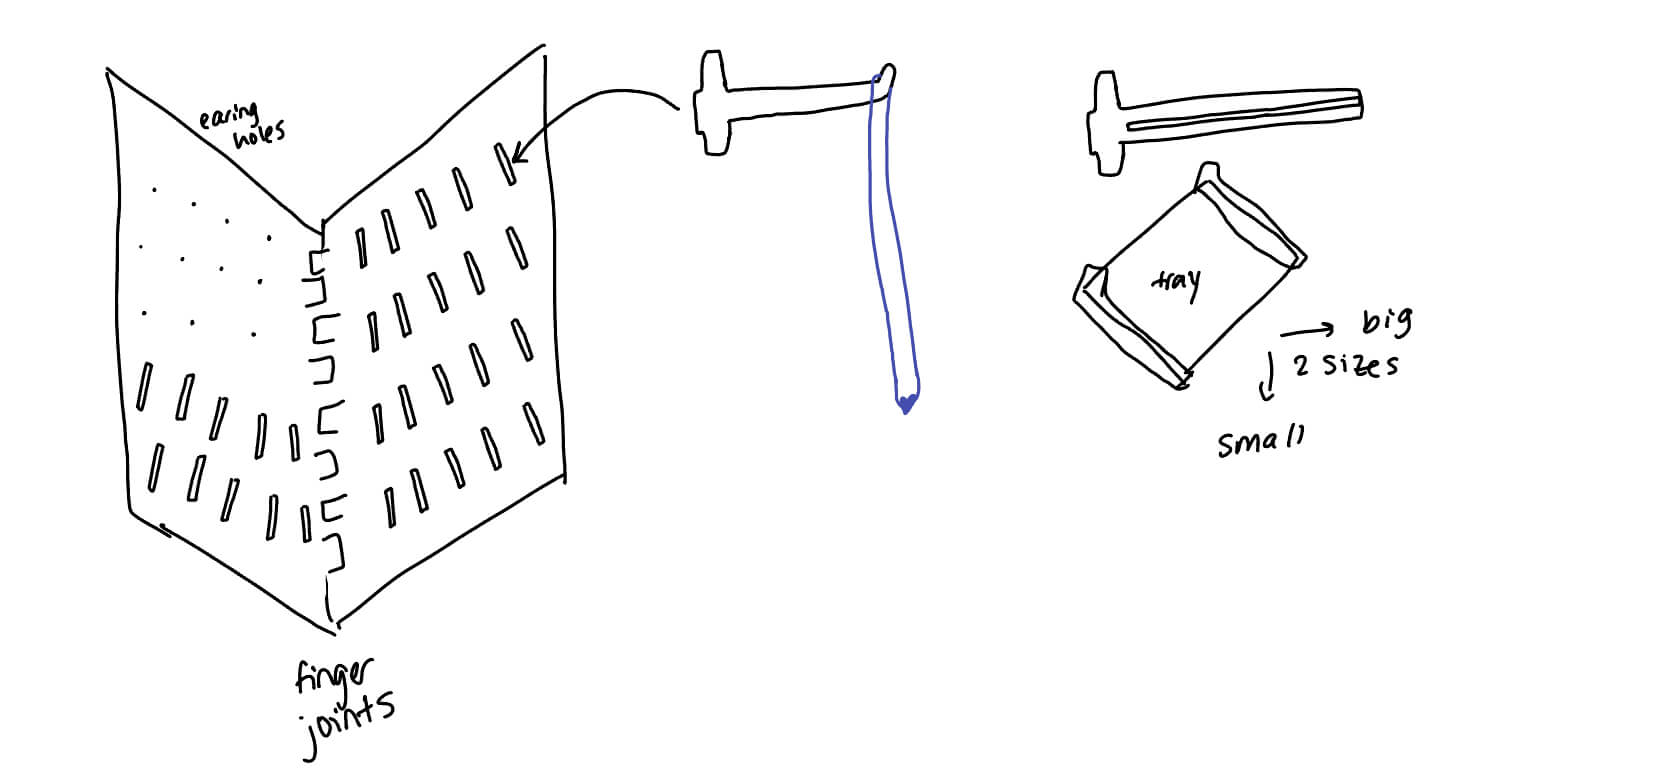
This idea was followed by an exploration of Fusion360. I had used Rhino before, but Fusion360 was new to me, and I was excited to use the parametric features. To keep track of all my parameters and variables, I sketched the faces making up my jewelry holder, labeled each dimension, and did a few simple calculations to fully define my constraints.


I also made sure to find the kerf by laser cutting a 1x1in square and using calipers to measure it after.

After this, I was ready to use fusion. I struggled with component/body/sketch organization, leading my parts list to look like this at the end:

However, what I really did enjoy using was the parameters list. I loved how editable it was, and how satisfying it was to see the model adjust, sometimes significantly, with the press of just a few buttons.

Here is the design I ended up with:
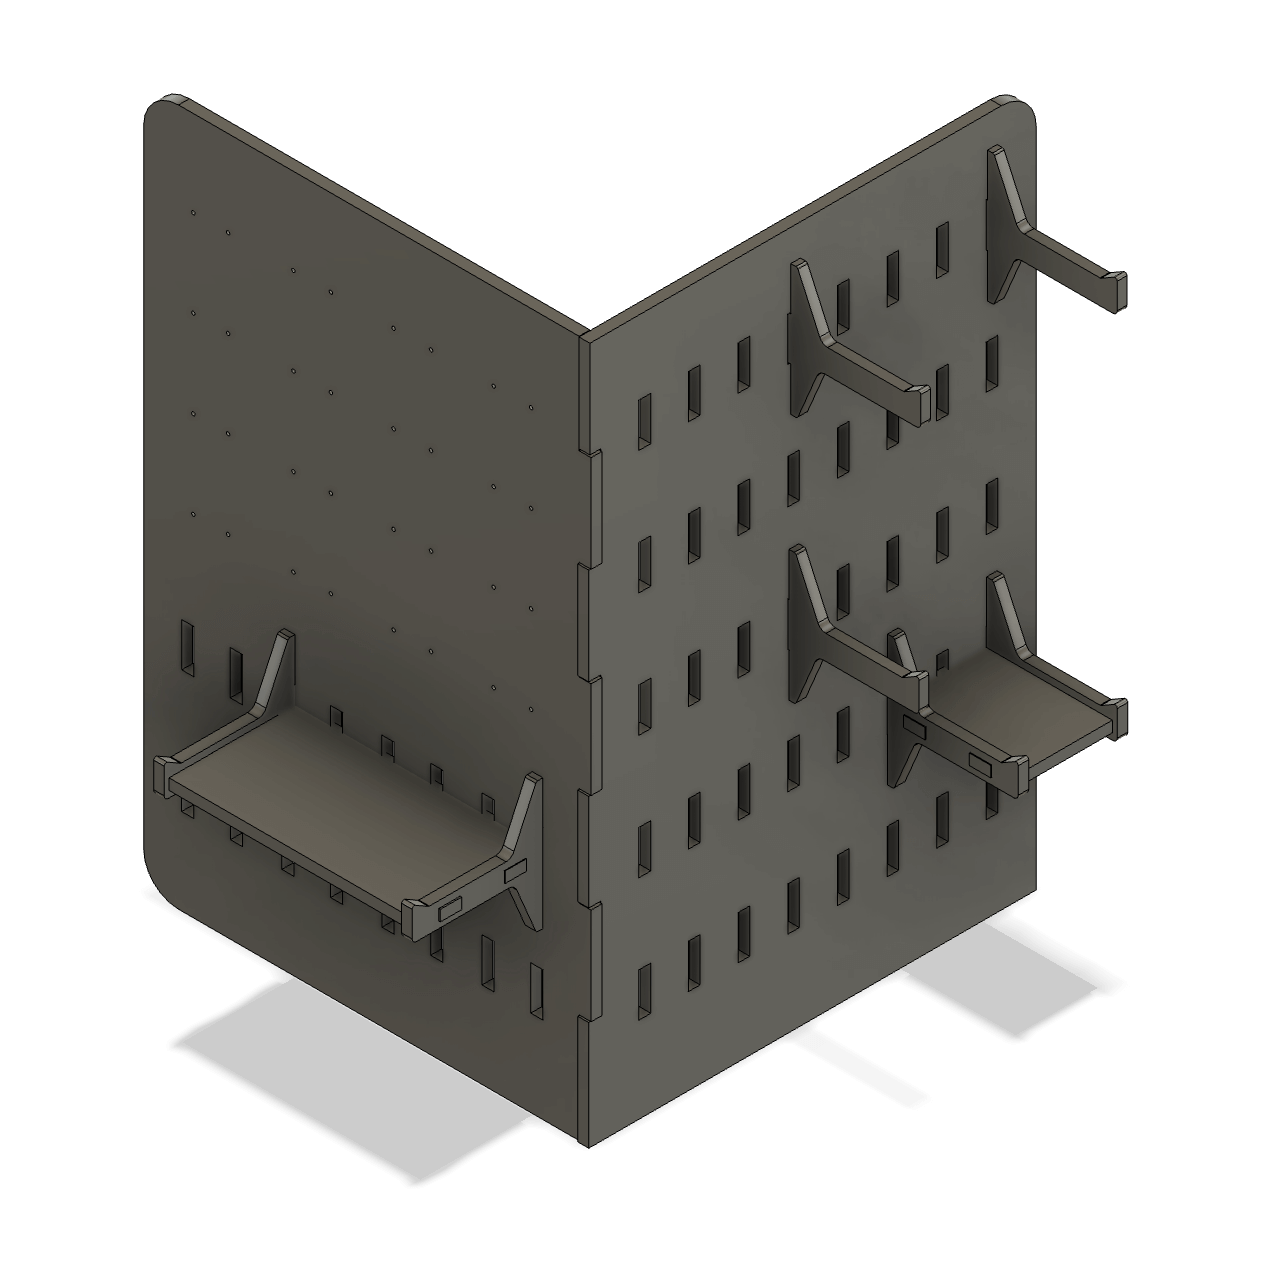
In the architecture shop, we were told that the laser cutters only took Rhino files. To be honest, I could not figure out how turn my 3D sketch on Fusion to 2D curves on rhino, and I think that was mainly because my sketches were not organized neatly on Fusion. So, I manually drew them on rhino instead. It actually didn't take me too long, and actually felt like somewhat of a relief, because I am much more familiar with Rhino than I am with Fusion.
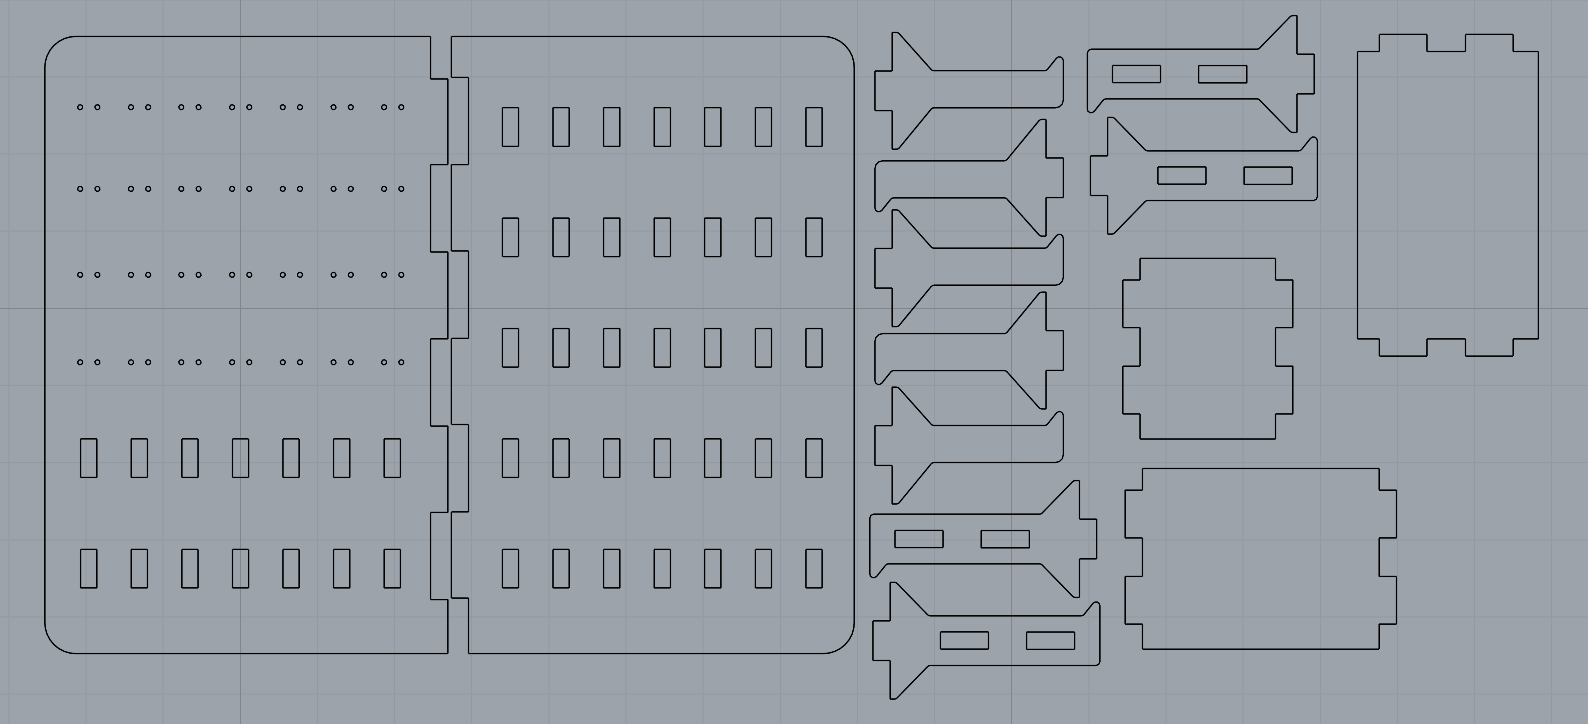
I ran a few tests to make sure all the pieces fit sungly with one another. It took a few alterations of accountability for the kerf, but in the end I was satisfied with how they turned out.


Group assignment: Do your lab's safety training, and characterize your lasercutter's focus, power, speed, rate, kerf, joint clearance and types
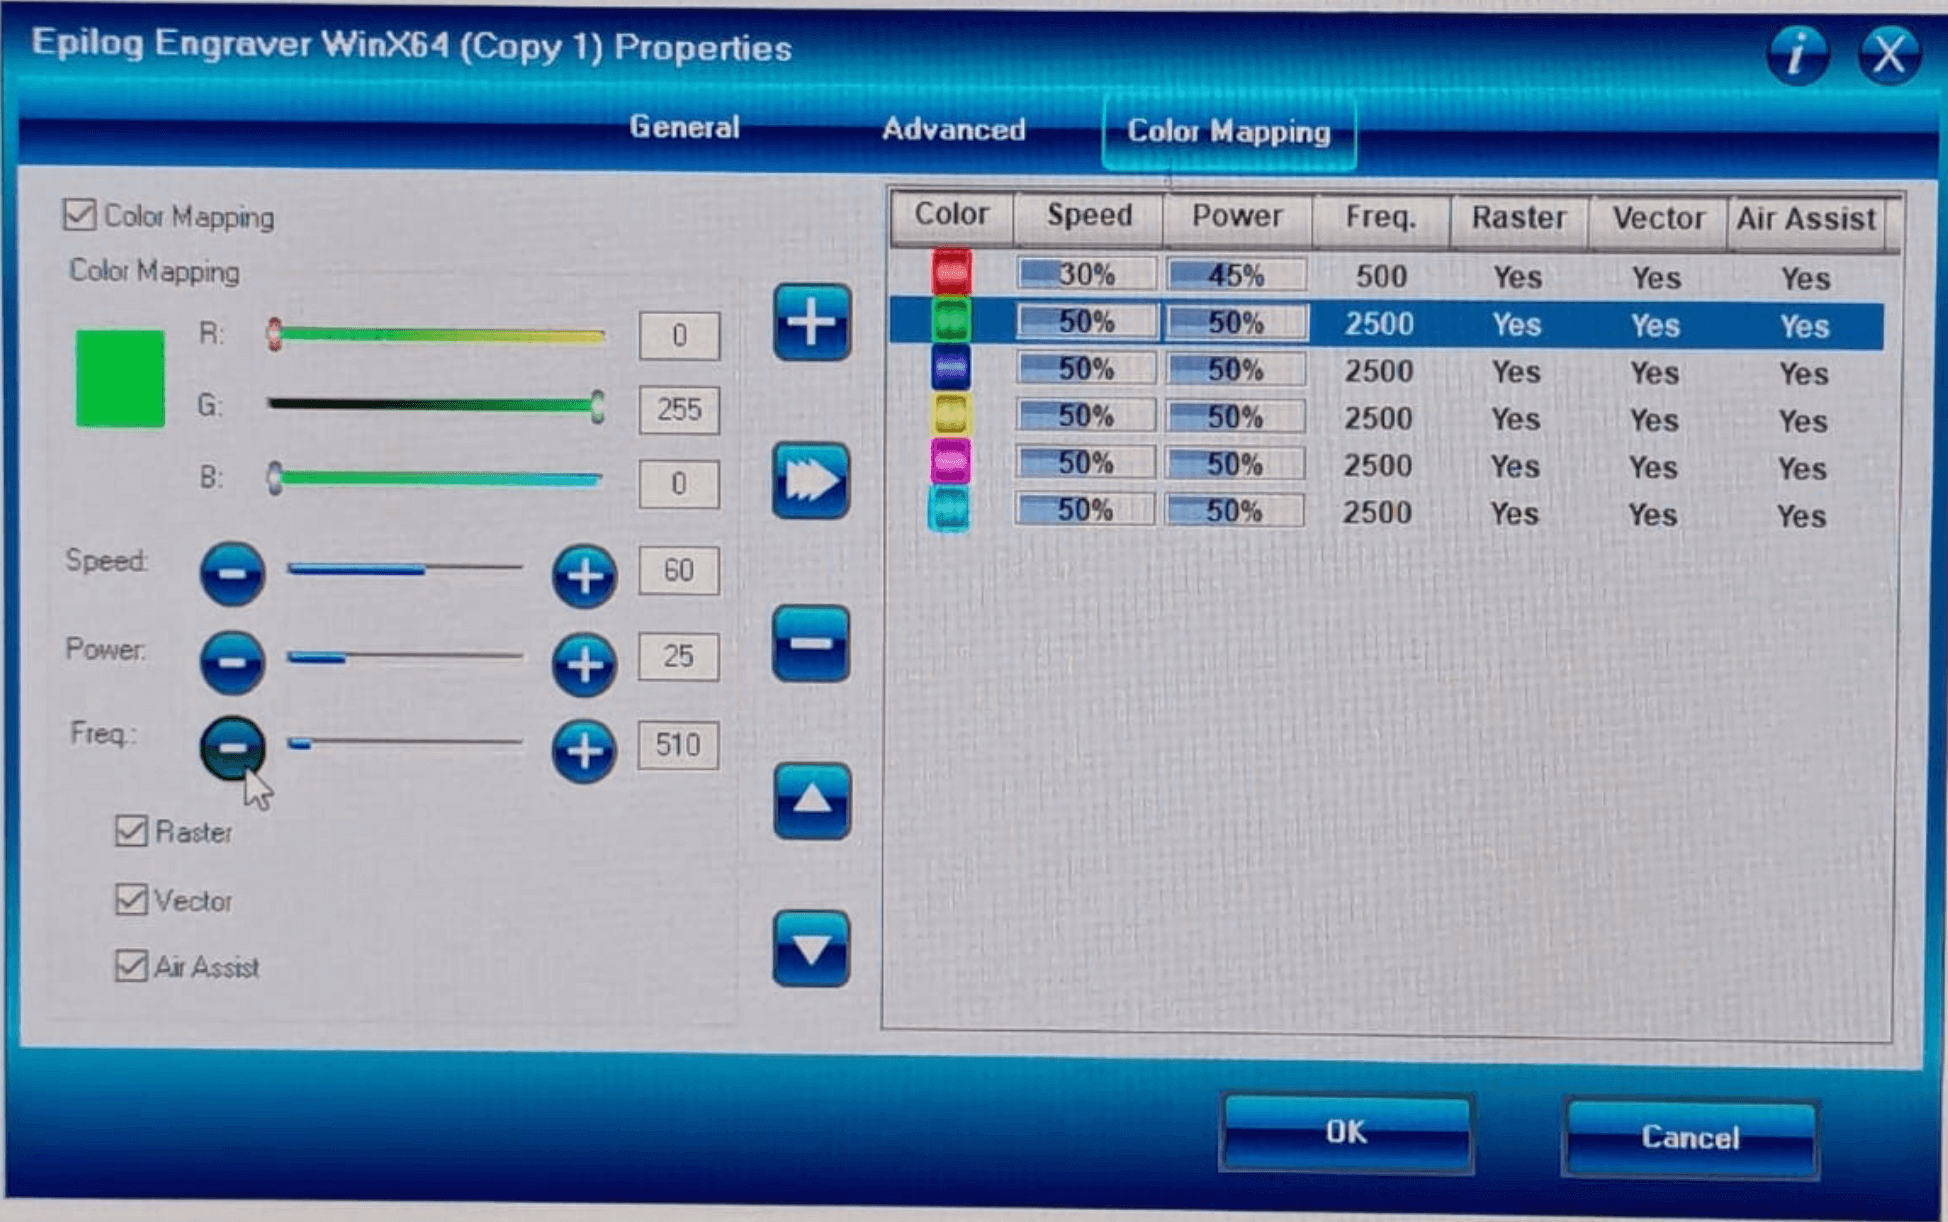
Like I said earlier, I was not there for the group training this week. I had already been trained in the Archshops, so a quick conversation with Jen was enough to update me on whether anything had changed. I also had a quick conversation with some folks in my section about what they did this week, and they told me about how they found a kerf of 0.05" and a joint tolerance of 0.0218". Focus was at 2", and I also learned about incrementally adjusting the power setting until we can make a clean cut. These are the settings that worked:
