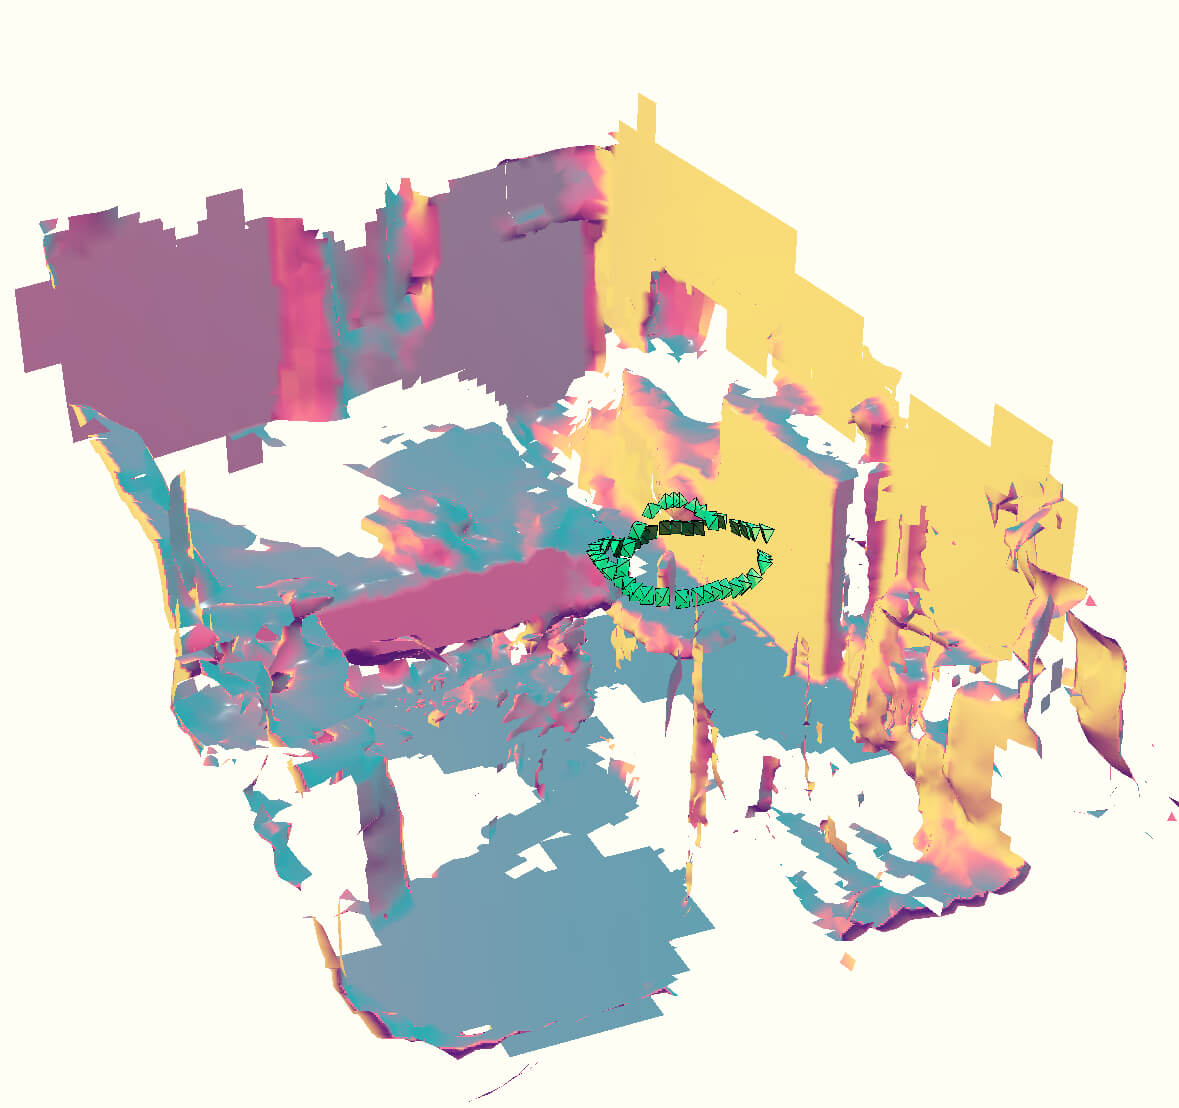
For this assignment, I wanted to first explore how well my phone can 3D scan. I first downloaded Scannability on the App Store. It was horrible. I tried scanning this bouquet of Lego flowers in a vase.
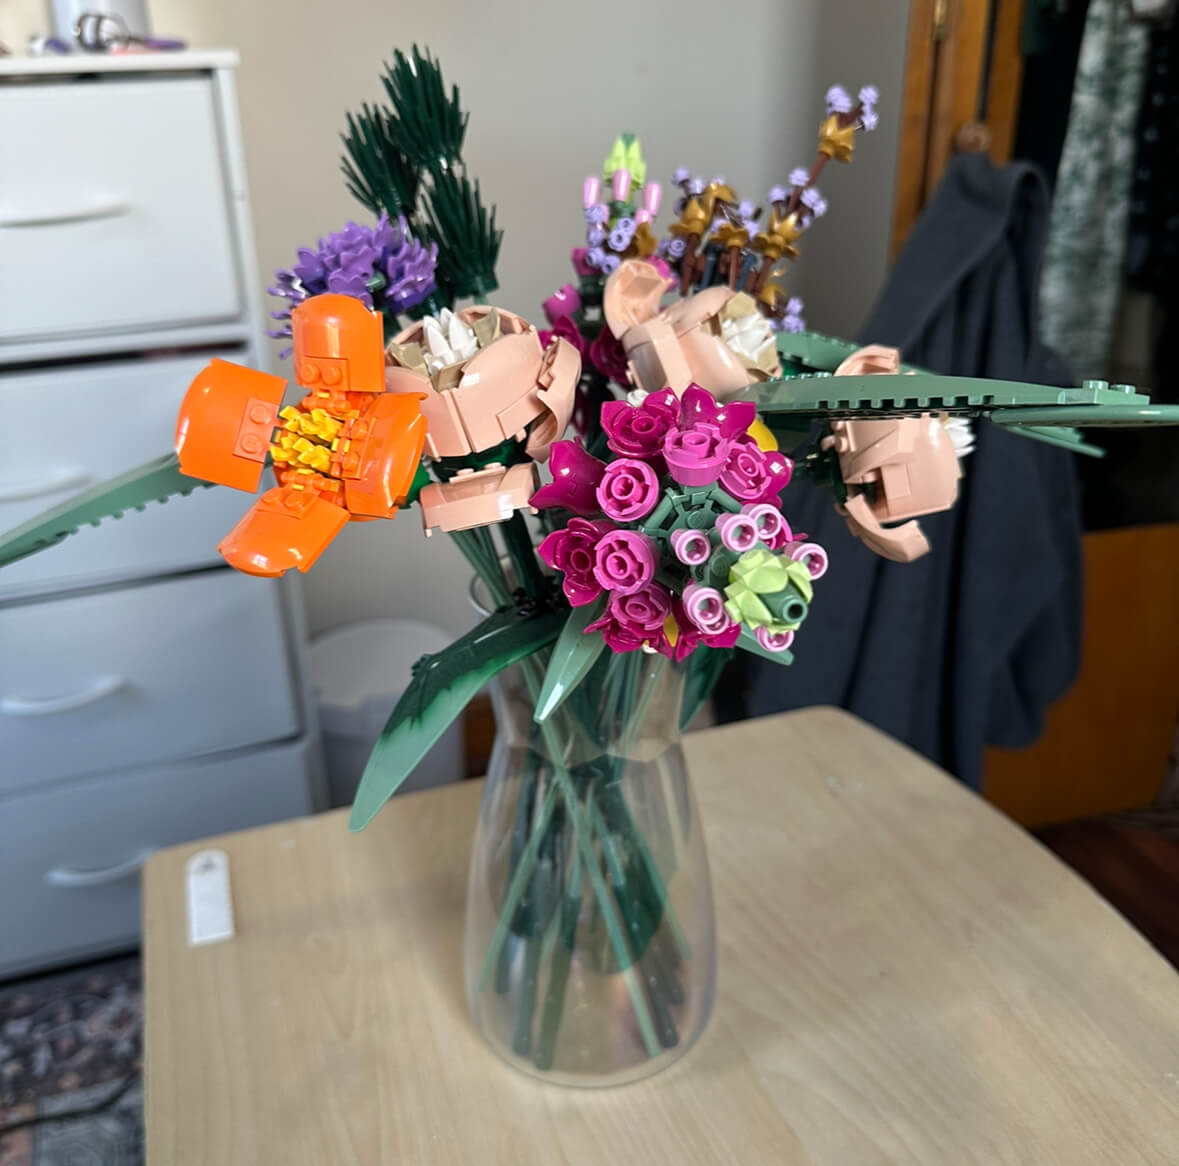
This is how it went:
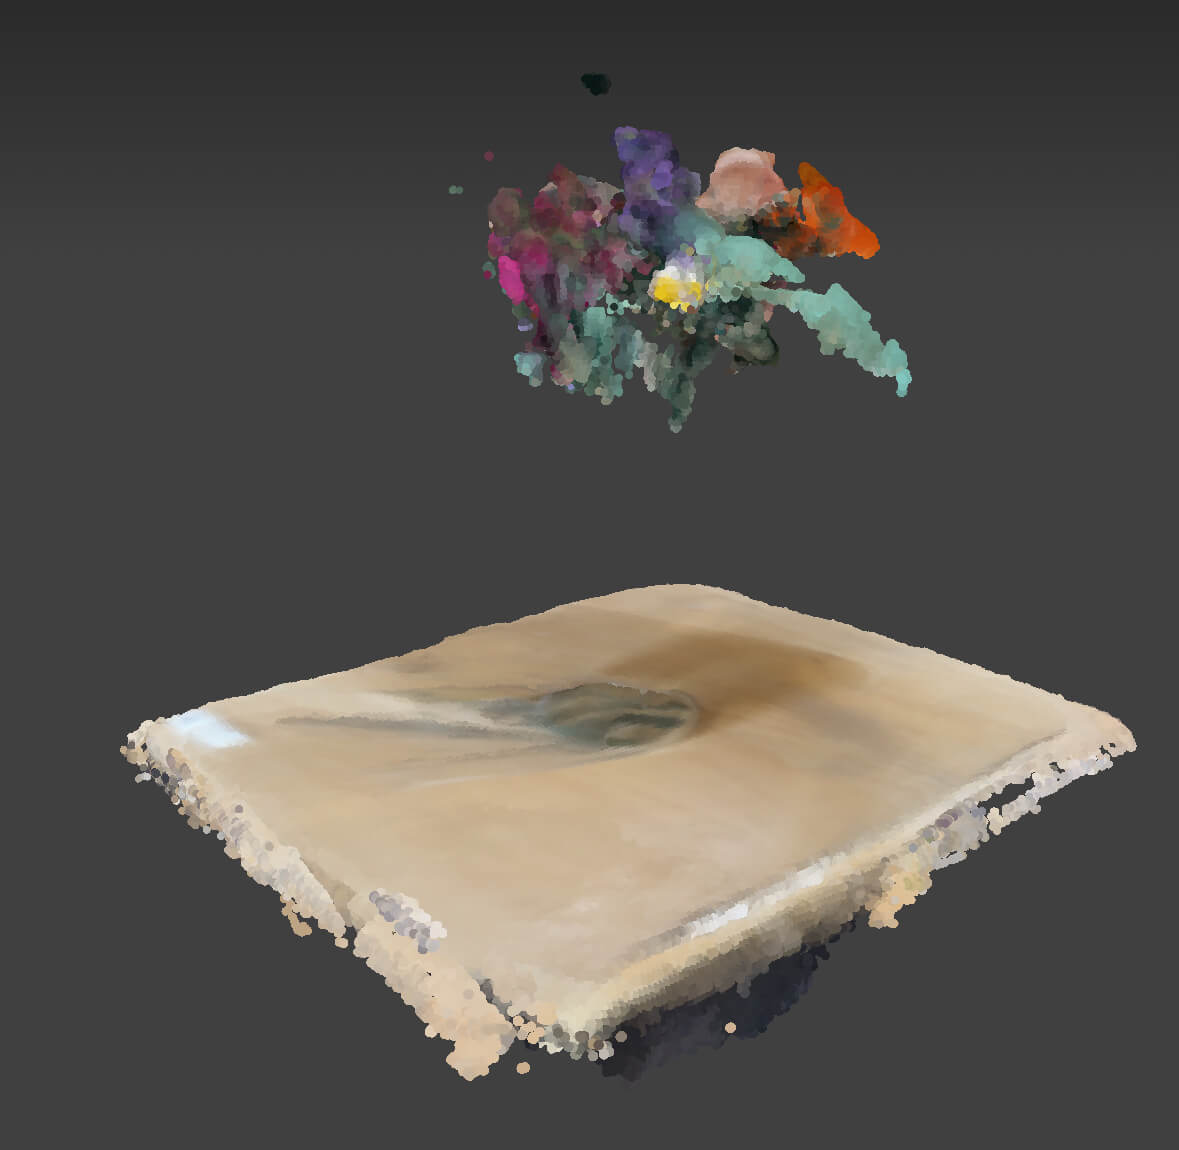
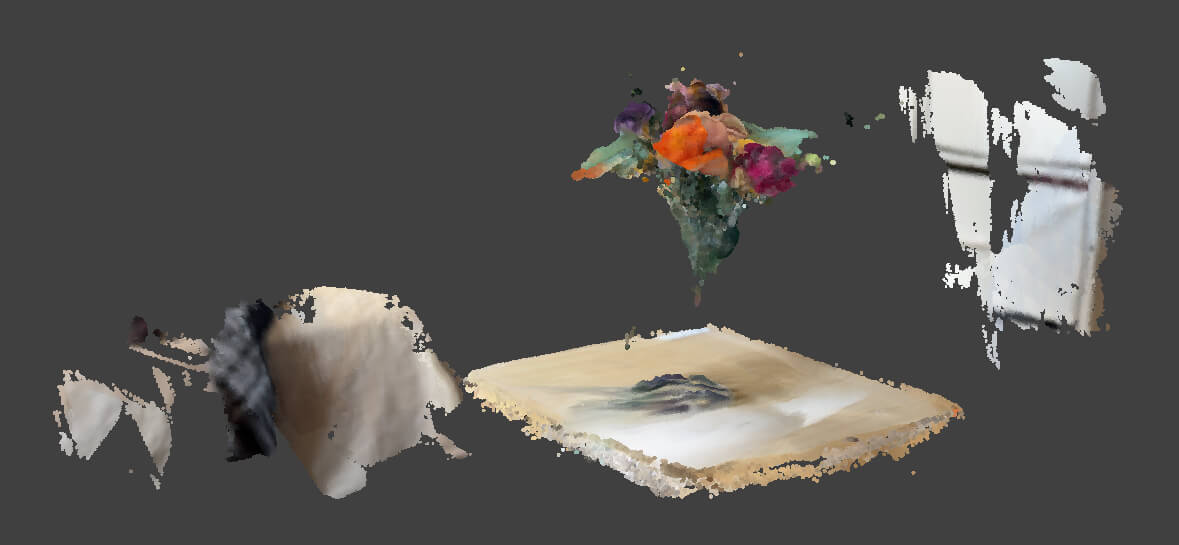
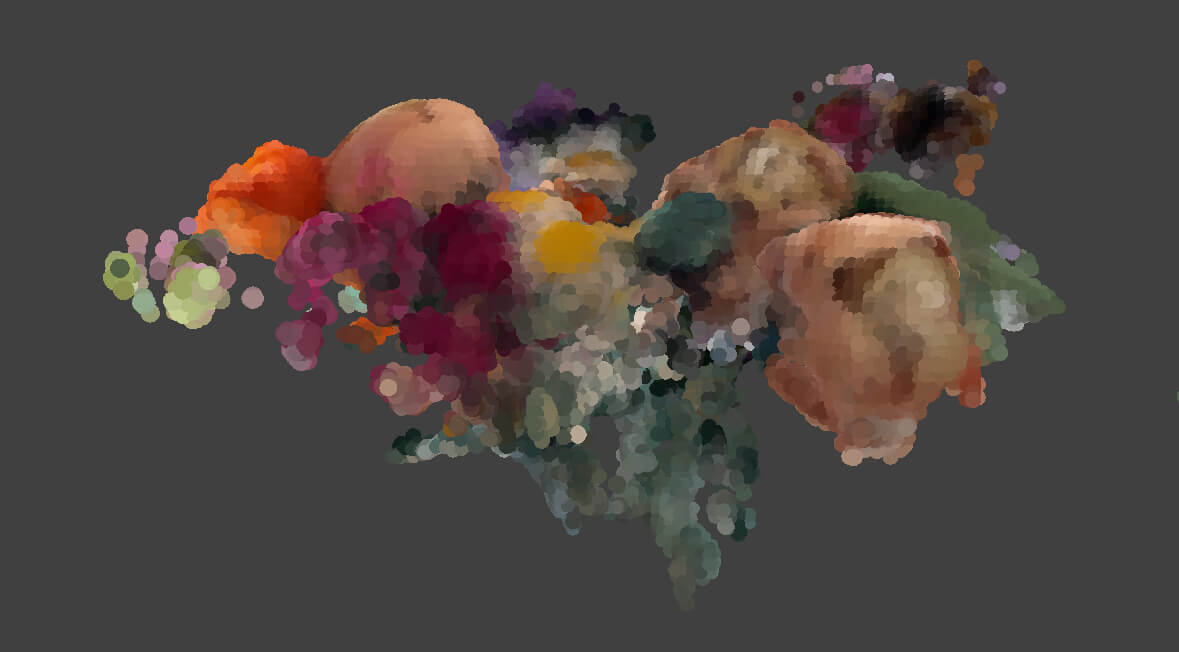
The scan definitely failed, but I still thought the output was pretty cool. It reminds me of abstract art. That is unfortunately not what I was looking for, so I tried again with a different application called Scaniverse. This did not go well either:
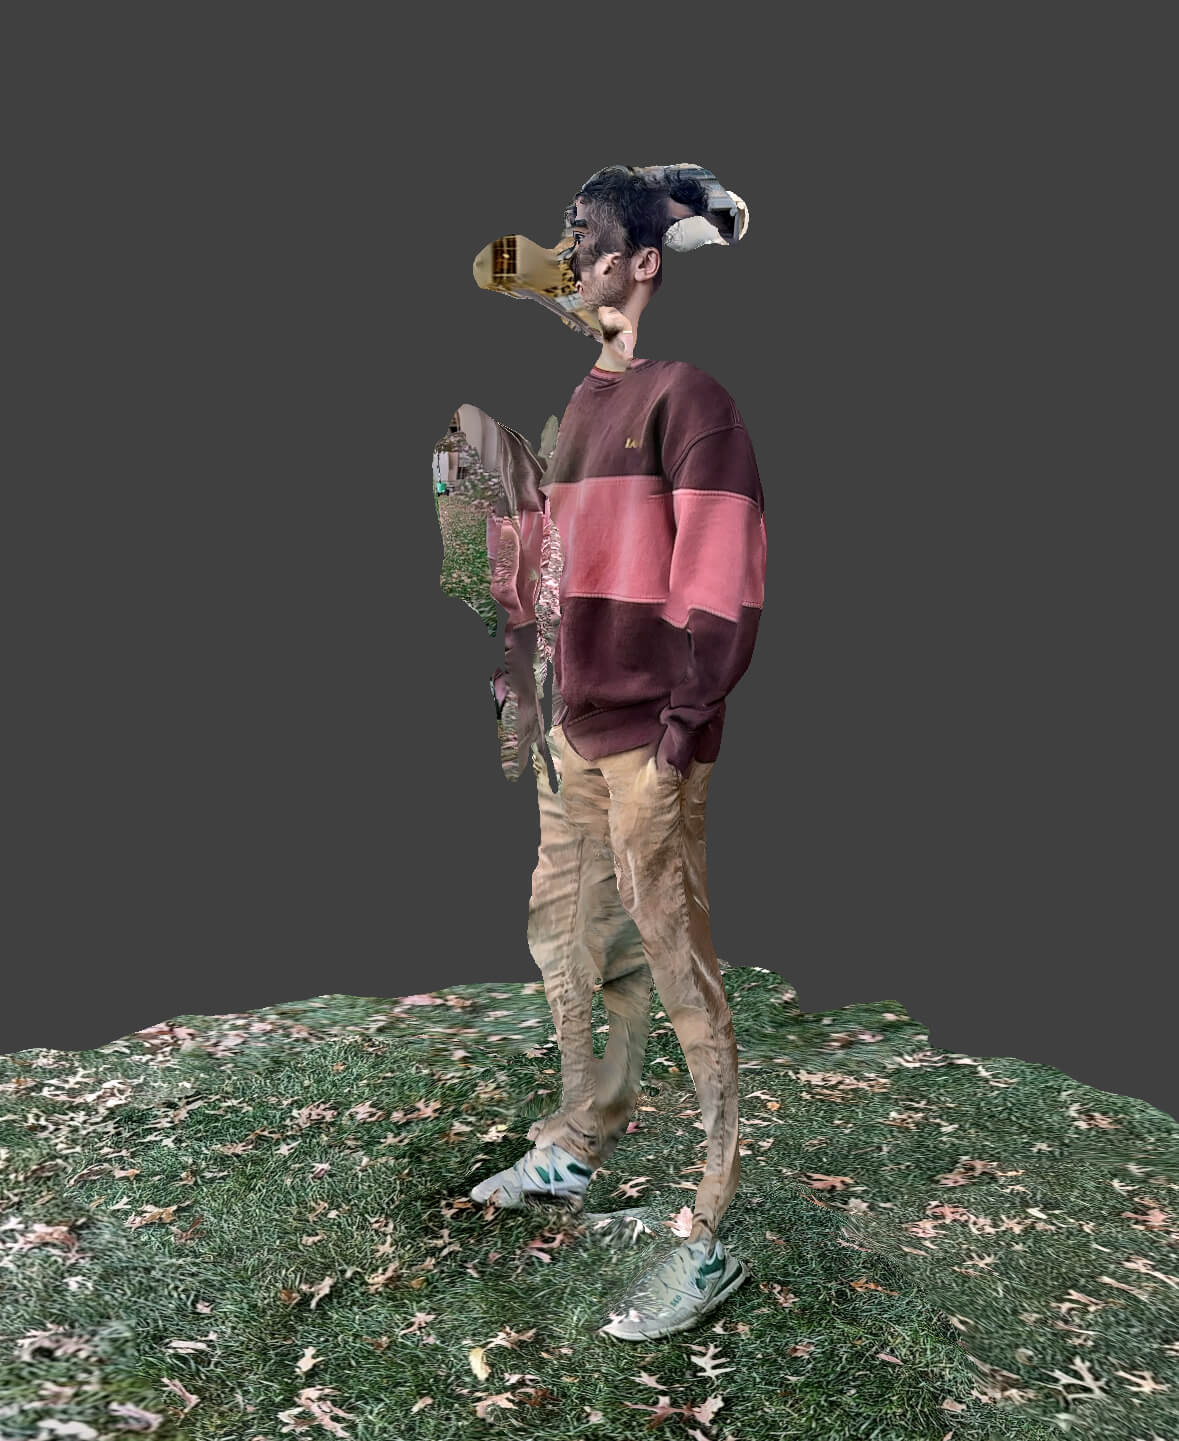
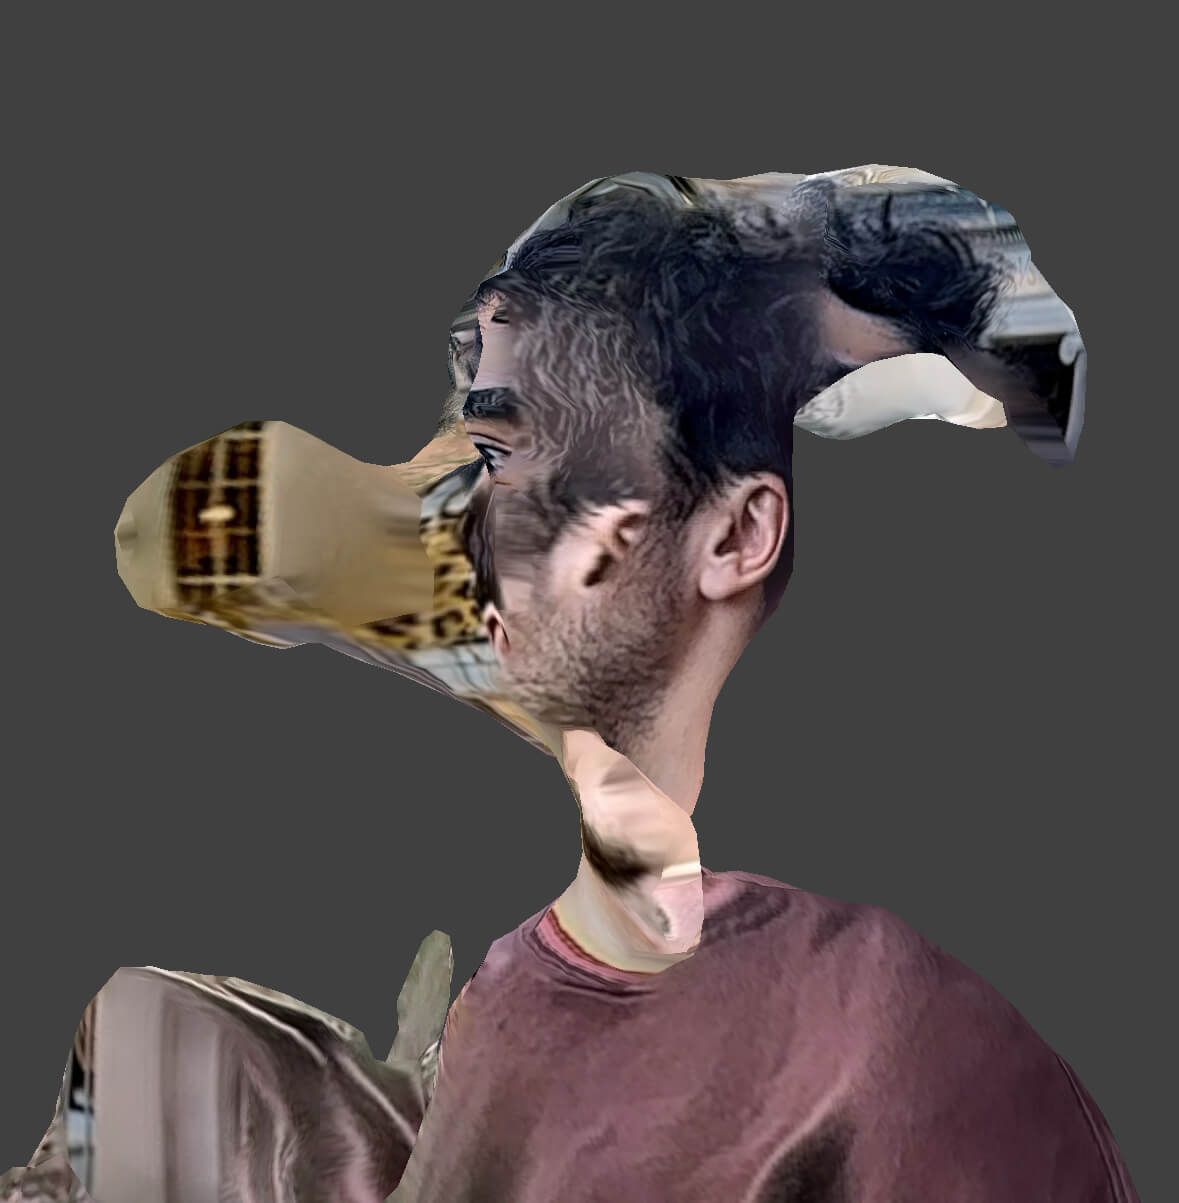
I also tried scanning my boyfriend:
For this assignment, I decided to 3D print a keychain for my friend. She has graduated by now, and is doing
her pHd at Stanford. While at MIT, she was a course 12 (EAPS major), and therefore developed a fond nostalgia
for the Green Building, in which she did most of her classes.
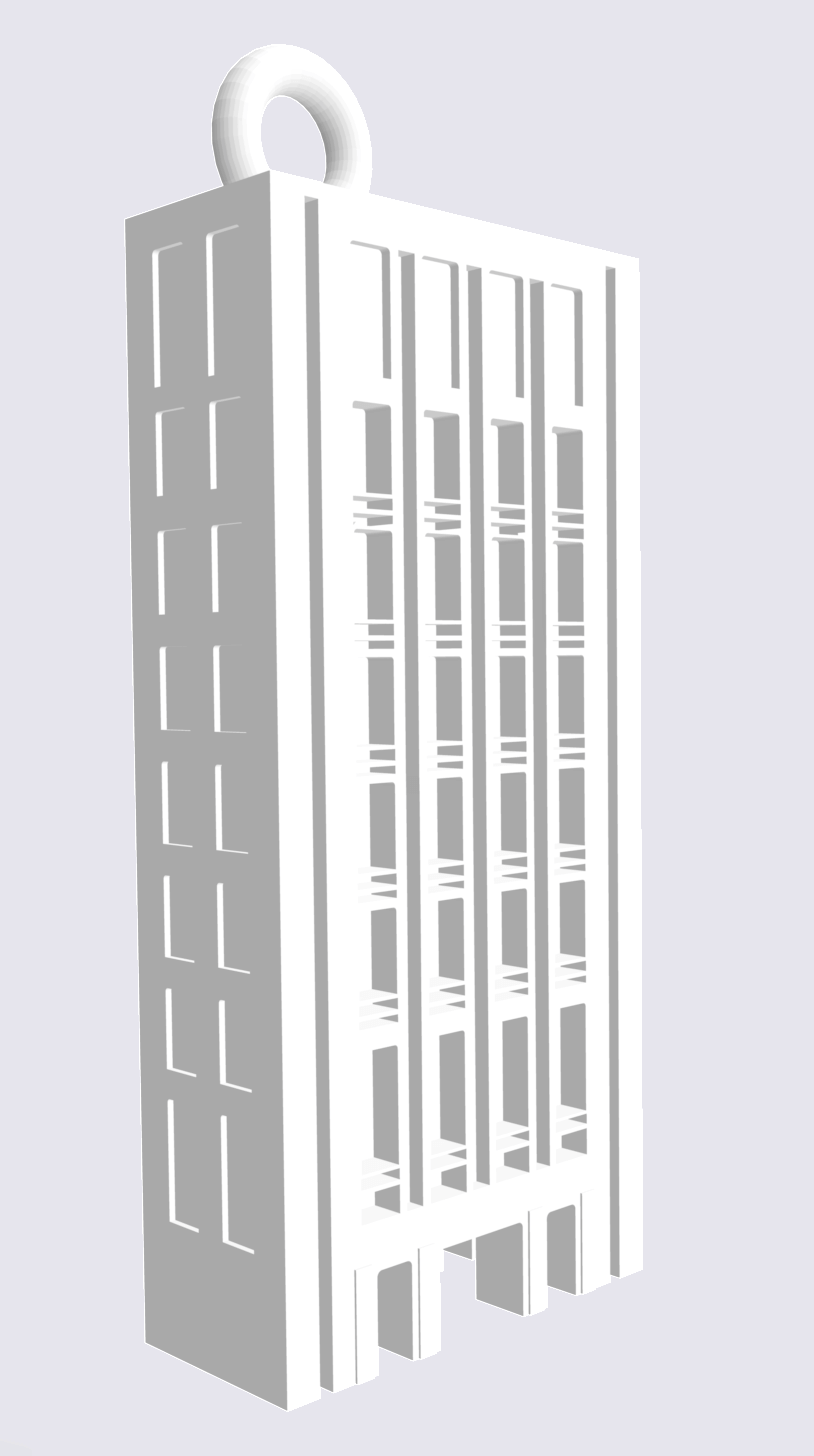
The main reason I chose this idea was because I already possessed this elevation of the Green Building on Rhino
from a prior class I've taken (4.022):
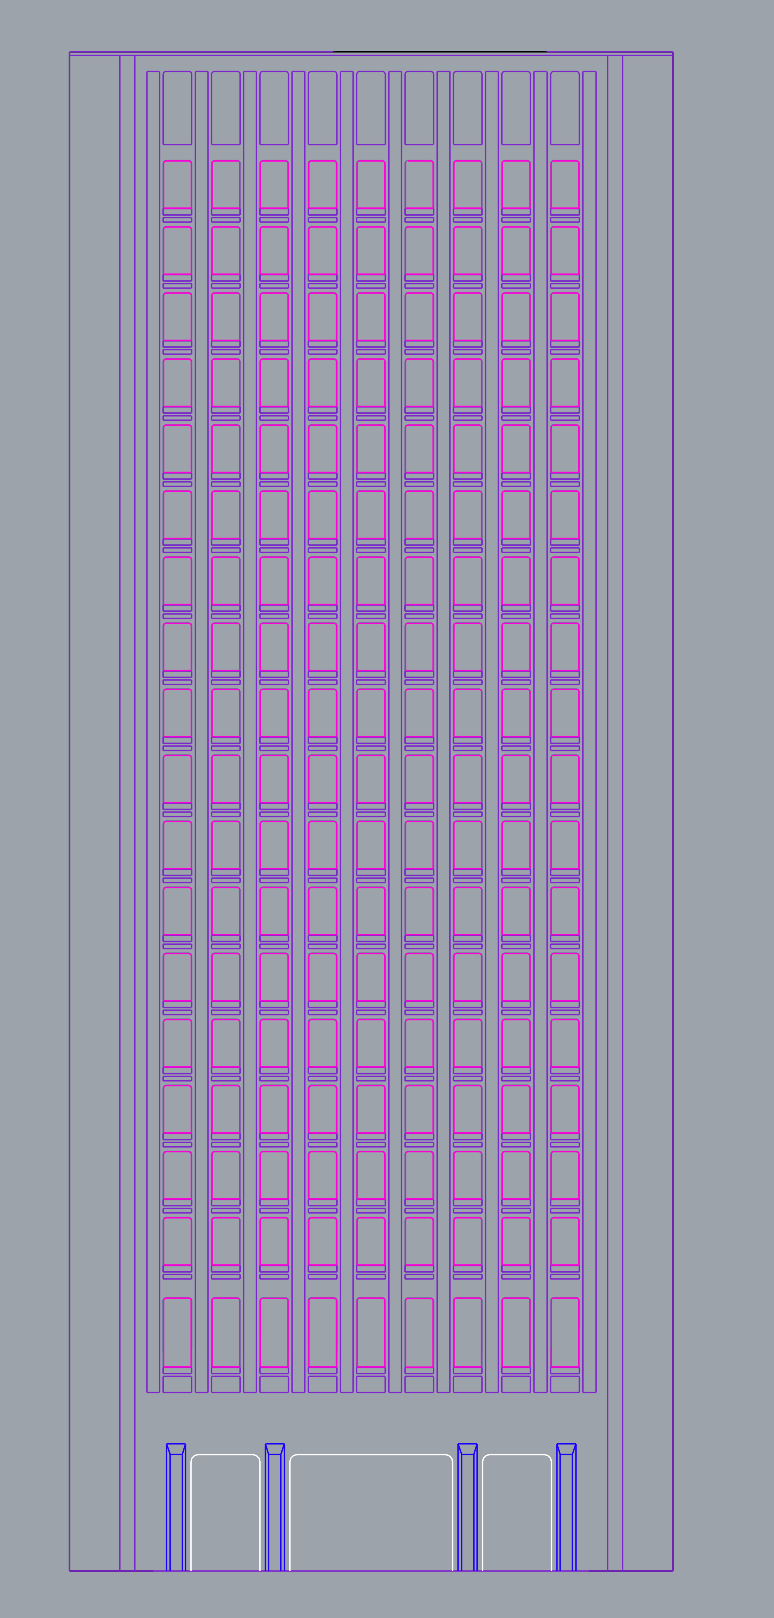
This elevation is 3350.394 inches (85.1 meters) long. That's the real size of the actual building! To scale it down tremendously, many details had to be sacrificed. For example, I decreased the number of windows and columns.
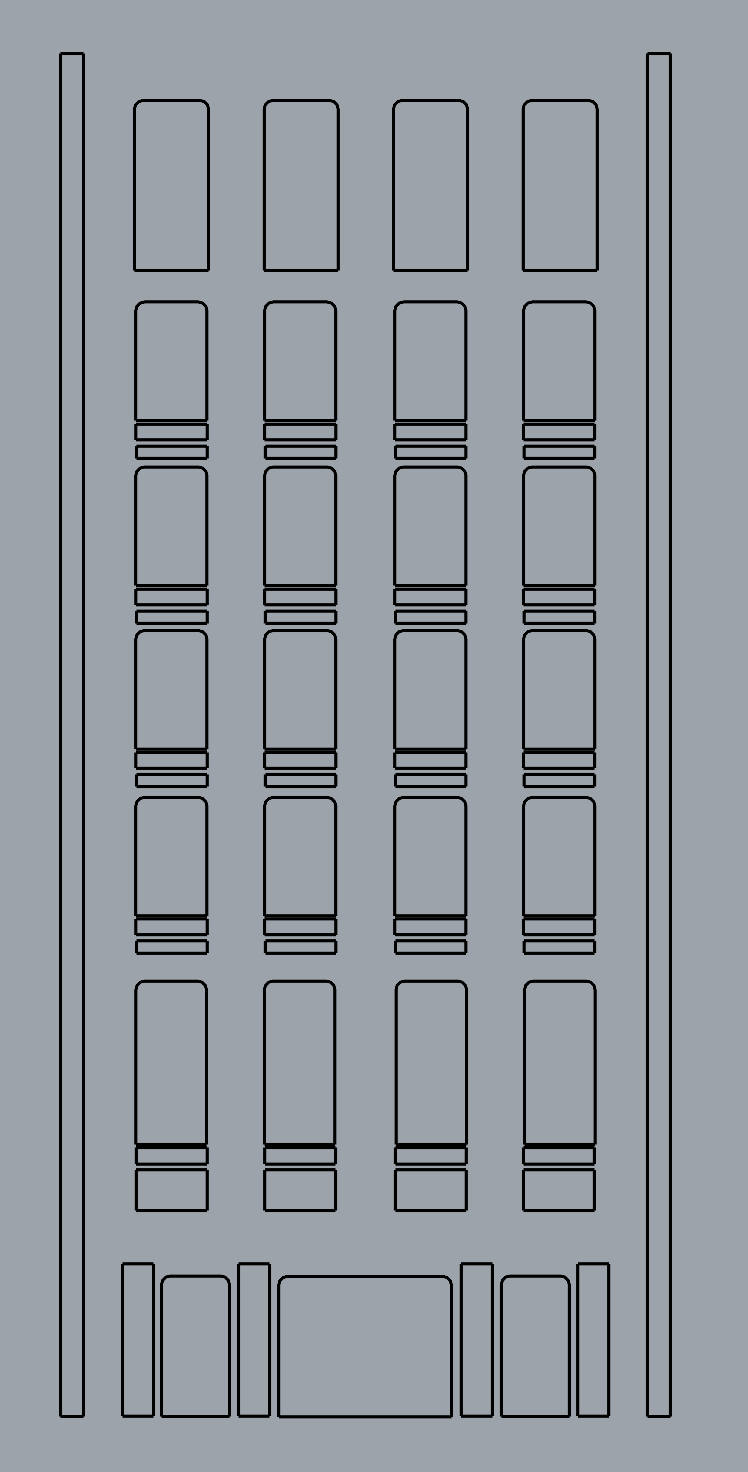
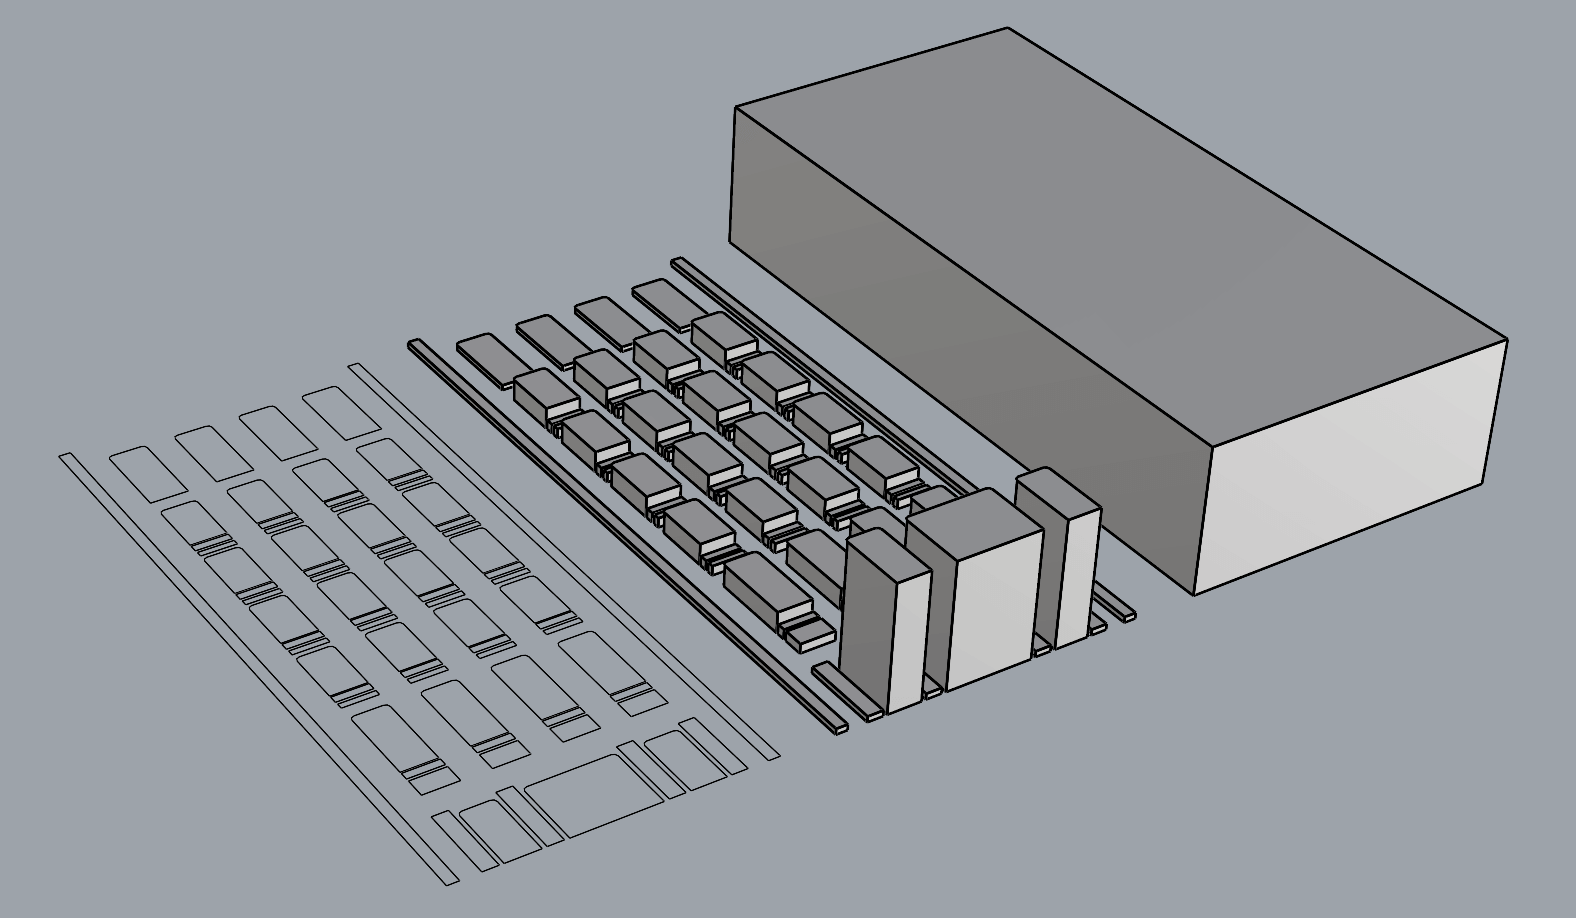
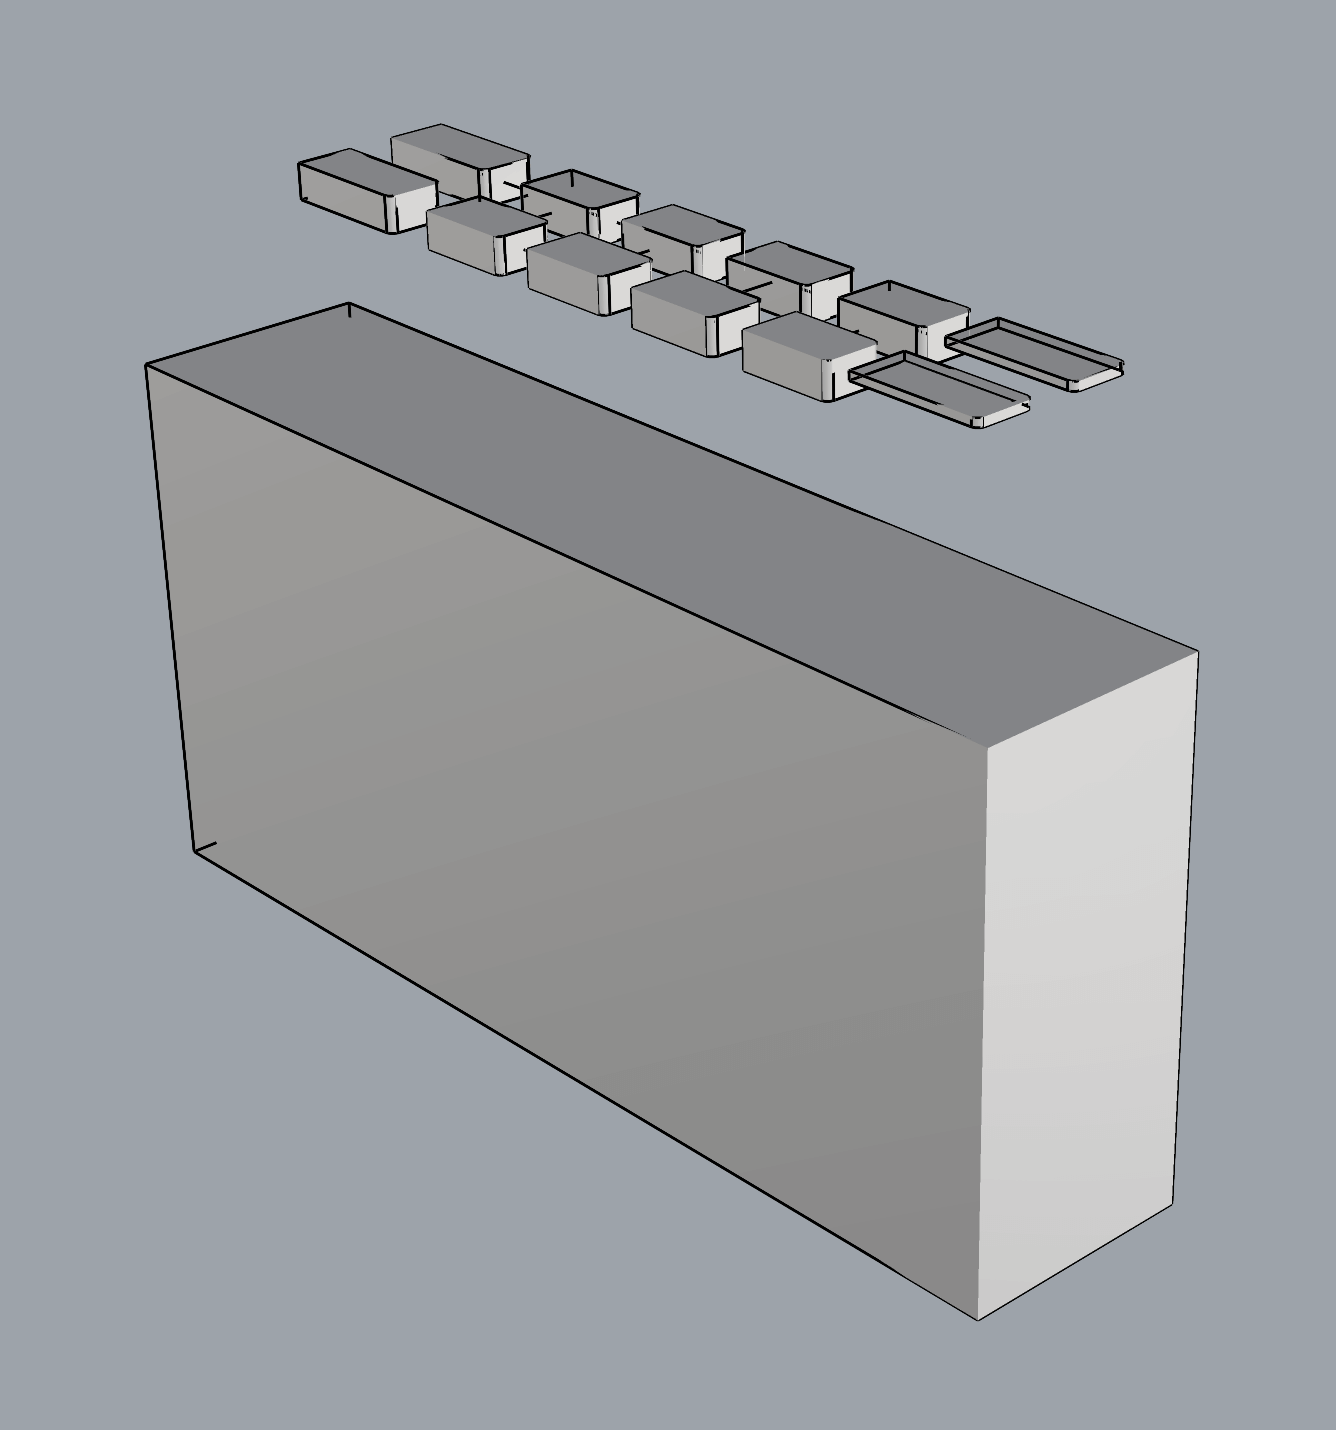
Then, I extruded the different elements by their approximate amounts (the windows go deeper than the slits under the windows, which go deeper than the columns), and then boolean difference-d those bodies from a box with the dimensions I wanted (but I actually had to scale it down again after). For the first side, I did something very simmilar except only with the shallow "windows". For the other side, i wanted to add a personal touch, so I found a font I liked (Apple Chancery) and used Rhino's text to curve function. I then extruded that too and repeated the previous steps.
After that, I still needed something to attach the keychain to, so I made a torus and put it at the top, letting it loosely resemble the white sphere on top of the Green Building.
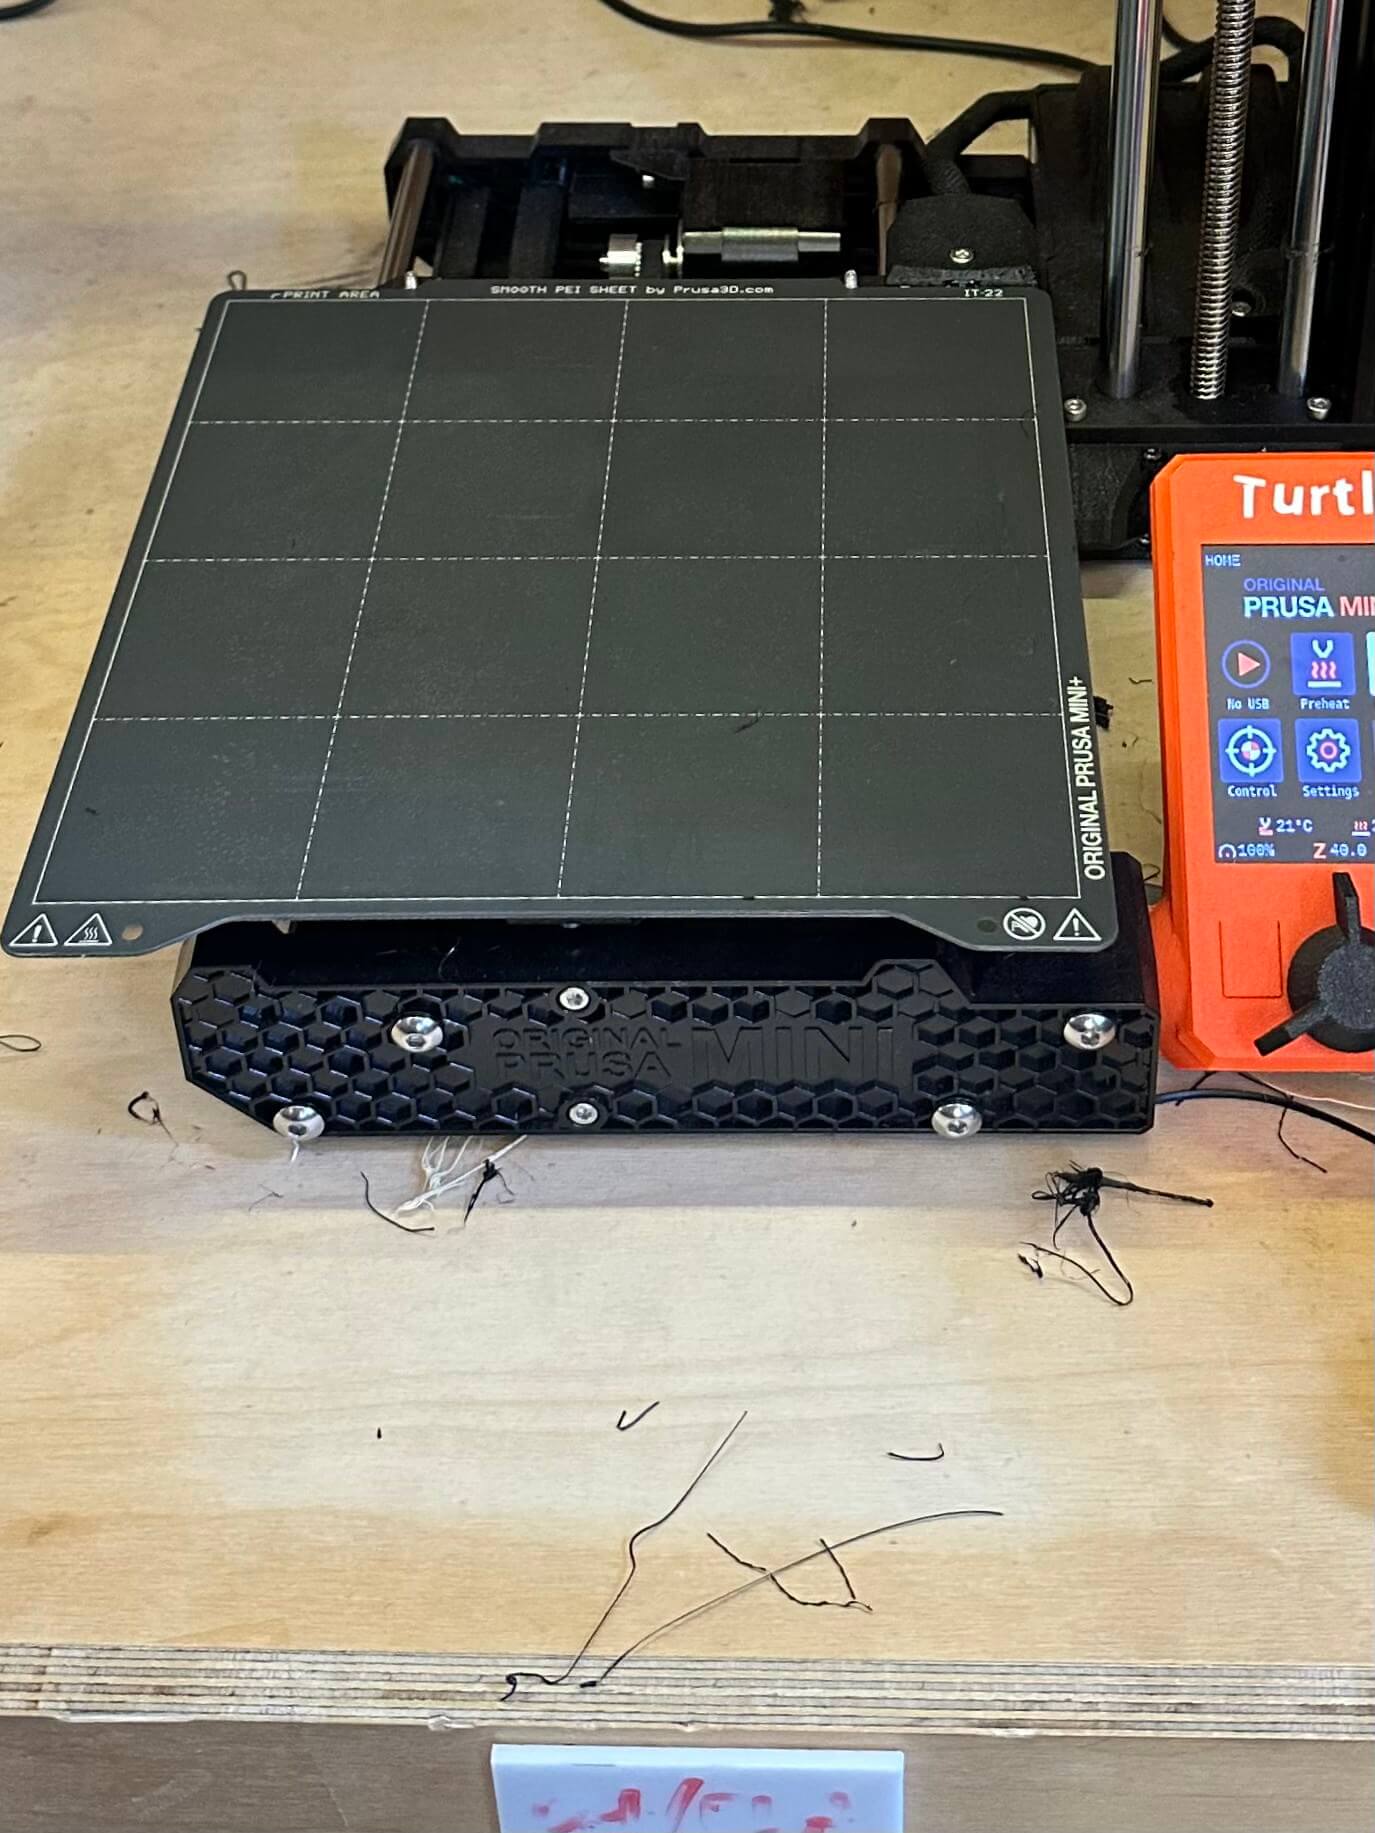
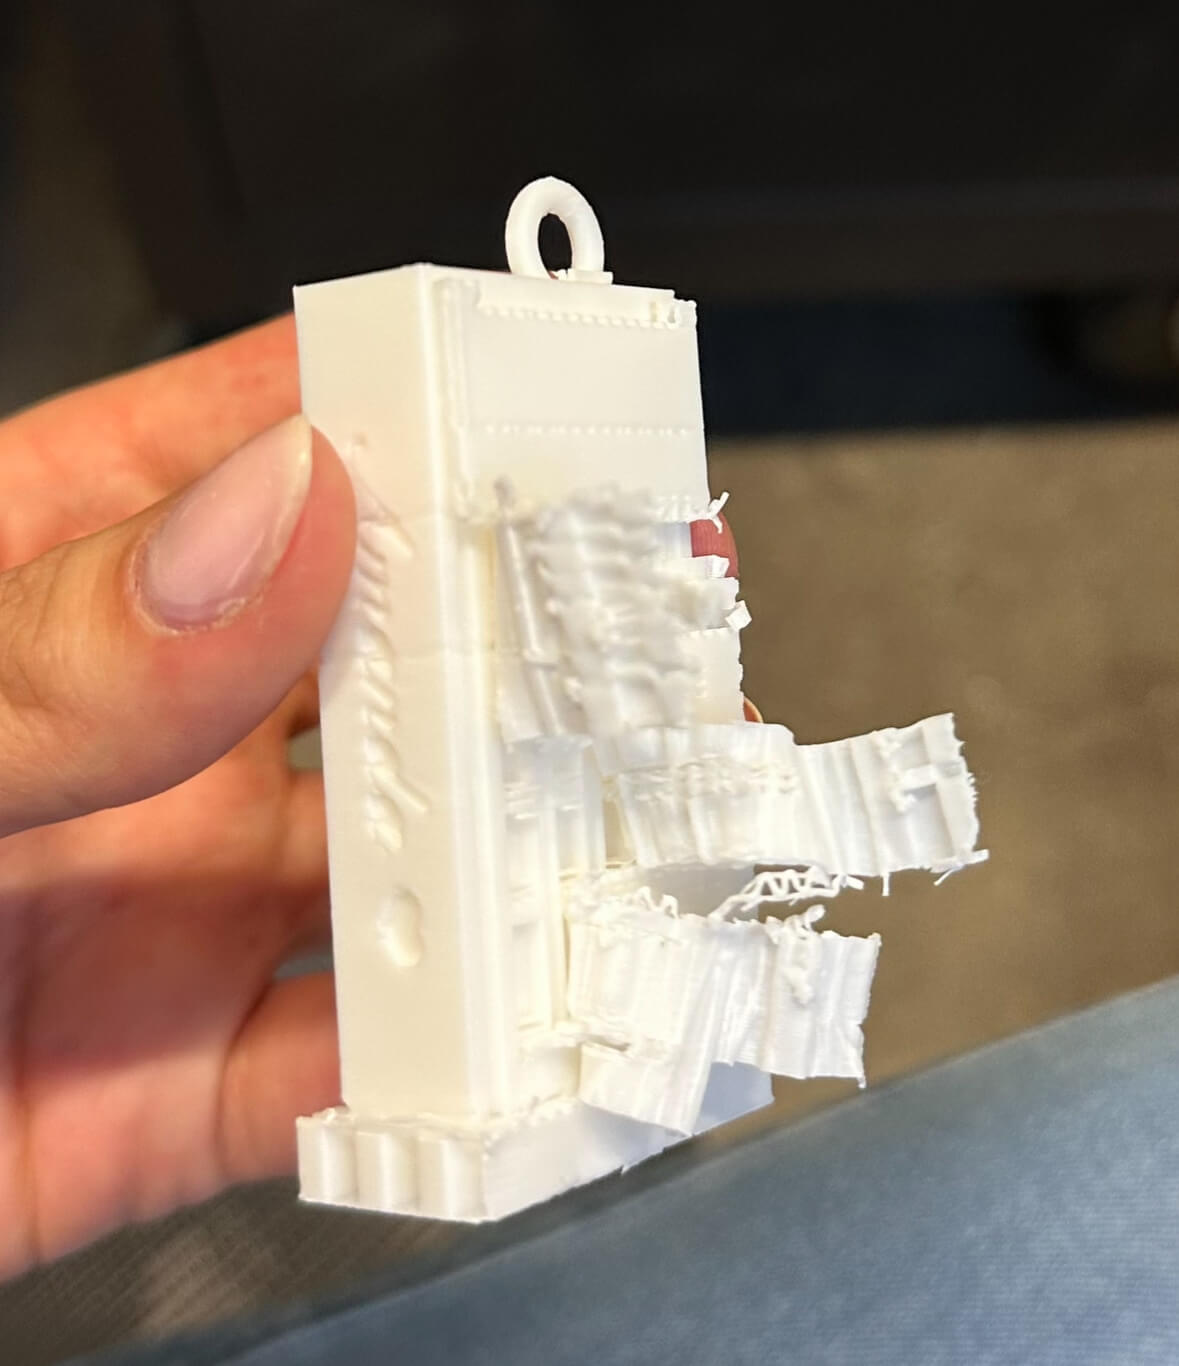
I went to print it using the Bambu printer at the architecture shop, but they were all being used :( so I printed it on a Prusa Mini in the Morningside Academy of Design shop in N52. The next morning, I went in to pick it up, and it was missing. This is what I saw:
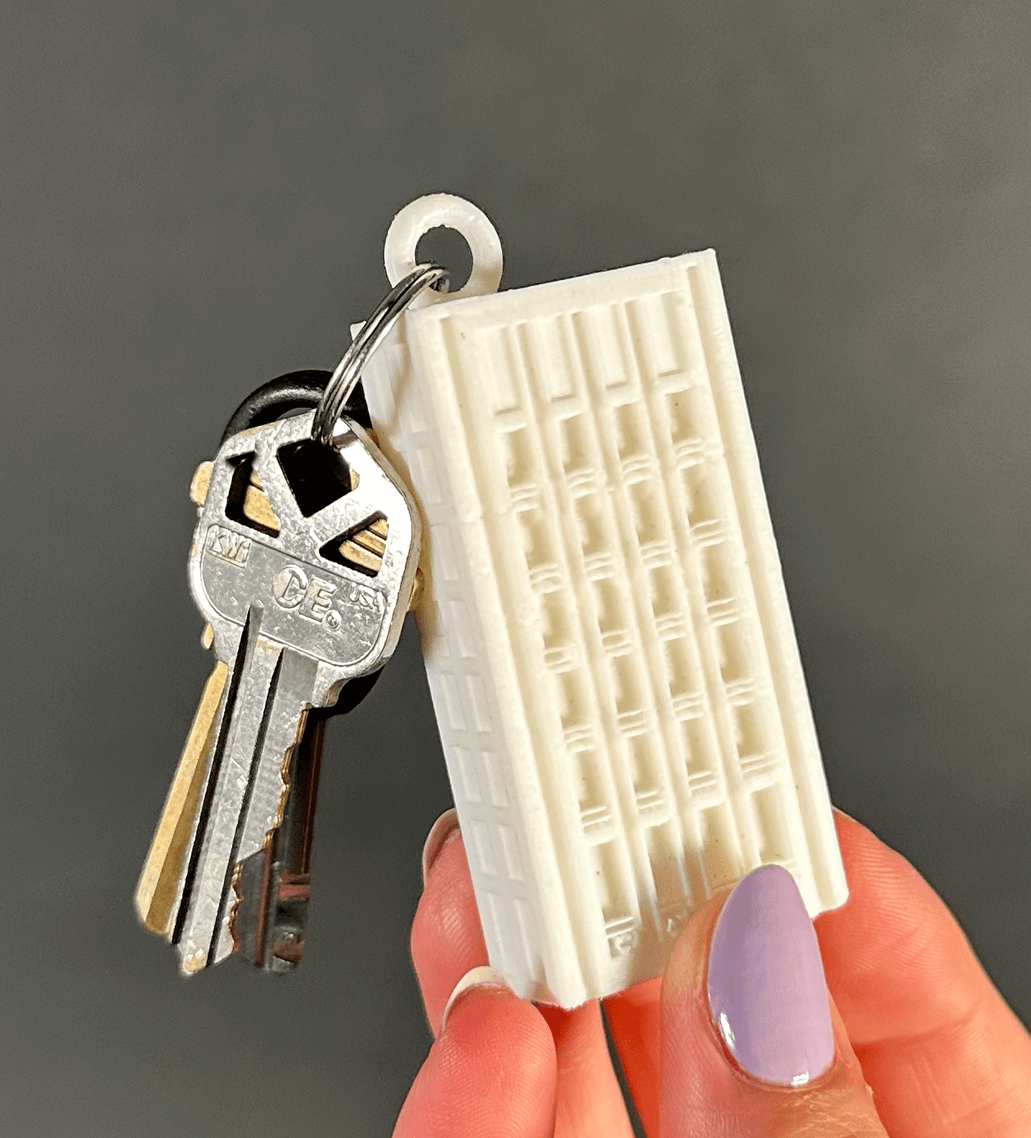
The "spaghetti" strands at the bottom told me that the print had failed and was removed. I re-printed it on a bambu printer, and it worked! It truly did everthing for me. I found removing the supports to be quite tedious, though. I'm not sure if that's usually the case with supports.
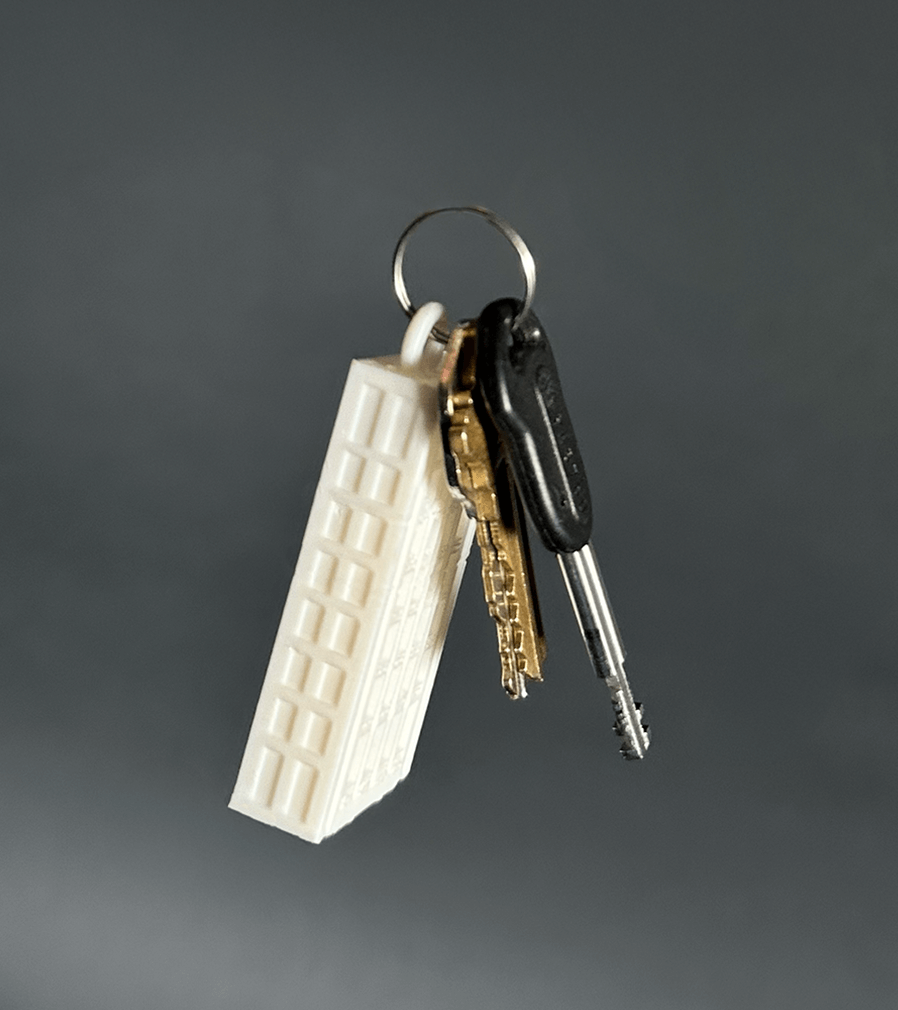
I sanded some of the sides down, and put it on my keychain for a few photos!
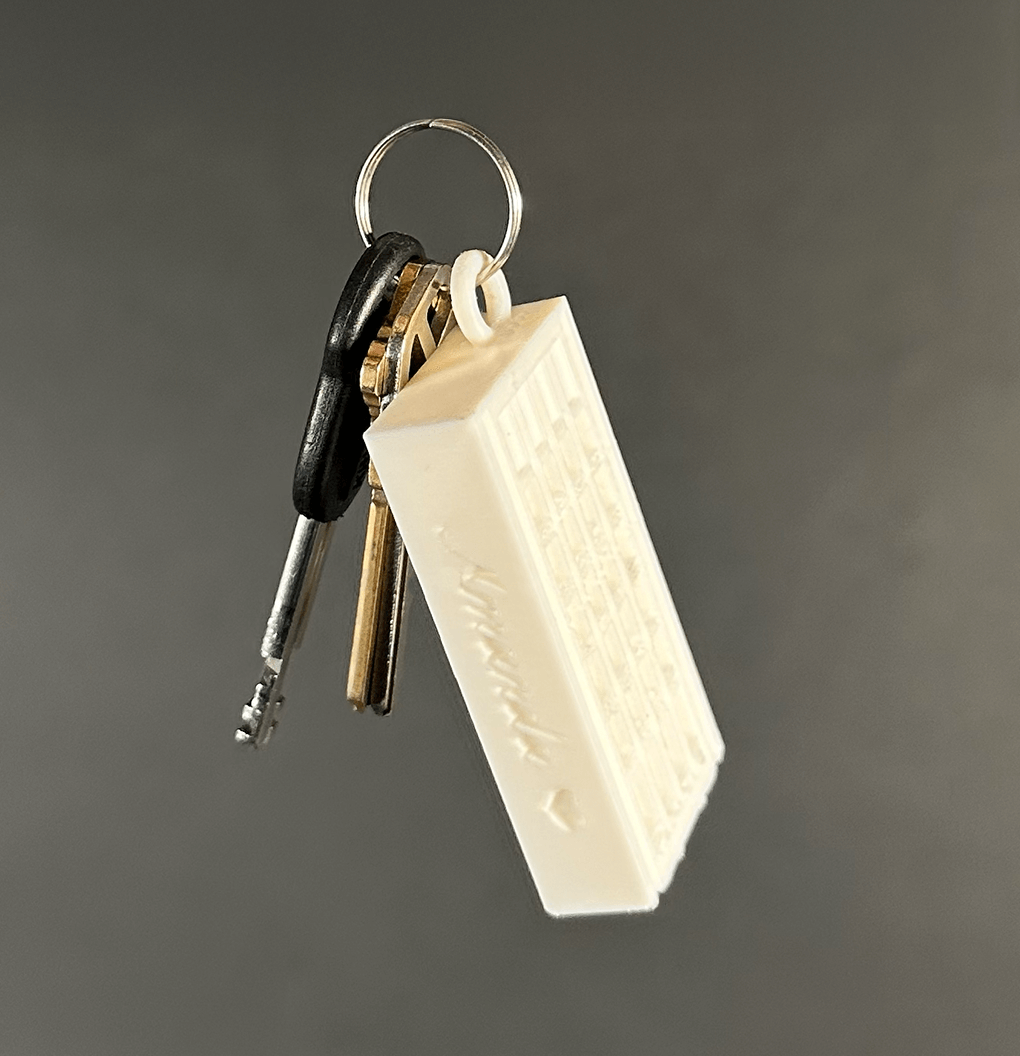
Stay tuned for an update when I've shipped it to my friend!
With Diana’s help, we tried scanning Kareem’s hand using the Creality scanner, but the camera app kept glitching for over 30 minutes until it finally worked. Diana also showed us how to use the Bambu printer. We found that the steepest angle you can print without supports is about 65 degrees. The Bambu X1 Carbon is super fast and cuts really accurately, but it has a bit of trouble with thin extruded text. When we compared prints, we noticed the newer Bambu printers (black prints) handle overhangs better than the slower Stratasys (white prints). The Bambu printers also do a lot for you automatically that the Prusa would never be able to do. Overall, we learned a lot about each printer’s strengths and limits.