
We spent a good amount of time on safety instructions and learning the step-by-step process for using the materials we’d need. Diana let us handle the plaster and get a sense of the other materials we’d be working with, which made everything feel a bit more real. She also introduced us to OMOO. It has a 15-minute pot time (the time to work with it) and needs about 75 minutes to cure fully. As we looked at past models, Diana explained the difference between machining and 3D printing our molds. Each 3D print we made would need to be a mold for the mold. This means designing it with a channel for the material to flow through and a way for it to lock into the second mold piece. We also learned to use cardboard on both sides of the mold and a clamp to apply steady pressure. This was especially helpful for making sure the molds stay aligned and get a good seal.
These are the notes I took:



For this week, I am trying to make something that I can use in my final project. I decided to cast the vending machine
buttons!
I want four buttons, one for each number from 1 to 4.

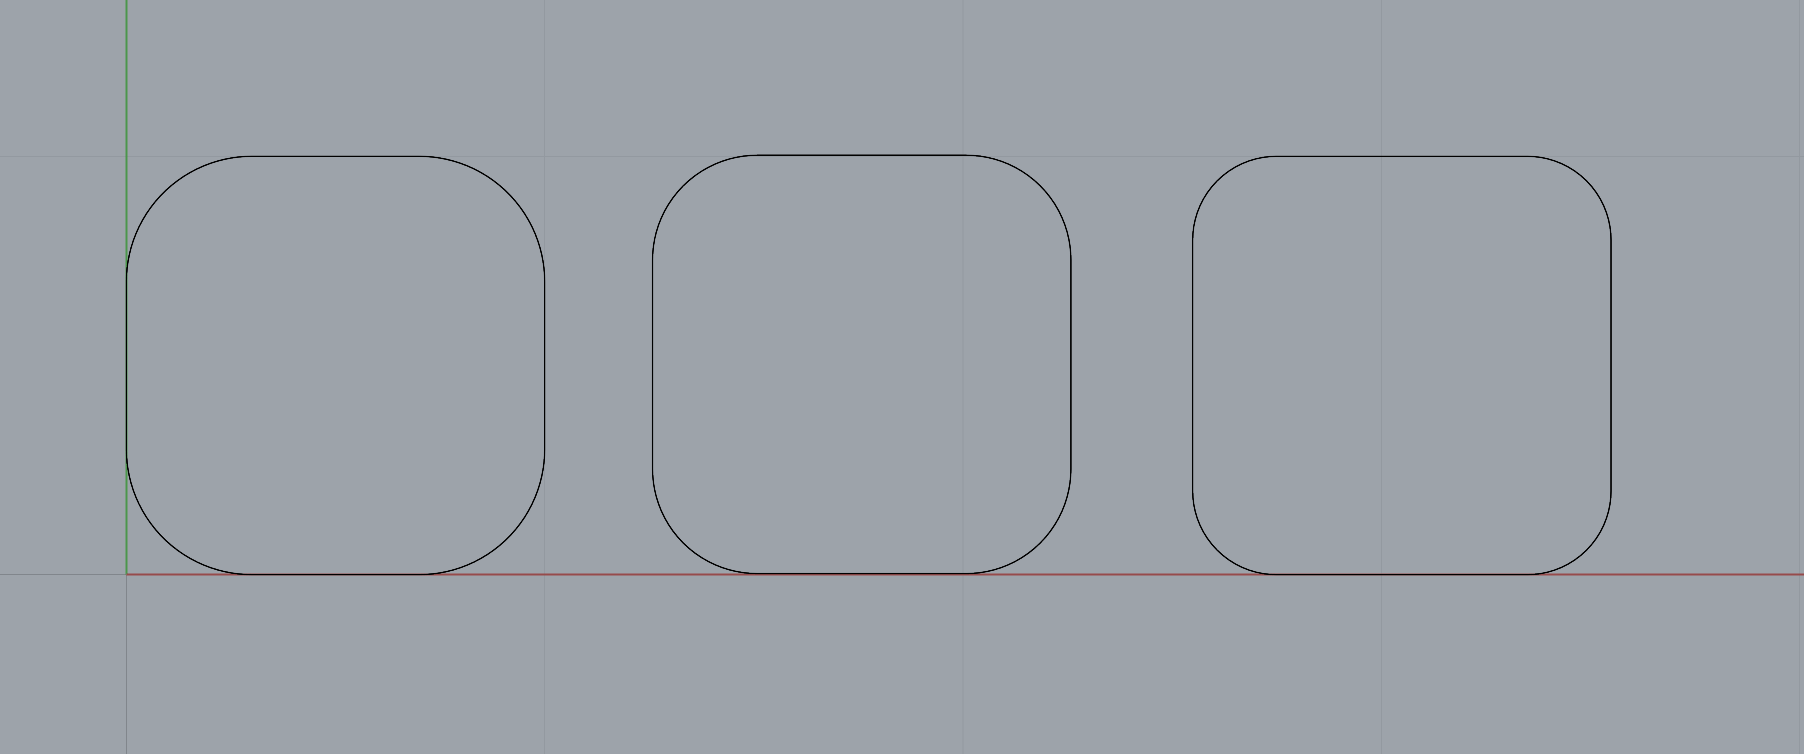
To start, I did a 1"x1" square and tested out a few fillet radii for the corners. The following are fillet radiuses 0.3", 0.25", and 0.2". I liked the 0.3" one the best.
Next, I looked at some fonts for the numbers. Among the following options, Impact was my favorite (the one fourth from the top).

Rhino has a neat text-to-curve function, so I transformed the numbers to curves.

I made surfaces out of these curves with the PlanarSrf command.
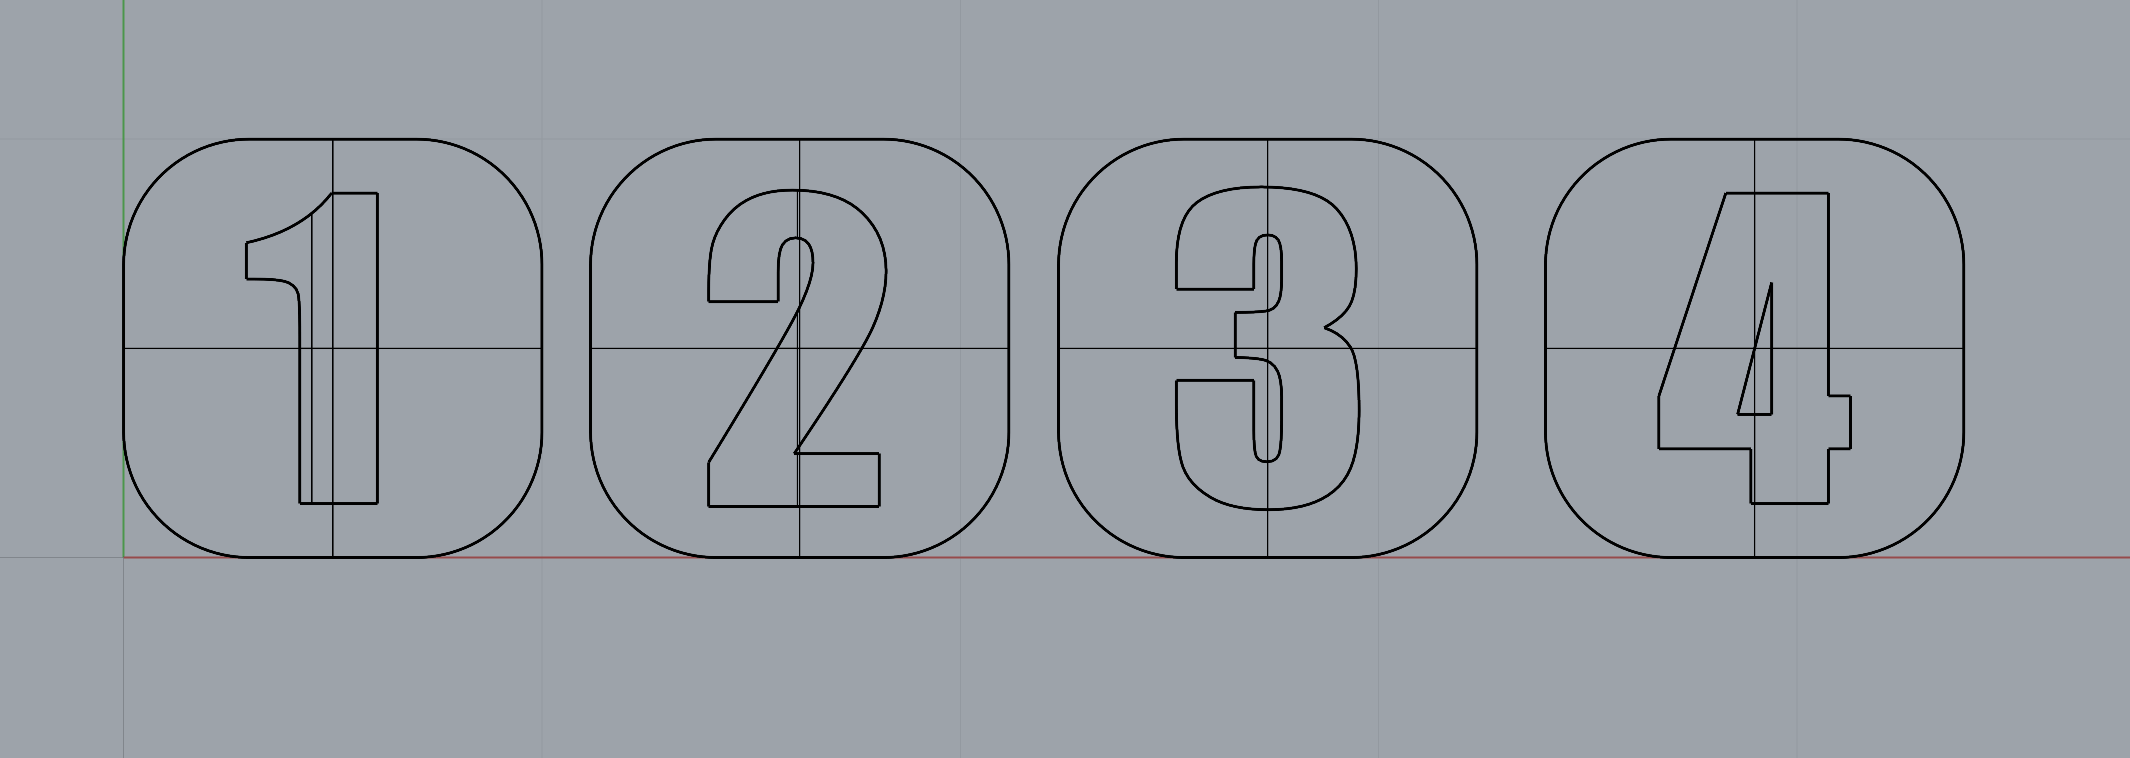
I then put these surfaces on top of the filleted squares, centered them, and extruded each by their respective negative amounts.

Next, I made a horizontal sheet and aligned it with the button's depth midpoint. I then split the two halves.

Now it was time to make the mold. I was in between machining and 3D printing, but decided to go with 3D printing in the end.

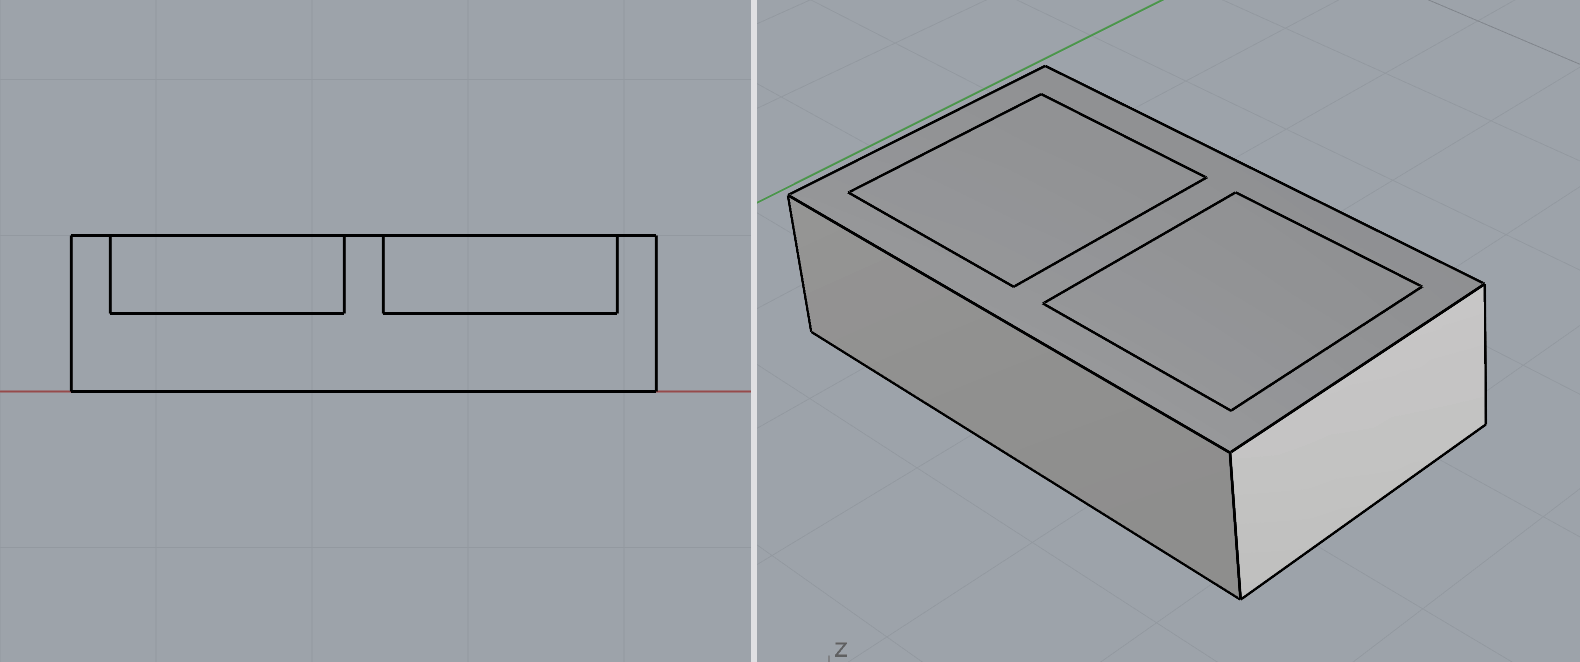
I made boxes with these dimensions and placed them like this (left: front view, right: perspective view)
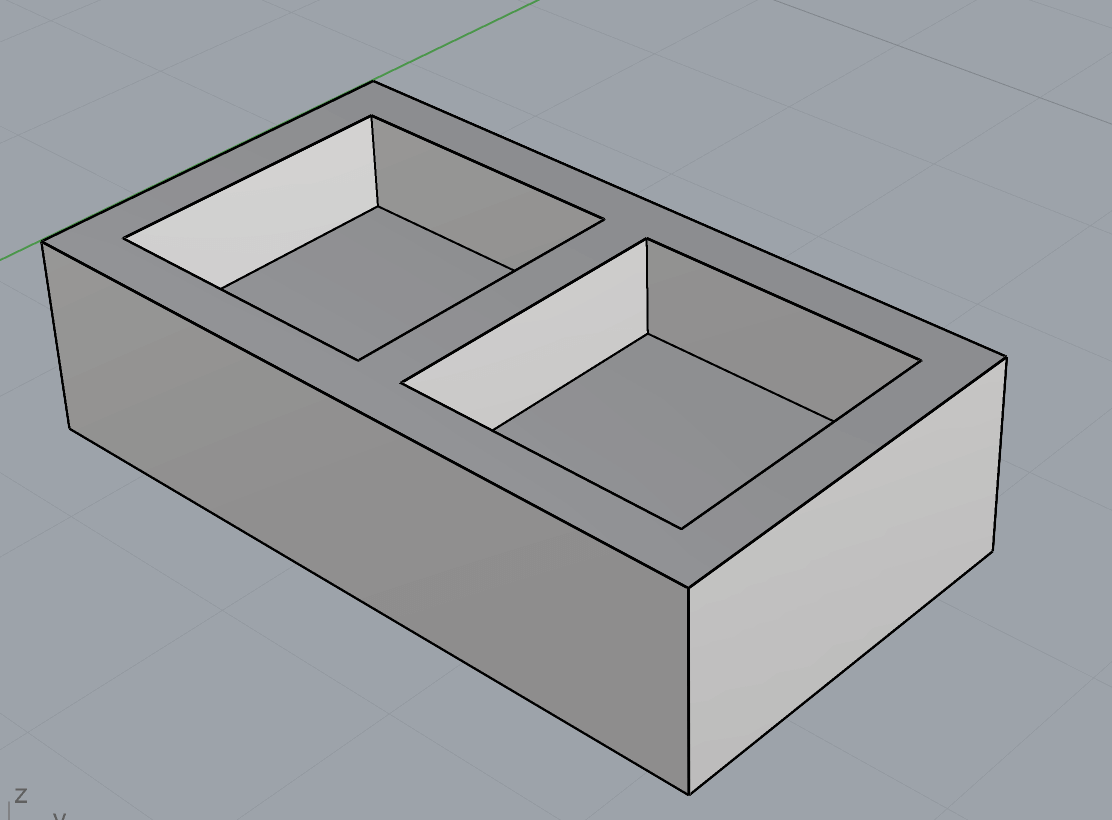
Then I used boolean difference to subtract the small boxes from the big one.
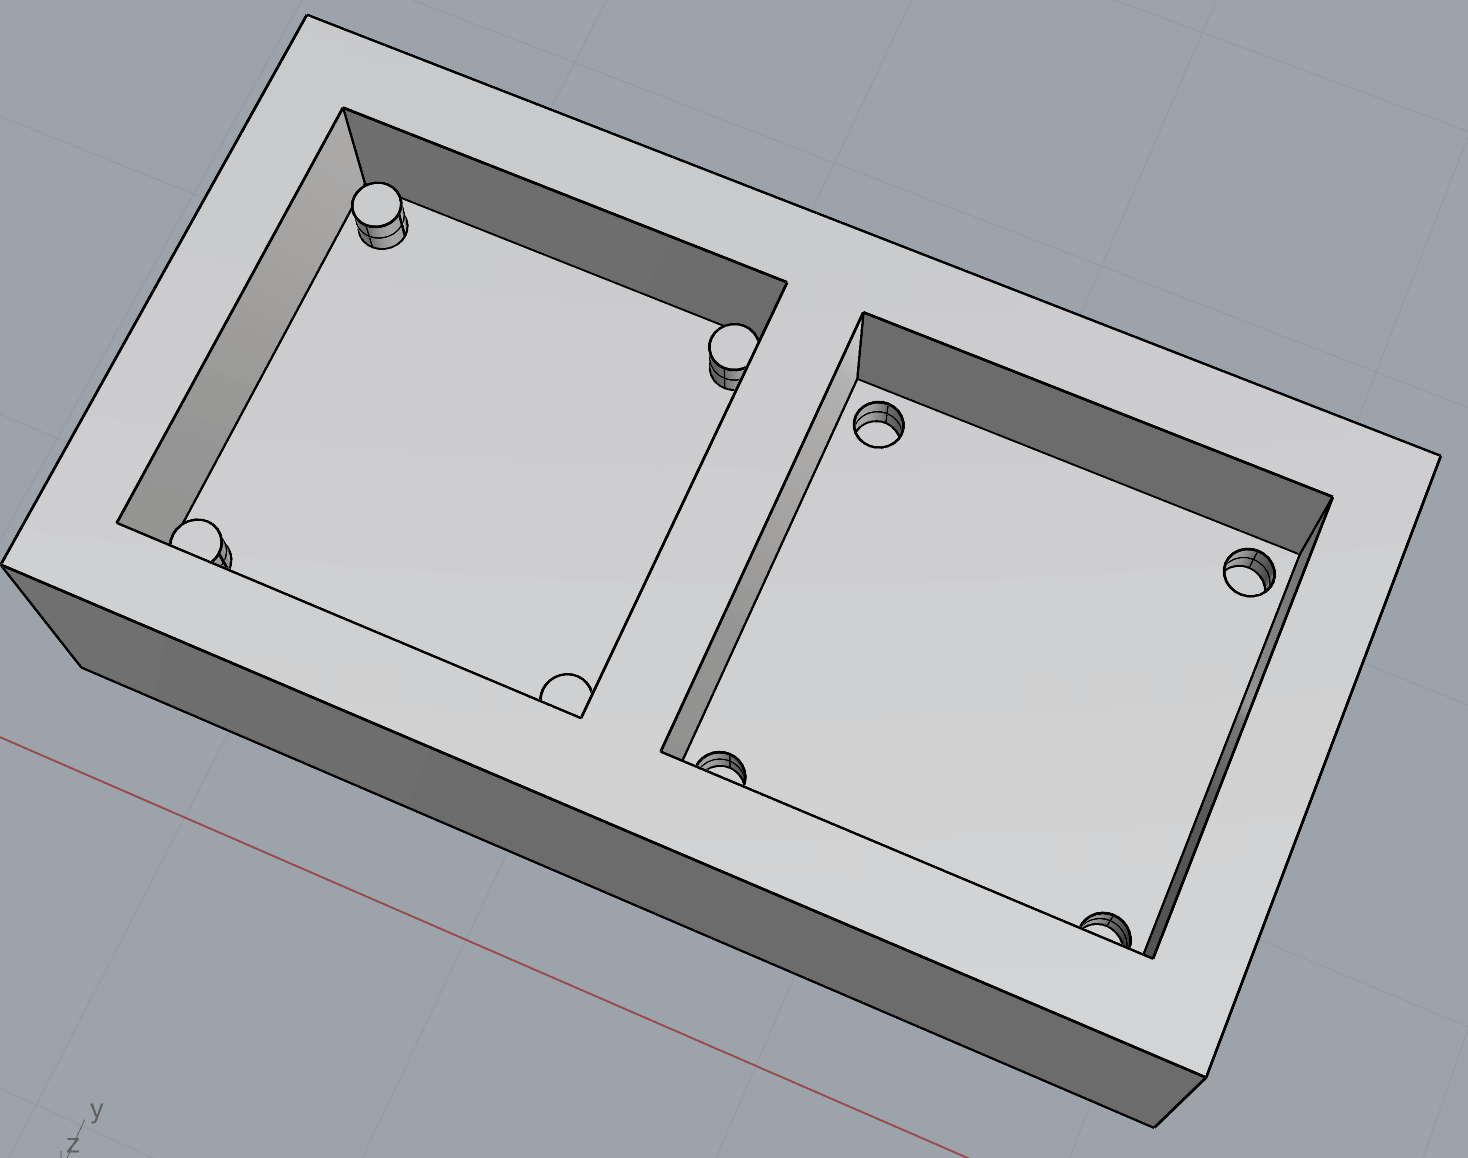
Then, I added (or removed) the cylinders to give the two sides of the mold a way to connect more easily.
Then, I used calipers to measure the dimensions of the things on the back of the plastic part of a typical push button, to attach it to the actual button. I feel like this might be helpful for the future in case I decide to use that kind of button! I centered it in the middle of the back half of the button and boolean unioned it all together. Then, I put each side of each button in the middle of one of the mold encasings.

I then realized I forgot to add the tube in which to pour the plaster solution, so I added one that was thinner than the buttons because I was scared to have something that's hard to remove later. Then, I was ready to 3D print it! I used a Bambu printer.

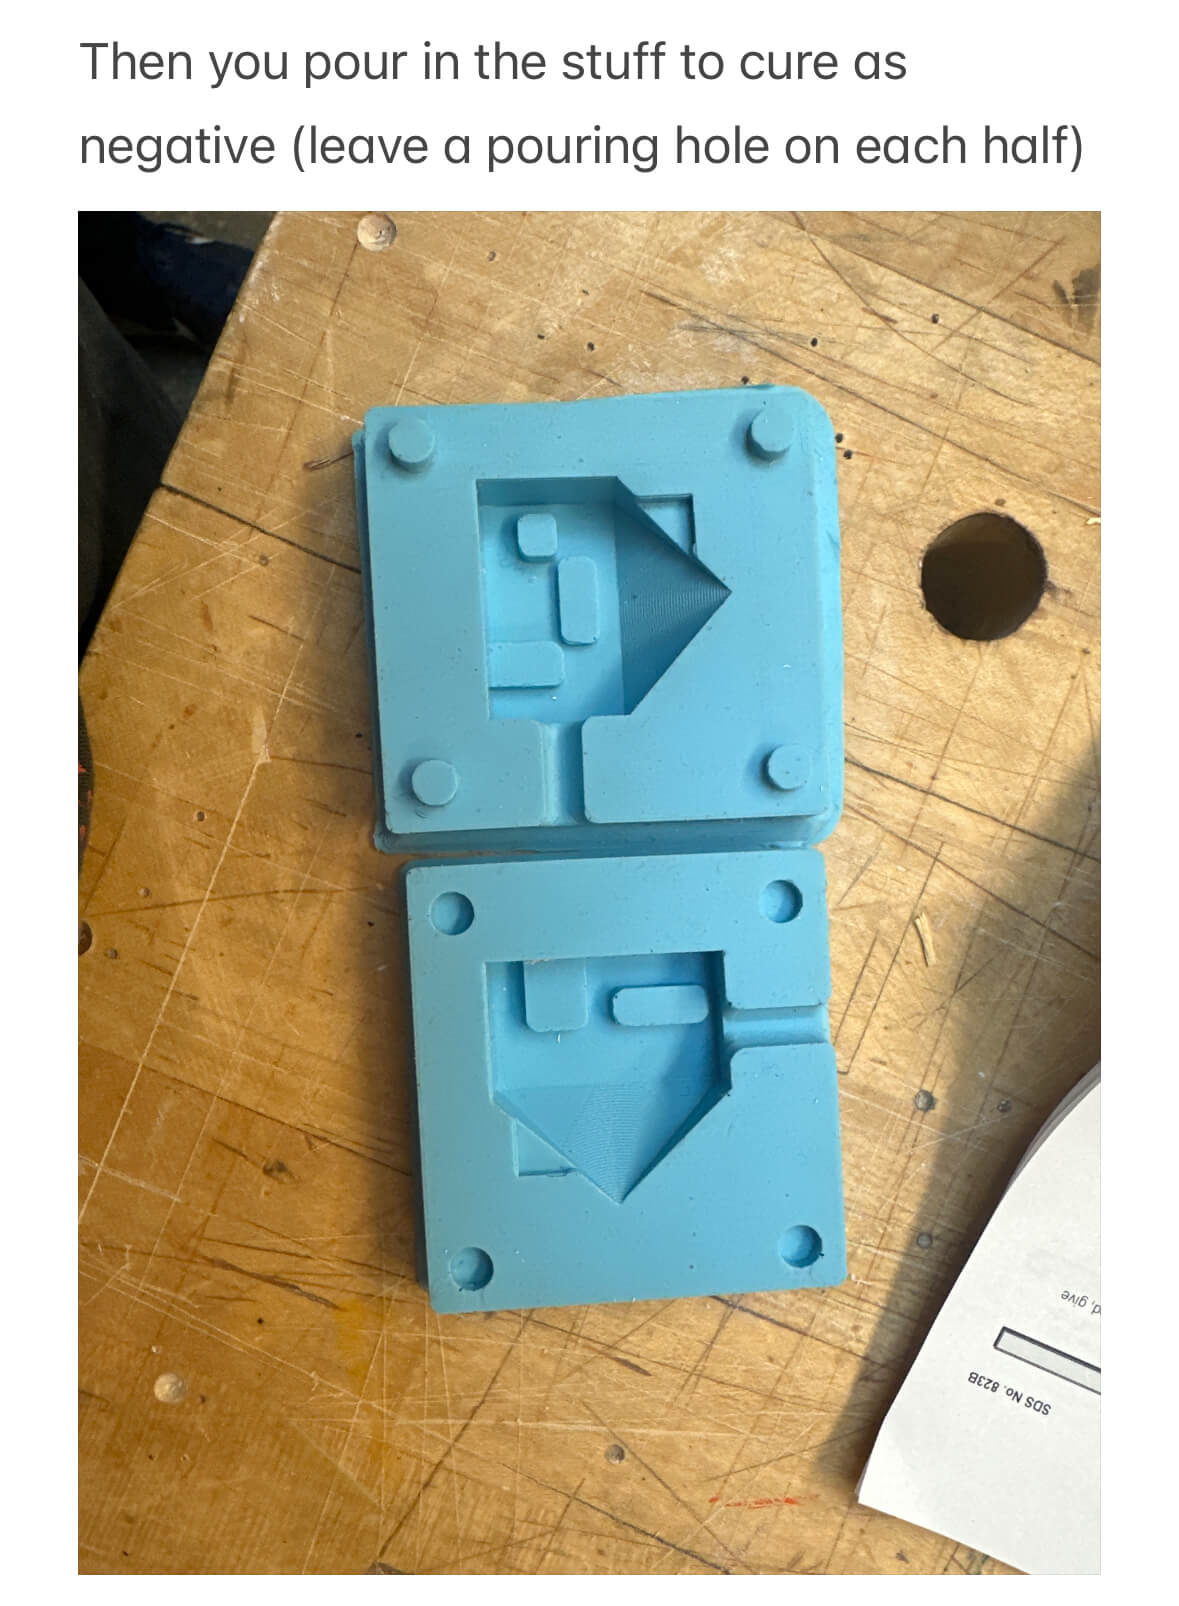
I could definitely see the production process on these prints, so I used sandpaper to smoothen them. I started with a rougher one and then used a finer one. I had a difficult time getting into some of the corners, so I wrapped sandpaper arouond a think wooden dowel and used it to smooth out the whole print. Then, I used oomoo to cast the mold! I mixed the two parts in equal volumes, but only roughly, using my eyes.

I am guessing that I was not accurate enough with the pouring, because it took much longer to cure than it was supposed to. It was supposed to cure in 75 mins, but it actually took 165 mins. It felt sticky before then.
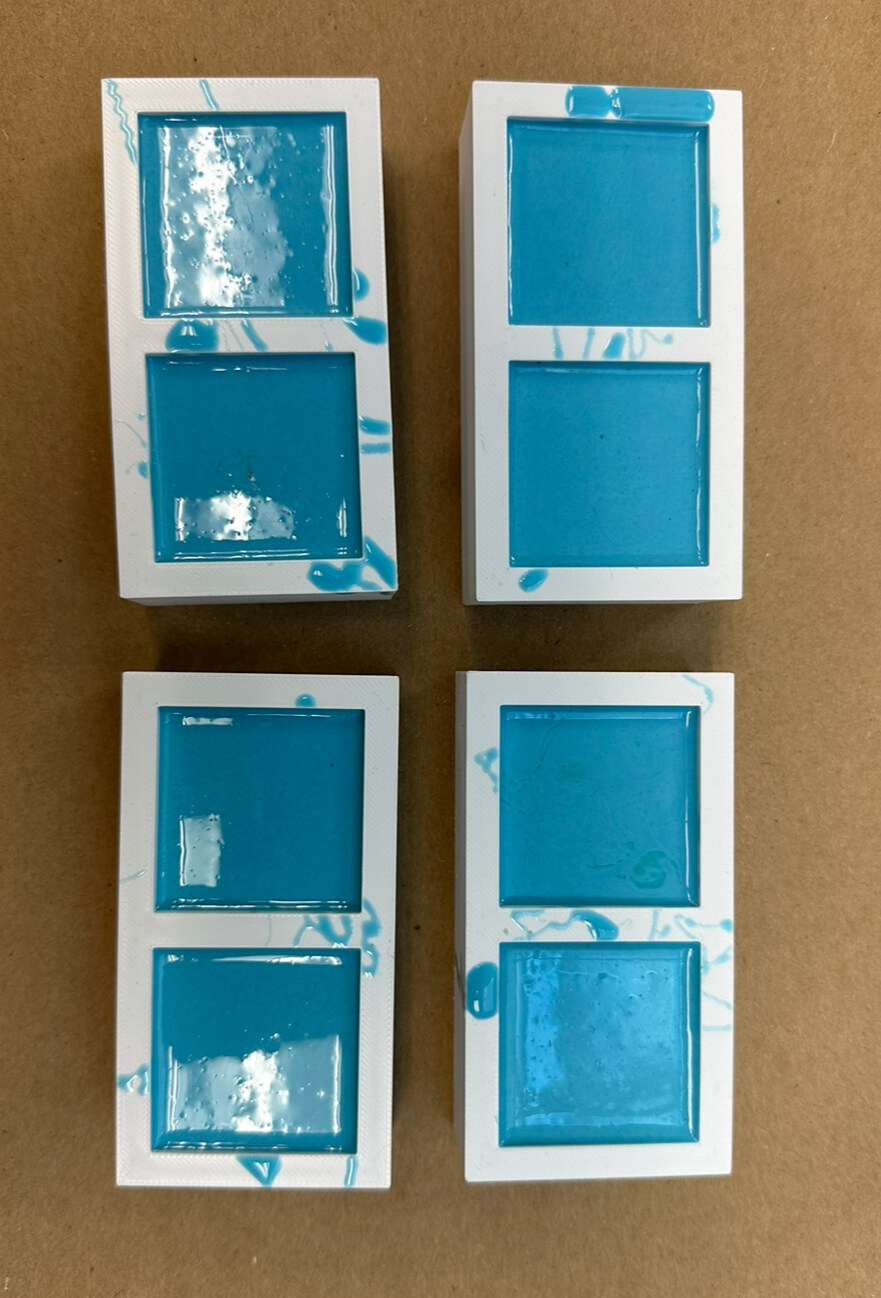
They turned out great, but I was concerned that the hole I left for pouring the mixture in was too small.
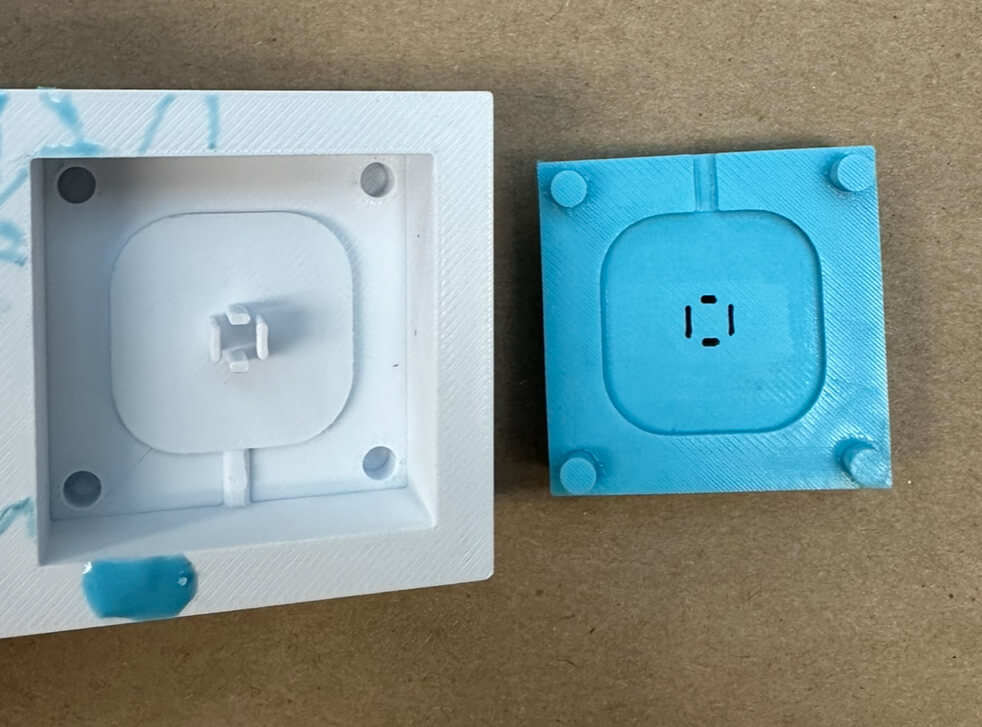
Because of this extra time it took to cure, I was late to an appointment I had and needed to leave campus ASAP. I hastily put the Oomoo casts back in the printed mold and put them in my backpack. The next time I was free to look at them, another hour and a half had passed, and they had cured further in the jammed position I left them in. I accidentally ruined them :(

I told myself it wasn't too bad of a mistake because it would be good to make the pouring hole bigger anyway. So I replaced my pouring cylinder with a pouring cone, to act as a funnel.
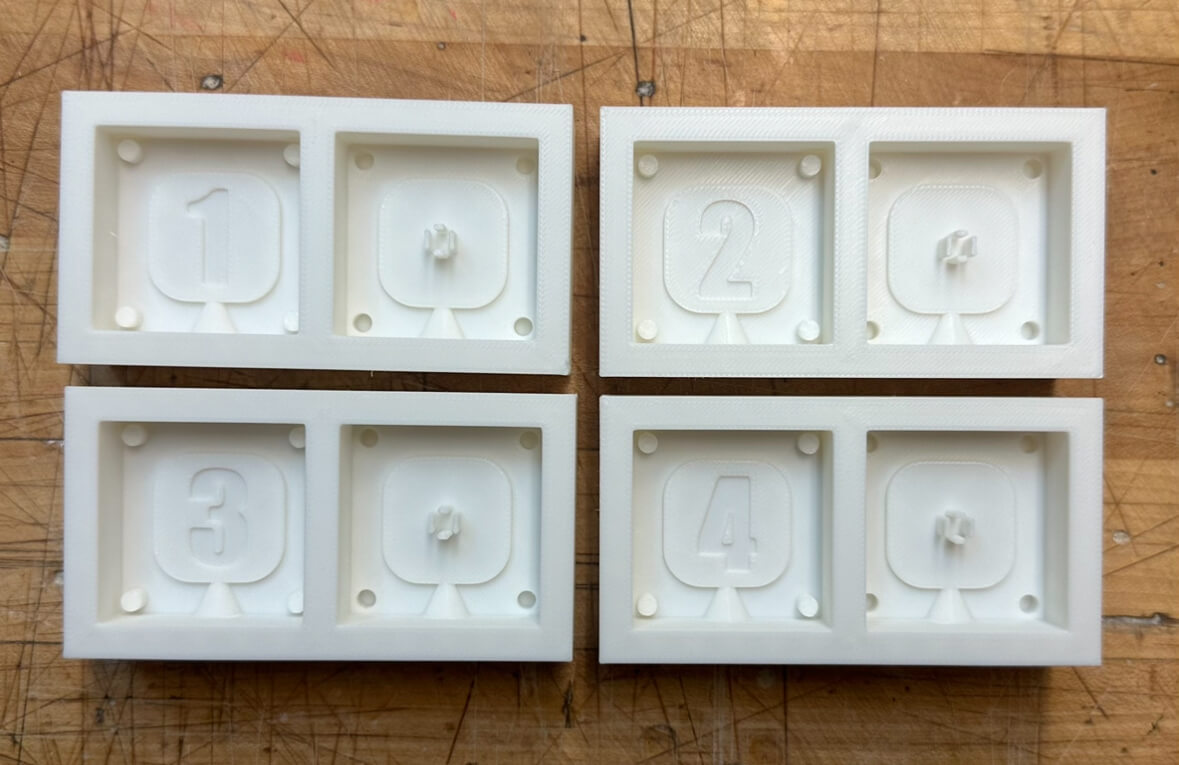
Like before, I sanded the print to get rid of the stripes.

This time, I left them for approx. 20 hours before removing them. They were more solid than the first time, and defnitely cured like their intended shape. However, some had a few bubbles like this:

Pouring the plaster solution in the tiny funnel was difficult. At some point, I lost patience and just separated the two oomoo halves for a few seconds. This is probably why i got some bubbles. If I had to start over, I would choose something a bit thicker to cast, just so I can make a thicker pouring hole. I left them clamped for an hour.

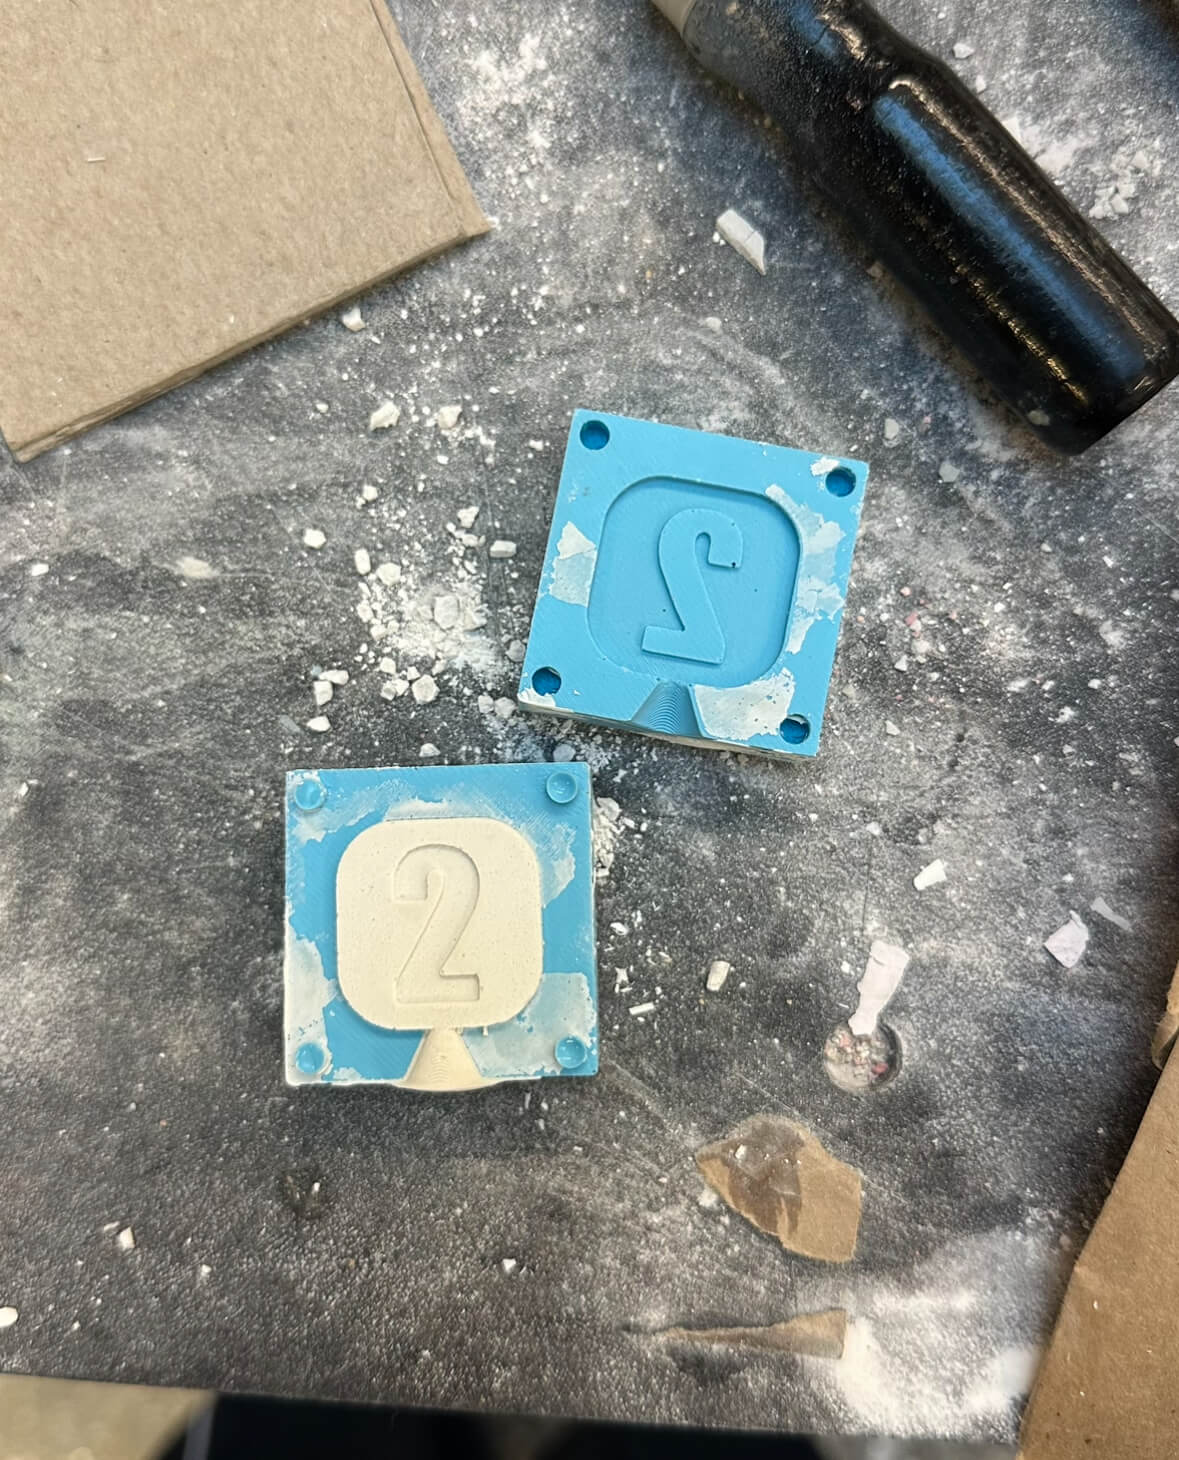
The plaster cones were easy to snap off, but the whole buttons felt like they were also about to snap. Plaster at this thickness is a lot more brittle than I was anticipating, and I don't think I will be using them for my final project anymore. They frankly feel less like buttons and more like tokens or coins that are very light and very brittle.

I still want to try spray painting them to see if it smoothens them out further!