Week 2: Computer Controlled Cutting
Assignment 1 - Parametric Construction Kit ** PACMAN! :D **
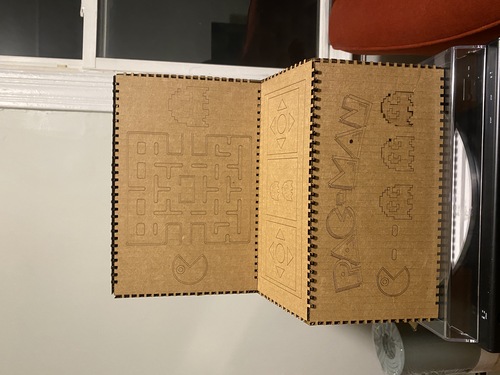
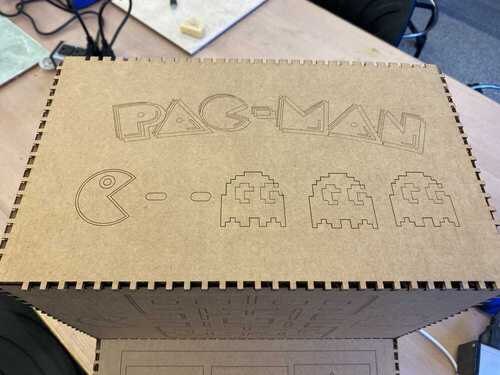
Using CAD, a laser cutter, and cardboard , I created a cardboard model of a retro PACMAN arcade game!
CAD
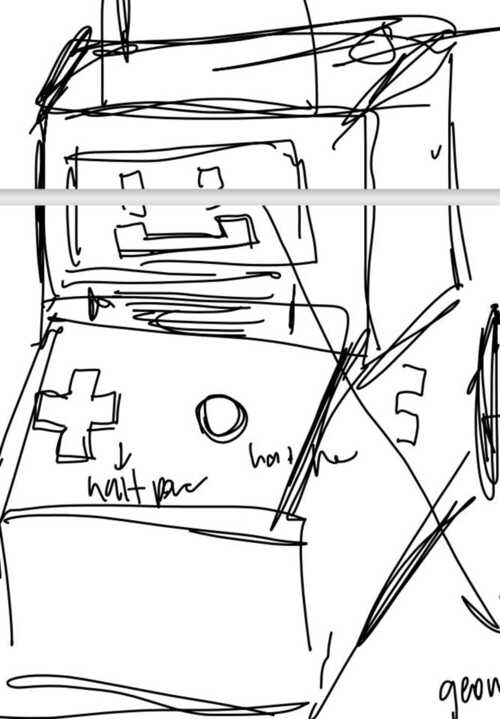
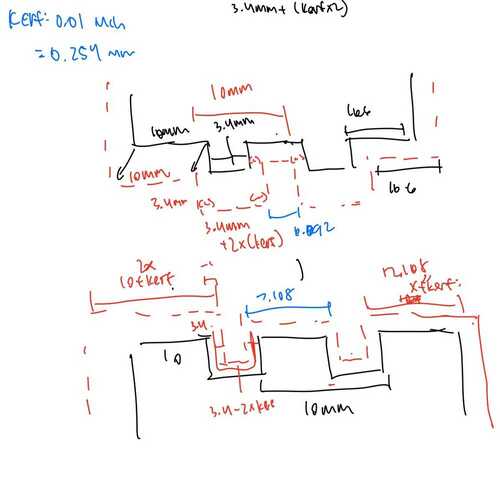
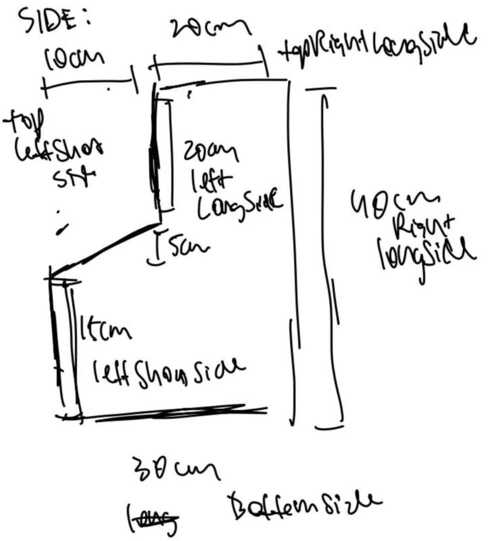
It all started out with this sketch:
I then began to flesh out the dimensions and configure how I wanted the pieces of my arcade game to fit together.
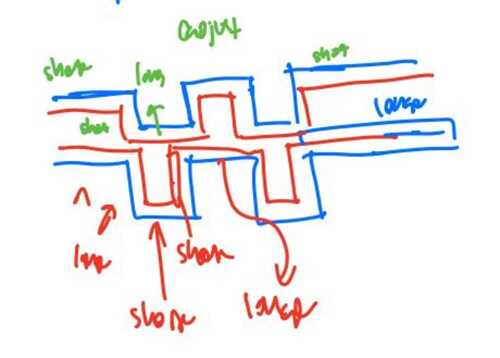
My classmate Liam advised me to use 3.4mm holes, so I used that as a starting point in my design.
I chose to have a large number of joints down the sides of each face, hoping it would make my structure sturdier.
The dimensions of my box were quite large, at around 40cm on the longest side, which was admittedly a mistake given this was my first time laser-cutting and CADing.
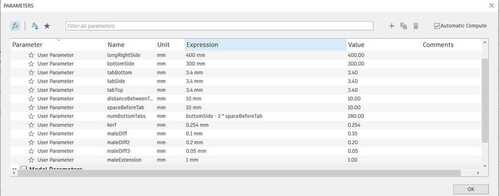
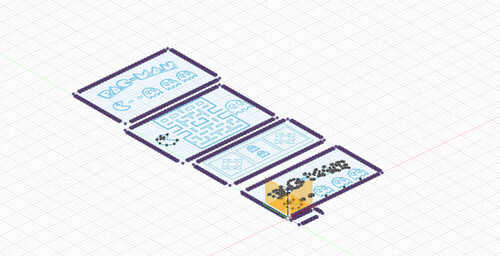
Using Fusion360 (switching from FreeCAD, since I found the software frustrating), I began drawing my models on CAD, parametrizing dimensions to make my designs easy to change.
Learnings:
x When parametrizing, don’t parametrize all dimensions! Define some, and then configure your other sides to be ratios of your variables for responsive design.
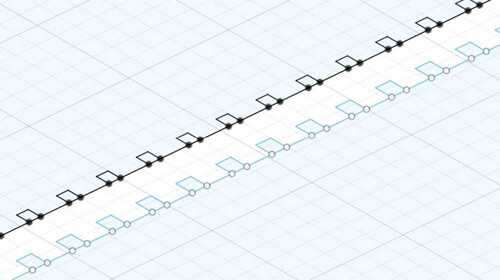
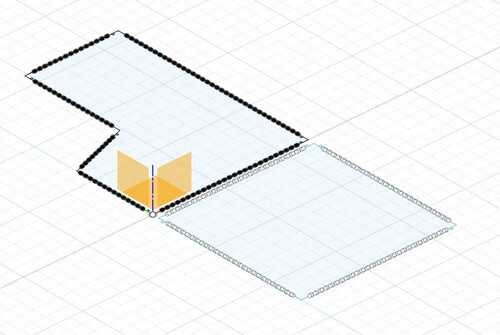
x The pattern tool is super helpful! I used this tool to create all the joints - it was as easy as drawing a single square, and then creating a rectangular pattern that copied the square down an entire side.
The difficult part with patterning was the math in defining the spacing between objects in the pattern.
The joints had to be very precise, all while taking into consideration the kerf of the laser cutter,
which is the non-negligible width of the laser (0.0254 cm).
This kerf is “shaved” off of our cardboard when it is cut, so I had to account for it when specifying my patterns.
x After sketching, extrude your sketch, then project it onto another sketch to get rid of double lines.
When finished, I used Inkscape to turn Pacman assets into SVG’s, and designed the faces accordingly.
Time to cut!
Look at the laser cutter go…
These were the settings I used for the cardboard.
Outer Borders: 100% power, 20% speed (this could’ve been slower for better cuts)
Inner Engravings: 25% power, 25% speed
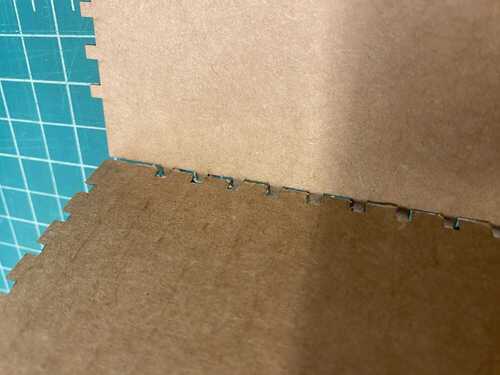
After printing out my first two pieces, I realized making the hole and the insertions the exact same size prevented them from slotting together at 90 degrees.
I used a test “comb” with varying insertion sizes to see what the optimal insertion size was.
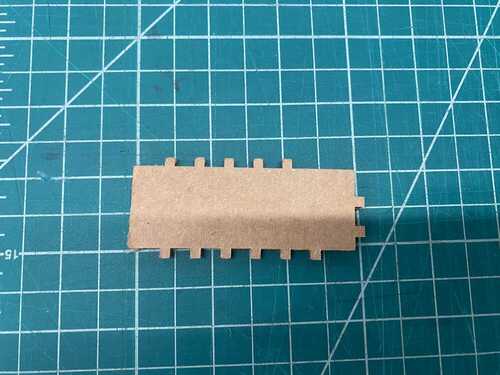
After testing, making the insertion 0.2mm smaller in width than the hole fit the best!
Assembly time!
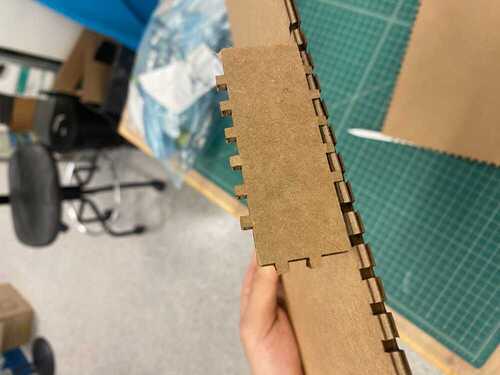
Putting things together was tough! Due to the many hinges I had, it was very hard for all of them to cleanly slot together. However, I only needed a few of them to fit together for the game box to hold its structure.
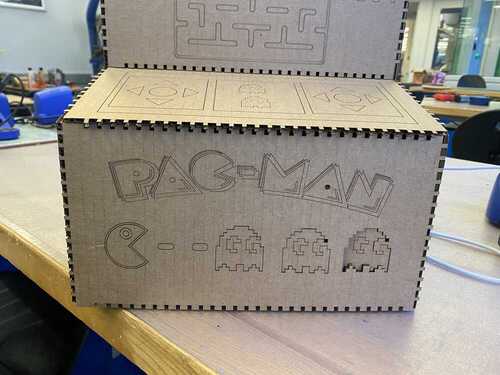
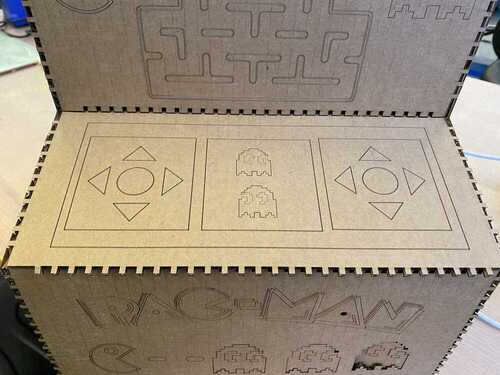
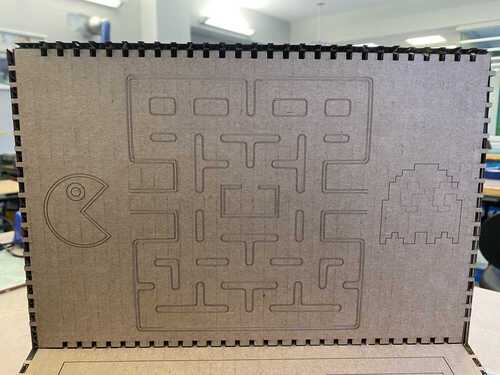
Assets used in design:
Pac-Man Game
Pac-Man Board
