Process ✏️
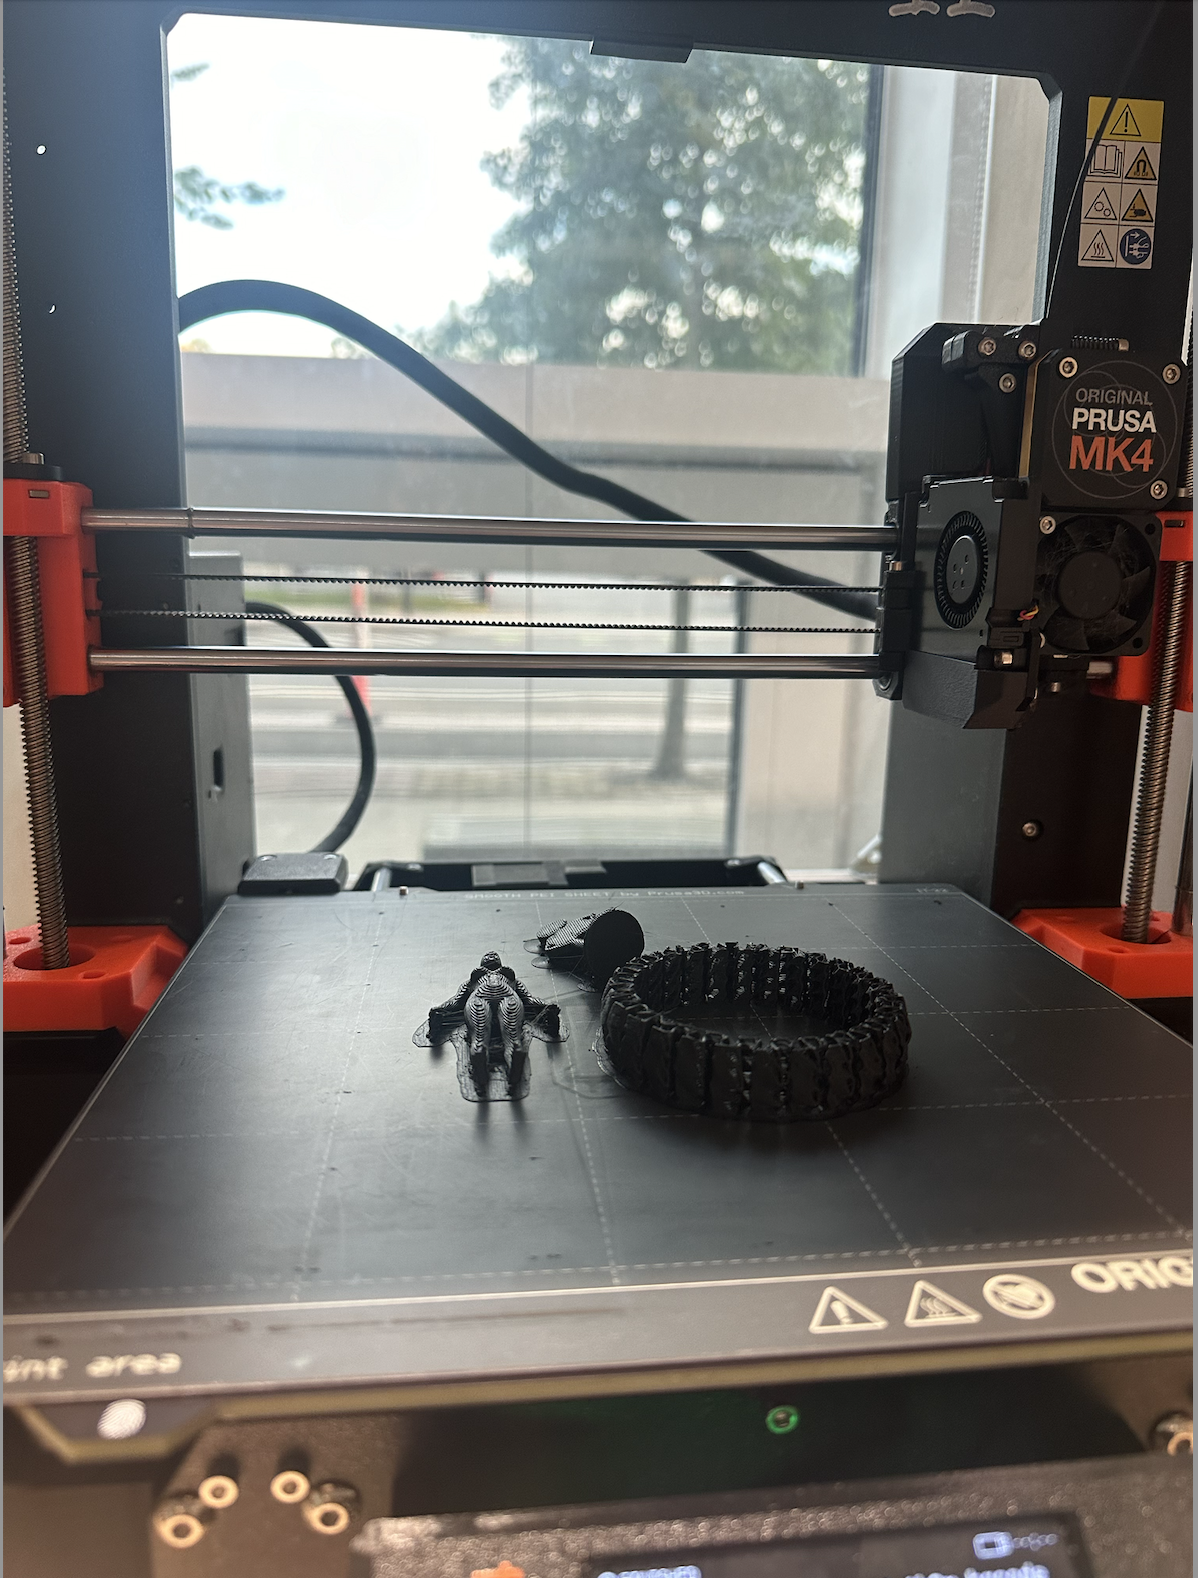
I can’t wait to kick off 3D printing. As I plan to work on a hardware component, I definitely want to take steps
towards my final project, a wearable for girls.
That said, I’m still brainstorming the form factor:
3D Prints: As of now and give him my current experiences I'm leaning towards creating a smart supportive sports bra.
As a runner, and as I train for the New York City marathon, I have experienced a lot of chafing when it
comes to my current sports bras. Additionally, I've also seen a variety of heart rate monitors that are
attached to your chest.
SO, my idea is to create a dual-support sports bra. The bra will provide both physical and mental
support. As you run you're just supported and at the same time you will be collecting data that contributes
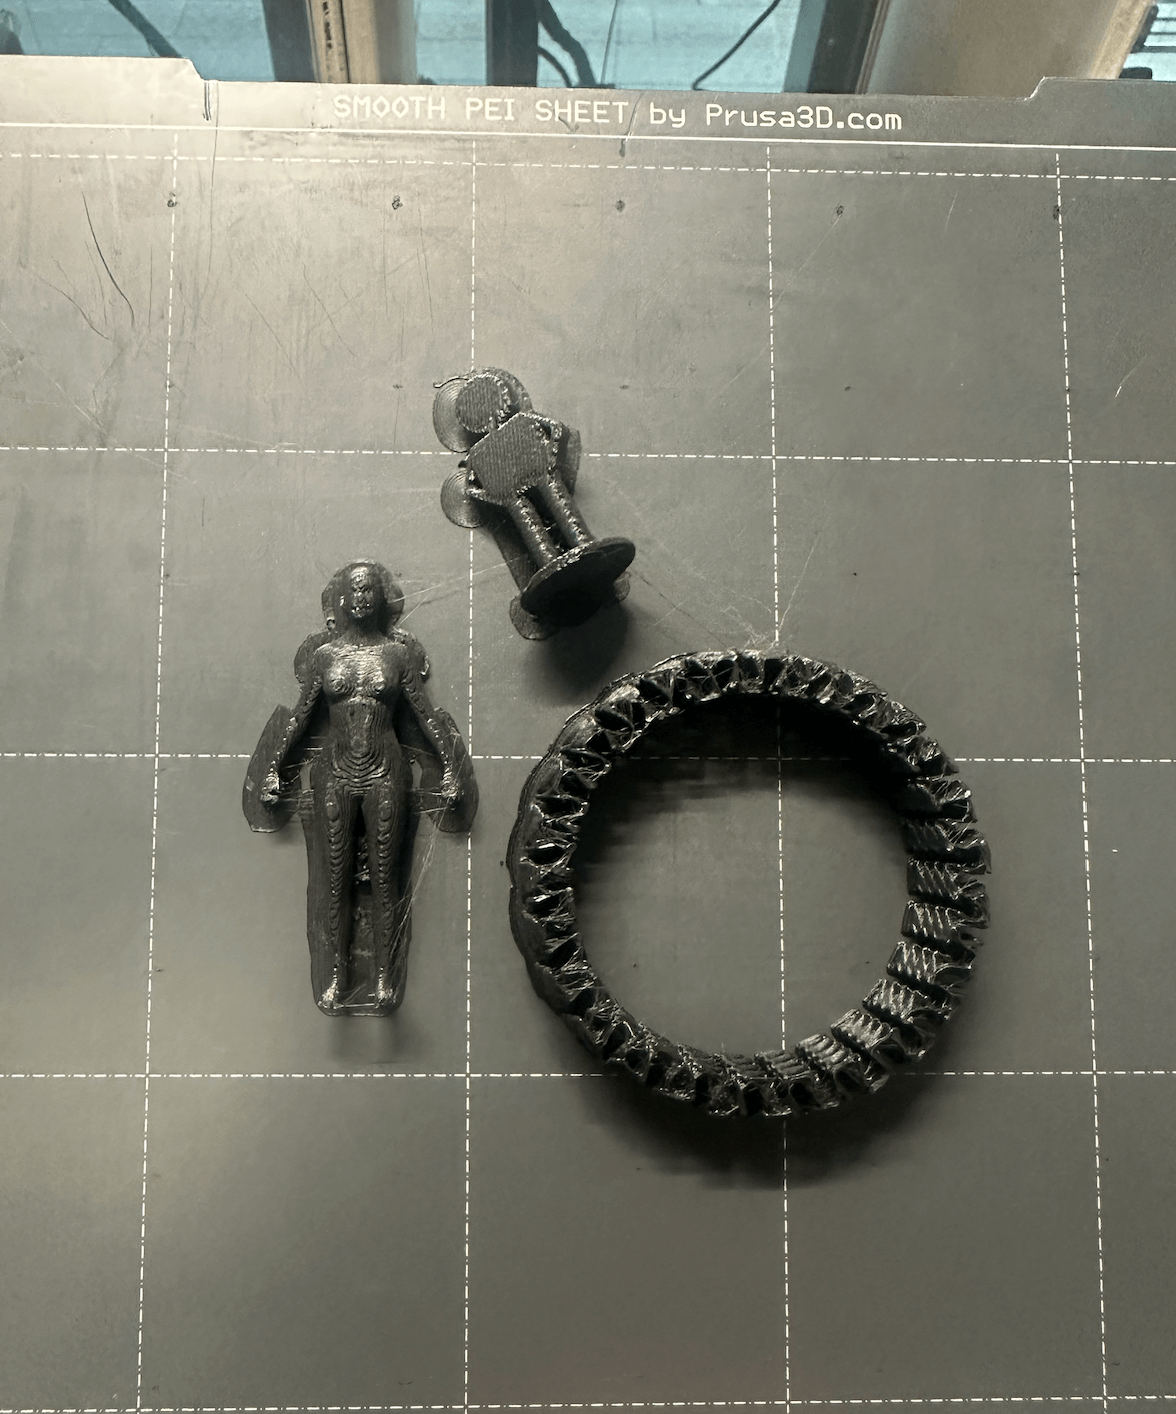
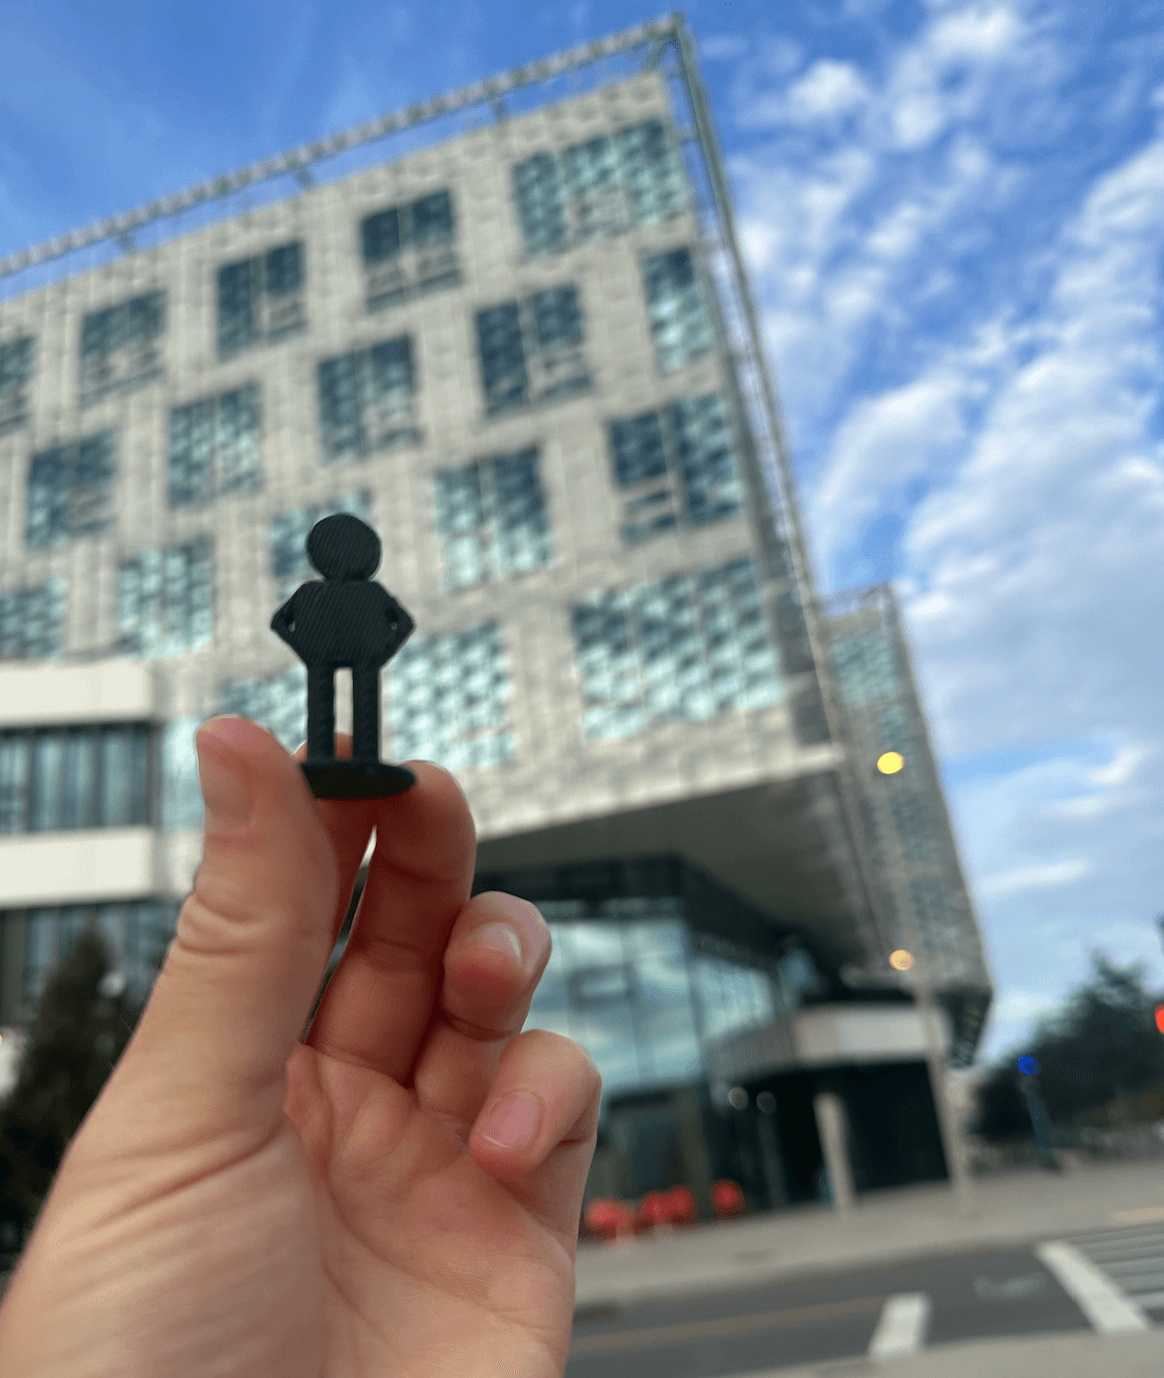
to your overall performance goals. So how does this tie into what I'm 3D printing? well if I am working in the
textile space which I never really have before I want to prototype on smaller size mannequins. It's imperative
that I print small female bodies to test and iterate different form factors in materials.
I have worked with 3D printers in various projects last year and I really enjoyed them. It's crazy to me
that you can turn something in your mind into reality within just a matter of hours. I really want to try the
Bamboo printer and experiment with different colors because my primary experience has just been manually painting
on top of the copies.
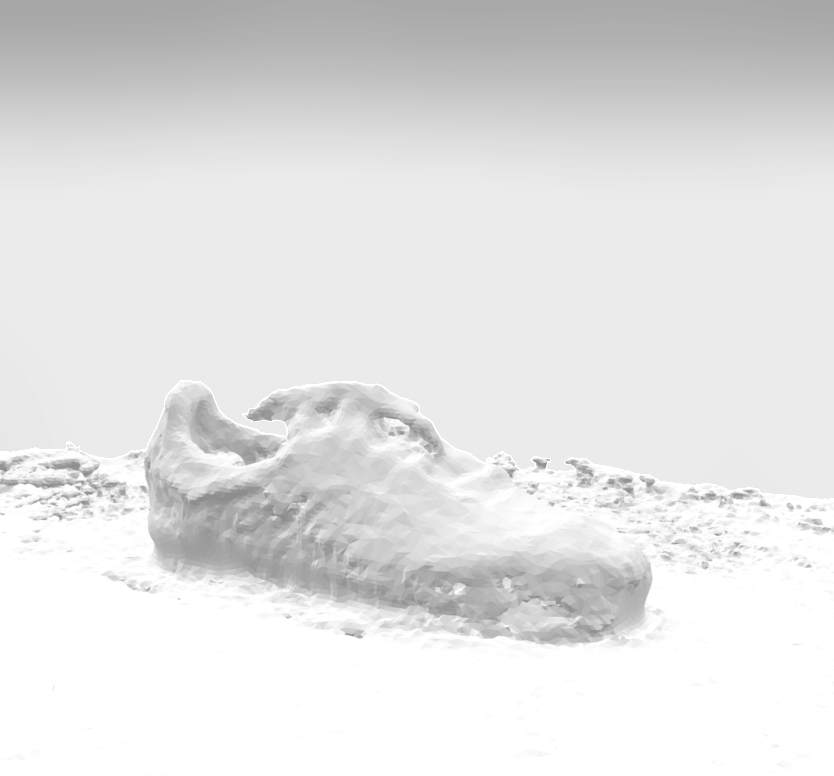
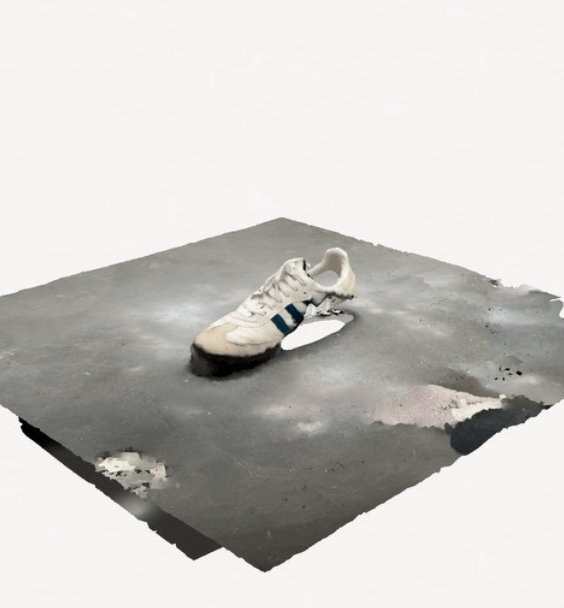
3D Scans: I used PolyCam to scan my shoe. I was impressed by the fideilty of my scan; however, my shoe was likely
too complex for the details. I scanned on a the floor, and a lazy susan & tripod would have been much better
to capture all of the angels on a stable surface.
Group Assignment:
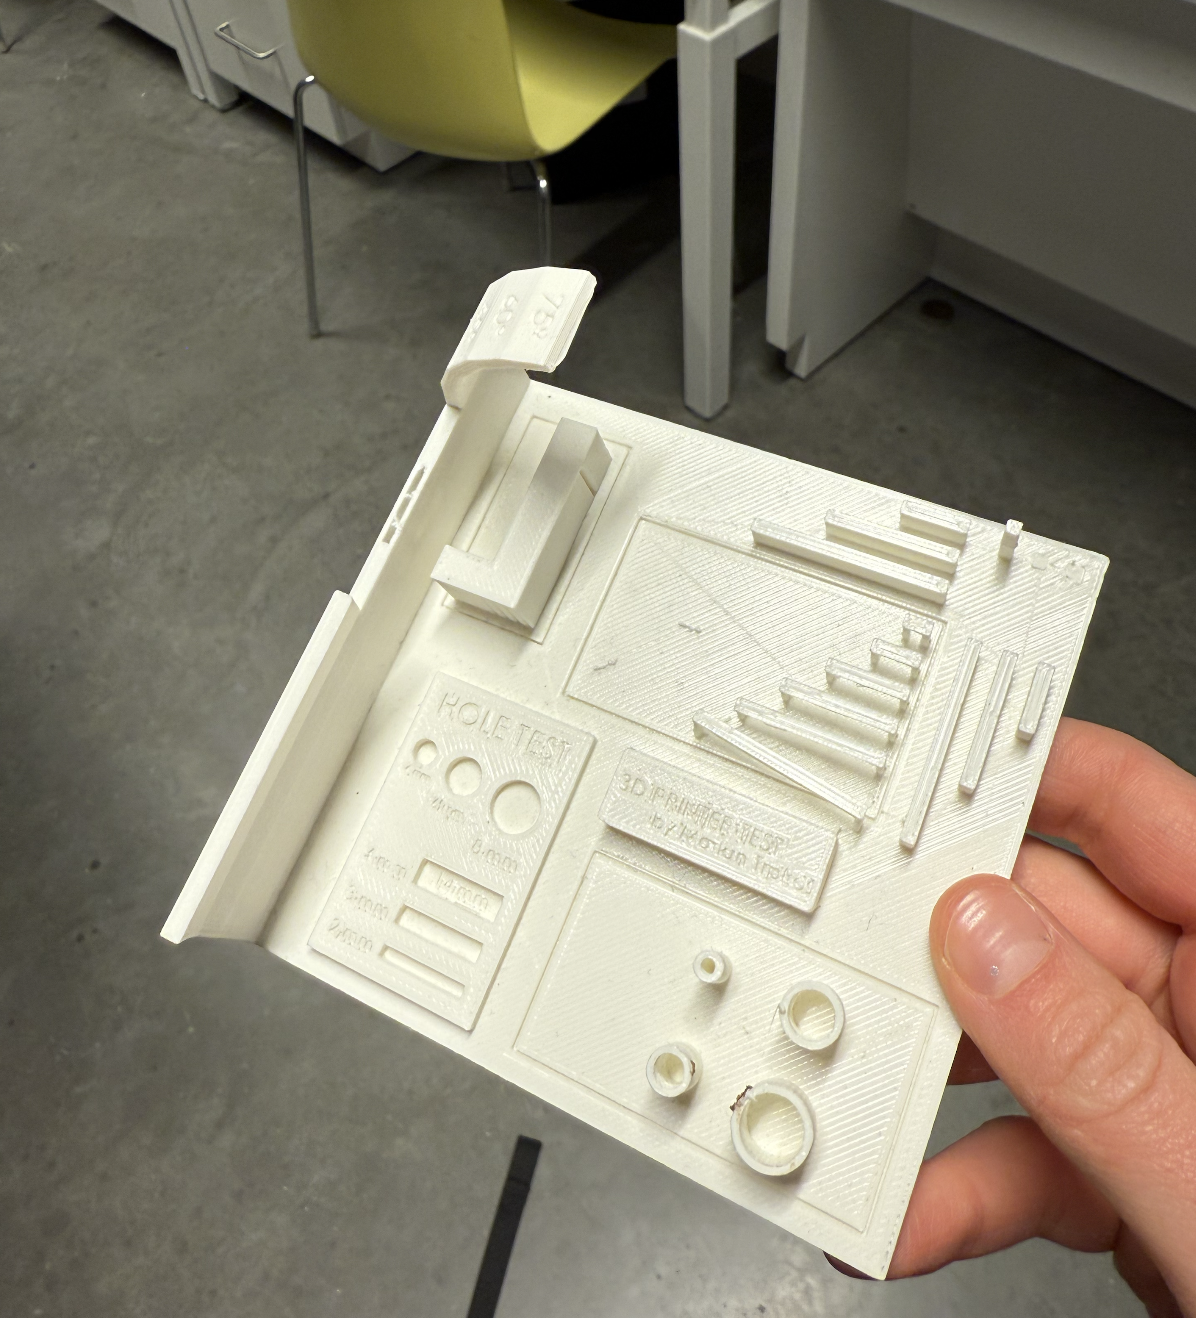
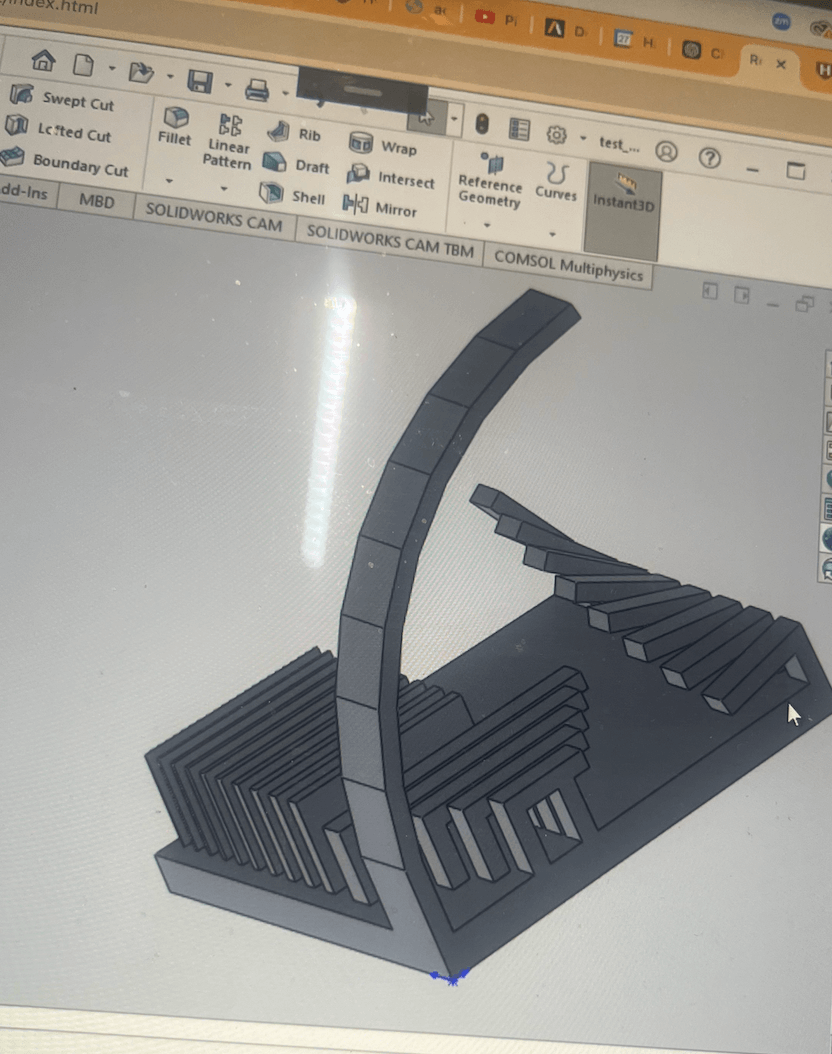
For this assigment, we tested the design rules for your 3D printer. It was interesting to understand how the wall thinkness, bridges, novel diameter impact the print and what we can accomplish. I found this Wiki Factory link to be really helpful in understanding the printer's functionality.