Process ✏️
For this week I was determined to make my ESP32C3 display speed, distance, and time from my accelerometer.
To do this, I wanted to similuate the code and microcontroller in Wokwi, so that when I moved to hardwre
I'd be good to go.
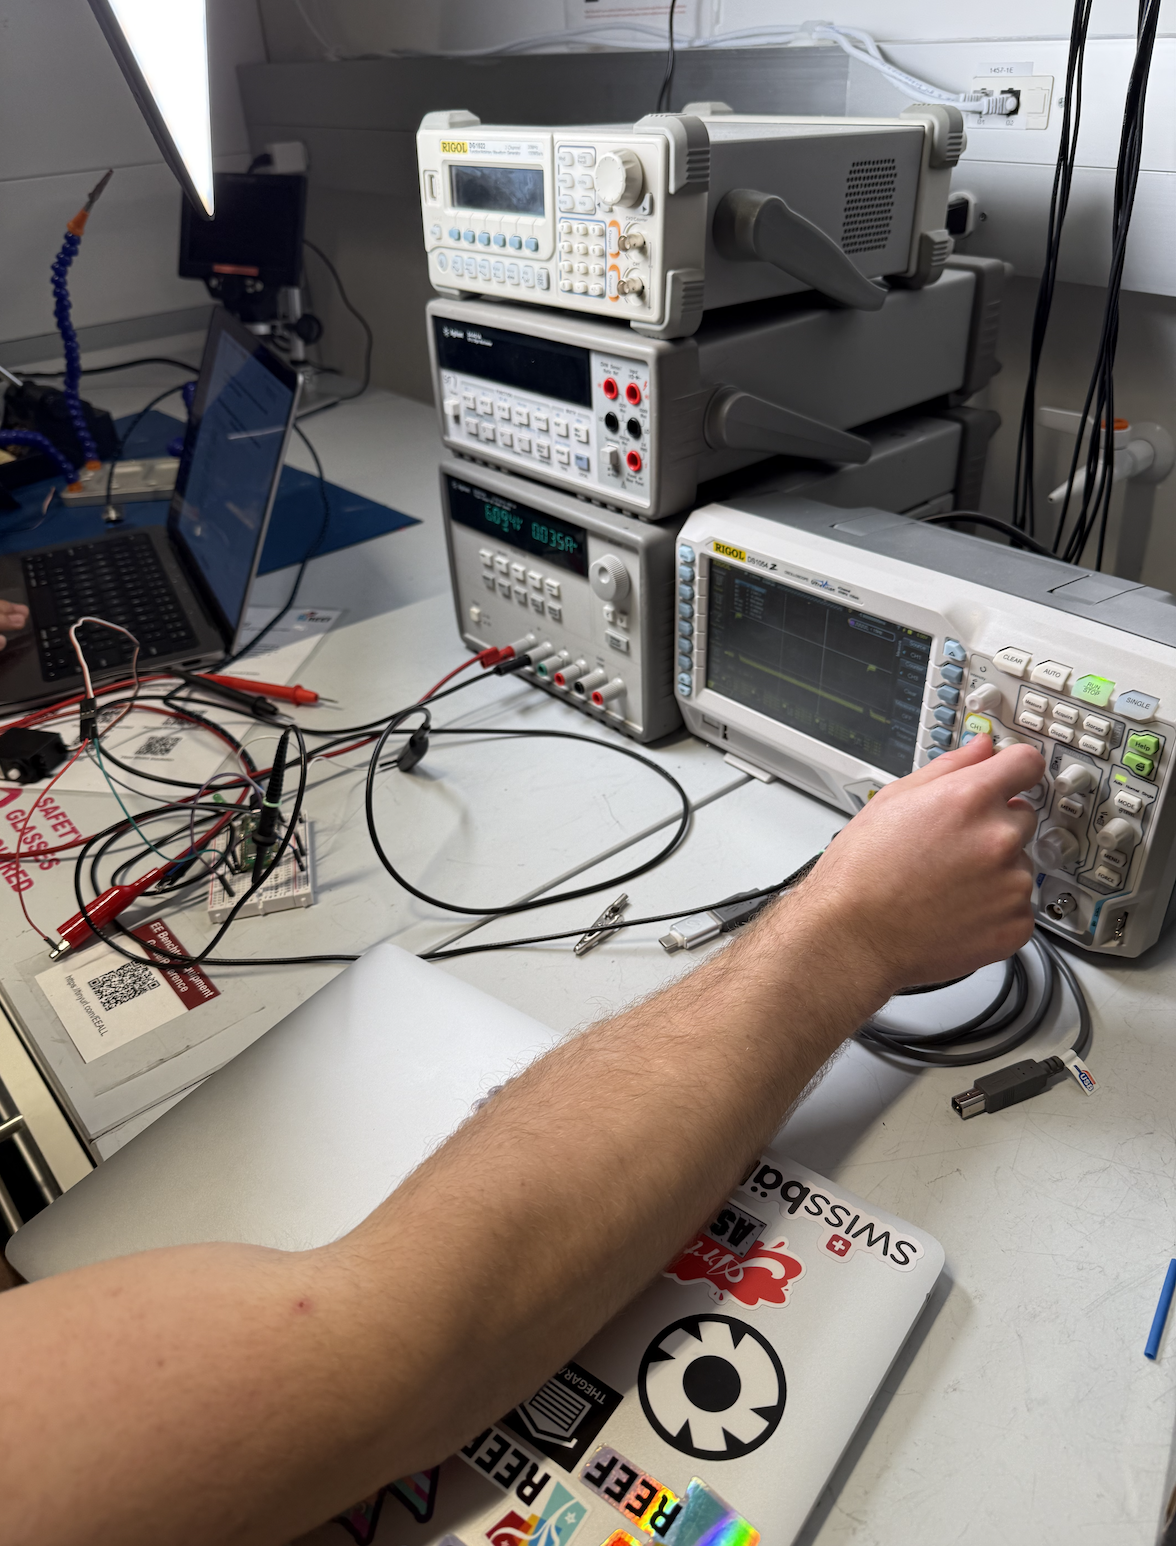
Here are the tools that I used:
Measure Something Process
For my final project, I'm focused on creating a scrunchie that measures running distance, time, and speed. Simuliating this in Wokwi was a great step to control my output.
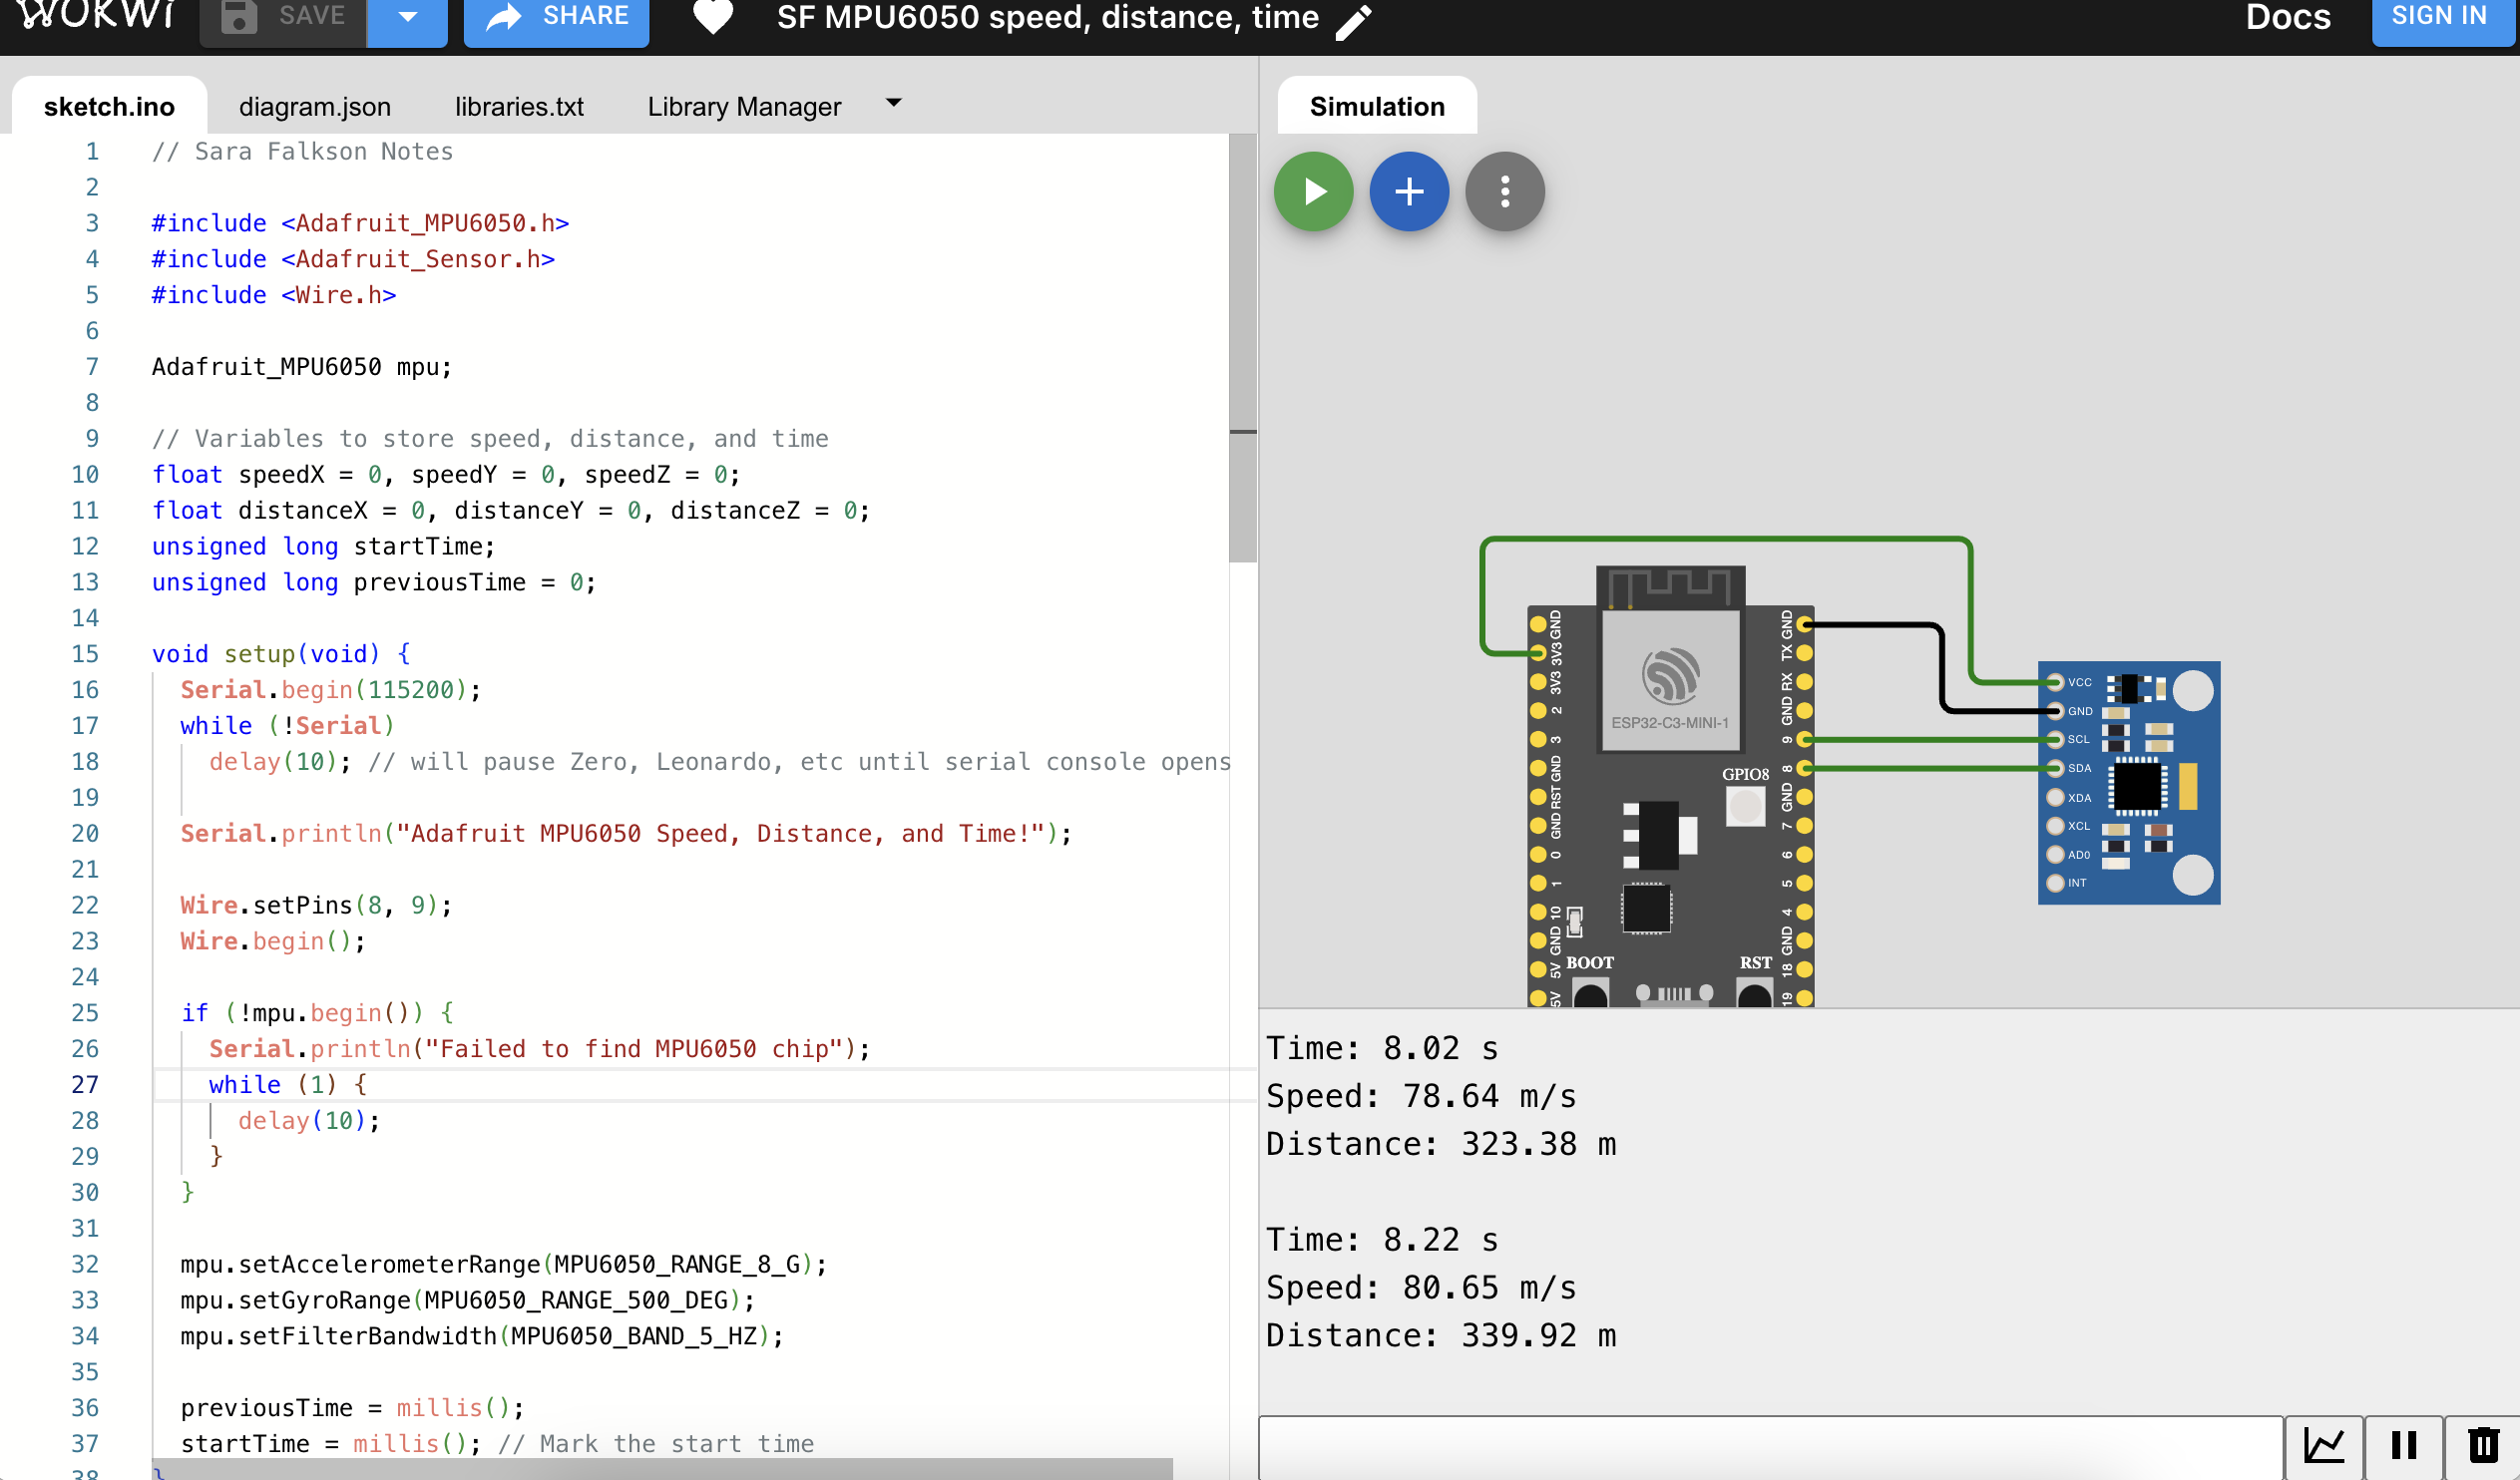
Set up enviorment
Once my simulated enviroment was set, it was time to move to setting up my input devices!
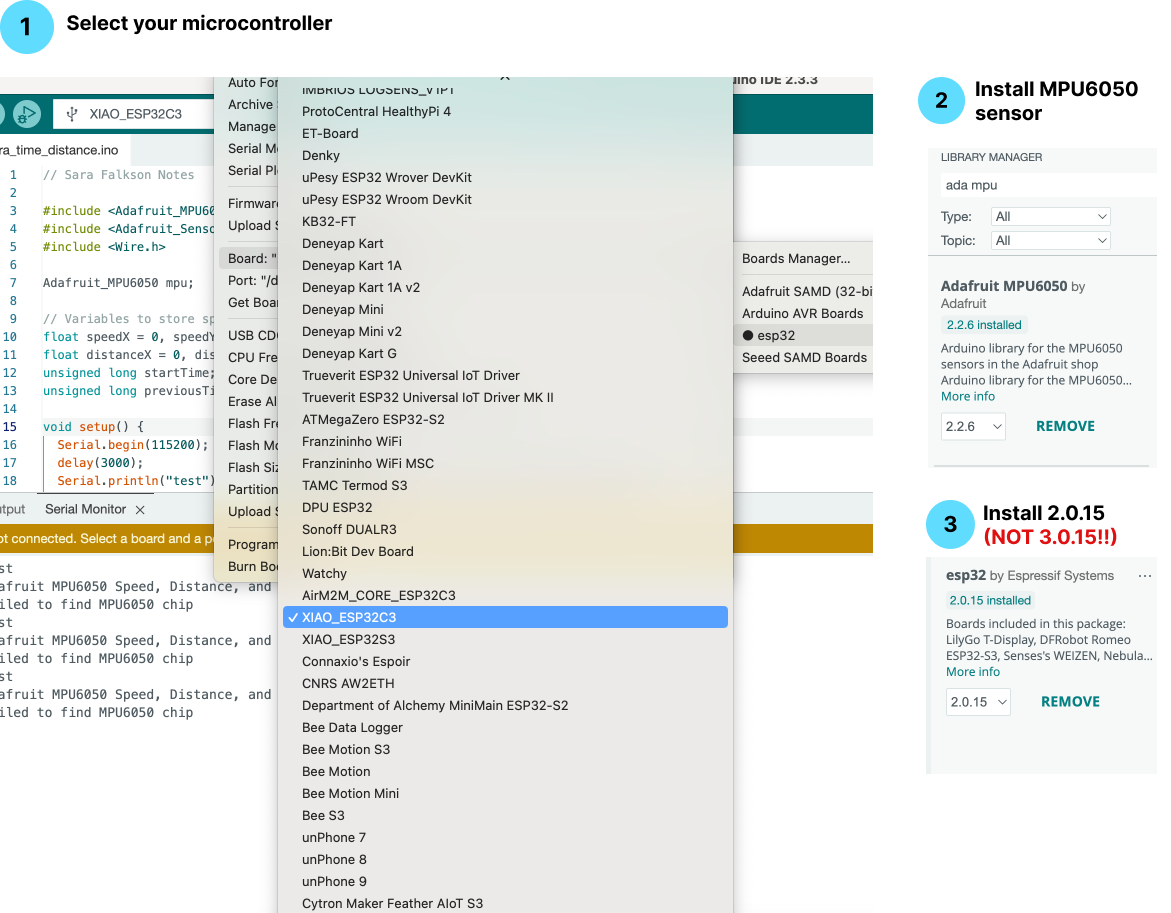
Set up hardware
Sadly, this did not work. I had a hard time figuring out why,
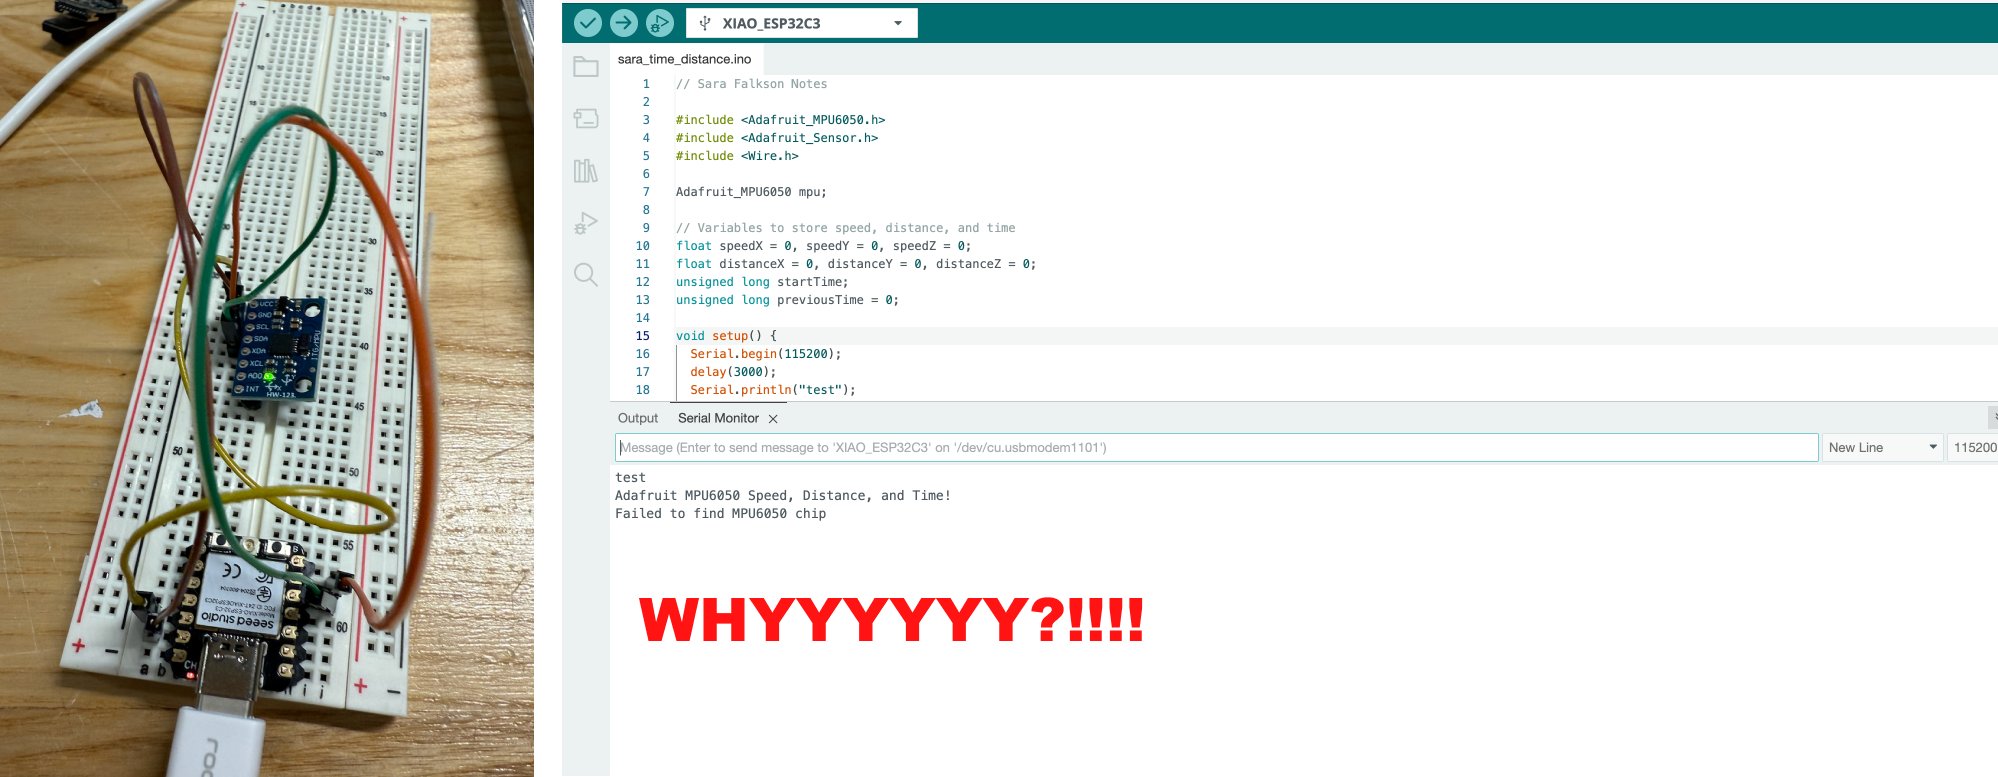
Let's just say... spiral development at it's finest.
After many tries, I had to scratch this process and download new libraries.
So... here's part 2:
ESP32C3 is not processing data from the accelerometer. I soldered the headers to my MPU6050, but I am not getting an updated output in my serial monitor.
I know my baud of 115200 was right too. I went to office hours to try to figure this out, and Leo was a HUGE help.
We did some testing, and decided to swap the ESP32C3 for the RP2040. One of the key differences between these microcontrollers is the access to Wifi,
but for my final project,
I likely won’t even need that. I plan to use an SD card to collect data from my accelerometer.
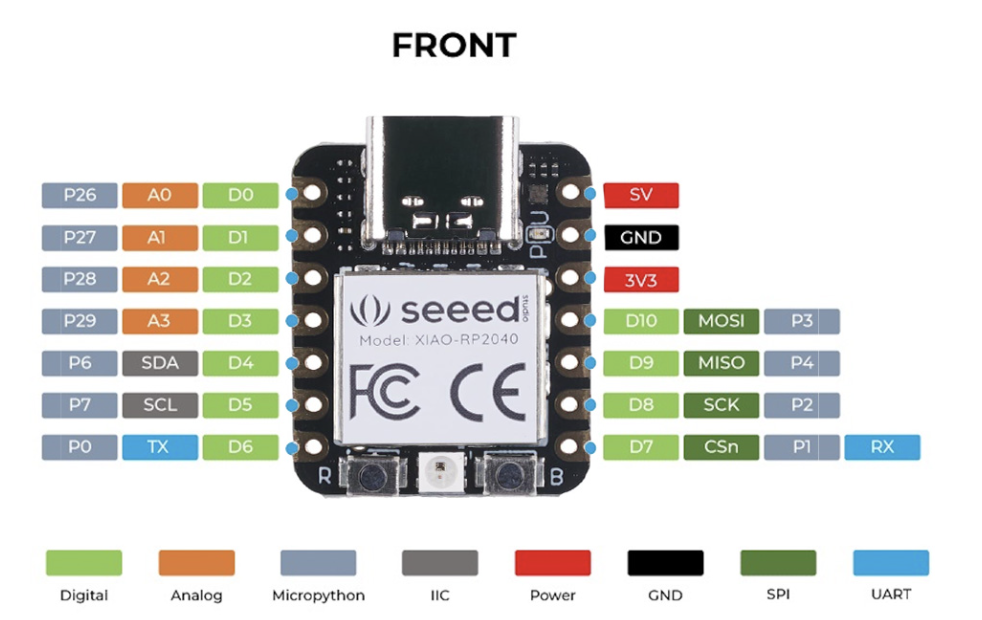
Once I switched to the RP2040, I had to update my pins on my breadboard for the I2C inputs (SDA and SCL).
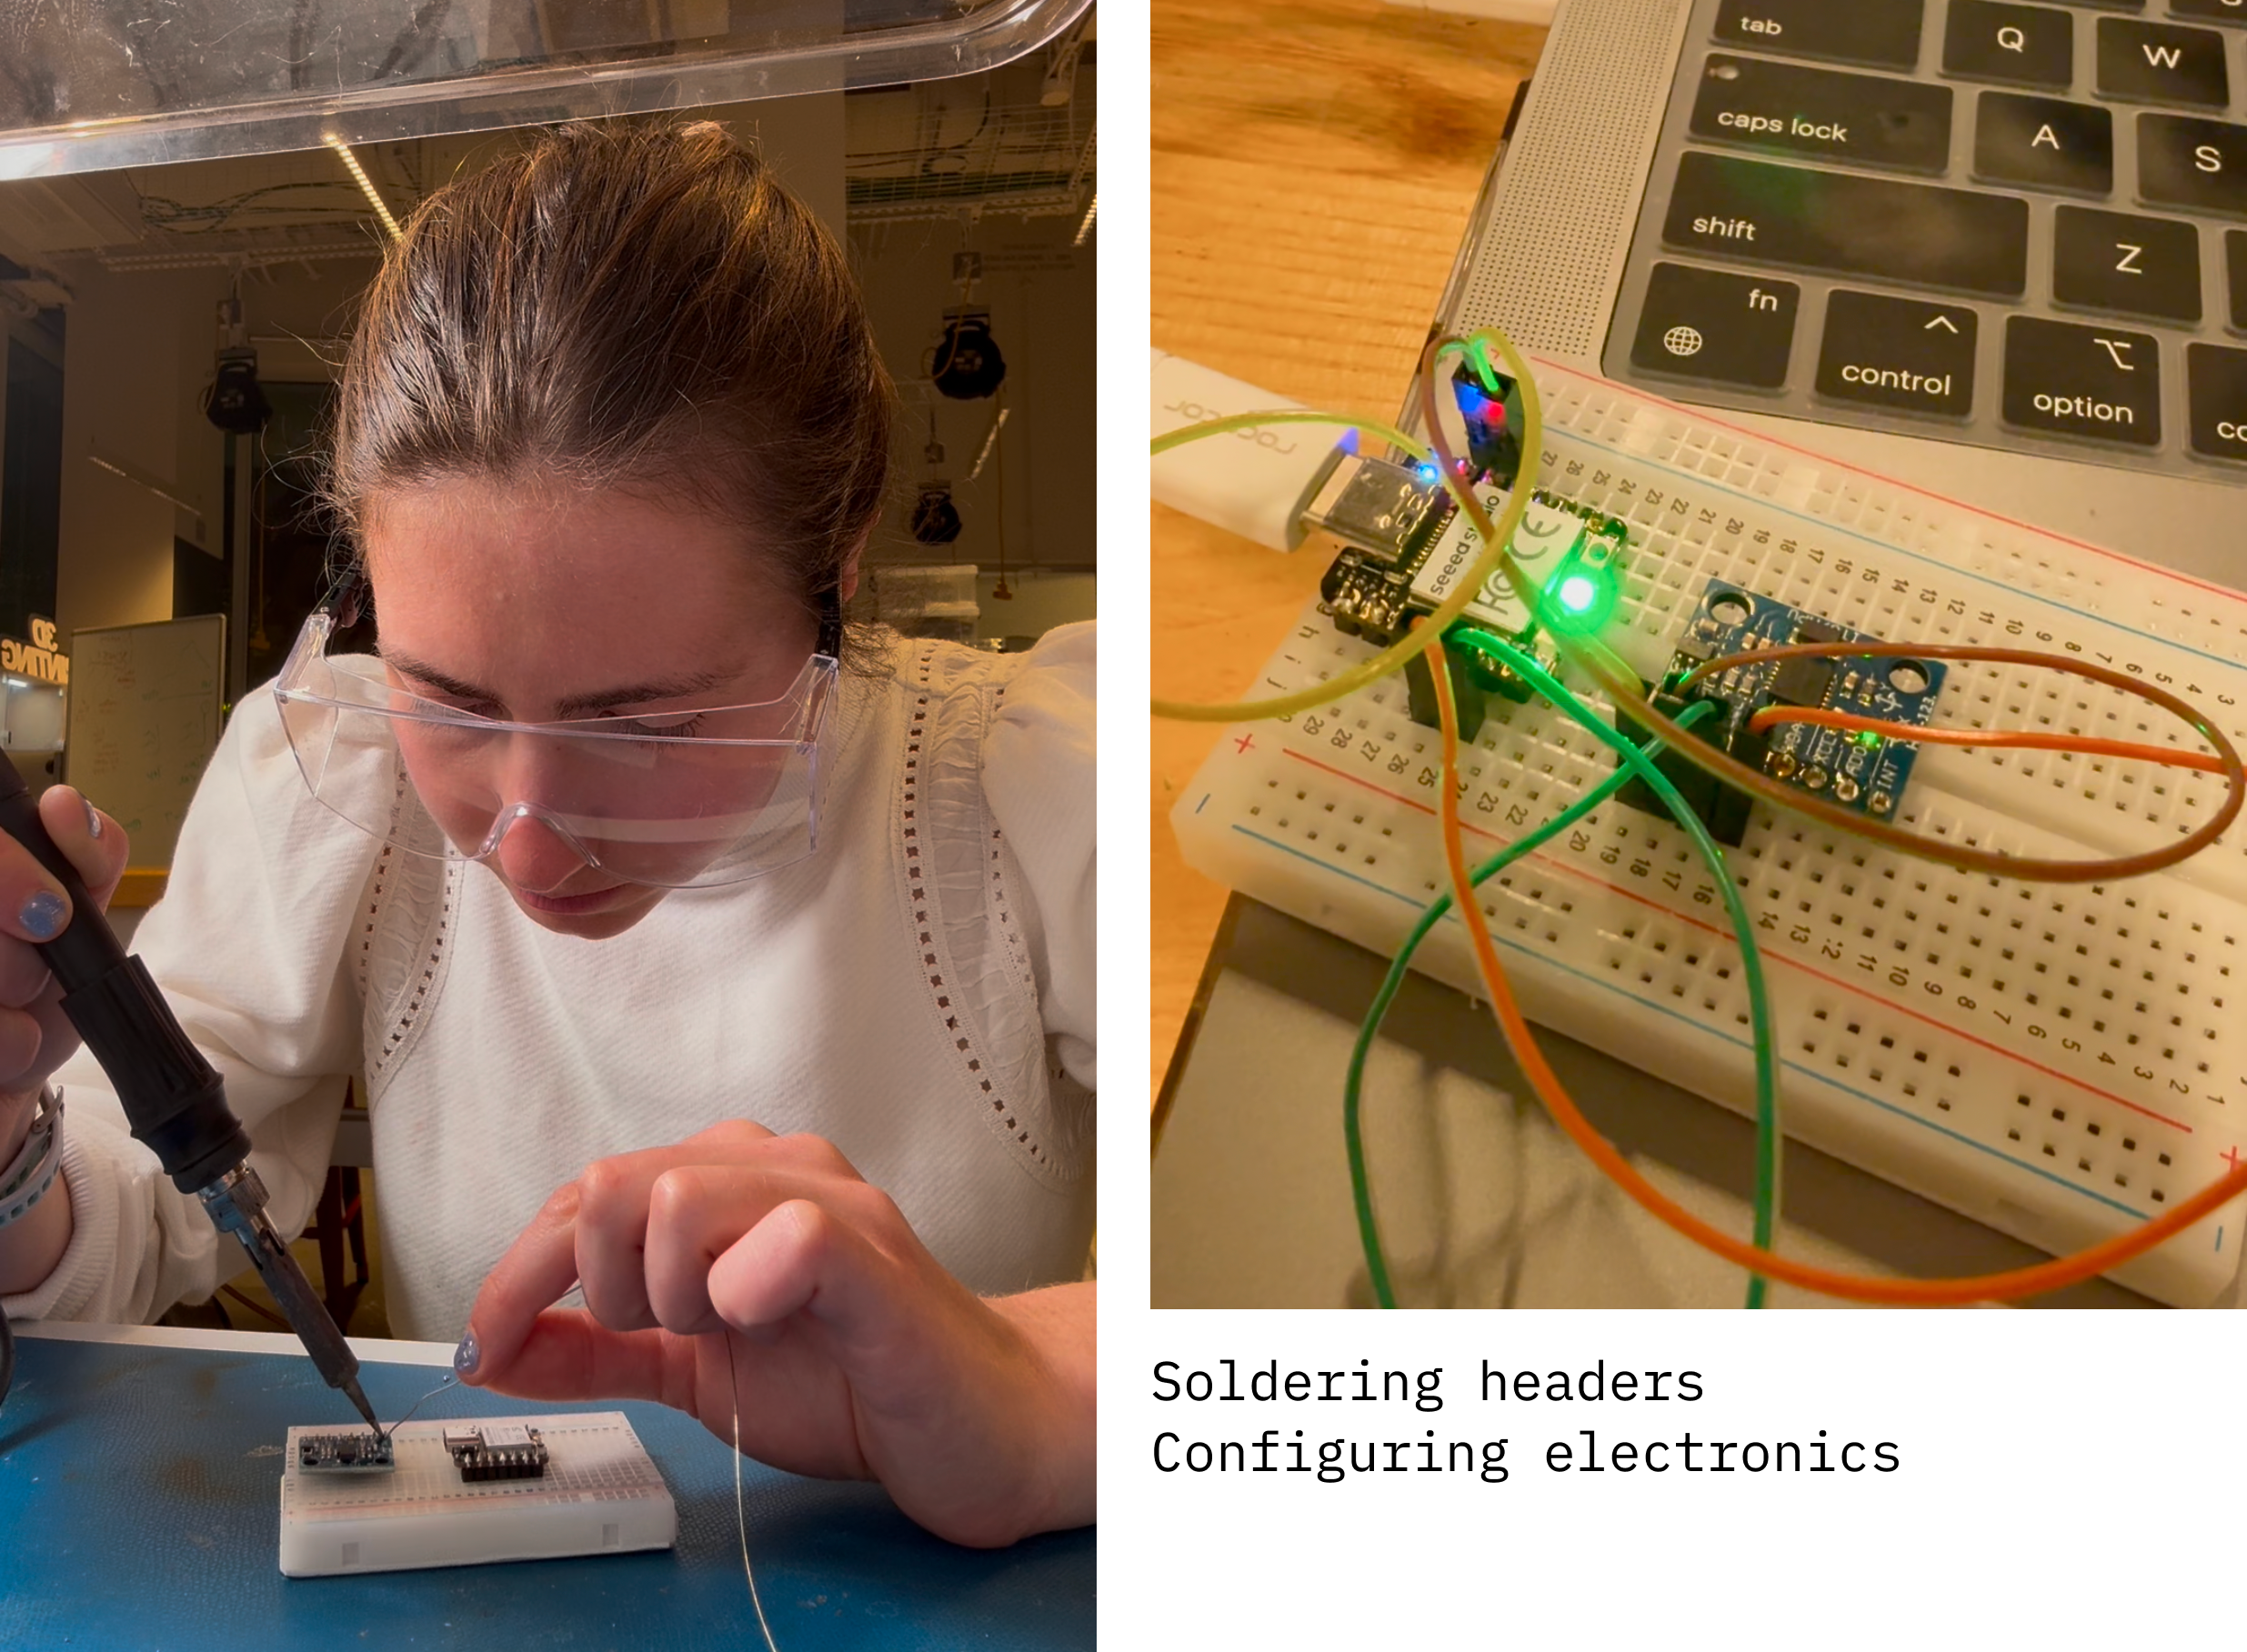
Once we made some headway on that front and I wasn't using a workout to connect pins, we started to see some progress.
I was constantly referring to the Arduino documenation while making this microcontroller switch (link to doucmentation).
the hello.ino code the Neil provided was very helpful too. Especailly when I wasn't sure on what exactly was the root problem,
working off of this samplr code was a great tool
Revisiting a few weeks later...
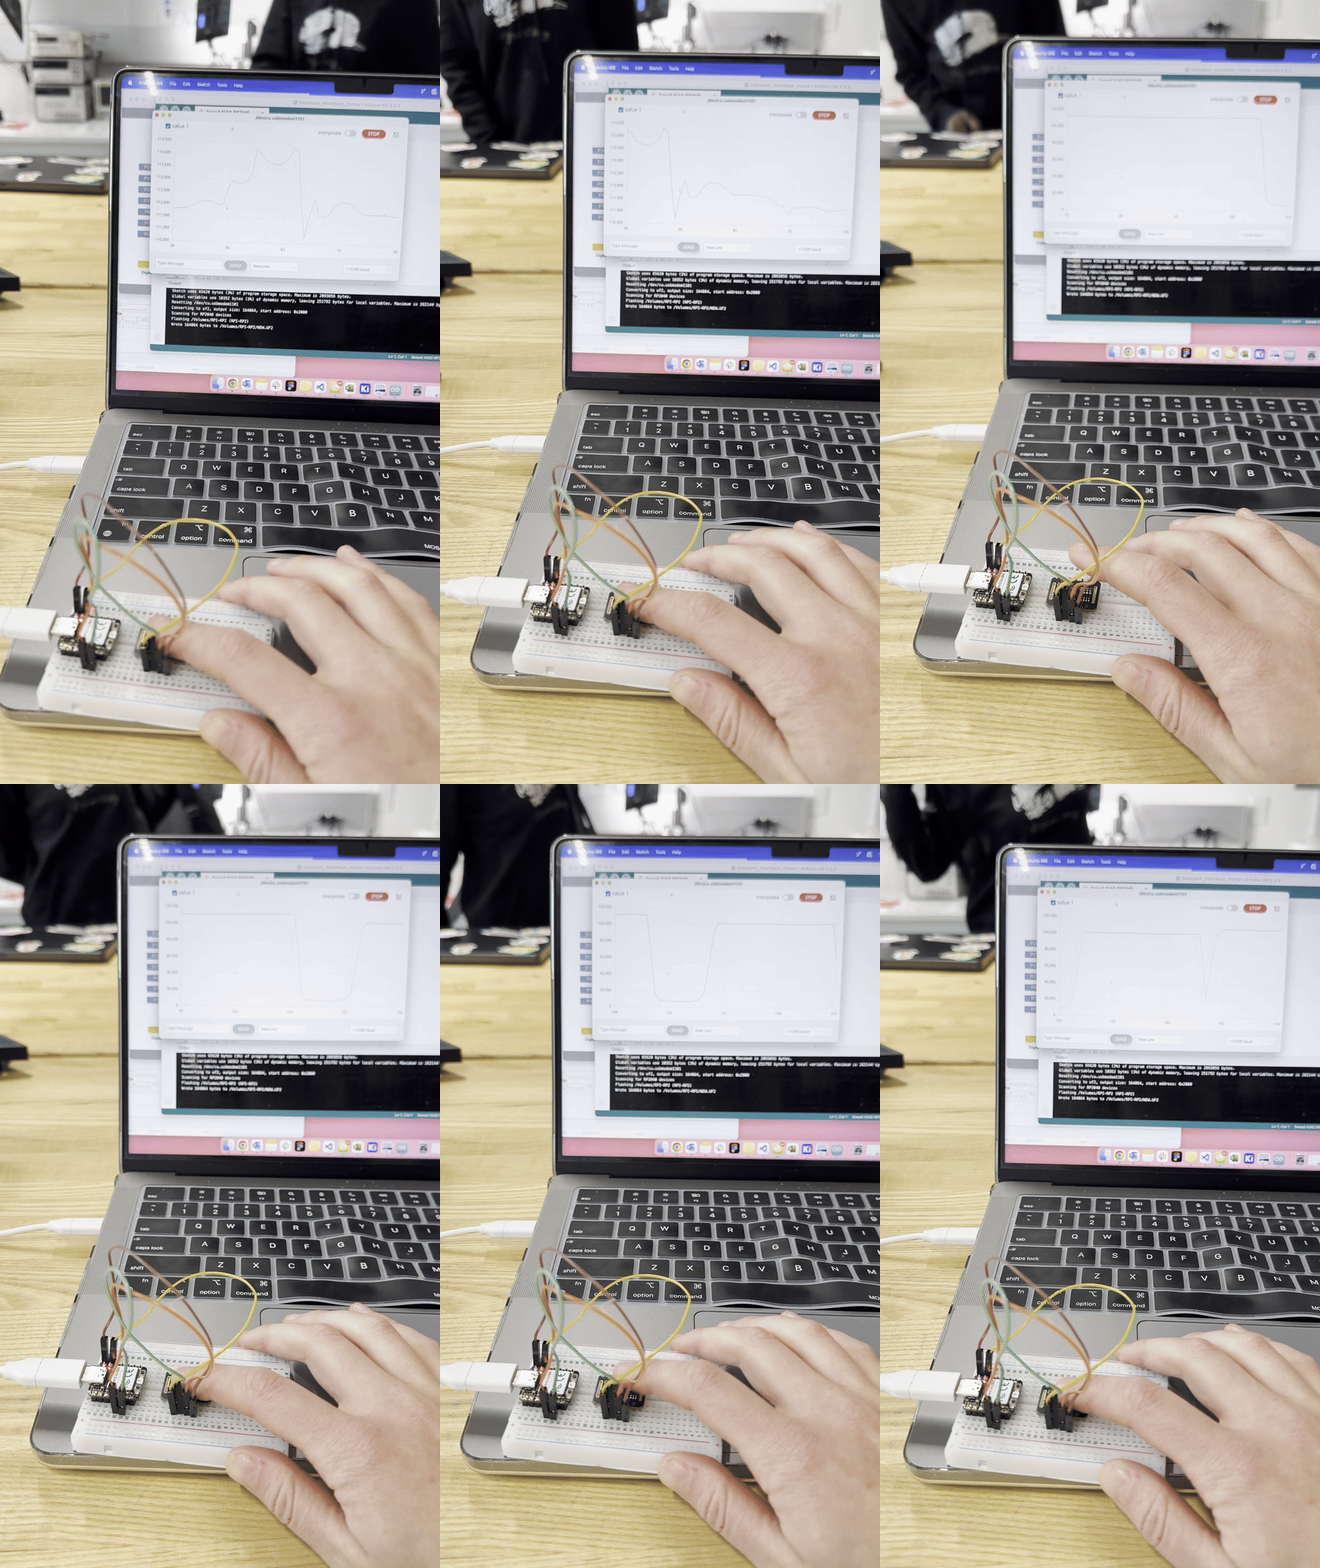
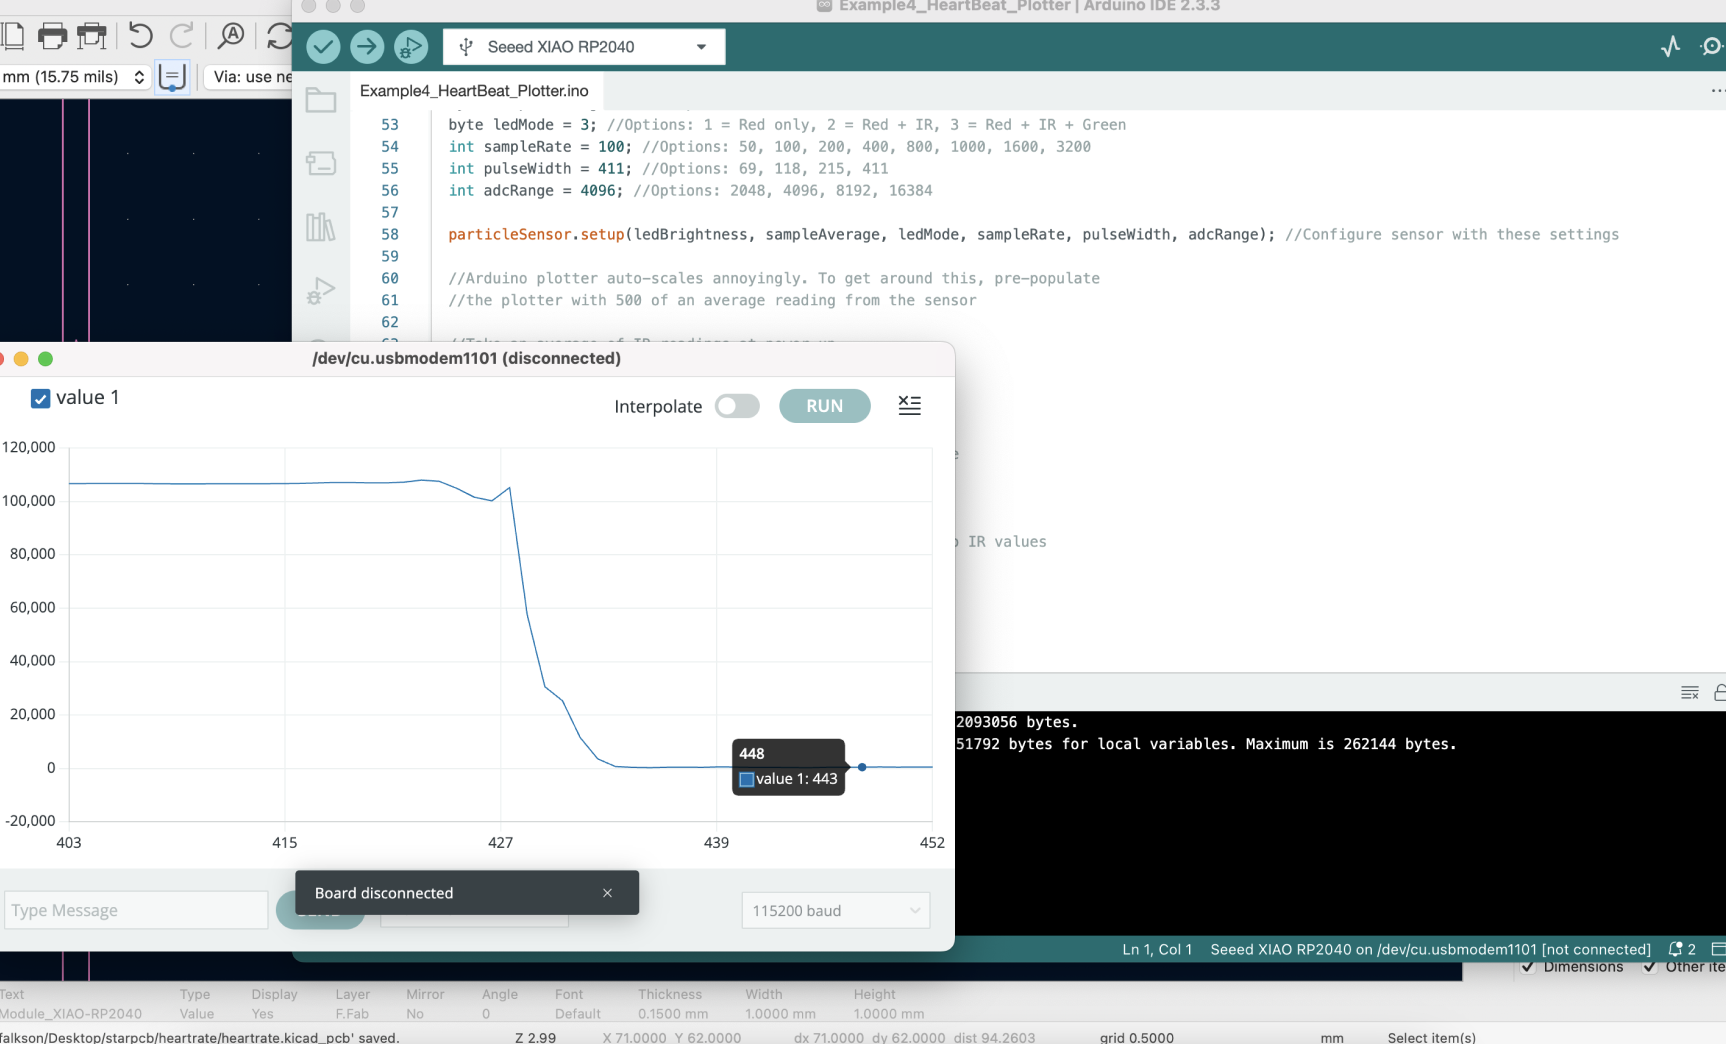
Hello again! I am revisiting input week with a WORKING heartrate monitor (MAX30102).
Super excited and getting the hang of working with i2c, soldering, and inputs/ outputs. Please see below for my Arduino code!
Probing Input Devices
The group project was to probe input devices for digital and analog signals. We used an oscilloscope to measure varying signals.
Probing an input device's analog levels and digital signals using an oscilloscope is a fundamental technique in electronics and circuit analysis.
An oscilloscope is a versatile instrument that allows for visualizing and measuring electrical signals over time.
