GROUP ASSIGNMENT
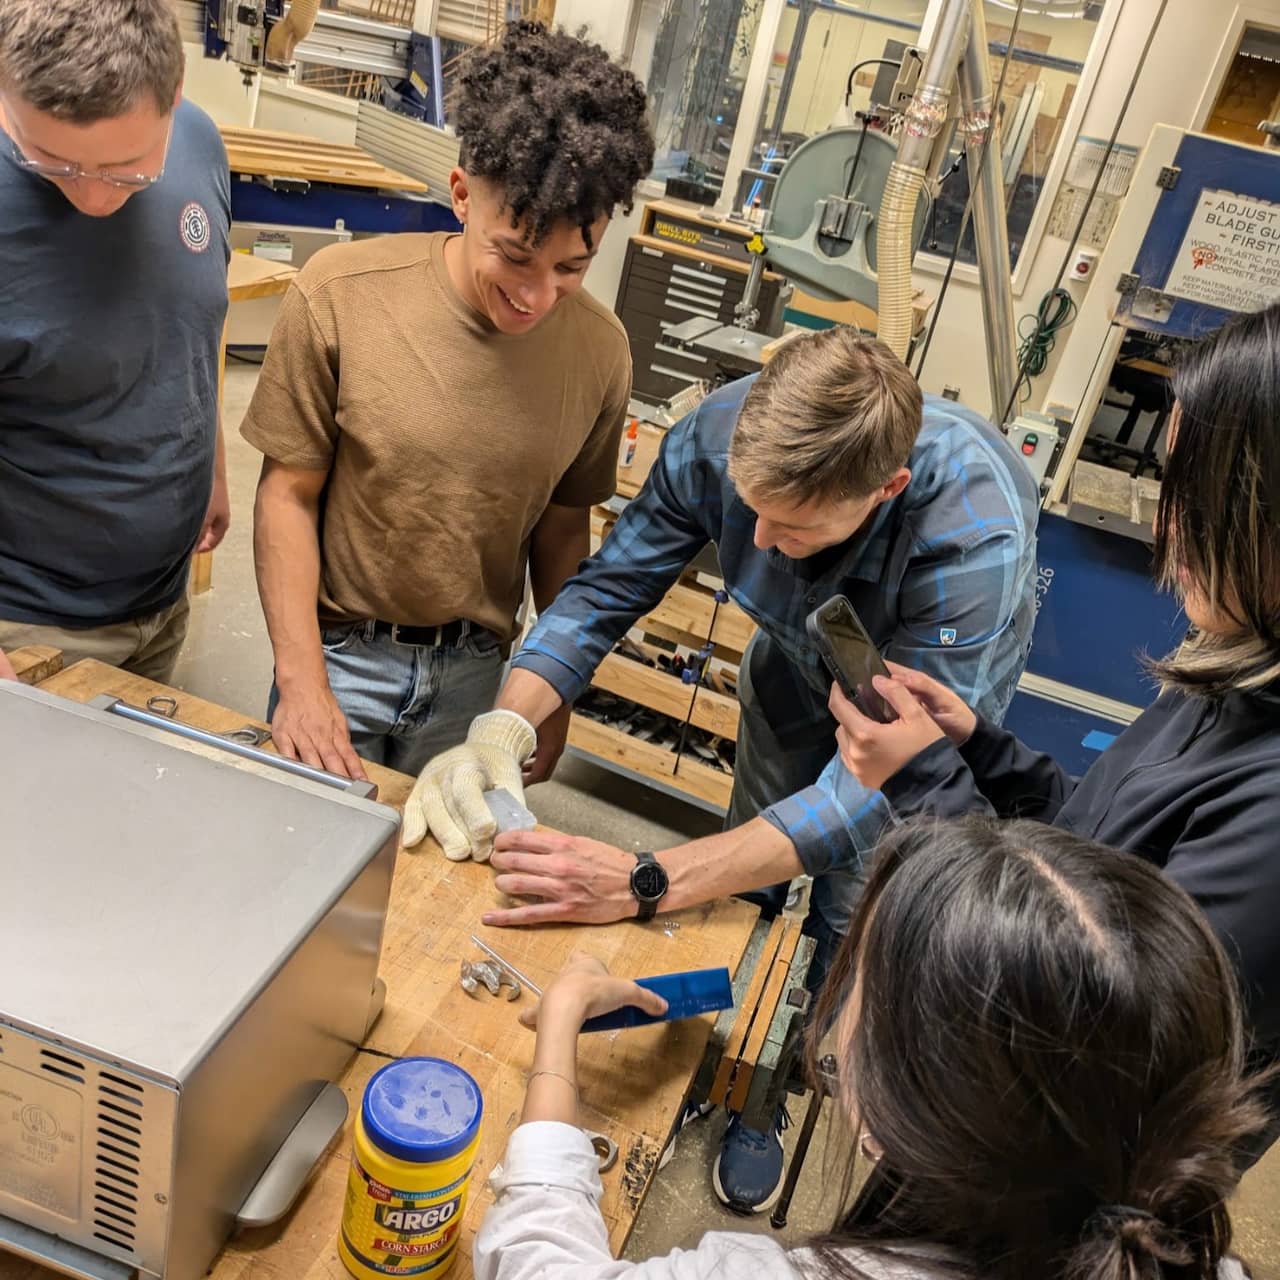
With the Architecture Section, we went over the process of molding and casting, HTMAA-style, which is covered in detail in https://archshops.mit.edu/tutorials.php . Thanks to Diana and Jennifer for showing us the way!
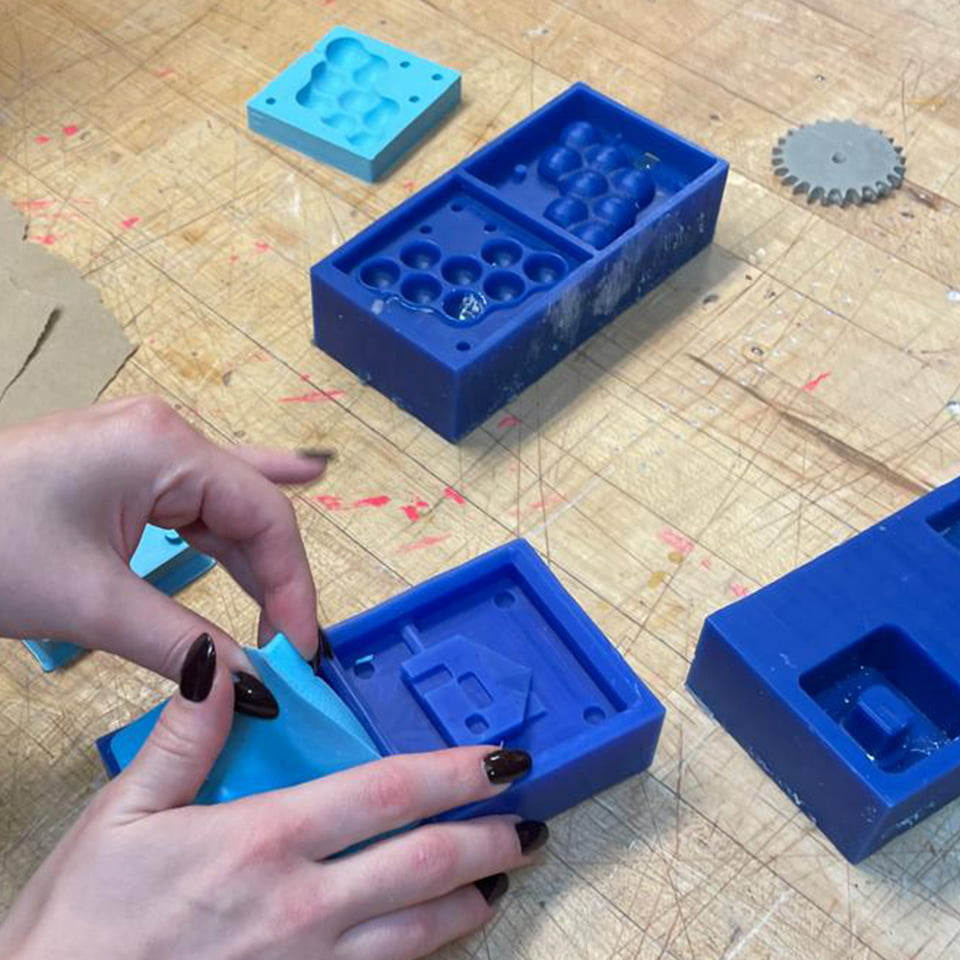
First, we looked over a sample process preped by Jen. We dsicussed the constraints of out CNC machine, based on its degrees of freedom and bit resolution in relation to the wax block, which set fabrication-driven design constraints and afect the quality and resolution of the negative mold.
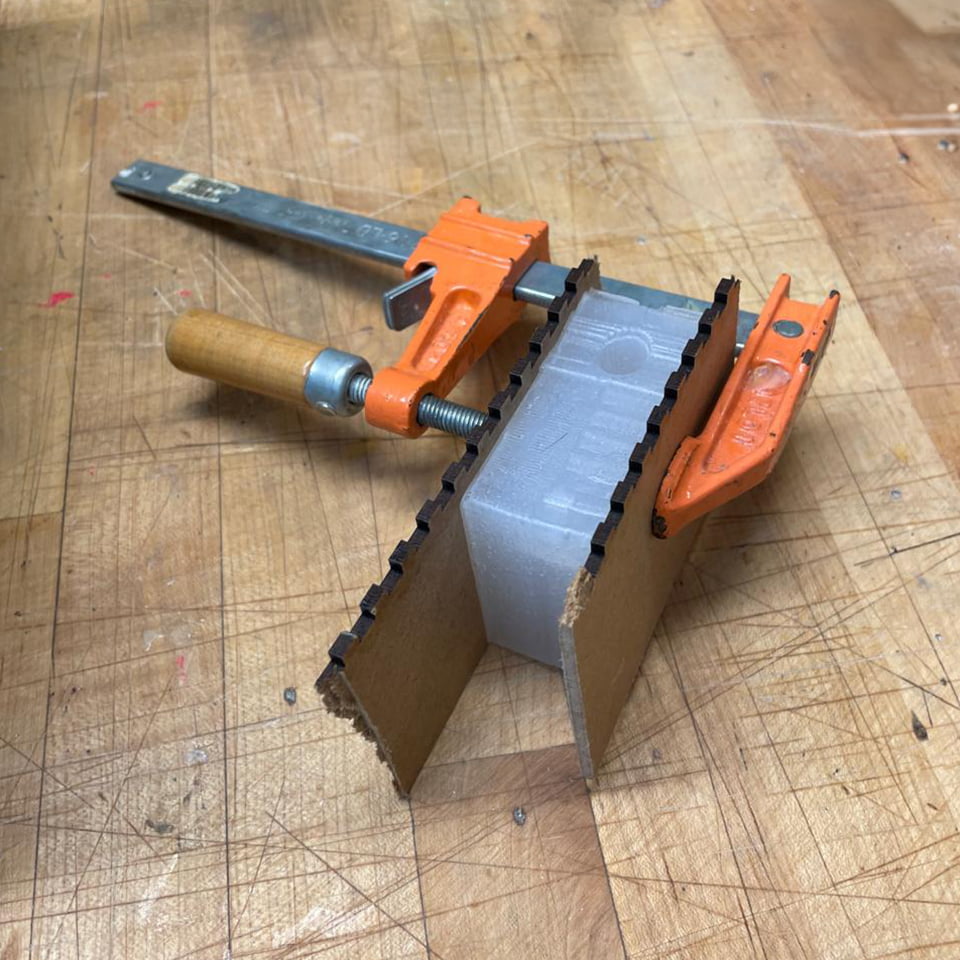
Then, we examined a series of wax and Oomoo samples. We discussed the process of mixing and pouring the Oomoo silicone, and how to ensure the material filled all crevices. Finally we discussed curing times (based on the product's spec sheet) and mold extraction strategies, like leaving chanfer detailes in the mold's edges.
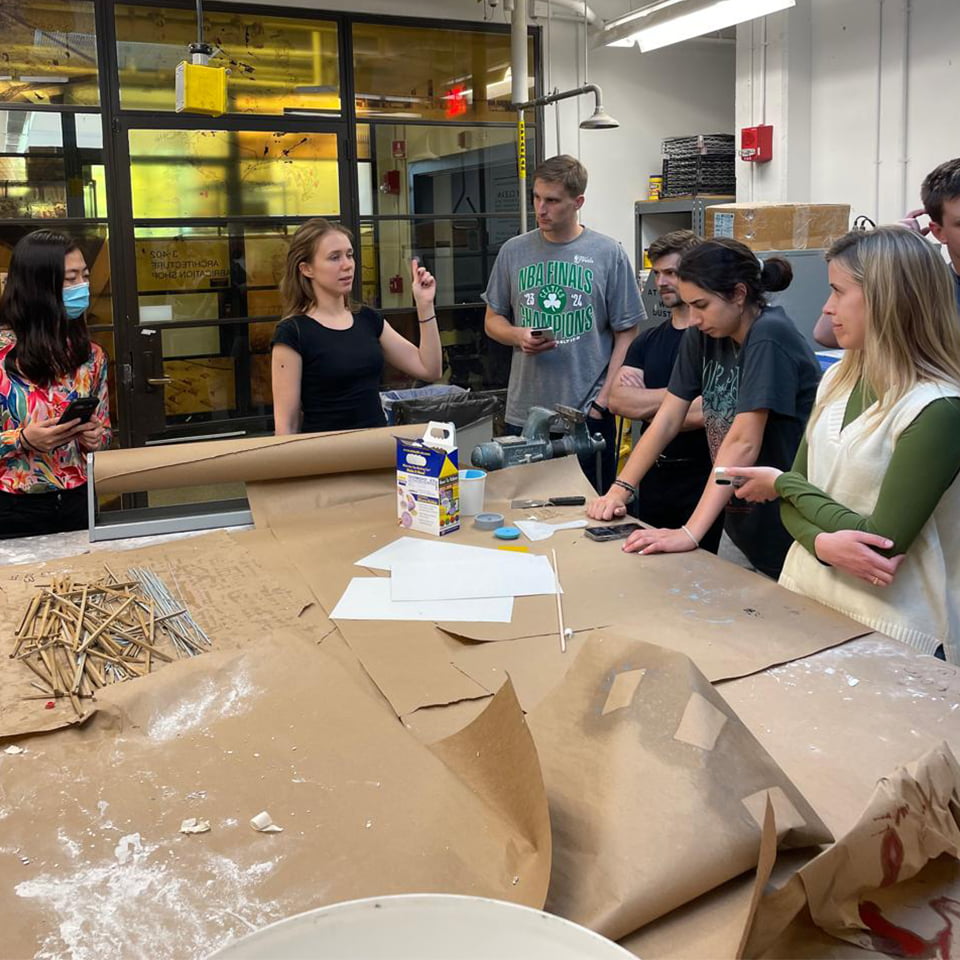
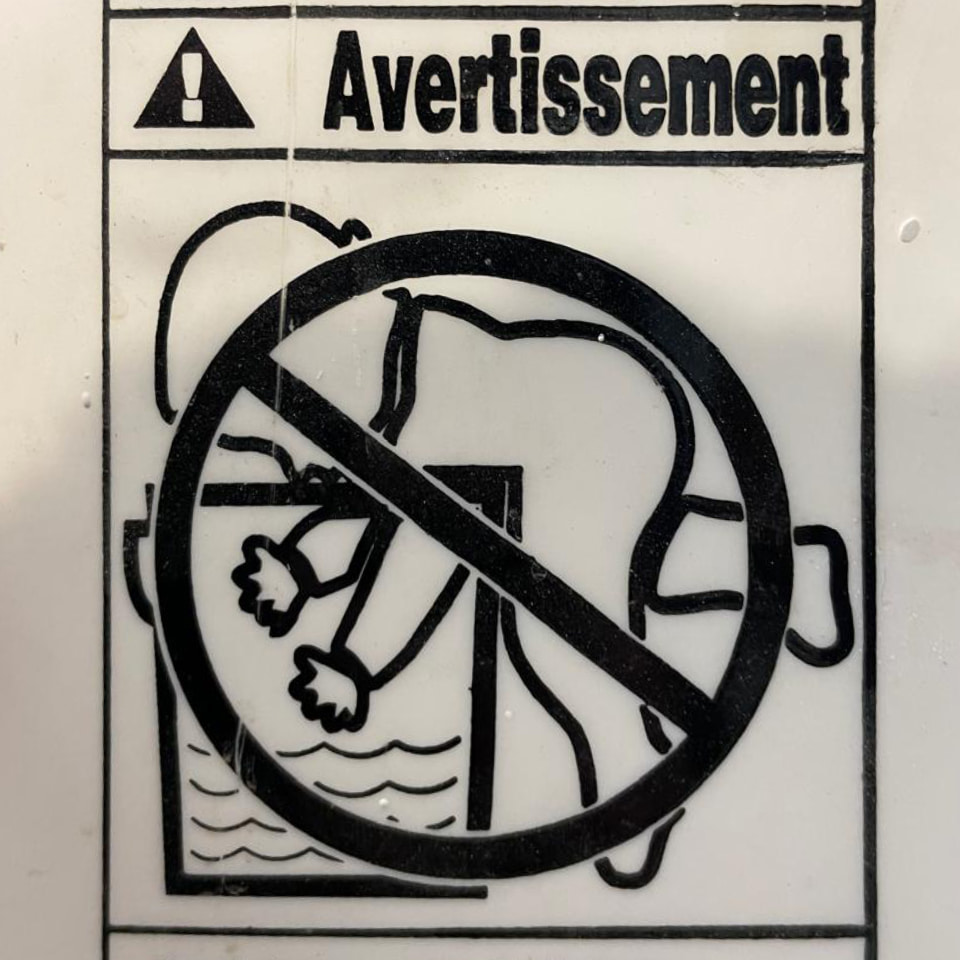
On a separate session with Diana, we made ran a sample Oomoo cast. We discussed a series of tips for extracting bubbles and using the arch space. Also, do not add babies to the mix.
MOLD A
Cnc-Wax -> Flex Mold
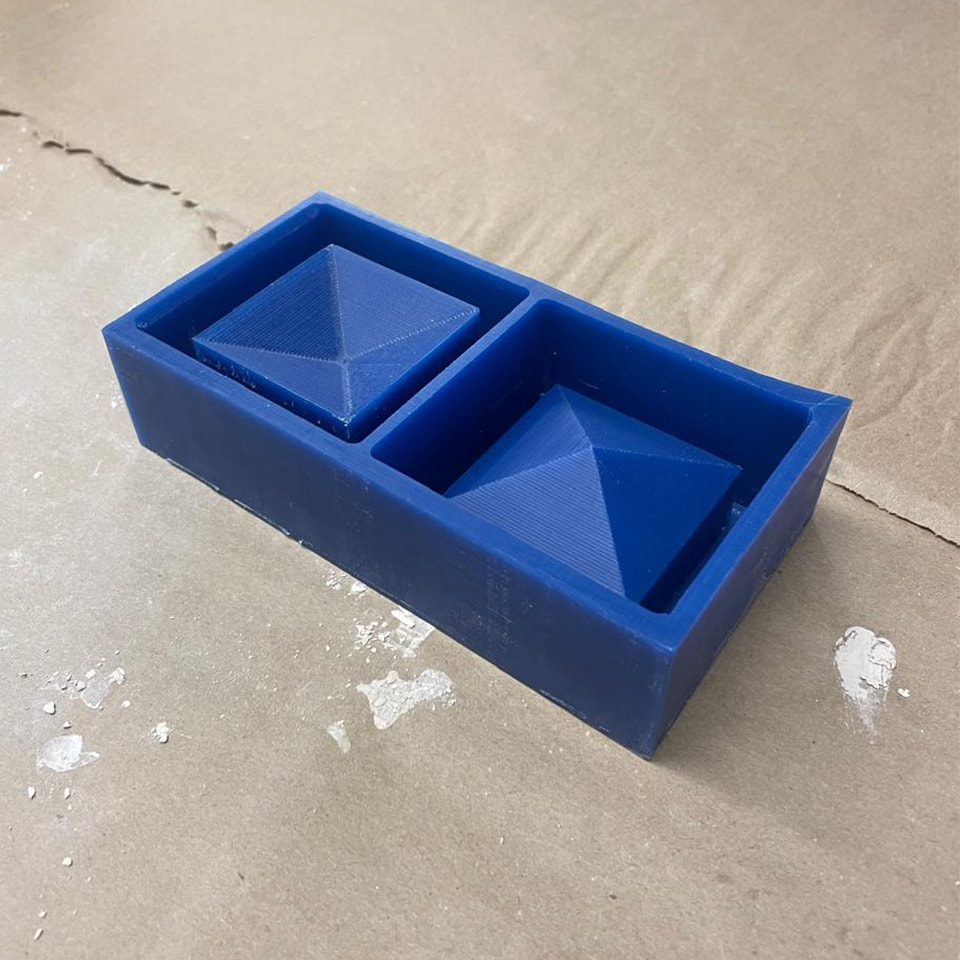
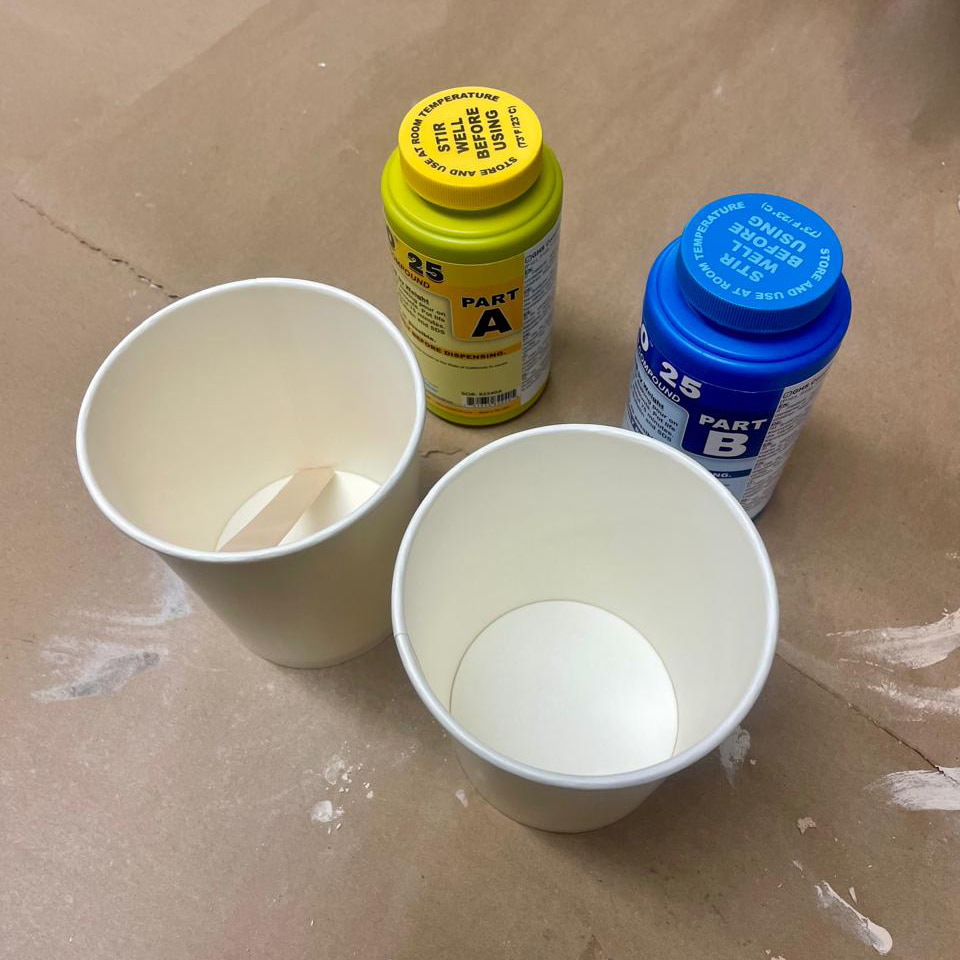
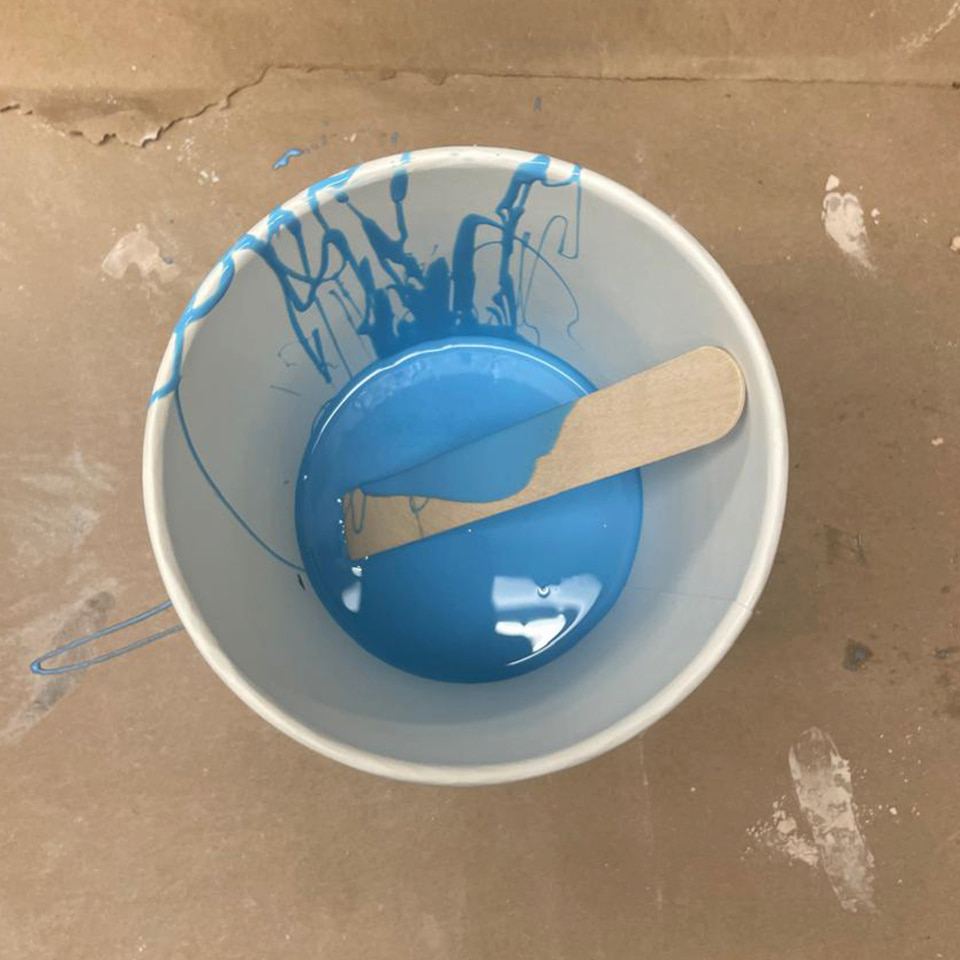
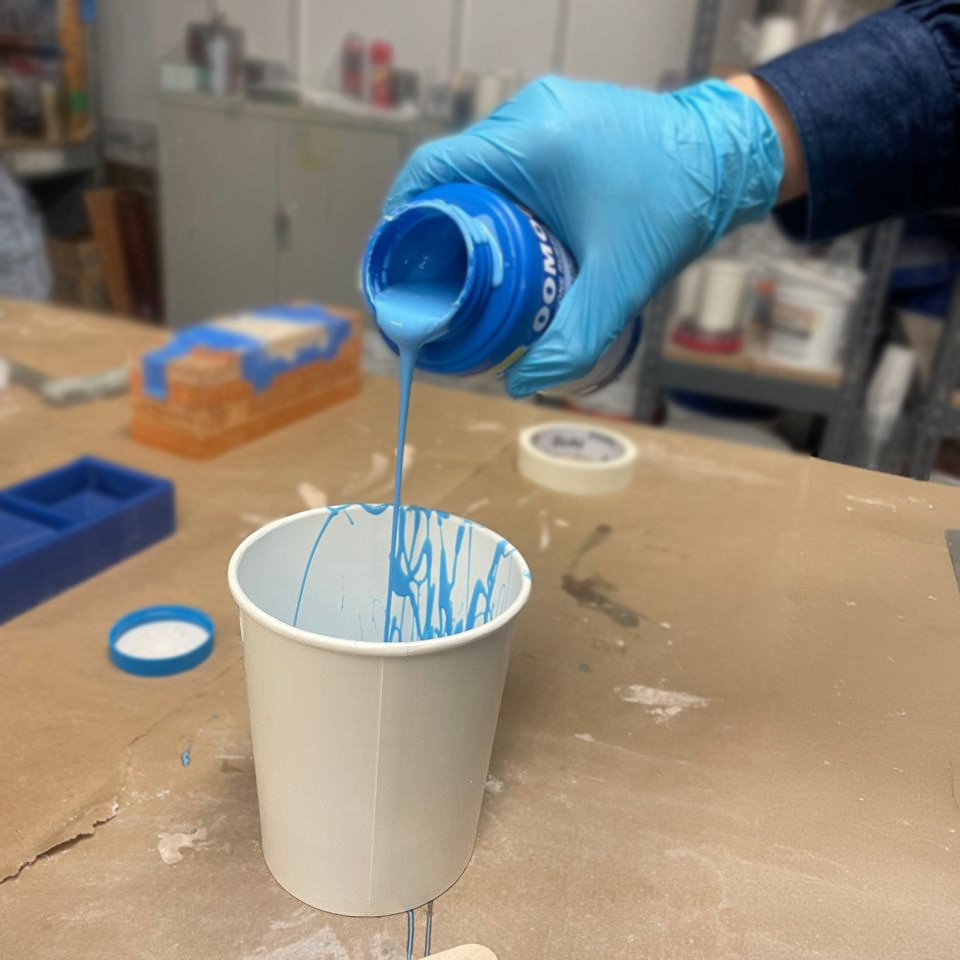
With Jen, we revised our negative mold designs, set the toolpaths for the cnc-milling, and created a wax mold. I mixed the the Oomoo in equal parts, making sure they were properly stirred, and then pour them together, avoiding the creation of bubbles.
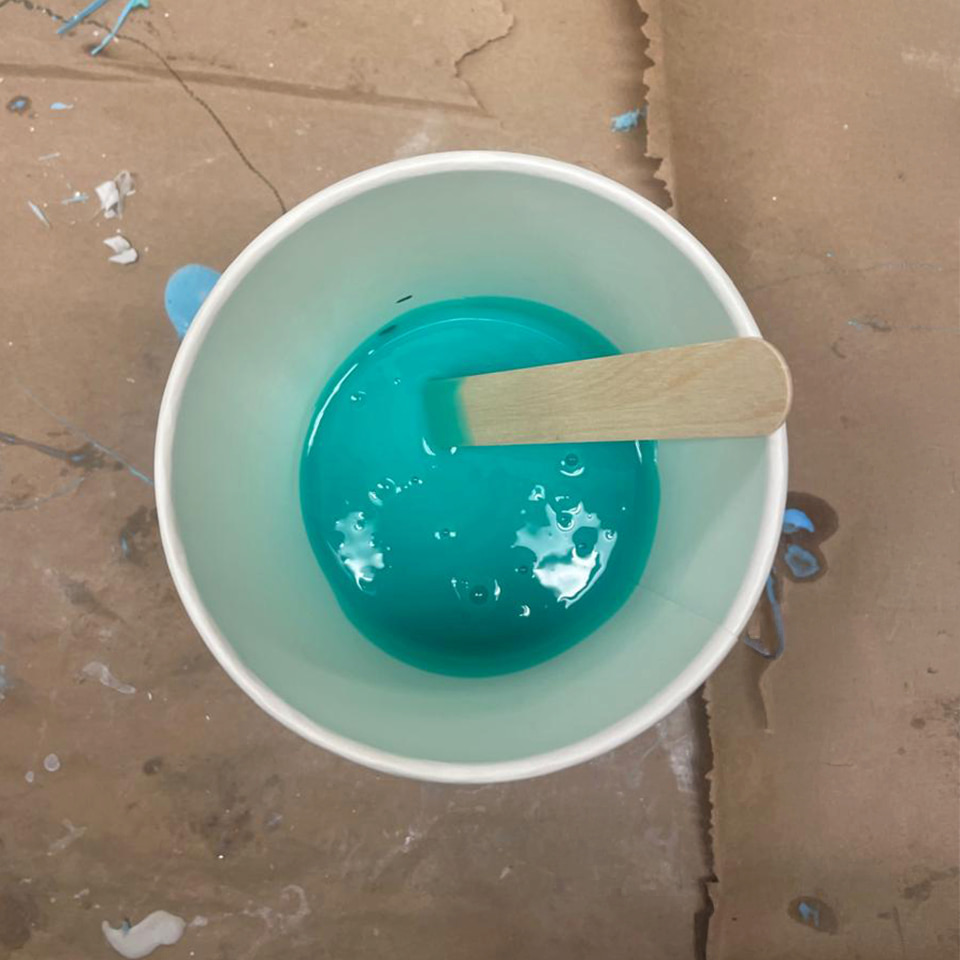
Next, I poured the Oomoo in the mold in a small constant stream that would not capture air. Ten, I tapped the mold on the table to release bubbles.
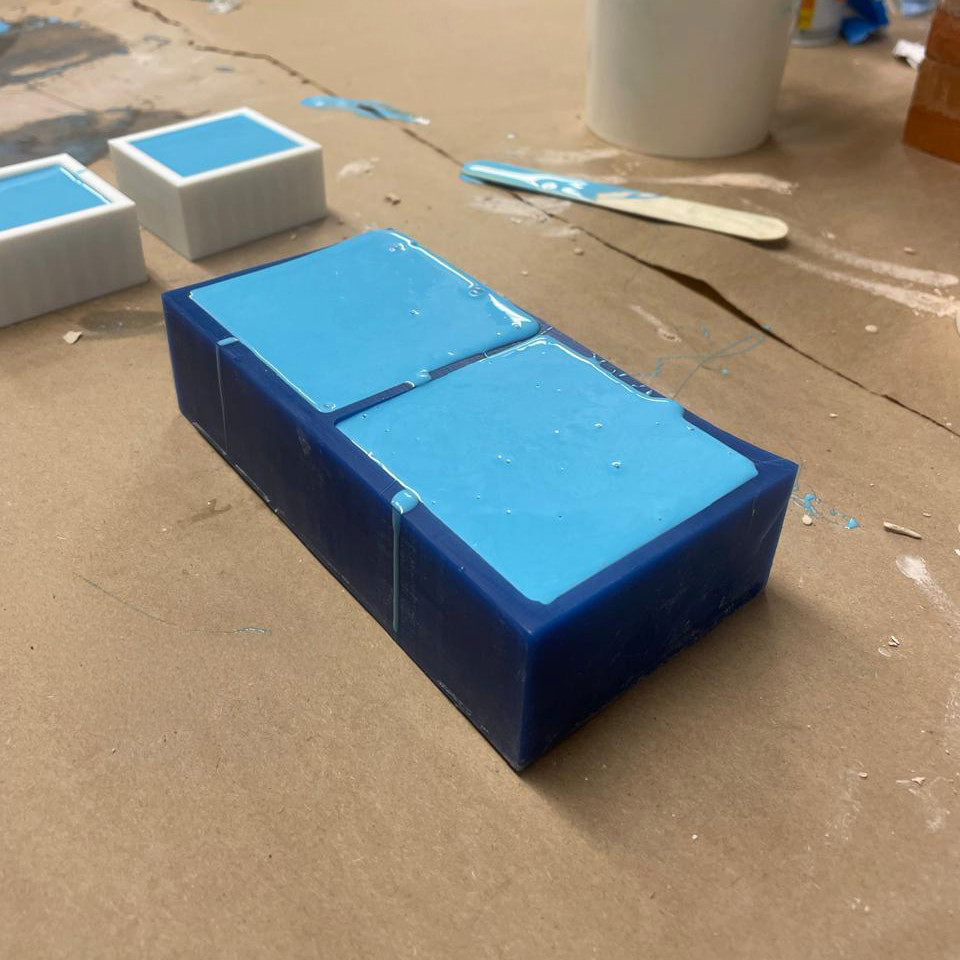
MOLD A
Casting
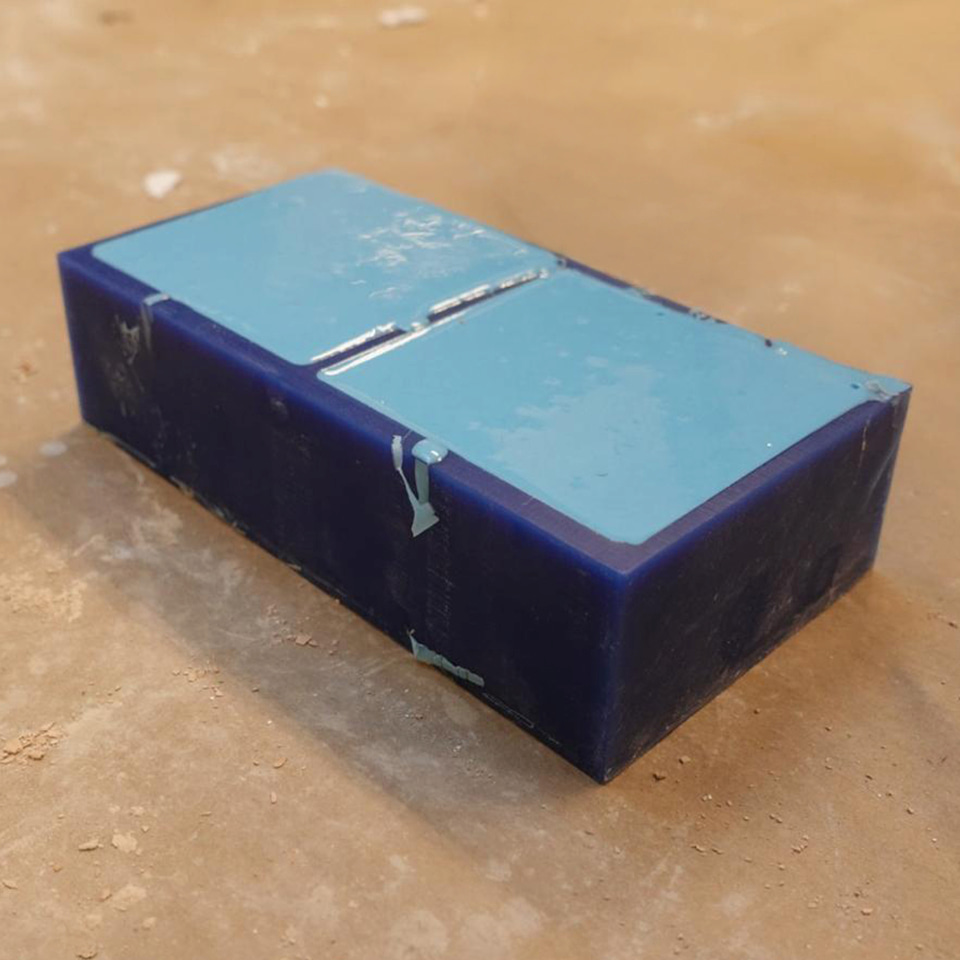
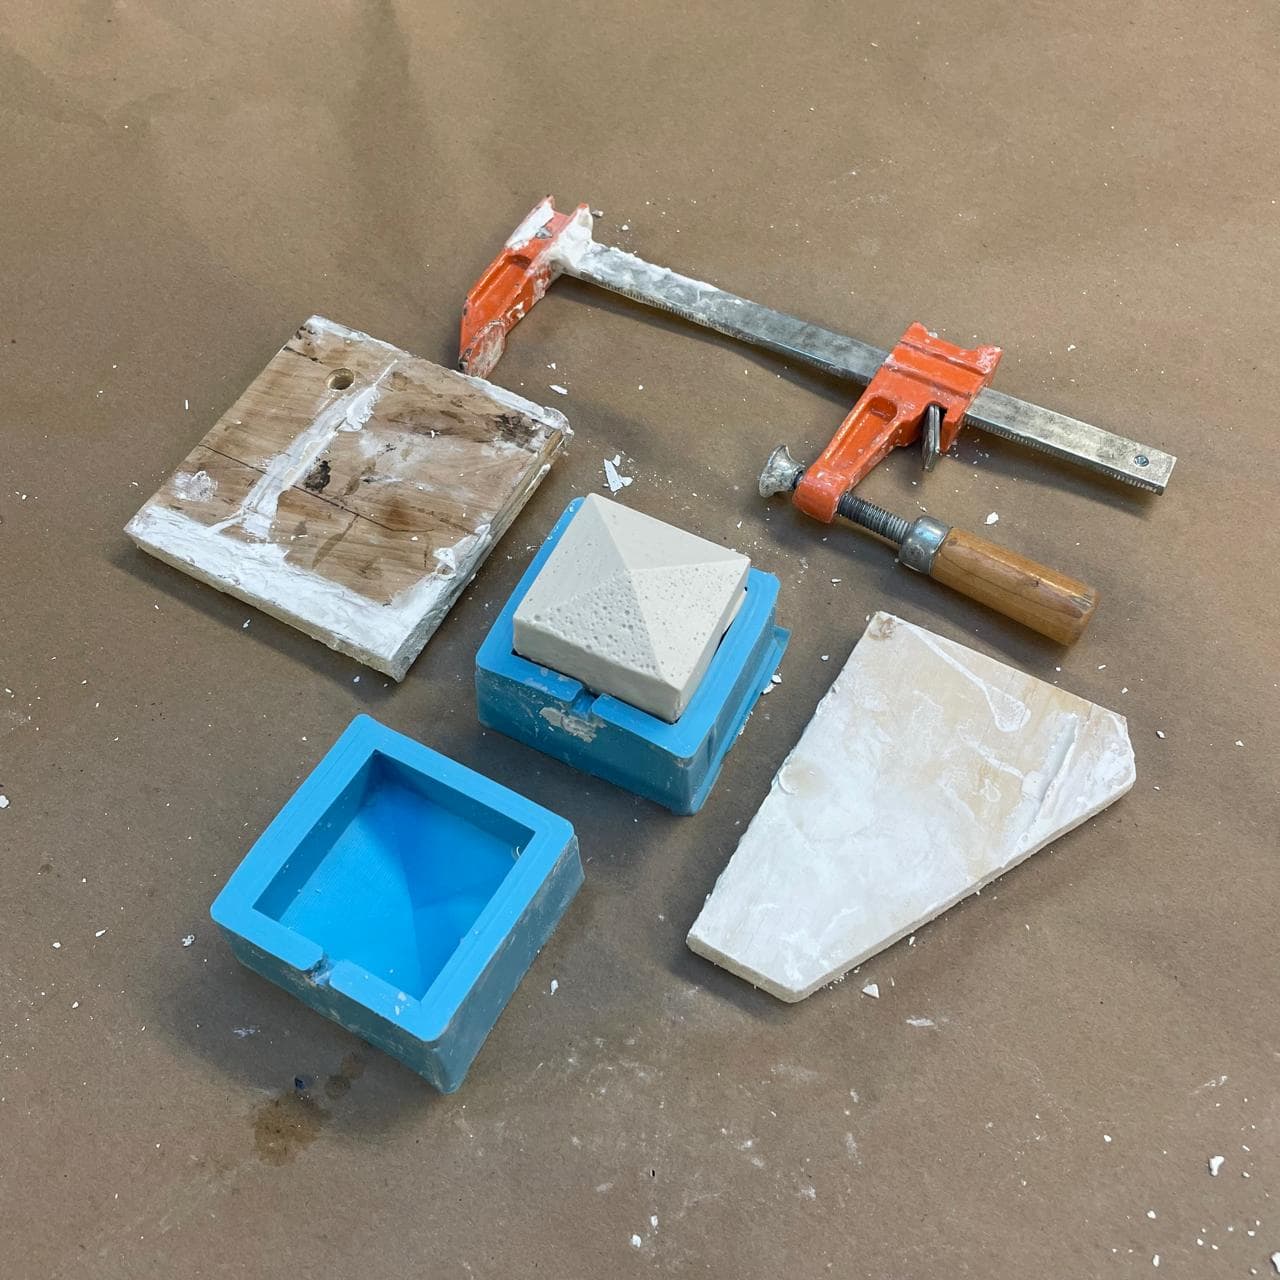
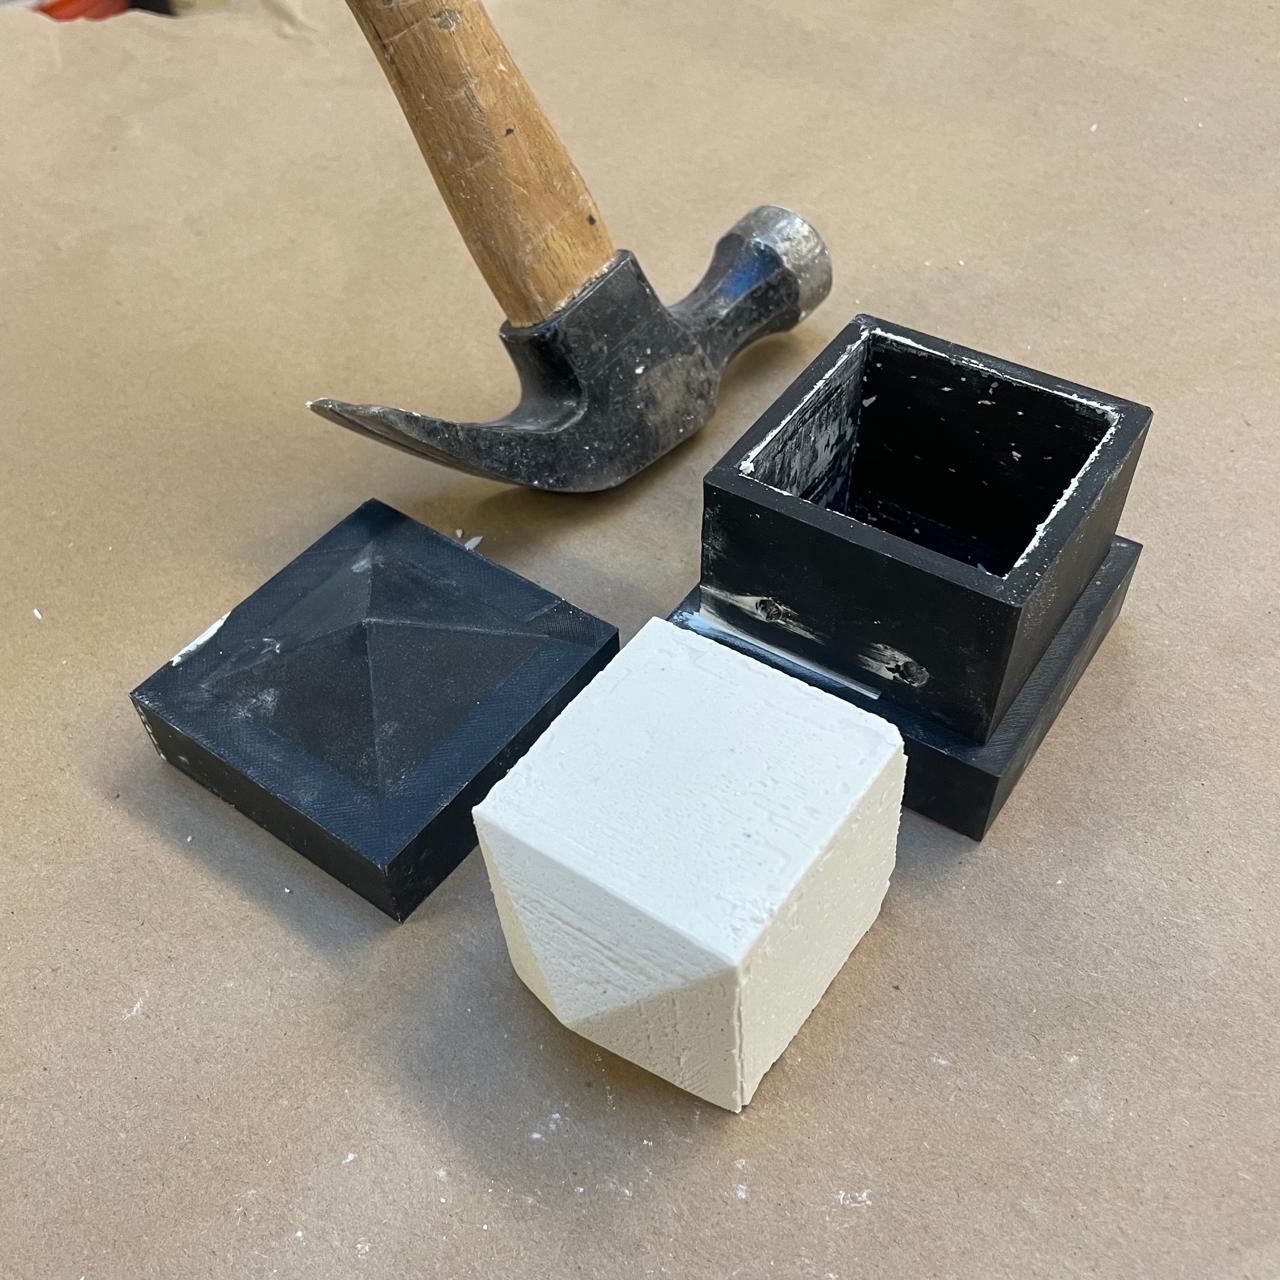
Releasing the Oomoo mold was the first step. The chamfered edges of the wax mold proved useful here, allowing me to remove the silicone mold smoothly. The edges ensured the silicone didn’t catch on the mold, preserving the sharpness of the details and avoiding any damage.
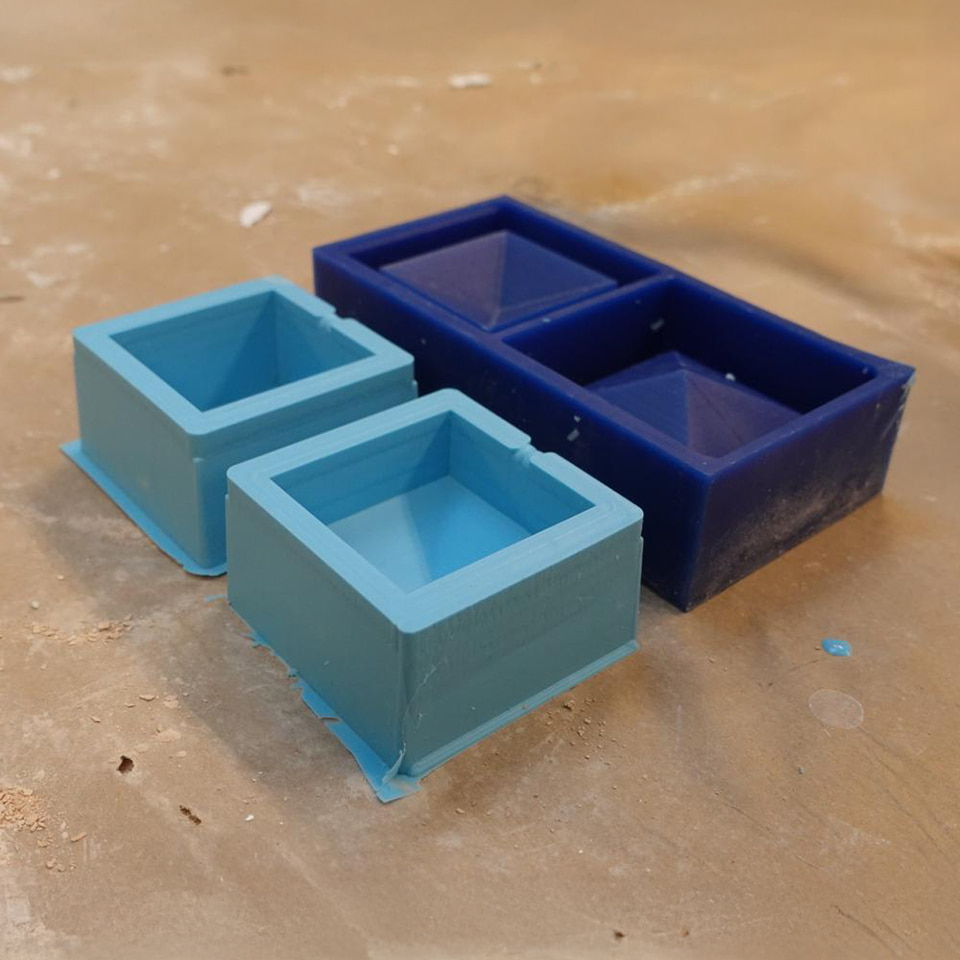
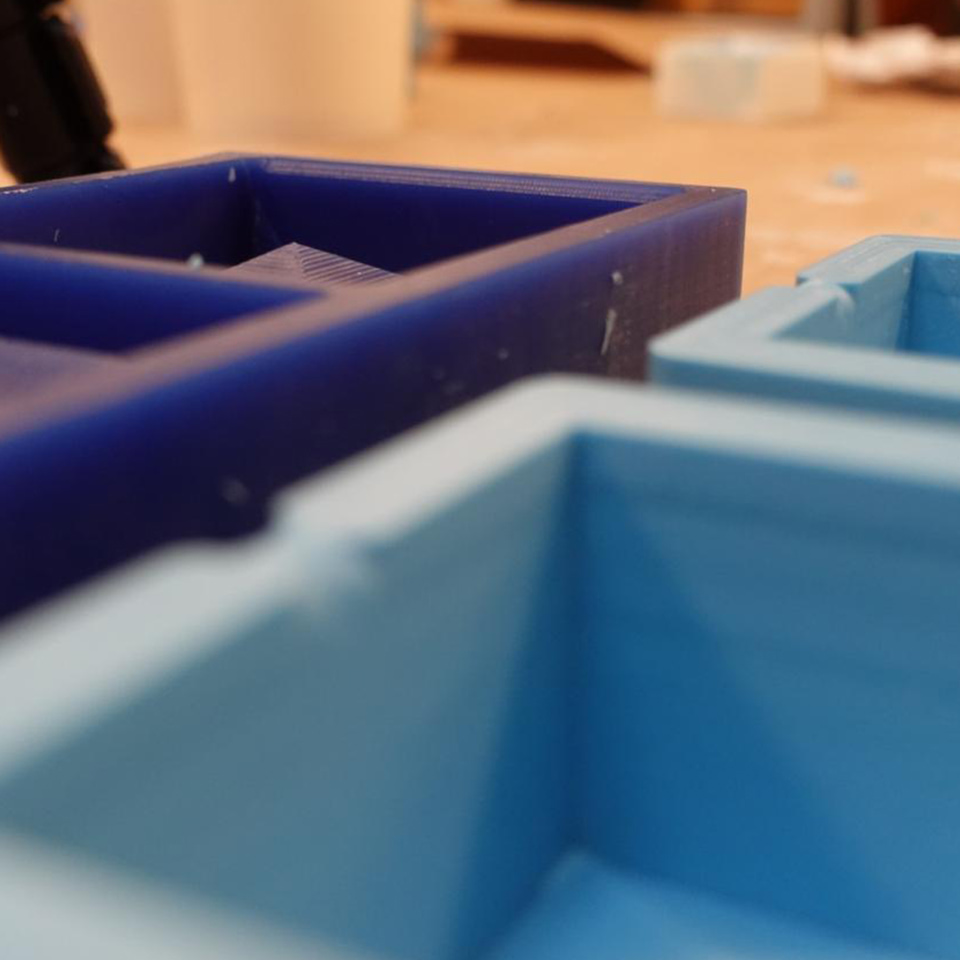
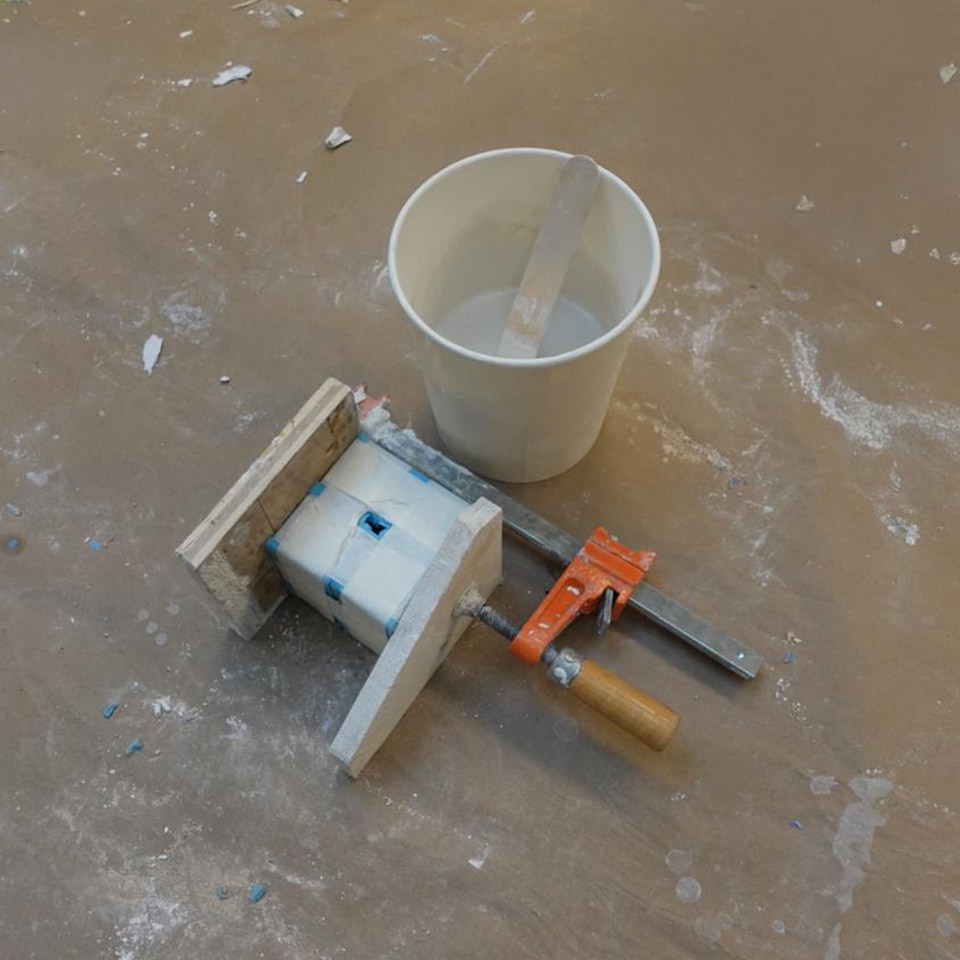
Clamping the two mold pieces together was tricky since the model had no guide pins. Aligning the halves required extra care, and without those guides, it was hard to ensure perfect alignment, which added an extra layer of difficulty to this step.
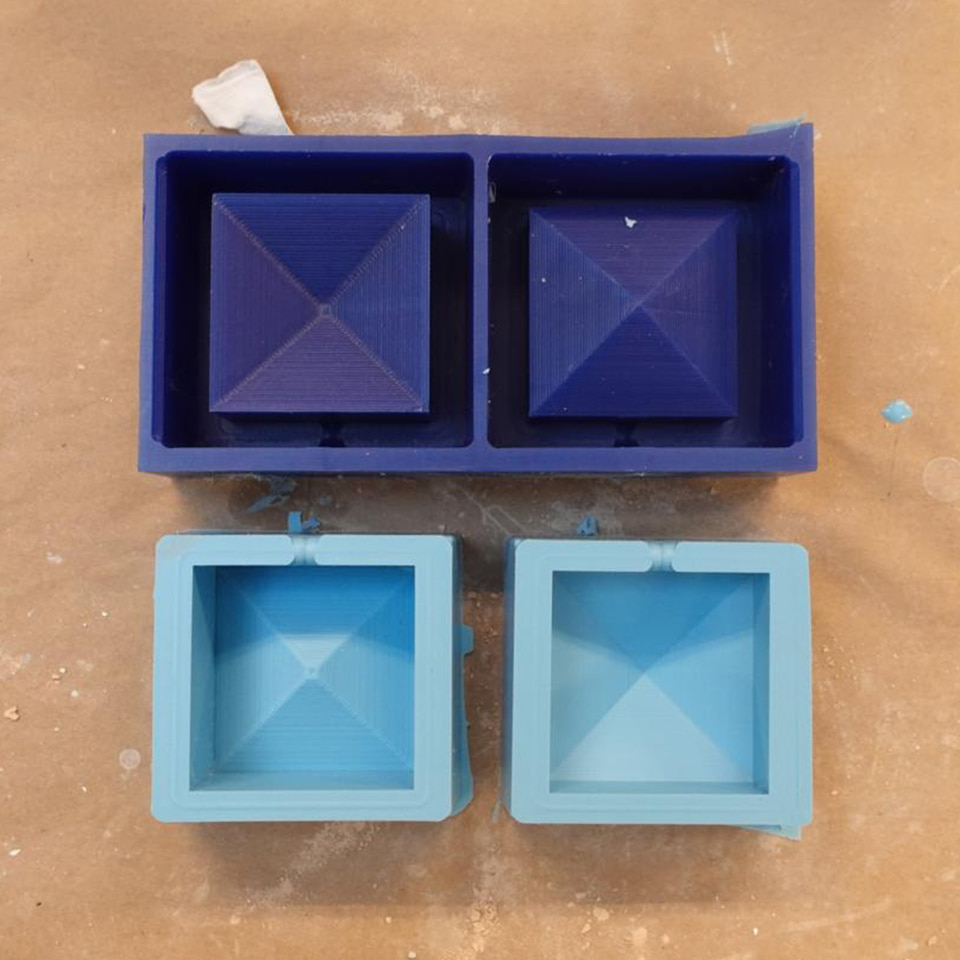
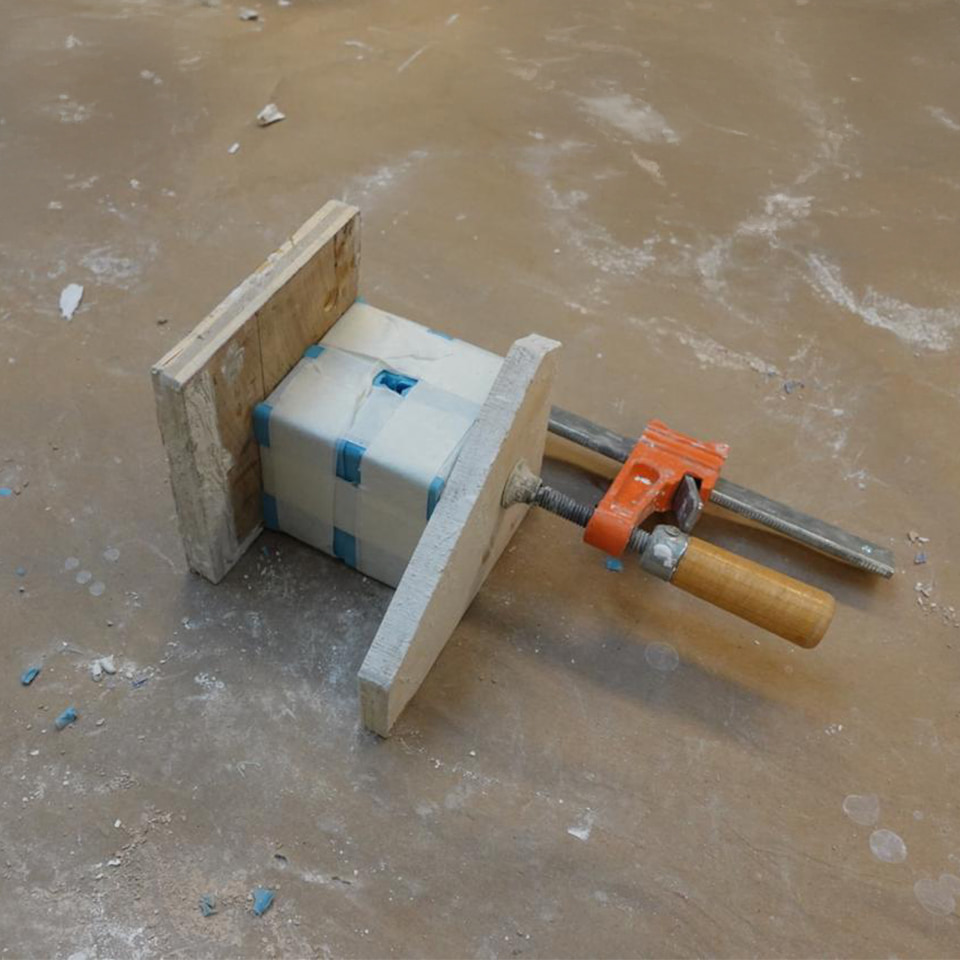
Next, I prepared the Hydrostone mix, combining water and powder in the recommended ratio. I stirred it until the mixture became smooth and lump-free, ensuring consistency. Achieving the right texture is crucial for avoiding imperfections in the final cast, so I paid close attention to this step.
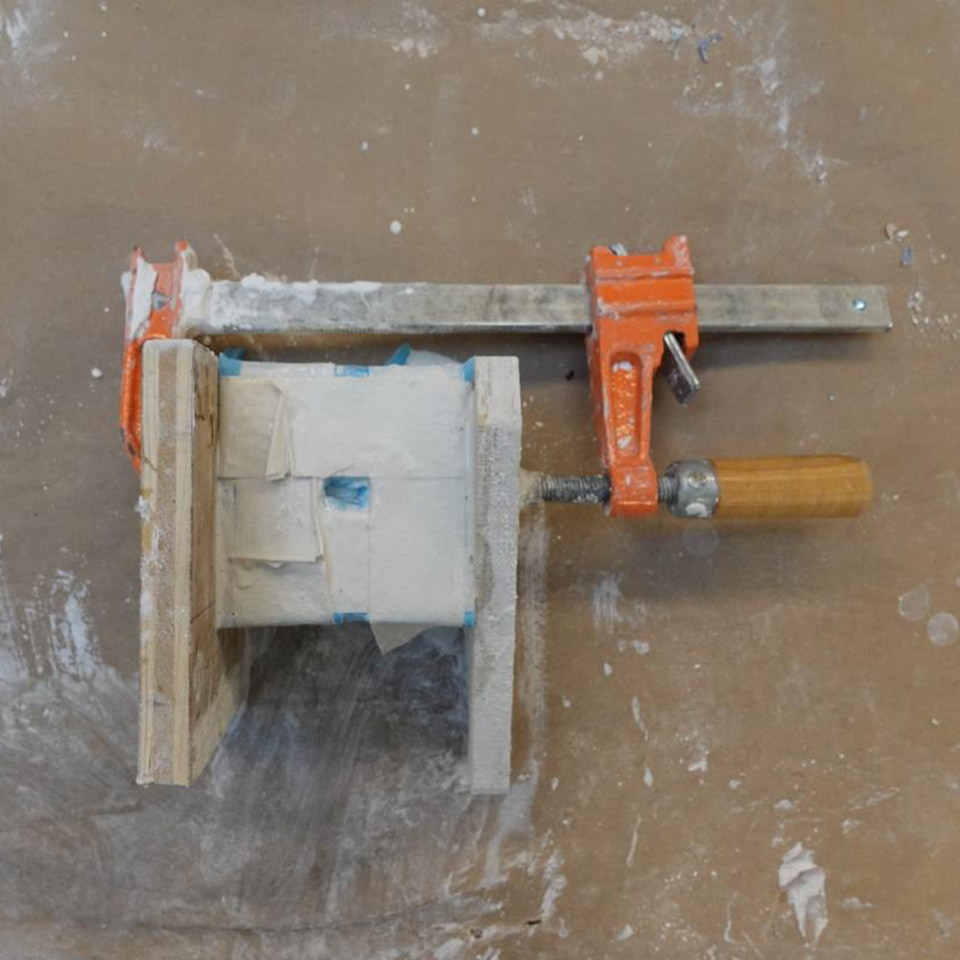
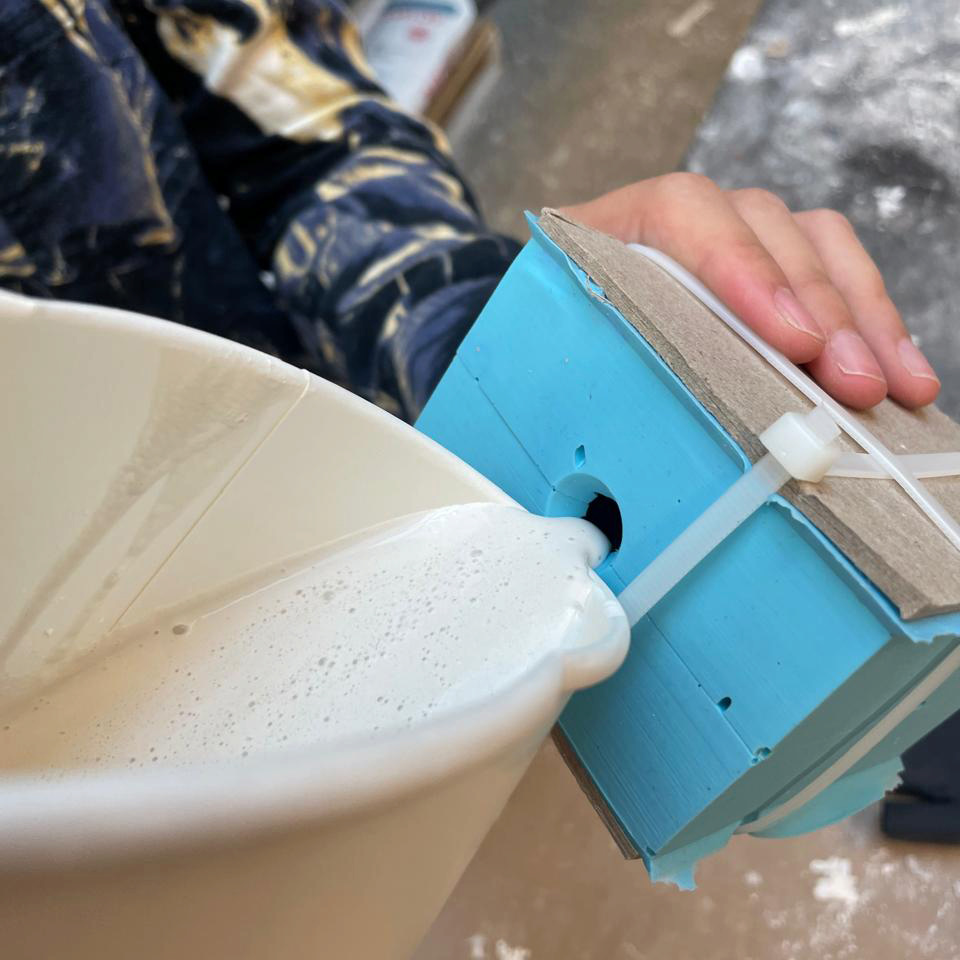
Pouring the Hydrostone into the mold was the final challenge. The mold's small size made precise pouring difficult, and I had to pour carefully to avoid overflow and ensure no air pockets formed. This required patience to allow the material to settle evenly throughout the mold.
MOLD B
Casting
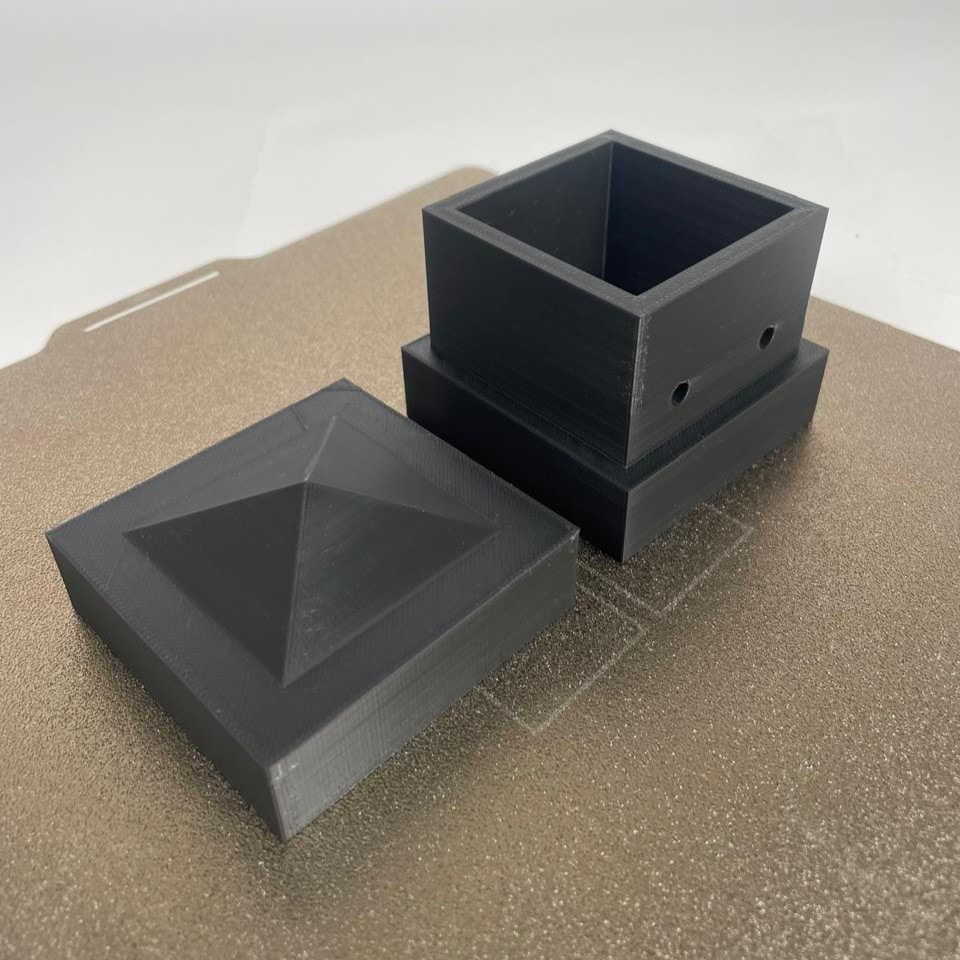
I also decided to explore 3d-printed molds. First, I tried to make that original geometry out of a two-piece mold that would fit together and avoid the use of clapms. I used the Bamboo printers in N-51 and the highest preset resolution, which already, befo primer, created a good-enough finish for casting.
Next I mixed the plaster with water. I went for a 1.5 part plaster to 1 part water ratio, becasue my pouring holes where relatively small. Knowing the mold was tight, I sprayed mold release before casting.
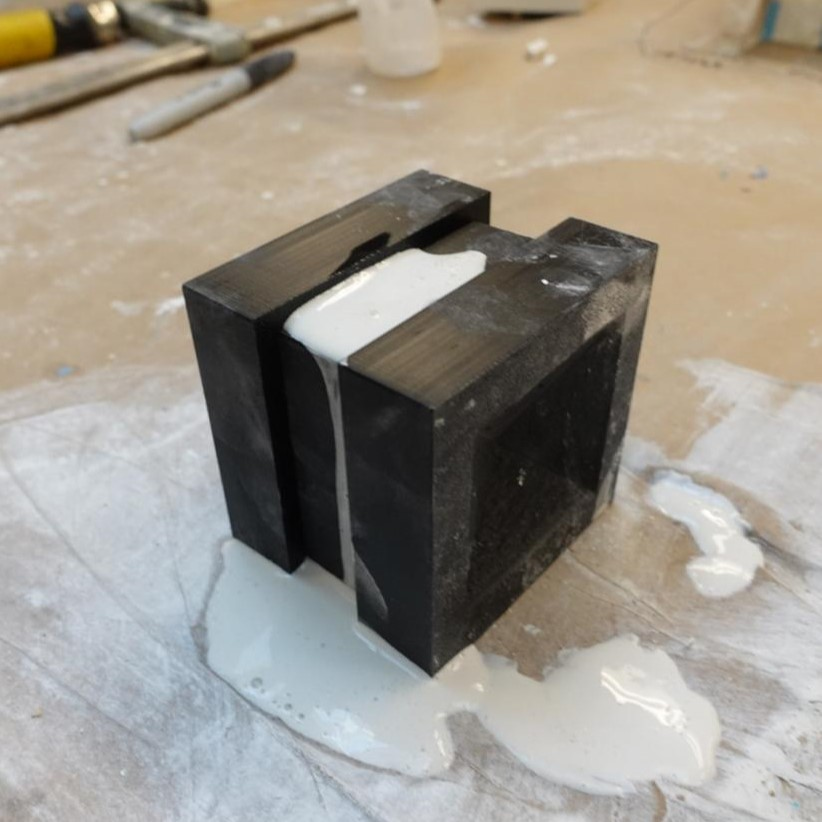
Subsequently, I poured the mix in and tapped the mold to extract bubbles. Given the high water to plaster ratio, the cast did not seem to be ready 4 hours after it was cast.
MOLD C
Casting
The main idea of this mold was to achieve geometric complexity that was not able with the CNC-milling negative-mold process in the arch shop.
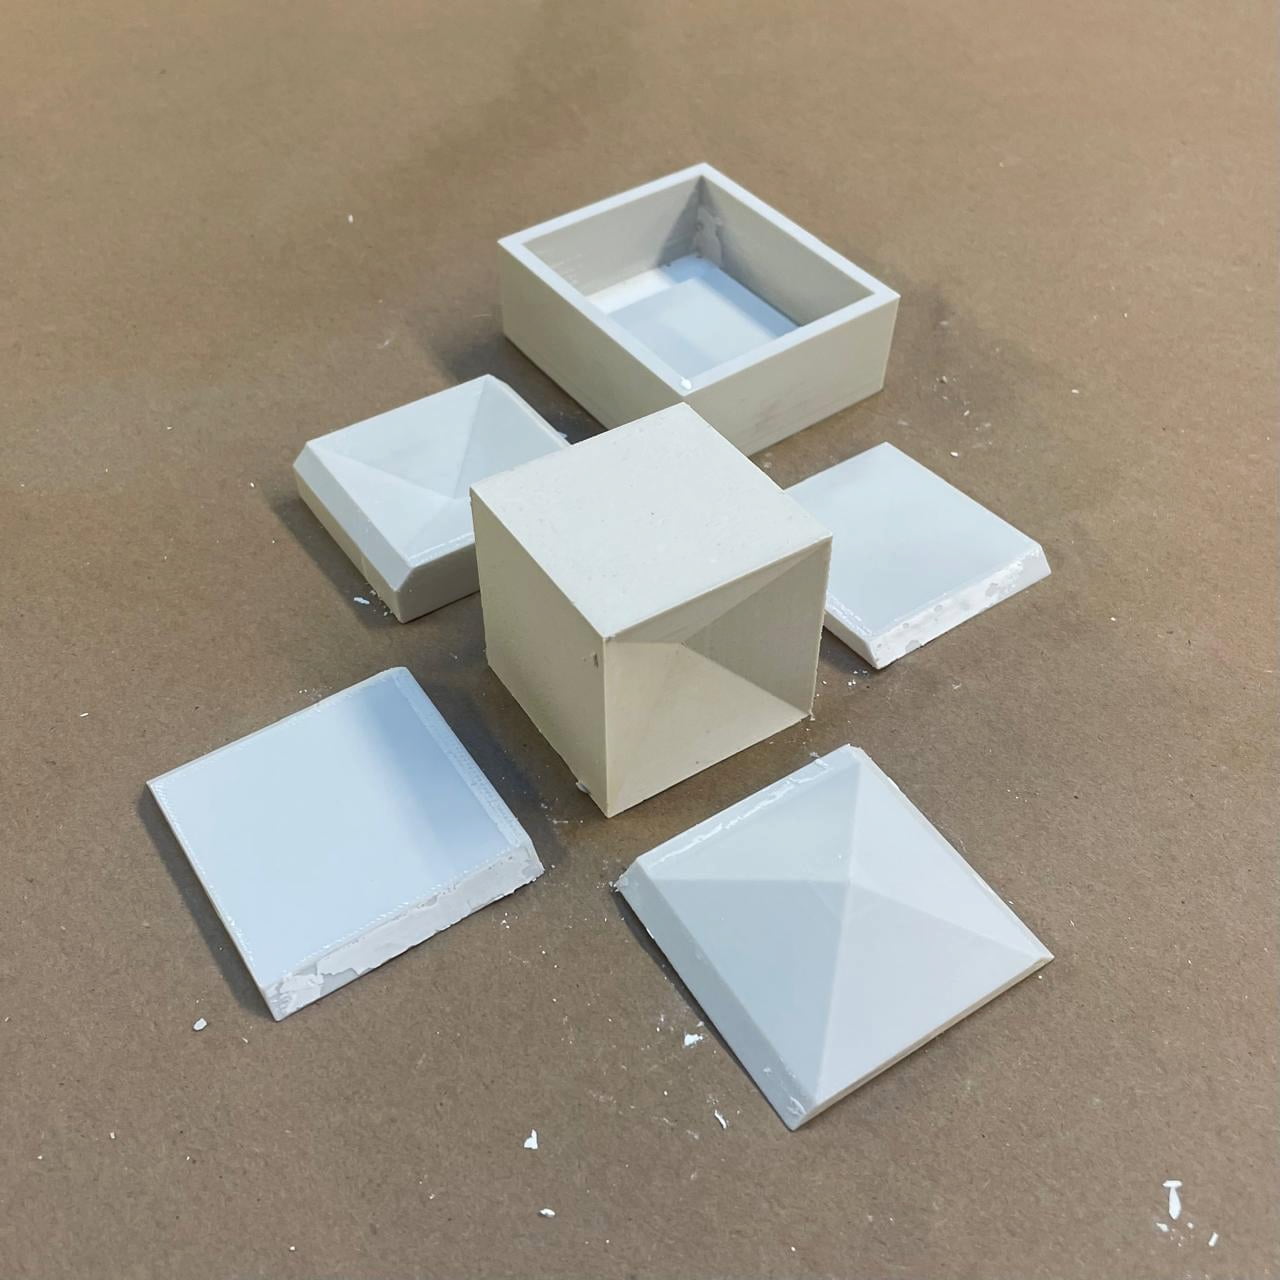
Once again, I printed the components in the Bambu printers in N-51 at max preset quality (0.8mm), plus I placed the pieces with the key surfces at the top for even printing, which resulted in smooth surfaces.
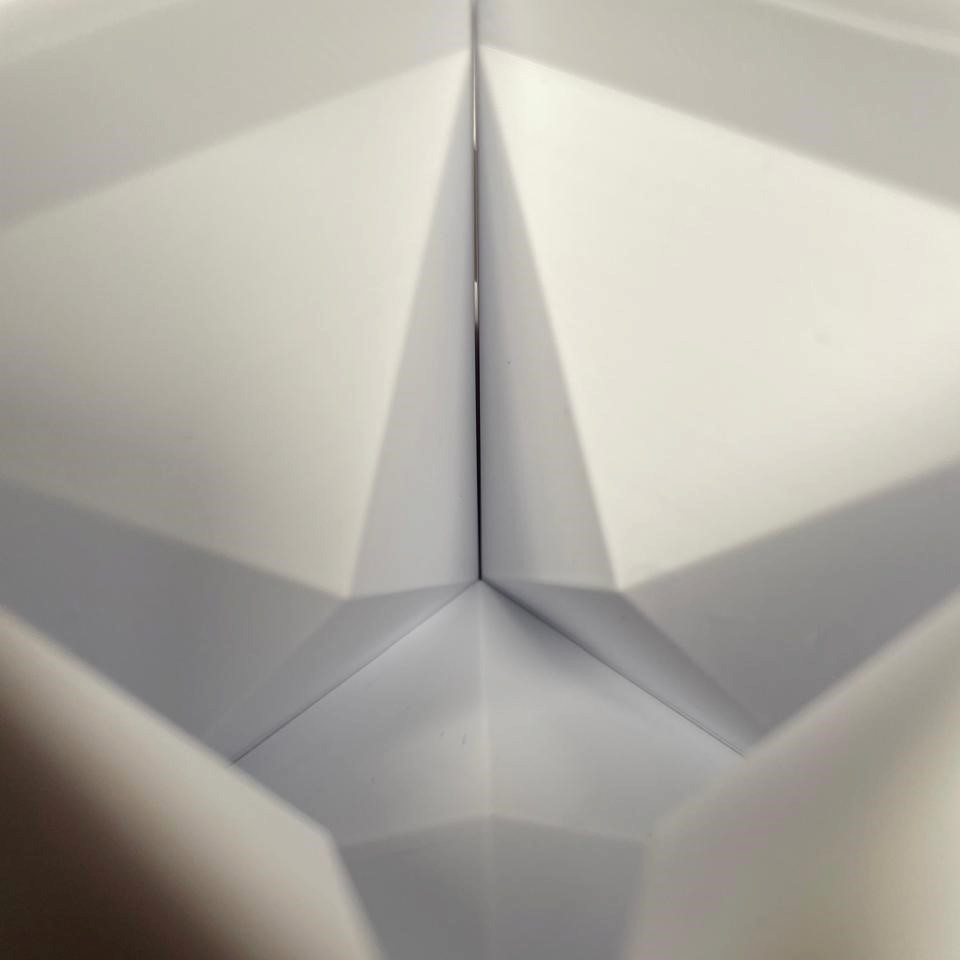
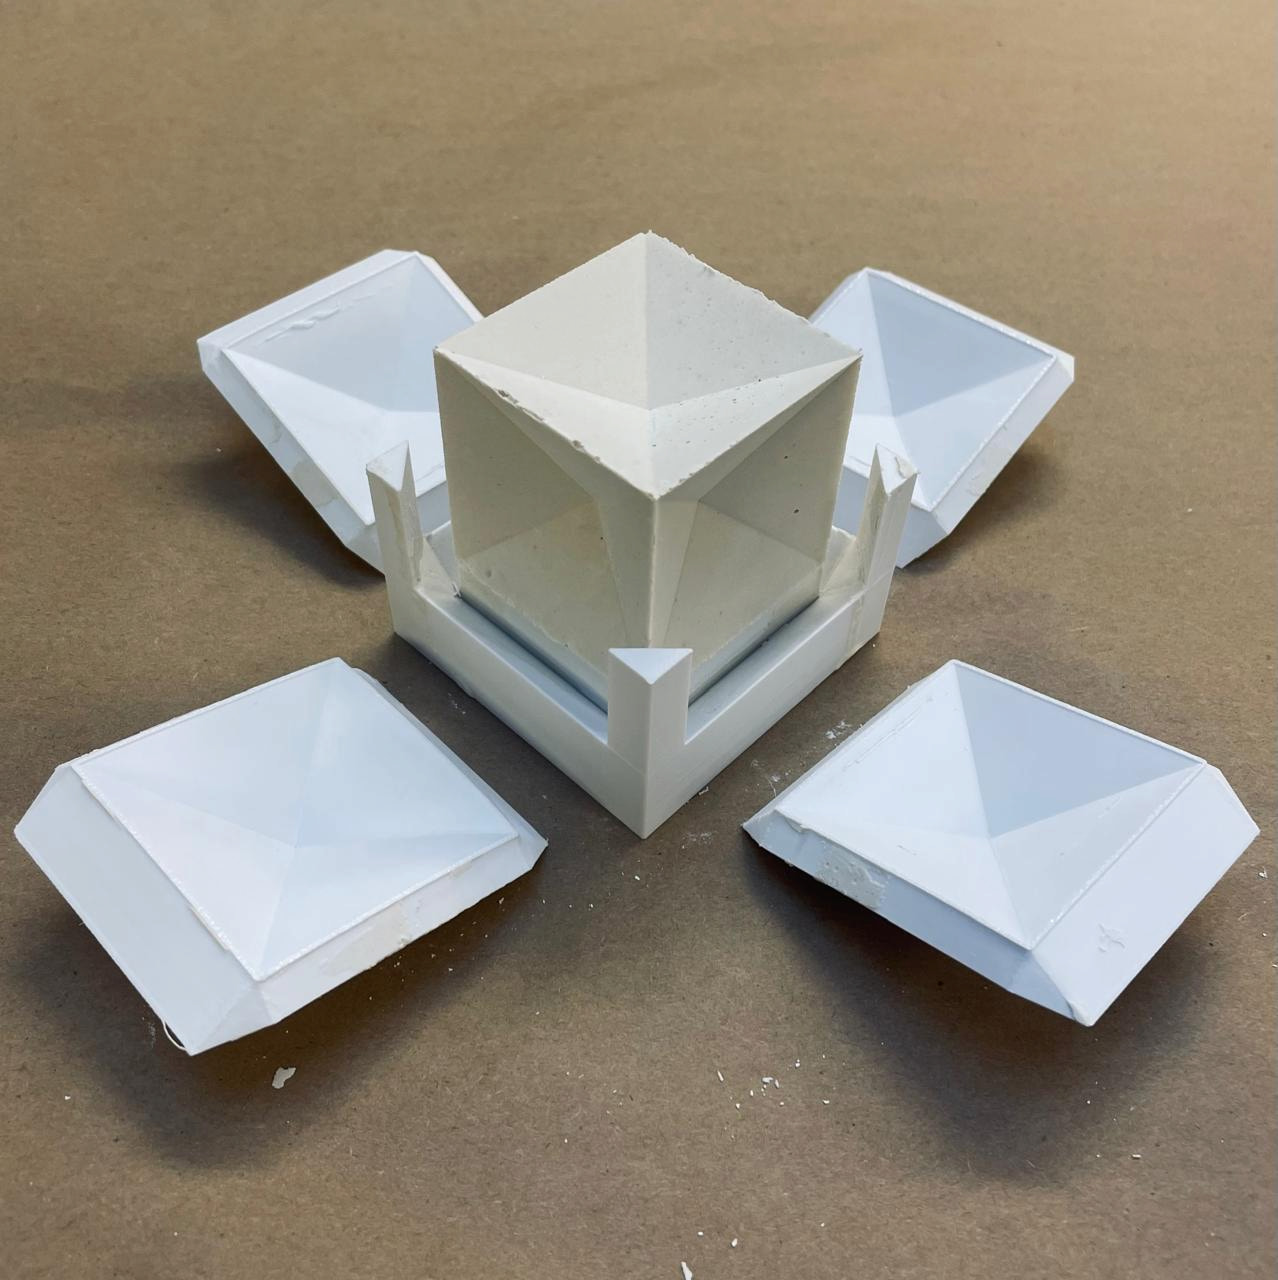
I design the mold in 6 parts (one for each side of the cube), which could be released separately and lock into position when assembled. This facilitated the release process and avoided the clamping step down the line.
I tested some tolerances, making the volumes smaller by 0.0mm, 0.05mm, and 0.1mm. The 0.0mm version required some force to slide in, while the 0.05 version slided smoothly, and the 0.1mm version was too loose.
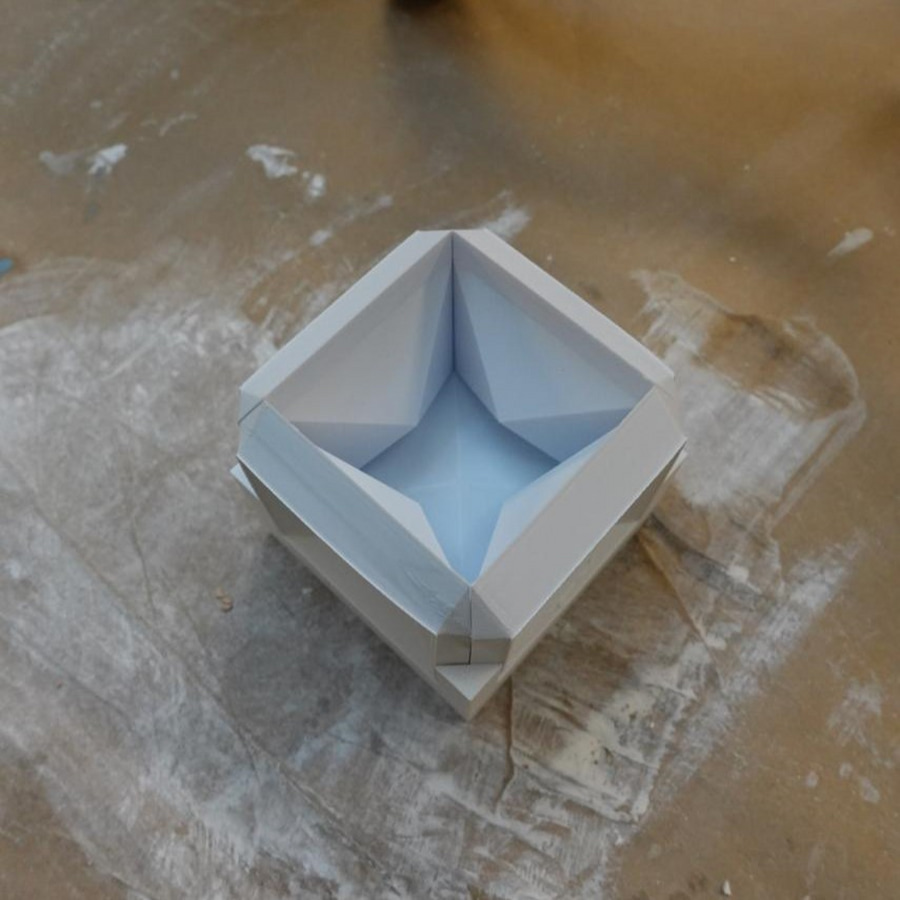
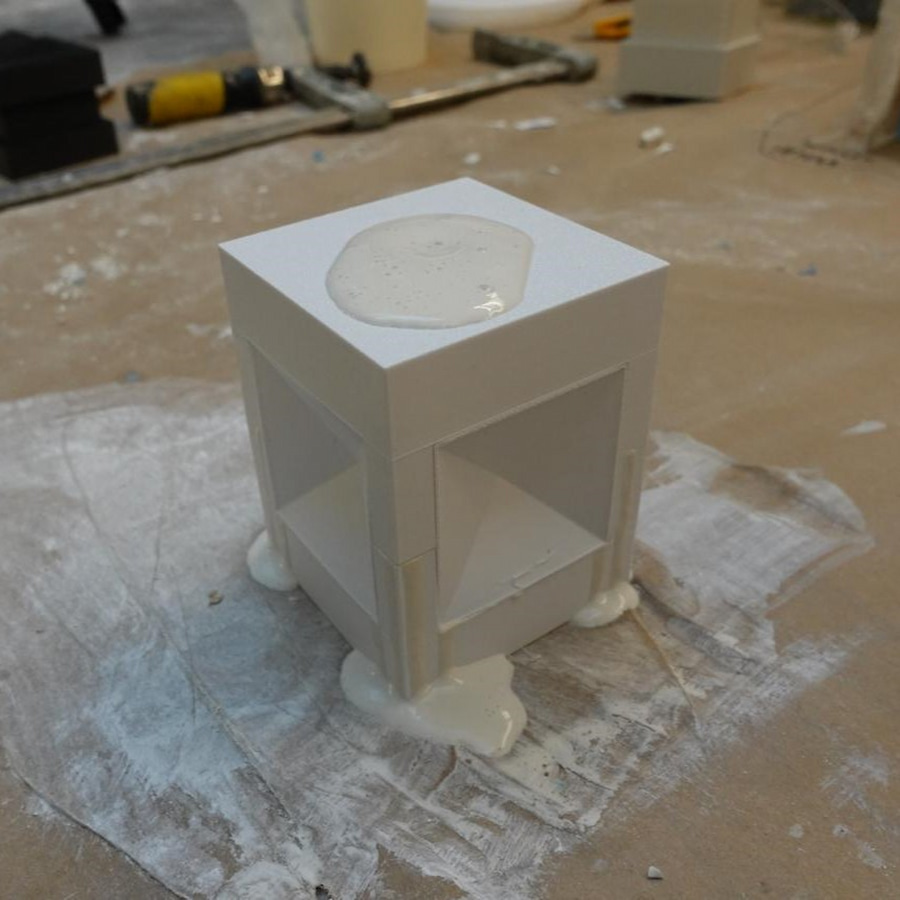
Subsequently, I used the 0.05mm mold, casting it in two steps. First, without the top piece, I casted most of the volume through a large opening. Next, with thetop piece on, I slowly poured the rest of the plaster.
After tapping the mold on the side to release air bubbles, I left the plaster to dry overnight. Some liquid spilled thorugh the cracks, so perhaps the 0.0mm version could have worked better.
MOLD D
Casting
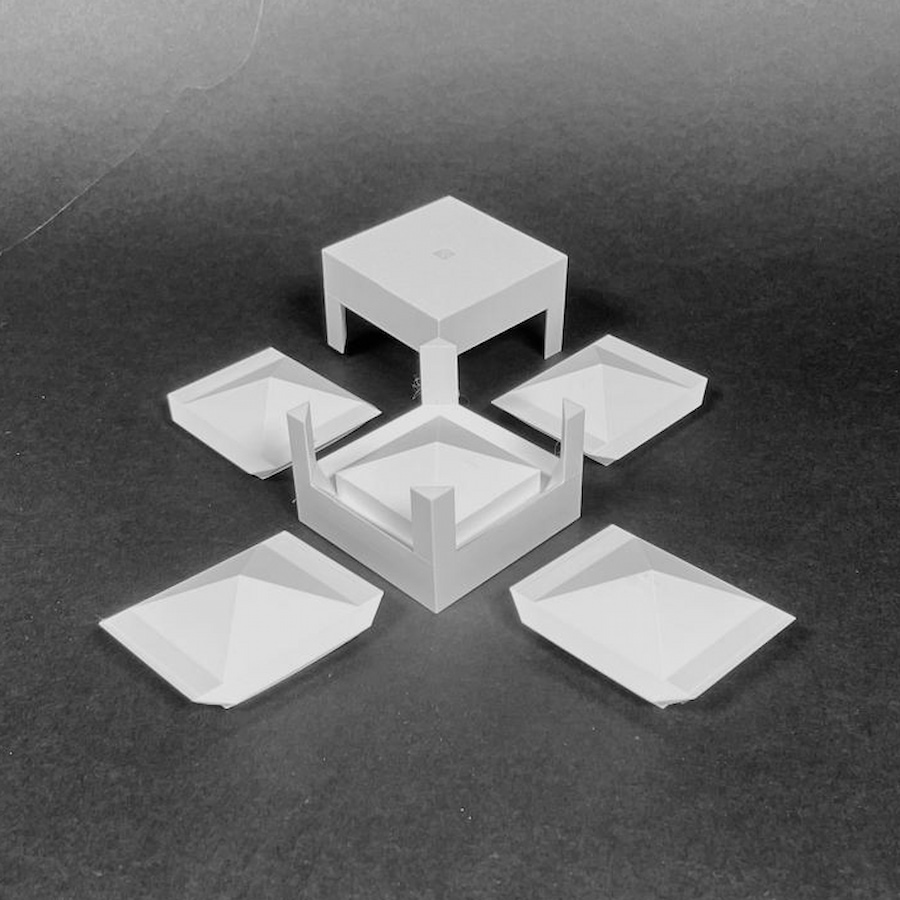
Finally I tried to improve Mold B, the first 3d-printed mold, with the descrete logic of mold C. Additionally, this version had a full side open to facilitate the pouring and curtion of the plaster.
This mold is made out of 5 pieces, one for each of the cube's sides (except for the top). Again, I tried different tolerances, and, in this case, the 0.0mm did not fit, so I went with the 0.05mm version
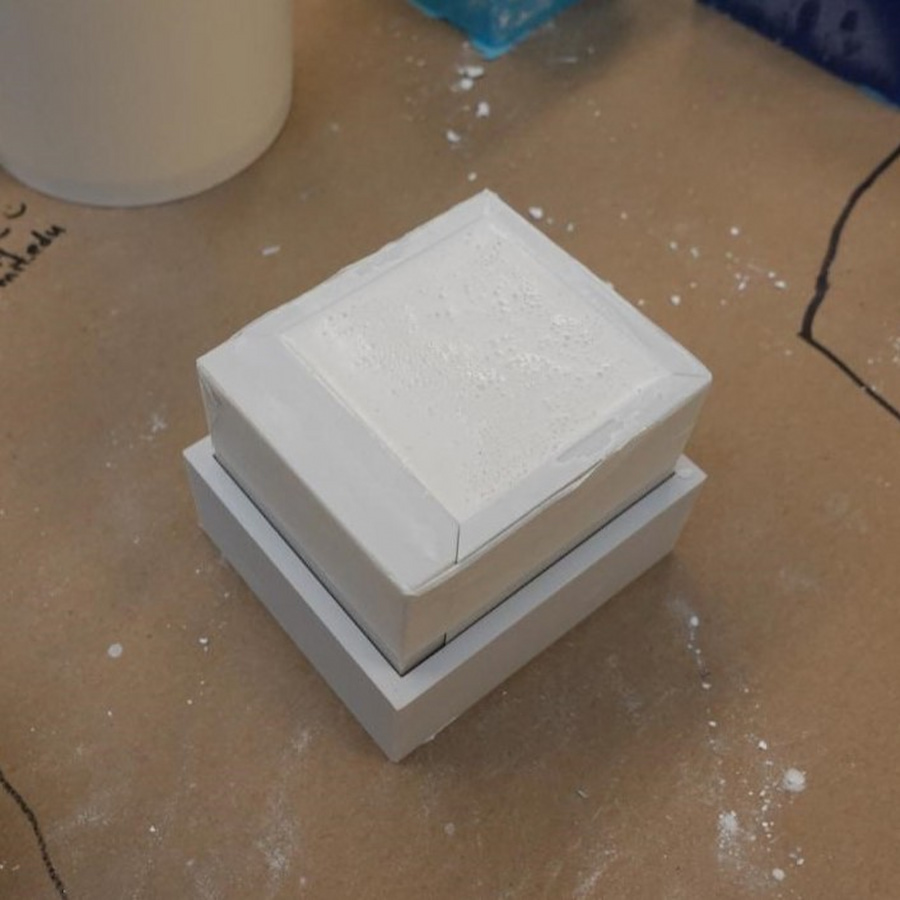
After adding a layer of masking tape to reinforce the upper section of the mold, I poured the plaster with a 2:1 plaster to water ratio by volume.
Then, after tapping the mold to release air bubbles, I left the plaster curing over night.
