GROUP ASSIGNMENT
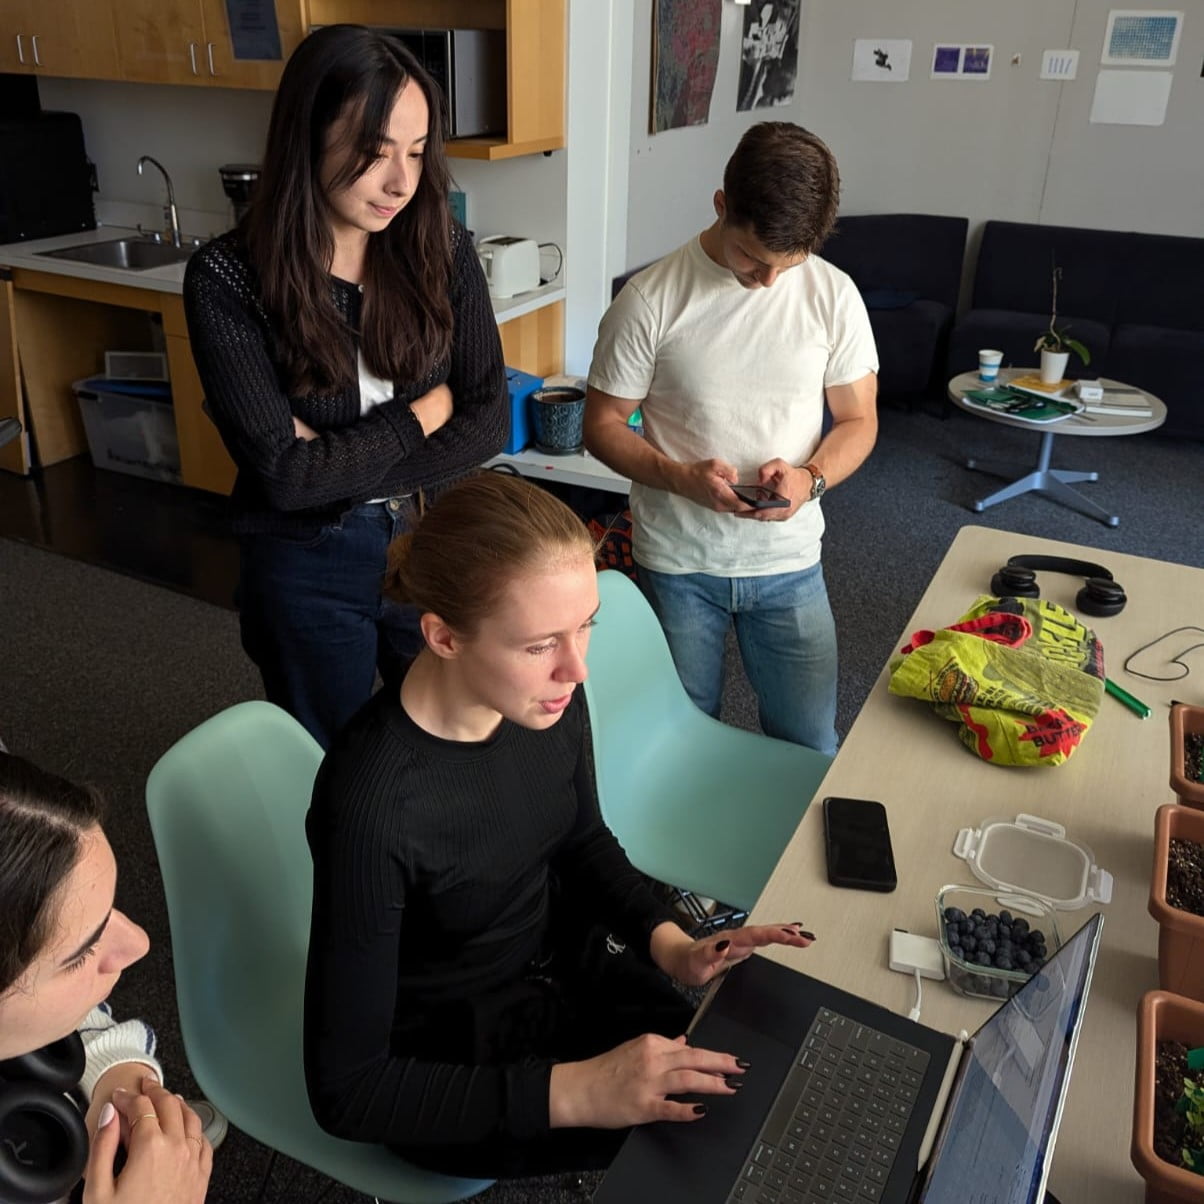
This week Diana was back in action! And so, we were able to conduct our group assignment as per usual.
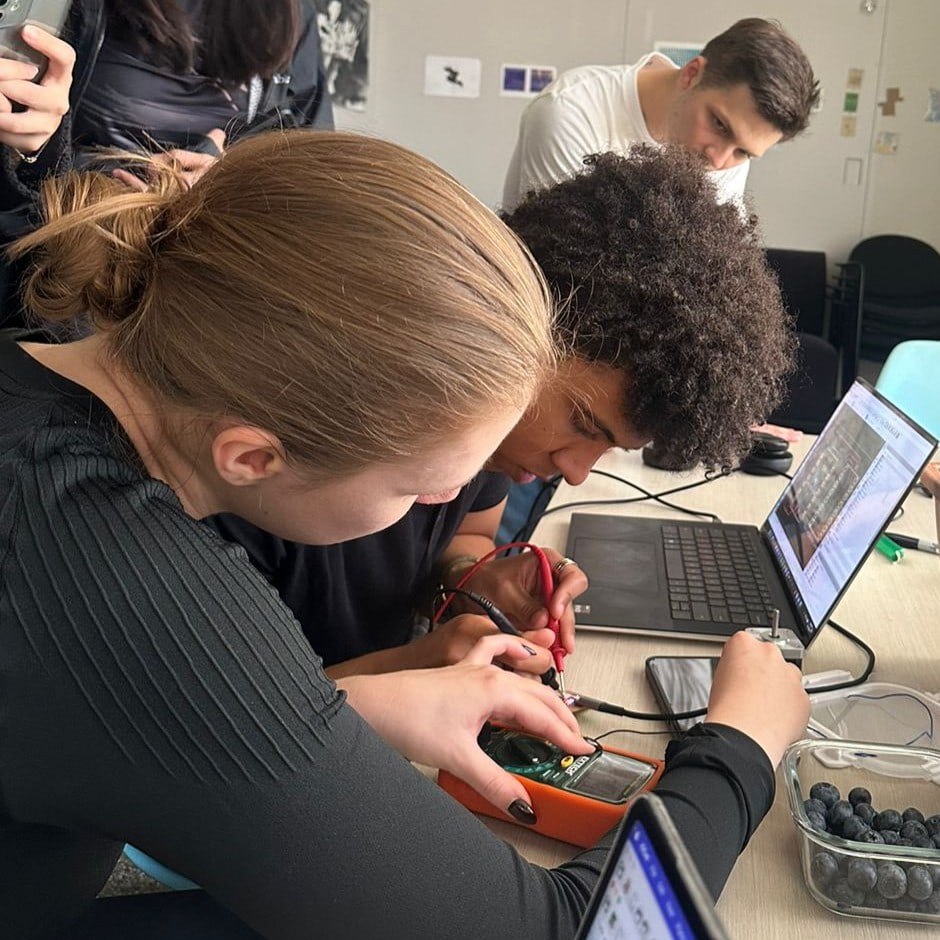
As a group, we measured the power consumption of a motor with a multimeter. We monitored voltage and current to calculate total power consumption, which is crucial for understanding the energy demands of our applications.
Diana explained the importance of tracking power requirements for devices operating at different voltages like 3.3V, 5V, and 9V. She emphasized that understanding these needs helps us design stable circuits and ensure safe operation, especially when managing multiple devices with varying power demands.
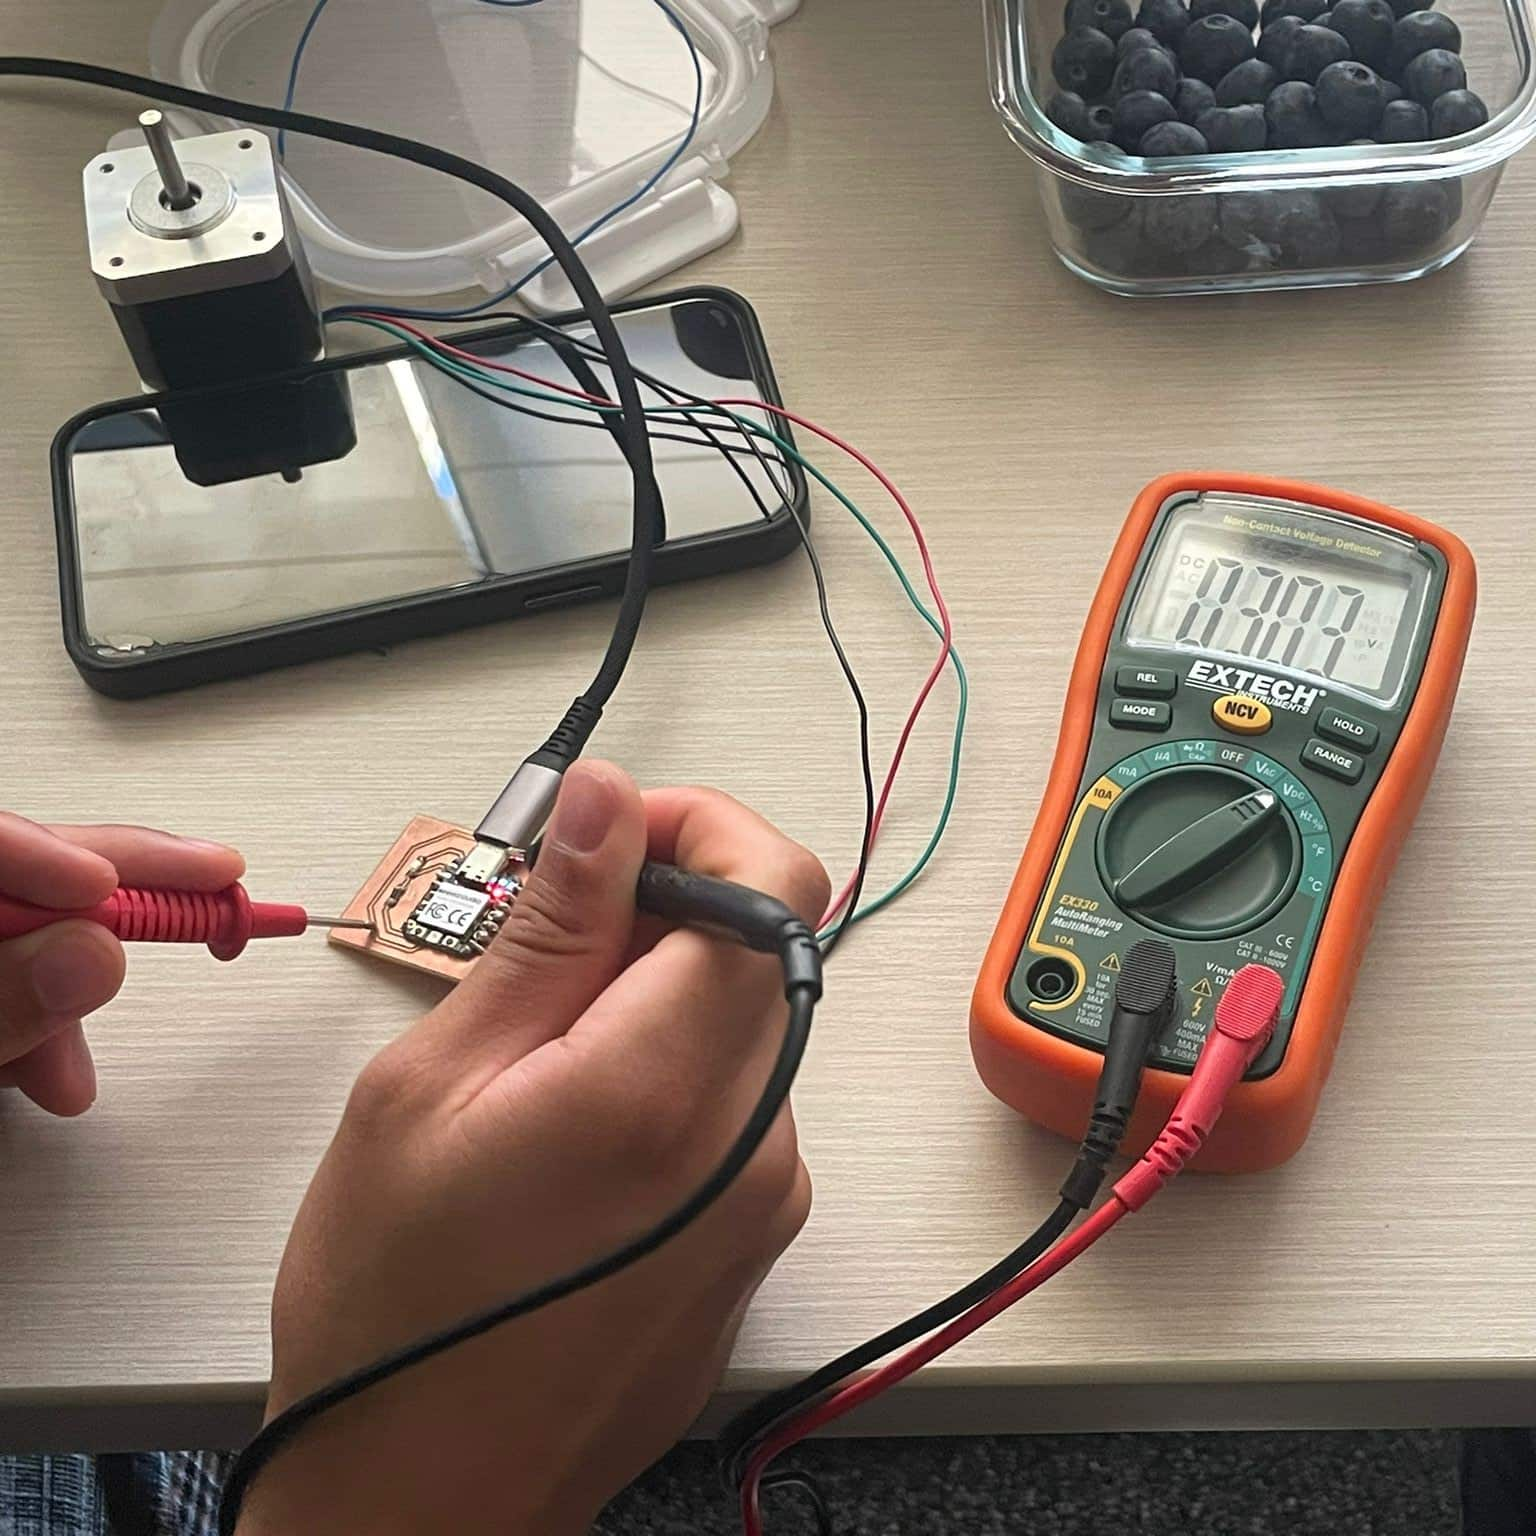
This discussion was particularly useful for my final project, which requires multiple servo motors running at 9-12V (11V recommended). With my Raspberry Pi Pico opeating at different voltages, this means I will need a separate power supply for them and some safety measures.
OLED Display
Digital GoL
Simulation
For my digital simulation, as WokWiki did not have the Seeed Studio Xiao RP2040, I ran with the Raspberry Pi Pico, which also uses the RP2040 and which I will probably use for my final project.
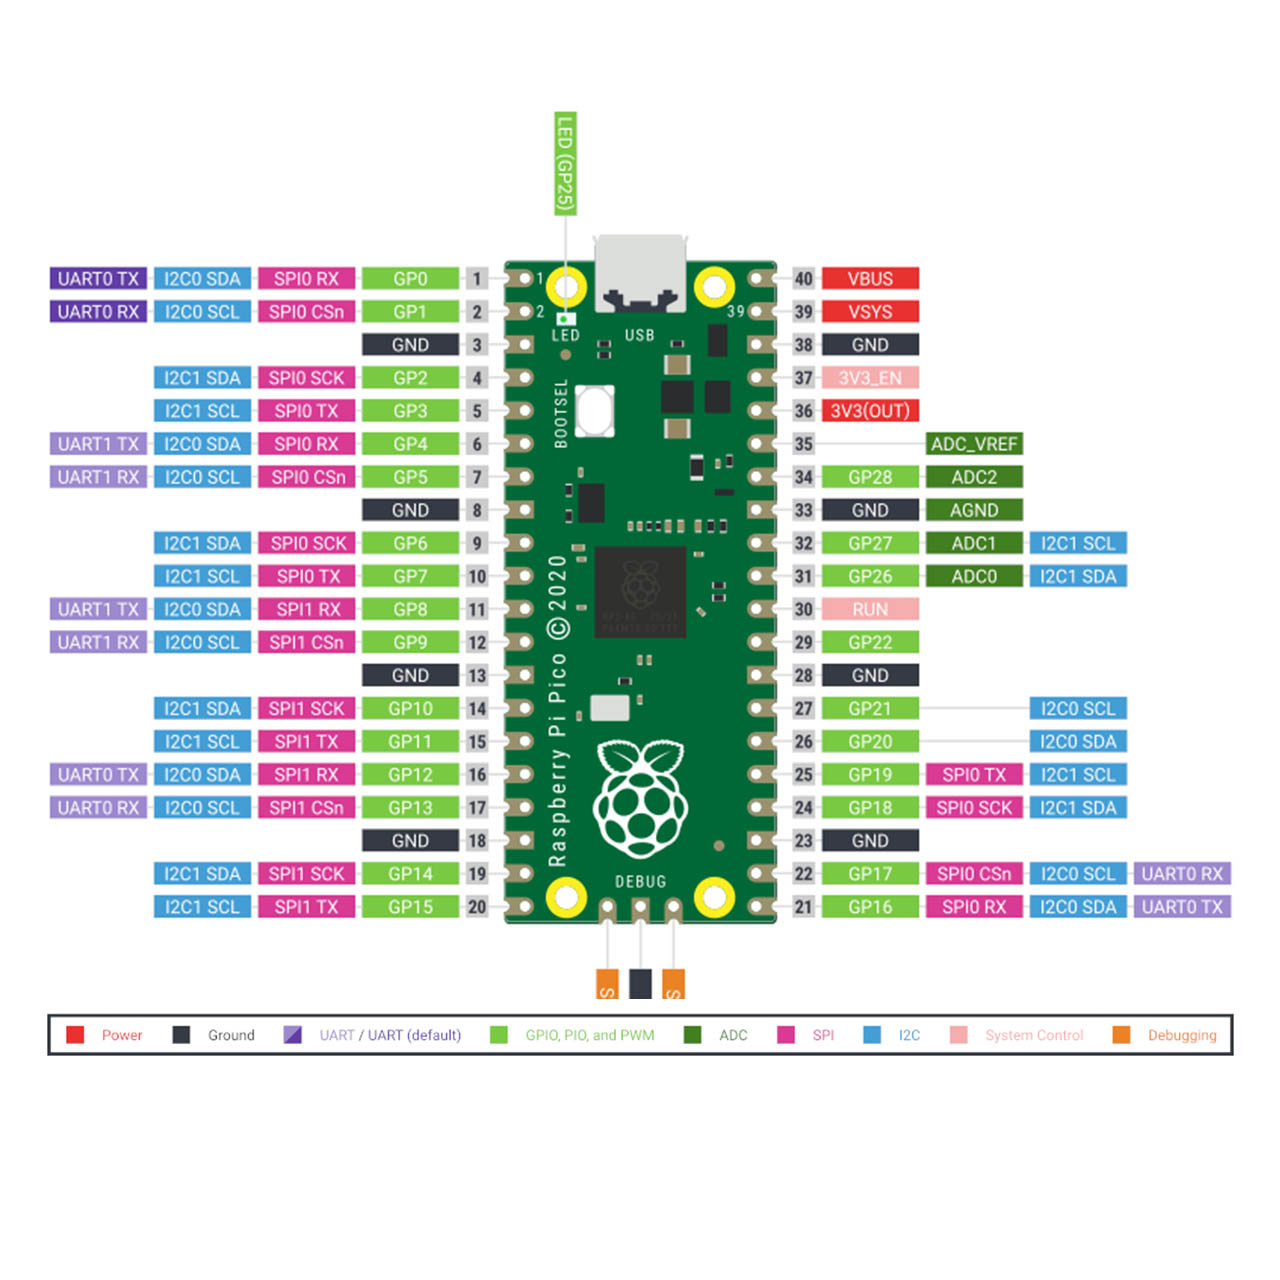
OLED Display
Physical GoL
Simulation
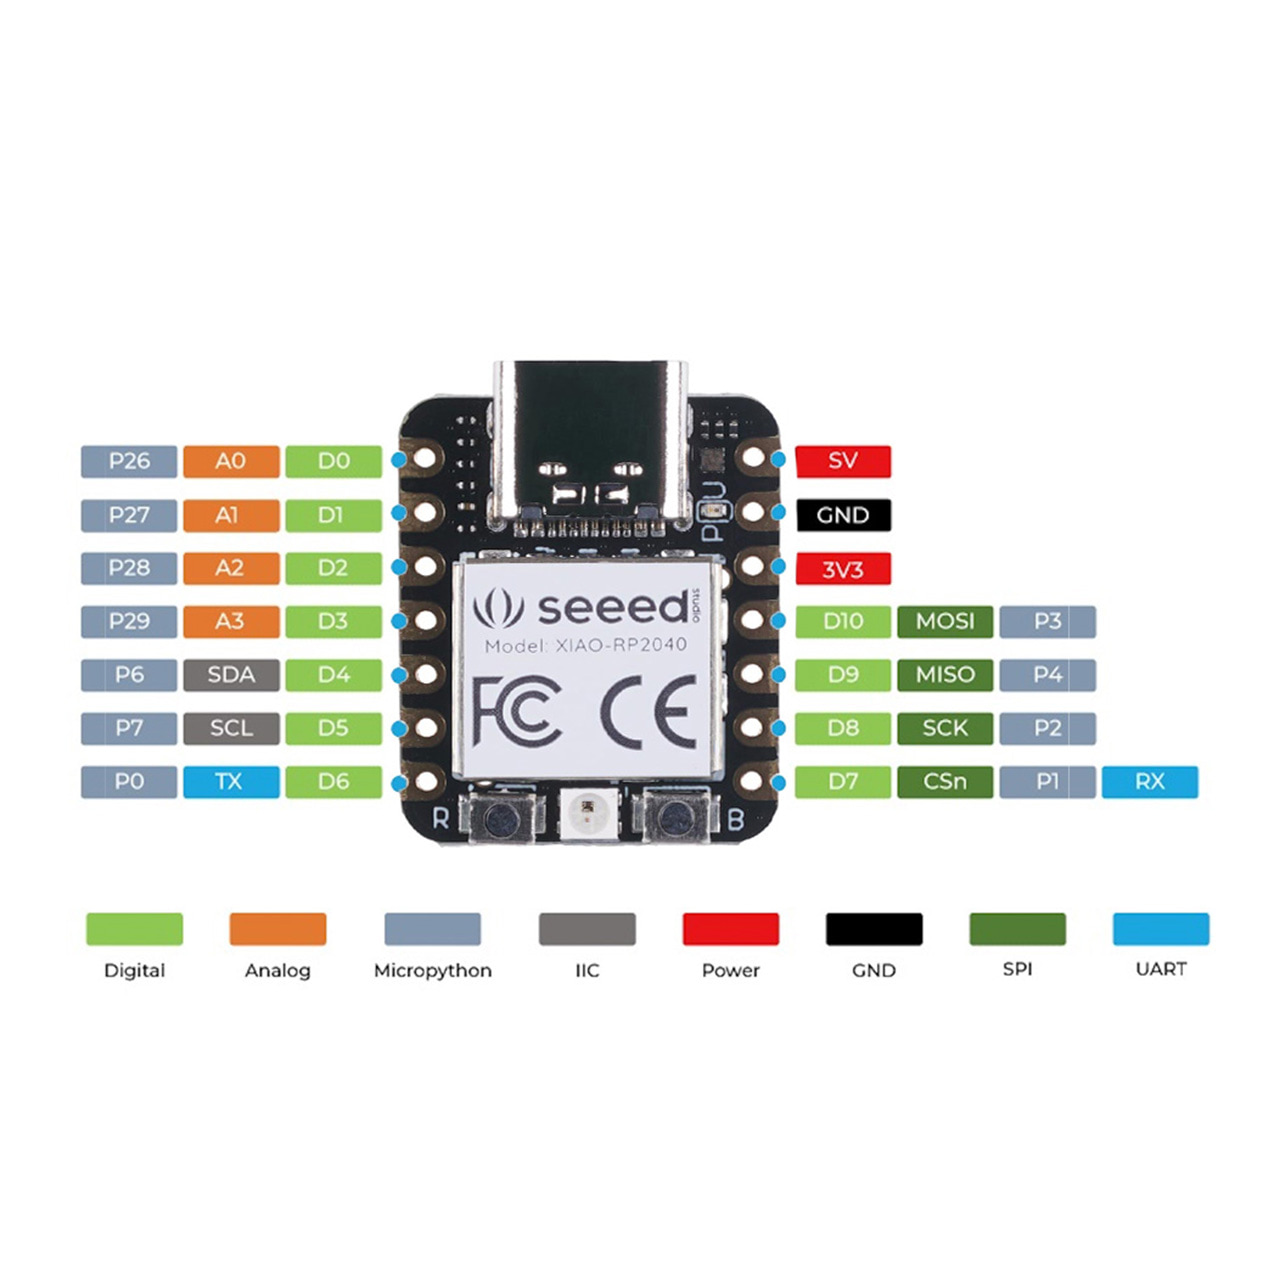
Of course, since my boards run with the Seeed Xiao RP2040, I had to switch logic a bit. In particular, my micropython code would have to be adapted to C++
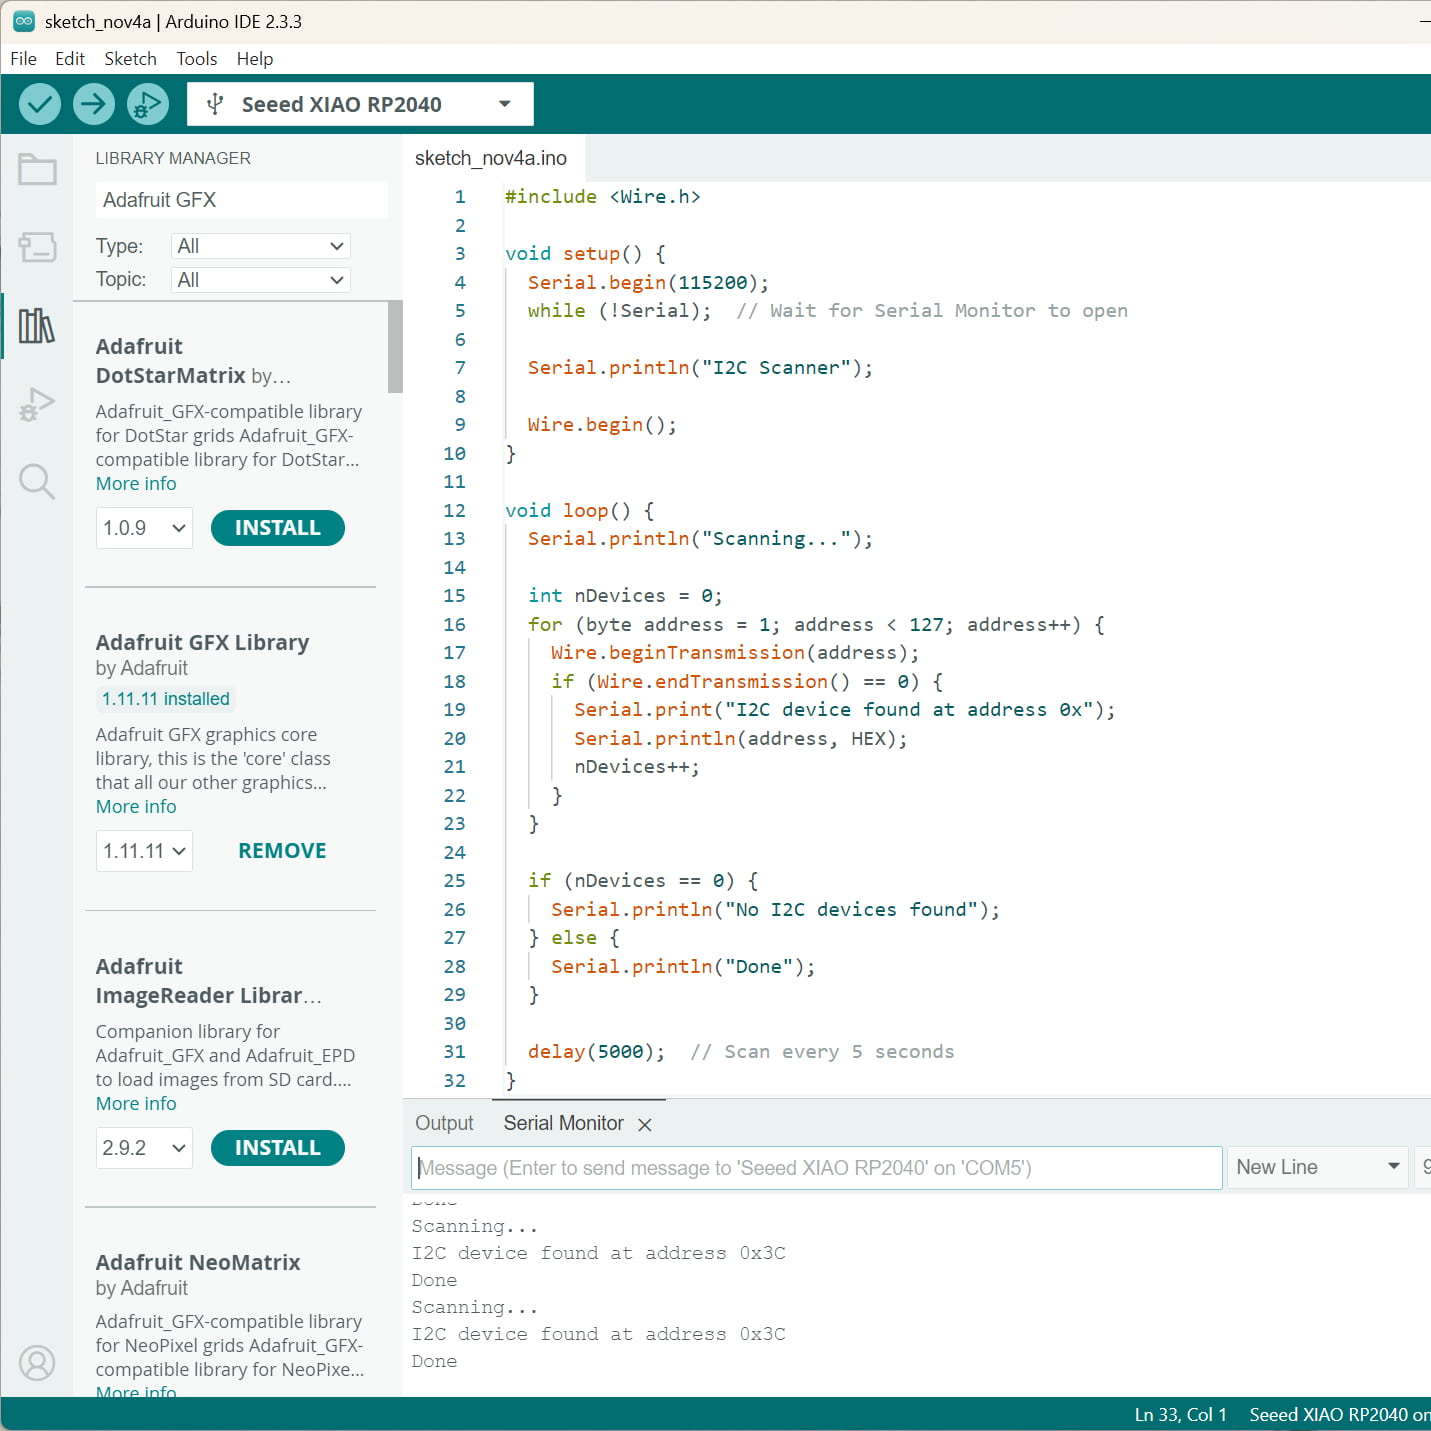
I had some issues connecting to my physical OLED display, so I went online and eventually set up my first code as a scanner for I2C devices, that would print the specific HEX address on my display
Then, before even thinking about cellular automata, I made this simple code to ensure my button and display were working correctly.
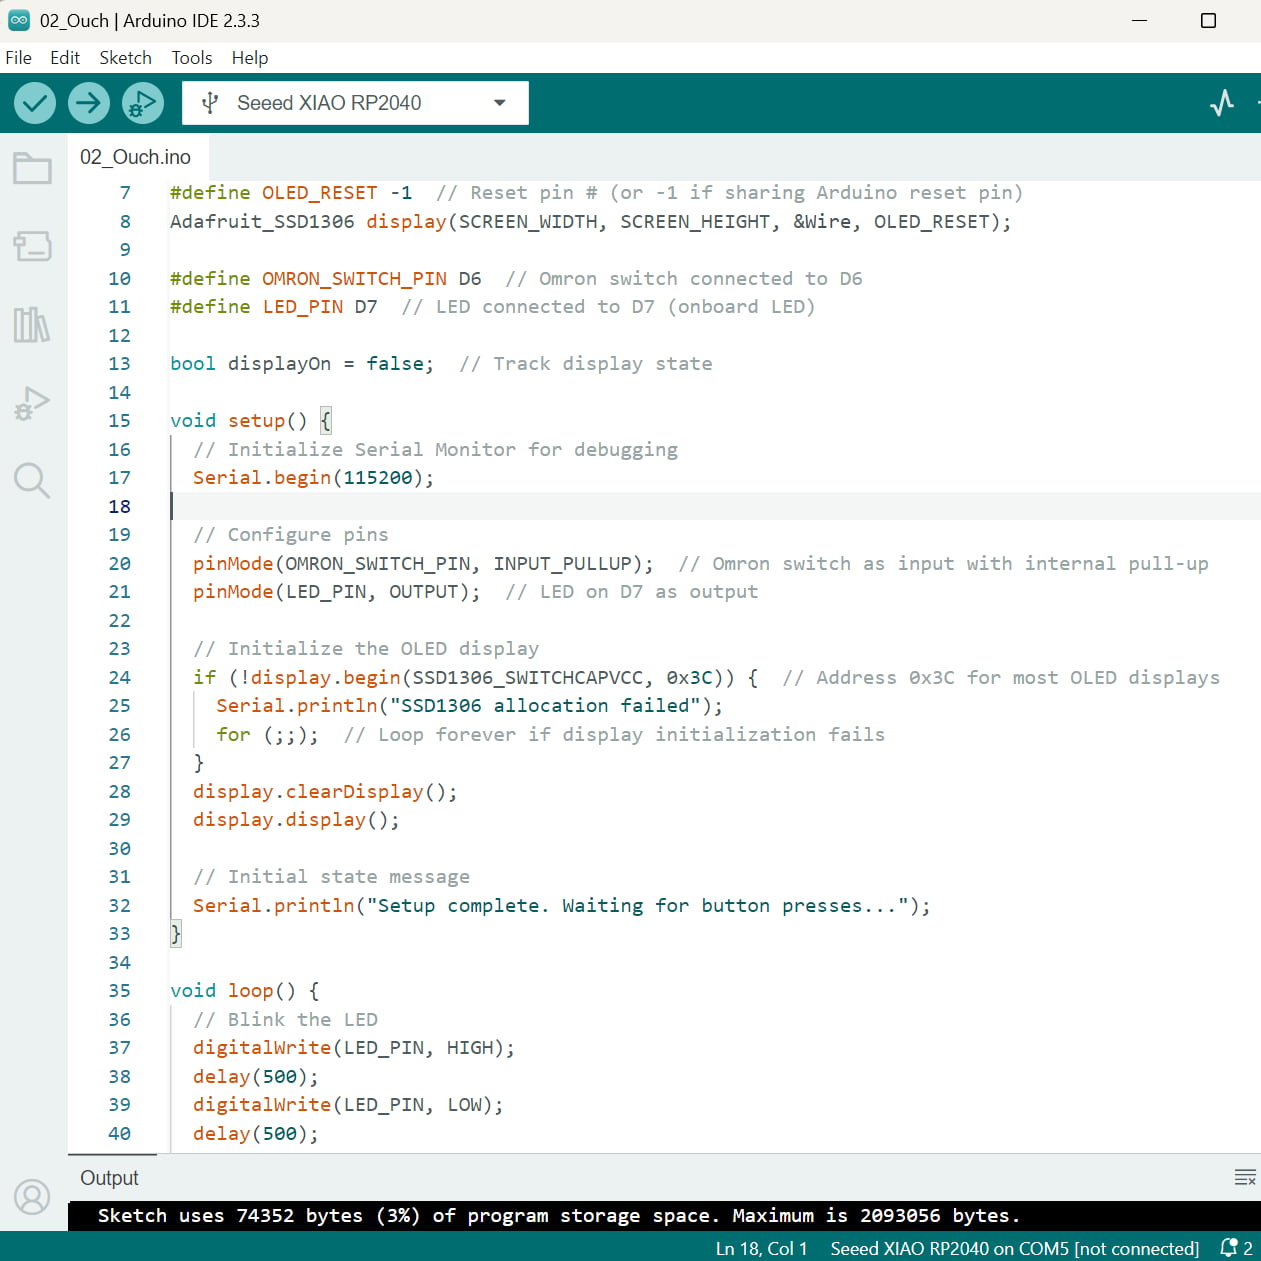
The screen did not seem to like it though———"Ouch!"—.
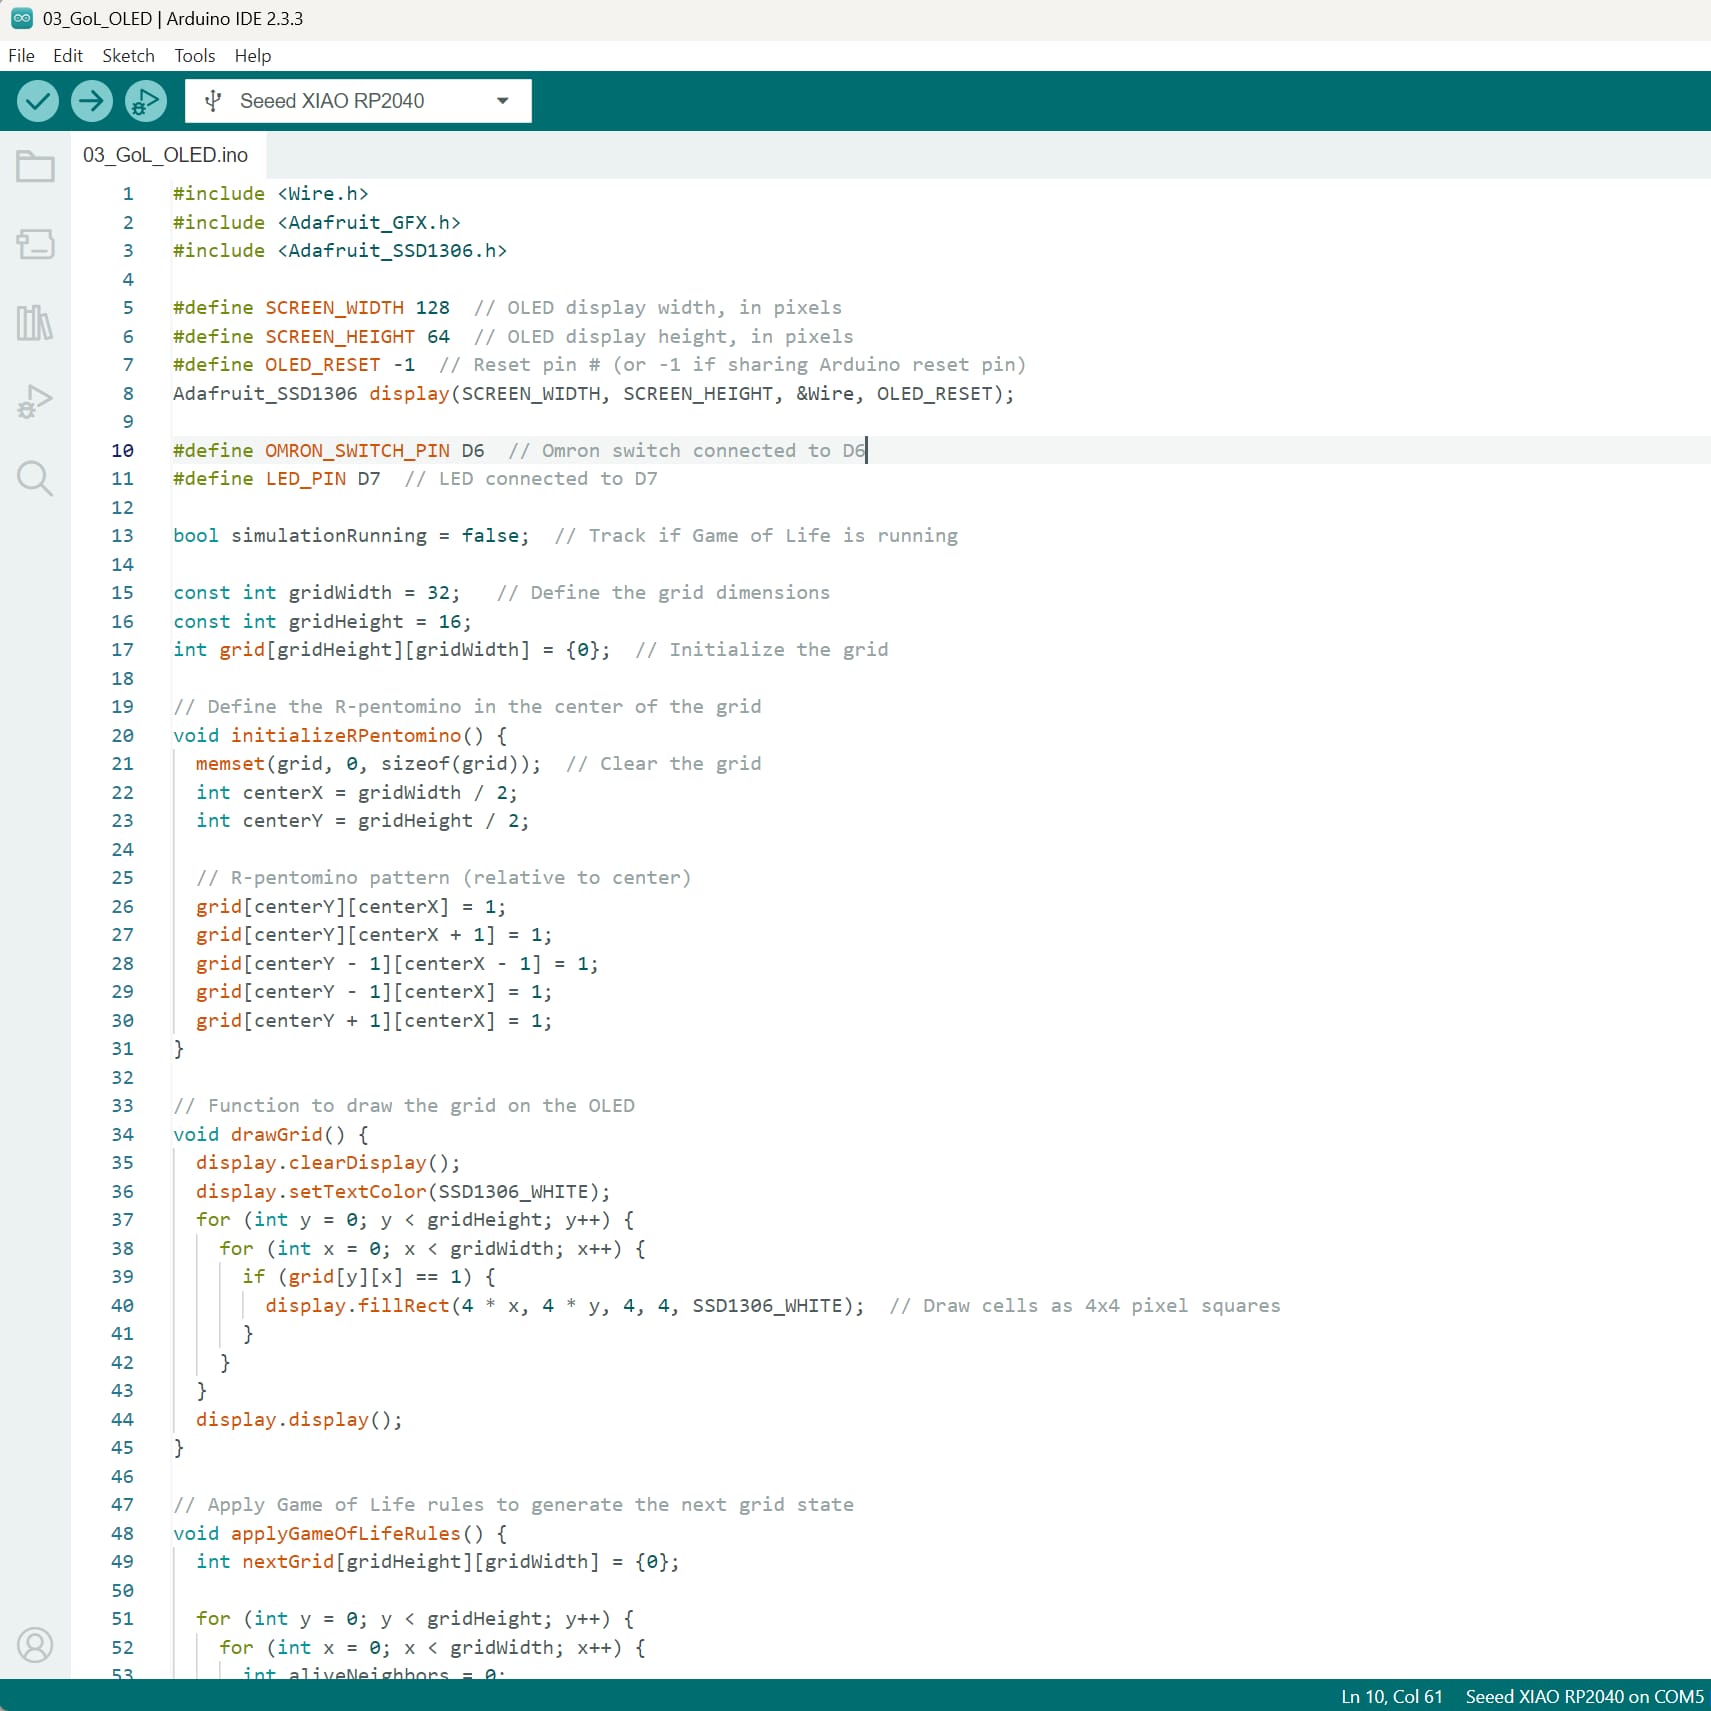
Finally, I completed the logic of my initial simulation; definying the grid size (32x16 cells), initializing a Game of Life initial state (the R-pentomin), adding a function for the original Game of Life ruleset, updating each cell state in the loop function, etc.
Motor Experiments
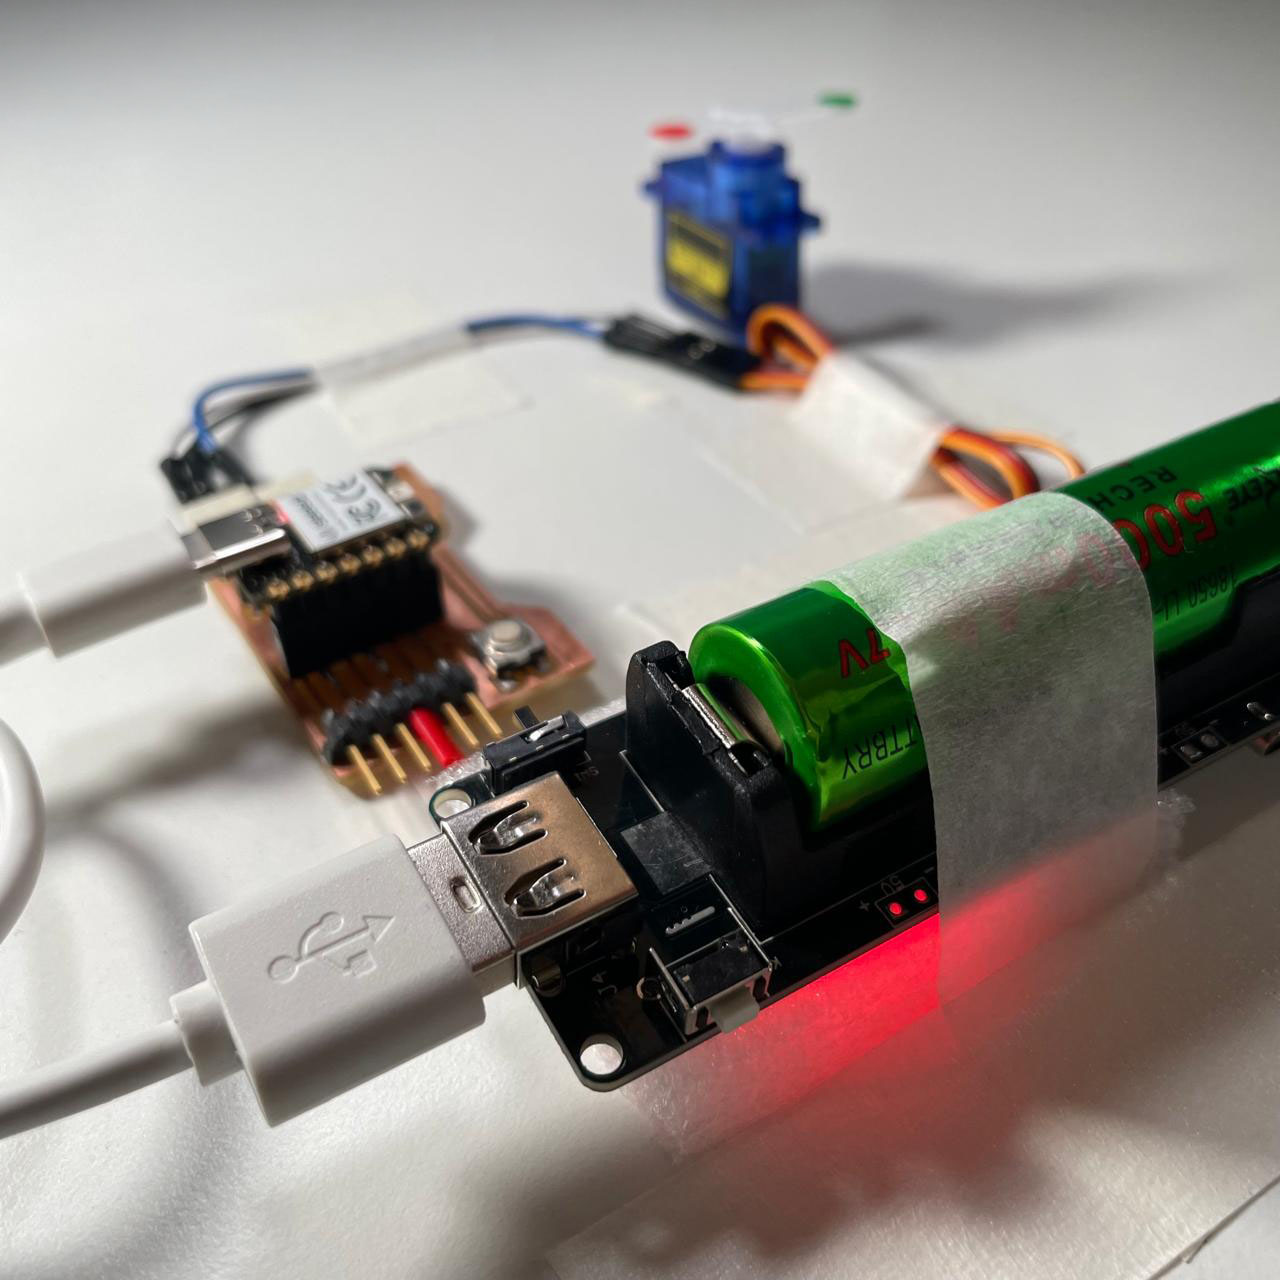
Additionally, I squeezed in some experimentation with motors. First, I had very simple setup with a micro servo motor, which ran at 5V and could be safely powered and controlled directly with my Seeed Xiao RP2040.
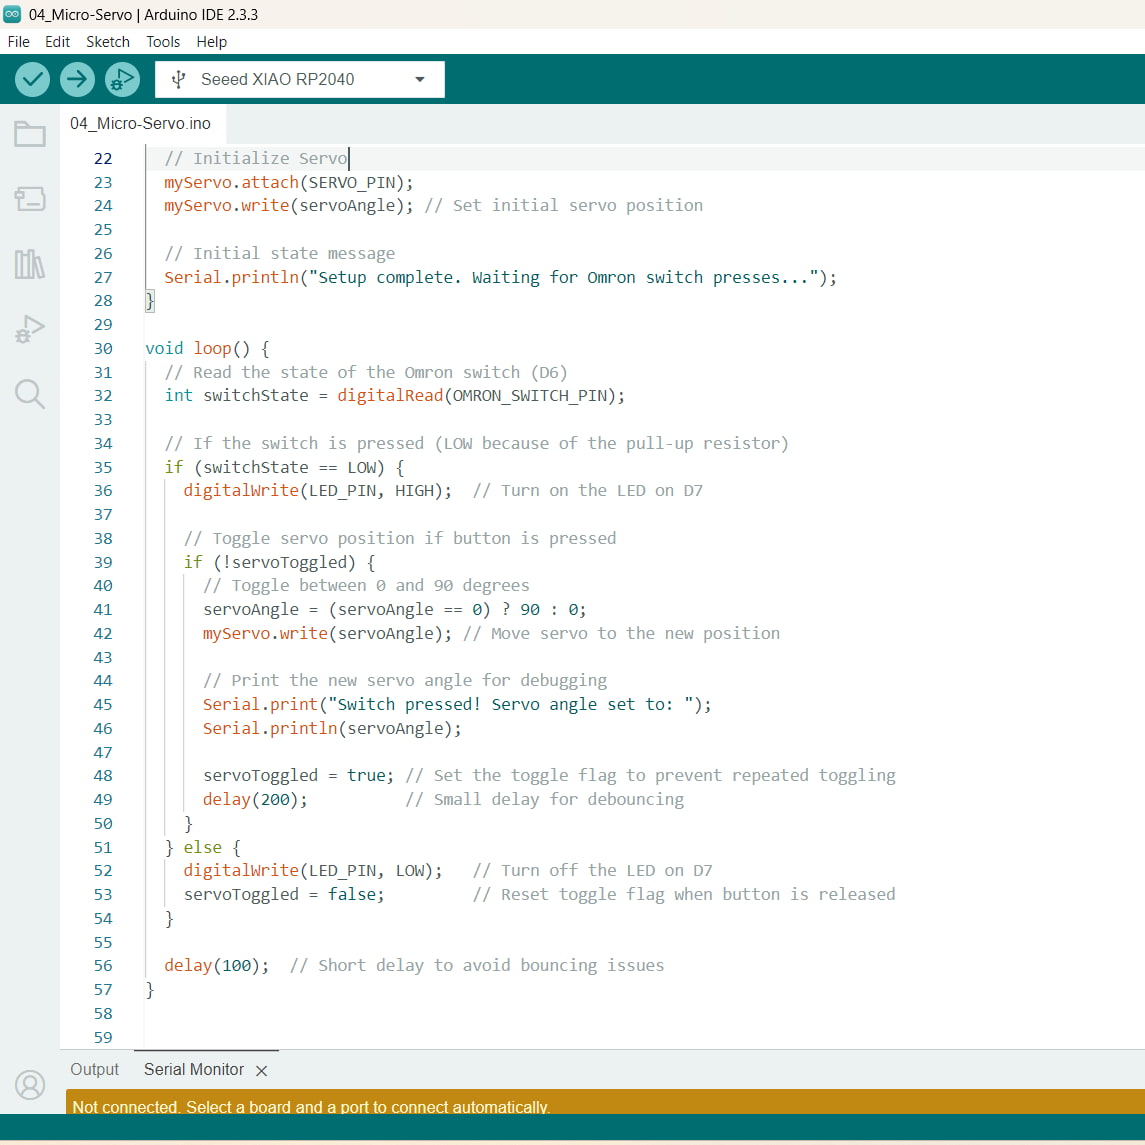
Instead of powering the Xiao with my laptop, I connected it to a 18650 battery (5000mAh, 3.7V). Then, pressing the on-board button, triggered the motor to rotate 90 degrees in opposite directions after each press.
I also had DC motor but, I could not power it directly with my Xiao as the motor has a load current of up to 150mA and the Xiao can handle around 15mA. With no time to set up a proper solution (external power + transistor circuit, H-Bridge, Relay Module, etc), I decided to test the motor directly.
