GROUP ASSIGNMENT

This week, I delved into the group project last, when I joined Diana and Javi in following the Random Nerd Tutorials guide on wifi ESP32 control, setting a web server to interact with hardware remotely.

The tutorial began by configuring the ESP32 in the Arduino IDE. We installed the necessary board manager and libraries, wrote a basic sketch, and connected the ESP32 to our Wi-Fi network, enabling it to act as a web server.
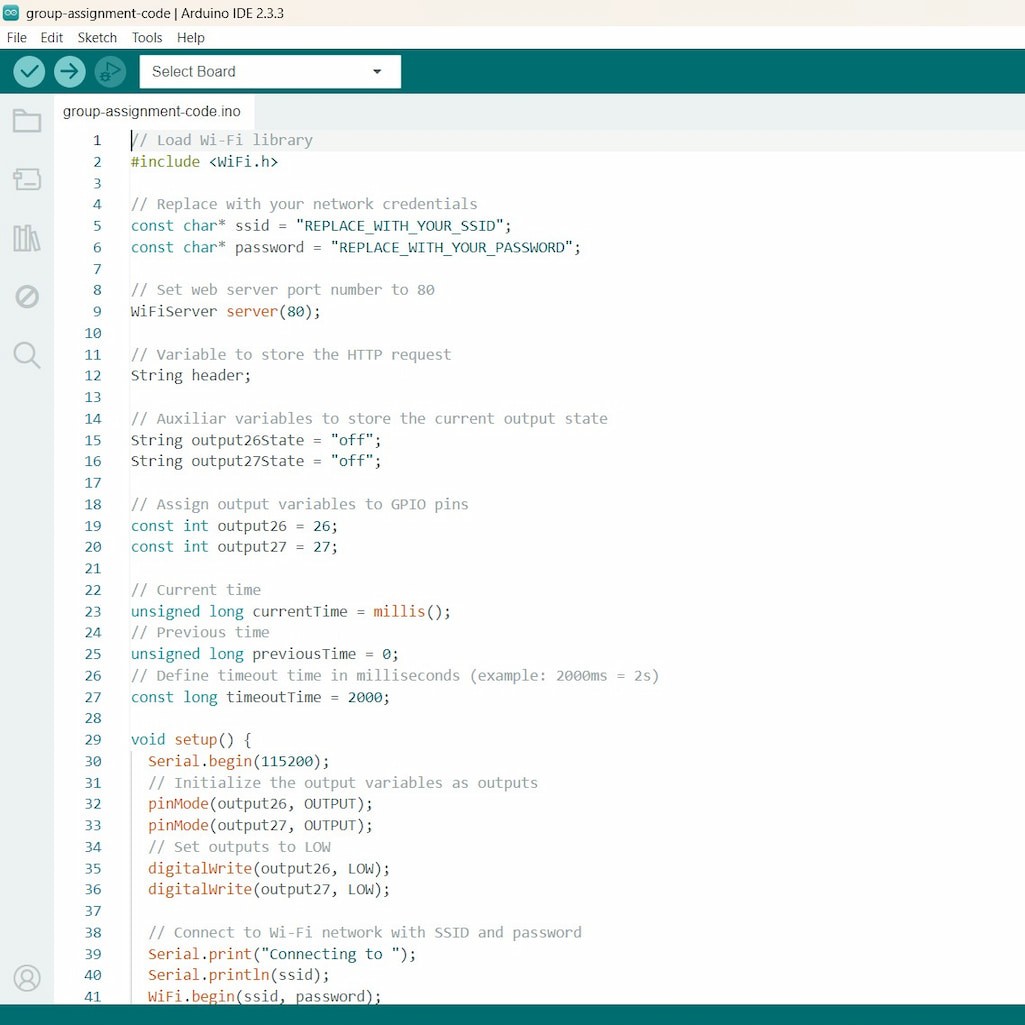
Next, we built a simple HTML interface hosted on the ESP32. The interface allowed us to control hardware, like turning an LED on and off, by pressing buttons on a webpage.

This exercise does not necessarily apply directly to my final project, but this week as a whole gave me a lot of inspiration. I could set up a control interface online for my robots.

NETWORK B
Wirless (Wi-Fi, HTTP, Client-Server)
Wired (PWM)
Server ⇆ Site
User ⇆ Site
Site → Pico W → Servo
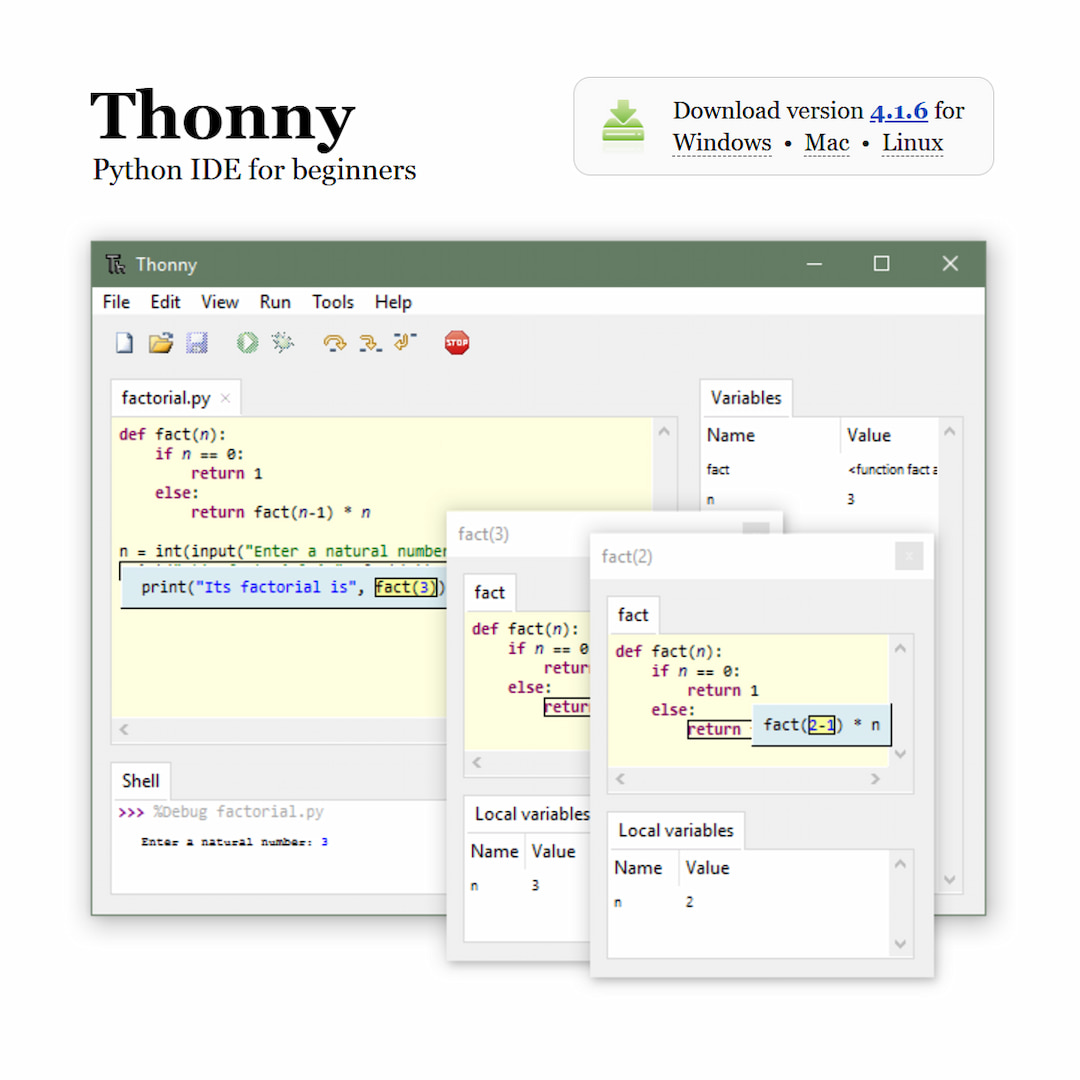
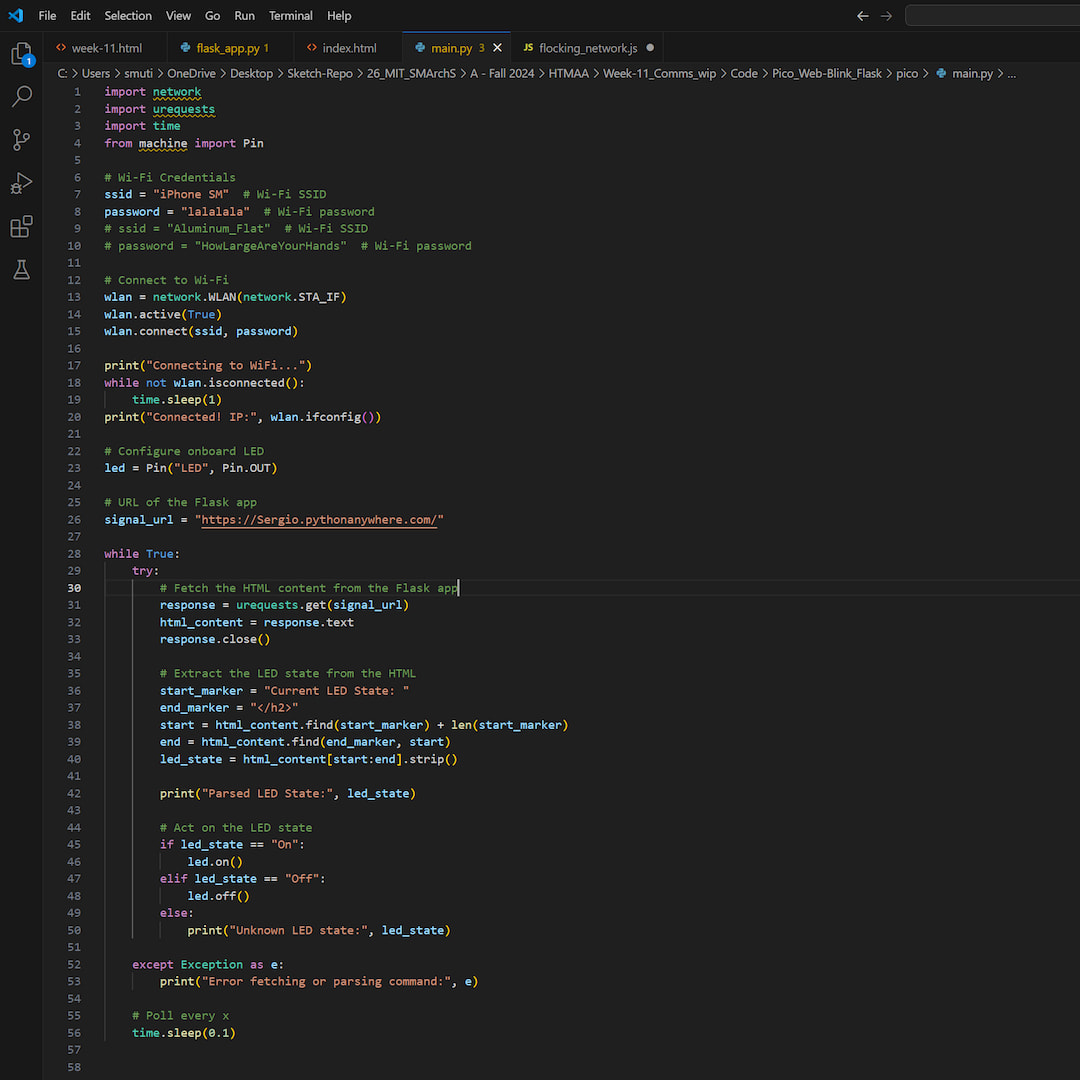
1.) Thonny - Micropython
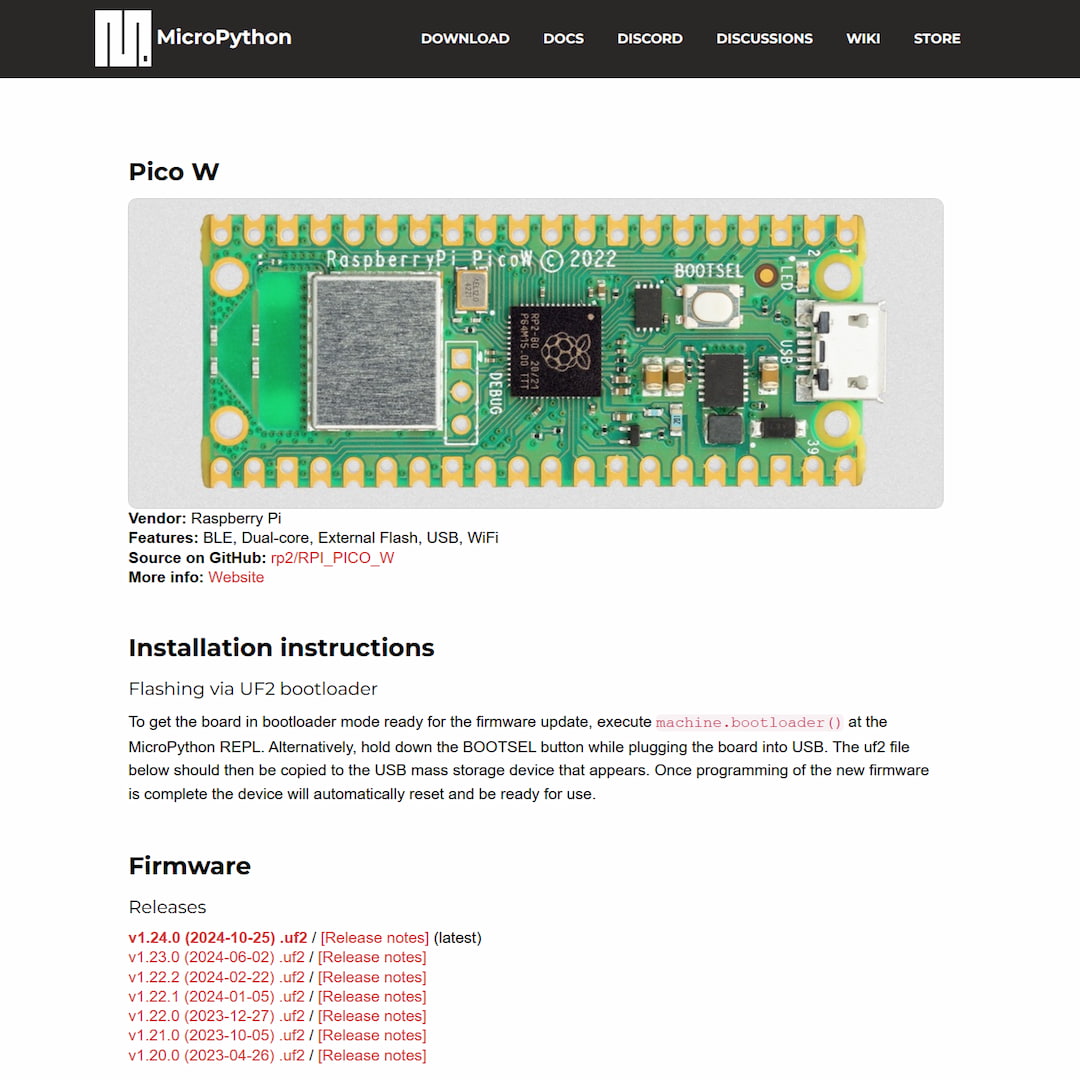
In order to run micropython in the Raspberry Pi Pico W, I had to first set up a compatible IDE. I decided to go with Thonny for simplicity. Subsequently, I installed the micropytohn firmware on the Pico, completing the groundwork.
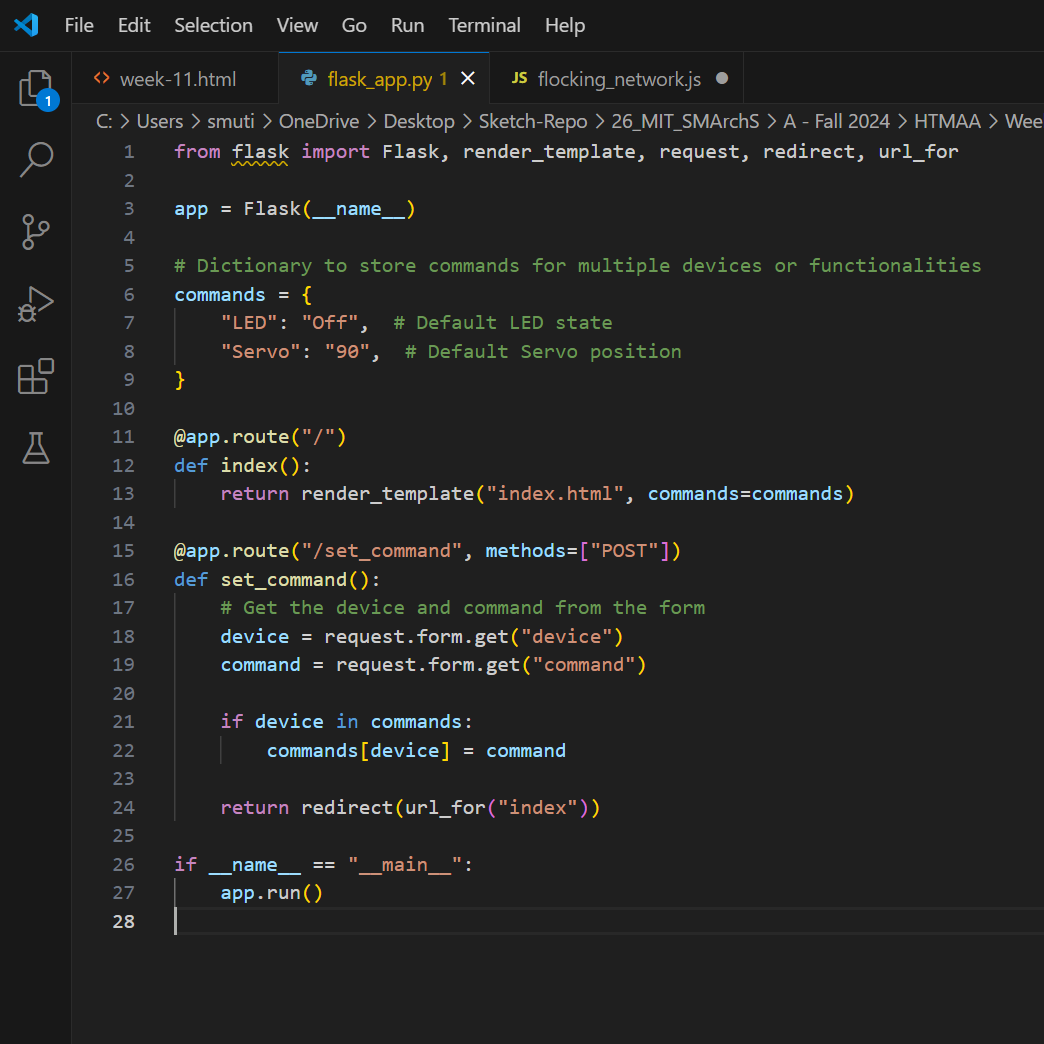
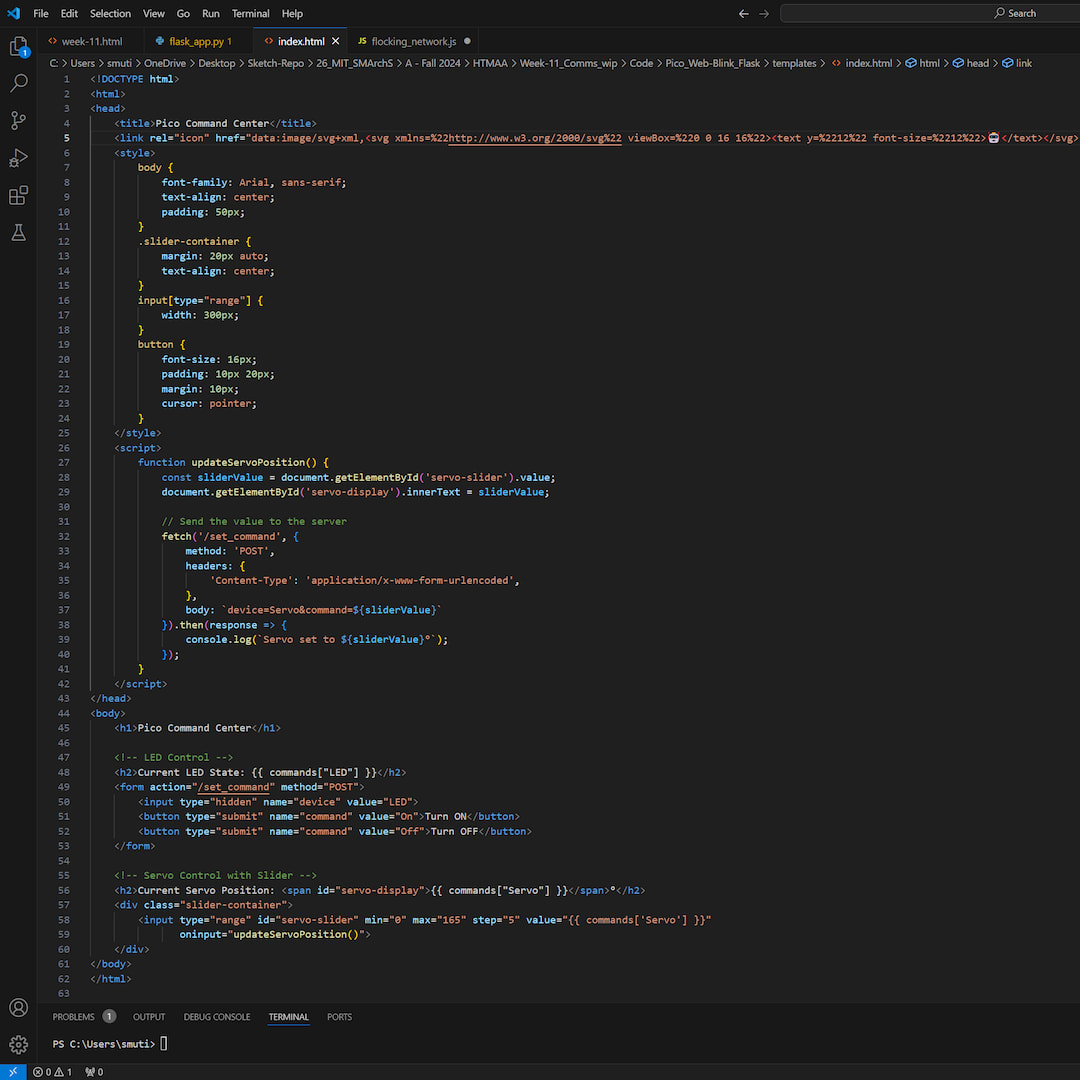
2.) Website Setup
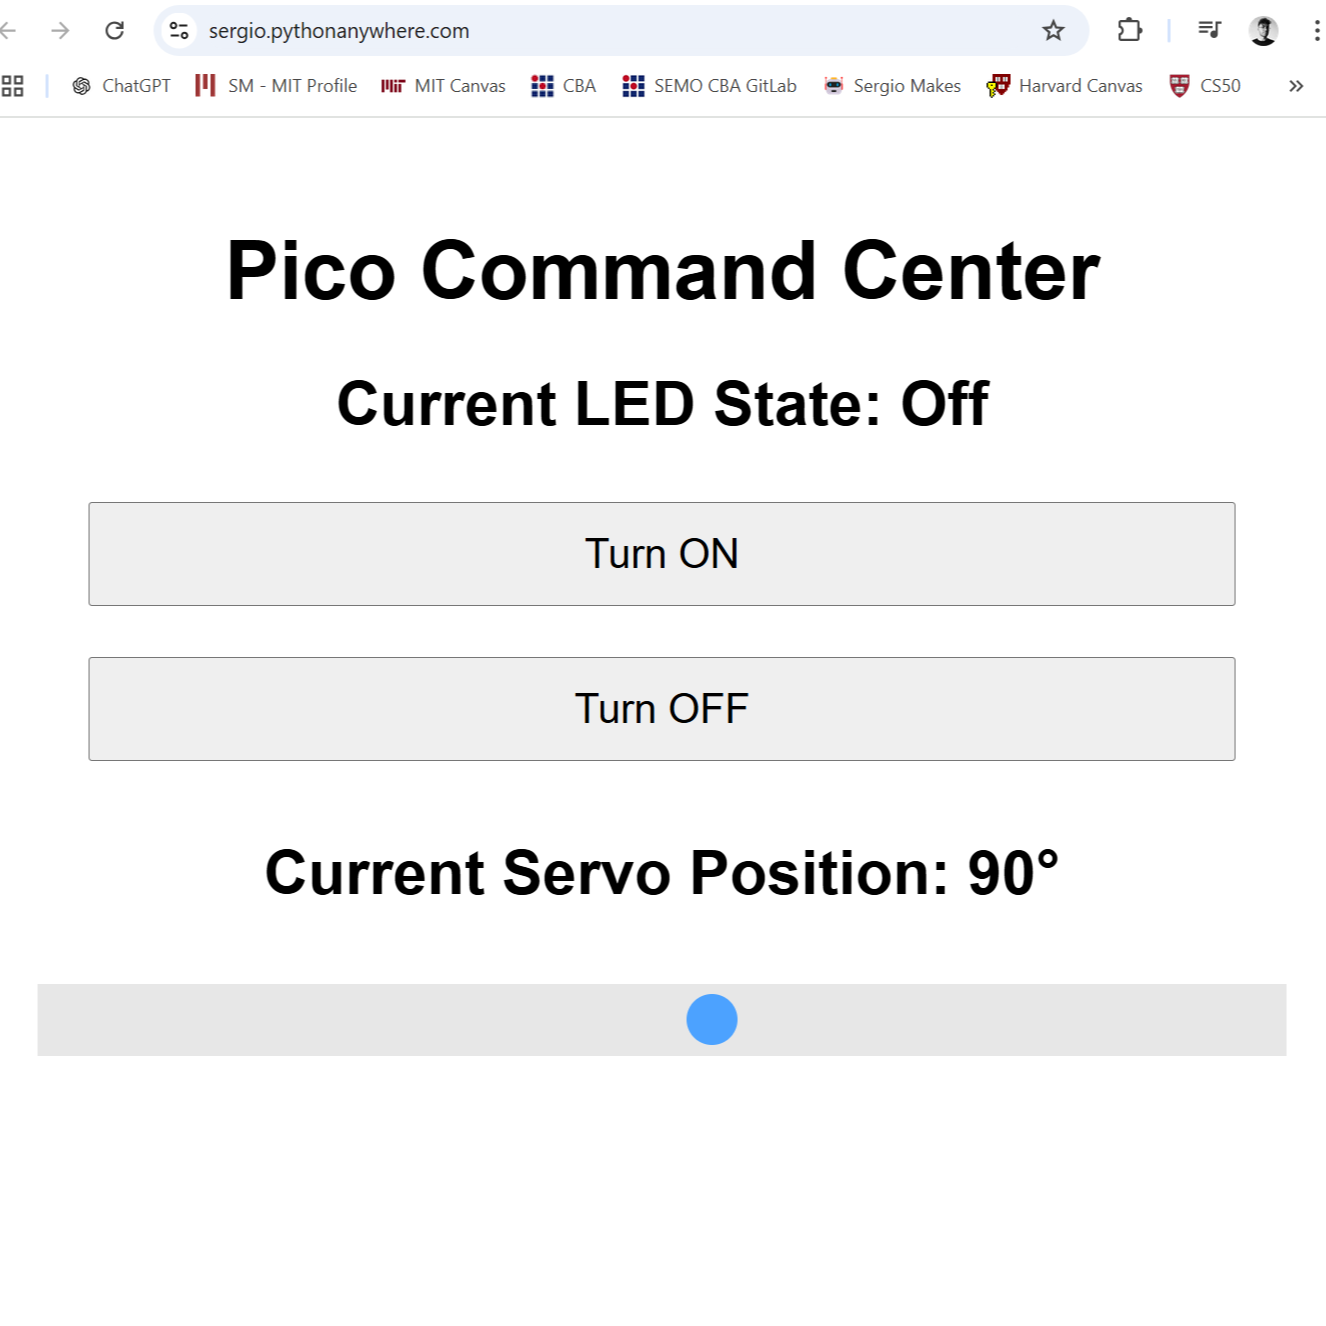
My frist succesful wireless connection was held within my local Wifi network. Yet quickly I realized that changing IP addresses could become a problem. Finally I decided for developing an control site, which the pico could link to for instructions.
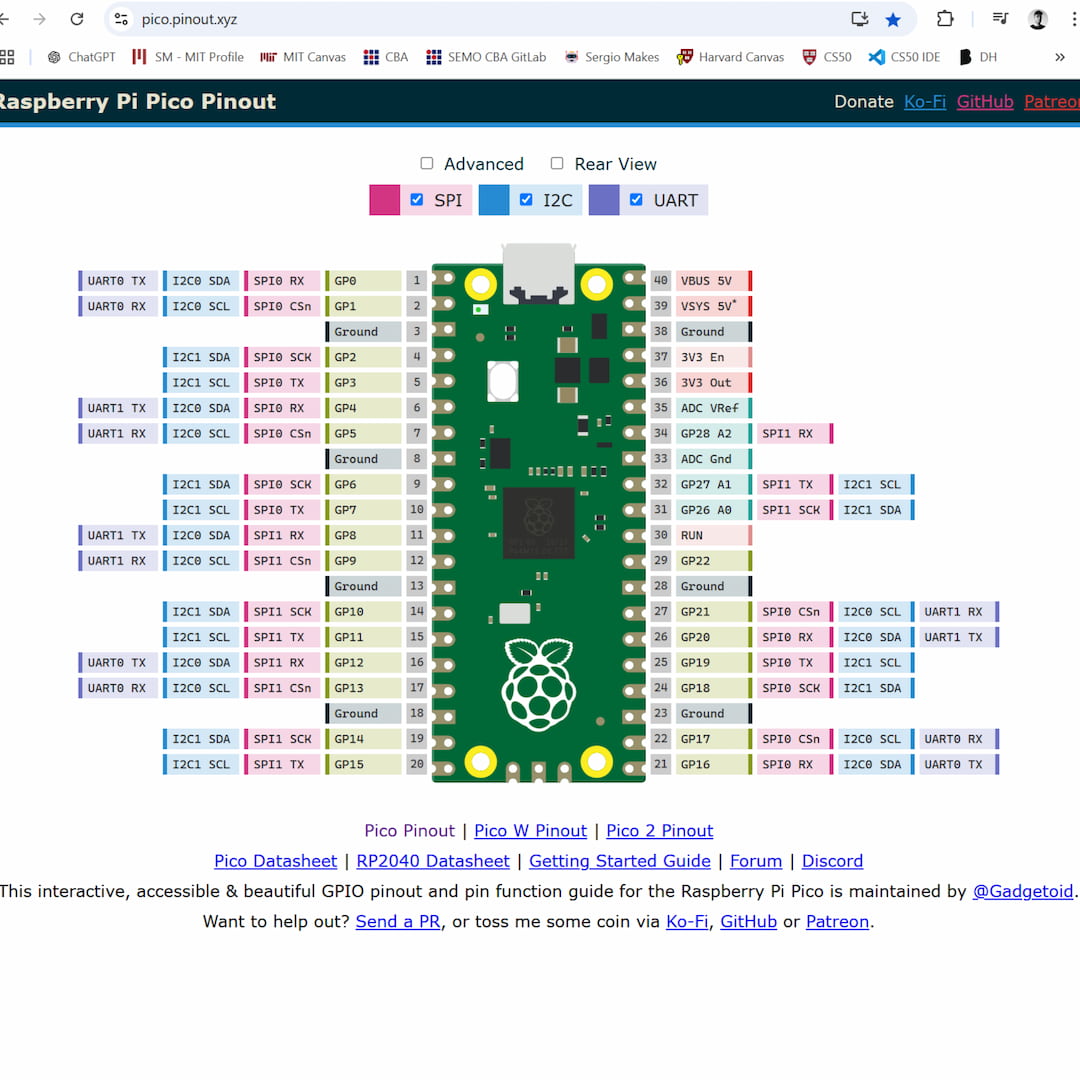
3.) Pinout / Servo Planning
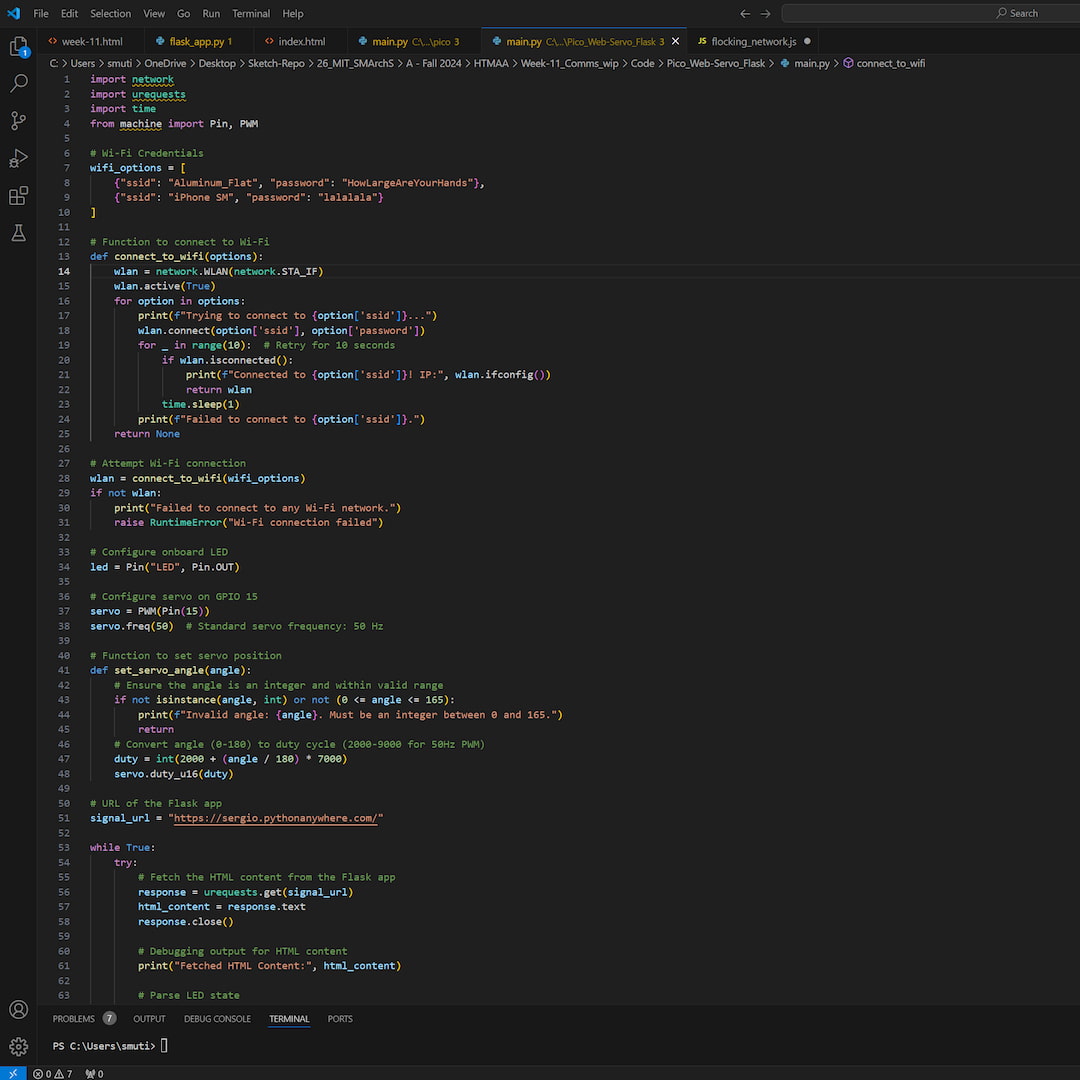
And finally, after testing the previous configuration, I decided to integrate a servo motor in a second Pico. The way I set up control, allowed for a particularly scalable system.
