GROUP ASSIGNMENT
This week there was no required group assignment, with many students travelling for thanksgiving. The architecture section focused on sharing the diferent interefaces we created and supporting each other in their development.
Simple Open Web Interface
(wireless comms)
Server ⇆ Site
User ⇆ Site
Site → Pico W → Servo
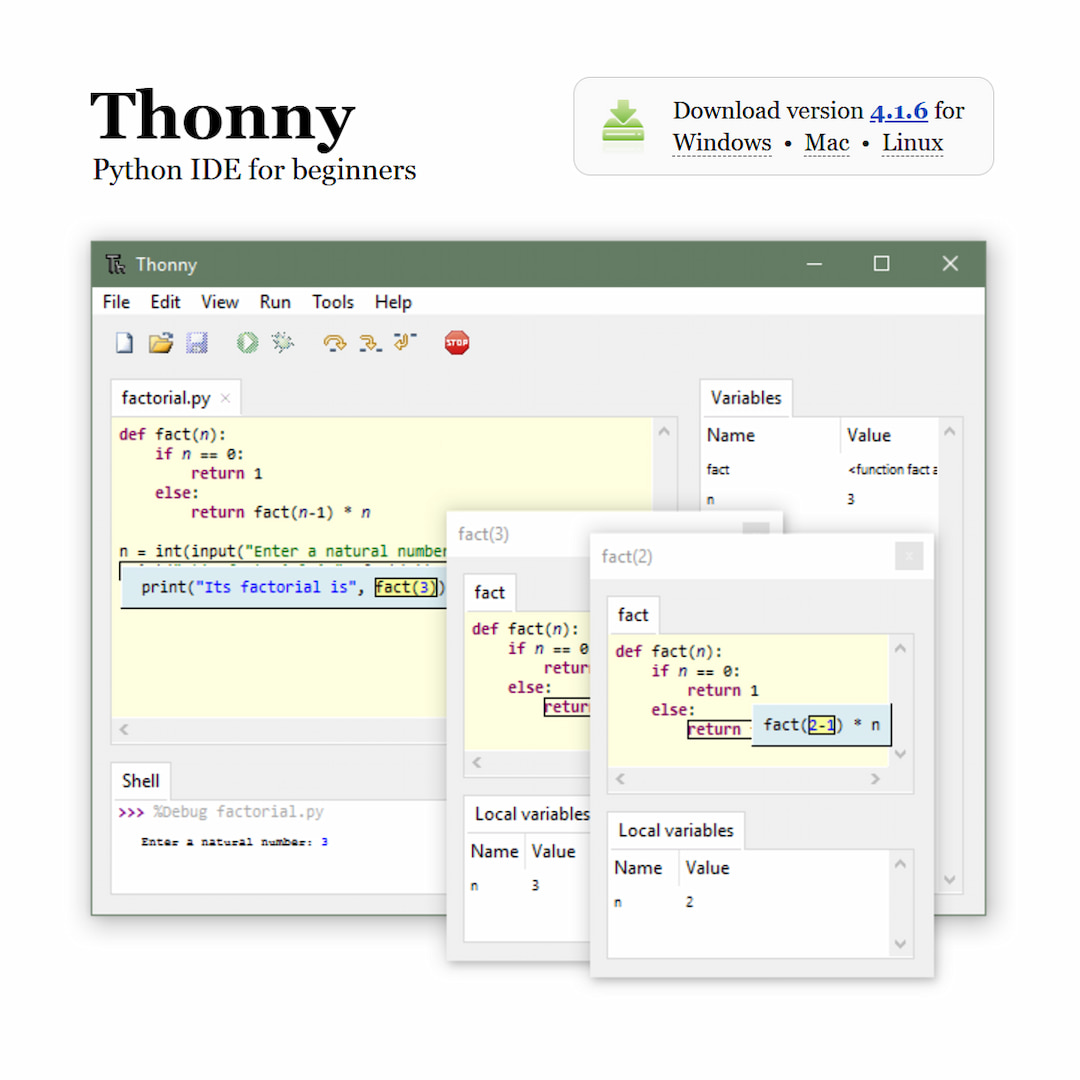
1.) Thonny - Micropython
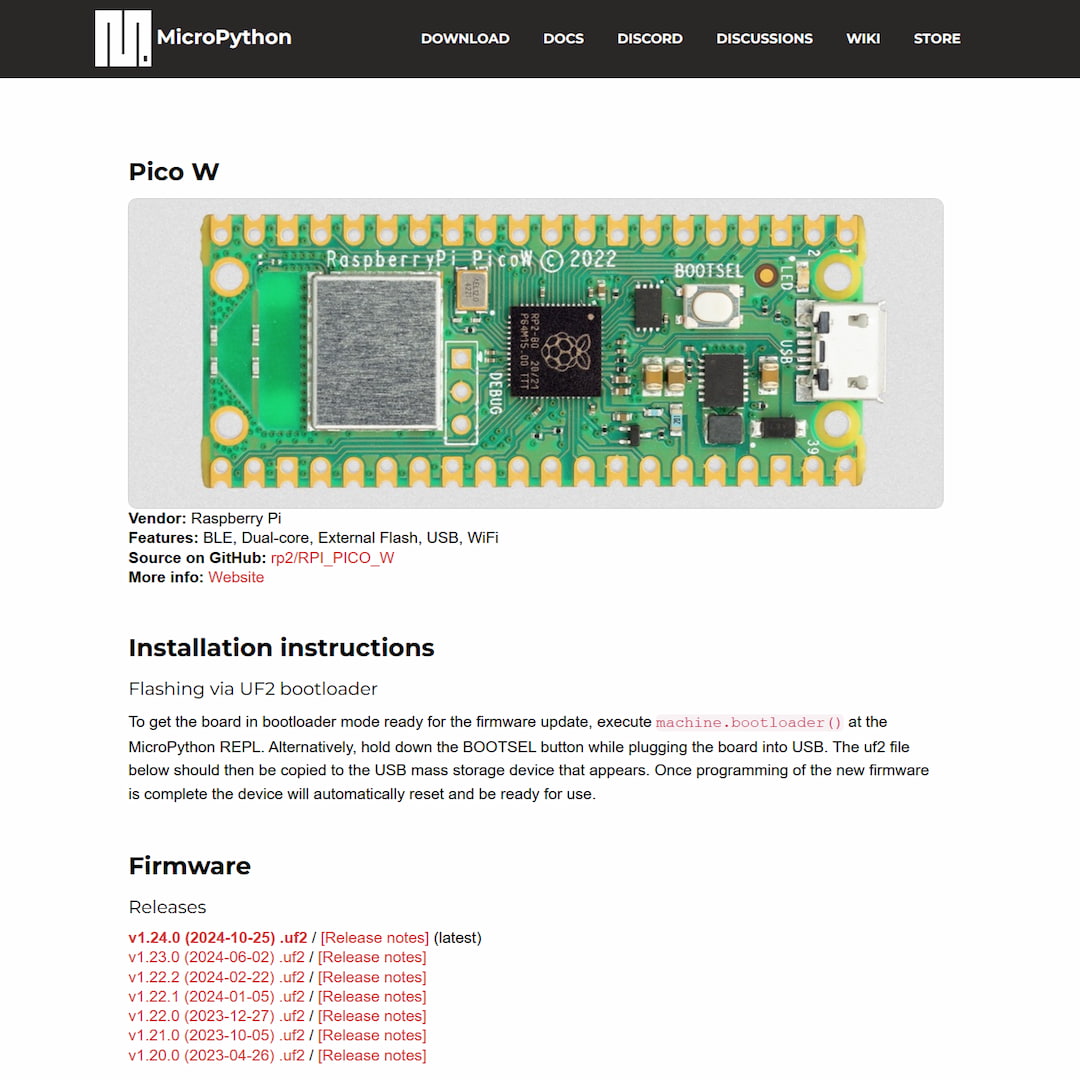
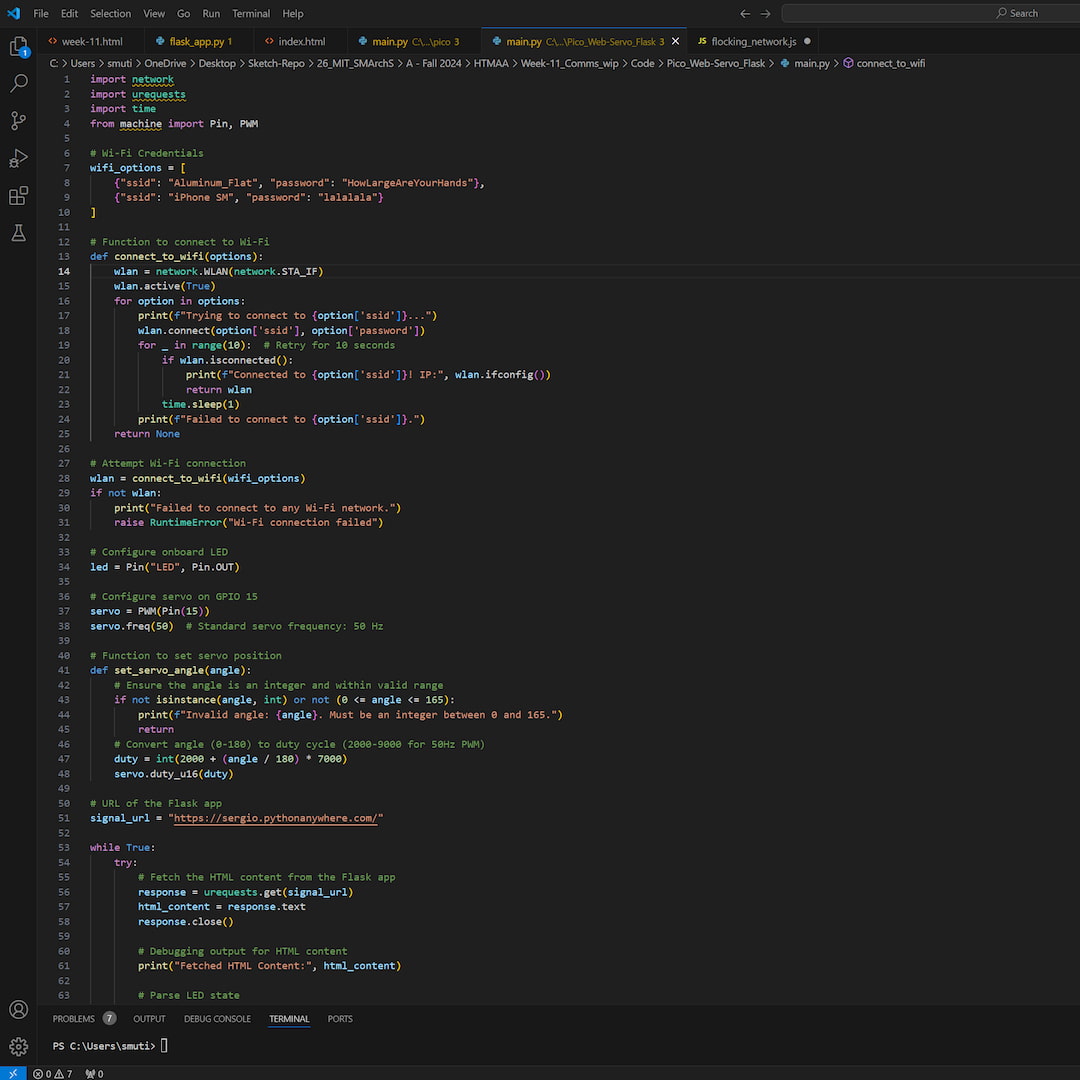
In order to run micropython in the Raspberry Pi Pico W, I had to first set up a compatible IDE. I decided to go with Thonny for simplicity. Subsequently, I installed the micropytohn firmware on the Pico, completing the groundwork.
2.) Website Setup
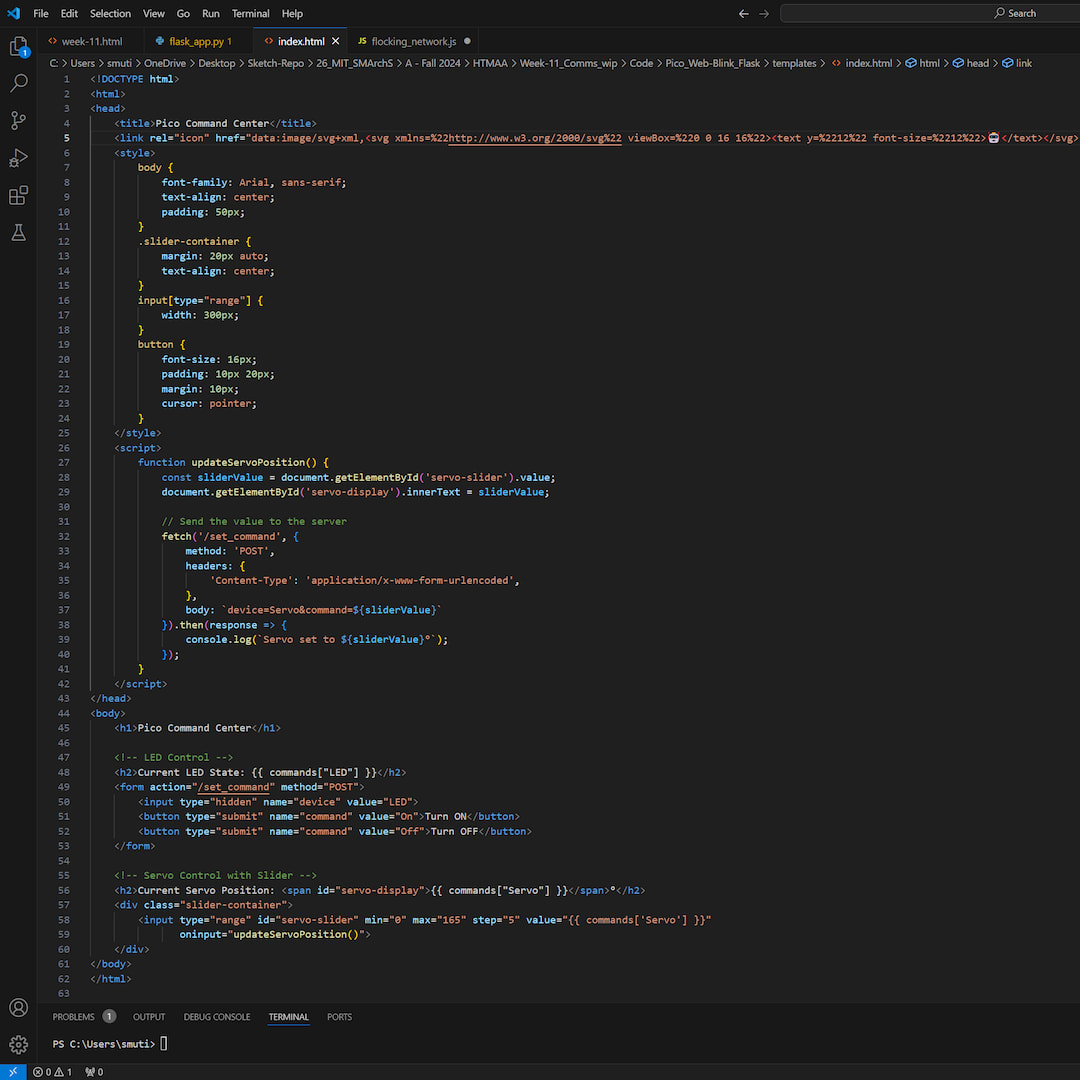
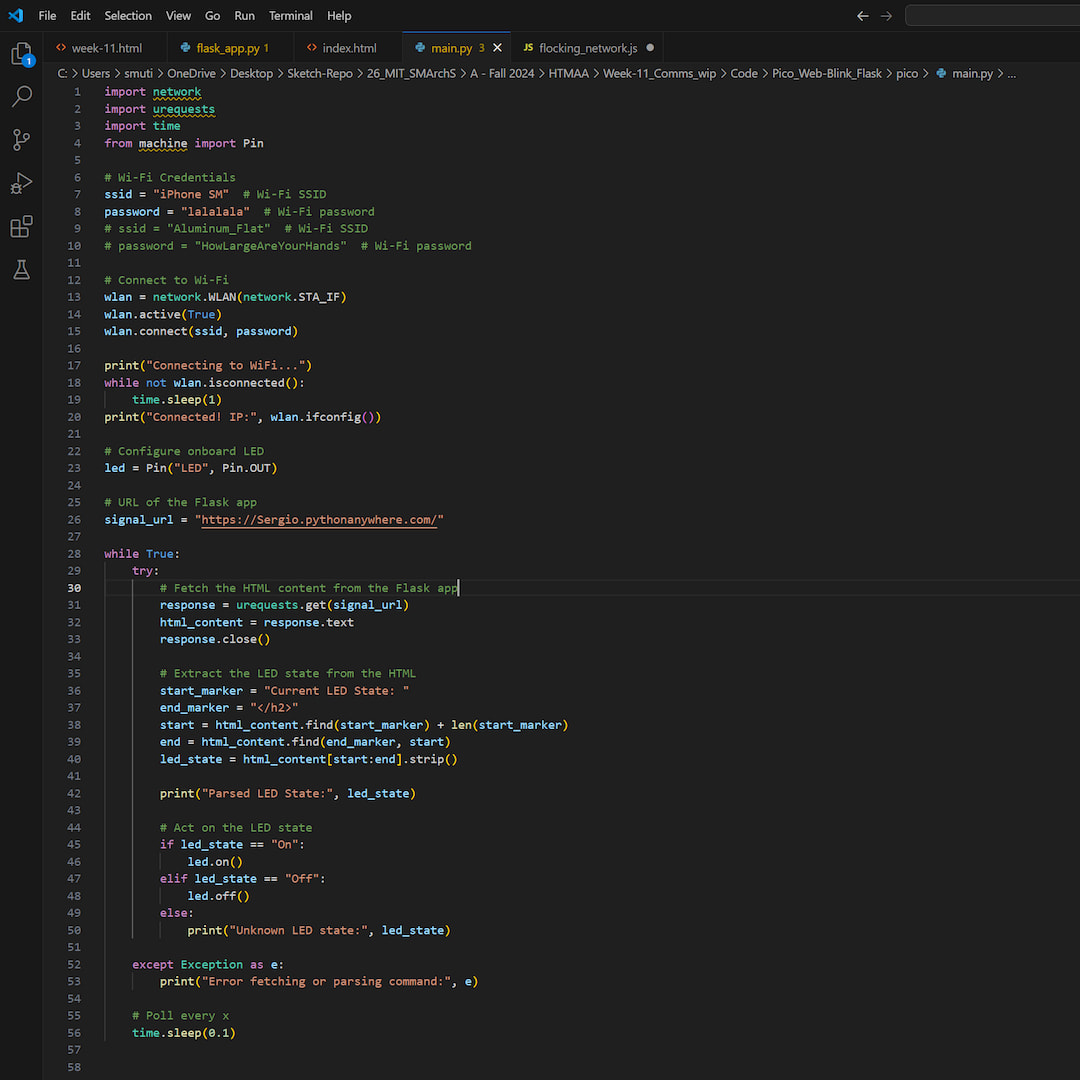
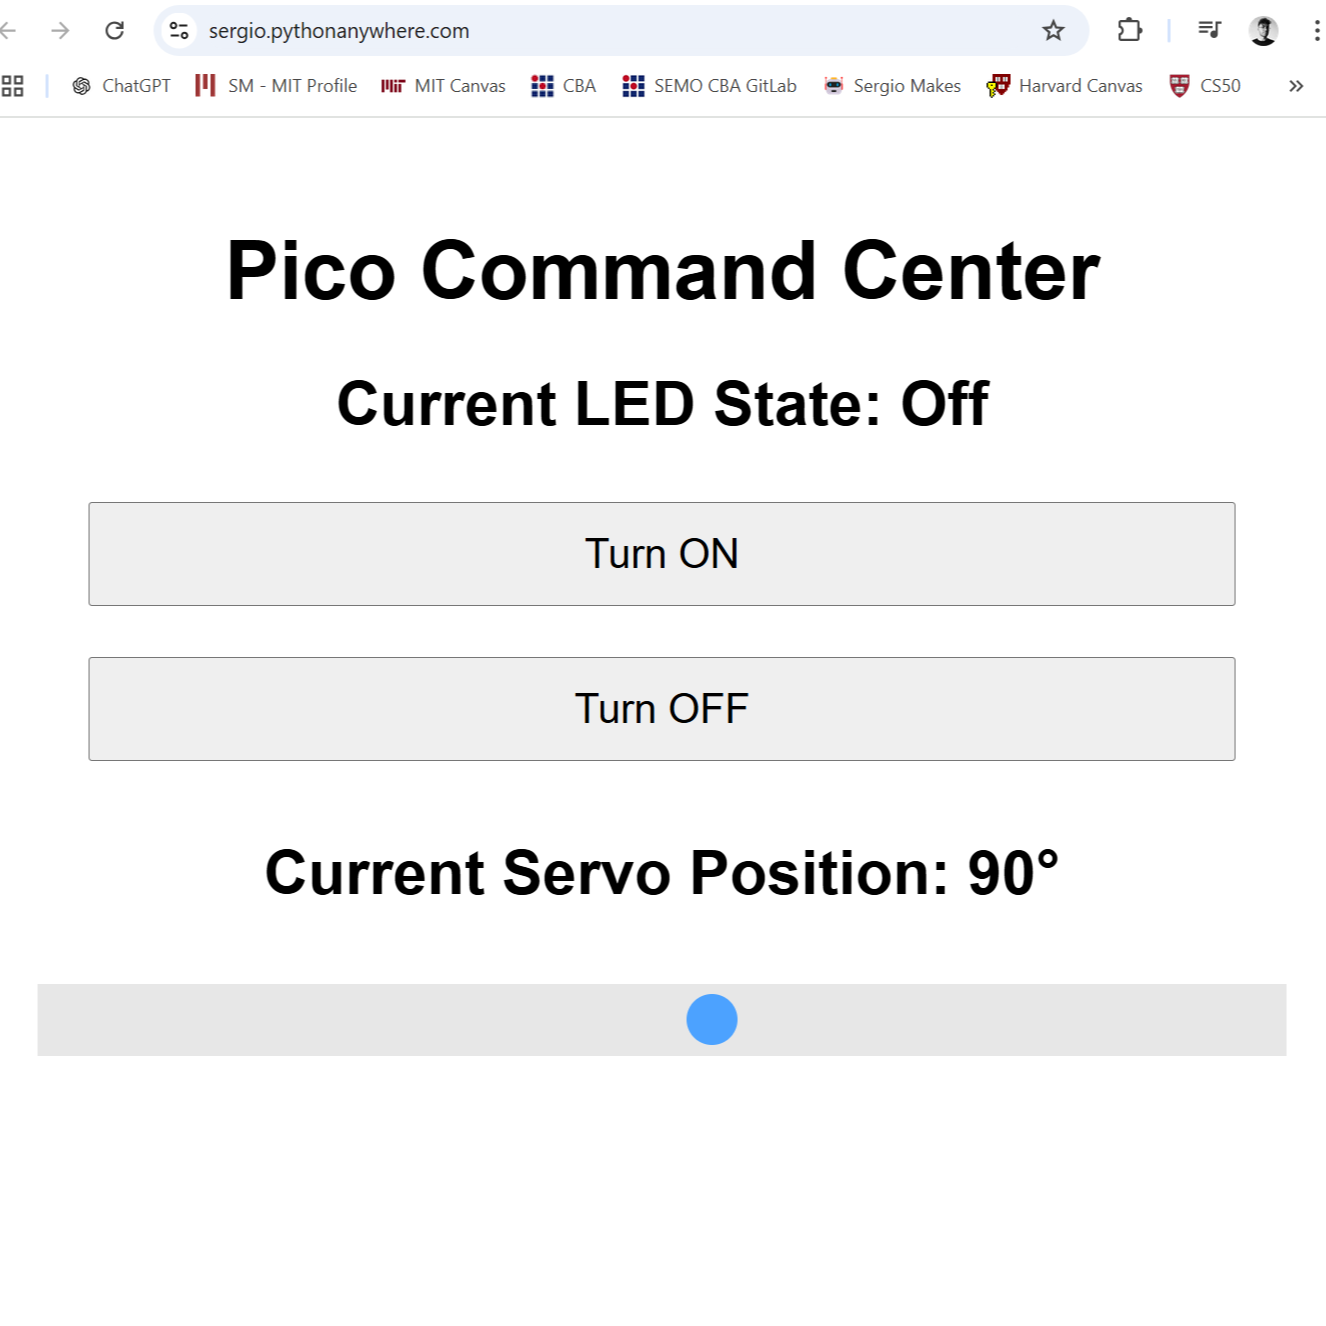
My frist succesful wireless connection was held within my local Wifi network. Yet quickly I realized that changing IP addresses could become a problem. Finally I decided for developing an control site, which the pico could link to for instructions.
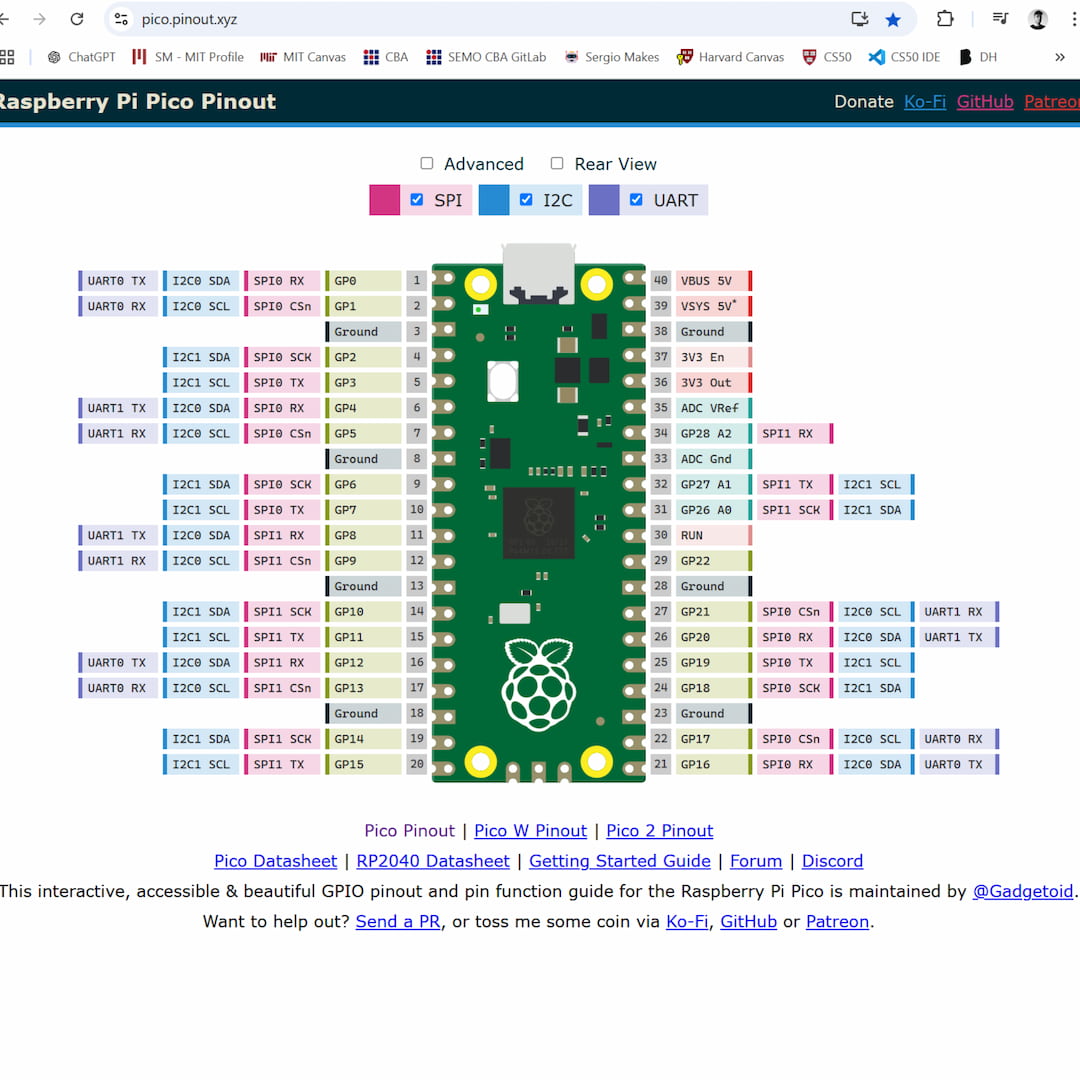
3.) Pinout / Servo Planning
And finally, after testing the previous configuration, I decided to integrate a servo motor in a second Pico. The way I set up control, allowed for a particularly scalable system.
Simple Local Web Interface
(wired comms)
Server ⇆ Site
User ⇆ Site
Site → Pico W → Servo
Unity Interface
(wired comms)
Unity → Pico W → Servo
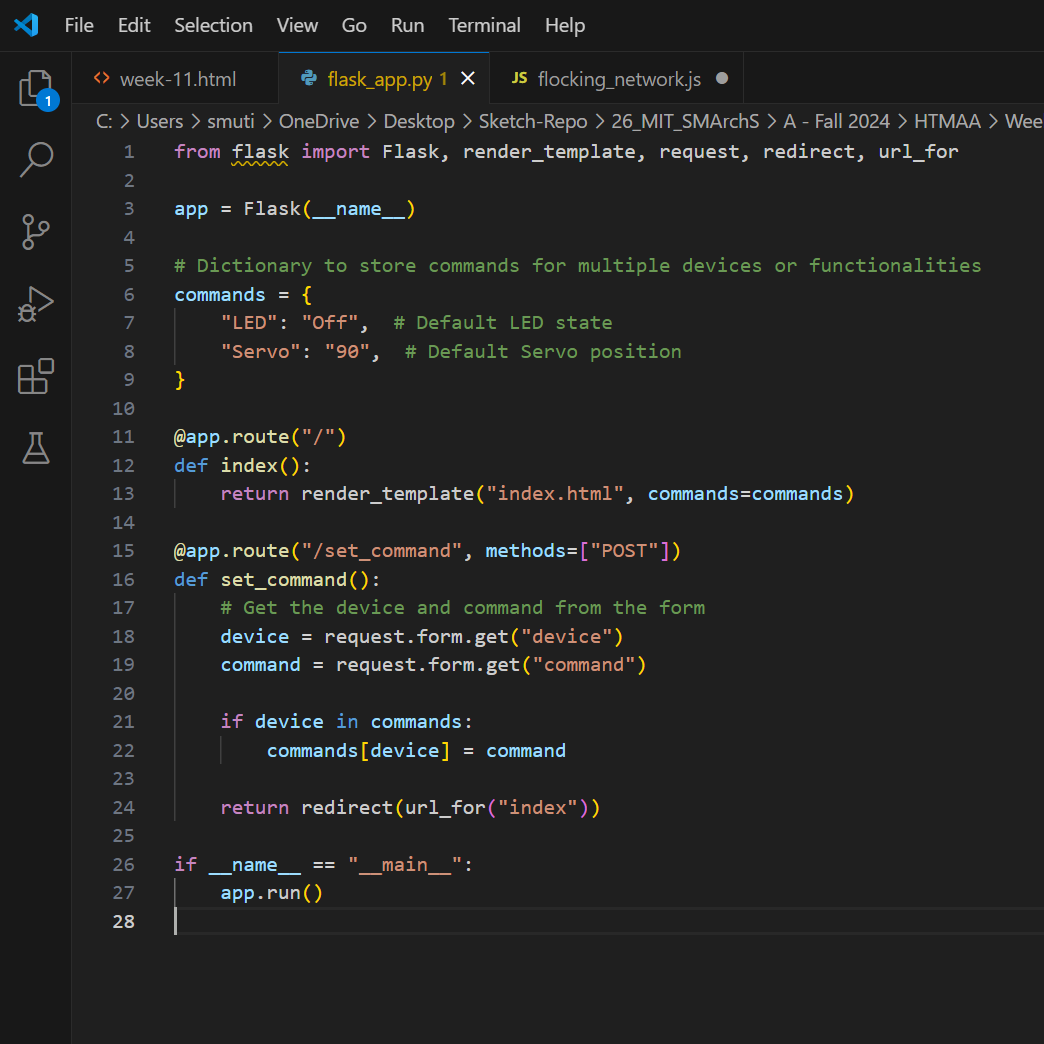
1. Set Up Flask Server
For my first attempt at controlling servos with Unity, I decided to connect to a variation of my flask application I had just developed.

2. Set Up Unity Project
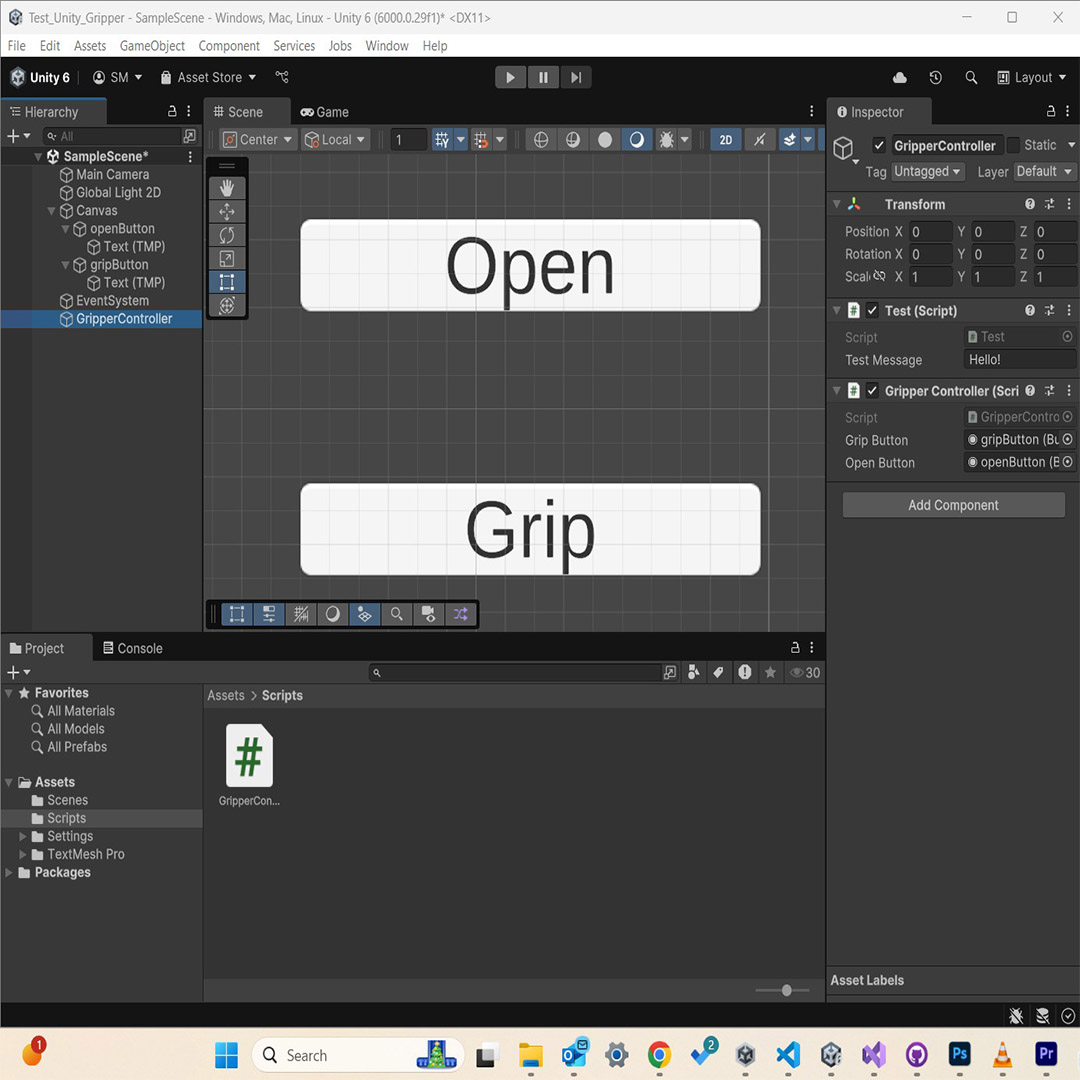
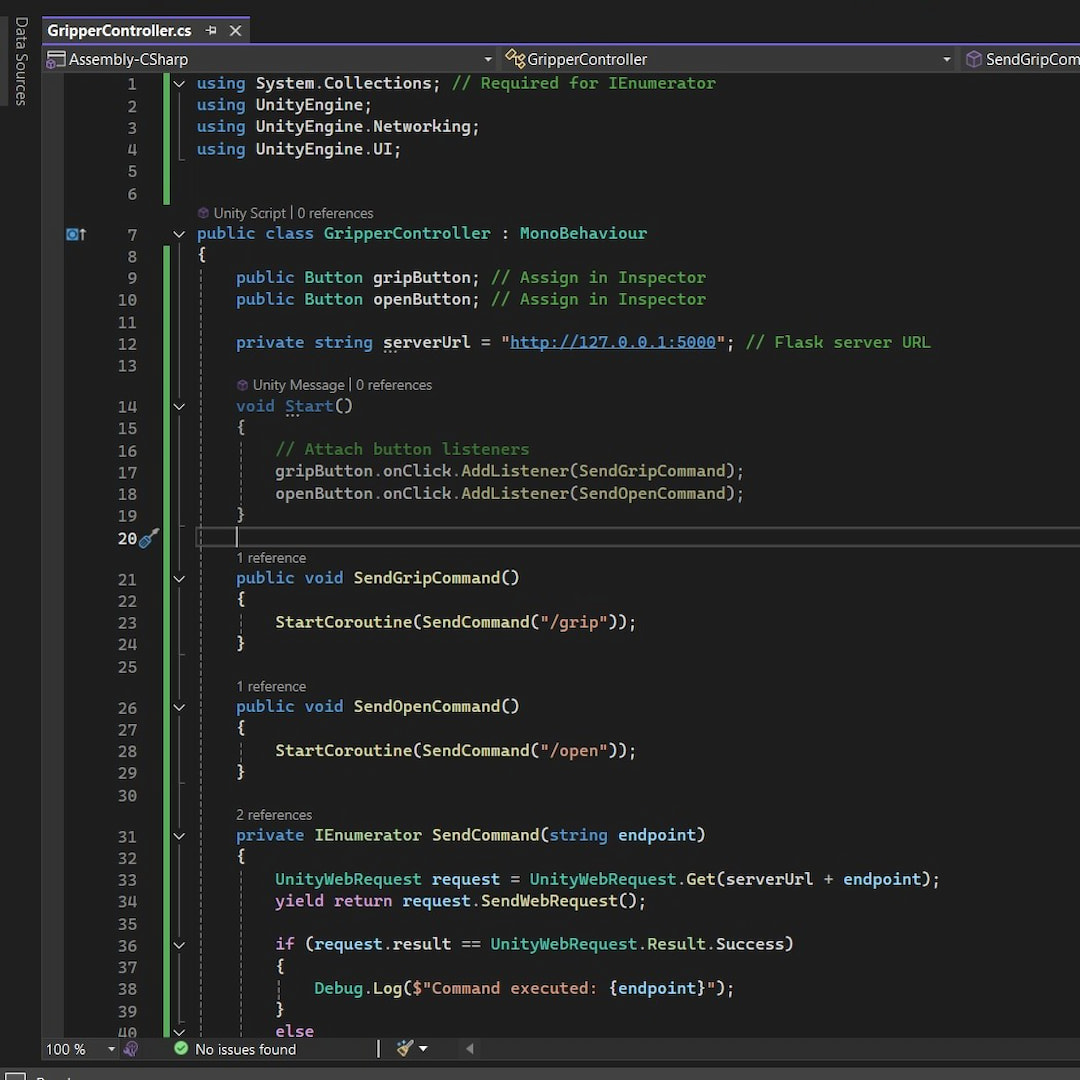
I installed Unity, then created a new script within the assets folder called GripperController.cs The code has two public buttons and simply listens for clicks on the buttons, sending commands via coroutines to the server
3. GUI Design and Execution
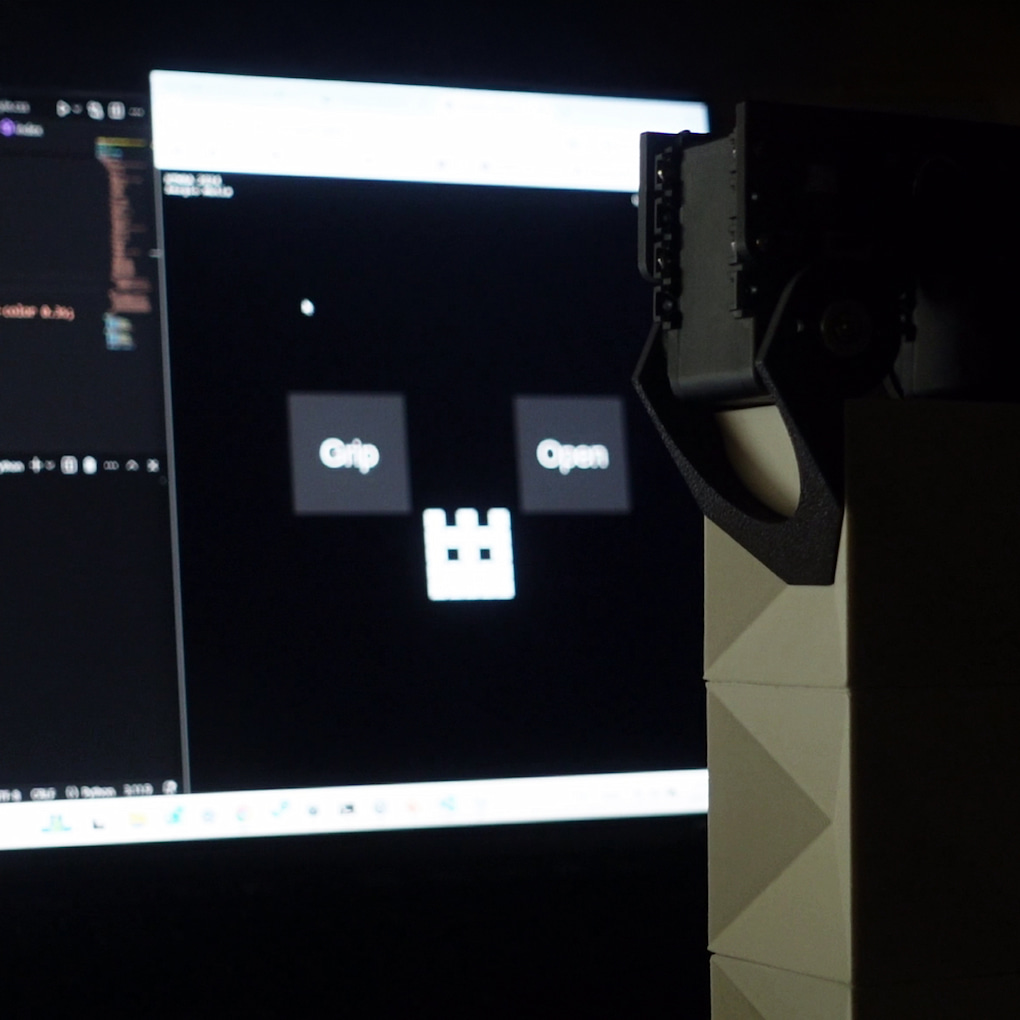
First, I created a canvas as the basis for my GUI and added two buttons, GripButton and OpenButton, which I positioned and labeled appropriately. Then, I developed a GripperController GameObject, attached the GripperController.cs script to it, and linked the buttons to their respective fields in the Inspector.
