

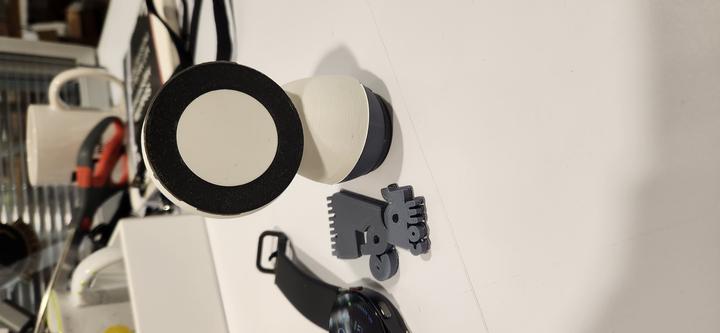
I missed the training this week, which means I was definitely lost for a bit. It really helped reading other students' assignments. My goal for this assignment is to print Jibo as movable parts, but the only 3D model I was able to find is not movable. The basic steps needed for this are as follows:
I found a 3D Jibo model here. I scaled it down and printed it on 3 different printers to give each part a different color.
I also wanted to print the logo of my husband's website to gift him. So, I made a 3D file out of it (by just extruding the black and white design) and printed it in one color.
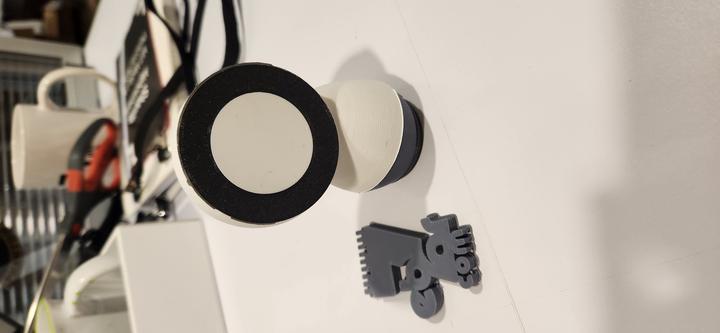
This is the final output!
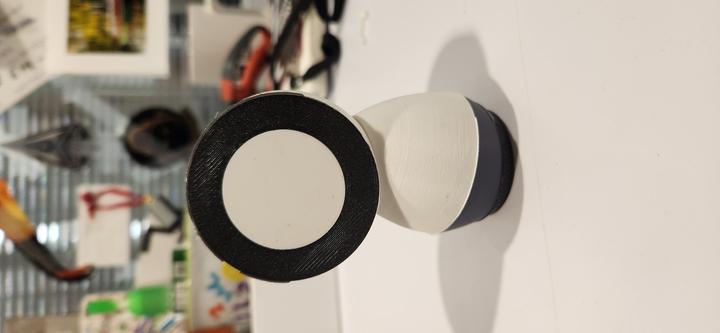
However, Jibo is not movable because I had to glue the pieces together. I'll keep working on creating a hinge between the parts in order to keep the parts rotating like a real Jibo.
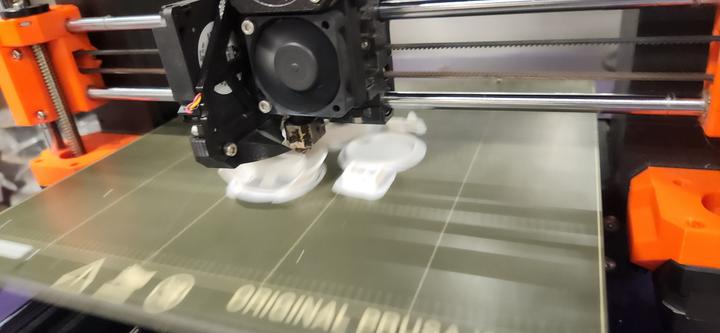
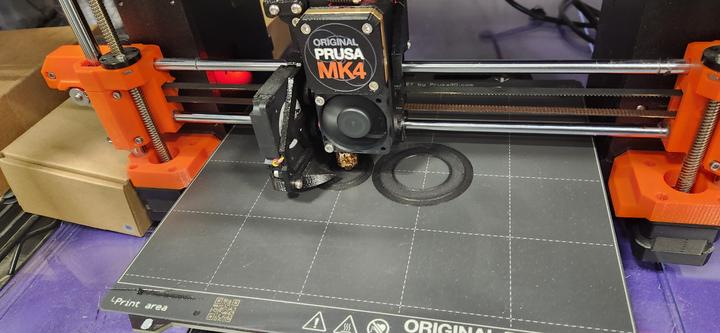
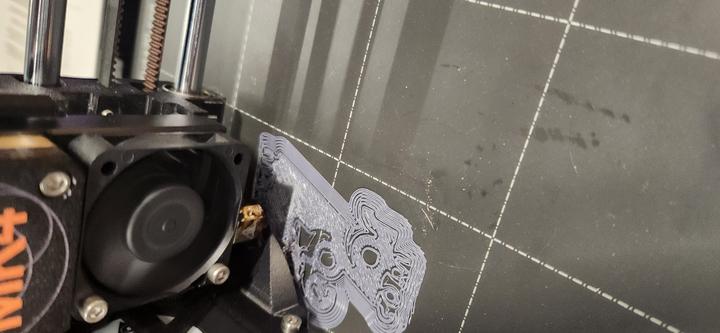
I had an issue with the brim for this print; it kept moving. Not sure if it is a printer issue or a design issue. I avoided that printer anyway for my future prints.
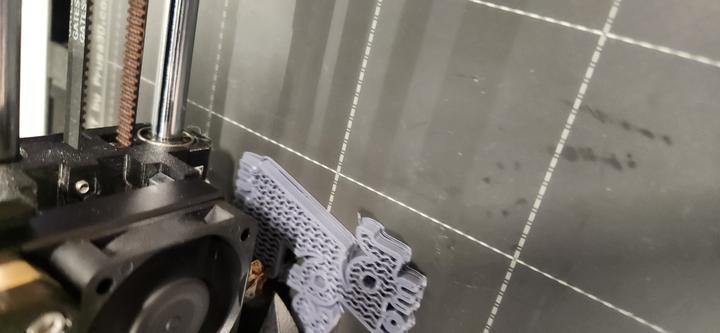
I removed the brim, and it went fine after.
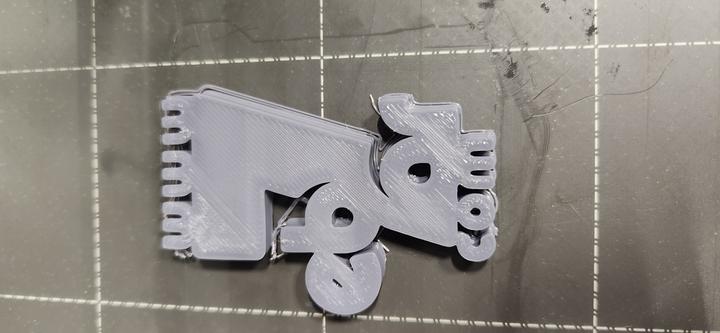
Needed some cleaning, but it looks fine.
Stay tuned for my 3D moving Jibo!