Welcome to Week 4
3D Scanning & Printing
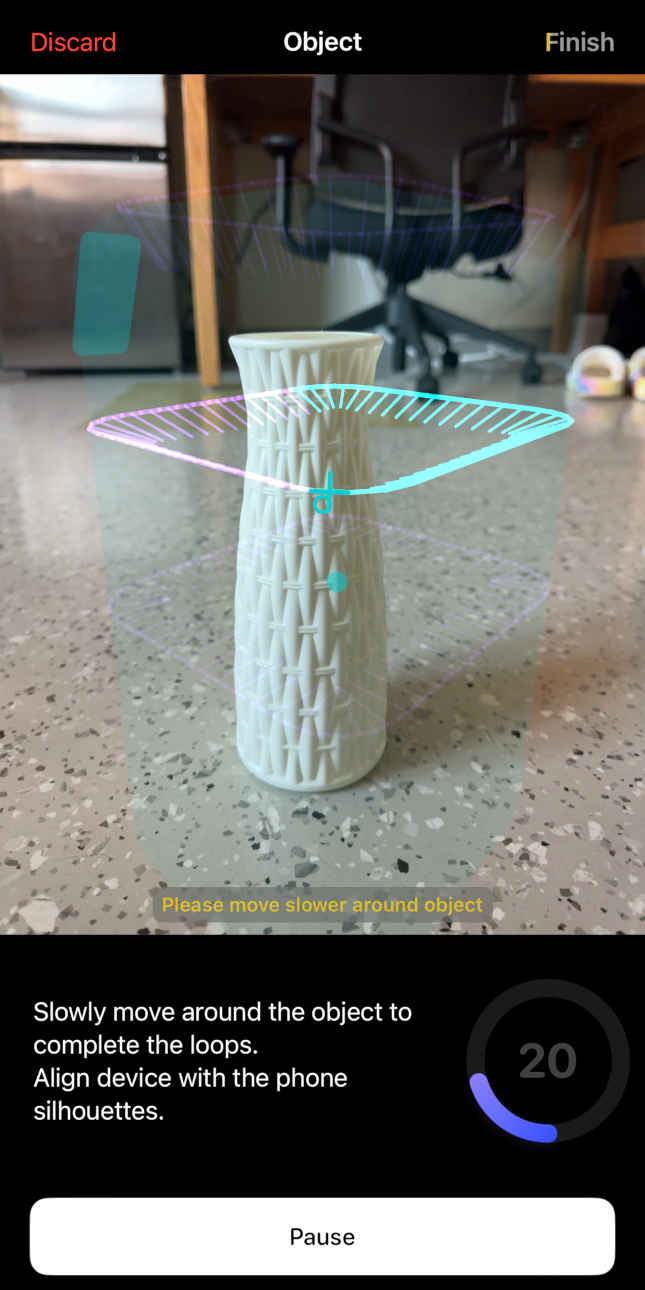
I decided for the 3D scanning to use the mobile app version, specifically Luma. The app was super beginner friendly, as opposed to Polycam which I struggled with a bit more. I went through the instructions in the app and was able to make a full 3D scan of my flower vase. I decided not to print it because it would have taken too long on the printer.
The process:

Final Luma Scan Link:
Luma
For the 3D print group project we needed to test the design rules for the printer. To do so, after getting a quick training on the Bambu and Prusa, we did a quick 3D test print. Online I found an already designed all-in-one piece to check overhang abilities, differences in sizing, etc. I planned to use the Bambu for my print so I also completed the test on the Bambu. The cloud based messaging between the PC and the printer was super easy and I preferred it to the Prusa. Below you can see come issues encountered with certain degrees of overhang. The differences in dimensions were so small it wasn't relevant to my project.


Hanger Project:
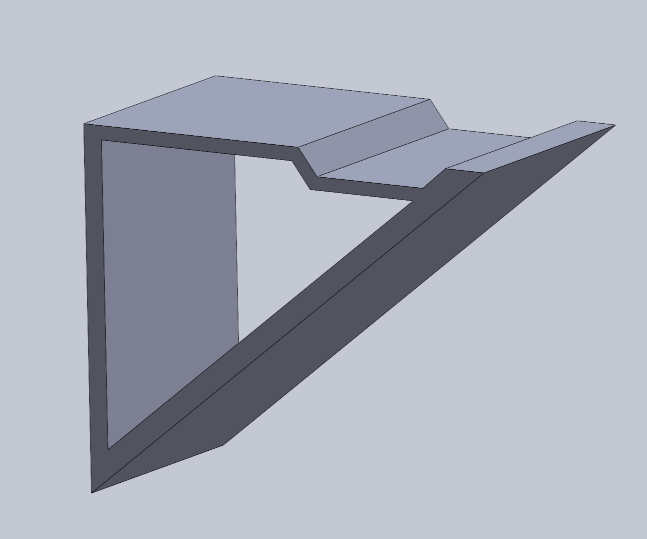
For my actual print I wanted to make a way to hang my headphones in my dorm. So I used SolidWorks to design a hanger with the intention of being able to stick it to my desk. The trianglgular design lets me put command strips on one side and the lip on the other side is to keep the headphones in place.

Download STEP Hanger
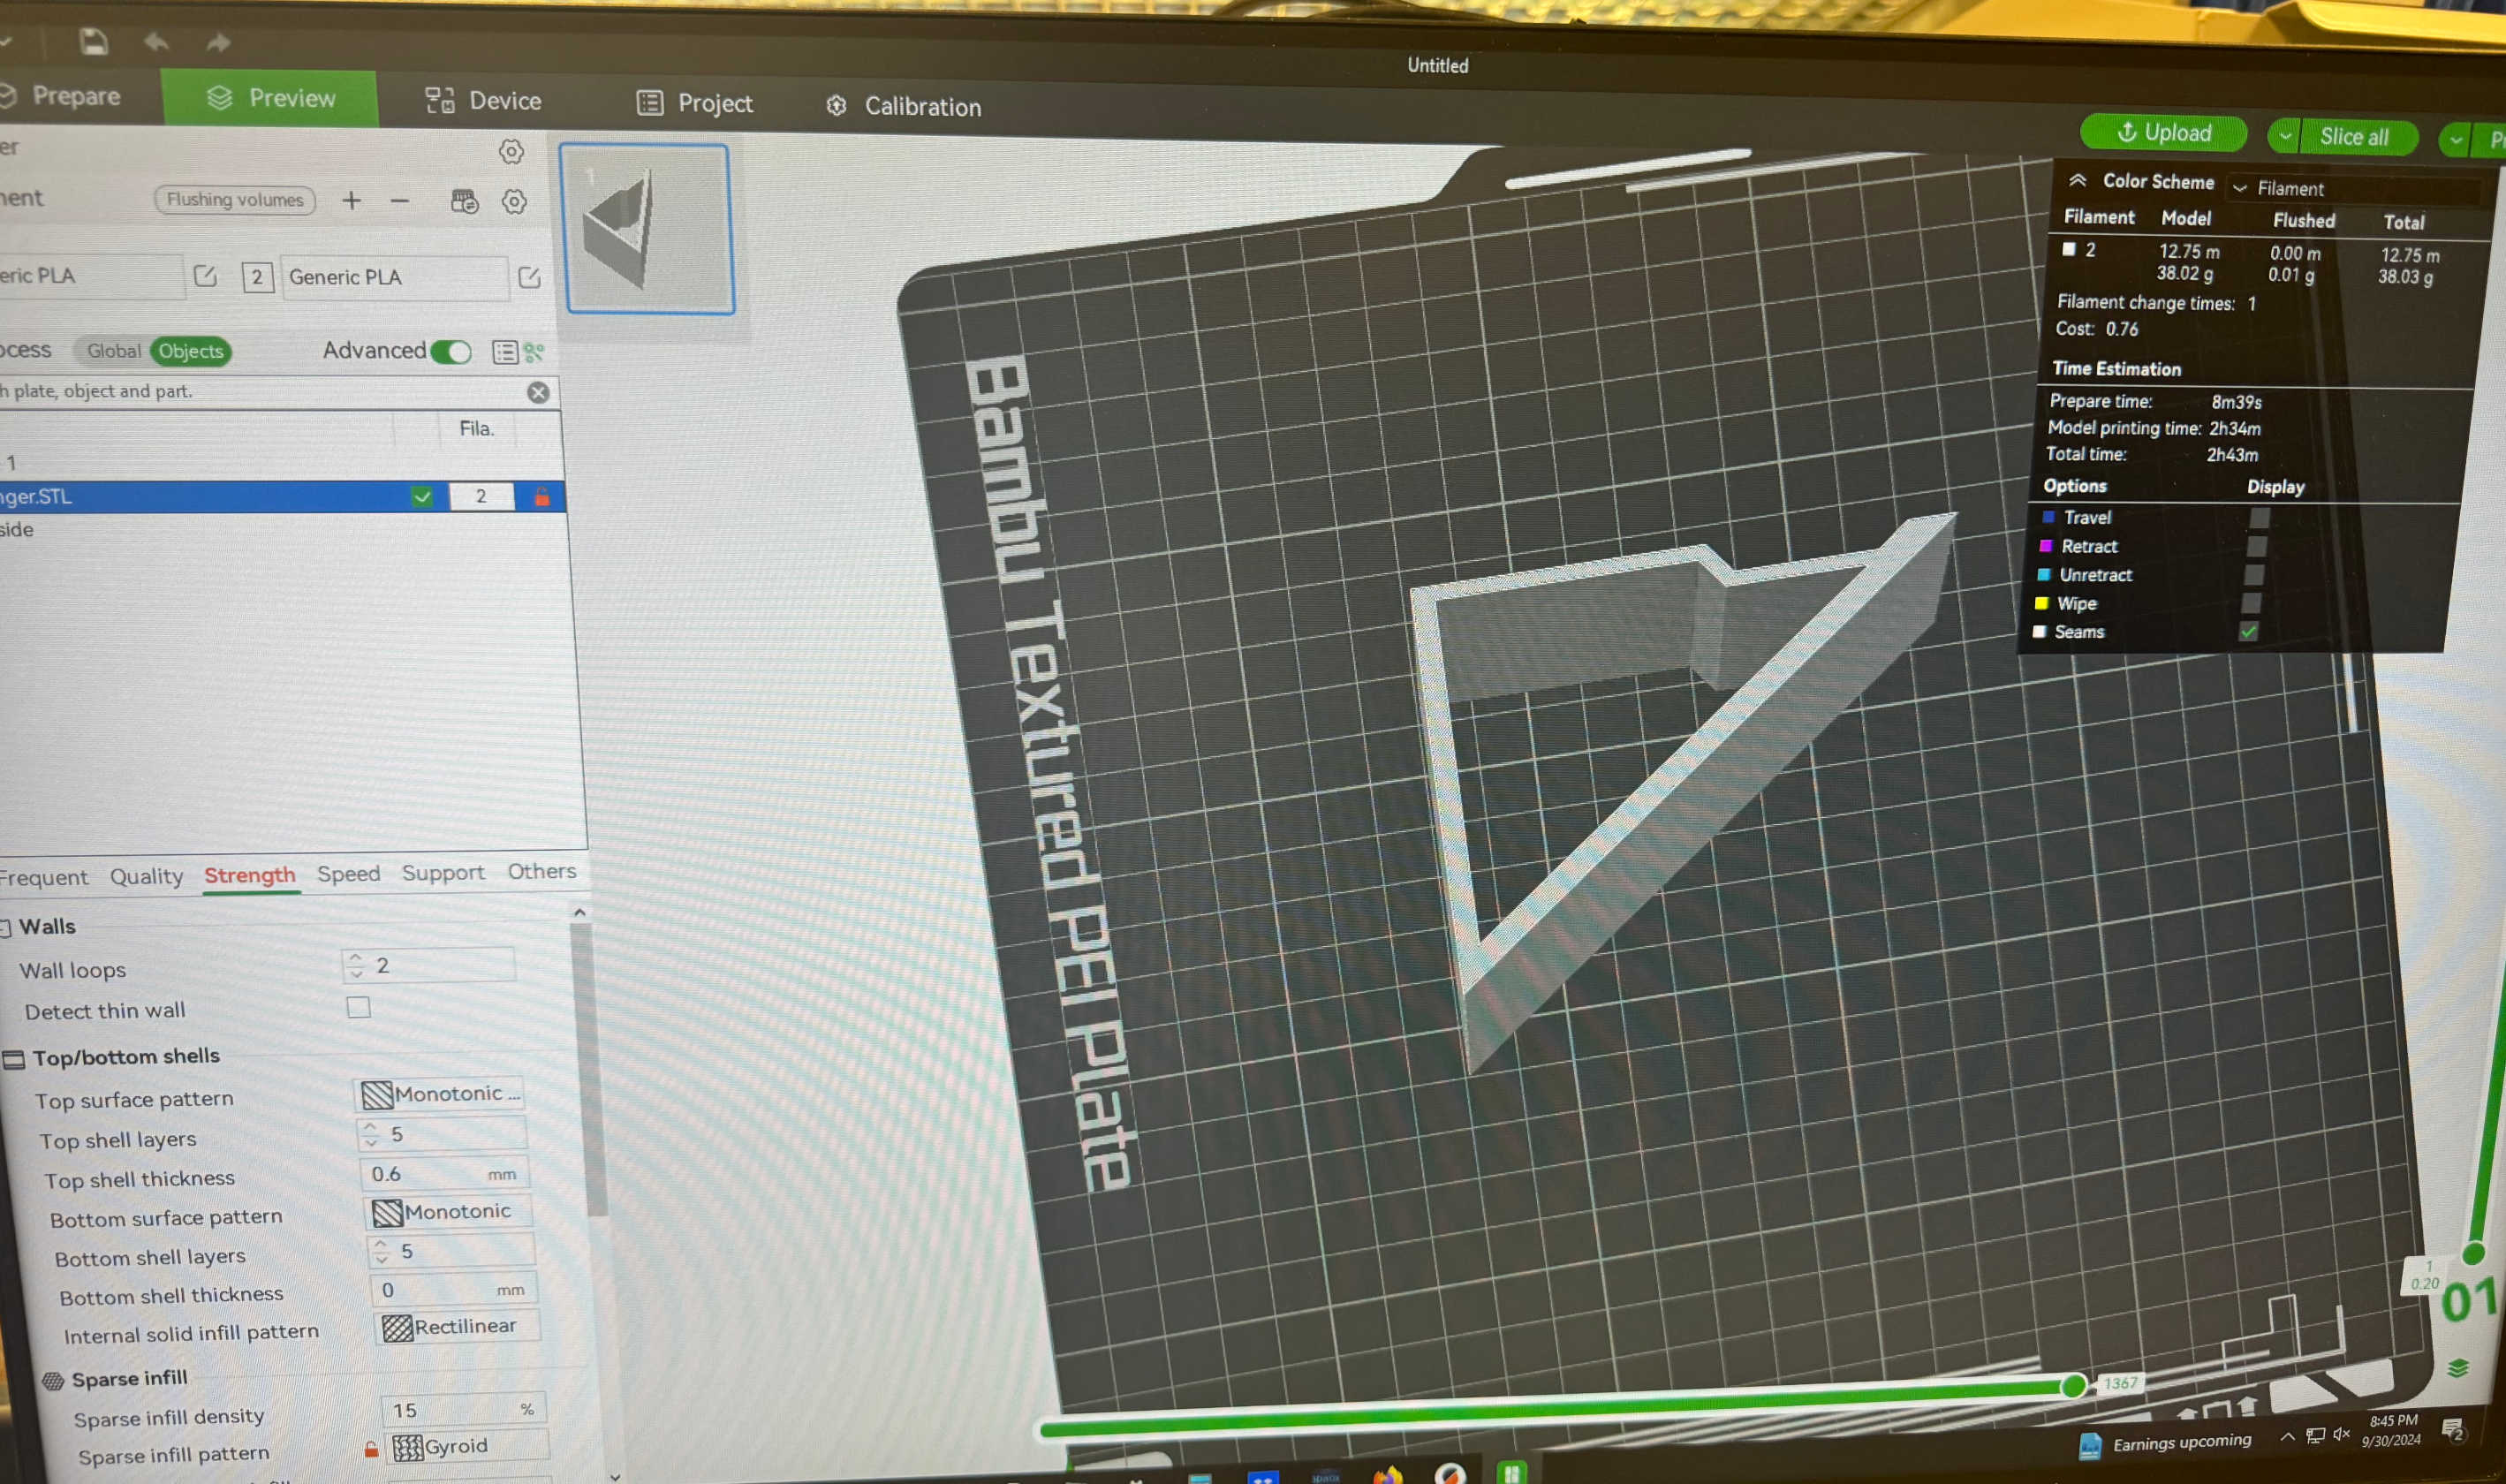
I used an infill of 15% with the recommended type. Because I didn't include overhanging elements I wasn't worried about support so I opped out for them. The print came out great with no issues and the Bambu was super easy to use.

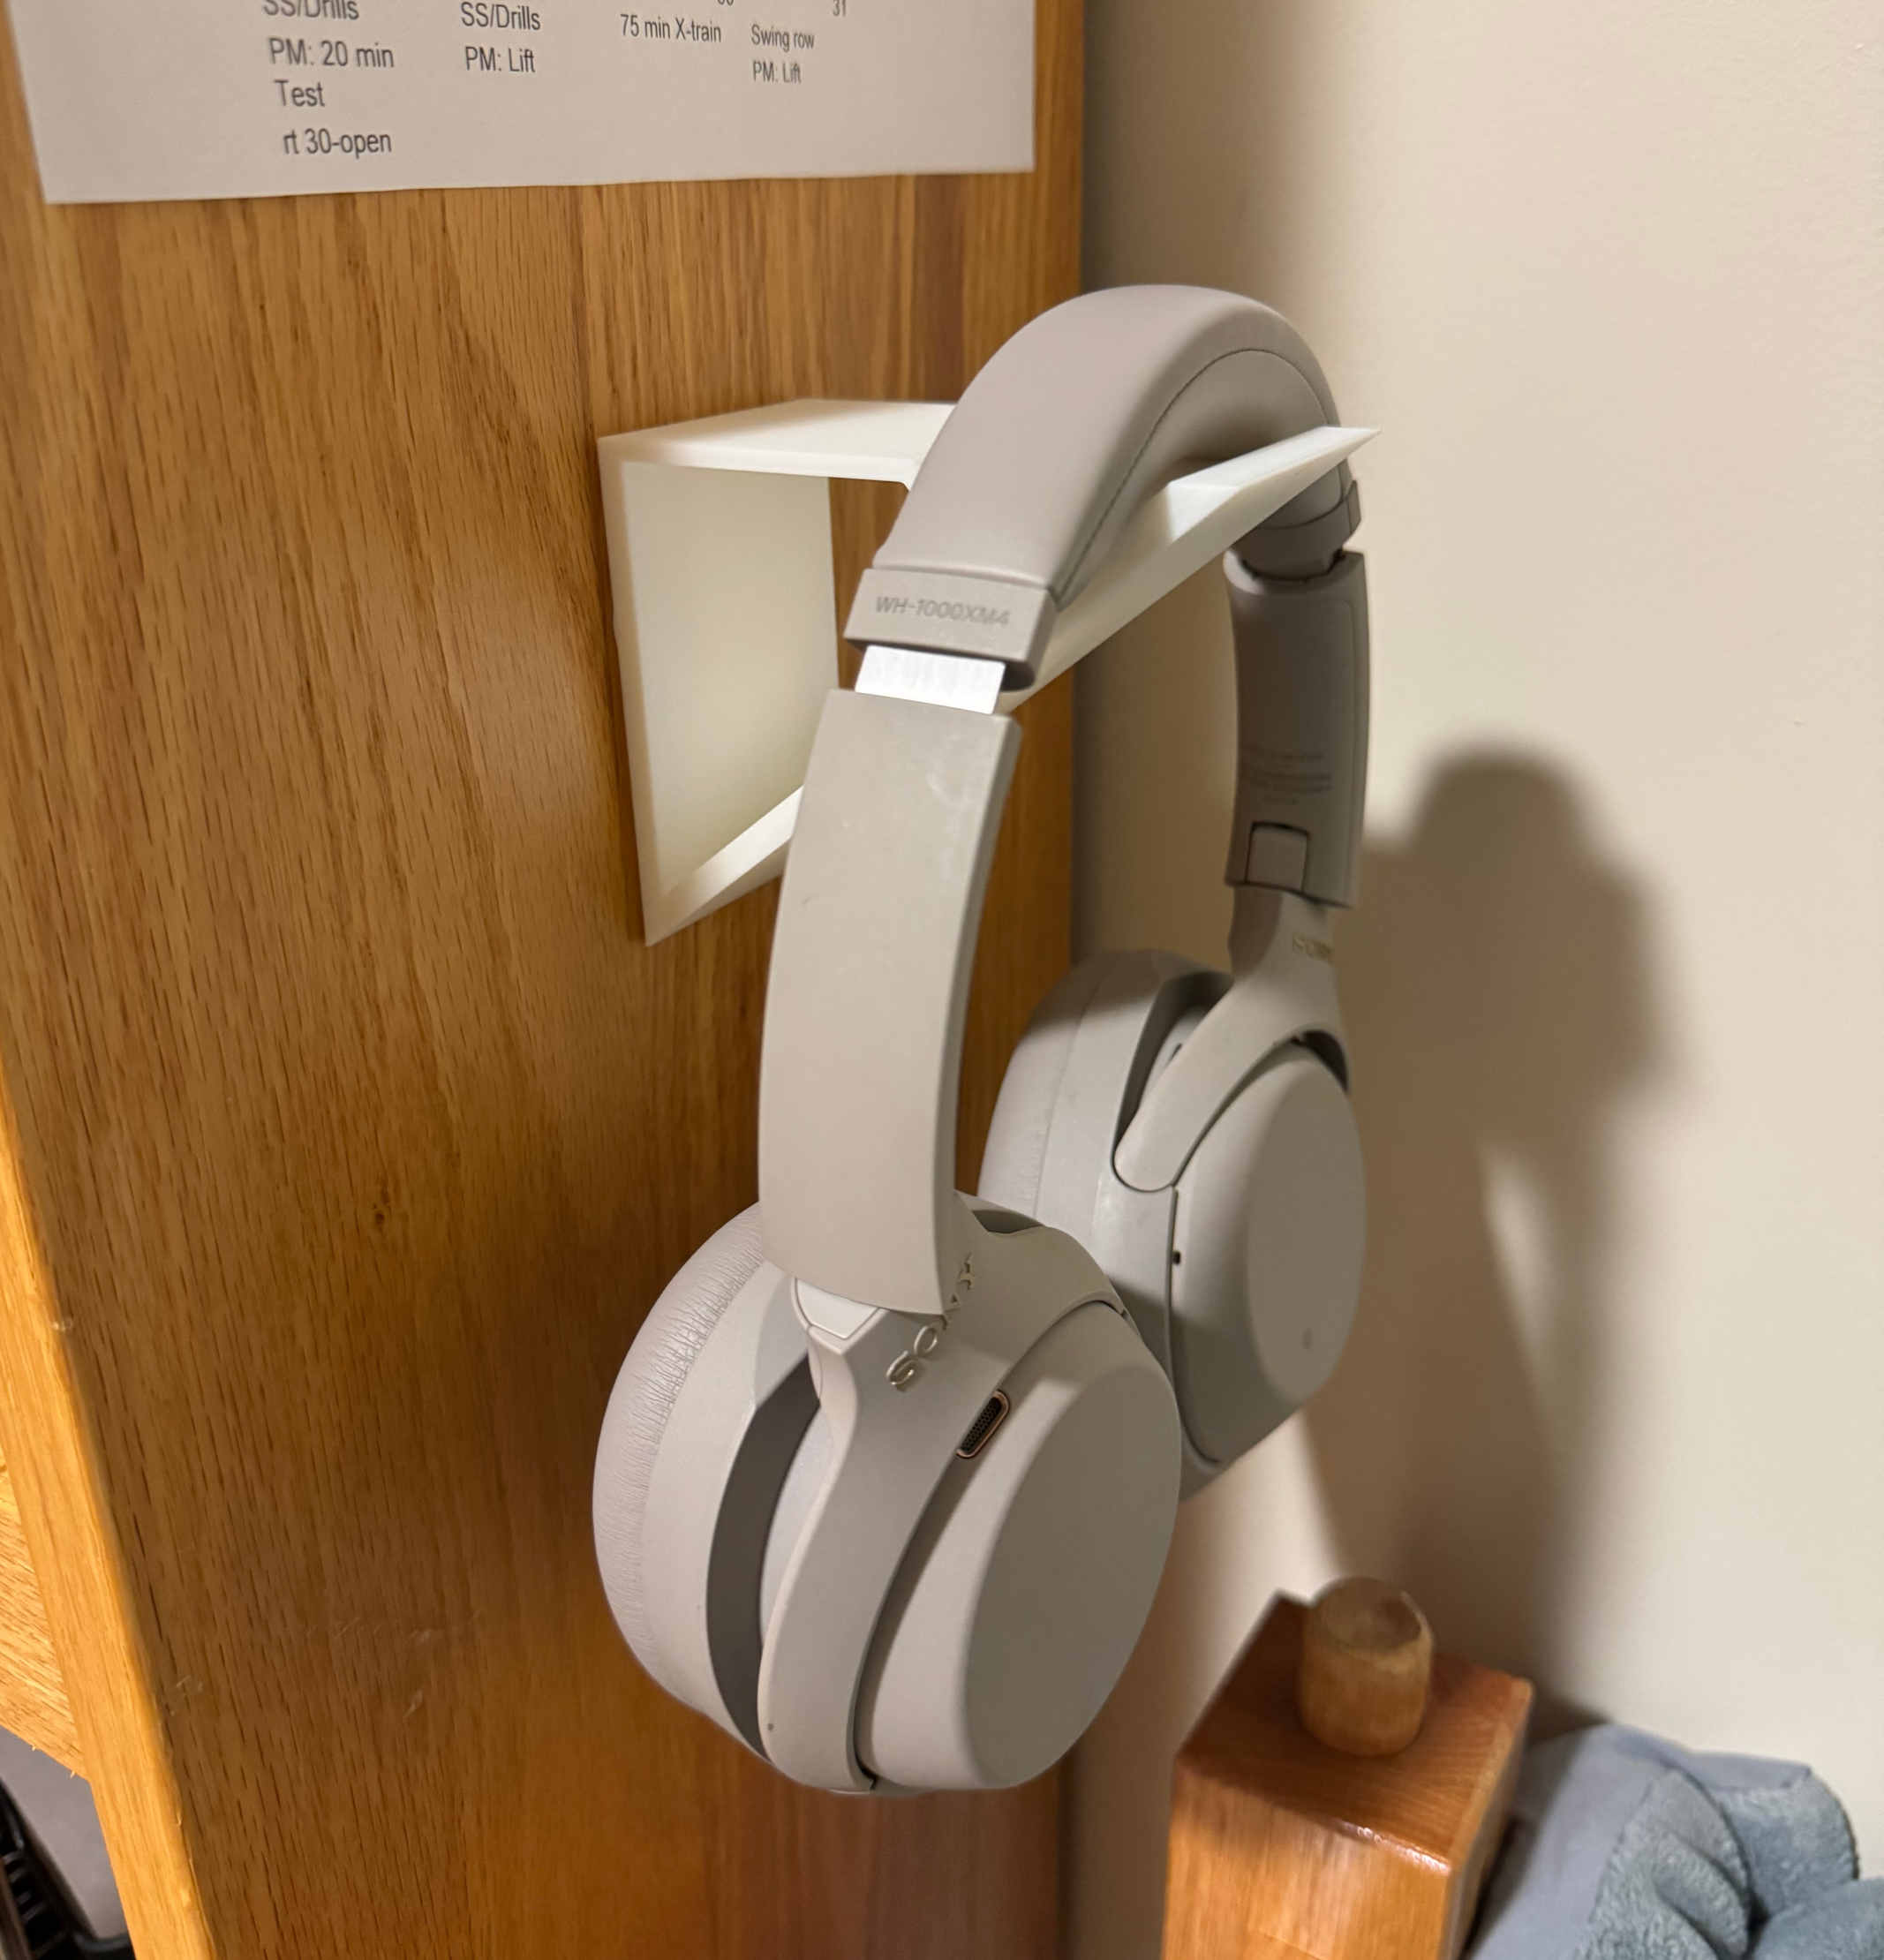
I used command strips to attach it to my desk and it holds my headphones super well.


