week 10
computer-controlled machining
making something big
The assignment for this week was to make something big. We'd be using CNC machines for the milling and assembling process. I decided to use Fusion for the designing component of my project.
I actually have some woodshop experience so this wasn't entirely foreign to me, especially because we would be using the same machine as we used in the molding and casting week.
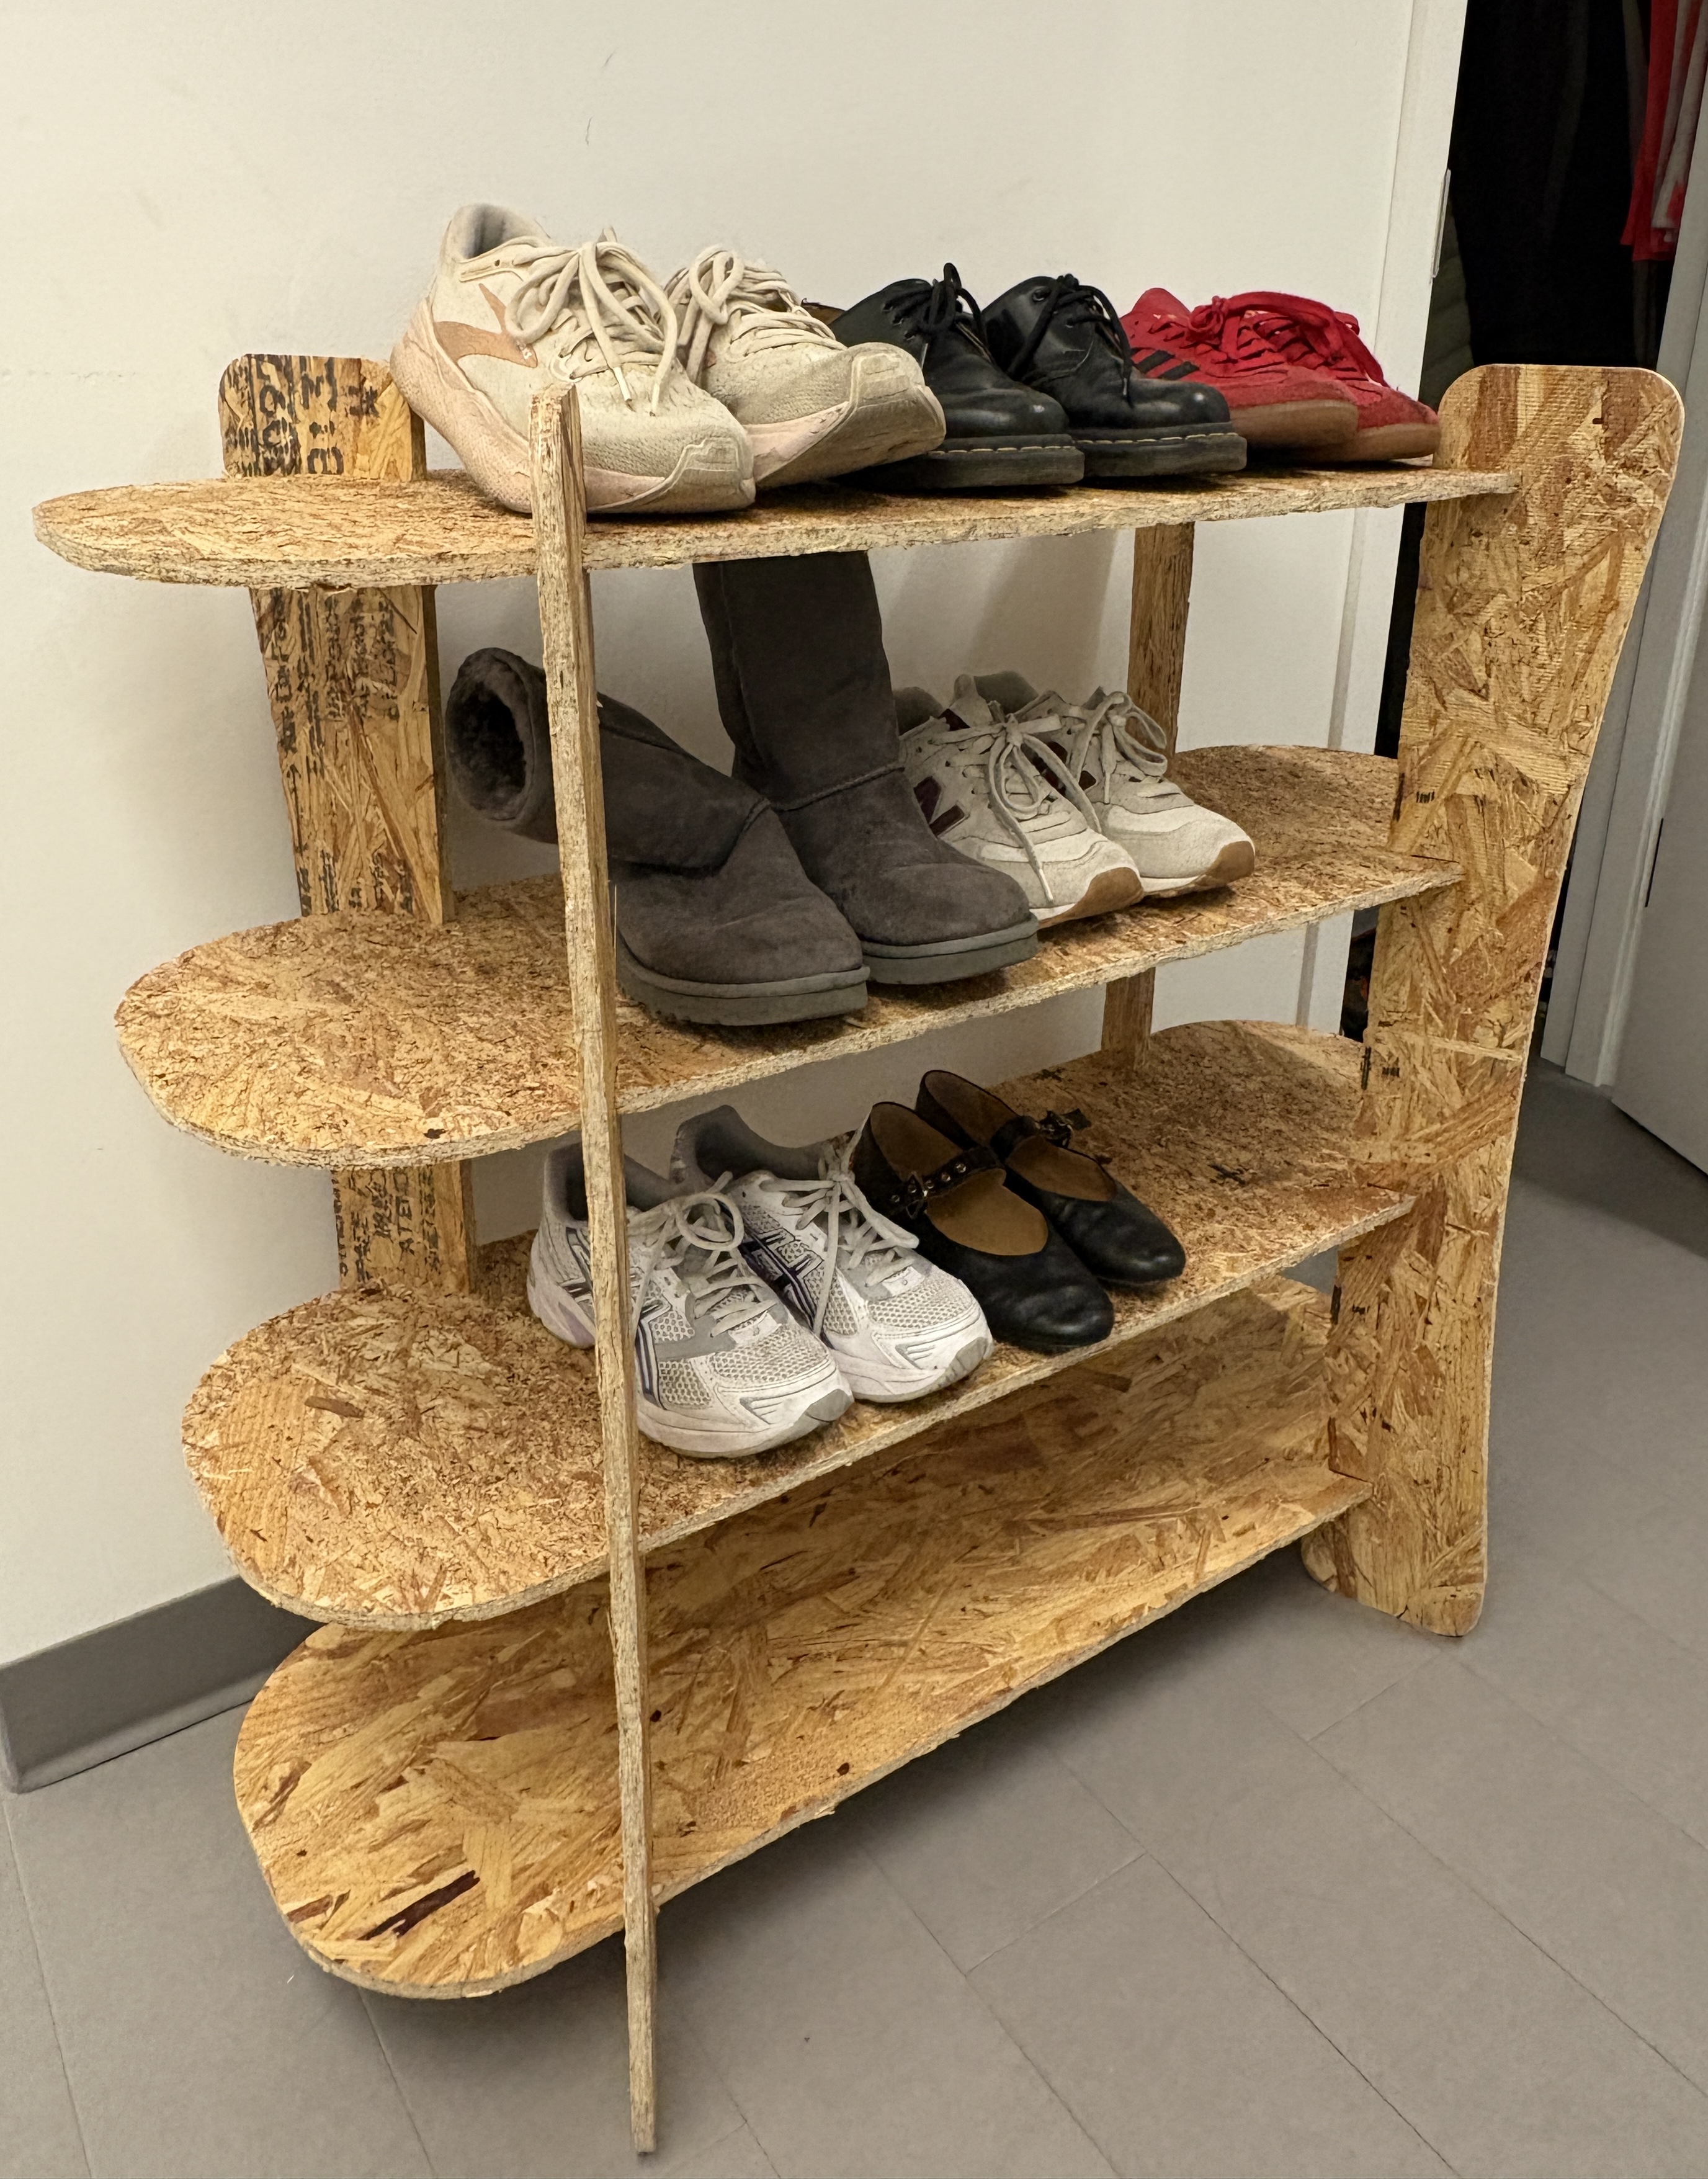
Given that we would be using oriented strand boards (OSB) in our lab, I decided to make a shoe rack (thershoe's a fair likelihood of splinters when handling OSB since the panels are made by compressing and gluing pieces of wood together, so I opted for the shoe rack over my other idea of making a bar cart... I've also needed a shoe rack for a while).
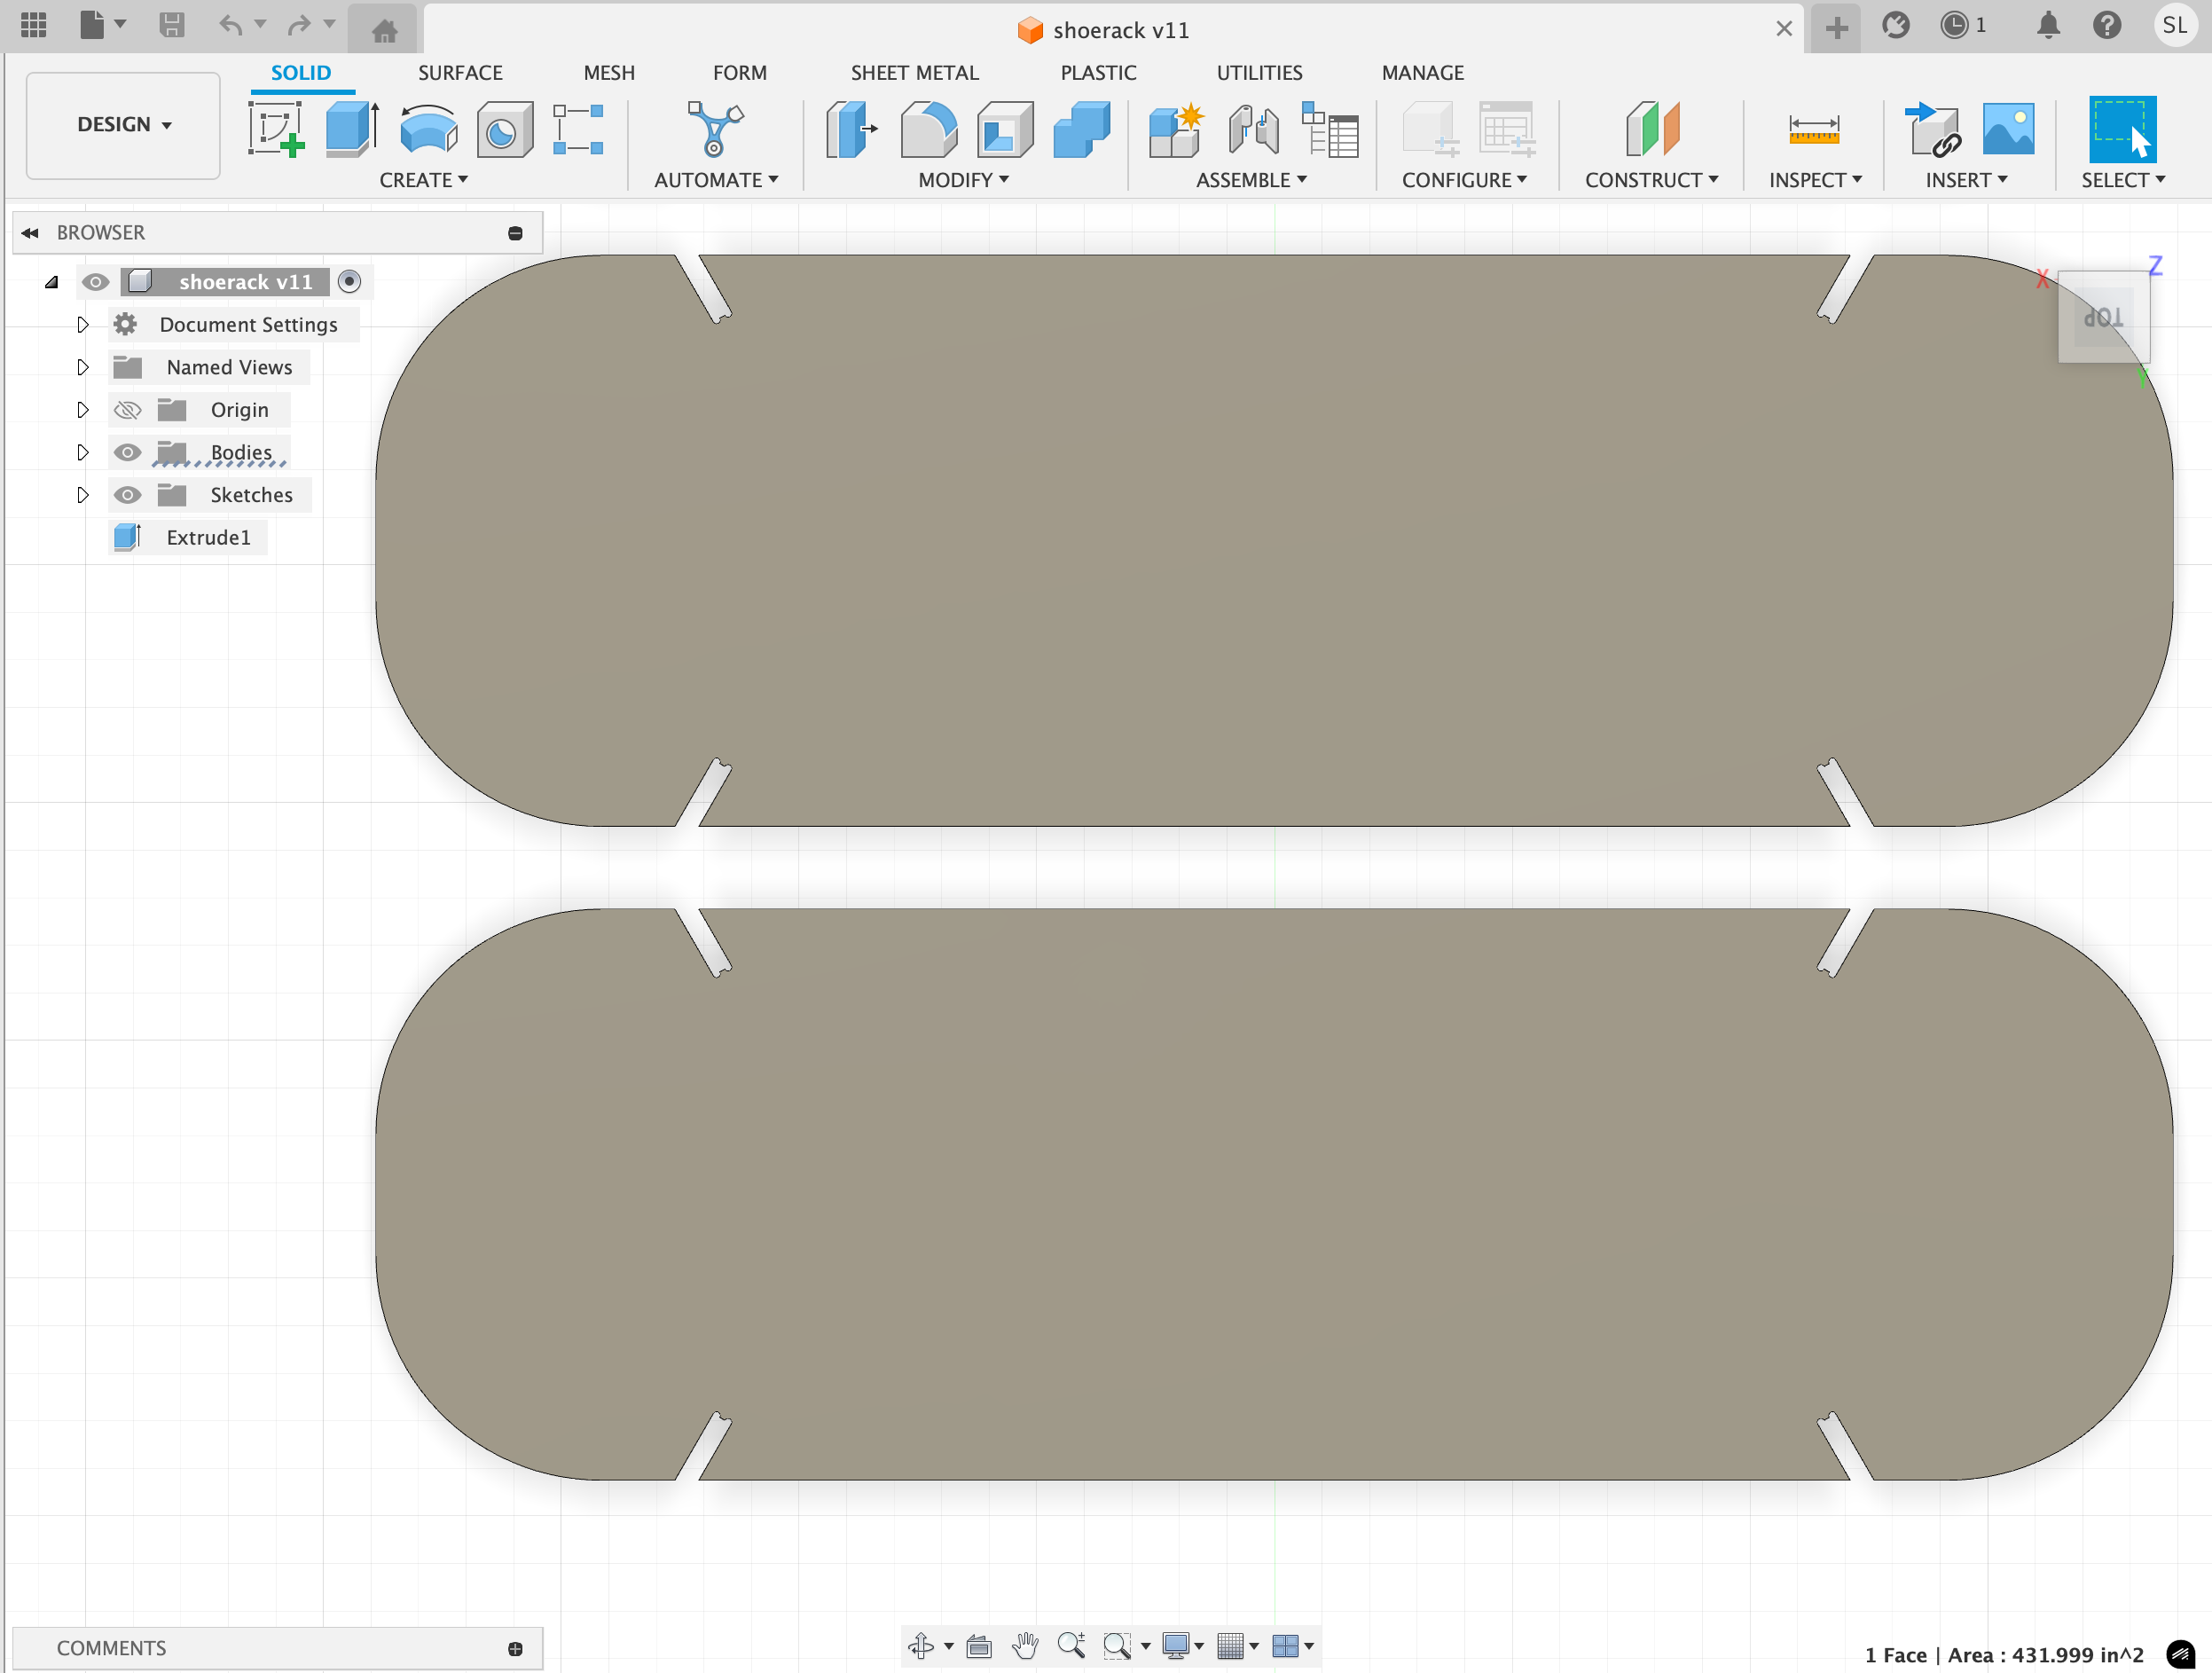
I first used Fusion for CAM. Our router in the EECS lab is 4' x 4' and the OSB width is nominally 7/16 of an inch, so I set the measurements accordingly:
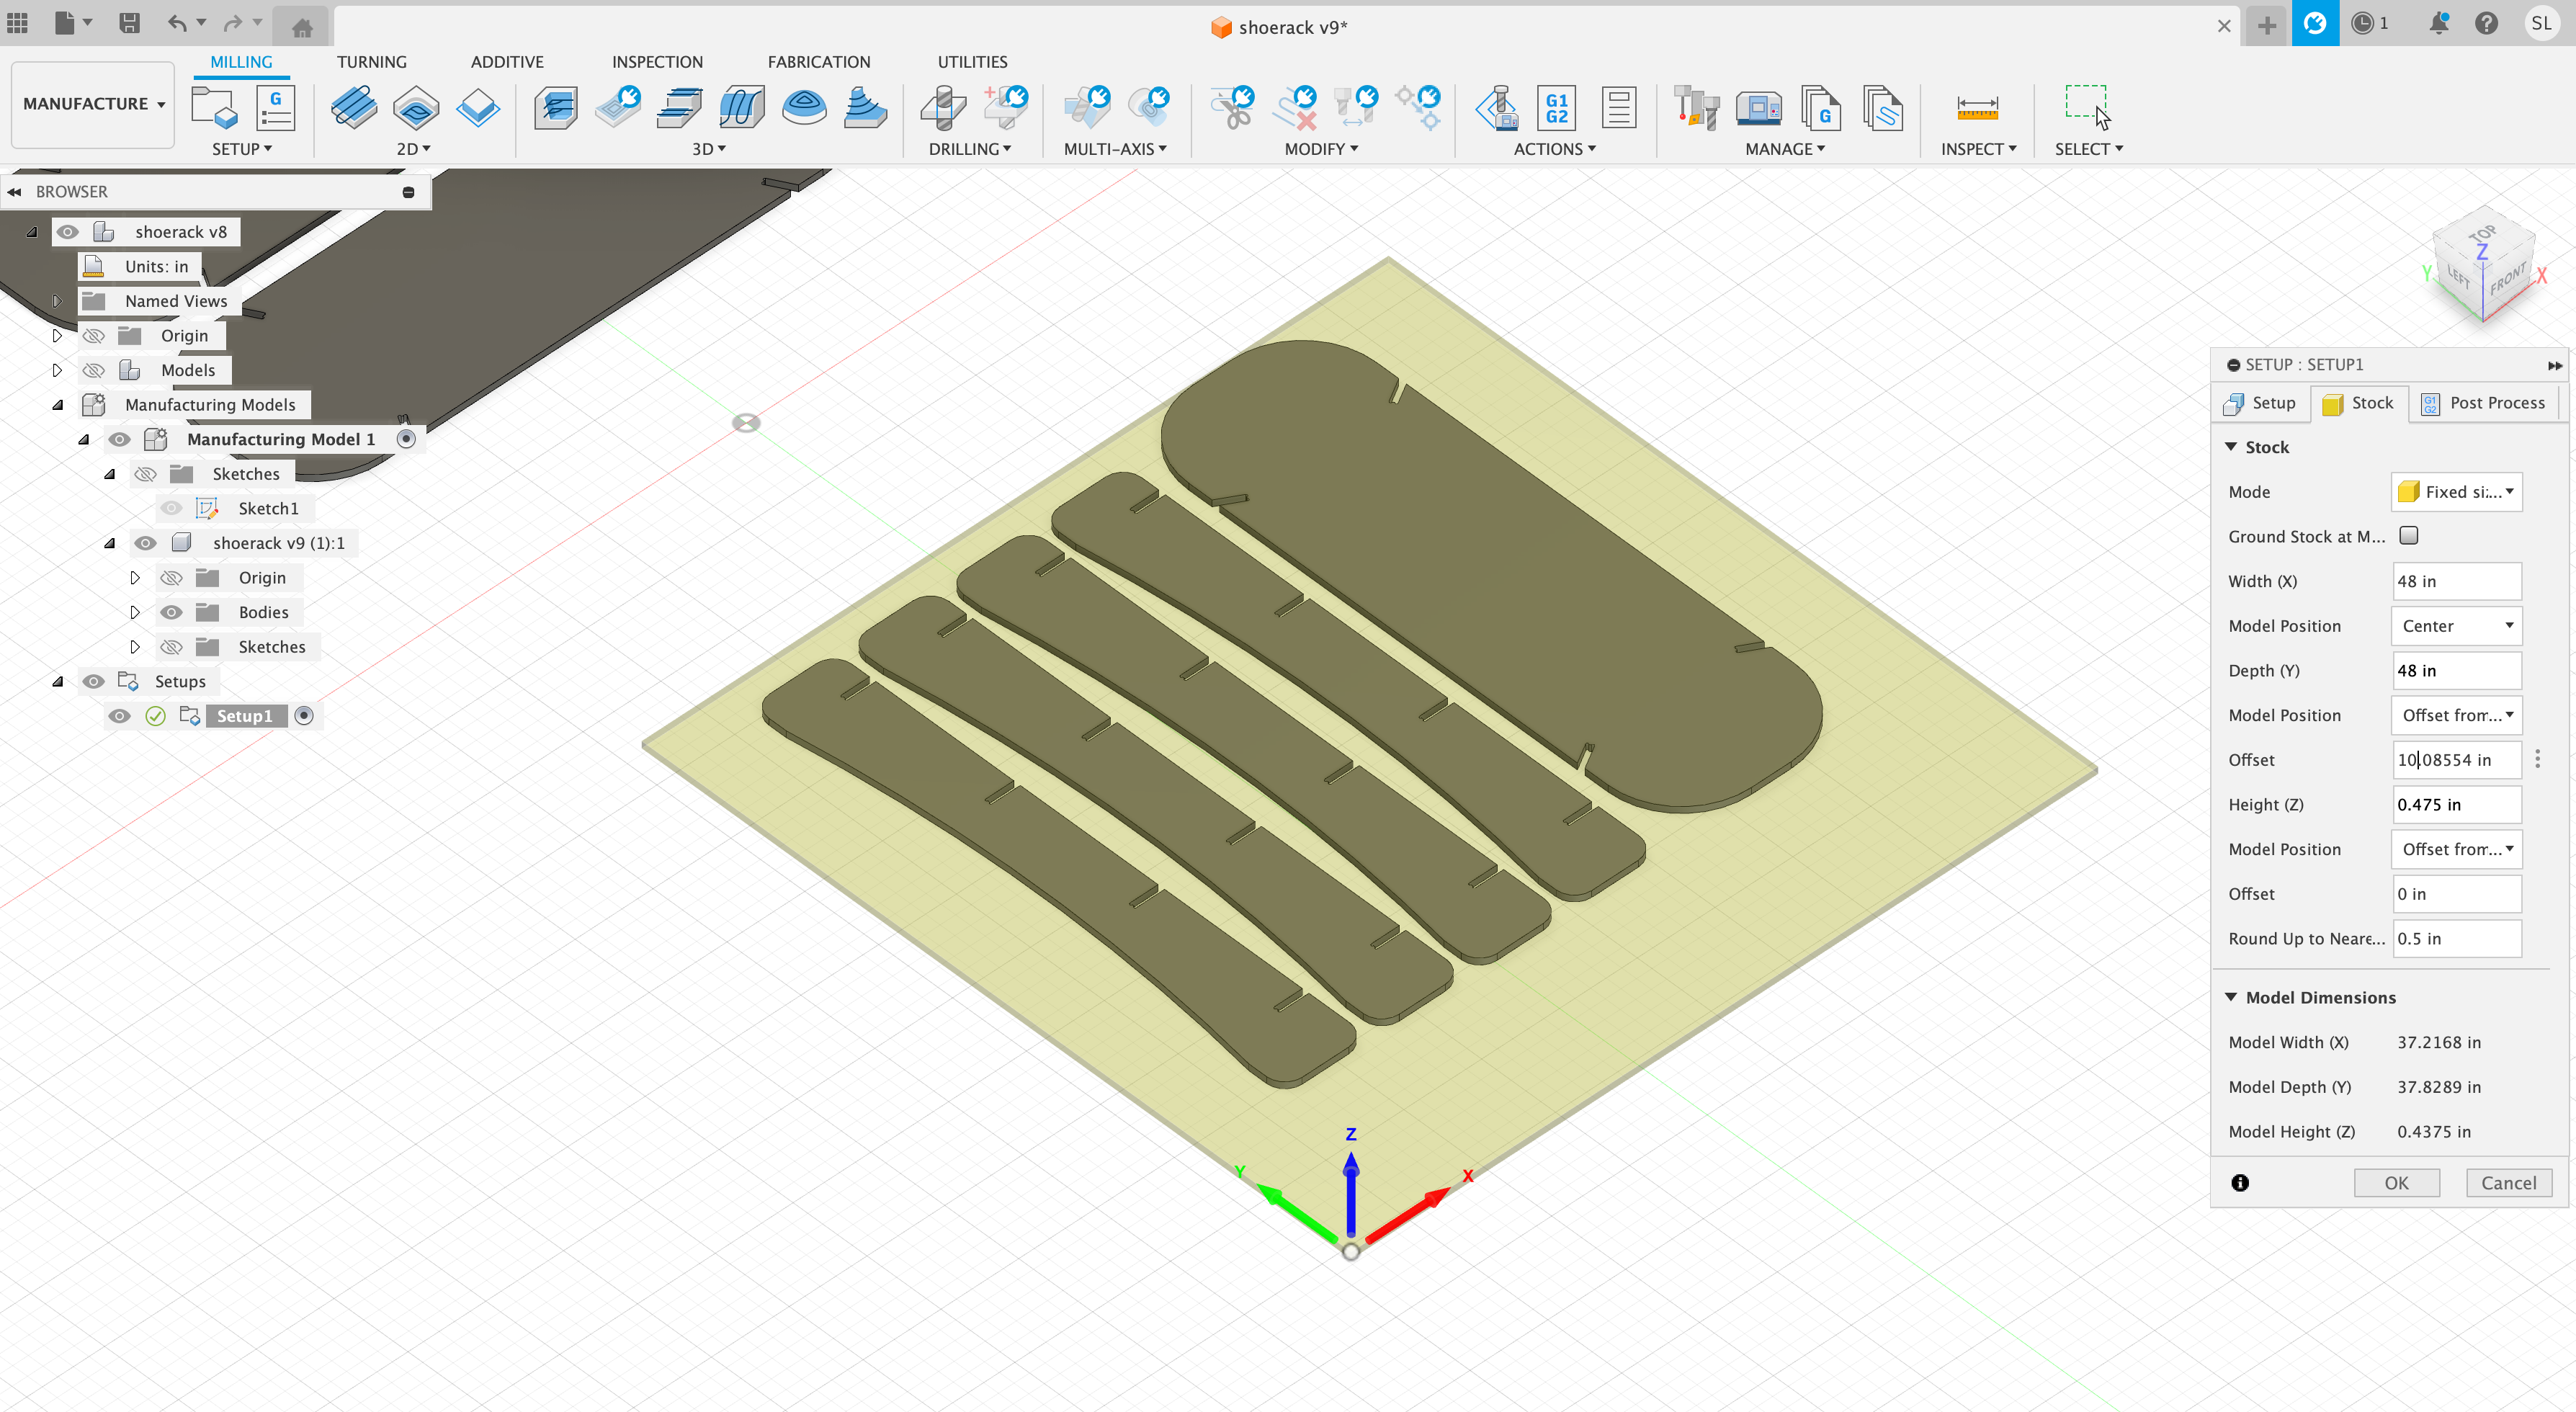
I made sure to add dogbones to the joints, as I did not plan to use any fasteners or glue and needed the joints to be snug and well-fit.
It was fairly straightforward after that: Anthony helped me generate the G-code for my design, we checked the settings of the machine (which was a repeat of molding and casting week: we first homed the x, y, and z axes and the auto Z touch plate, checked the spindle, and set up the appropriate tool (I started with a 1/32 inch flat end mill)). After uploading the G-code, I milled my project in 2 segments since it was on the bigger side and I needed 2 4' x 4' boards to fit all of my parts. We bumped up the speed rate from 25% to 125% in 25% increments, and my job only took about 10 minutes total.
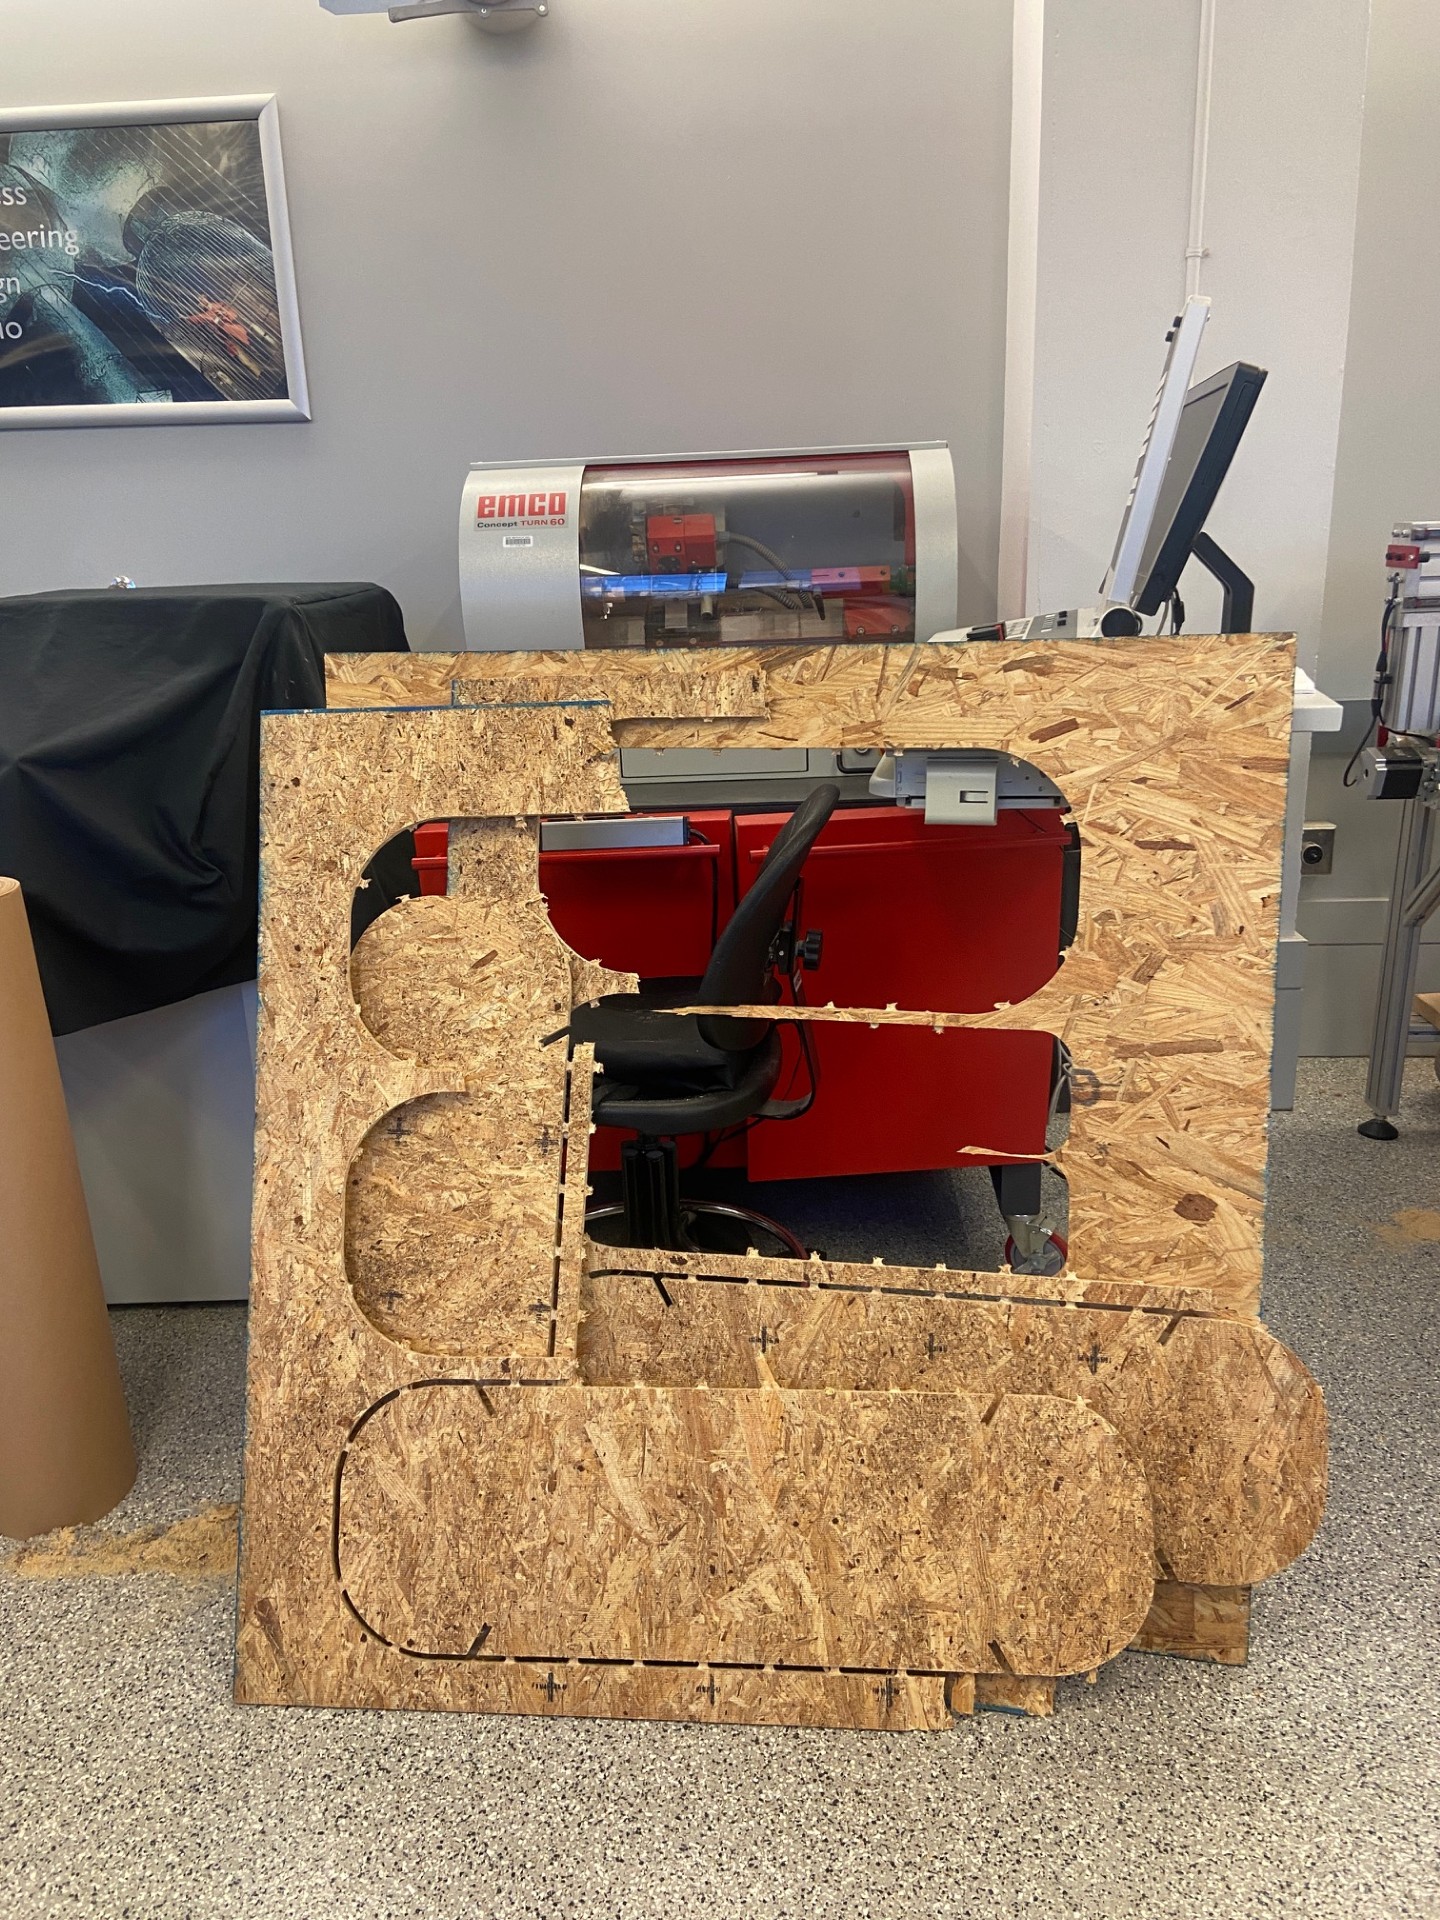
Milling:
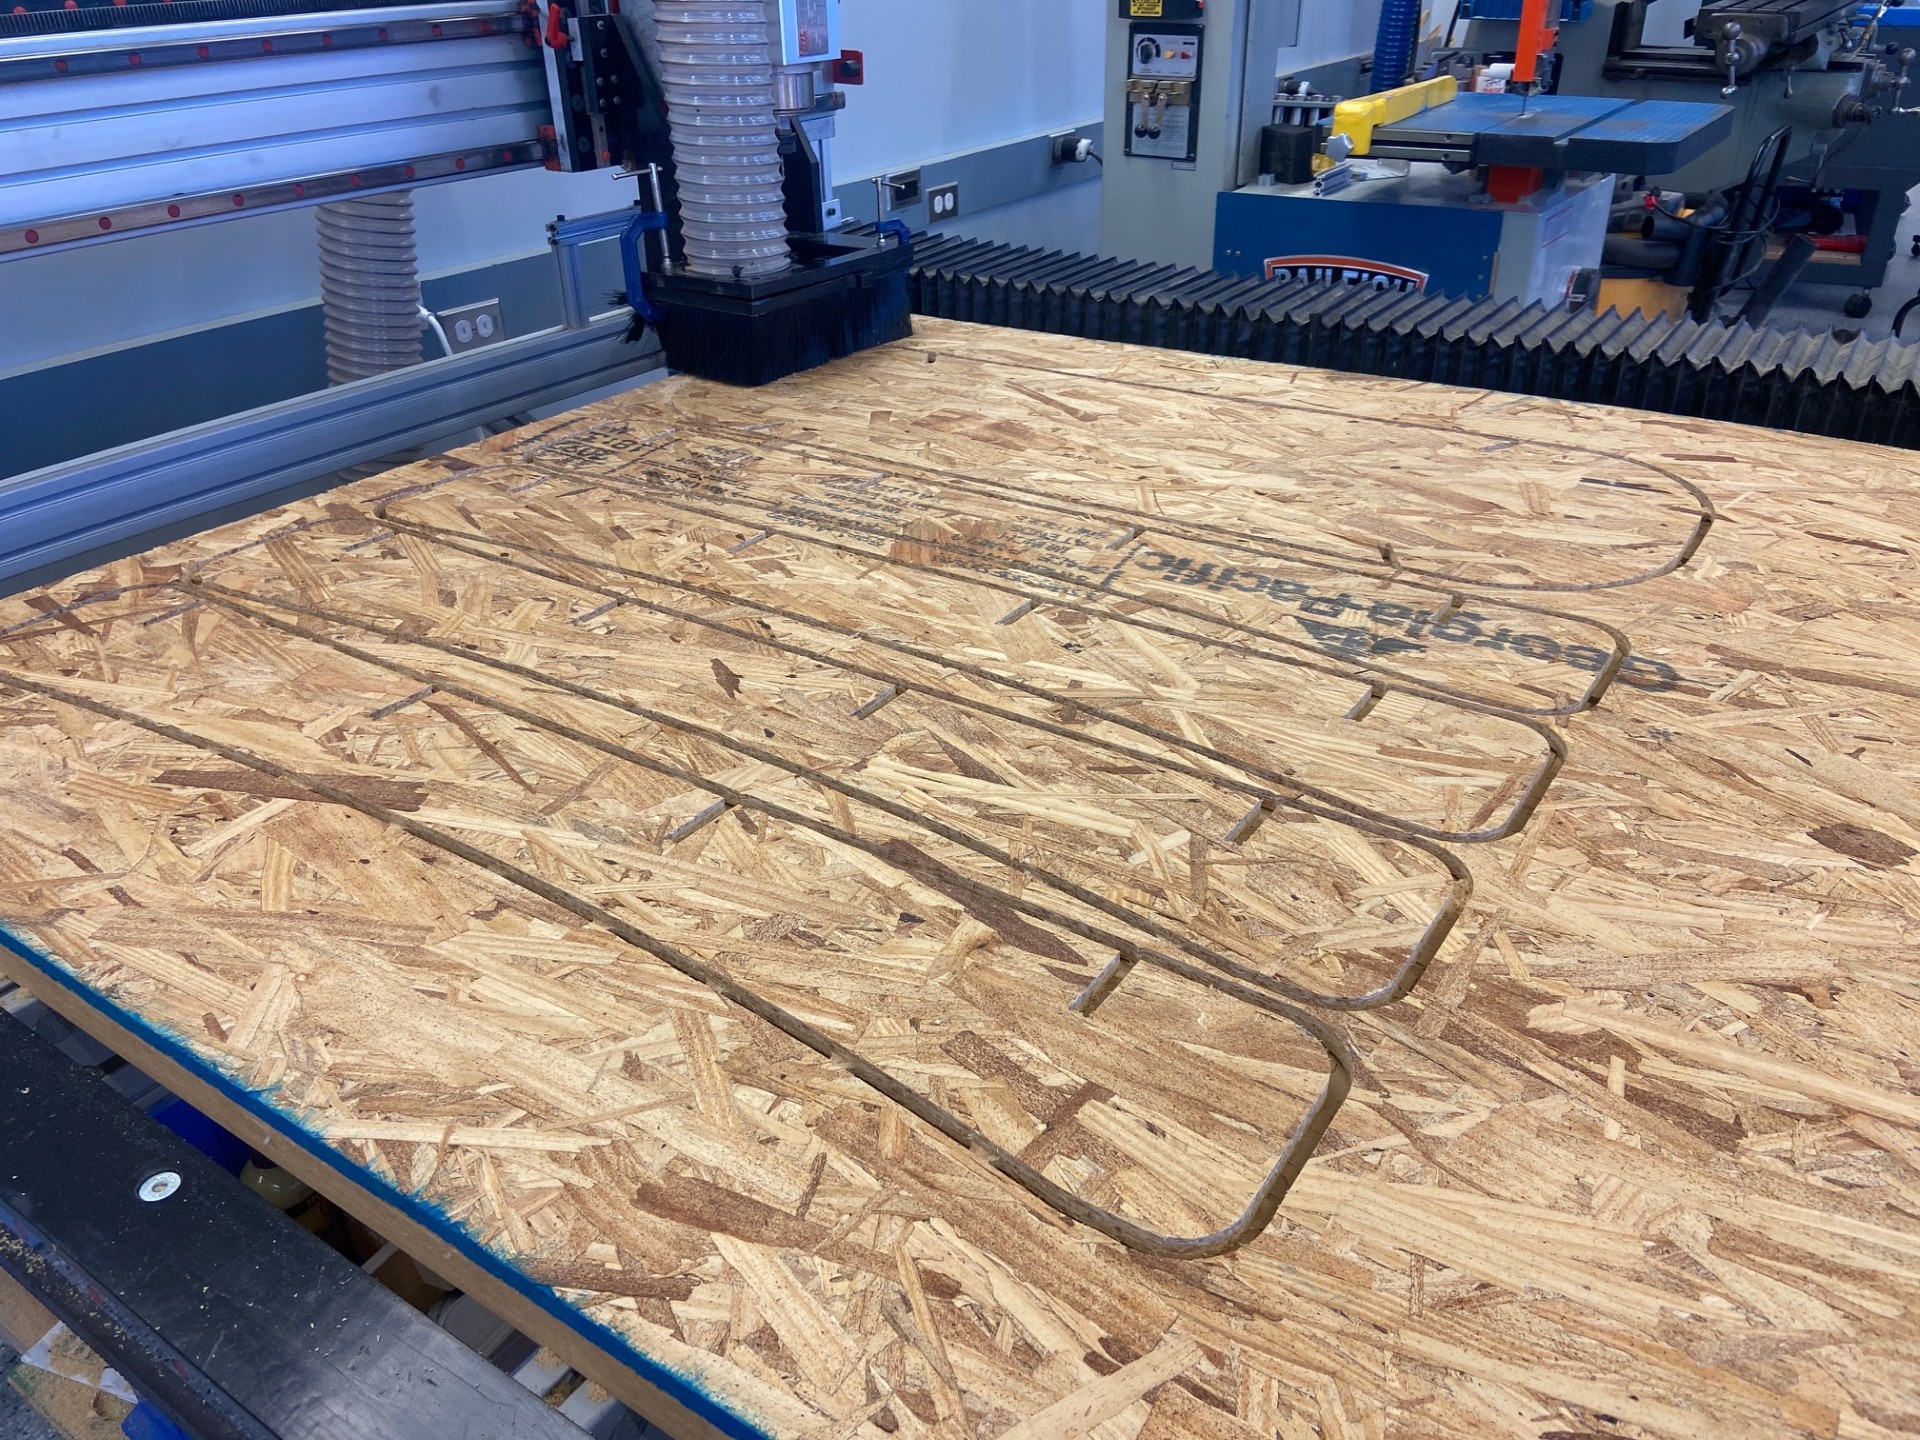
Post-milling (with the tabs on each of the parts left). The tabs were included in the design to ensure that the boards wouldn't fly off the machine during the milling process.
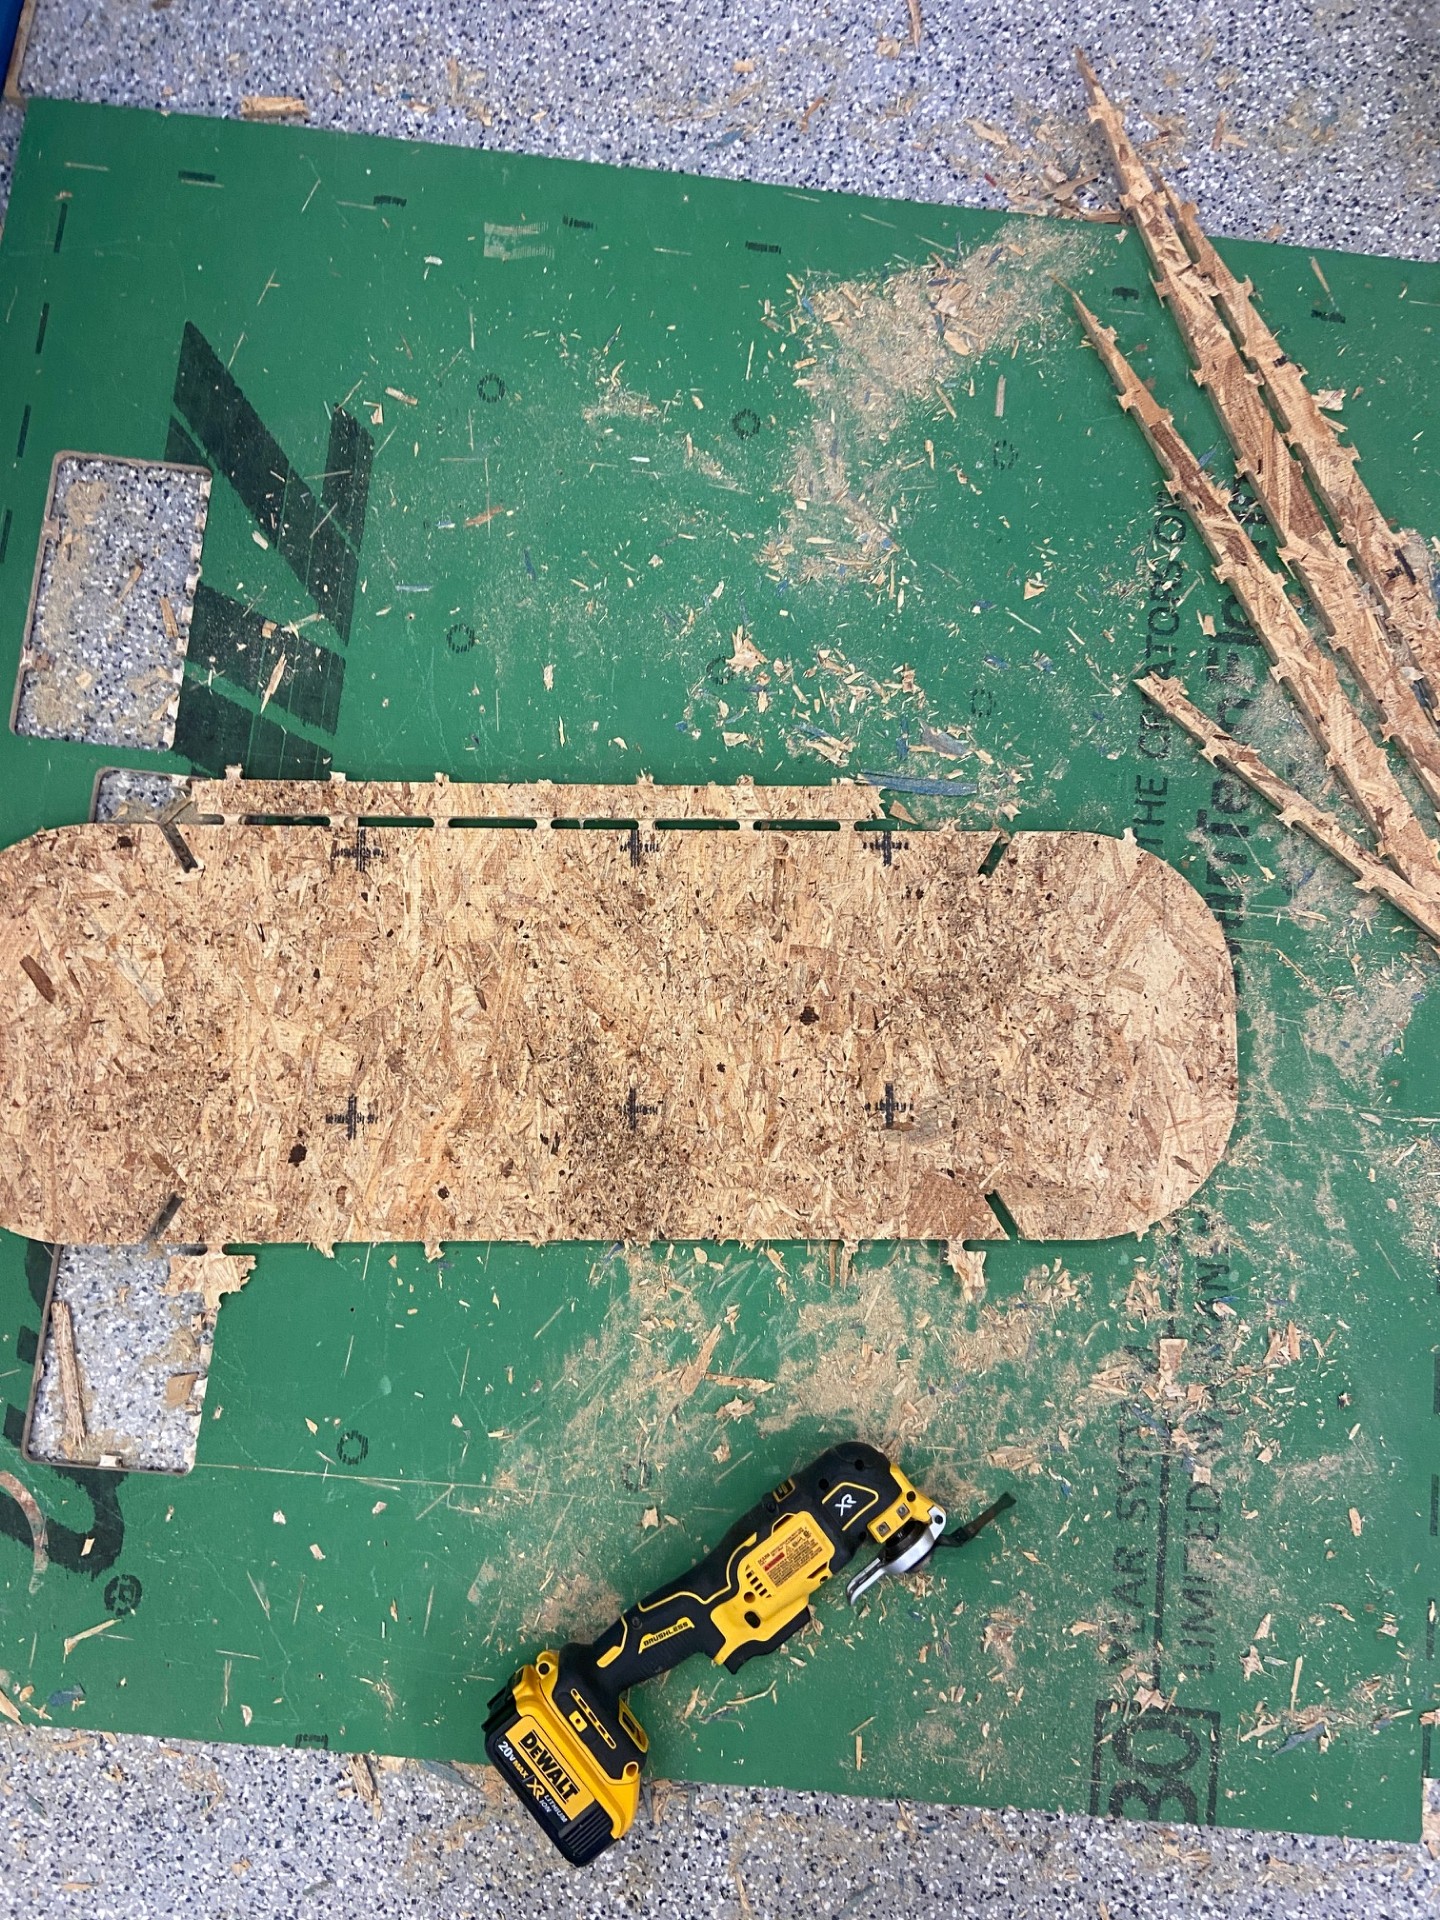
The tab removal process was fun! I used the tool below to sand off each of the pieces from its tabs.
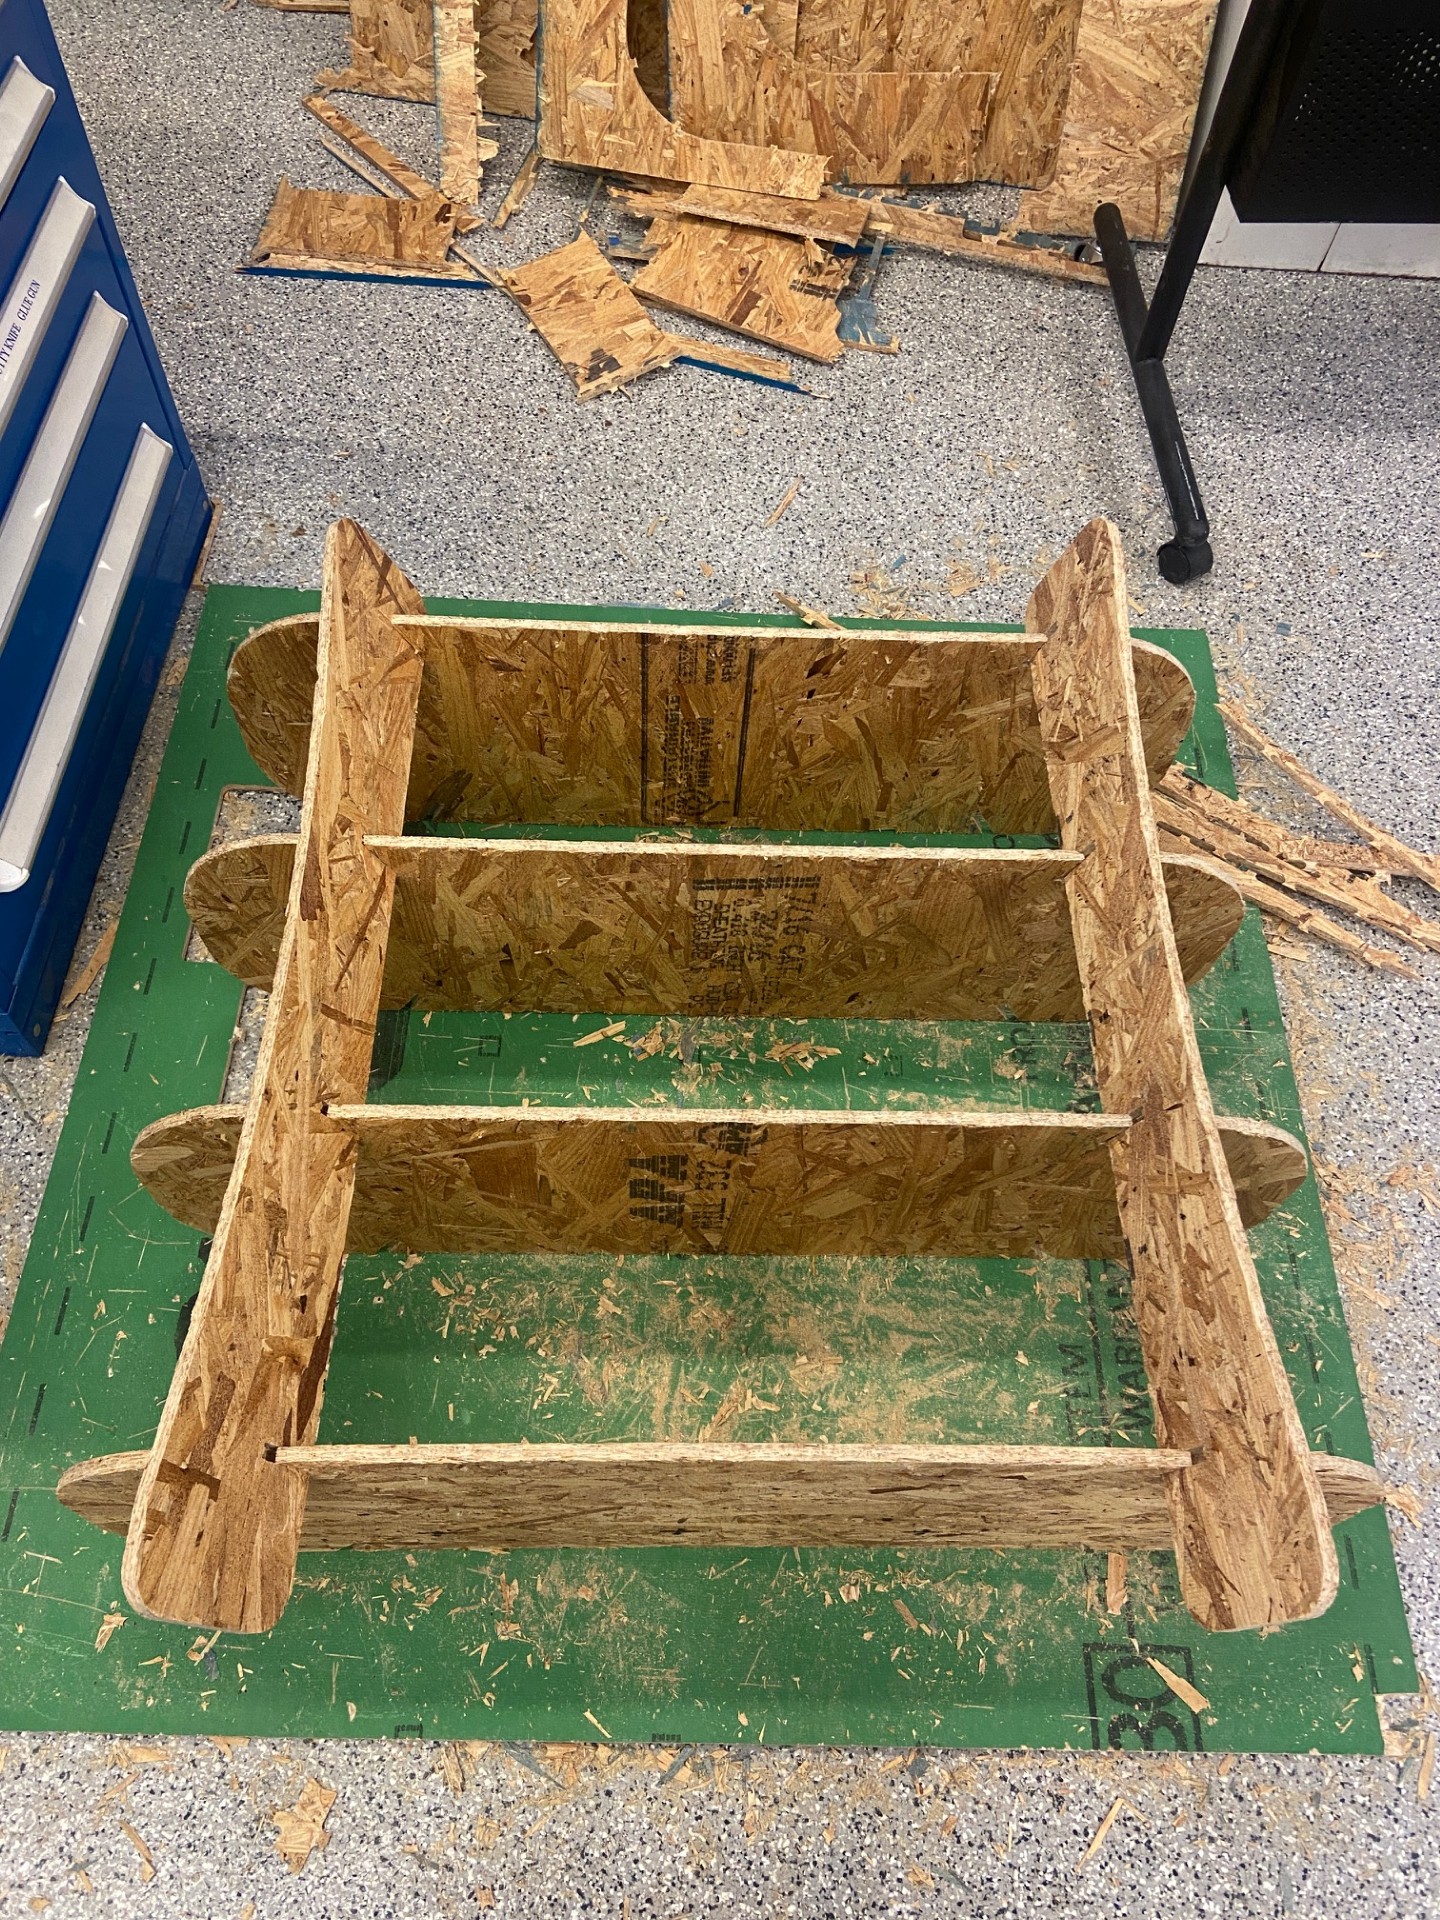
After my pieces were ready and somewhat sanded around the edges, I worked on fitting each of the pieces together as the final step. I had a total of 8 pieces, and I used a mallet to make sure the press joints were snug.
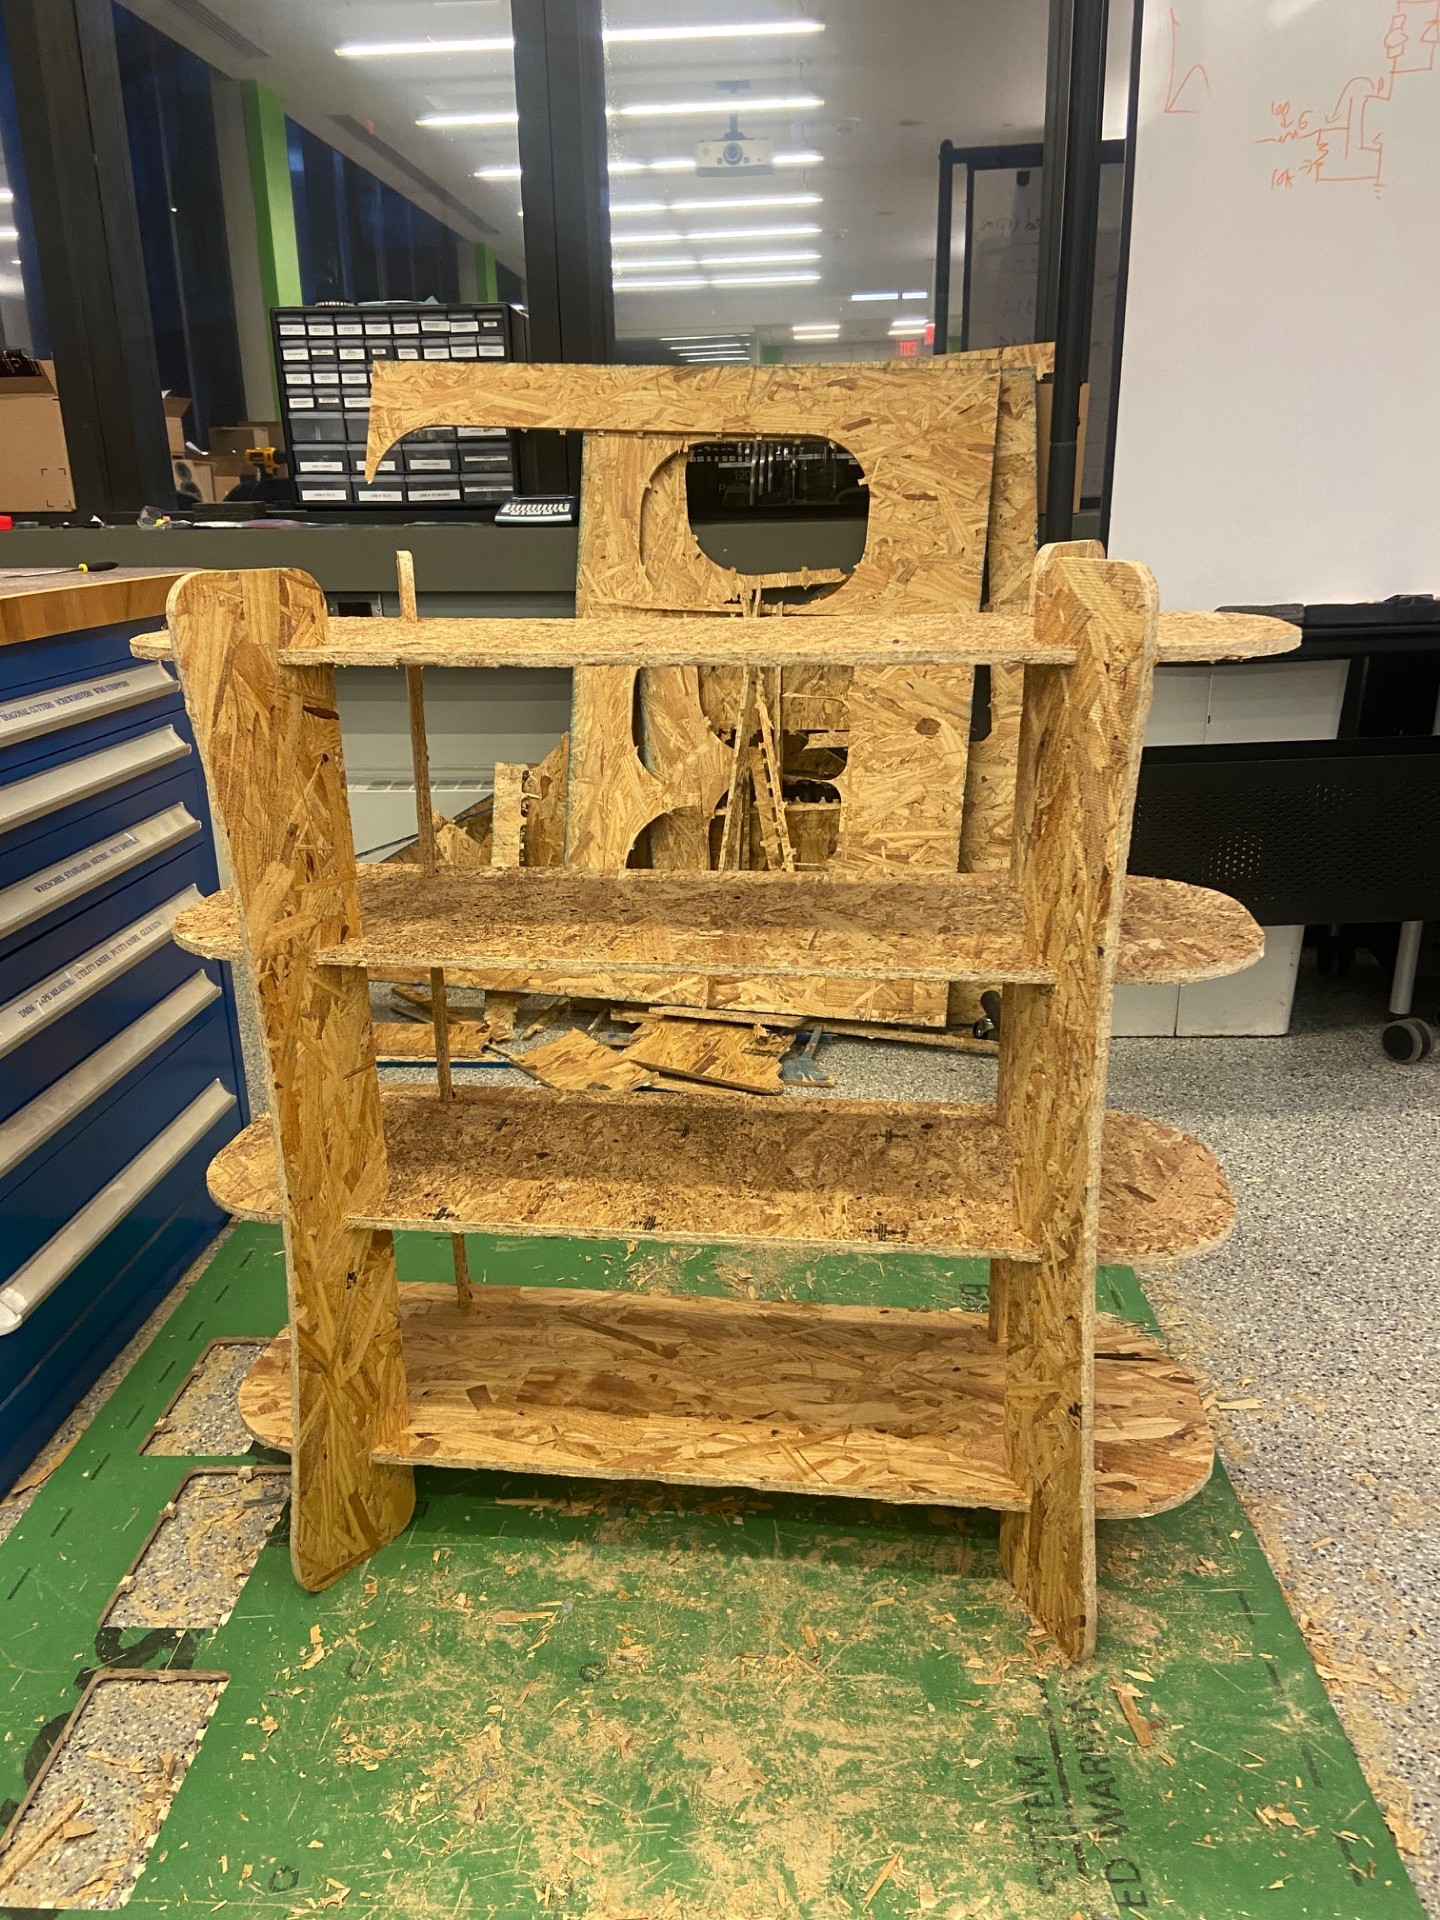
The final shoerack:
Many thanks to Anthony for his help in setting up and running the machine!
My shoerack in its new home: