Modular Octopus
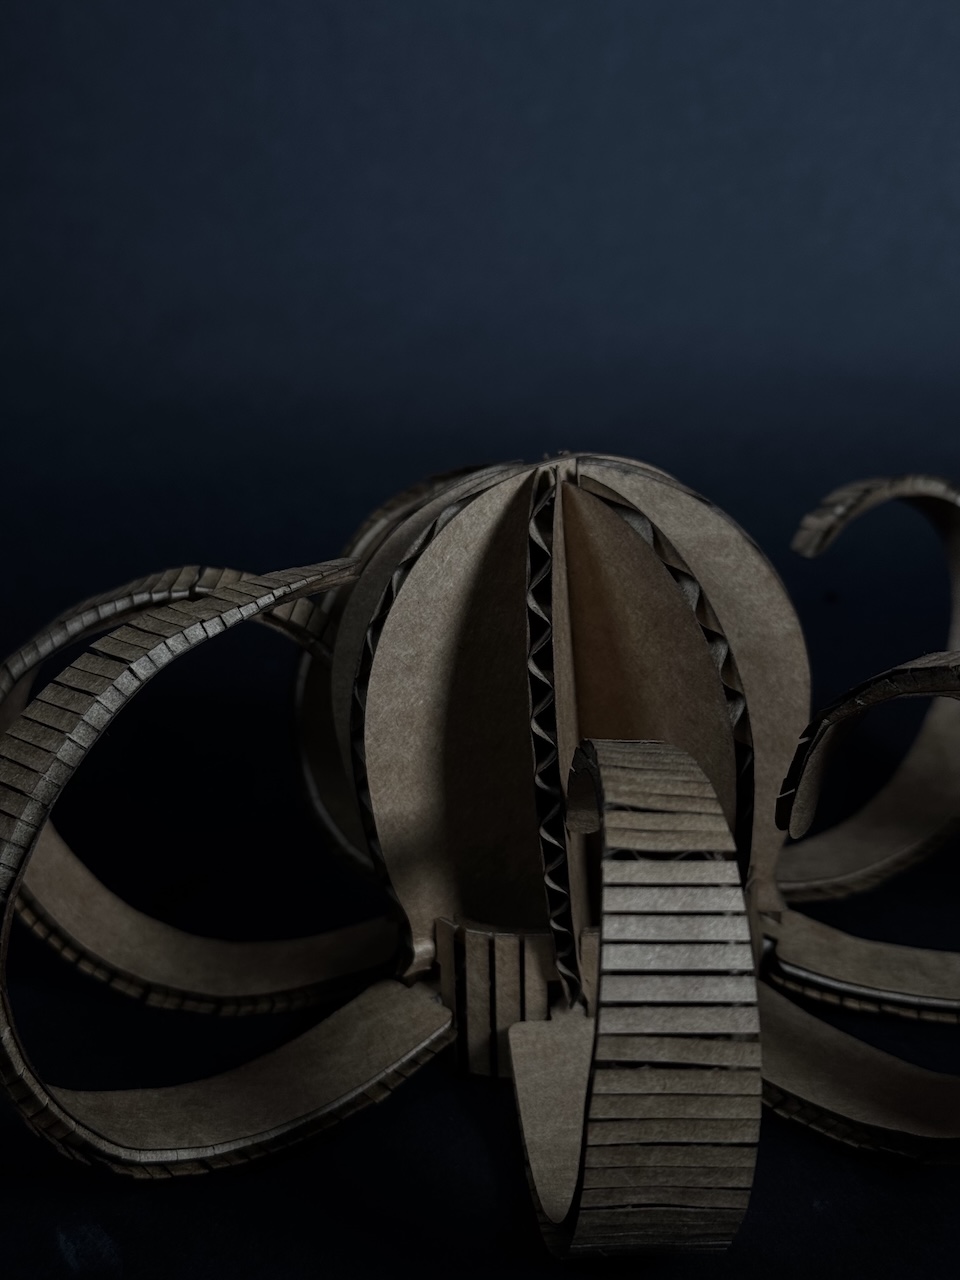
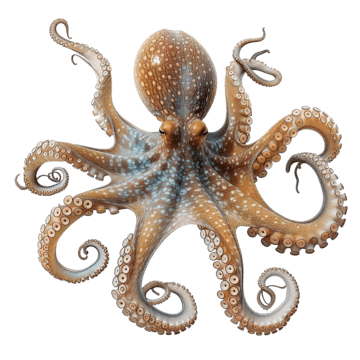
Octopi are elastic creatures. With no bones, they have awesome curly legs.
I was feeling inspired by their adaptability and fluid movement, so I wanted to create a cardboard octopus with
curving, bendable, and interchangeable legs.
I began thinking about what parts I'd need to make the octopus, and decided I'd need 8 tentacles, a head, and a base to attach everything to.
I used Rhino and Grasshopper to parametrically design each piece and used ChatGPT to troubleshoot. ChatGPT. Grasshopper. Rhino. **insert link

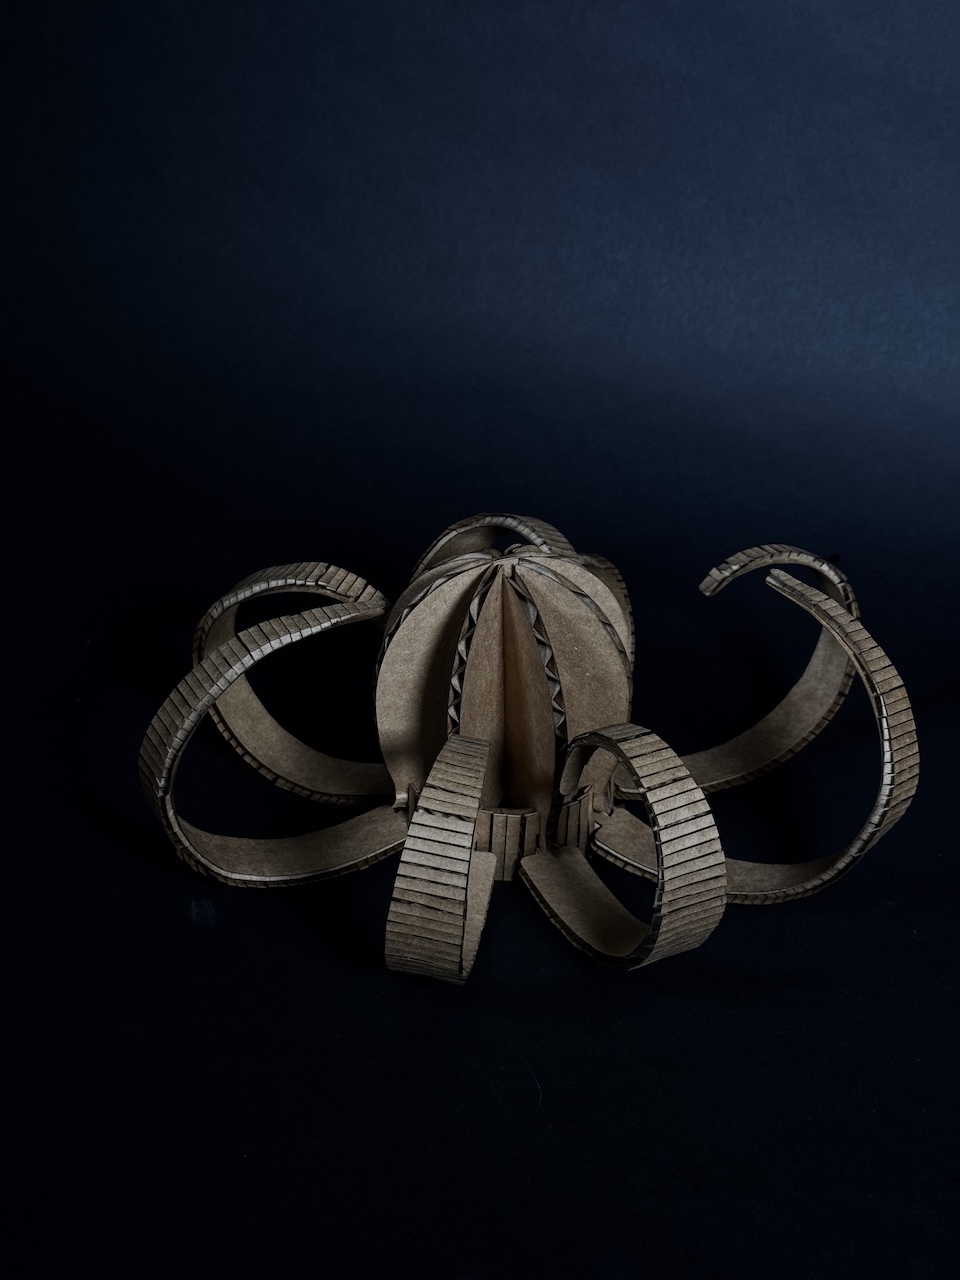
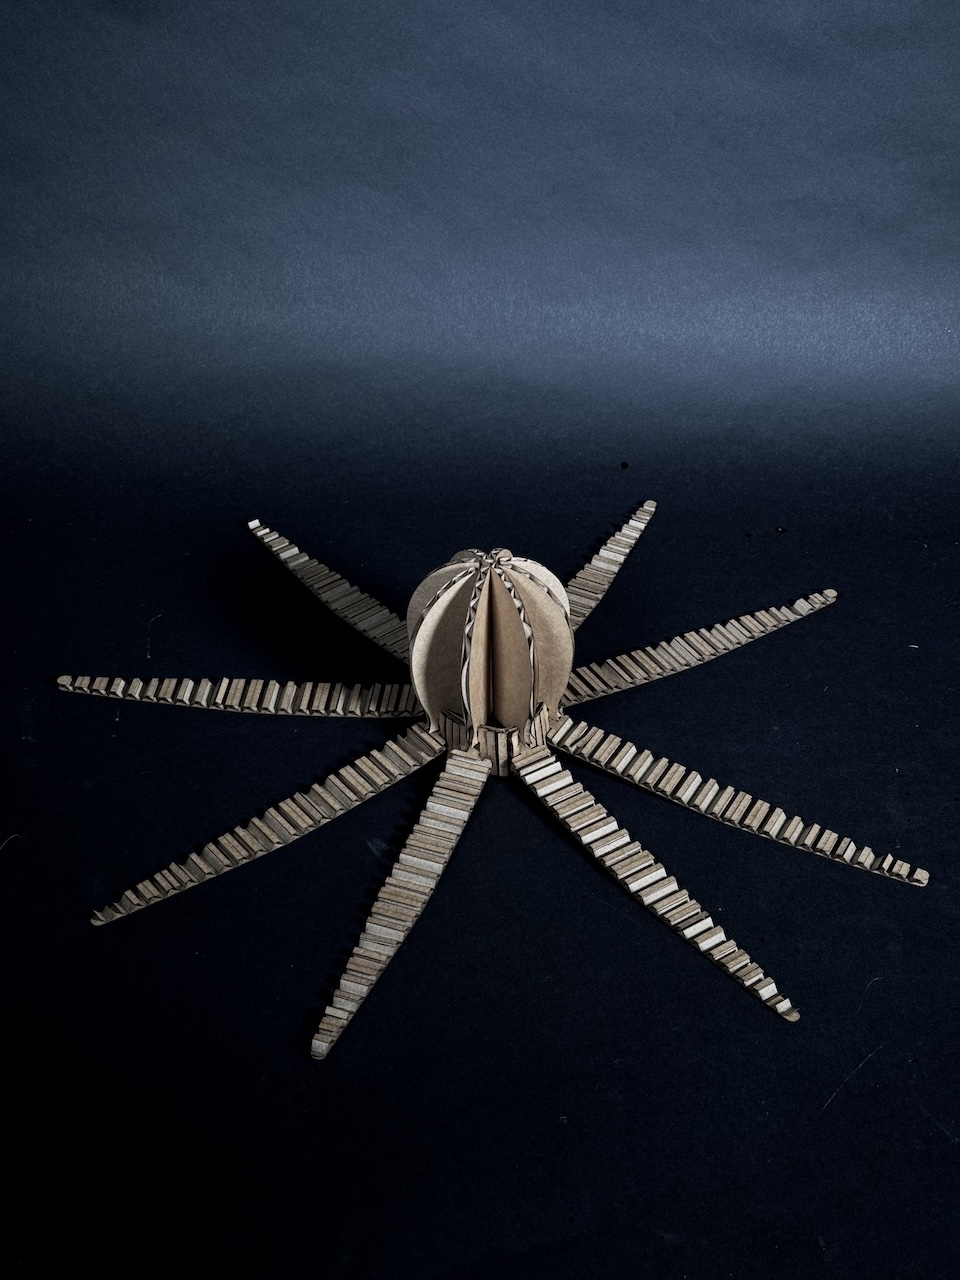
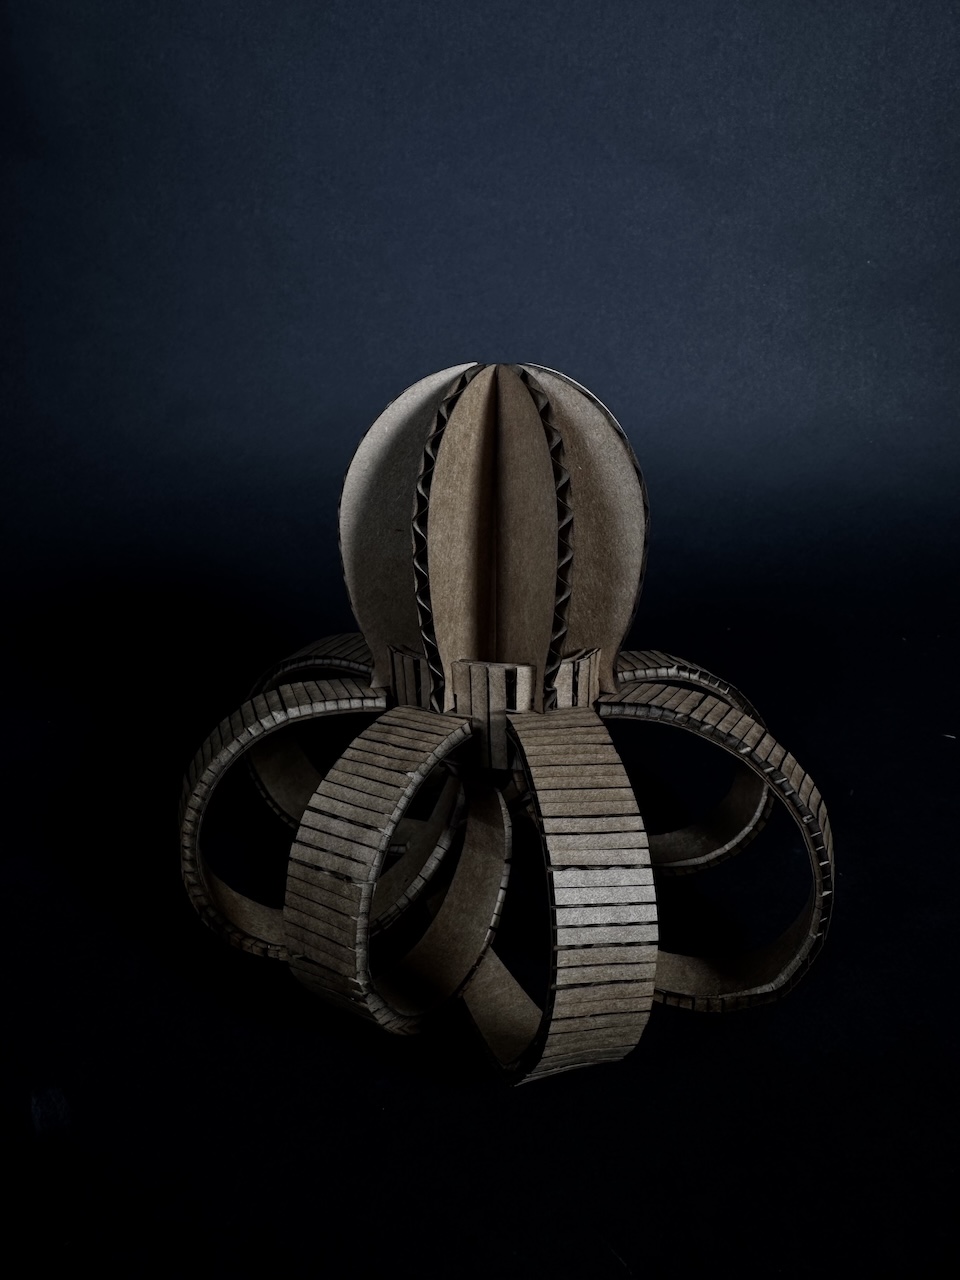
Tentacles
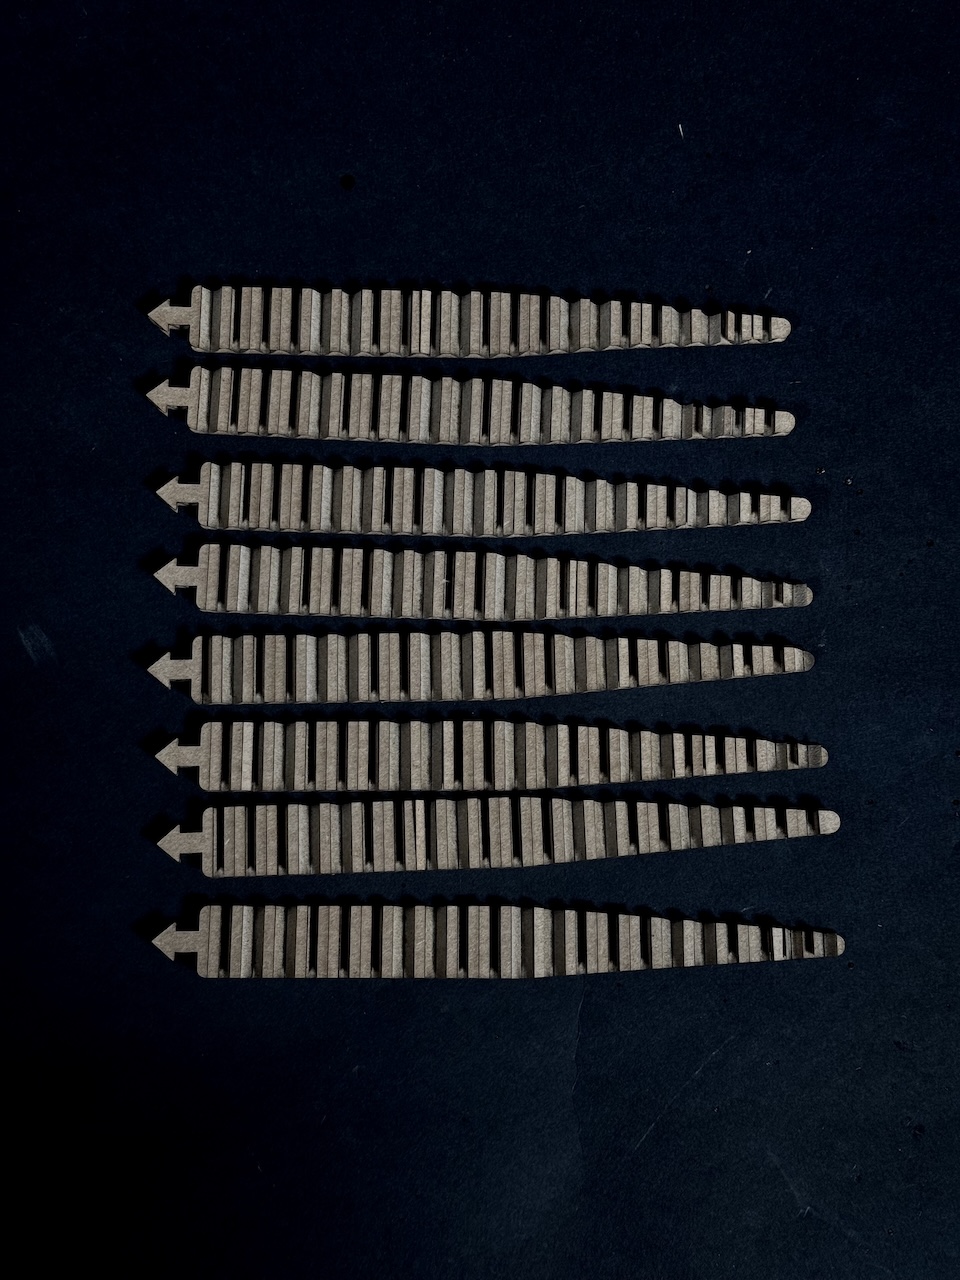
For the tentacles, I wanted to create joints that were easily removable and not rigid. So, I created an arrow that would be able to lock into place on the base. I also wanted the tentacle to curl, so I created a series of lines to score on the lasercutter.
I started with a basic rectangle with an arrow on the end, then started to taper it to be more tentacle like. During my testing, I discovered a very important feature of the cardboard: the fluting. The direction of inner wavy part changed the way my scoring turned out.
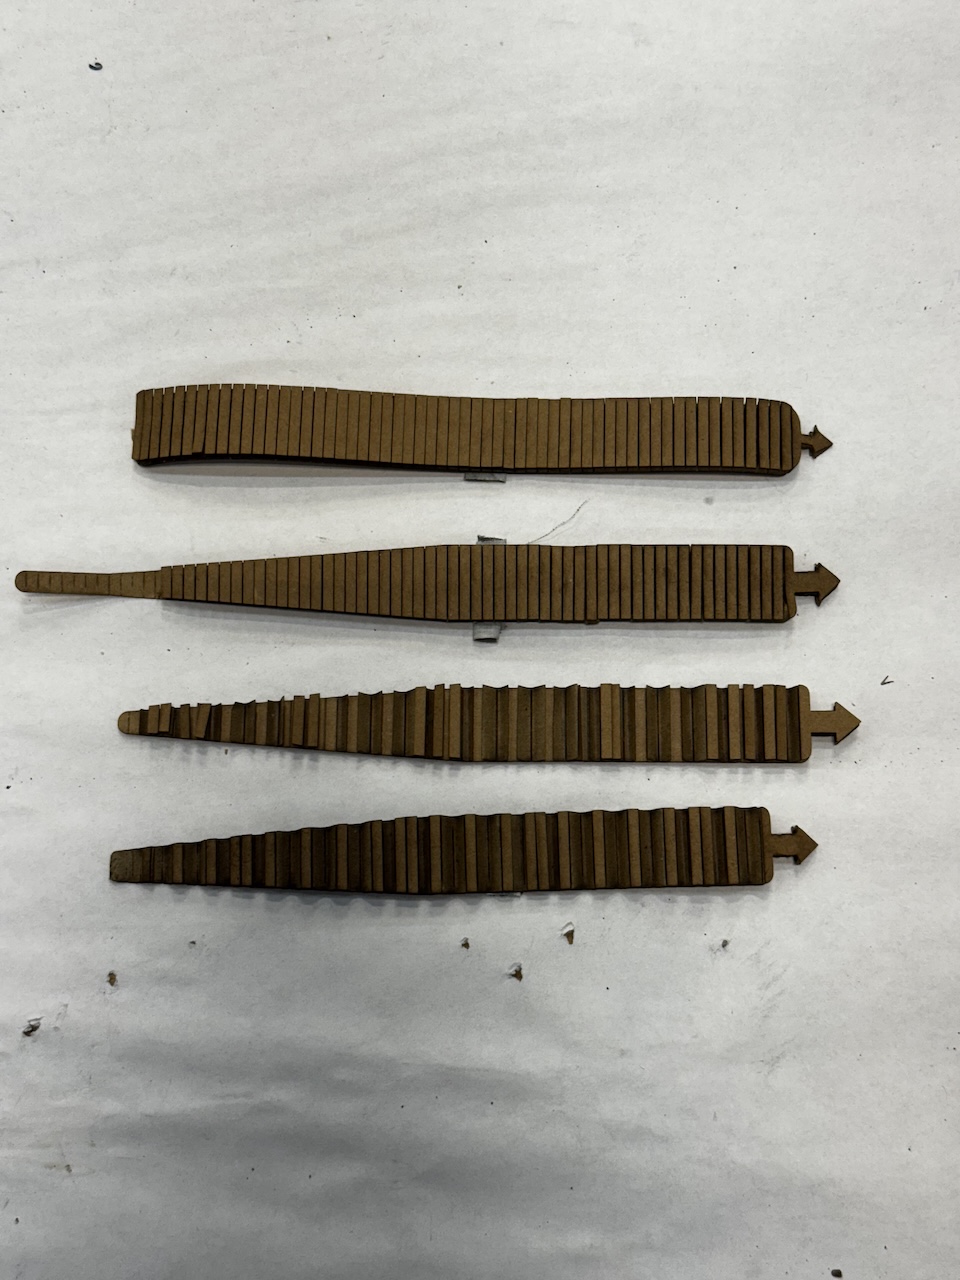
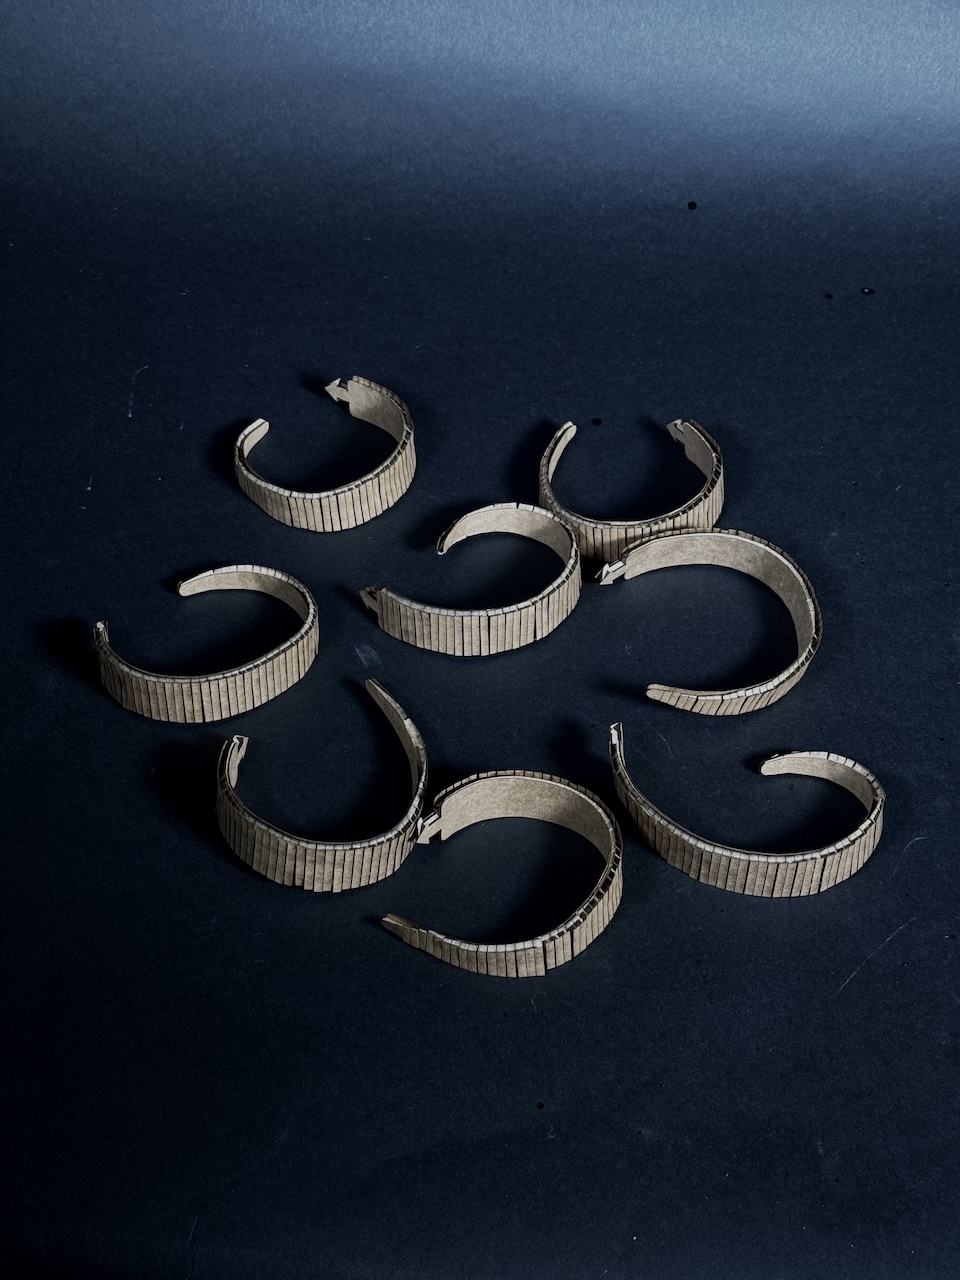
The top two tentacles here were cut with the "grain" or the fluting of the cardboard and the bottom two were against it. The top two became very curly in only one direction, while the bottom two were straighter but able to bend in both directions.
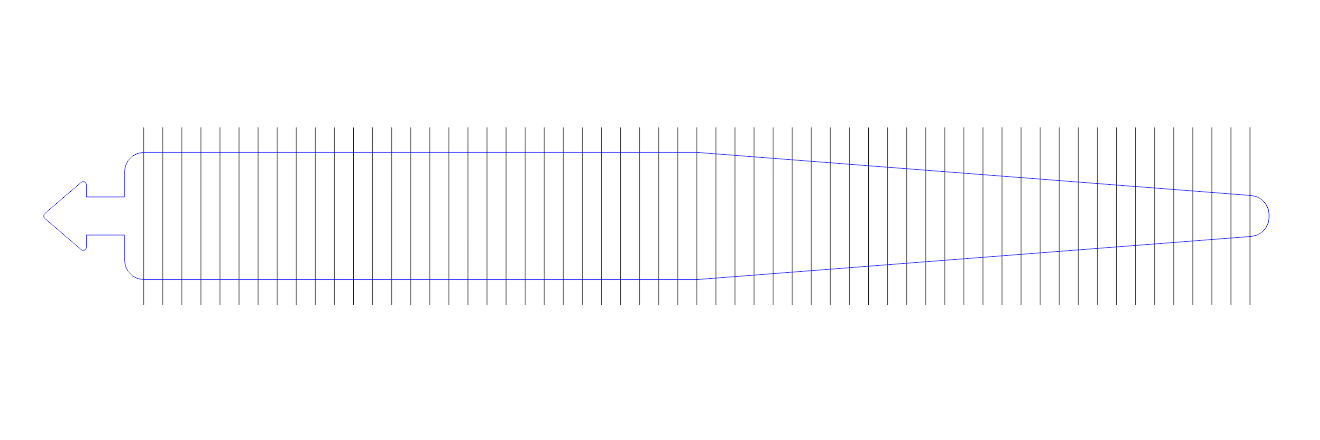
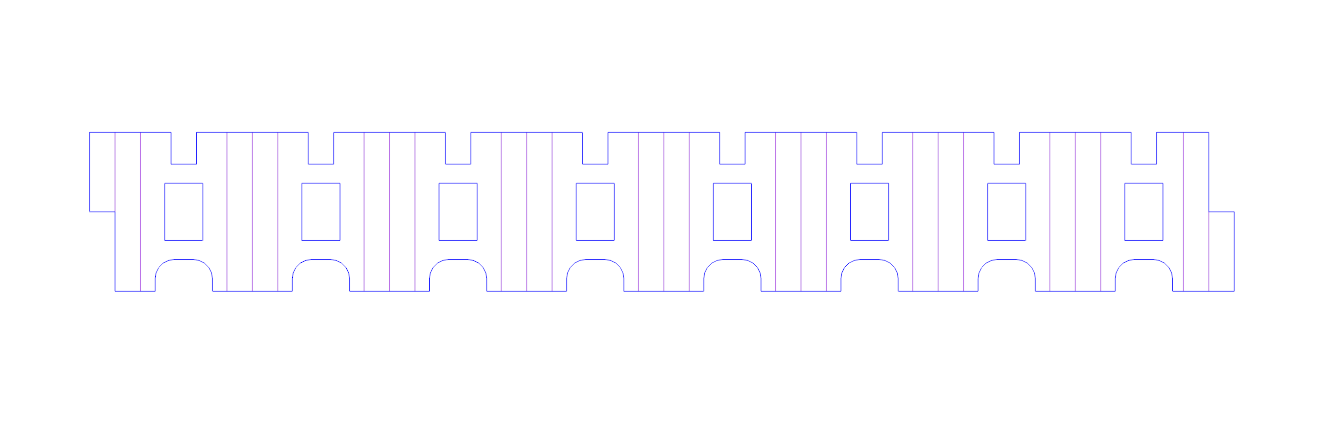
Here is the final tentacle drawing:
So for the interchangeability of the legs, I decided to have these two types: curly and zig-zagged.

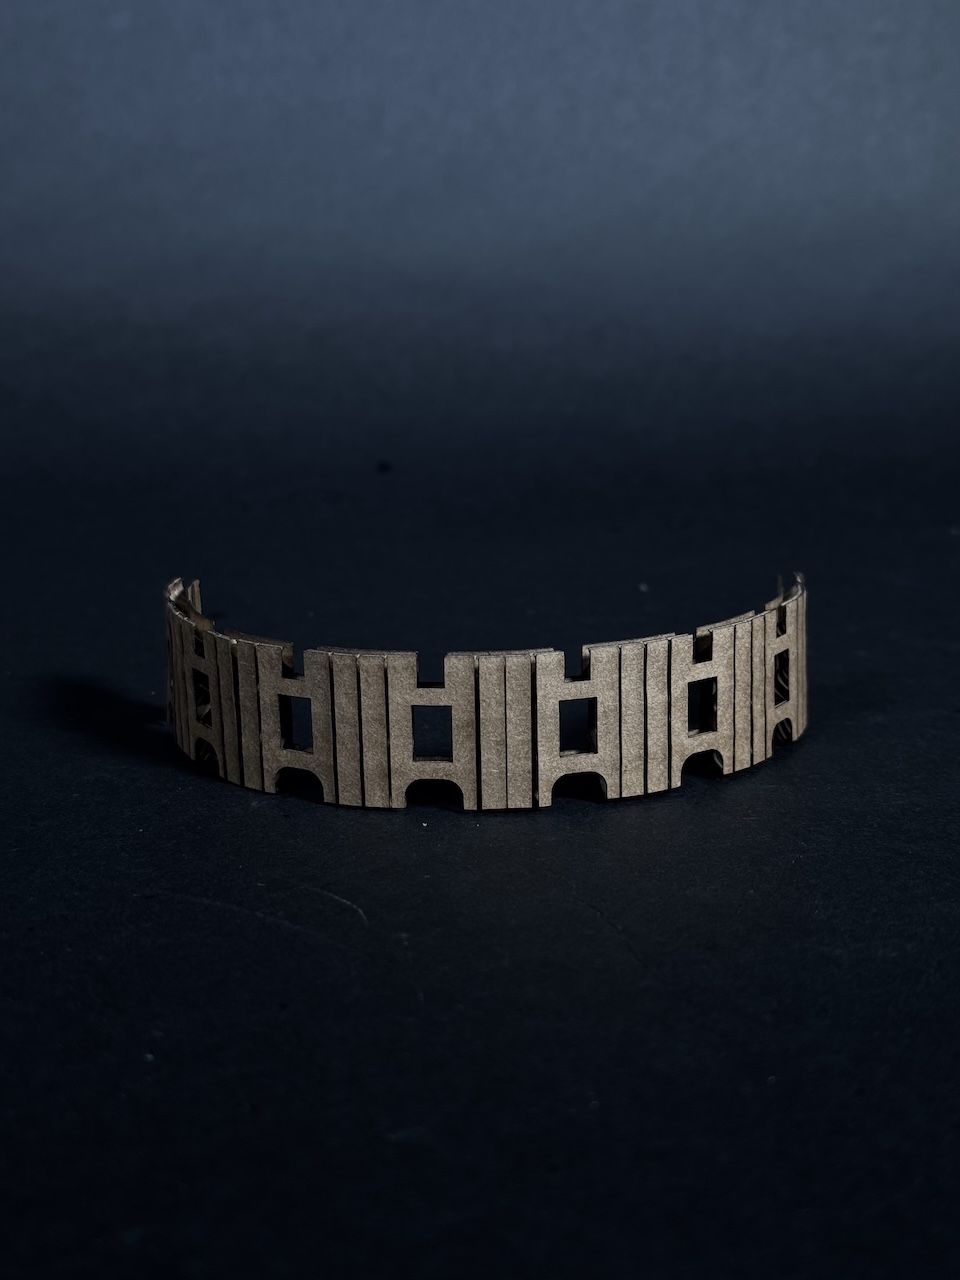
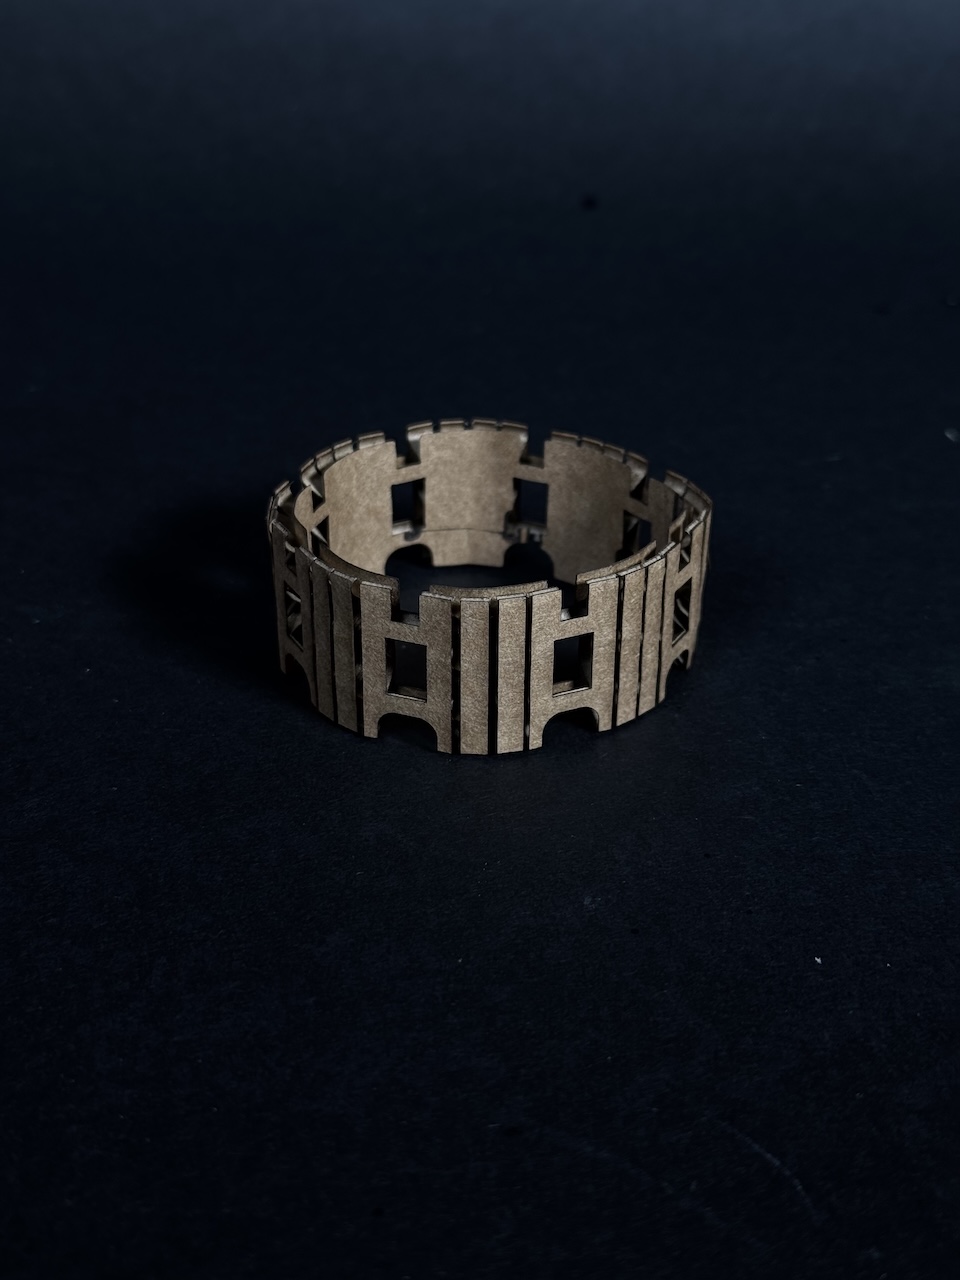
Base
Then, for the base, I needed it to be cylindrical, have 8 holes for the tentacles, and slots for the head. So, I created this piece, with lines to score to make it curved, as well as holes that are wide enough for the arrow to fit through vertically, but not horizontally.
Here is a series of fails. I made one that was way too big with too small holes, connection points that were too large and too small.
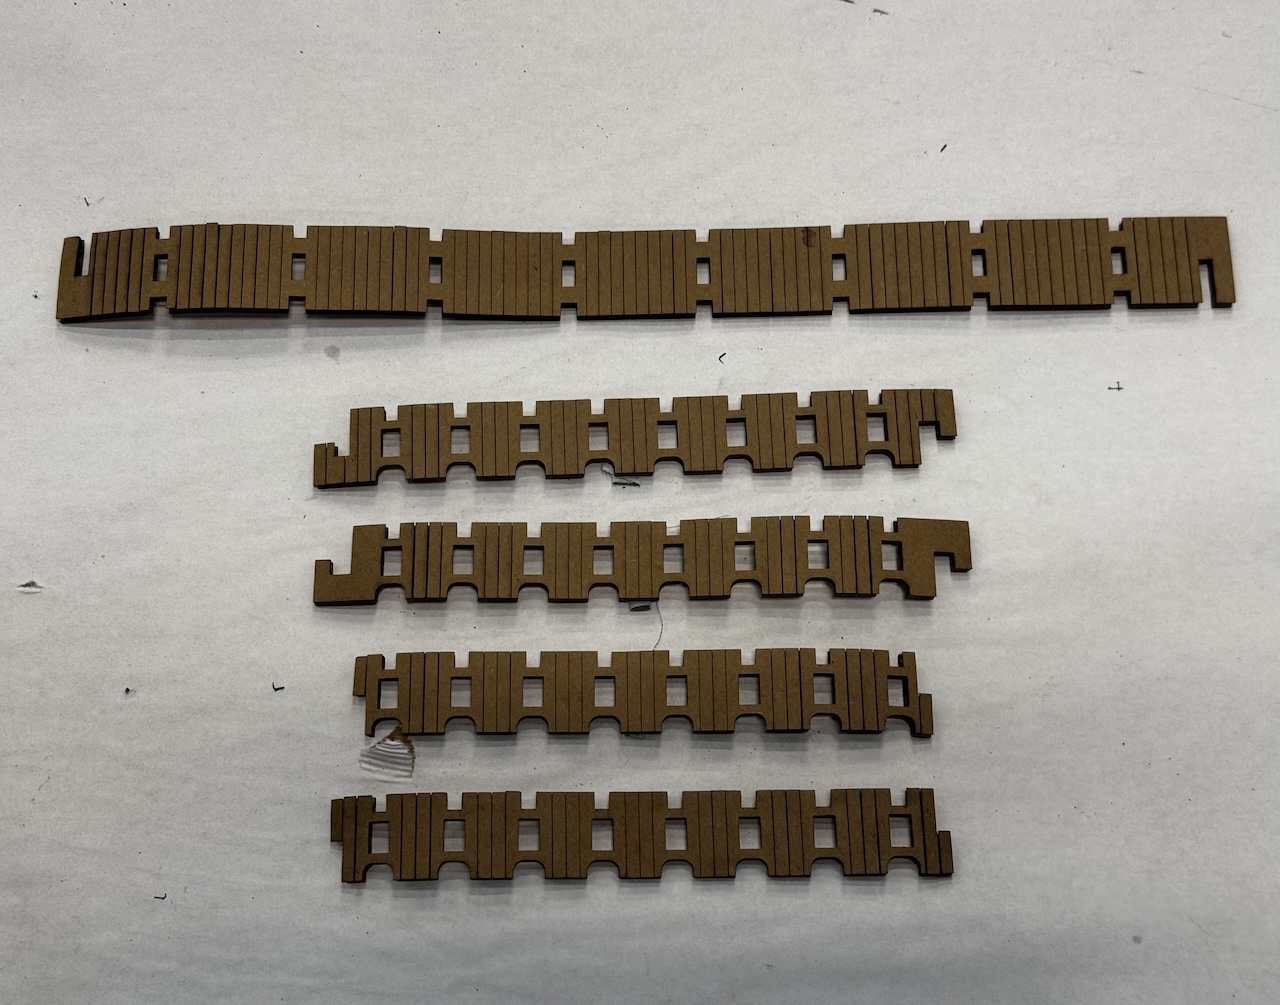
Here is the final base drawing:
I secured the base into a cylinder with a piece of tape.

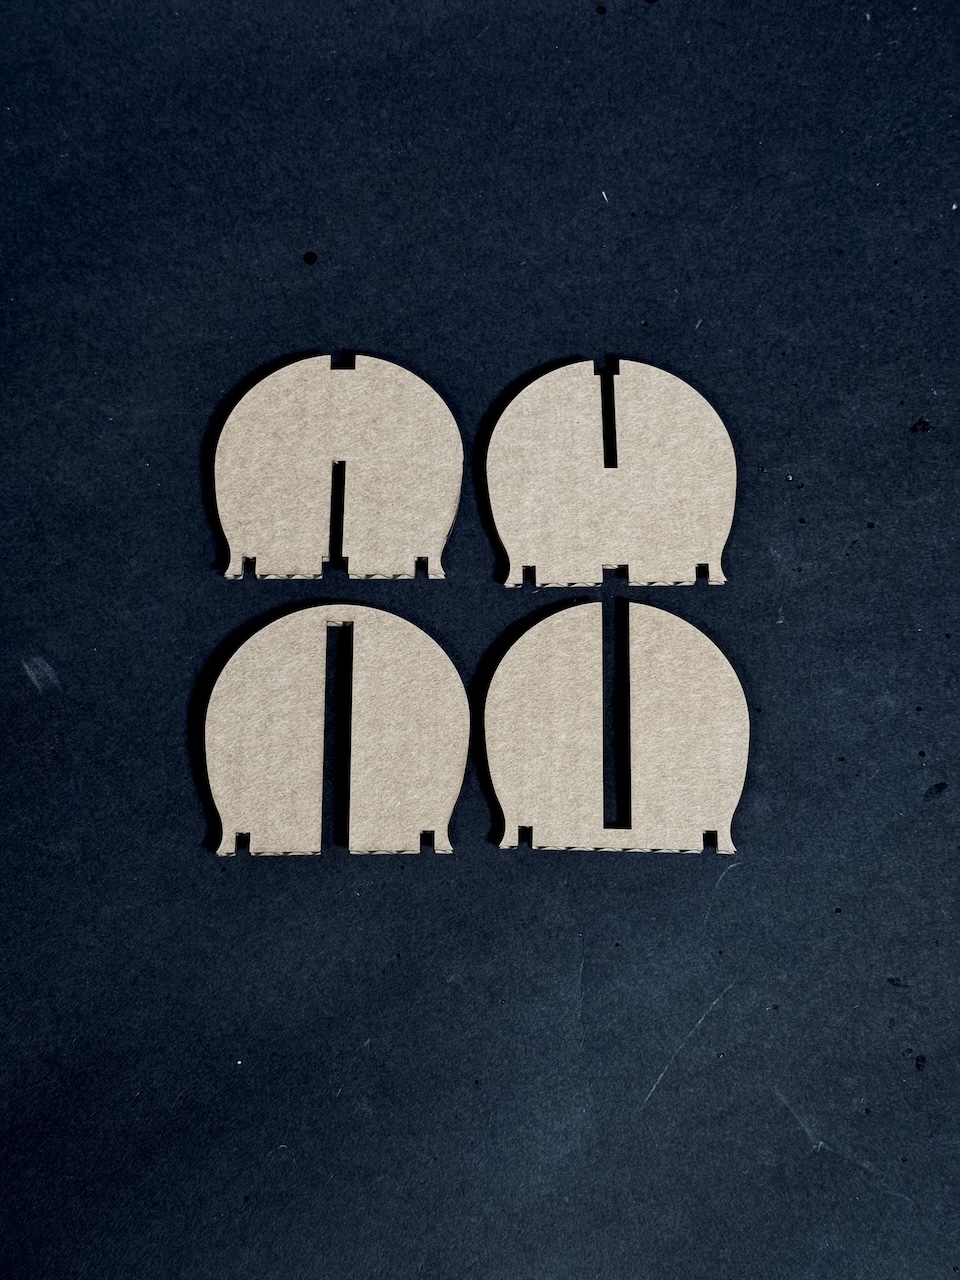
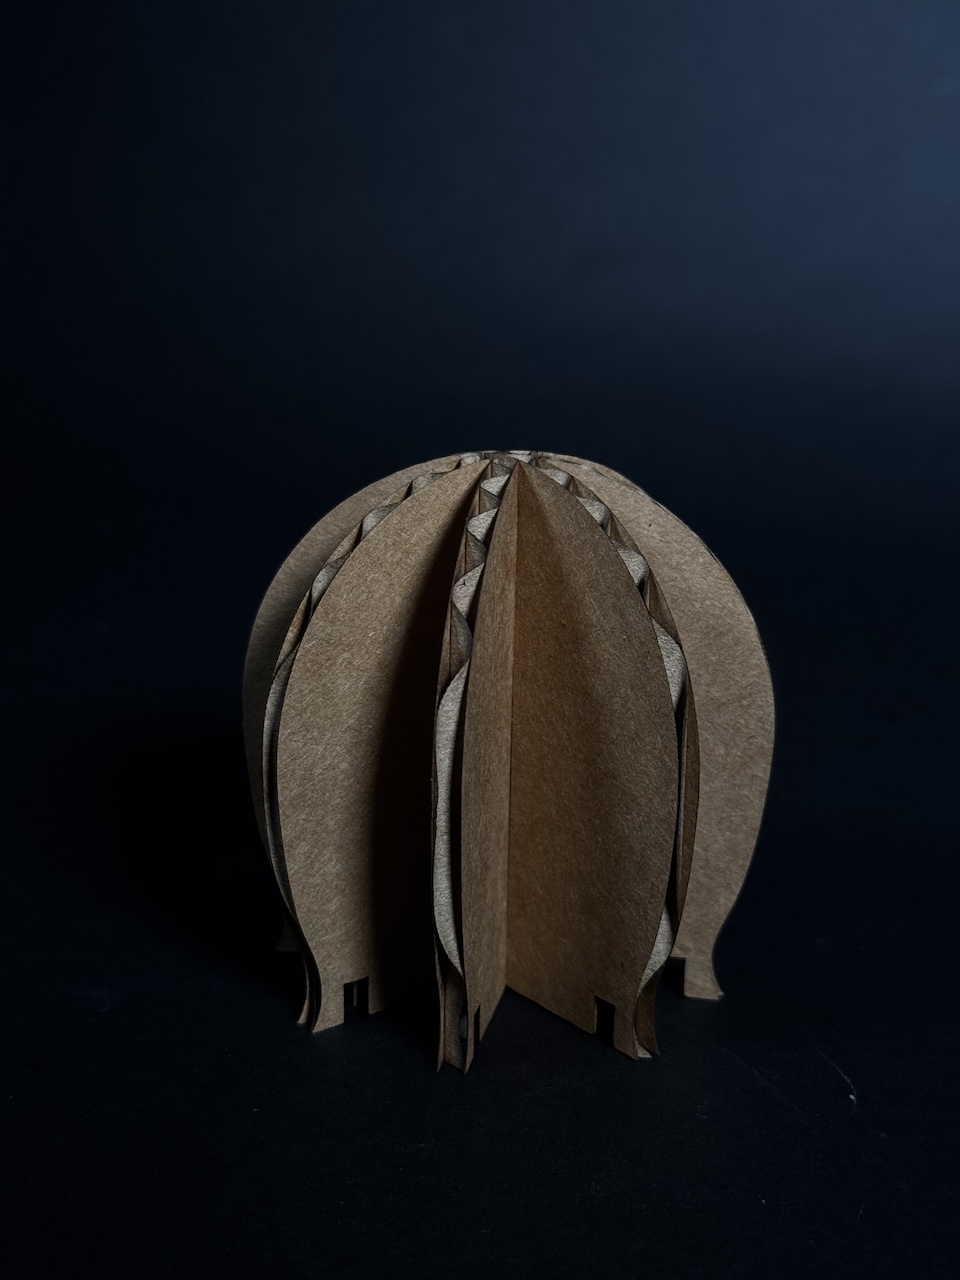
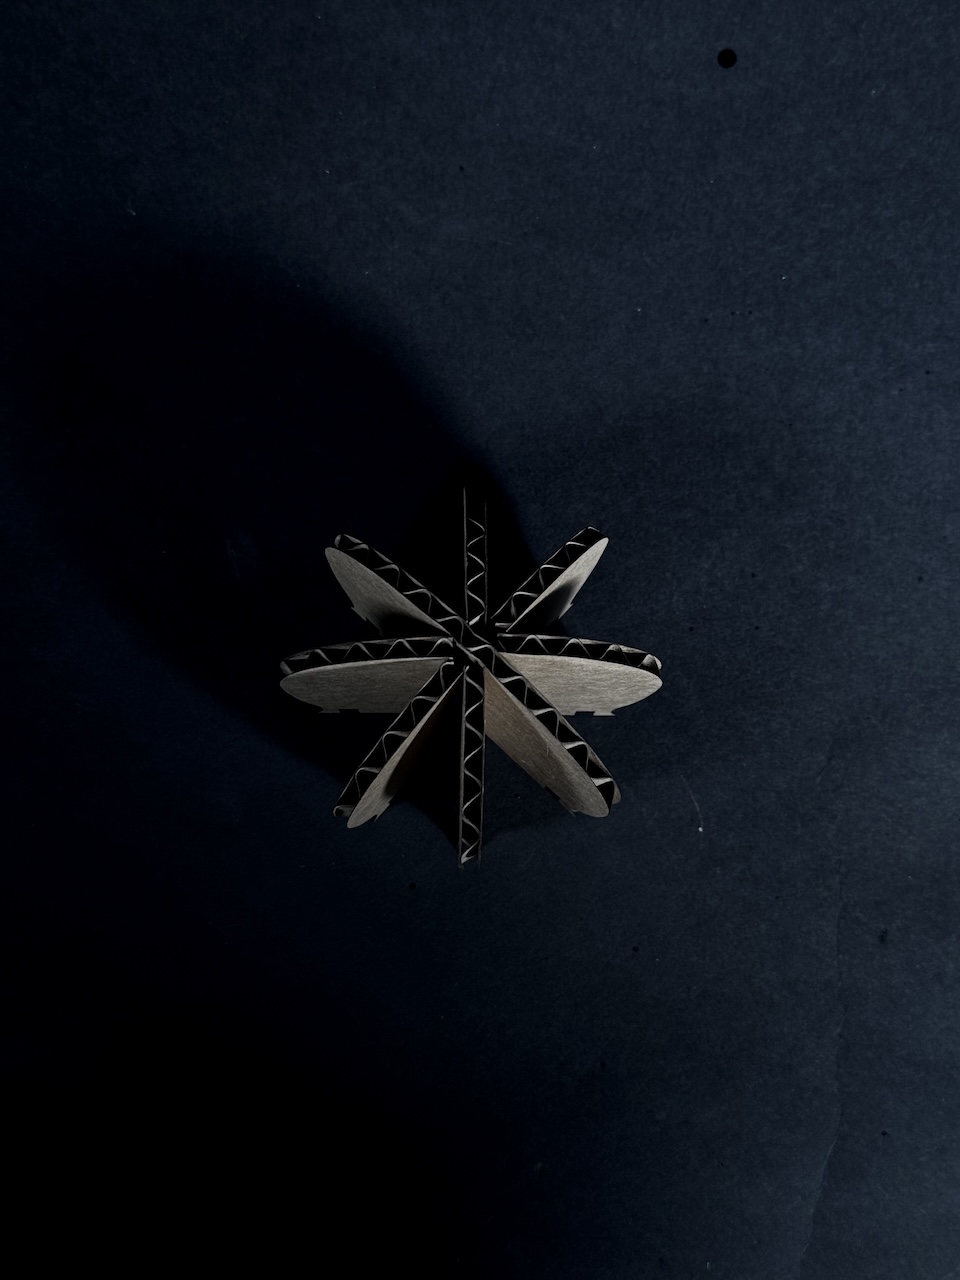
Head
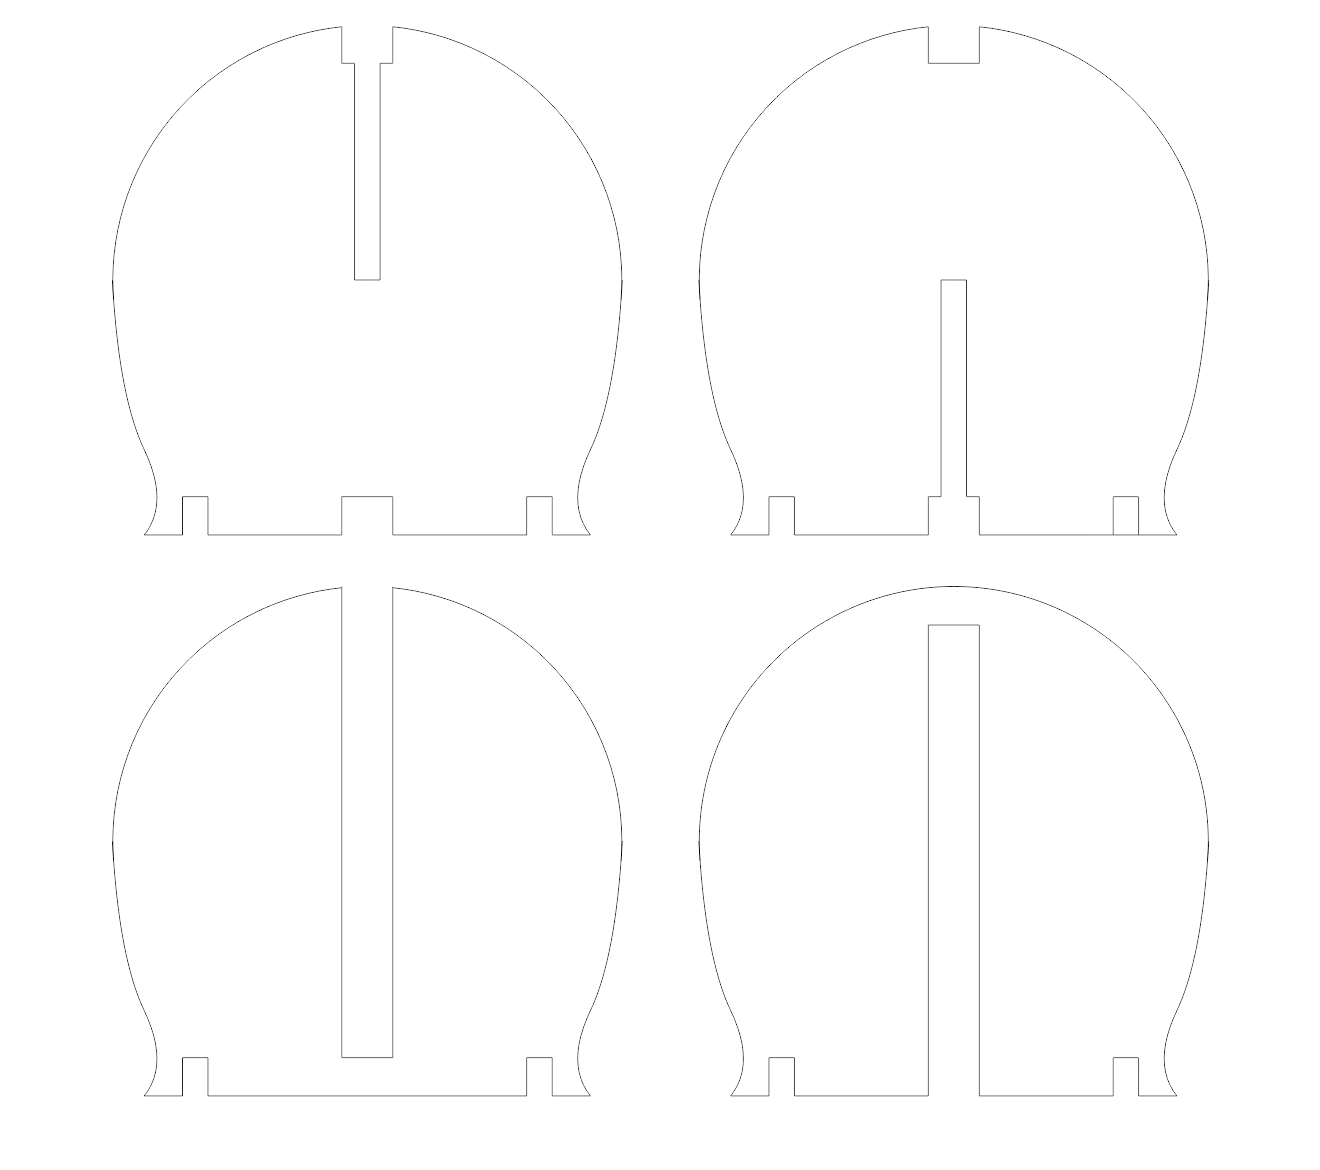
For the head, I wanted to create an 4 way intersection, but it took me a little while to figure it out. I started with a simple 2 way cross:
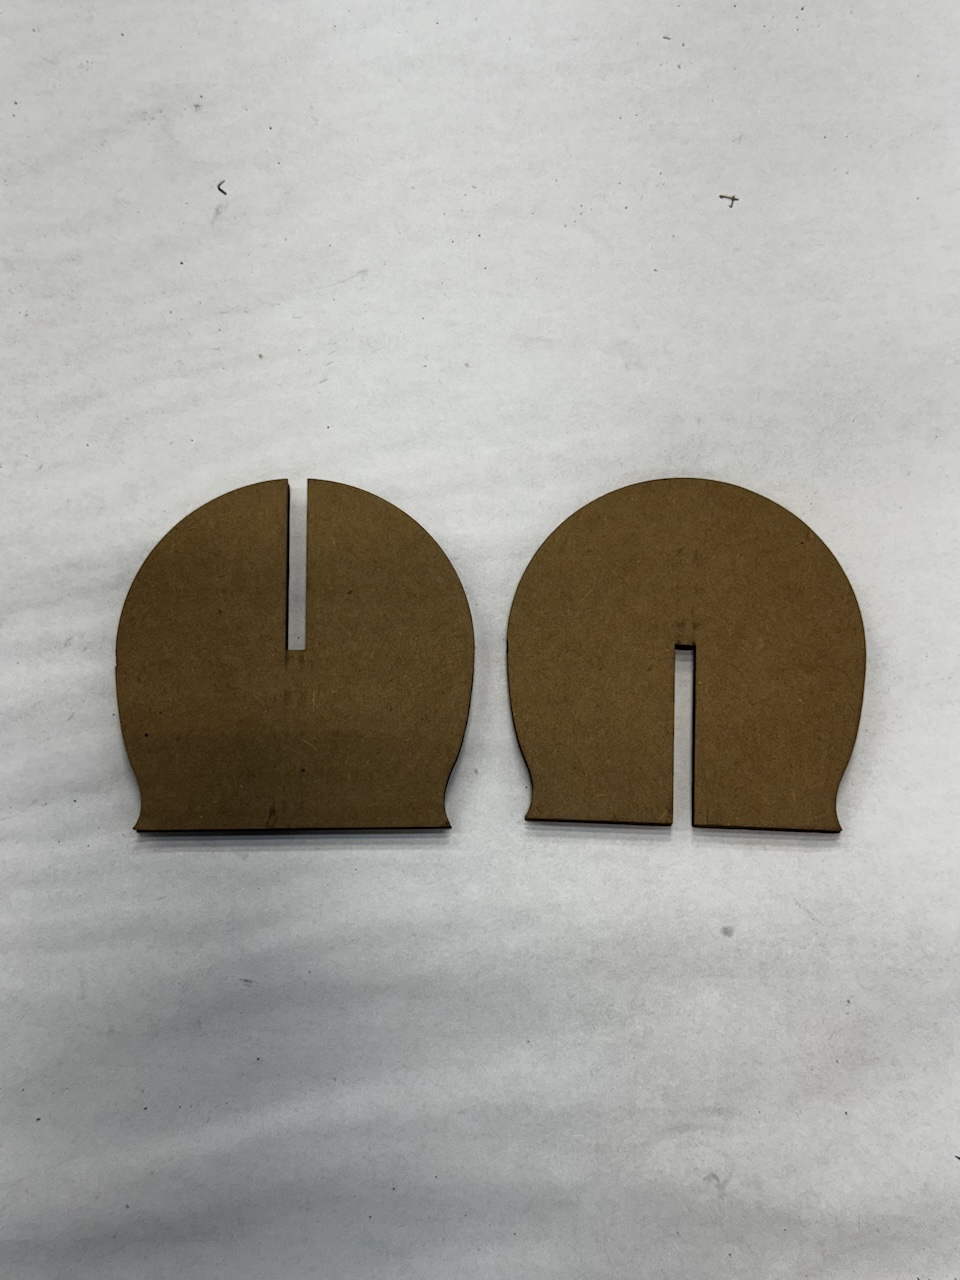
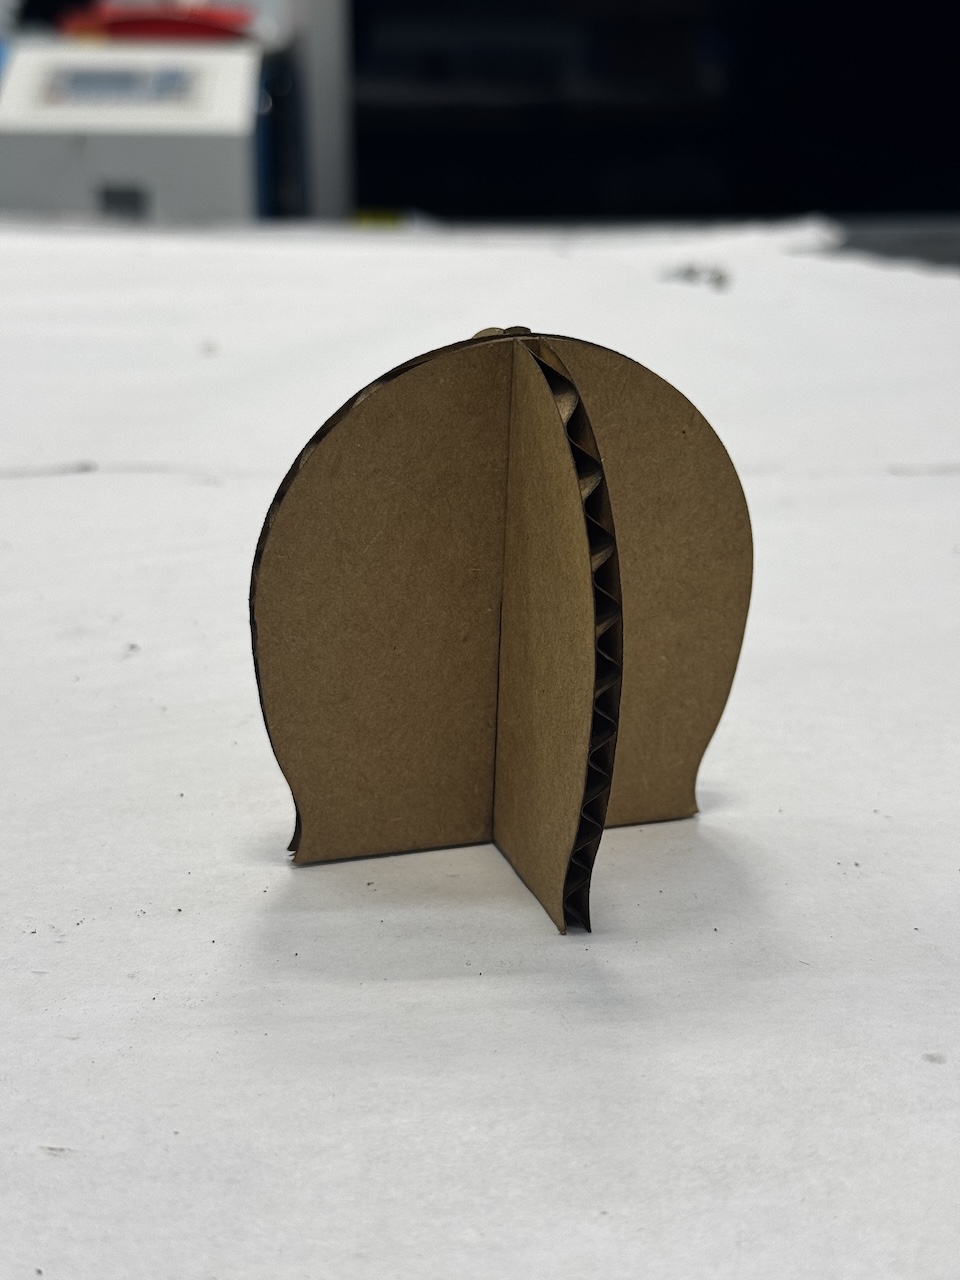
Then, I tried to make the gaps wider becayse I thought it would work for some reason...but no. I also added little gaps to connect to the base part.

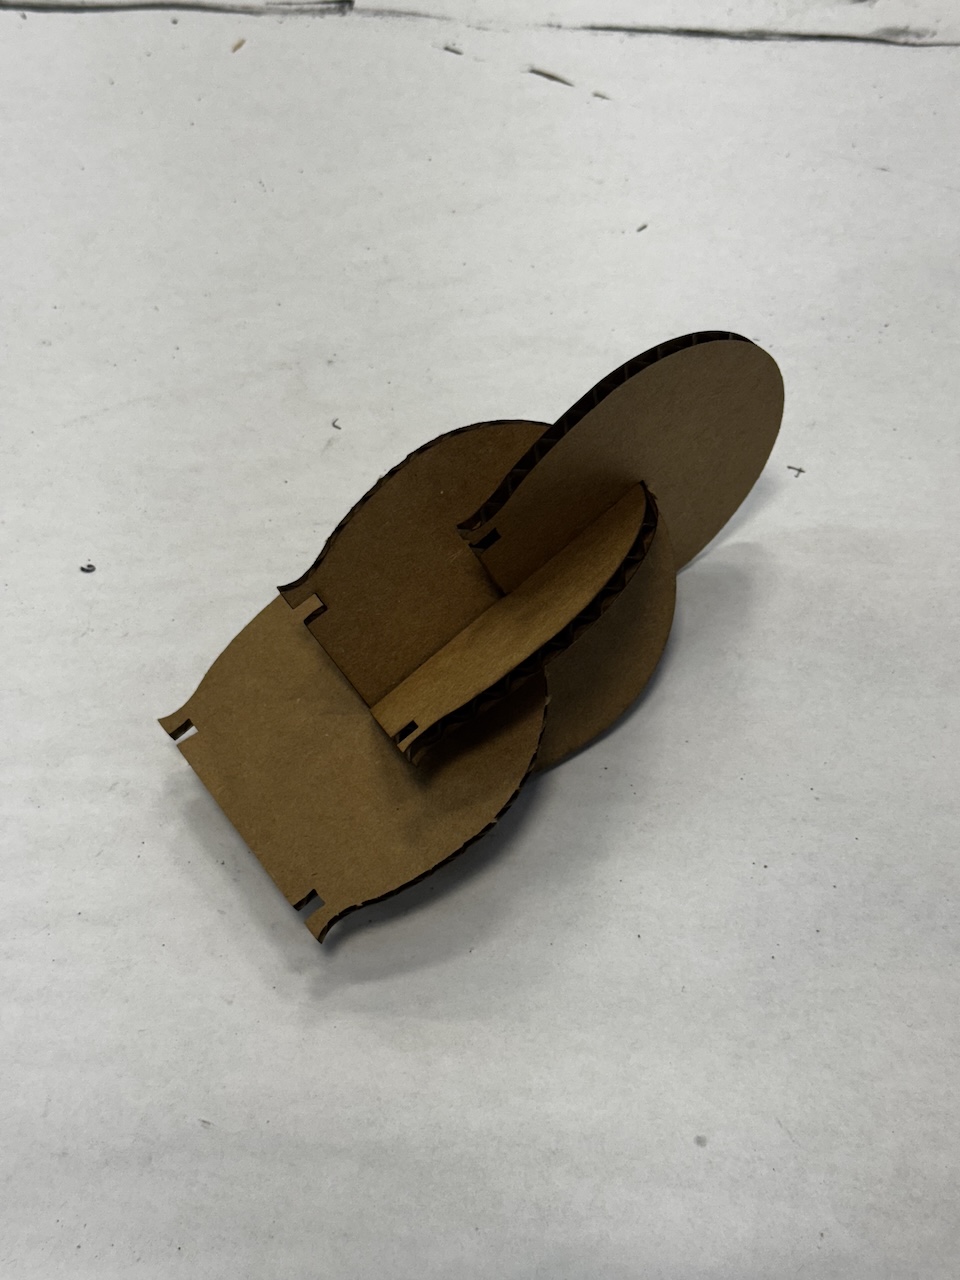
But I finally figured it out!!
Here is the final head drawing:
Assembly and Final Pieces
Now, with all of my final pieces, it was time to assemble the different configurations!
Files