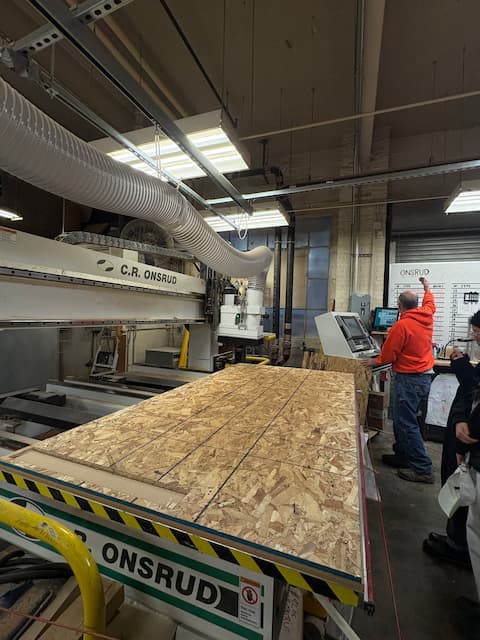
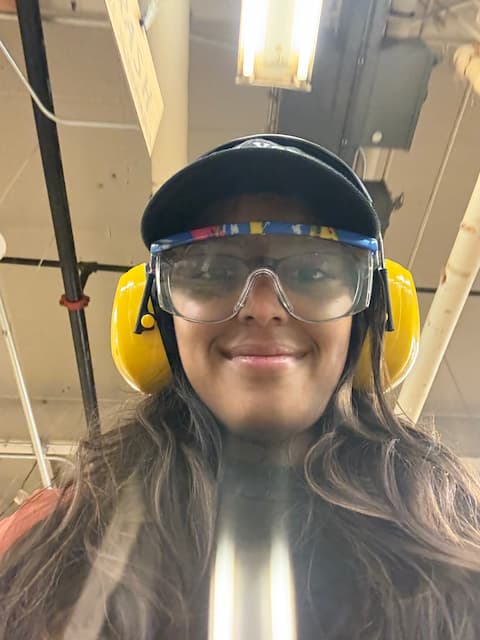
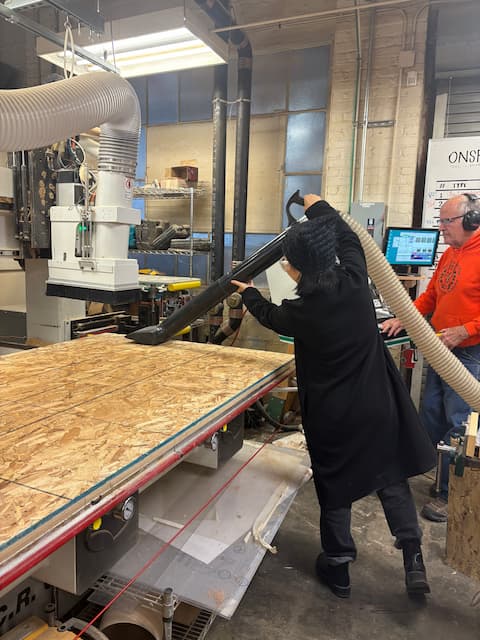
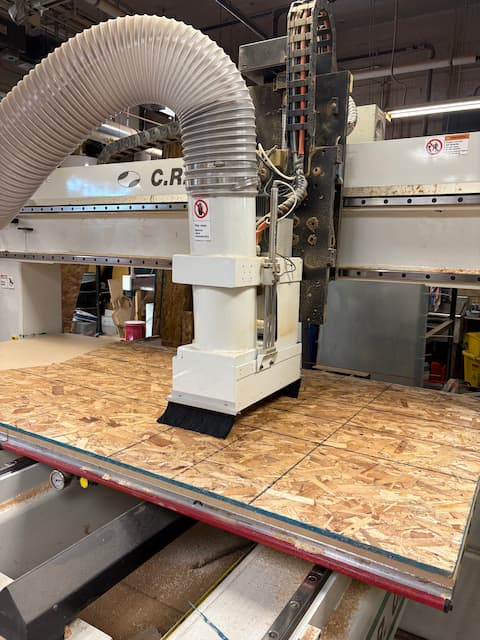
Done. Arch section was trained by Chris in woodshop, who serves as our interface b/w our design and the ONSRUD. Learnt where safety equipment (glasses, ear protection, rubberbands/hair ties) are kept. My reflections:
Working safely in the woodshop—especially with large CNC machines like the Onsrud—requires focus, preparation, and respect for the equipment. Before using any machine, inspect your material, confirm toolpaths and bit selection with an instructor, and always secure the stock firmly to the bed. Keep hair tied back, remove jewelry, and wear proper PPE: safety glasses, ear protection, and closed-toe shoes. Maintain a clean workspace and stay alert to your surroundings—never reach into a moving machine or leave it unattended while running. Most importantly, communicate: check in with shop staff before powering on equipment and stop immediately if something looks or sounds wrong. Safe practice is not about speed—it’s about precision, awareness, and protecting both yourself and others.
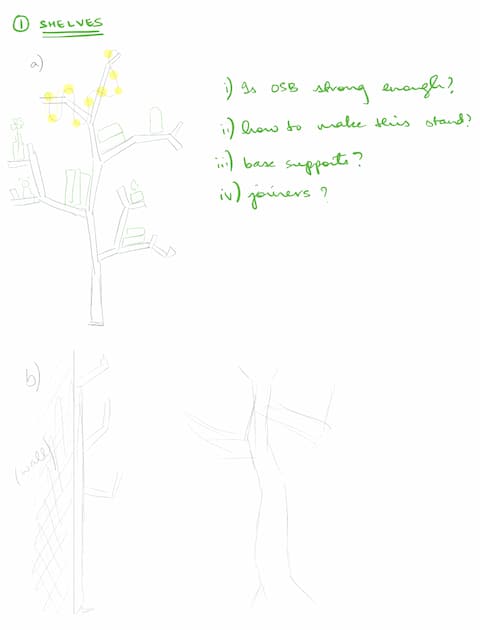
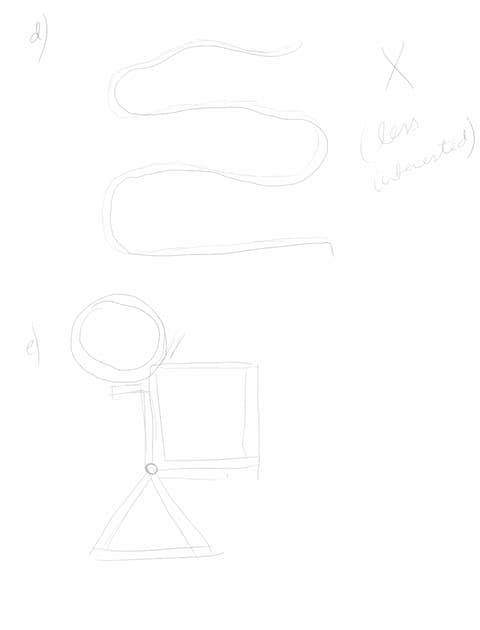
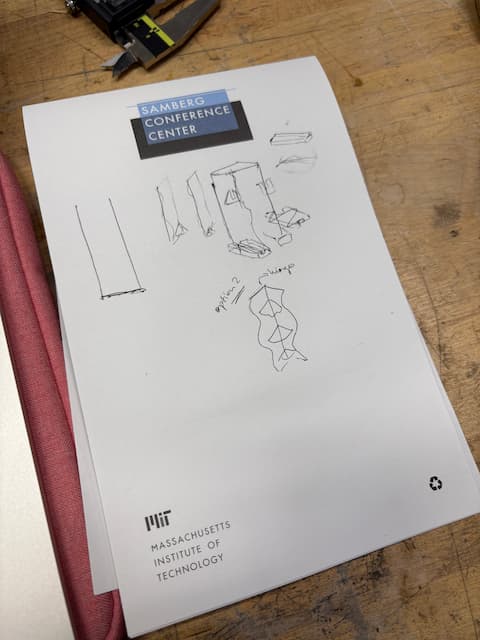
This week started with a lot of cool ideas. The constraints I was working with were (1) I live in a small space, and wanted something (narrow and tall) that would fit the space. (2) My house has a lot of random, whimsical, colorful things that I think are cool, so I wanted something with a bit of whimsy and craft. (3) There are books everywhere and that's not likely to change anytime soon. (4) I haven't yet figured out how to store the various outputs of what we make in this class.
The obvious answer was to design a shelf. So I did this inspired by Pinterest and general motifs and shapes I like.
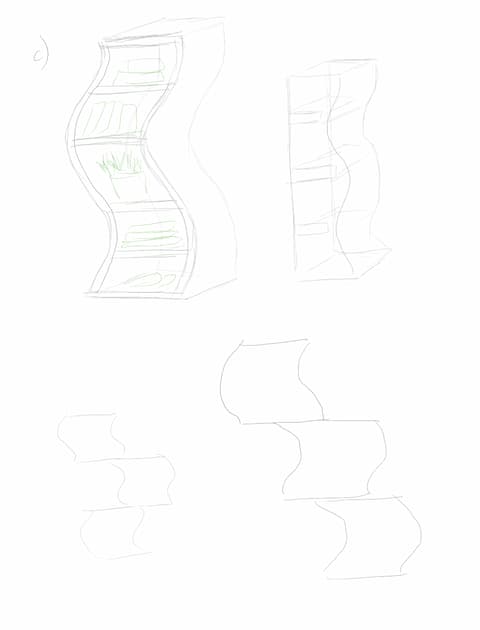
I first sat with Gert to figure out which of these ideas was even feasible with OSB, and what would translate with this material. Gert was SUPER insightful on how to translate a drawing into 3D -- the limitation here was my inability to think very well in 3D, and so to fully grasp the constraints he was warning/telling me about.
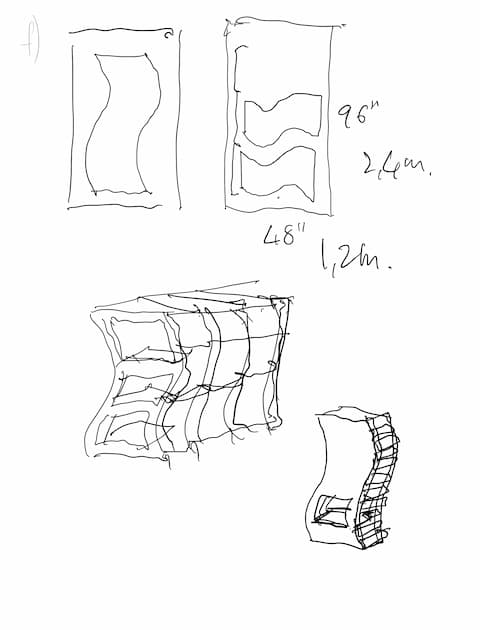
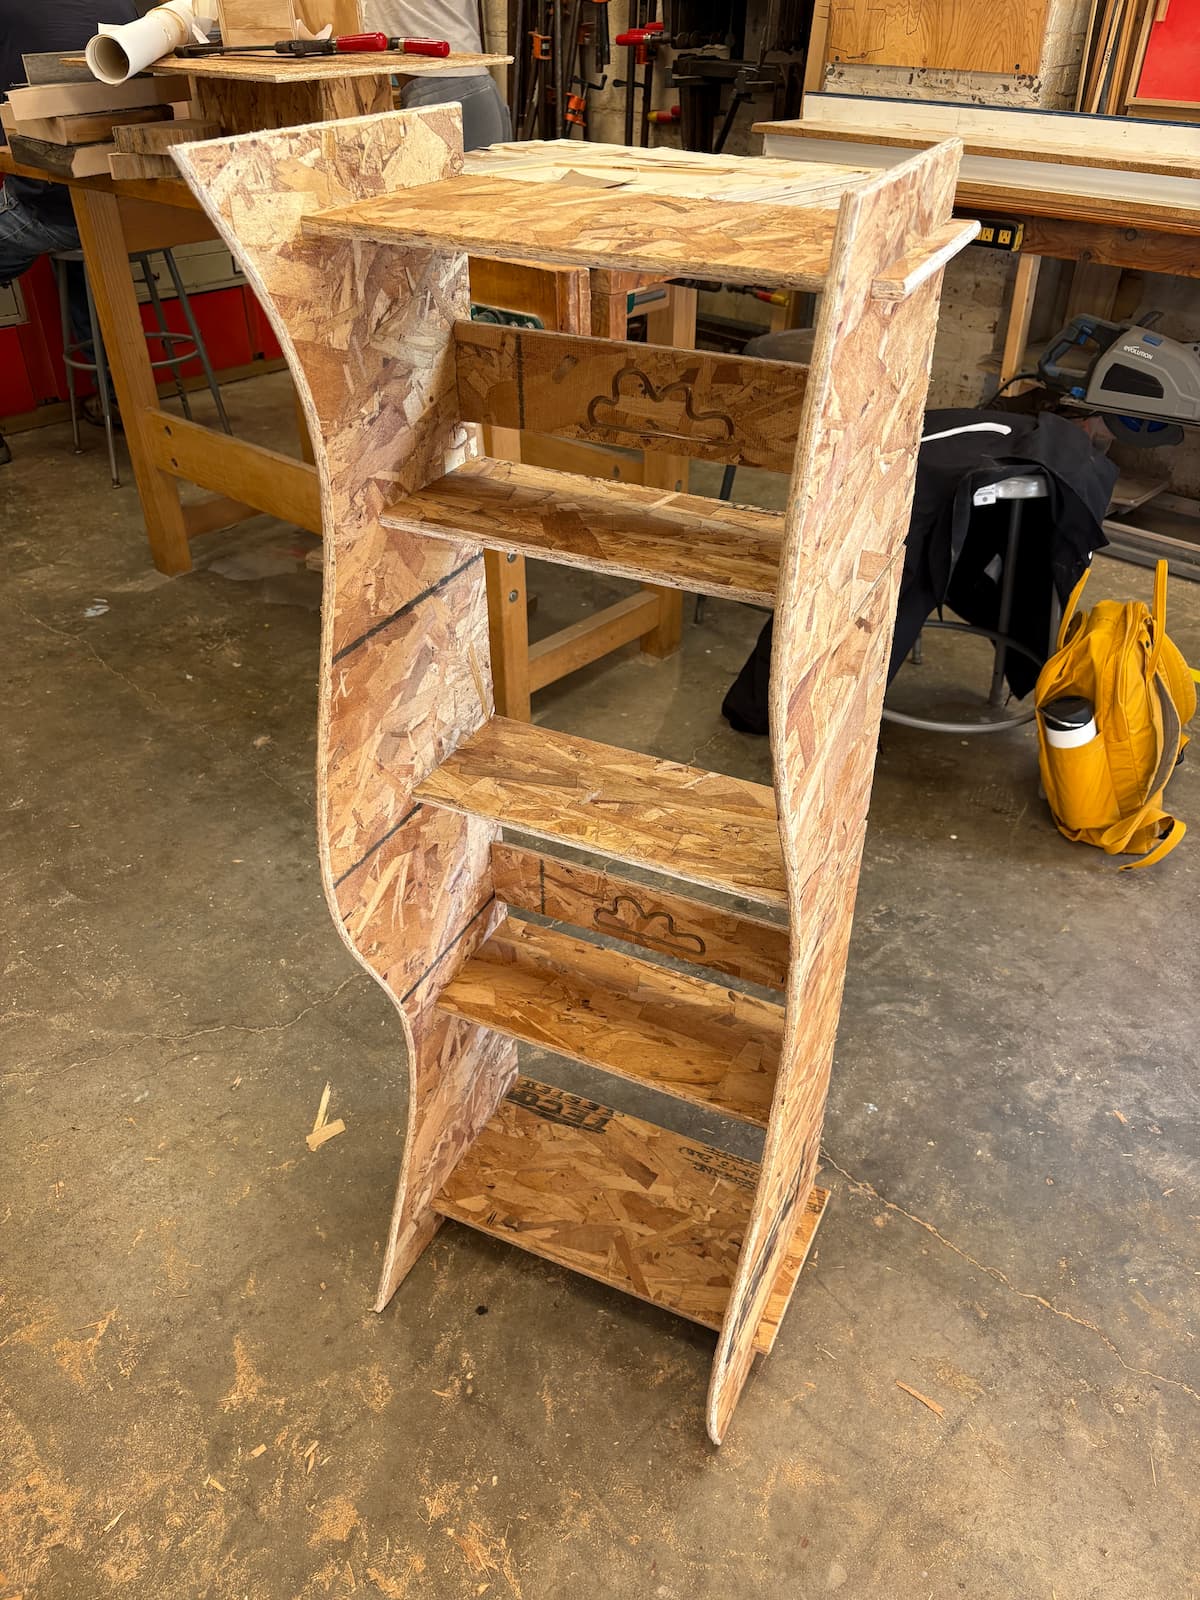
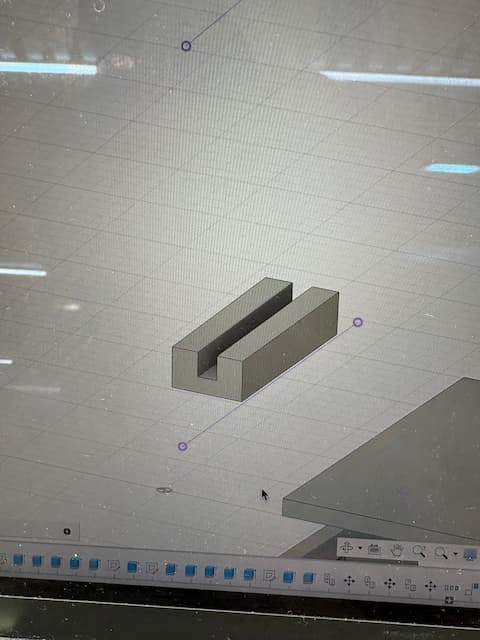
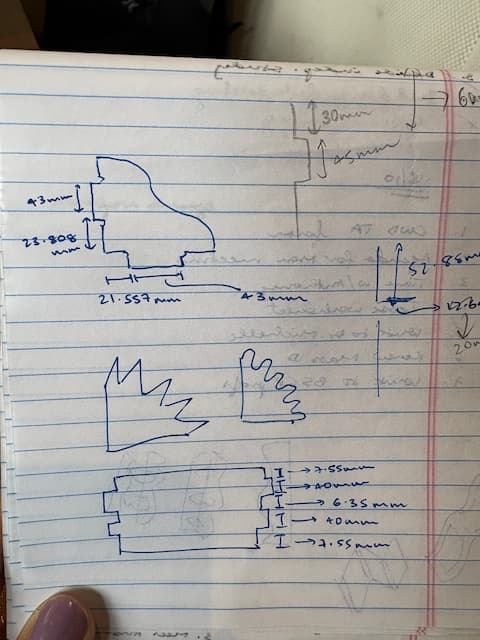
Once I got it, the result was a compromise: curved edges, not a curved front view.
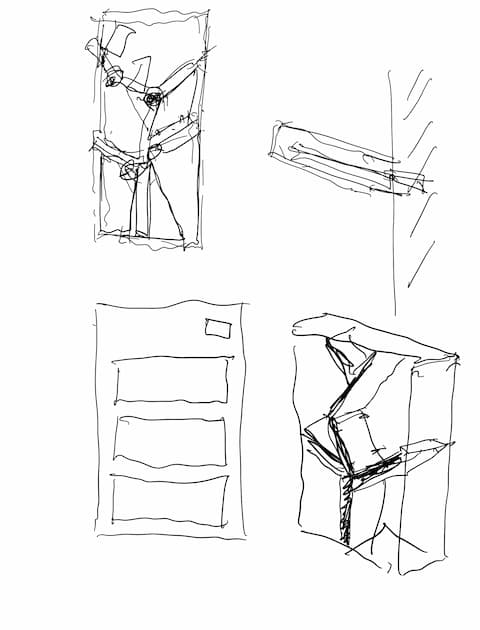
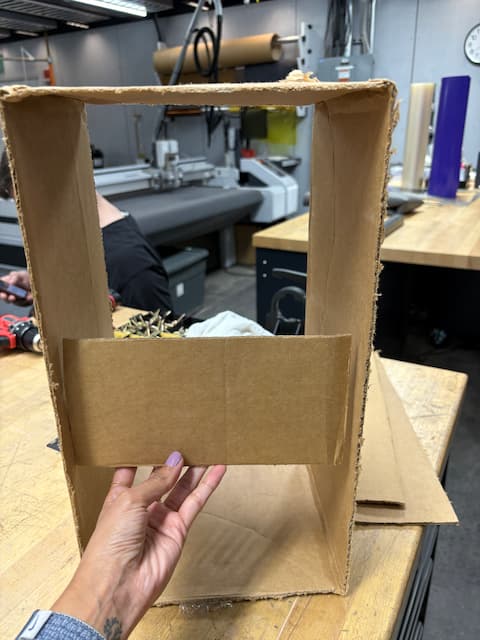
I went to CBA office hours because I wasn't sure of assembly in Fusion, so big thank you to Tyler(?) for helping me figure this out. But also, Dan pointed out a super useful design flaw: that in my current design, because the sides are heavy and only held together by flat shelves, this is prone to being wobbly. Dan firstly came up with a super useful, visual analogy for me to understand the issue here:
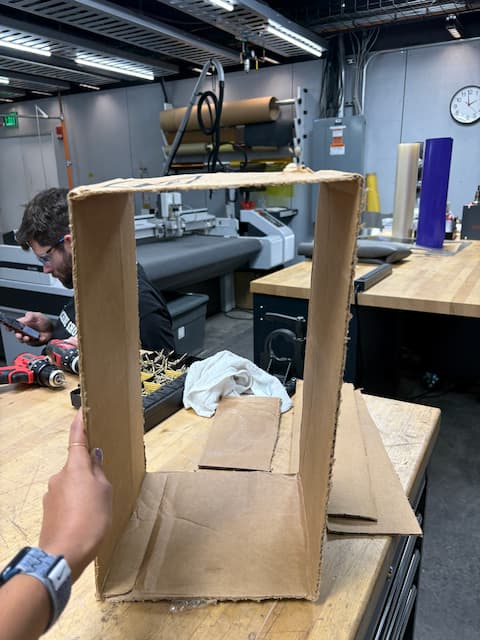
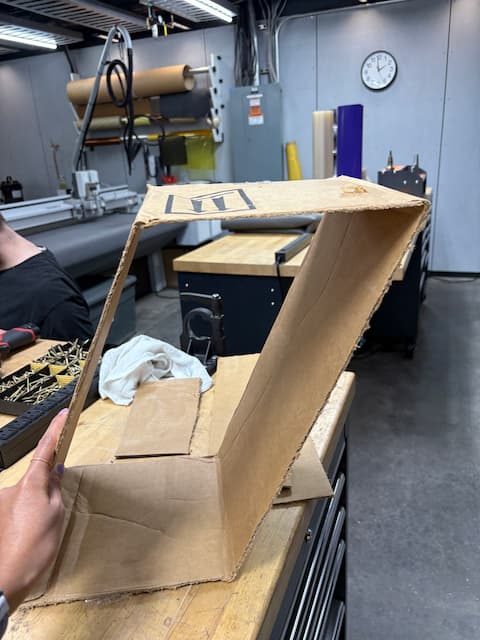
And then encouraged me to brainstorm ways to fix it. I had a really fun time doing this, because I had truly no idea what would work vs. not in structural stability. Kudos to Dan for his patience in entertaining many silly ideas.
Eventually we landed on flat panels on the back to lend lateral stability. I added a cloud for fun.
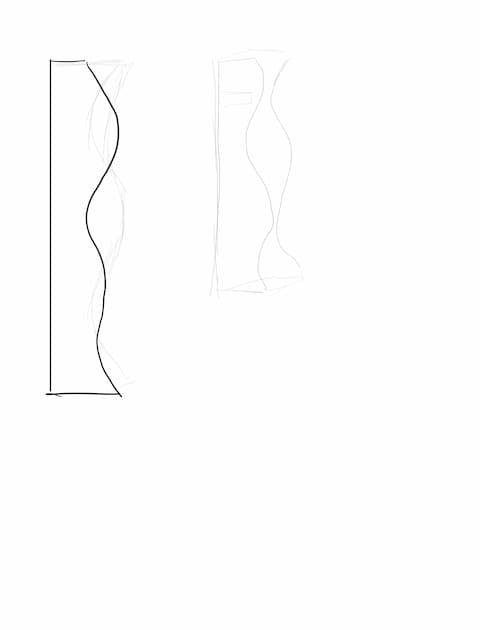
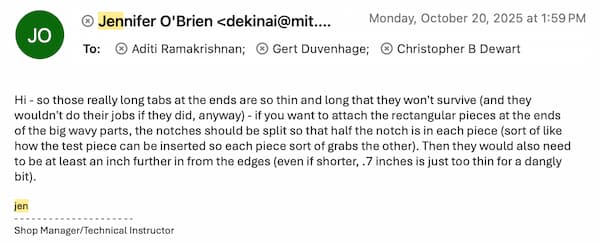
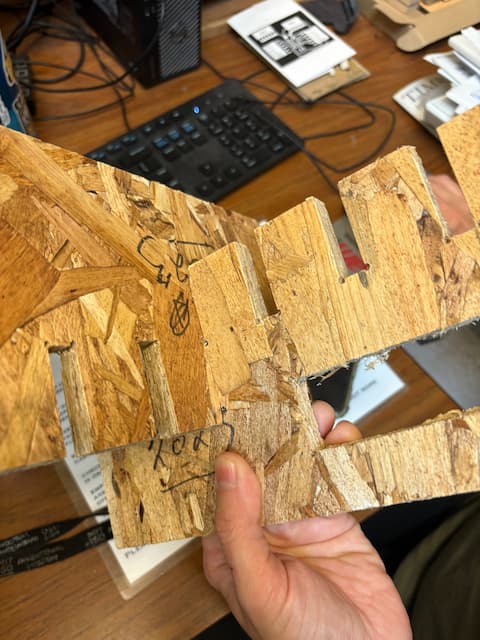
Thanks to Jen (and Shah) for quick turnaround on feedback. Jen told me to fix some narrow pieces that would be unstable, and also gave me the idea to have the top and bottom shelves not be full inserts, but half-and-half joints (excuse the highly technical terminology) similar to the test cut for extreme stability.
Fun story: I wasted SO MUCH time thinking I had to fix these points in 3D, reassemble, and then flatten from there. Jen taught me you can literally fix these things directly in the drawing. (But this is only for safe things that you know don't need to be tried again in 3D: eg, small lengthening of shelf size etc.) What a trip - literally brought down iteration time by 95%
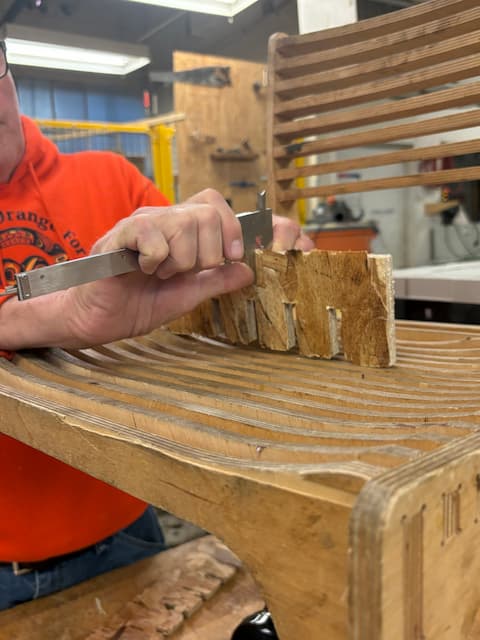
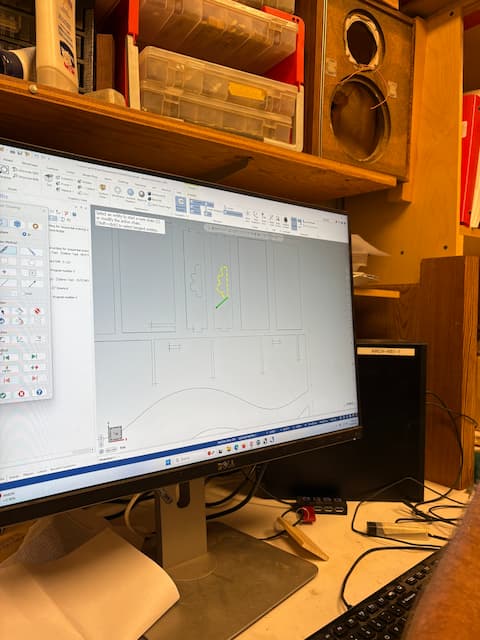
Chris is a G! I was in woodshop from 10am-2:40pm on Tuesday. He helped me put points in (thought I did this, but for some reason didn't translate from Fusion to Rhino/Mastercam), translate to the ONSRUD, supervise it safely. Then helped me cut out the pieces neatly, taught me to operate a router table (?) to round the edges to my heart's content, use a bandsaw to fix any edges (I was using a razor) et al.
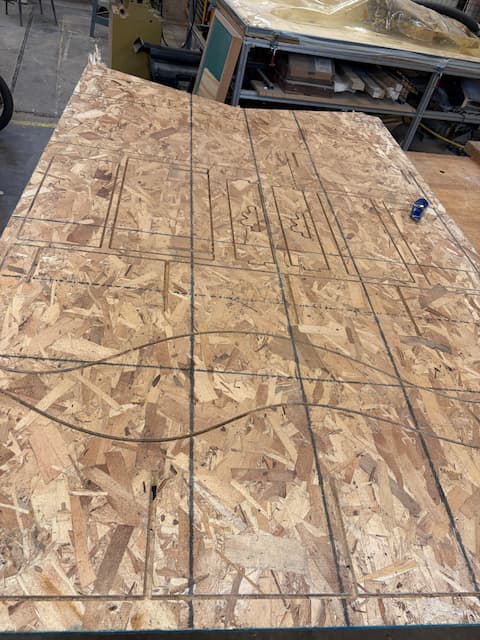
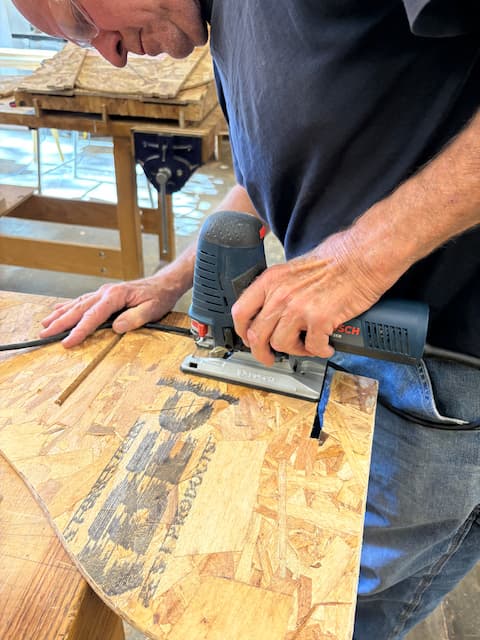
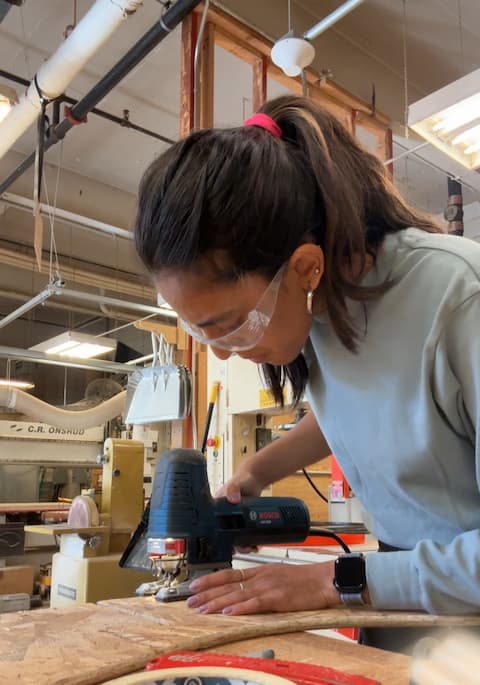
Unfortunately, we then noticed that there were some slot inserts (for the cloud back panels to be inserted into) that were not cut by the machine. For some reason, the machine had made the holes in the 4 corners, but not cut the slots. So Chris helped me figure out how to do this manually: we drew it and then used a drill to drill straight through. Then we used a jigsaw to cut a rectangular hole using the original one. This turned out to be a blessing in disguise: the original hole I'd designed in Fusion would've been too big for the actual cloud panel's designs. LOL.
Then, Chris kindly sat with me through assembly. It was coming together really nicely, but then we realized that one of the sides was upside down - so the shelves were sitting diagonally instead of straight. Unfortunately this also meant I'd manually drilled the cloud panel slots in the wrong place. (That's why you'll see 2 extra holes on one side... but imperfection is beauty...)
But here's how the result turned out: