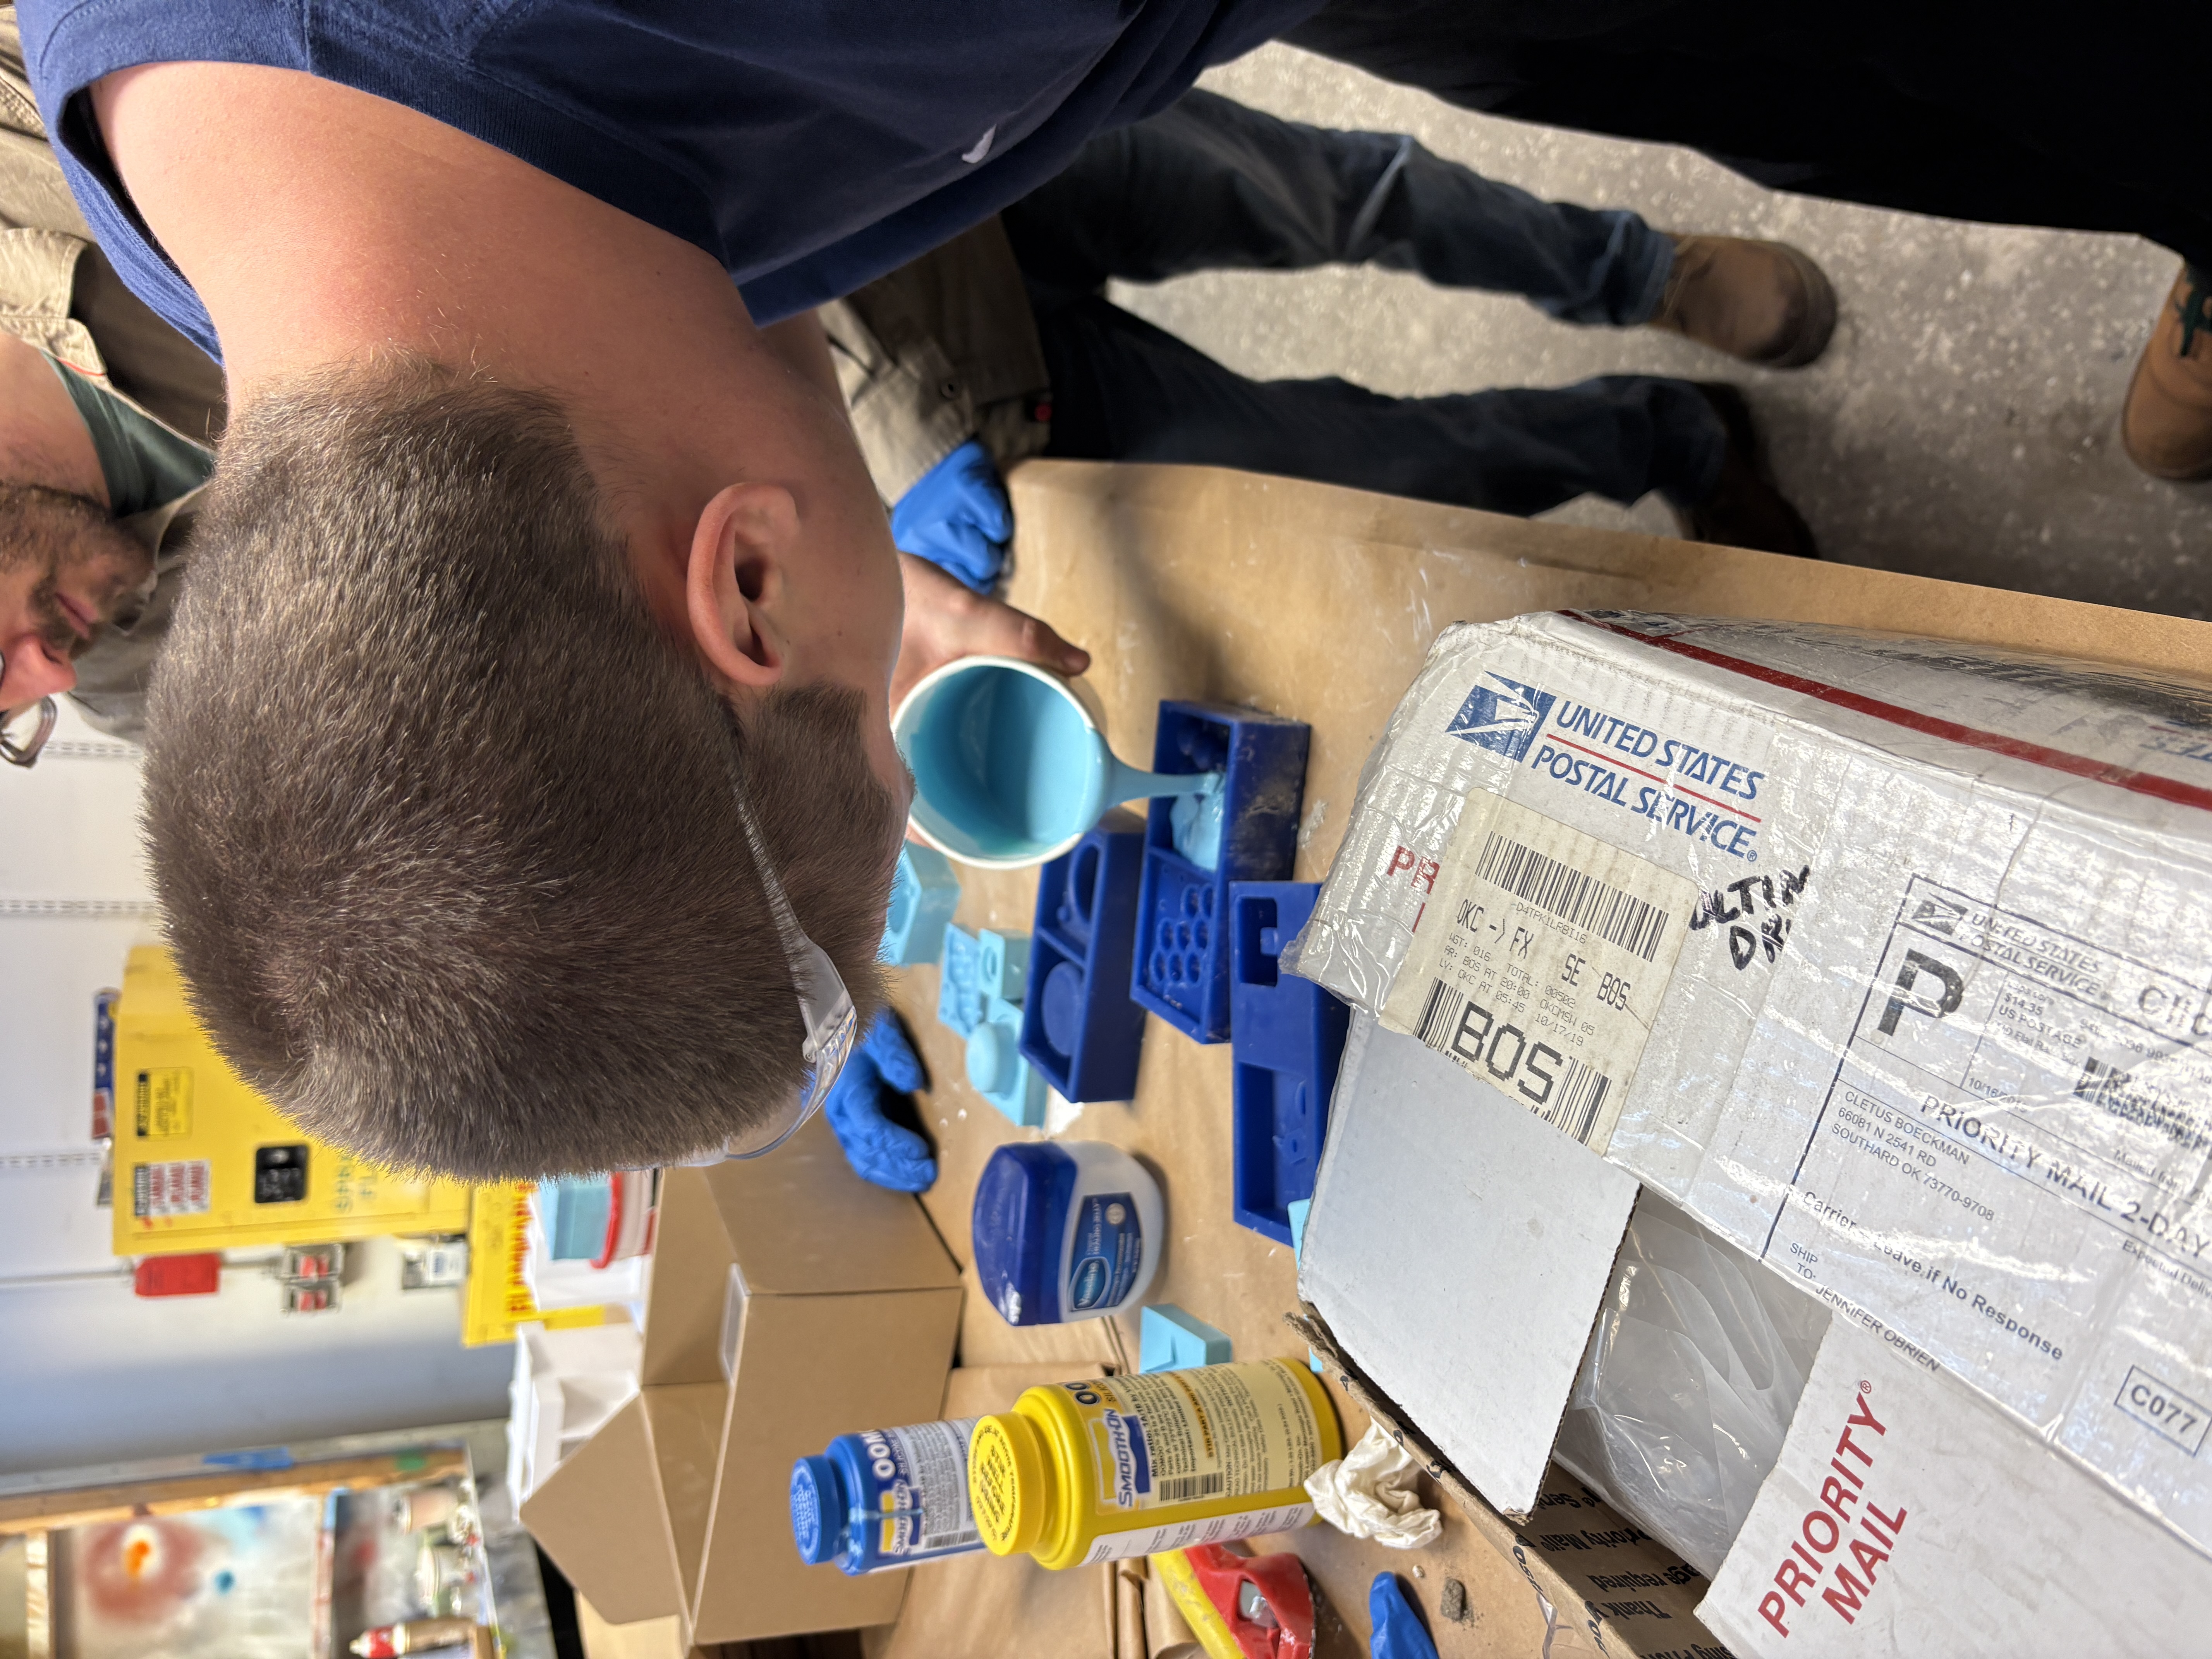
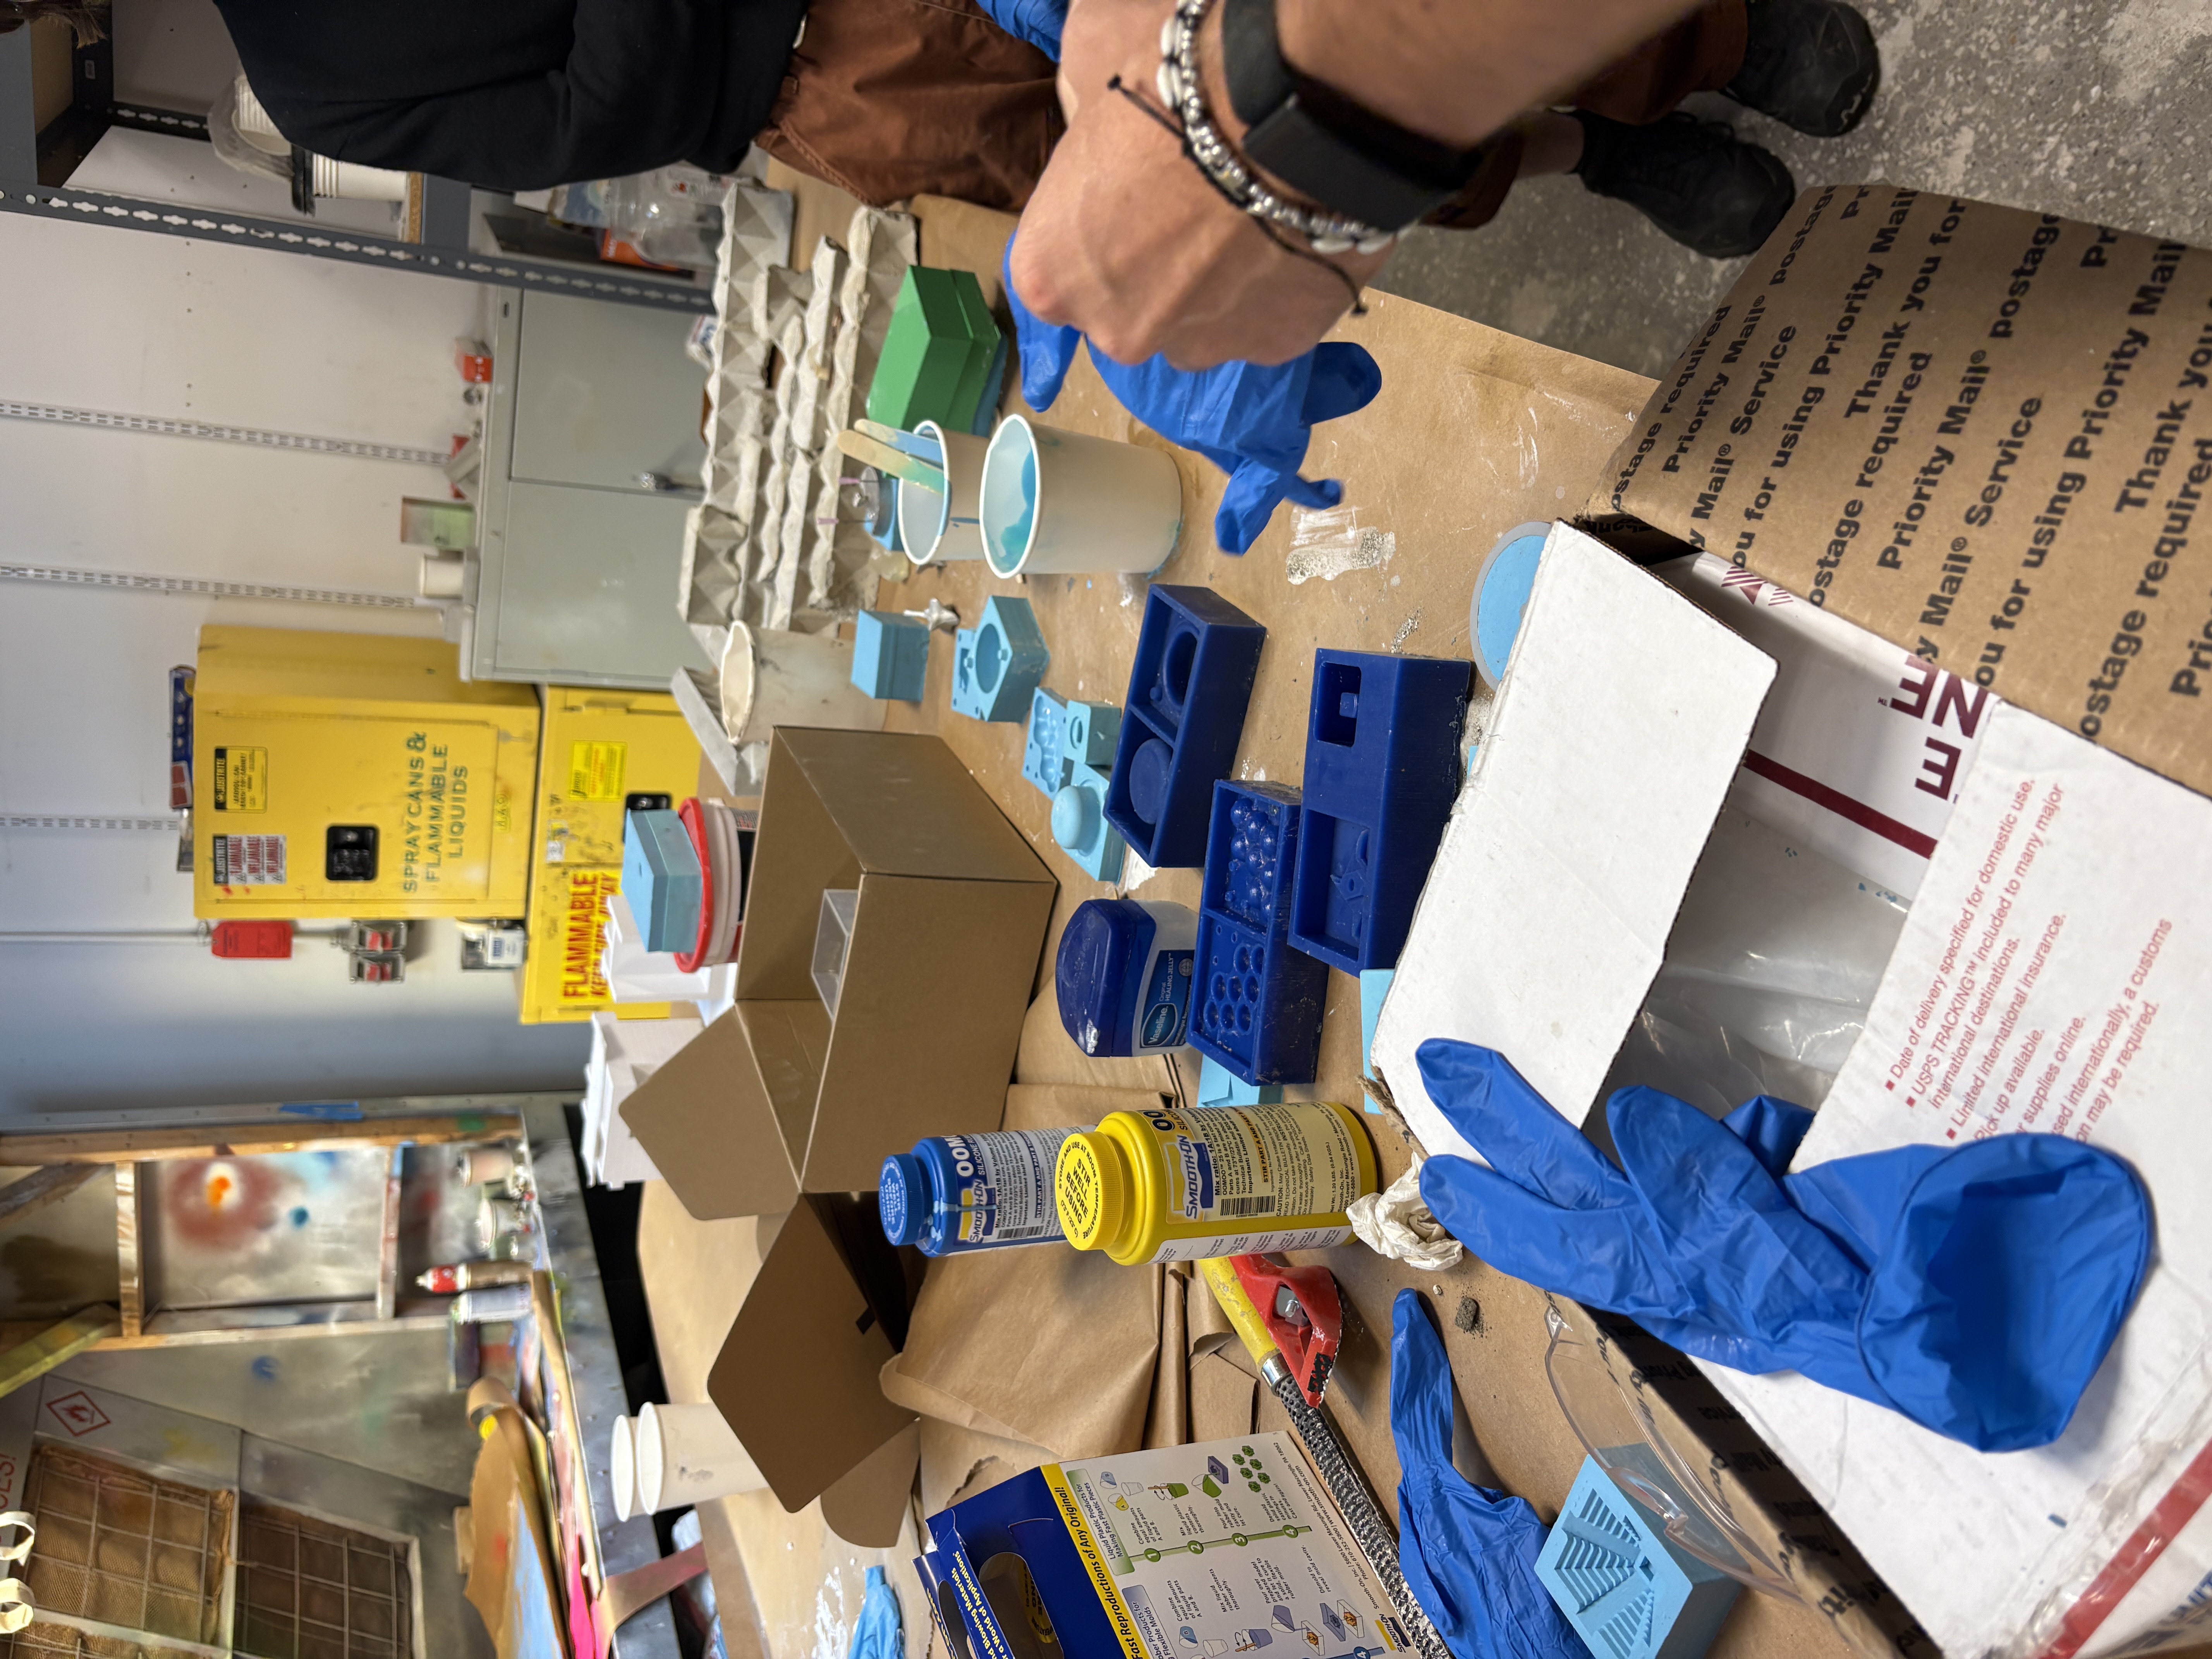
I attended Gert’s Friday molding and casting workshop, where we had the chance to experiment with two very different materials: silicone rubber and fast-setting cement.
Silicone (OOMOO):
We worked with OOMOO, a tin-cure RTV silicone rubber from Smooth-On that’s ideal for beginners because of its ease of use. It has a simple 1:1 mix ratio by volume, so there’s no need for a precision scale — just equal parts of Part A and Part B. The material has a relatively low viscosity, which lets it flow smoothly into small details and tight geometry. It cures at room temperature (~23 °C / 73 °F), and because it is so fluid, it typically doesn’t require a vacuum chamber for degassing. The result is a flexible, durable mold that releases cast parts cleanly.
Cement (Rockite):
We also experimented with Rockite, a rapid-setting hydraulic cement. Unlike silicone, Rockite is mixed with water to form a pourable slurry. It sets very quickly — usually within 15 minutes — and reaches significant compressive strength in under an hour (around 4,500 psi / 31 MPa, which is surprisingly strong for such a simple mix). Rockite works well for rigid casts, tiles, coasters, architectural miniatures, and anything that benefits from weight and solidity.
Process Notes:
Regardless of material, mixing technique matters. We learned to stir deliberately, scraping the sides and bottom of the container to ensure consistency. Once poured into the mold, a few gentle taps and vibrations on the mold surface help release trapped air and prevent bubbles from forming on the final surface. This small step makes a noticeable difference in the finish quality — especially with fine details or recessed geometry.

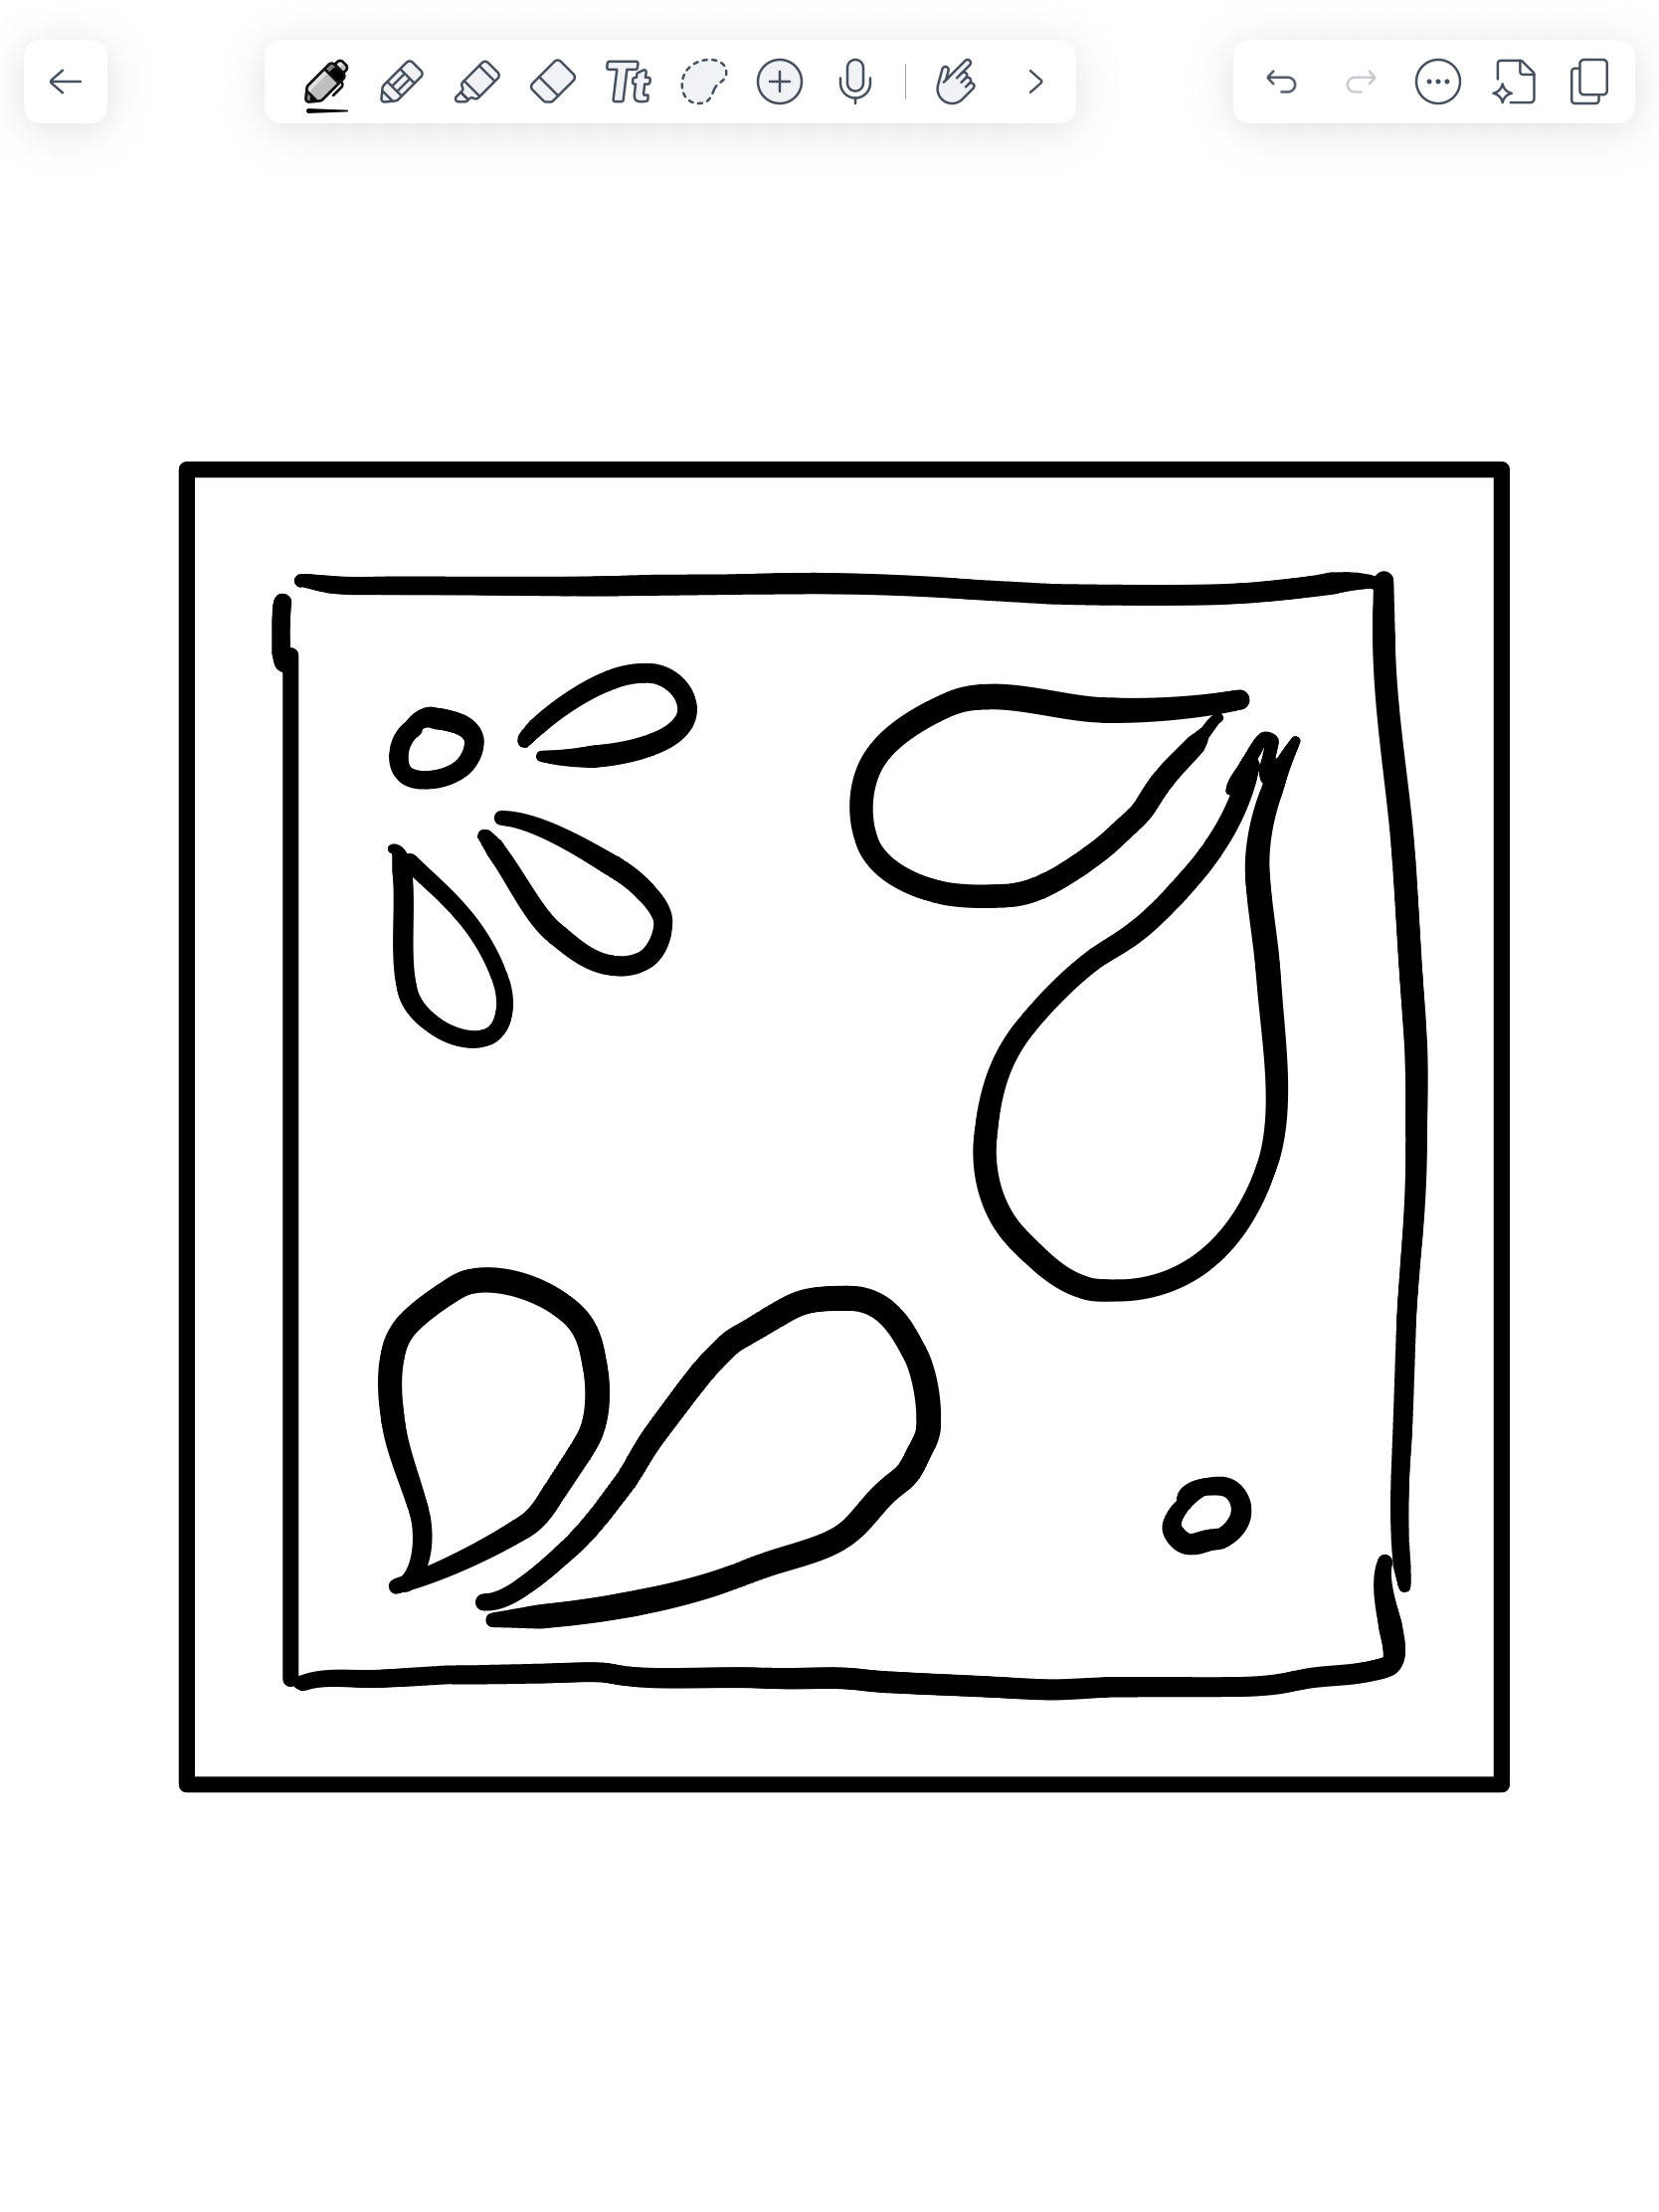
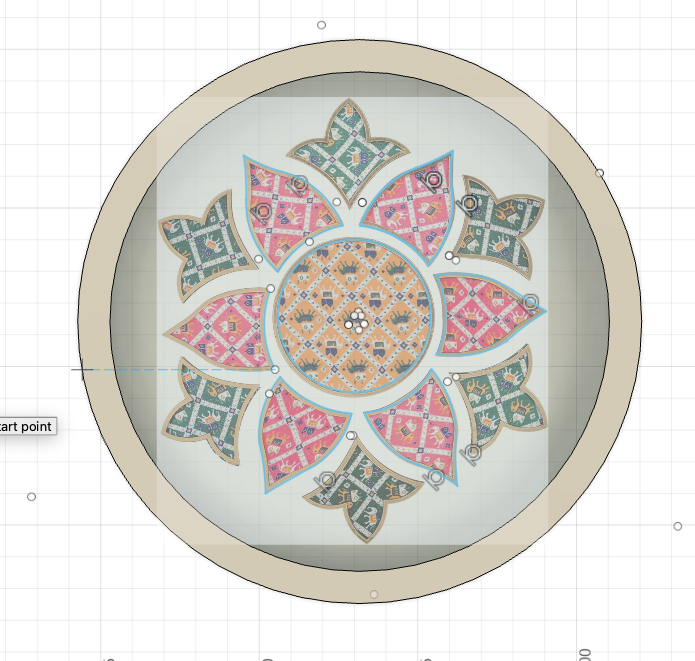
I wanted to test how intricately patterns show up when molded or casted, because I wanted to put a specific peacock design on the side of my music box for my final project. Indian patterns/motifs are very intricate, often involving complex geometries and curves, so I was treating this as a inner spiral way to test just how complex we could go.
Here are my original designs:
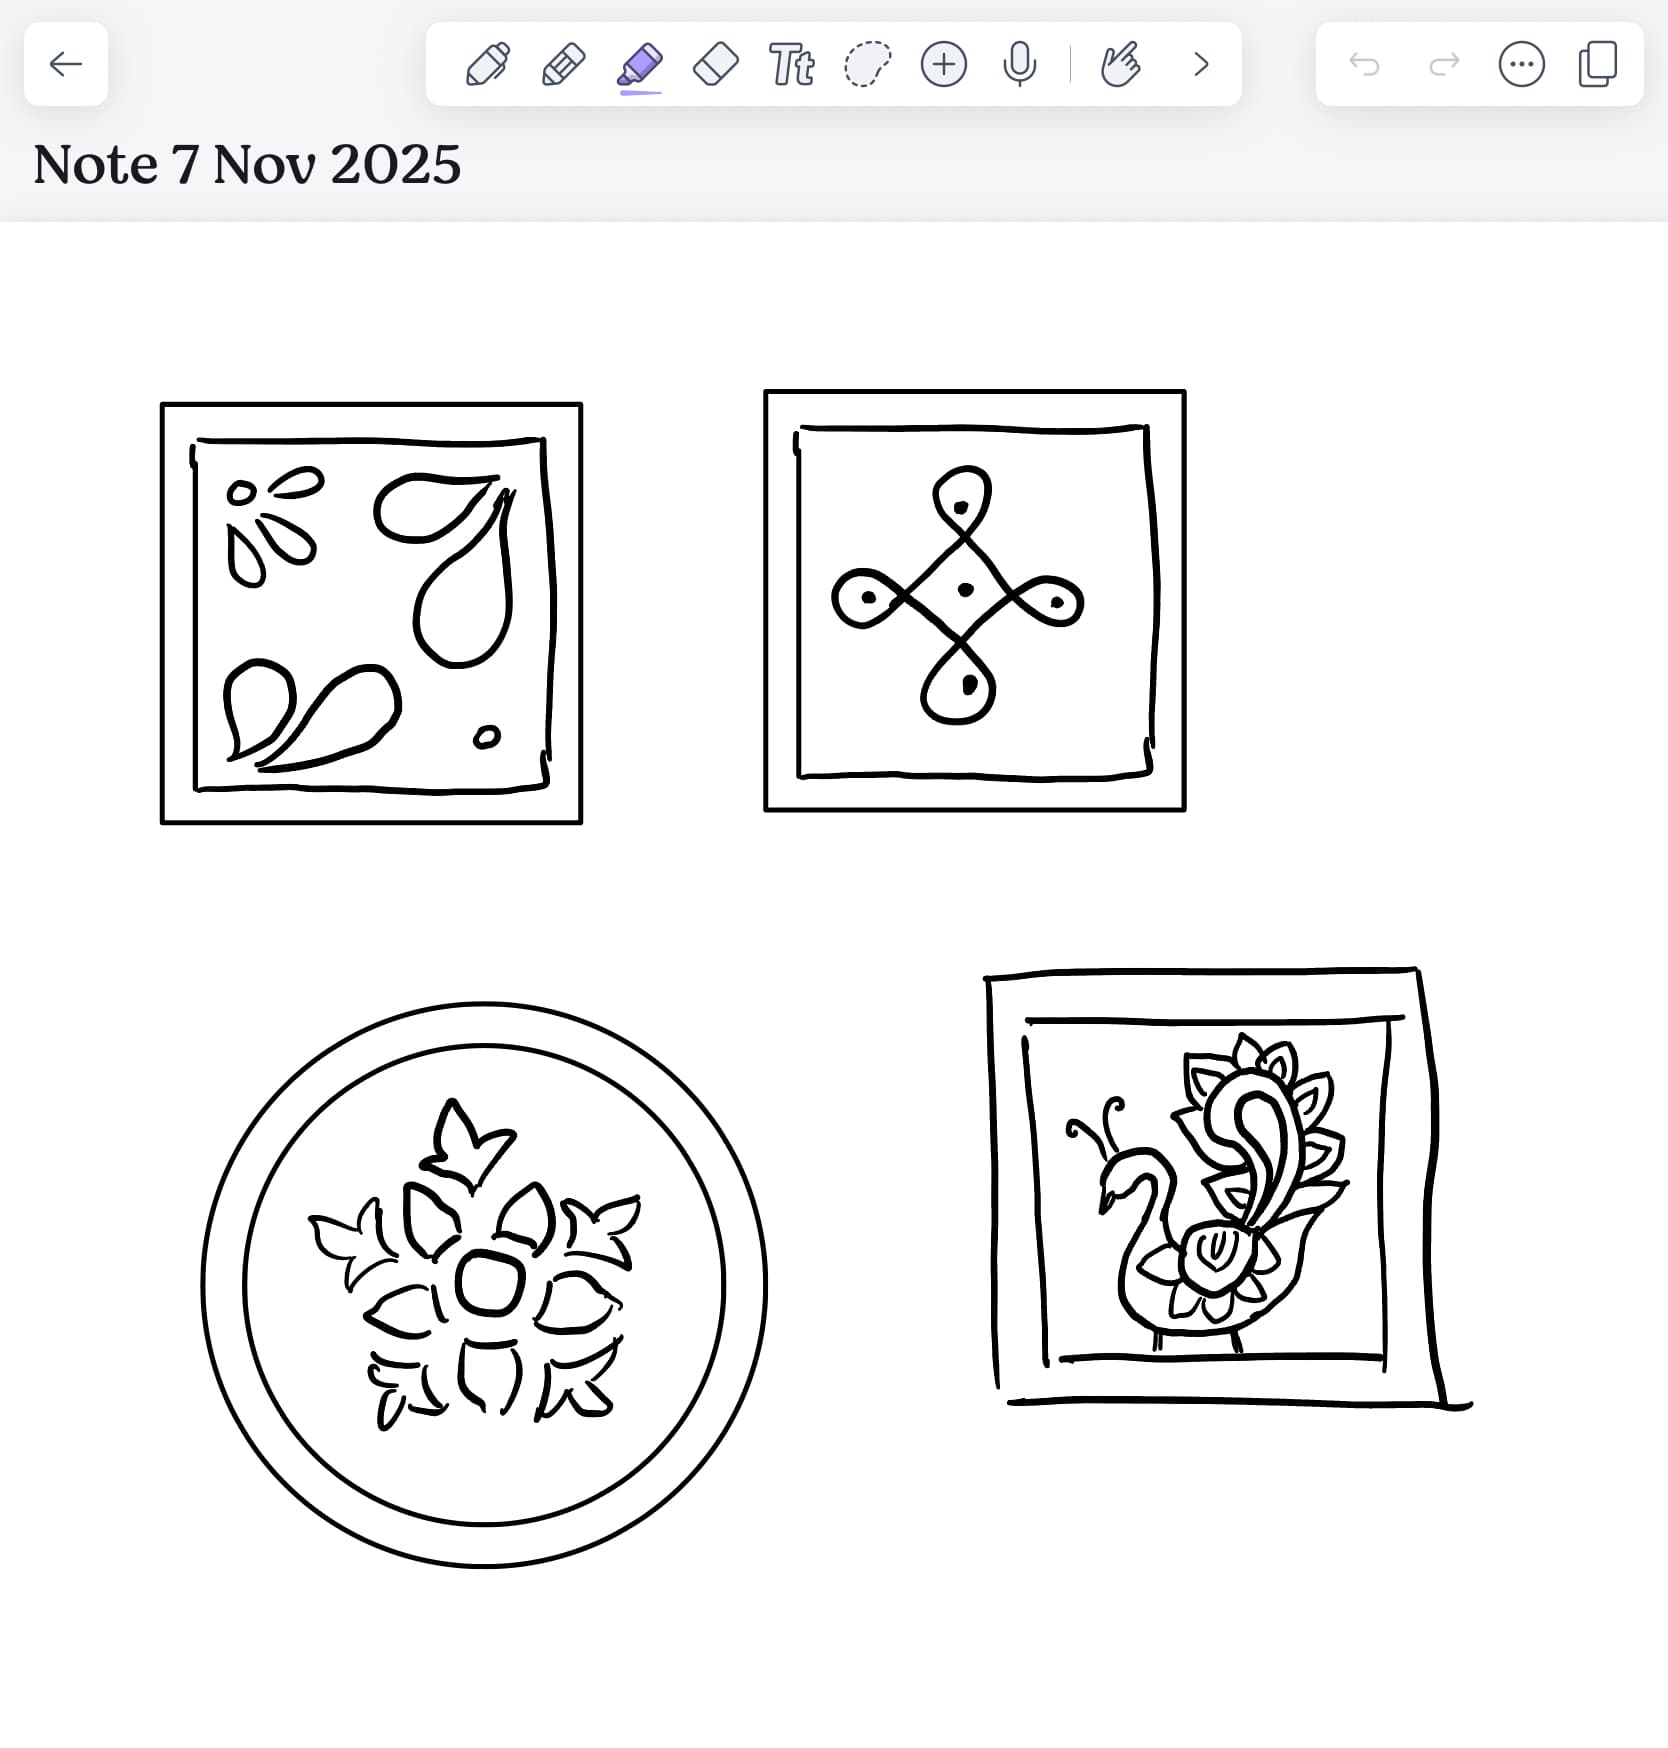
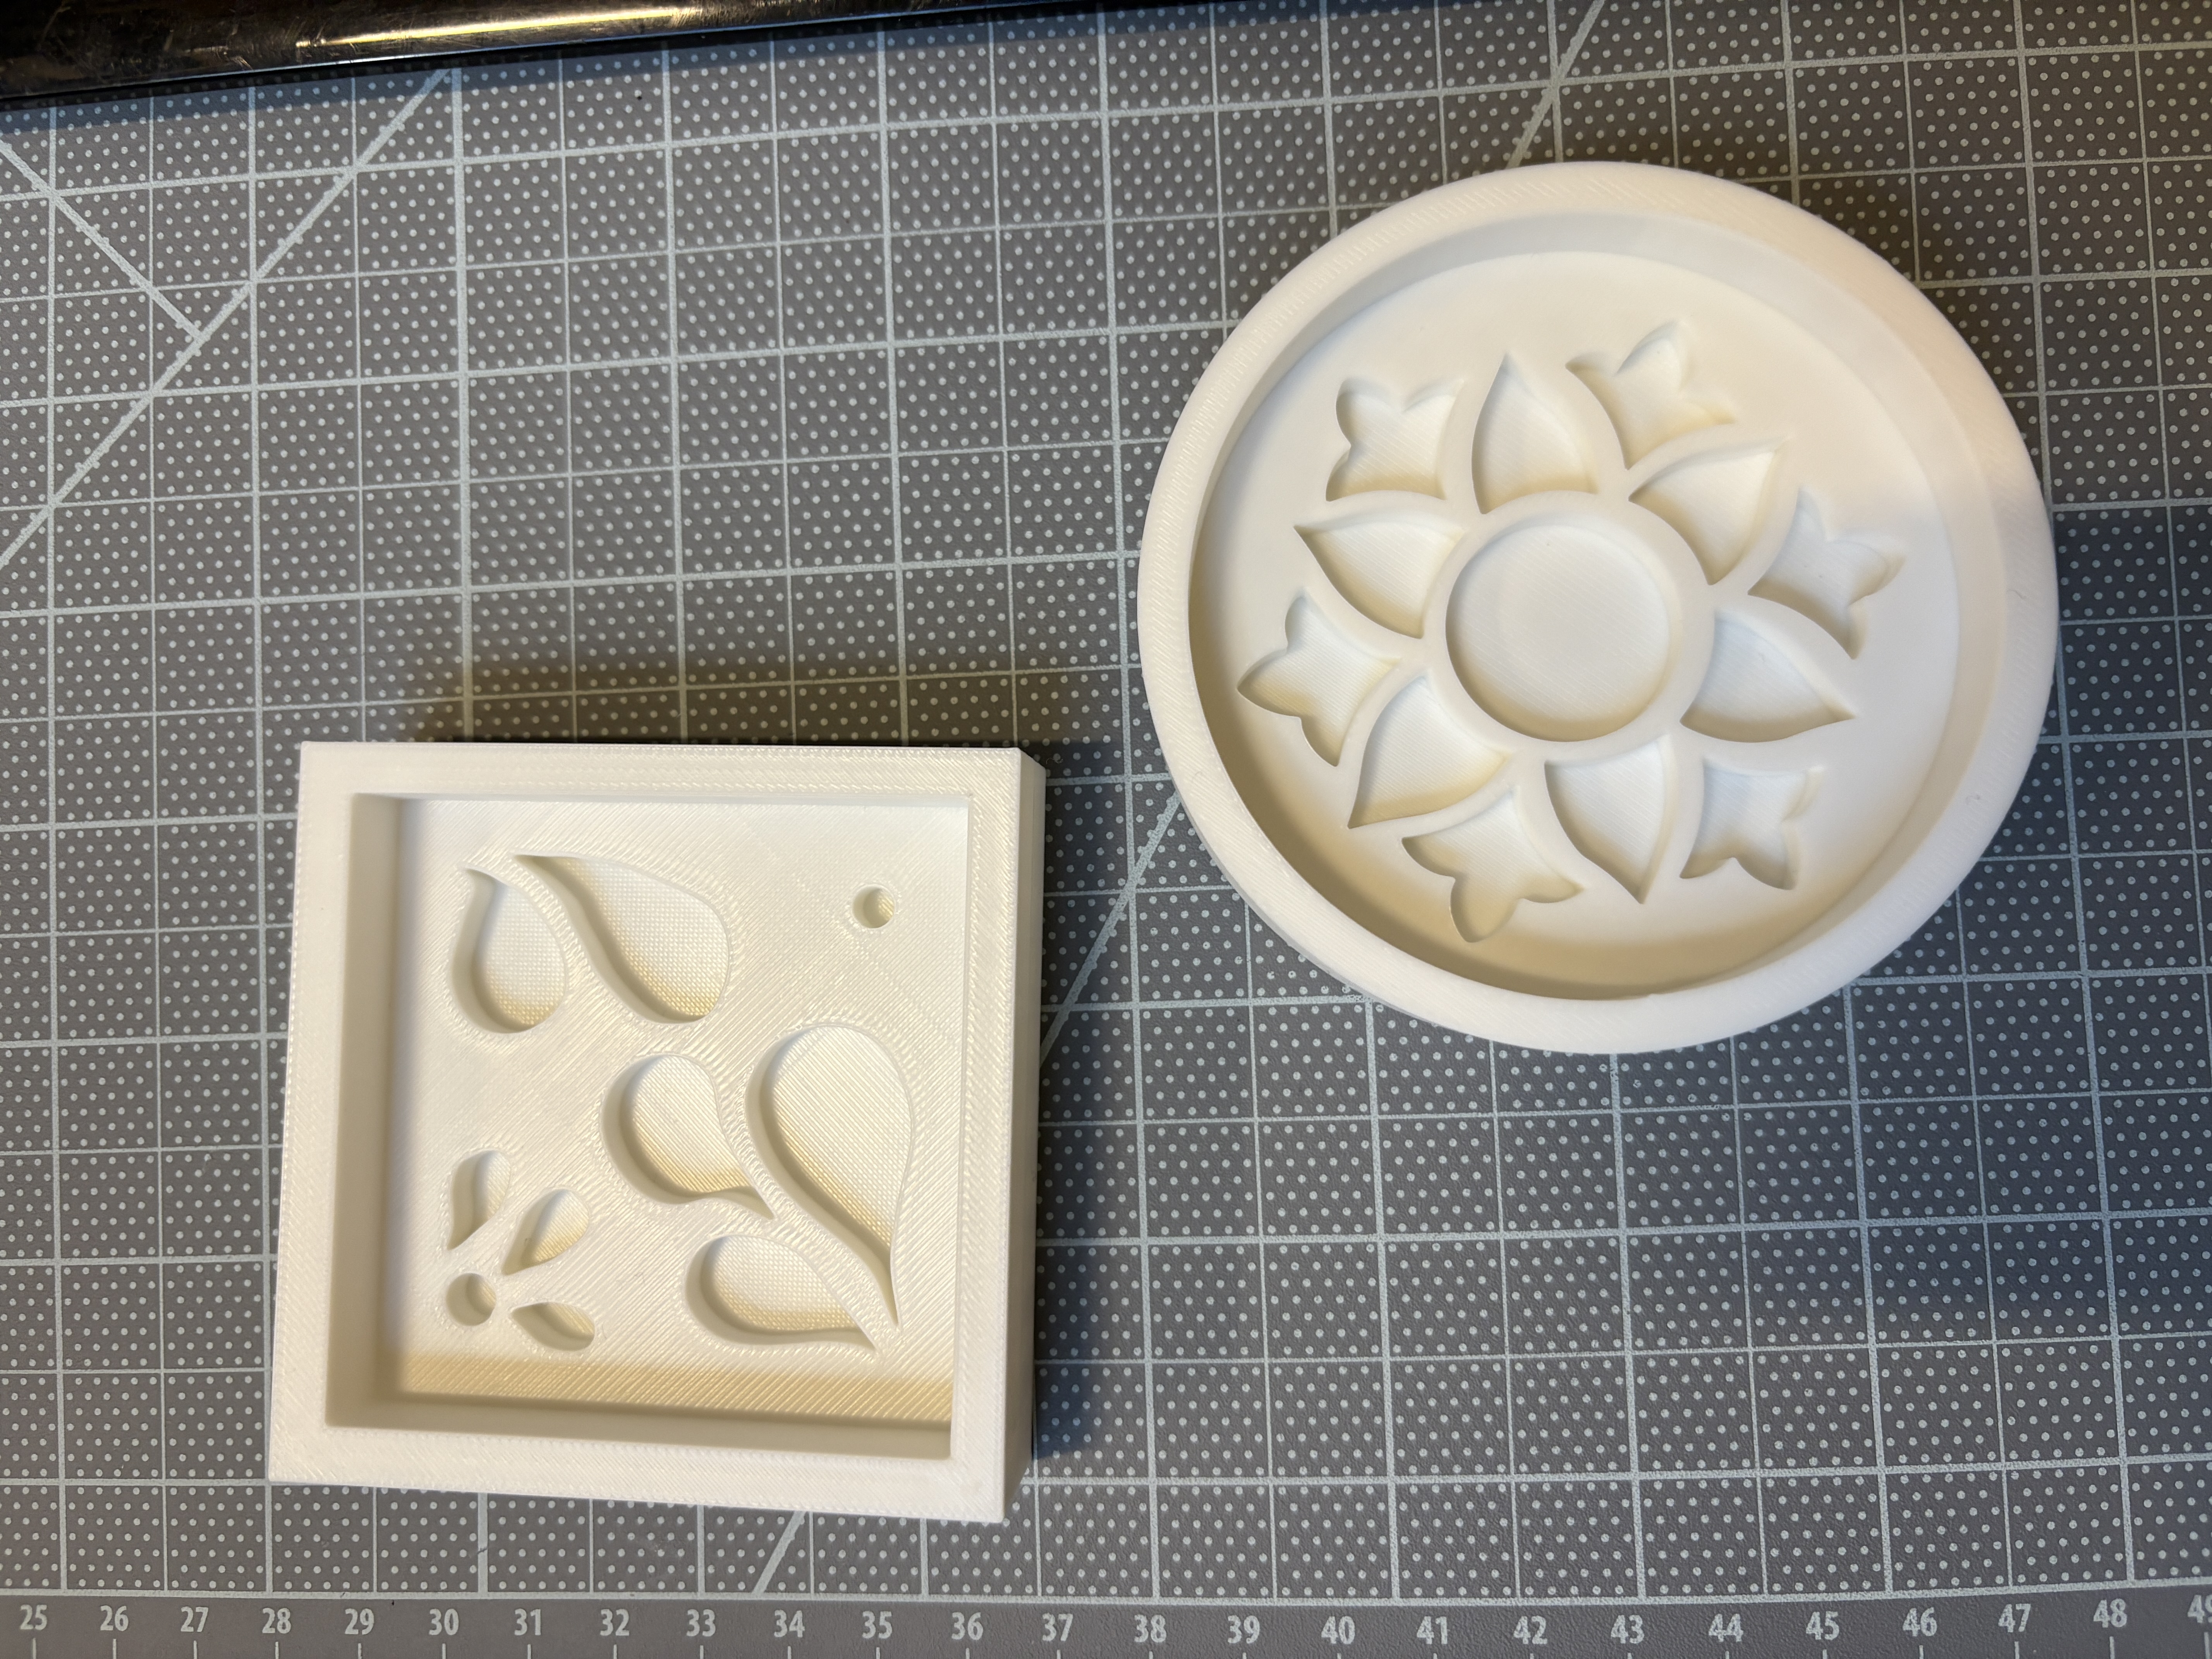
For time reasons, I prioritized these 2:

Fusion's "Insert Canvas" feature was super helpful in this case to just trace over, since this is a symmetric design. I used several splines & 3-point curves, then printed them in coaster shapes. The tricky part was figuring out whether I wanted this to be the positive -- which meant I'd have to create a mold of the negative and then put material in it to get the positive again -- or if I was okay with this being the negative, and the emergent coaster being the positive (so with a raised flower). I was open to the latter, again mostly for time reasons. The prints, I'm happy to say, came out really well.
I then decided on plaster for the material of choice, just to see how it would look when poured into such an intricate pattern. I had a hypothesis that it would bubble up or appear chunky, taking away from the smooth feel I wanted. Unfortunately, I made a few mistakes:
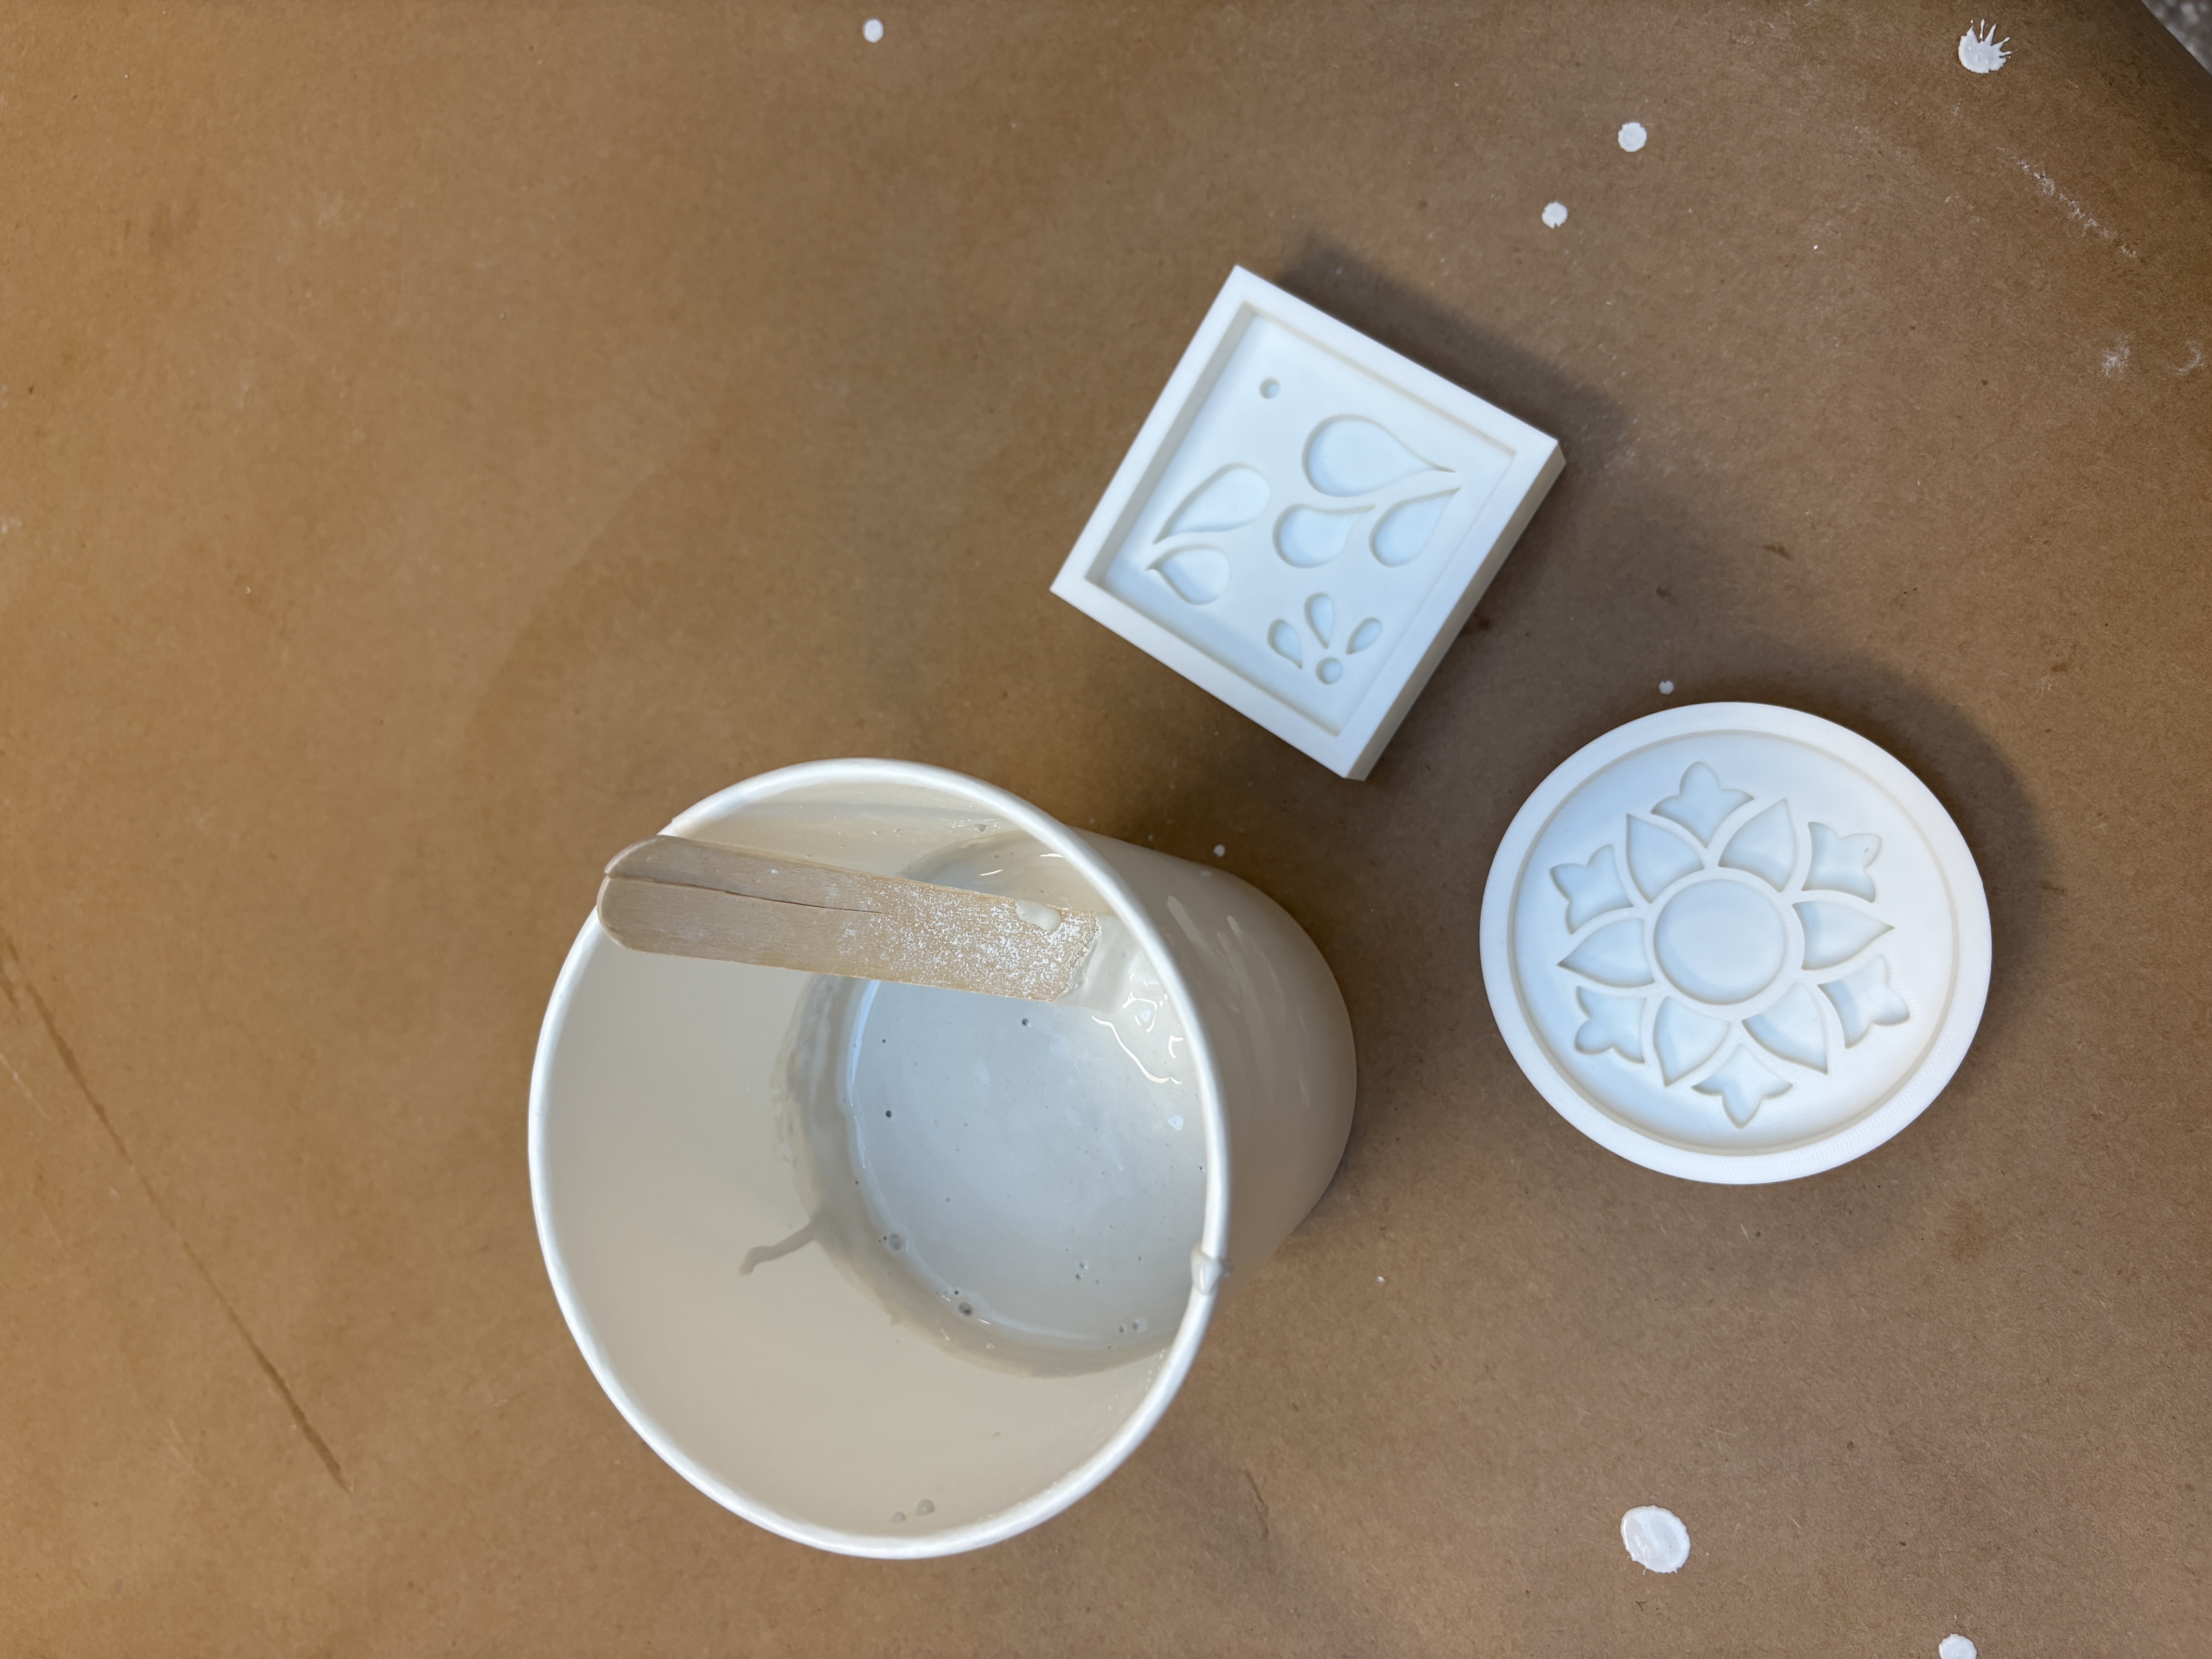
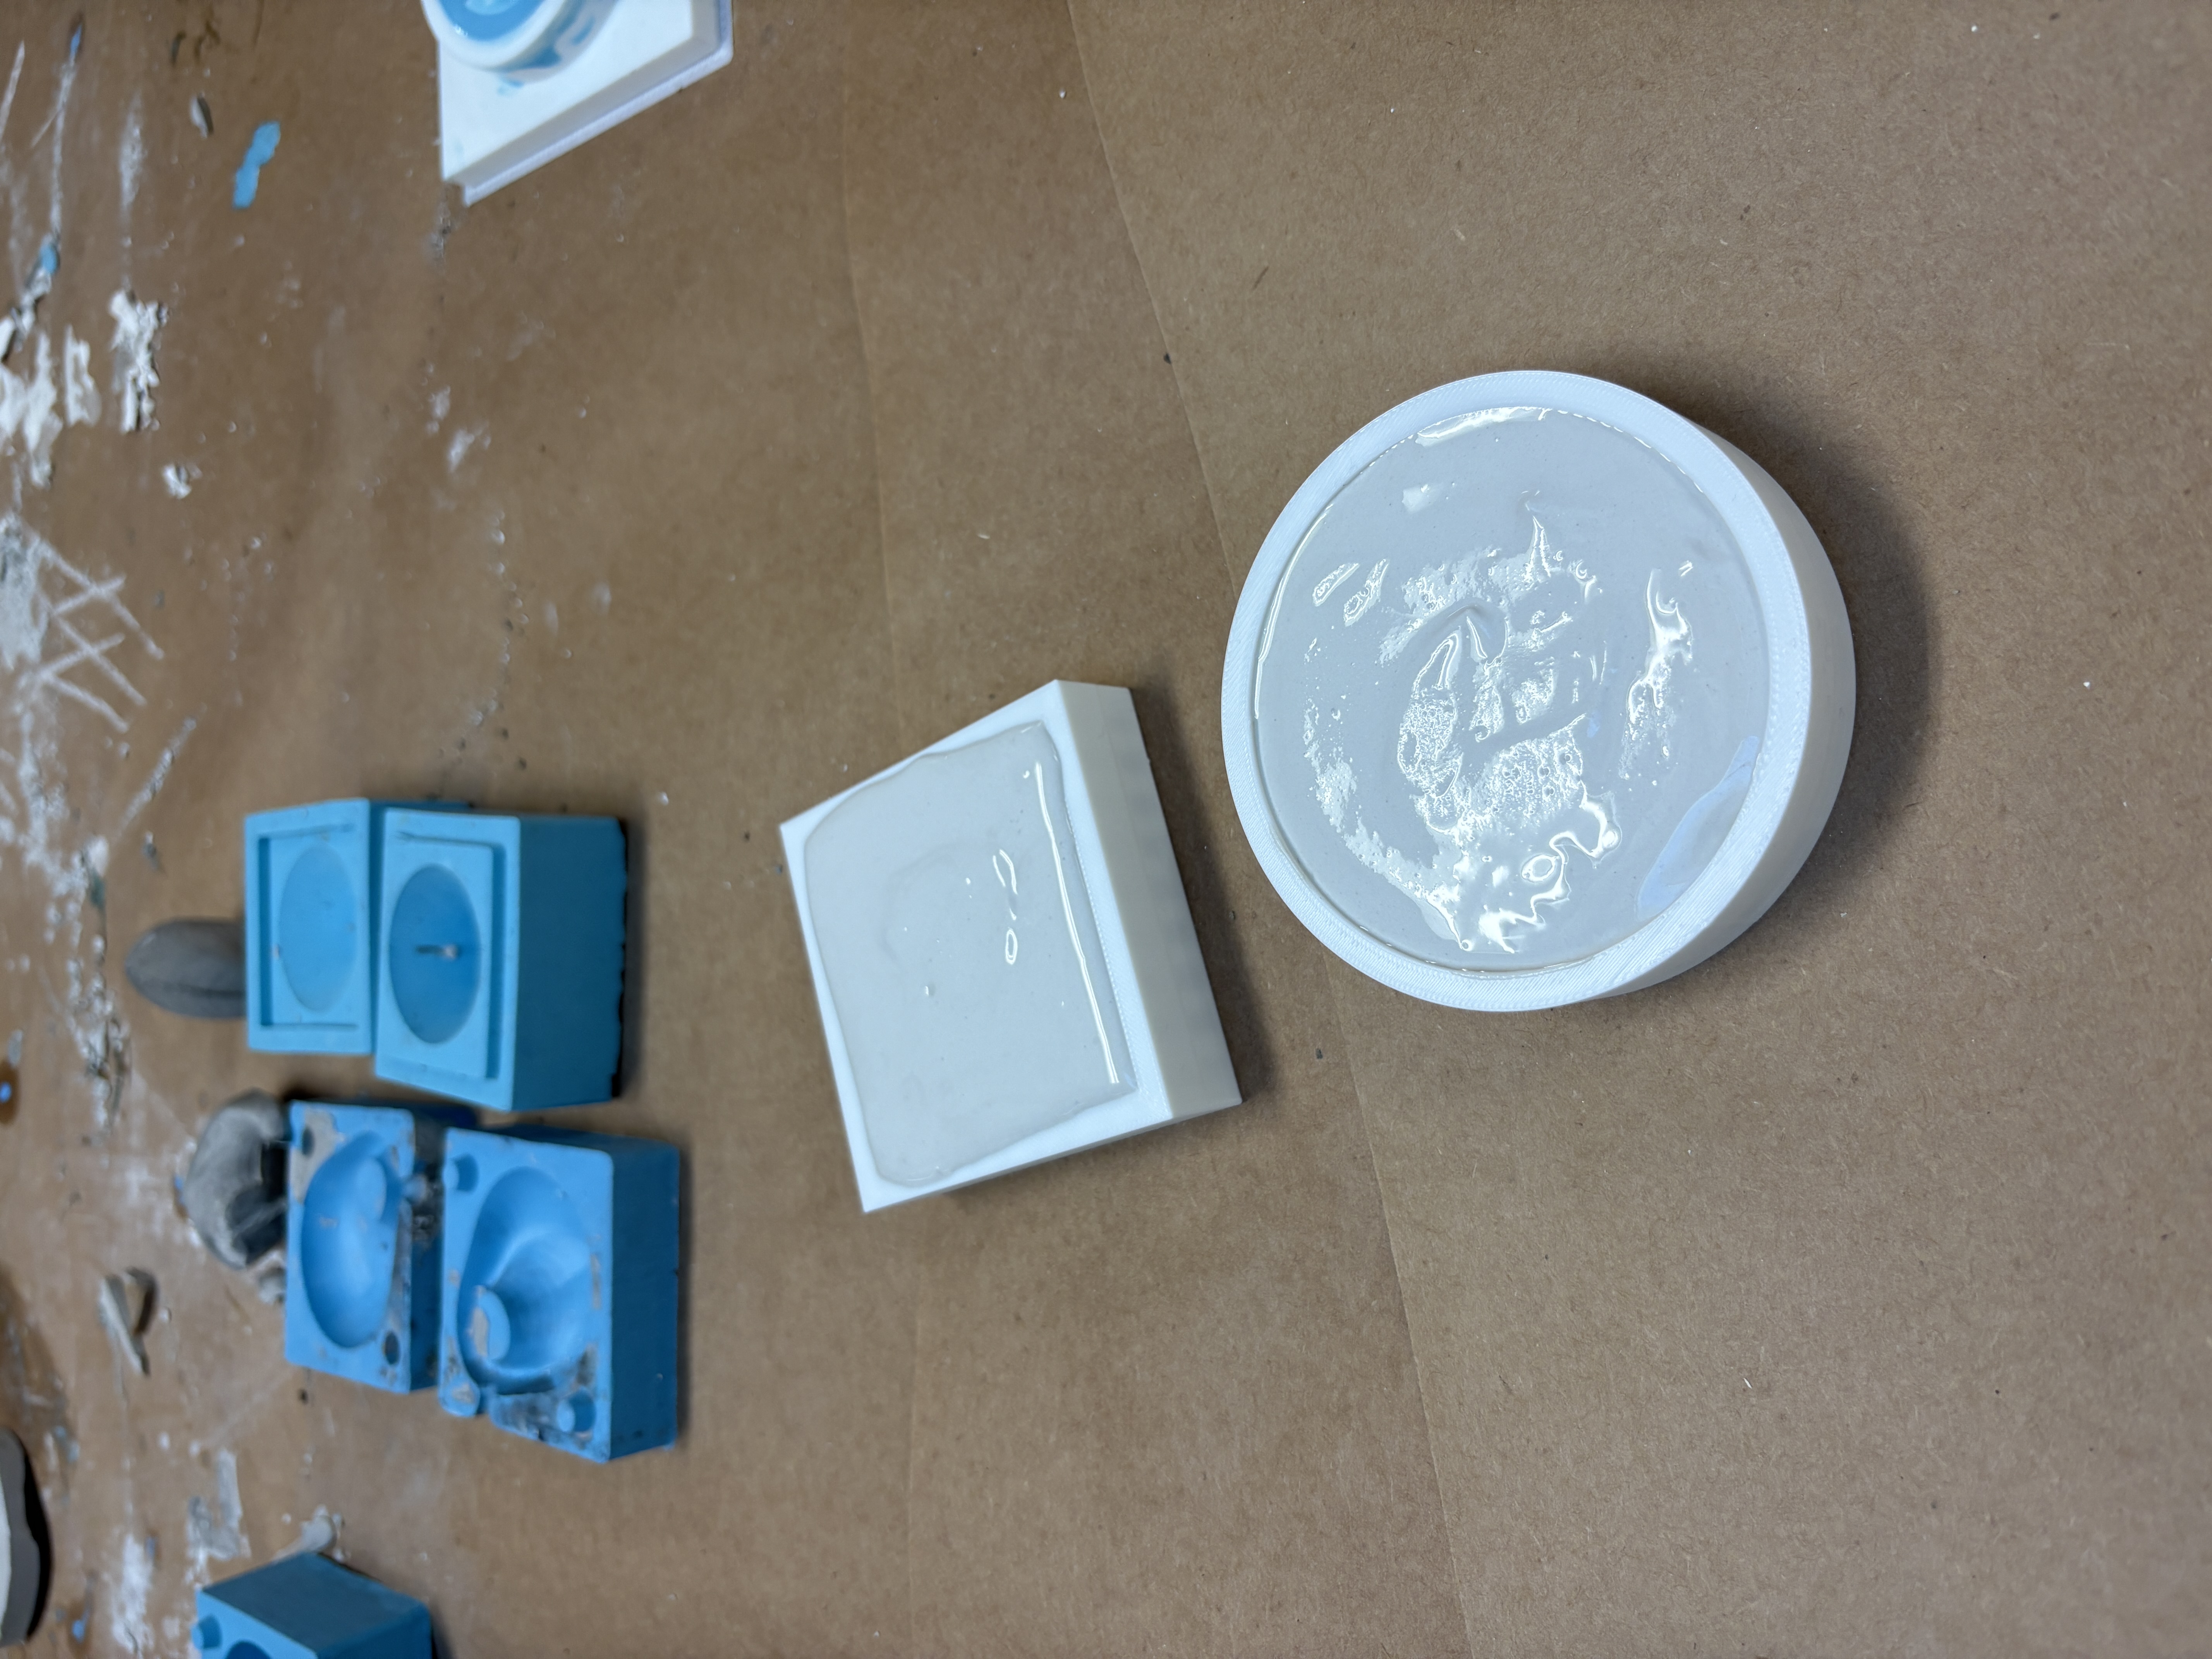
I now have 3d printed molds with plaster in them. Where I can't see the design and can't pull the plaster out. Not even briefly submerging in hot water helped. This was quite stupid of me. So my next steps are a) to try this again, but with Vaseline to see whether my original hypothesis would work; b) to try the 3-step silicon mold process; c) To research other ways out of this situation / to pry the plaster out.