I did two things during wildcard week that I'm super excited about: embroidery and glass engraving!
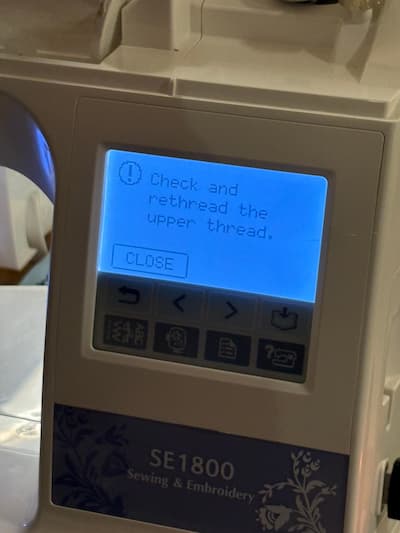
So I naively thought this week was going to be manual embroidery with a needle and thread. I chose it because my mom and grandmom both used to embroider, and I thought it would be lovely to follow suit. Instead, we were doing computer-controlled embroidery (I don't know why I'm surprised). I think my takeaway is I greatly prefer the analog version for this particular craft.
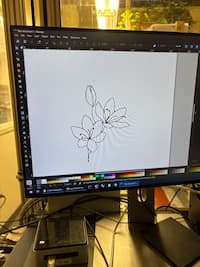
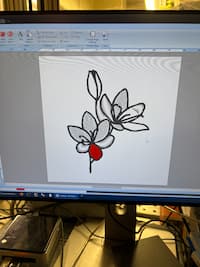
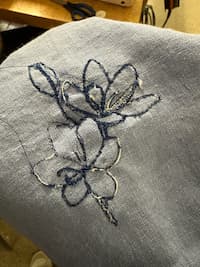
We used the Bother SE1800 Sewing and embroidery machine. Gert's guidance was to keep the design relatively simple, png format, not too many colors so that the machine doesn't get confused. In keeping with our love of flowers, I found a flower image to embroider.
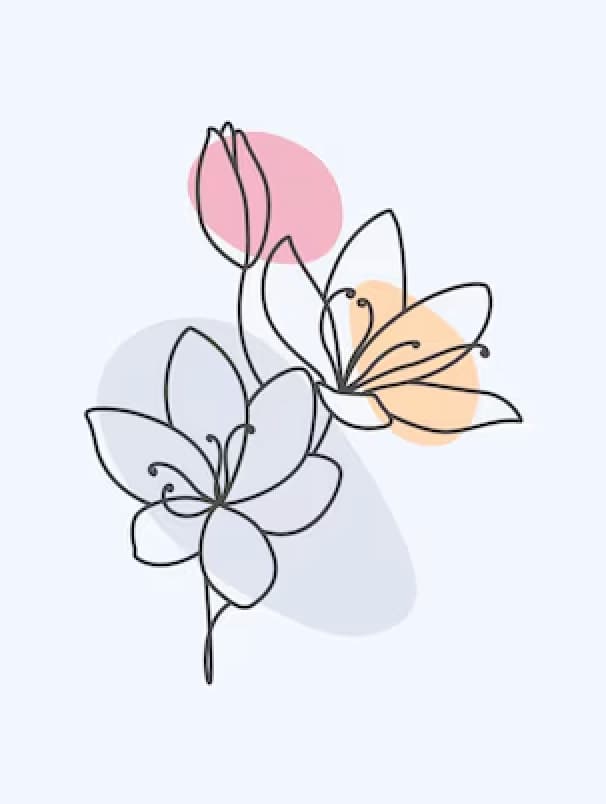
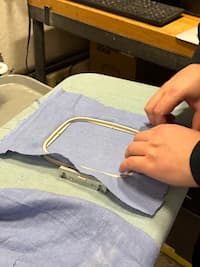
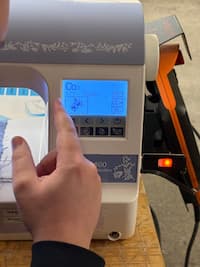
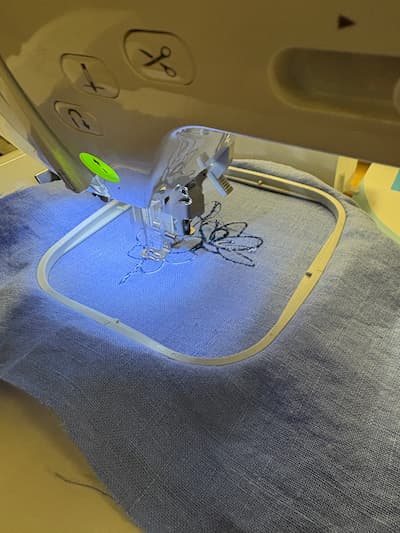
We used Inkscape to trace the bitmap / outline of this, and decided to ditch the multicolor background as it was too much to process. Then, Gert showed us how to iron the fabric, apply the backing, put it in a pallet, upload the design in a USB to the sewing machine, and then load the thread and get it started. The major issues were:
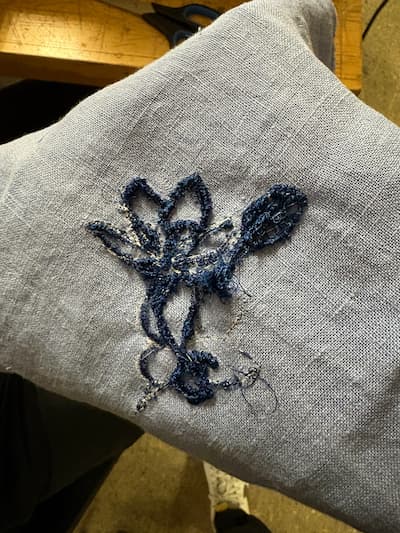
Pictures:
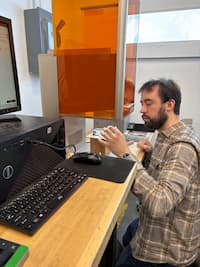
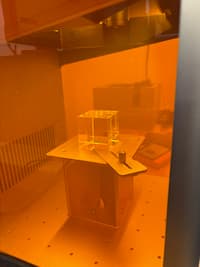
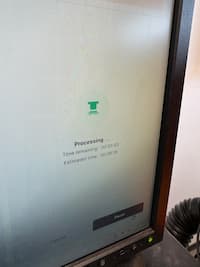
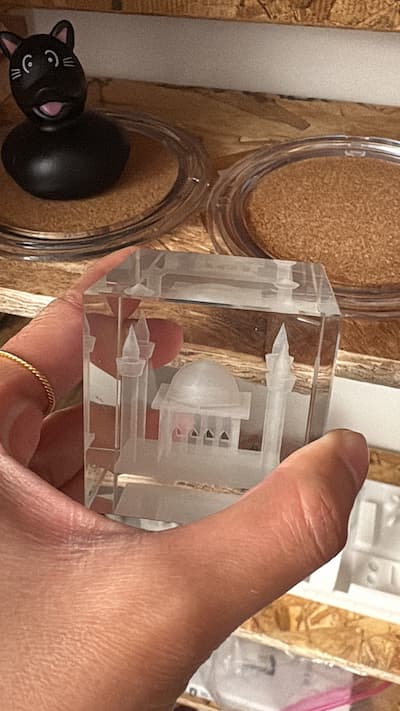
Next, Quentin led a UV laser glass engraving session in the CBA shop using this (I think) $5k machine - the xTool F2 Ultra UV - to to engrave a block of K9 crystal from the inside. The input is a 3D file (.stl or .obj), containing closed shapes. It was unhinged how fast it was to get these engraved.
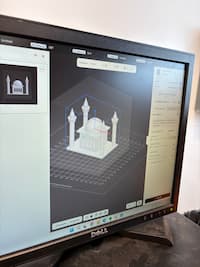
I am fascinated by this machine: I can't image what other fabrication technique we could use to engrave the inside of a crystal without destroying it and with such speed and accuracy. I decided to use my same mosque design from 3D printing week to make a little gift for a friend back home. You can find the stl file in week 3's page. I know I reused a design, but I actually wanted to see the difference: this is almost like the negative of what the 3d printed mosque was. The intent is for this to be a tabletop decorator or paperweight or similar.
Pictures:
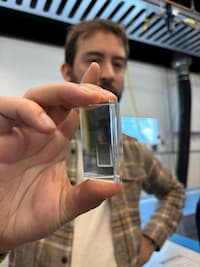
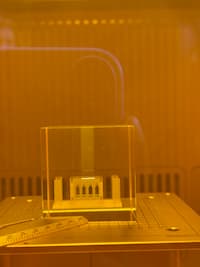
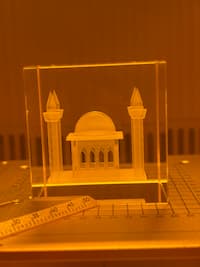
Result: I'm super happy with how this turned out! Thank you Quentin :)