week 10:molding and casting
molding and casting process
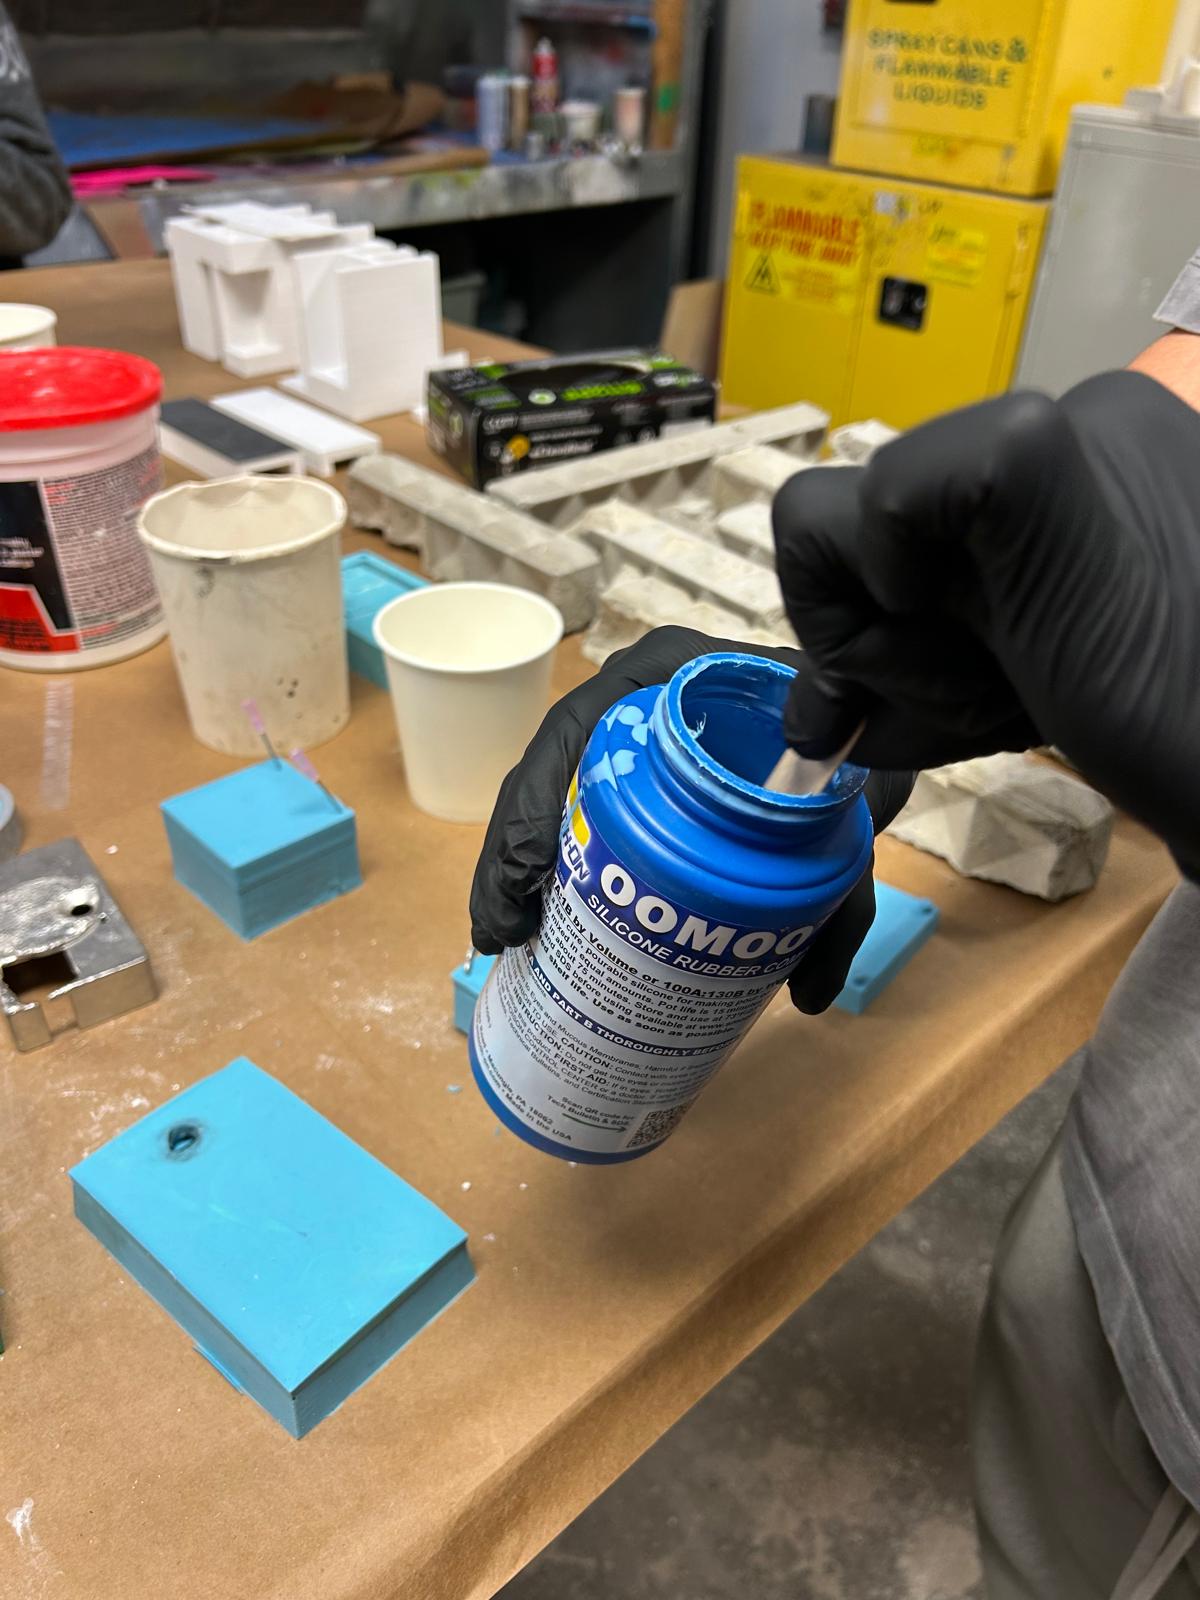
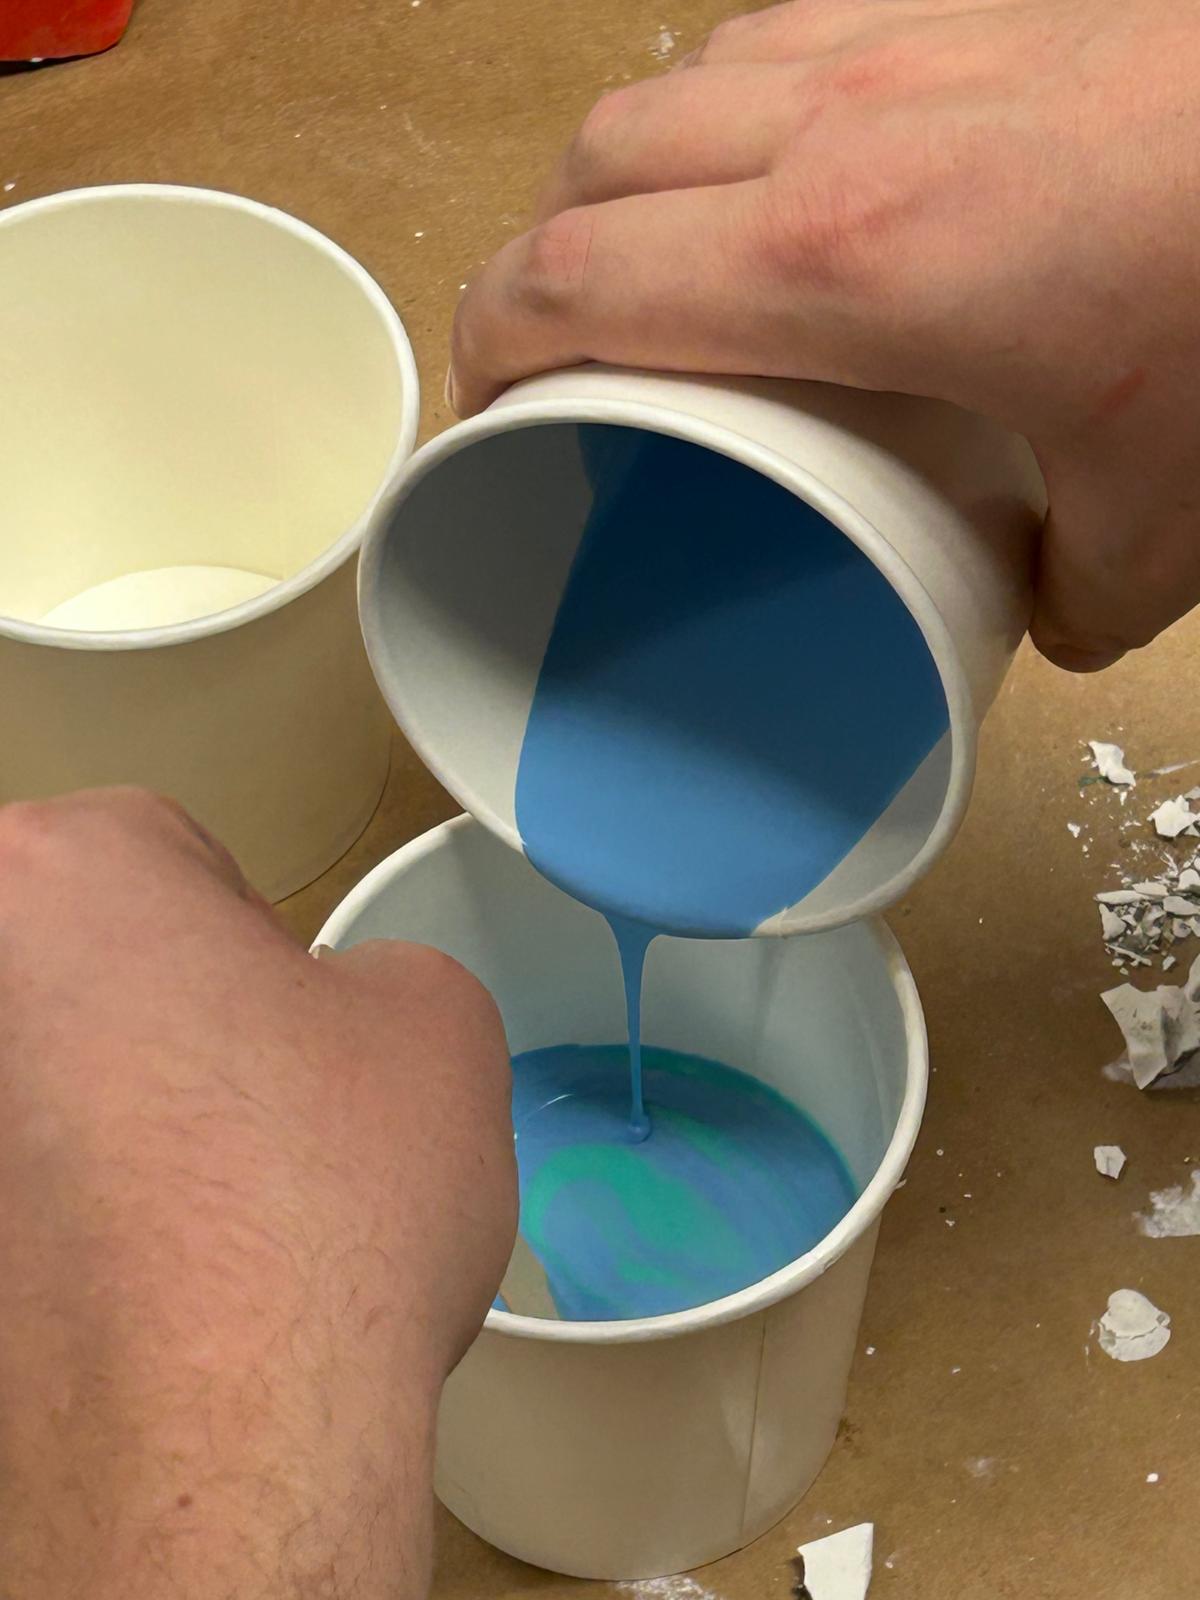
This week’s assignment focused on molding and casting, a process that remains highly relevant in contemporary electronics production, even though many fabrication workflows are now digitized. Molding and casting are widely used to create custom enclosures, protective components, and complex parts that cannot be easily produced through standard subtractive or additive manufacturing alone. Understanding these techniques is essential for bridging digital design with physical material outcomes.
During the introduction, Gert presented different types of mold materials that can be used depending on the desired result, such as flexibility, durability, and surface finish. He also shared examples of projects completed by previous students, which helped illustrate the range of forms and applications that molding and casting can support. These examples made it easier to understand how design decisions directly affect the final cast object.
In addition, Gert explained the limitations of molds, including issues related to undercuts, air bubbles, and material flow. He discussed strategies for achieving better results, especially when working with more complex geometries. This overview provided a solid foundation for approaching the assignment and highlighted the importance of careful planning and material awareness in molding and casting processes.
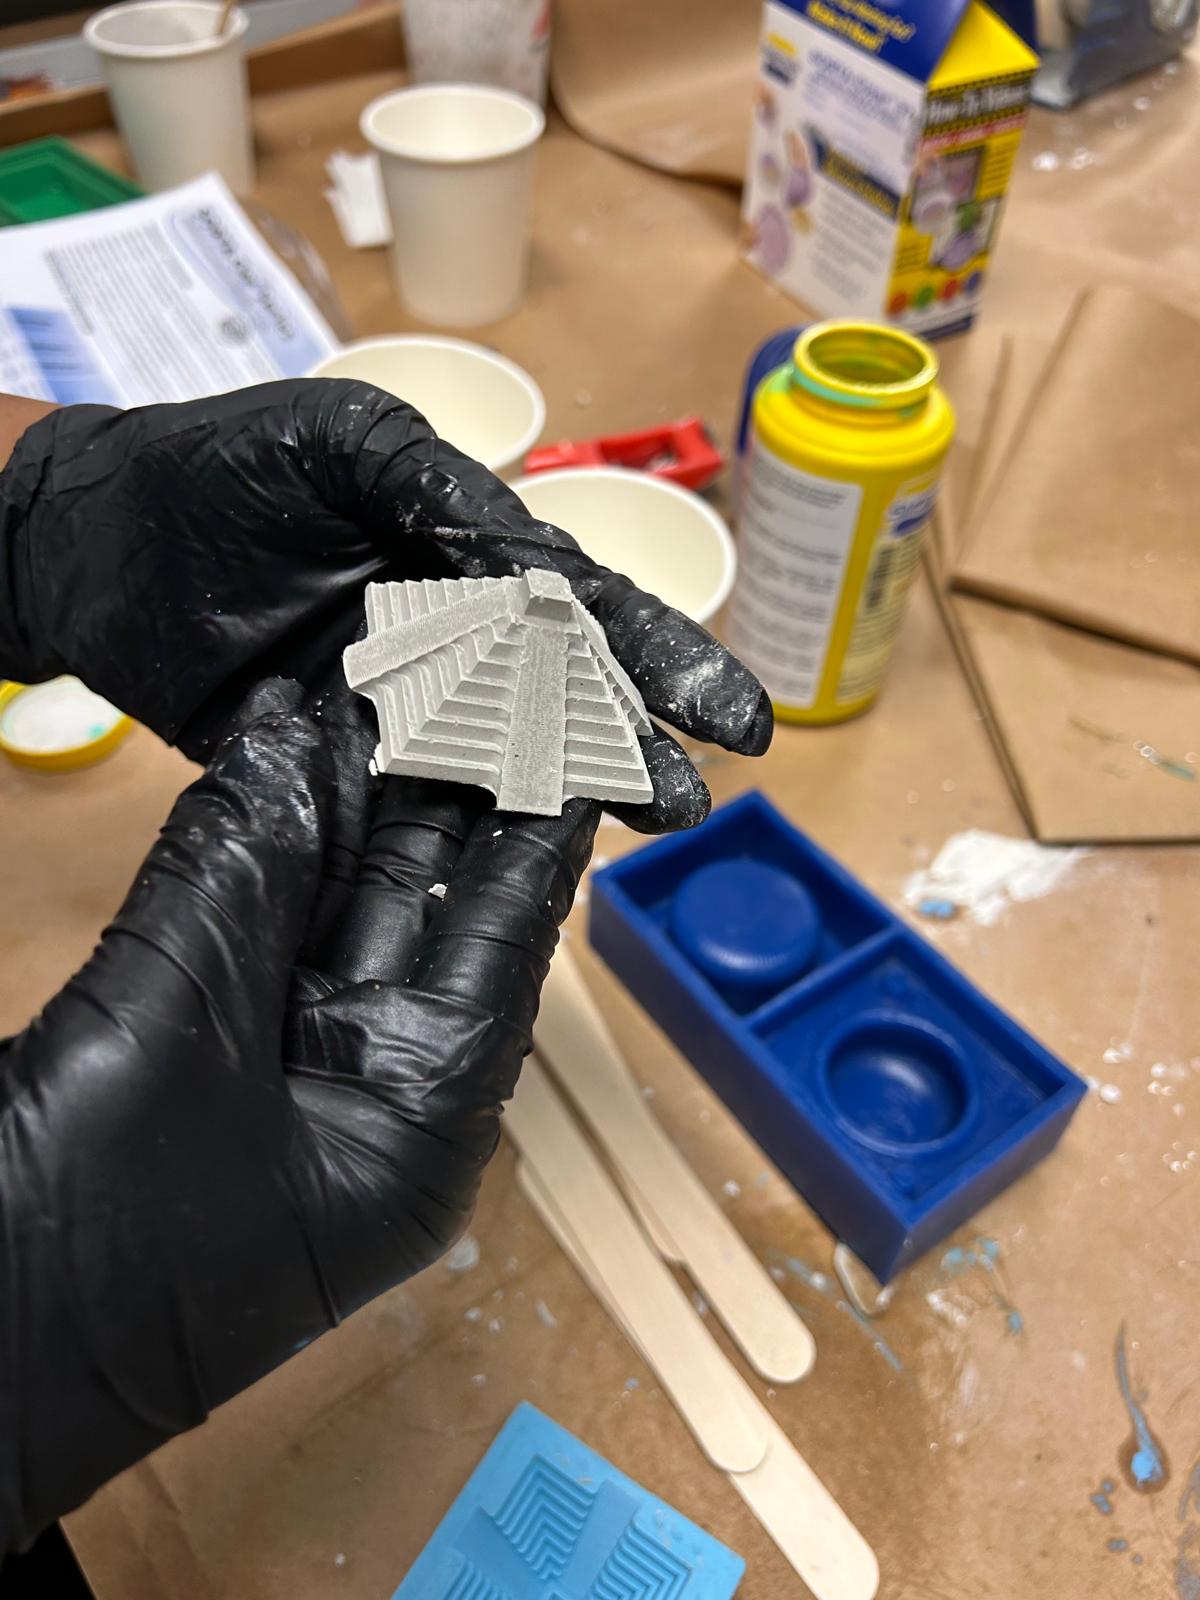

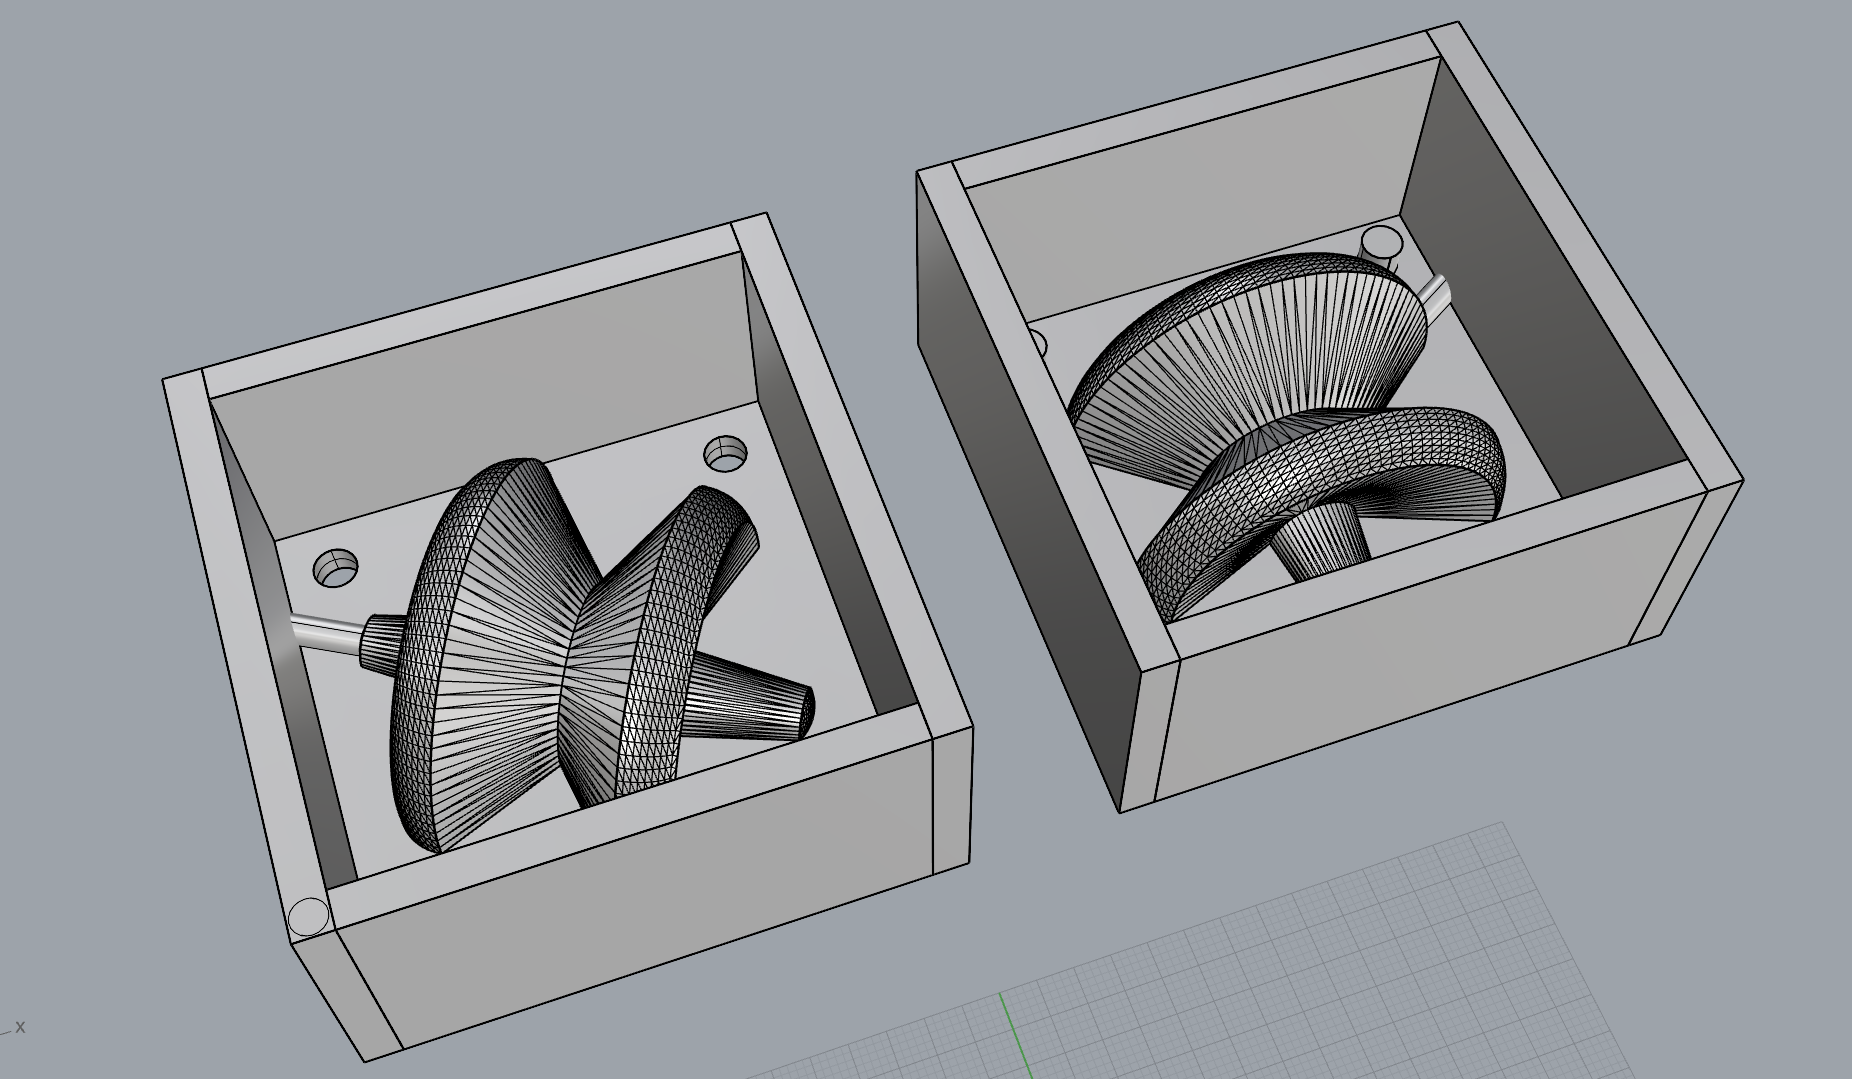
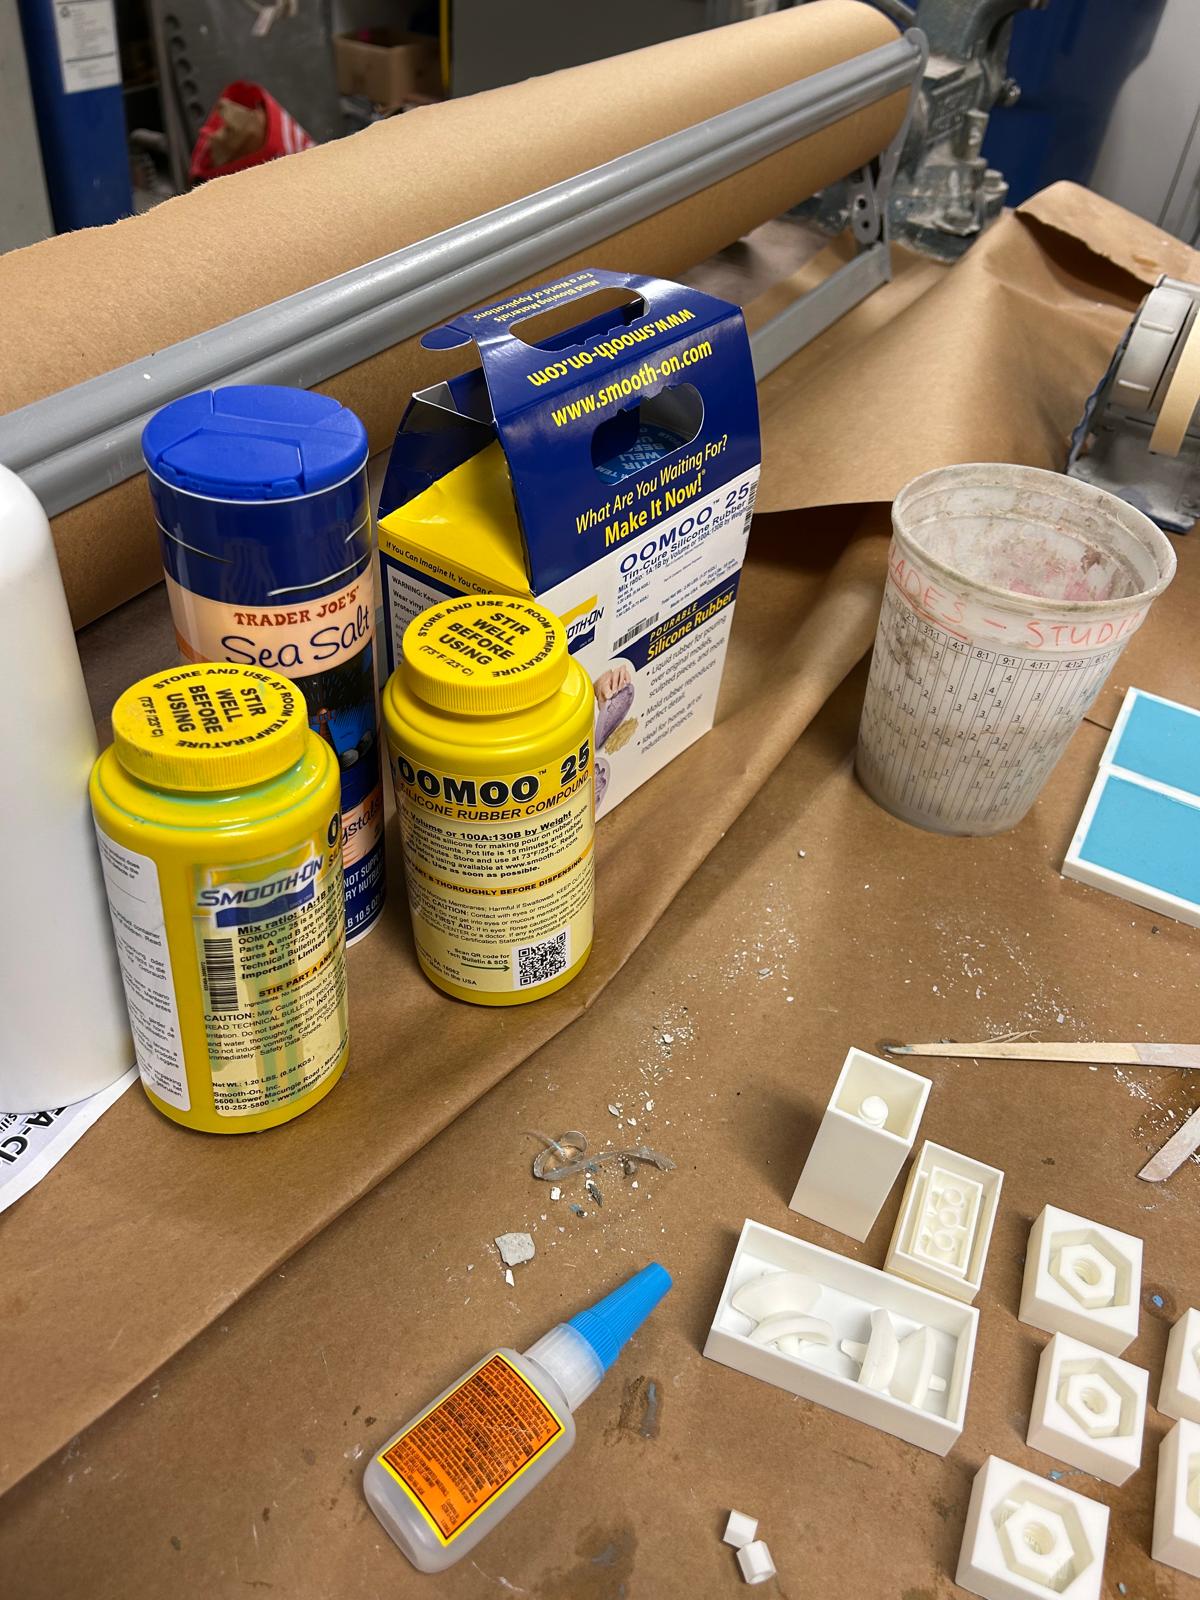
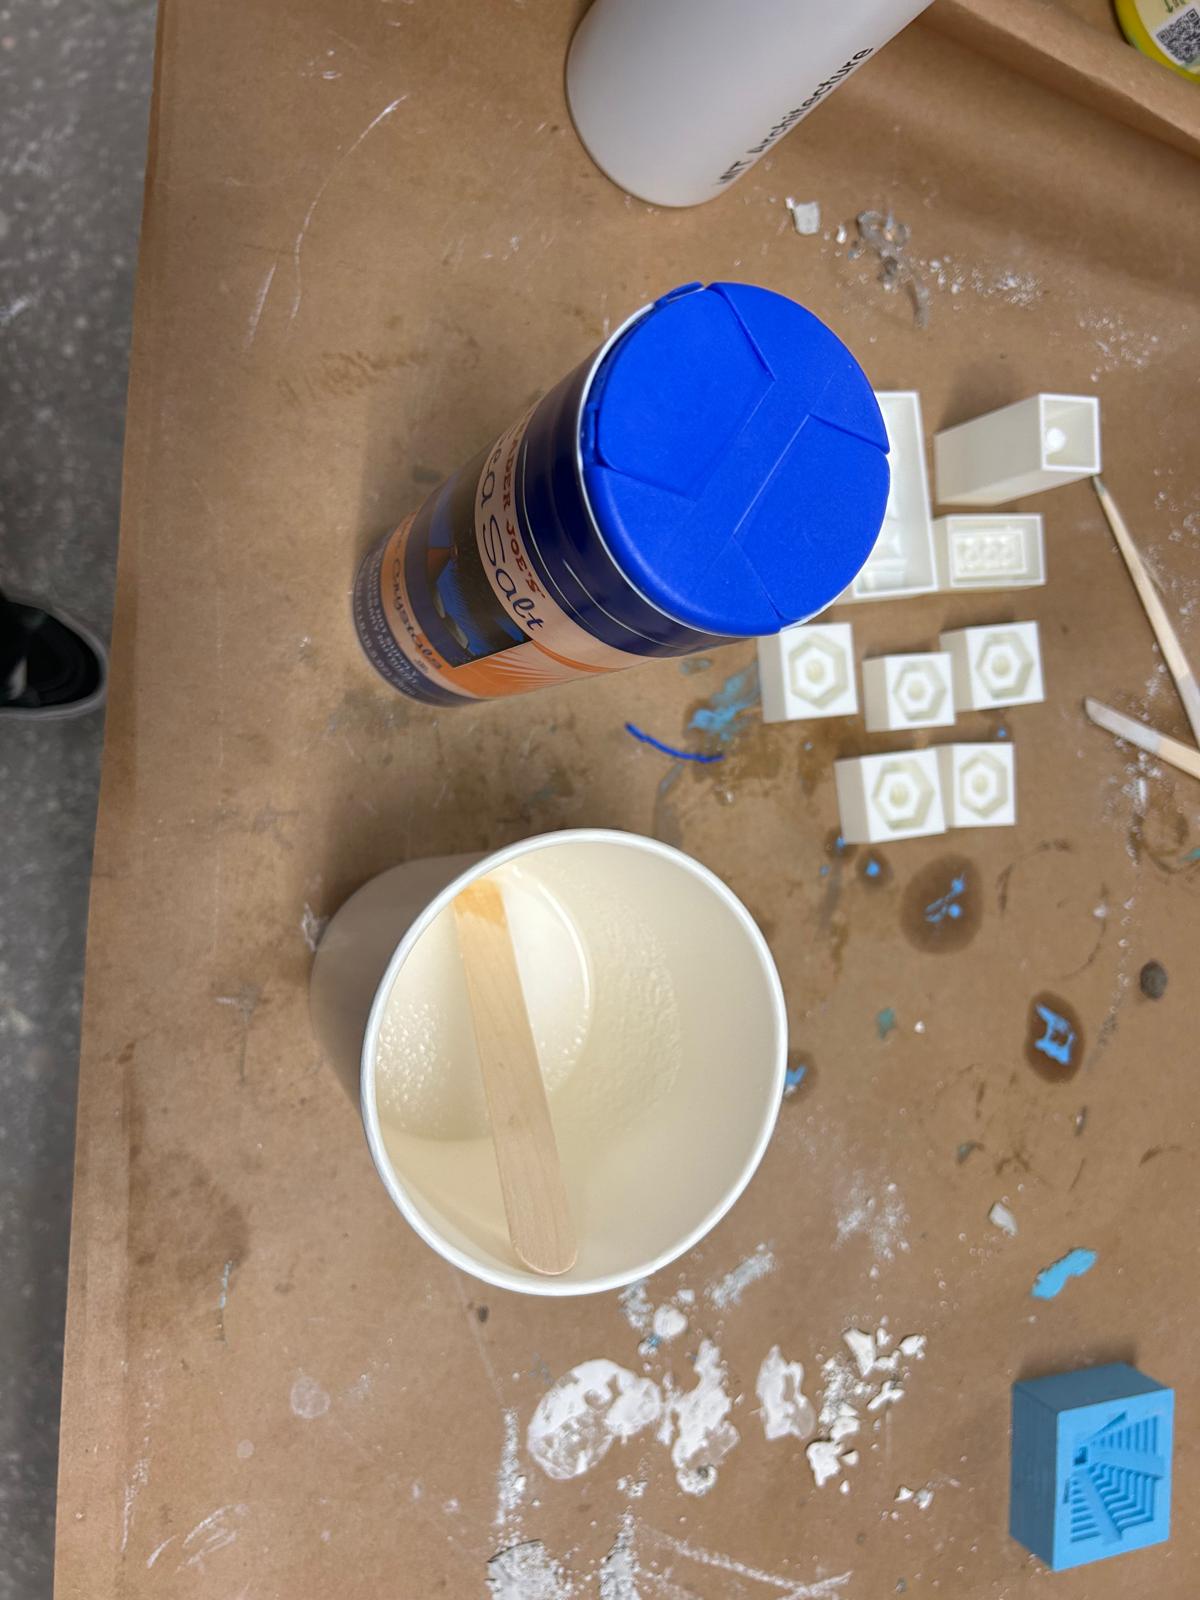
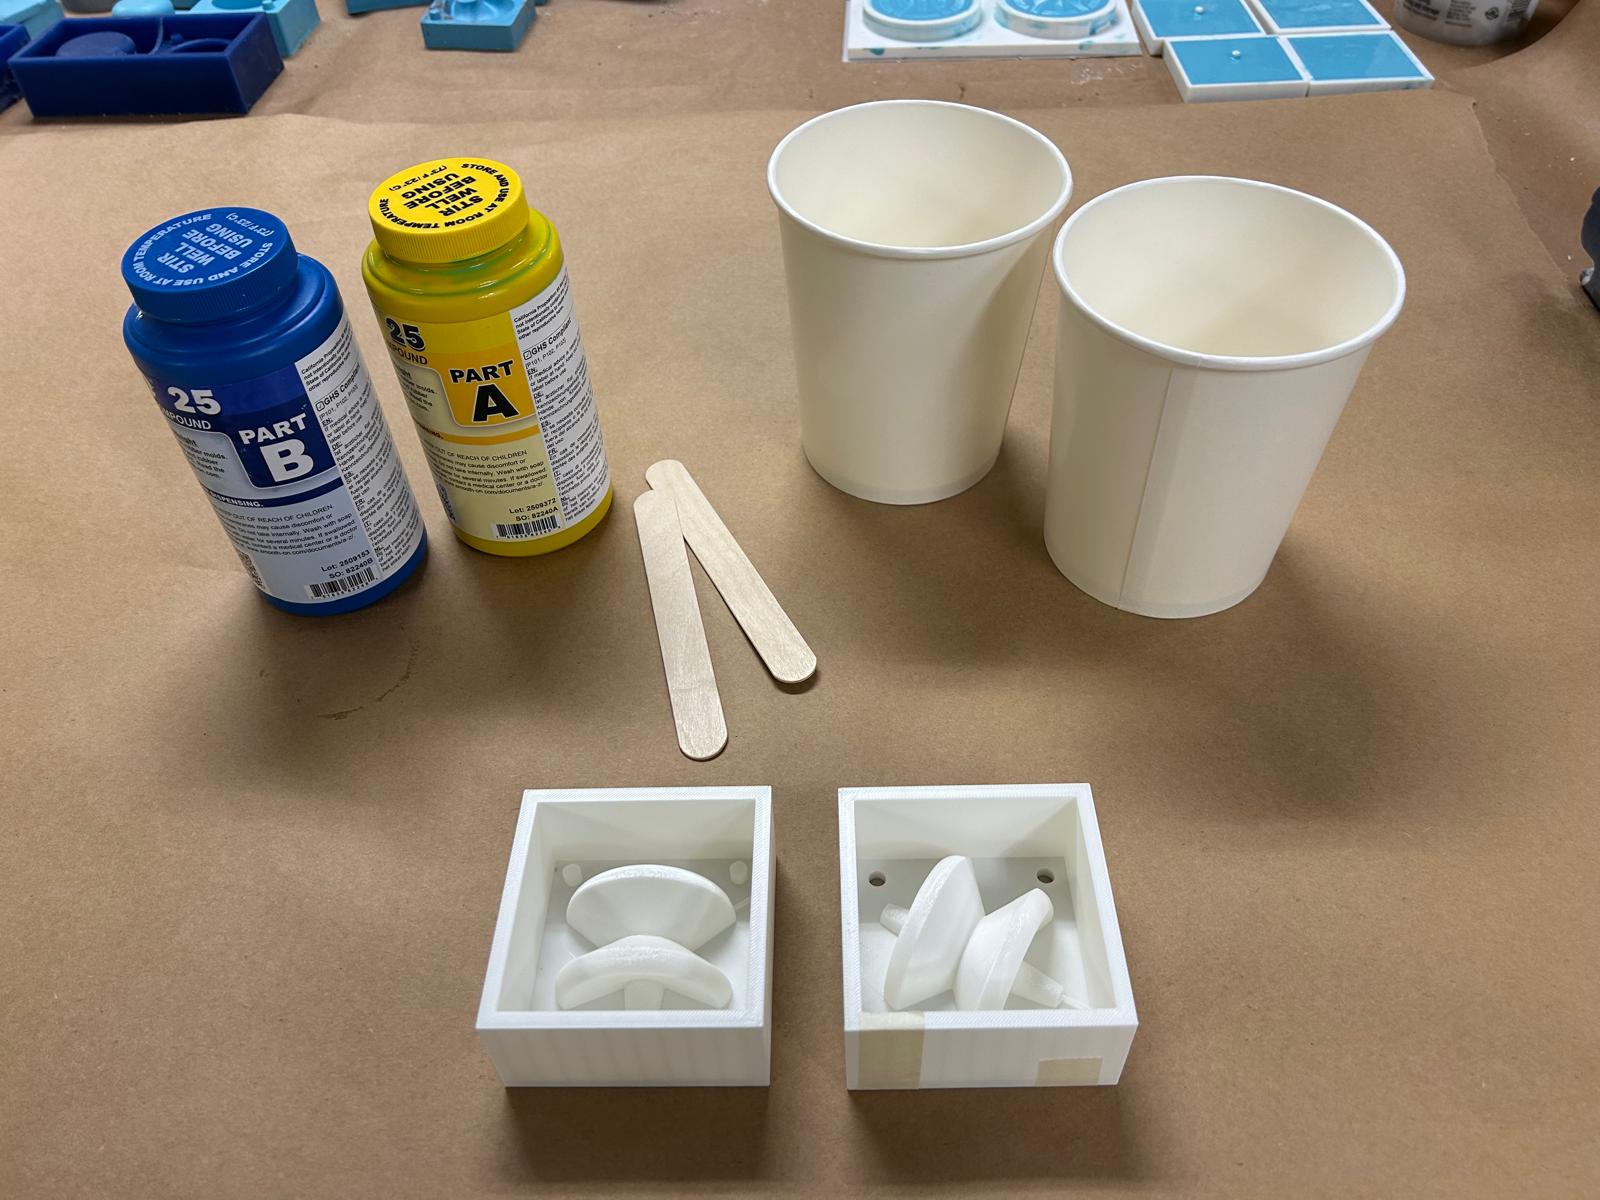
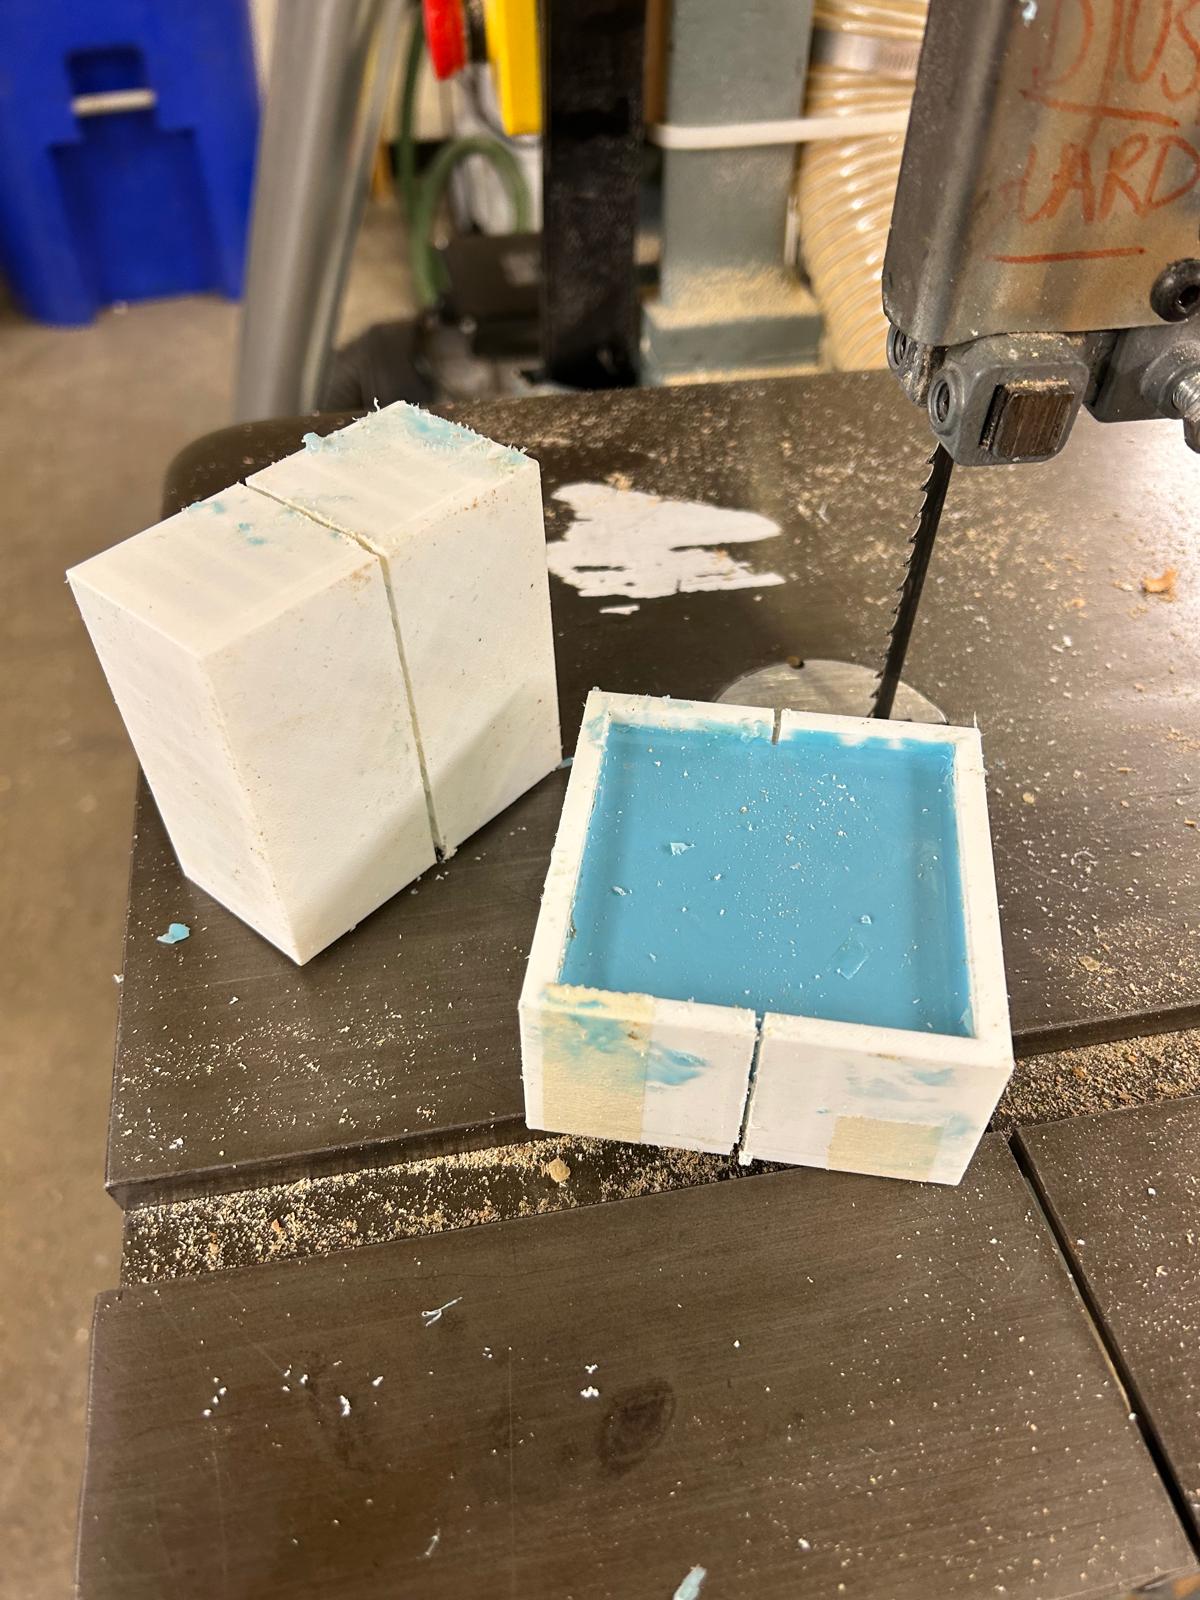
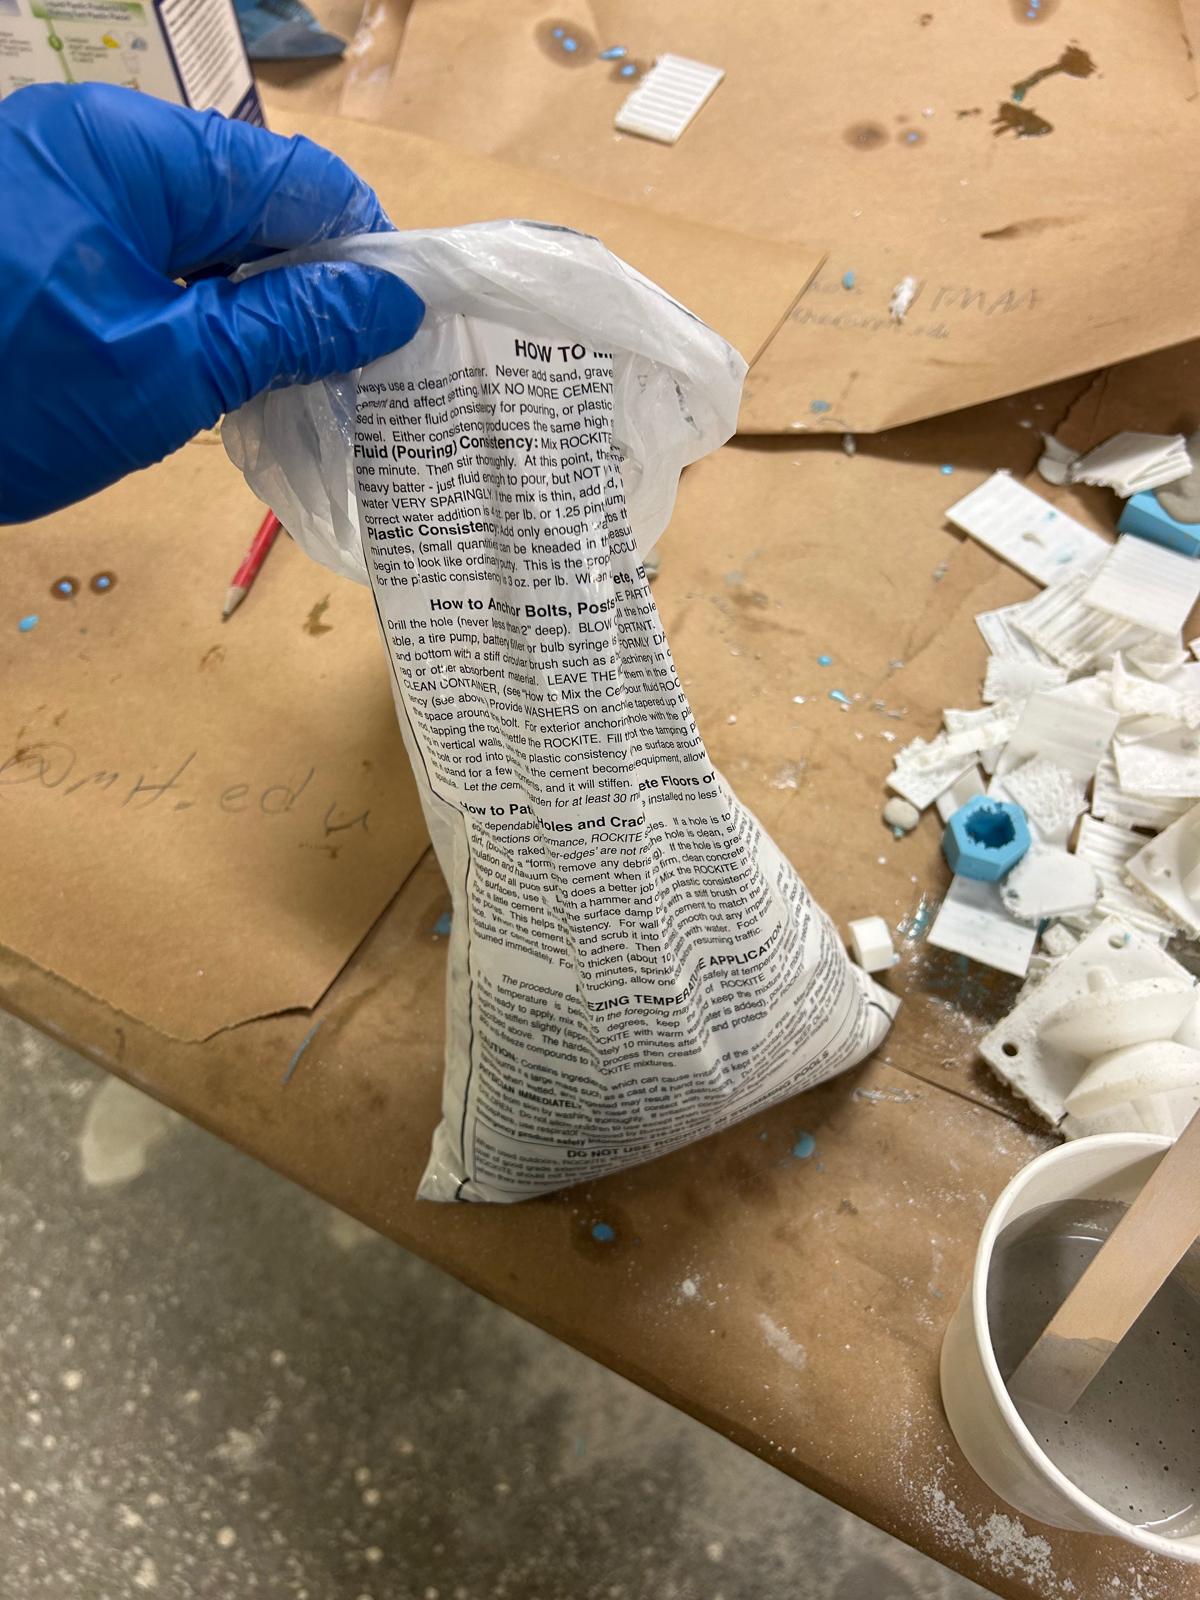
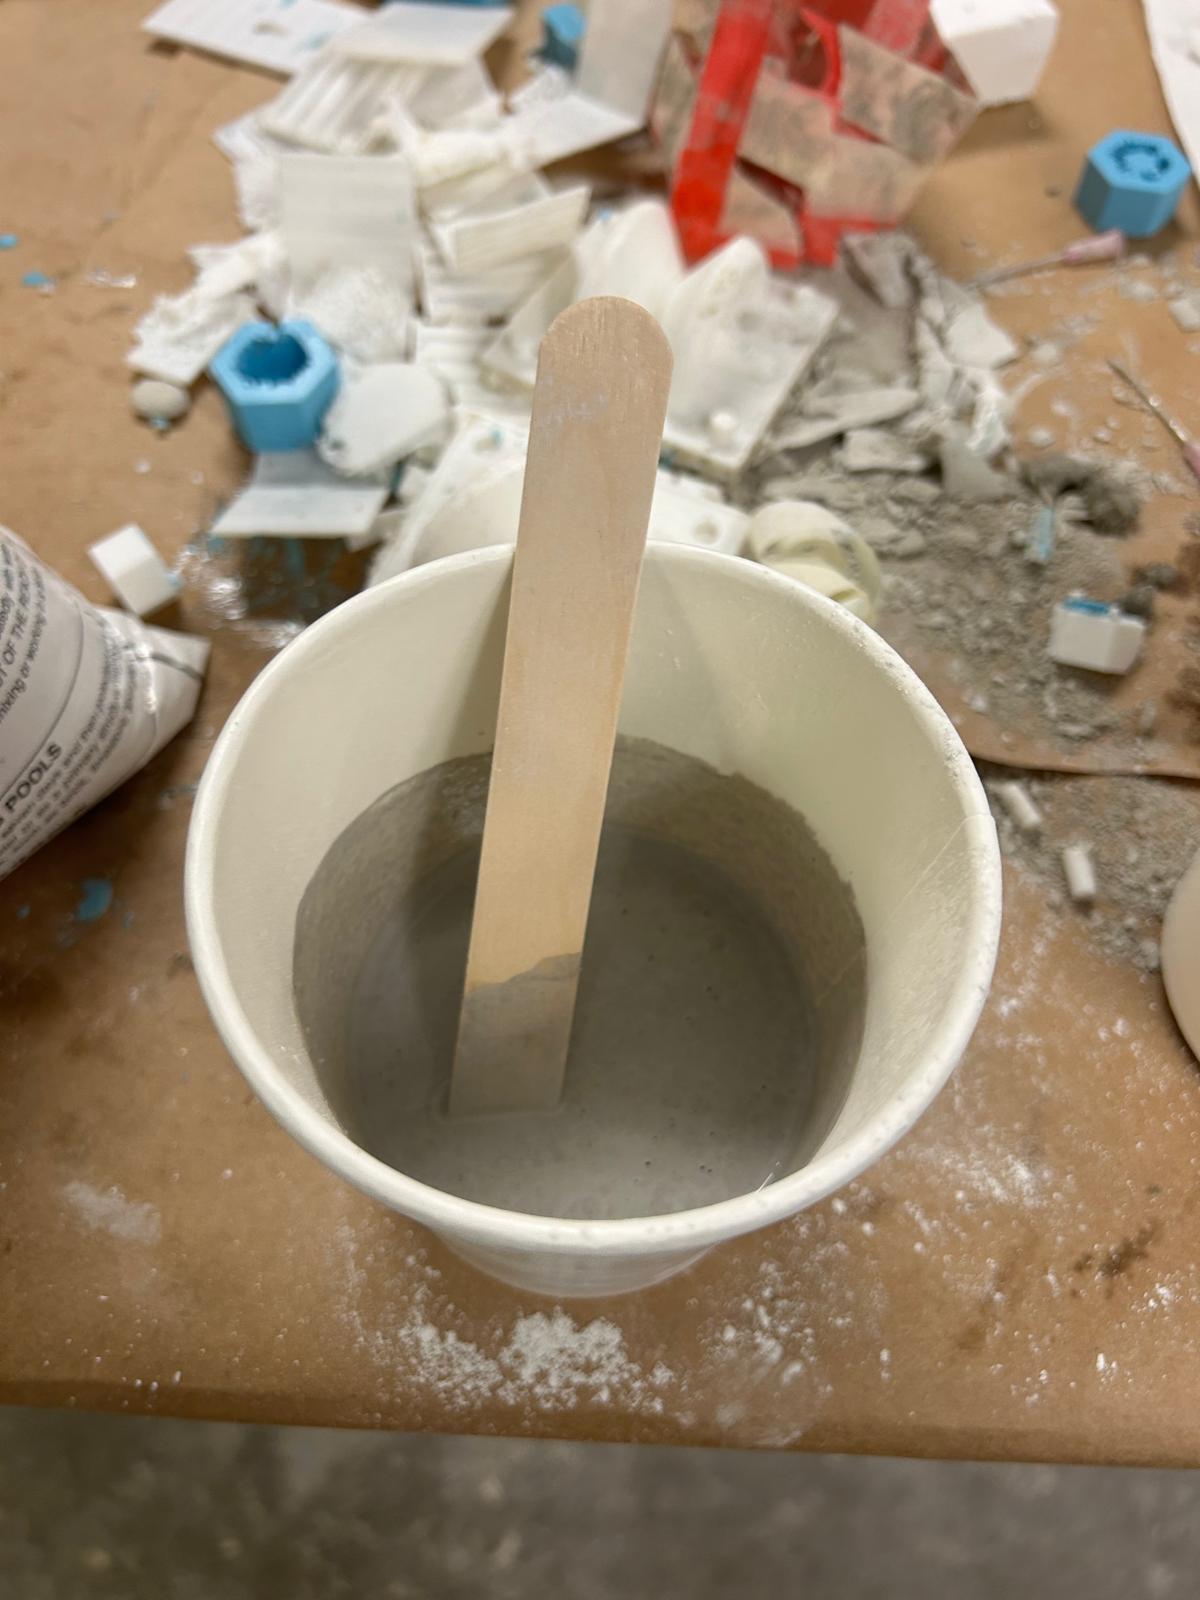
After becoming familiar with the molding and casting process, the next step was to focus on designing the molds. I used Rhino 8 to model the forms and prepare them for 3D printing, which would be used to create the molds. The goal at this stage was not only to produce a functional mold, but also to explore how geometry influences the success and limitations of the casting process.
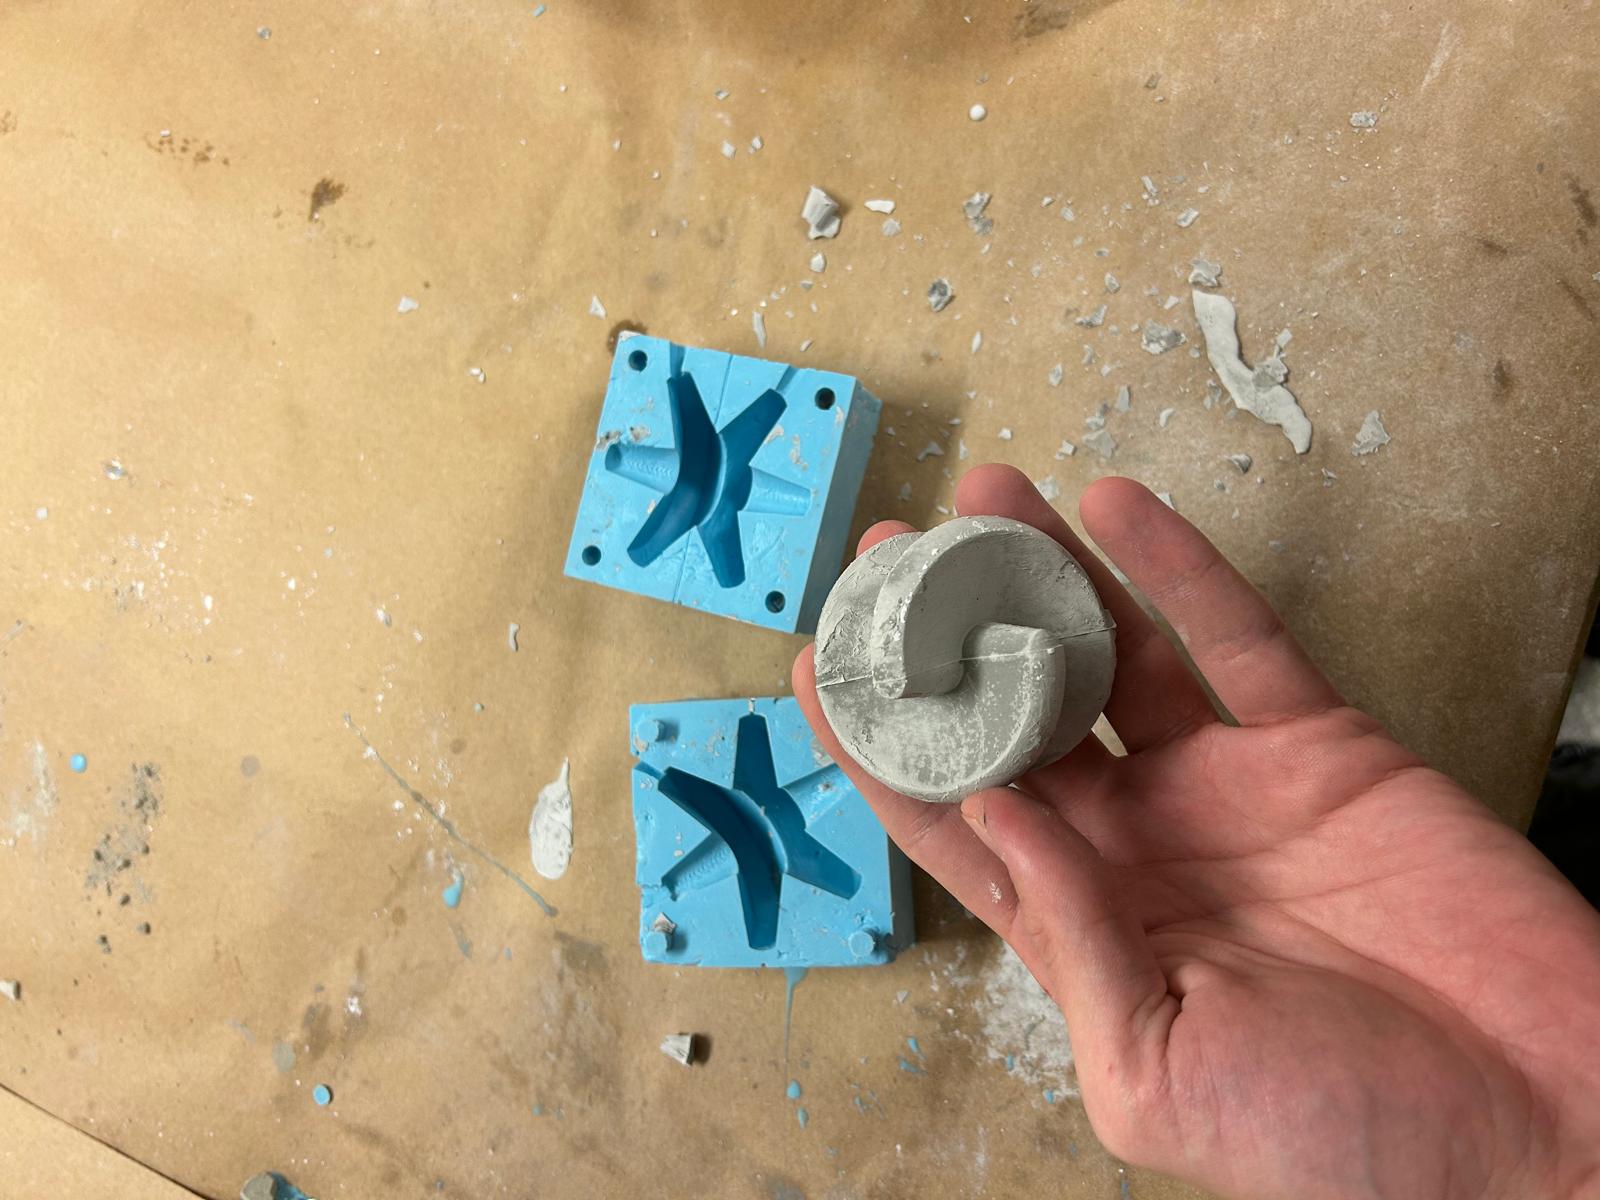
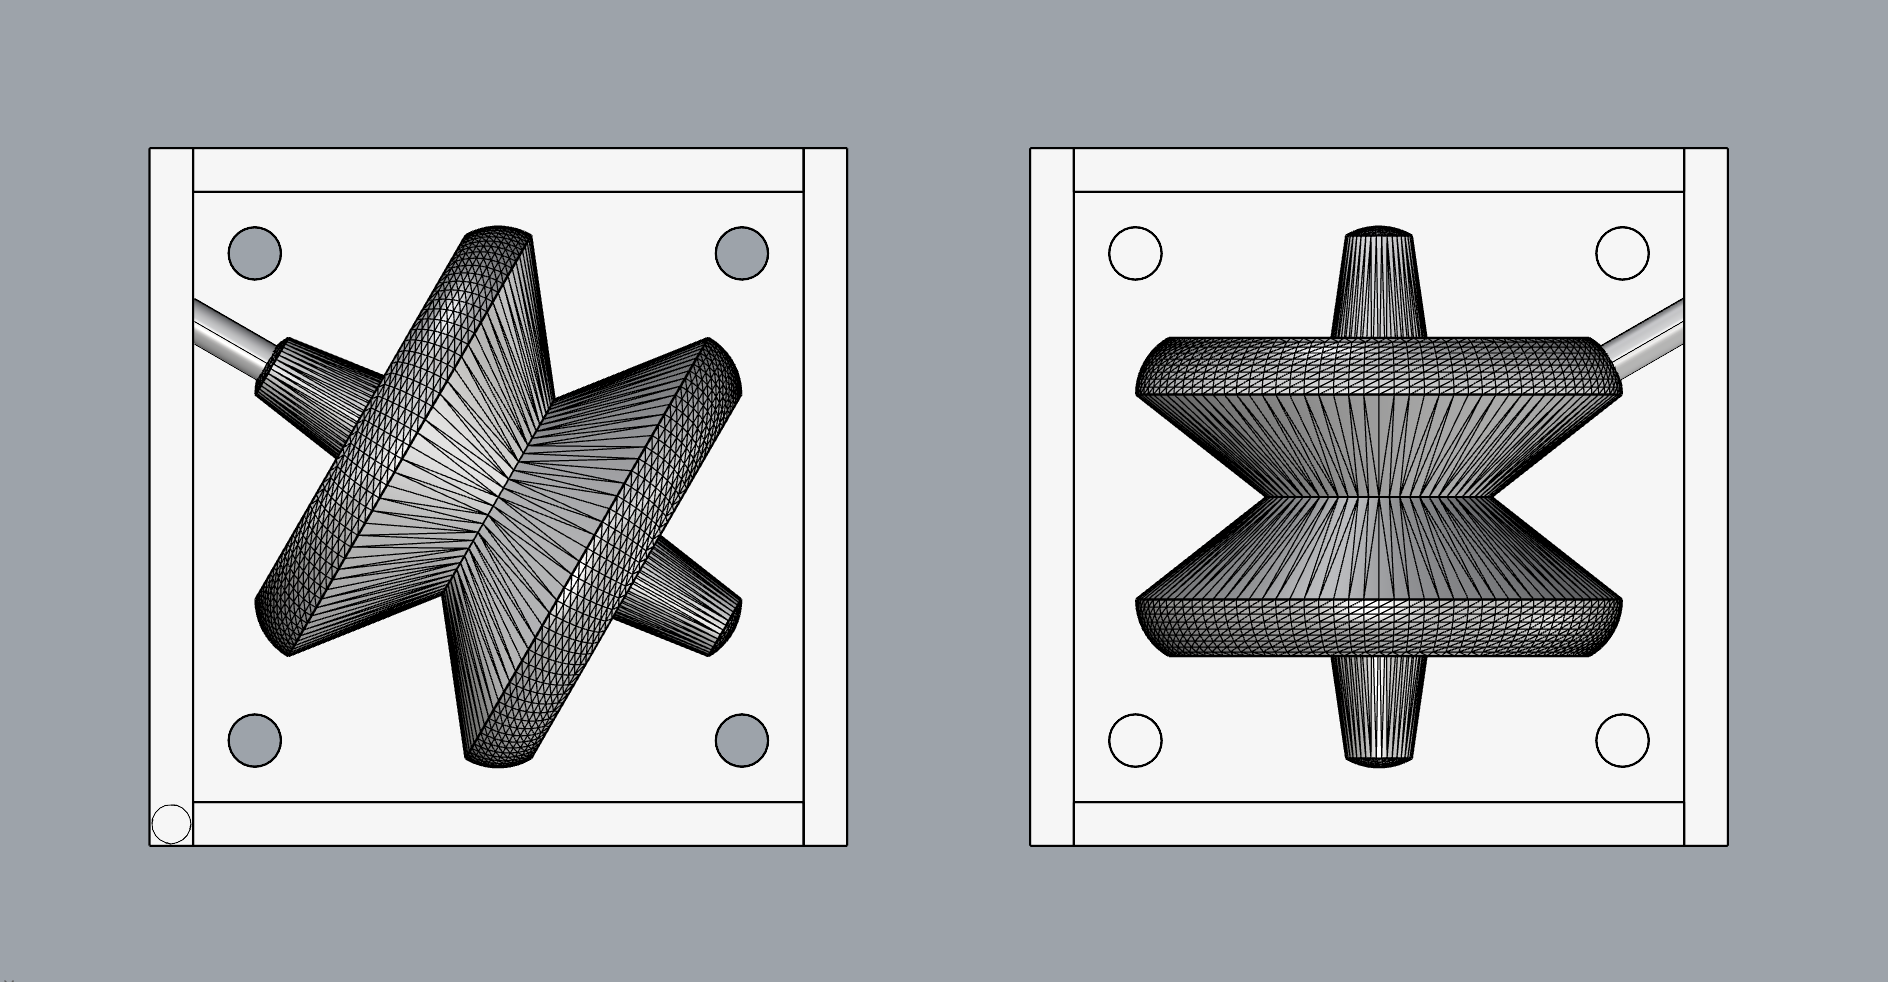
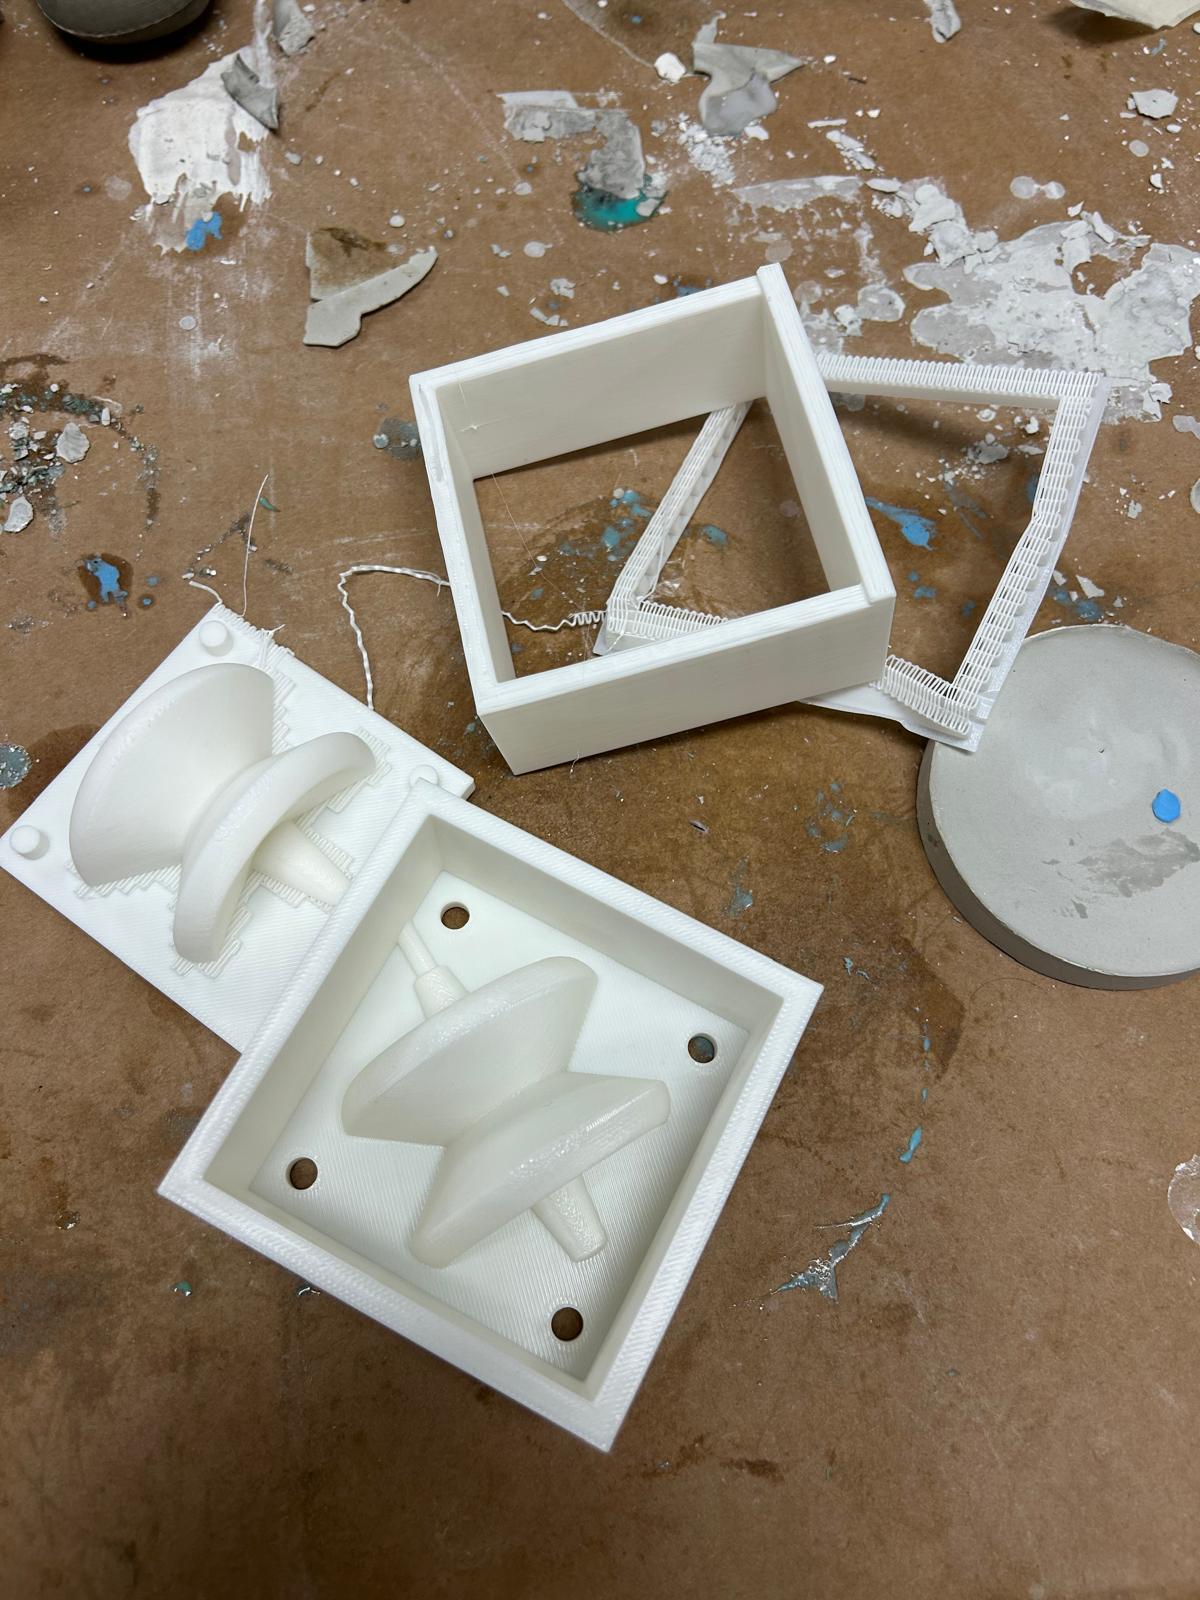
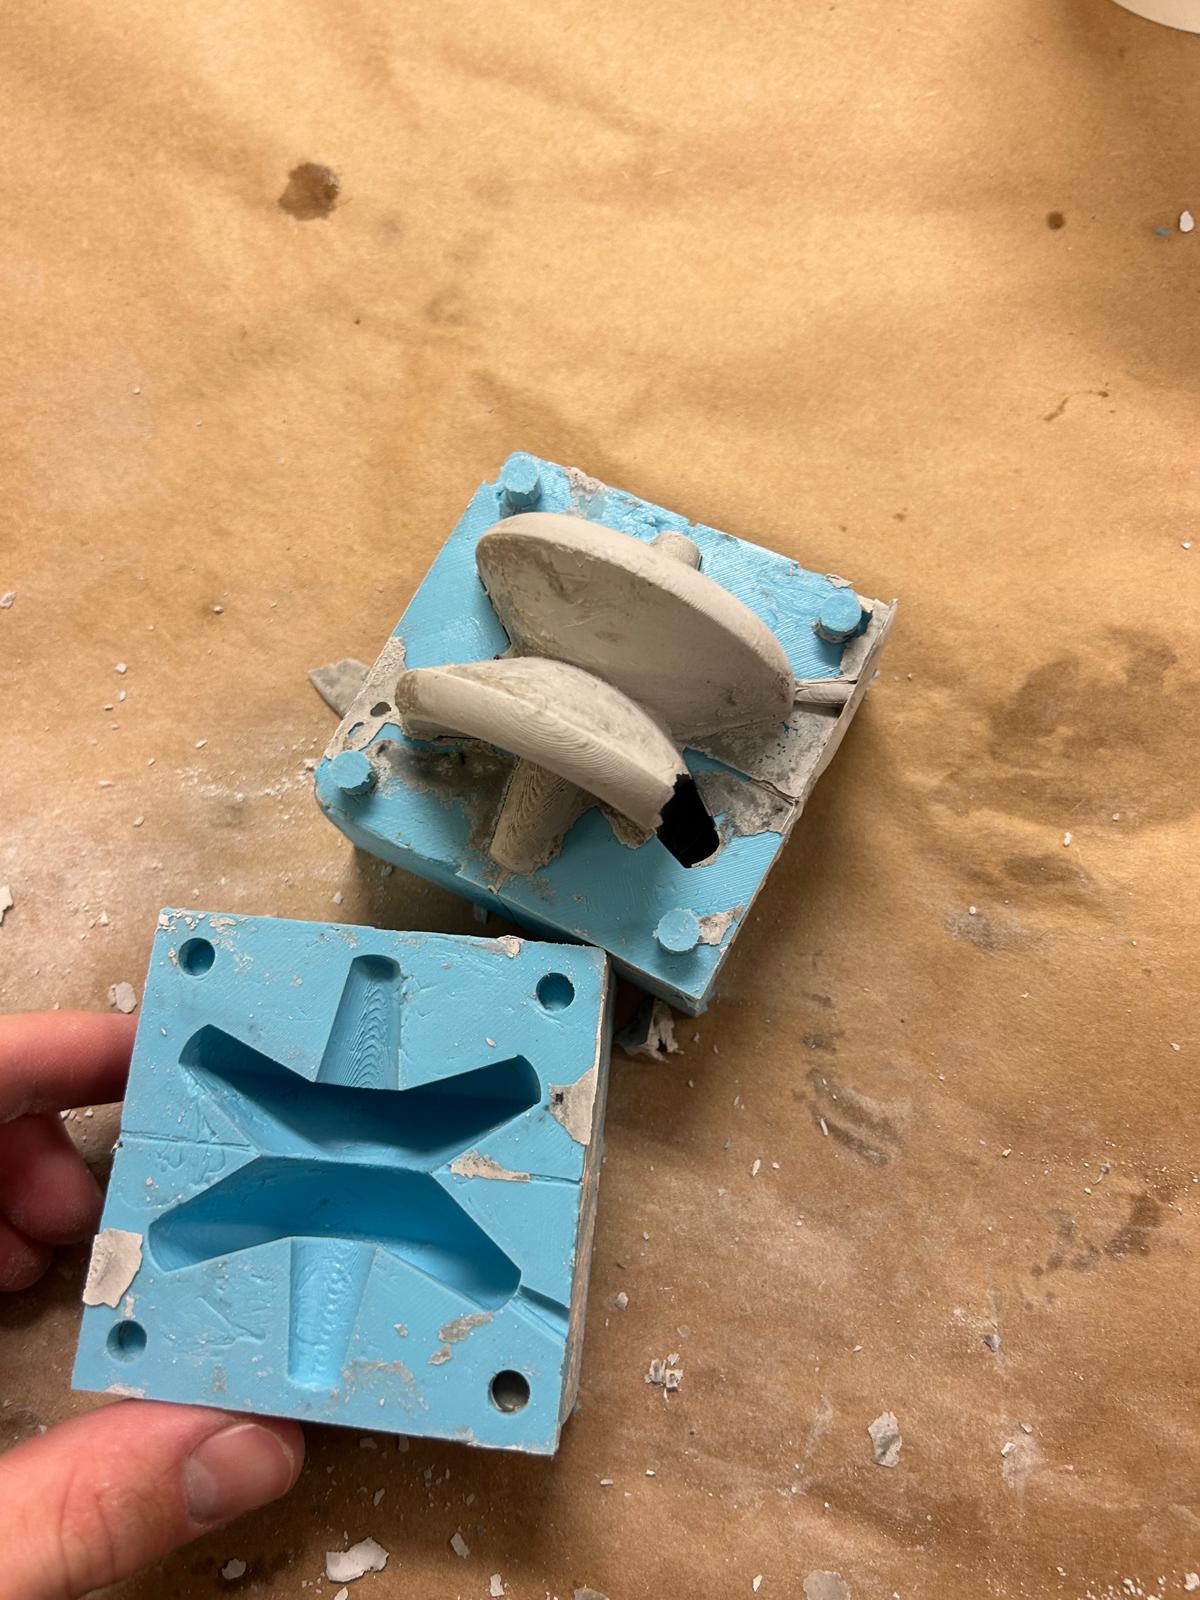
I decided to work with a playful geometry in order to better understand how movement, curvature, and internal details behave during molding and casting. The object I chose was a cat toy known as a “shericon.” What makes this object particularly interesting is its dynamic behavior: it rotates 180 degrees and then changes direction, creating an unpredictable and engaging motion. This characteristic made it a good test case for examining how complex shapes and balanced forms translate from a digital model into a physical cast object.
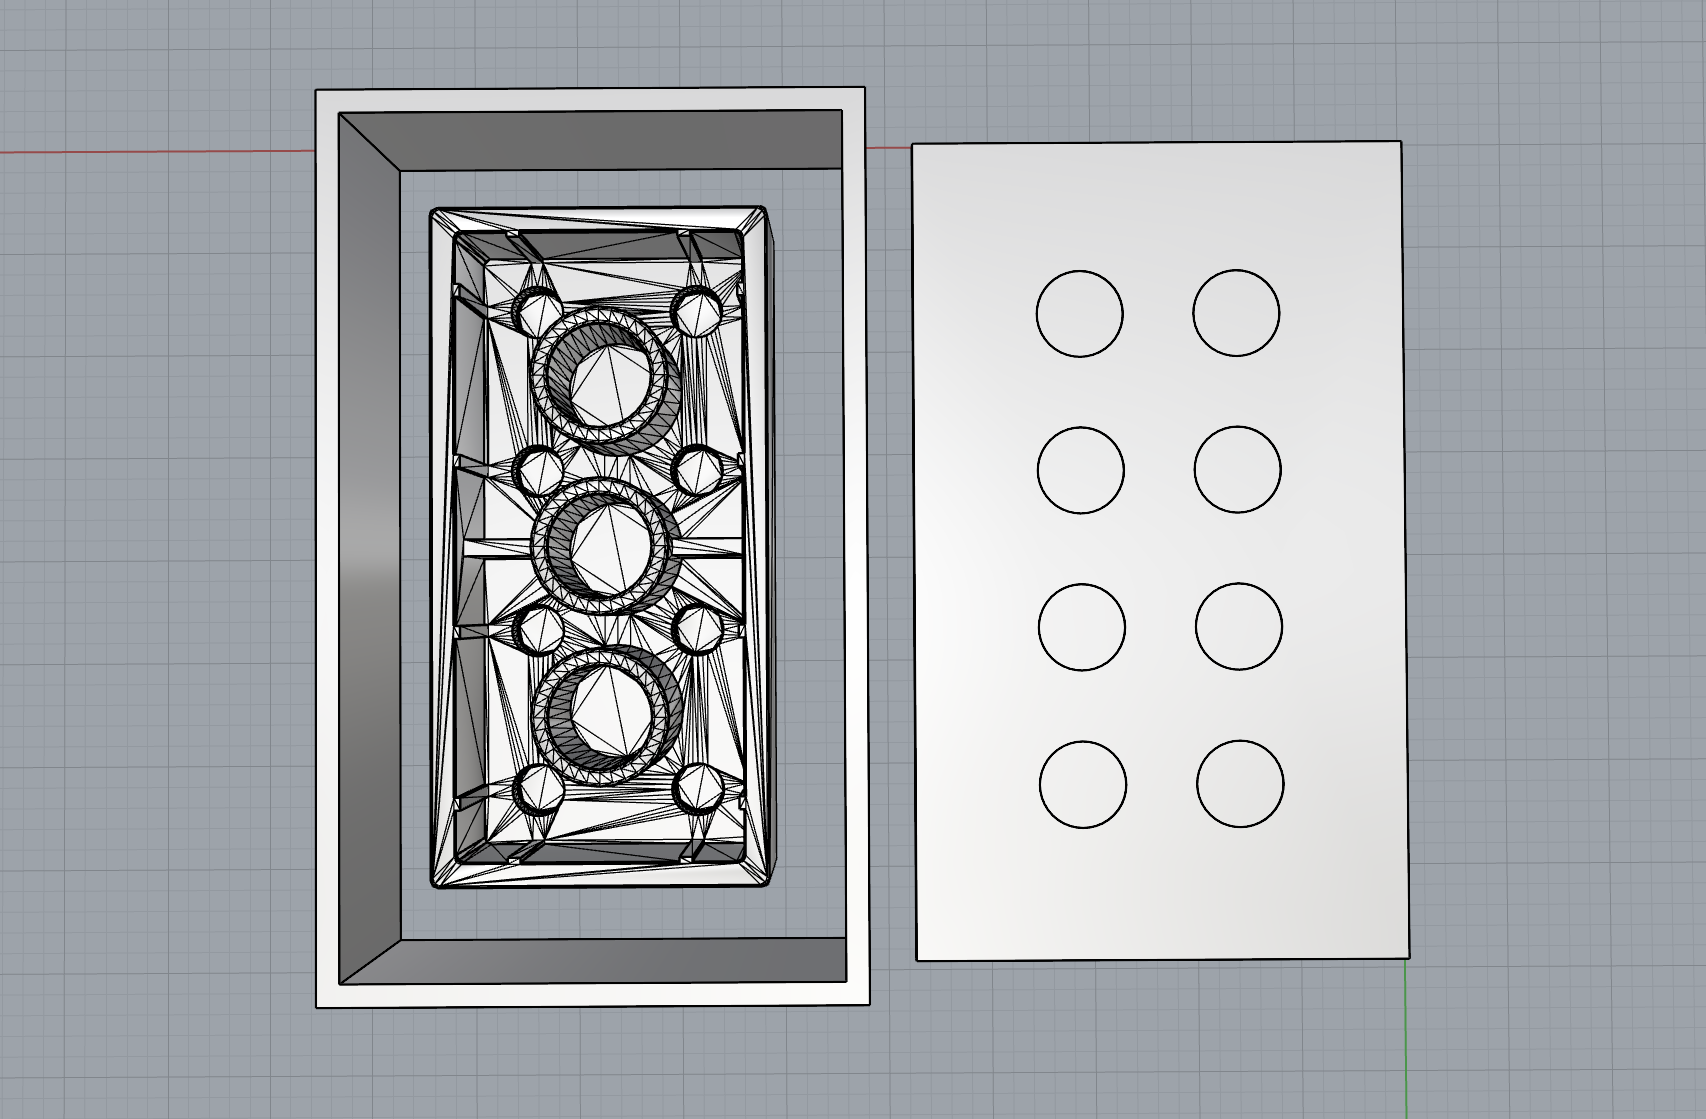
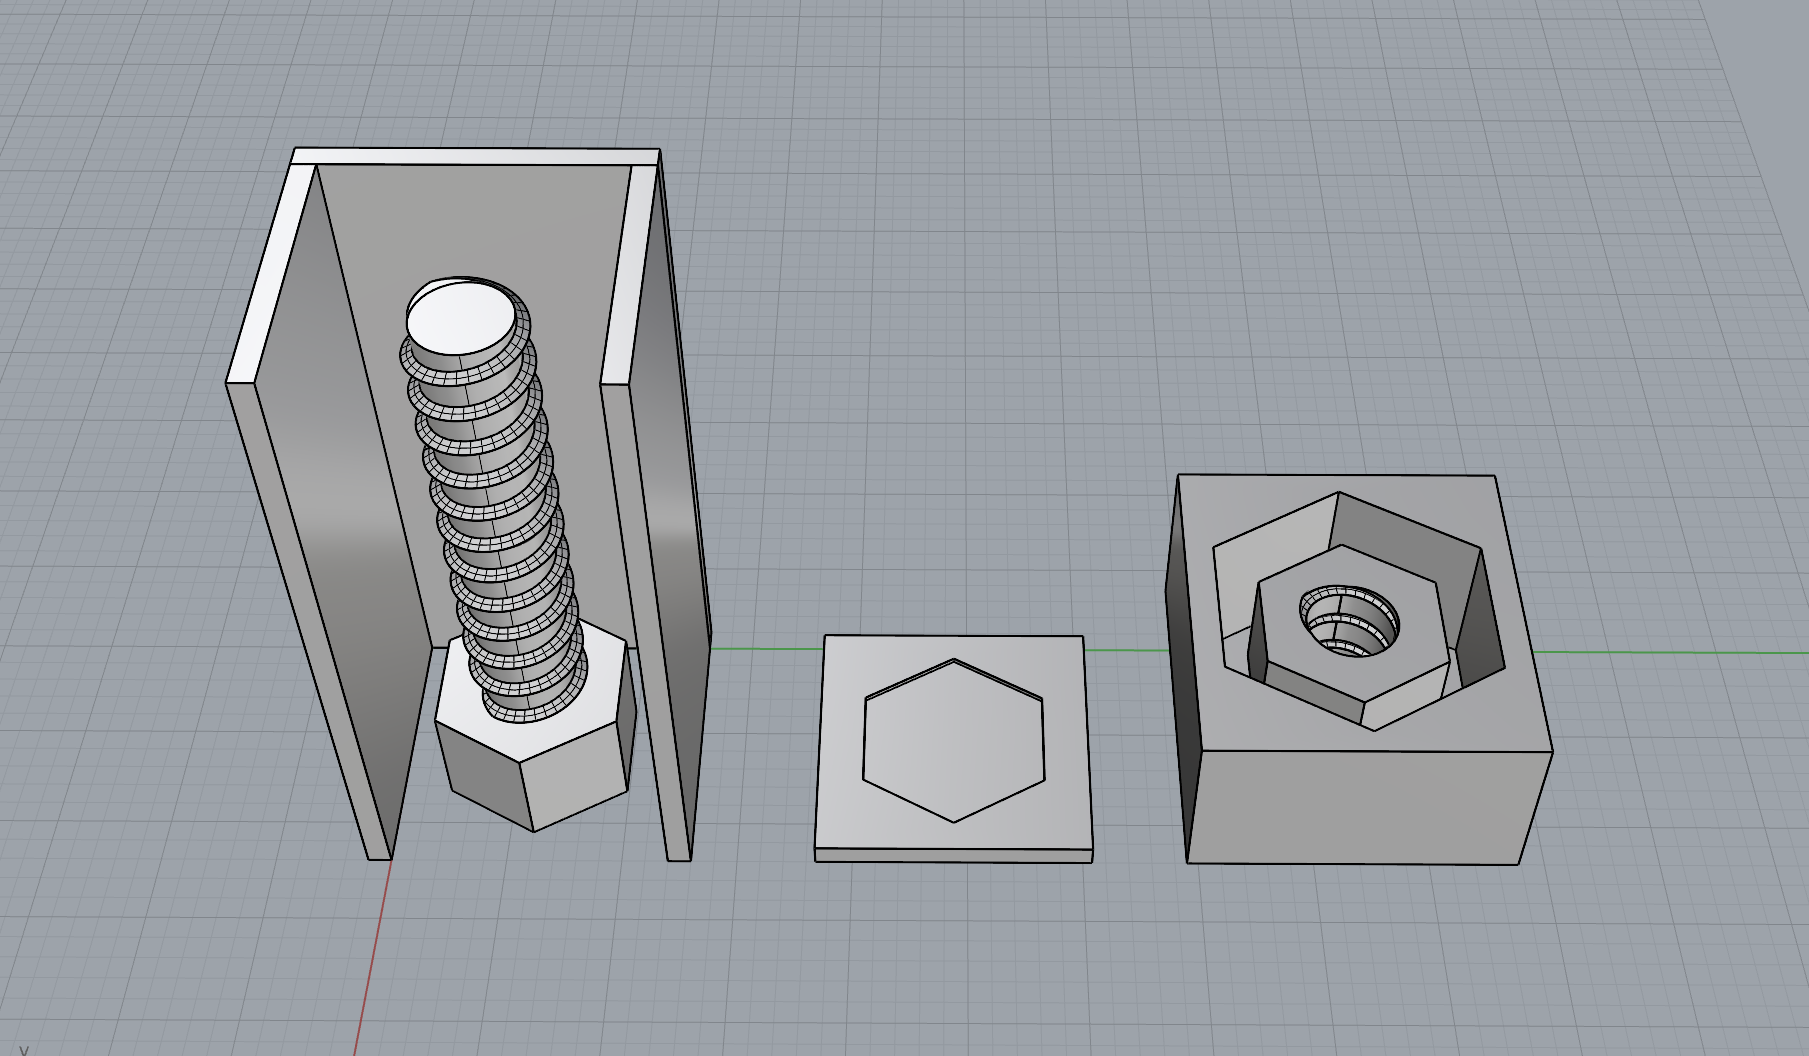
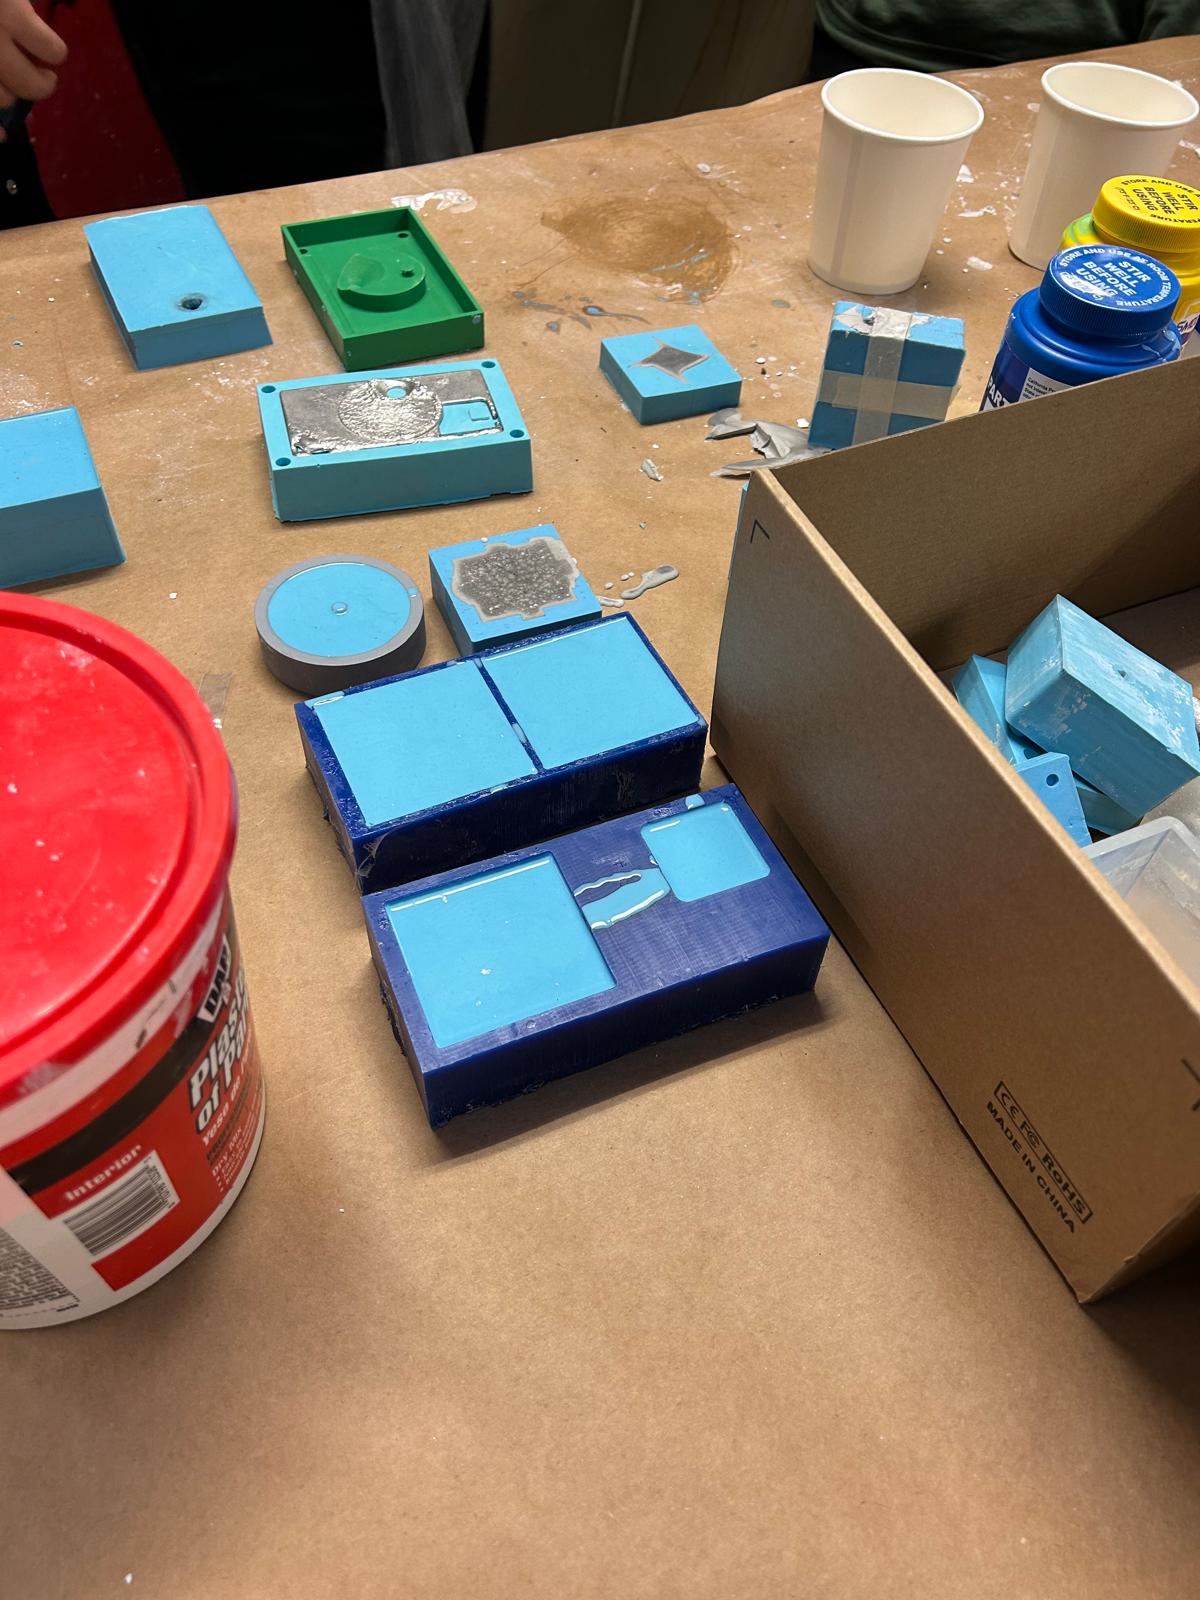
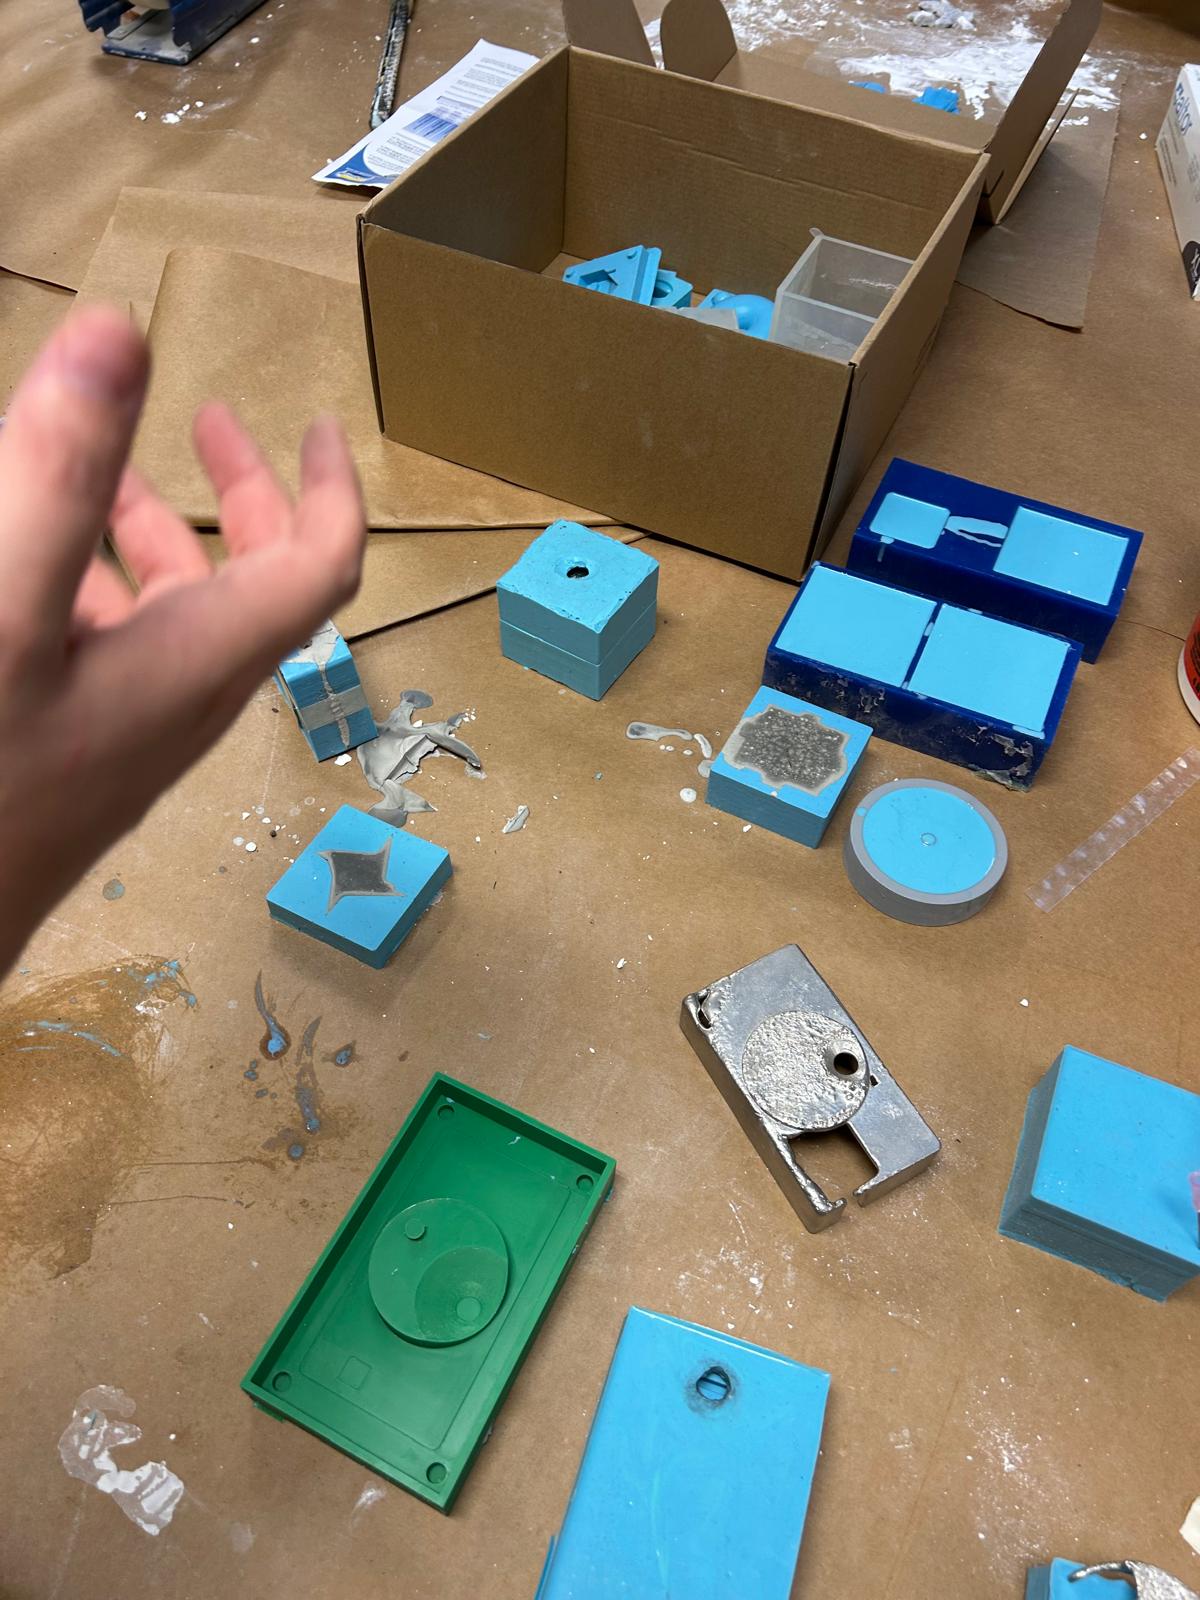
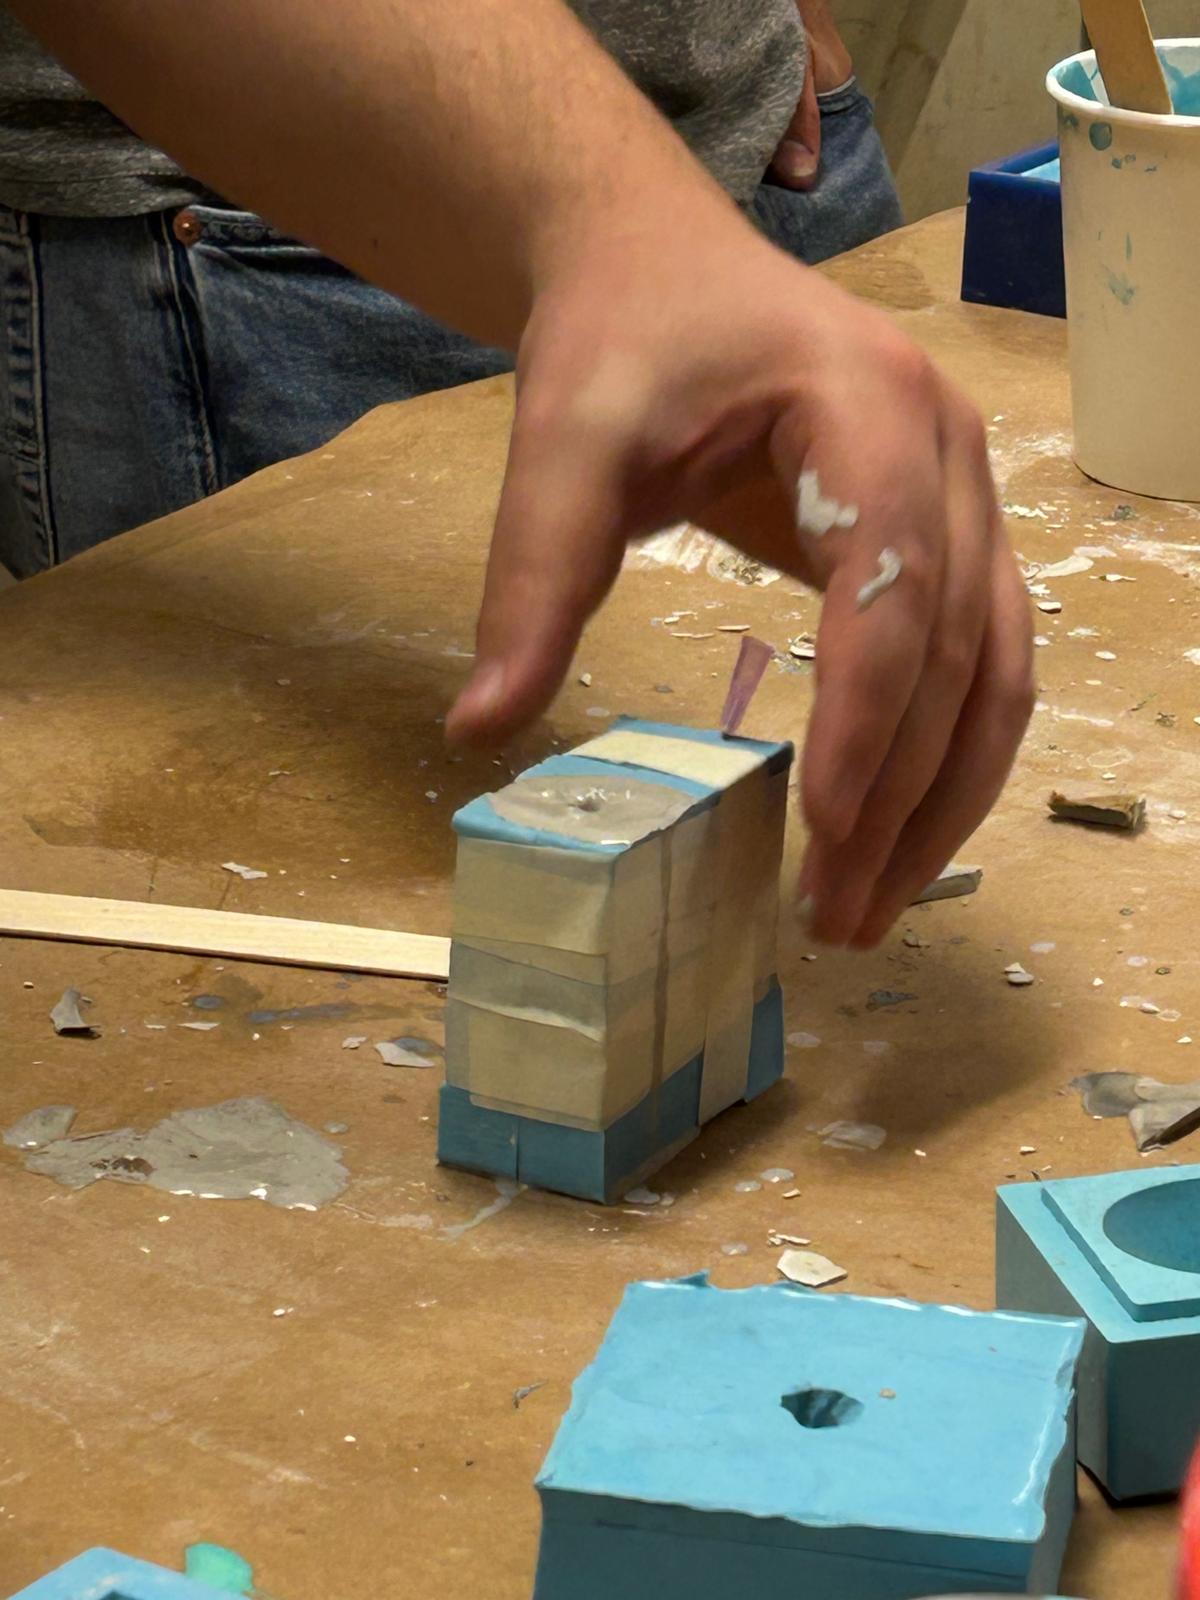
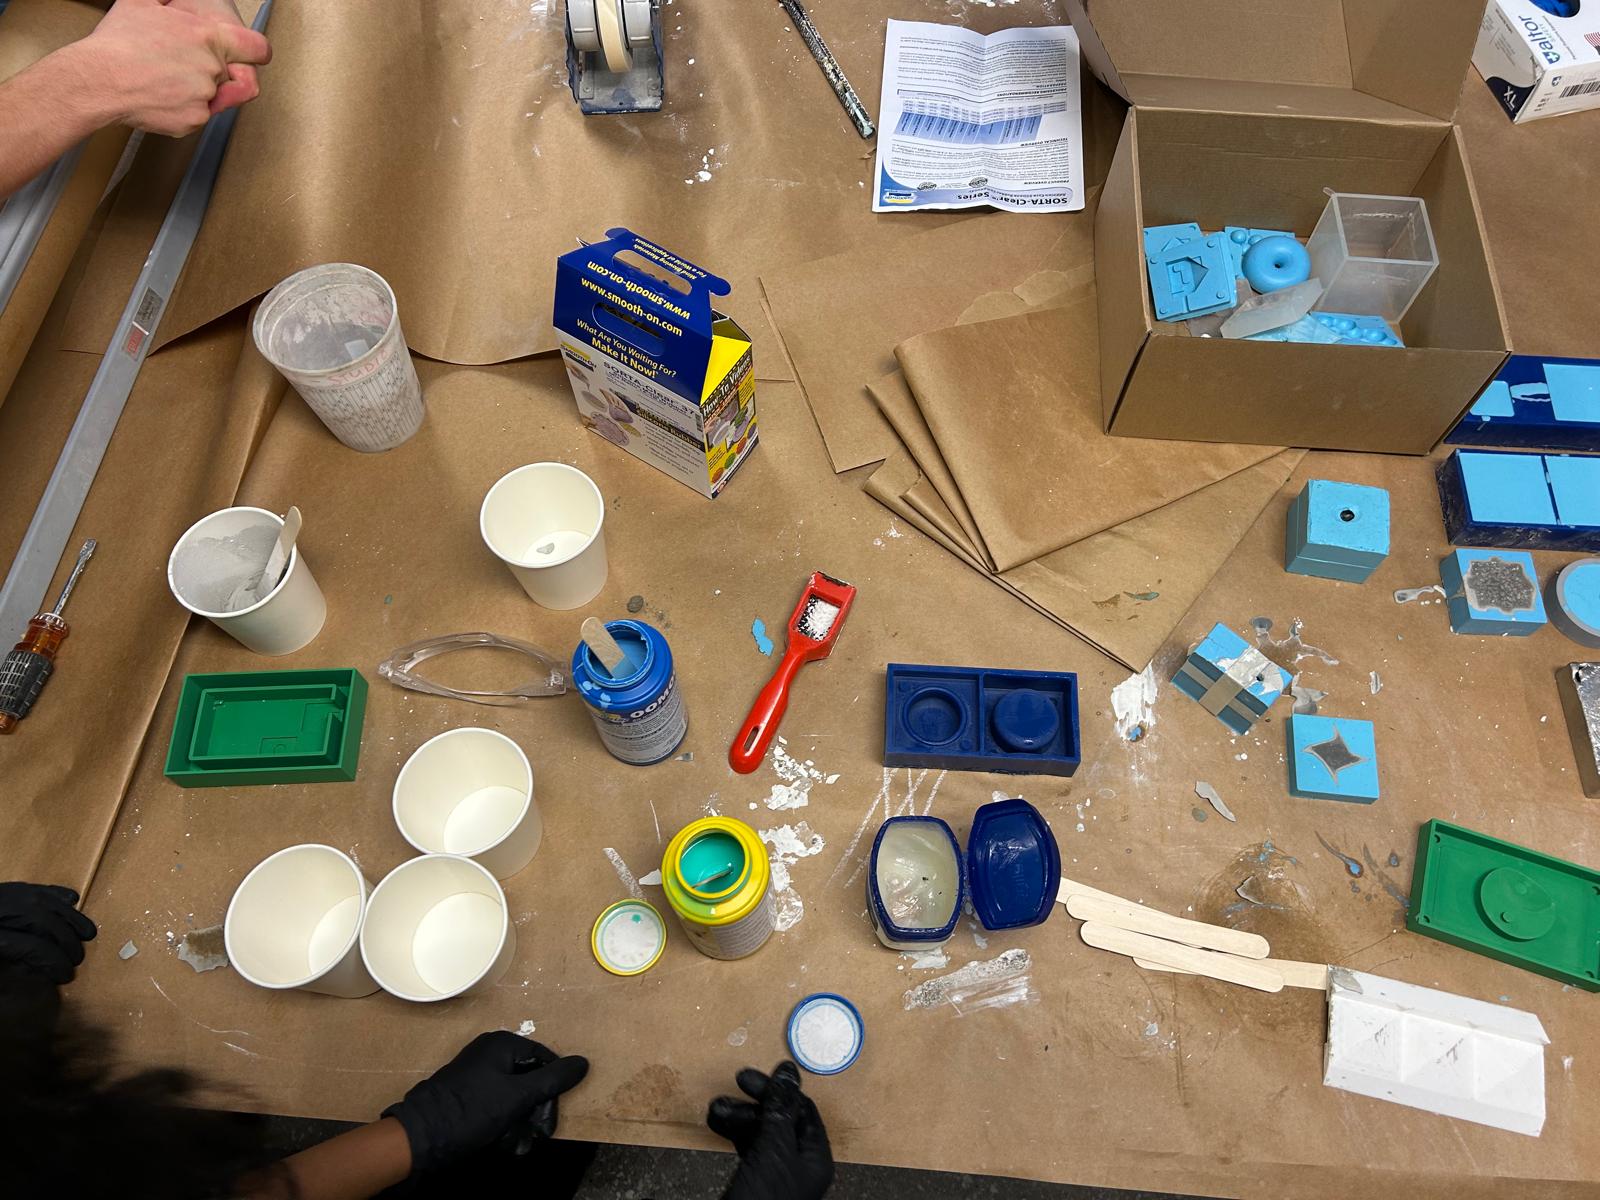
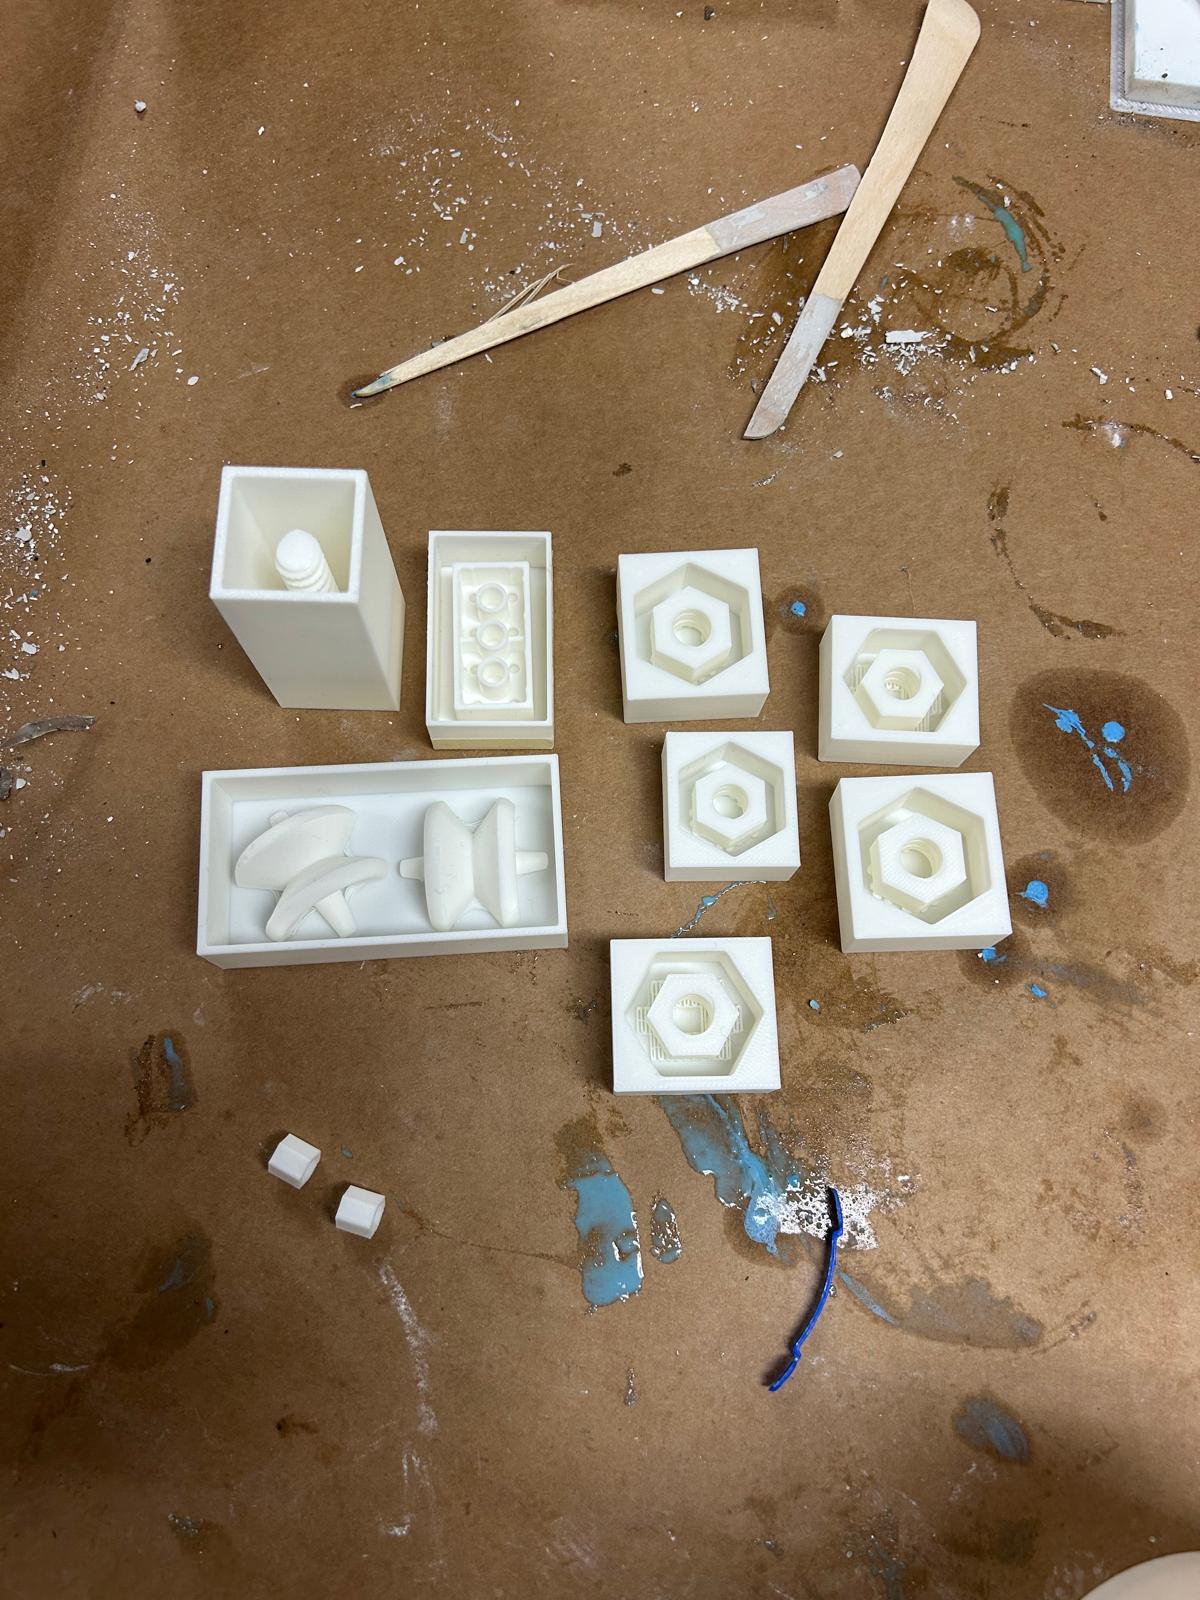
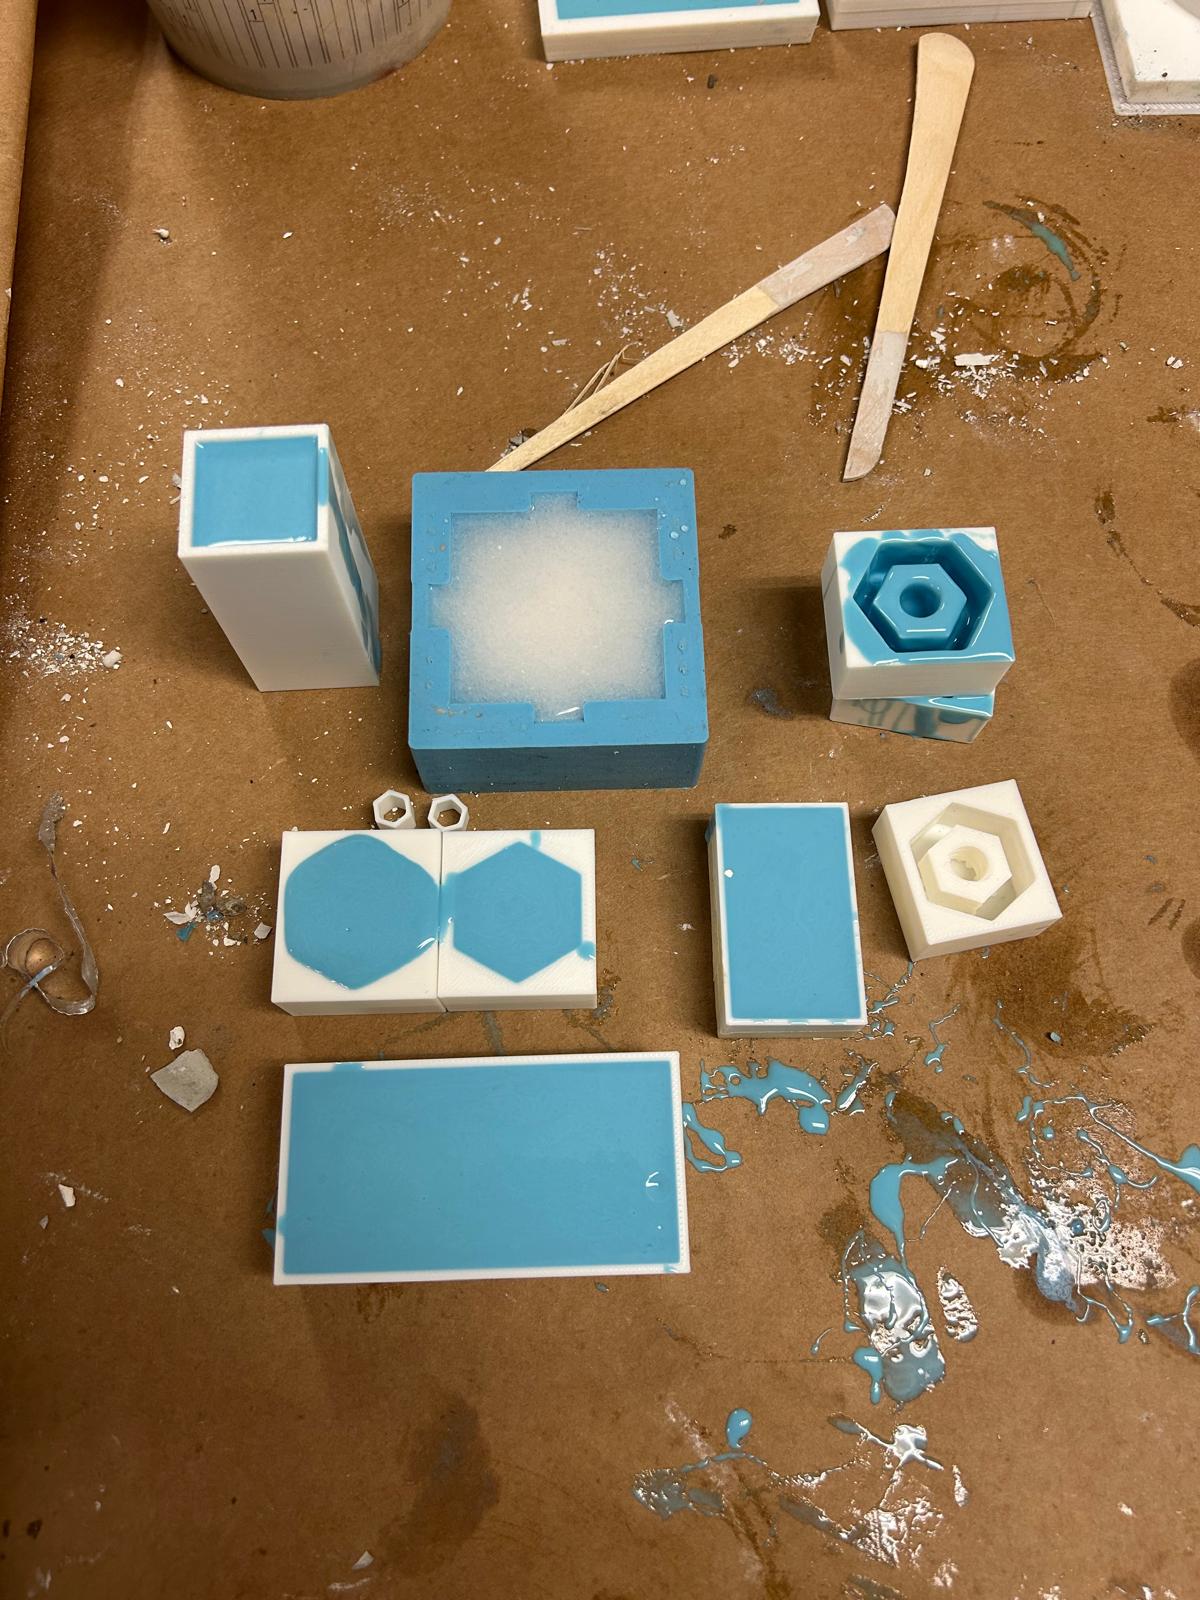
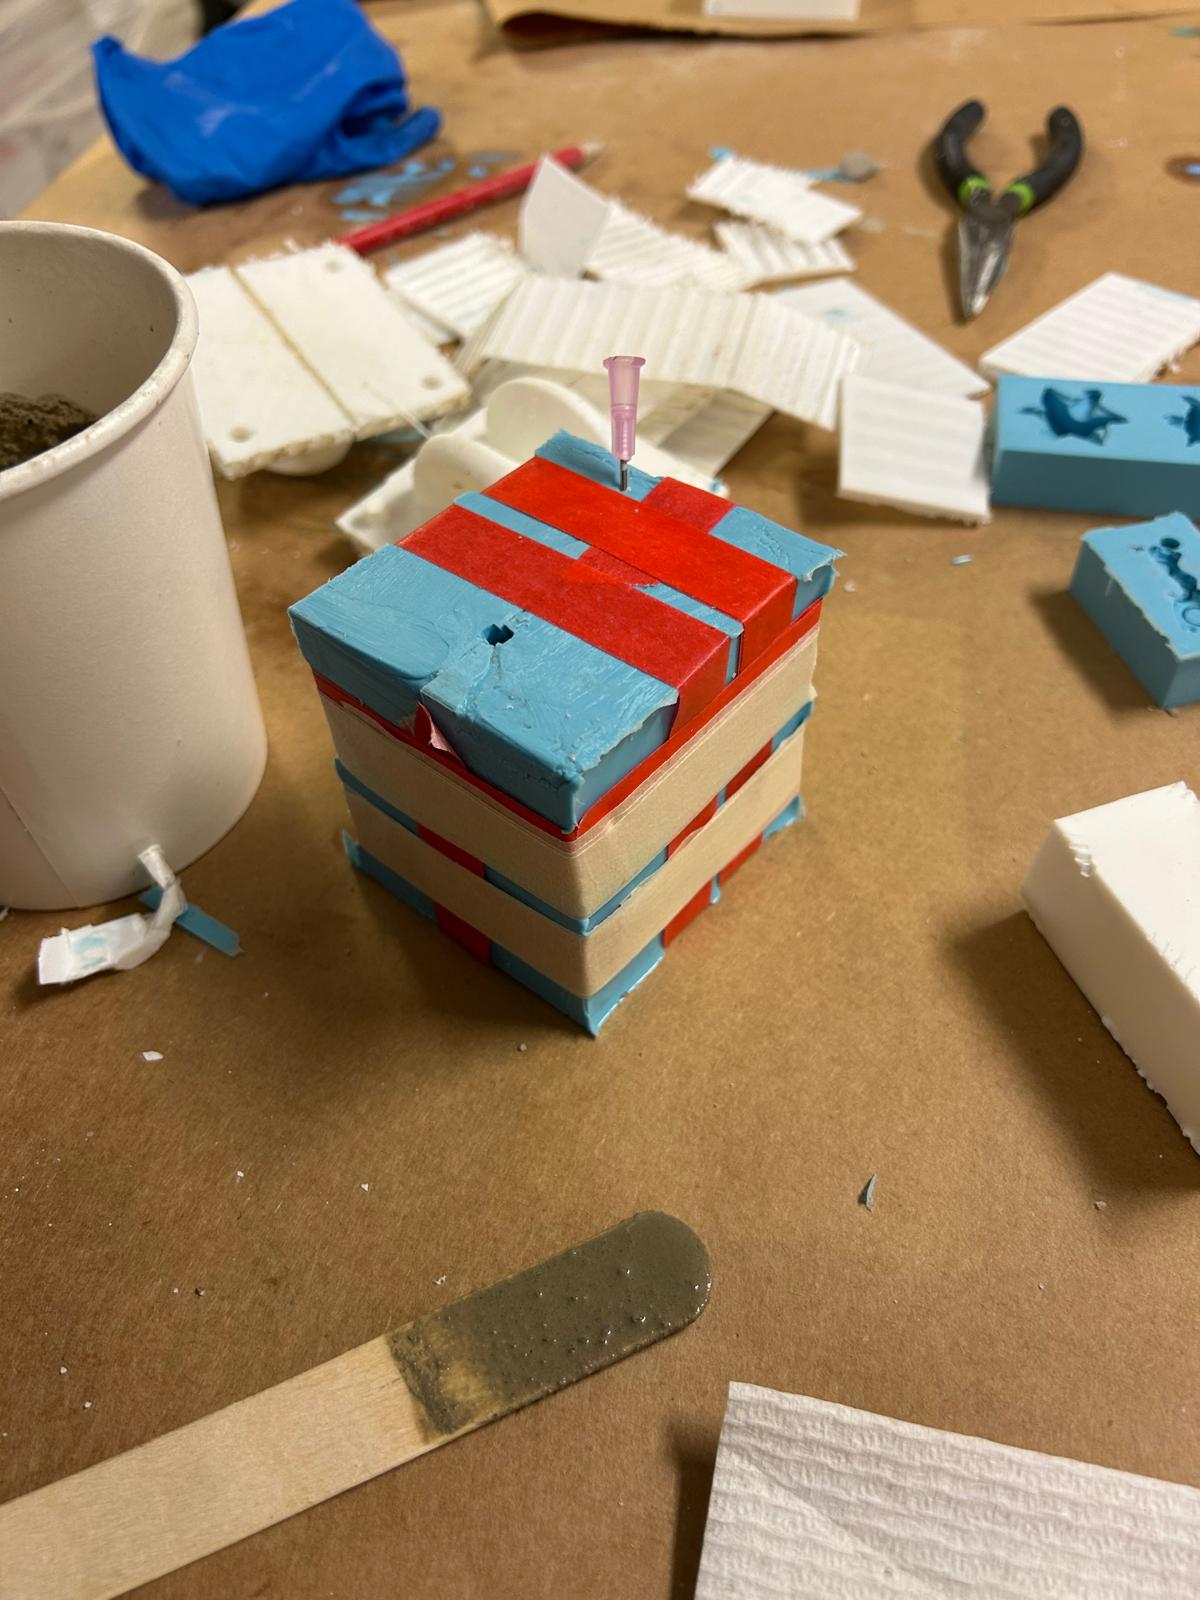
Since my shericon model required more time to print, I decided to 3D print additional molds in the meantime to test the process and observe the results. This allowed me to stay engaged with the workflow and experiment with different forms. I designed molds for objects such as screws and LEGO pieces, which presented very different geometric and functional challenges. Screws involved fine details and threading, while LEGO pieces depended on high precision and tight tolerances. Working with these objects pushed me to think carefully about mold separation, alignment, and material flow, and helped me better understand how different geometries require different molding strategies.
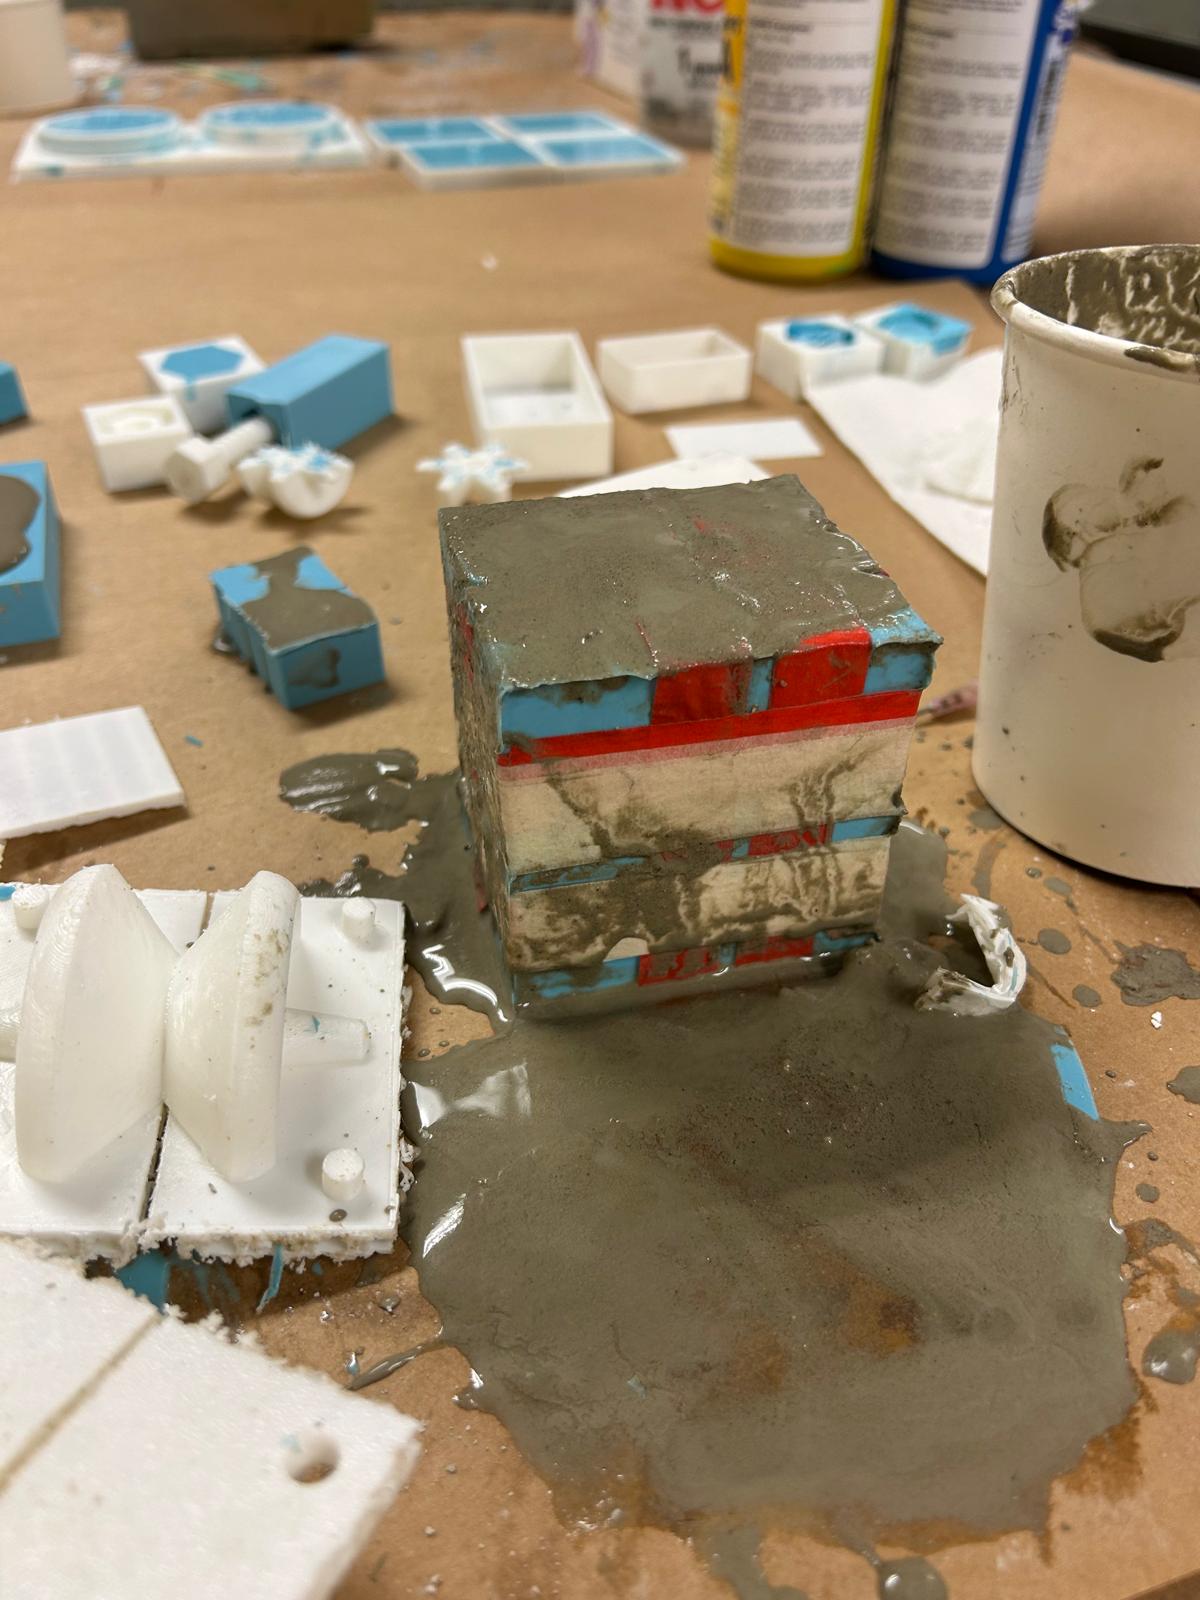
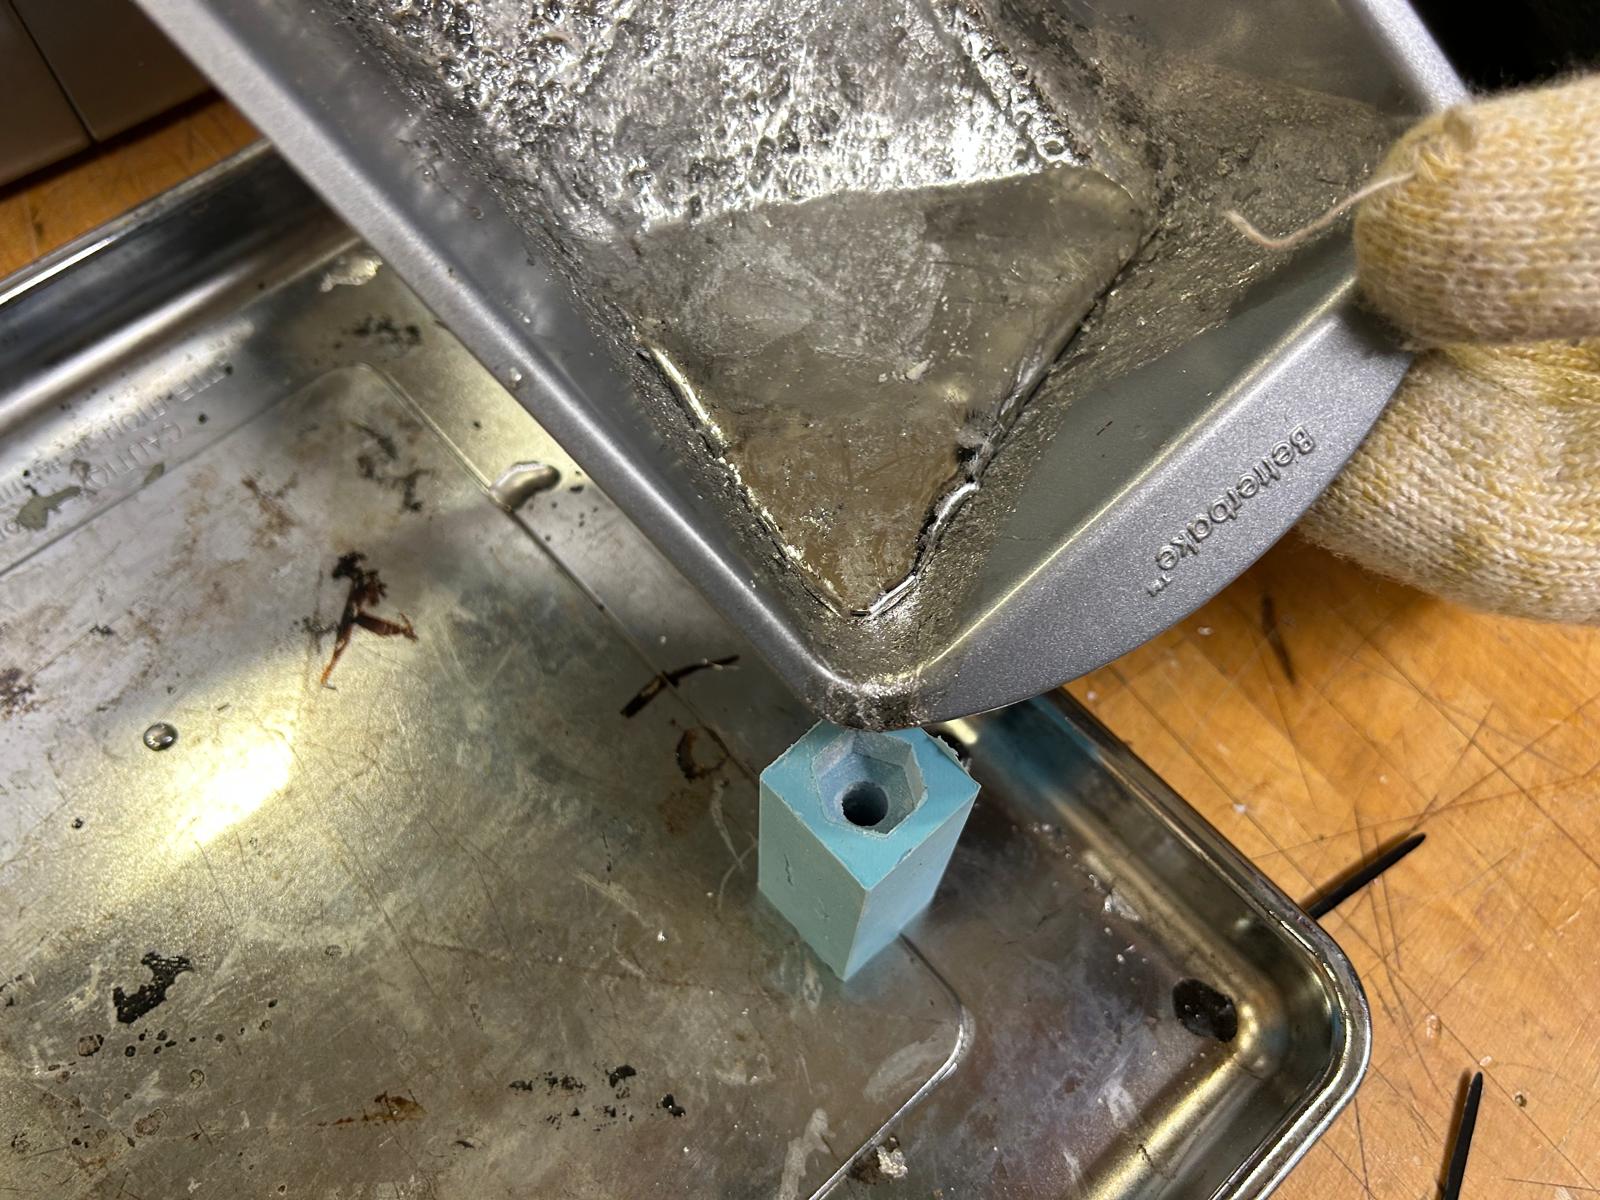
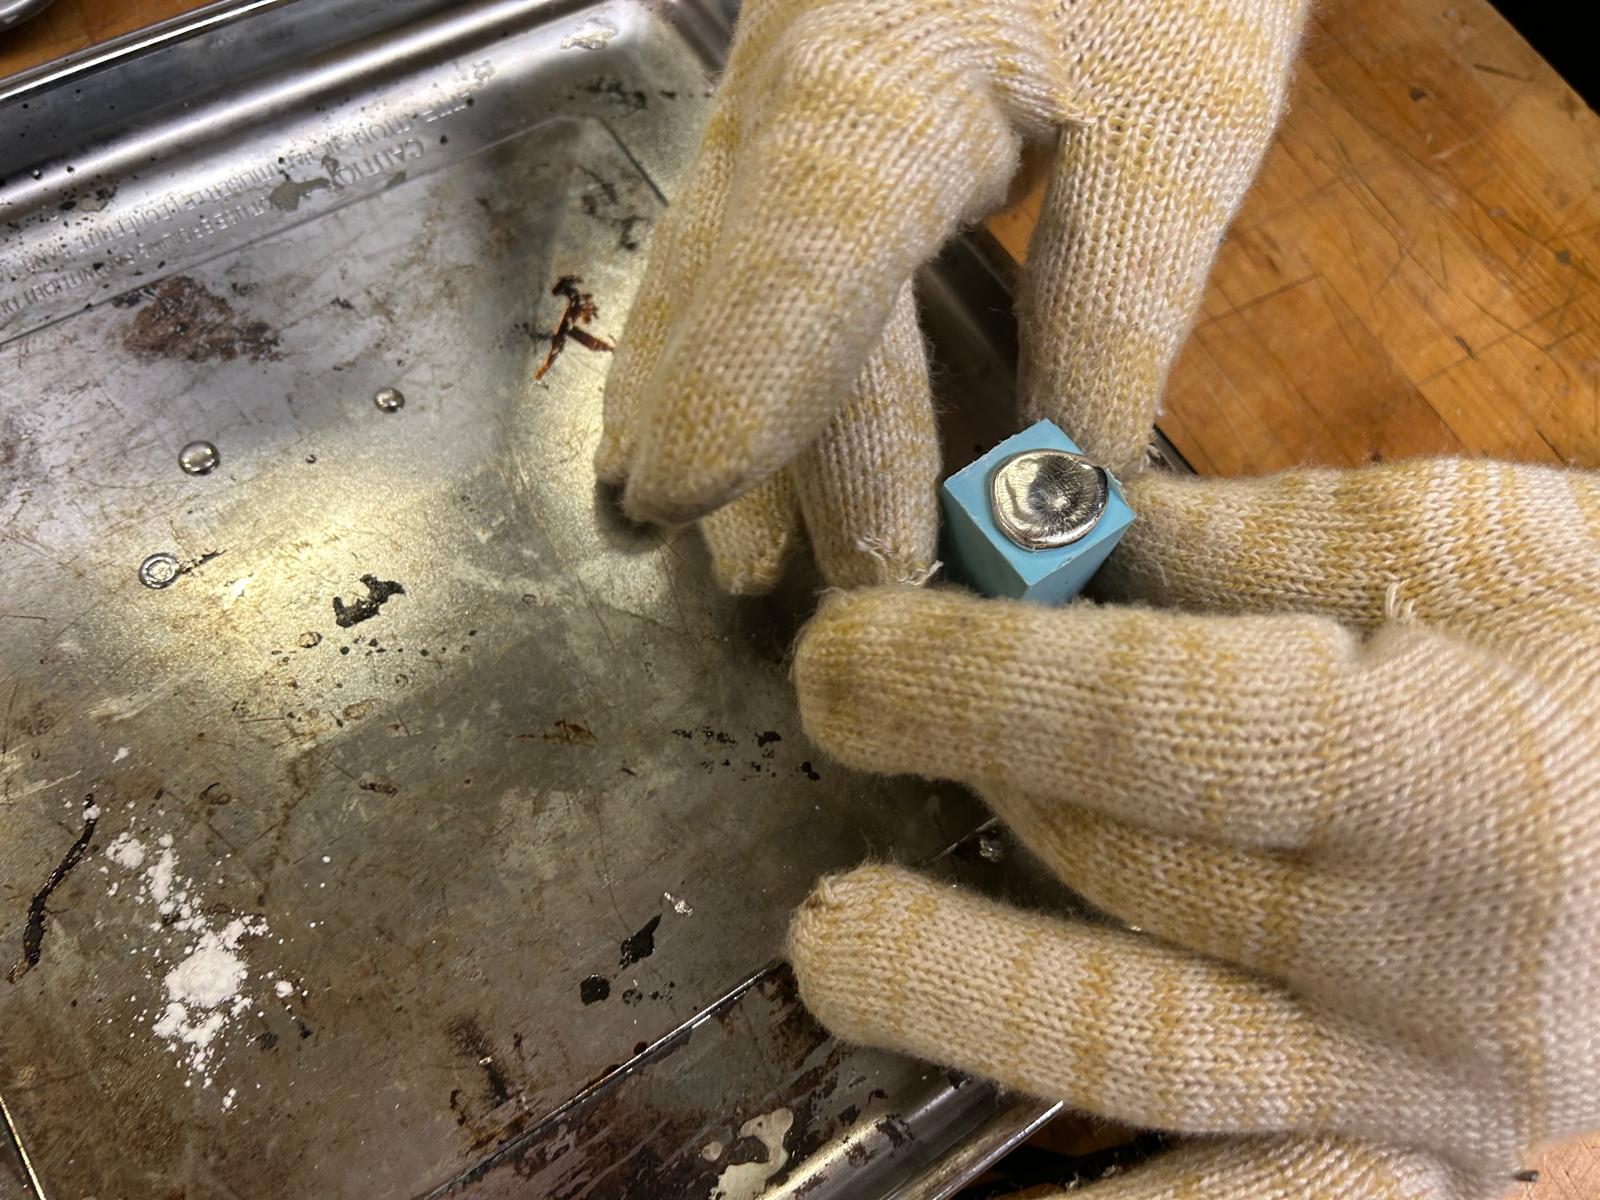
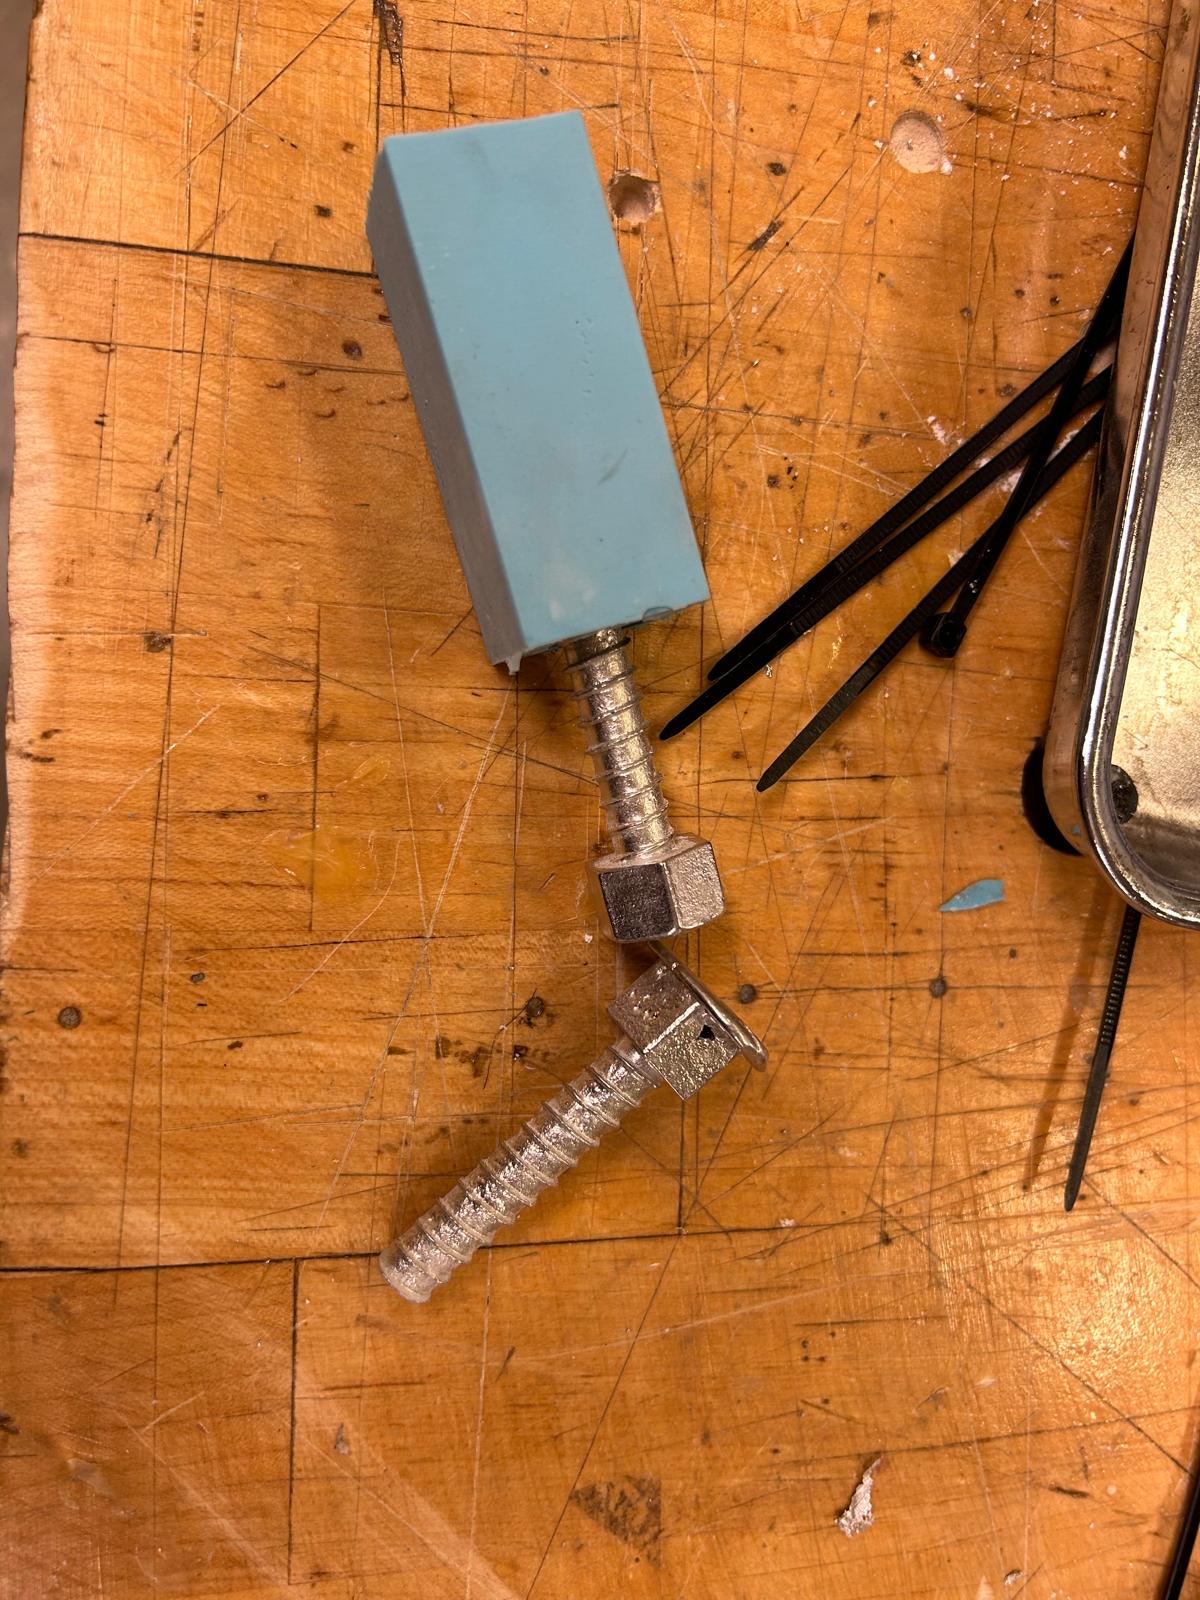
While I was waiting for the next part of the mold to dry, I had the opportunity to cast metal using the screw mold, with the help of Aiden and Gert. This process introduced an additional layer of complexity, as working with metal requires careful handling, precise timing, and attention to safety. Pouring the metal into the mold allowed me to observe how well fine details, such as threads, were captured in a more demanding material.
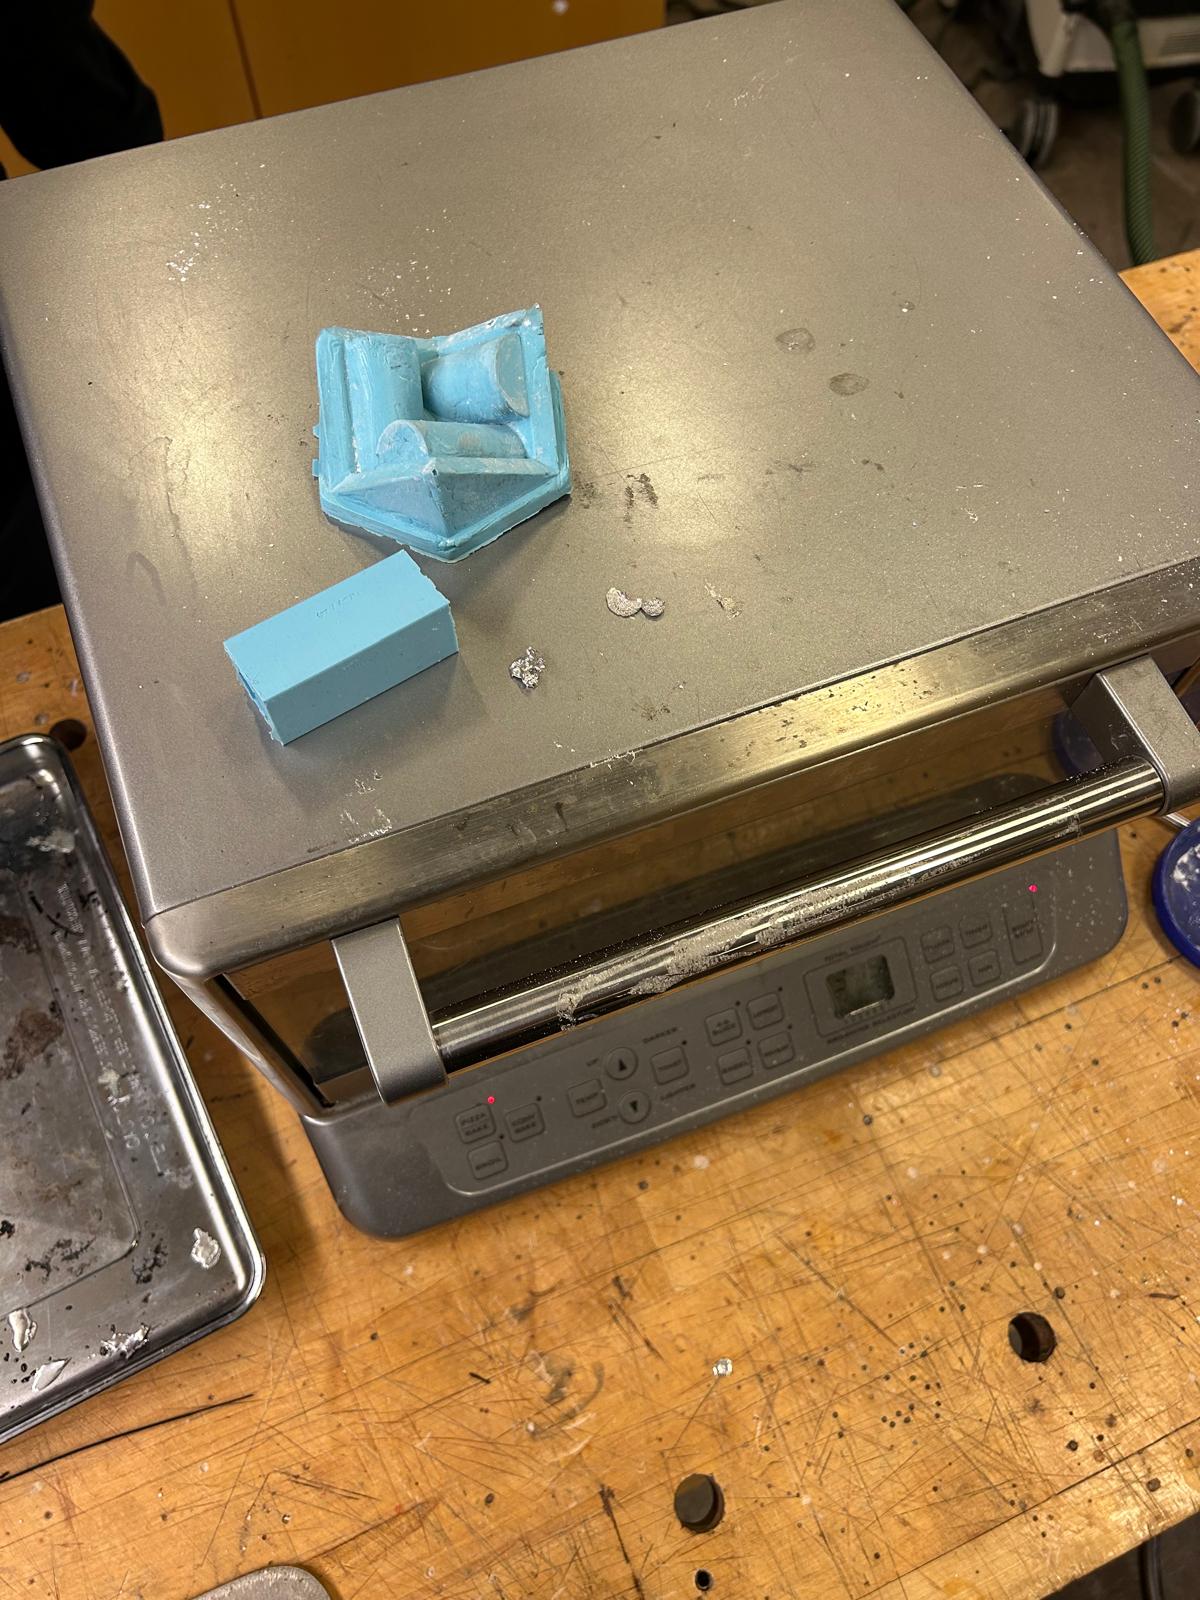
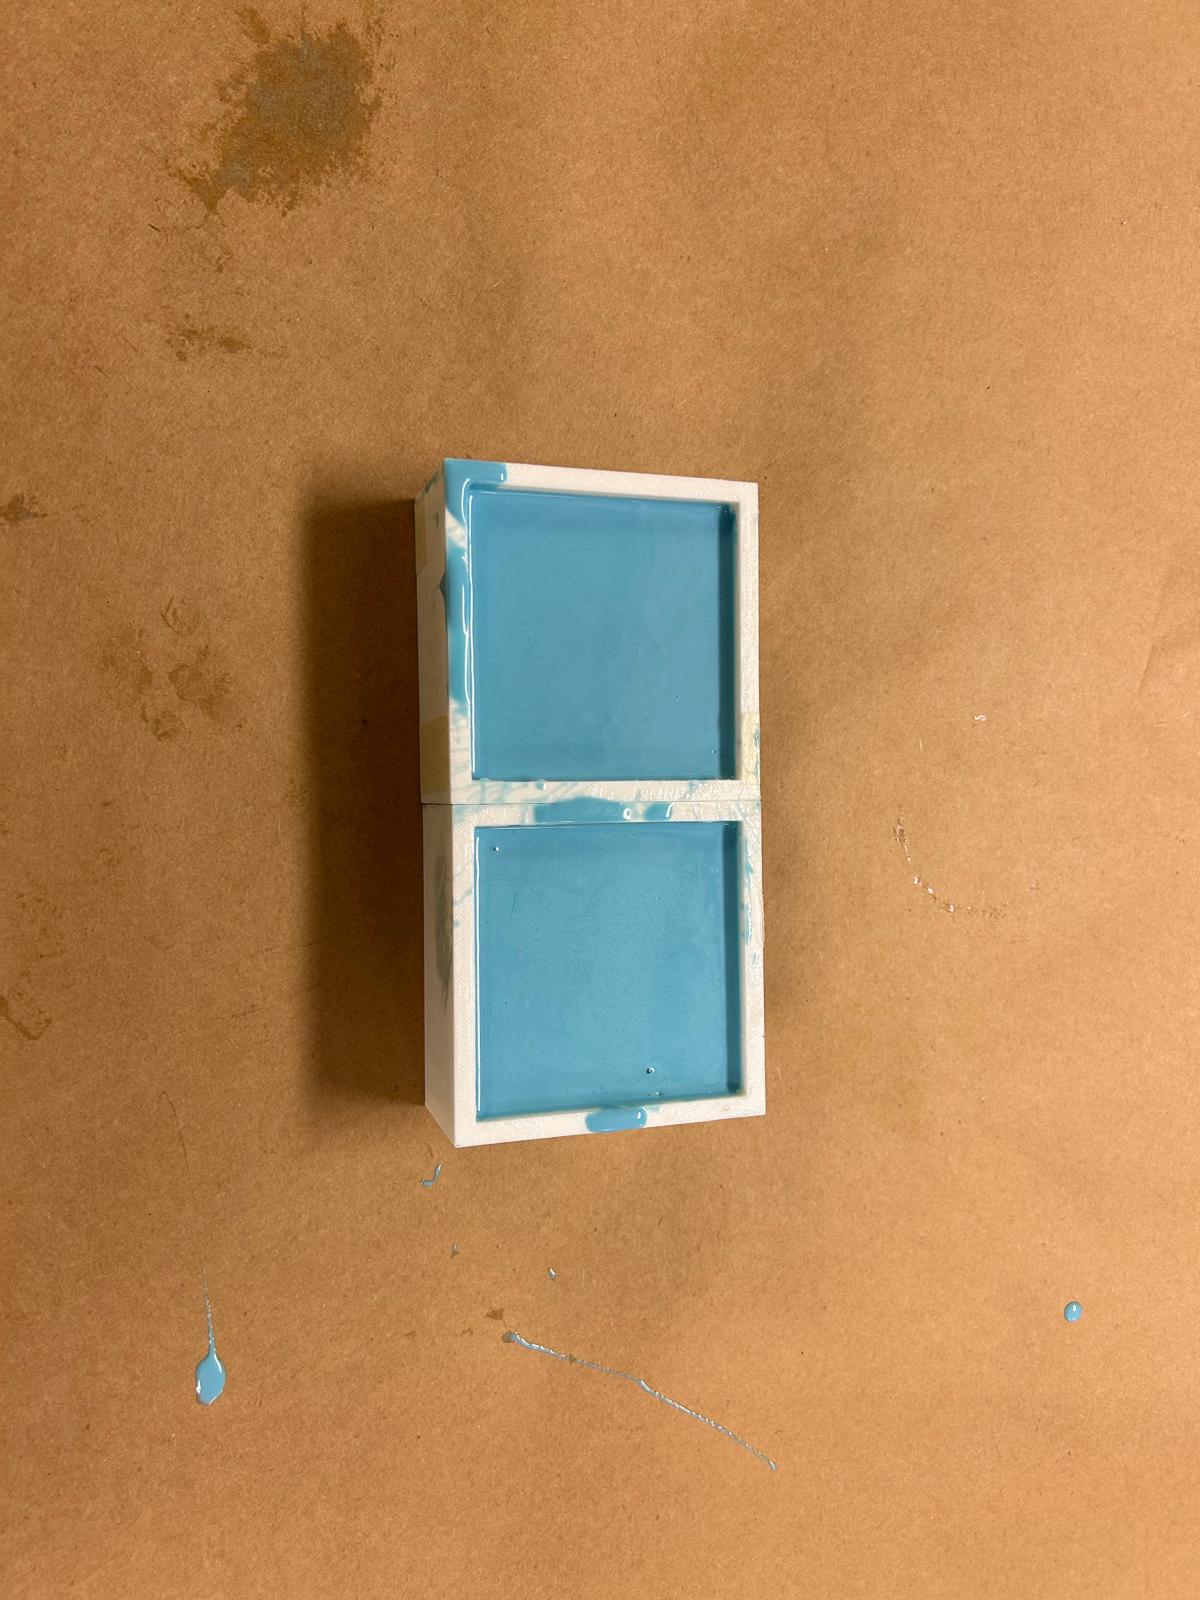
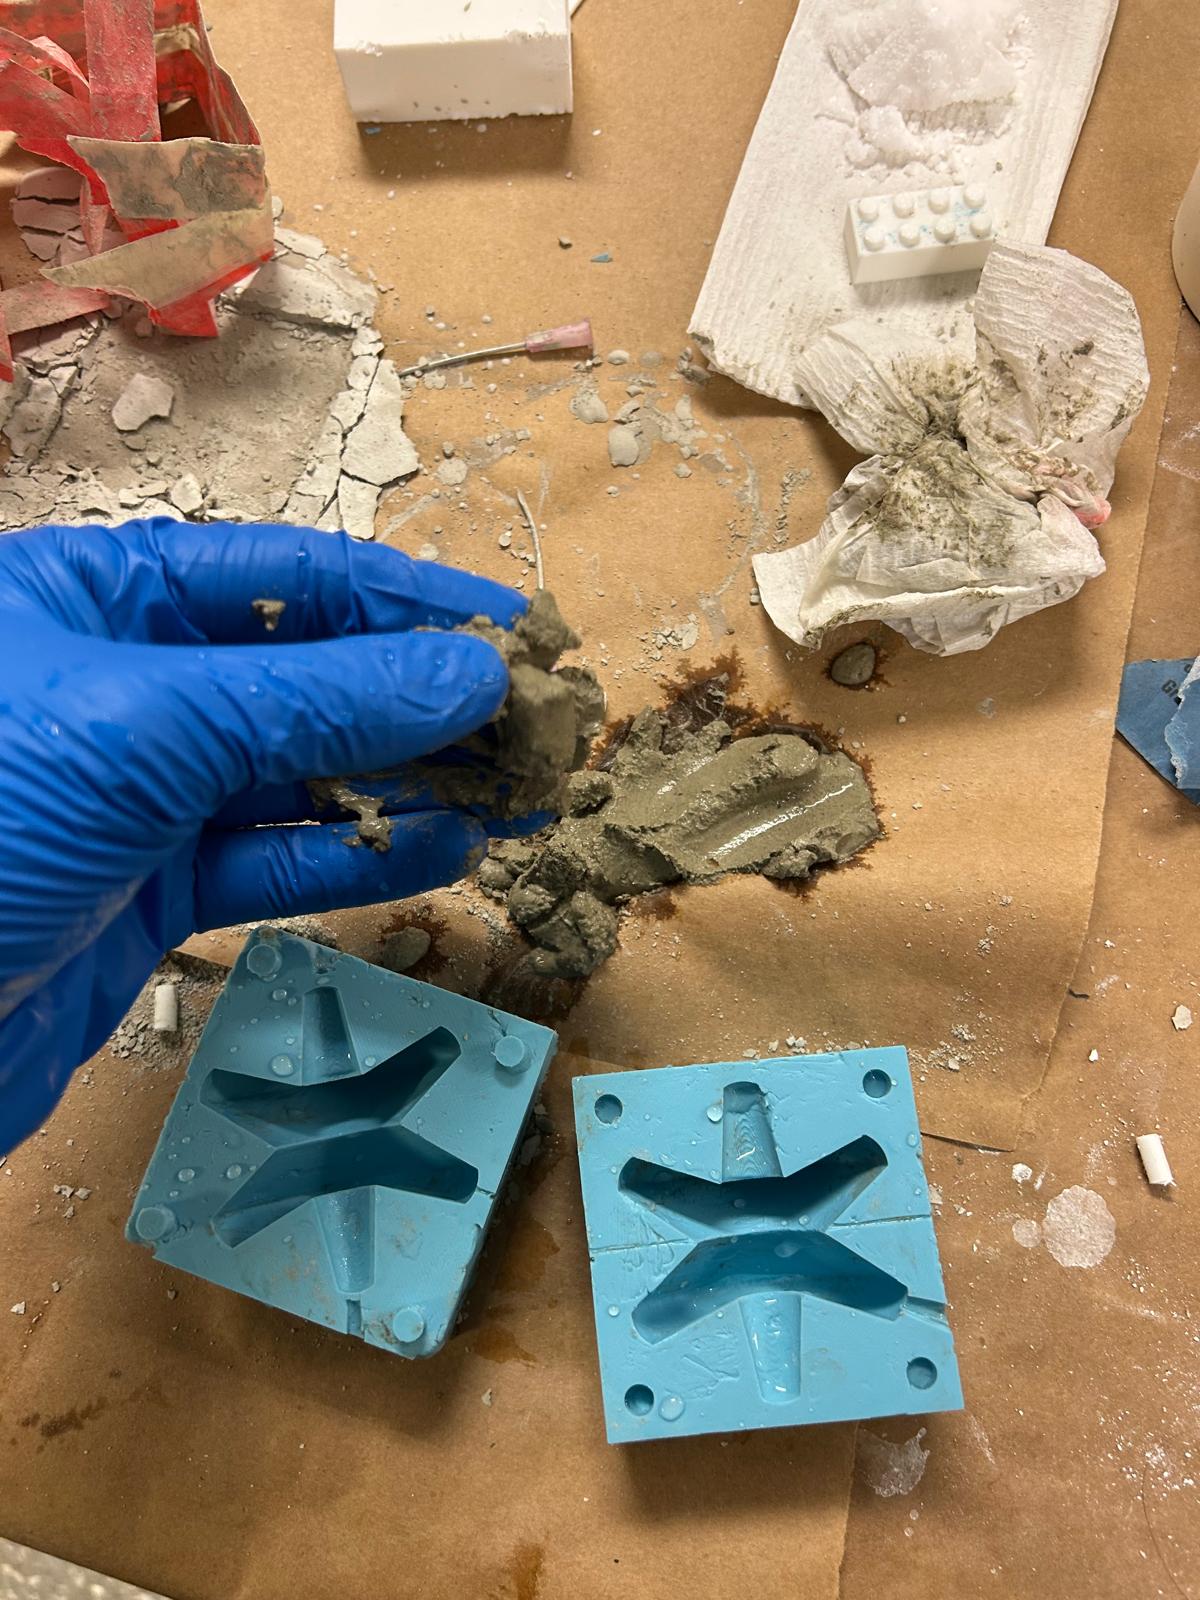
my sphericon was ready and this time it came out perfectly