week 3: embedded programming
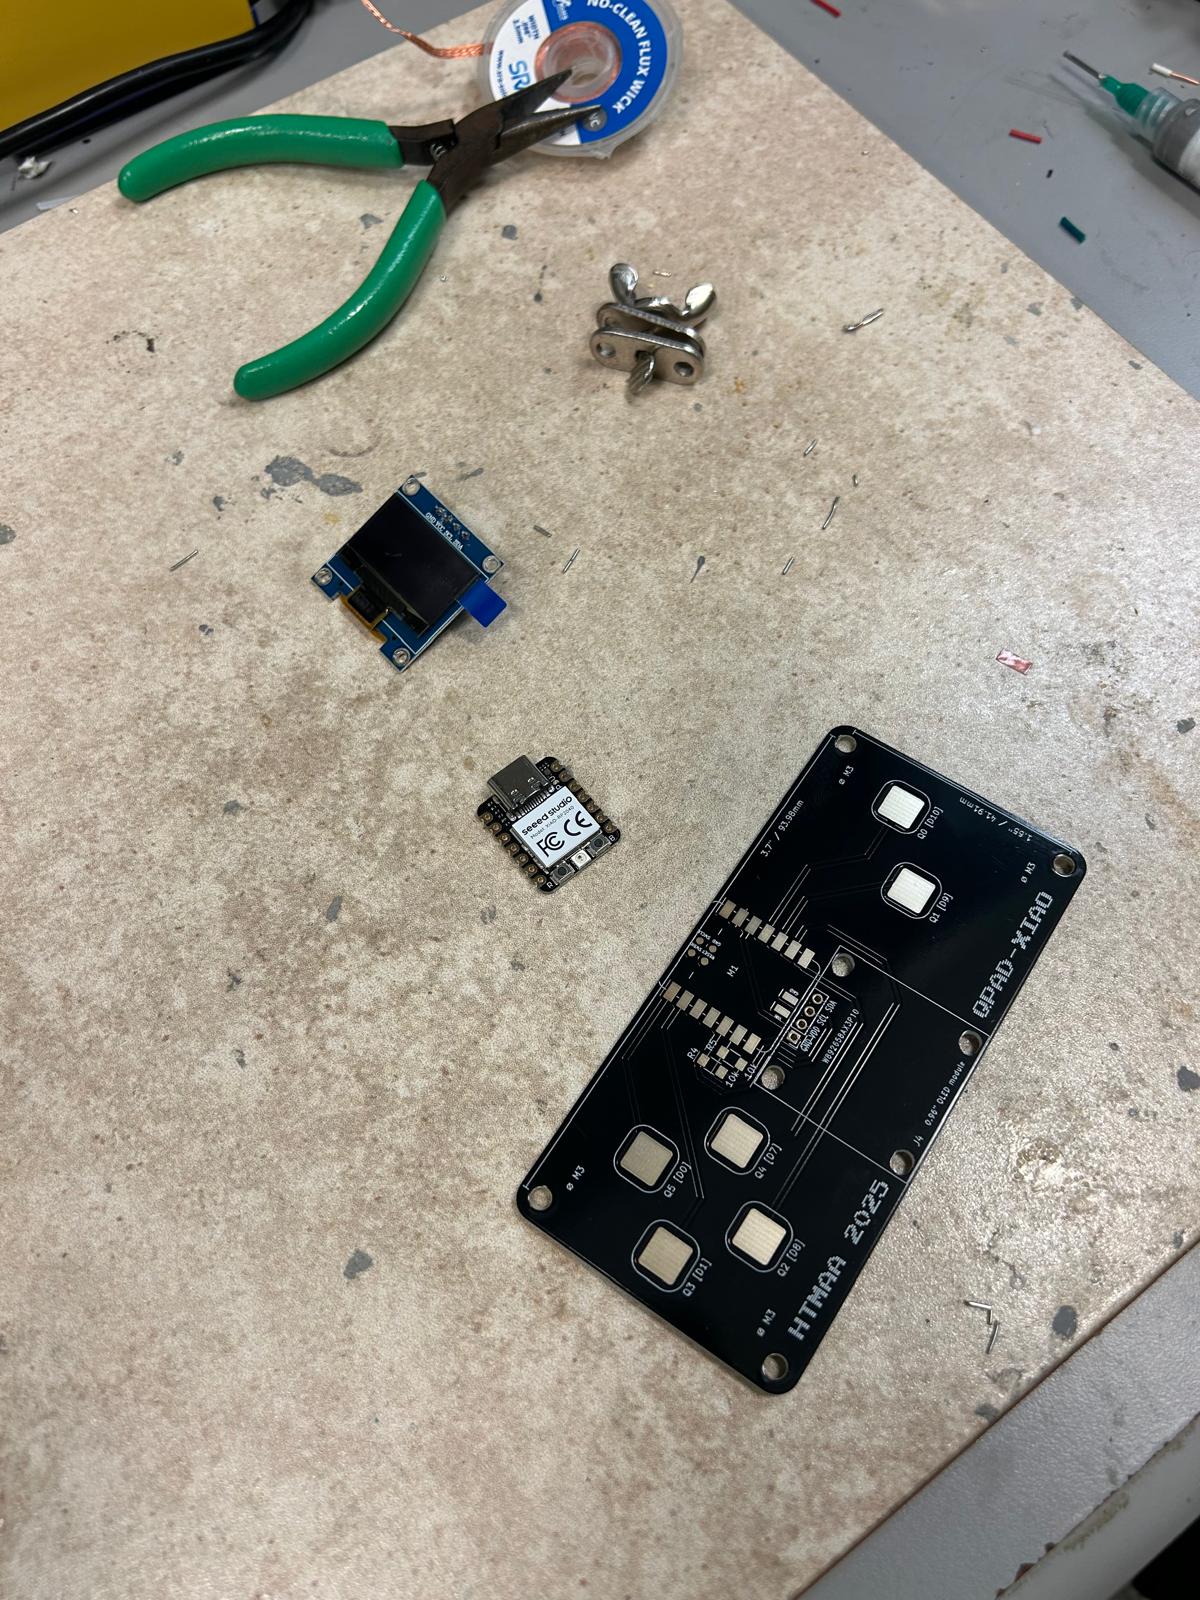
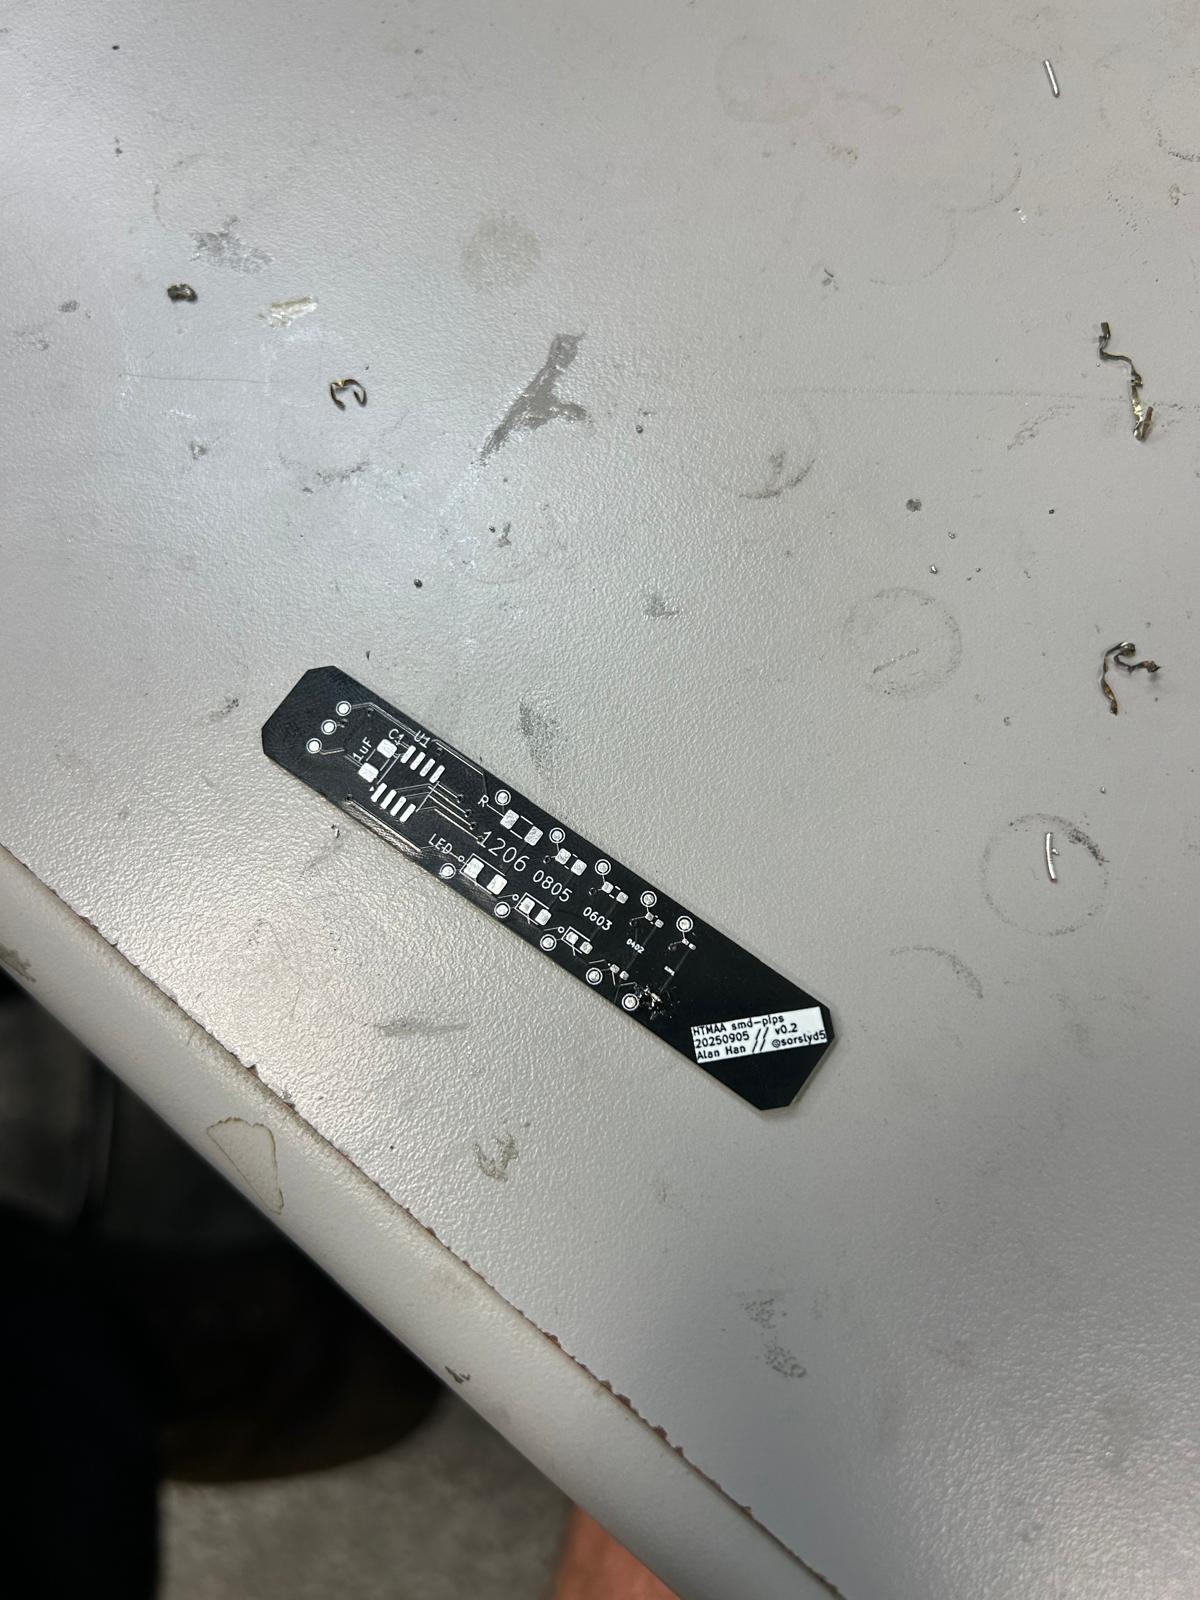
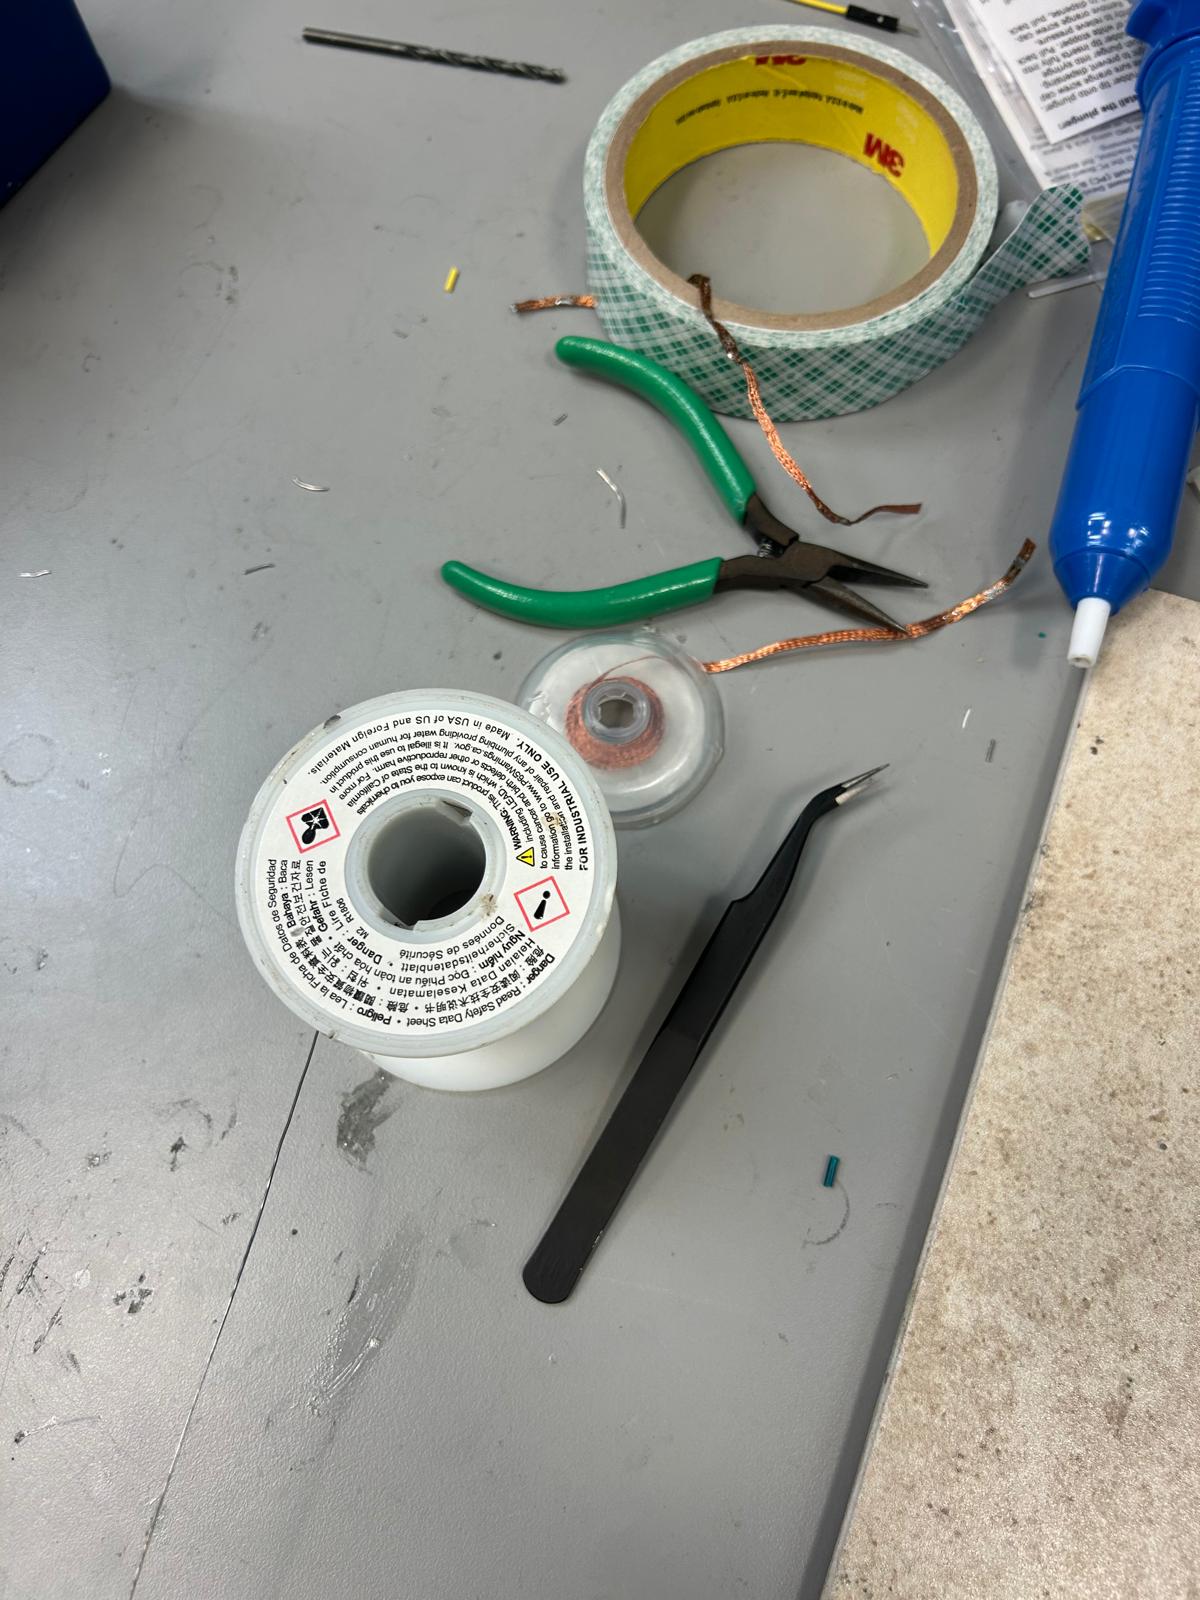
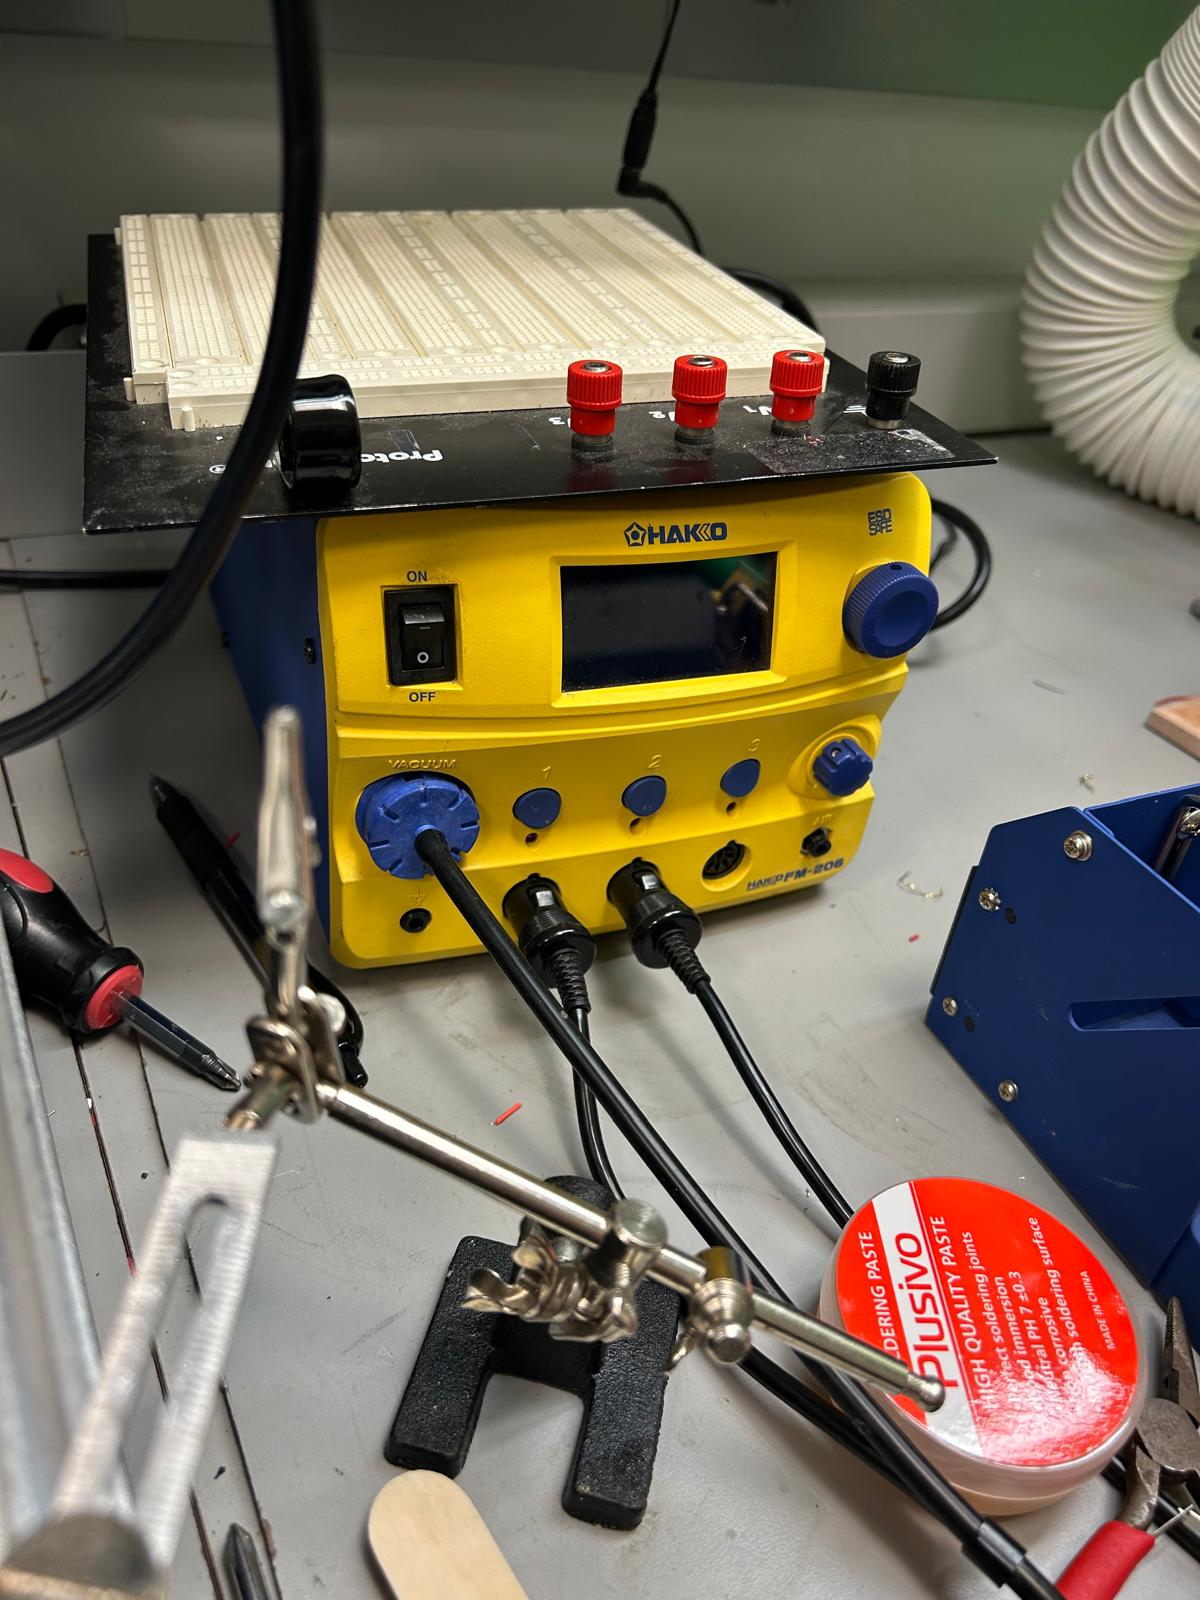
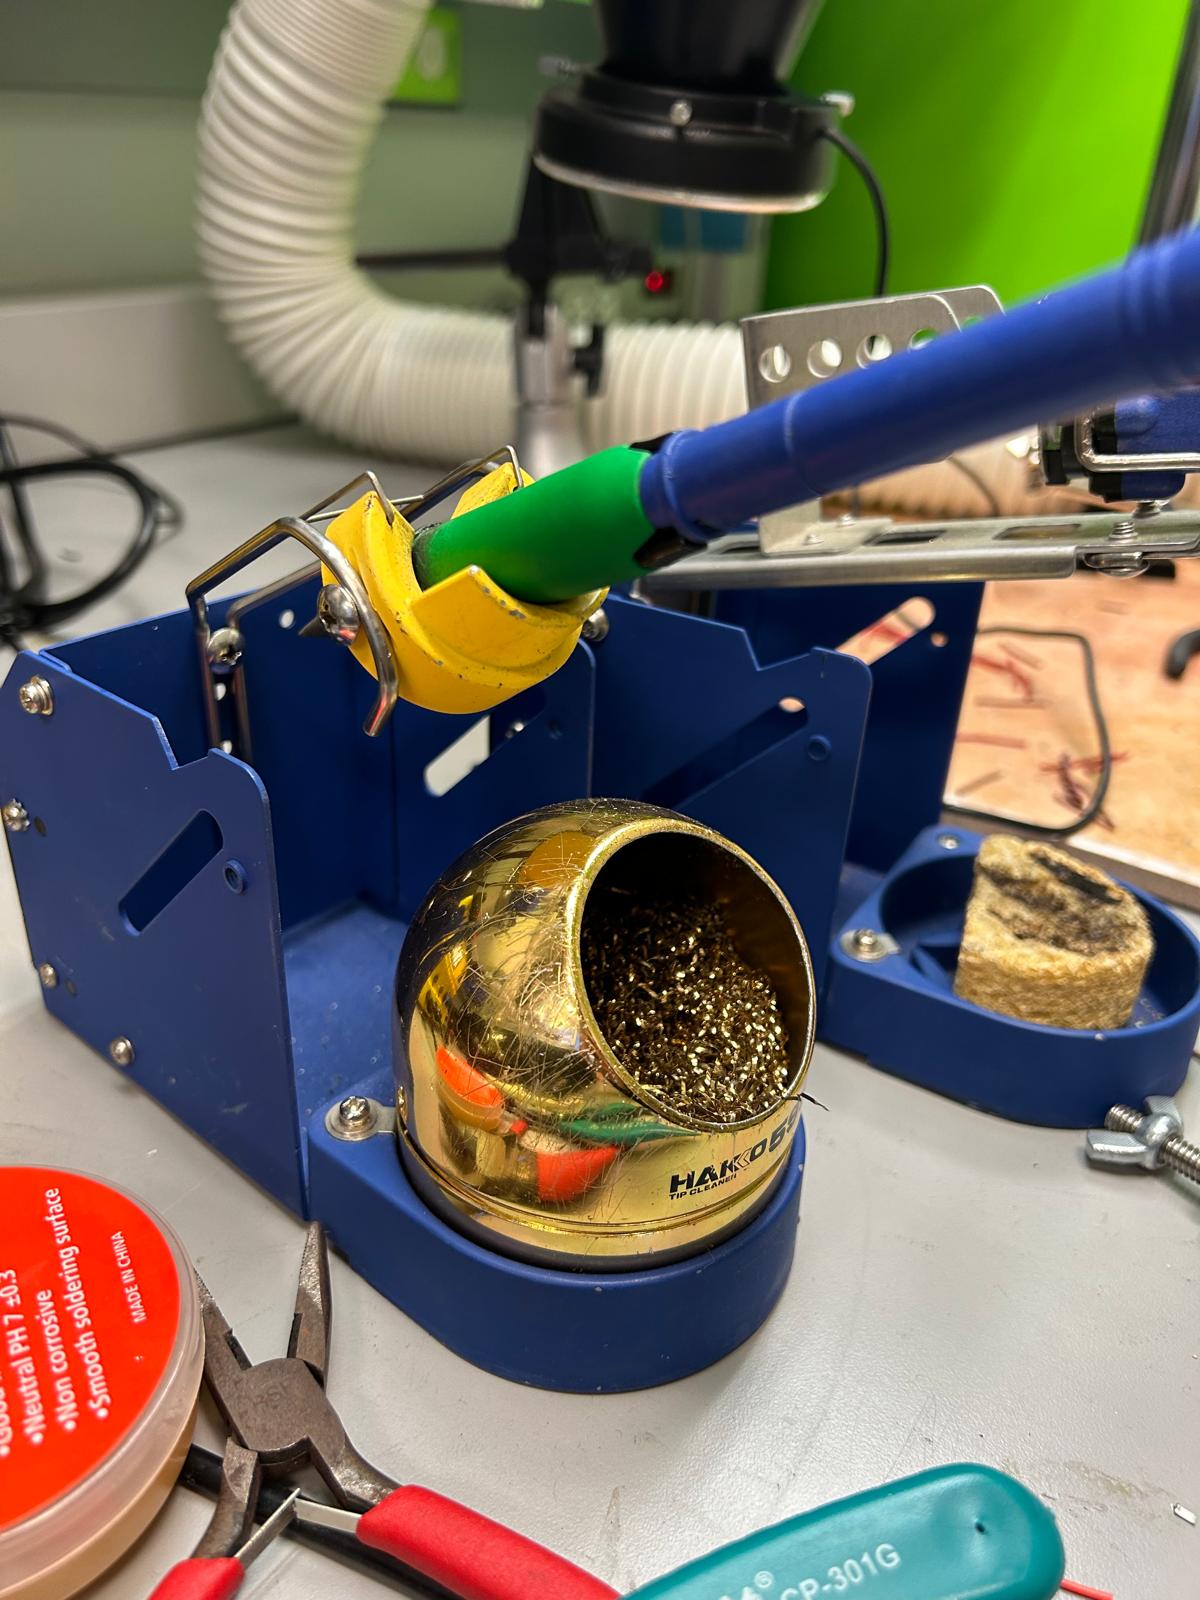
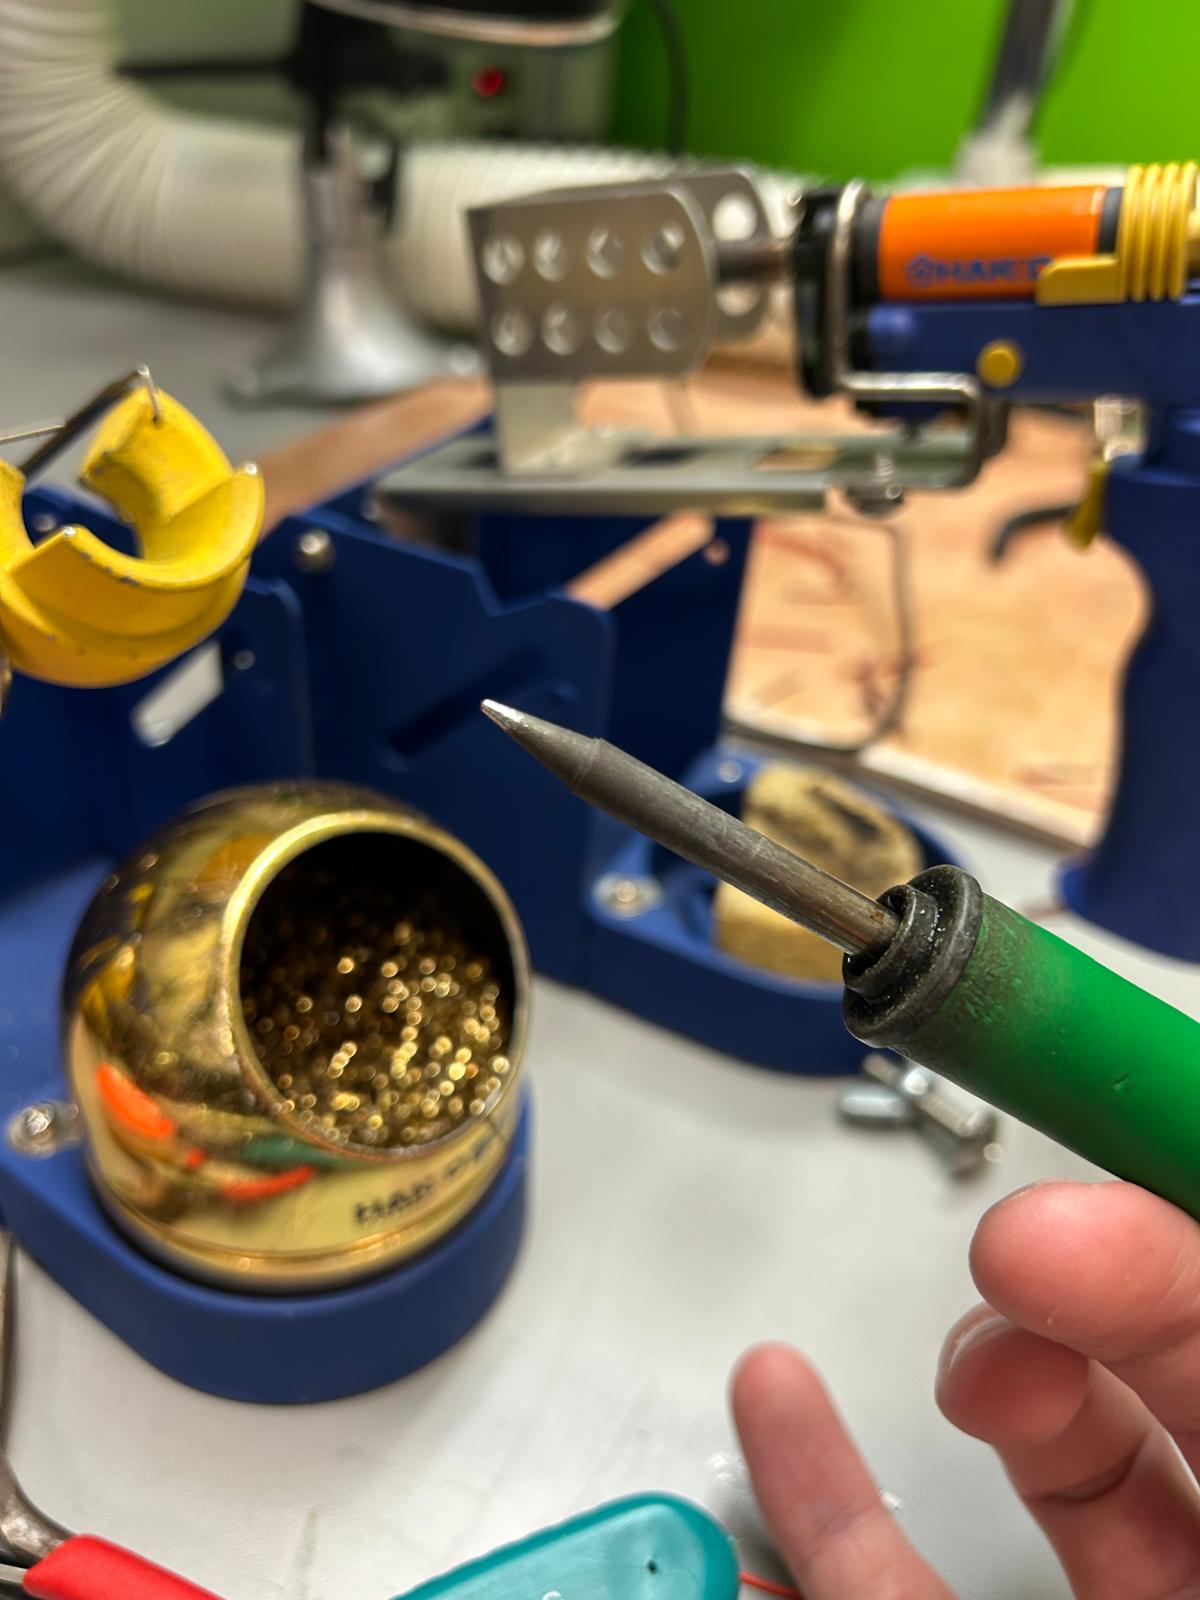
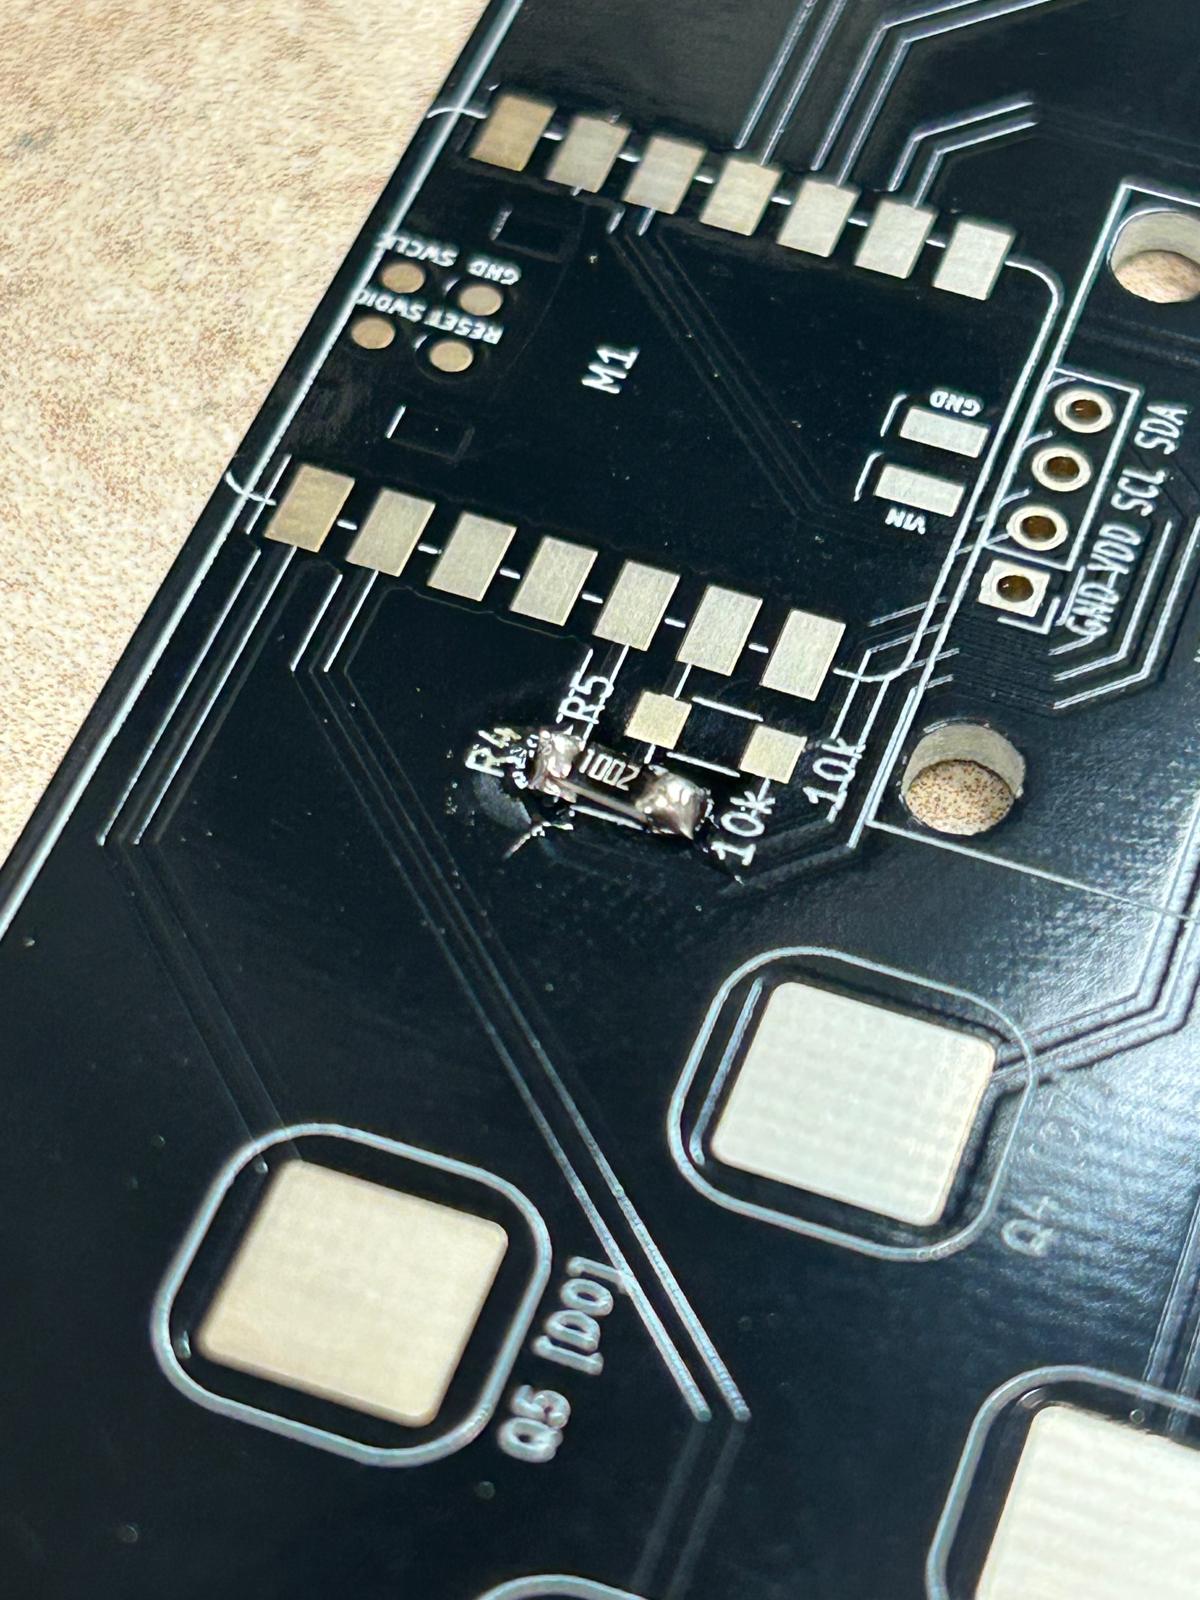
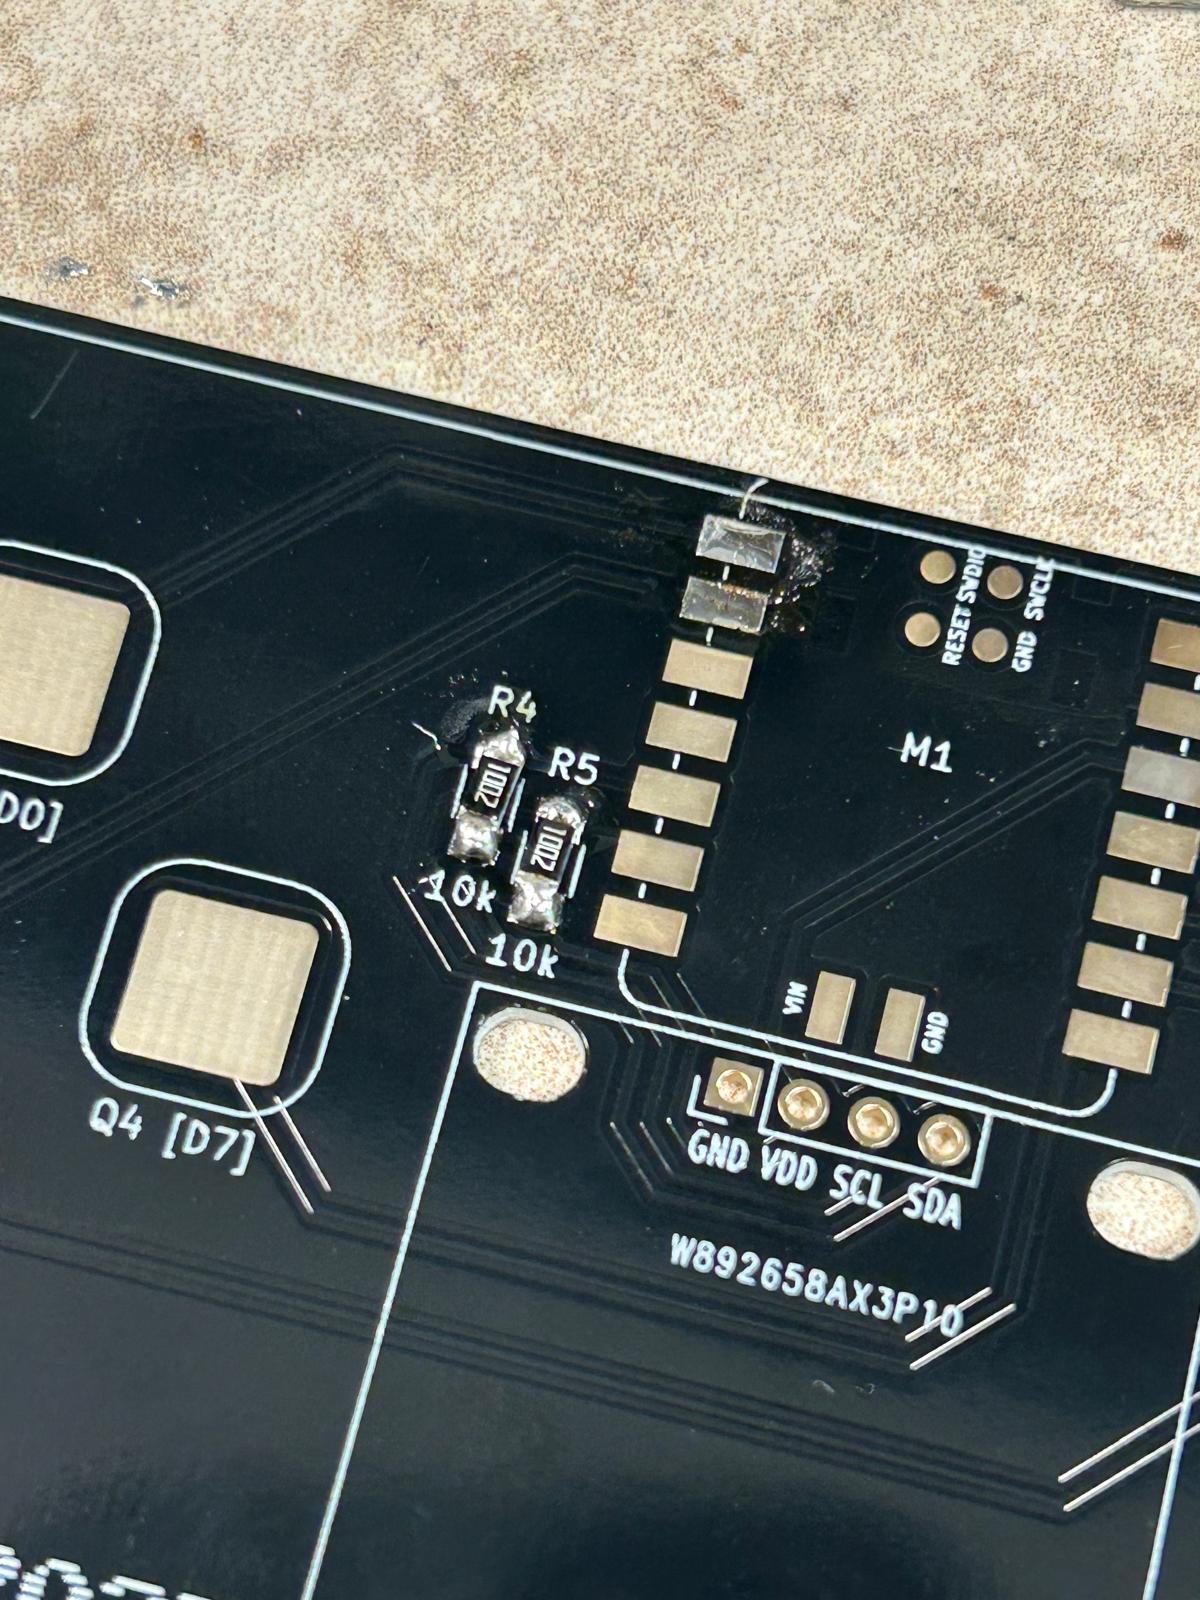
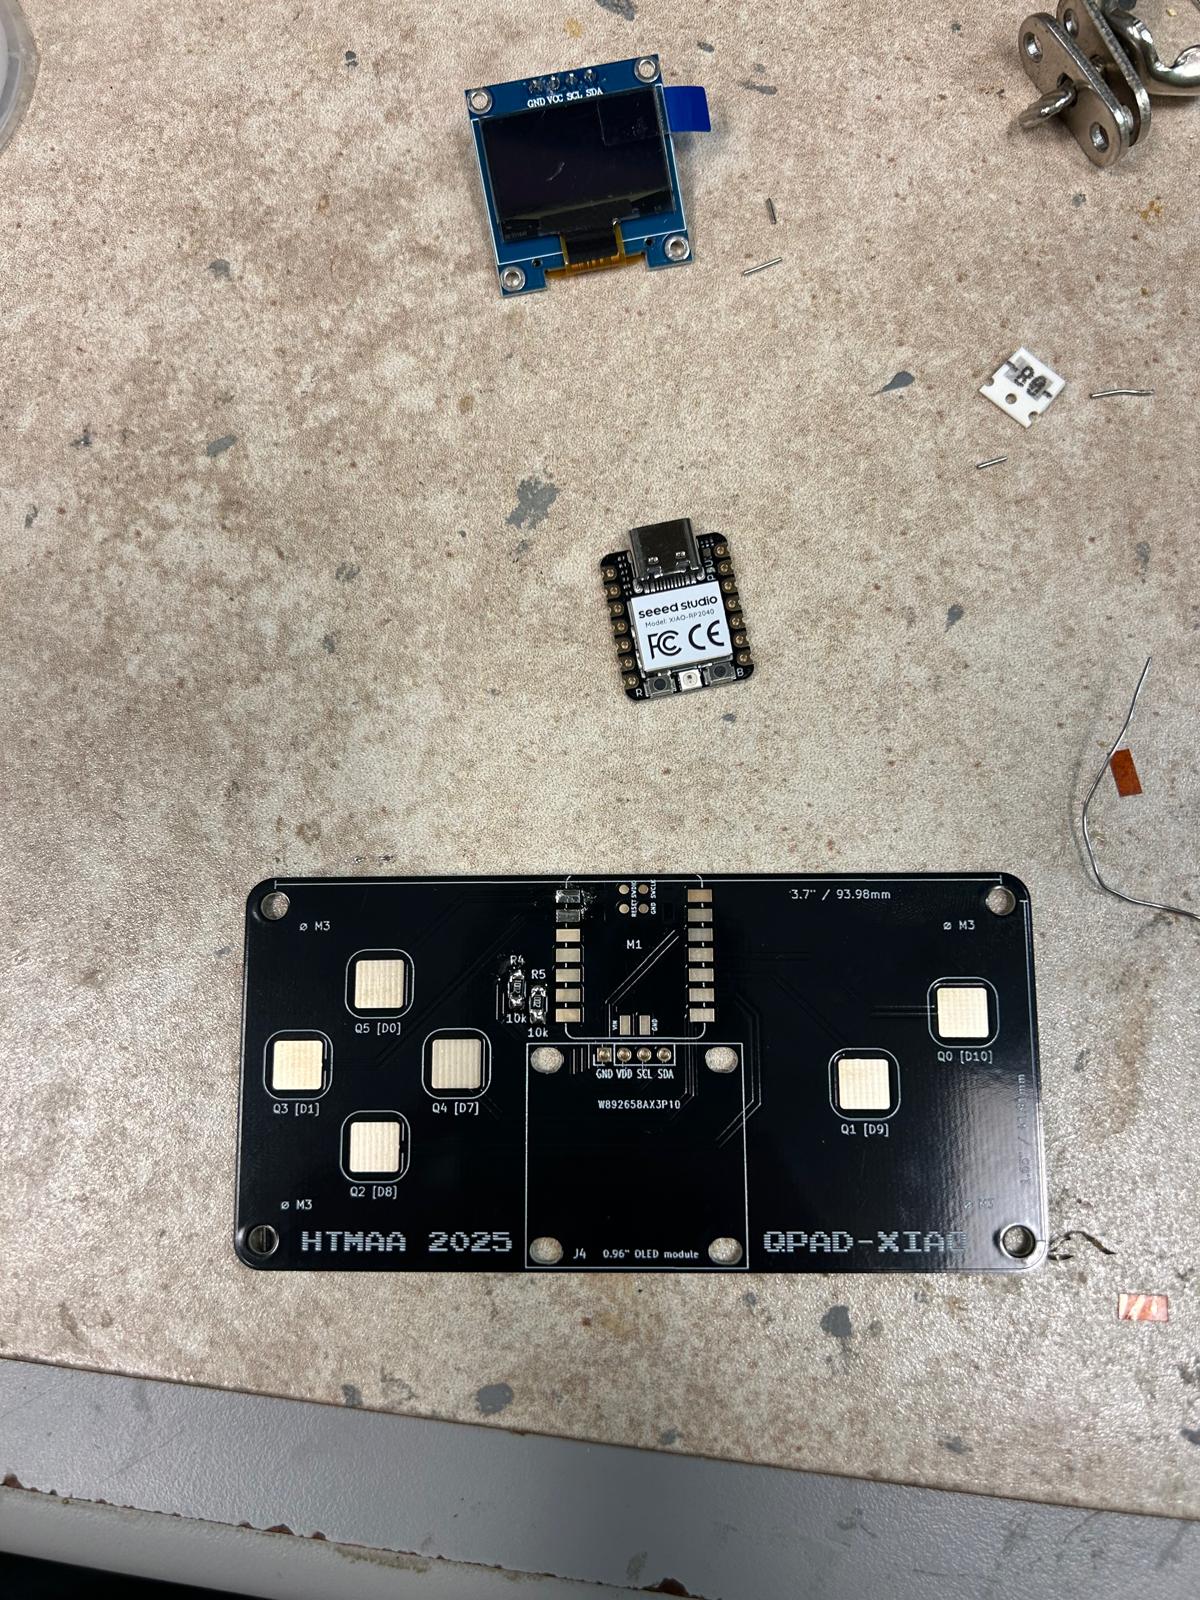
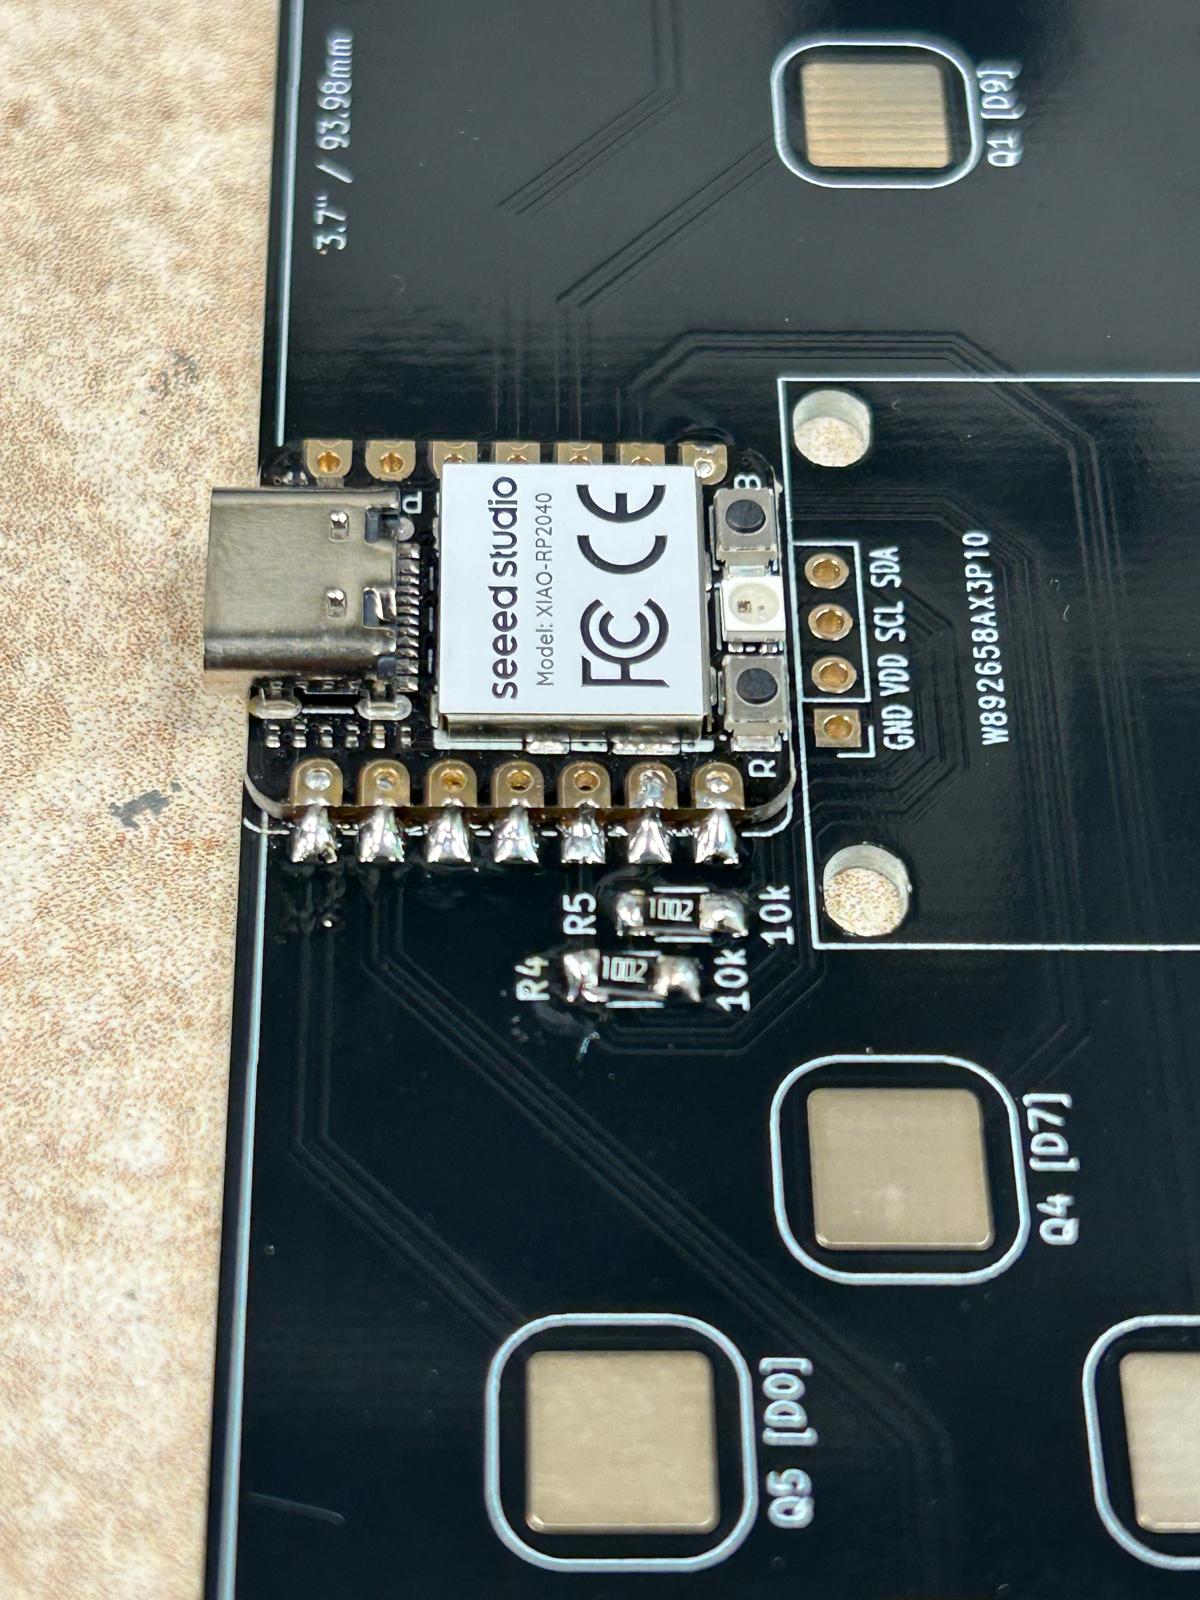
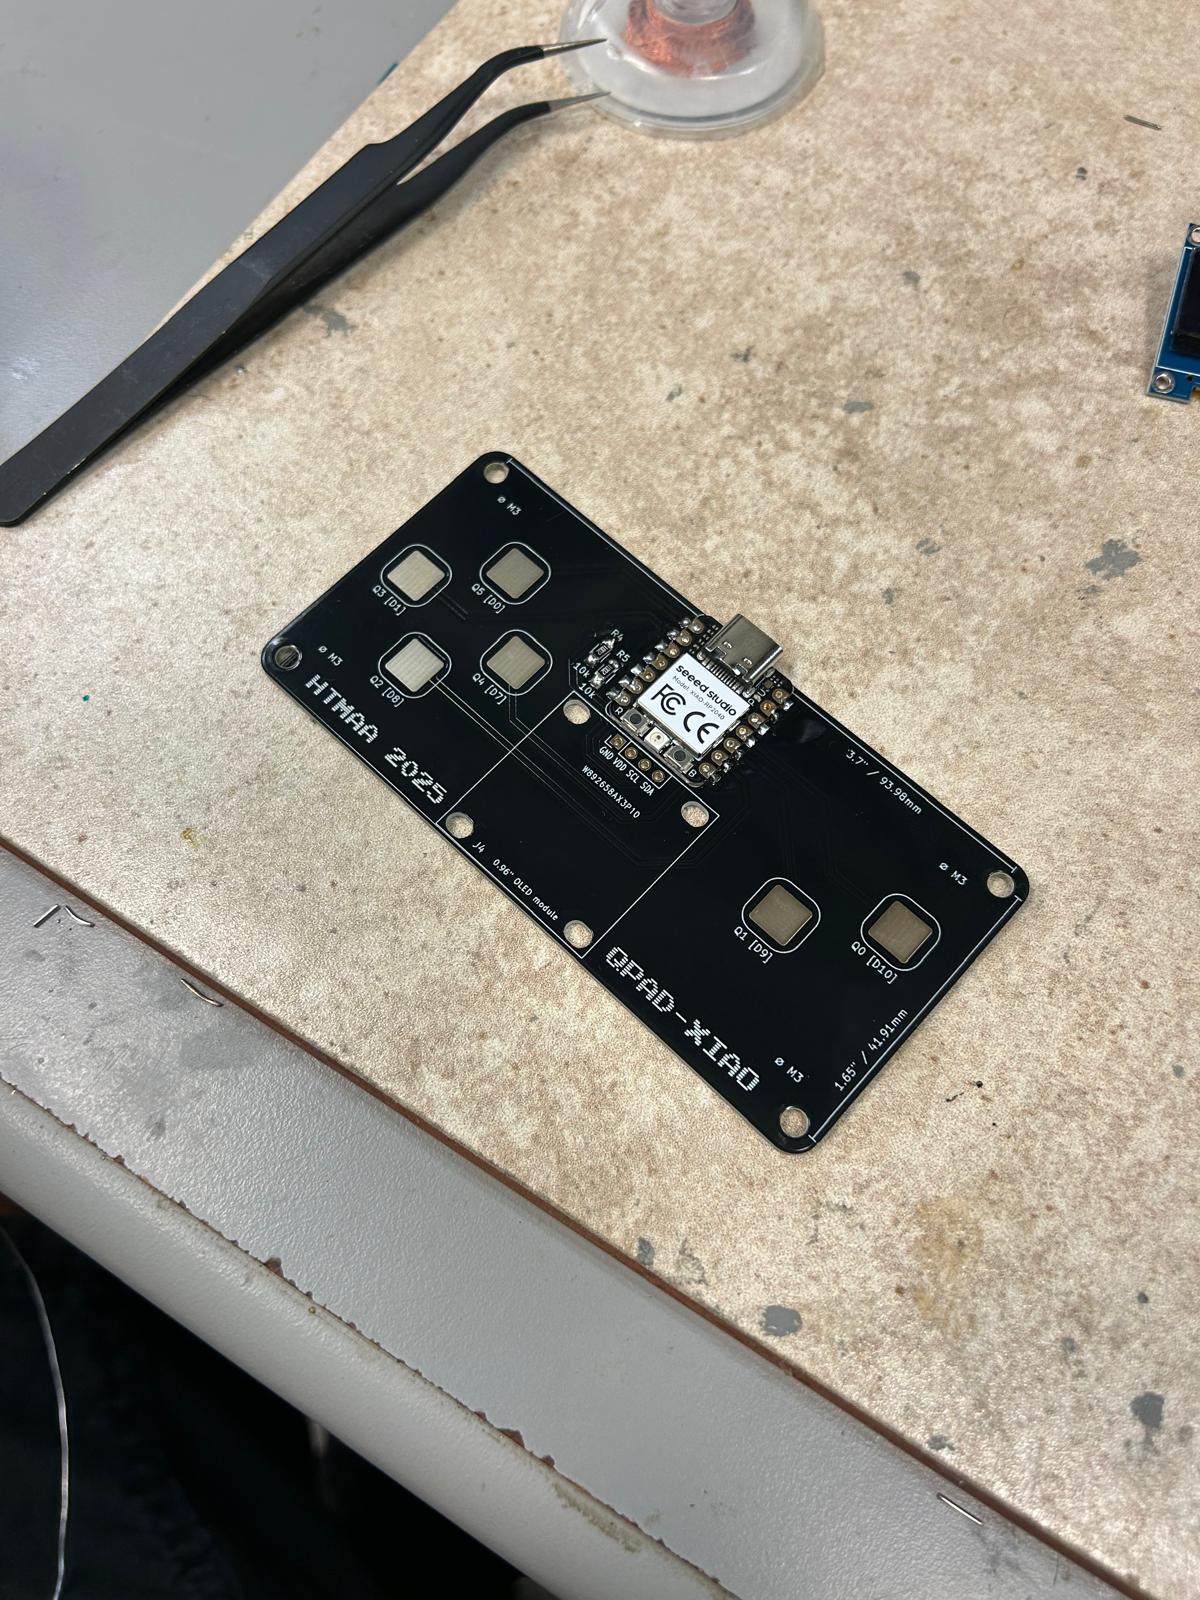
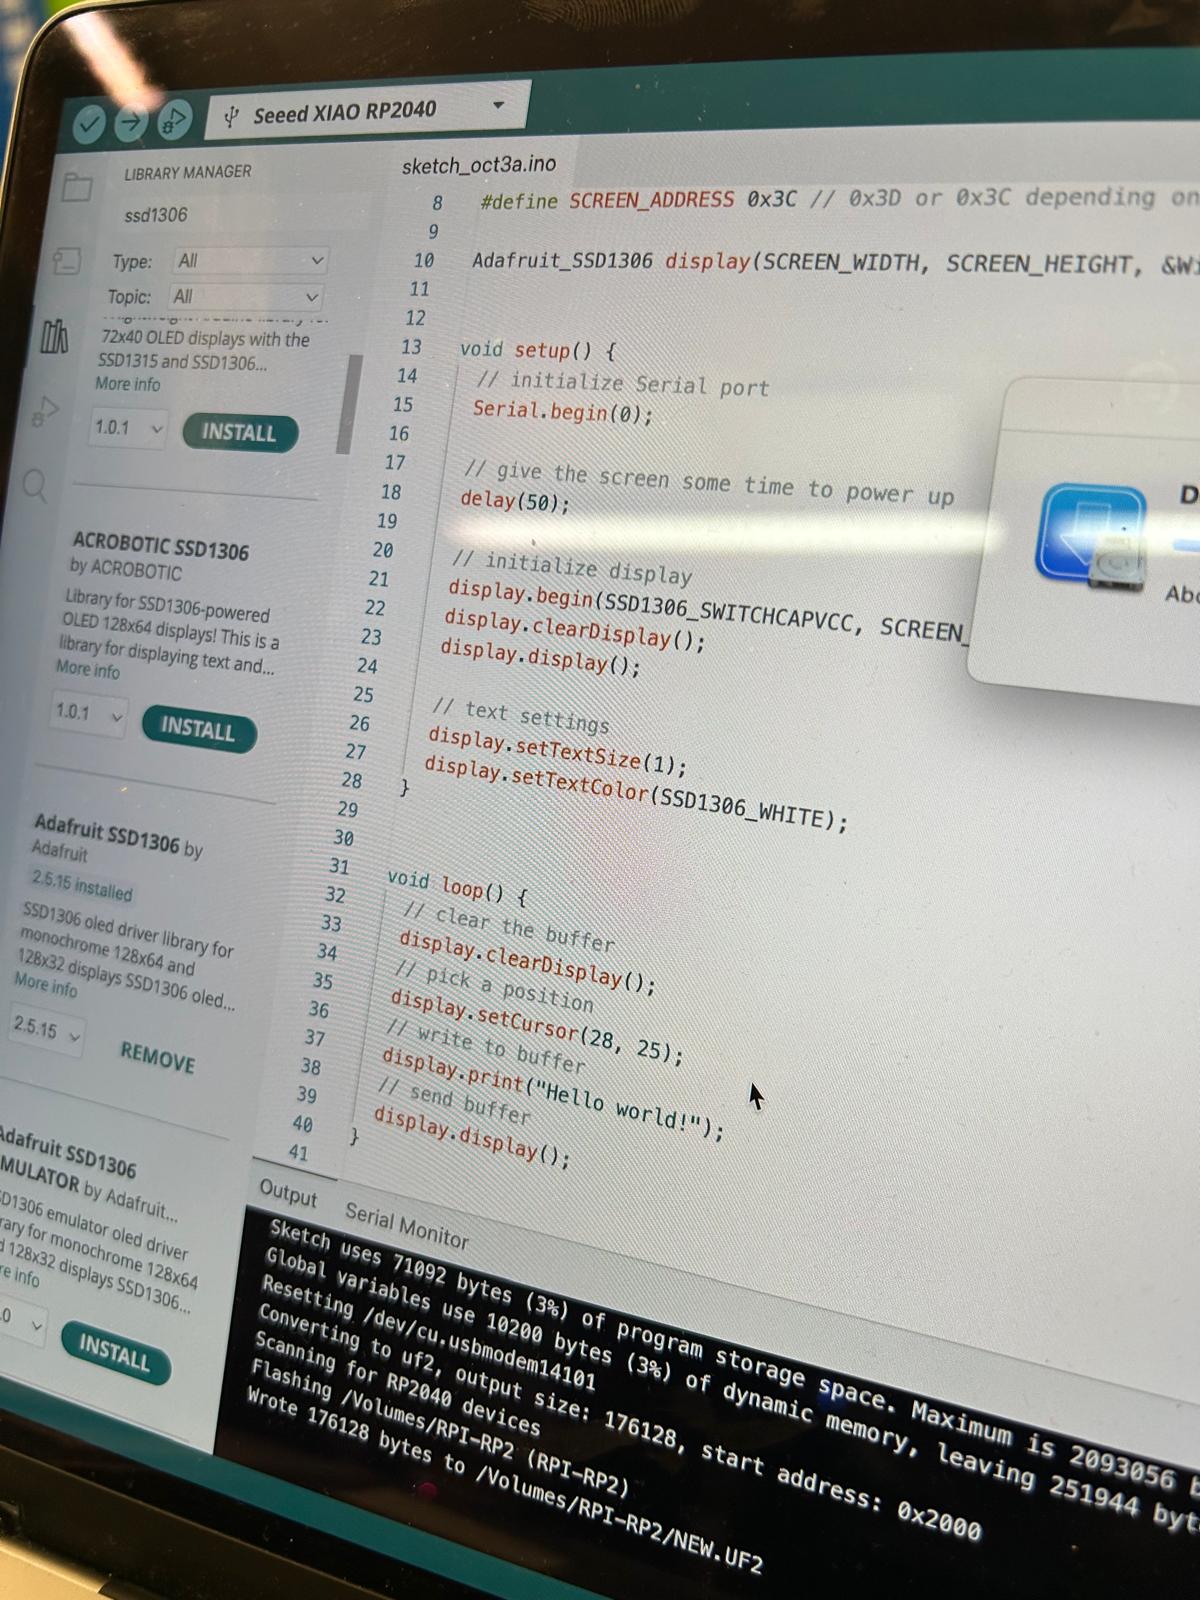
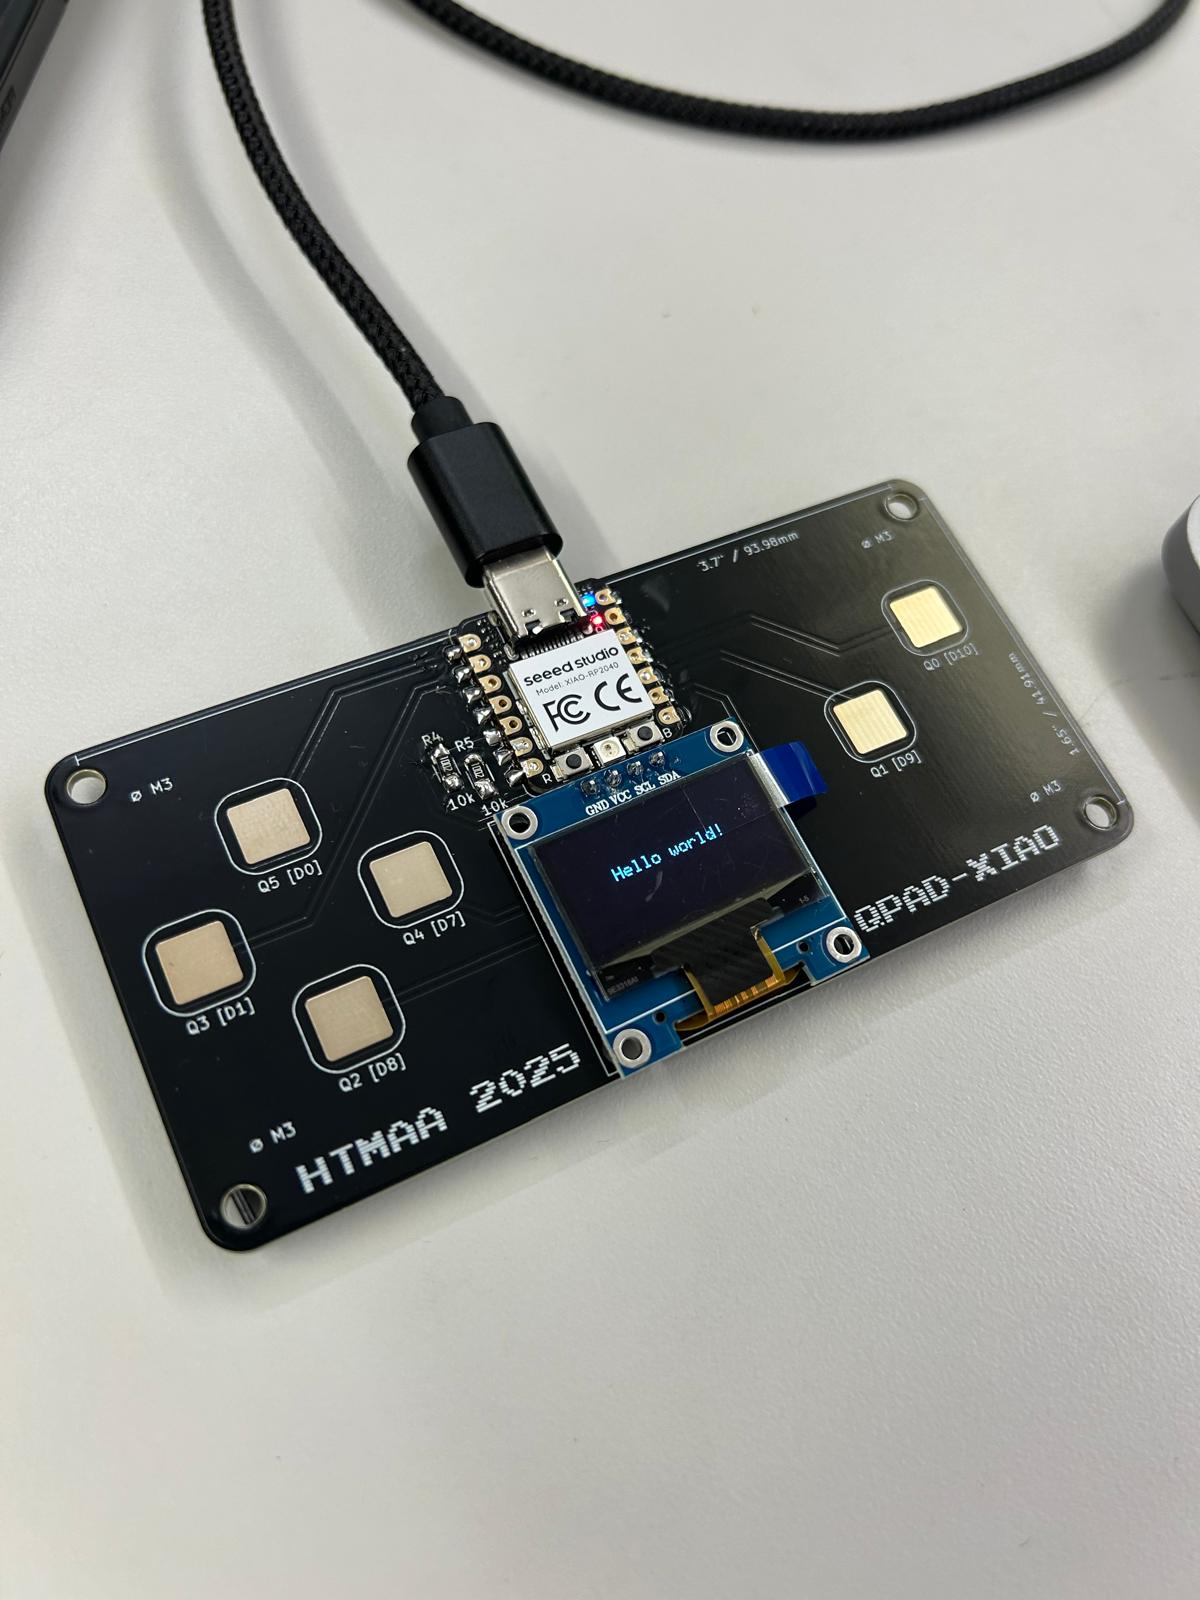
soldering session with Anthony and introduction to Arduino
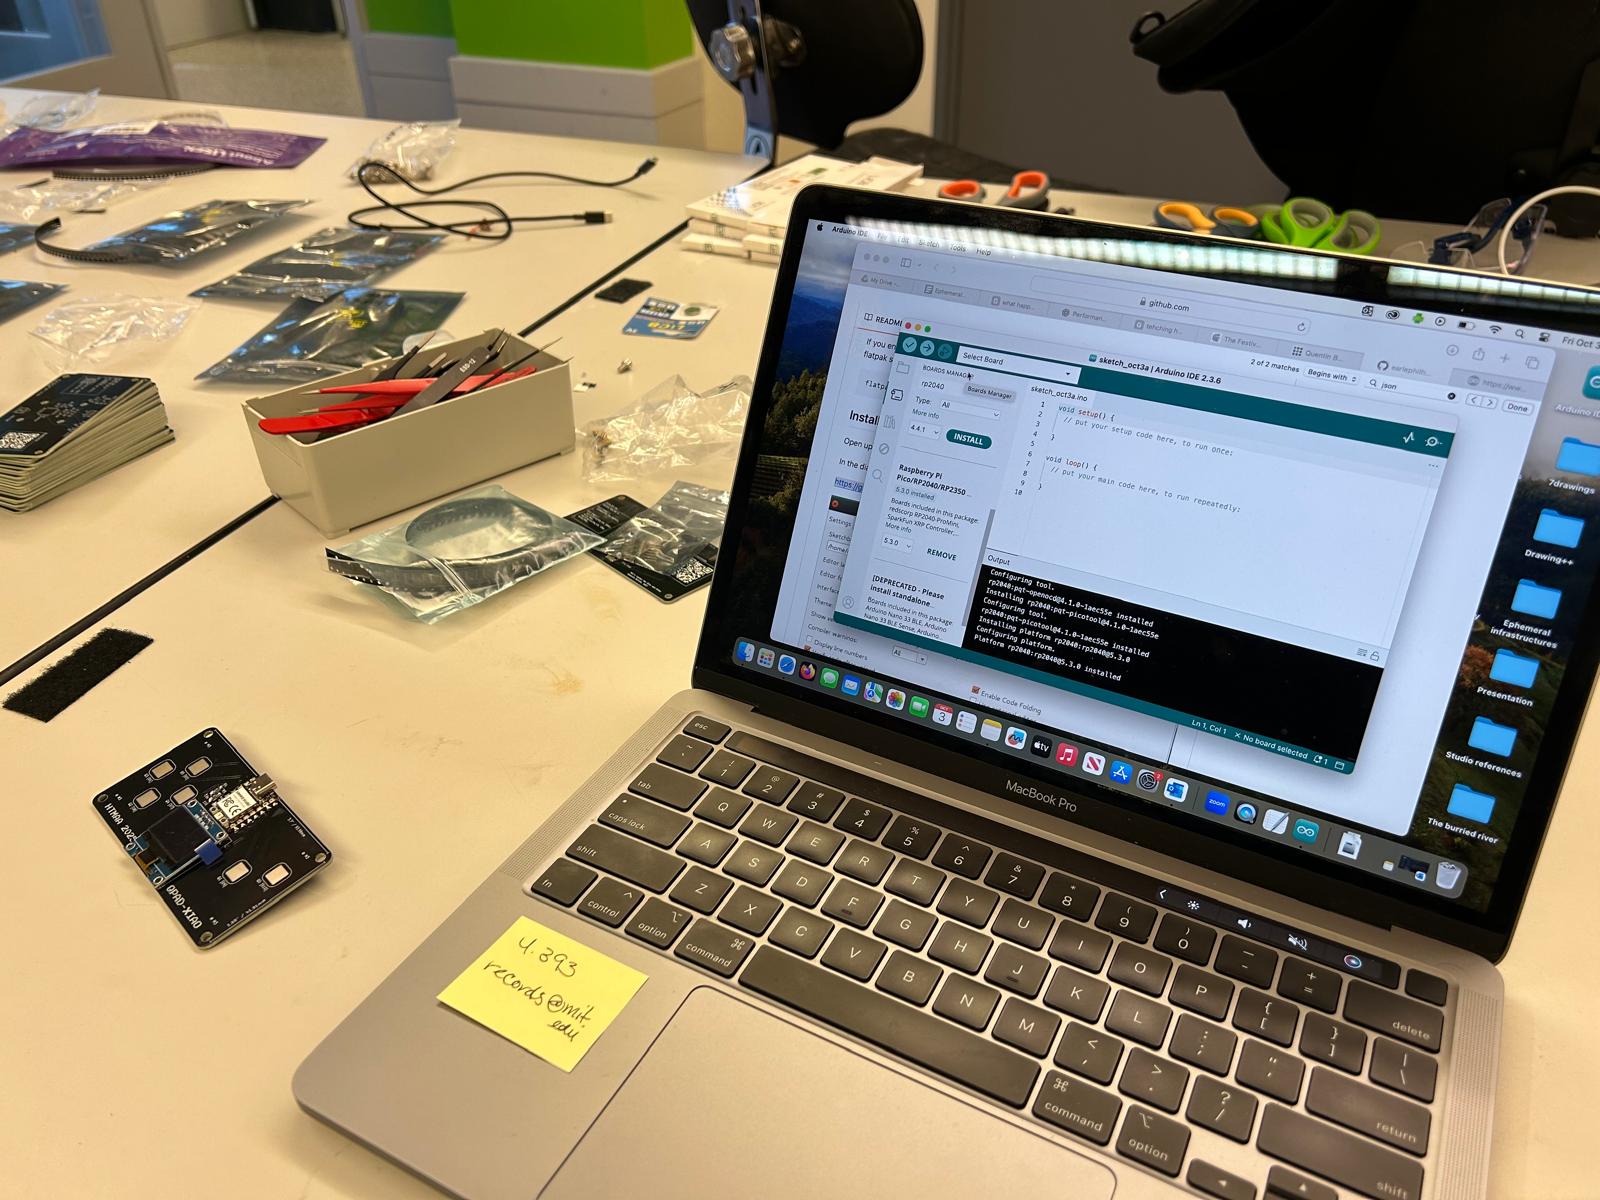
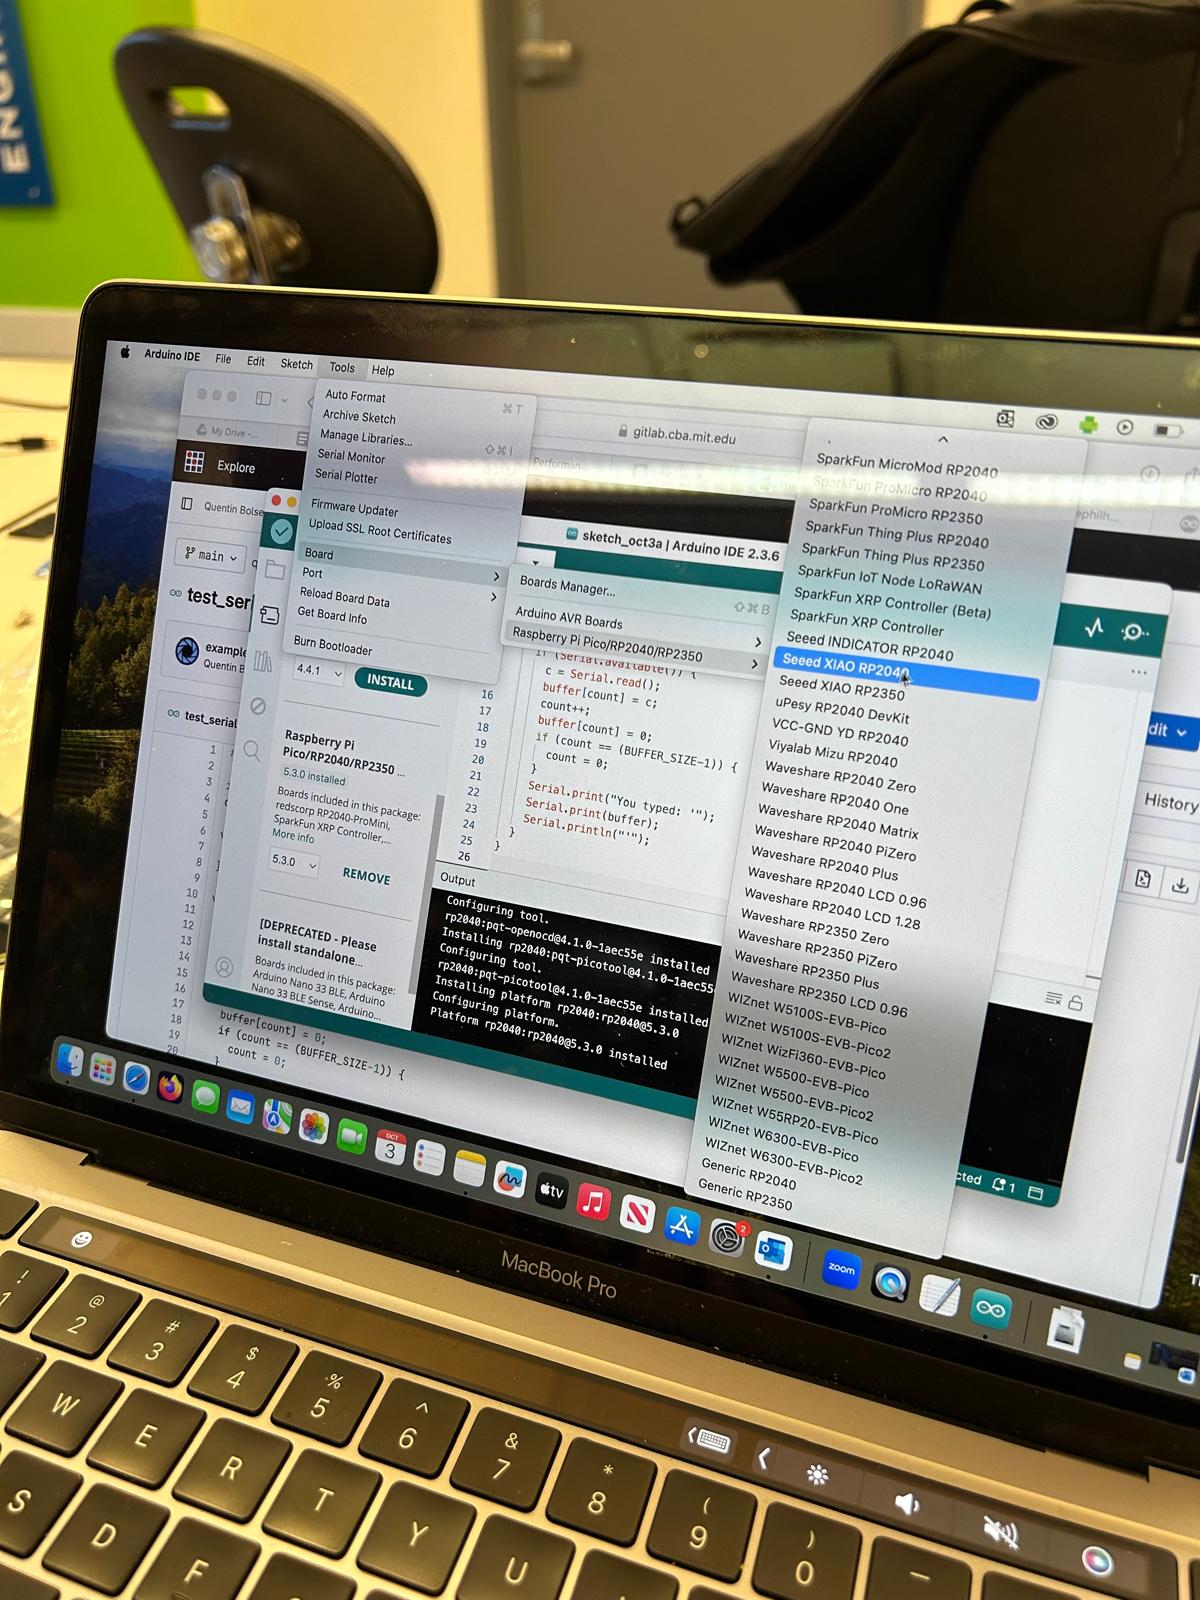
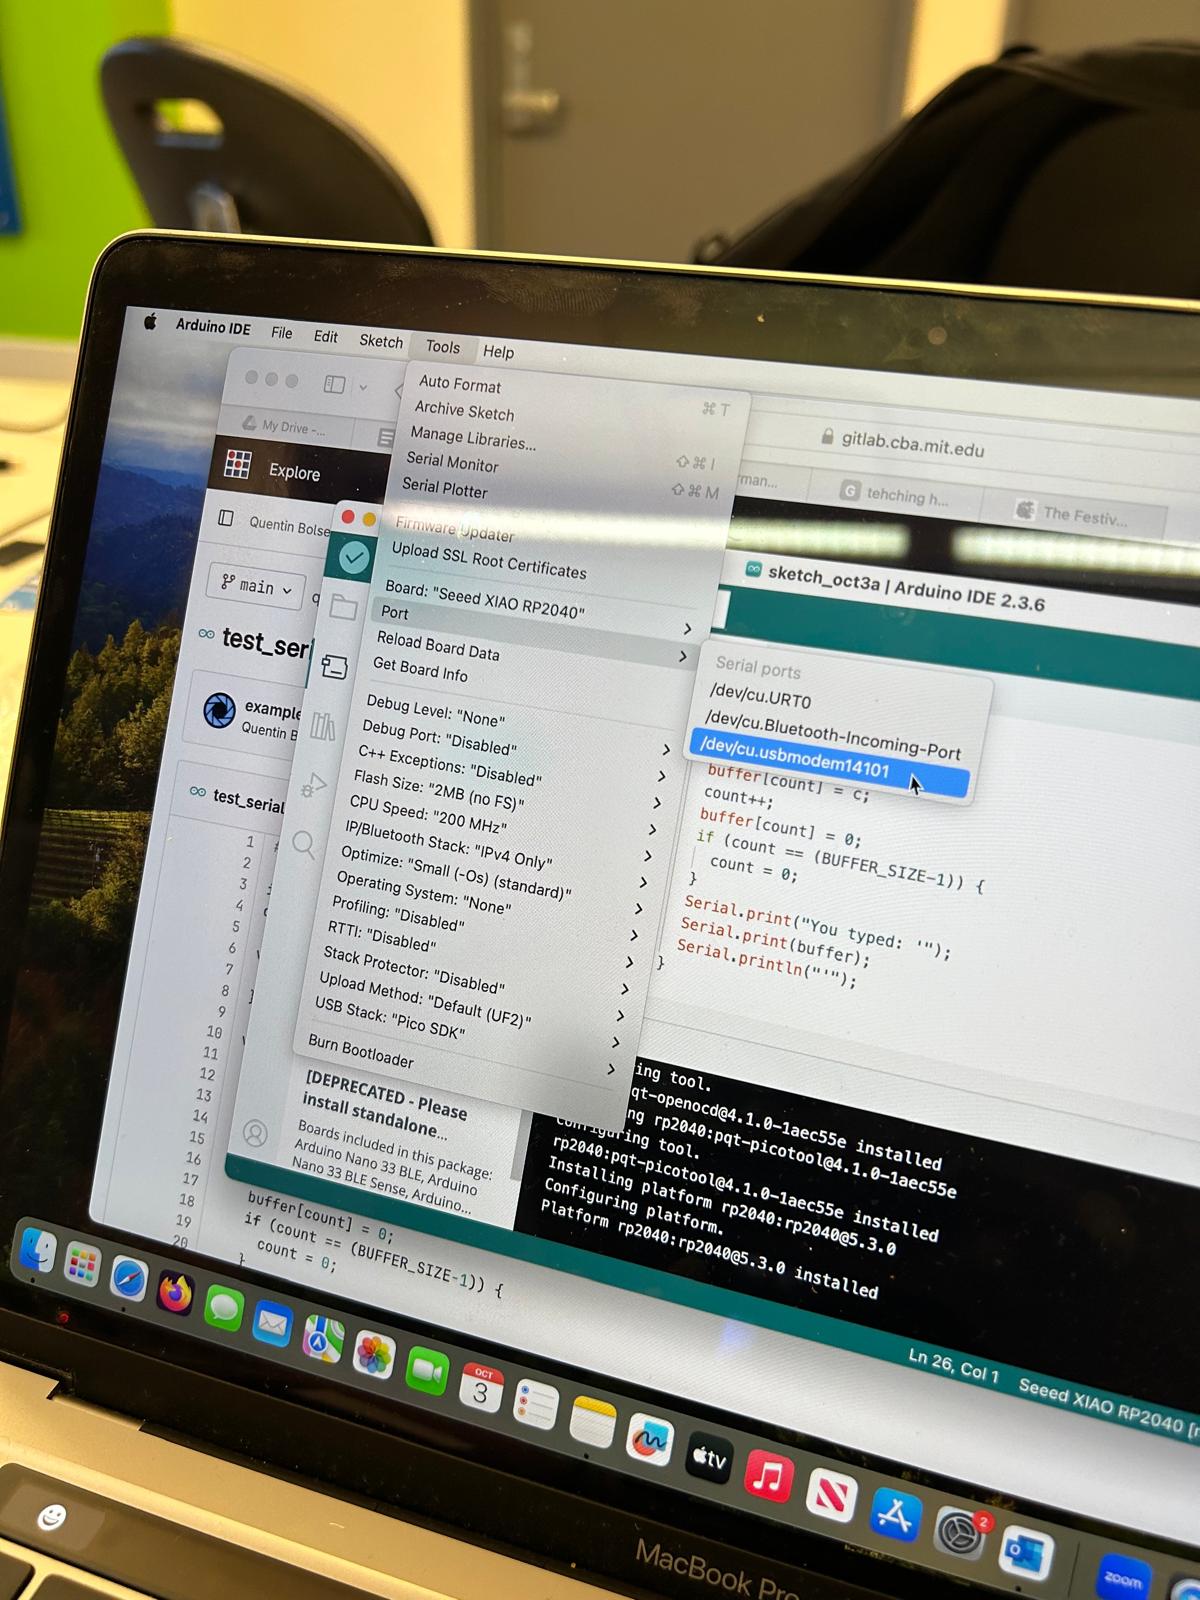
Since I was admitted to the class later I had asychronus office hours with Anthony that he explained to me step by step
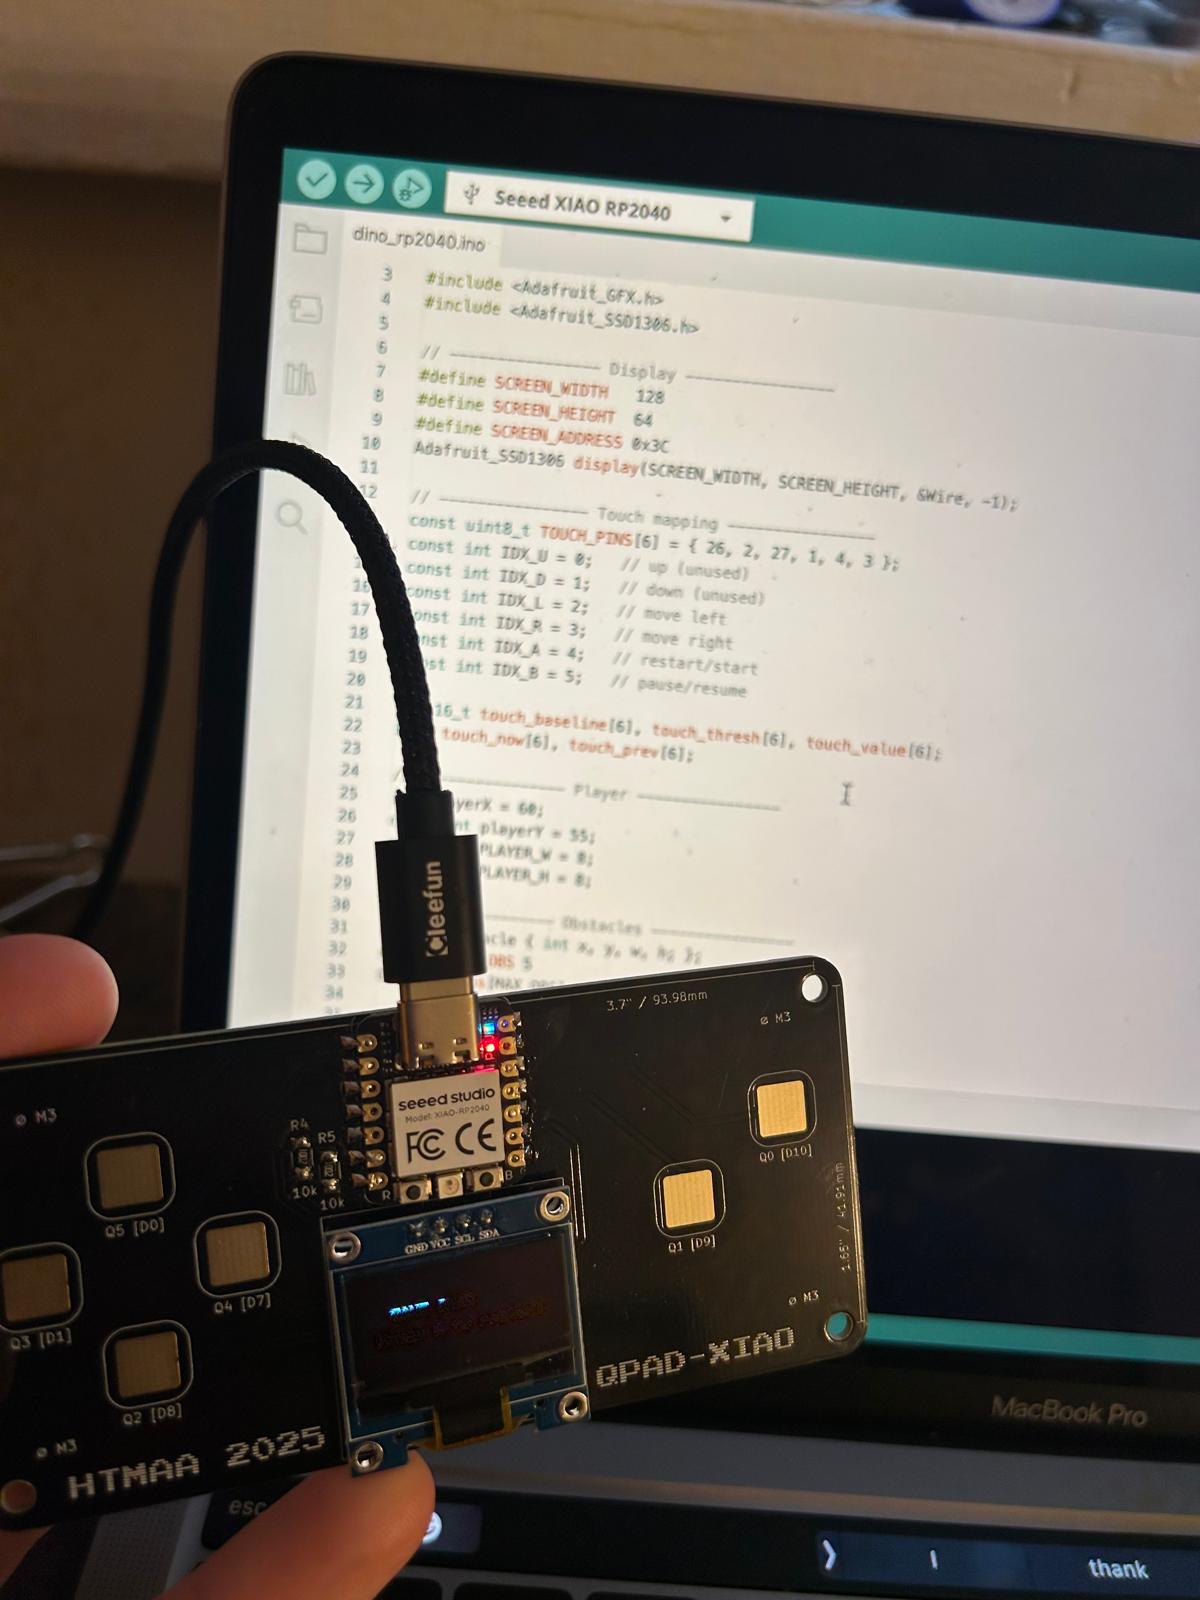
falling block dodge game
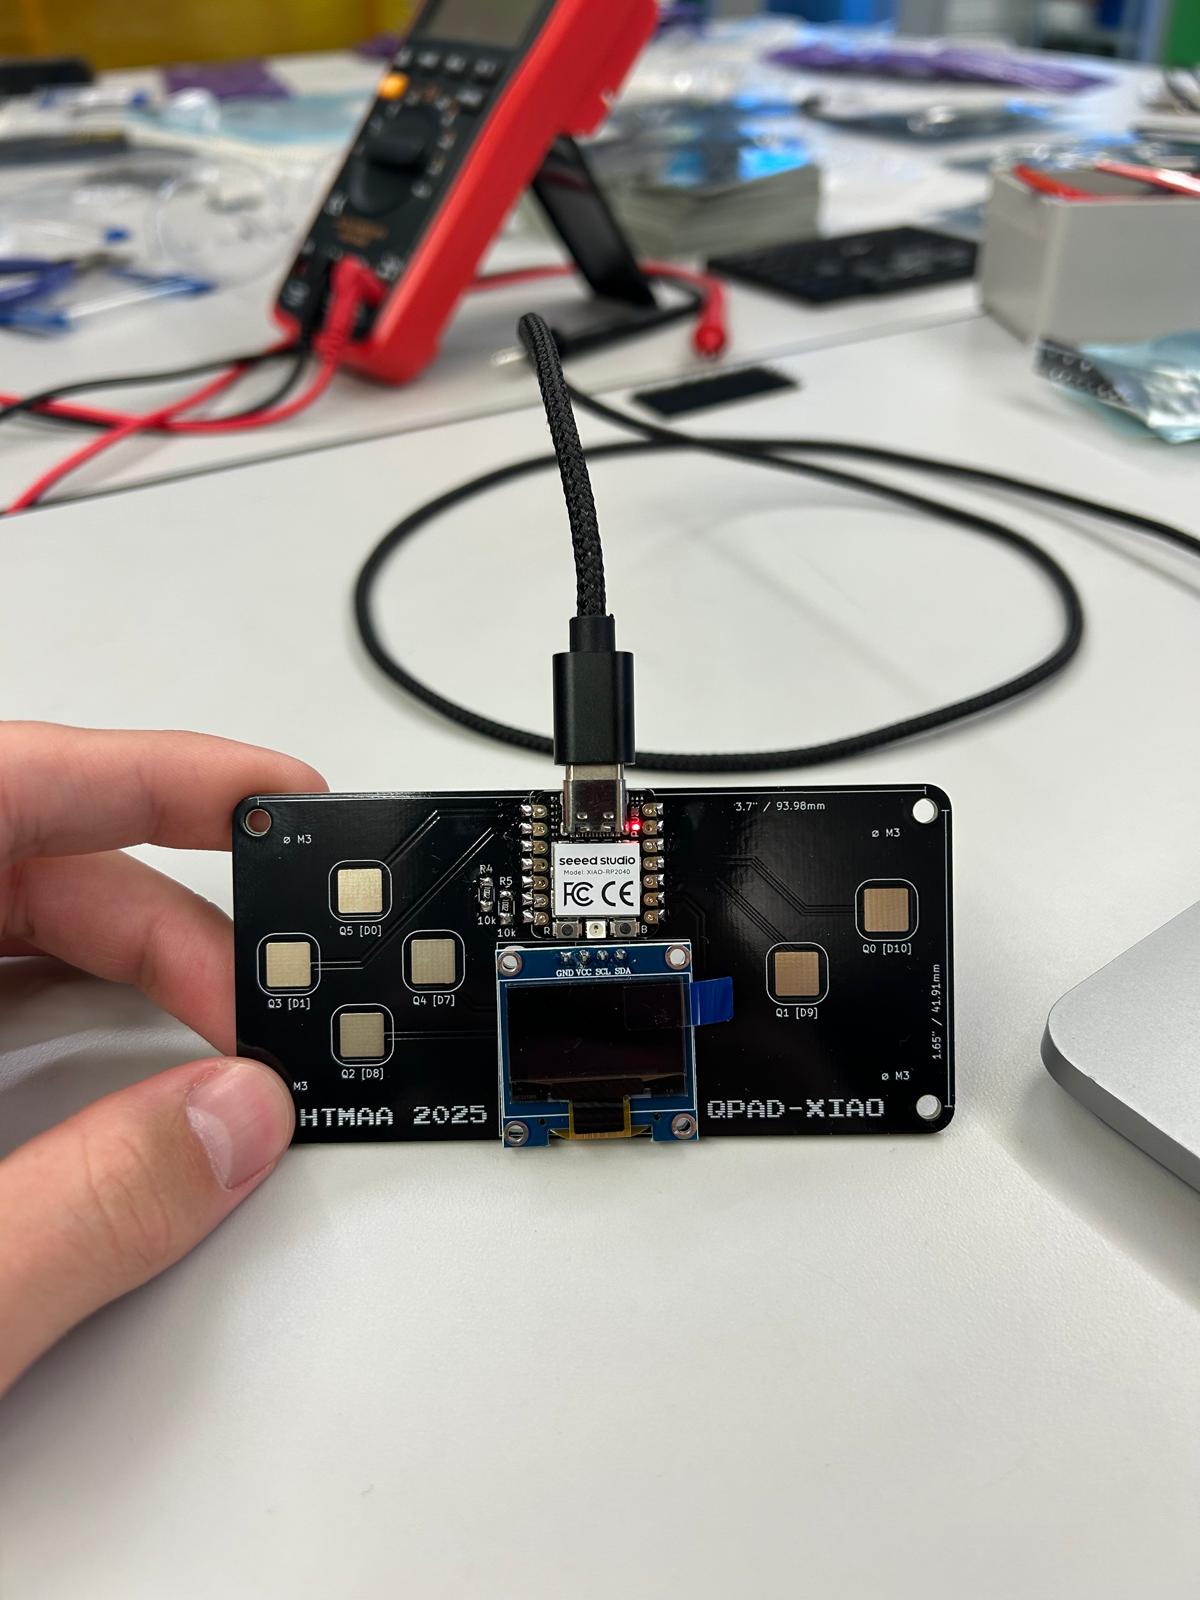
Once I was comfortable with these individual testing functions, I wanted to combine them to make a game. Using the knowledge gained from the button, LED, and display experiments, I structured a simple game framework. I started by defining the player and obstacle entities, including their positions, sizes, and states. I then implemented the player movement, using the buttons to move the player block left or right while constraining it within the screen boundaries. Following that, I developed the obstacle spawning and movement logic, where obstacles fall from the top of the screen at a fixed speed and reset once they leave the display area.
Next, I implemented collision detection between the player and obstacles using axis-aligned bounding boxes, which allowed the game to detect a “game over” event accurately. I also added a scoring system, incrementing the score over time and displaying it dynamically on the screen. Finally, I integrated all the elements into a main loop that reads inputs, updates the game state, checks for collisions, and redraws the player, obstacles, and score every frame.
I did use ChatGPT to clarify certain programming approaches and optimize code structure. By incrementally building on small, verified functions, I was able to transition from simple tests to a fully functioning interactive game, demonstrating both my understanding of the hardware and my ability to translate that understanding into code.
#include
#include
#include
#include

// ---------------- Display ----------------
#define SCREEN_WIDTH   128
#define SCREEN_HEIGHT  64
#define SCREEN_ADDRESS 0x3C
Adafruit_SSD1306 display(SCREEN_WIDTH, SCREEN_HEIGHT, &Wire, -1);

// ---------------- Touch mapping ----------------
const uint8_t TOUCH_PINS[6] = { 26, 2, 27, 1, 4, 3 };
const int IDX_U = 0;   // up (unused)
const int IDX_D = 1;   // down (unused)
const int IDX_L = 2;   // move left
const int IDX_R = 3;   // move right
const int IDX_A = 4;   // restart/start
const int IDX_B = 5;   // pause/resume

uint16_t touch_baseline[6], touch_thresh[6], touch_value[6];
bool touch_now[6], touch_prev[6];

// ---------------- Player ----------------
int playerX = 60;
const int playerY = 55;
const int PLAYER_W = 8;
const int PLAYER_H = 8;

// ---------------- Obstacles ----------------
struct Obstacle { int x, y, w, h; };
#define MAX_OBS 5
Obstacle obs[MAX_OBS];

// Game state
bool running = false, paused = false;
unsigned long lastMs;
uint32_t score = 0;

// ---------------- Touch ----------------
uint16_t touchReadOne(uint8_t pin){
  pinMode(pin,OUTPUT); digitalWrite(pin,LOW); delayMicroseconds(10);
  pinMode(pin,INPUT_PULLUP);
  uint16_t c=0; while(digitalRead(pin)==LOW && c<8000){ c++; }
  return c;
}

void calibrateTouch(){
  for(int i=0;i<6;i++) touch_baseline[i]=0;
  for(int s=0;s<24;s++){
    for(int i=0;i<6;i++) touch_baseline[i]+=touchReadOne(TOUCH_PINS[i]);
    delay(5);
  }
  for(int i=0;i<6;i++){
    touch_baseline[i]/=24;
    touch_thresh[i]=touch_baseline[i]+10;
    touch_prev[i]=false; touch_now[i]=false;
  }
}

void updateTouch(){
  for(int i=0;i<6;i++){
    uint16_t v = touchReadOne(TOUCH_PINS[i]);
    touch_value[i]=v;
    bool p = touch_now[i];
    if(!p){ if(v>=touch_thresh[i]) p=true; }
    else { if(v+6ox)&&(pyoy);
}

void drawPlayer(){ display.fillRect(playerX, playerY, PLAYER_W, PLAYER_H, SSD1306_WHITE); }
void drawObstacles(){
  for(int i=0;iSCREEN_WIDTH-PLAYER_W) playerX = SCREEN_WIDTH-PLAYER_W;

  // Timing
  unsigned long now = millis();
  float dt = (now-lastMs)/1000.0f;
  if(dt < 1.0f/60.0f) return;
  lastMs = now;

  // Move obstacles
  for(int i=0;i SCREEN_HEIGHT){
      obs[i].y = -8;
      obs[i].x = random(0, SCREEN_WIDTH-obs[i].w);
      score++;
    }
    // collision
    if(collide(playerX, playerY, PLAYER_W, PLAYER_H, obs[i].x, obs[i].y, obs[i].w, obs[i].h)){
      running = false;
      display.clearDisplay();
      display.setCursor(20,20); display.println("GAME OVER");
      display.setCursor(10,35); display.println("Press A to restart");
      display.display();
      return;
    }
  }

  // Draw
  display.clearDisplay();
  drawPlayer();
  drawObstacles();
  display.setCursor(0,0); display.print("Score: "); display.print(score);
  display.display();
}