week 4:3D scanning and printing
3d scanning
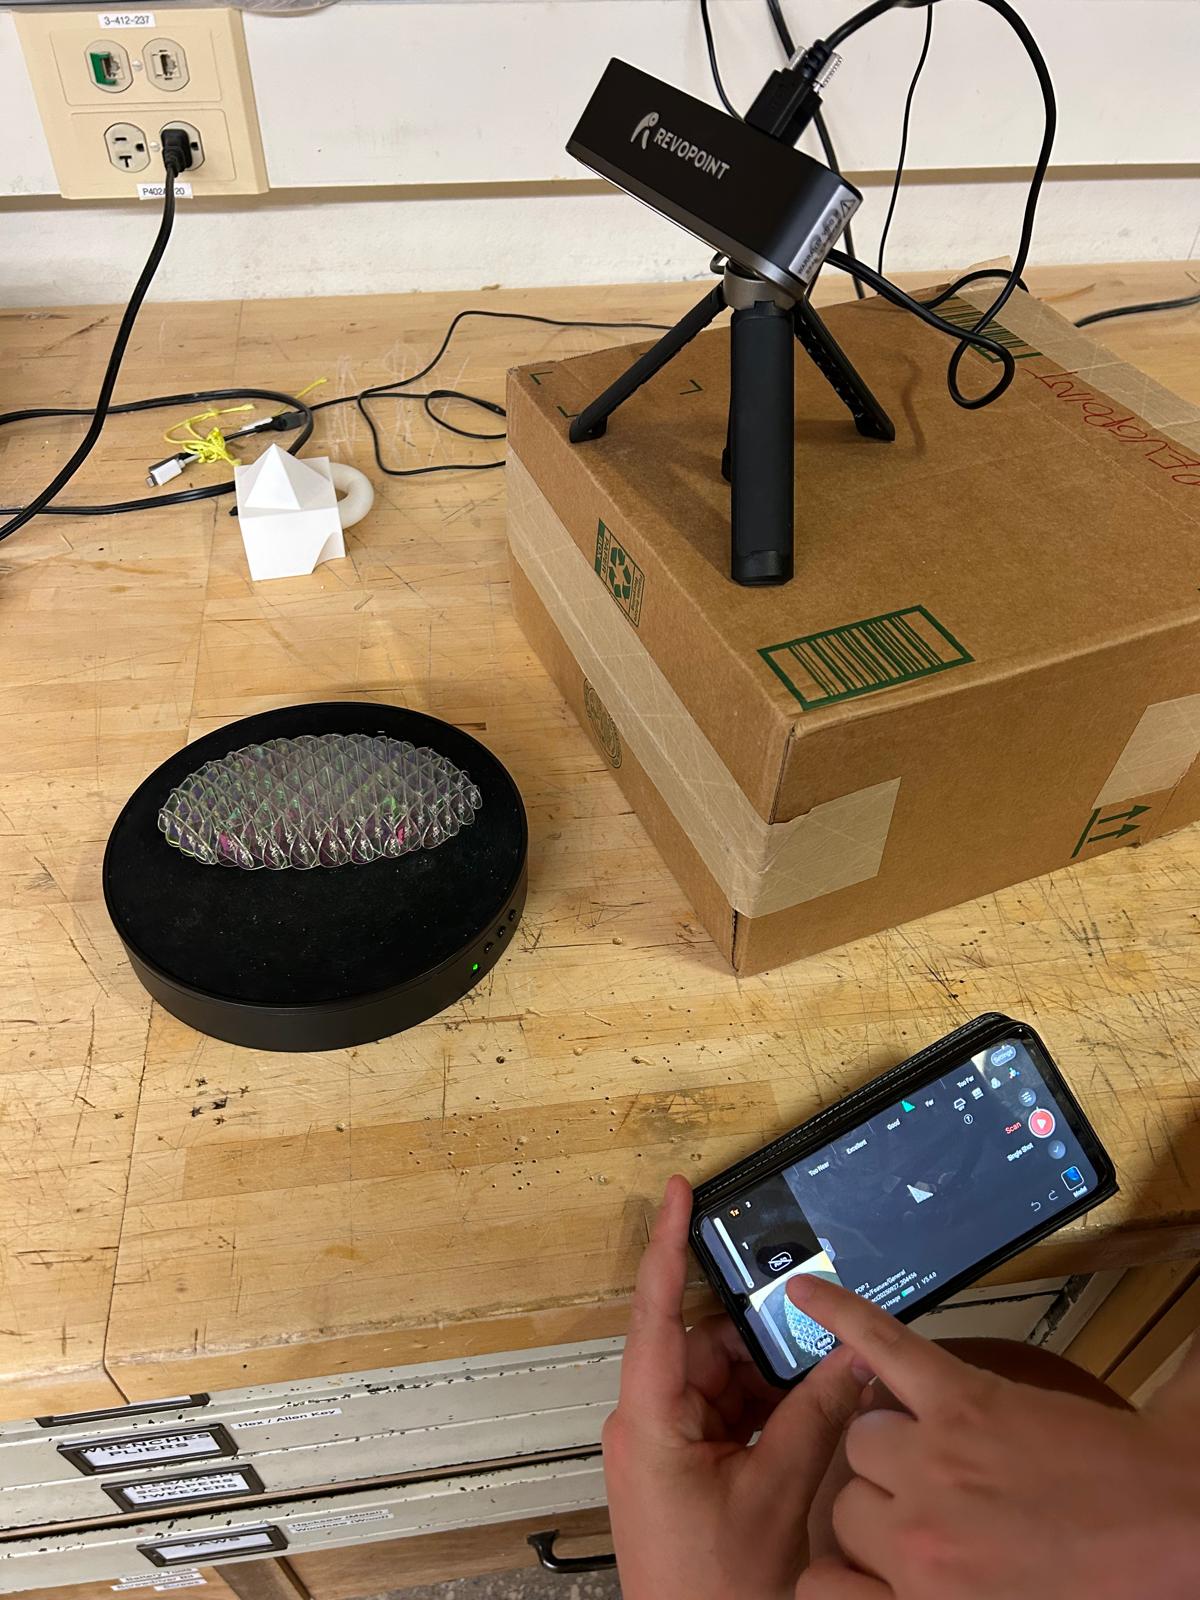
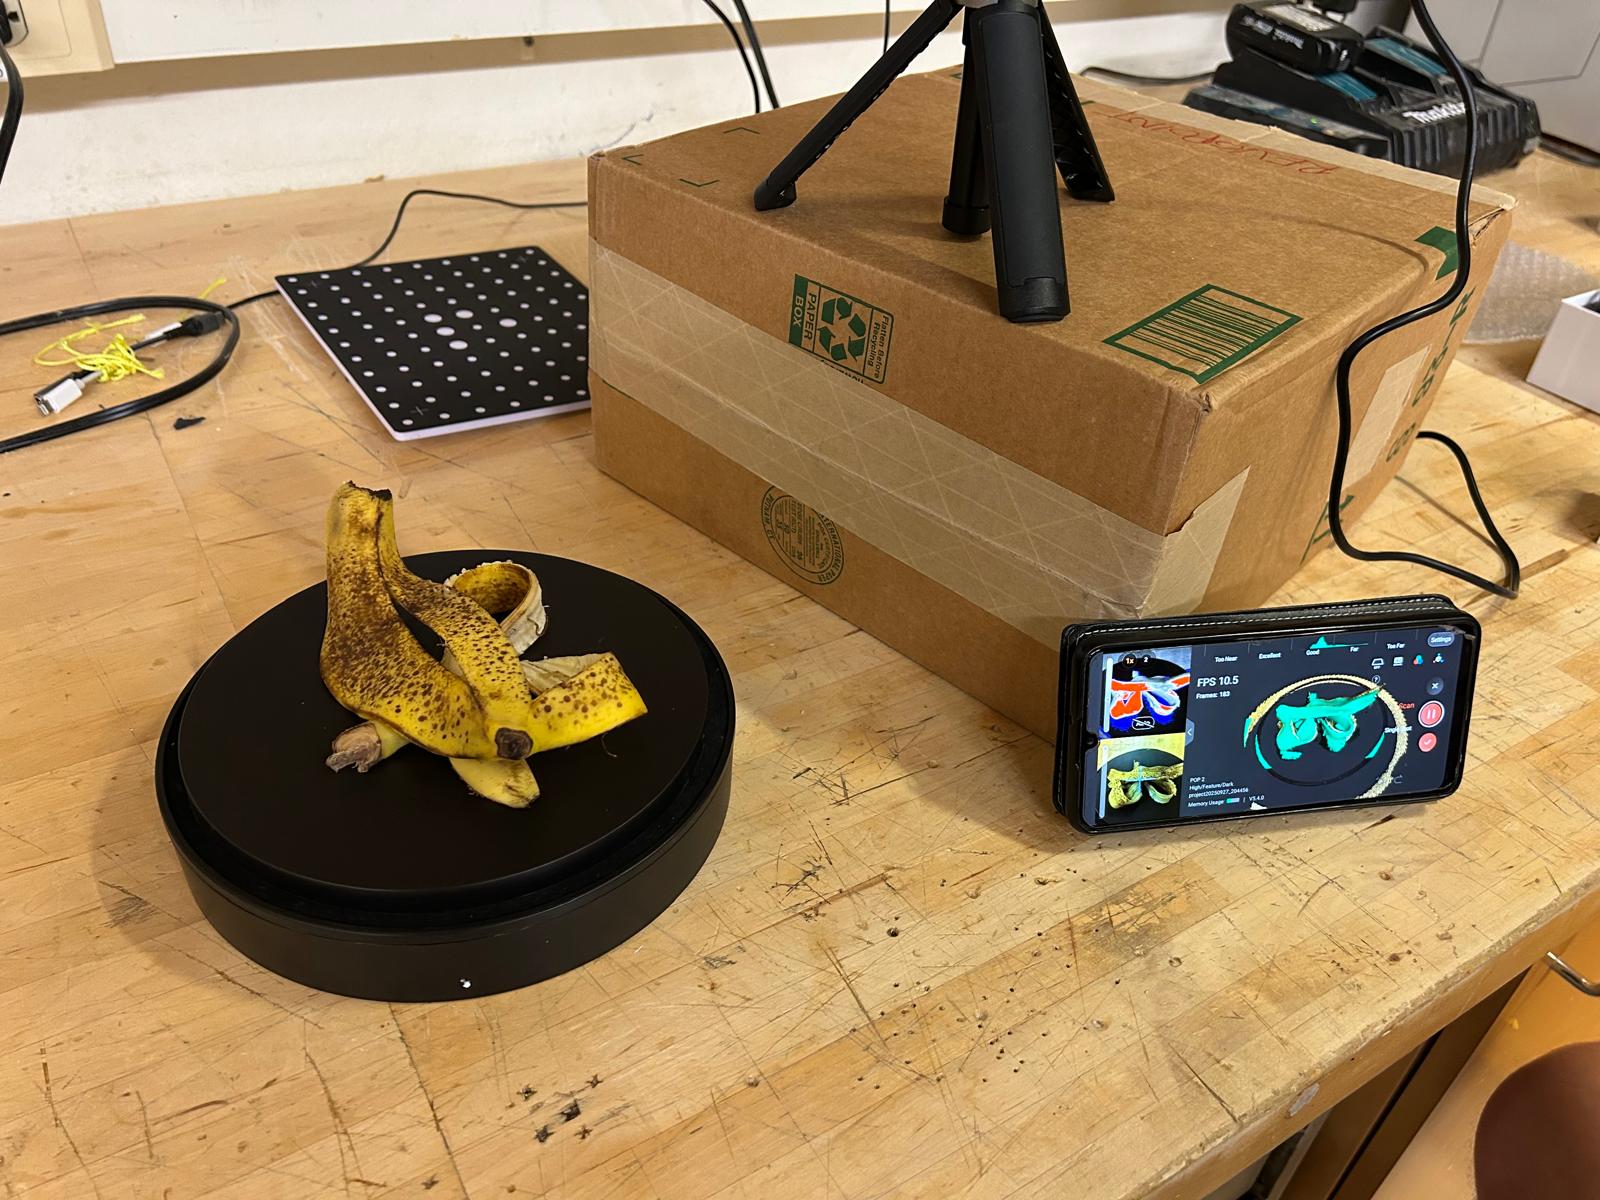
This week’s assignment introduced us to 3D scanning, and I approached it as an opportunity to explore the capabilities and limitations of the process rather than focusing on a single object. I decided to scan a range of objects with very different material qualities, textures, and visual characteristics in order to observe how the scanner responds to variation.
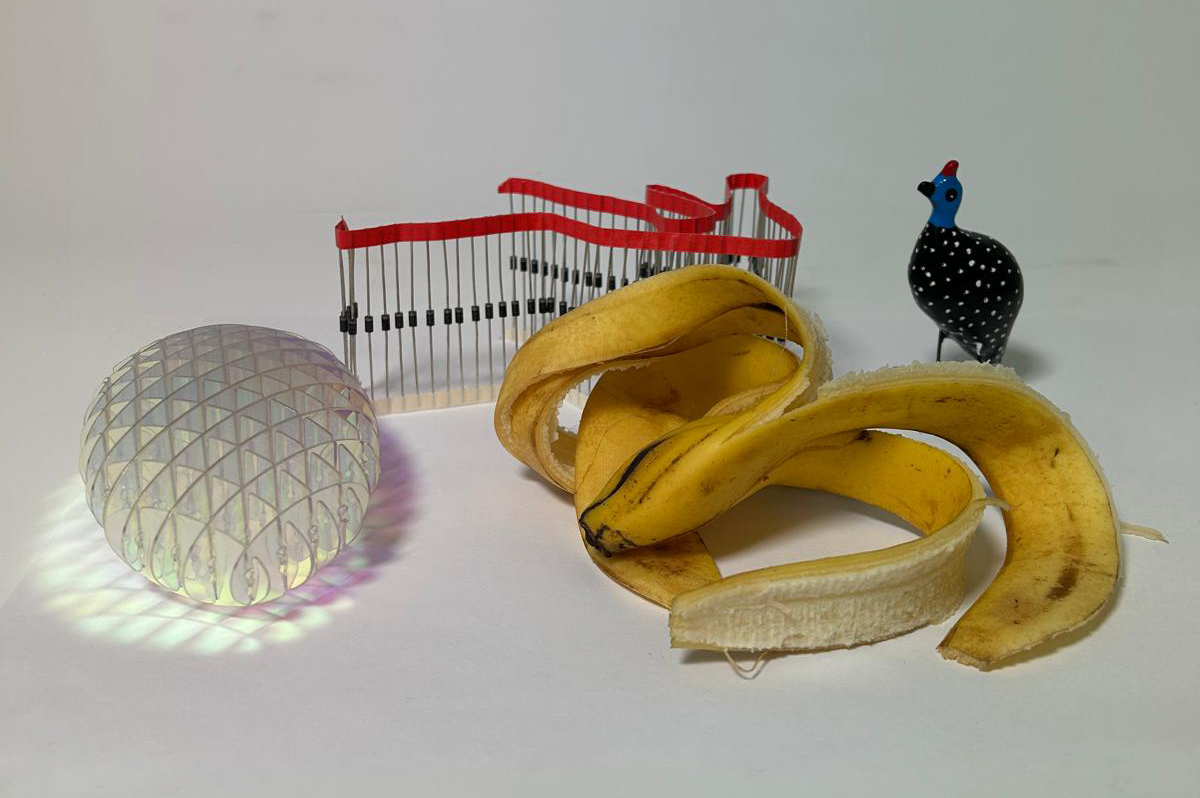
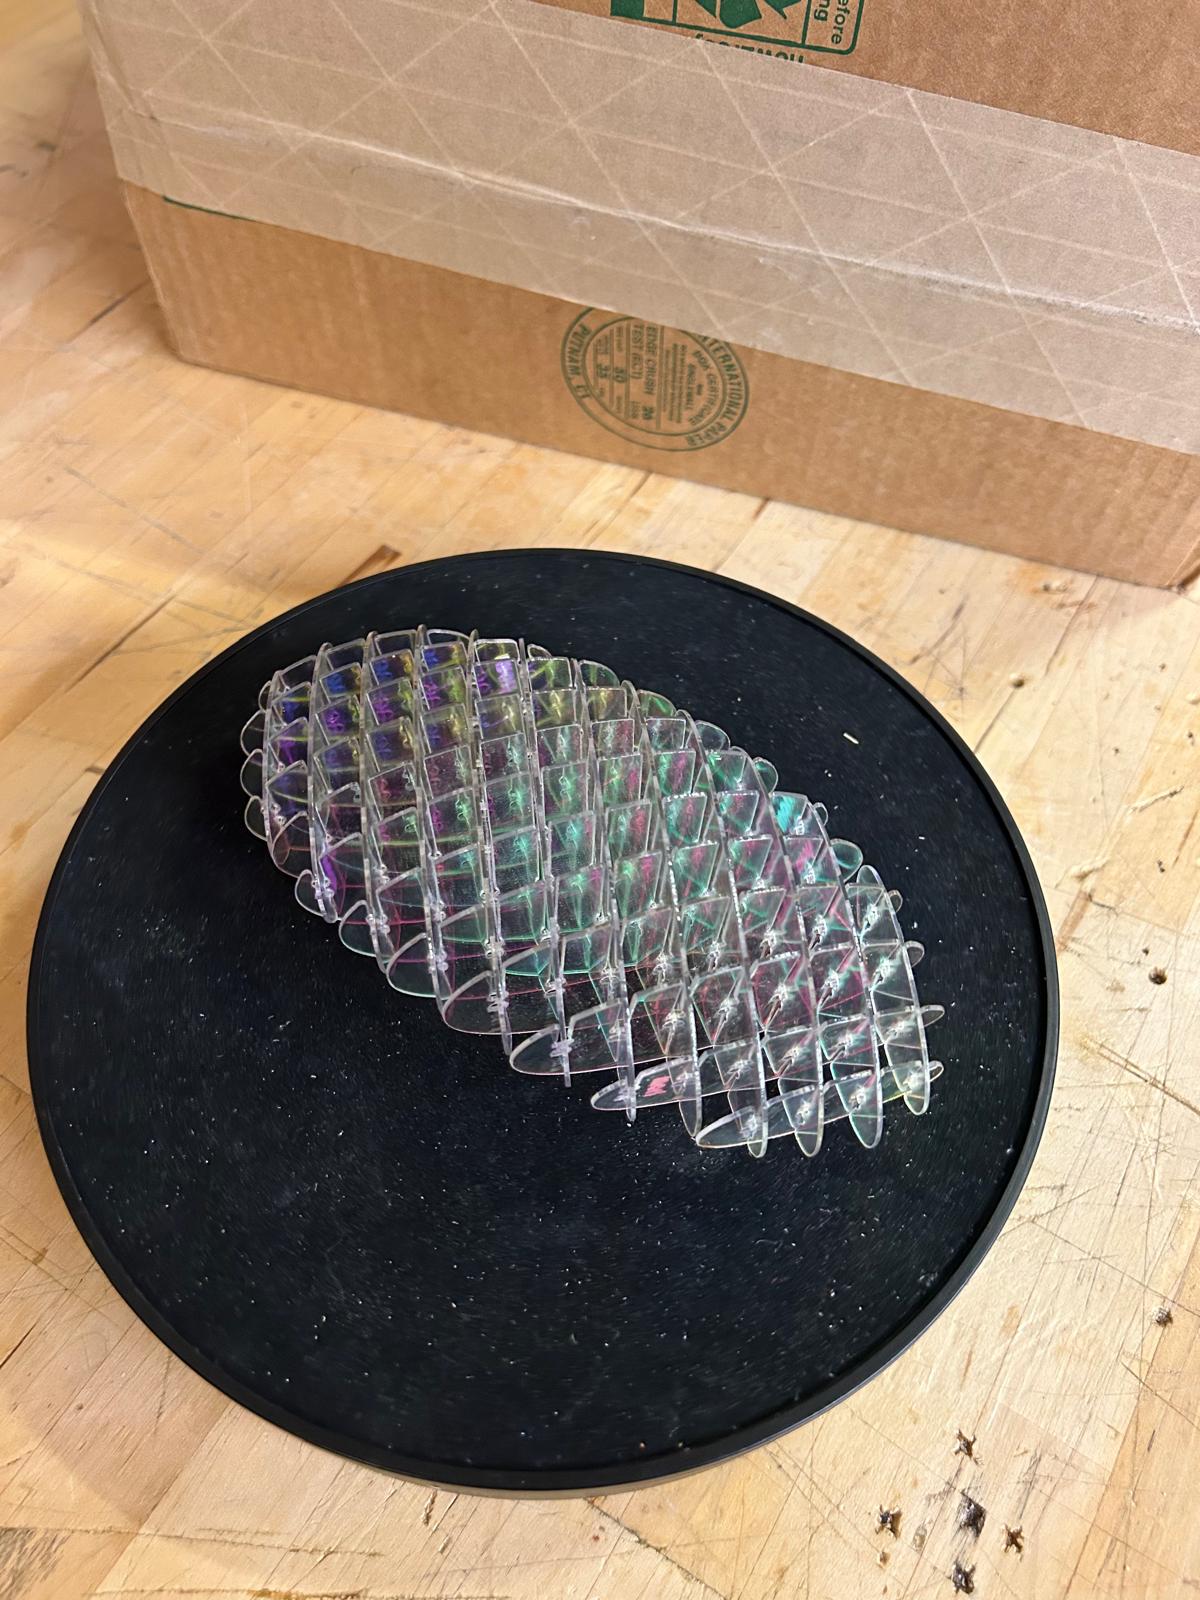
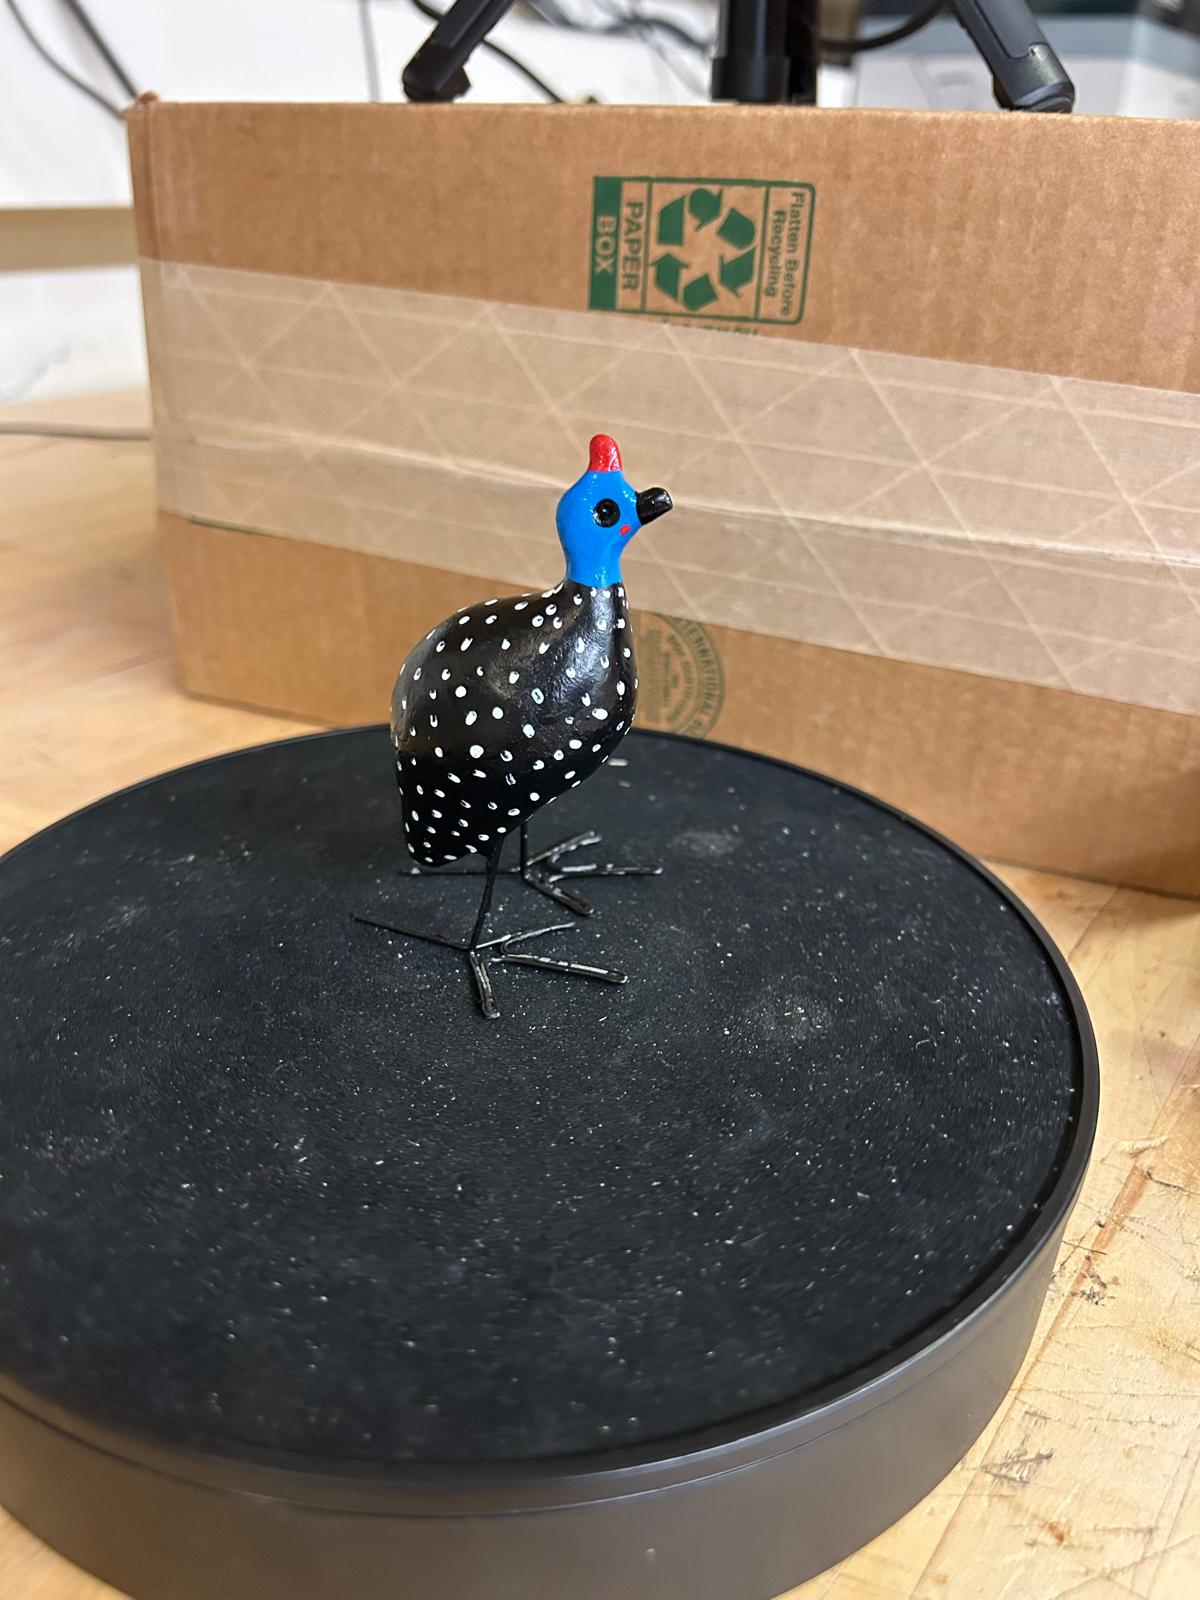
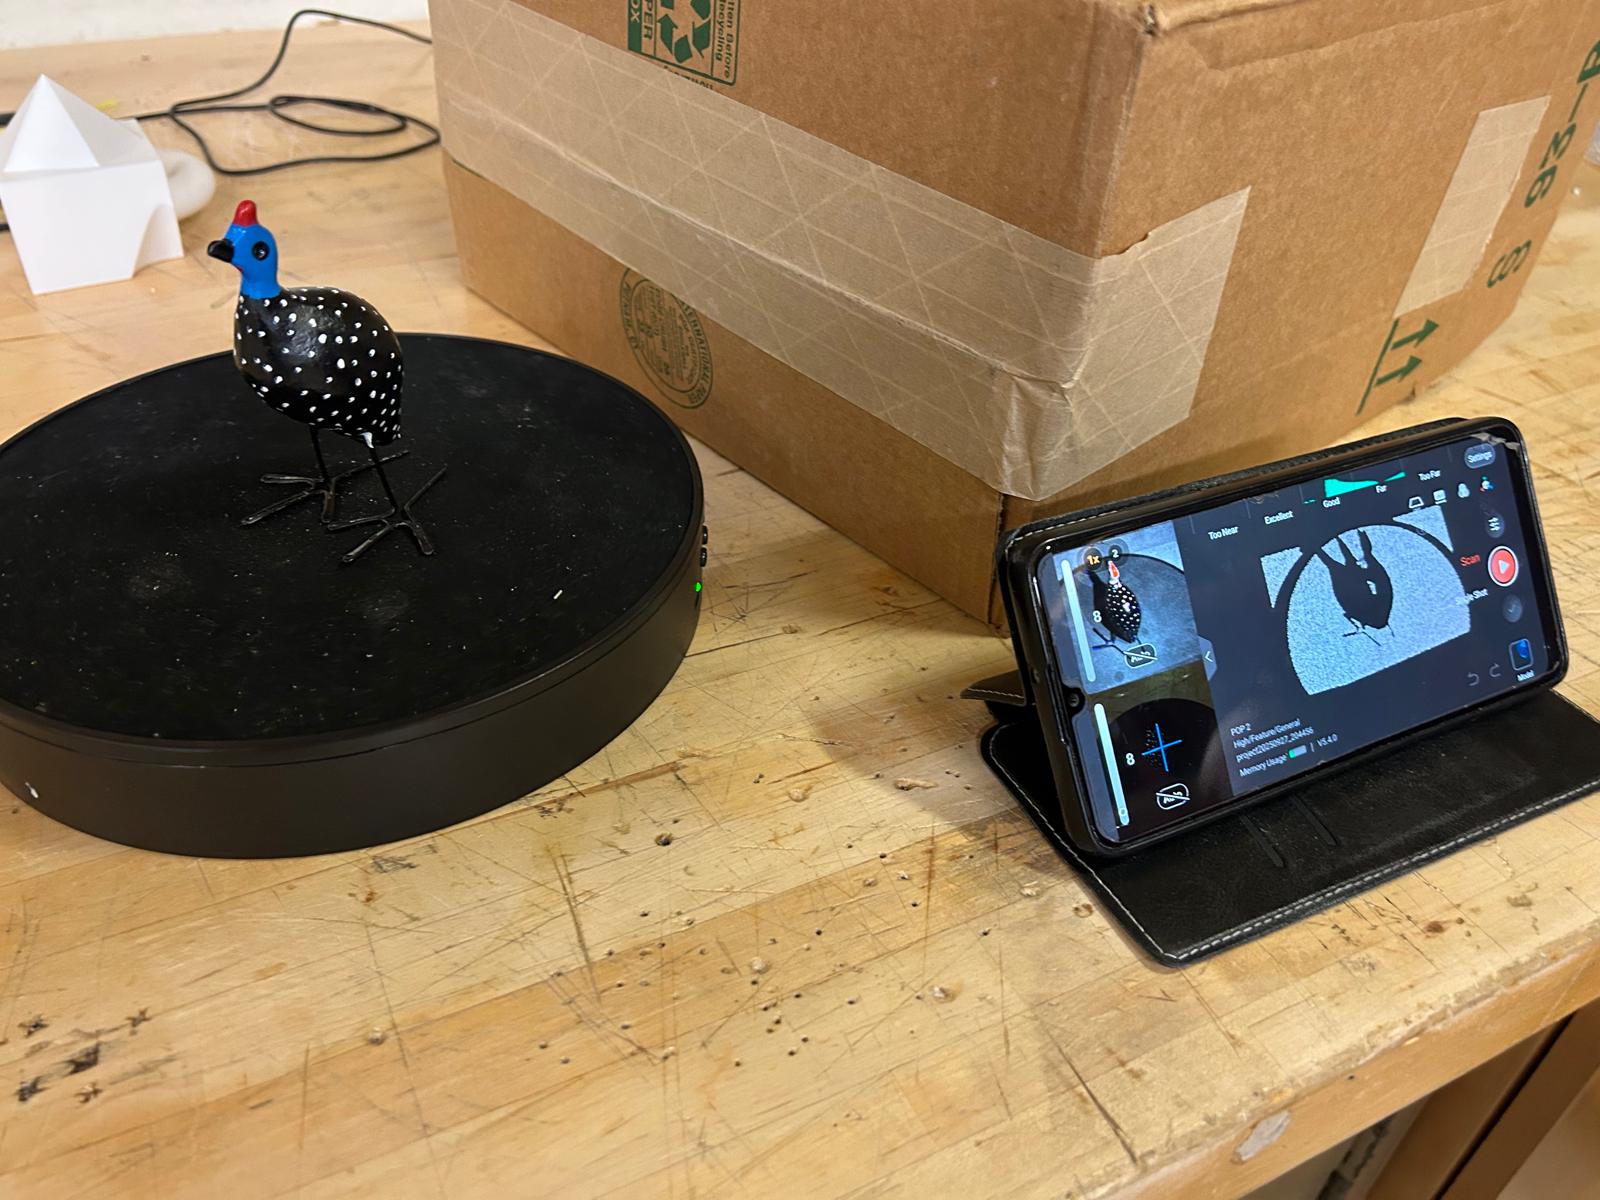
The objects I selected included an transparent fidget spinner, a banana peel, a bird indigenous to South Africa with a black body and white spots, and a pile of resistors sourced from the MIT Tech Market. Each object was chosen specifically to challenge a different aspect of the scanning workflow, such as transparency, organic deformation, high-contrast patterns, and small repetitive components. Interestingly, the banana peel produced the most successful scan, resulting in a surprisingly clear and coherent model. Its matte surface and visible texture allowed the scanner to capture form and depth effectively. The other objects revealed more limitations and inconsistencies, which helped frame my understanding of what conditions support successful scanning.
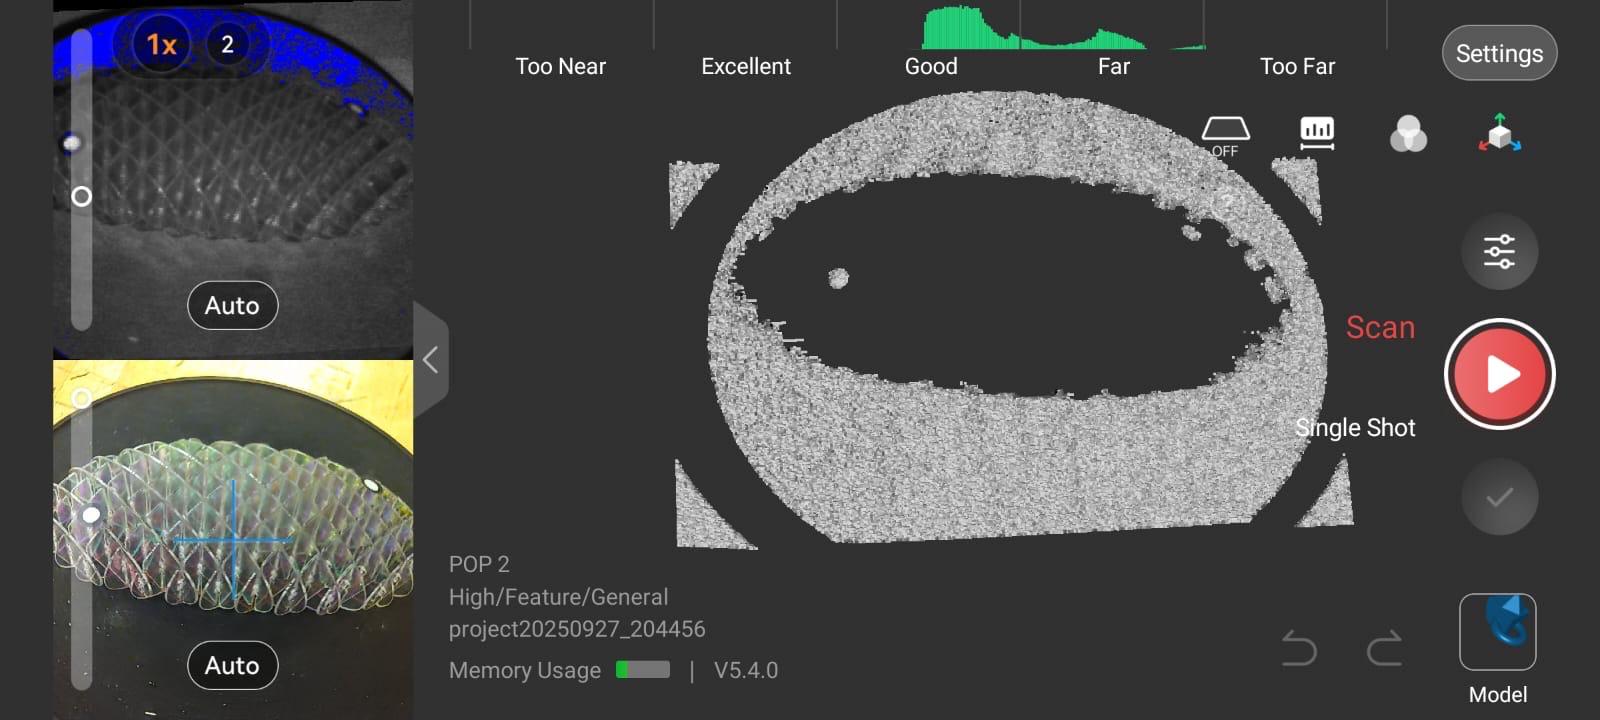
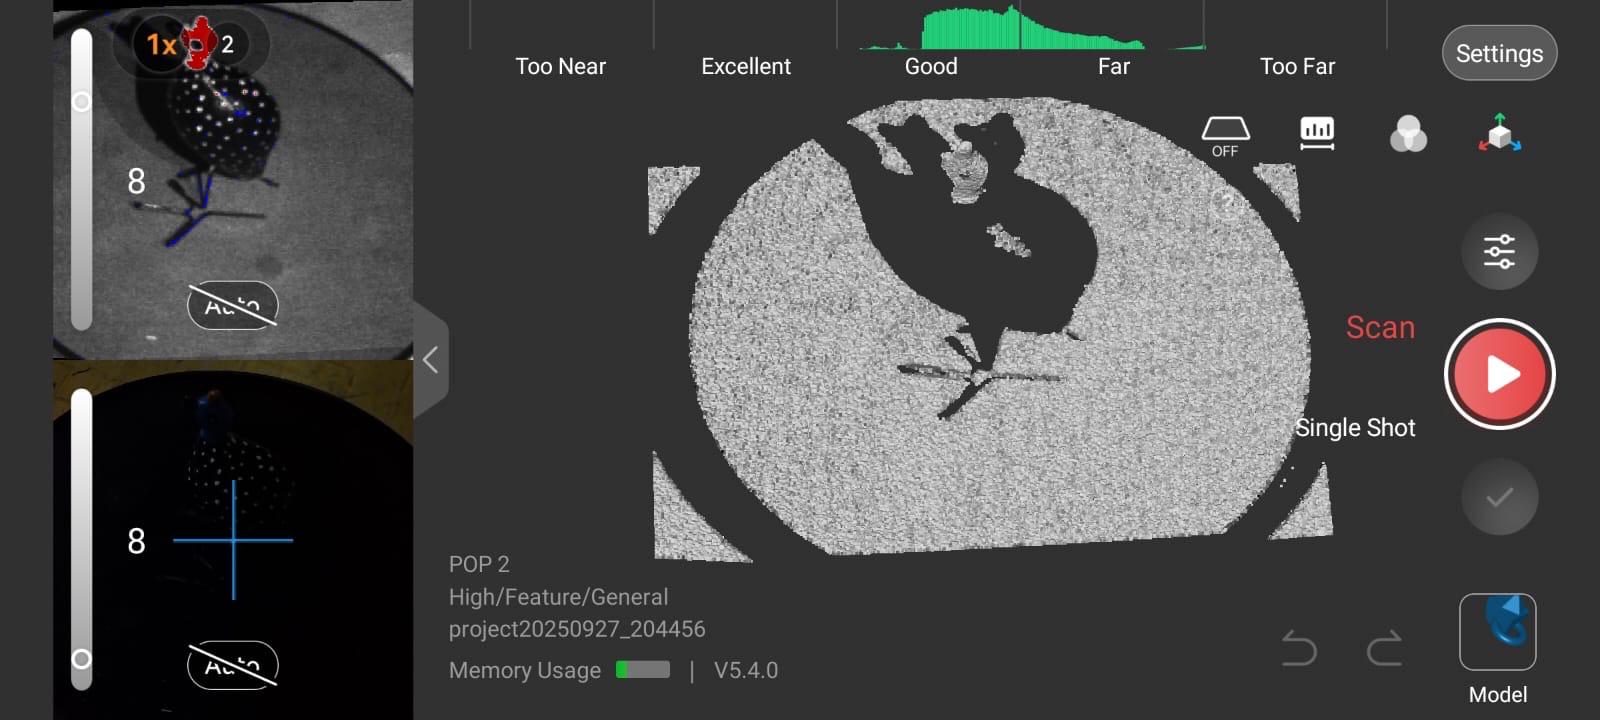
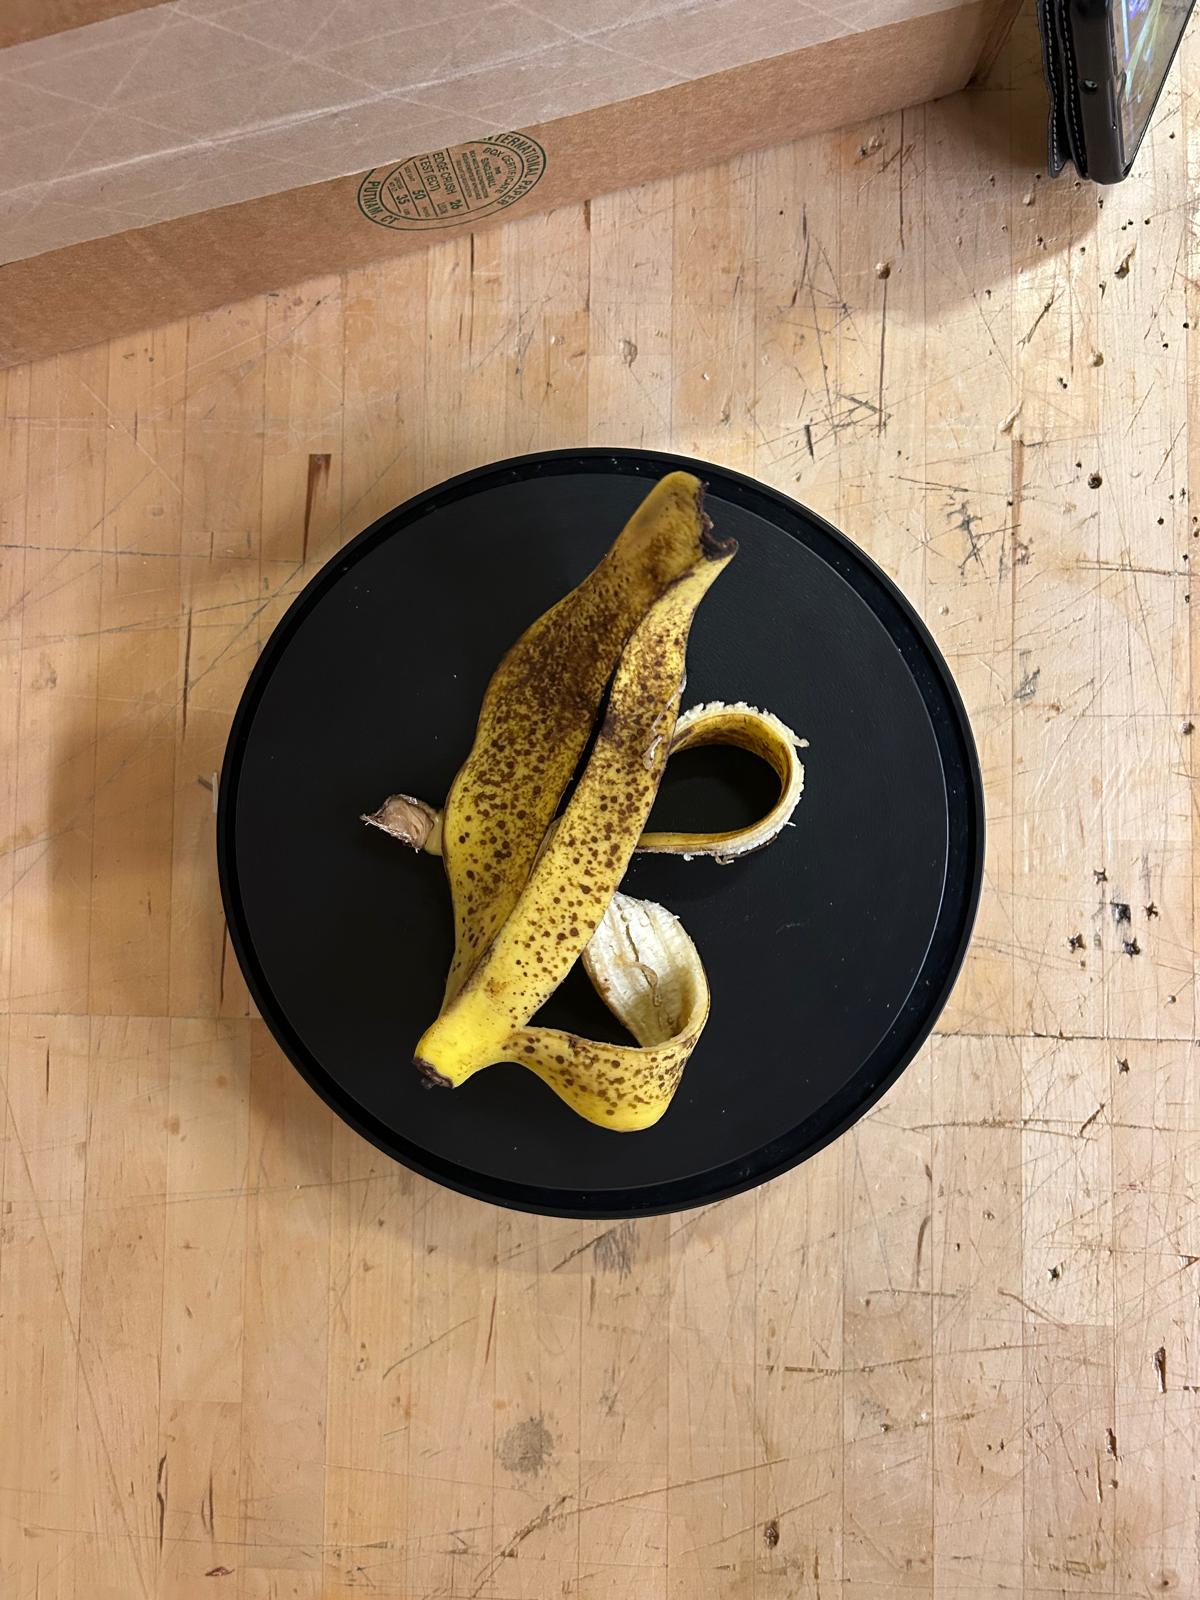
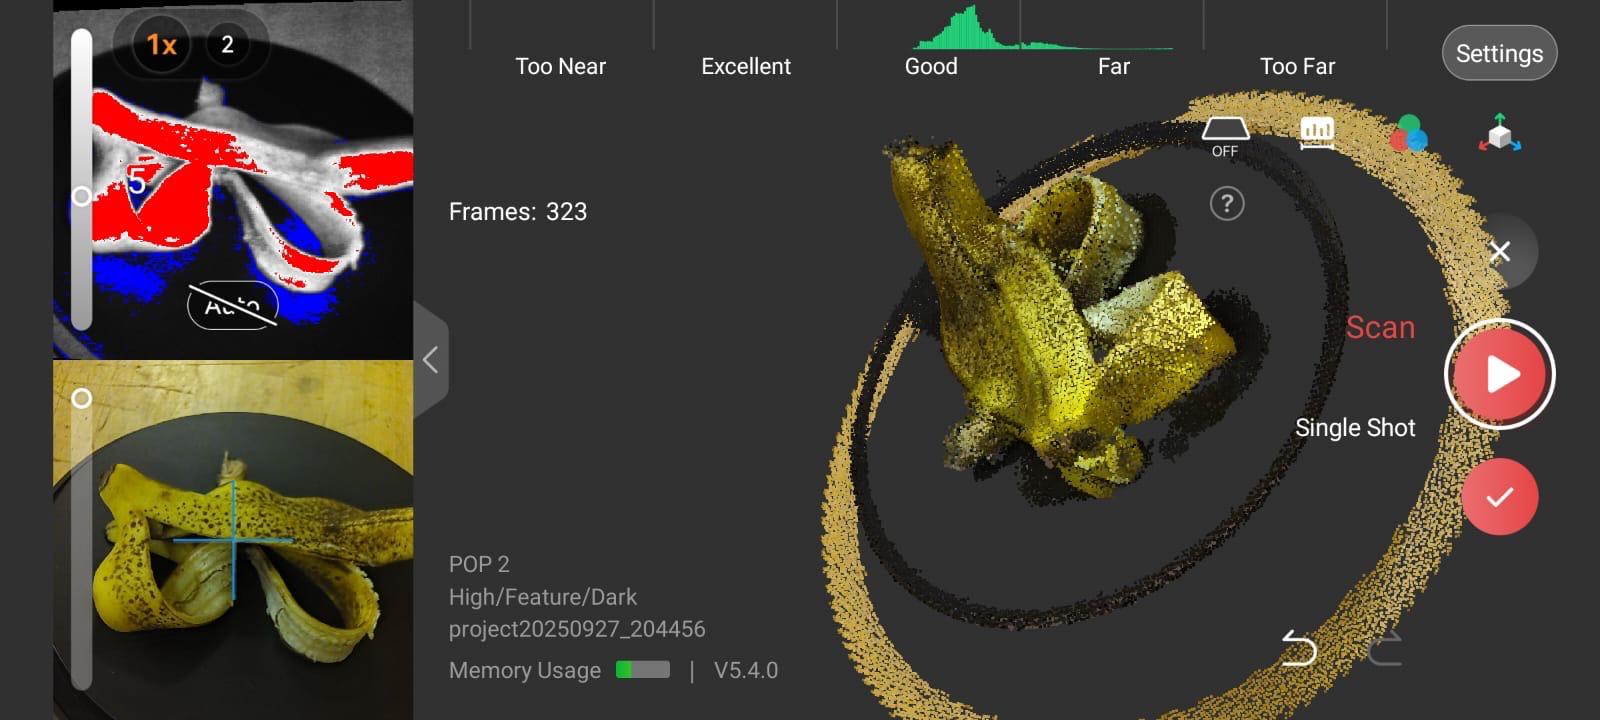
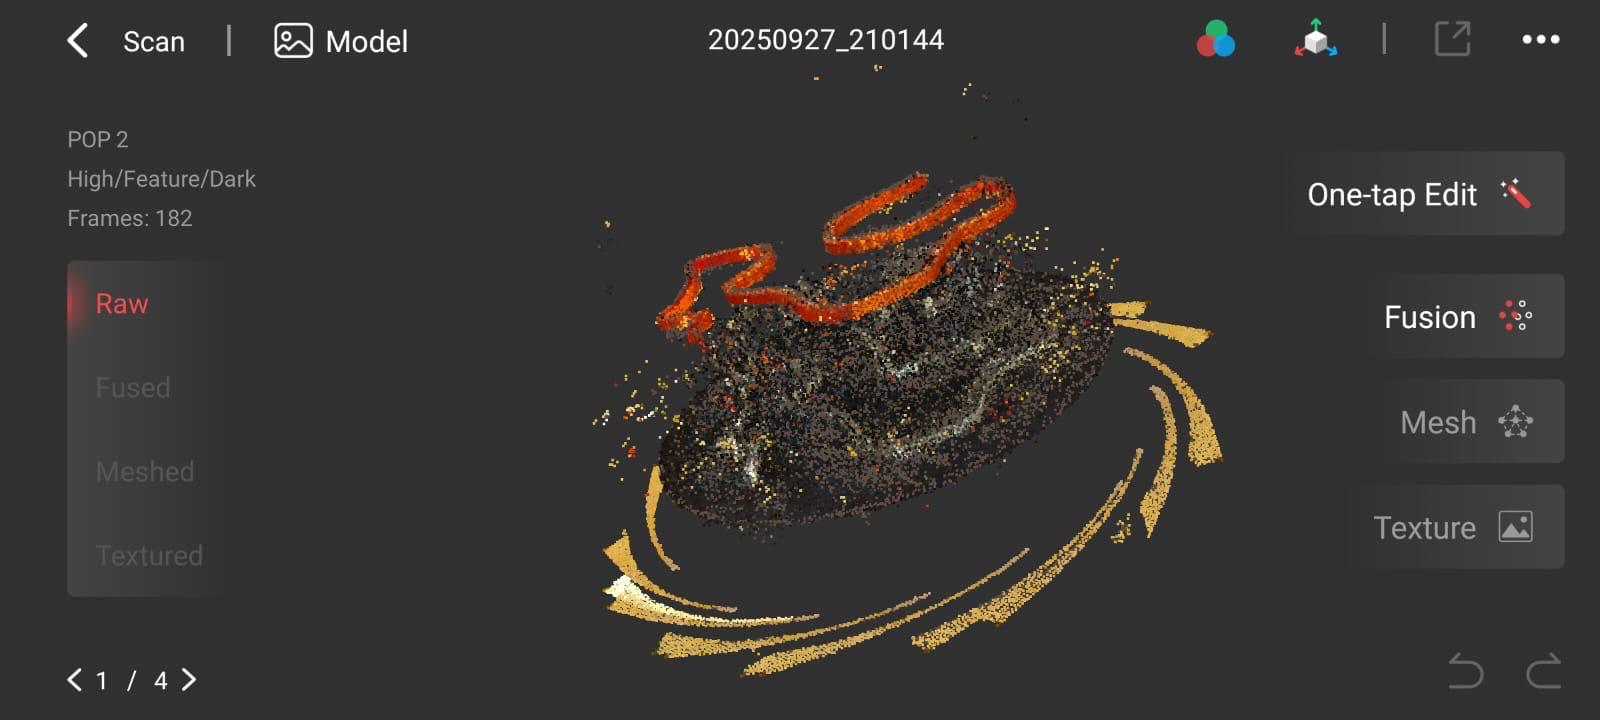
This week’s 3D scanning assignment produced mixed results, with only the banana peel yielding a clear and accurate scan. The other scans were much more difficult and resulted in incomplete or distorted models. Despite these challenges, the assignment was a valuable test of the software’s capabilities and limitations. It highlighted how certain surfaces and materials affect scan quality and emphasized the importance of understanding the constraints of the technology. However even if some scans failed, they provide useful insights into the process.
3d printing
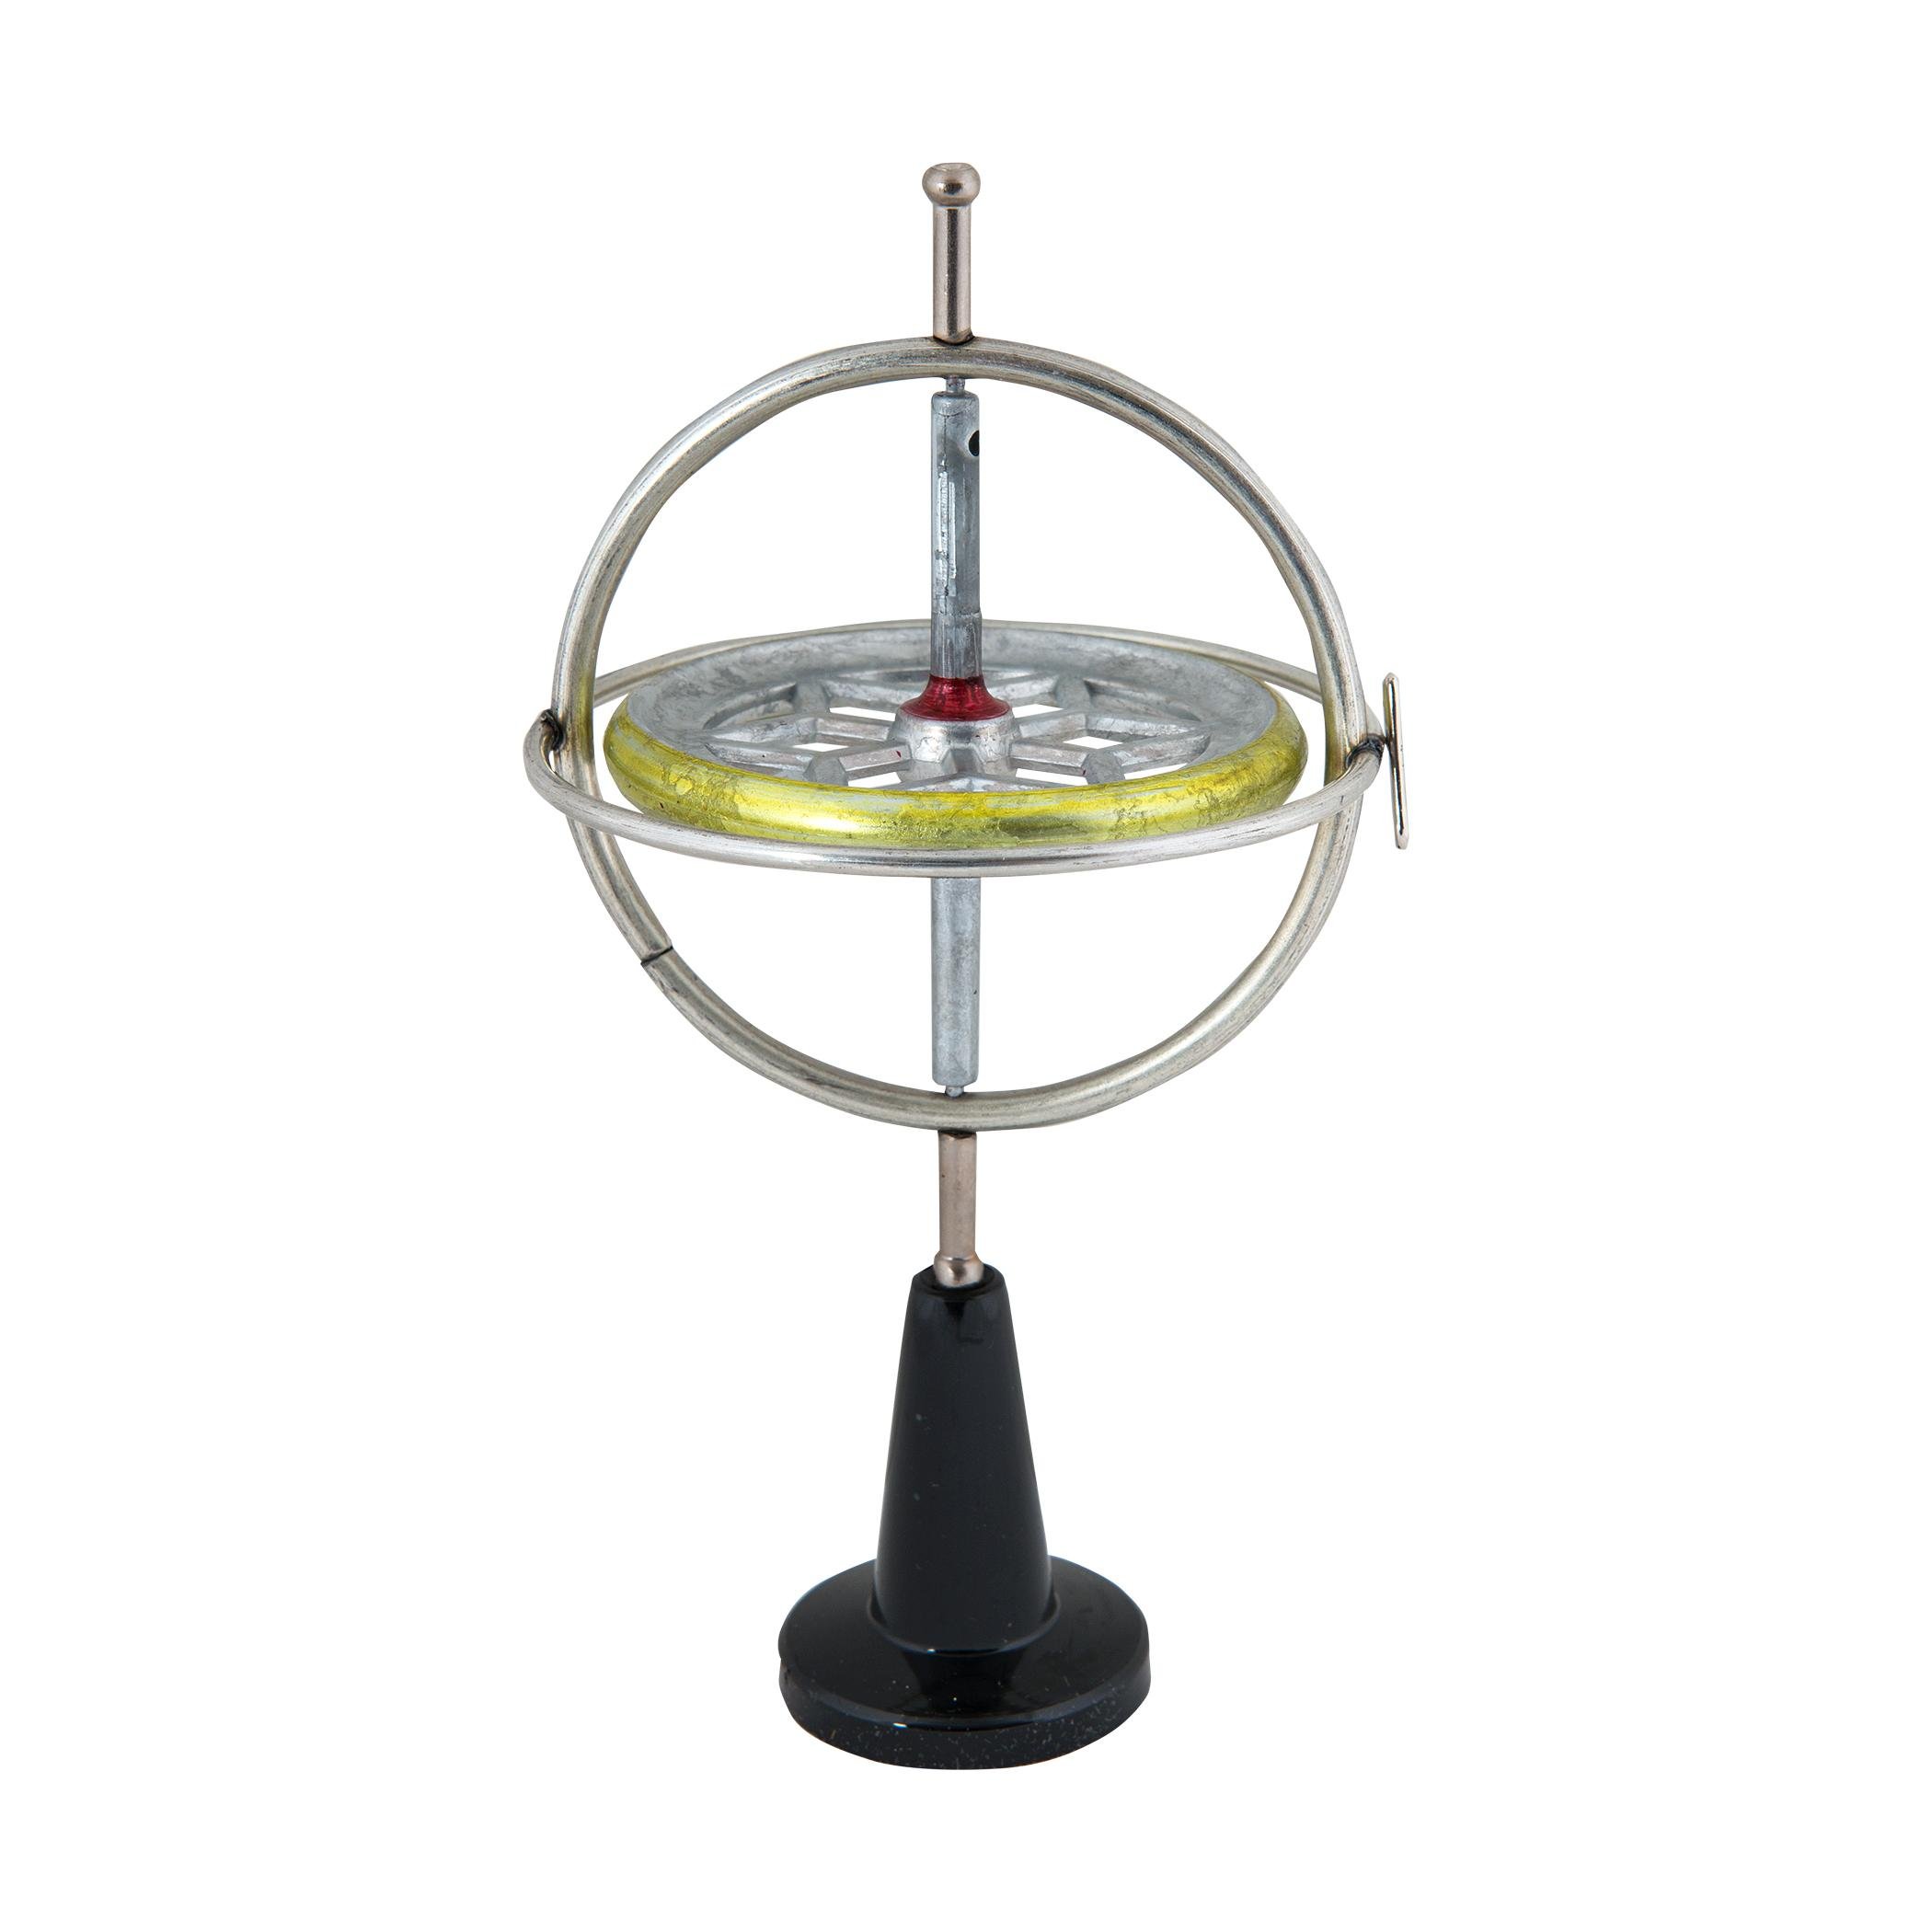
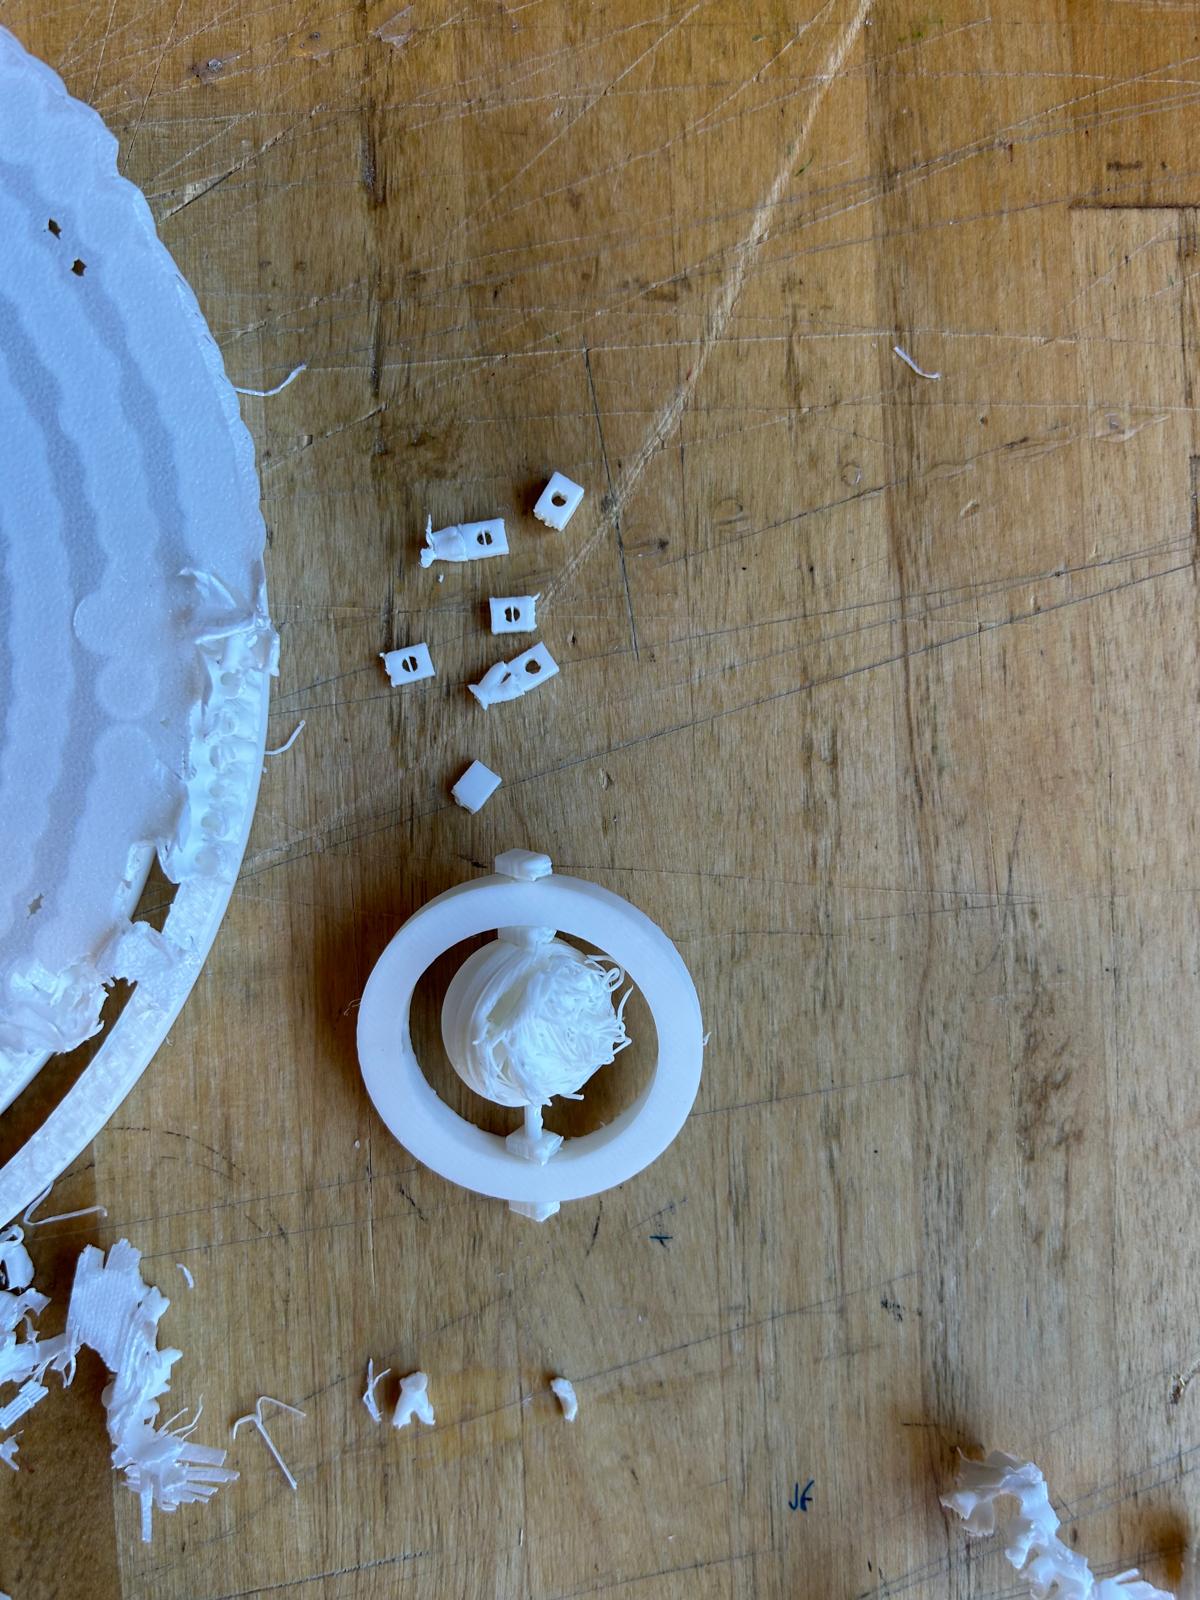
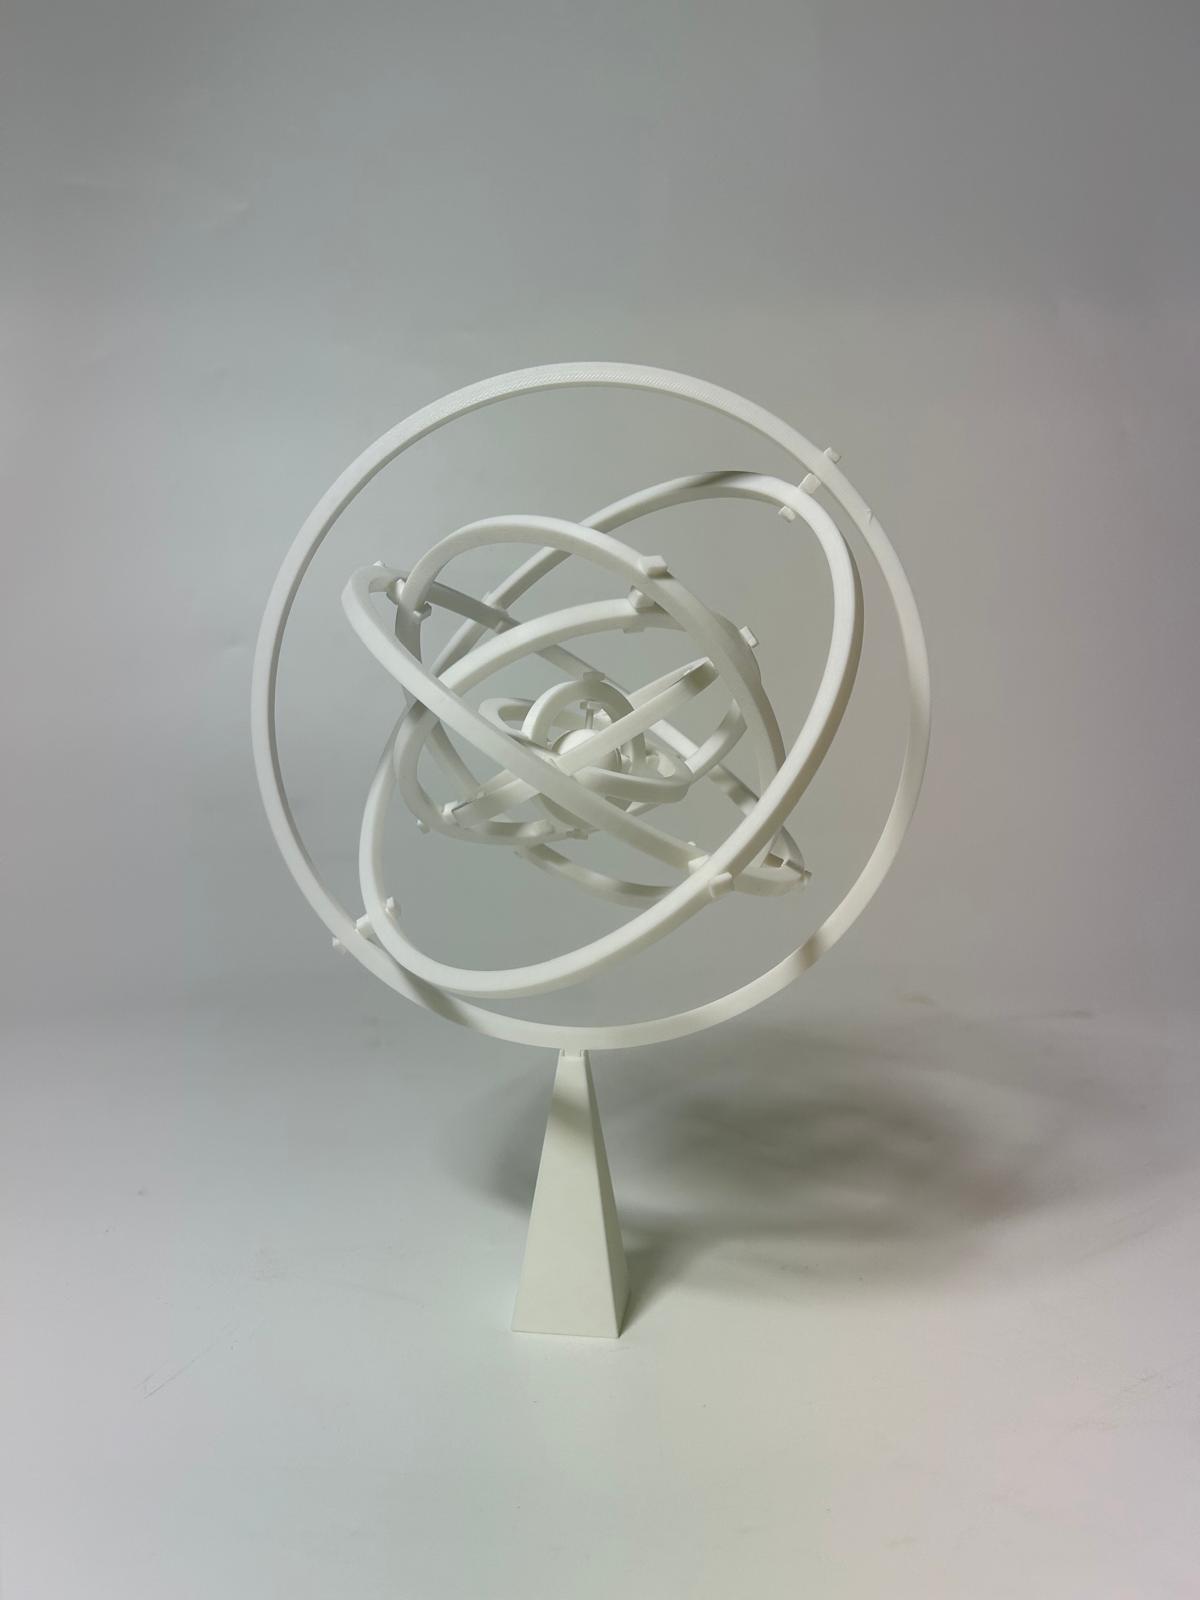
For this week’s 3D printing assignment, I wanted to create an object that could be printed in a single piece but still include a mechanical movement. I was inspired by the gyroscope, a device that demonstrates rotational motion and stability. A gyroscope typically consists of a spinning wheel or rotor mounted in a set of rings, which allows it to rotate freely in multiple directions. Its unique property is that once spinning, it resists changes to its orientation, which is why gyroscopes are often used in navigation and balance systems.
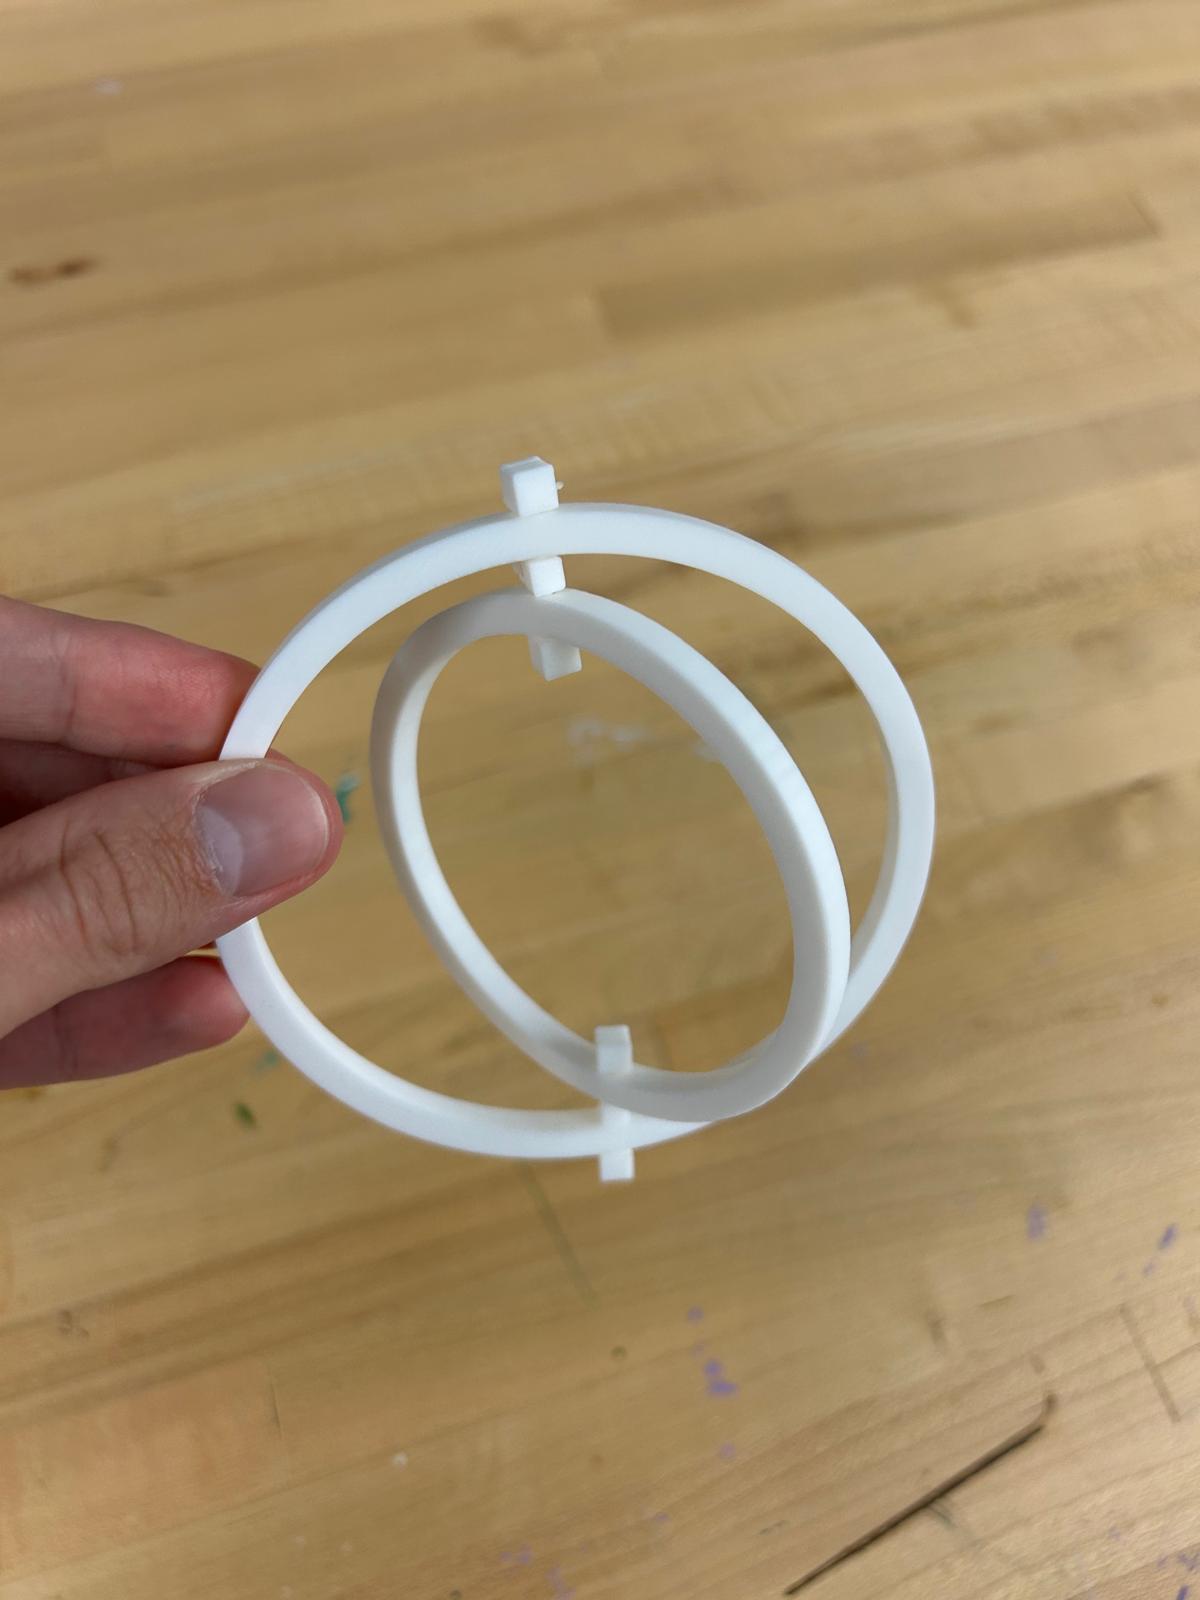
My goal was to translate this concept into a small 3D-printed model that could move mechanically without requiring assembly. This meant designing parts that would be interlocked but still free to rotate or pivot after printing. The challenge was to ensure that the clearances between moving parts were precise enough to allow smooth motion, while still being printable in a single piece.