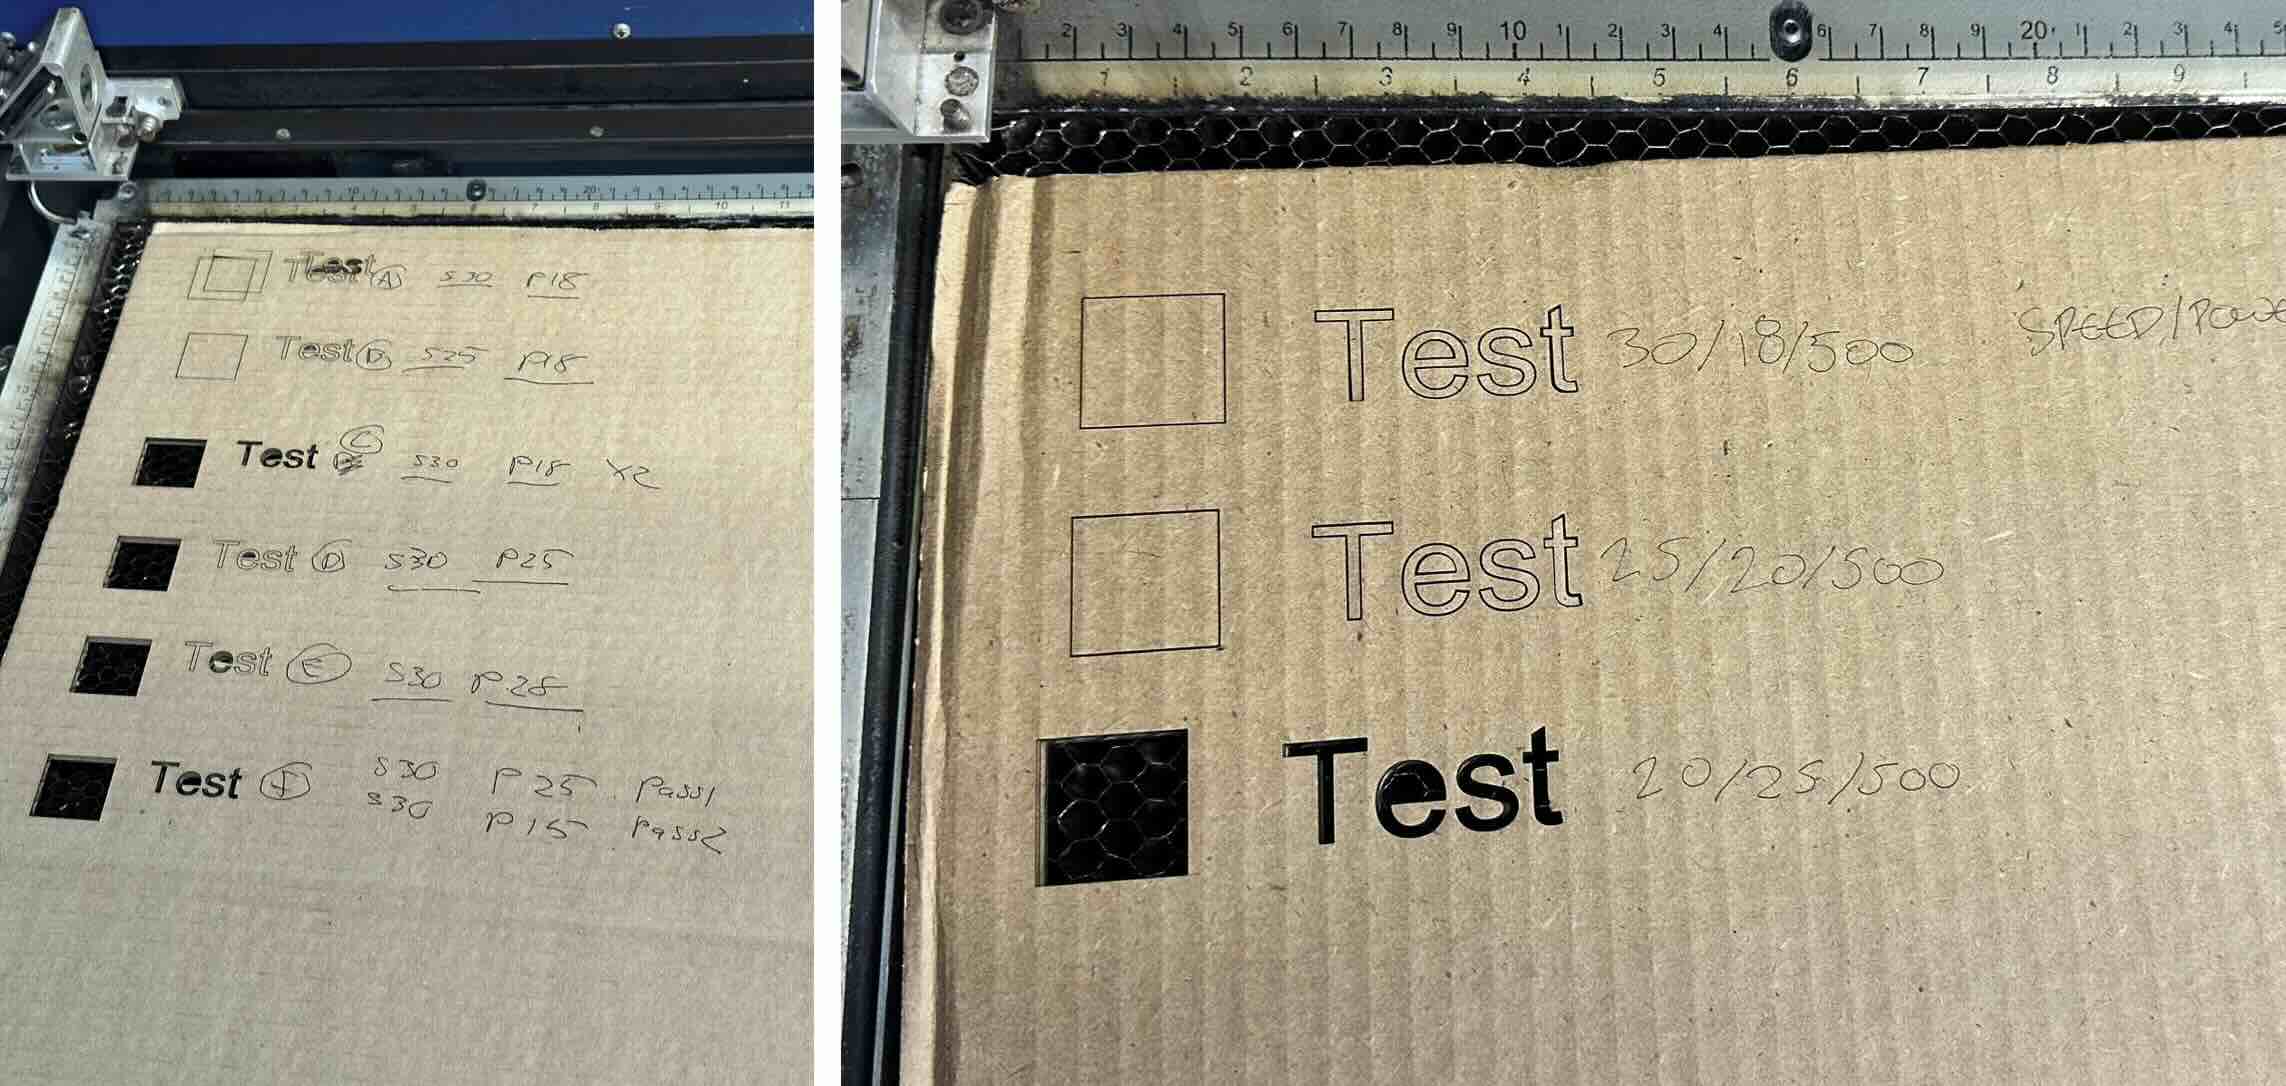
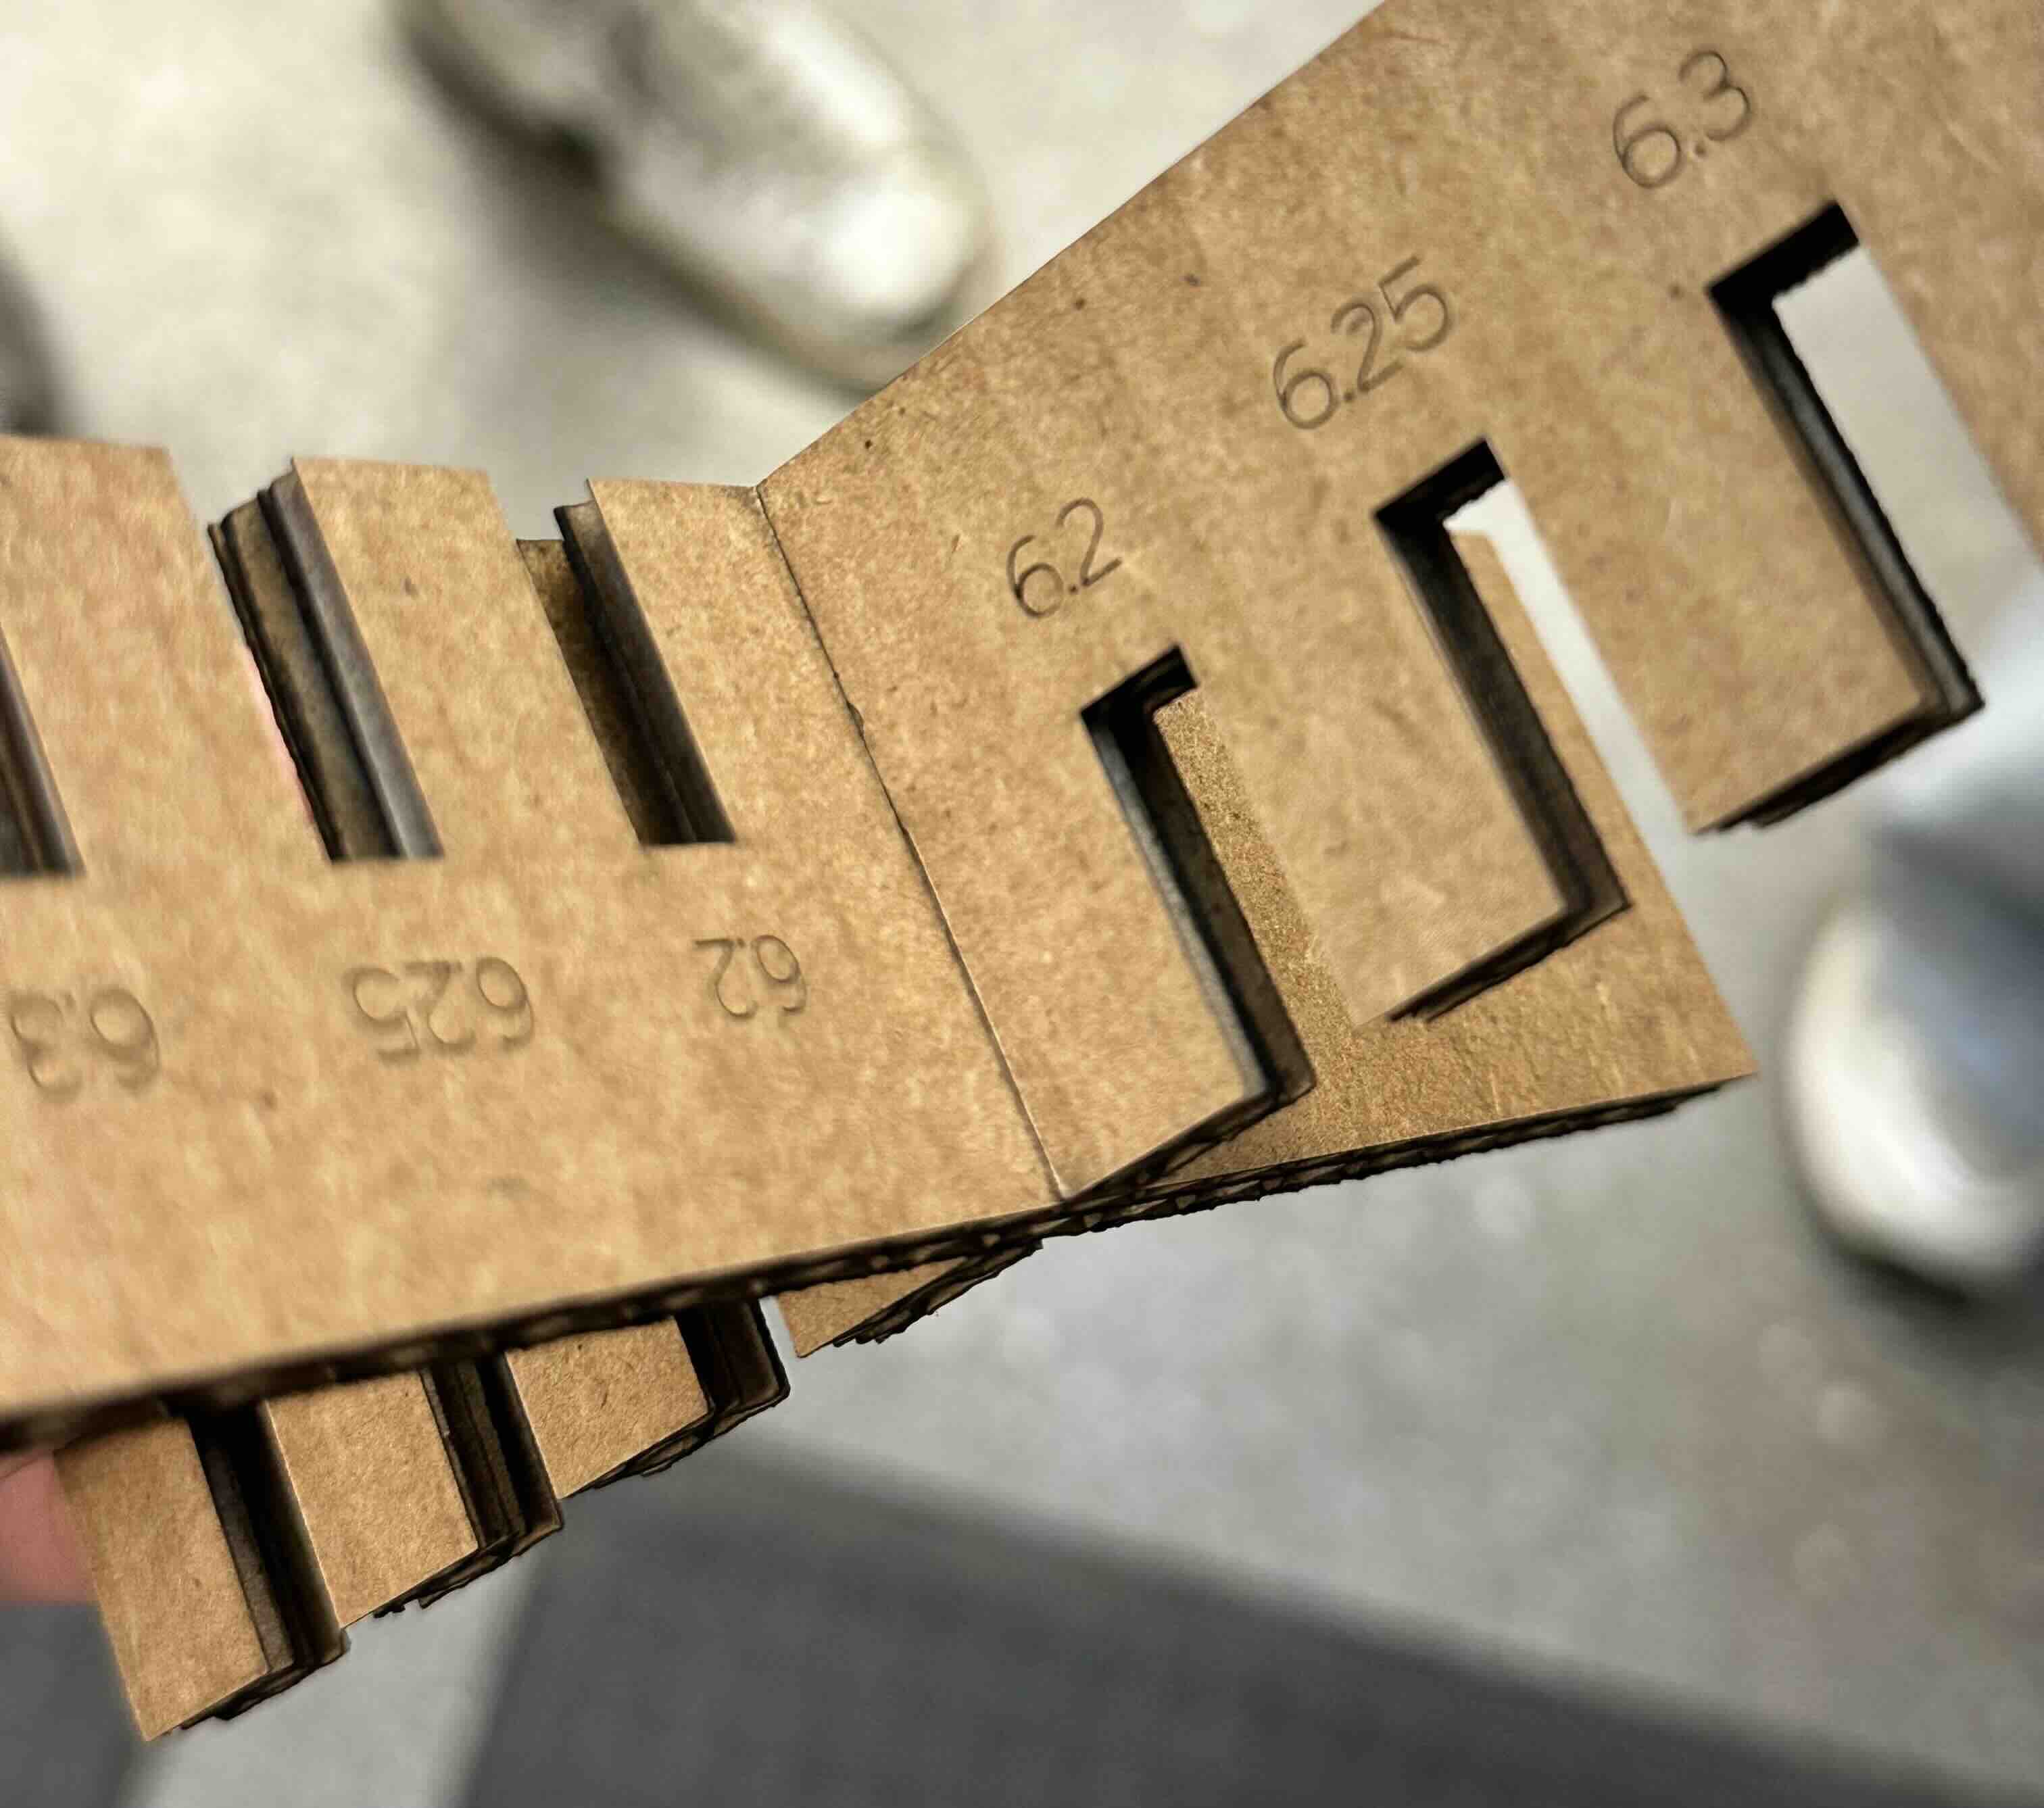
Our TA, Gert, walked us through the lasercutting process. Some of the important notes are to set the material 2 inches from the lense, adjust the z axis bed as needed. Then use Rhino 7 to ensure 24"x36" boundary limit is met and set the window 1:1 in Rhino interface. It's crucial that lineweights are set to hairline and 'raster' is unchecked (only vector should be for smoother operation). For the lasercutting exercise, we were limited to 1/4" cardboard so the group (with Adin, Stasya, Rodmehr, and Romeo) conducted kerf testing to see which offsets of joints/tabs is sufficient. We noticed that 0.15mm offset from laser line works best for the joints, with a cut setting of 20speed/25power/500 focus being the ideal. You can find the full tutorial on the architecture page
I wanted to make a minimal zoetrope design of a bunny. I first sketched the bunny characters on procreate before importing it into illustrator to vectorize it. Then I imported the vectors into Rhino to arrange the frame order (8 in total).

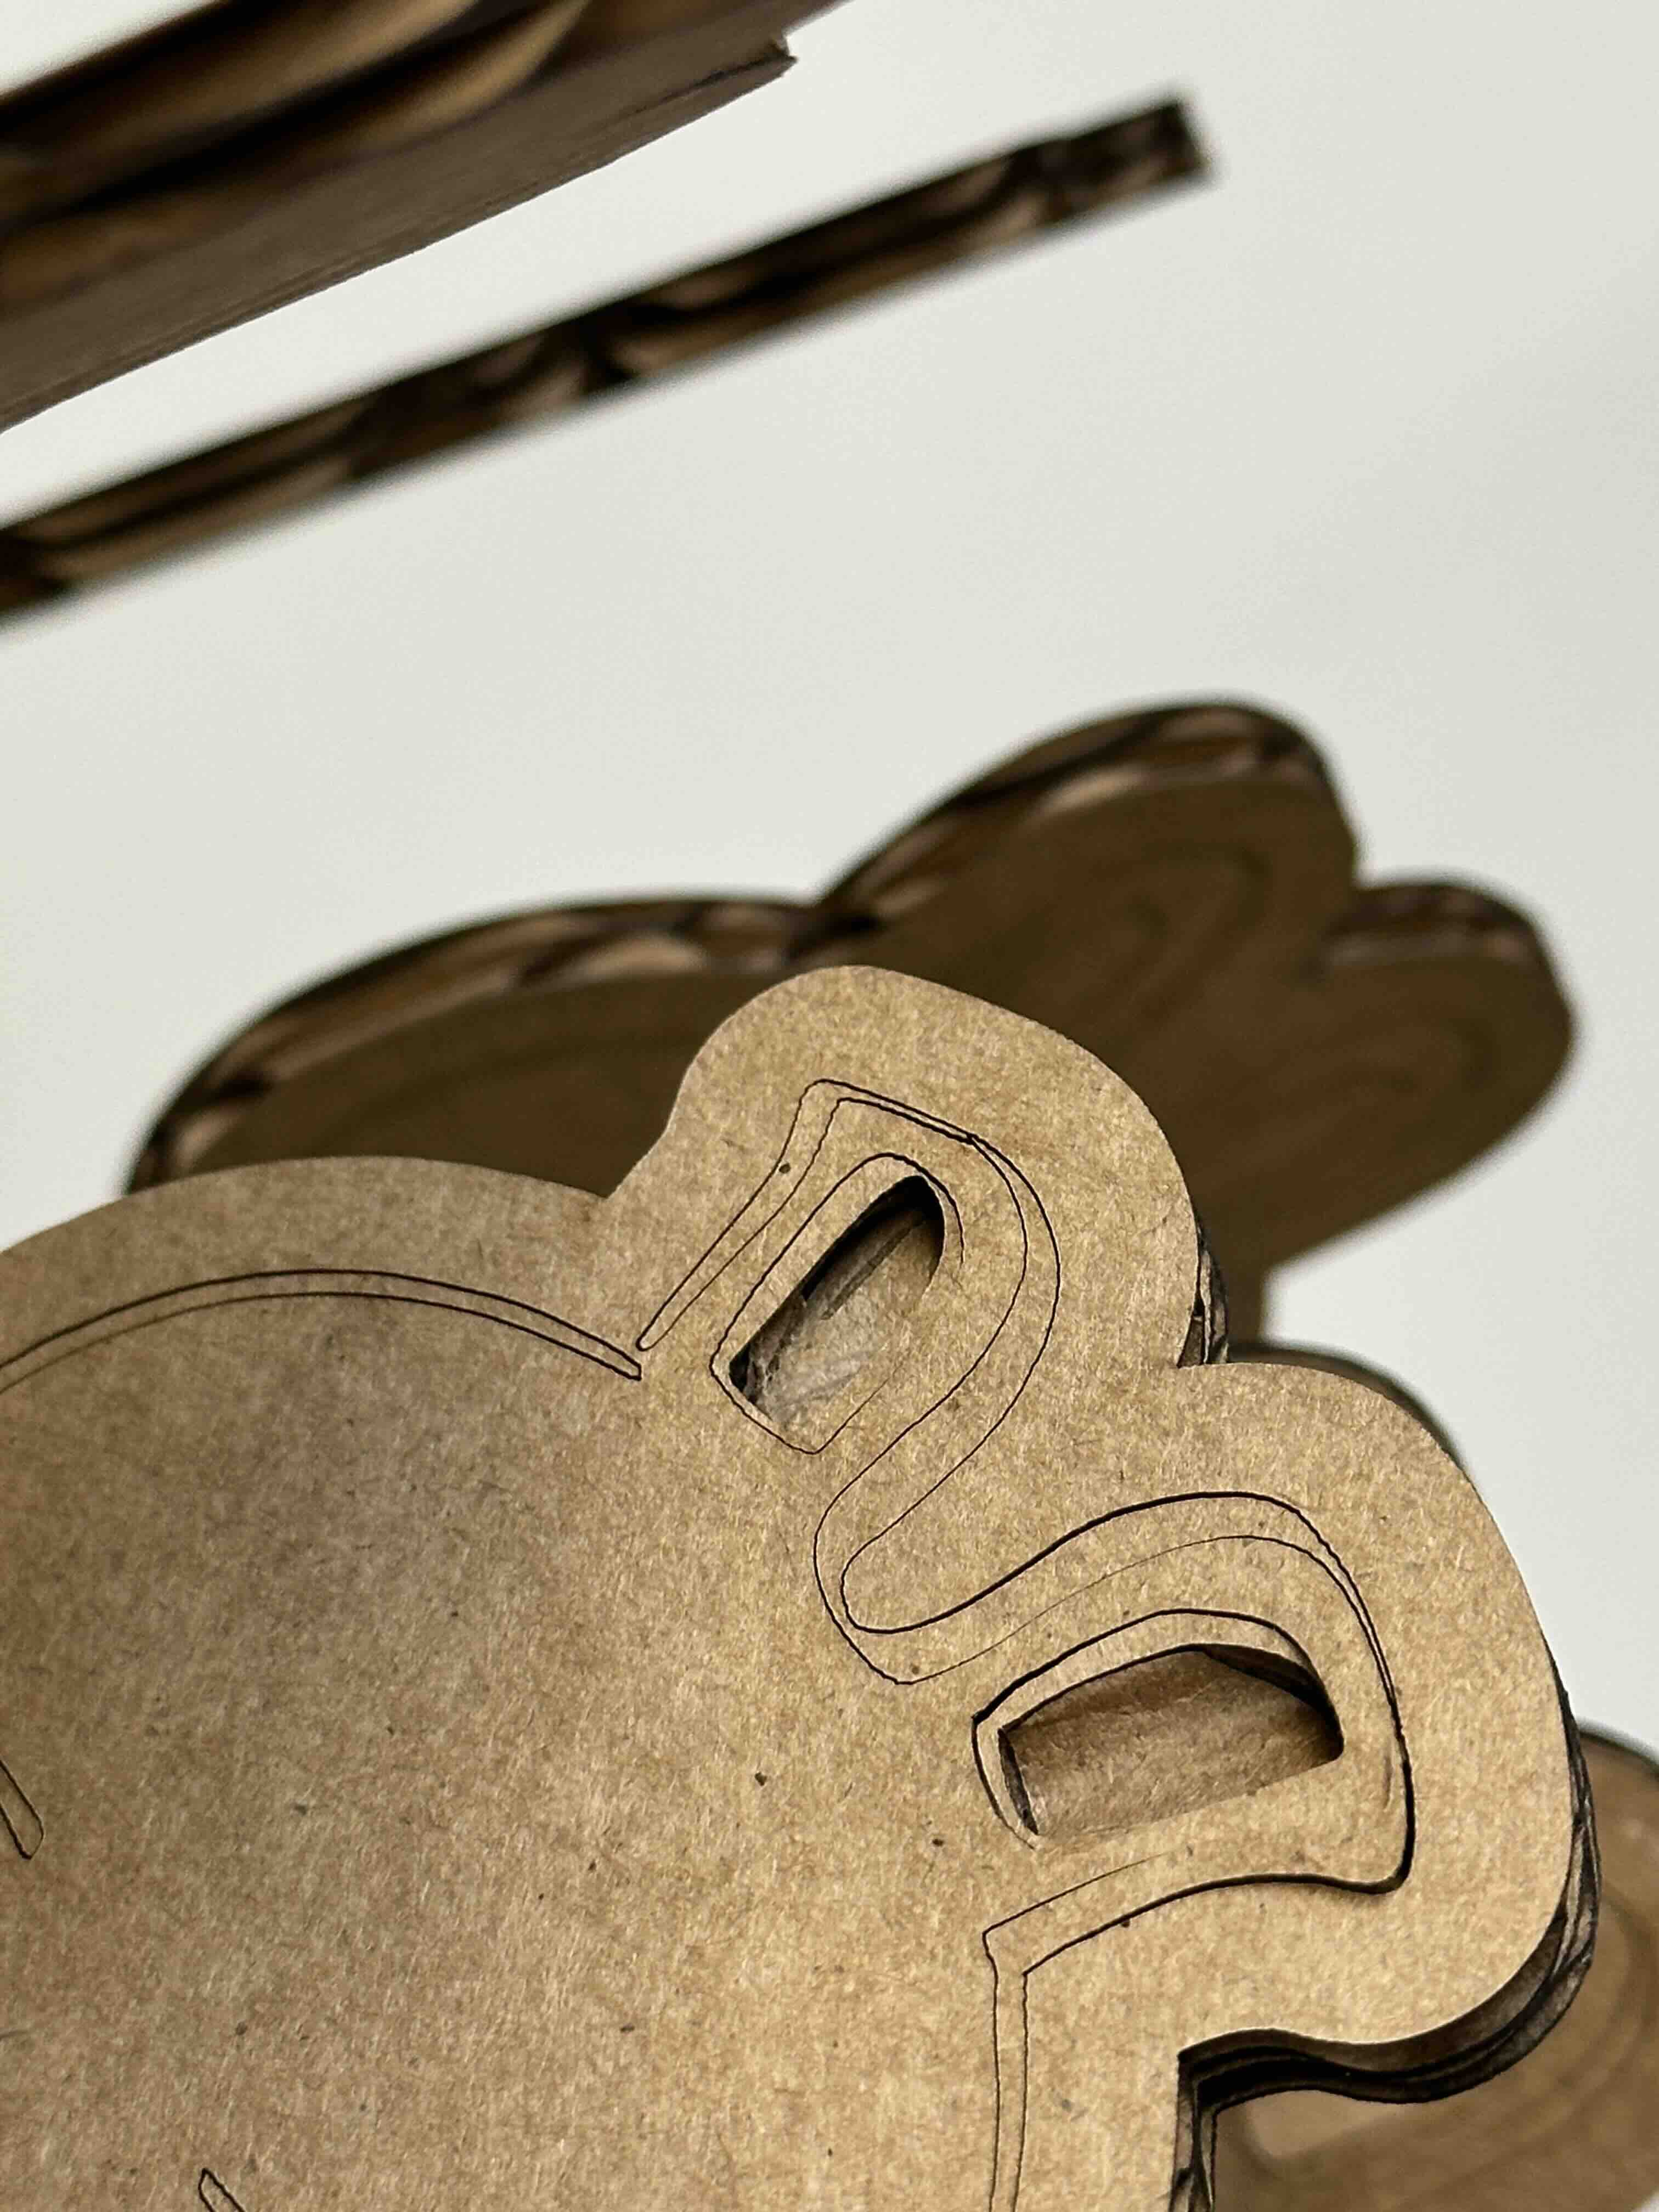
Although cutting went smoothly, I realized some of the materials from the corrugated cardboard is prone to falling due to the etching. Had I known this earlier, I would have designed around this flaw and etched in areas where I may want to have the inner layer of cardboard exposed. I could see this technique being useful in addign texture to certain areas of a model.
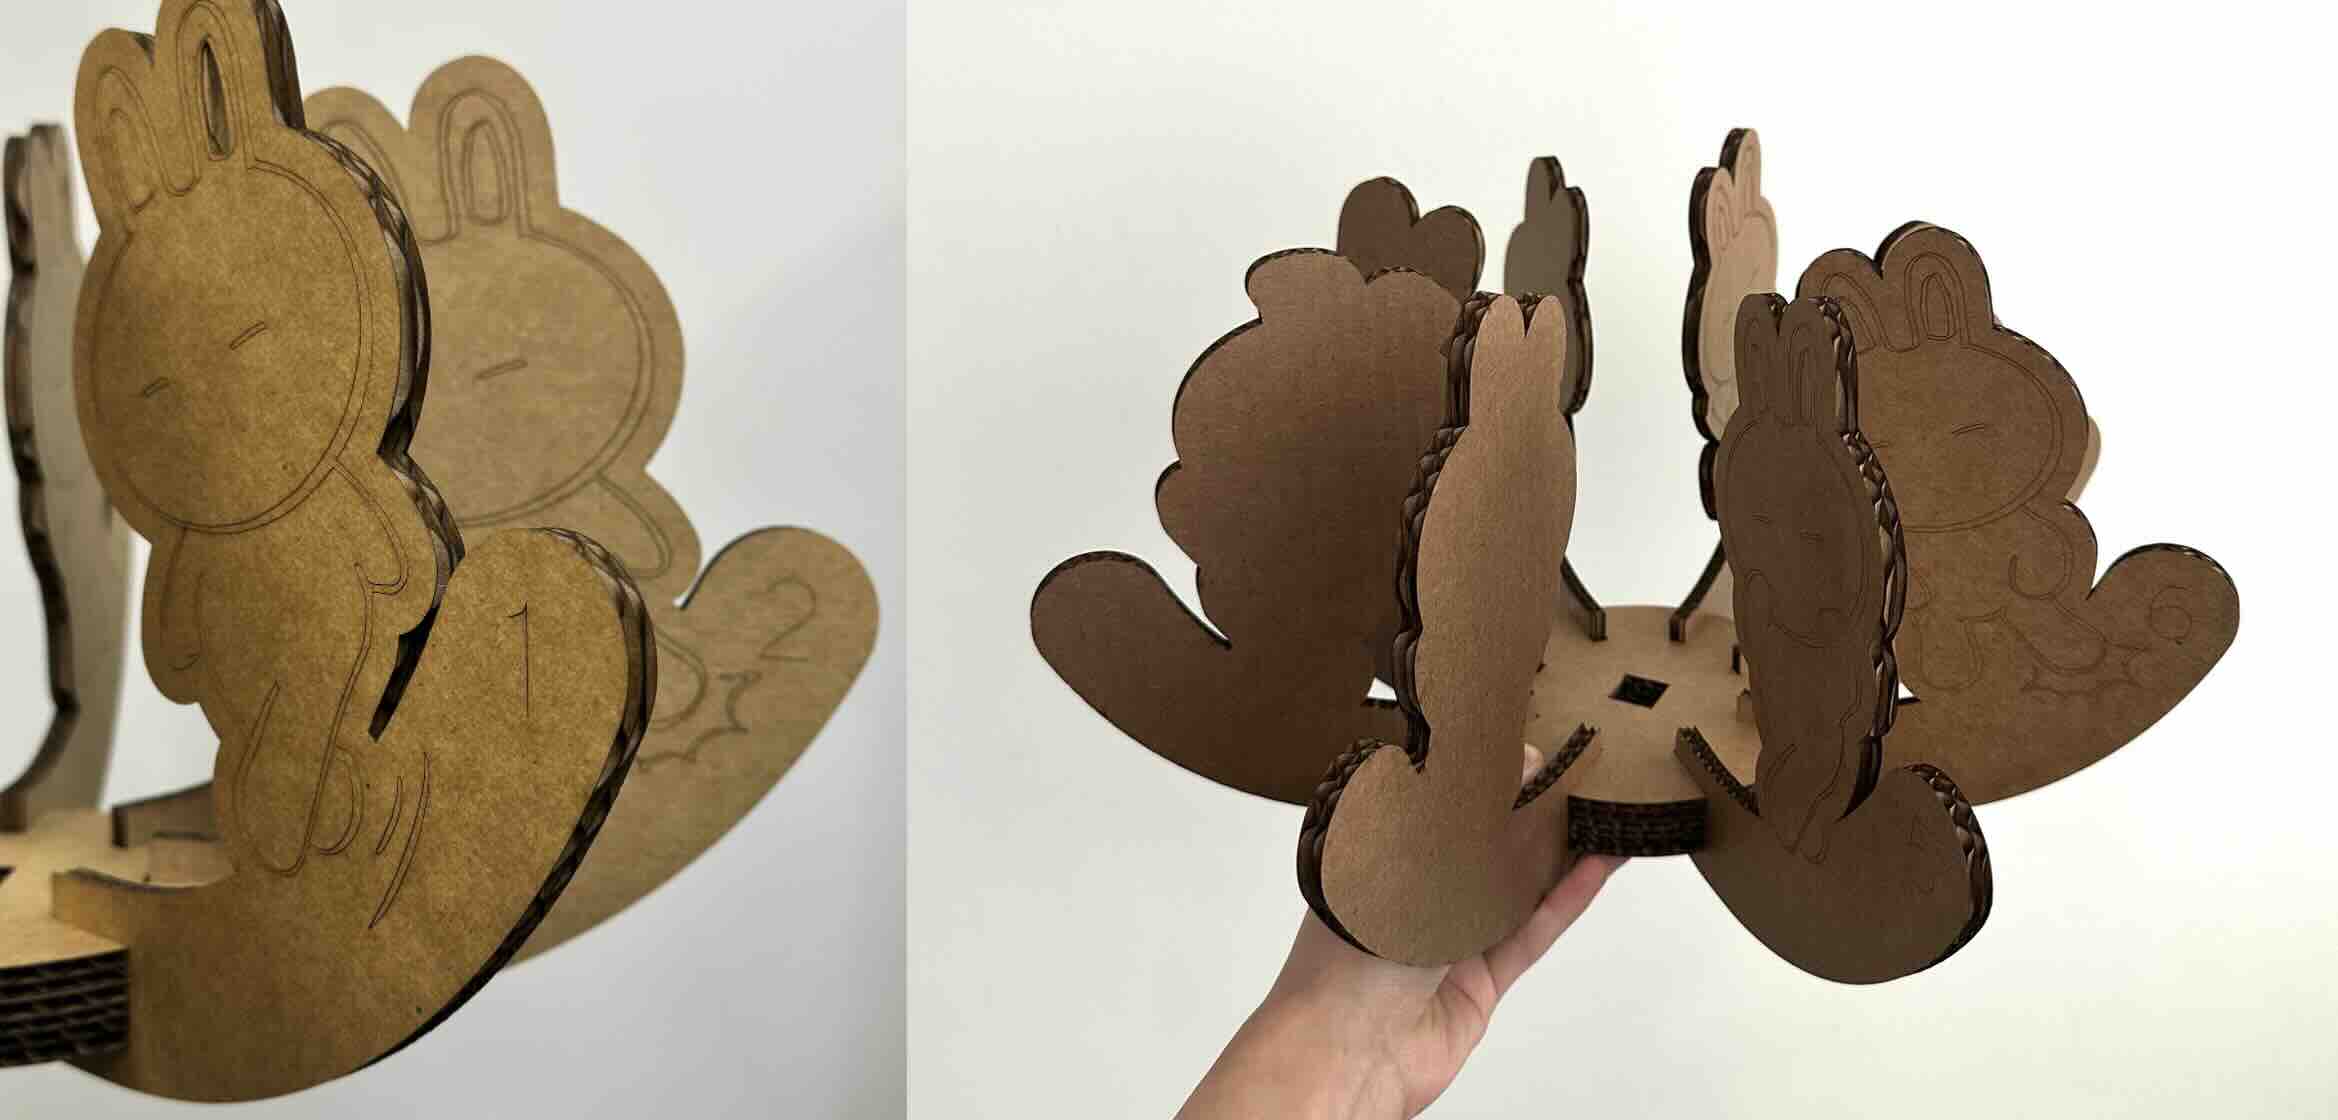
Zoetrope Design
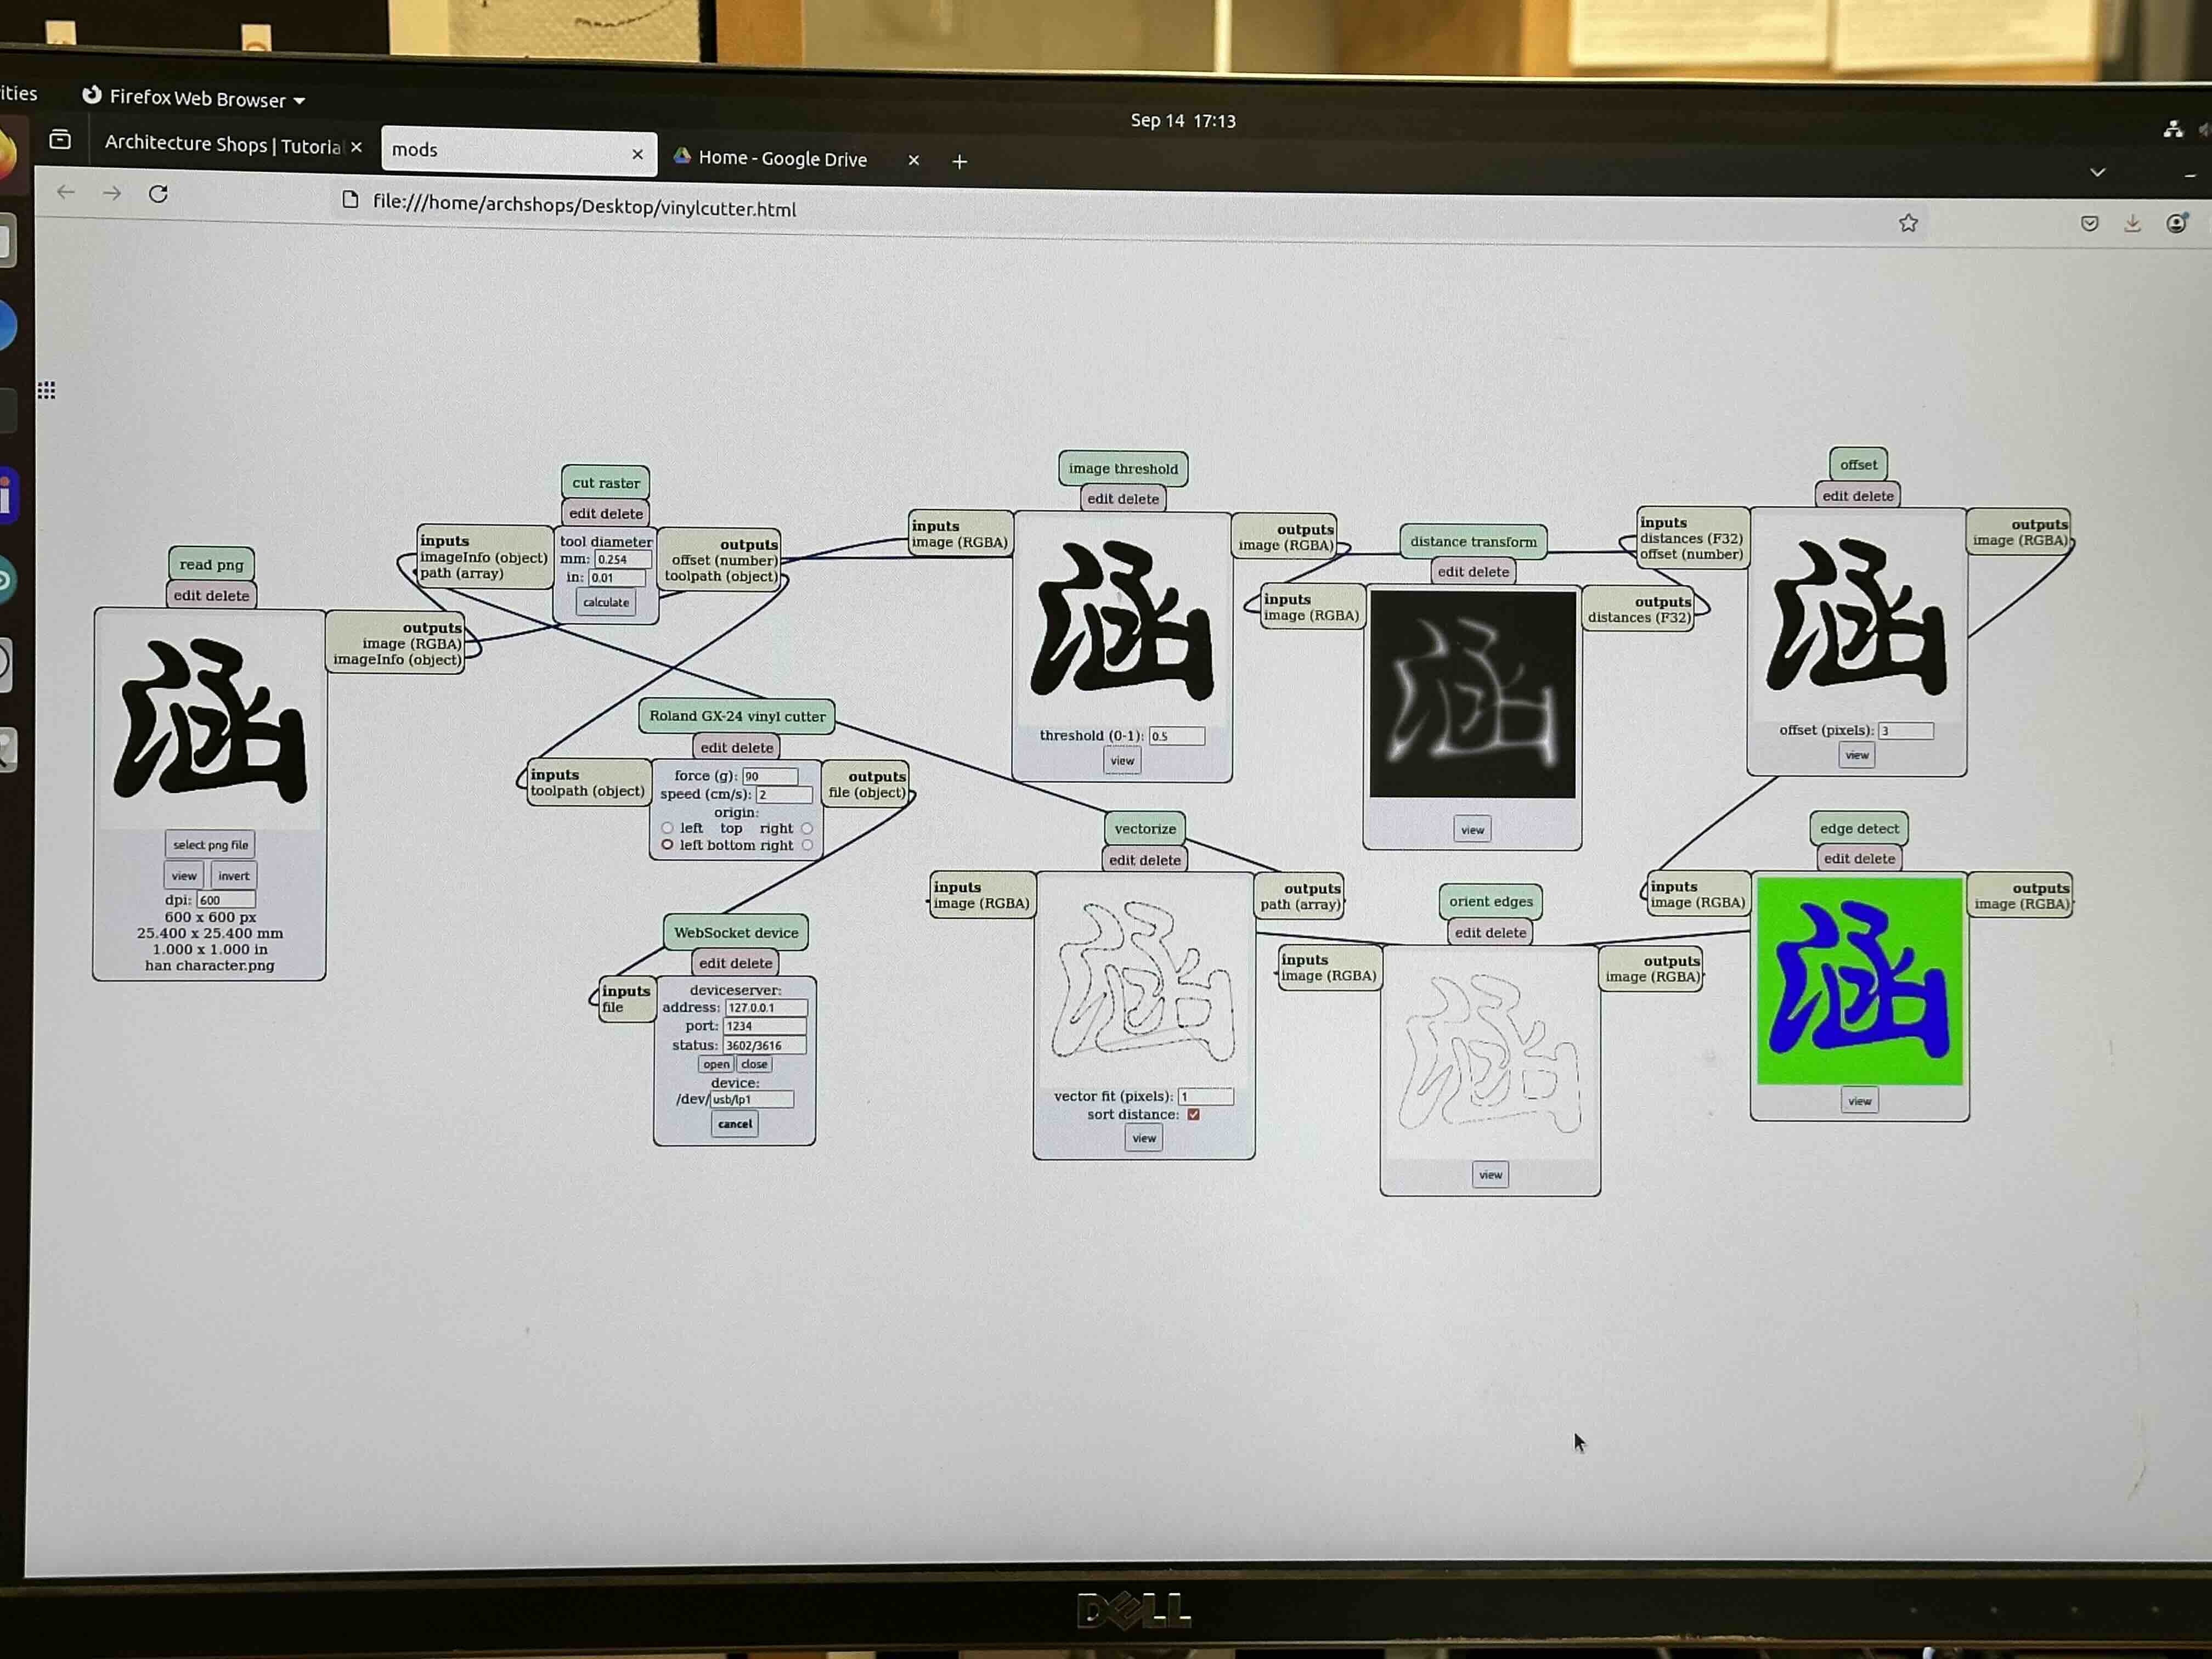
Next we were taught the vinyl cutter, which was simple enough to understand due to the already set up mods page by CBA. More details are located in the vinyl cutter tutorial
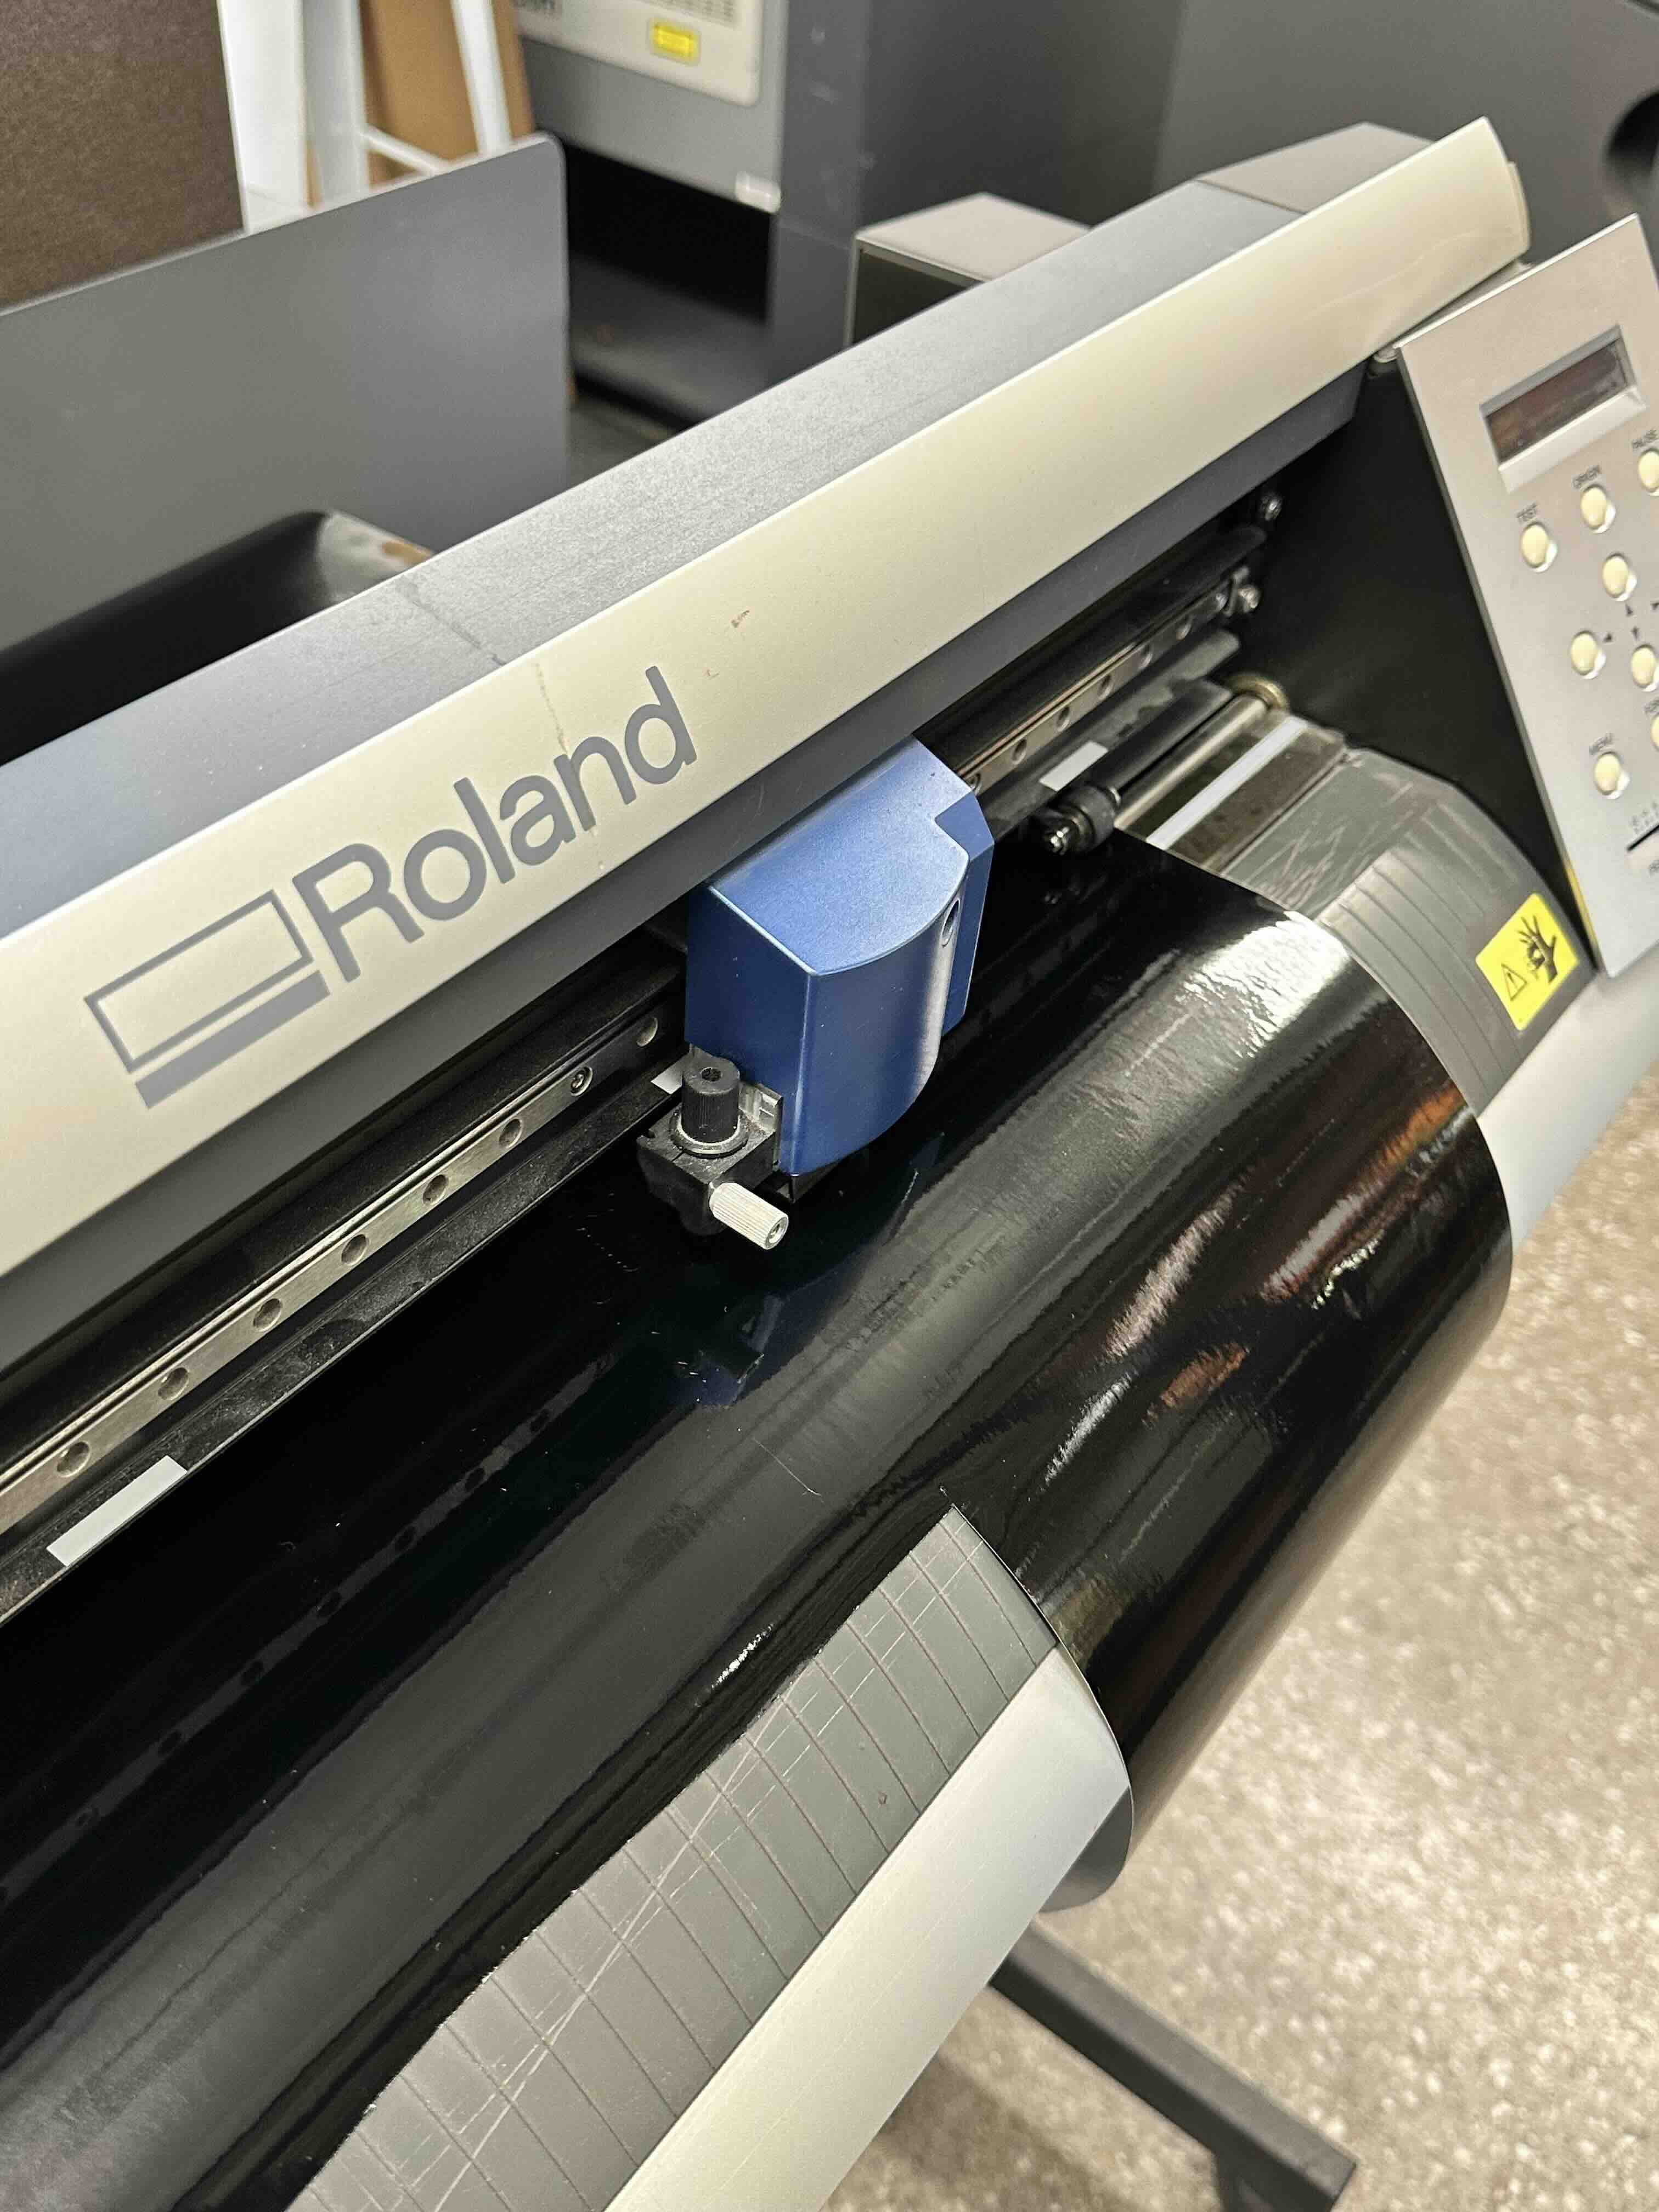
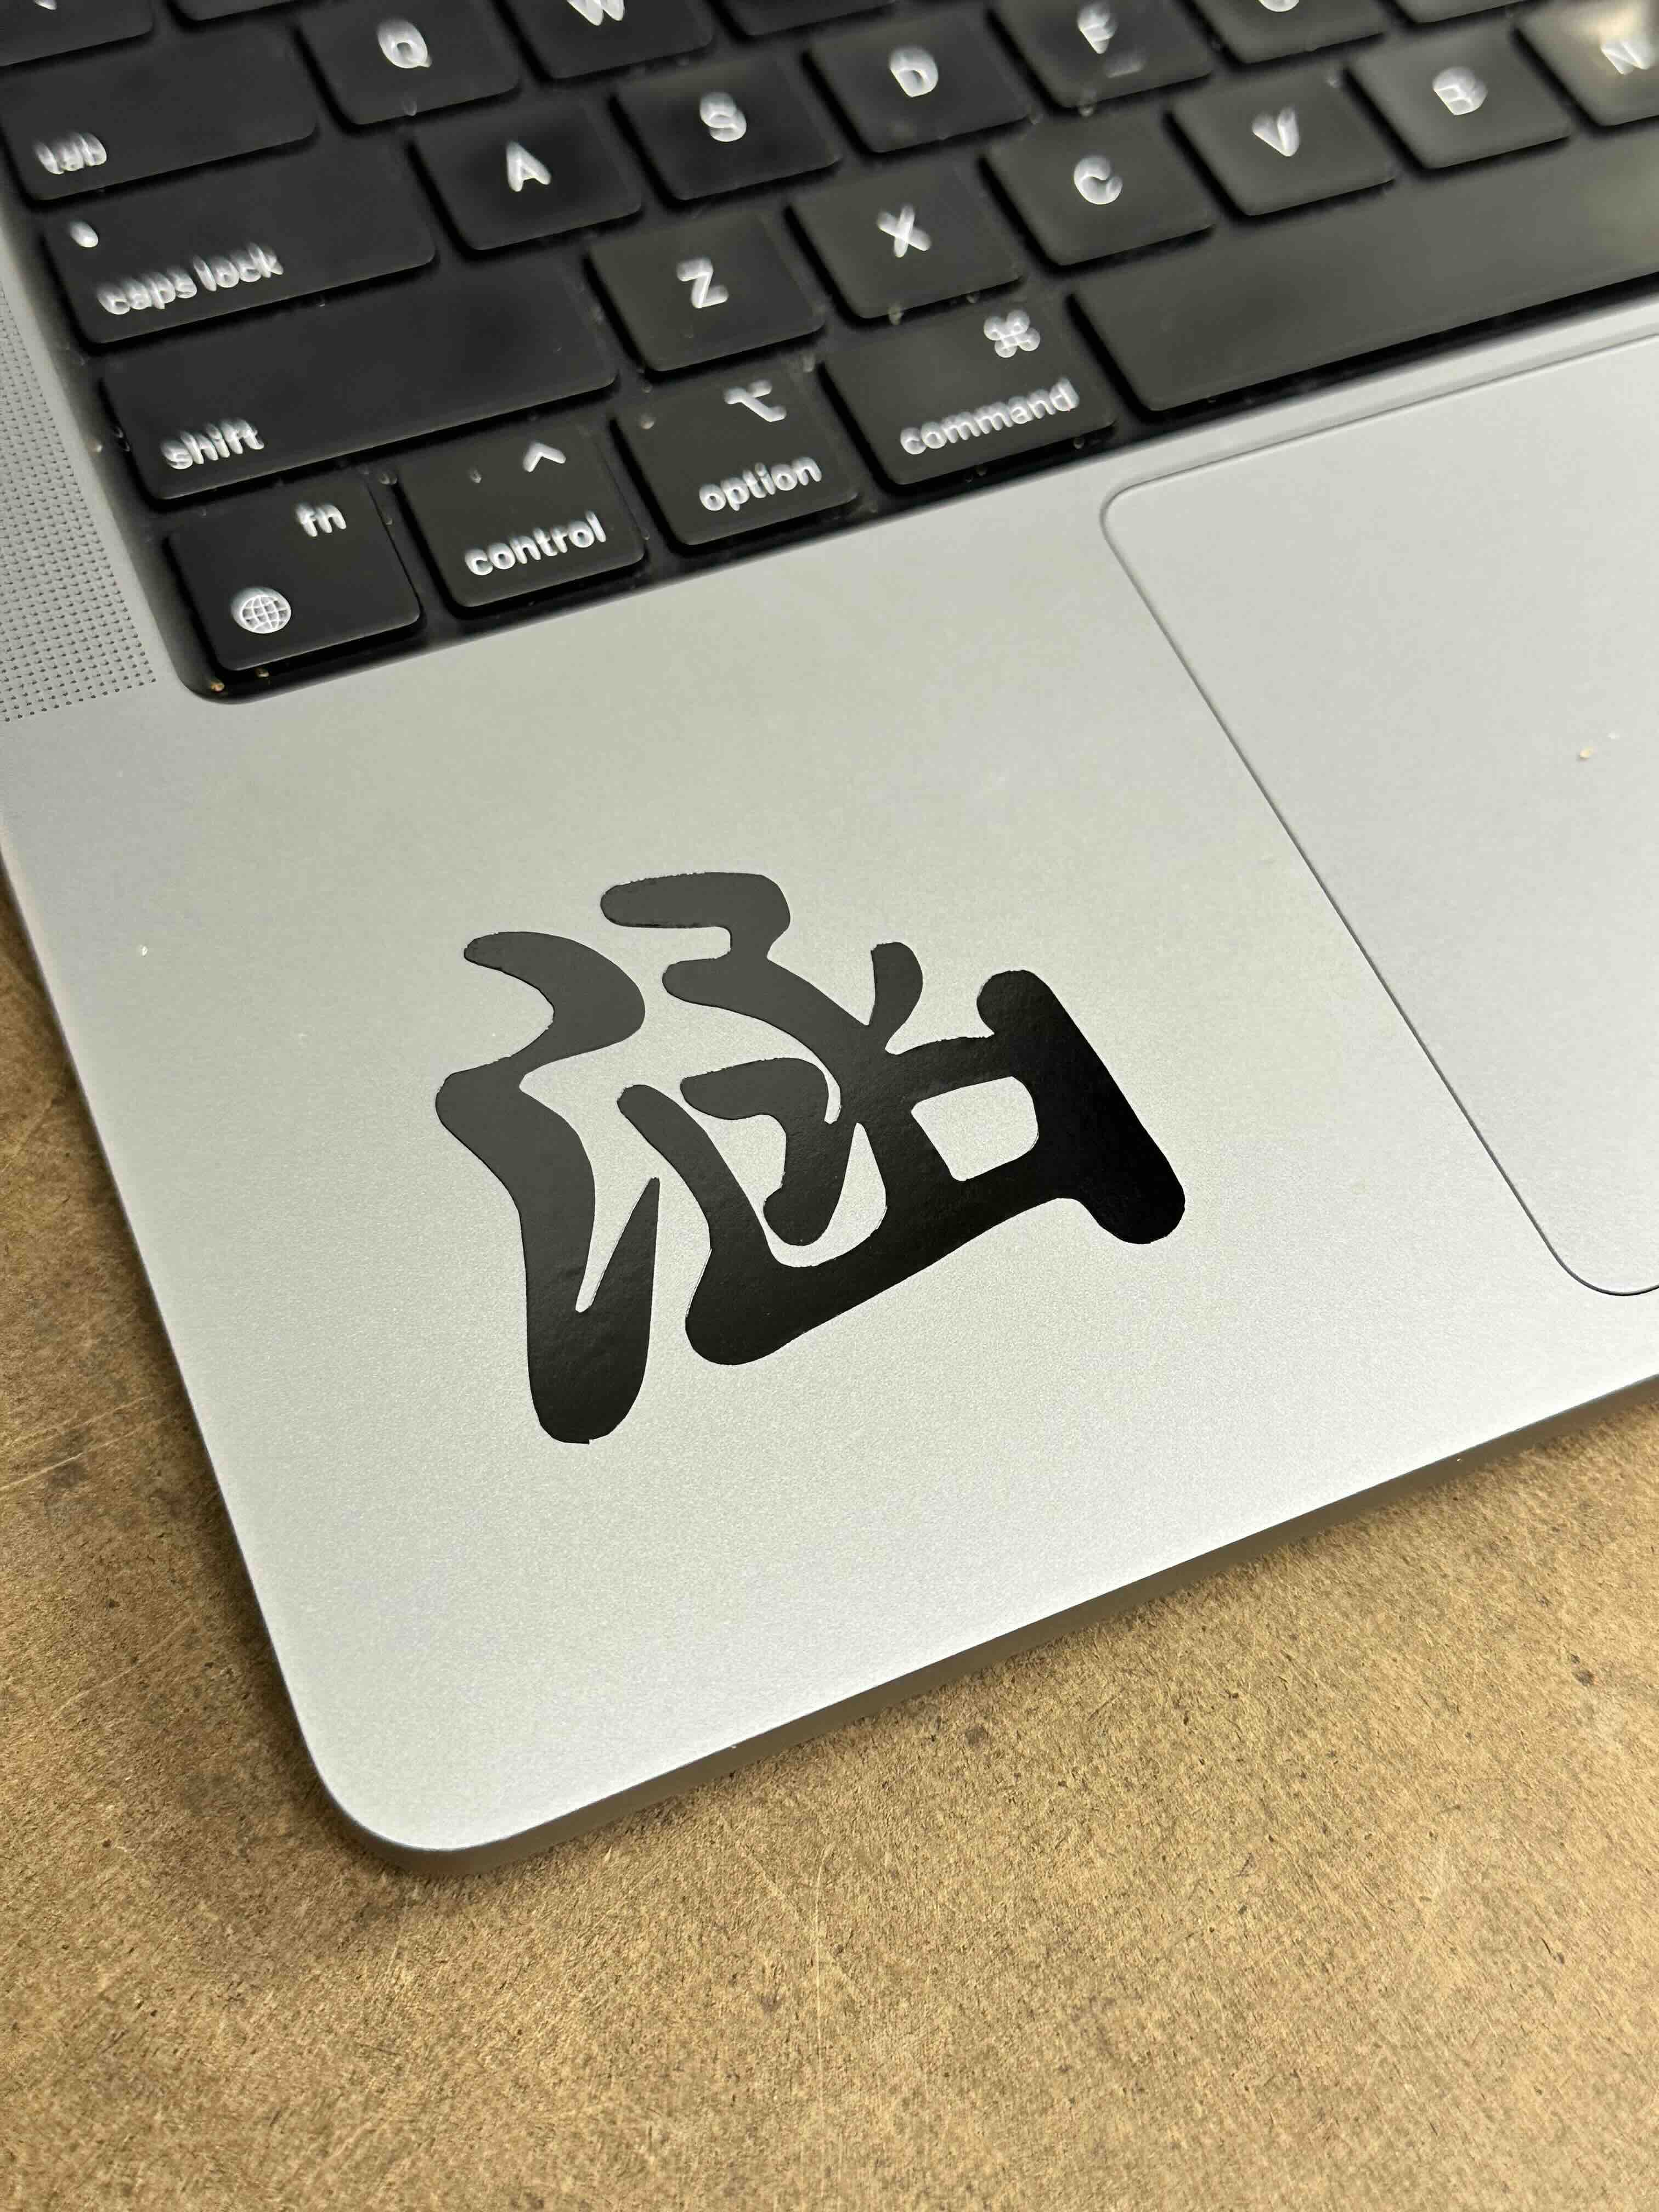
The mods read black and white png files so I uploaded my chinese character name, Han, to put a sticker on my laptop. The workflow is straight forward in calculating a toolpath in the modspage before sending it to the cutter. Some general tips are using pressure settings around 90-105 and that smaller DPI settings make image physically larger (and vice versa).