This week’s theme was molding and casting. I decided to work toward something
personal: a modern version of my family ring, building on the scan I made during 3D printing week.
Goal & Constraints
I only have one original family ring, and I really don’t want to destroy it in a mold.
So the plan was:
Model a simple signet ring in Fusion 360.
Extrude my family crest artwork on the top face.
3D print a positive pattern, then create a mold and cast a metal version.
I started from a few separate Fusion files:
Ring test 1 – details too small, also forgot to include the mold box.
I followed a signet-ring Fusion tutorial to build a clean parametric base: a band with a flat
top face where the crest could live. Compared with the original scan, this parametric version is
easier to tweak (ring size, face dimensions, thickness, etc.).
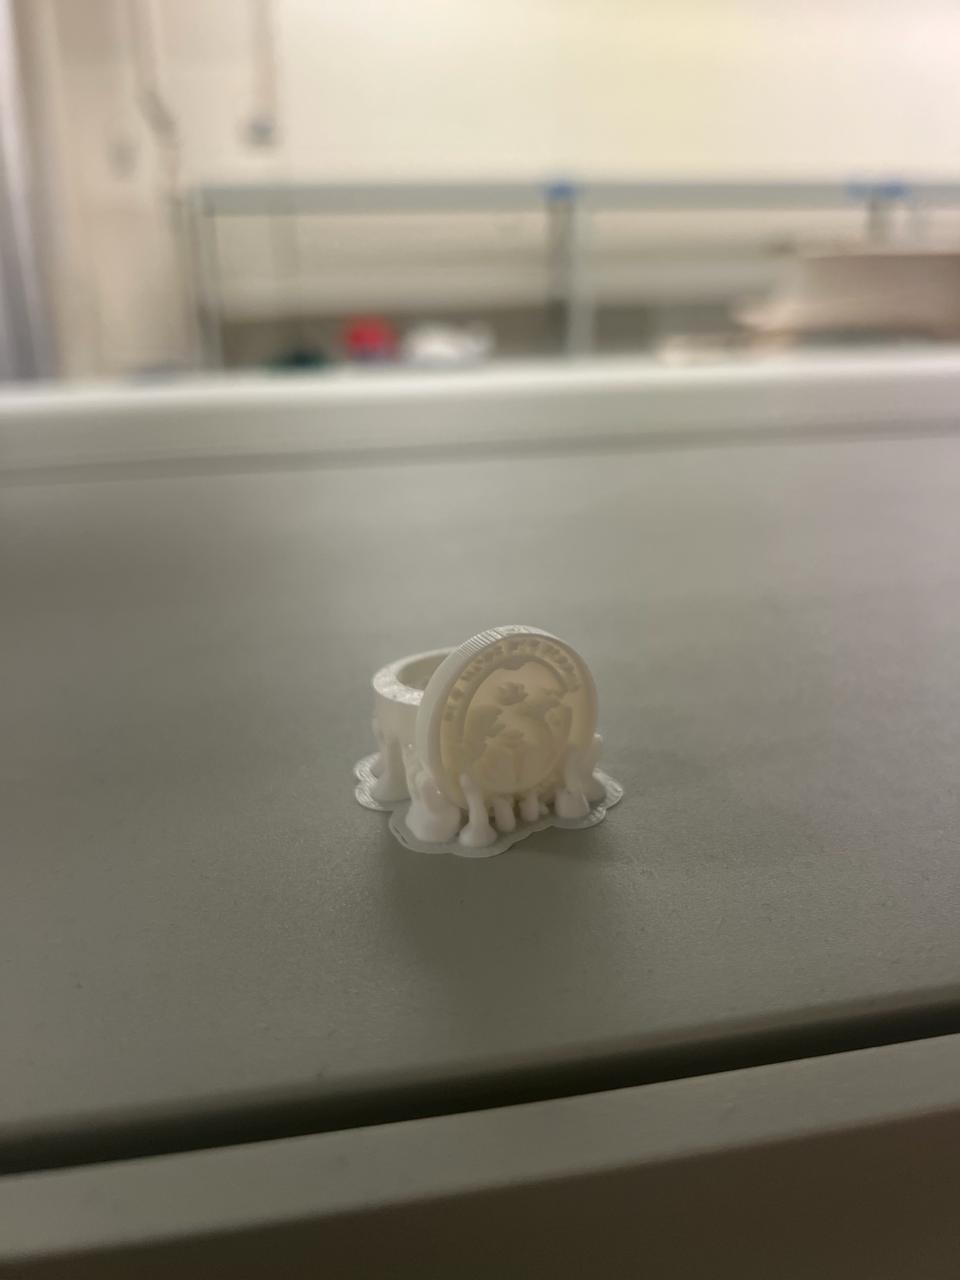
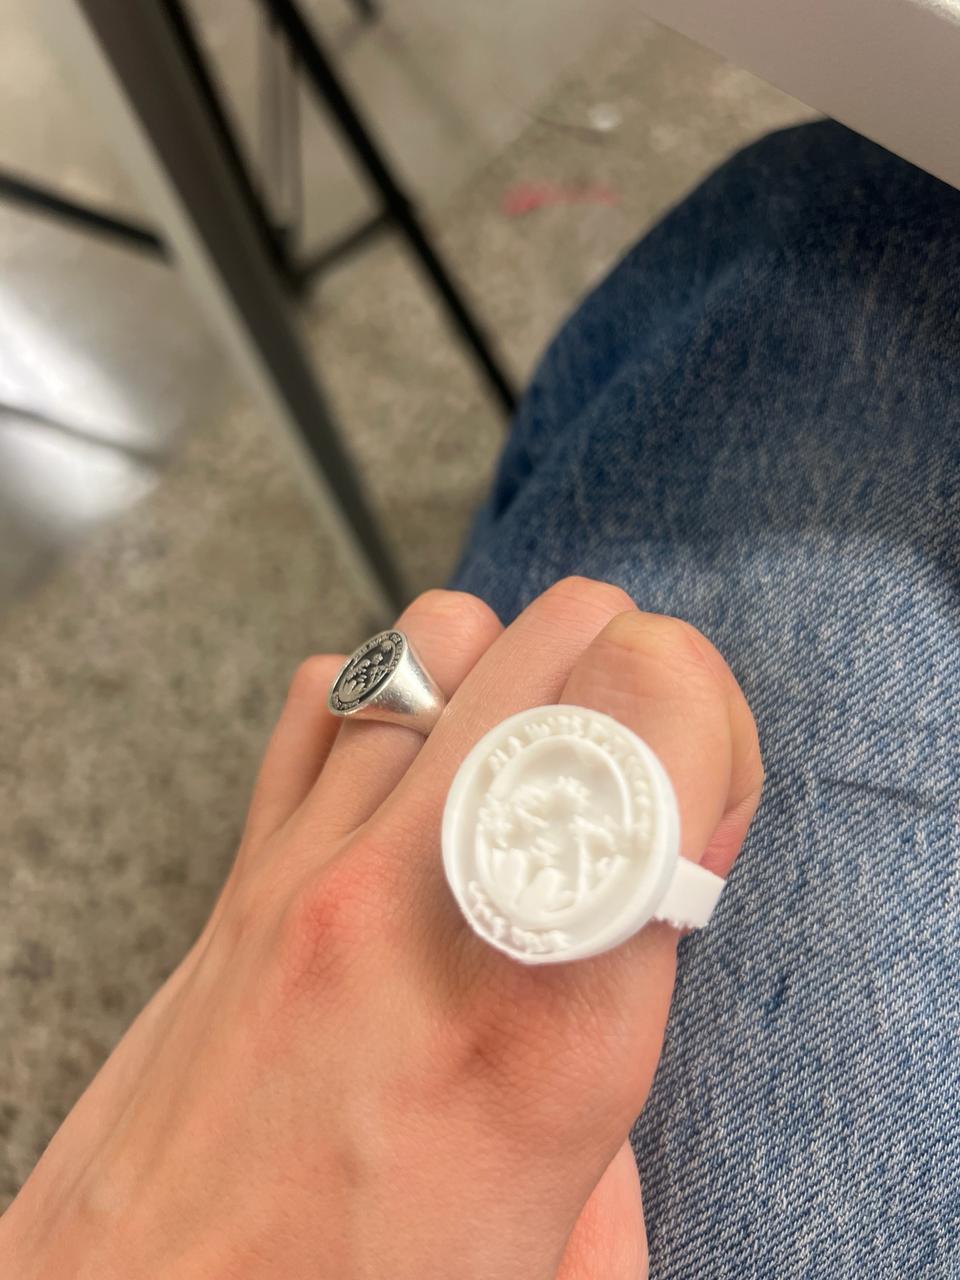
Early test ring: checking overall proportions and band thickness.Trying the test ring on my hand to sanity-check the scale in real life.
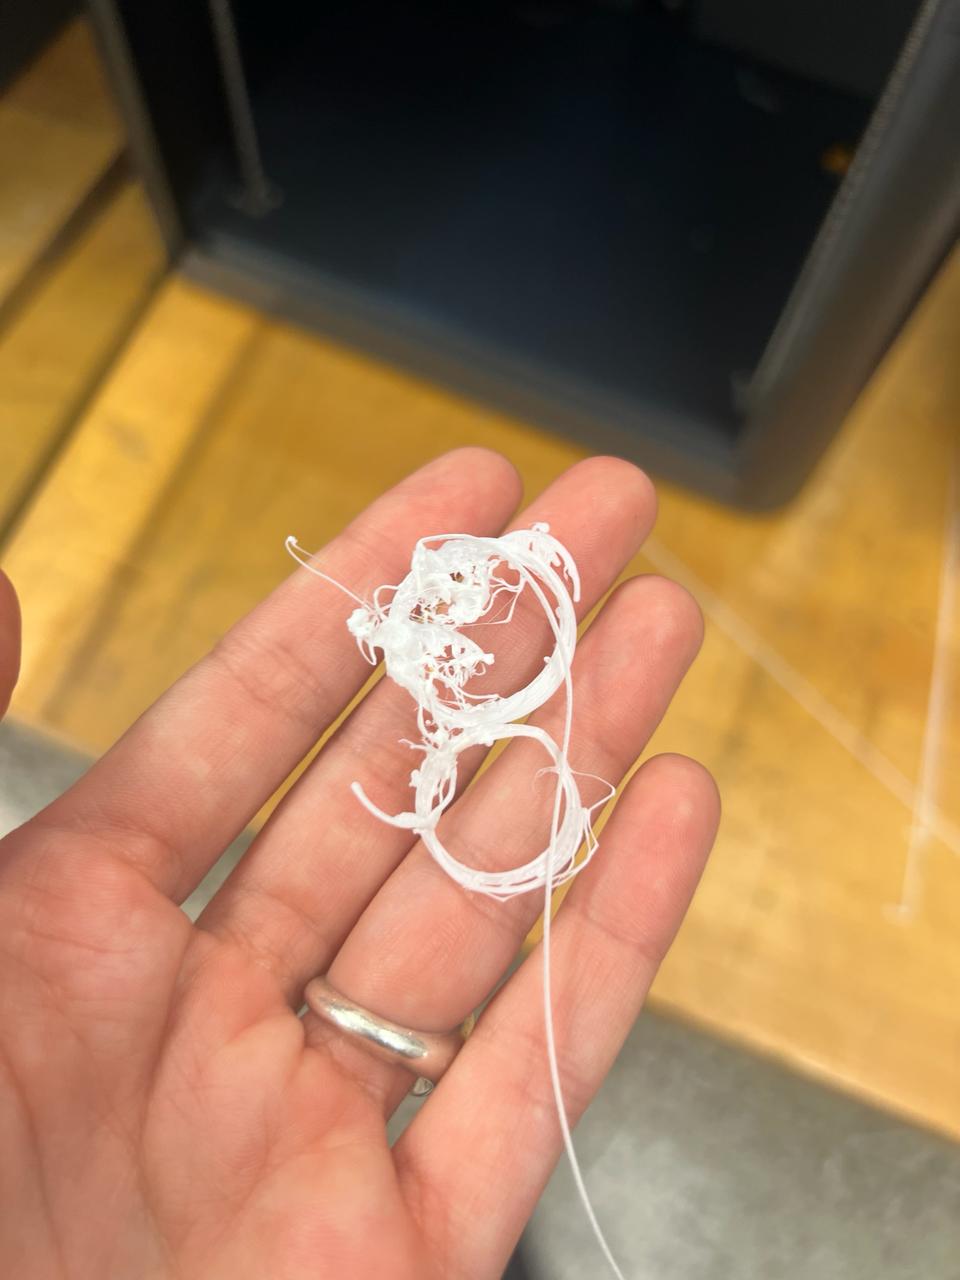
One of several “spaghetti” moments while I dialed in the geometry and print setup.
Family Crest Artwork
The crest itself started from a vector drawing. I wanted something that would:
Stay legible in metal at signet-ring scale.
Have distinct raised and recessed regions for light to catch.
Be compatible with Fusion’s SVG extrude workflow.
Family crest artwork in SVG form.
A simpler star motif I used for quick test extrusions before committing the full crest.
I also briefly tried downloading pre-made signet rings from Printables, but they came in as dense
meshes, which made it painful to cleanly extrude the SVG. The parametric Fusion model ended up
being much easier to control.
3D Printing the Pattern
I printed the ring pattern on a desktop FDM printer. The main challenges were:
Getting the ring size correct without wasting too much material.
Keeping the crest details from disappearing due to layer height and nozzle size.
Avoiding “printing air” when supports, bed adhesion, or orientation weren’t ideal.
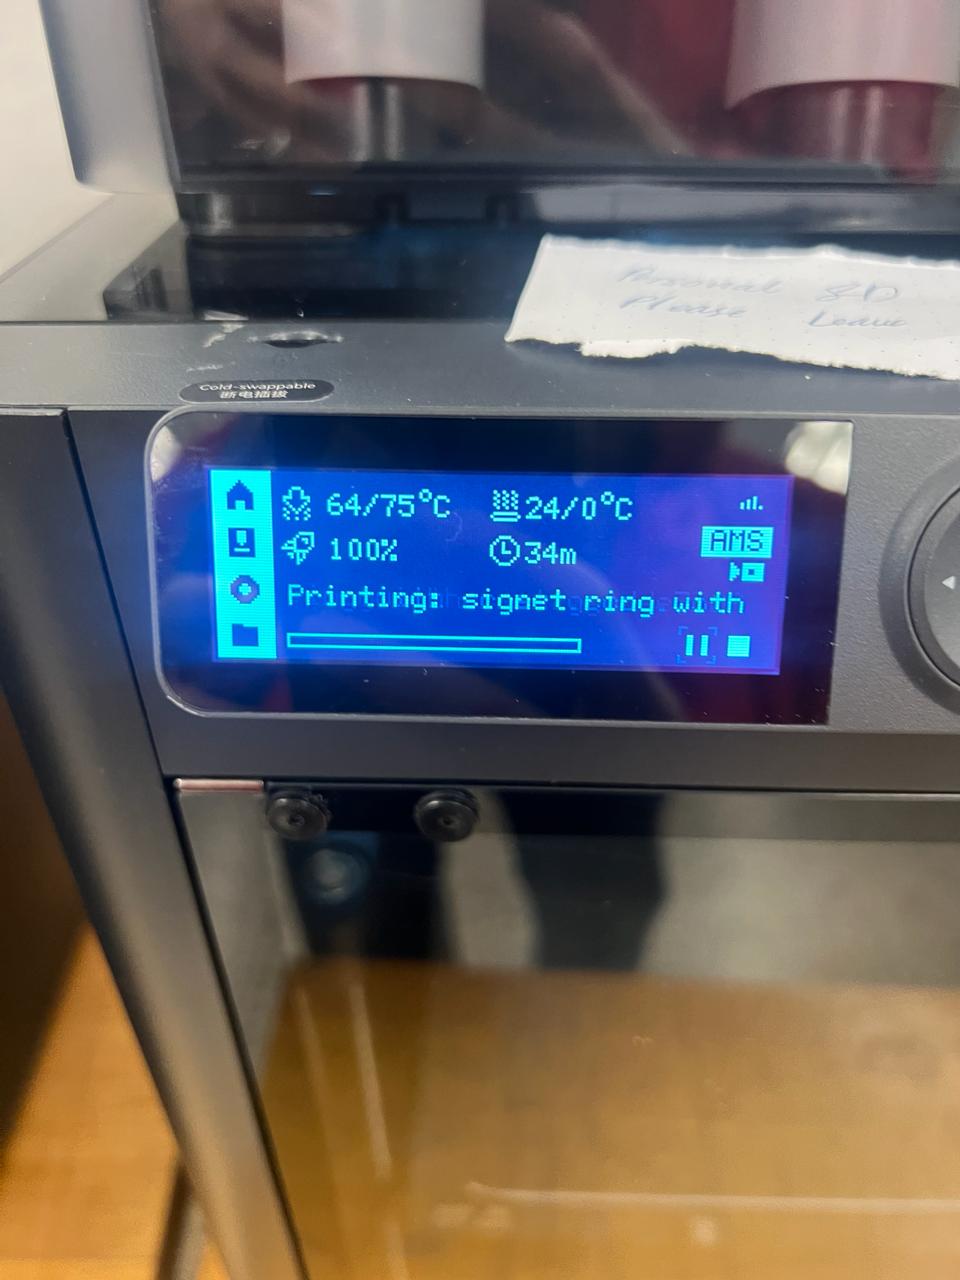
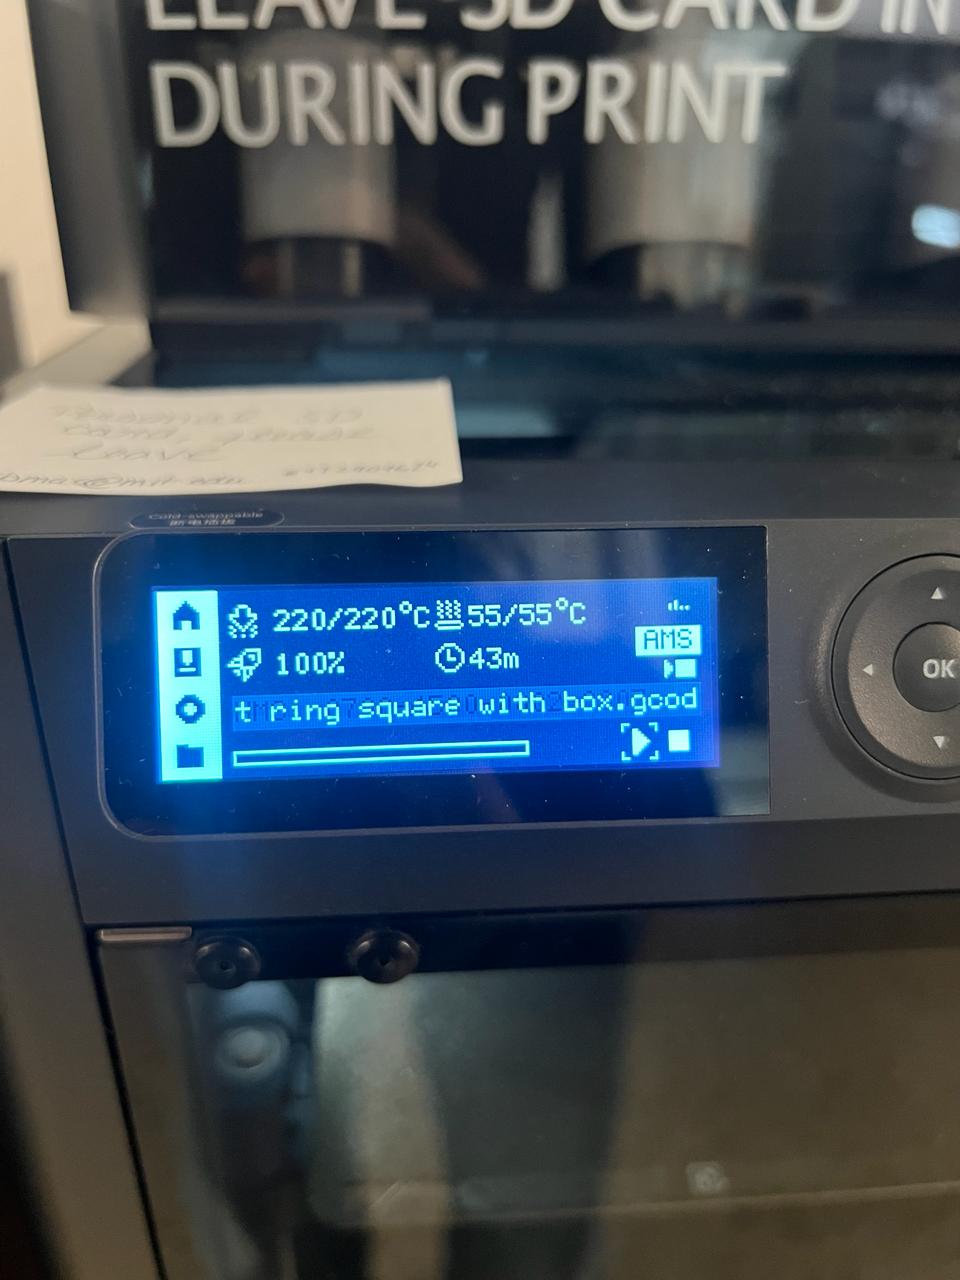
Printer calibration: leveling, temperature checks, and test moves.Final print settings (layer height, temperature, and speed) that worked best.
“Printing air” moment when the print detached and the nozzle happily kept drawing in mid-air.
Mold Design
I designed the mold geometry in Fusion 360 by placing the ring inside a surrounding mold box
and preparing the negative space for casting.
The ring master sits inside the mold box with sufficient wall thickness around it to keep the
mold rigid during pouring. This approach also helps achieve a smooth cavity surface (the cavity
finish is set by the master/pattern surface rather than a visible CNC toolpath).
Below is a timelapse documenting the physical fabrication of the silicone mold
used for casting the ring.
Timelapse of the mold-making process: mixing and pouring silicone around the
3D-printed ring master to form the casting mold.
Casting in Metal
Once I had a successful printed master, I used it to create a mold and cast the ring in metal.
The workflow was:
Embed the printed ring in casting material and form the negative mold.
Pour molten metal into the mold cavity.
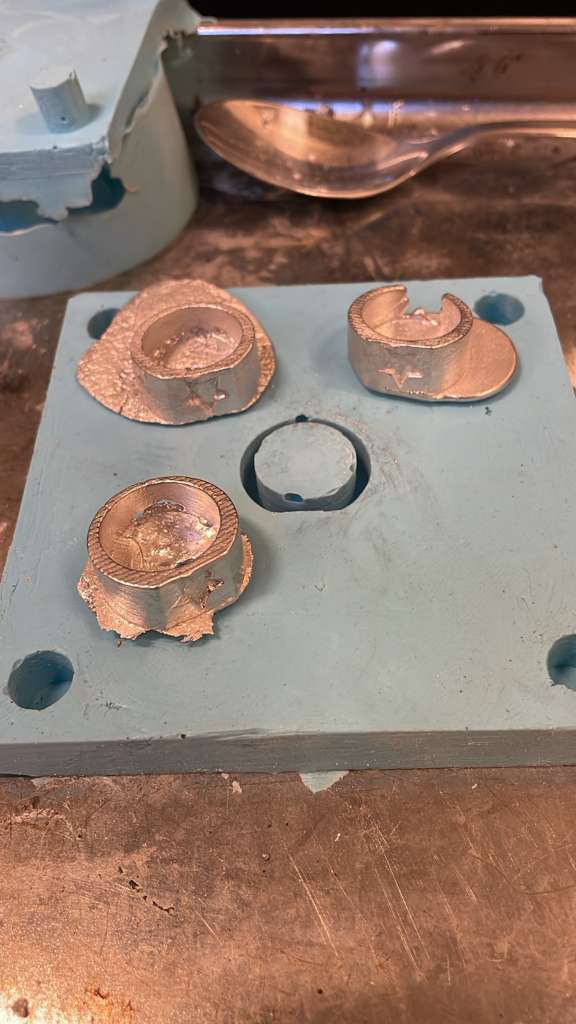
Break out the rough casting and clean it up.
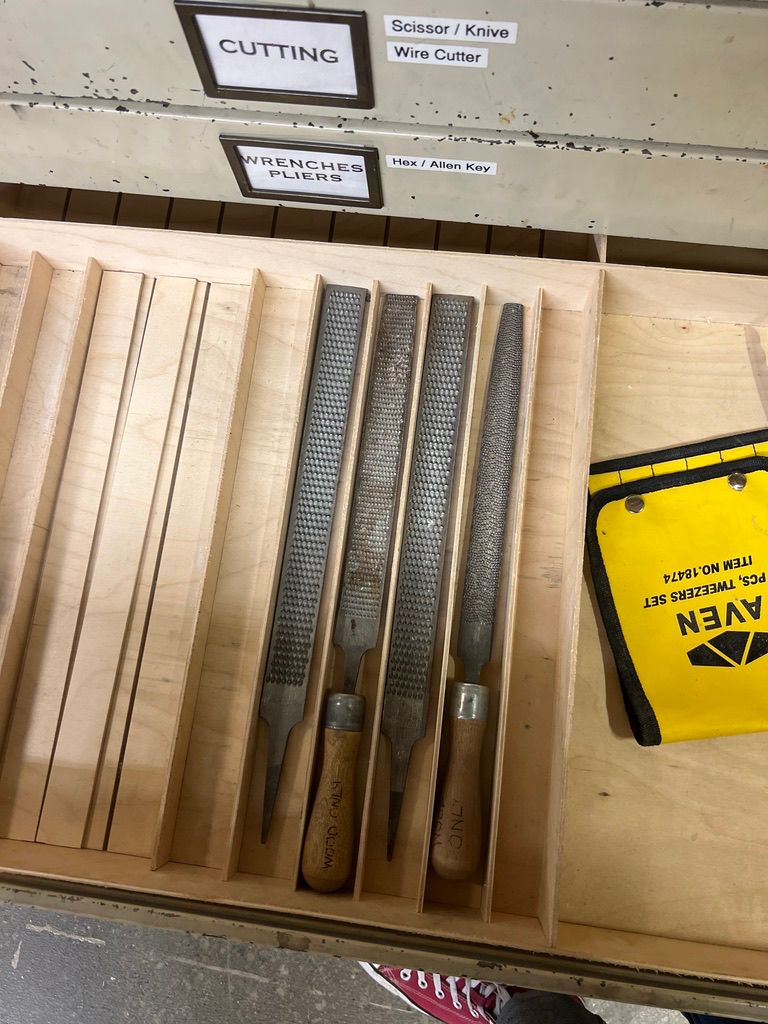
Currently, I am on the hunt for sanding tools to clean it up!
Freshly de-molded casts: slightly rough but with the crest details visible.Metal ring straight from the mold, before sanding and polishing.Looking for sanding tools.
Sizing & Fit
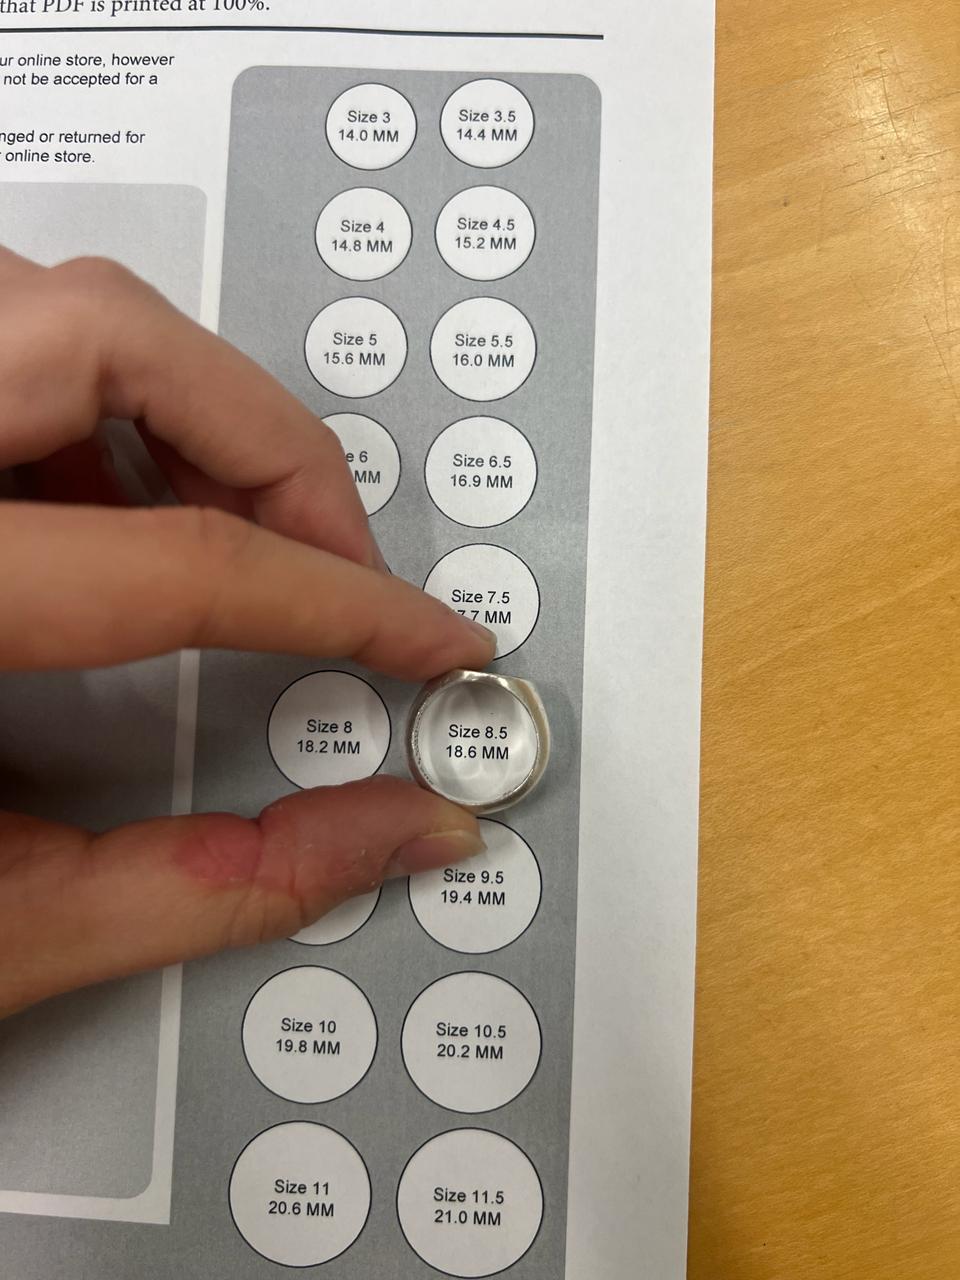
Getting the size right was surprisingly non-trivial. I used a ring sizing tool to translate
“this feels okay on my finger” into actual inner-diameter numbers that I could feed into Fusion.
Calibrating ring size with a physical sizing tool.Checking fit on the printed prototype before committing to metal.
What I Learned
Parametric modeling is worth it: resizing and tweaking the signet profile was much easier than wrestling with meshes.
Detail vs. printability is a balancing act: some crest lines had to be thickened to survive FDM printing and casting.
Process matters: small missteps (like “printing air”) can cost more time than spending an extra minute on setup.
Ring sizing is subtle: a half-size off is enough to feel wrong, so physical sizing tools are your friend.
Fusion 360 Models
Here are the three Fusion 360 designs I iterated through while building the ring and preparing it for molding and casting: