Week 14: On Painting with Stitches (Wildcard Week)
Introduction
This wildcard week explores digital embroidery as a fabrication process:
translating vector geometry into stitched toolpaths. The focus is on documenting a
fully reproducible workflow, from image design to machine execution.
Design Iteration: From Image Generation to Tracing
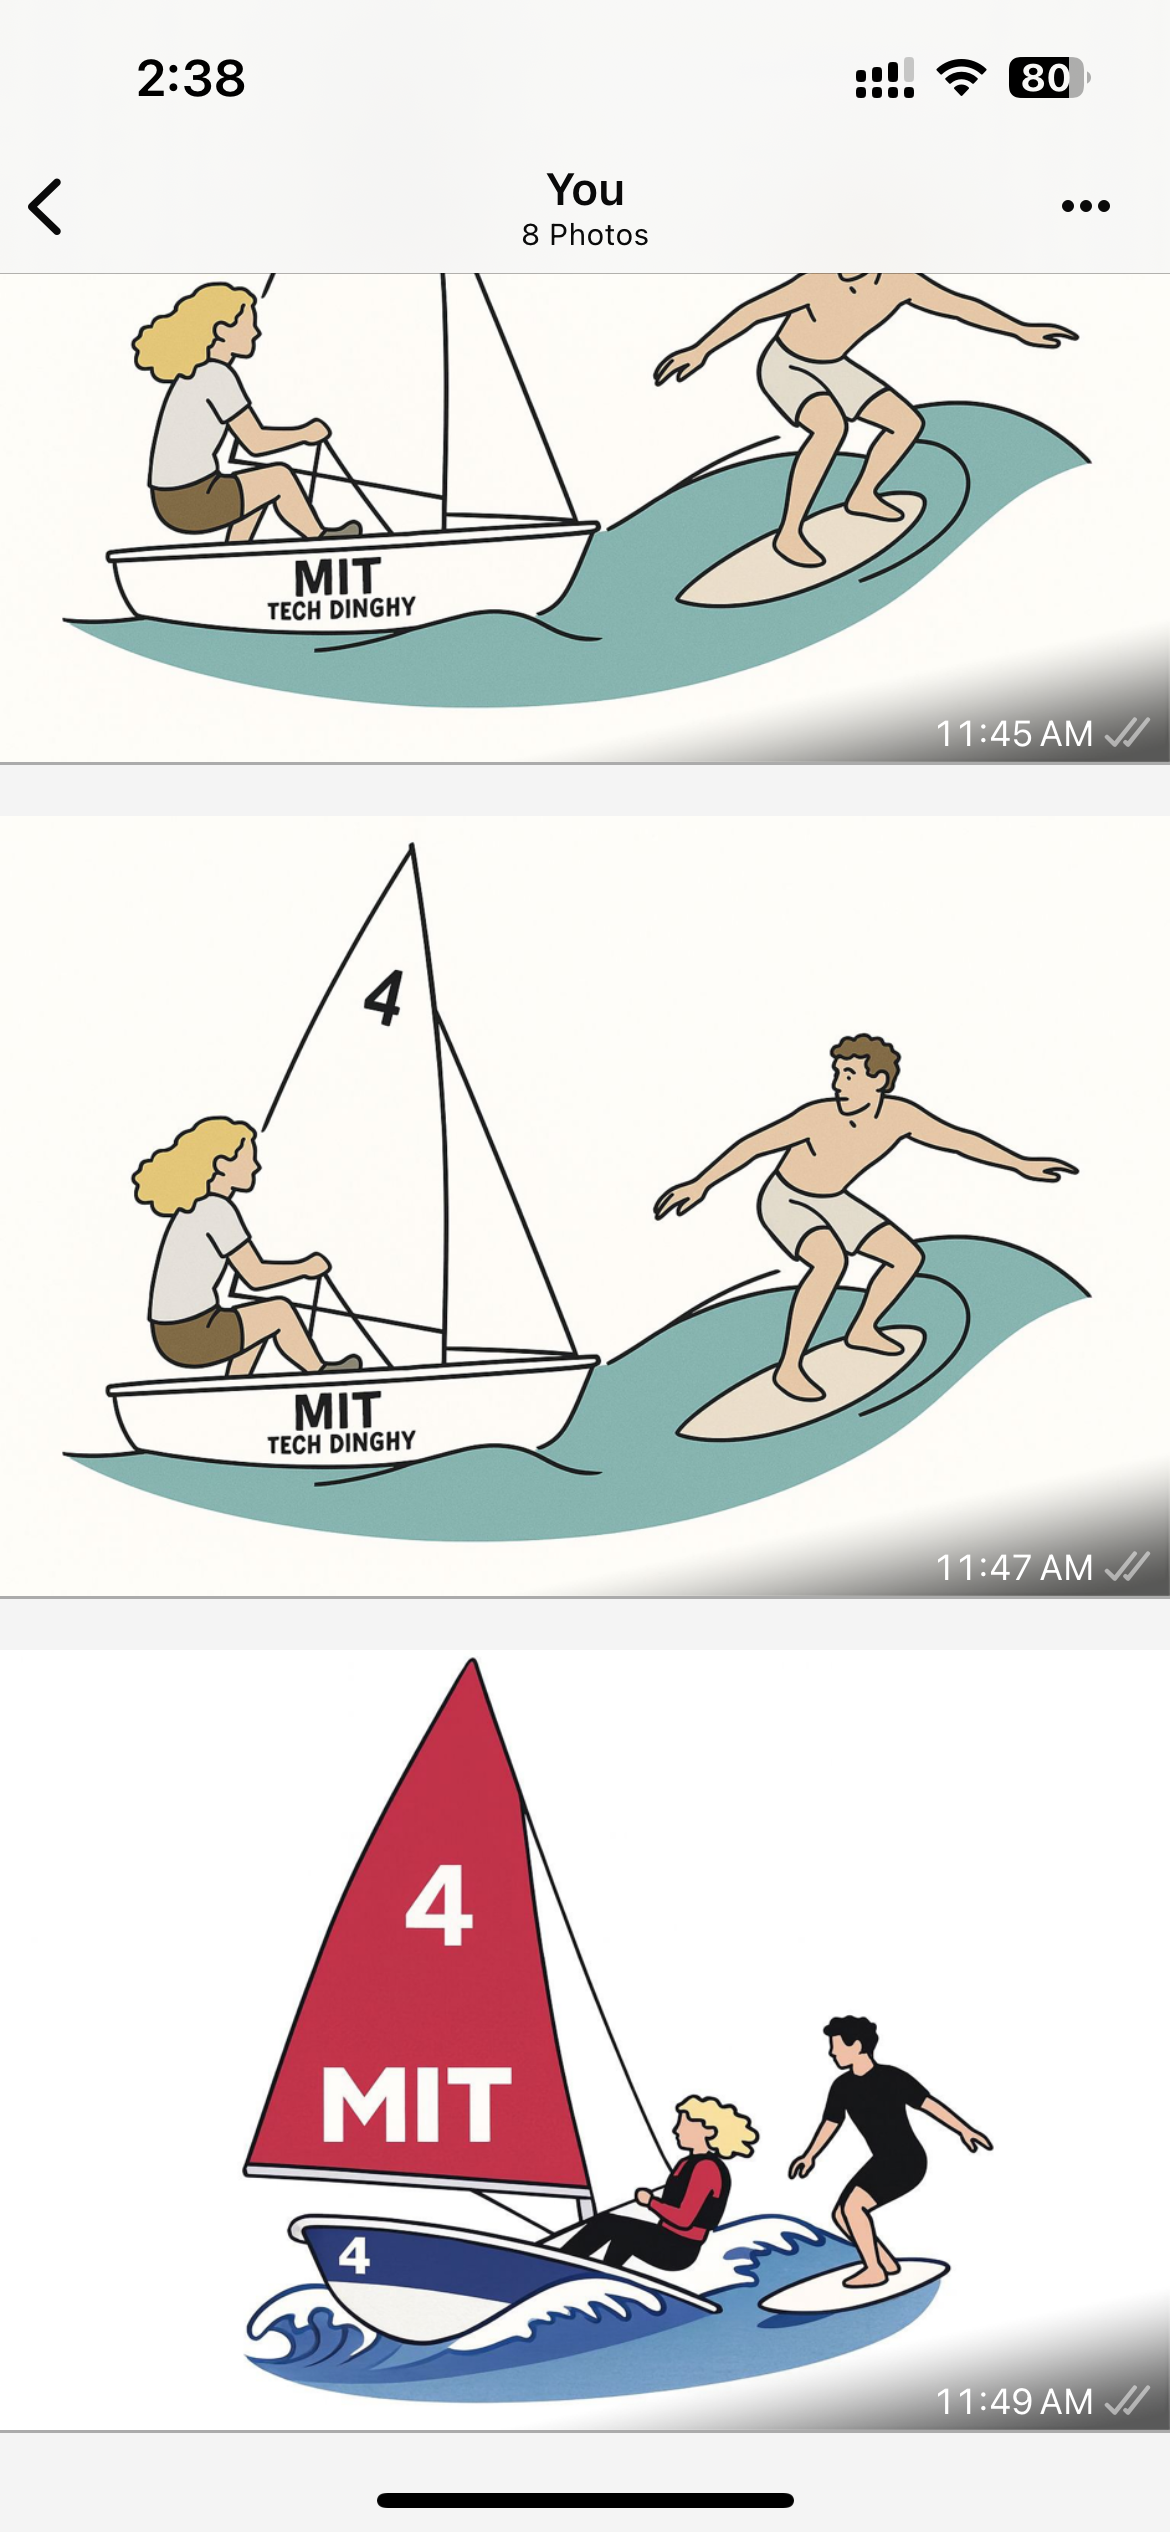
I initially experimented with AI-generated imagery (a sailor and a surfer). While visually rich,
these images were too complex for embroidery: gradients, textures, and overlapping shapes do not
translate cleanly into stitches.
Here are the conversations we had to generate some images:
Sailor
and
Surfer
.
I therefore used the generated images only as references and manually traced simplified
line art suitable for embroidery.
Initial AI-generated surfer and sailor references.Simplified subject used as the basis for tracing.
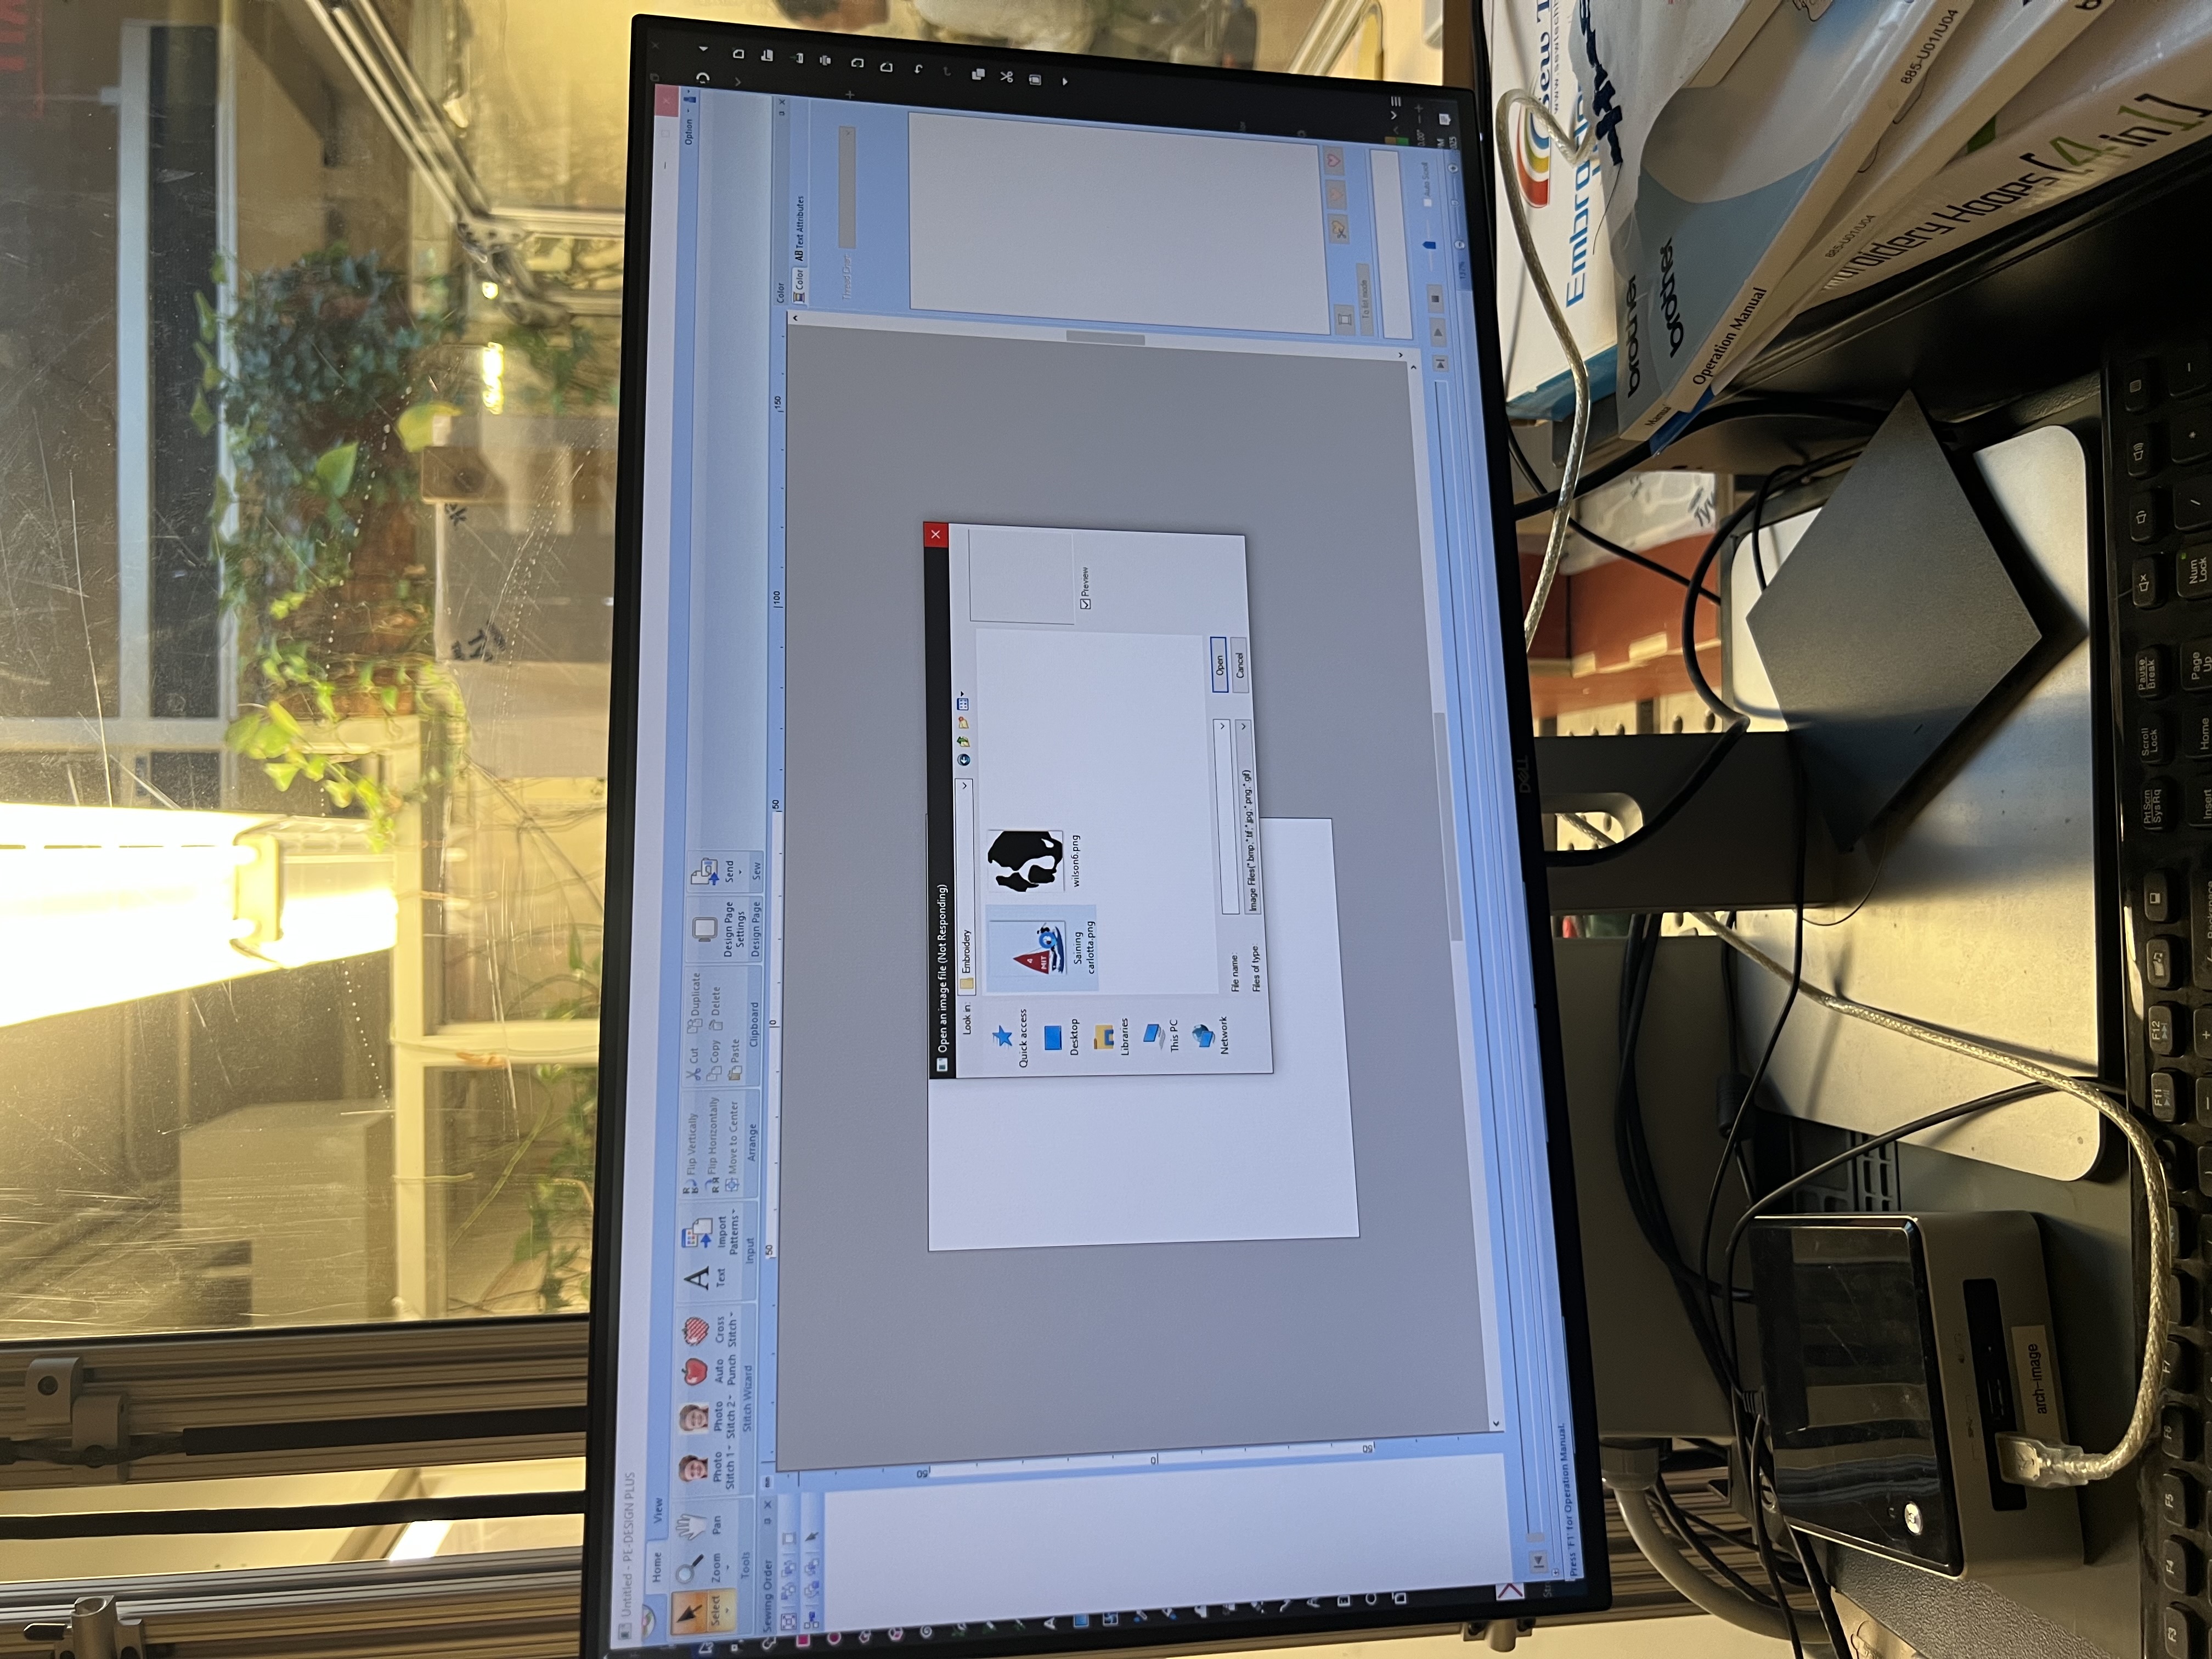
Vector Preparation in Inkscape
I prepared the embroidery design using Inkscape, ensuring that all geometry
was compatible with stitch-based fabrication.
Import image into Inkscape
Convert to bitmap (Path → Trace Bitmap)
Manually clean and simplify paths
Simulate stitches using embroidery extensions
Uploading the traced design into Inkscape.Simulated stitch path preview.Full-scale stitch path preview to verify continuity.Stitch simulation before running the machine.
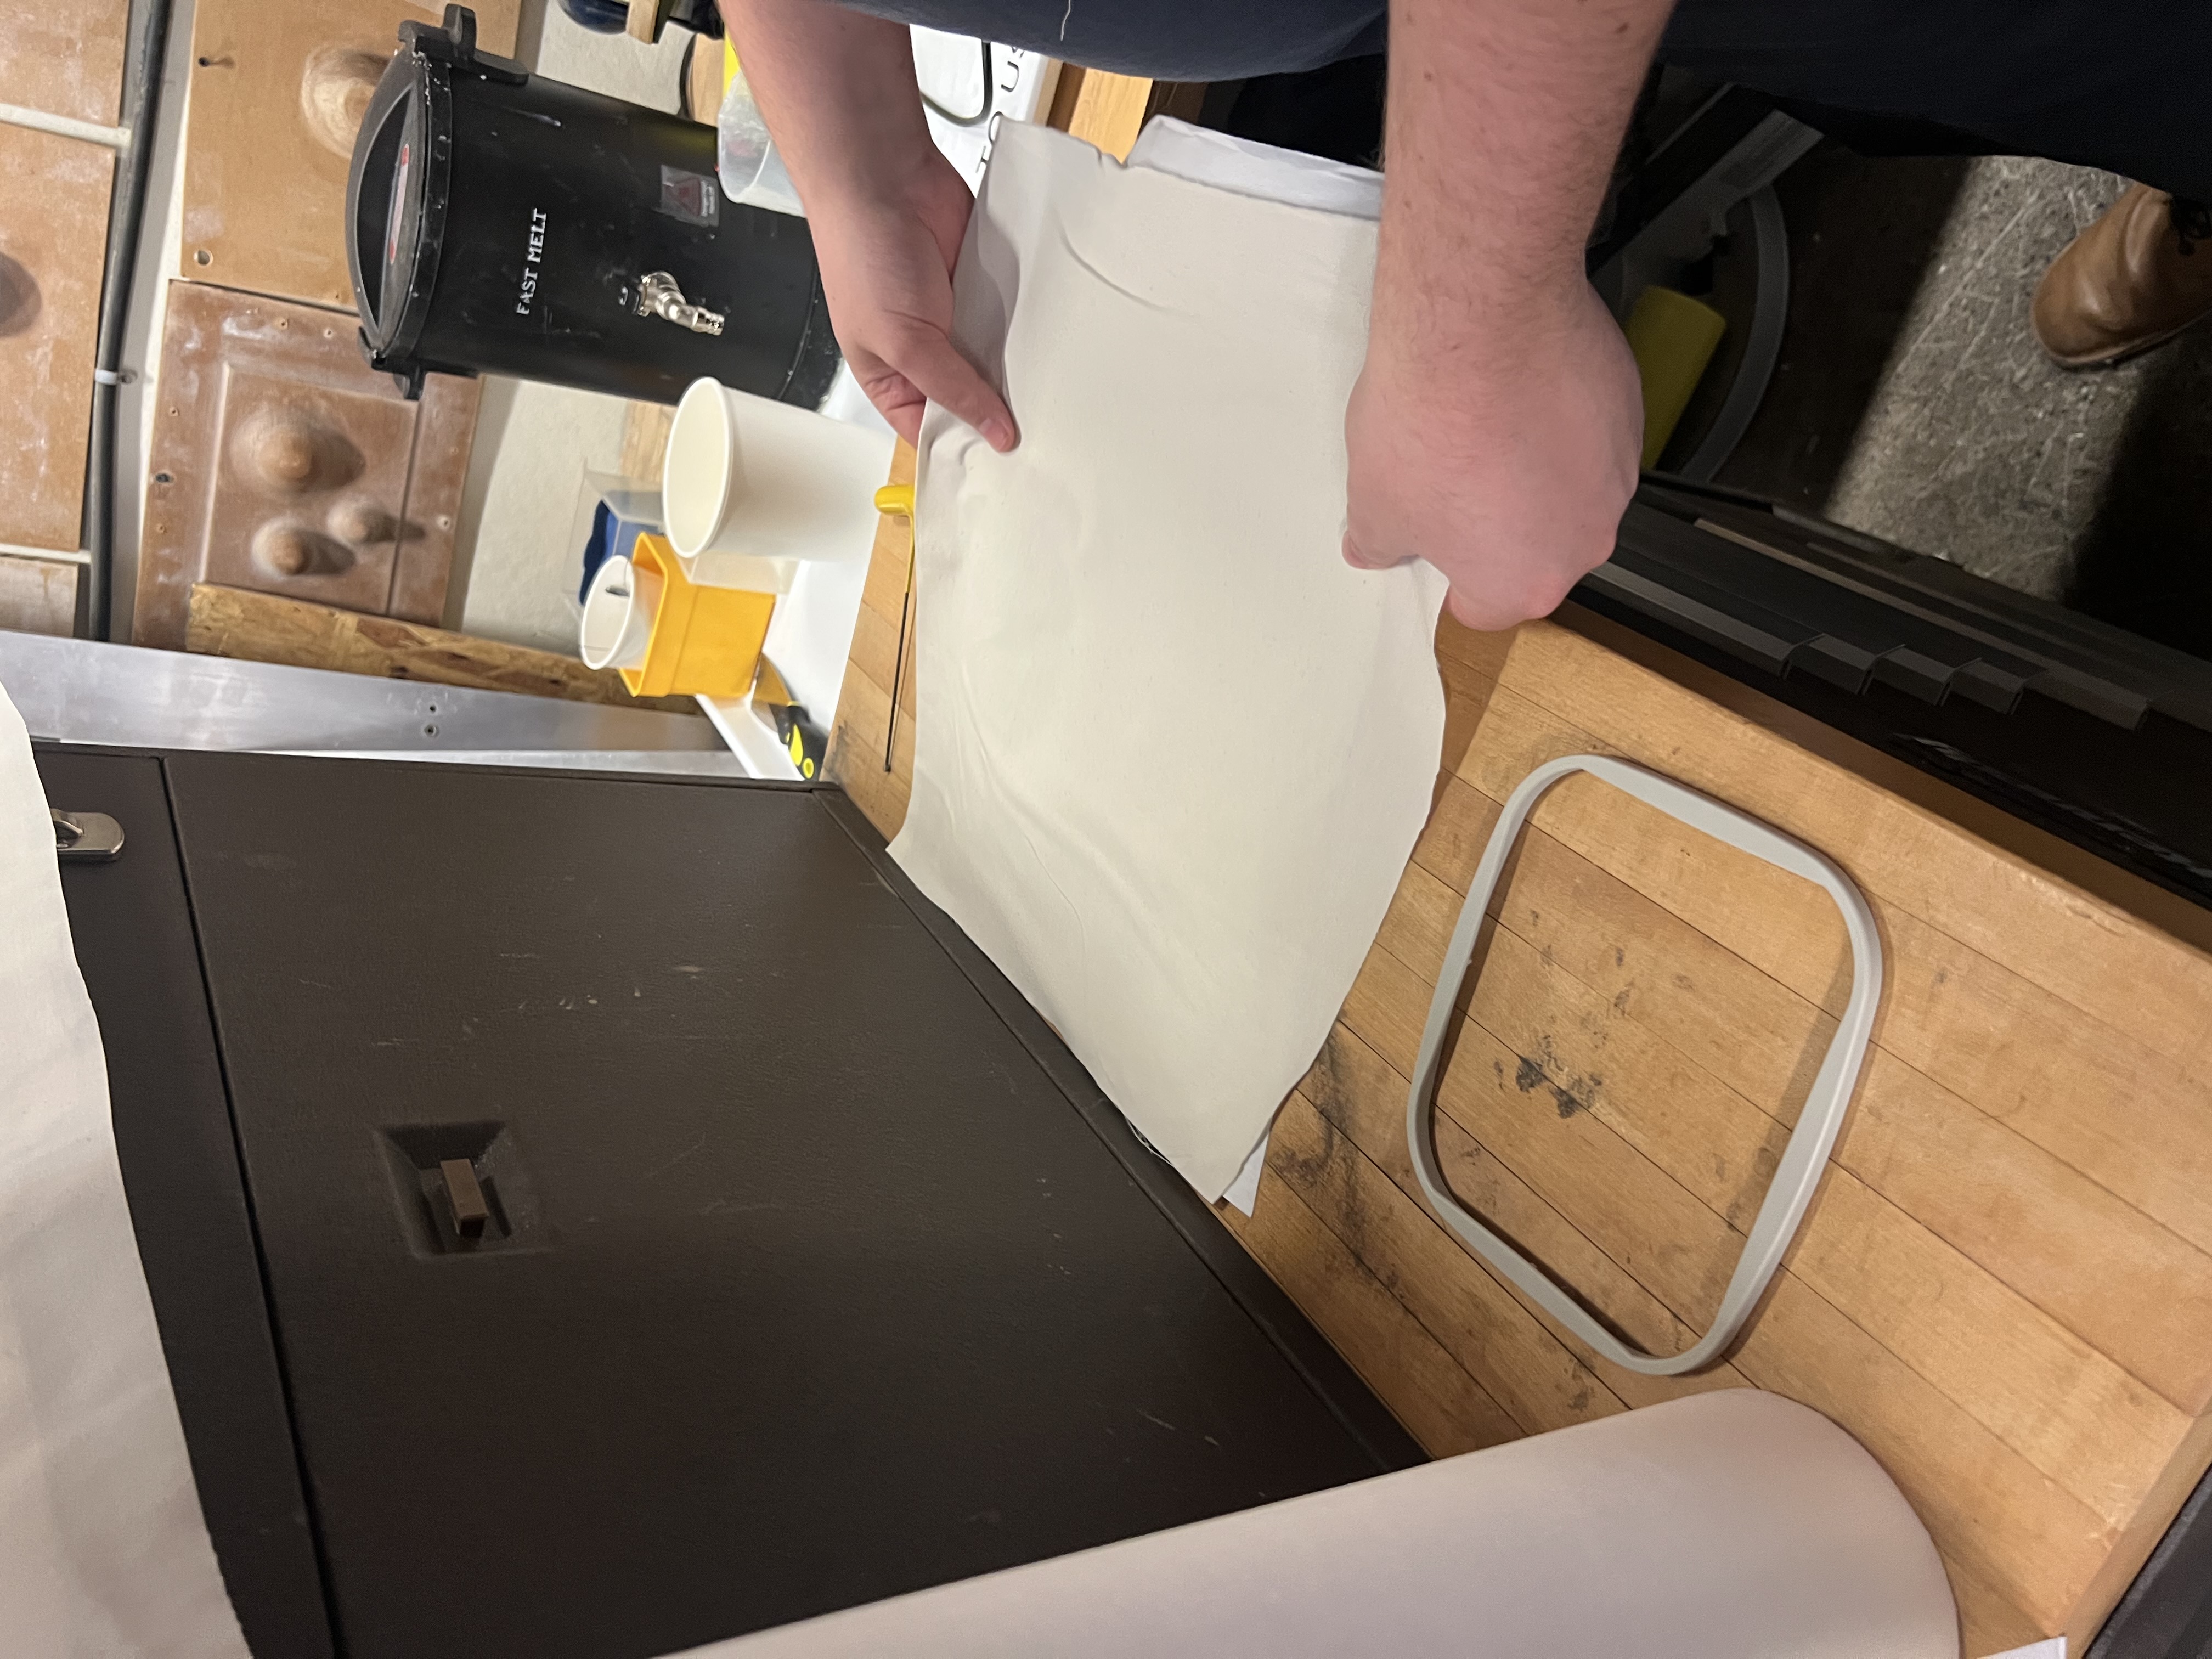
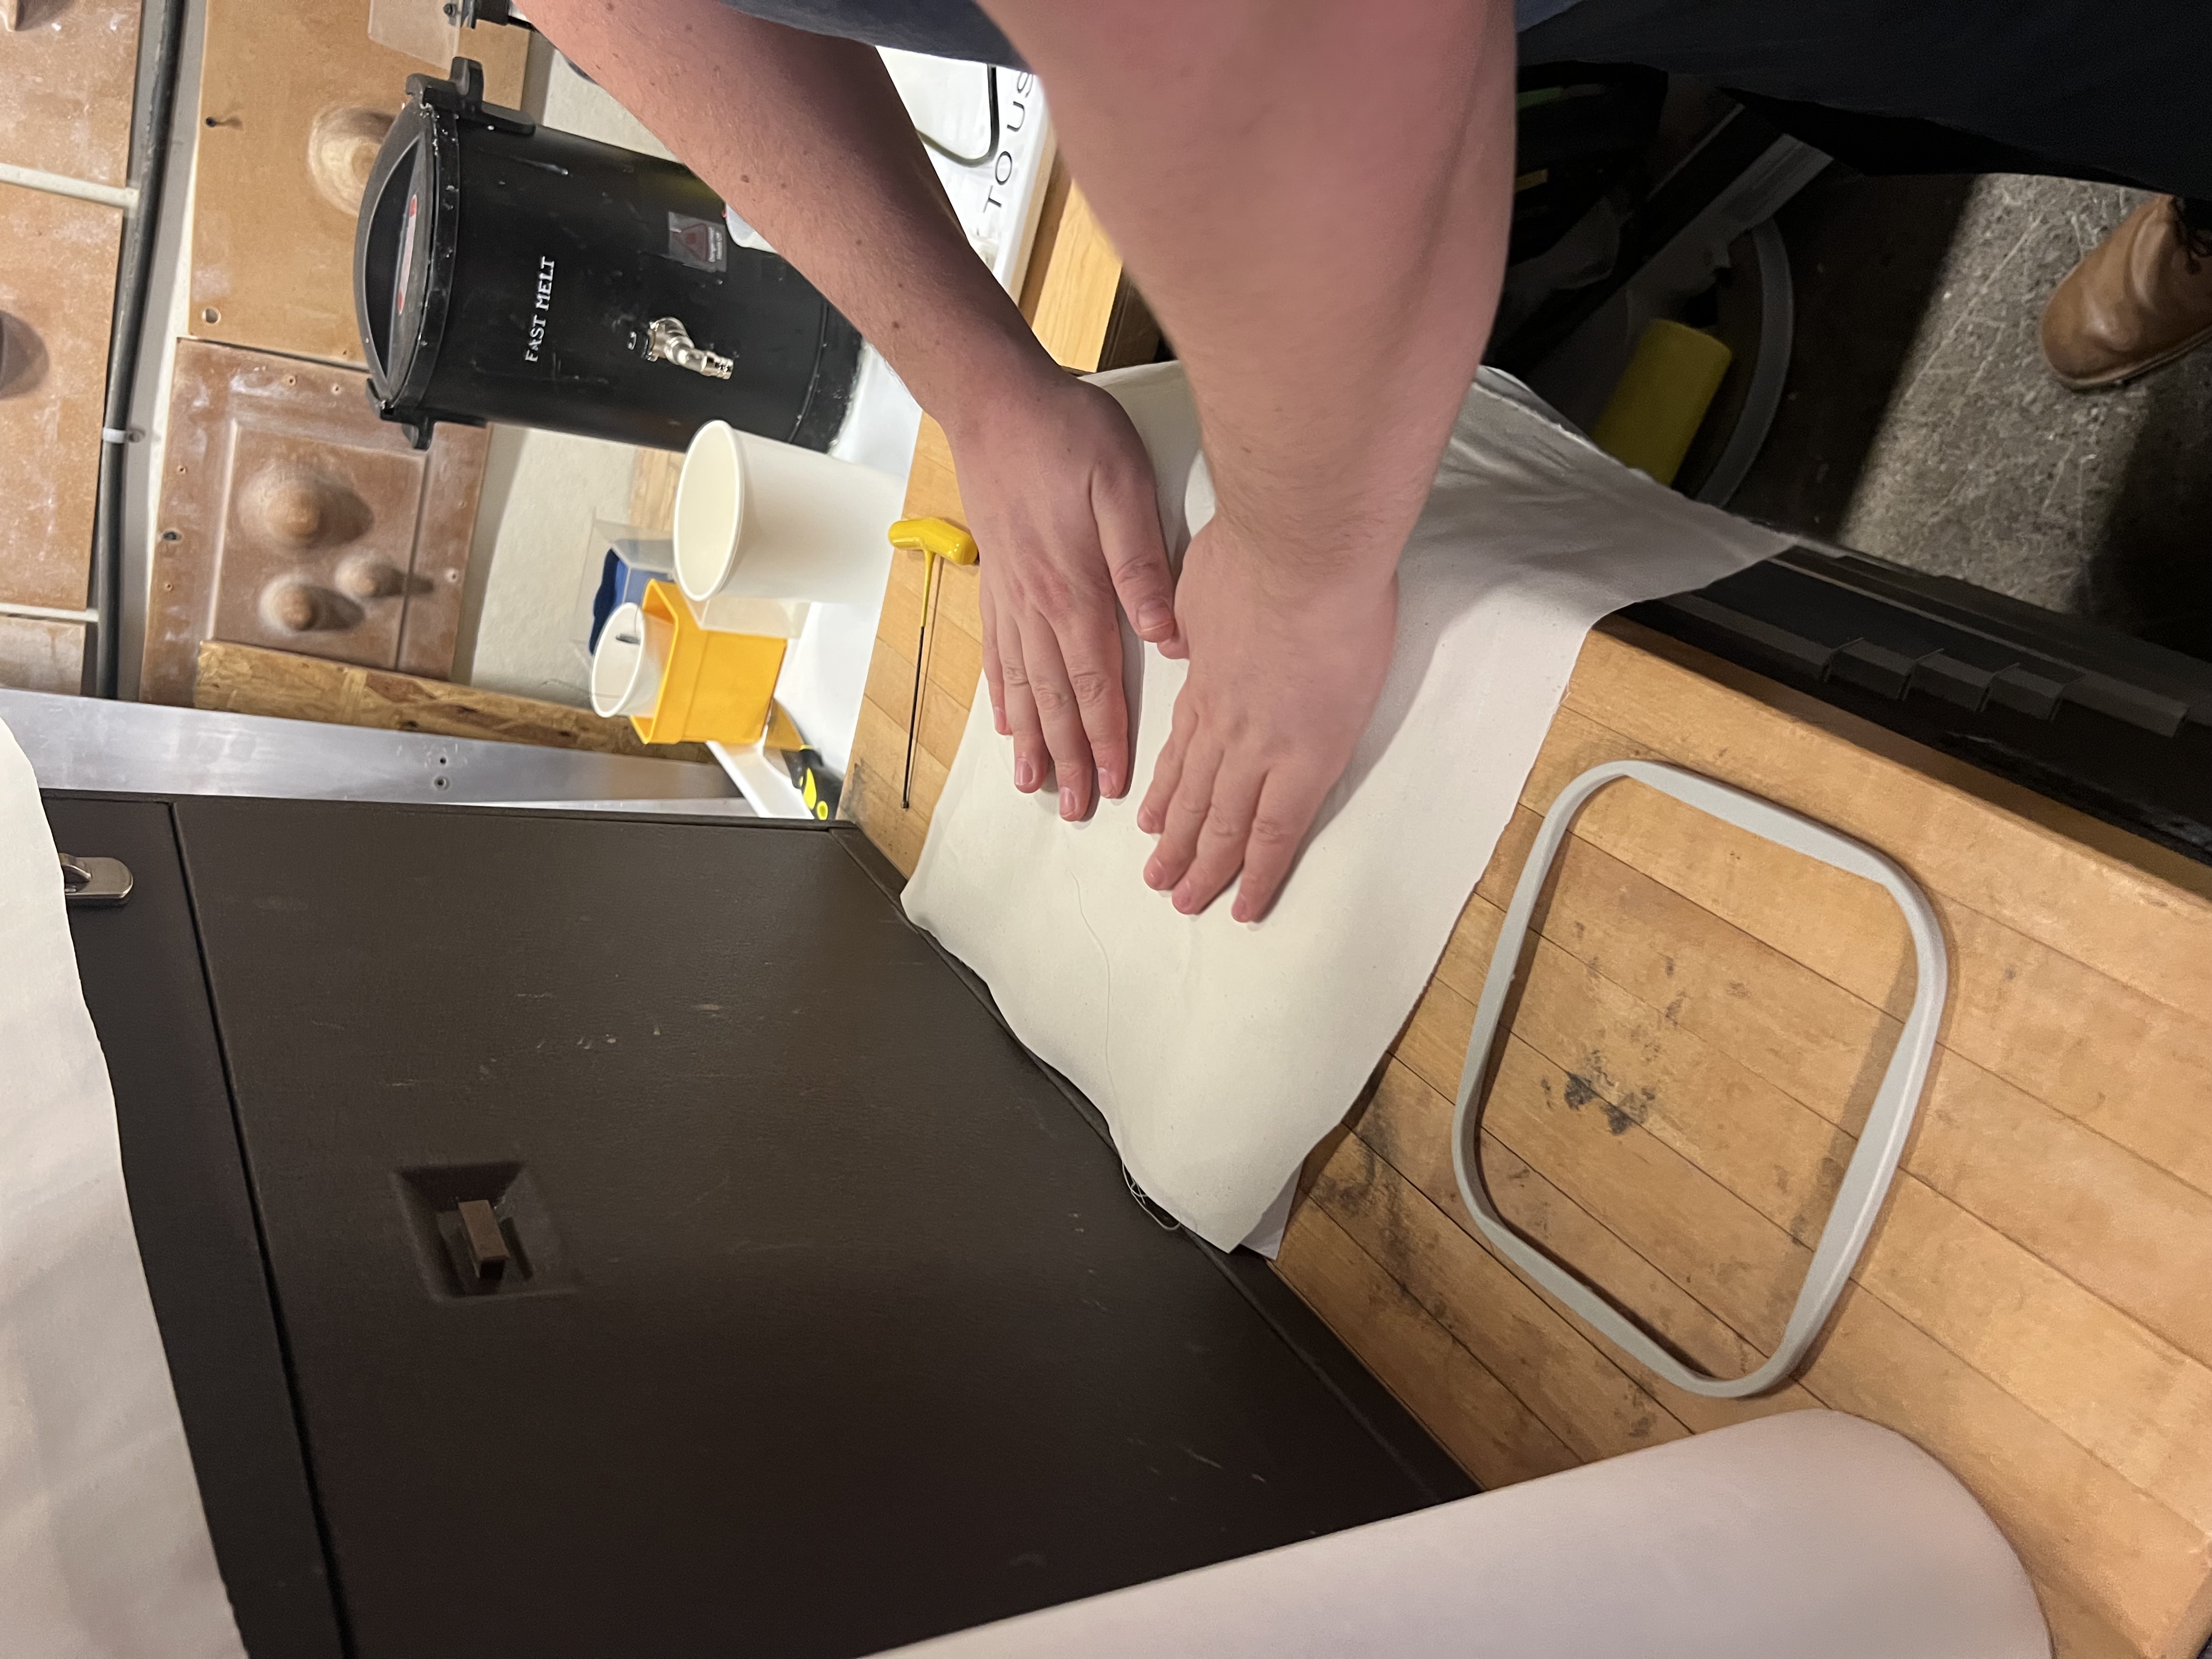
Embroidery Machine Setup
Before running the embroidery job, I prepared the fabric and machine carefully to avoid
thread breaks, misalignment, or puckering.
Iron the backing and fabric flat
Hoop the fabric tightly
Thread the needle
Load the design and verify orientation
Ironing the backing to ensure a flat stitch surface.Hooping the fabric securely.Preparing the fabric with help from Gert.Mounting the hooped fabric into the embroidery machine.Threading the embroidery needle.
Running the Job
When running the embroidery:
Start at a slow speed
Watch the first stitches carefully
Stop early if threads snag or tension is off
Trim excess thread as the job progresses
Starting slowly allowed me to verify stitch order and density before committing to the full run.
Reflection
Embroidery is fundamentally a toolpath problem, similar to CNC or PCB routing.
Image simplification is essential—complex visuals do not equal good fabrication.
Simulation saved time and material.
Manual tracing gave far more control than automatic conversion.