Group Assignment: CNC Safety & Machine Characterization
As part of the group assignment, we completed the Architecture Shop safety training
and characterized the CNC router by testing runout, alignment, fixturing strategies,
cutting speeds and feeds, materials, and toolpaths.
These tests informed my individual work, particularly slot tolerances, onion-skin
thickness, and feed rates for OSB plywood. The full group documentation is available on
the Architecture Lab Week 7 page.
Inspiration & Early Ideas
This week, I explored the idea of “painting with big things.” My initial inspirations included
Louise Bourgeois’s spider sculptures, kinetic mobiles by Alexander Calder, and the playful scale
of KC badminton installations. I wanted to build something large, sculptural, and functional—
perhaps a huge planter, a modular chair, or even a sundial.
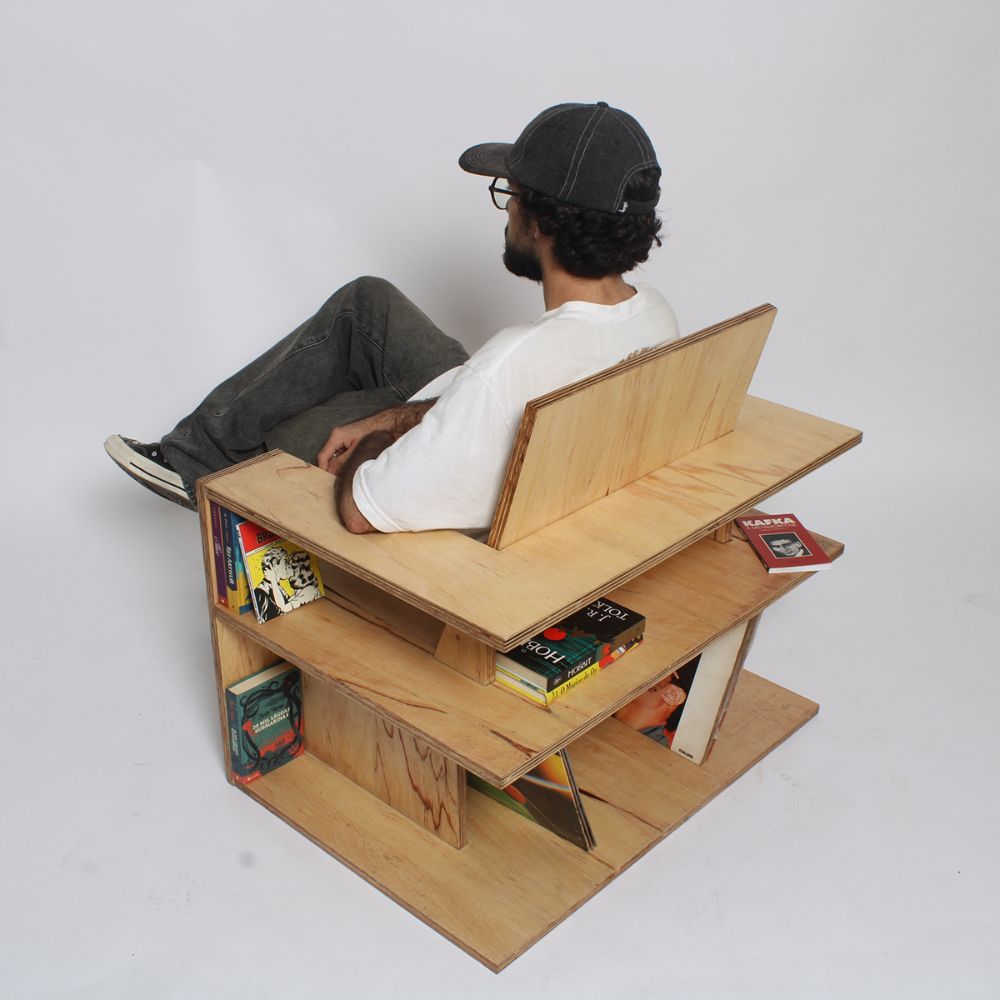
Ultimately, I decided to create something for the TPP lounge—something playful yet useful.
I considered options like a big chess set, a low table, or a rocking chair to watch movies on.
The idea of a rocking chair stood out for its balance of engineering challenge and comfort.
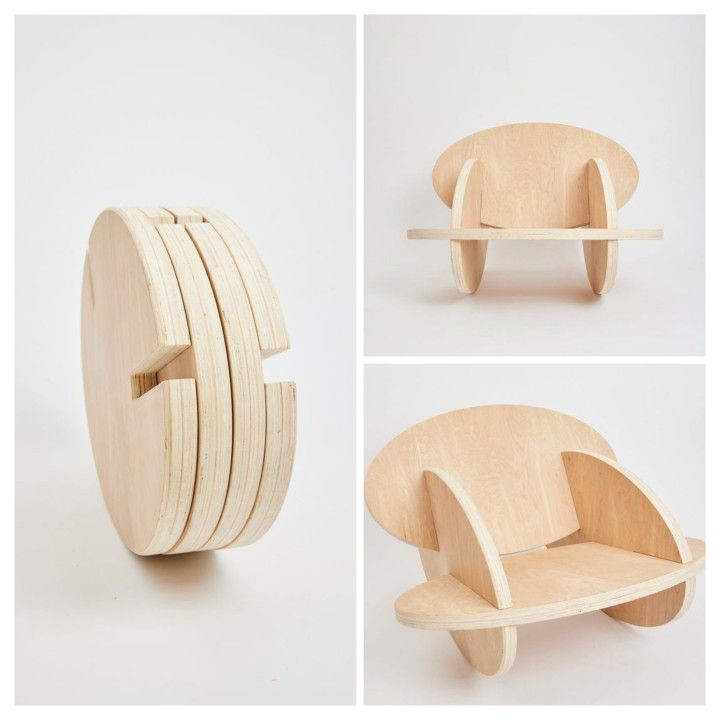
Designing the Chair
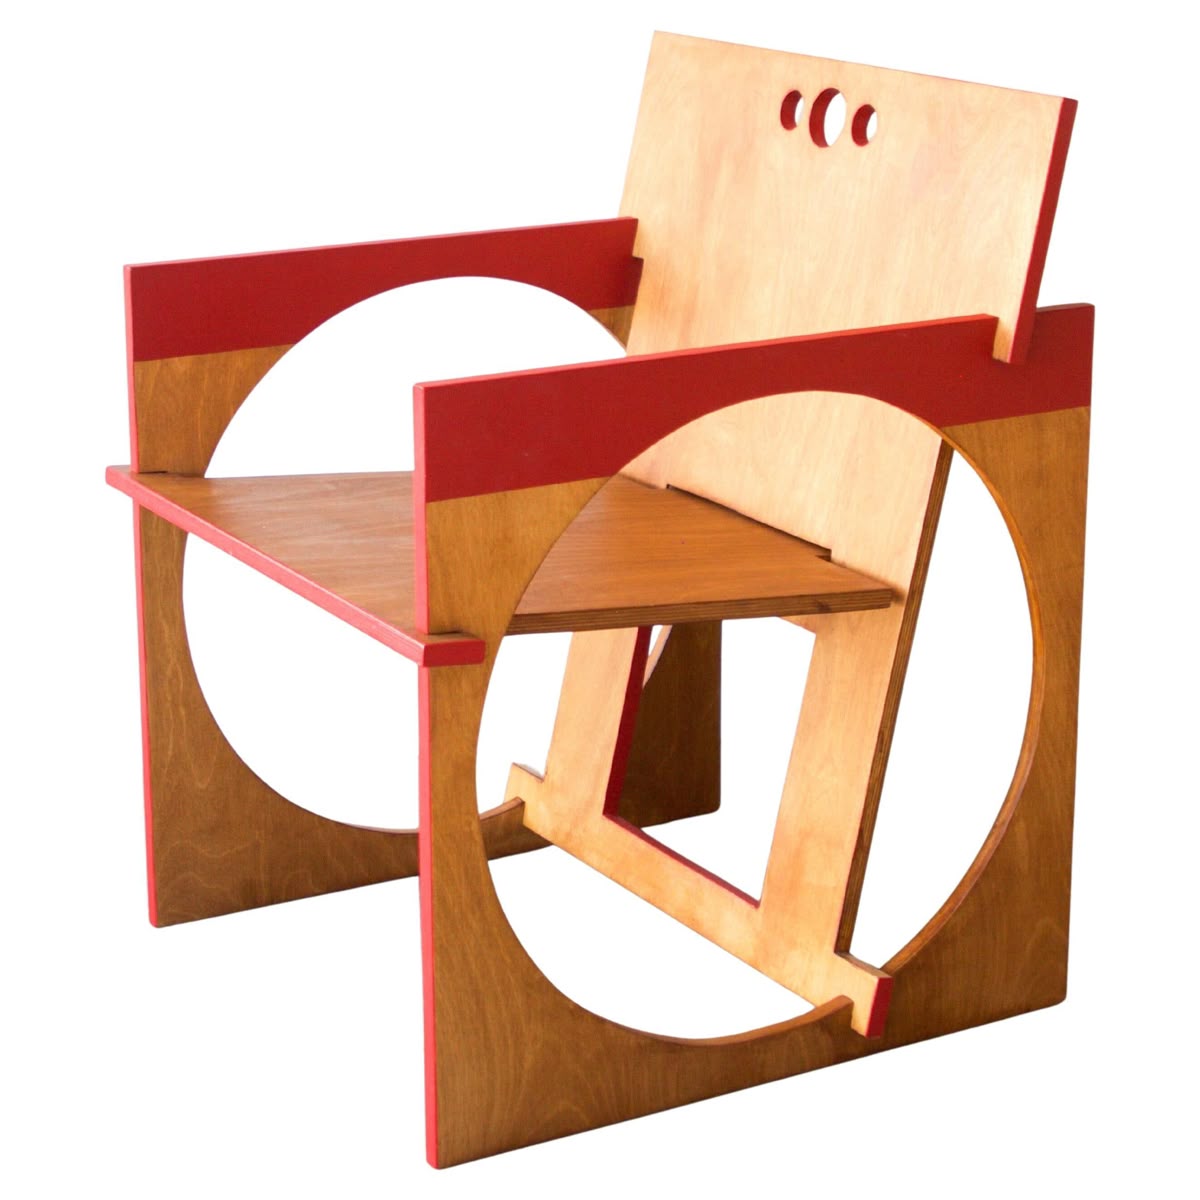
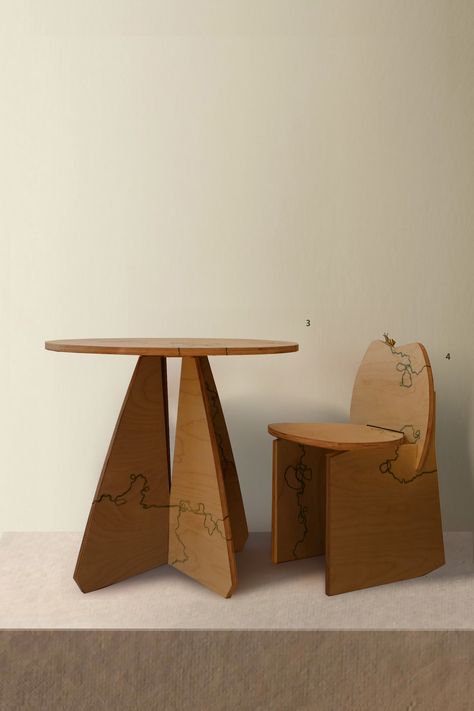
I began by researching various rocking chair designs for inspiration.
My goal was to create a chair that could be CNC milled from plywood sheets,
using interlocking pieces without the need for screws or glue.
I sketched several concepts, focusing on modular designs that could be easily assembled and disassembled.
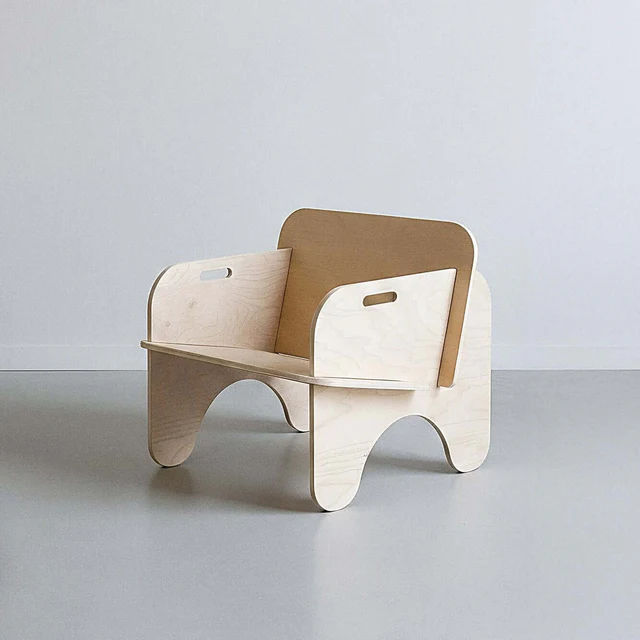
I was inspired by the oval rocking chair design by
Andrew Doxtater,
who provides a rounded construction kit online. I recreated the oval form from scratch in Fusion 360,
adding cutouts for the seat and backrest, and later experimented with armrests.
To strengthen the structure—since OSB isn’t particularly strong—I added reinforcements to the bottom and backrest.
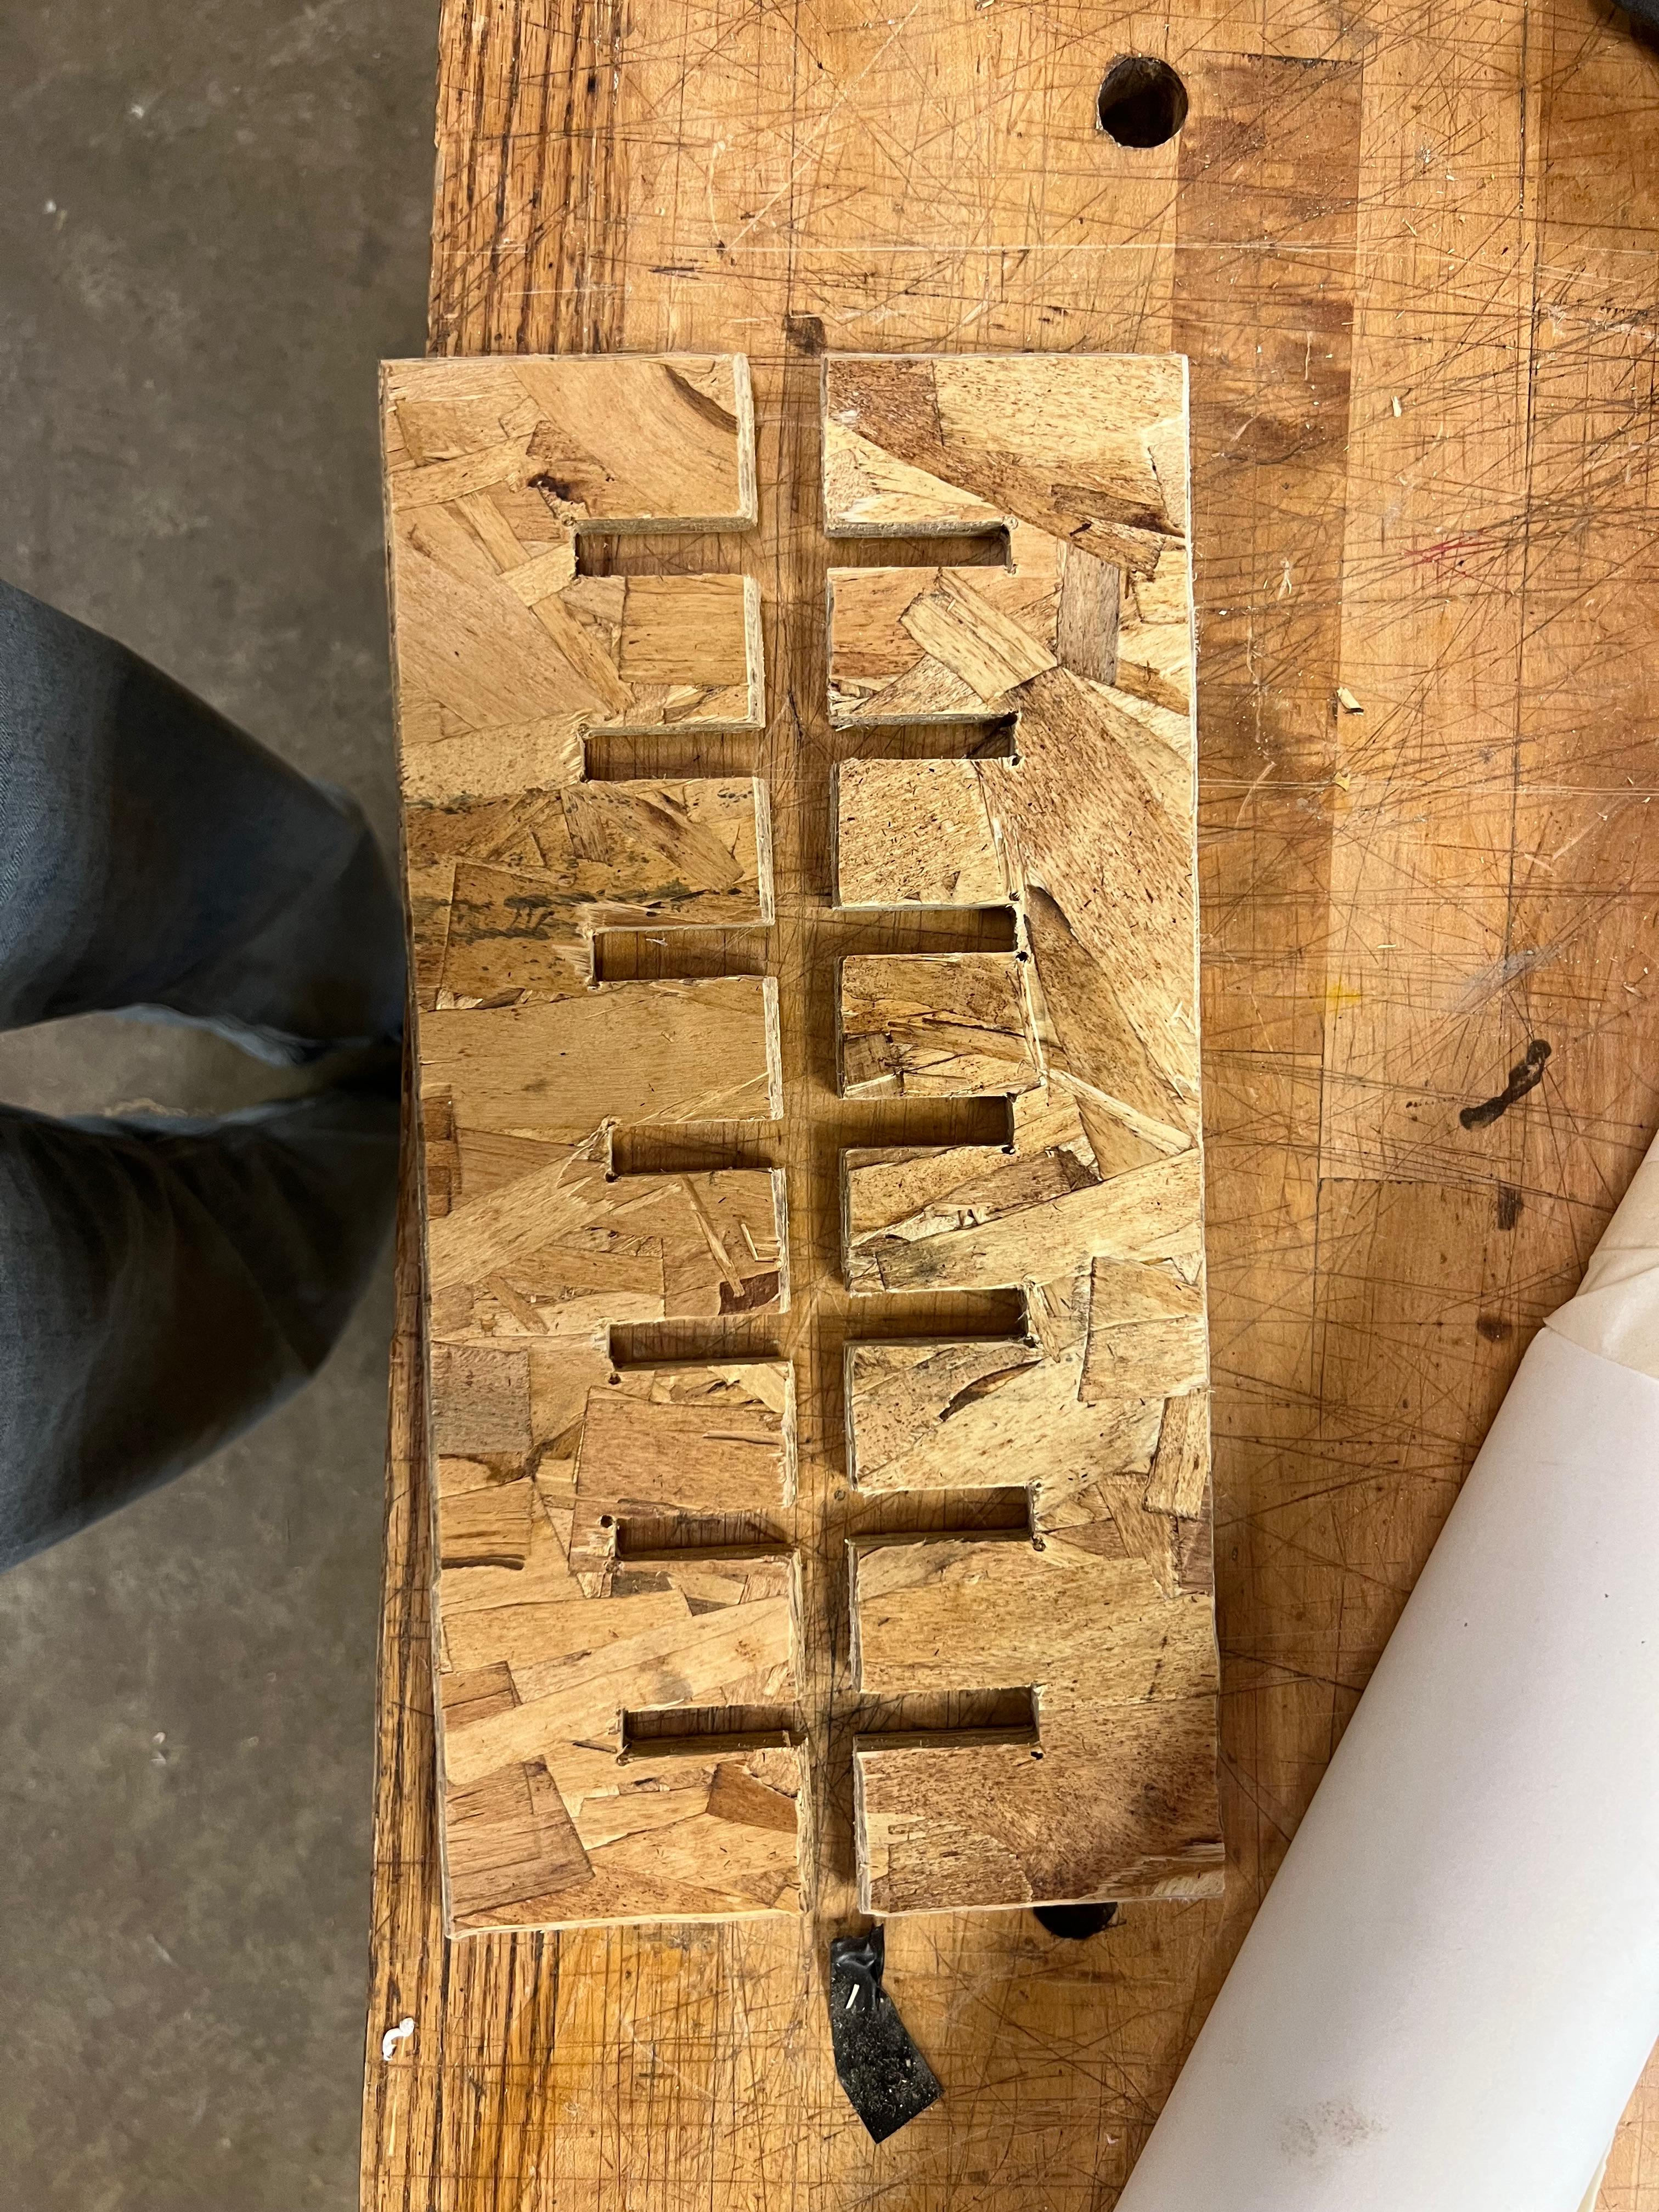
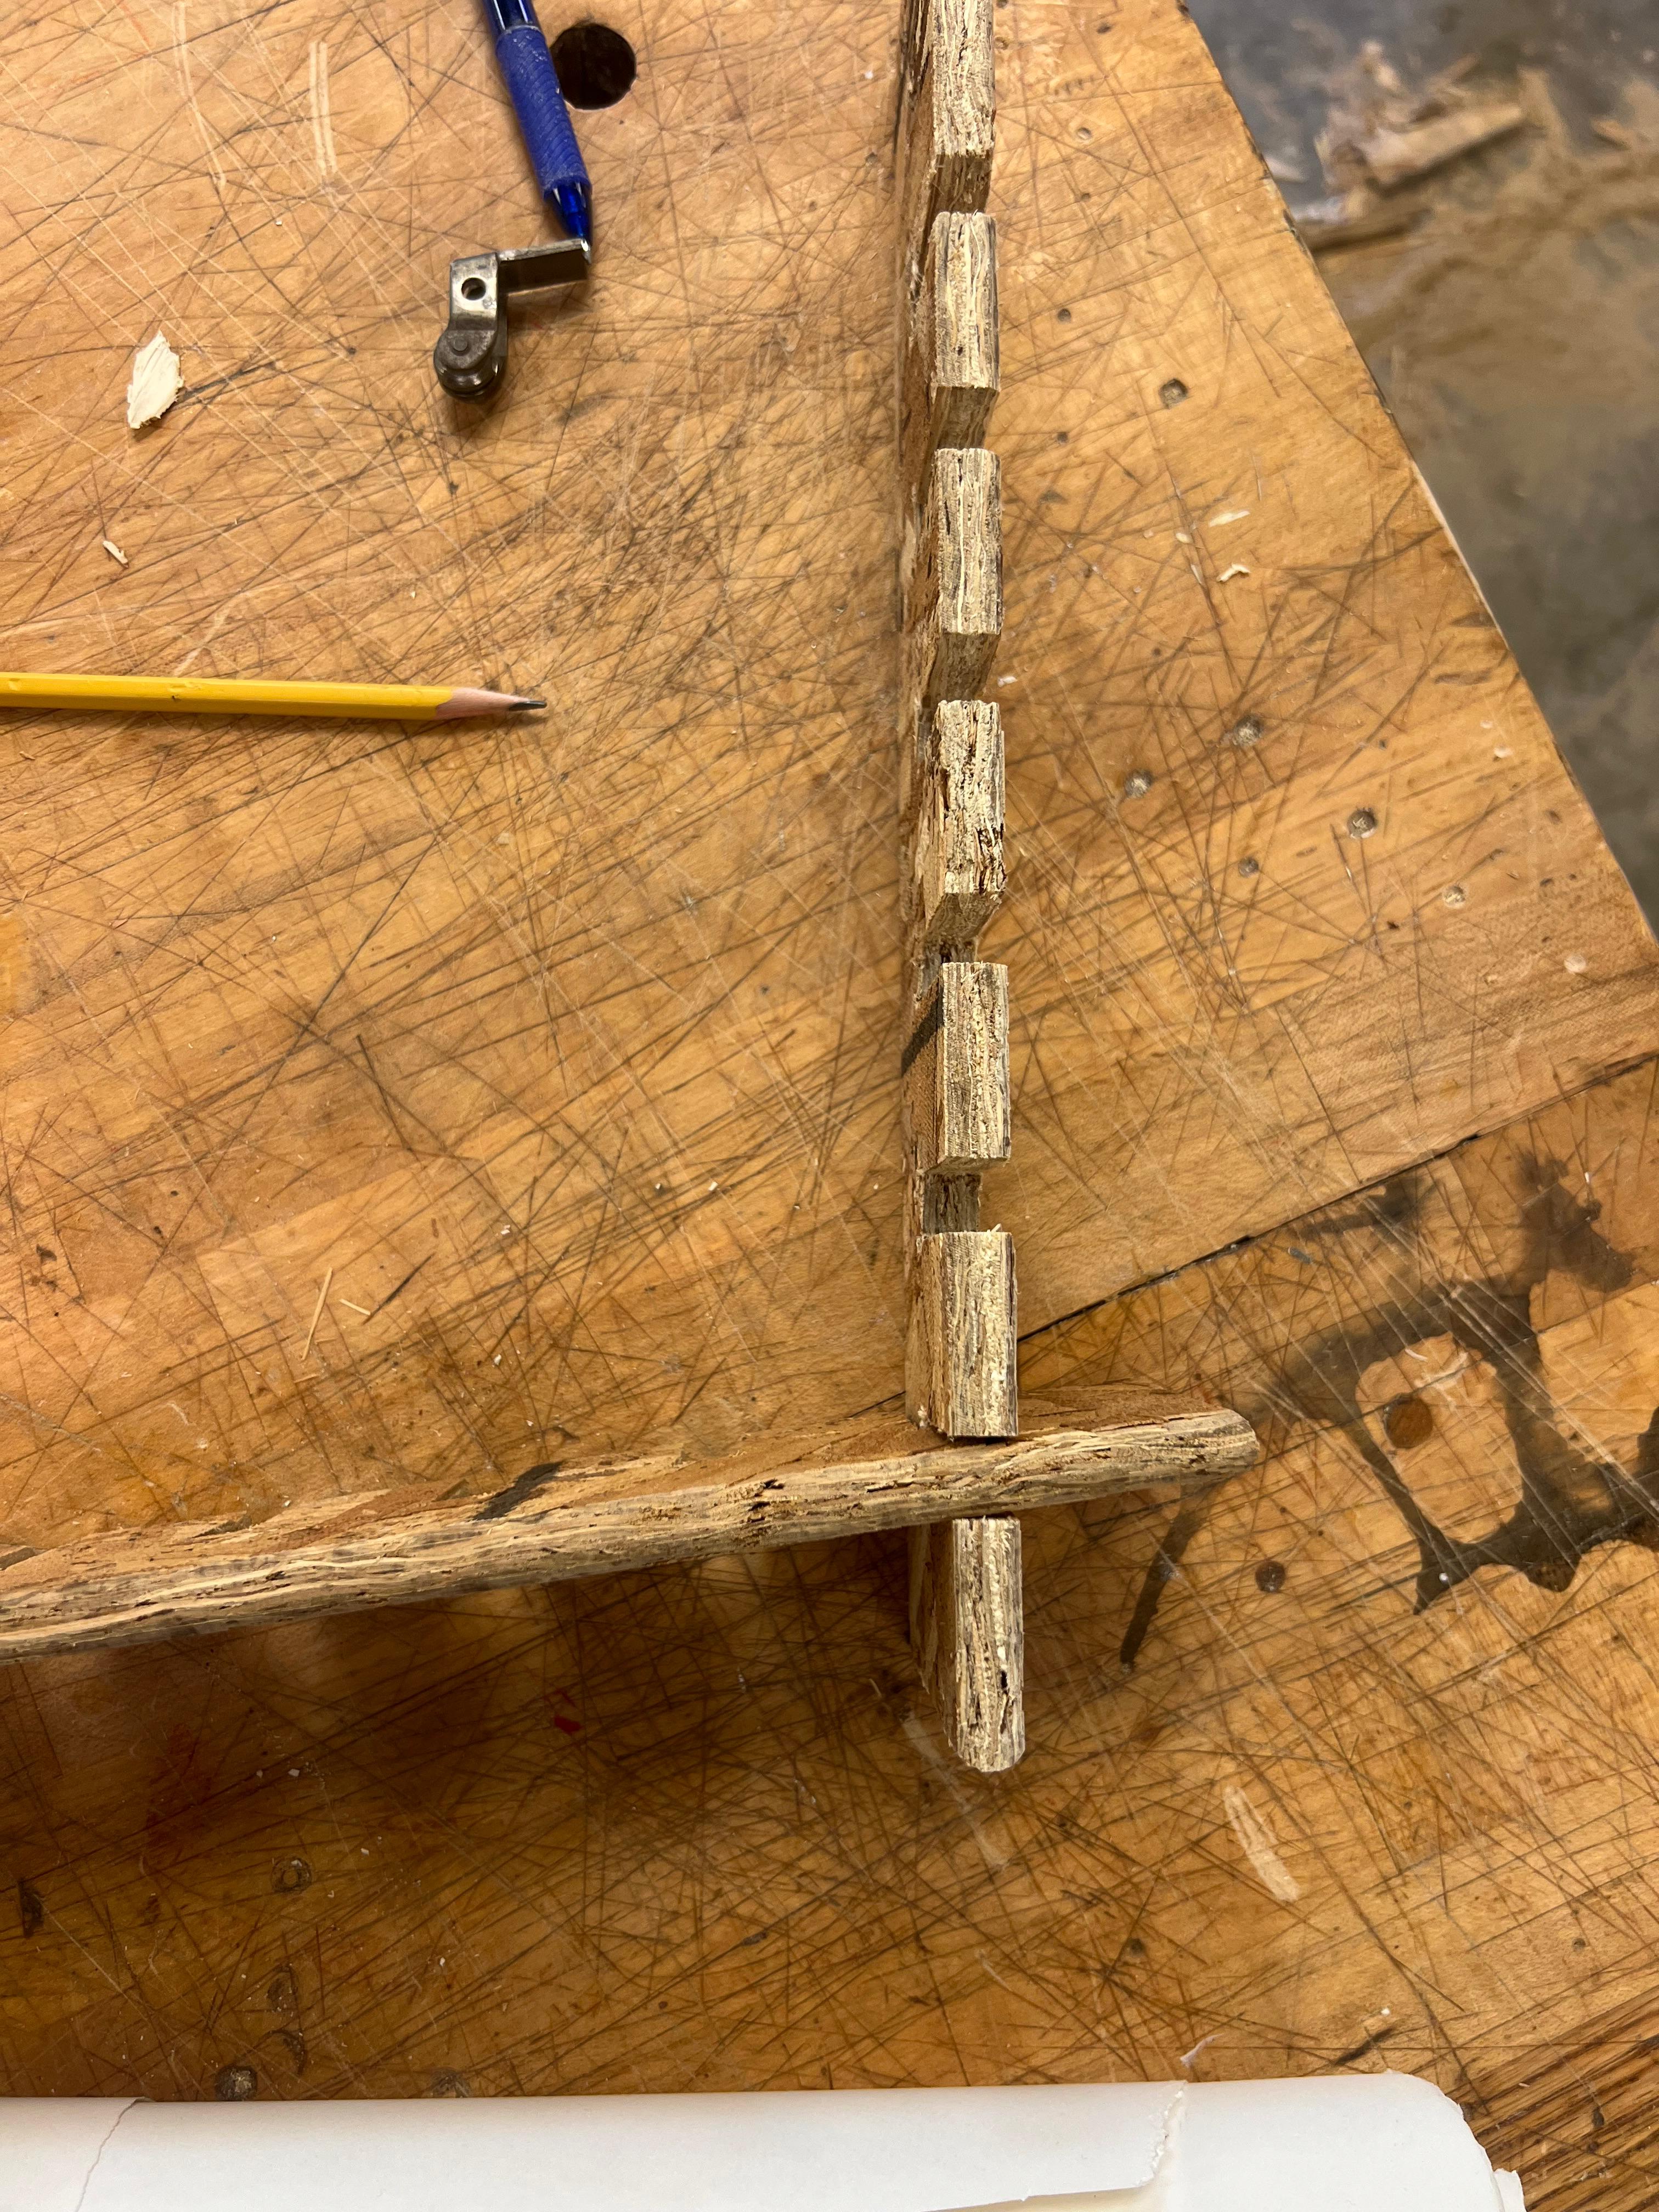
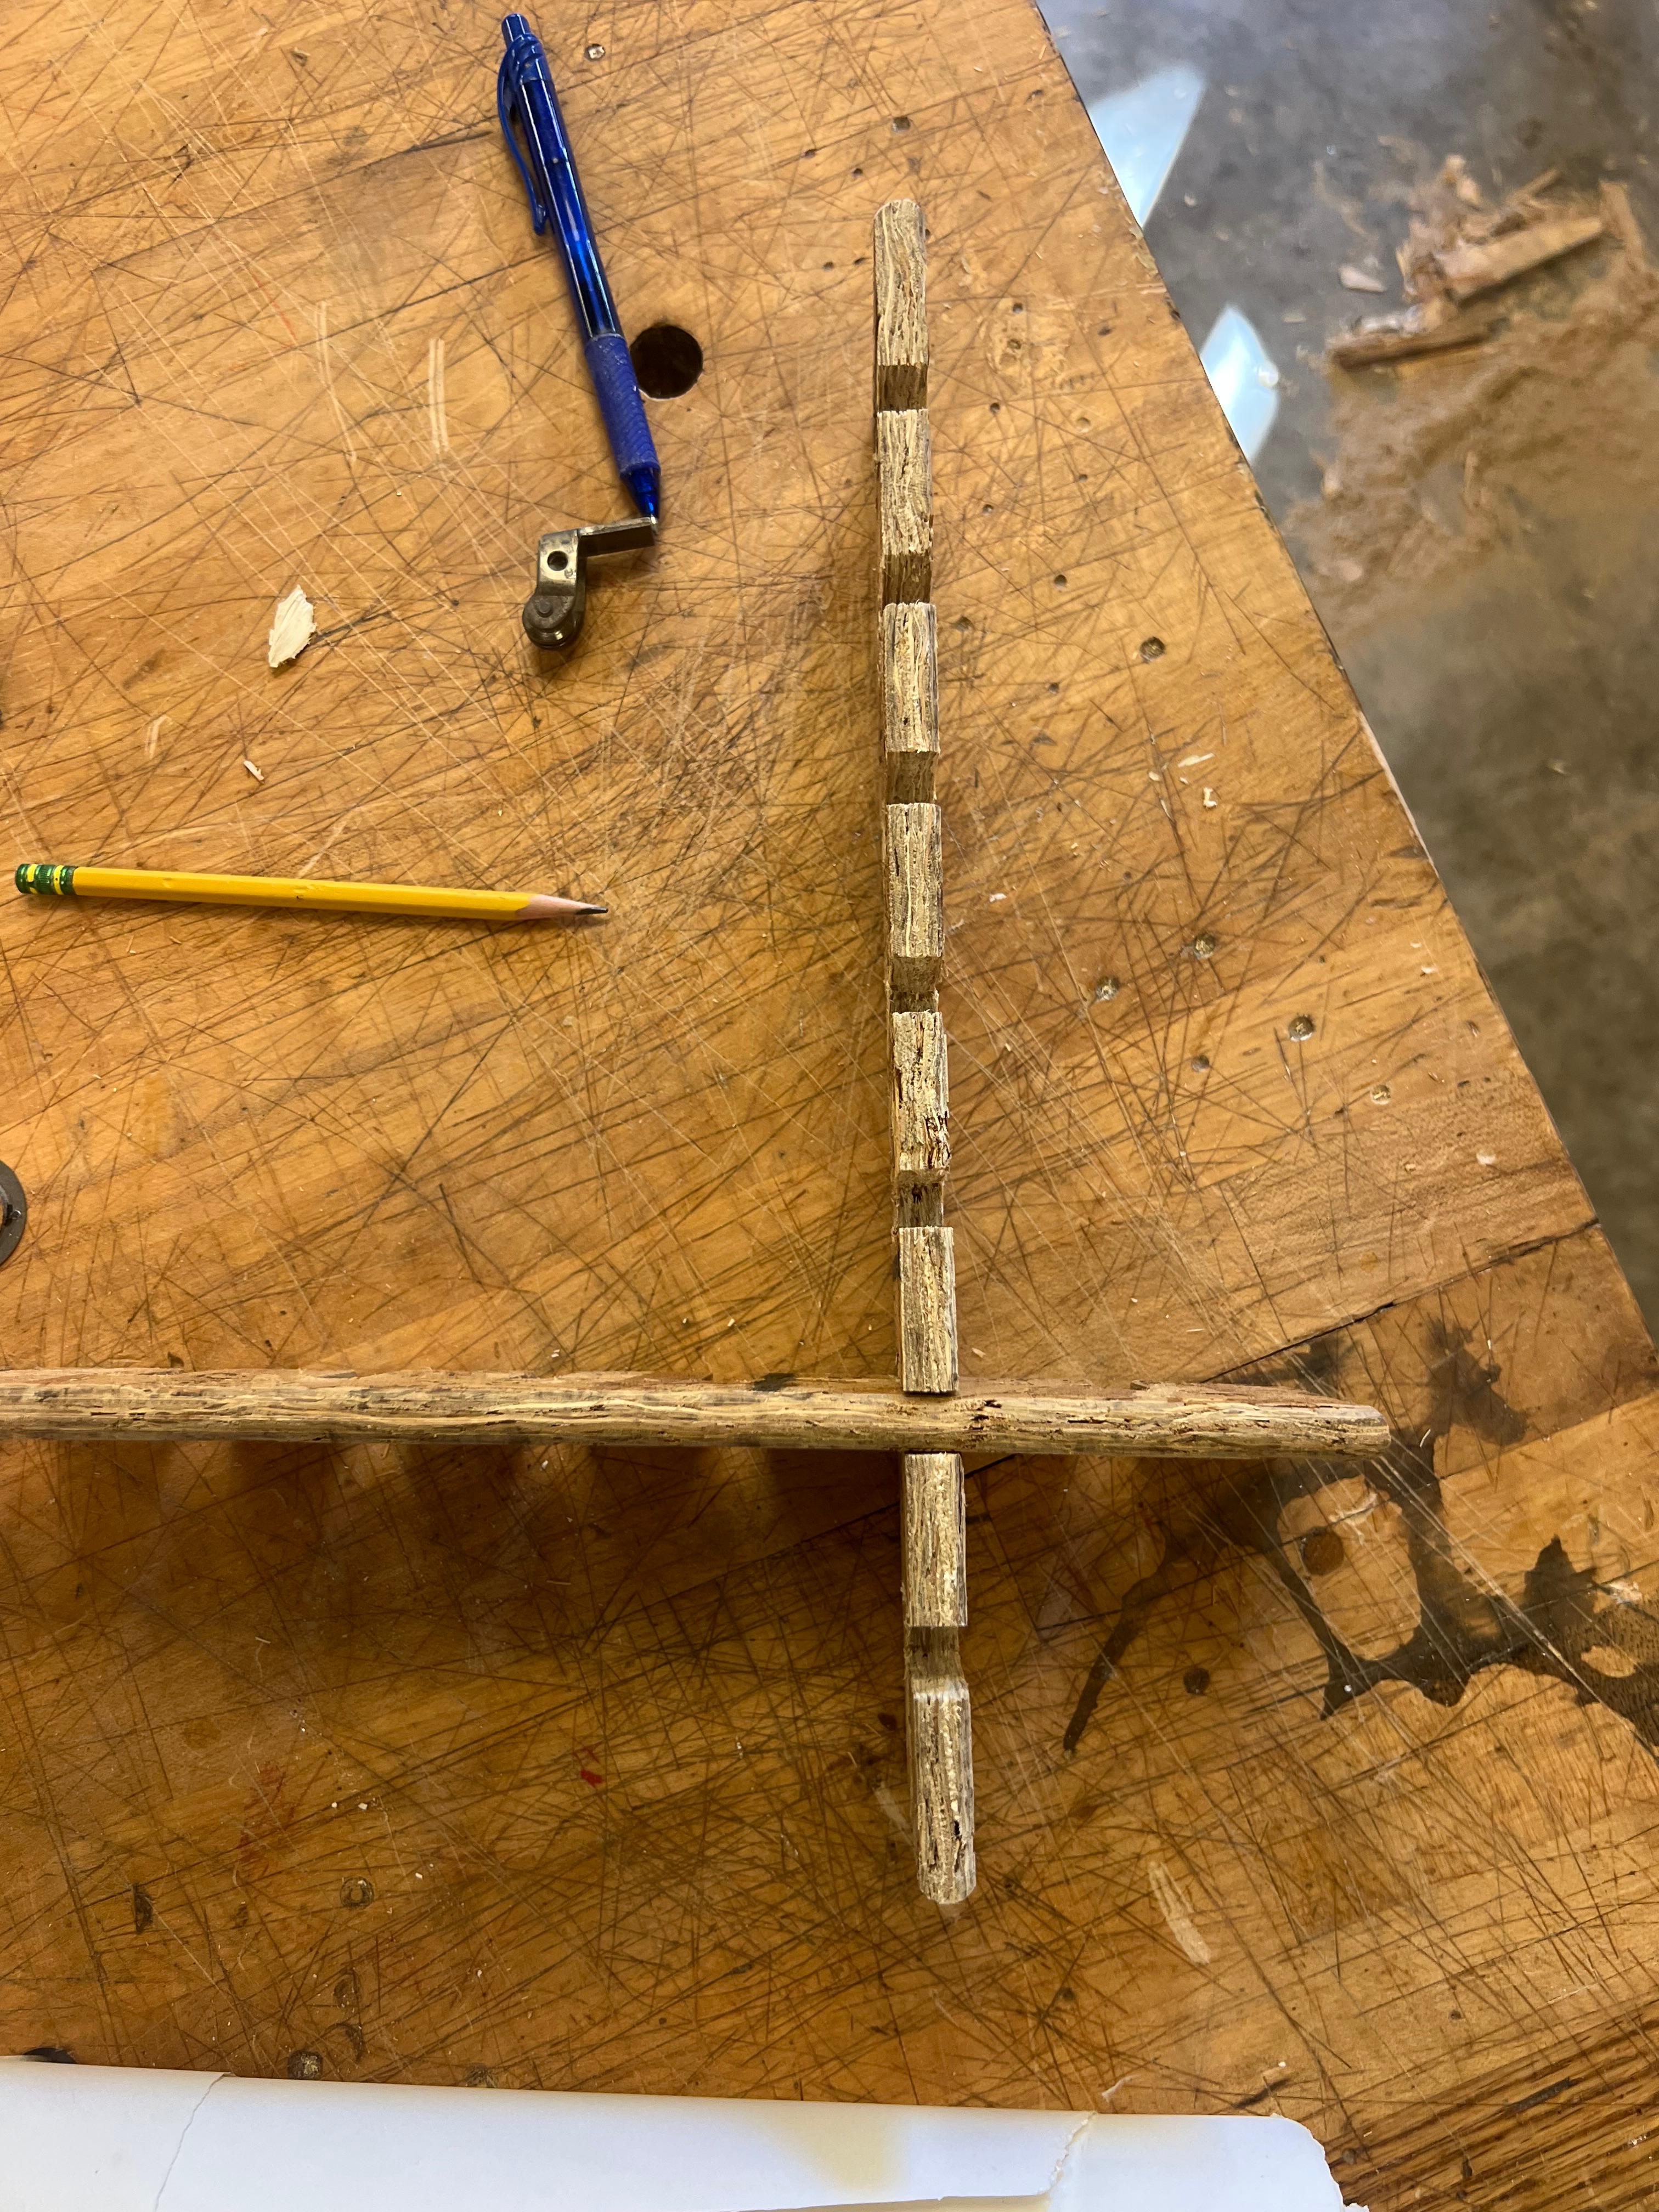
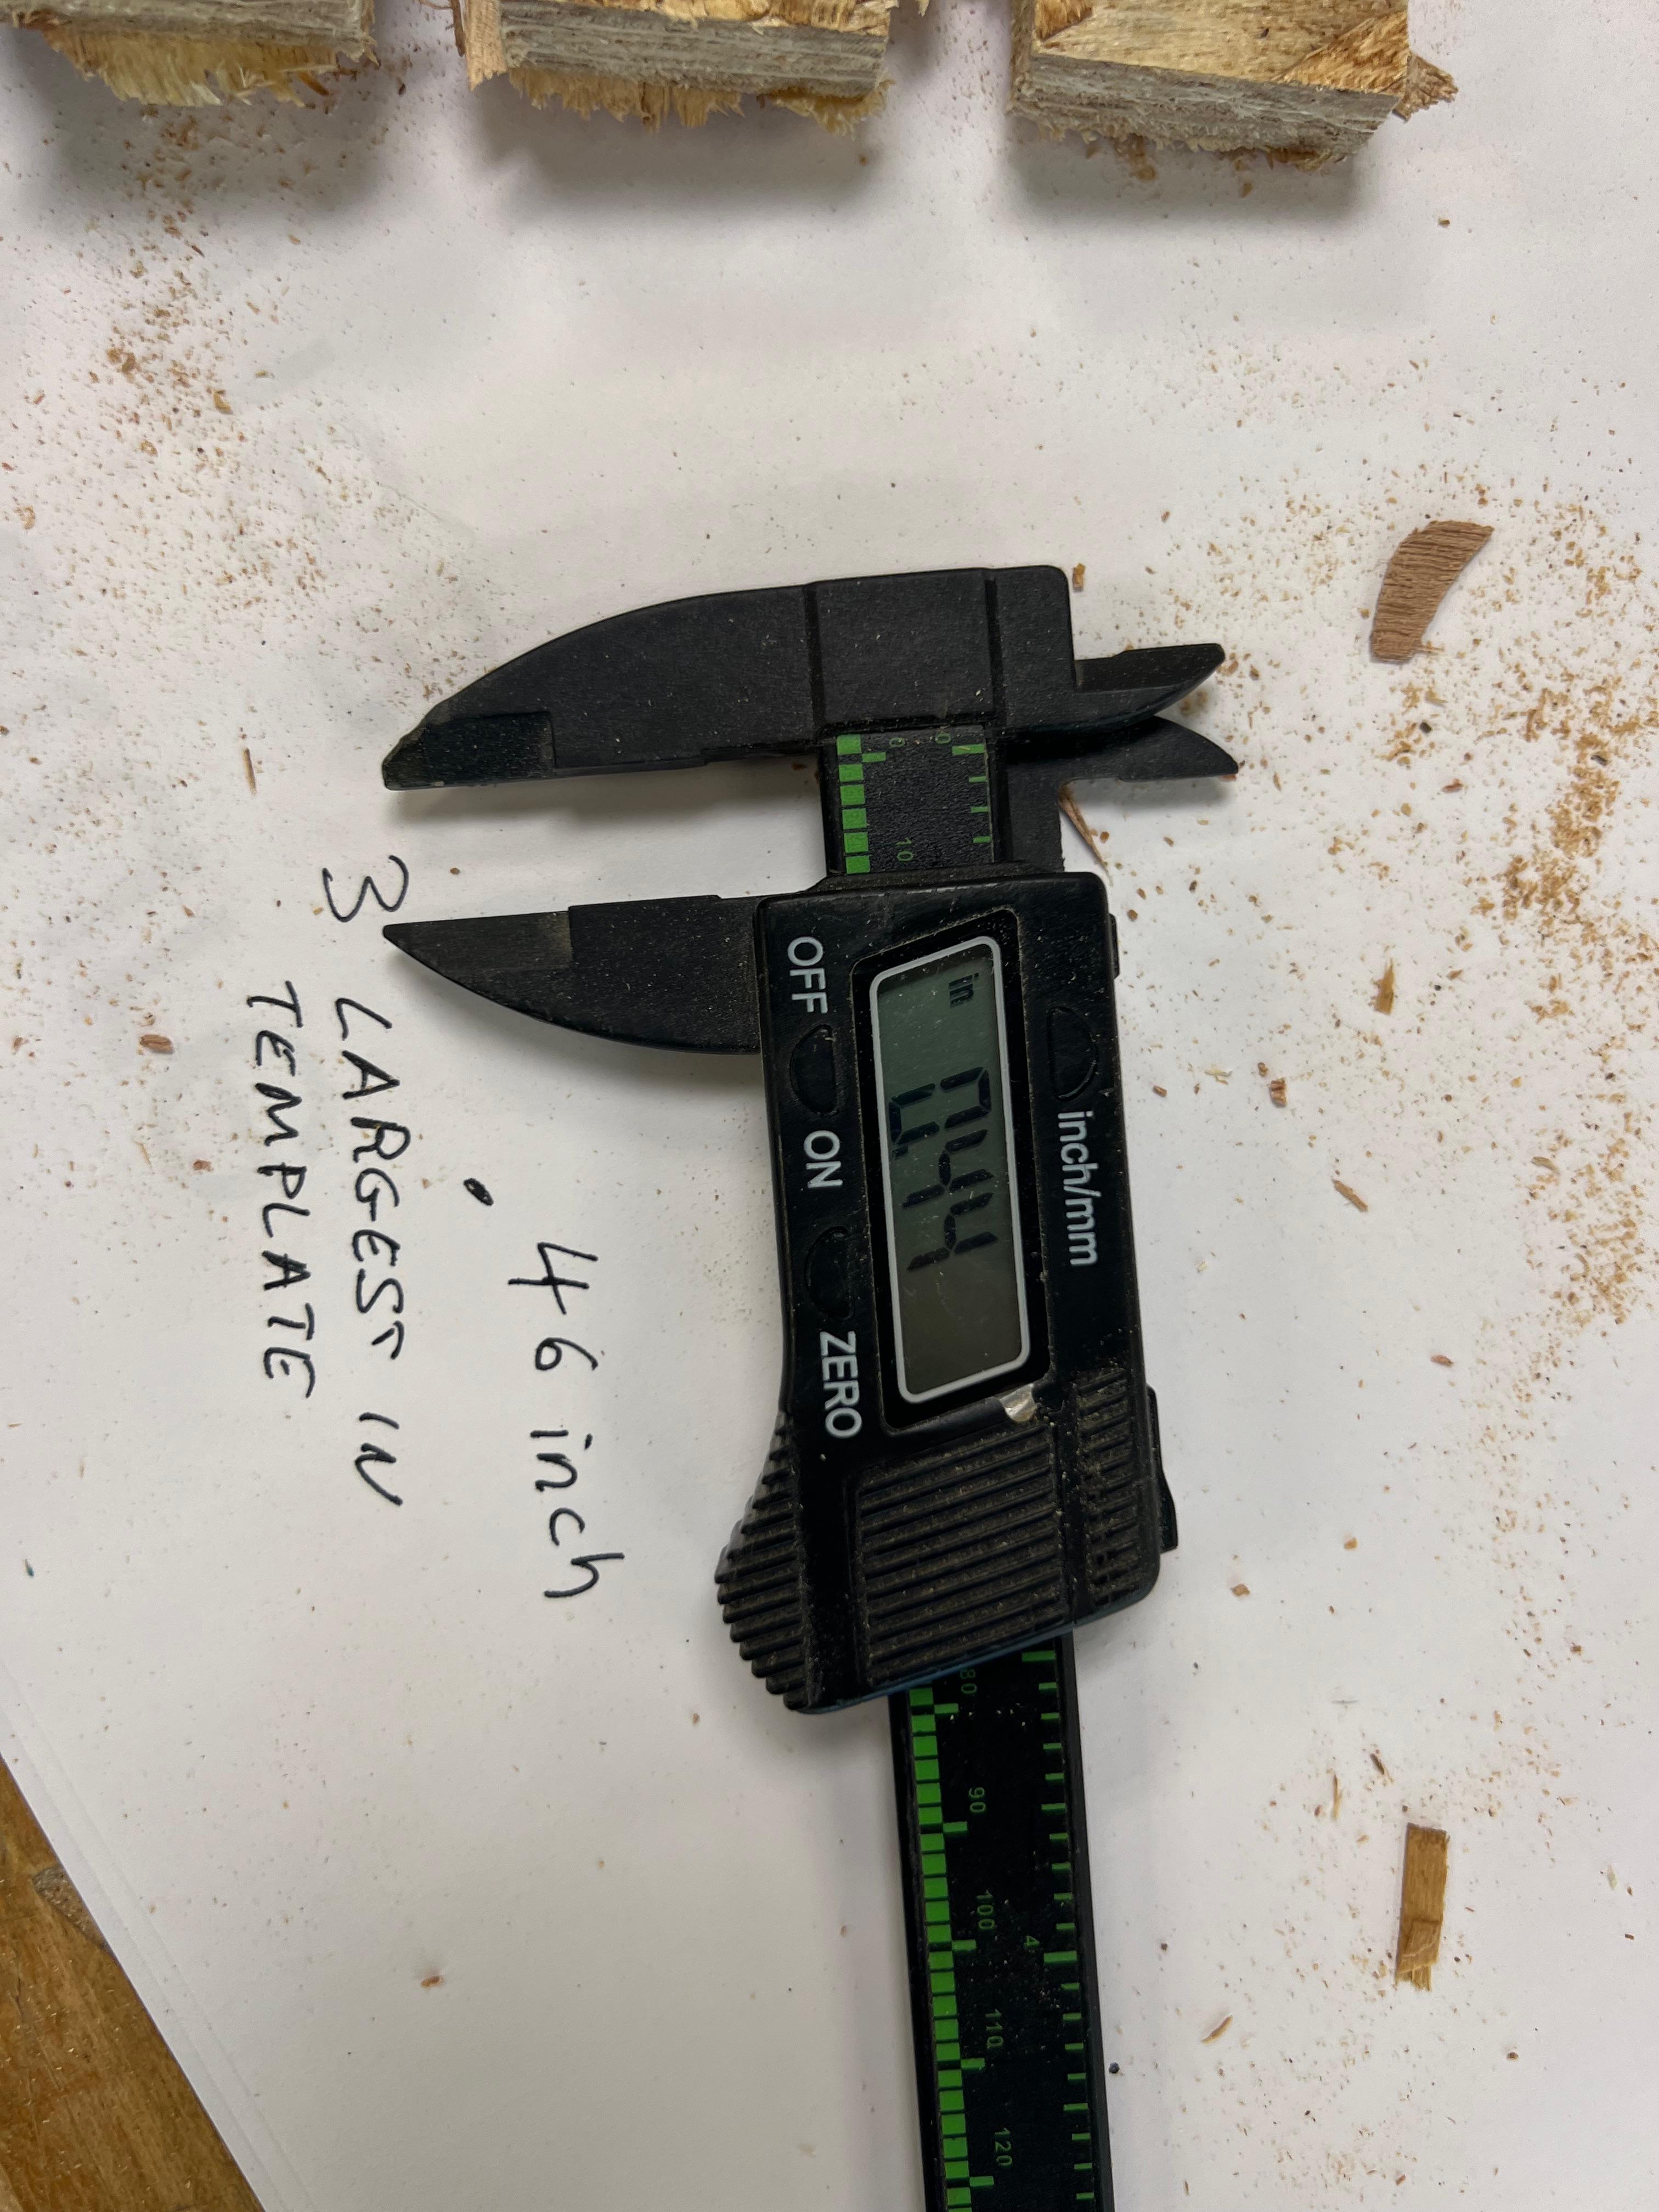
Once my design was complete, I moved on to CNC milling. I began with calibration tests—
making a comb joint to check material tolerances. Many thanks to Geoffrey, our amazing monitor,
and Chris, the woodshop manager, for their guidance and endless woodworking insight.
Comb to Test FitExample of an Oversized FitExample of a Good FitMeasuring the Stock
Since the design was parametric, I easily adjusted the slot size in Fusion and exported the DXF for milling.
Chris helped me adapt it for Mastercam, which the architecture machines use.
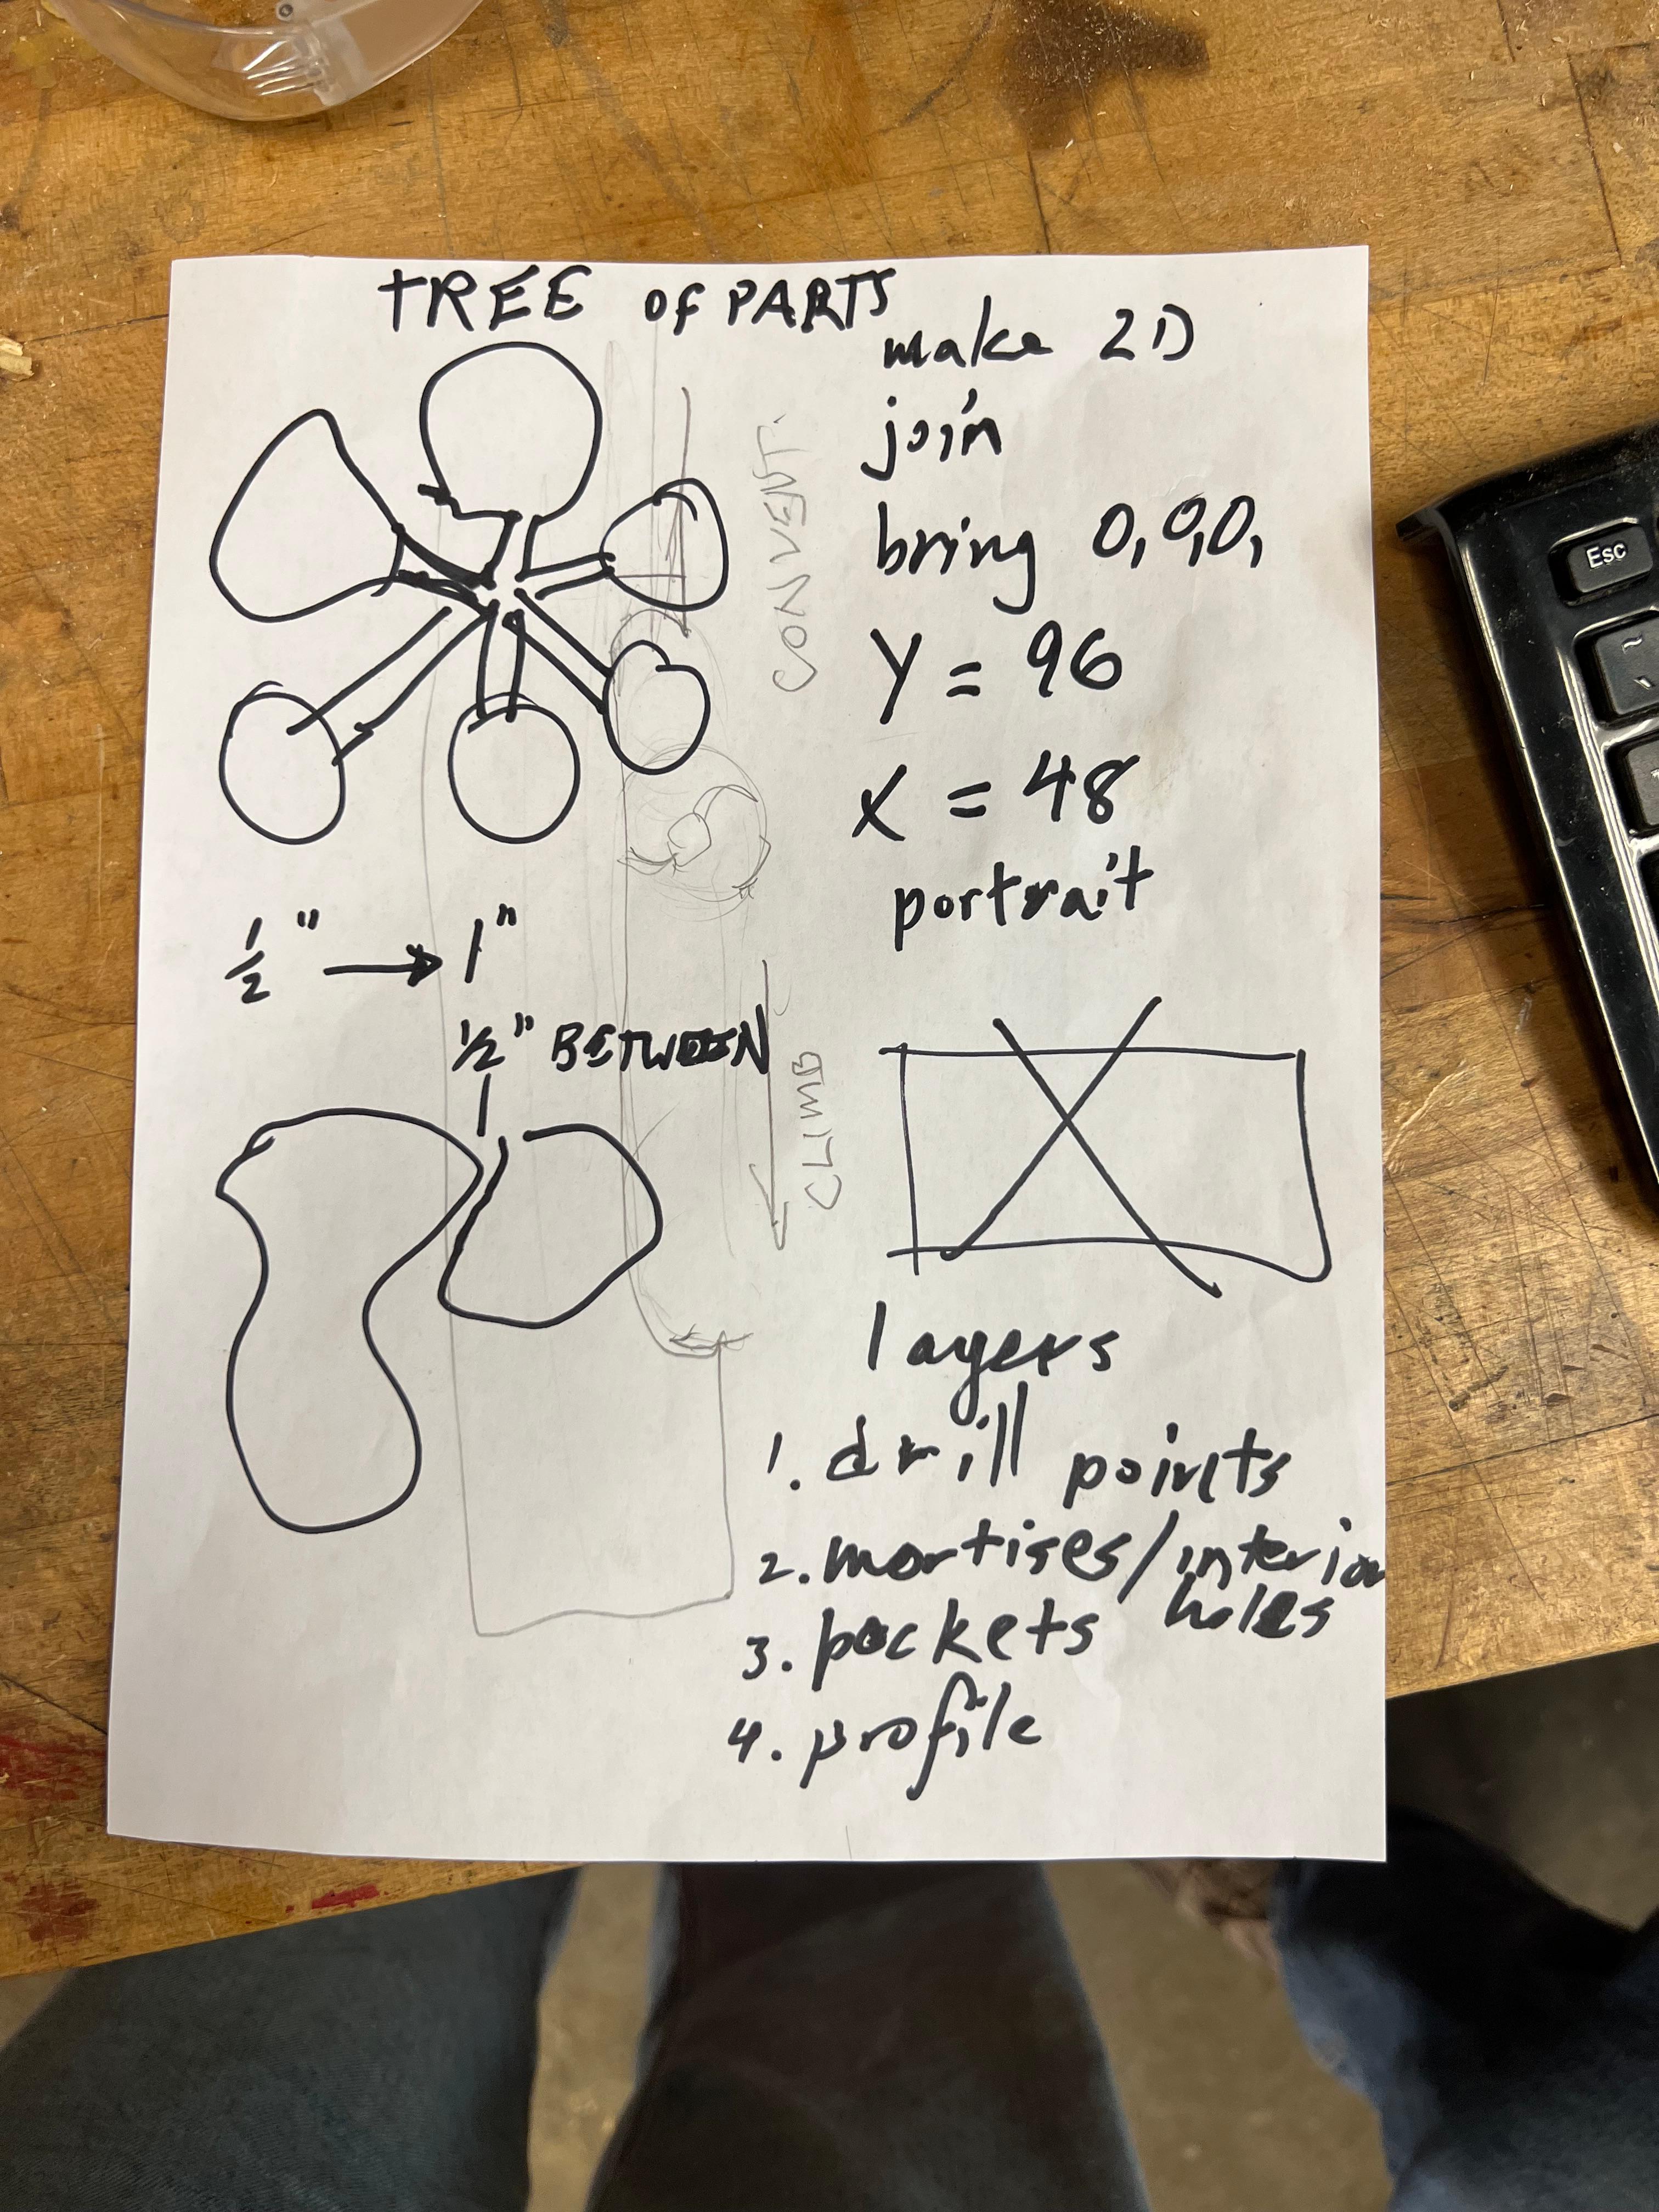
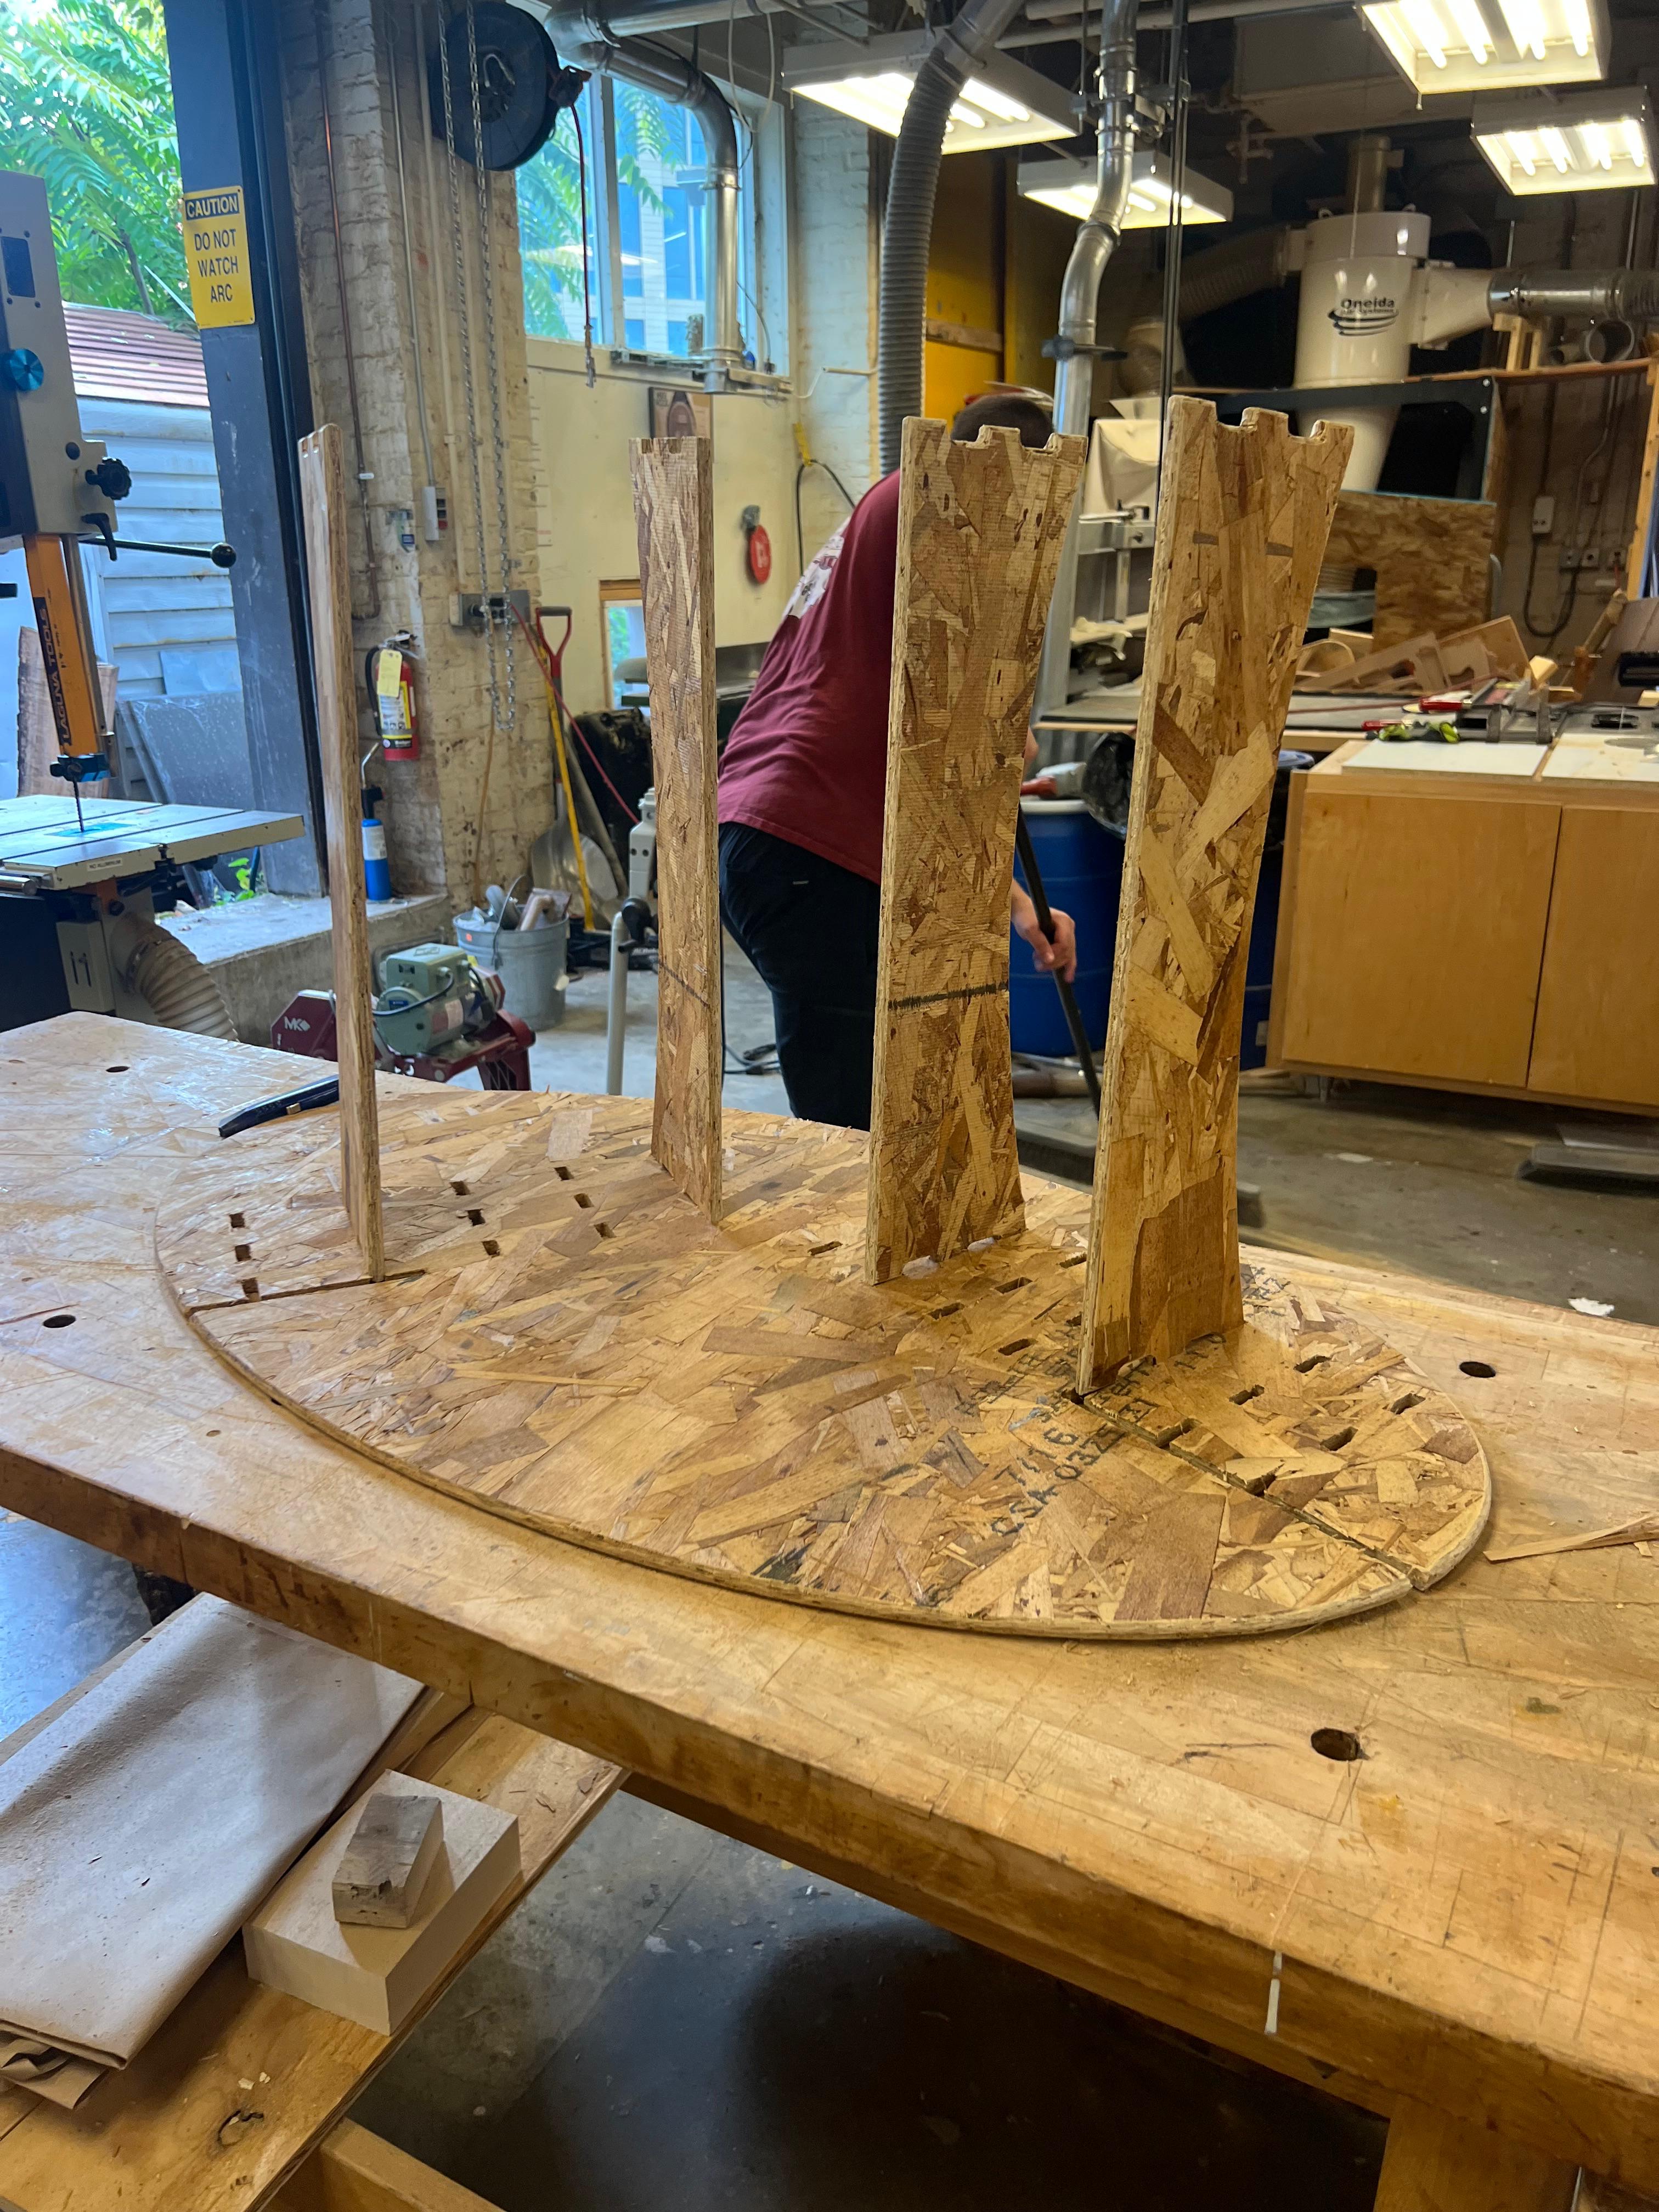
I also learned about using “trees” to support small pieces during milling.
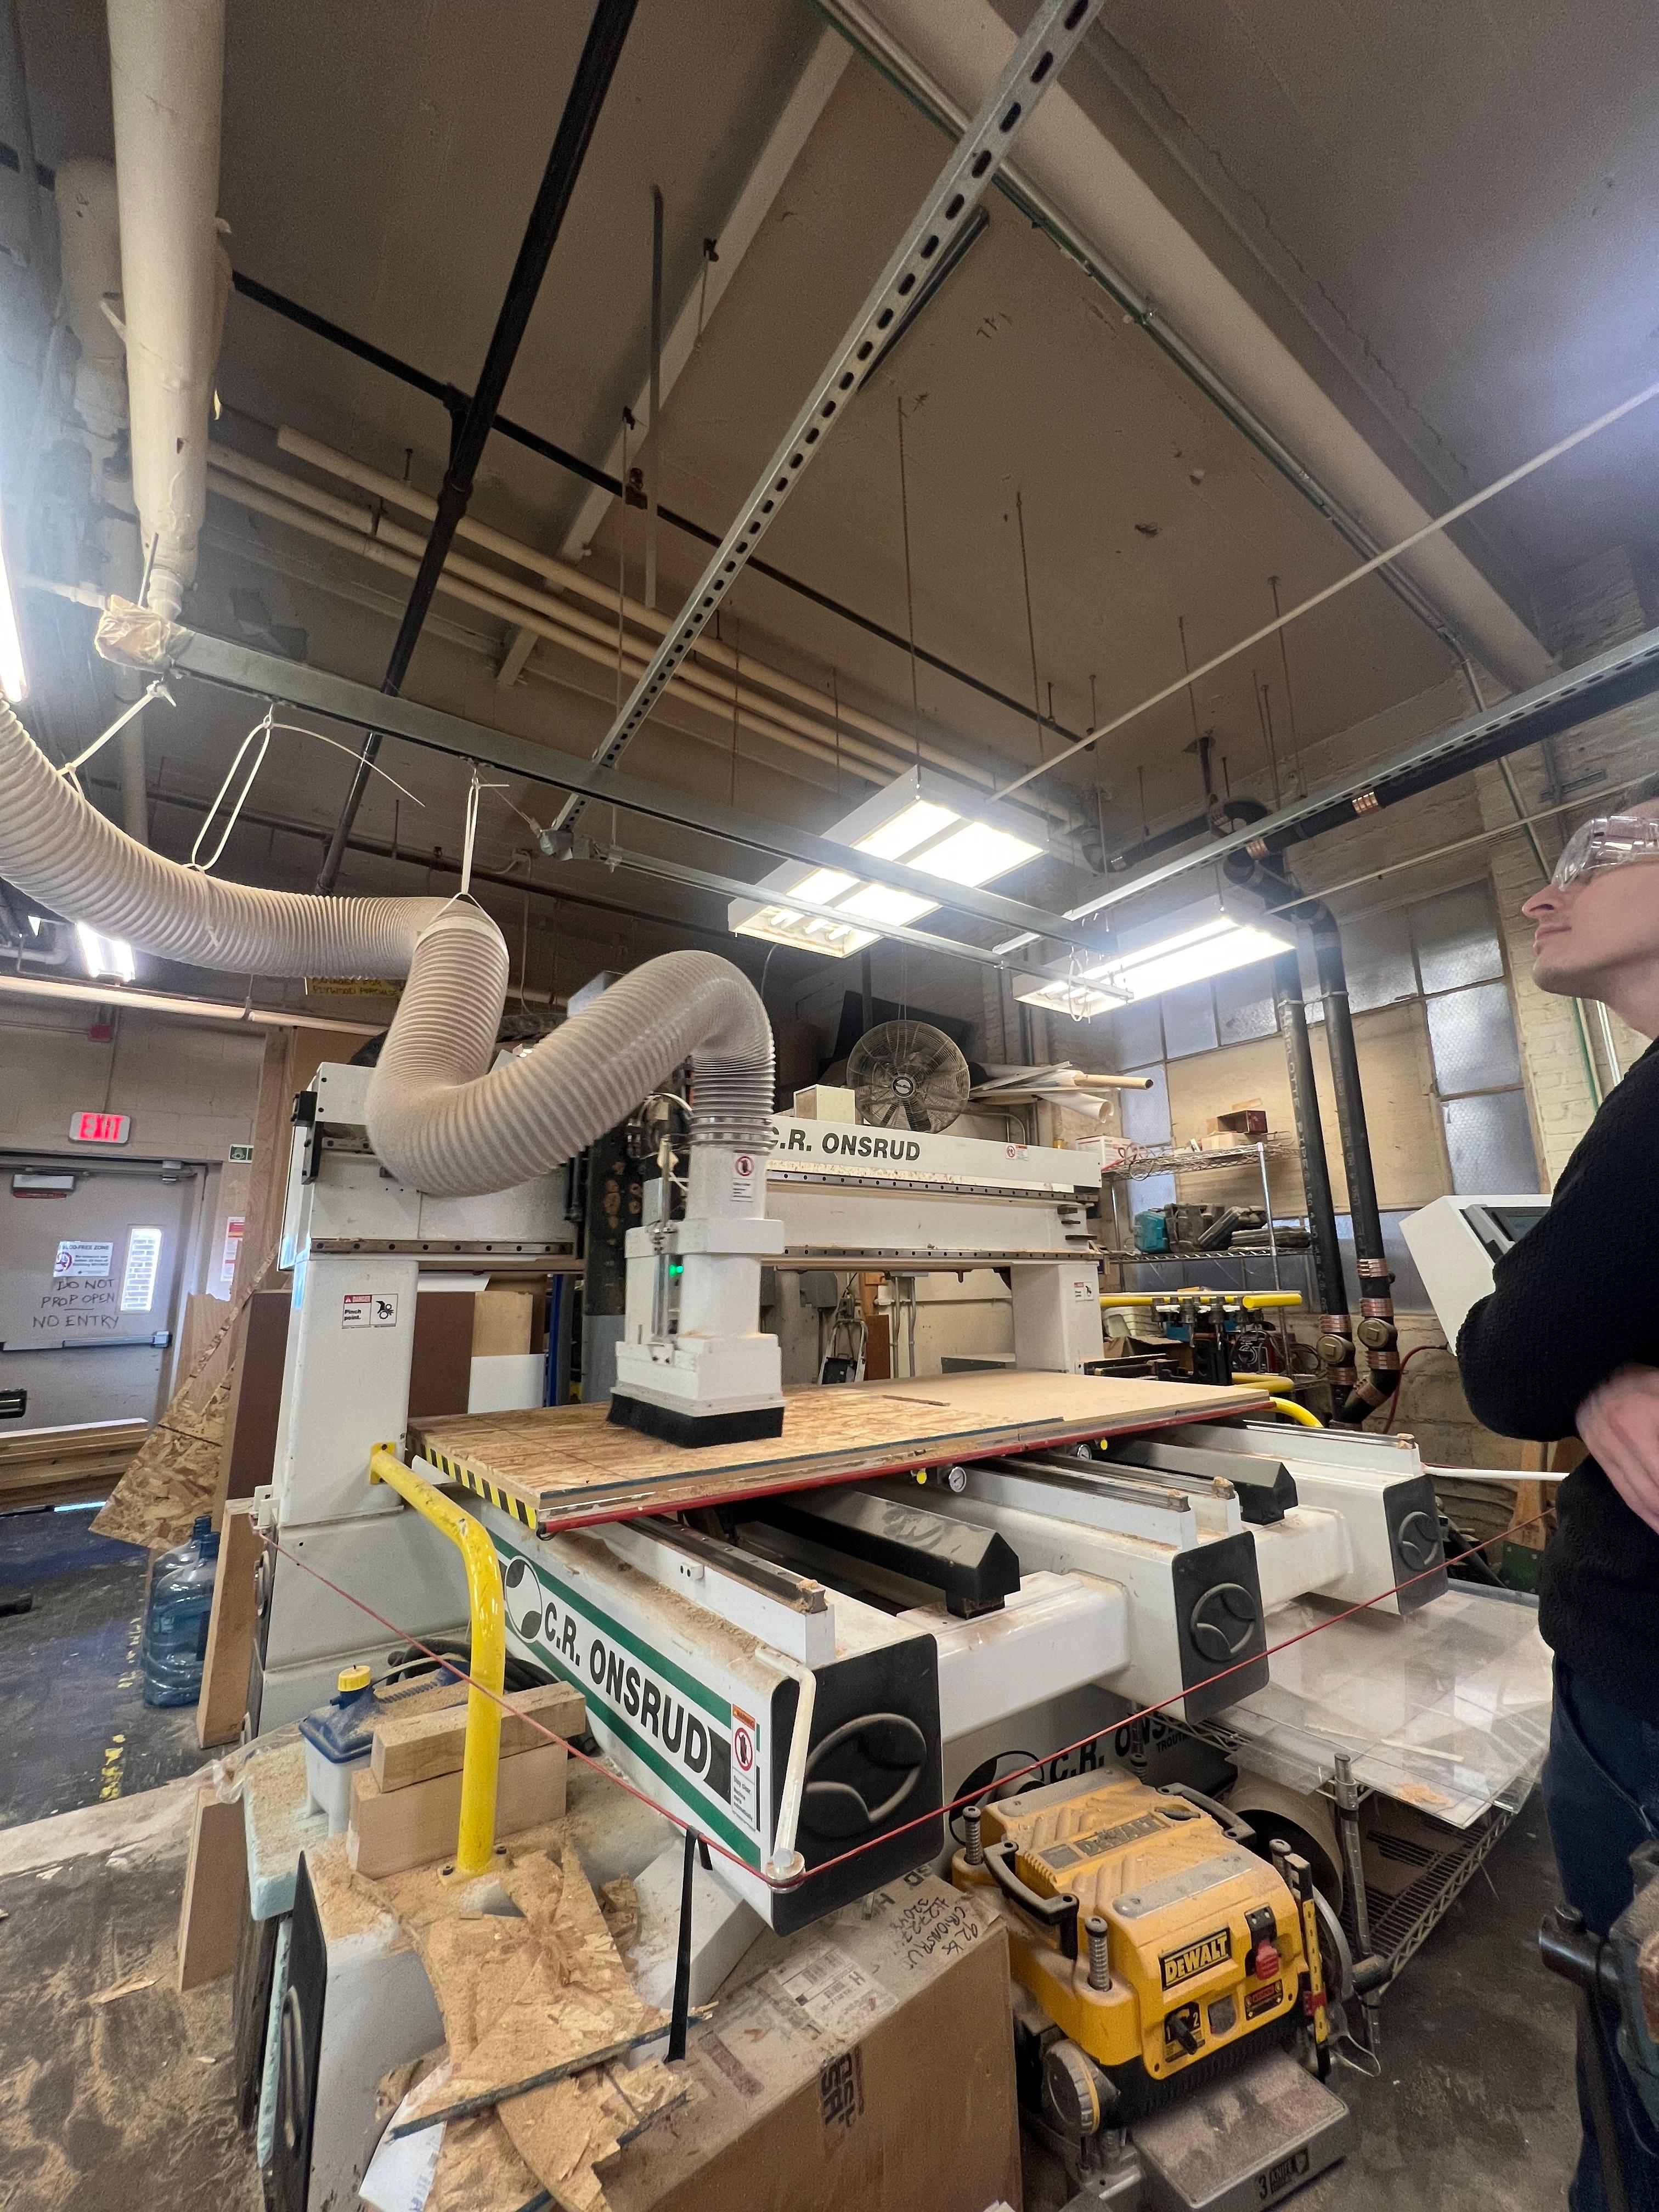
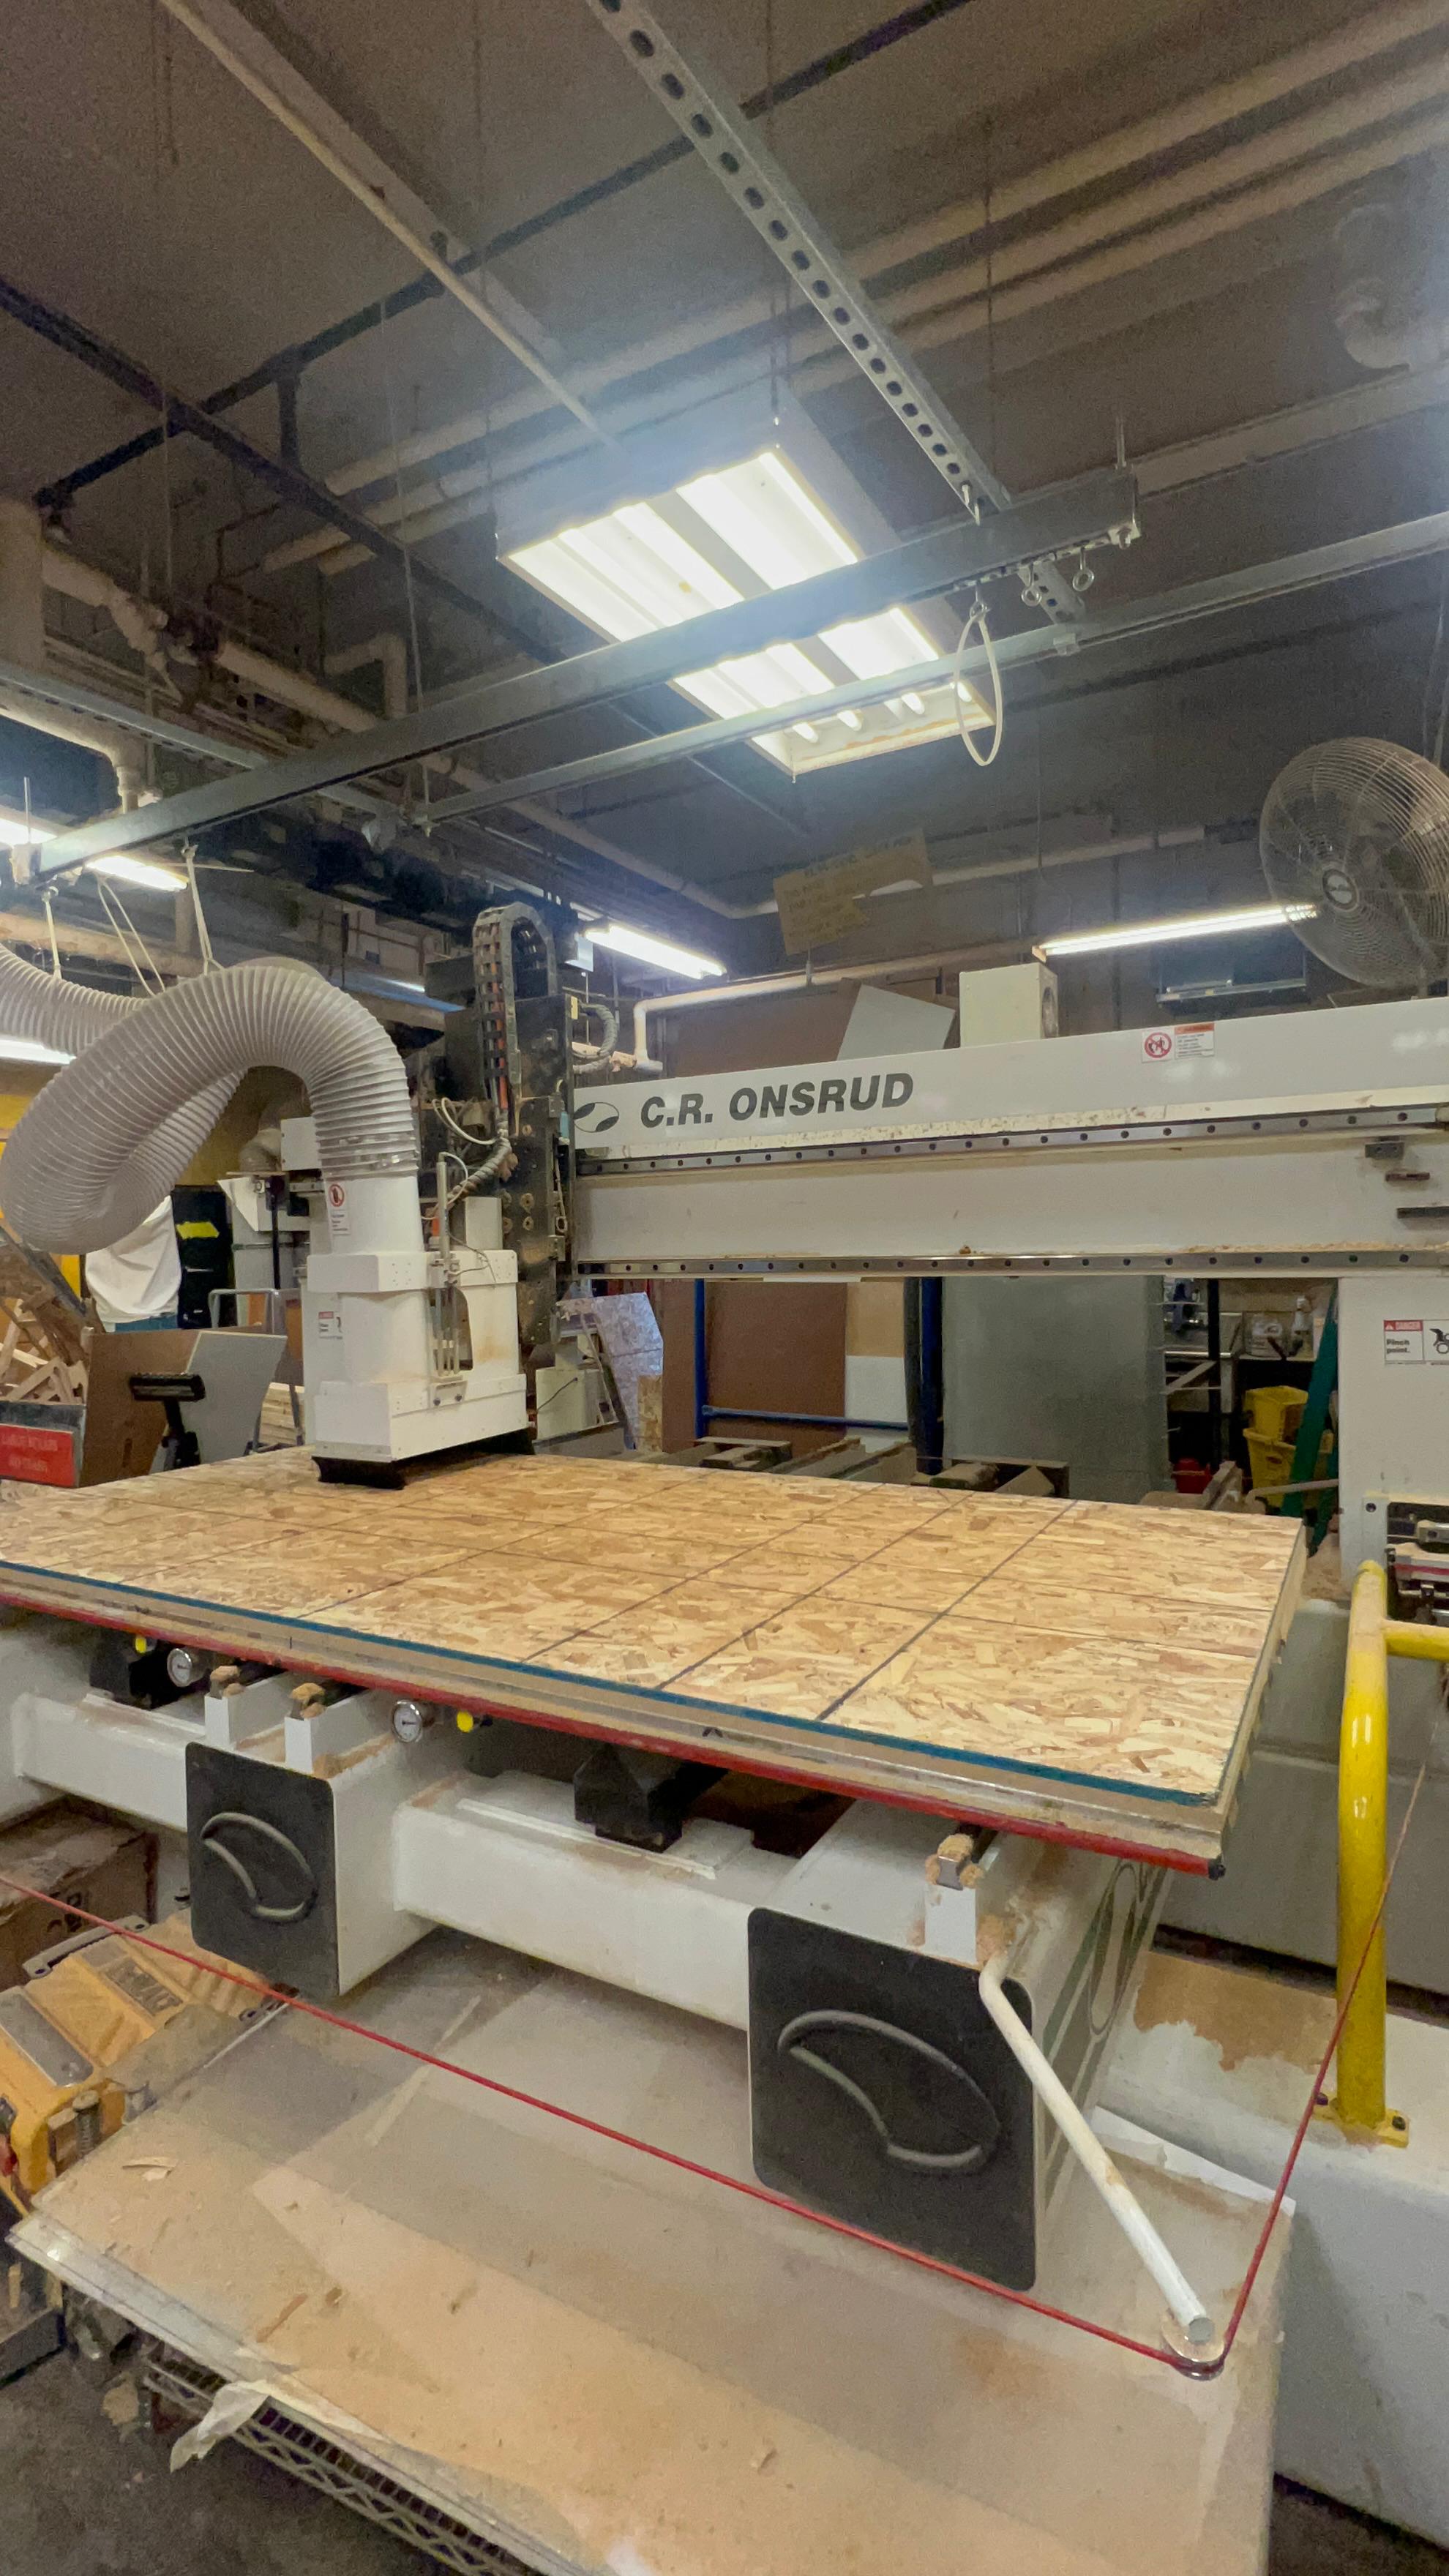
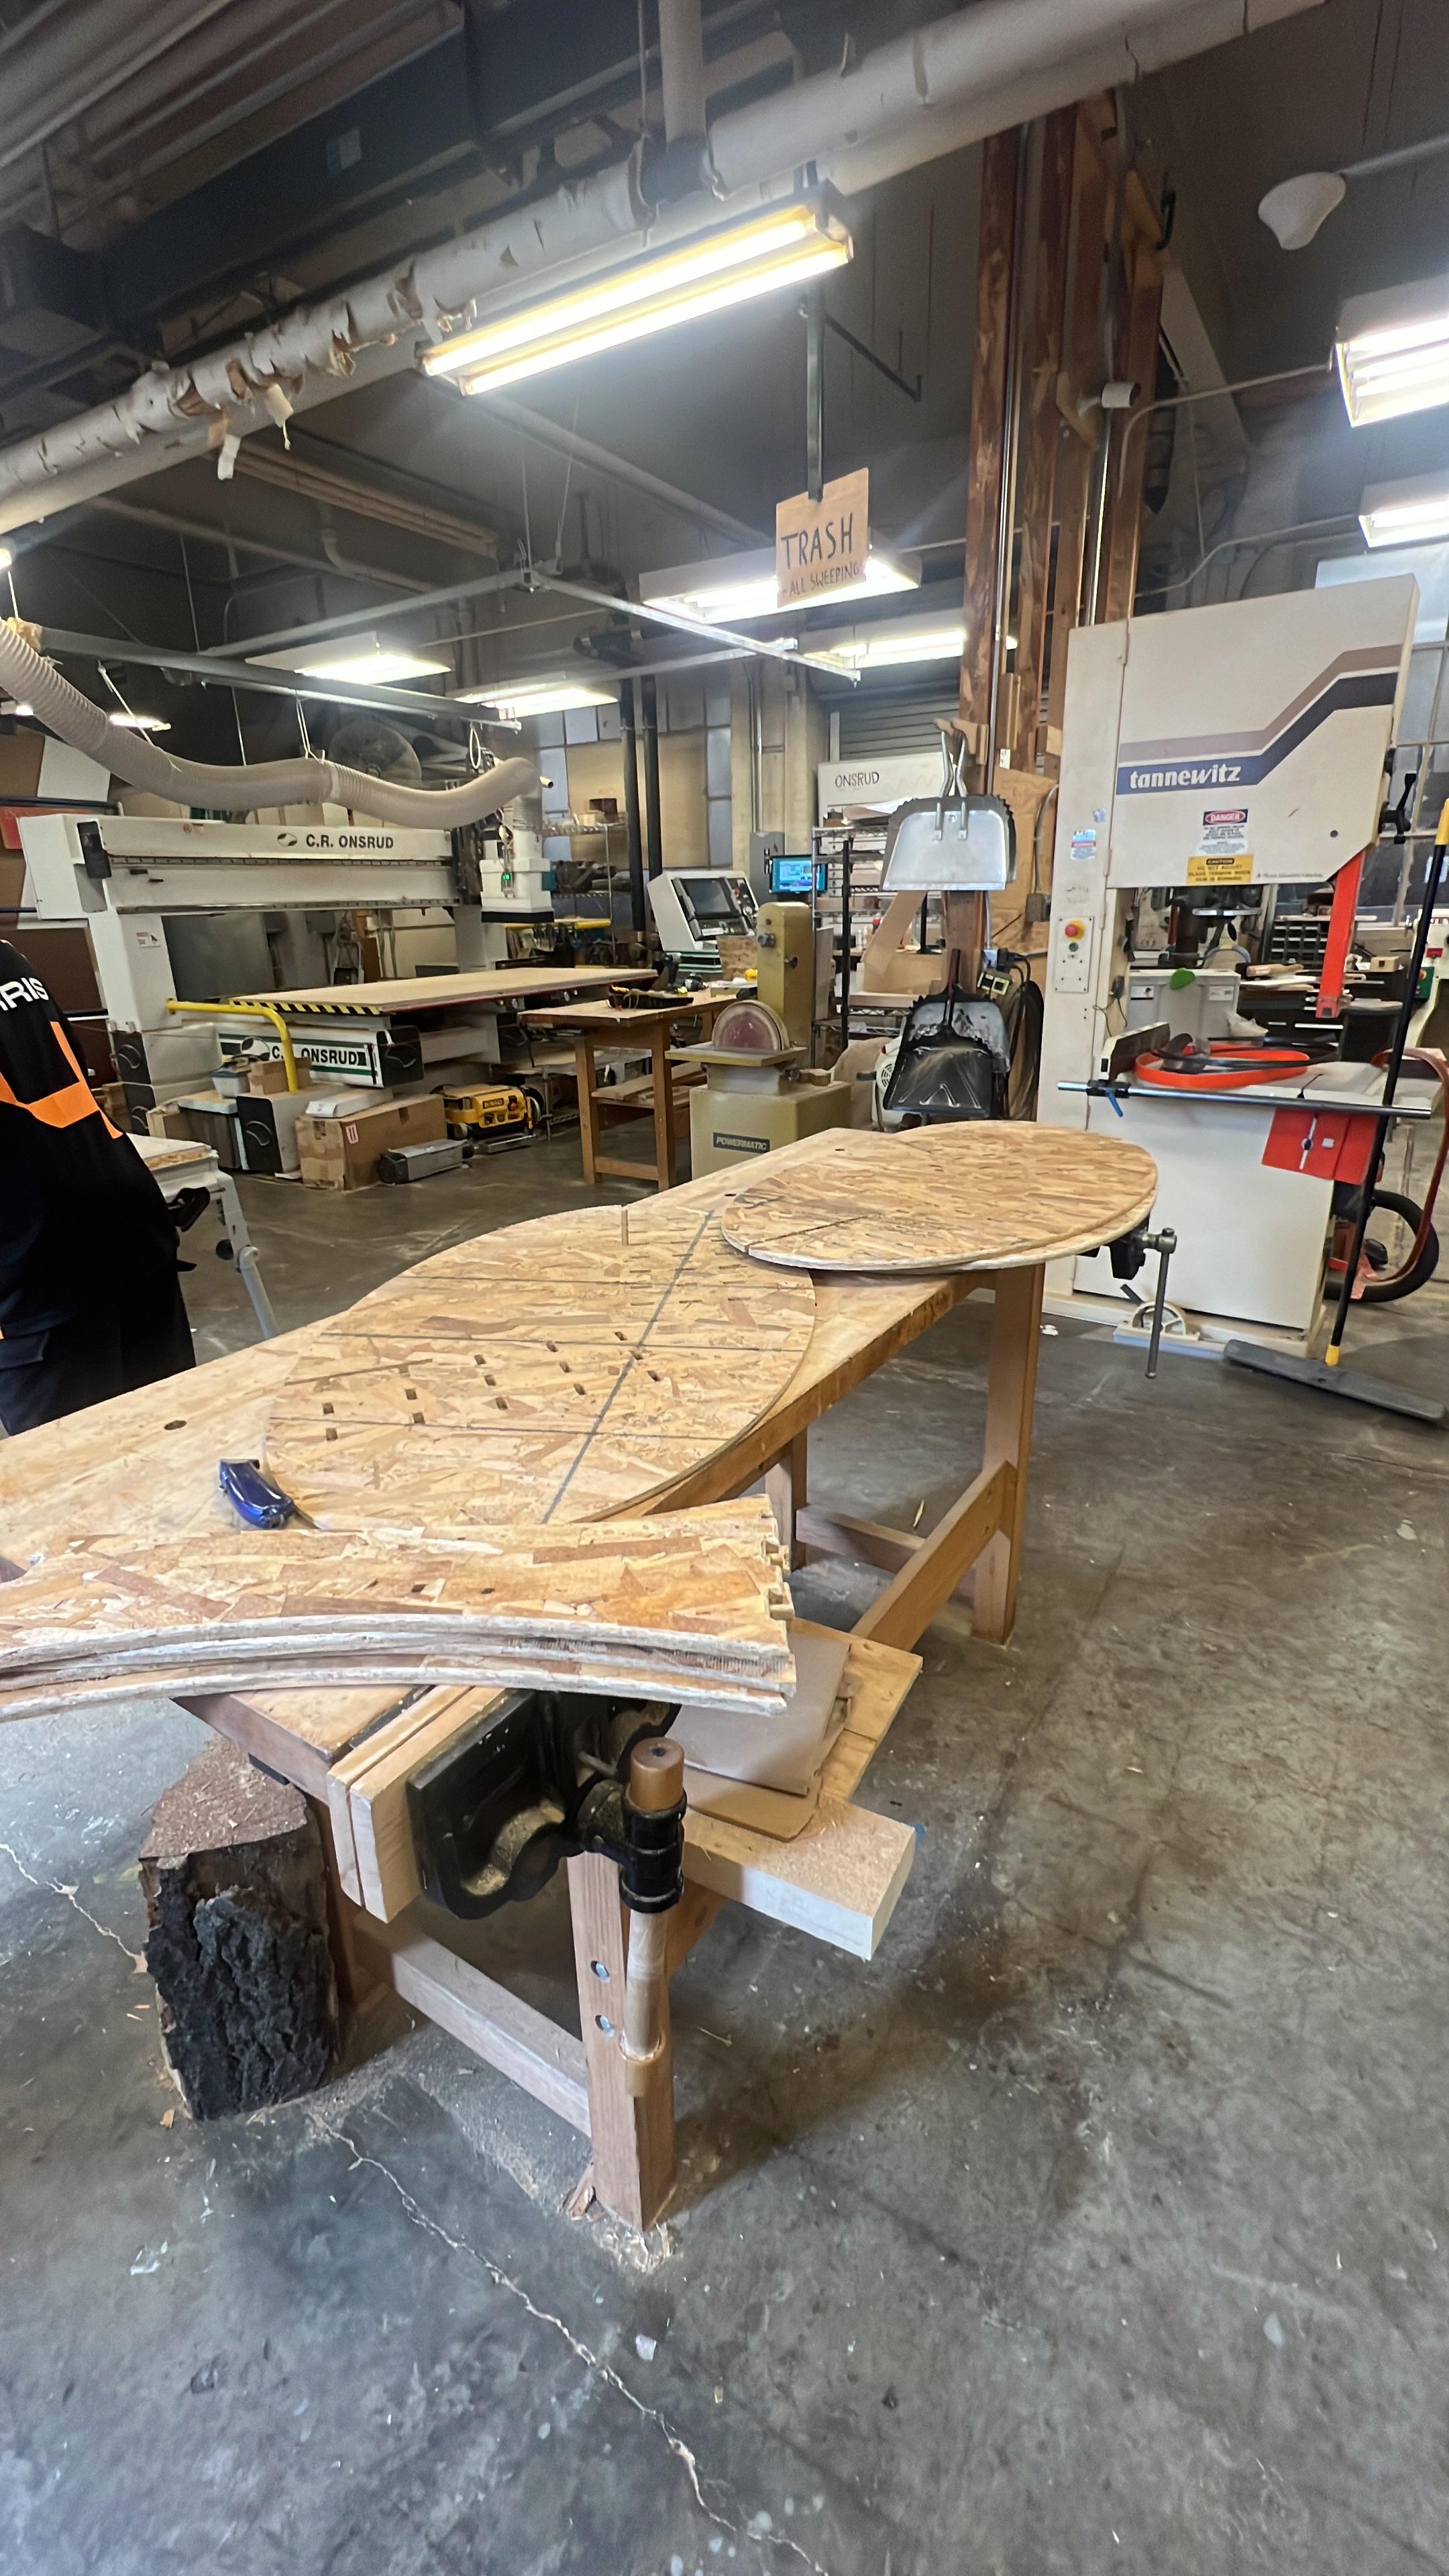
Design Notes for Milling Small PartsMilling Setup on the ComputerMilling Machine Ready to StartMilling in ProgressMilling Process Video
After milling, I snapped the parts out of the onion skin and used a router to round the edges.
All Milled Parts After Router Clean-Up
Assembly & Adjustments
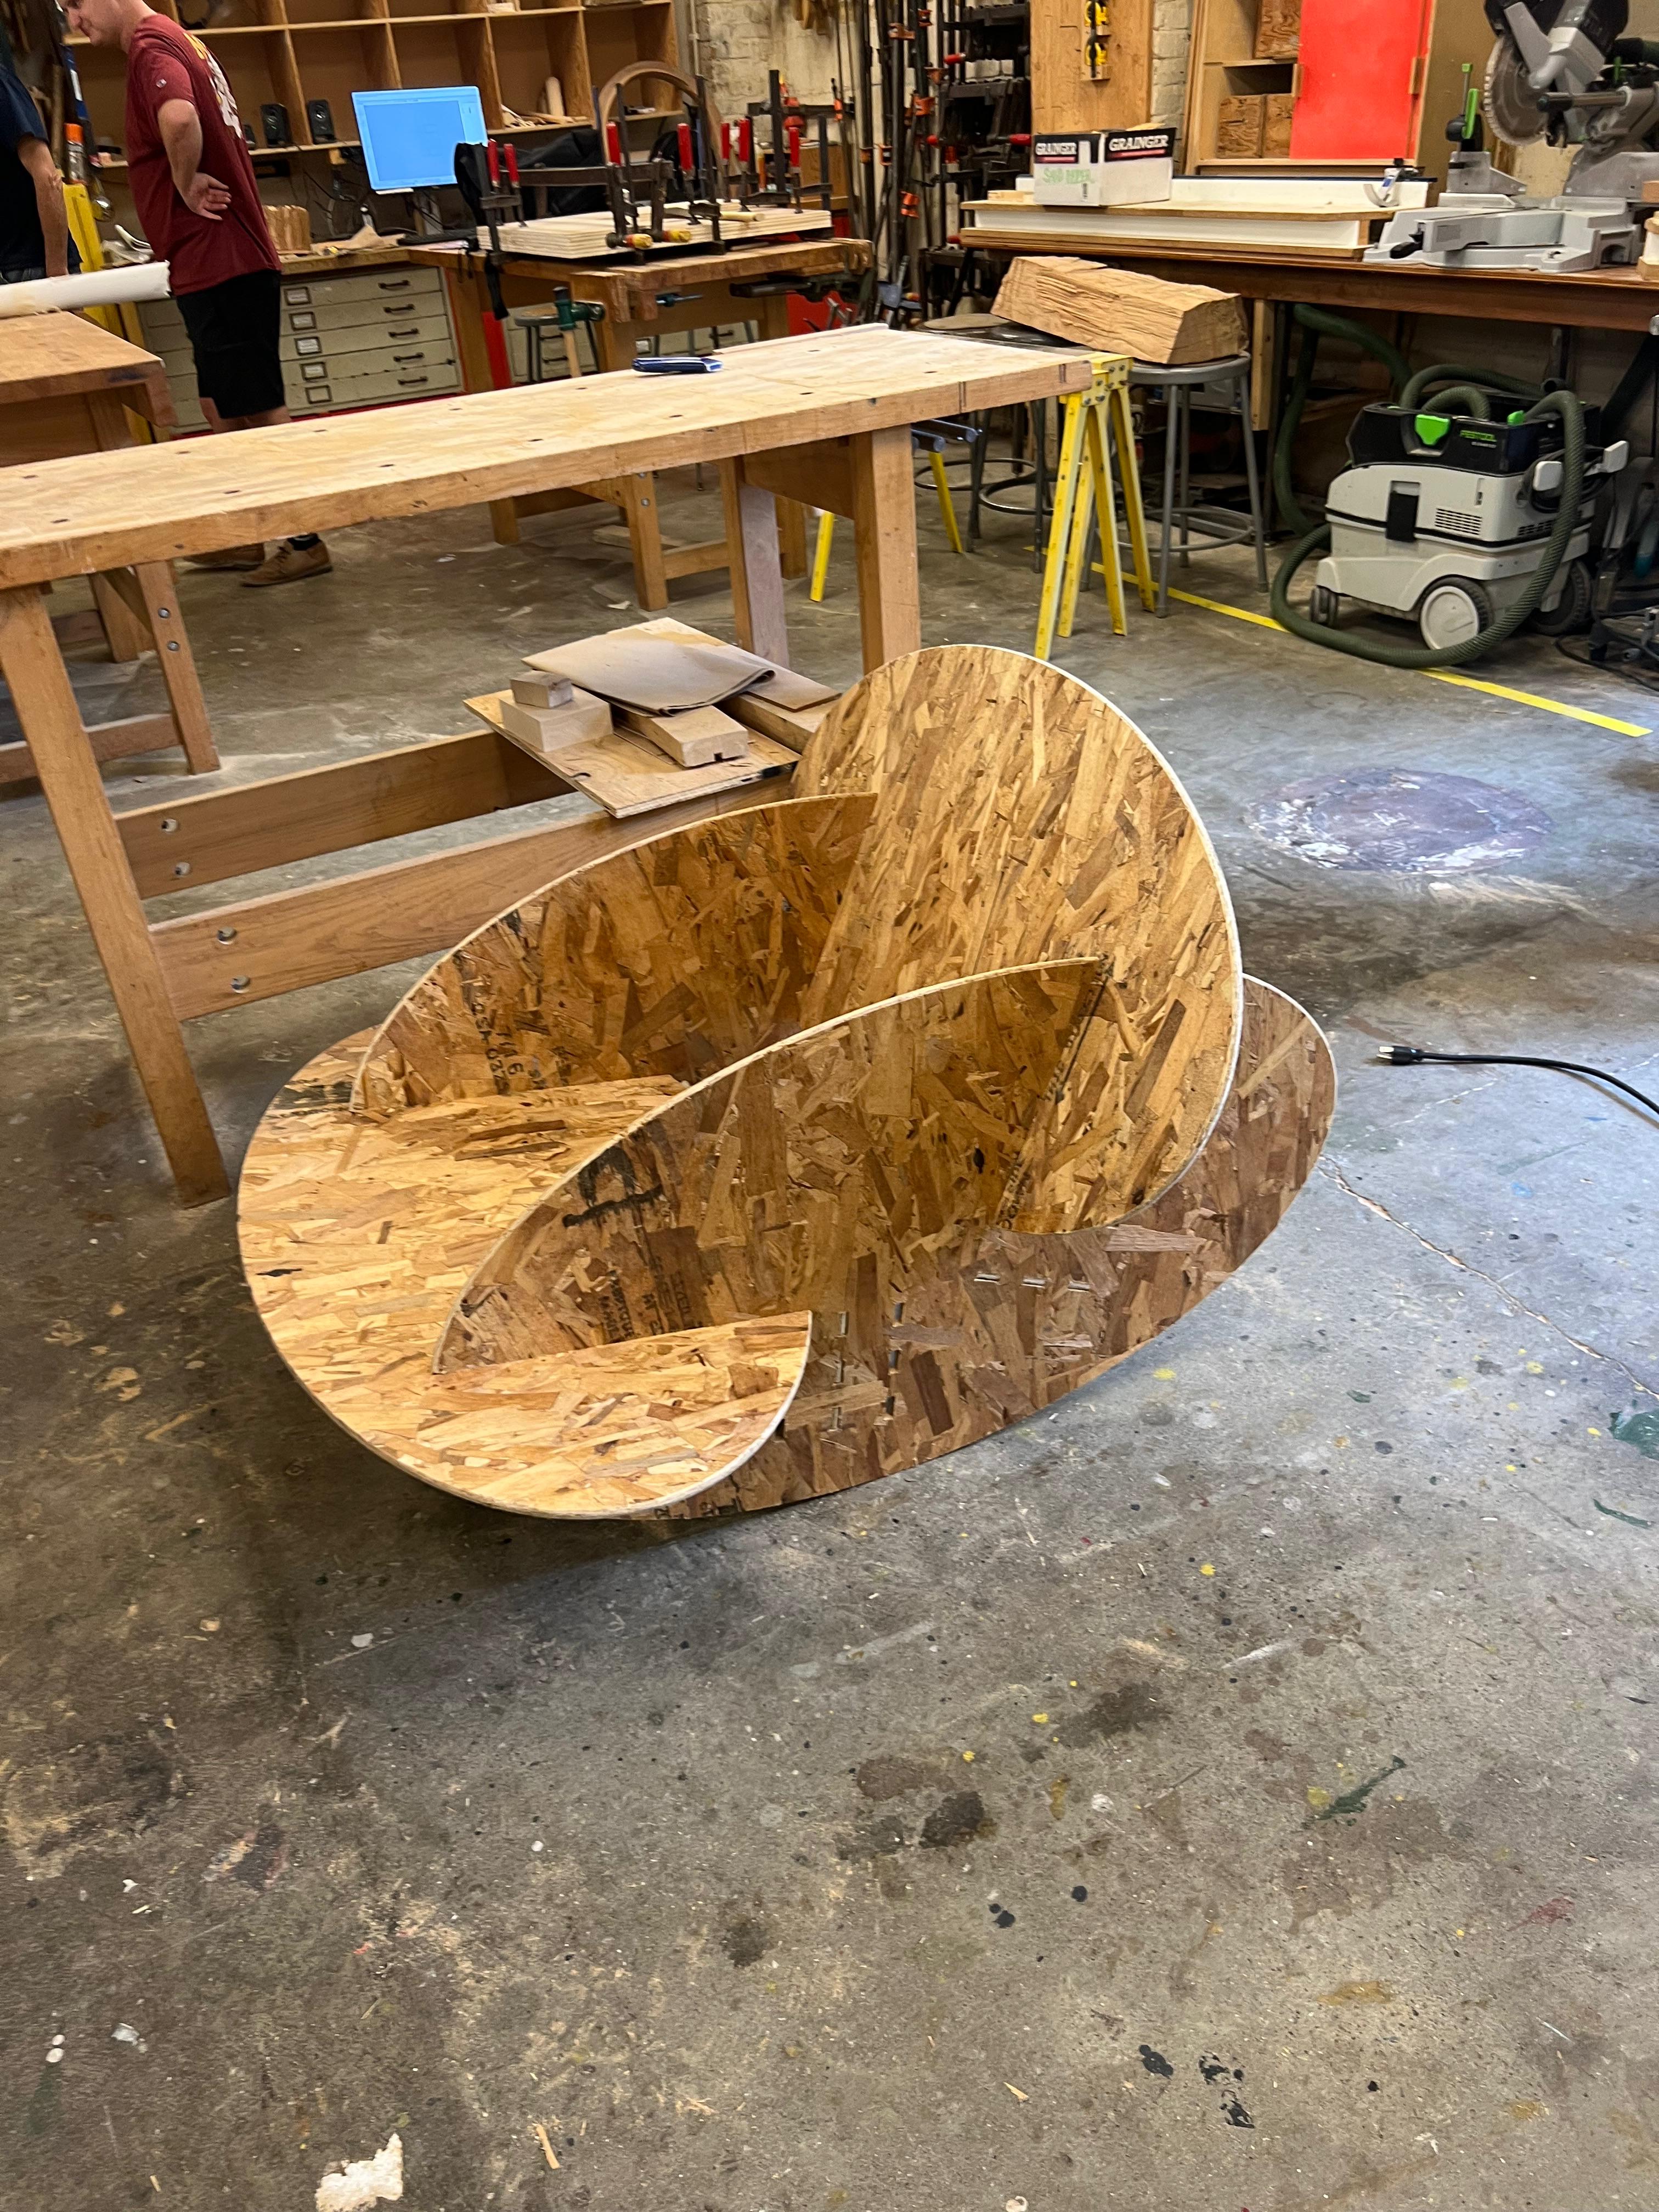
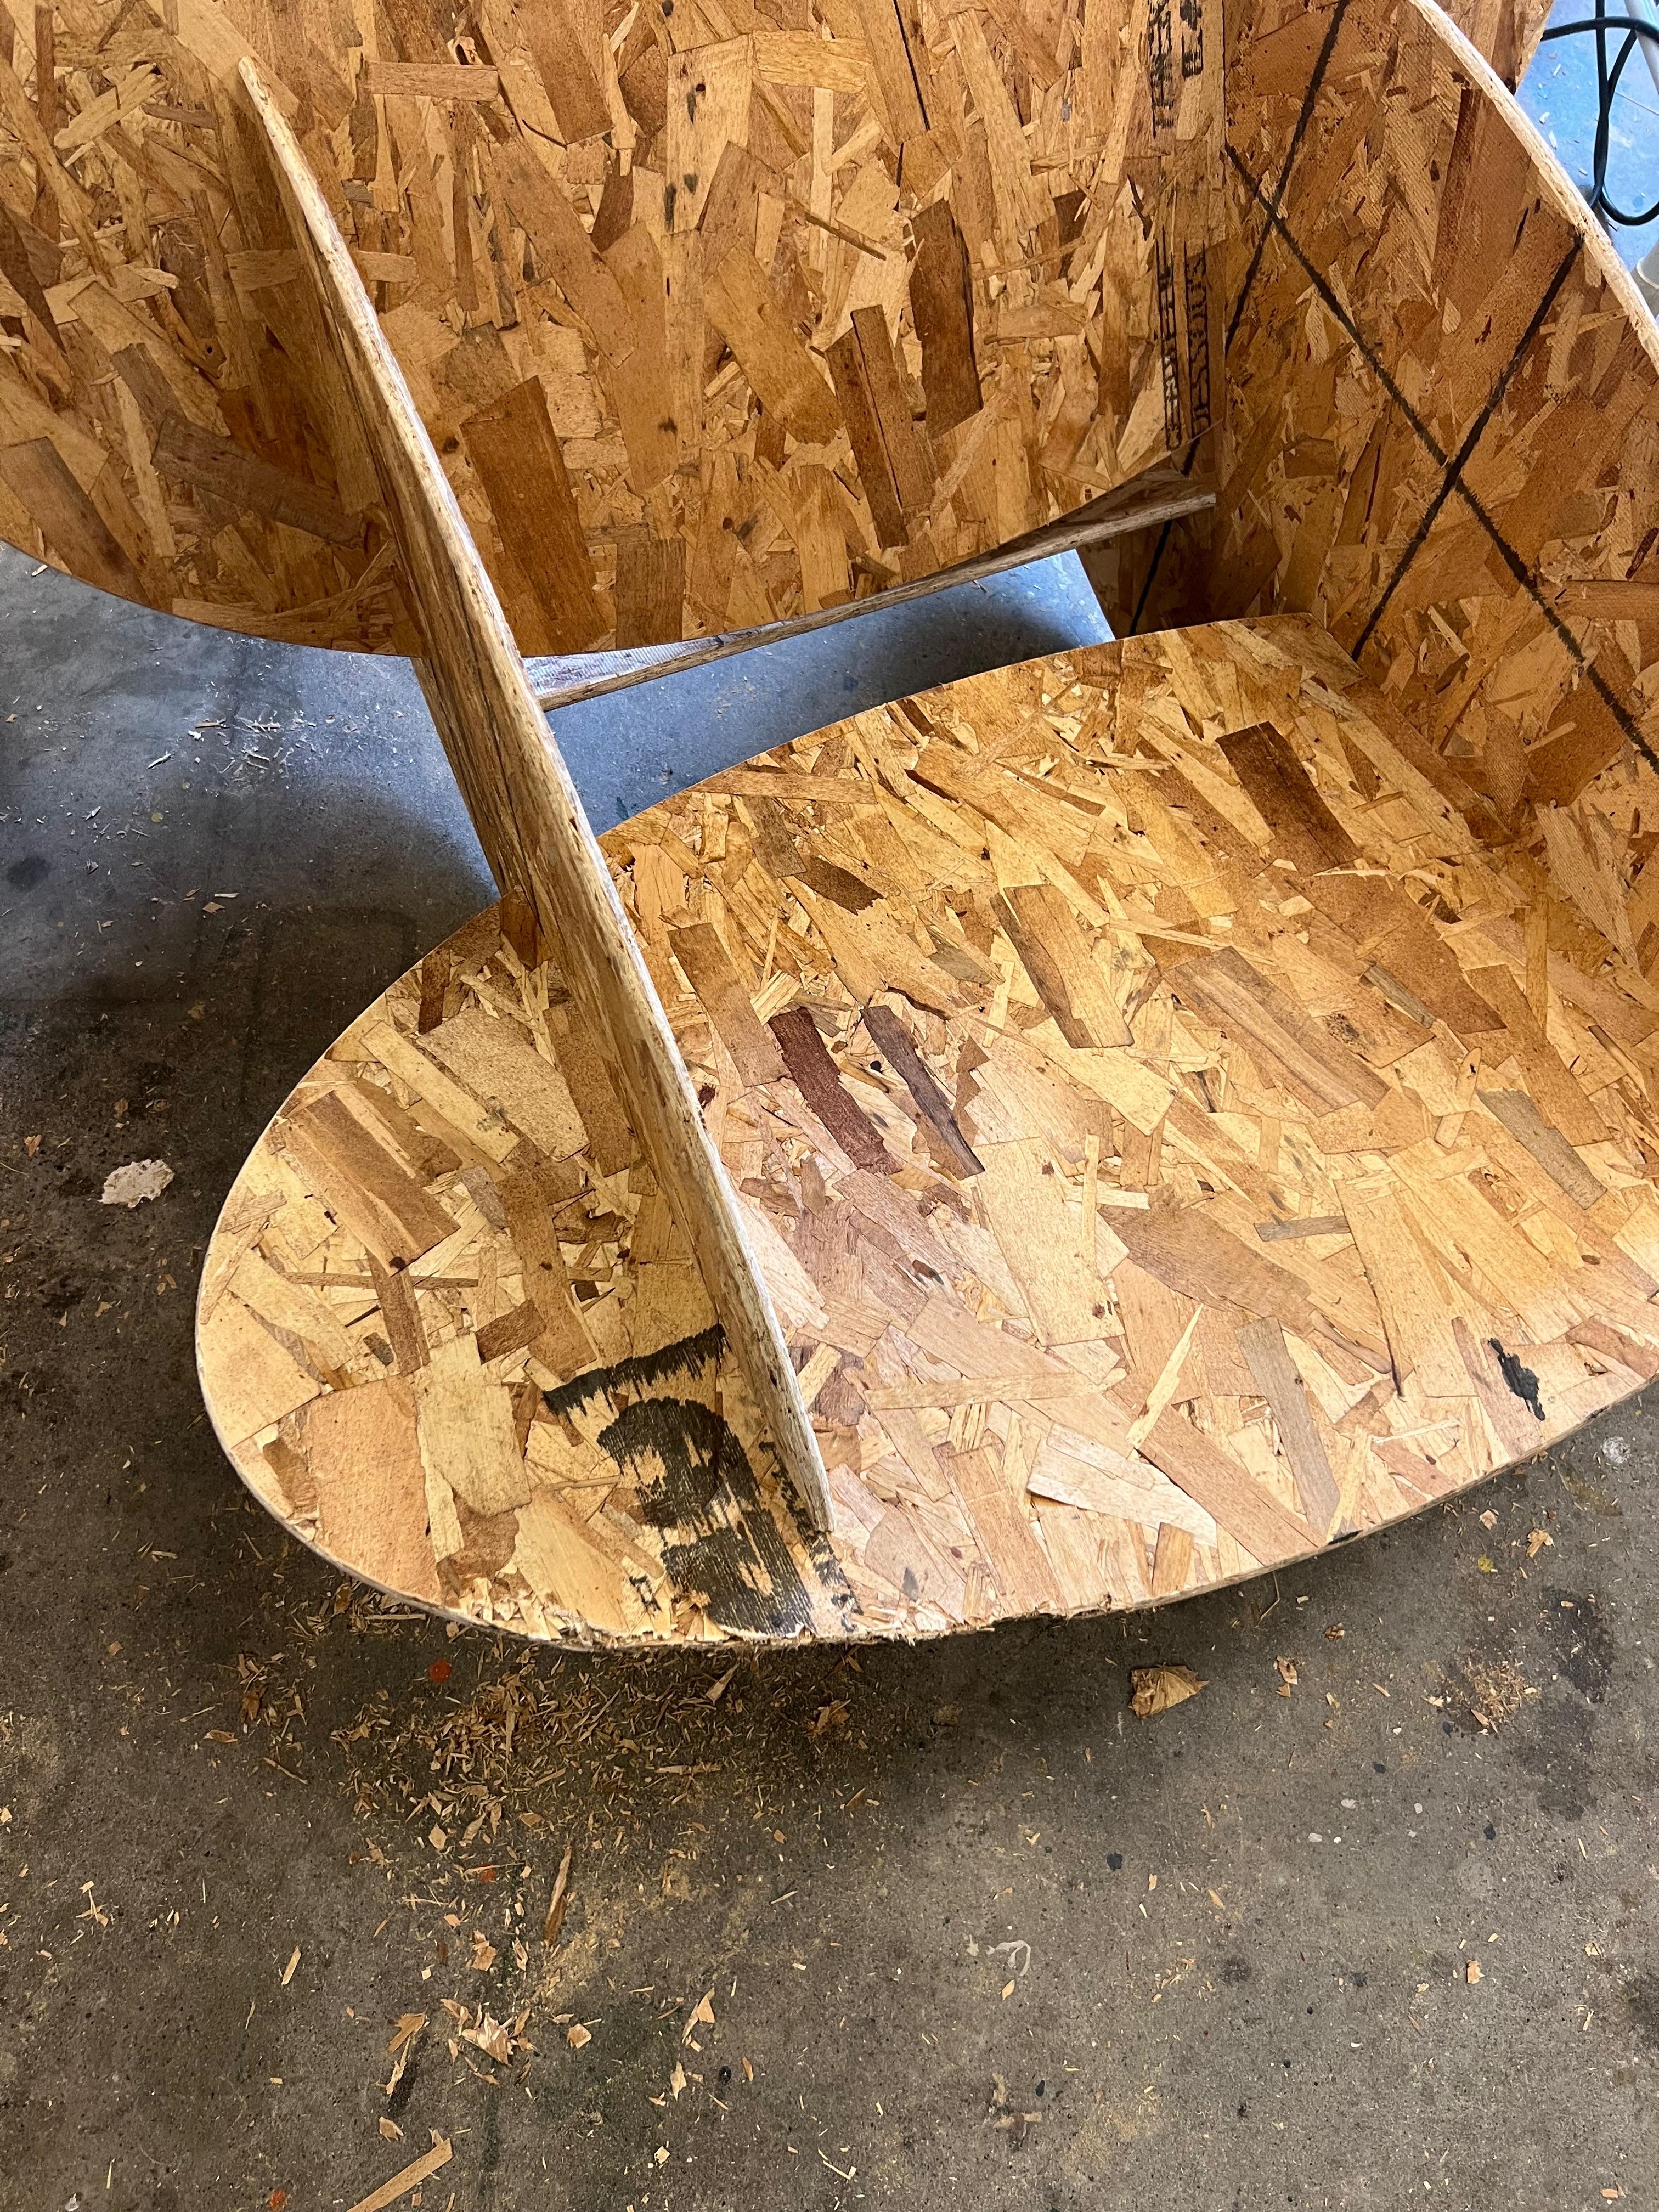
Assembly Step 1Assembly with Incorrect Slot Size
Here’s where problems began—the bottom piece didn’t fit properly.
I realized I had parametrized one of the slots incorrectly, making it too small.
The chair rocked, but slightly off-balance.
Rocking on the First Chair
With some help from Gert and Chris, I tried fixing it using a hammer.
Unfortunately, OSB isn’t very sturdy—and this approach caused more damage than progress.
Destruction by Hammer
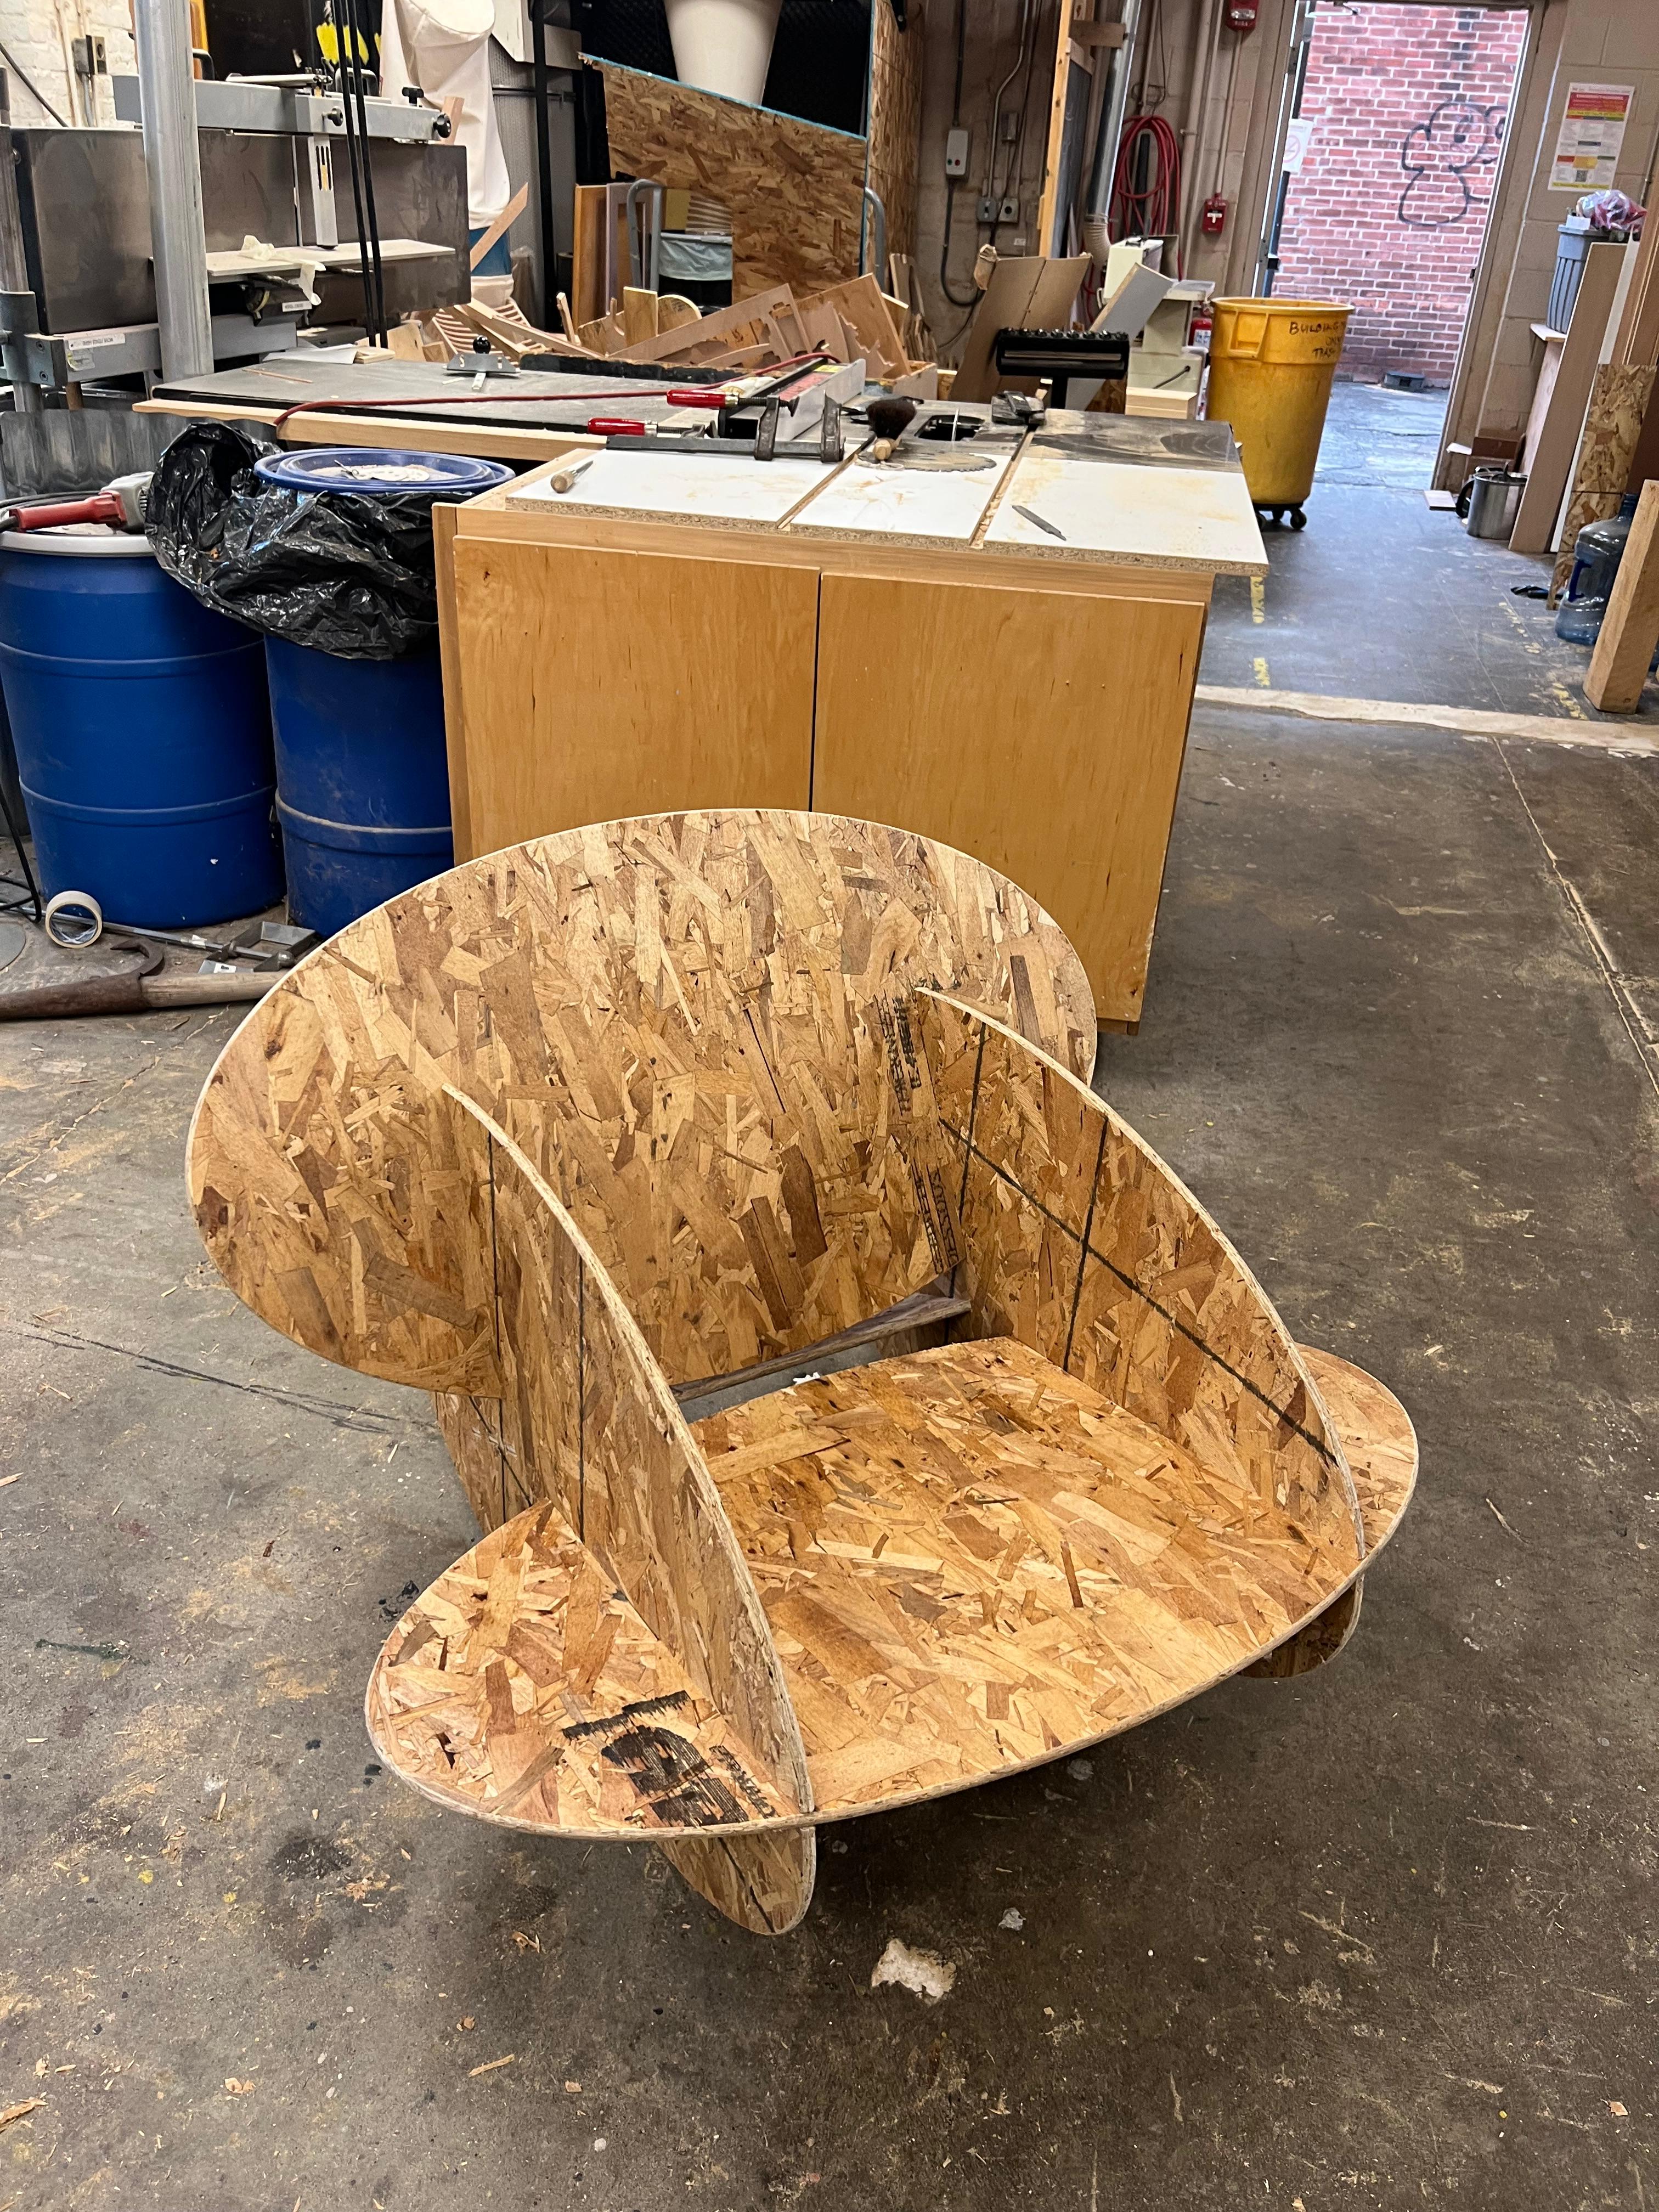
Eventually, we cut out the damaged part and milled a corrected replacement.
The new version worked perfectly!
Final Chair
Finishing Touches
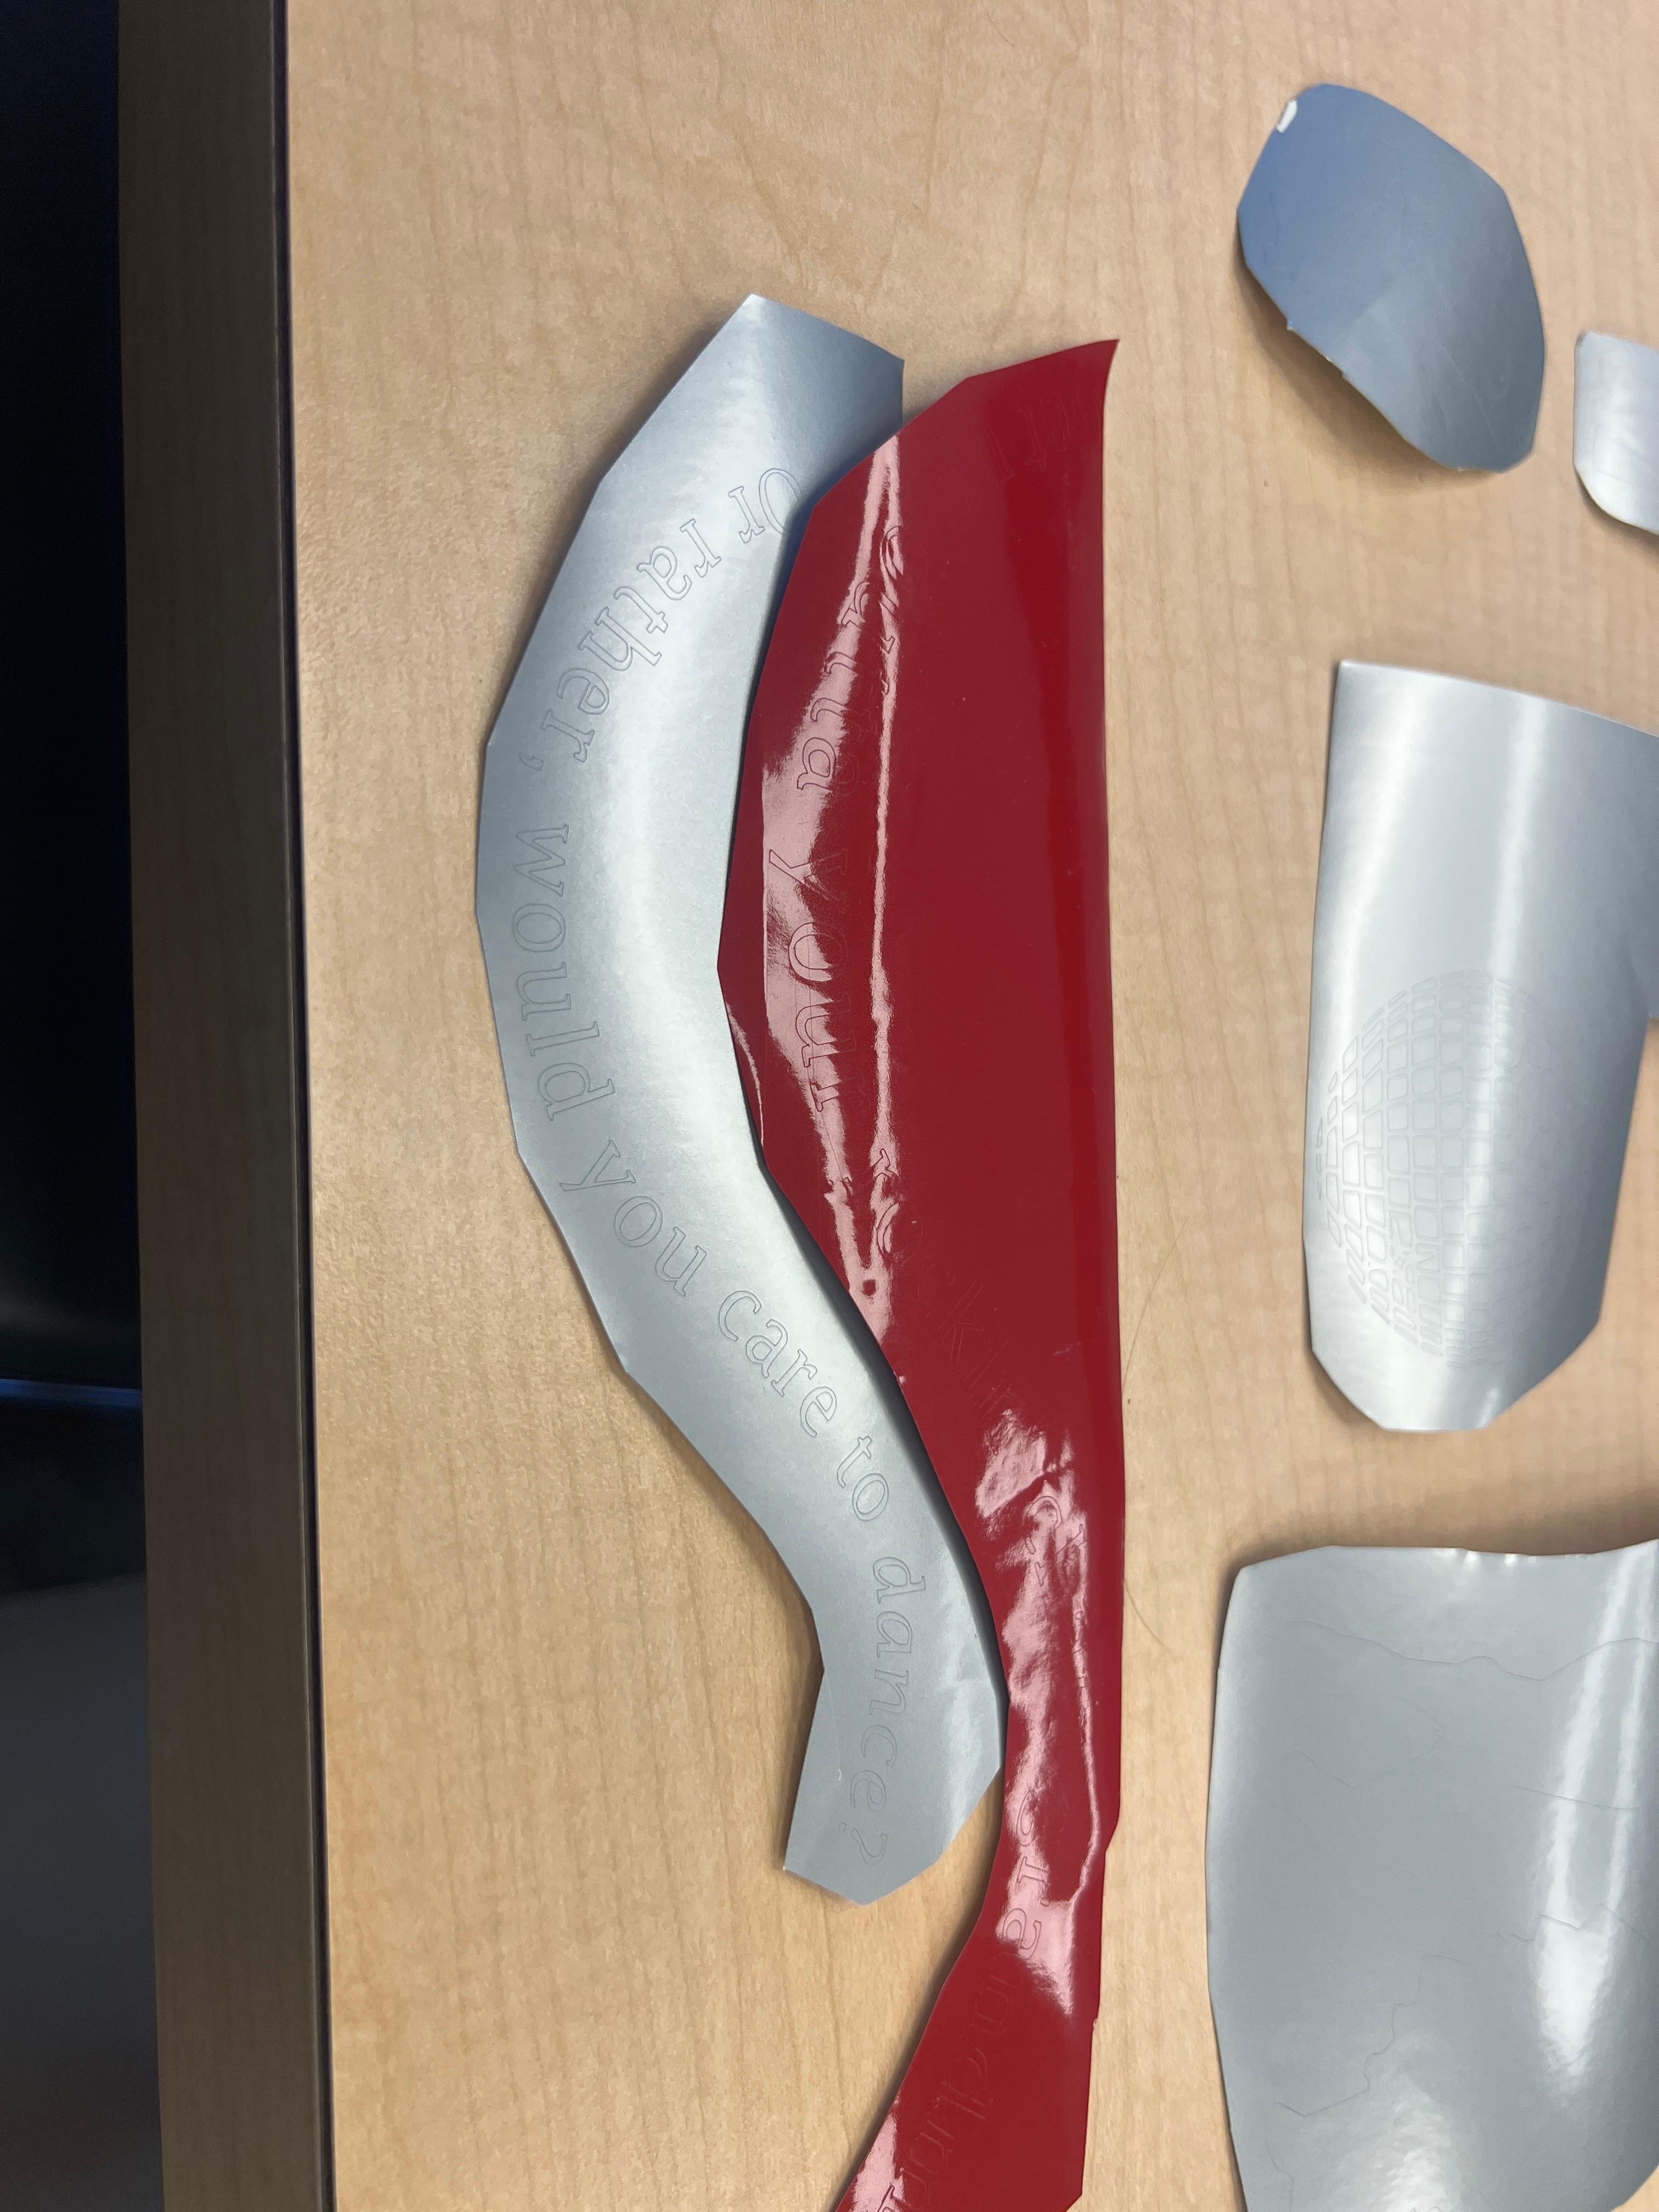
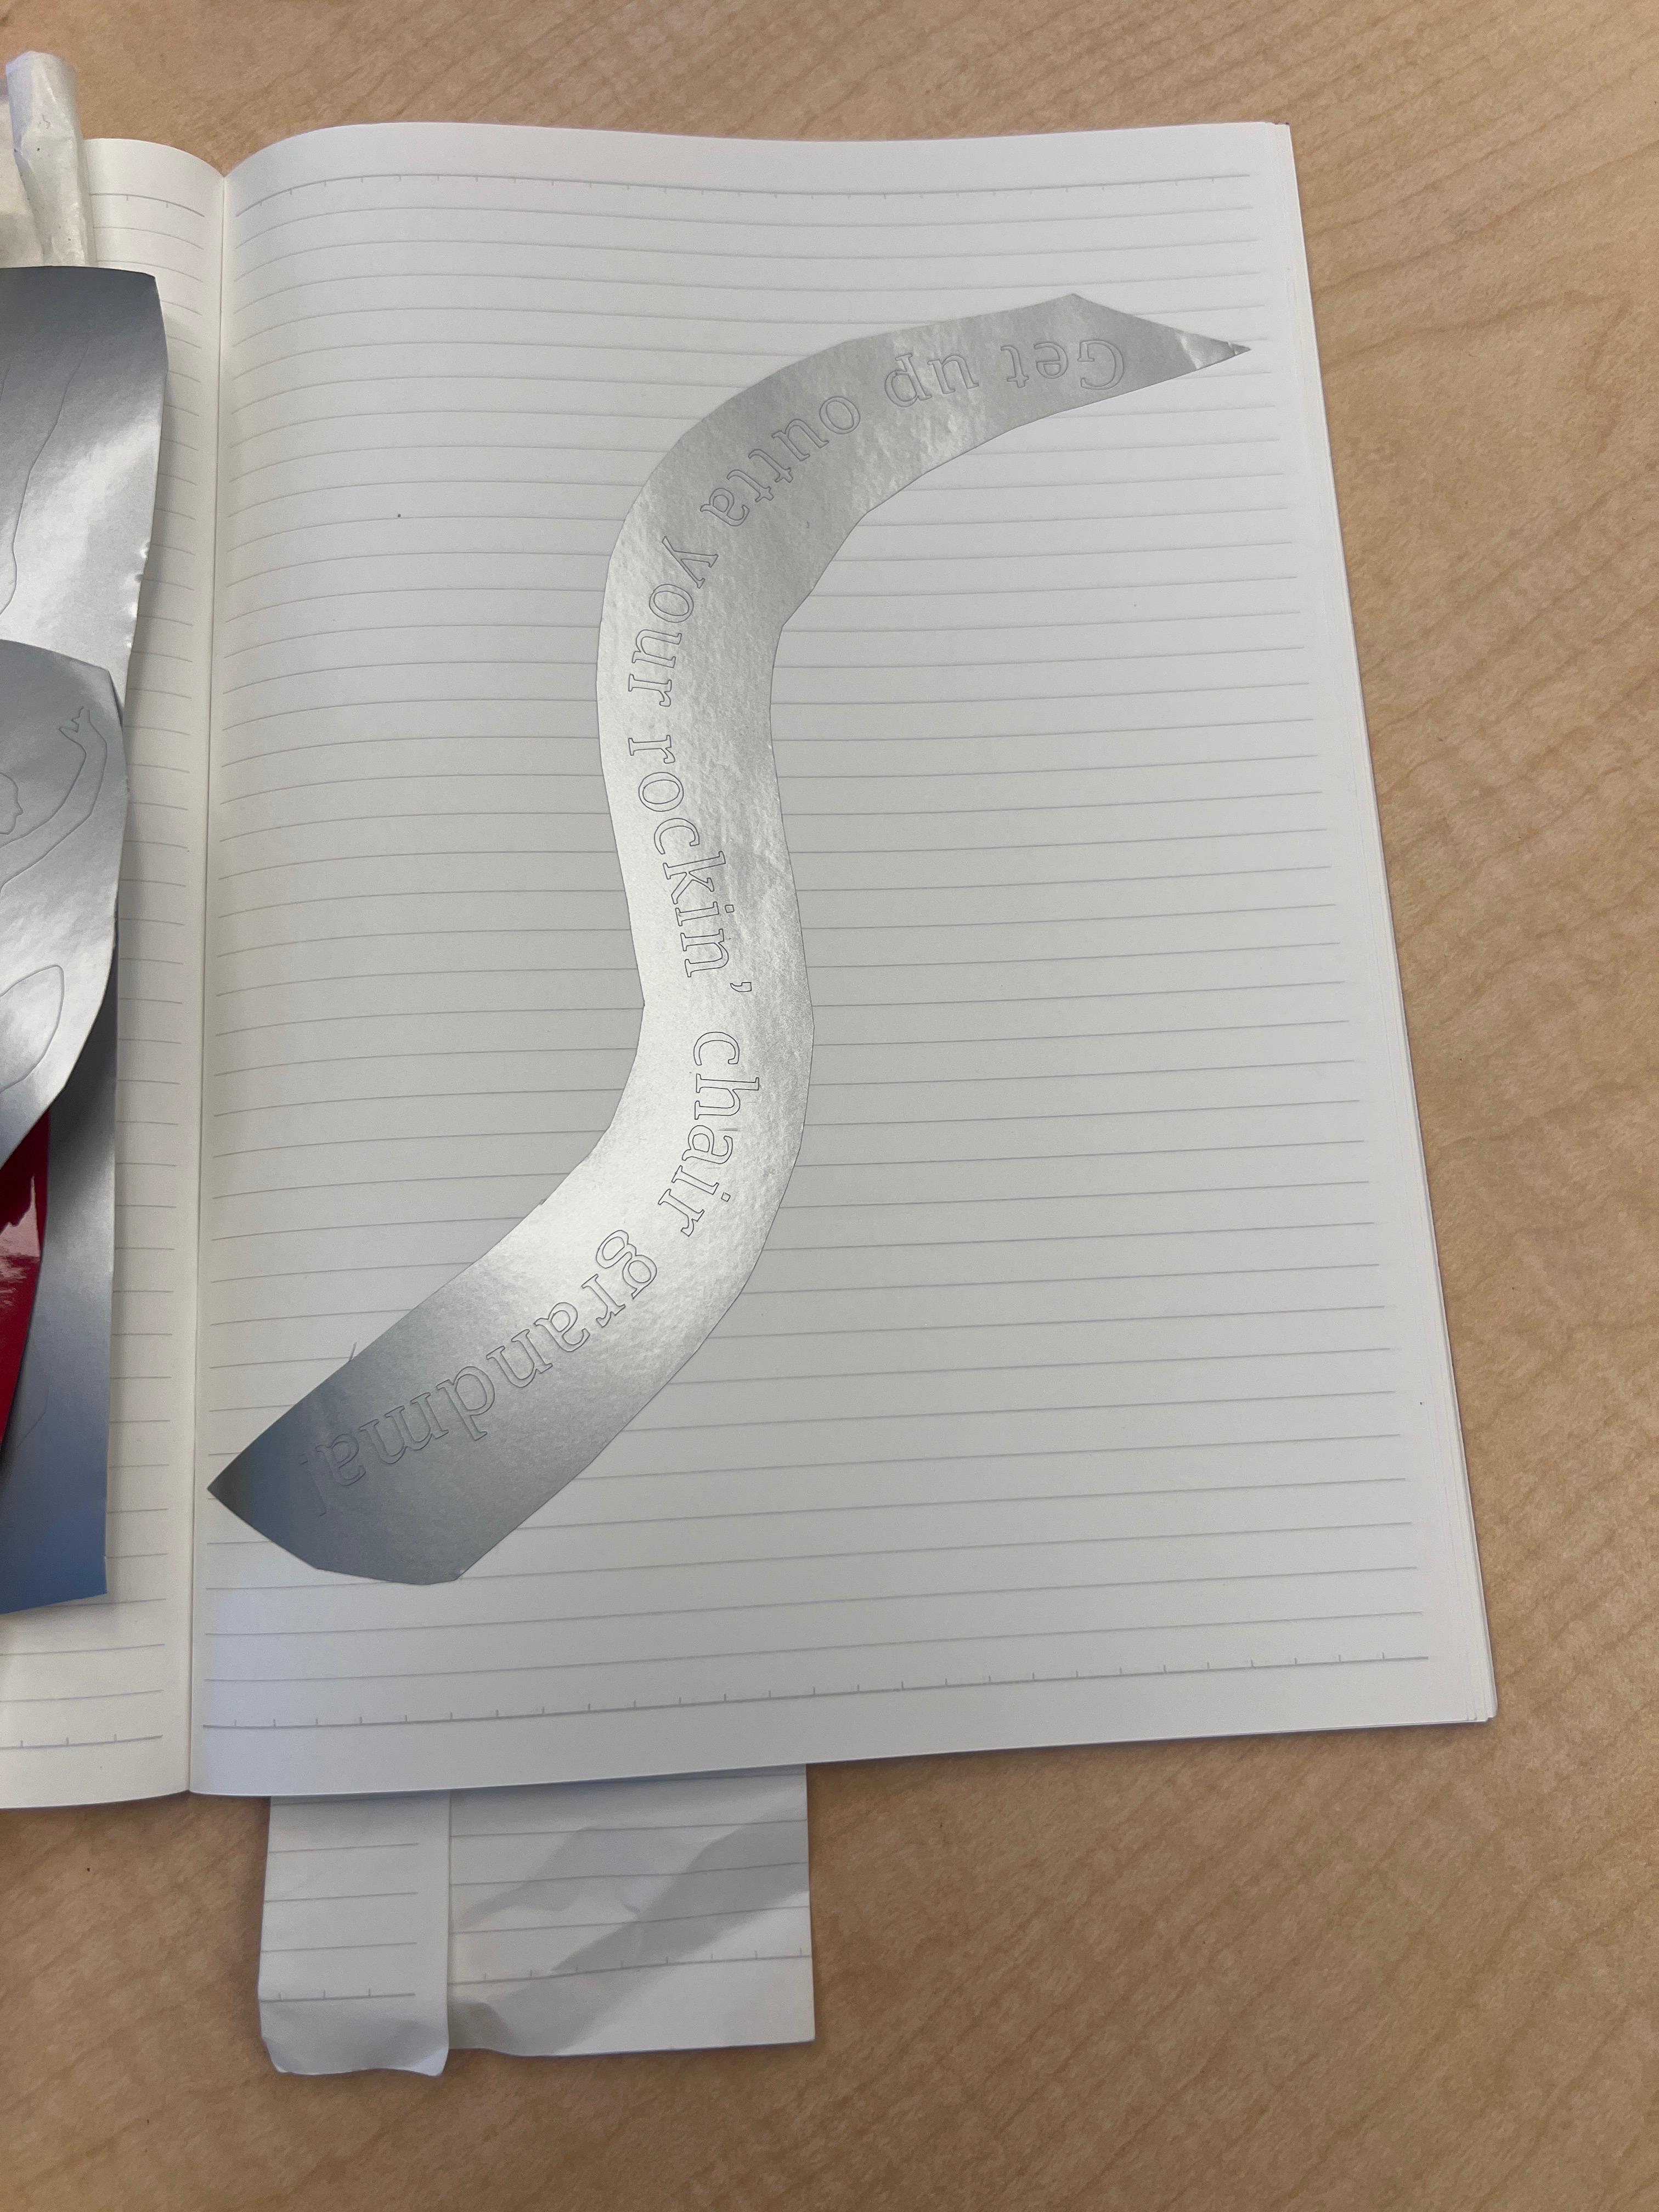
I wanted to personalize the chair by adding text inspired by my mom’s favorite song,
“Dance Little Sister” by Terence Trent D’Arby.
Unfortunately, I couldn’t get the laser cutter to cooperate, and the transfer paper didn’t work as expected.
Planned Sticker DesignFailed Transfer Paper Test
In the end, I decided to leave the chair as-is. It’s charming, imperfect, and comfortable—especially with pillows.