As part of the group assignment, we probed an input device by observing its
raw signal values in real time. Using the ESP32’s capacitive touch peripheral,
we monitored the analog touch counts via the Serial Monitor and compared idle
versus touched states.
This allowed us to see how a continuous analog signal is digitized by the
microcontroller into numeric readings, and how noise, grounding, and geometry
affect signal stability.
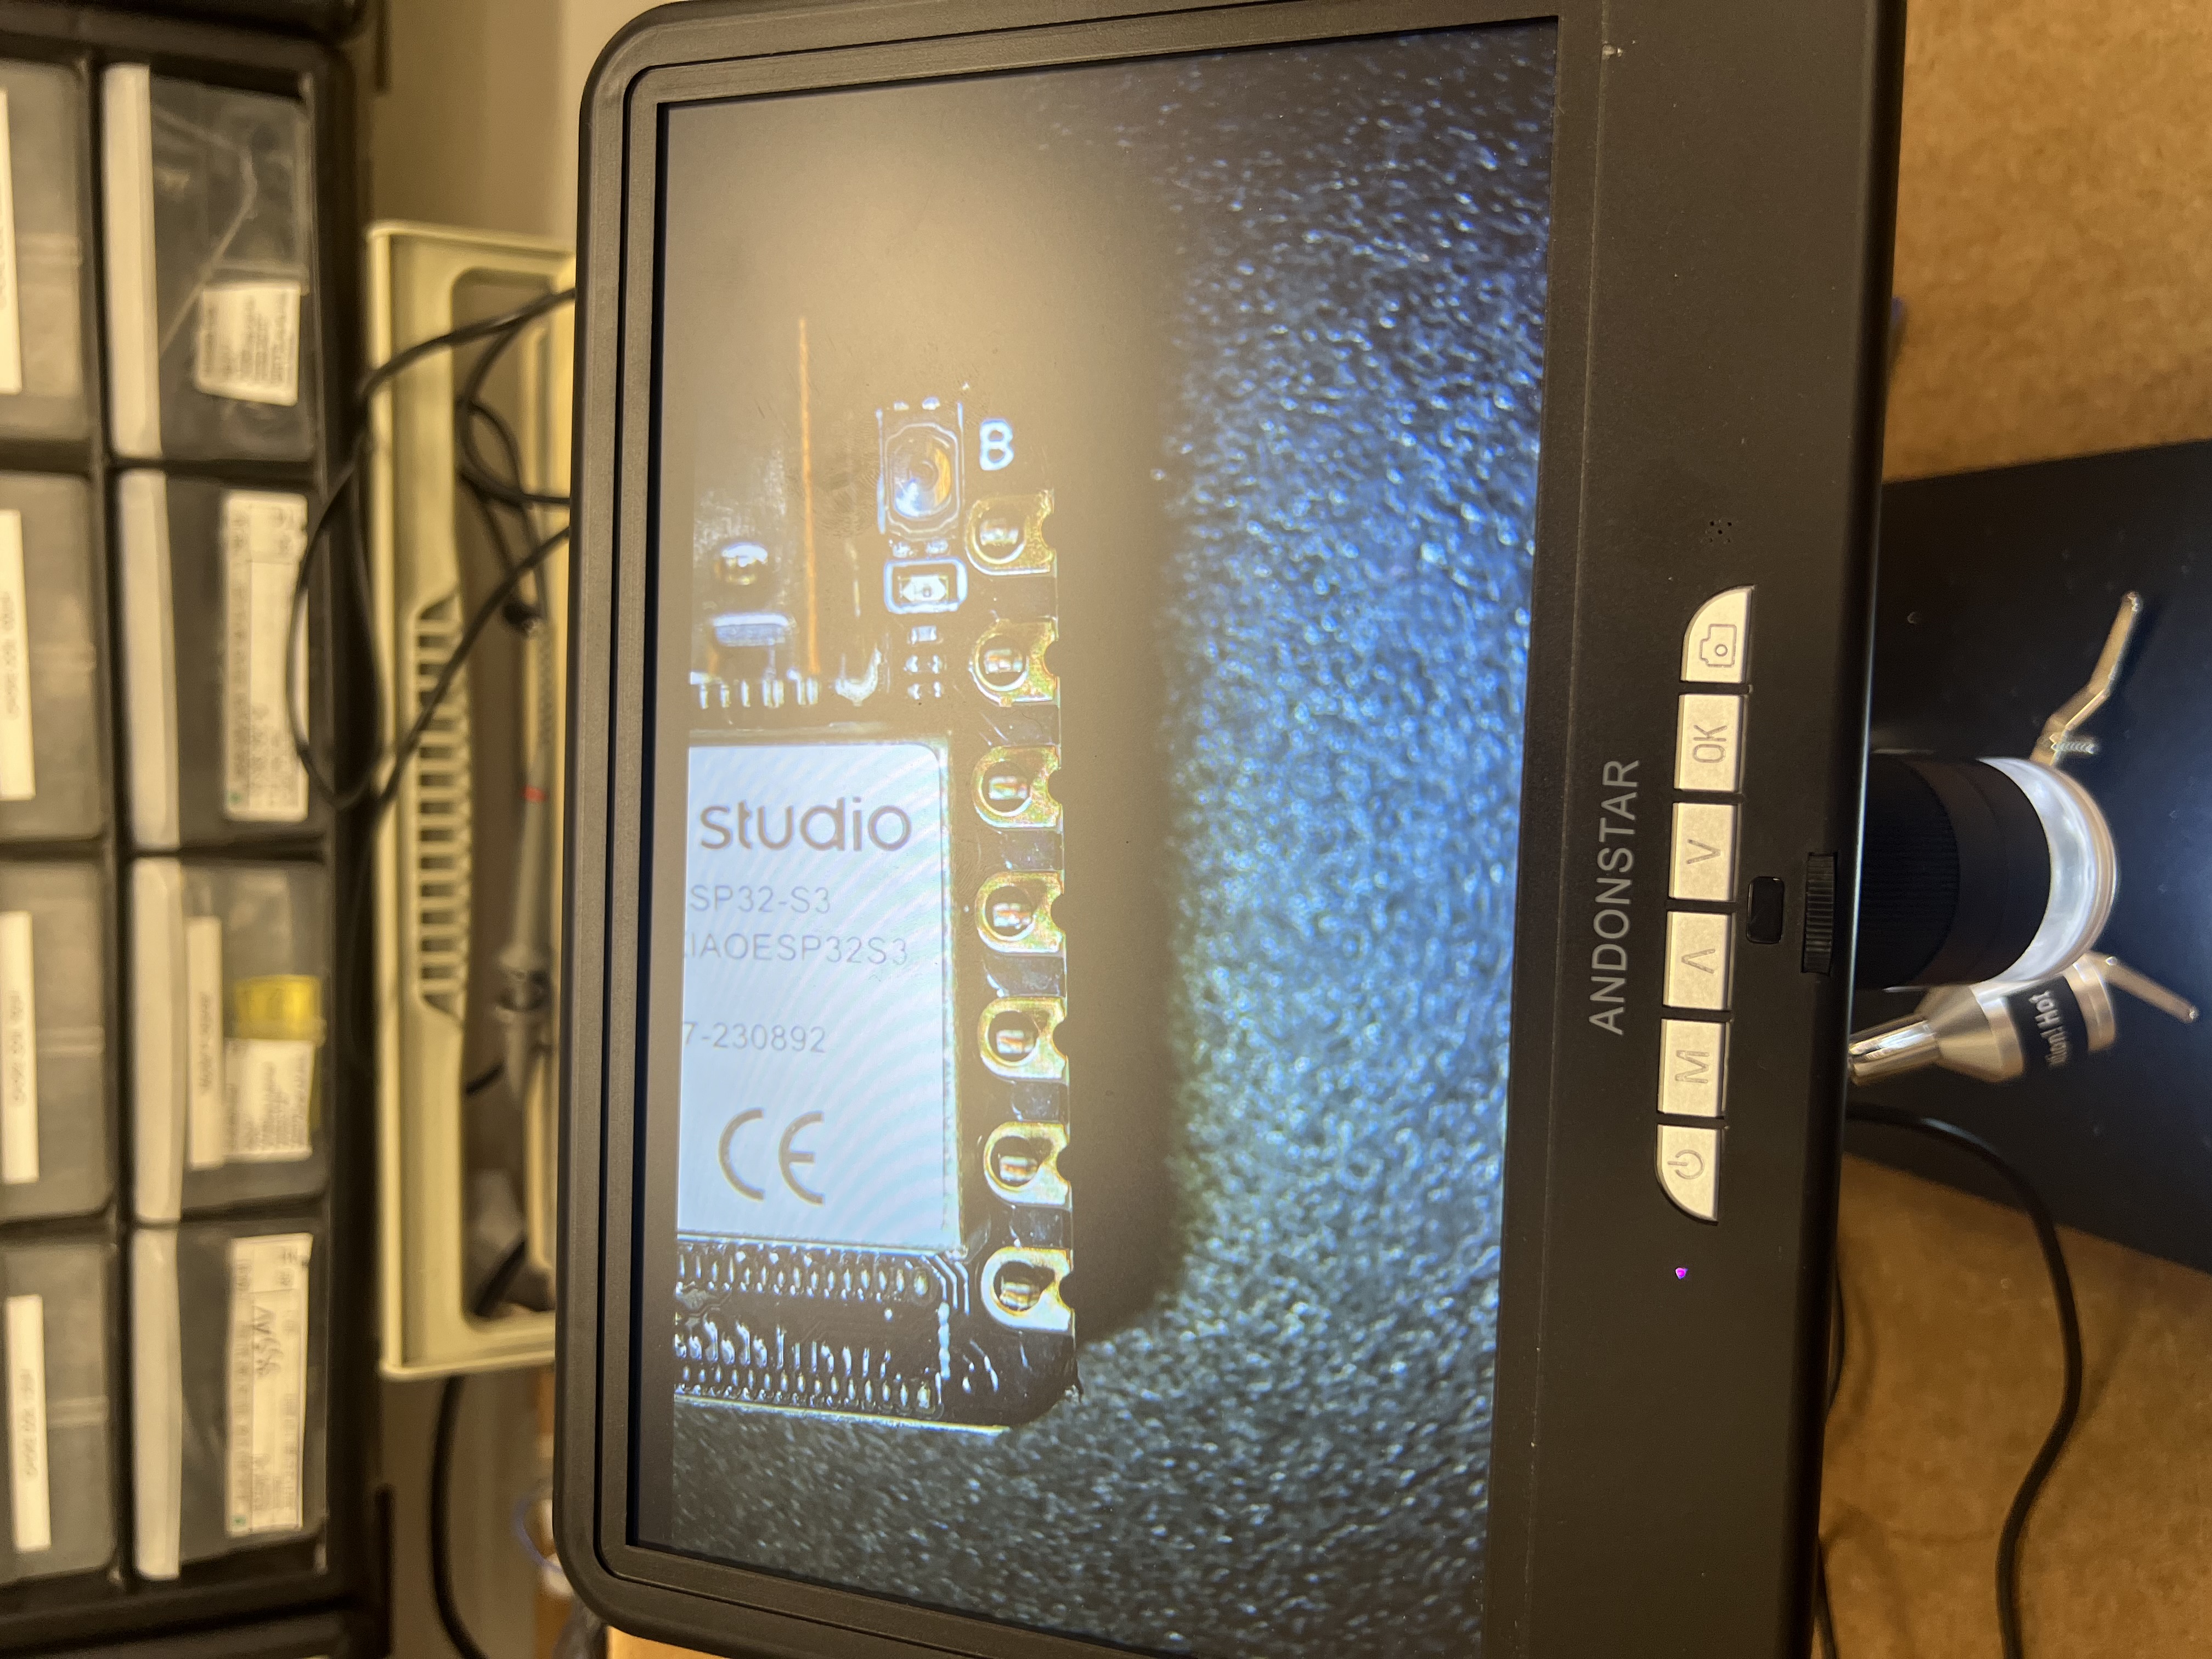
The brief this week was to measure something—add an input to a microcontroller board I designed and read it.
I turned my custom XIAO ESP32-S3 board into a tactile instrument by using two copper pads as
capacitive touch sensors.
The goal was an input that feels delightful and works reliably as a button for the earphone product we are continuously working towards.
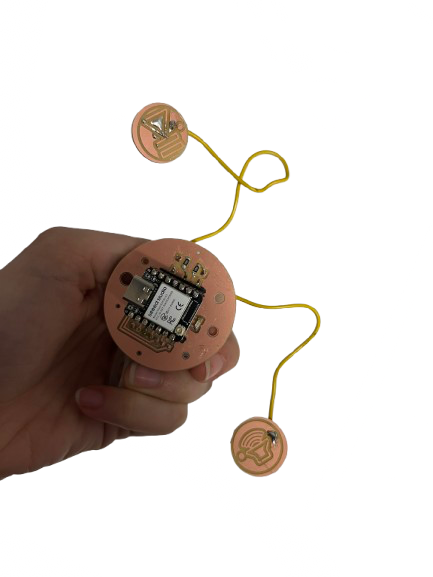
Week 8 device in context: off-board copper touch pads you can actually wear / play with.
Starting Point: Week 6 Board
I reused my Week 6 board (XIAO ESP32-S3 core, broken-out headers, clean ground reference).
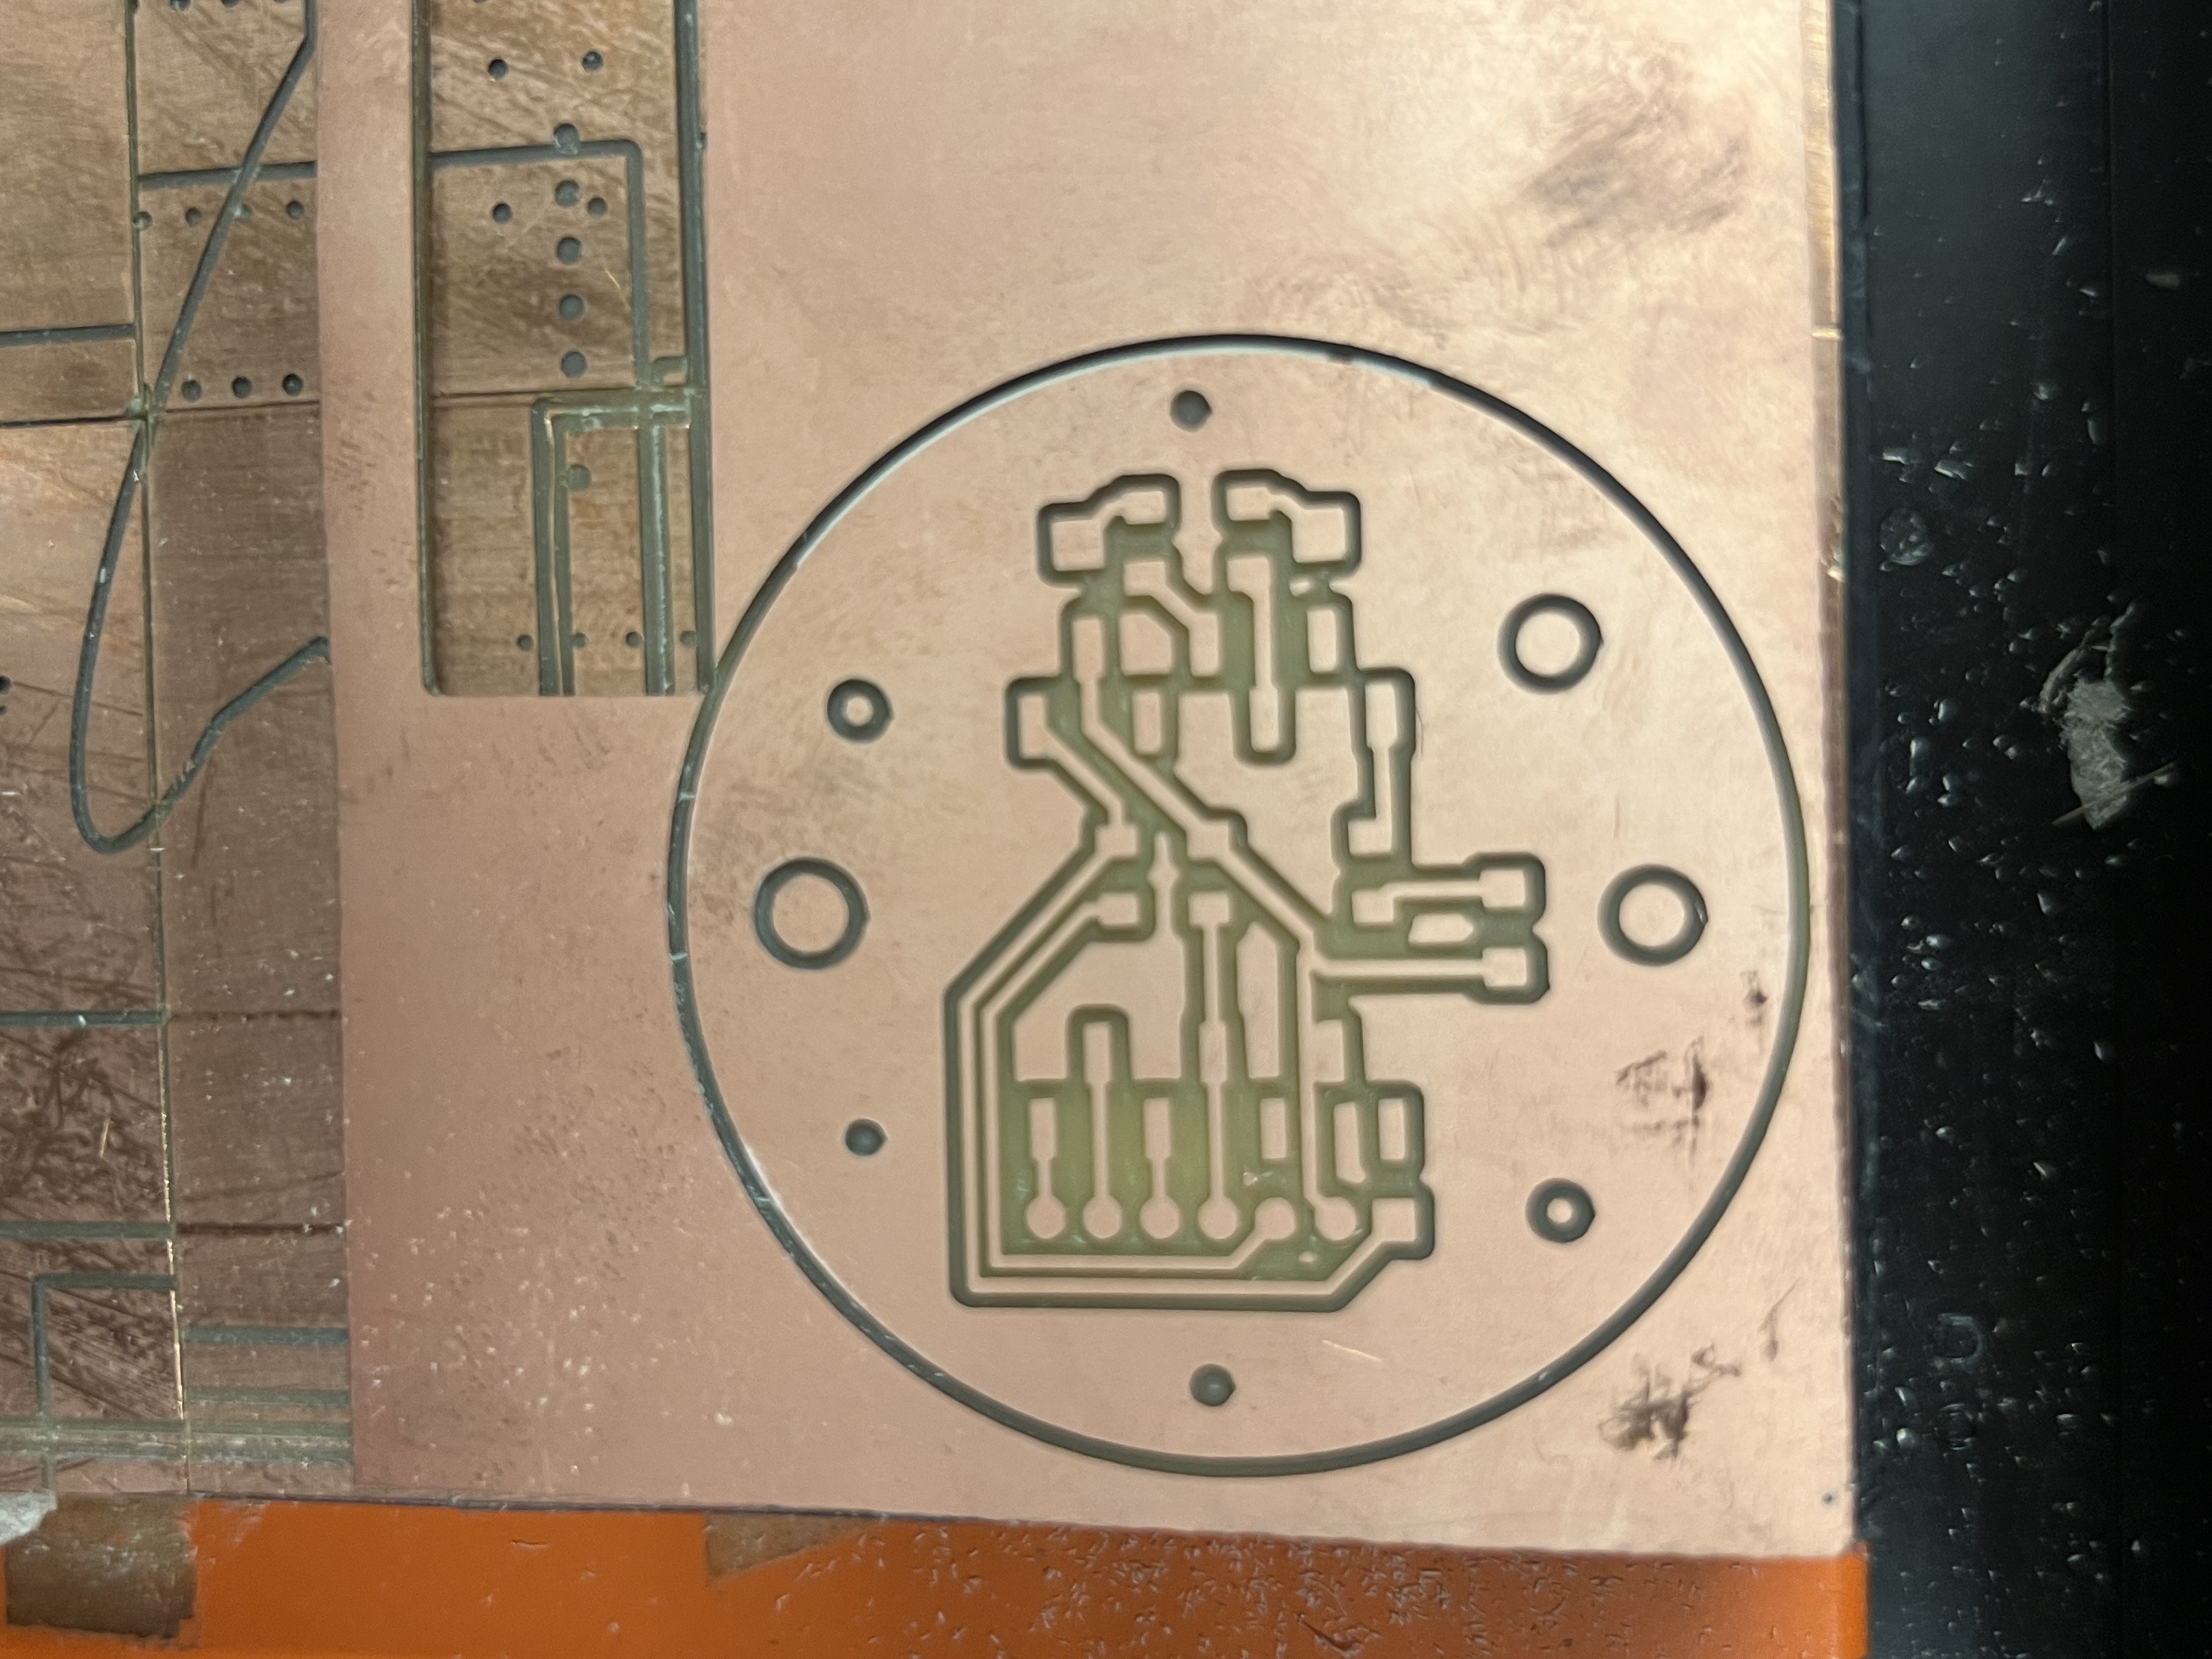
I ended up milling a new board with a round design, but the components and nets were identical.
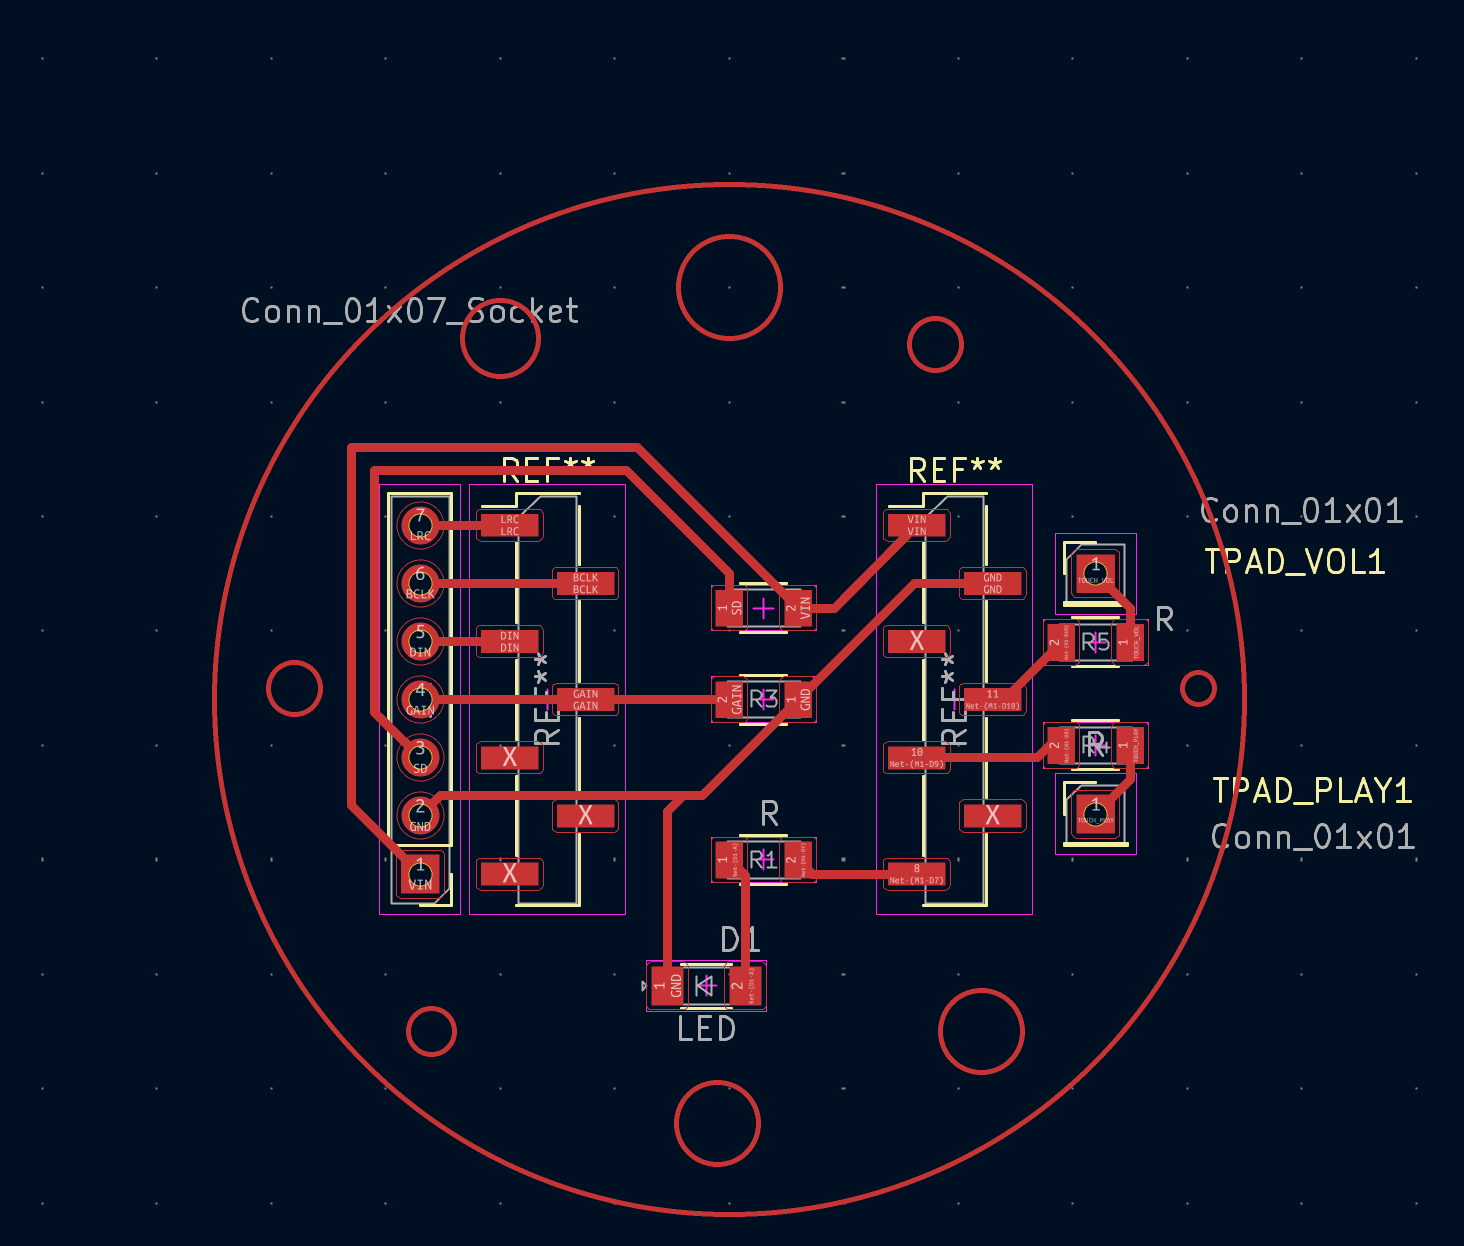
Two nets are reserved for touch sensing: TOUCH_PLAY and TOUCH_VOL.
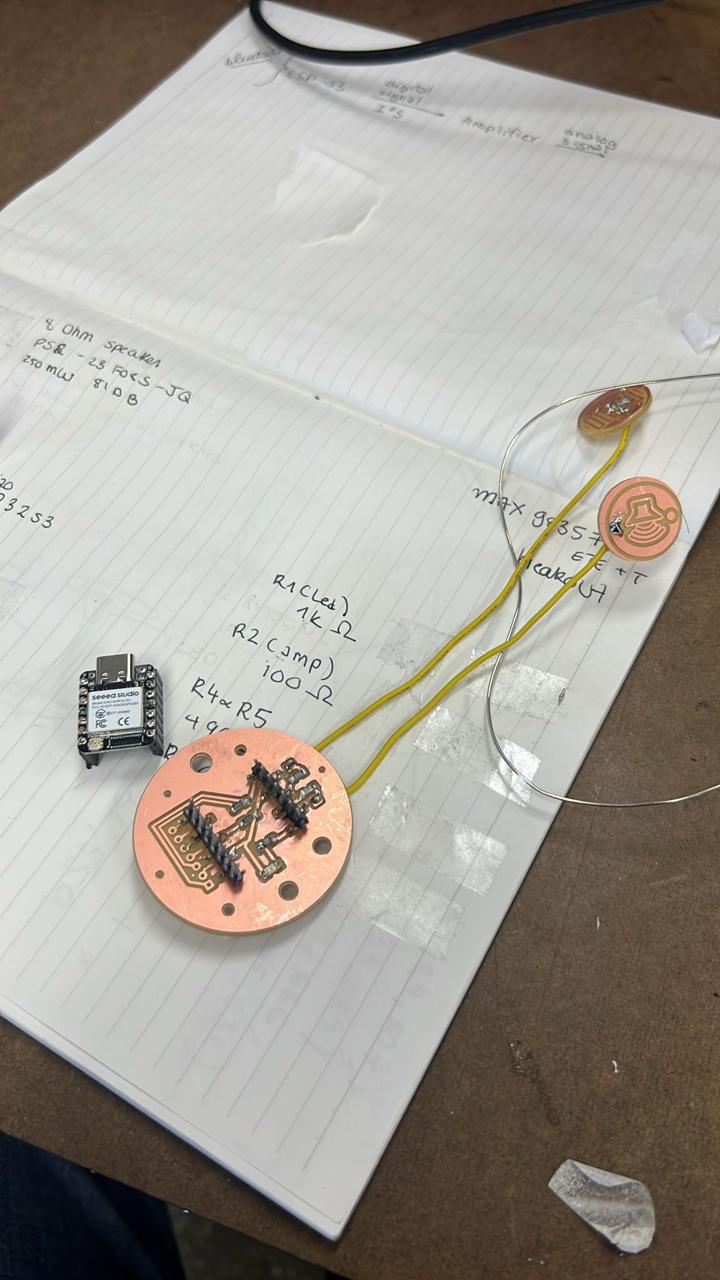
The assembled Week 6 style main board that I extended for capacitive input.
Pins: XIAO ESP32-S3 D9→GPIO8(TOUCH8) and D10→GPIO9(TOUCH9).
Form factor: detachable touch pads on tiny PCBs, wired back to the main board.
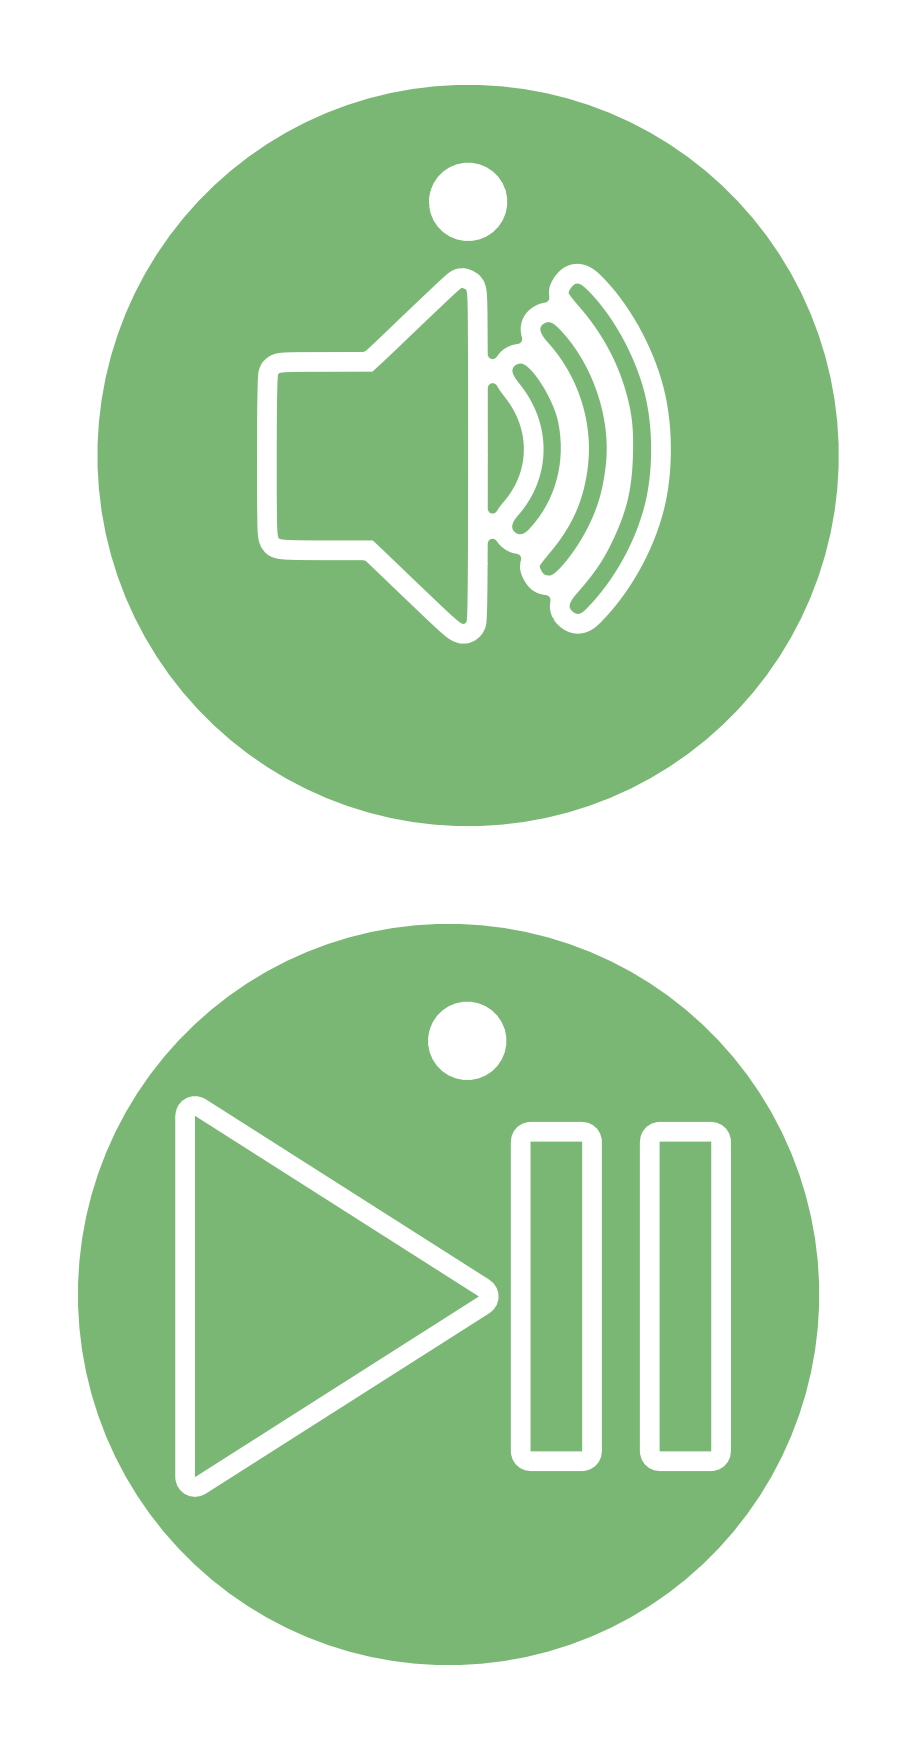
Artwork: “PLAY/PAUSE” and “VOL” icons imported as SVG; copper fill for the sensing surface.
Measurements: raw touchRead() values at idle vs touch; stability over time.
Base SVG artwork for the PLAY/PAUSE pad.Renders of the two separate pad PCBs: PLAY/PAUSE and VOLUME.Icon design for PLAY and VOLUME, sized for the copper pads.
Toolchain Setup
Last week I switched from a windows PC to a macbook so there was a bit of a learning curve in gettin gup and running again.
I cleaned and reinstalled the Arduino IDE, installed the official Espressif ESP32 core, and enabled USB-CDC so Serial works immediately on boot.
Board: ESP32S3 Dev Module
USB CDC On Boot: Enabled
Upload Mode: USB-CDC
Flash Size: 8 MB
Partition Scheme: Default 4MB with spiffs
Pro tip: picking a generic “ESP32 Family Device” hid CDC options and broke Serial. Installing the Espressif core fixed it.
First Contact (Serial)
Sanity check: a tiny heartbeat to confirm the board and IDE are speaking the same language.
I started on the wrong pins (GPIO 4/5) and got the ESP32 sentinel 4194303 (= 2²²−1), which means “not a touch pin.”
Remapping to GPIO 8 (TOUCH8) and GPIO 9 (TOUCH9) fixed it instantly.
Typical readings on my setup:
idle ~70–90, touched ~30–40 (exact values vary with copper area, wiring, humidity, and grounding).
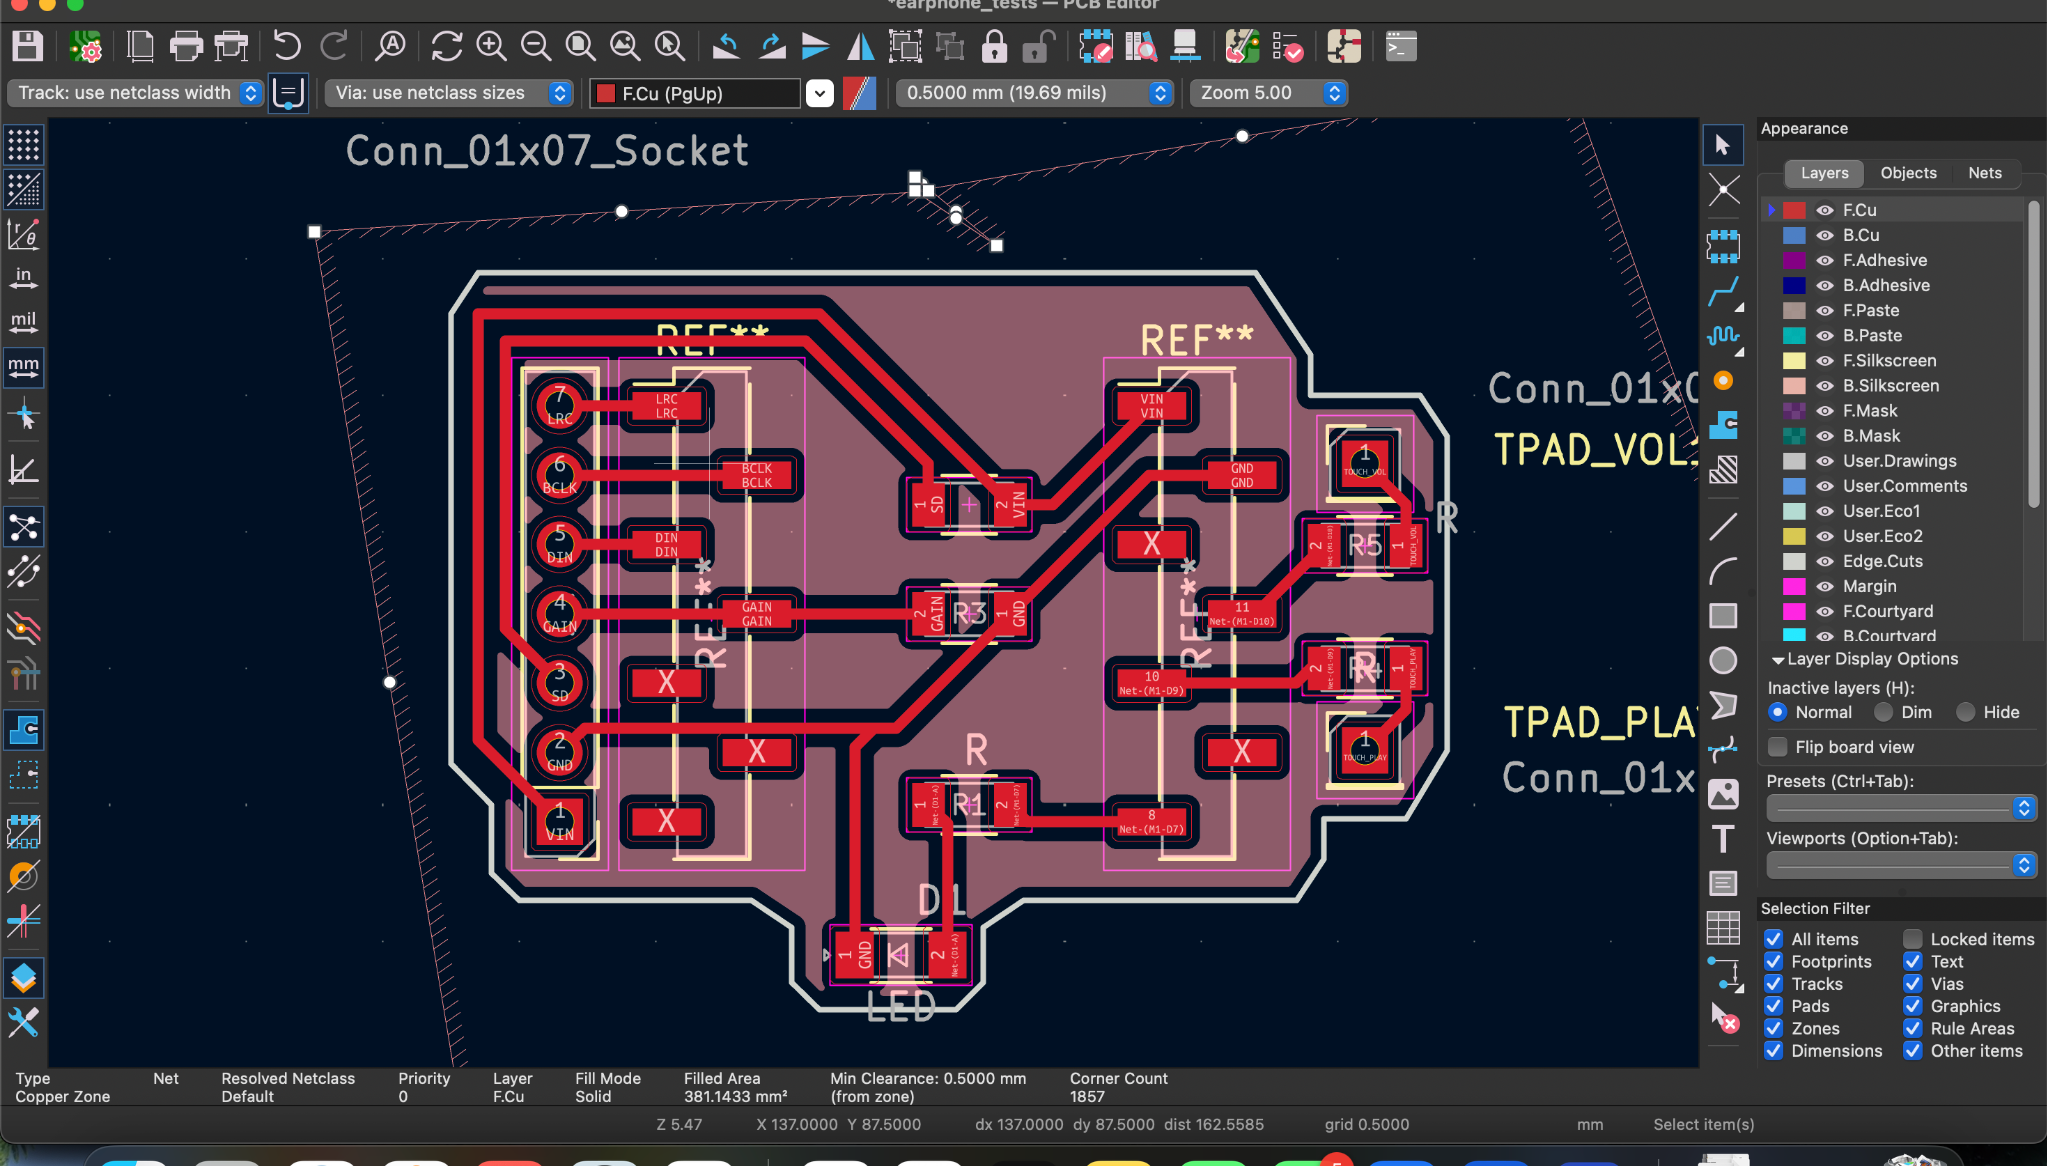
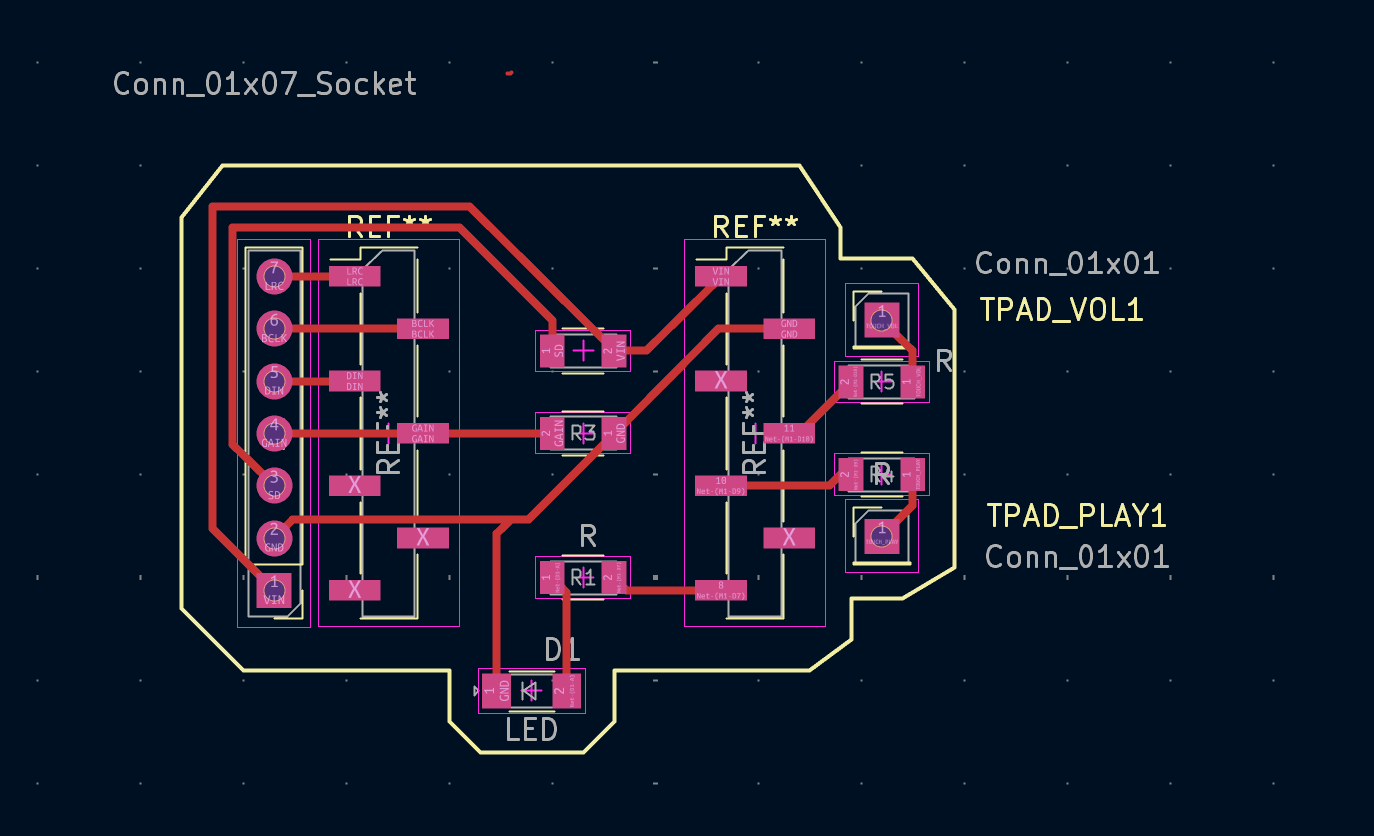
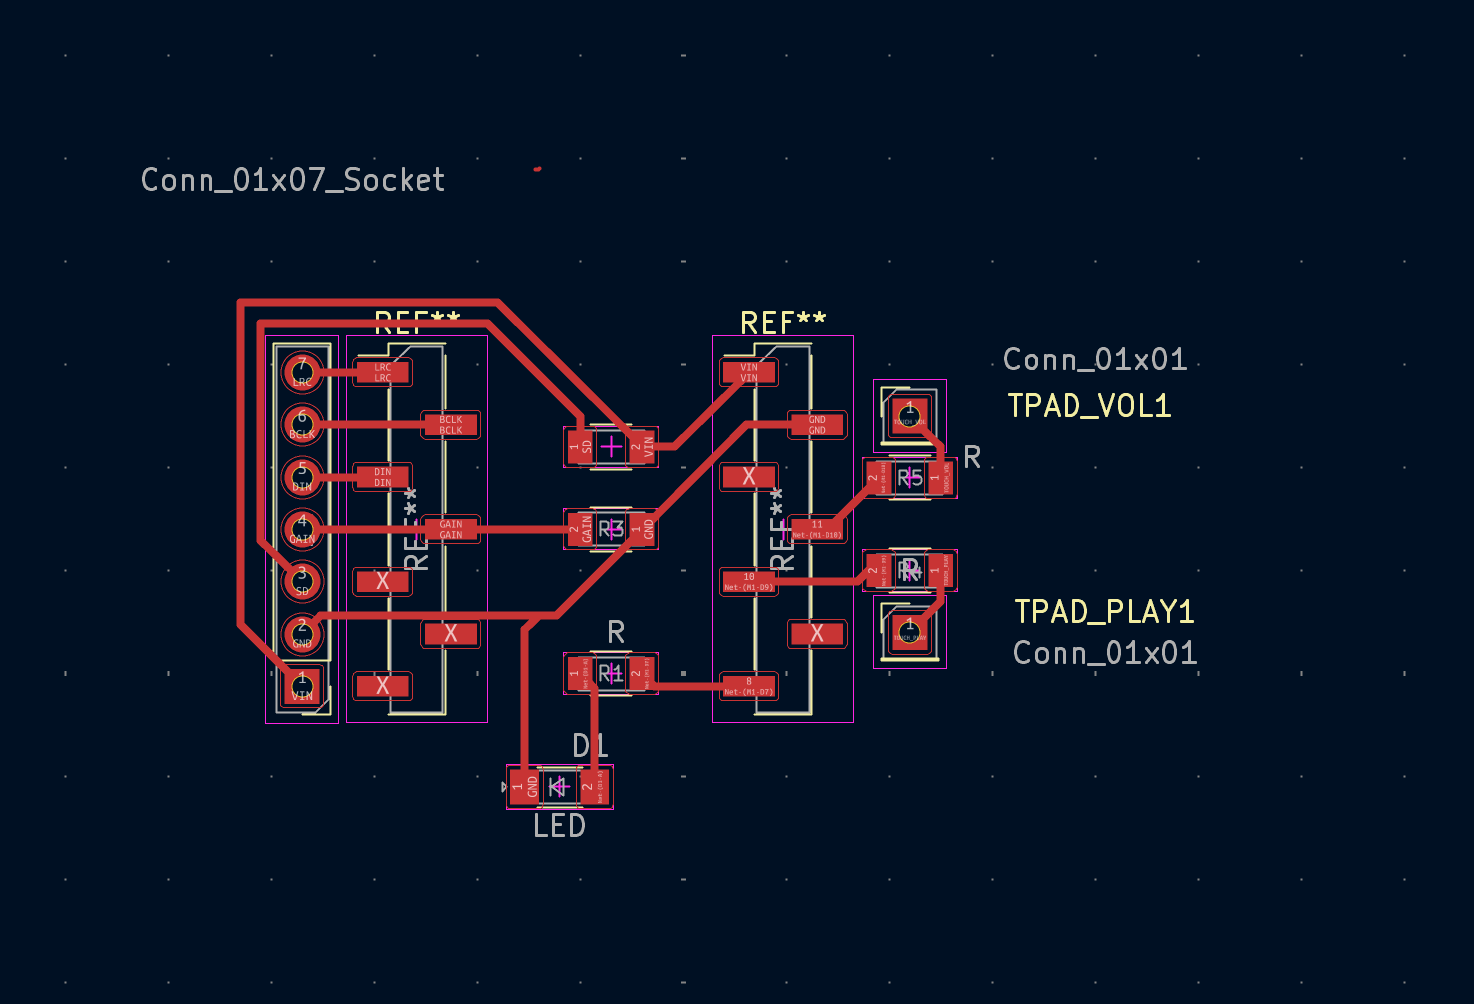
Off-Board Touch Pads (PCB Design)
I designed the pads as tiny PCBs so they can live where the human is, not where the MCU is. Each pad is:
A large filled copper shape on F.Cu (the sensor).
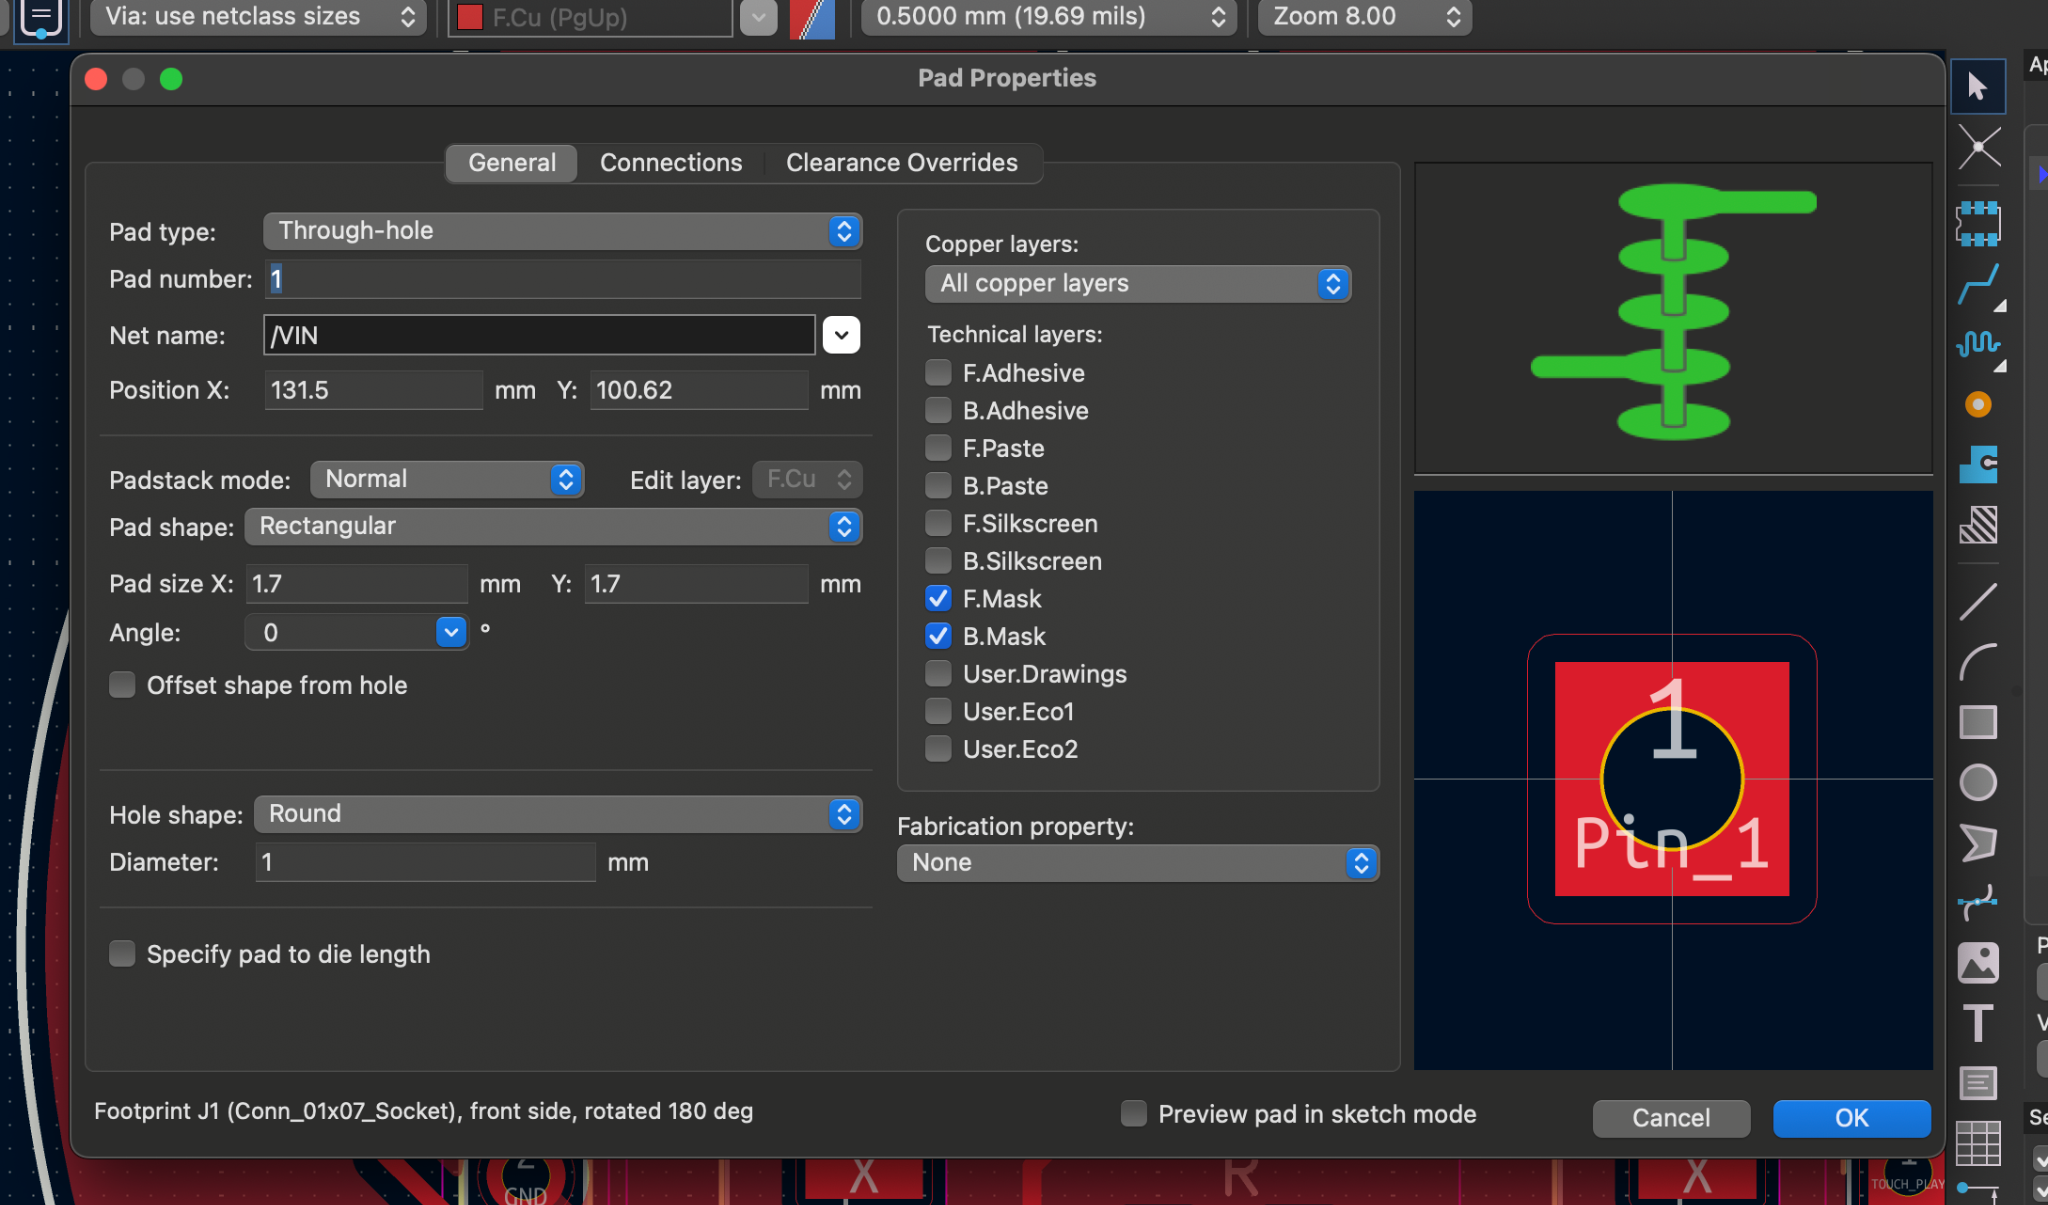
An optional matching opening on F.Mask to expose copper for touch.
One THT/SMD pad (1×01) for a single signal wire back to the main board.
Optional NPTH mounting/string hole.
Icons (“▶︎∥” and “VOL”) were imported as SVG via File → Import → Graphics; vector art keeps edges crisp.
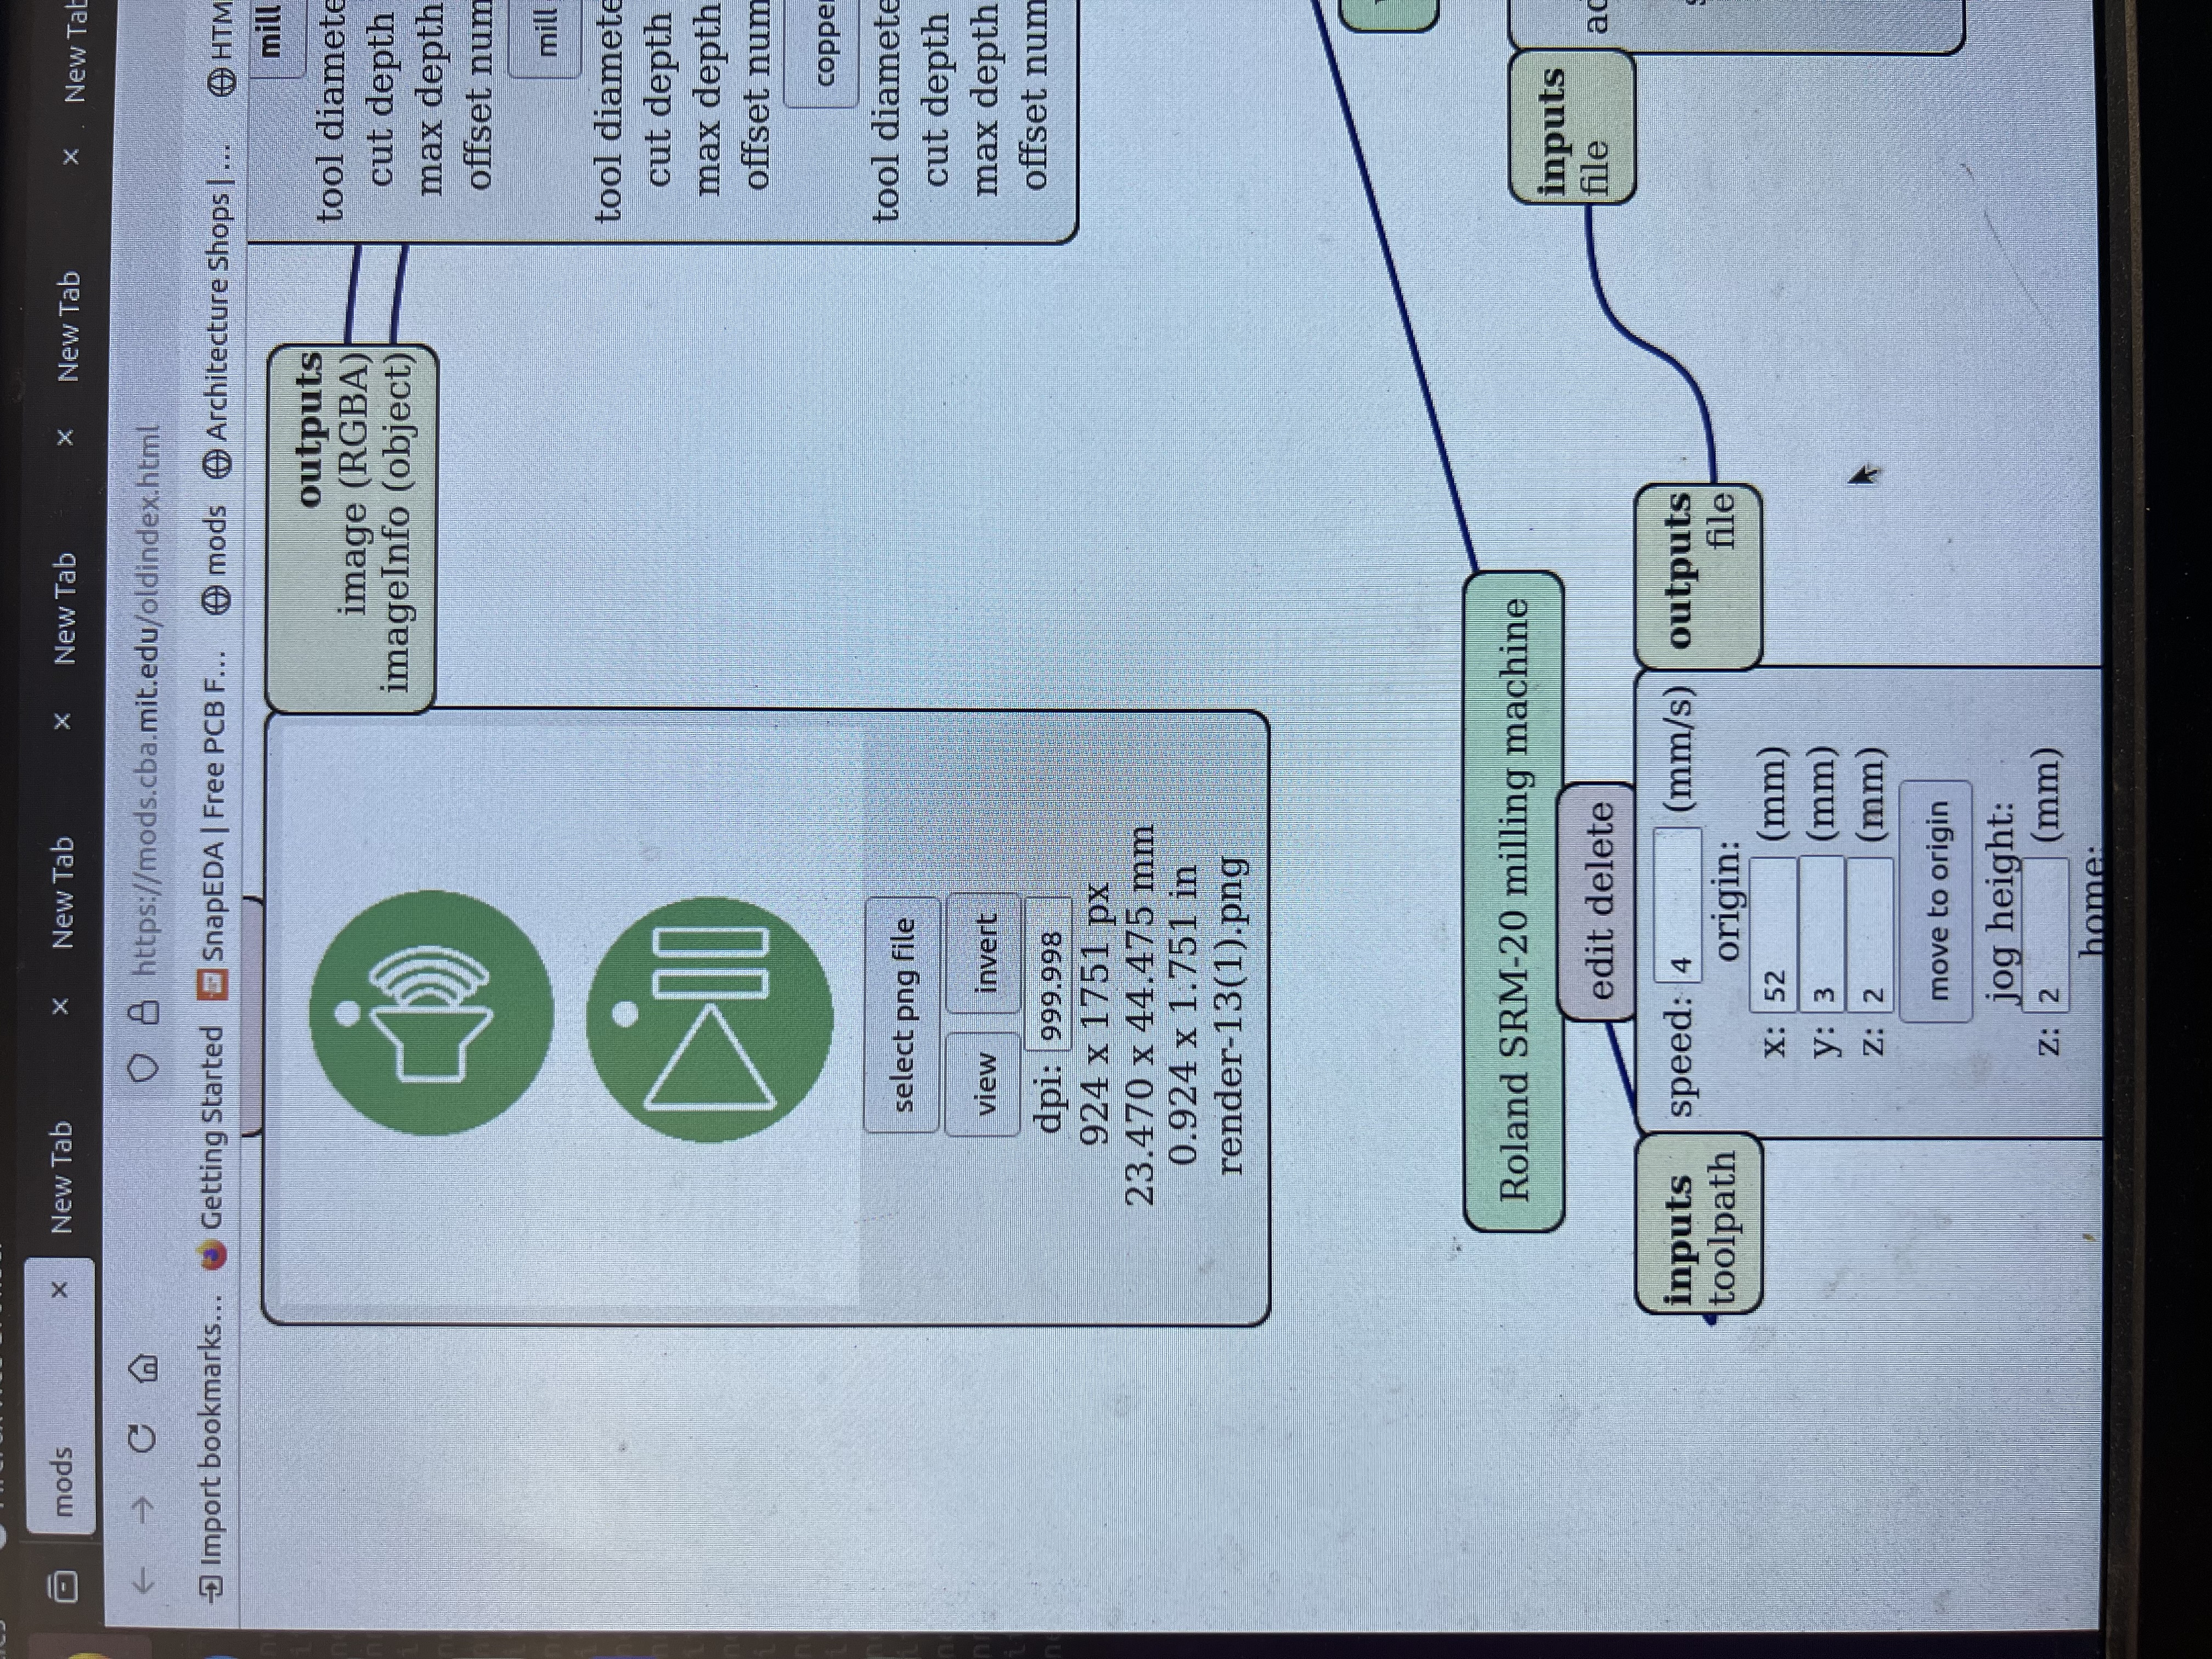
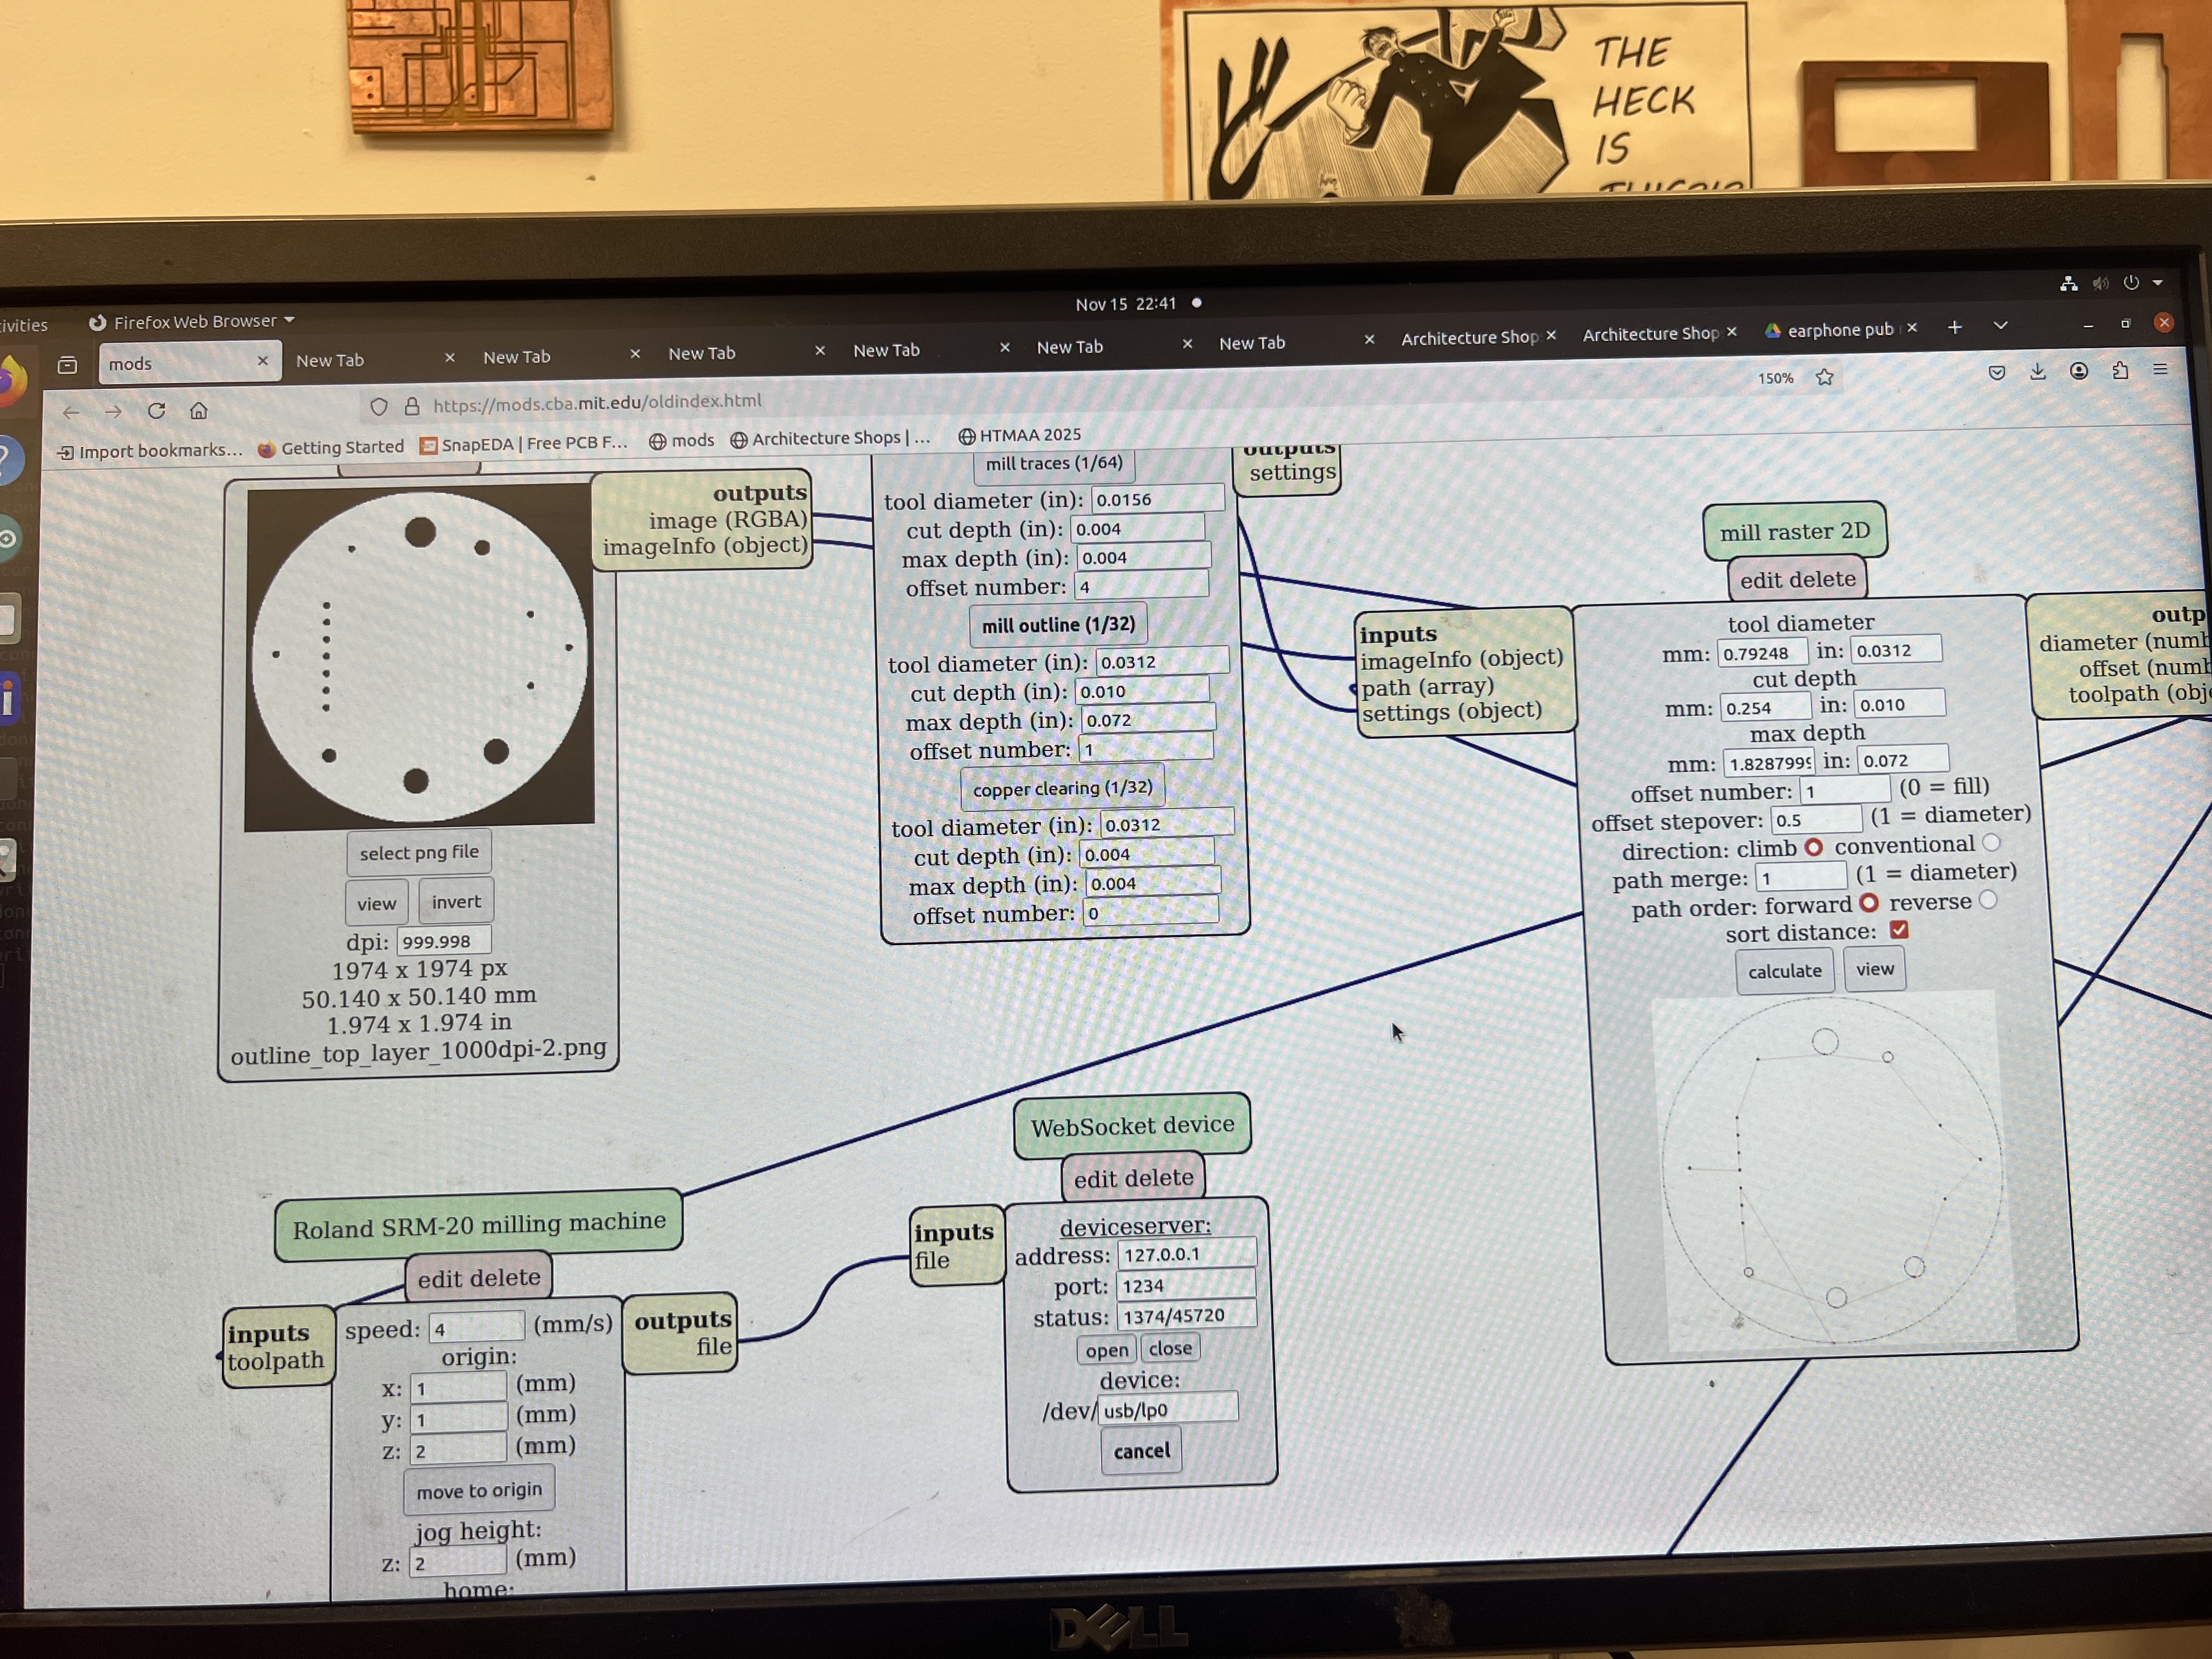
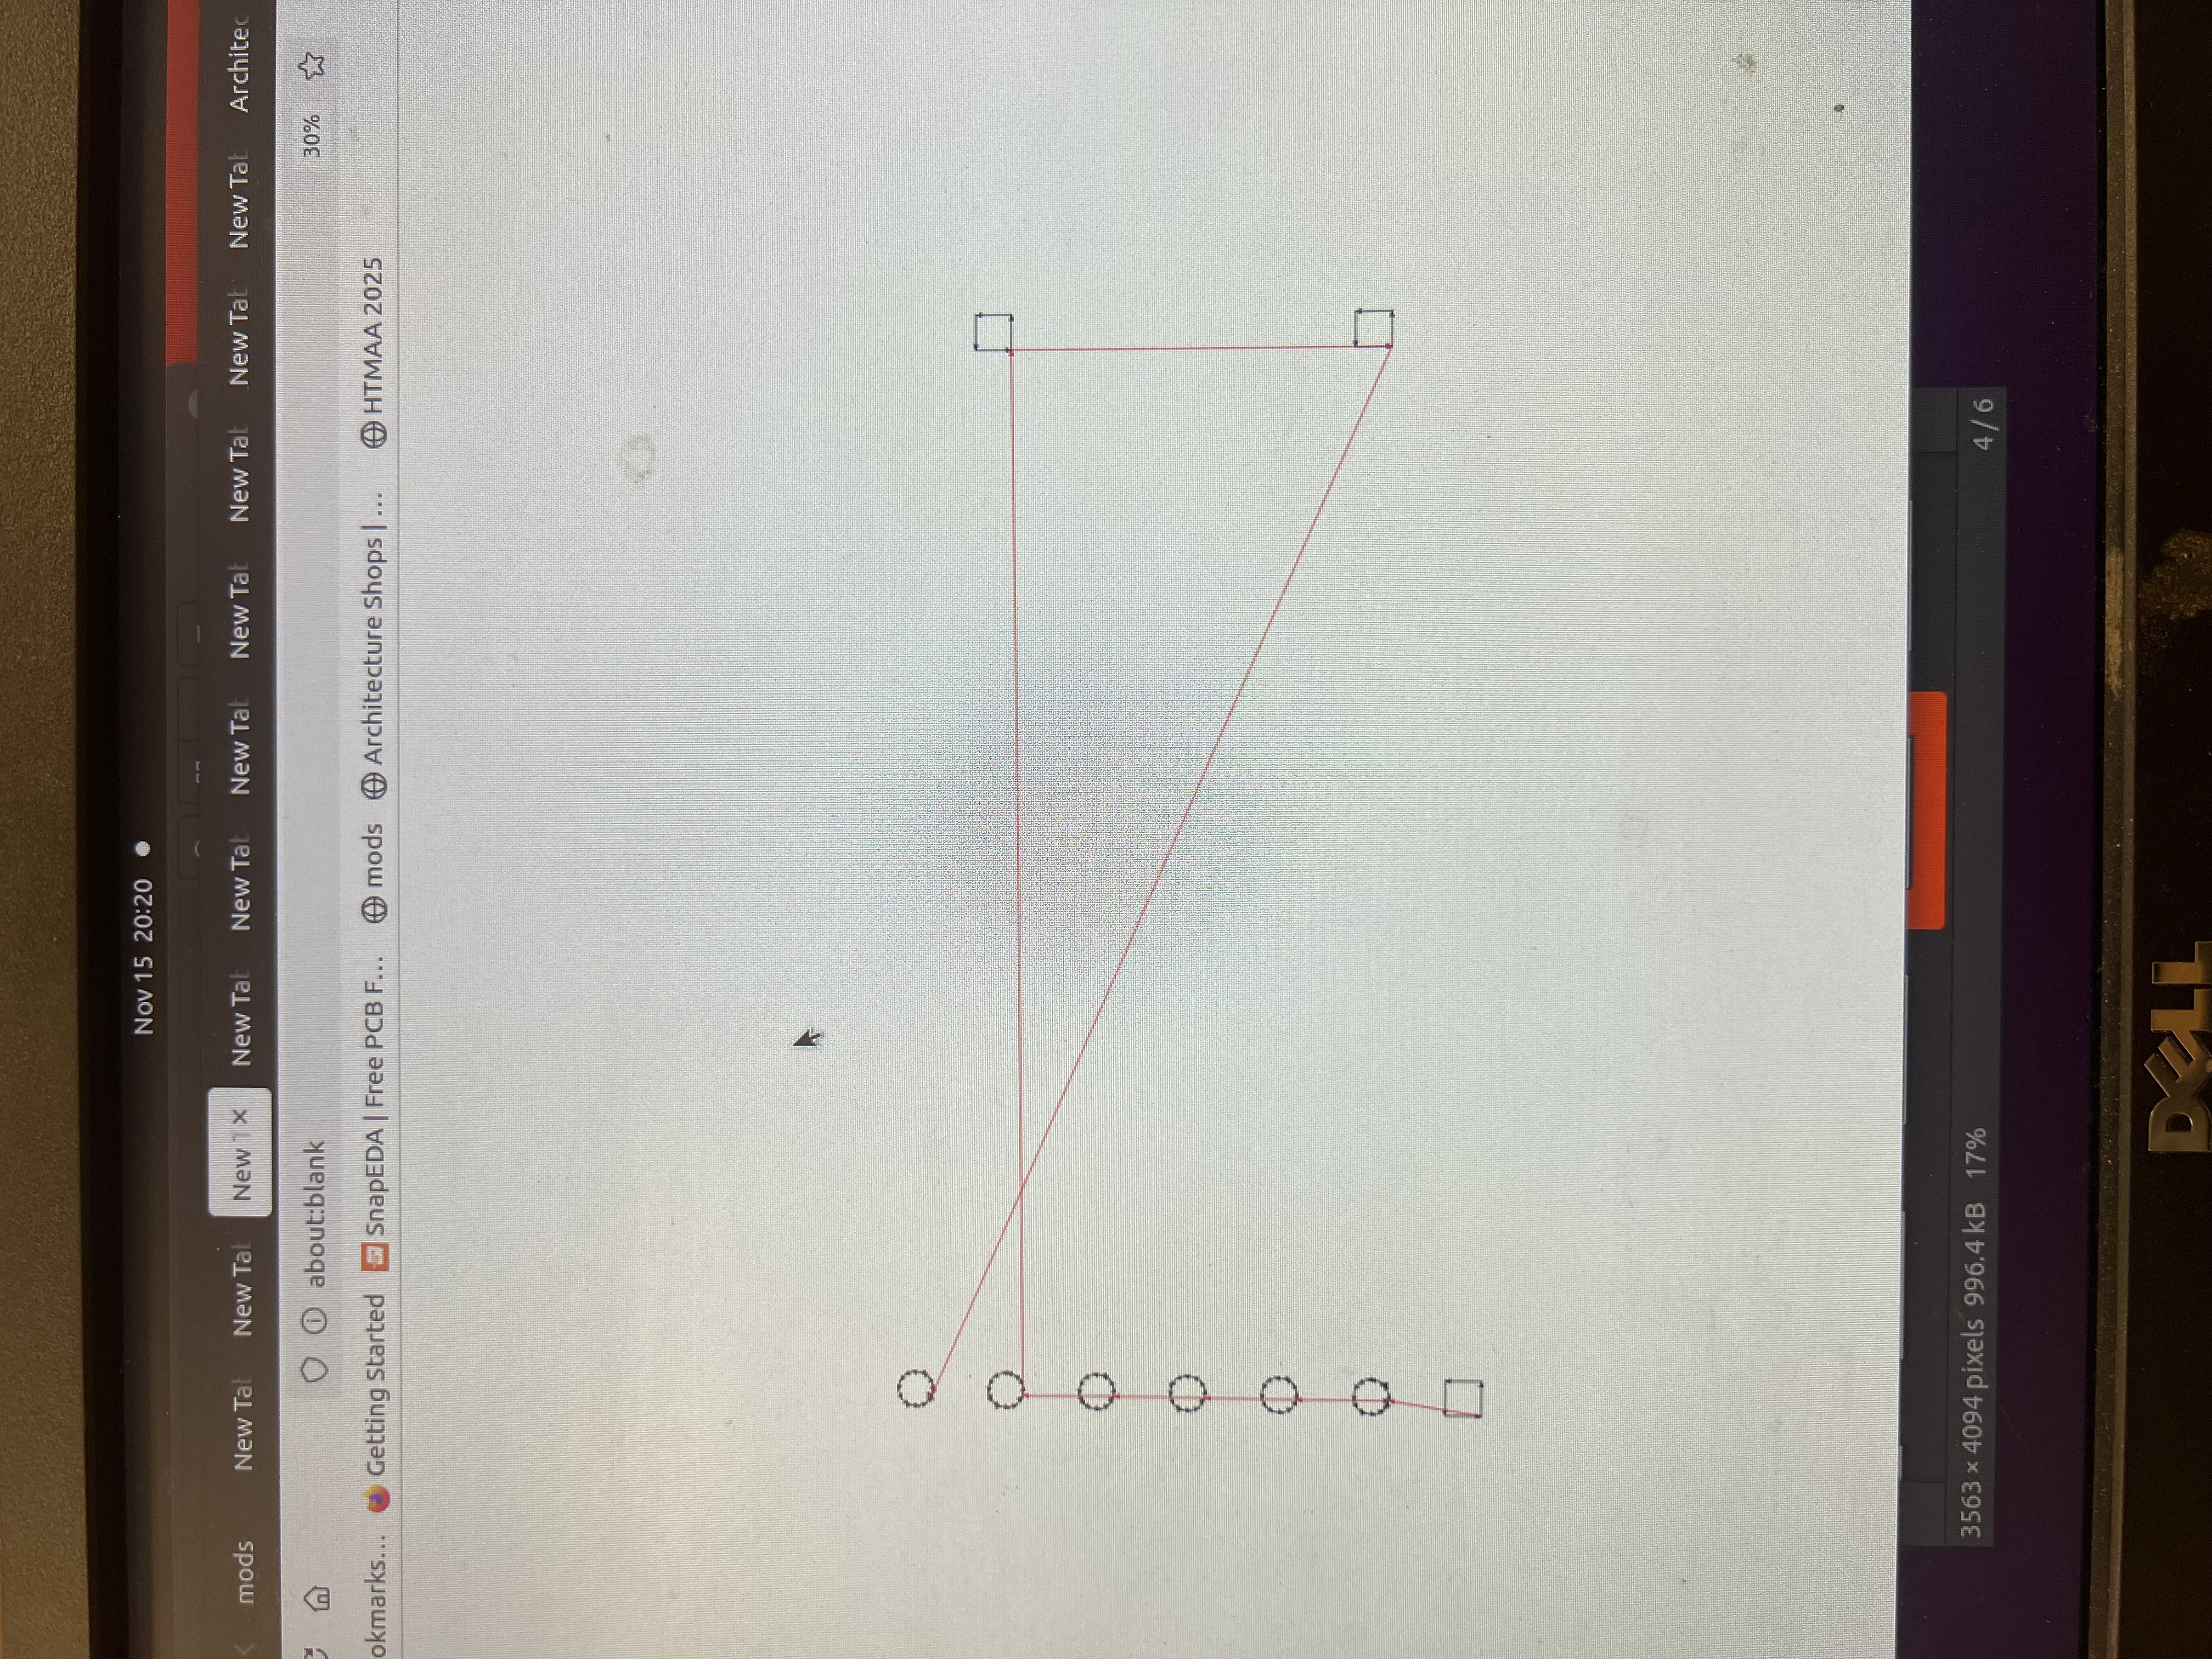
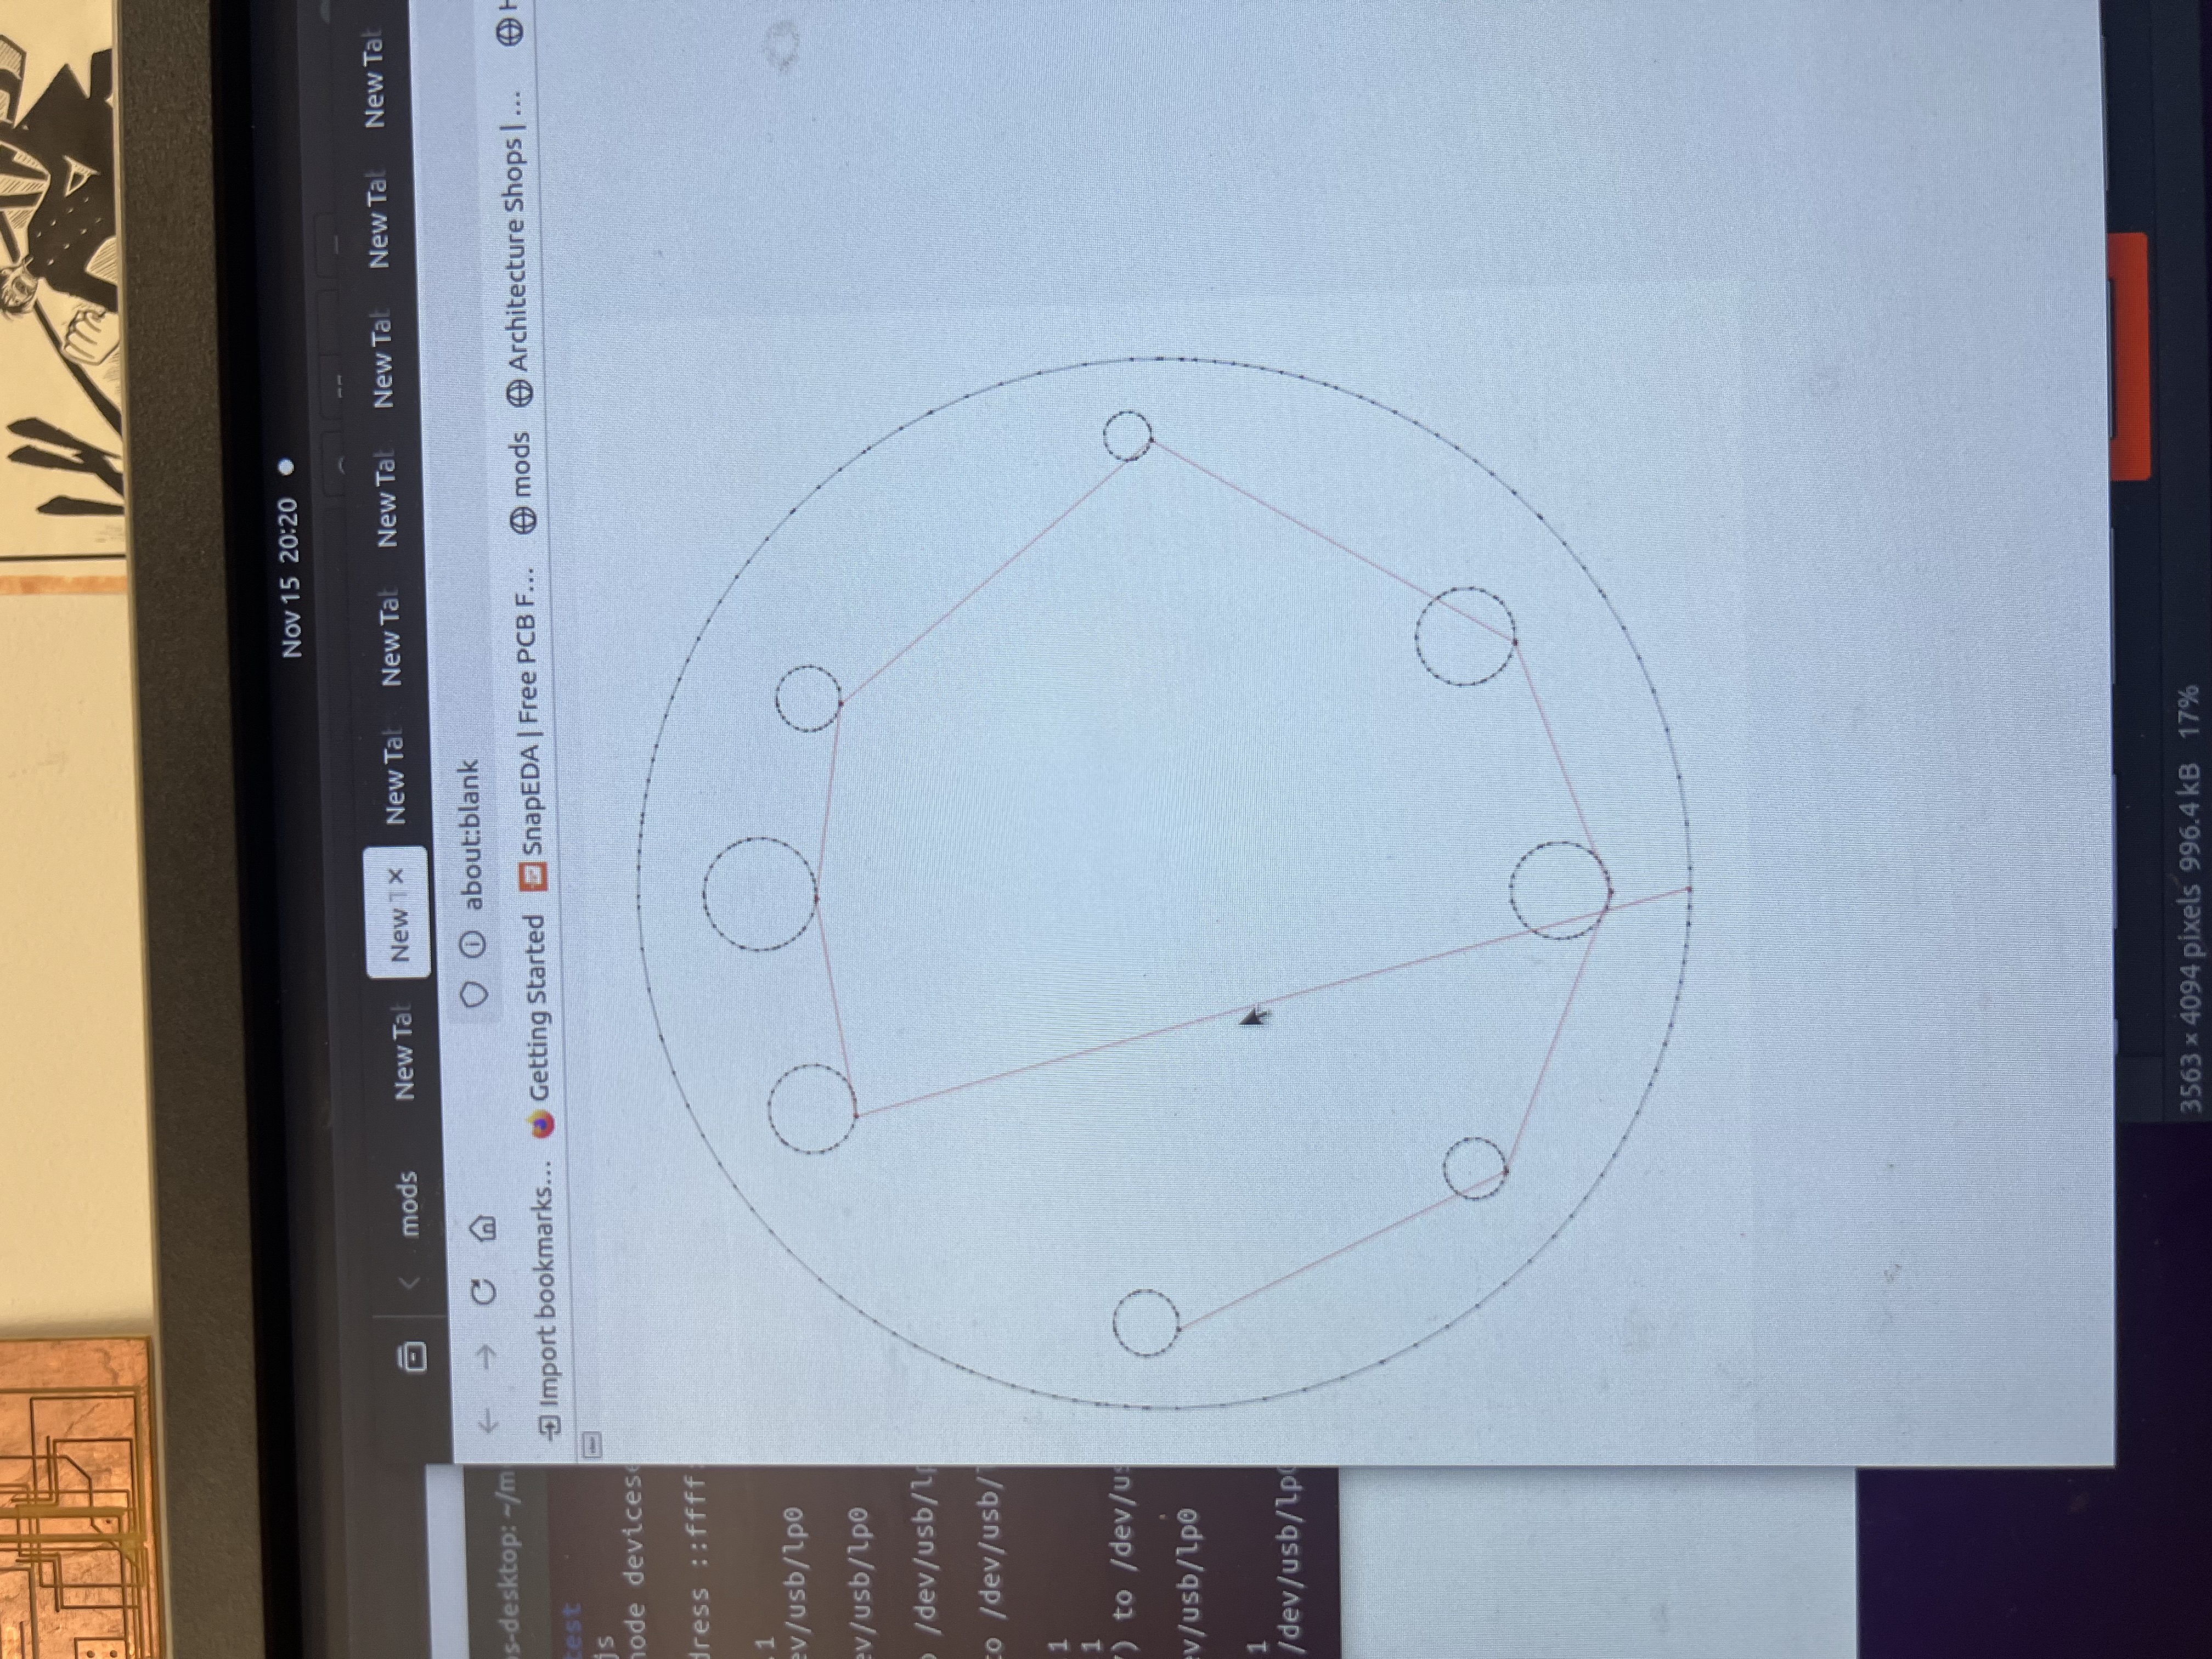
Early circular pad test board.Exploring funkier pad outlines before settling on circles.Exported outline / top layer used for milling toolpaths.
Checking that the traces match the intended icon geometry.Mods toolchain configured for the PLAY/PAUSE pad.Separate job for the edge cuts of the circular pads.
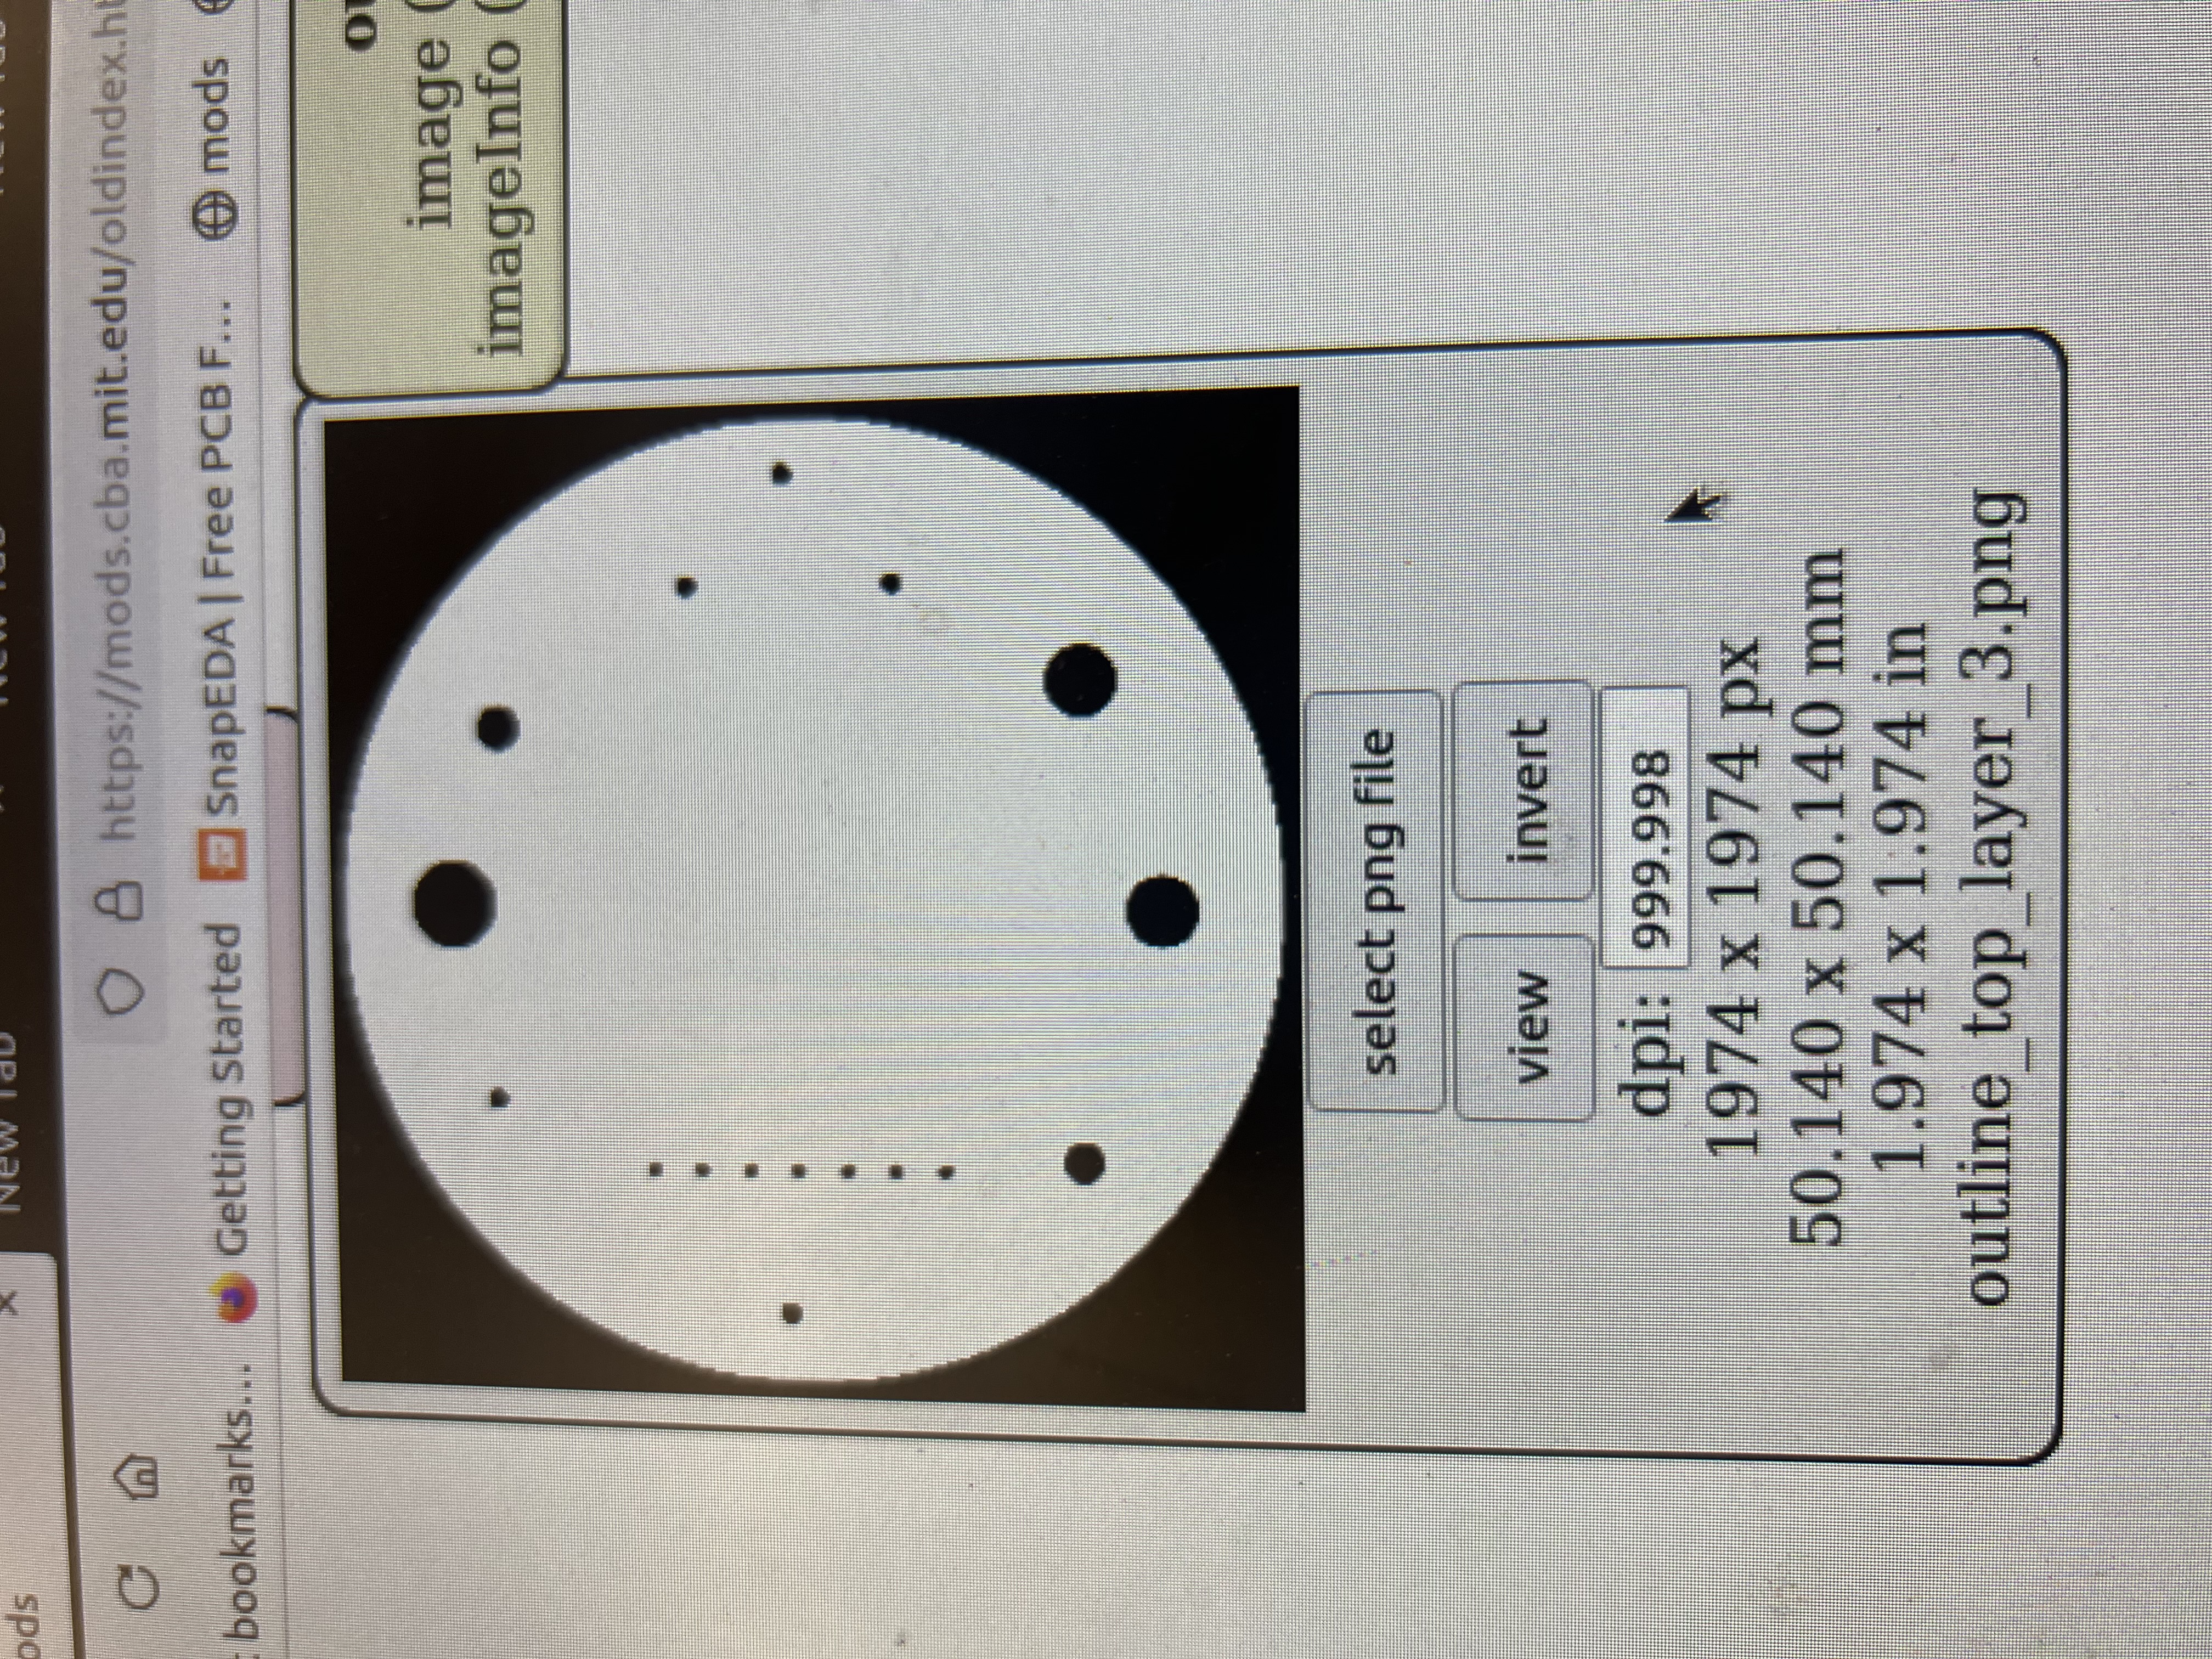
Edge-cut preview before committing to the mill.Previewing the small mounting/string holes on the pad PCBs.Edge-cuts PNG that drove the circular pad outlines.
Filling in the copper region for stronger, more responsive pads.Iteration where I shuffled the pads and buttons to better fit the board.Traces-only view used to sanity-check connectivity before milling.
A “learning experience” board where the traces and edge cuts didn’t quite line up.Cleaned-up board after sweeping away copper dust.
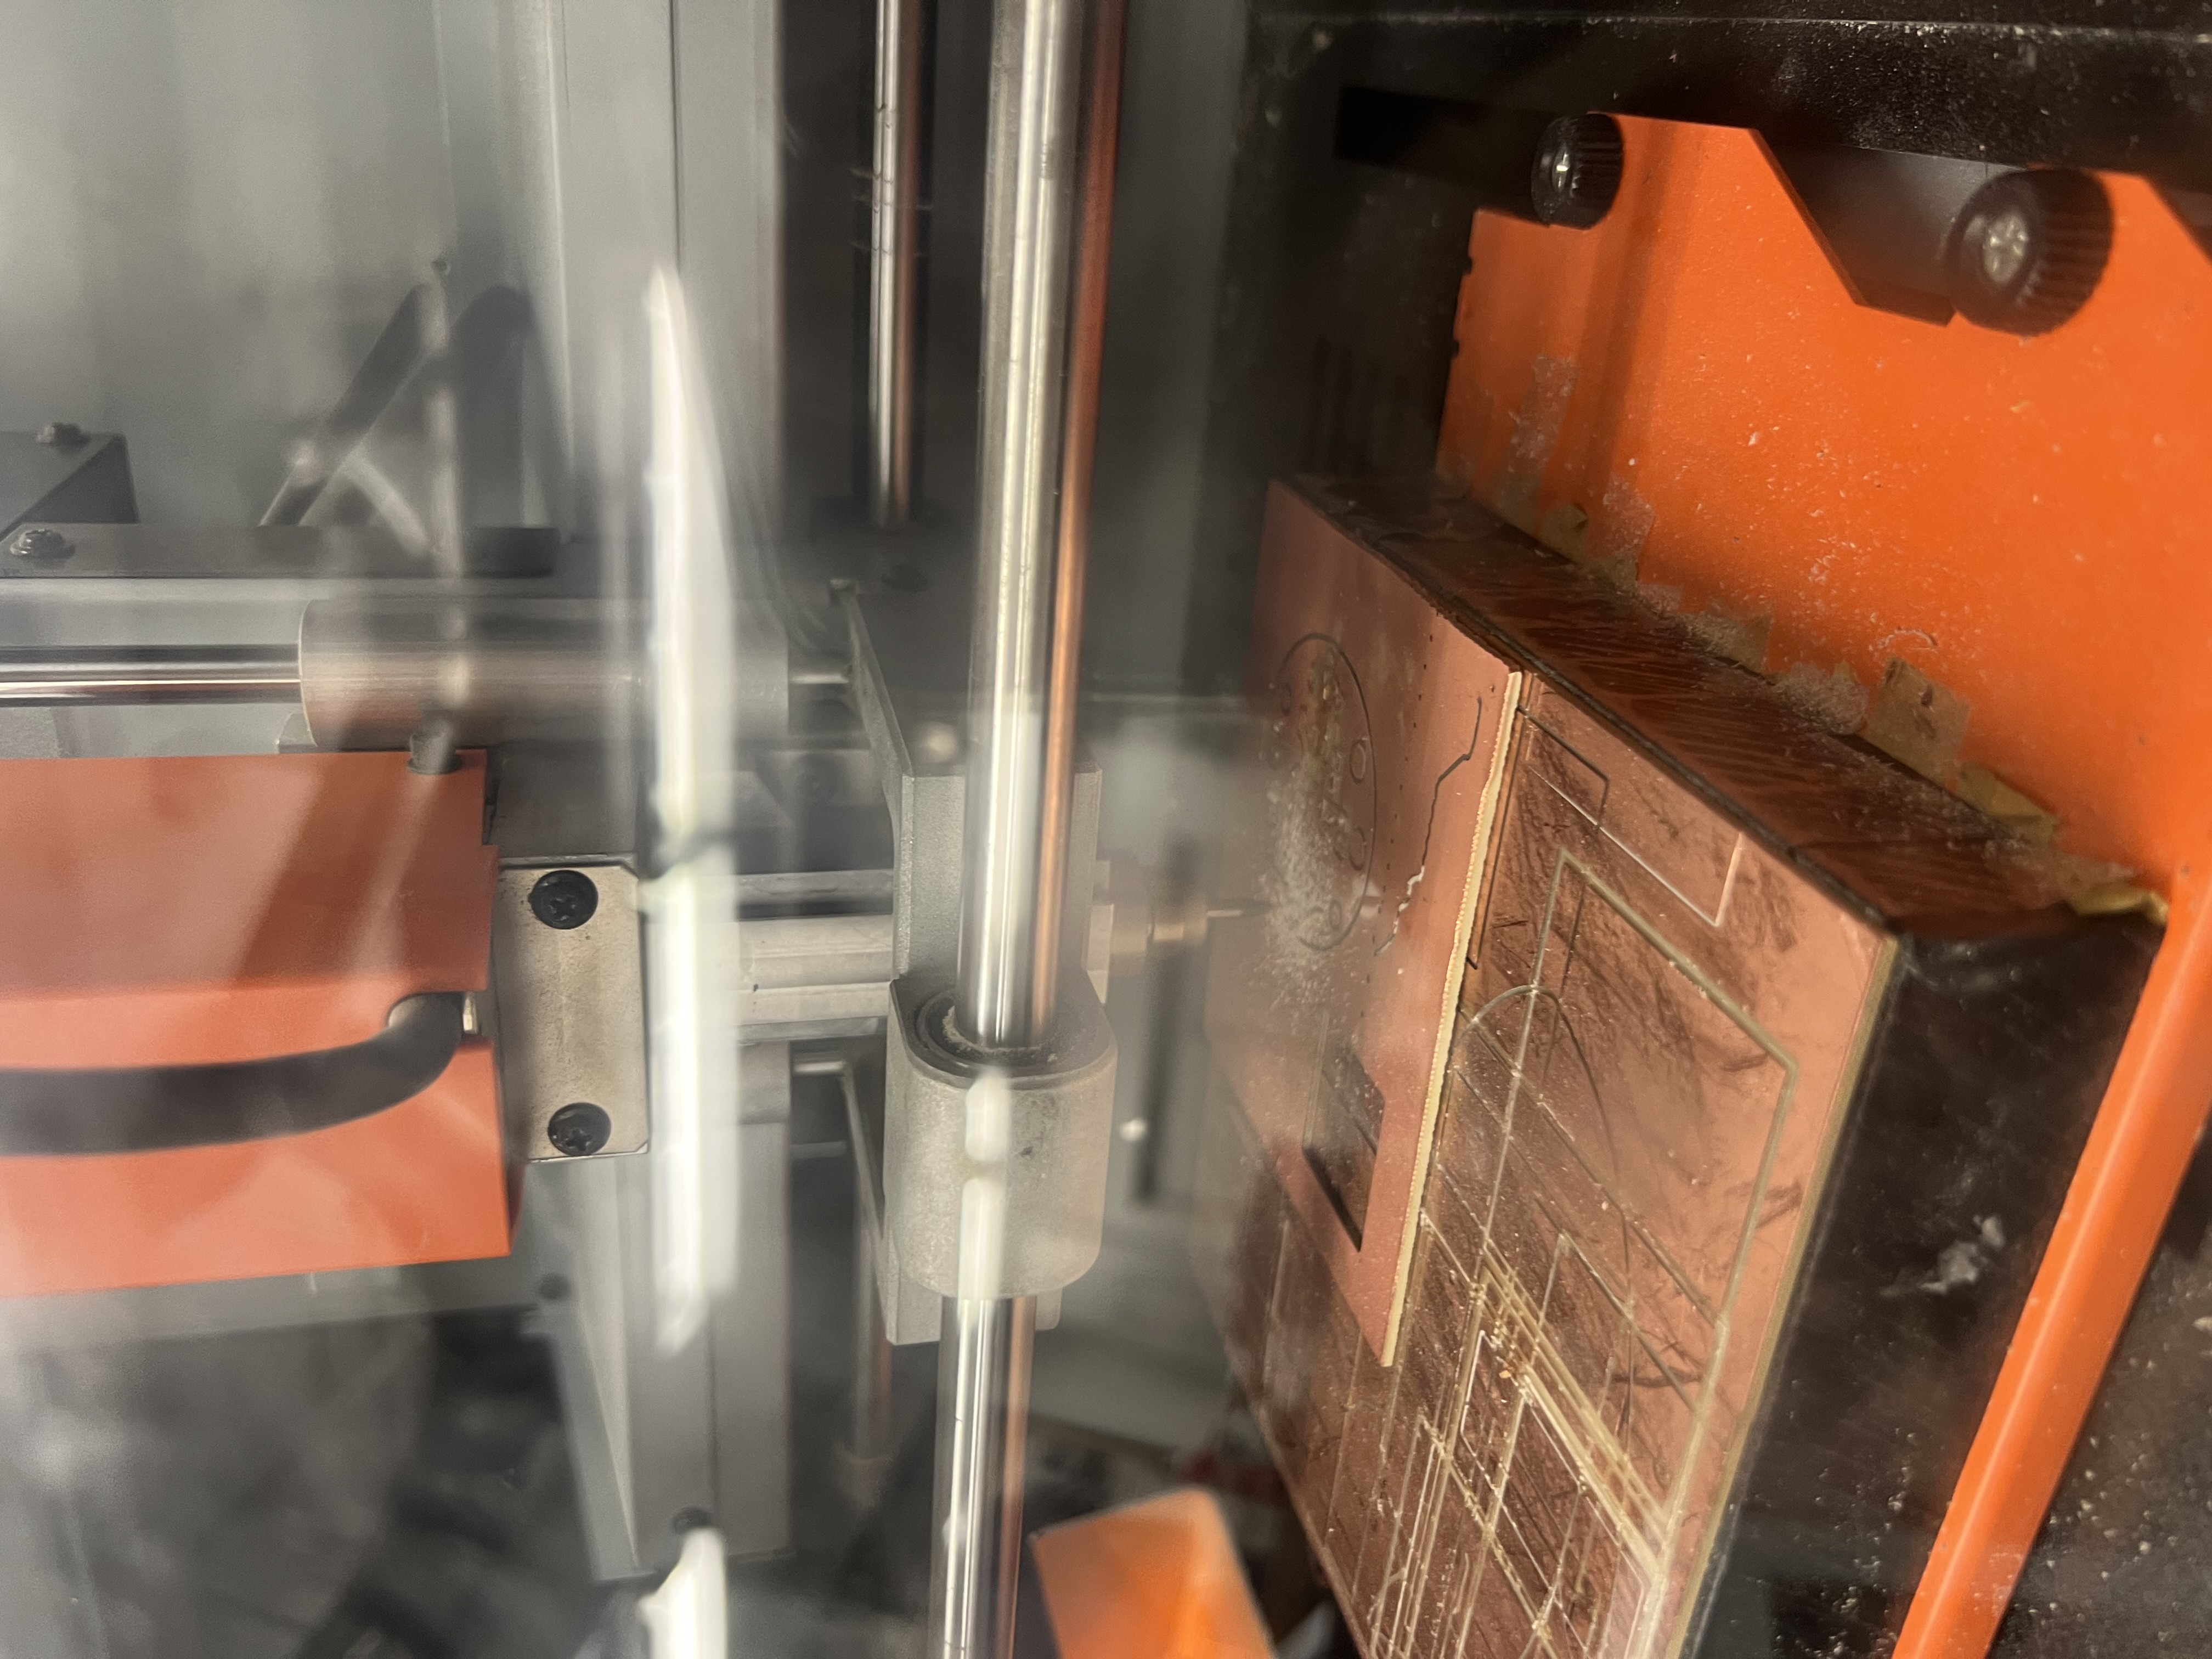
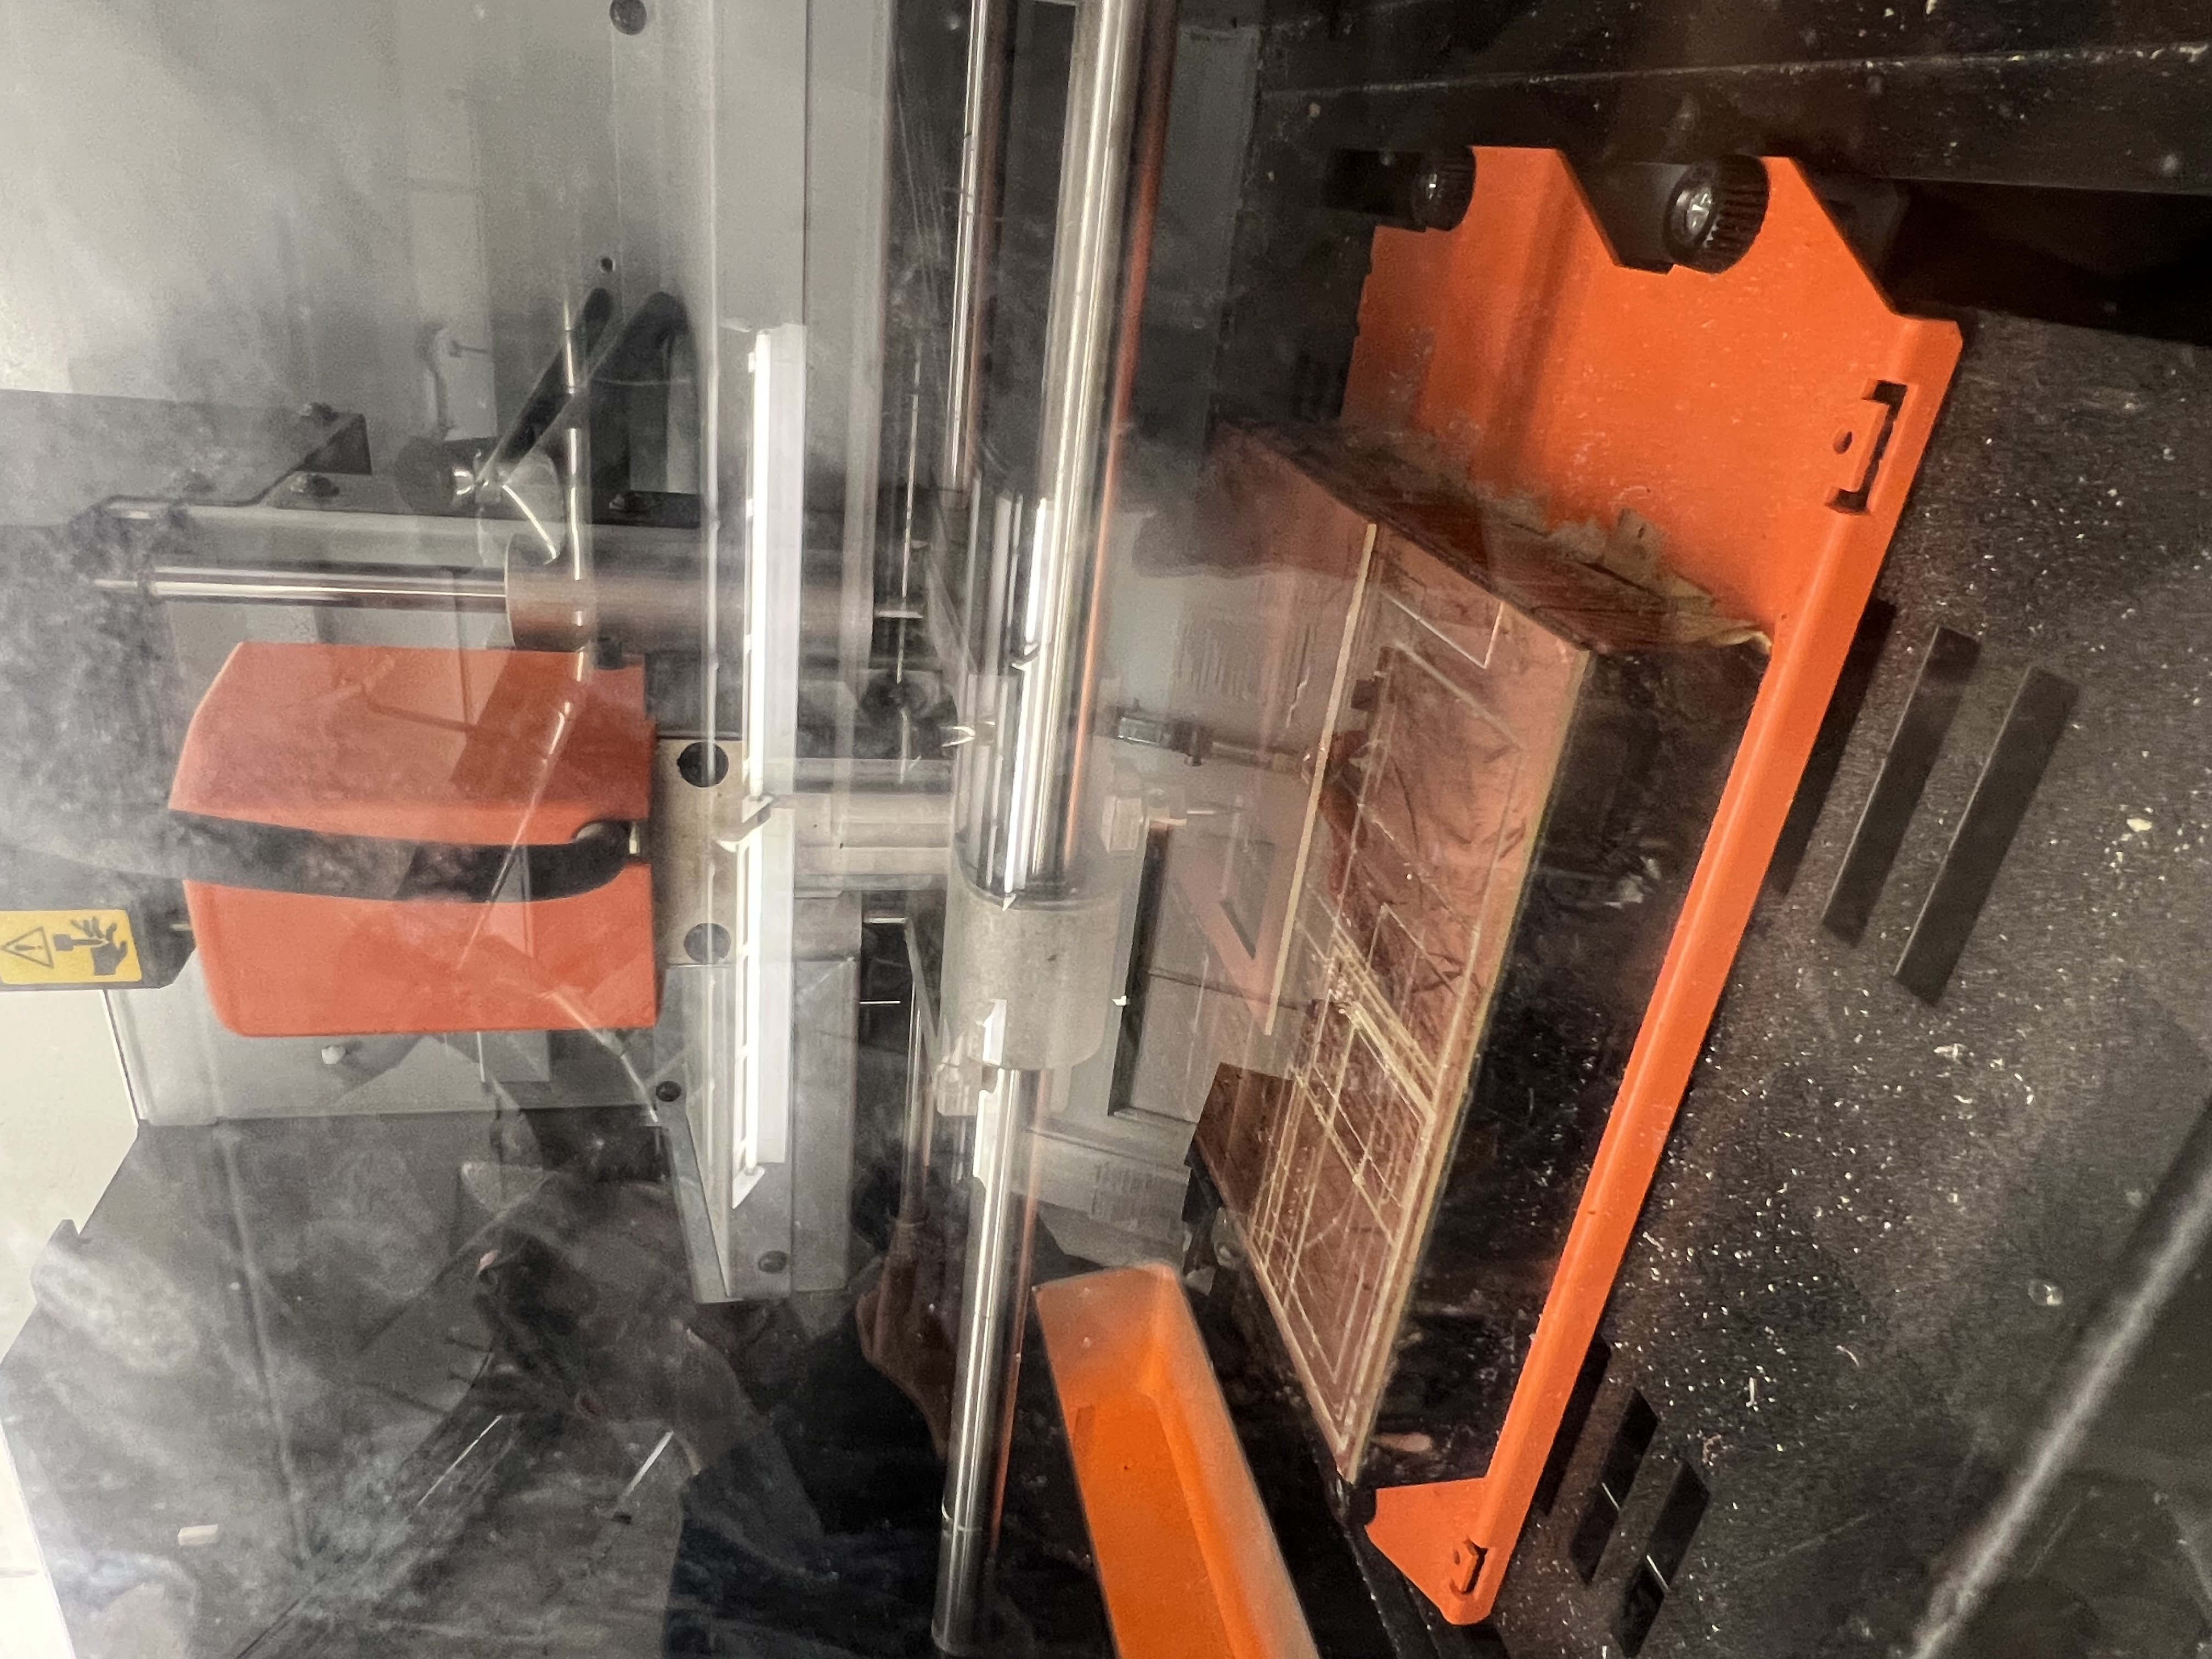
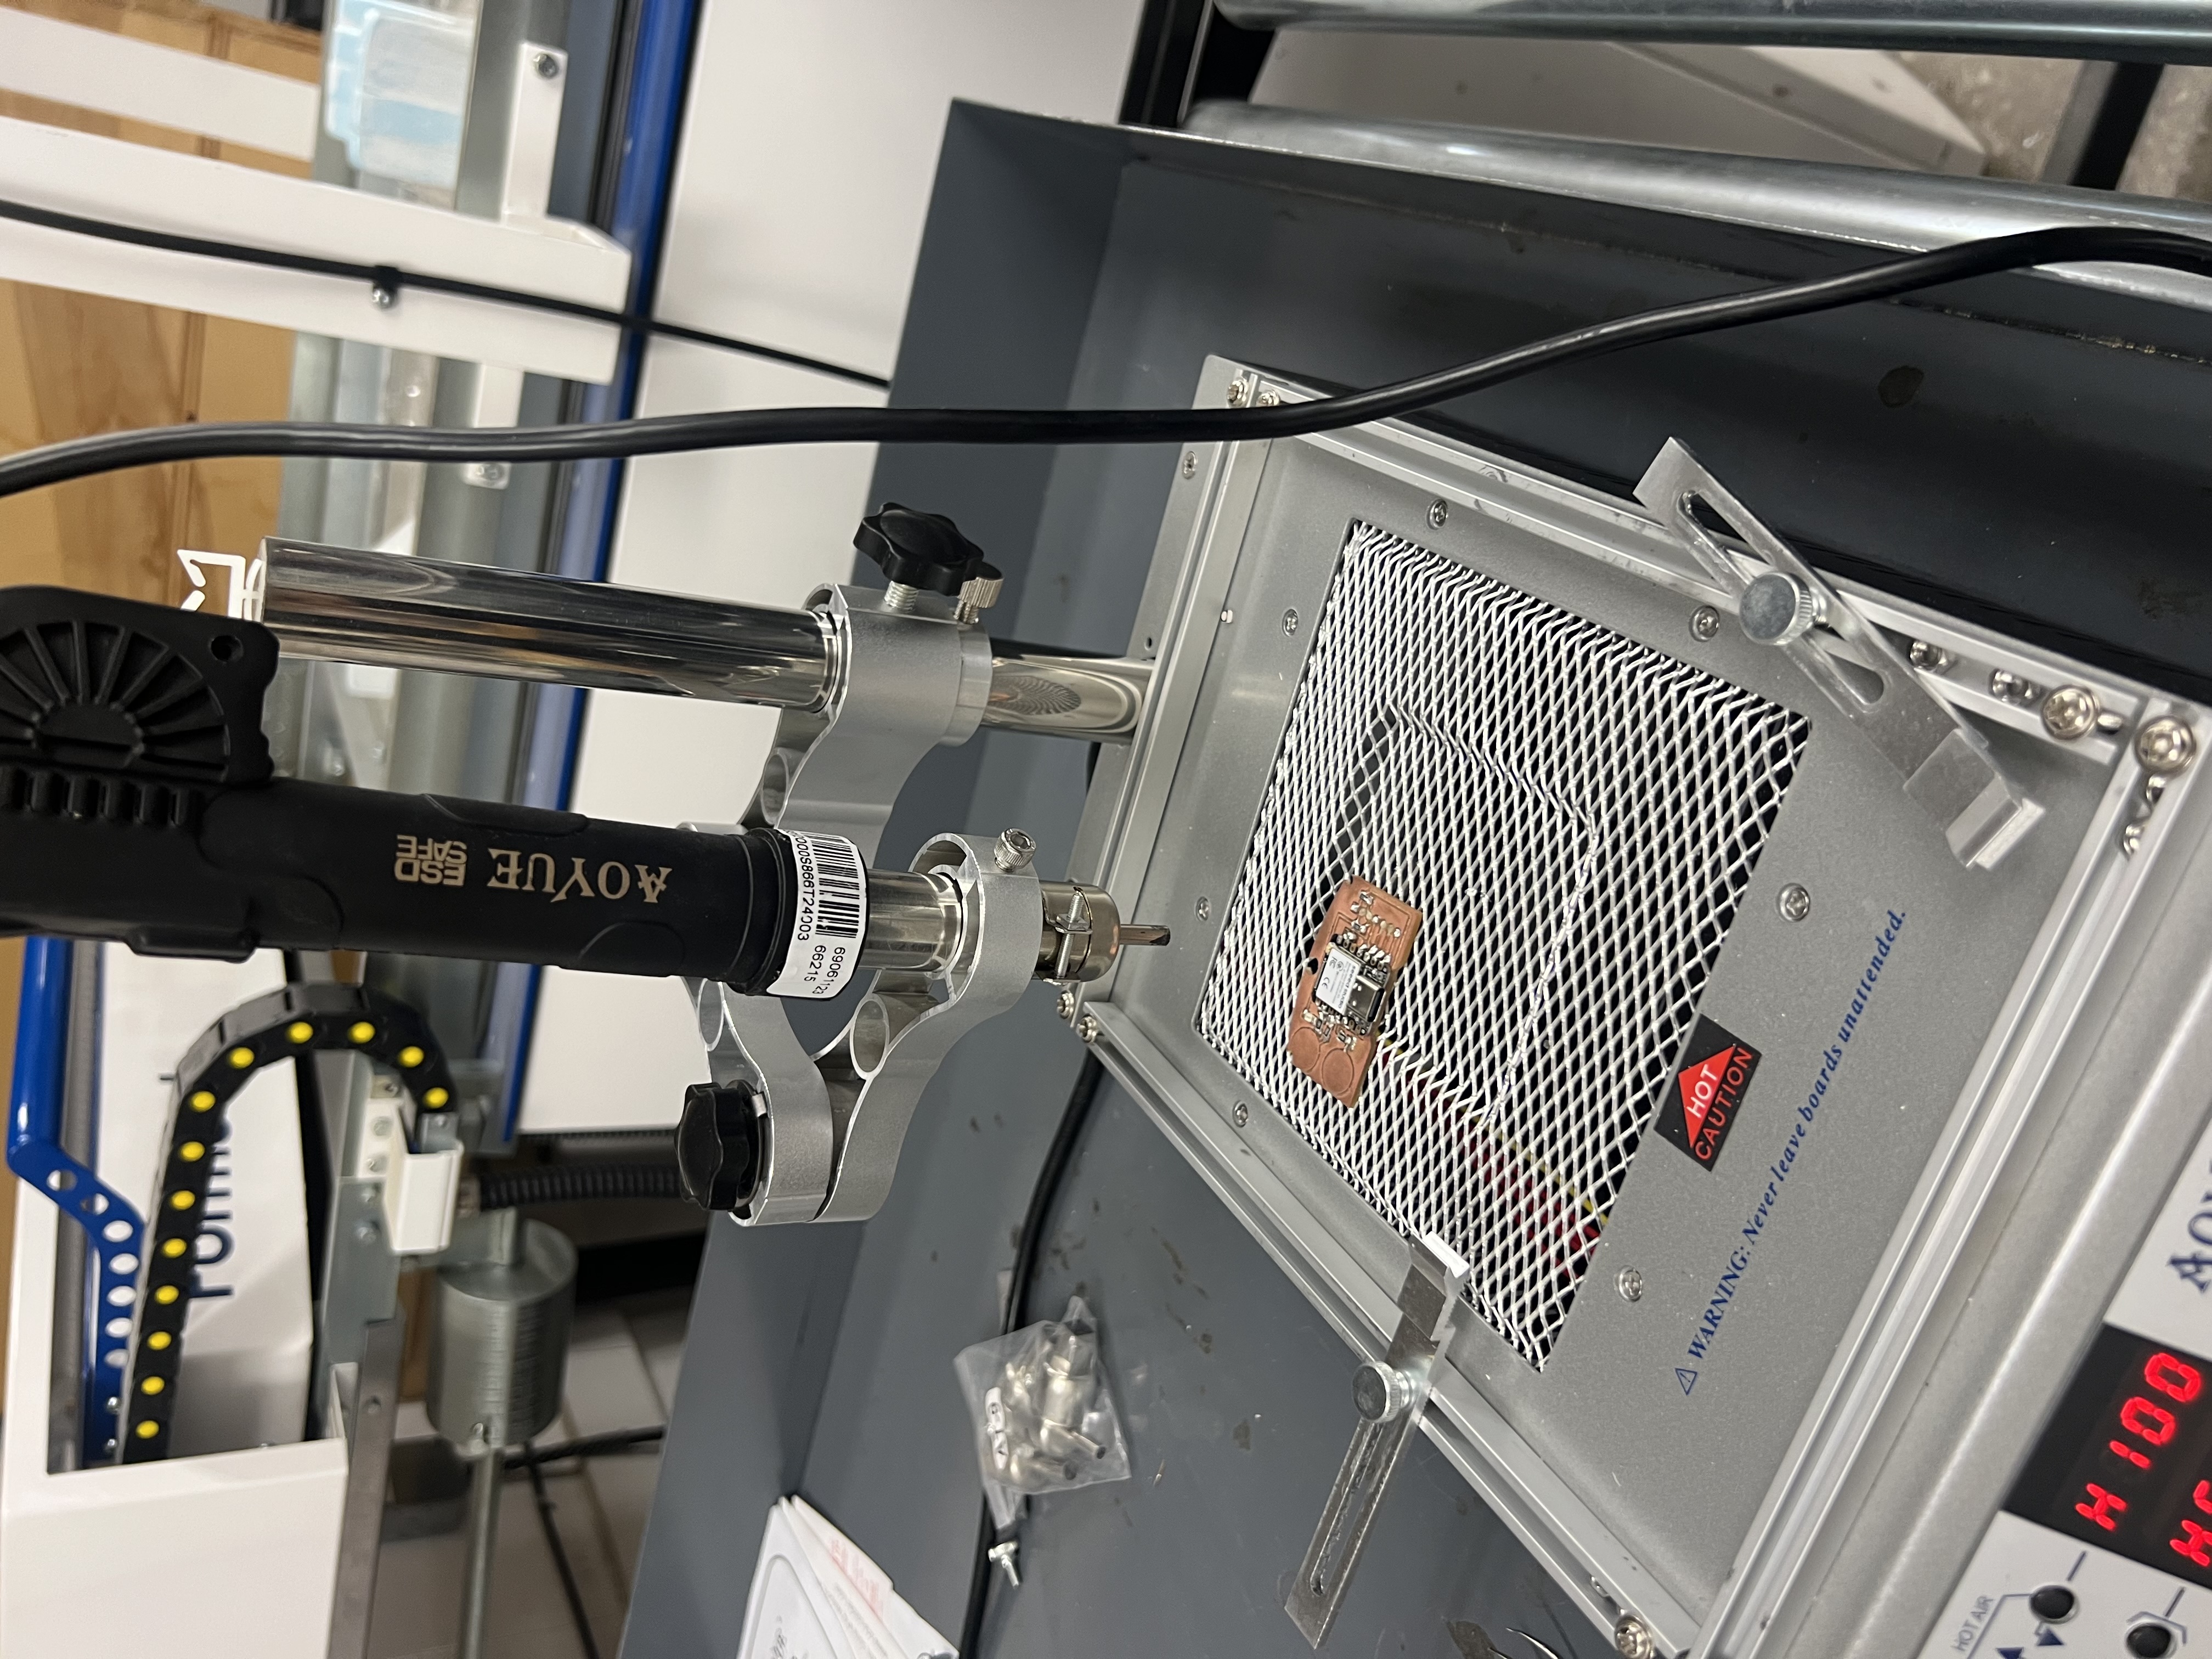
Milling & Assembly
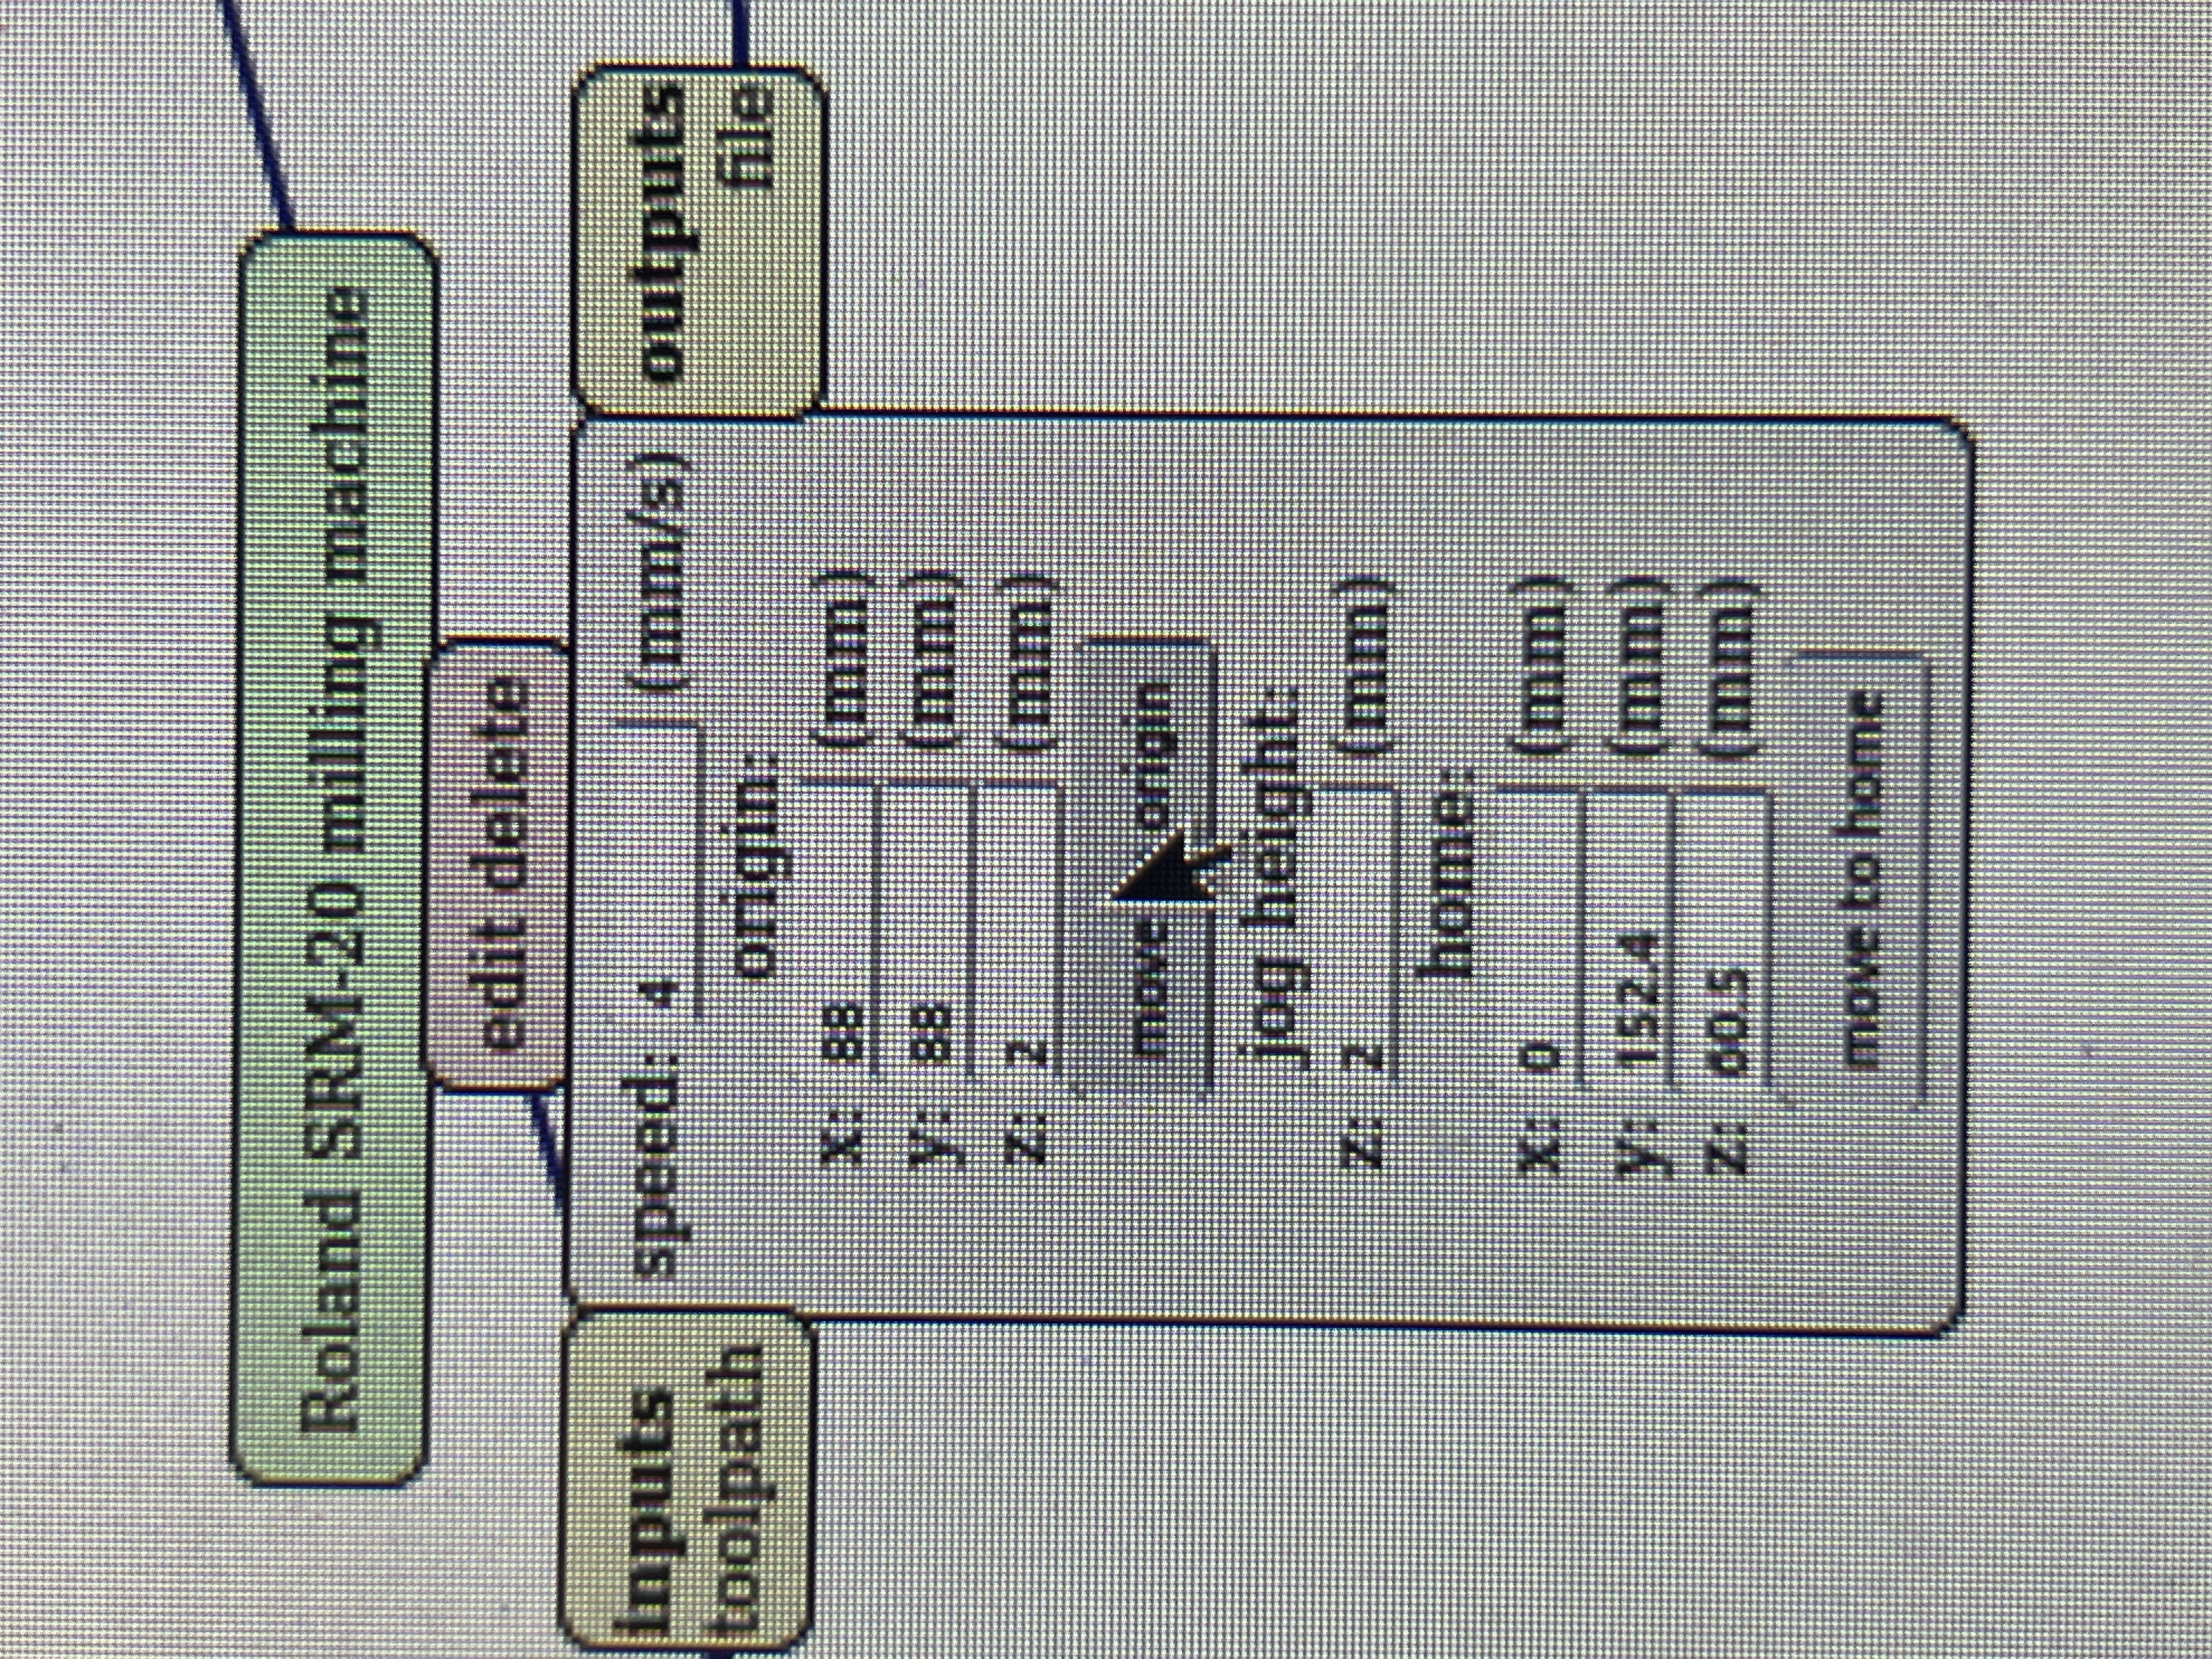
Once the designs looked good, I went to the mill, set up the jobs, and then soldered and reworked the boards as needed.
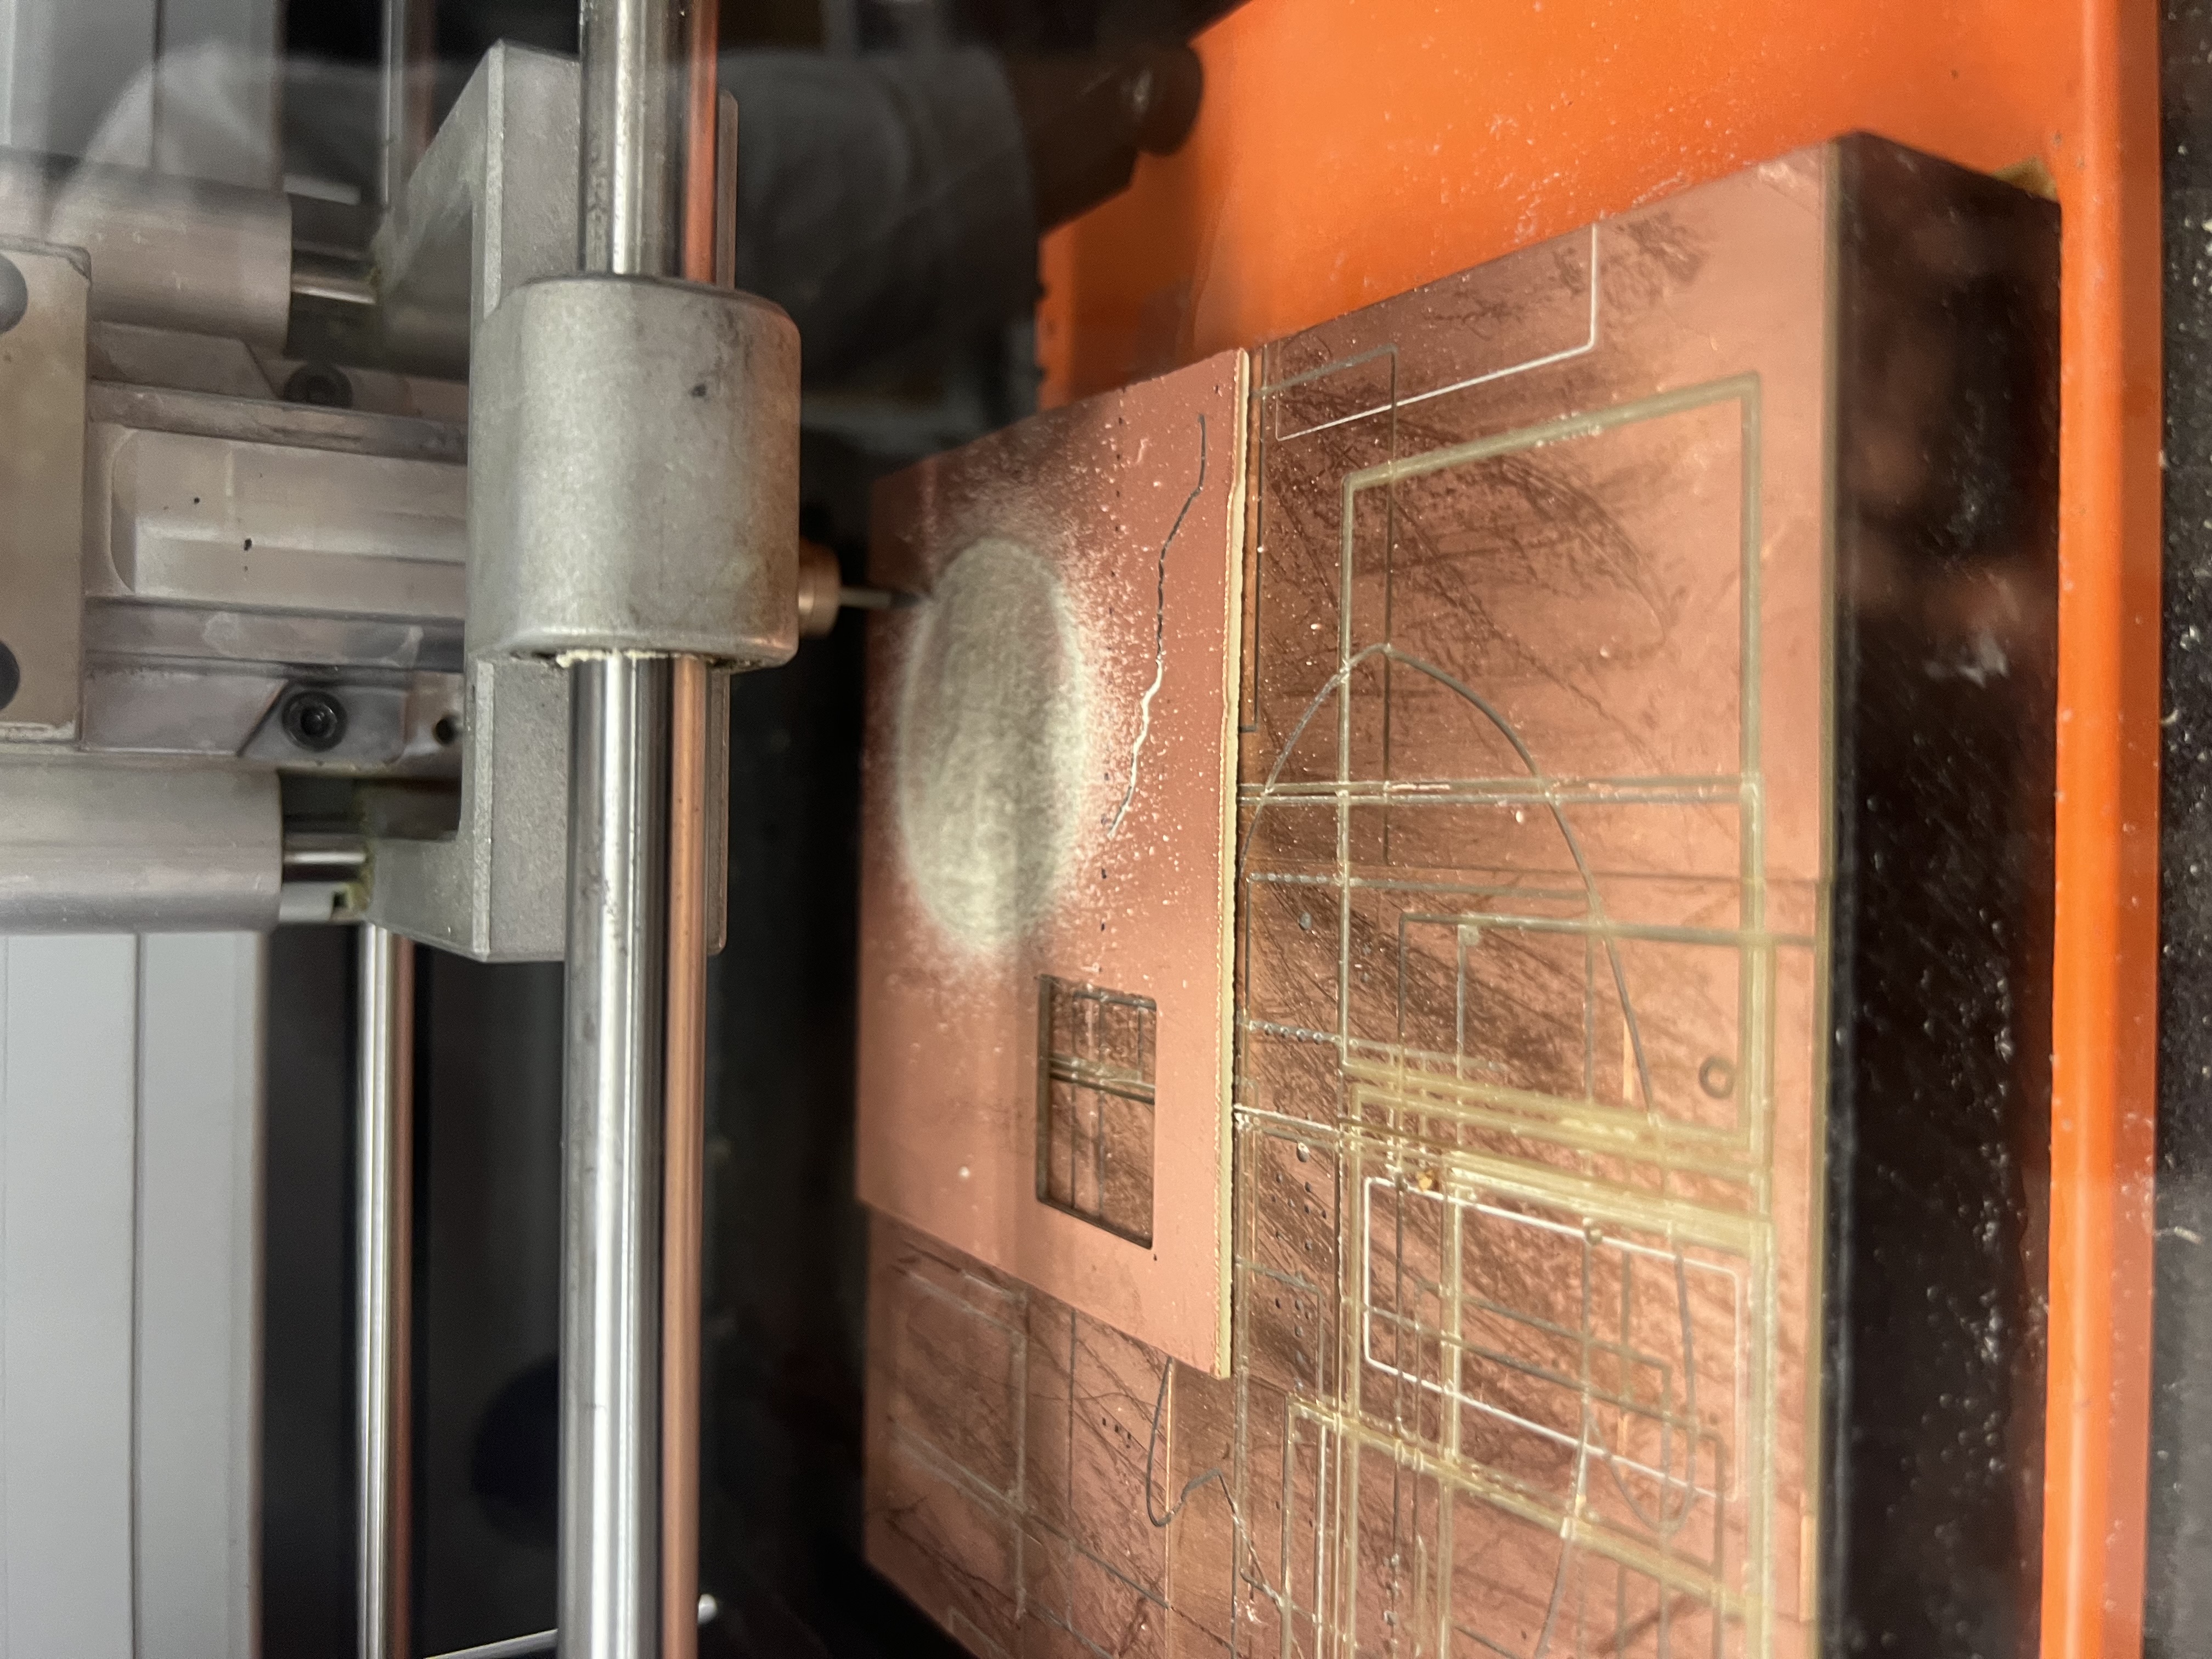
Setting the XY origin on the milling machine.Sticking the copper board down securely before milling.Trace pass in progress.
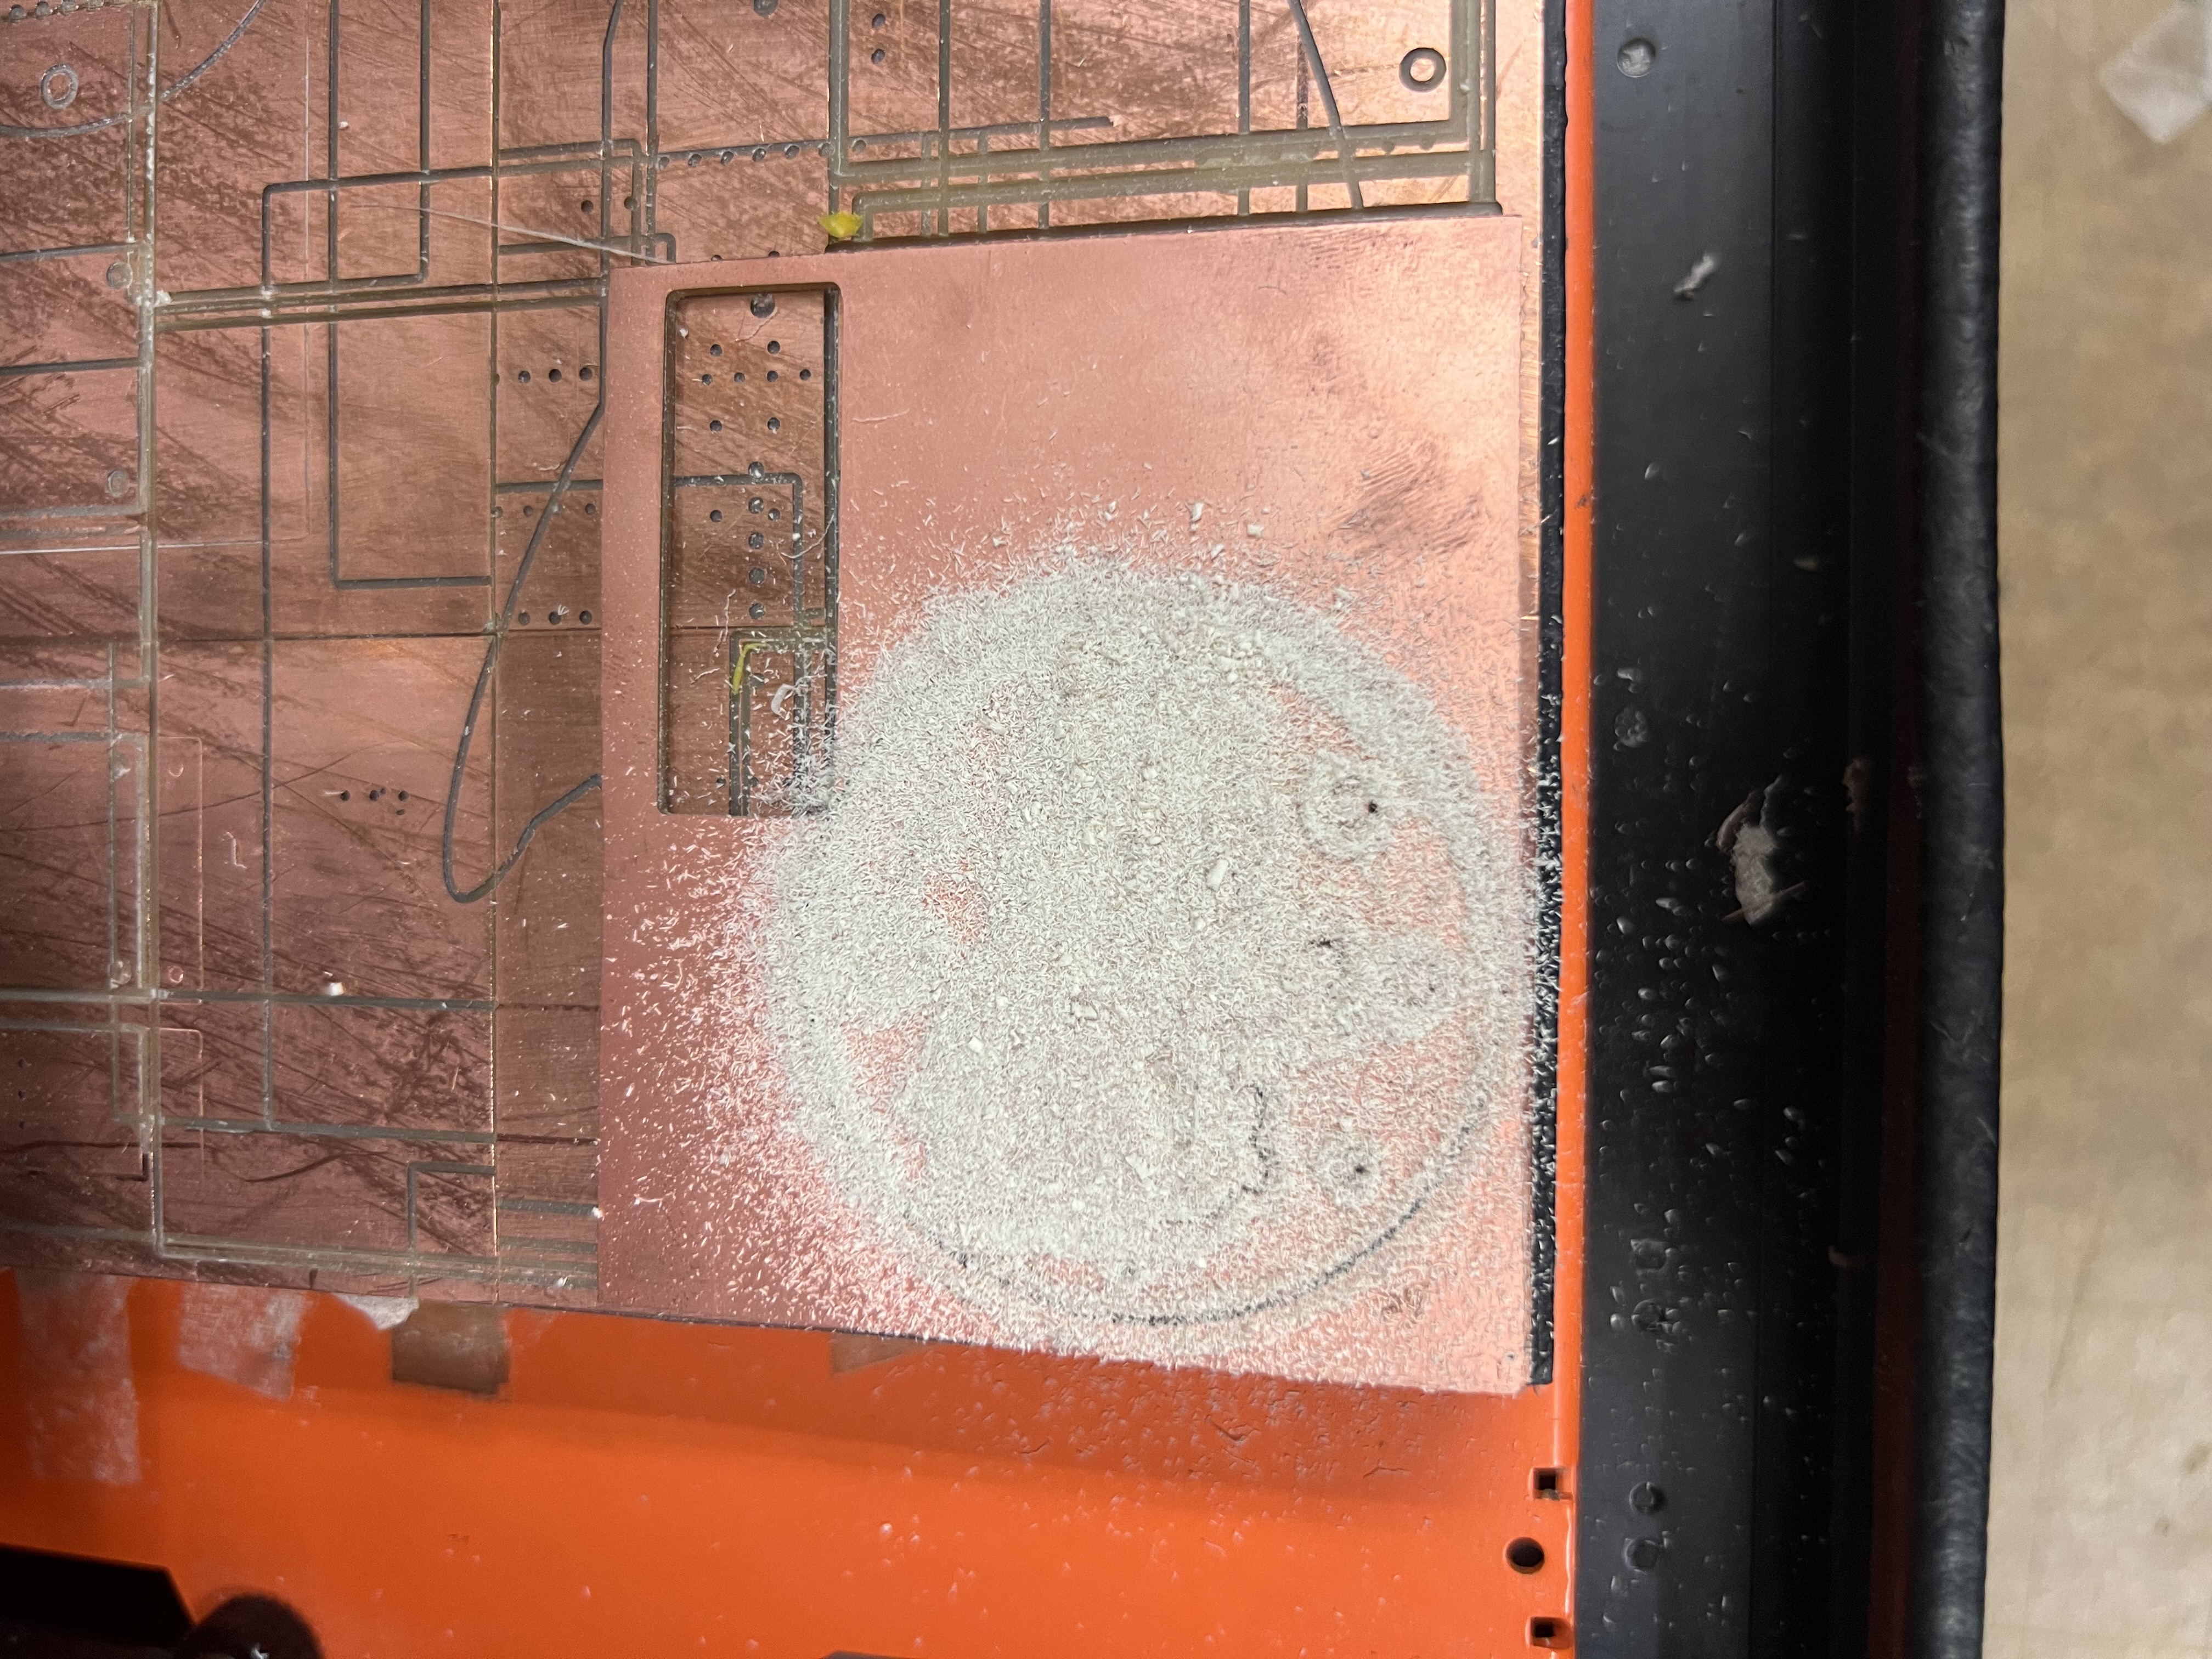
Using powder to make the milled traces easier to inspect.Action shot of the mill carving out the circular pads.Second job: cutting the circular outline and holes.
Babysitting the mill to make sure the pads survived the cutout.Recycling a XIAO and making sure the headers & pads still worked.
Soldering the XIAO and cleaning up joints.Rework: replacing the XIAO with headers/pins that made more sense mechanically.Re-sticking the board for a later clean-up pass.
What I Measured
Baseline: idle counts per pad (averaged over ~5–10 seconds).
Touch step: delta from idle when finger fully contacts copper.
Stability: drift over time; effect of USB grounding and hand proximity.
Most of the interesting behavior showed up directly in the Serial Monitor, so this section is more text and numbers than pretty plots.
Debugging Notes
4194303 forever: means “not a touch pin.” Solution: use TOUCH8/TOUCH9 on D9/D10.
Noisy readings: bigger copper area, shorter wire, and a solid ground reference help a lot.
Silk vs copper icons: copper artwork reduces pad area; silk keeps full area for sensing.
Mask opening: exposing copper increases coupling (but protect against oxidation if needed).
KiCad / Mods moment: struggling with through-hole settings and drill files.One of the early “messed up traces” boards that informed the final design.