Week 7: Computer-Controlled Machining
Part I: Cutting out a cat dresser
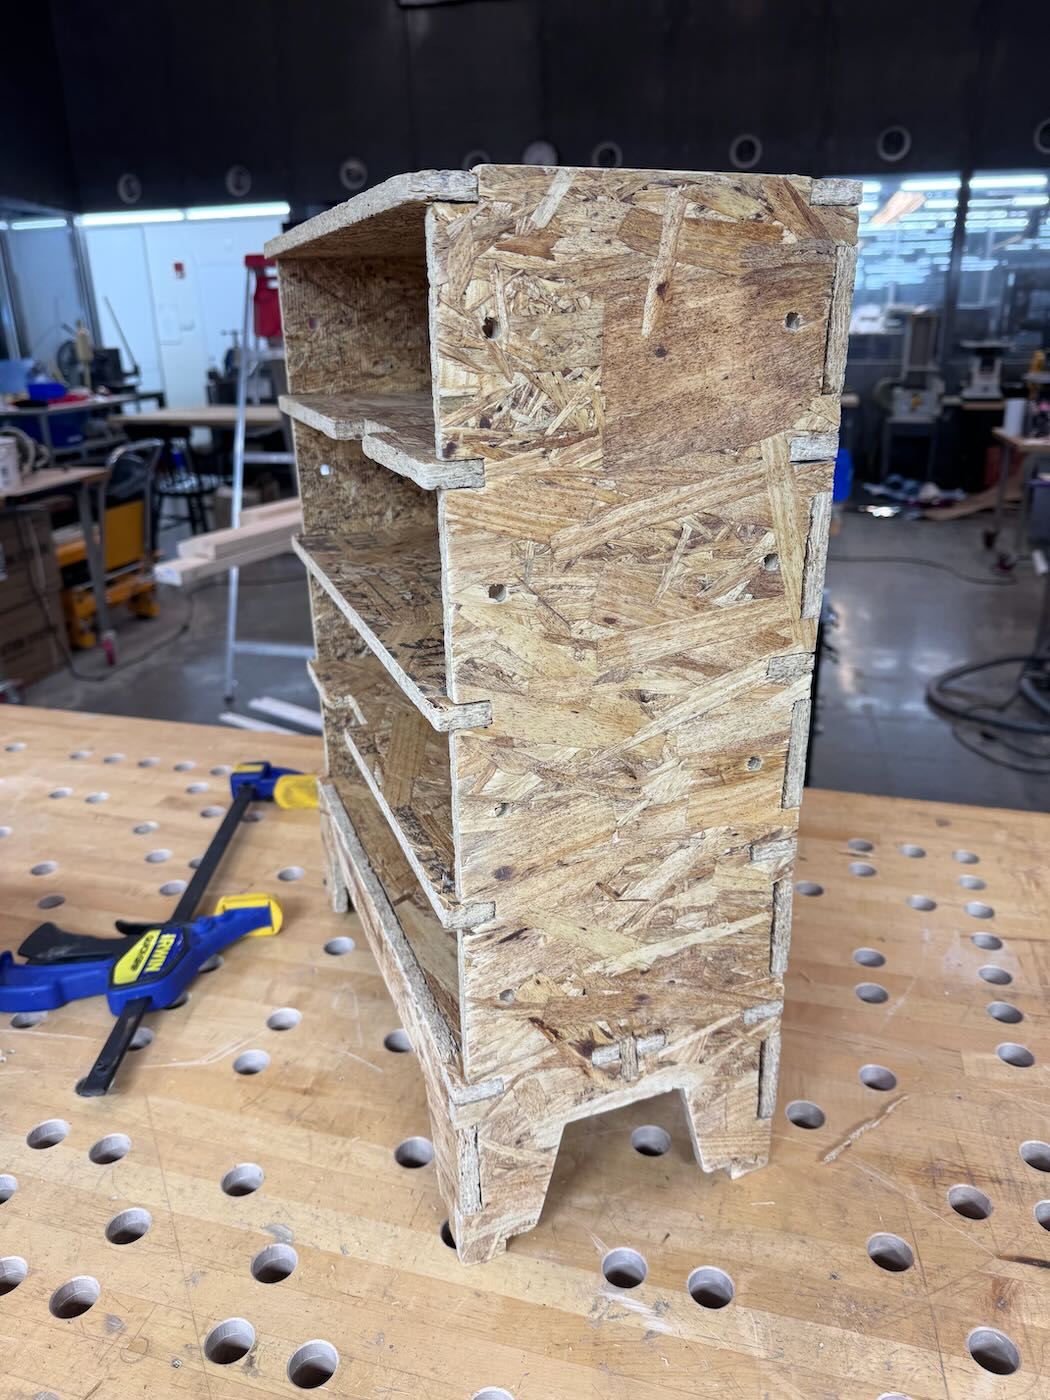
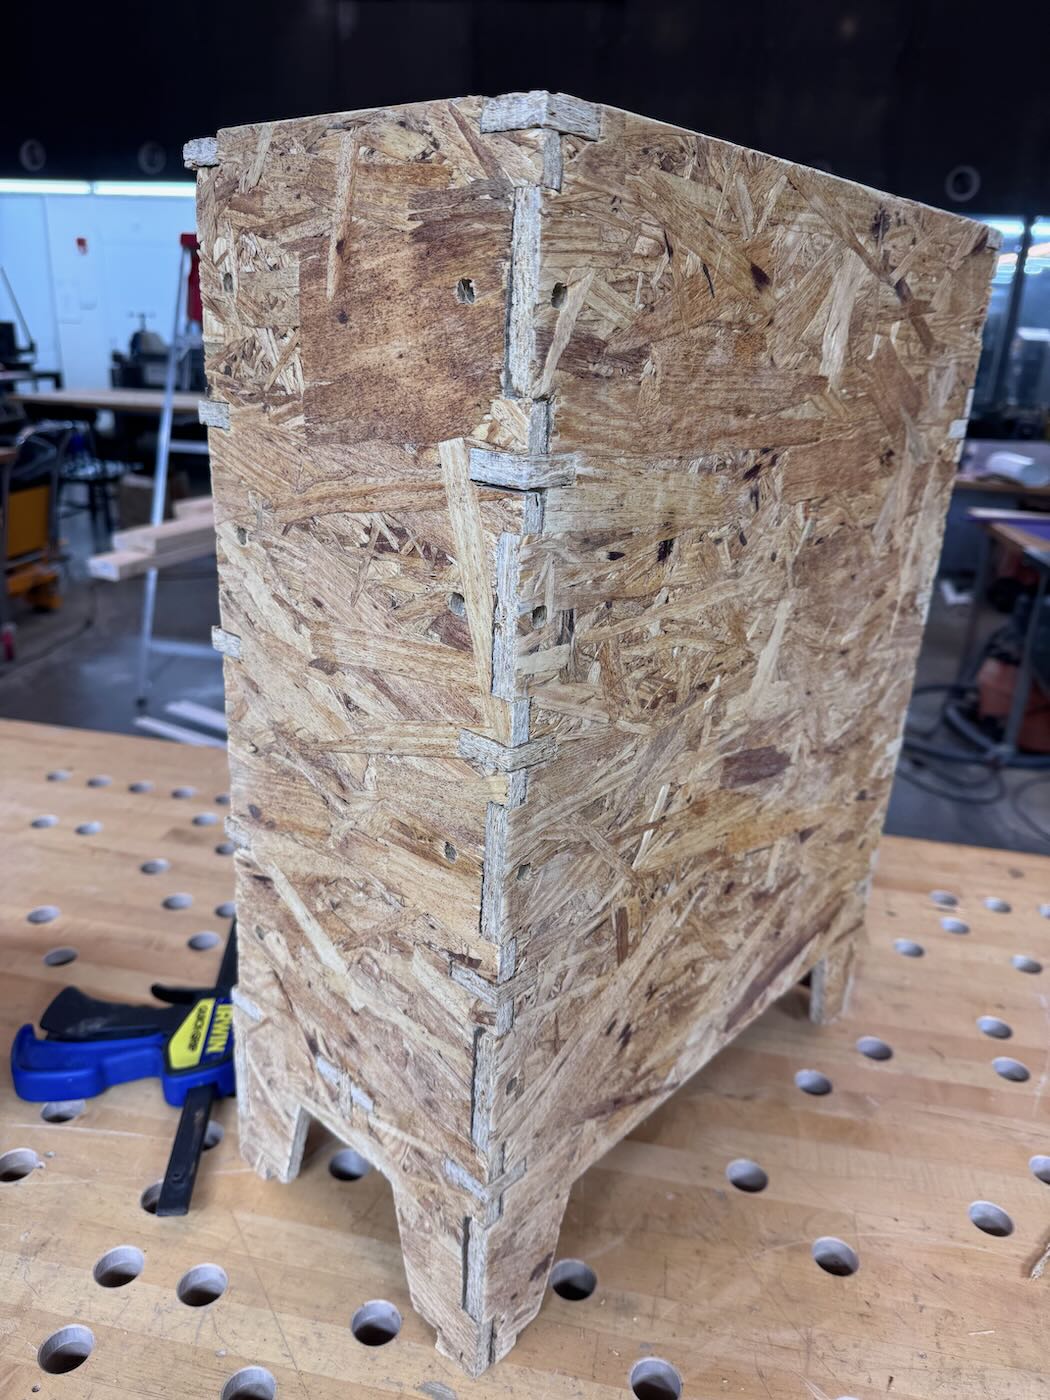
My only prior experience with CAM is to surface a wood slab to make a coffee table. I was excited to cutout parts to assemble a 3D structure. I signed up for the first available safety training and (inadvertently) the second available ShopBot slot in the CBA shop. Due to time constraints, I picked a design from the atfab, specifically the four drawer vertical dresser. Realizing the provisioned stock was only 4' by 8', I decided to make miniture furniture for my two cats. I scaled down the CAD desing to fit without the stock material size. Dan helped me set up three manufacturing toolpaths: a down-cut, up-cut, and notch cut. Because there was a lot of cuts made in only 1.5 hours, we set the spindle speed to 8000 RPM and feedrate to 200 in/min with a plunge feedrate of 100 in/min and ramp feedrate of 100 in/min. 0.2' for the down-cut and the full 0.46' for the up-cut. The notch was 0.2'.
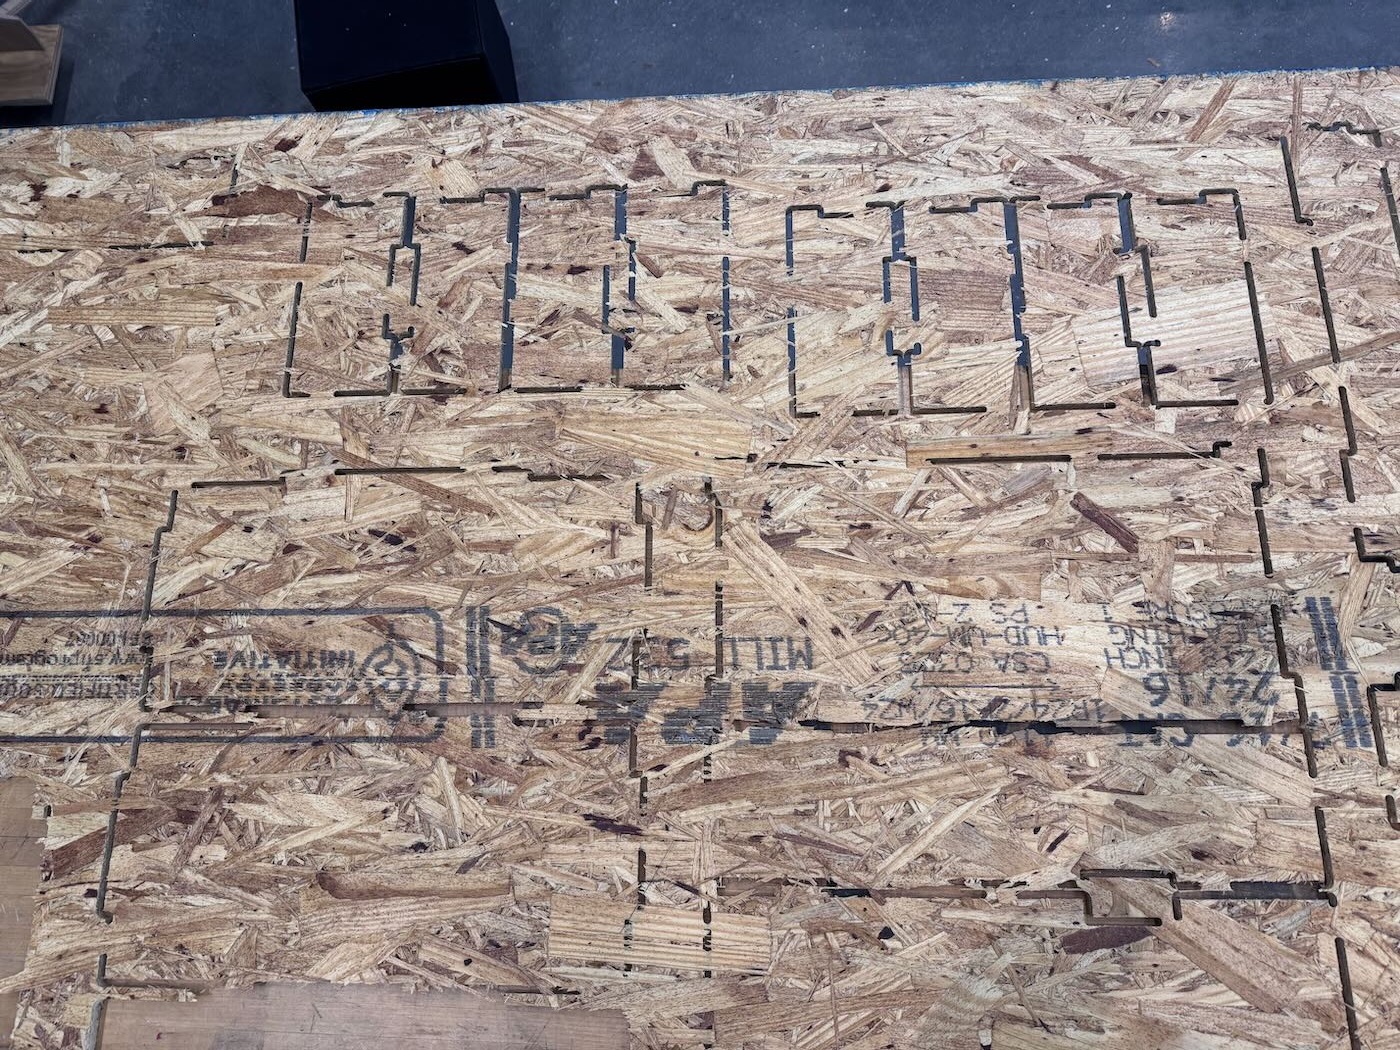
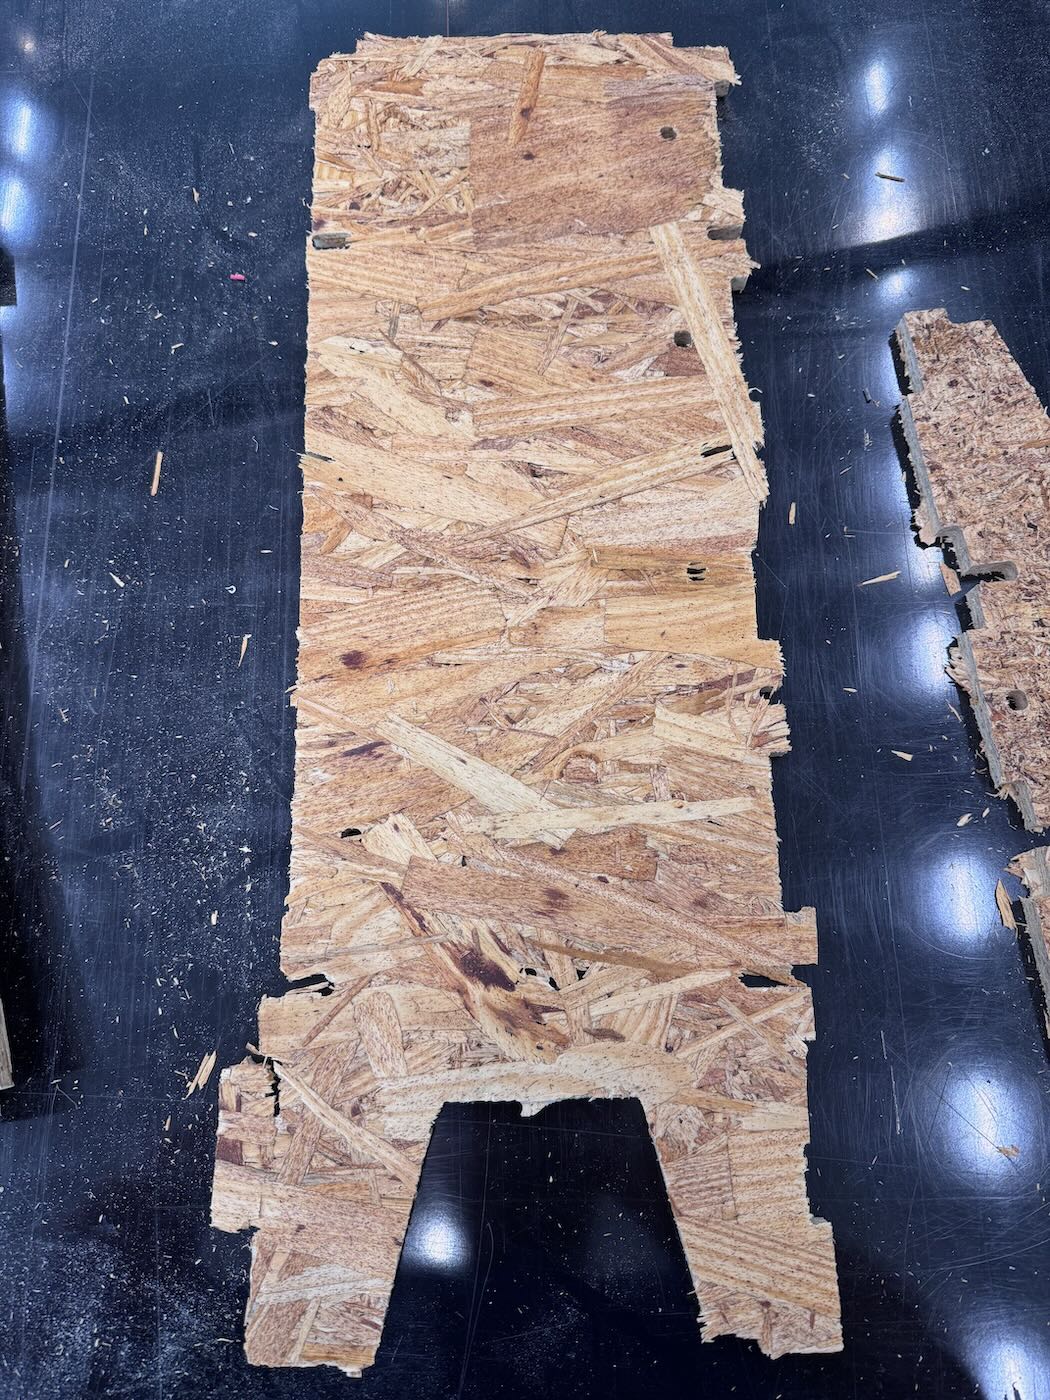
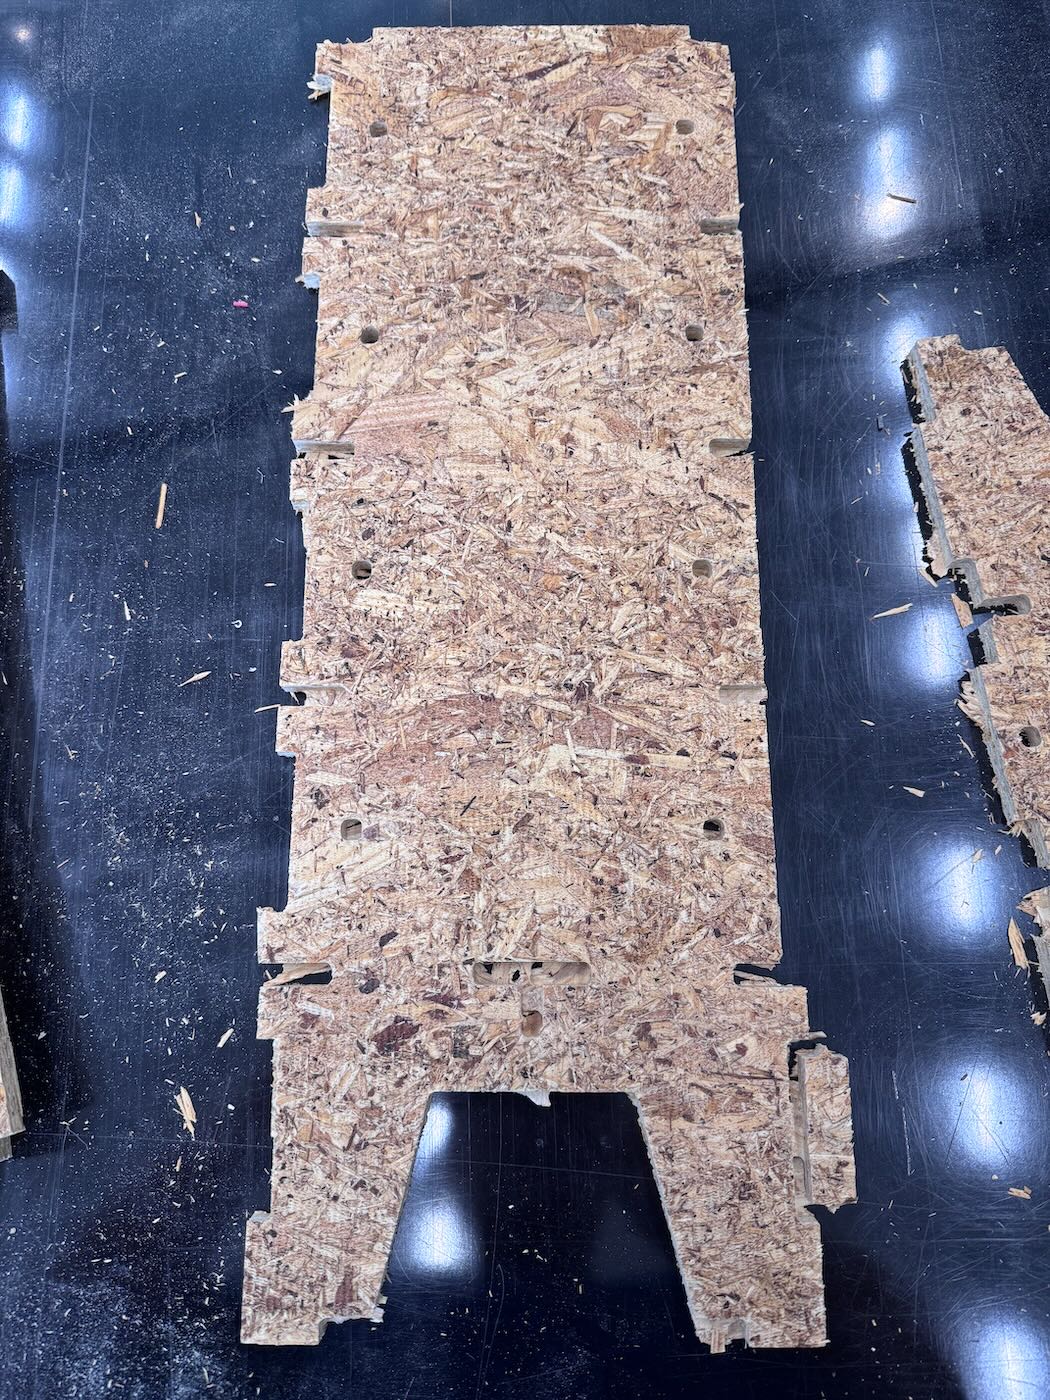
Because of the tabs, I needed to cut out the parts from the stock with a saw and chisel. The stock material is very soft, so cutting out the parts was fairly easy.
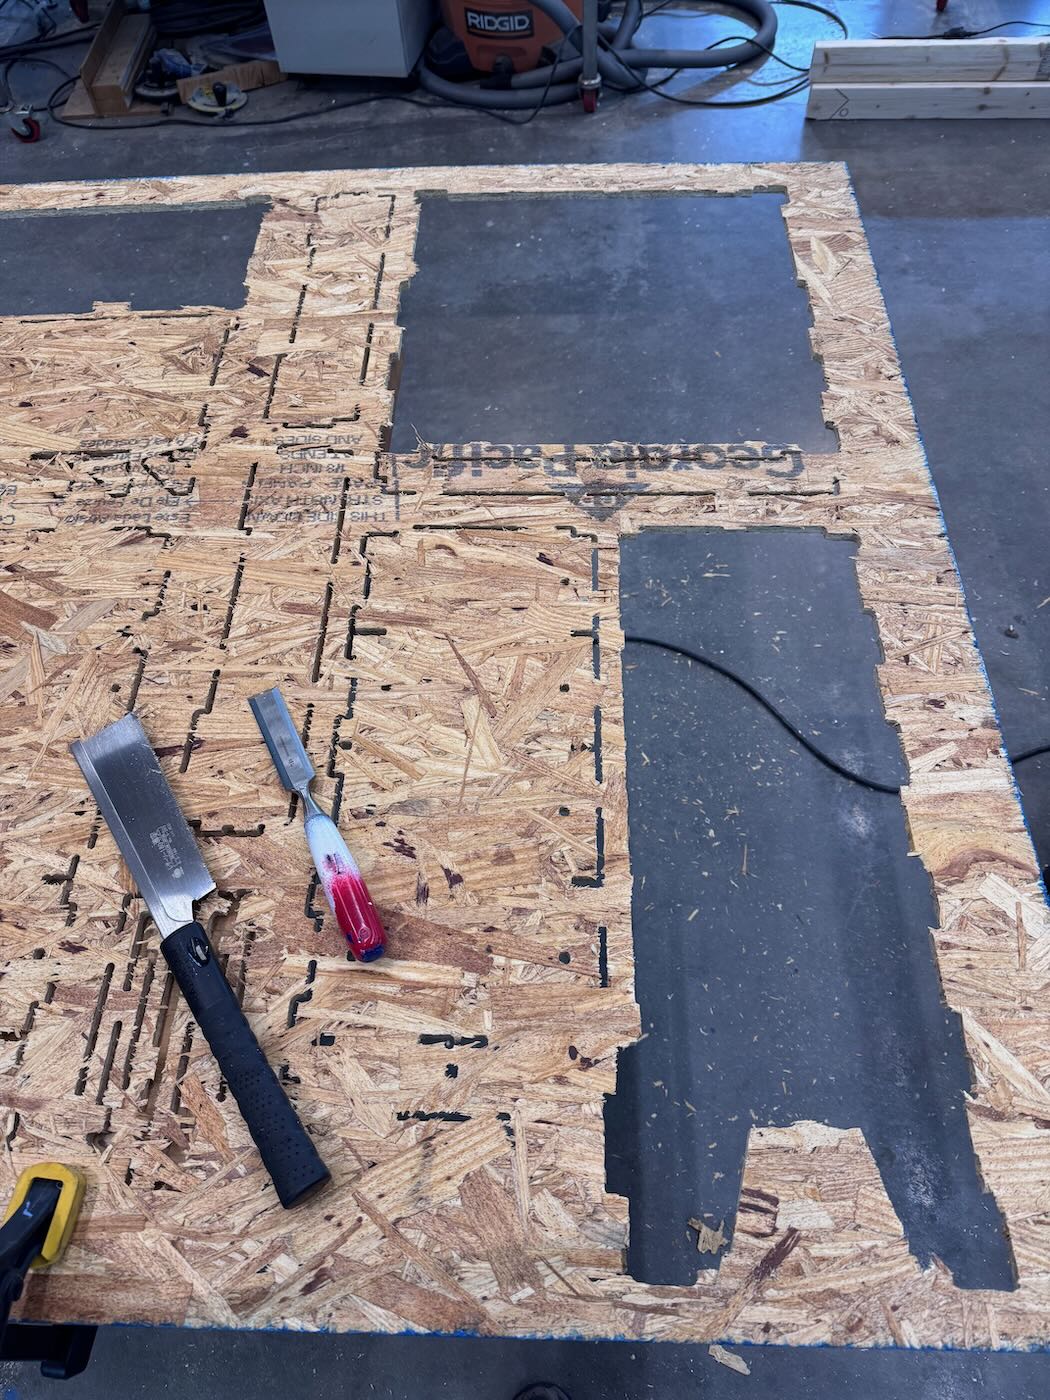
After removing all the pieces from the stock, I needed to clean up all the tab remanants and the incomplete cuts. So I used the bandsaw to trim the edges of each part. I cut the particle grain side (interior) down since I want to avoid tearout on the exterior of the material.
Part II: An exercise in the bandsaw
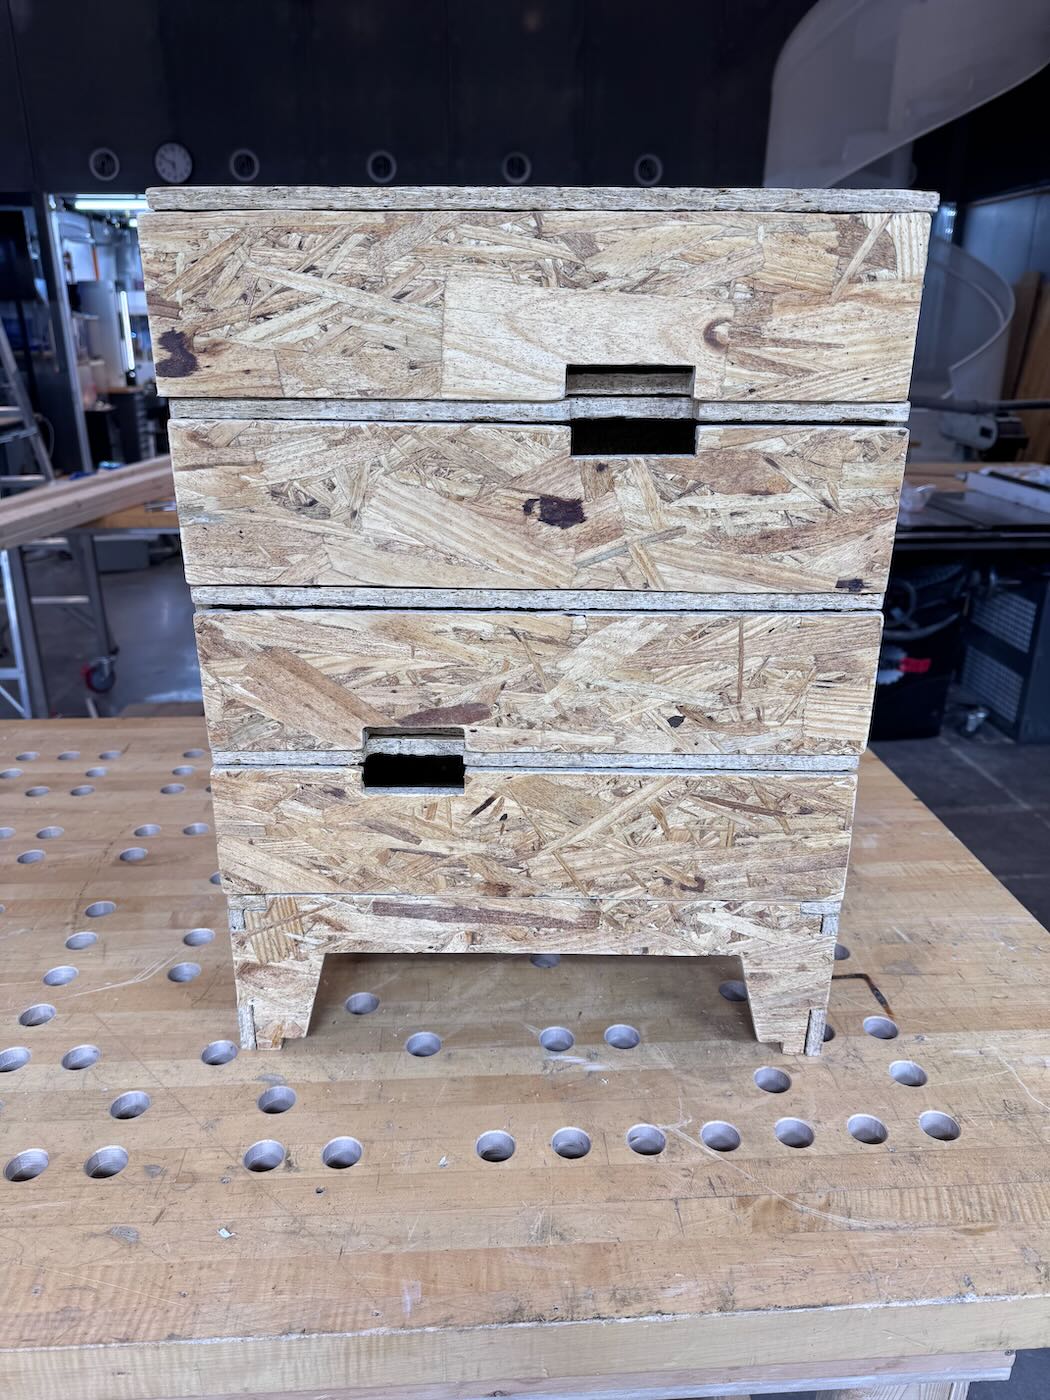
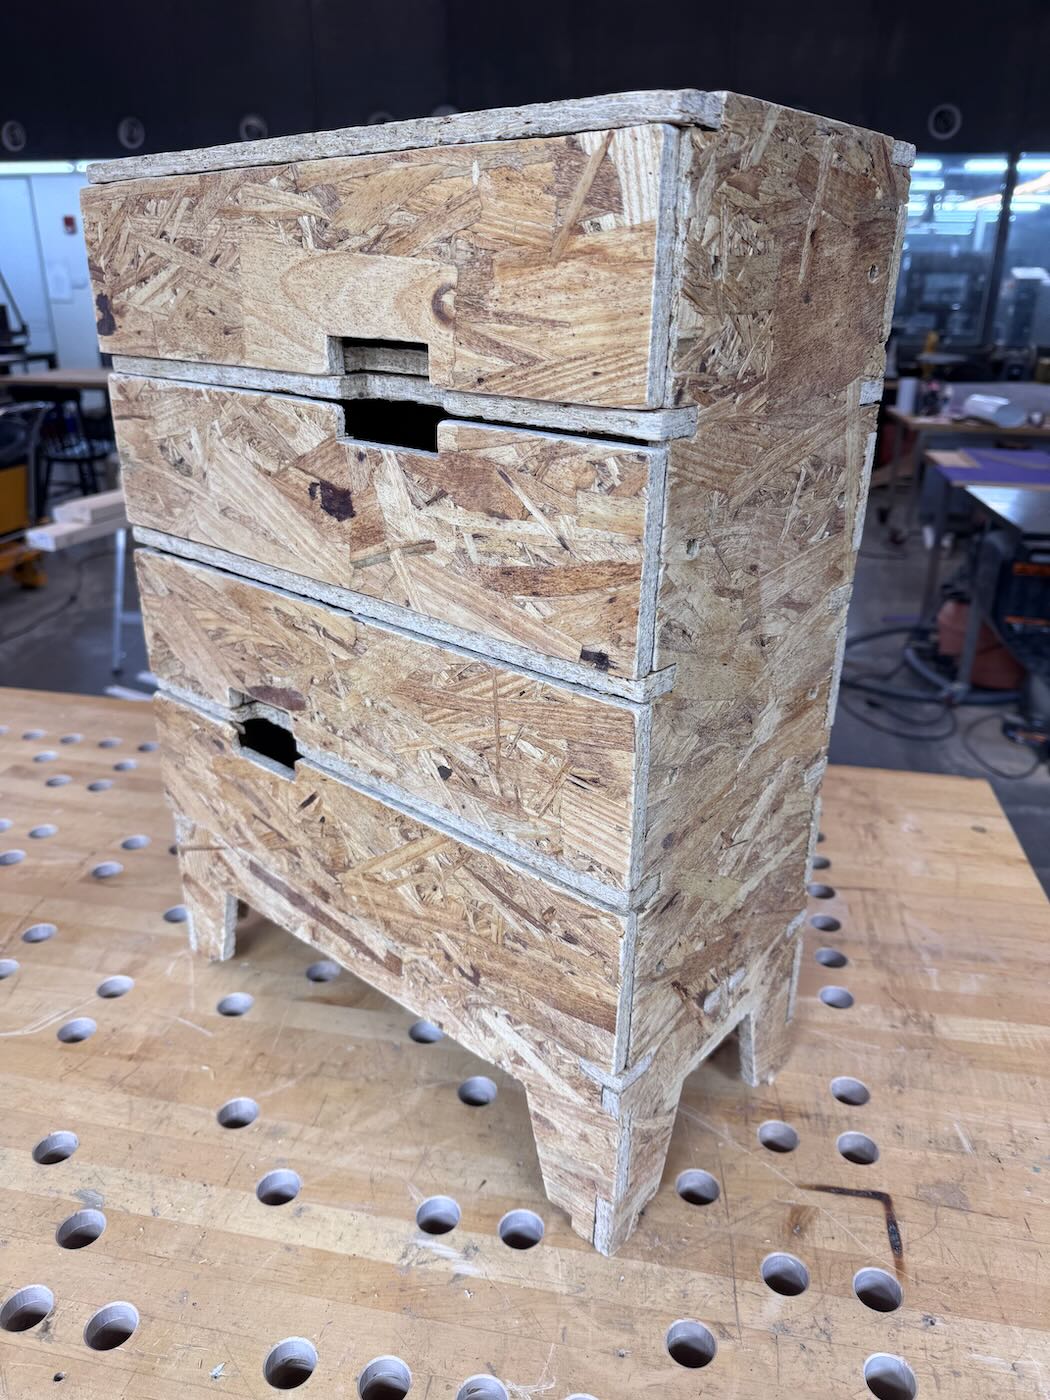
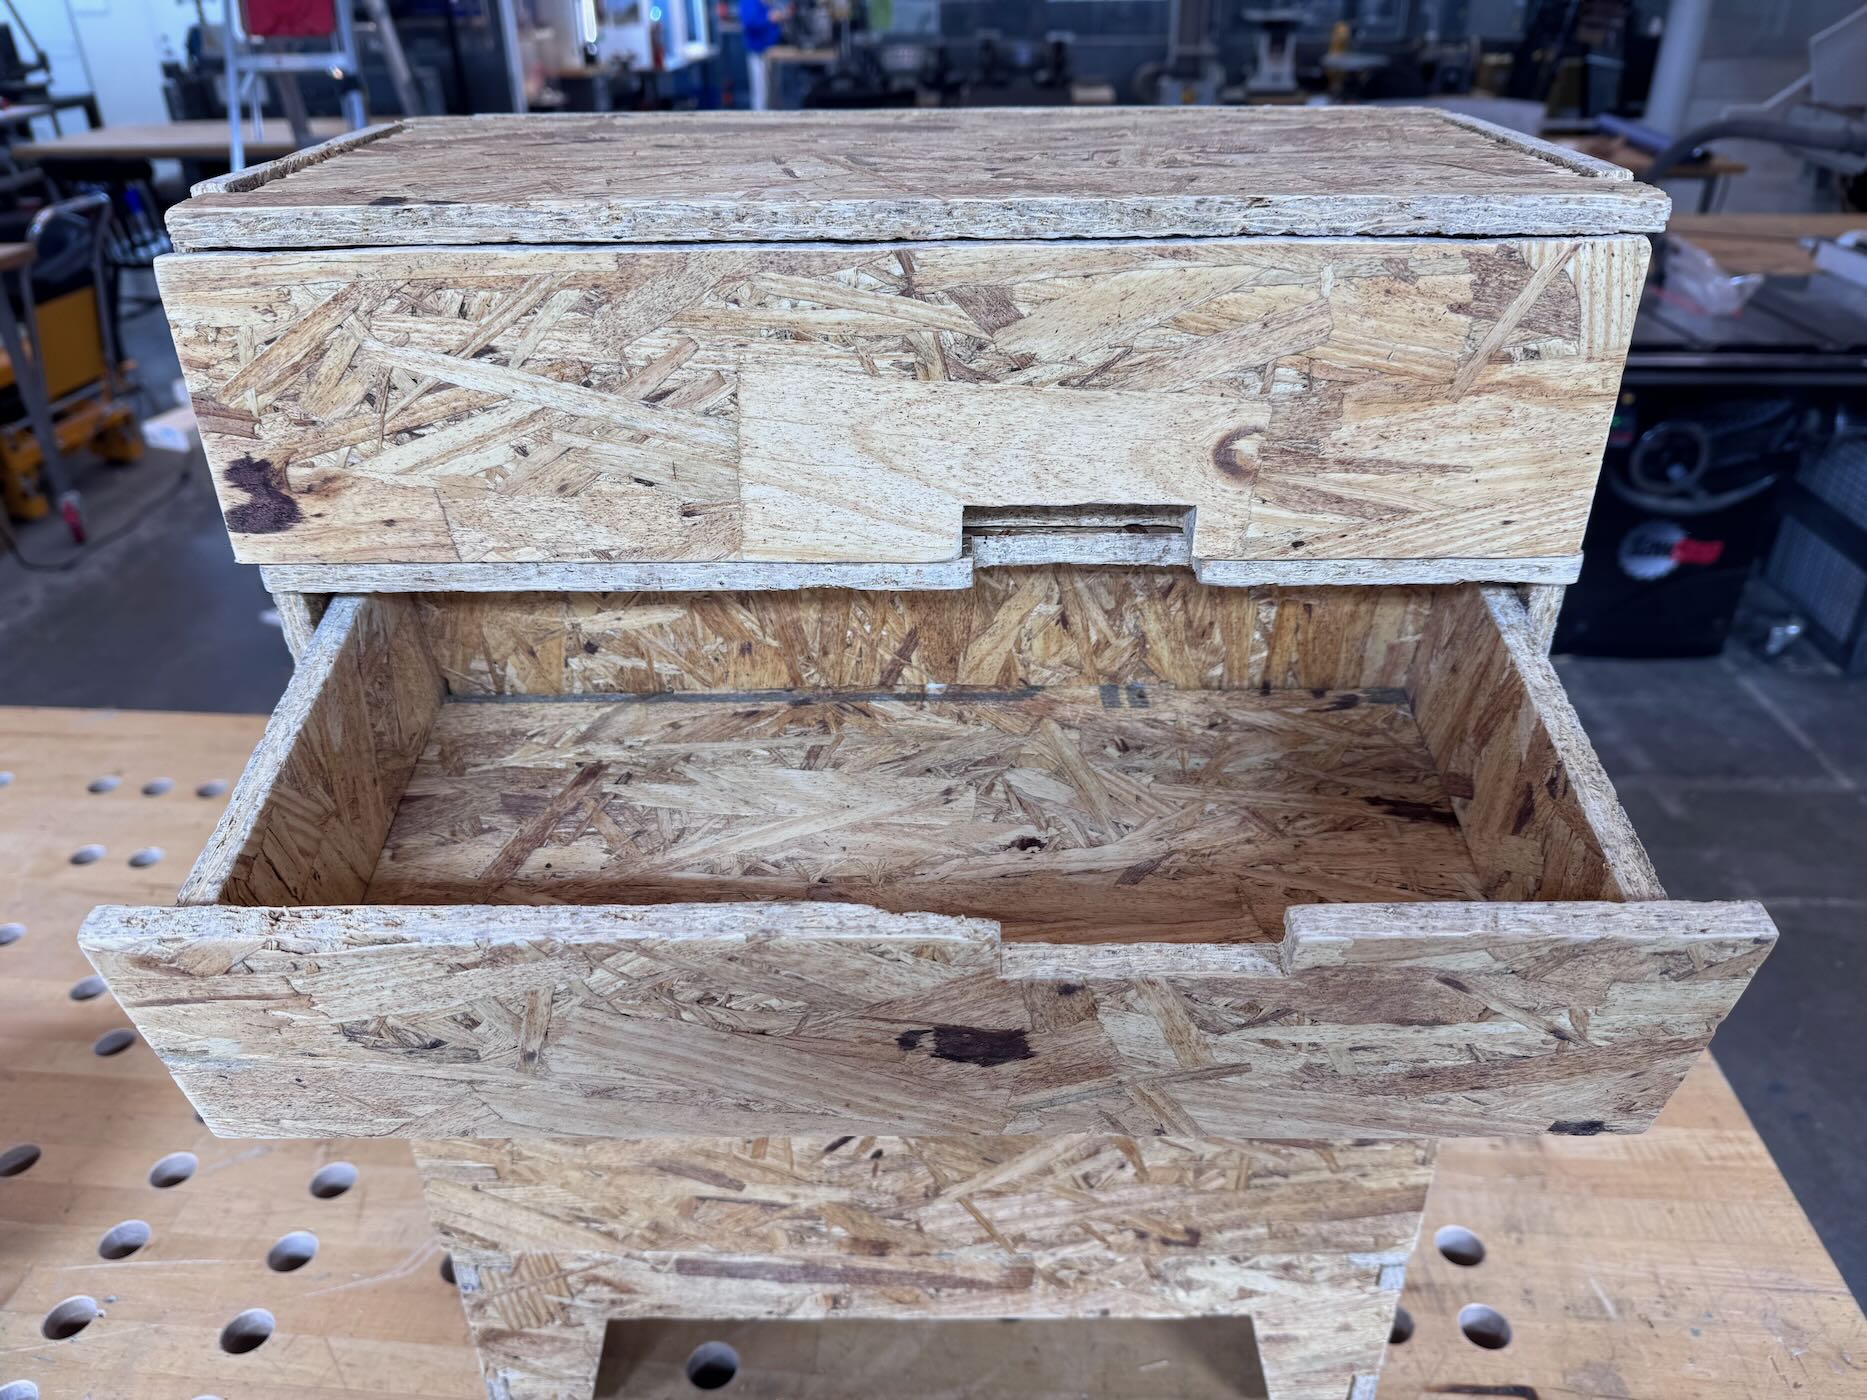
After cleaning up each part and dry fitting the pieces to test, I noticed/encountered several issues. I neglected to change the join notch widthes to the thickness of the stock (0.455' to 0.465') so none of the the pieces fit together. Another issue was that for one of the drawer back panel's, I must have accidently left the toolpath to trace the inside of the part rather than the outside of the part so that there was a discrepancy of about 1/4' between the intended shape outline and the actual outline.
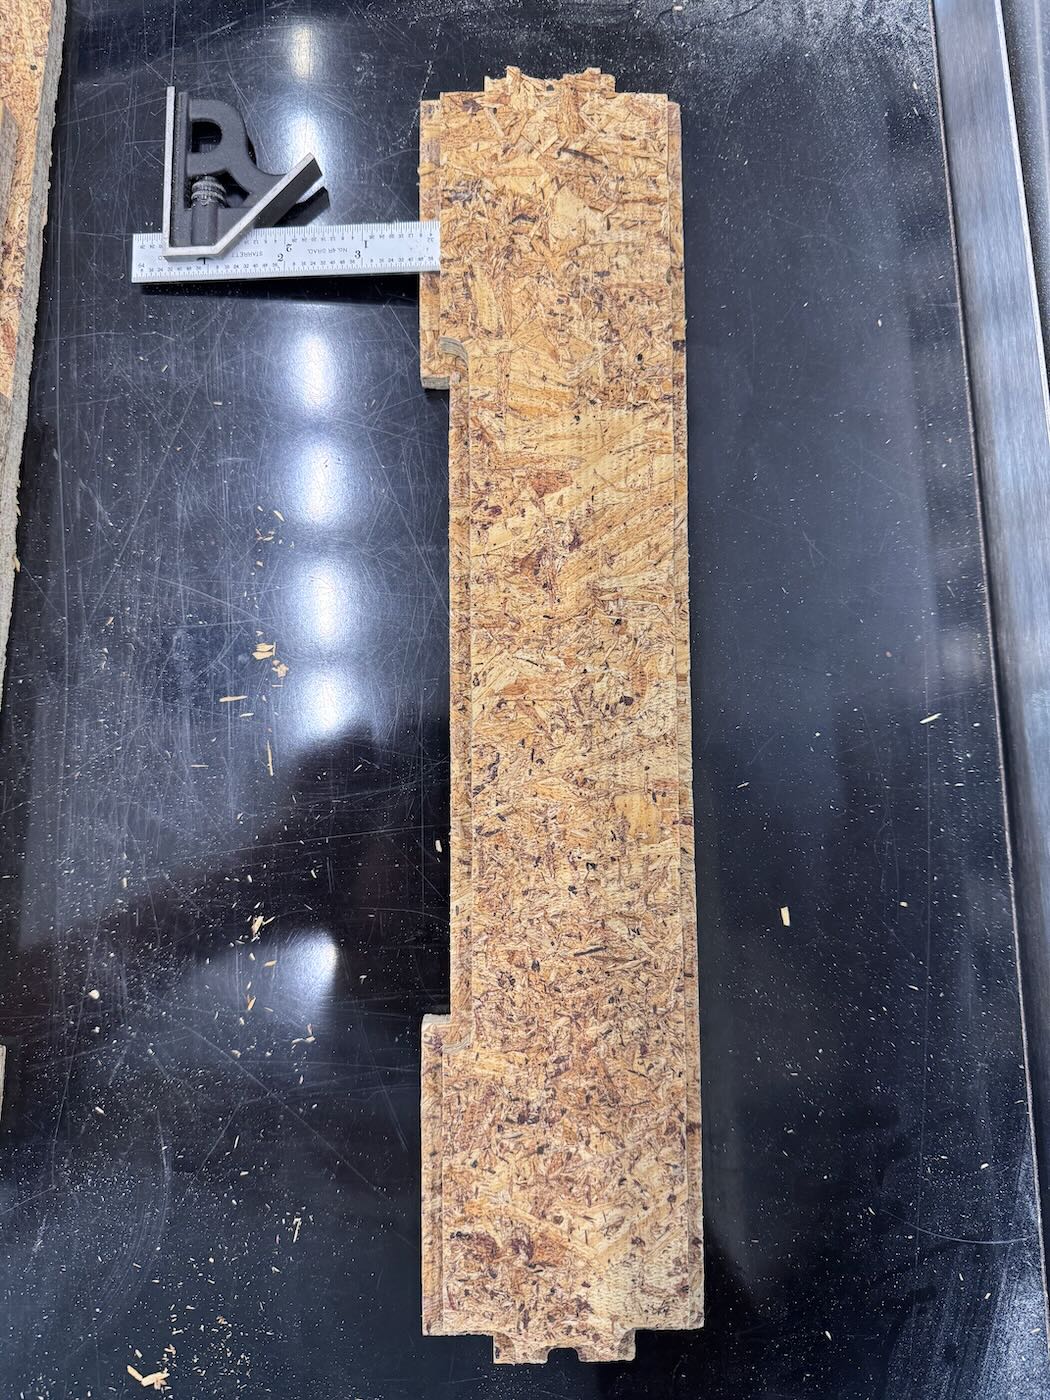
After realizing this mistake, I decided to use the bandsaw to correct the joinery notches to the thickness of the stock. I used a square to measure and marked each notch with a marker to indicate where to cut. I also fixed the misscut back panel be glueing extra pieces of stock to get tail to fit in the pin heads of the rest of the drawer. After many hours of the bandsaw, I was able to test fit the dresser and continue with the glue up.
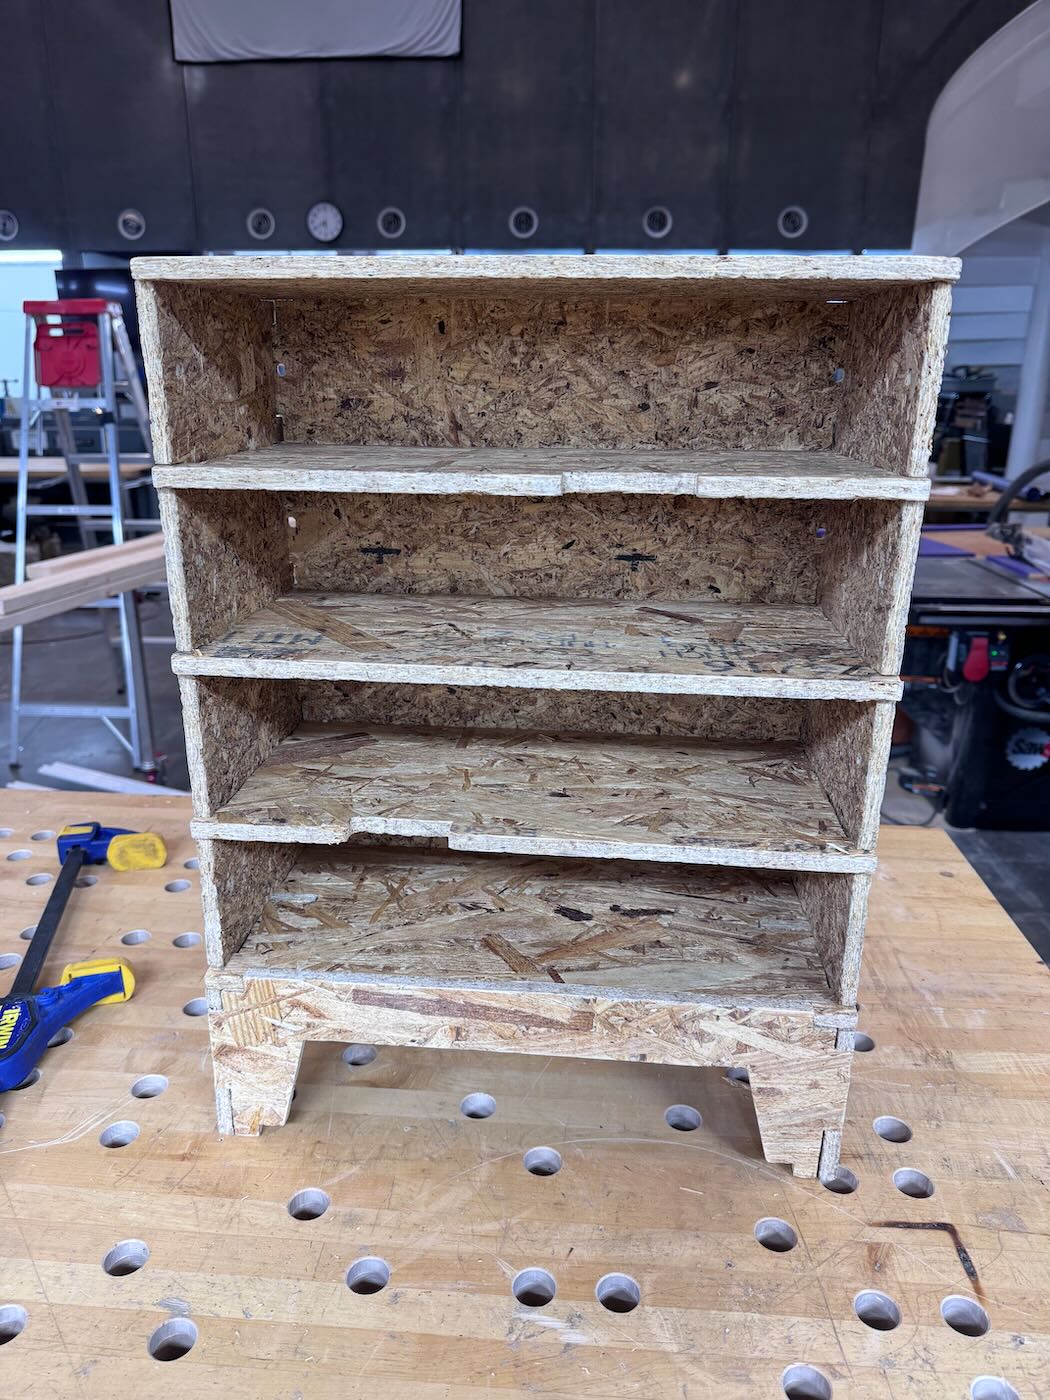
After fitting and glueing with wood glue, I sanded the frame and drawers to smooth the surface and reduce the splinters in the material.