I have experimented with different fiber arts a few times in my life (two failed attempts to take up knitting, one currently underway endeavor to learn to sew, brief foray into hand embroidery for an art project) and was excited to see embroidery offered on the "Wildcard Week" menu. Having only experienced fiber arts by hand, treating this as a digital fabrication process was a new way of thinking about it for me.
In the spirit of this historically feminine craft I decided to take this opportunity to solve a domestic problem in my home. I recently acquired a king-sized mattress and corresponding duvet, which are wonderful, except that my partner and I have only about a 50% success rate at putting the gigantic, almost-square duvet into its cover the right way, and we have a 0% success rate at correcting these errors before laundry day when they do happen, even though they are very annoying. Embroidery to the rescue: it is time to sew some simple tags onto the corners of the duvet so we know which side is which!
Embroidery: Process
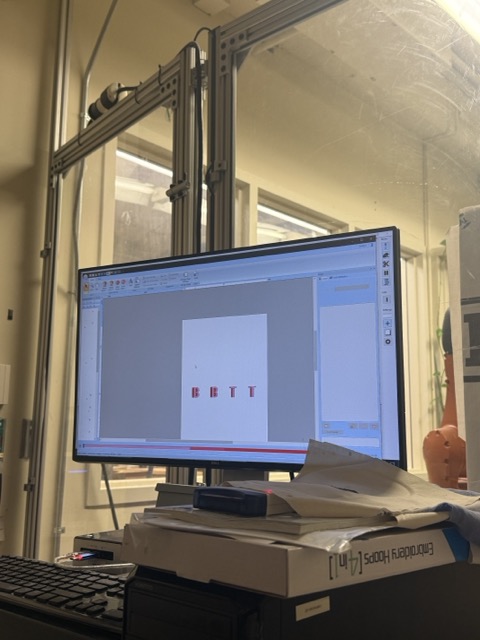
The first step to digital embroidery is to make a .PNG image. I used Adobe Illustrator to create the below tag with two "bottom" markers and two "top" markers:
Next, this PNG can be brought into the shop computer via USB and opened in Inkscape where we create a bitmap. This is a bit of a buggy step because Inkscape is extremely sensitive to color, so even in a high resolution PNG it interprets subtle additional colors in the graded pixels between sharp boundaries. These create extra steps downstream but in my case did not significantly influence the final appearance of the embroidery.
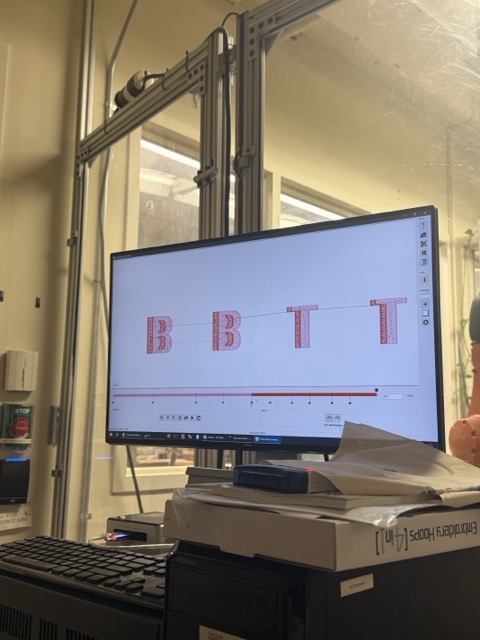
Inkscape has a plugin called Inkstitch that allows us to create a simulation of the embroidery machine toolpath and output a .pes Brother embroidery file. Gert says as long as you can simulate something with this software, you can embroider it on the machine.
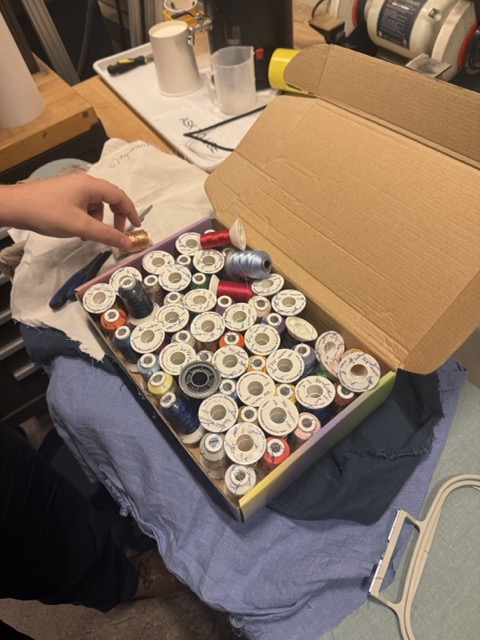
Next, we set up the materials. This requires choosing colored threads from the selection:
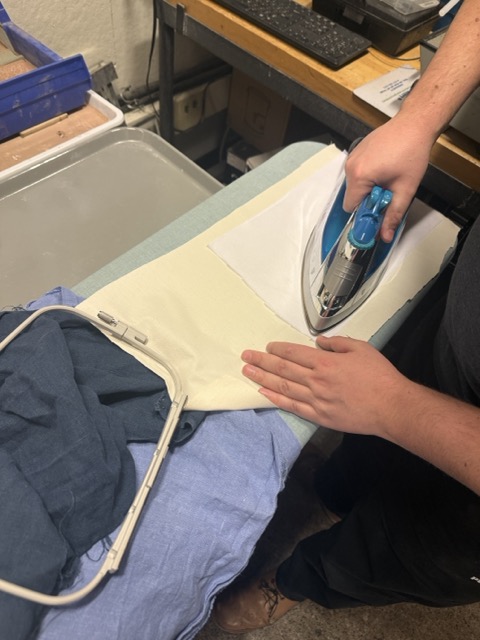
And then preparing the fabric medium. This can be anything, but I wanted muslin because it is light and cotton. The fabric needs to be prepared with an iron-on backing to strengthen it:
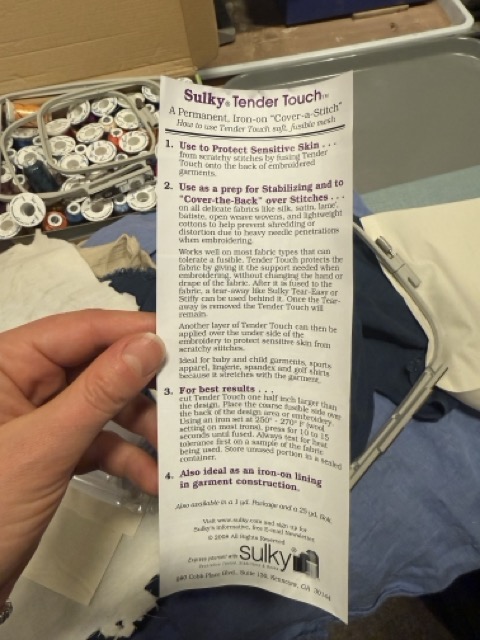
And the instructions for this are important because it is possible to ruin an iron by applying heat to the adhesive side of the fabric backing. Also, it is possible to ruin the backing itself by leaving unopened packages of it out for too long because it is temperature sensitive and therefore "perishable" in a sense. Here are the package directions from the backing we opened since the previous roll had degraded:
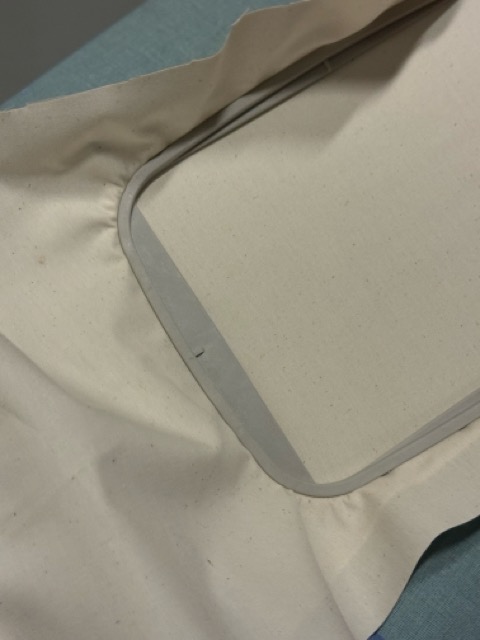
Once the backing is ironed on, it gets stretched between two hoops that then tighten with a small screw to hold it taut:
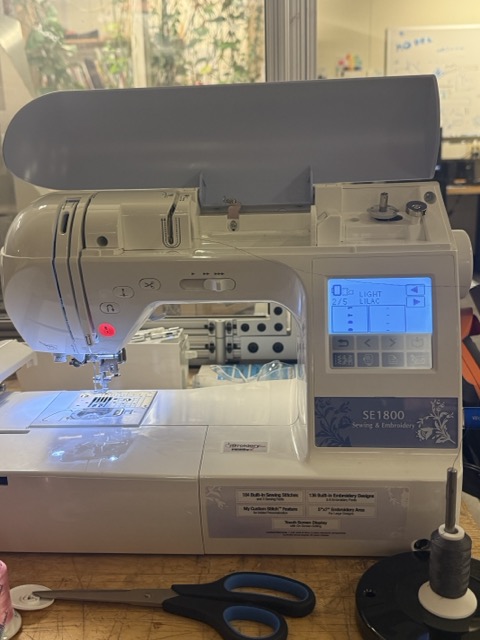
This piece is now ready to go in the machine. To set up the machine, we threaded the colored top thread through the guides on the top of the machine and inserted a bobbin threaded with white thread in the bottom reservoir. Then we loaded the .pes file into the machine using a USB. The touchscreen interface on the machine showed the different stages of sewing (there were five when there should have been two colors because of the Inkscape grading) and prompted us to change the thread when needed.
Then, simple enough, we press the green glowing button and off it goes!
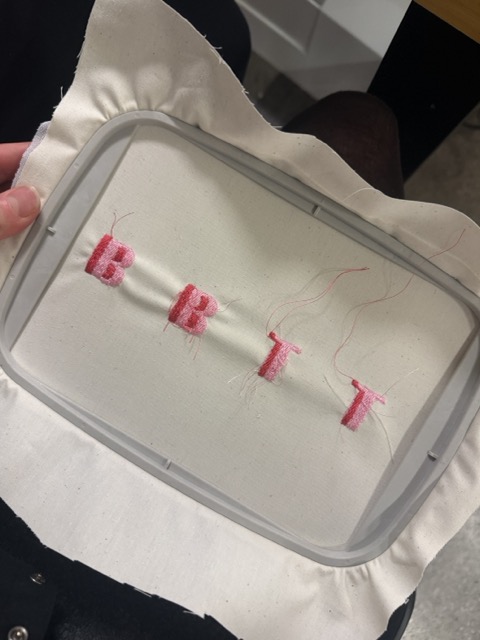
During sewing it was important to watch and listen to the machine to notice signs of trouble, like a clacking noise that signaled the top thread had been caught in the teeth of the sewing bed and needed to be disentangled. It was also useful to trim the threads between letters as we went along to avoid further tangling. The final product was slightly inconsistent in its tension and flatness but overall a pretty good representation of the design:
Now to trim the tags apart, sew them into the duvet, and never suffer a misaligned bedspread again!
Trials and Tribulations
We struggled a bit with the sewing / embroidery machine this week:
The first day I came in the machine was not working at all; it was producing failures with knots of topthread on the back side of the embroidery, and loose loops on the front side. Eventually this was mitigated by moving the topthread spool to a different spindle outside of the machine, which may have impacted tension on the guides.
The second day we found strange artifacts in the Inkscape bitmap resulting from the interpolation of raster data from the PNG; these did not severely impact the actual embroidery but created unnecessary steps in the machine's parsing of the colors and toolpaths.
Learnings and Progress
Below is the delta between where I started on the skills for this week and where I arrived:
I have been learning to use my Singer Heavy Duty sewing machine at home across the semester, and I have made a lot of progress. See Christmas stockings I sewed below
Resources and Acknowledgments
Sincere thanks to Gert who offered the initial tutorial on Friday and regrouped with me on Monday, overcoming a misbehaving machine and a long day of exams. Hero!
 Next, this PNG can be brought into the shop computer via USB and opened in Inkscape where we create a bitmap. This is a bit of a buggy step because Inkscape is extremely sensitive to color, so even in a high resolution PNG it interprets subtle additional colors in the graded pixels between sharp boundaries. These create extra steps downstream but in my case did not significantly influence the final appearance of the embroidery.
 Inkscape has a plugin called Inkstitch that allows us to create a simulation of the embroidery machine toolpath and output a .pes Brother embroidery file. Gert says as long as you can simulate something with this software, you can embroider it on the machine.
 Next, we set up the materials. This requires choosing colored threads from the selection:
 And then preparing the fabric medium. This can be anything, but I wanted muslin because it is light and cotton. The fabric needs to be prepared with an iron-on backing to strengthen it:
 And the instructions for this are important because it is possible to ruin an iron by applying heat to the adhesive side of the fabric backing. Also, it is possible to ruin the backing itself by leaving unopened packages of it out for too long because it is temperature sensitive and therefore "perishable" in a sense. Here are the package directions from the backing we opened since the previous roll had degraded:
 Once the backing is ironed on, it gets stretched between two hoops that then tighten with a small screw to hold it taut:
 This piece is now ready to go in the machine. To set up the machine, we threaded the colored top thread through the guides on the top of the machine and inserted a bobbin threaded with white thread in the bottom reservoir. Then we loaded the .pes file into the machine using a USB. The touchscreen interface on the machine showed the different stages of sewing (there were five when there should have been two colors because of the Inkscape grading) and prompted us to change the thread when needed.
 Then, simple enough, we press the green glowing button and off it goes!
During sewing it was important to watch and listen to the machine to notice signs of trouble, like a clacking noise that signaled the top thread had been caught in the teeth of the sewing bed and needed to be disentangled. It was also useful to trim the threads between letters as we went along to avoid further tangling. The final product was slightly inconsistent in its tension and flatness but overall a pretty good representation of the design:
Then, simple enough, we press the green glowing button and off it goes!
During sewing it was important to watch and listen to the machine to notice signs of trouble, like a clacking noise that signaled the top thread had been caught in the teeth of the sewing bed and needed to be disentangled. It was also useful to trim the threads between letters as we went along to avoid further tangling. The final product was slightly inconsistent in its tension and flatness but overall a pretty good representation of the design:
 Now to trim the tags apart, sew them into the duvet, and never suffer a misaligned bedspread again!