Week 10
Molding & Casting
11/06/2025-11/13/2025
Group Assignment
Here's the link to our group assignment: group assignment
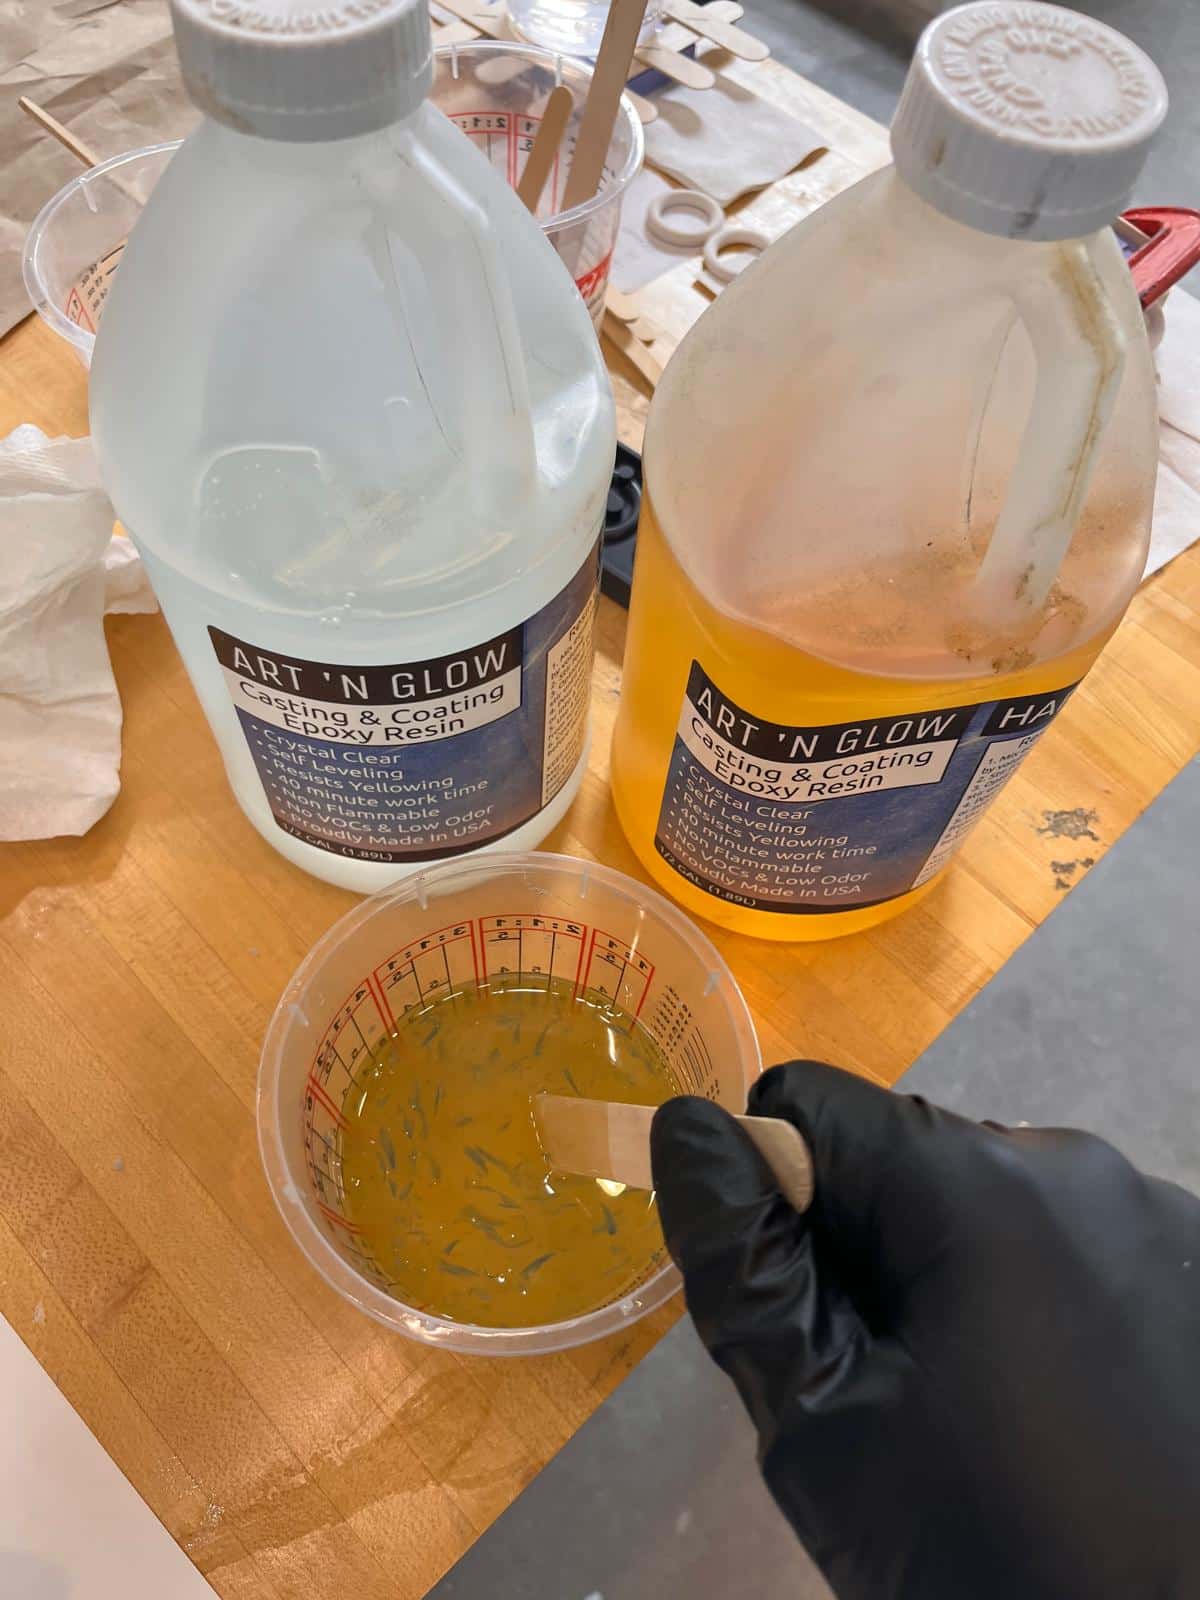
For the group assignment, I documented my use of the SLA for making the mold and ART 'N GLOW Epoxy Resin for casting, which is transparent and takes 24 hours for it to form.
Ideas
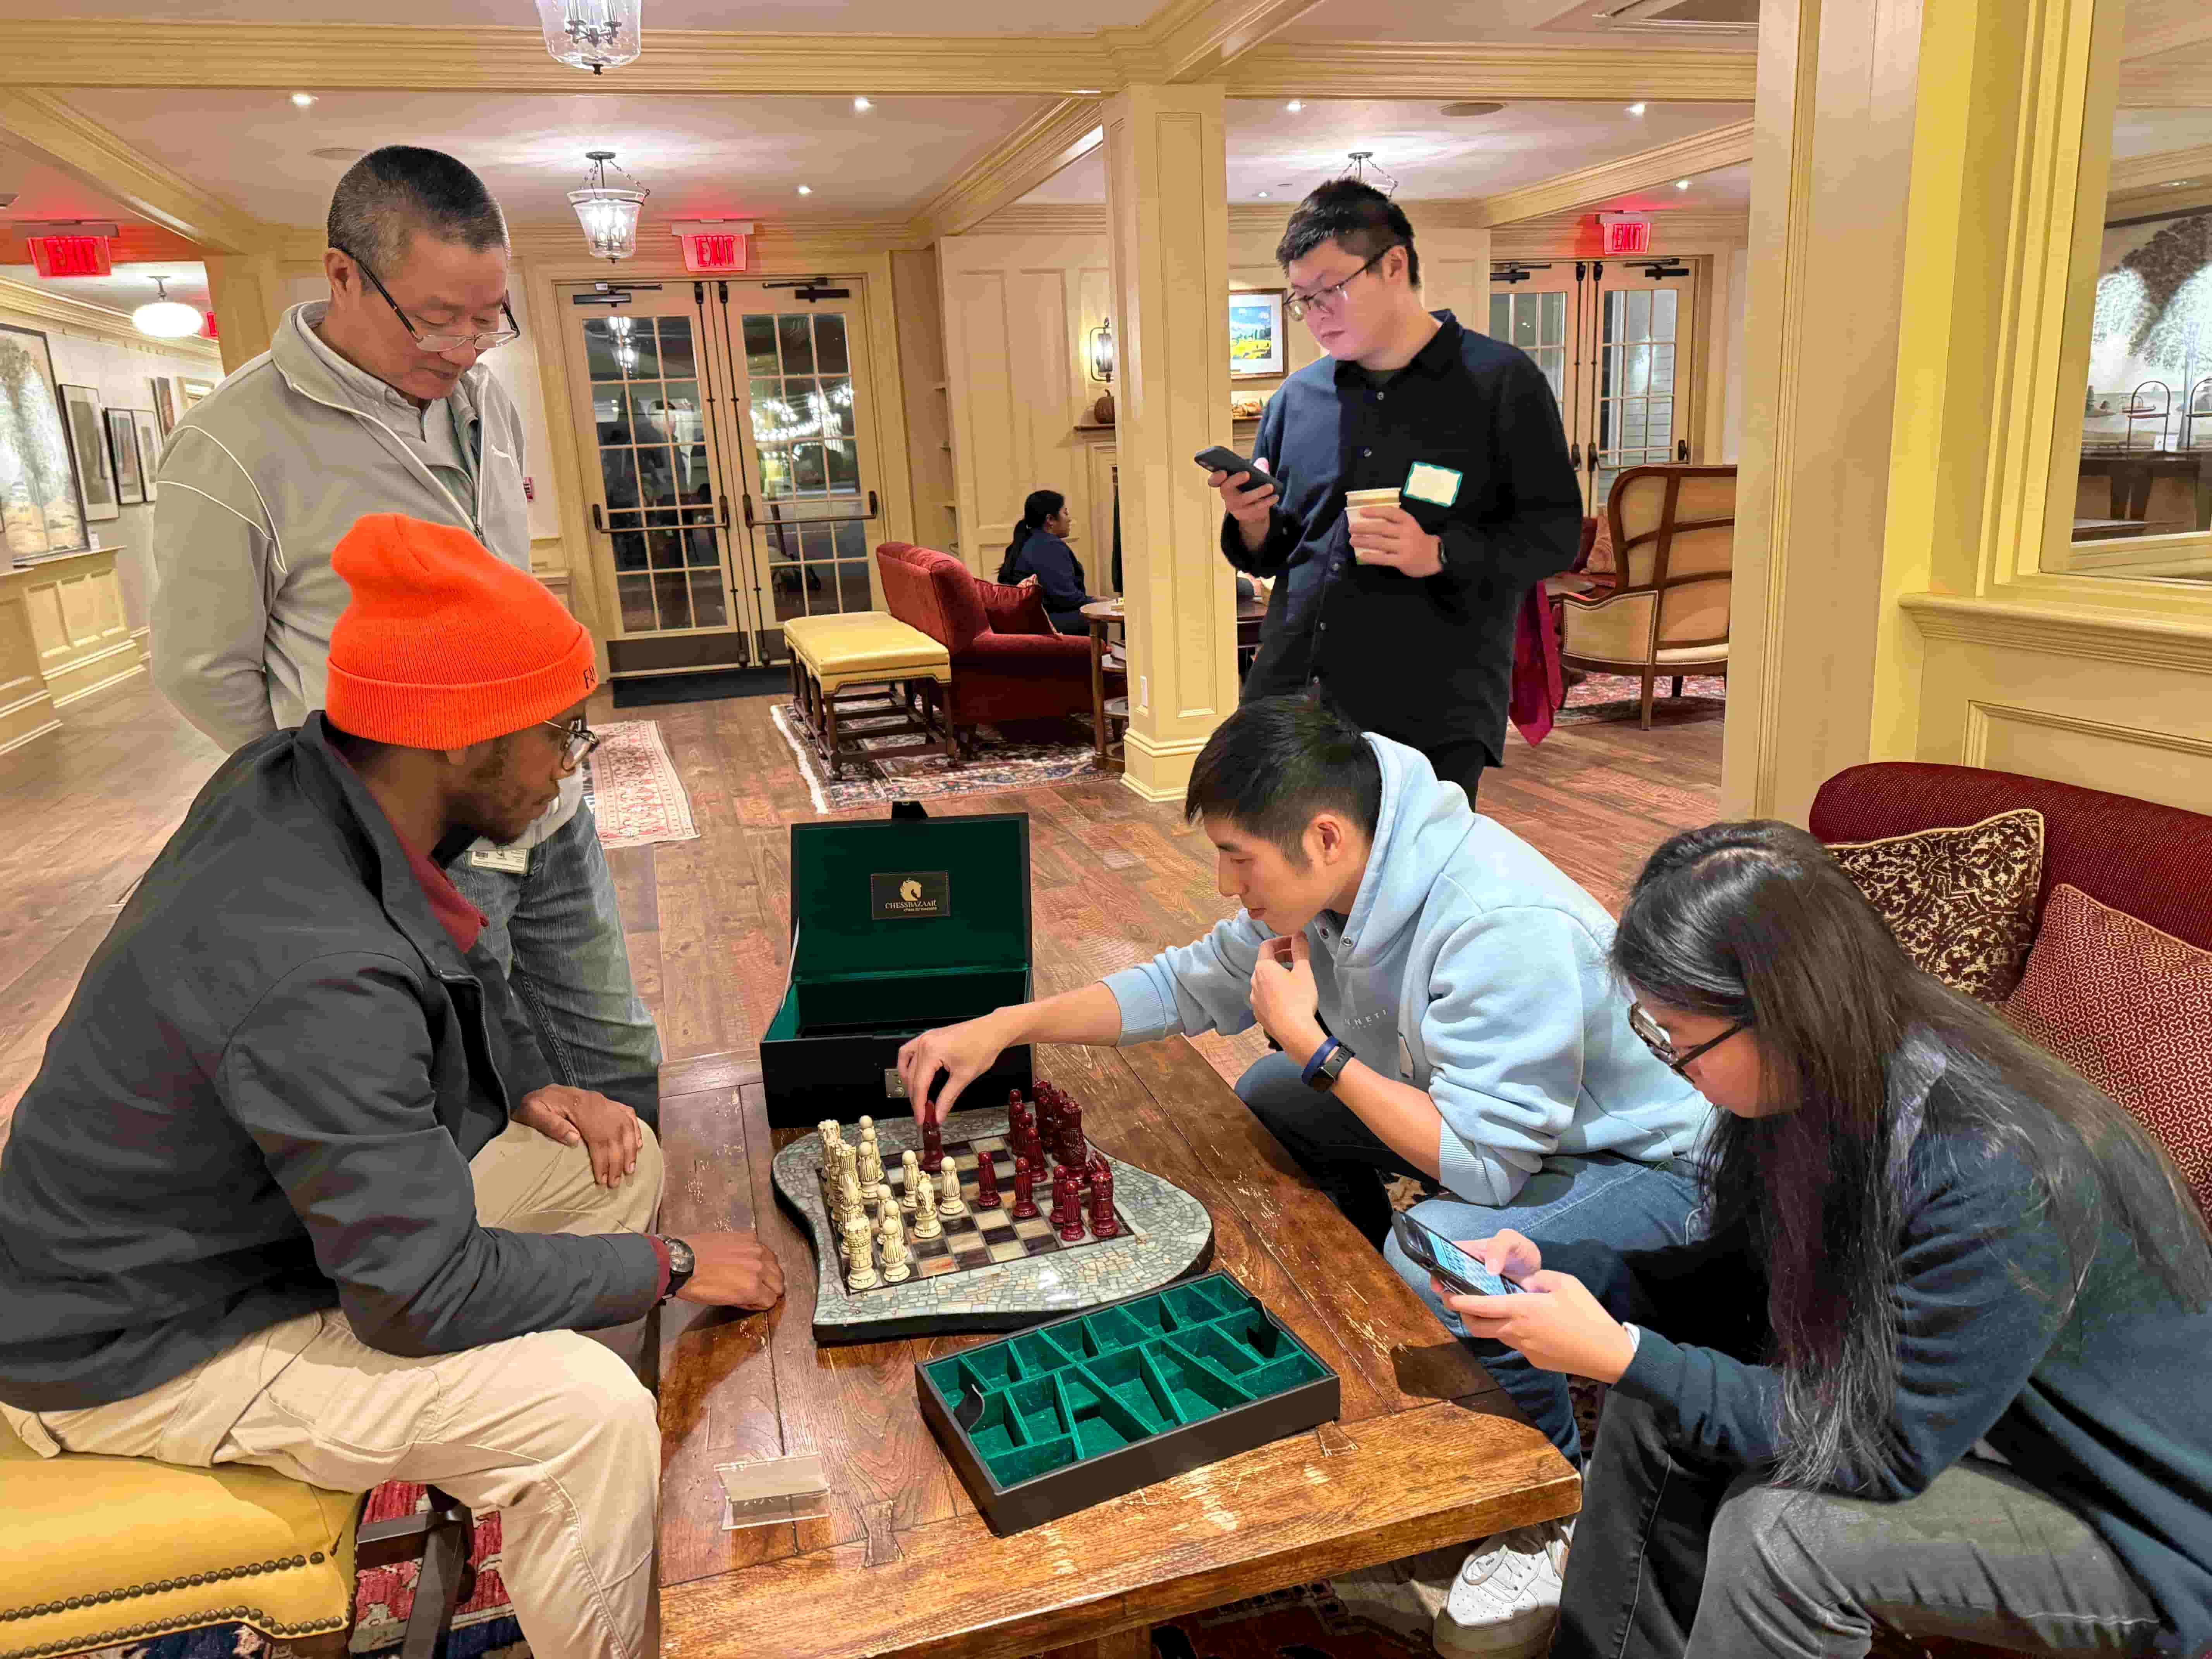
During my lab retreat, we played a couple chess game, which actually made me want to start playing chess again. The hotel also had a chess set that is an art piece itself, which made it extra satisfying to play with.
I also wanted to make a nice chess set like this, but it's more of a 3d printing project, so I already missed my chance.
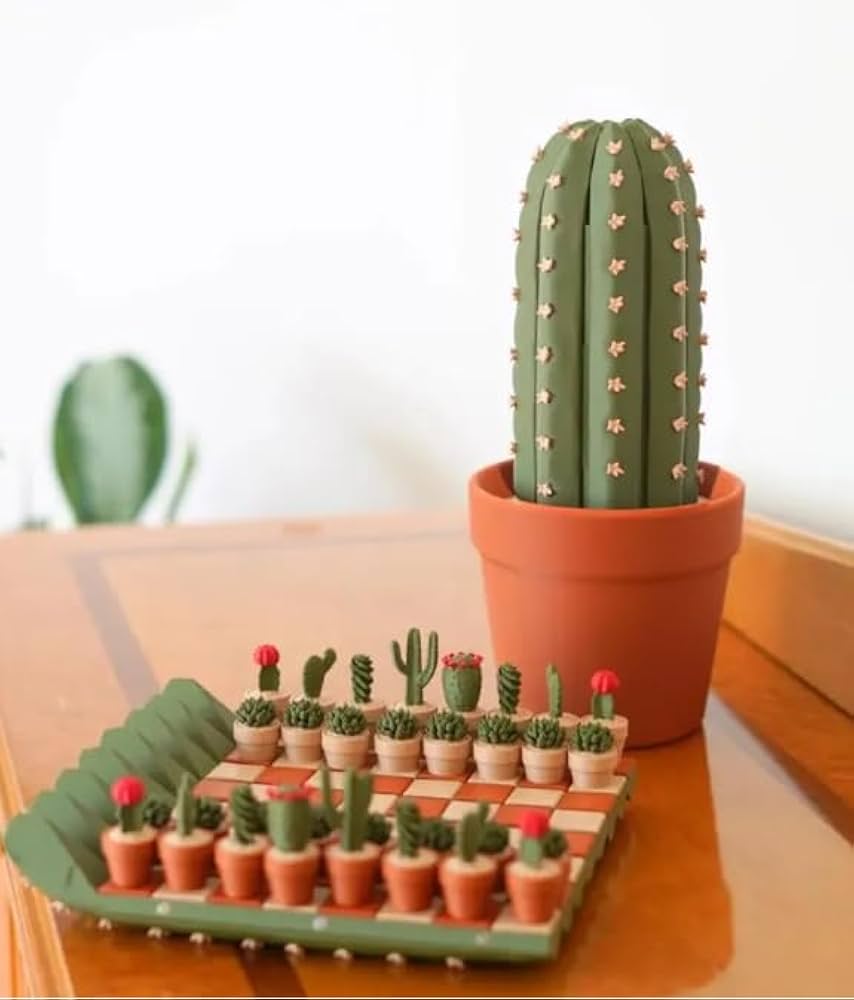
So I found a more feasible project for week, like this:
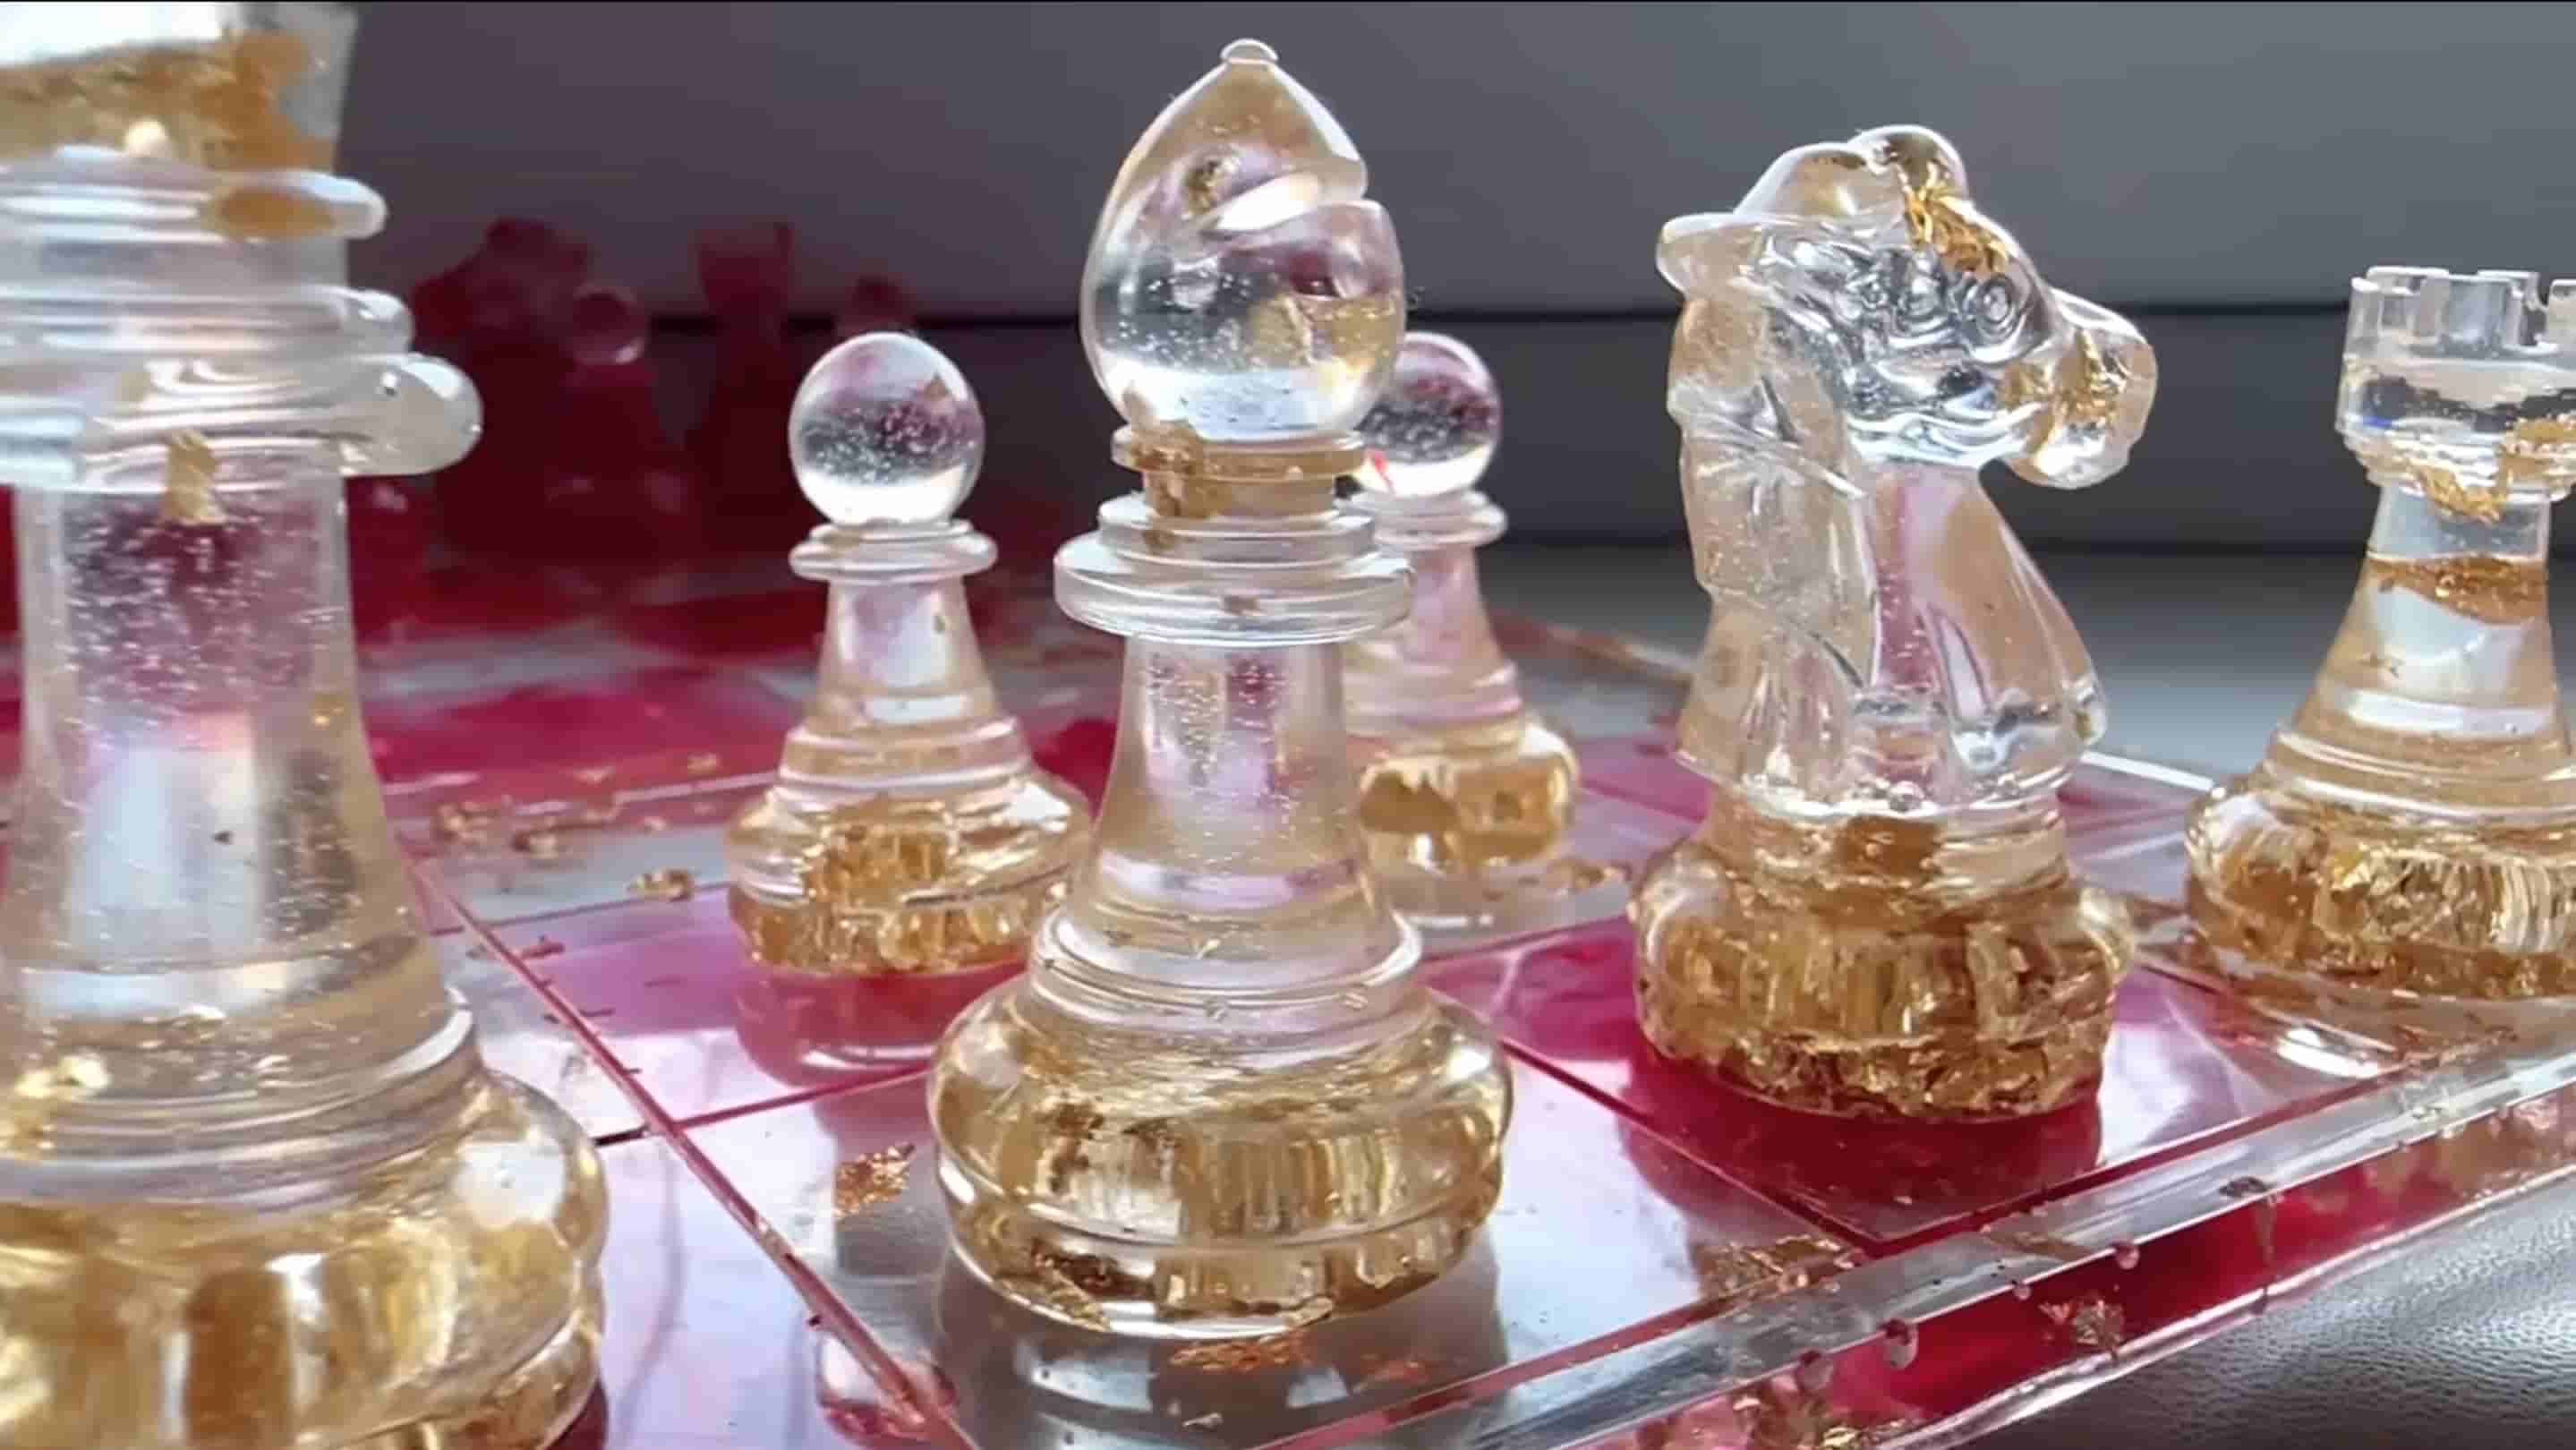
Or this:
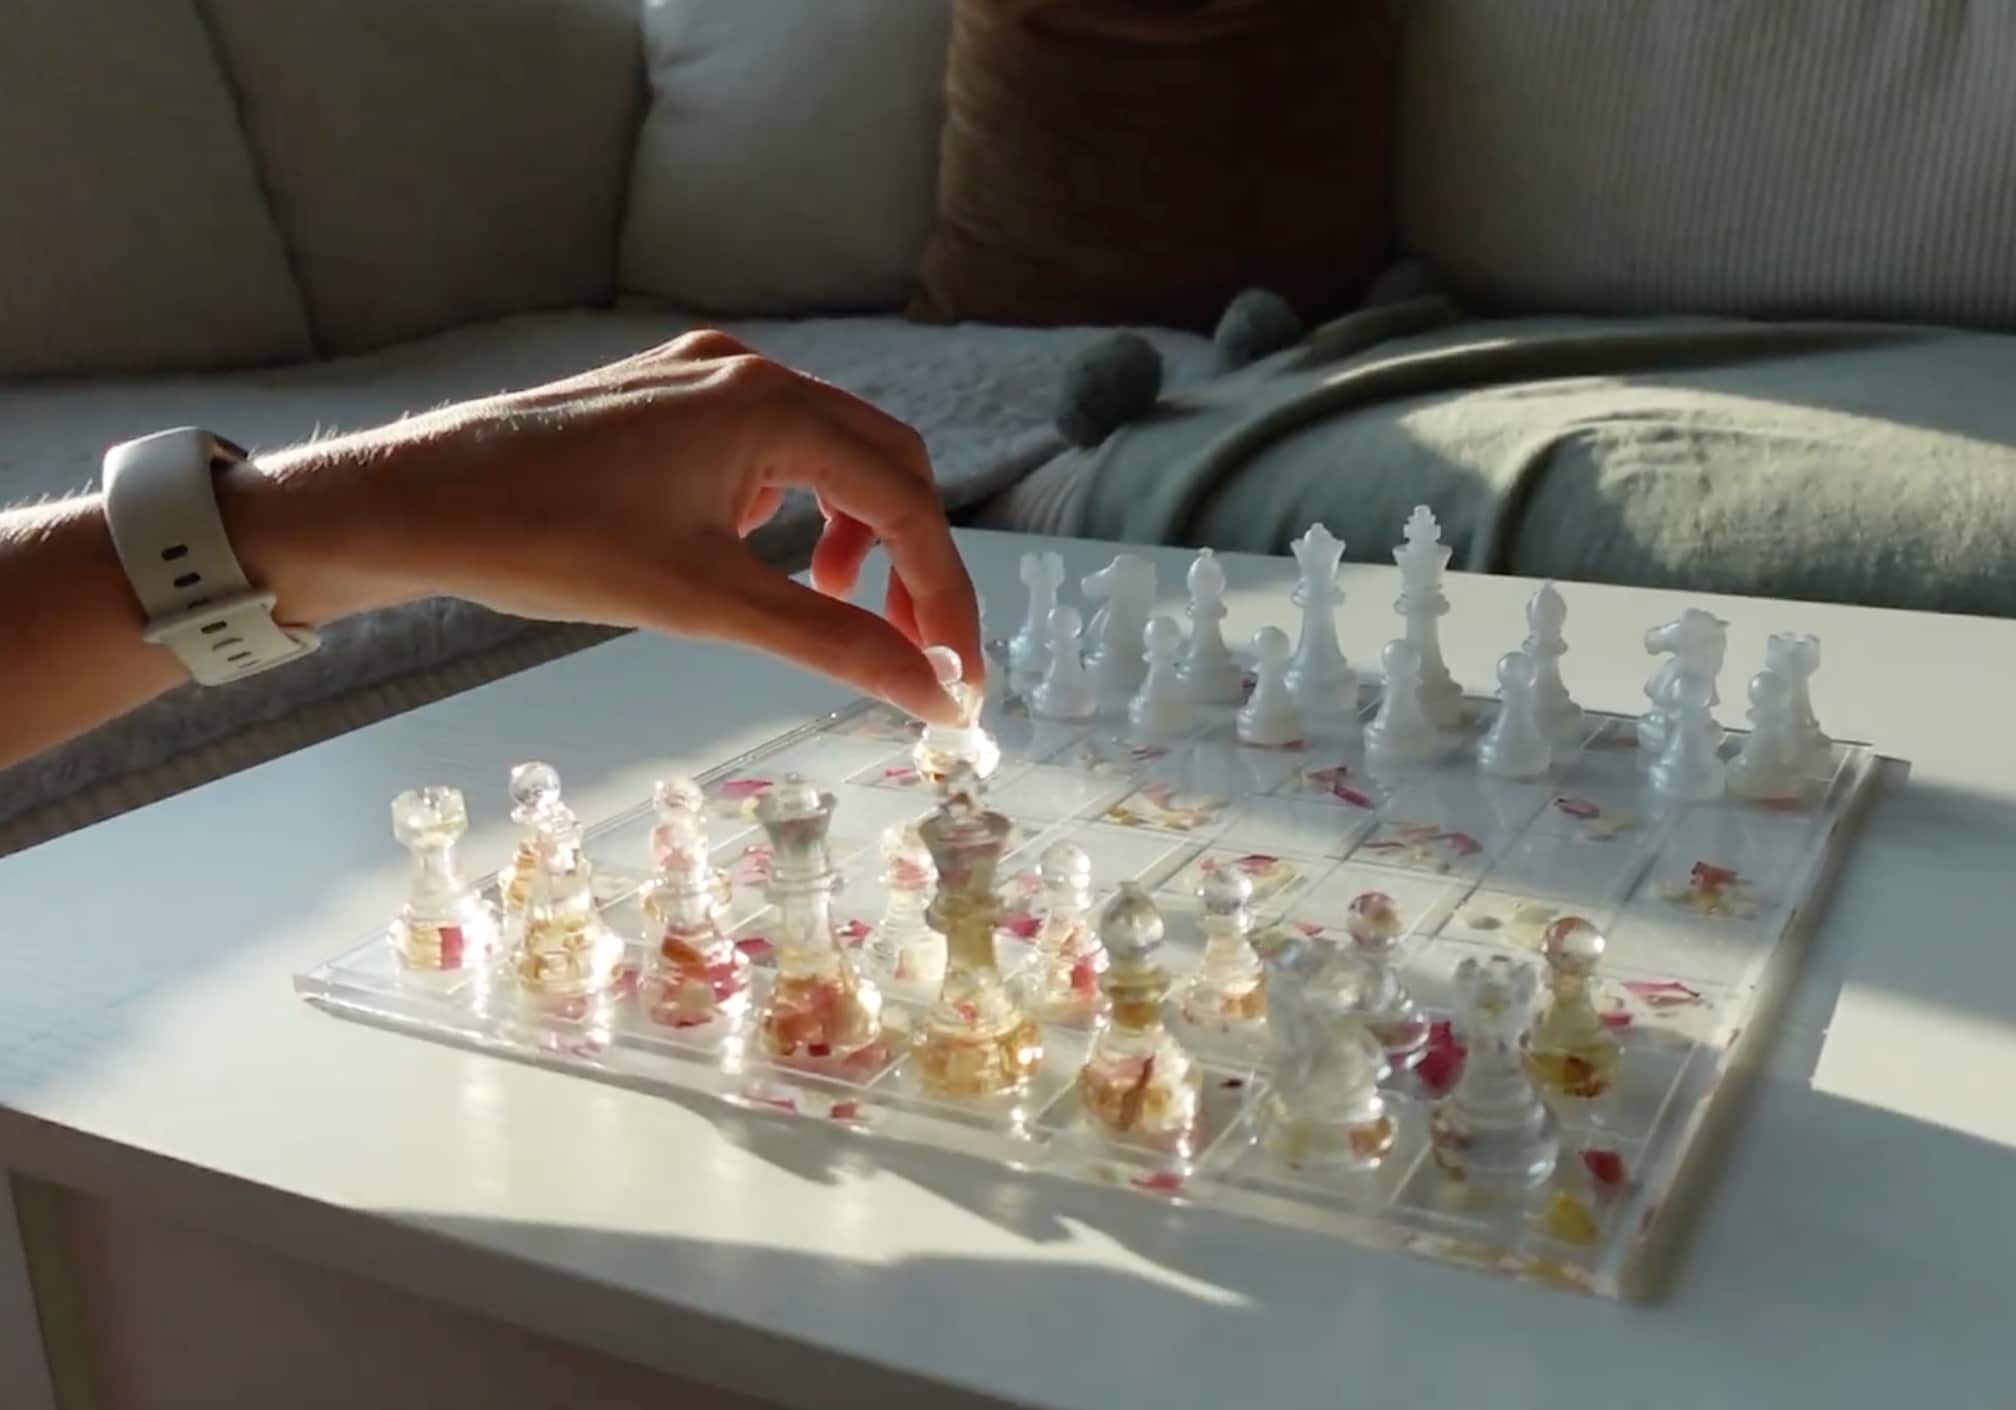
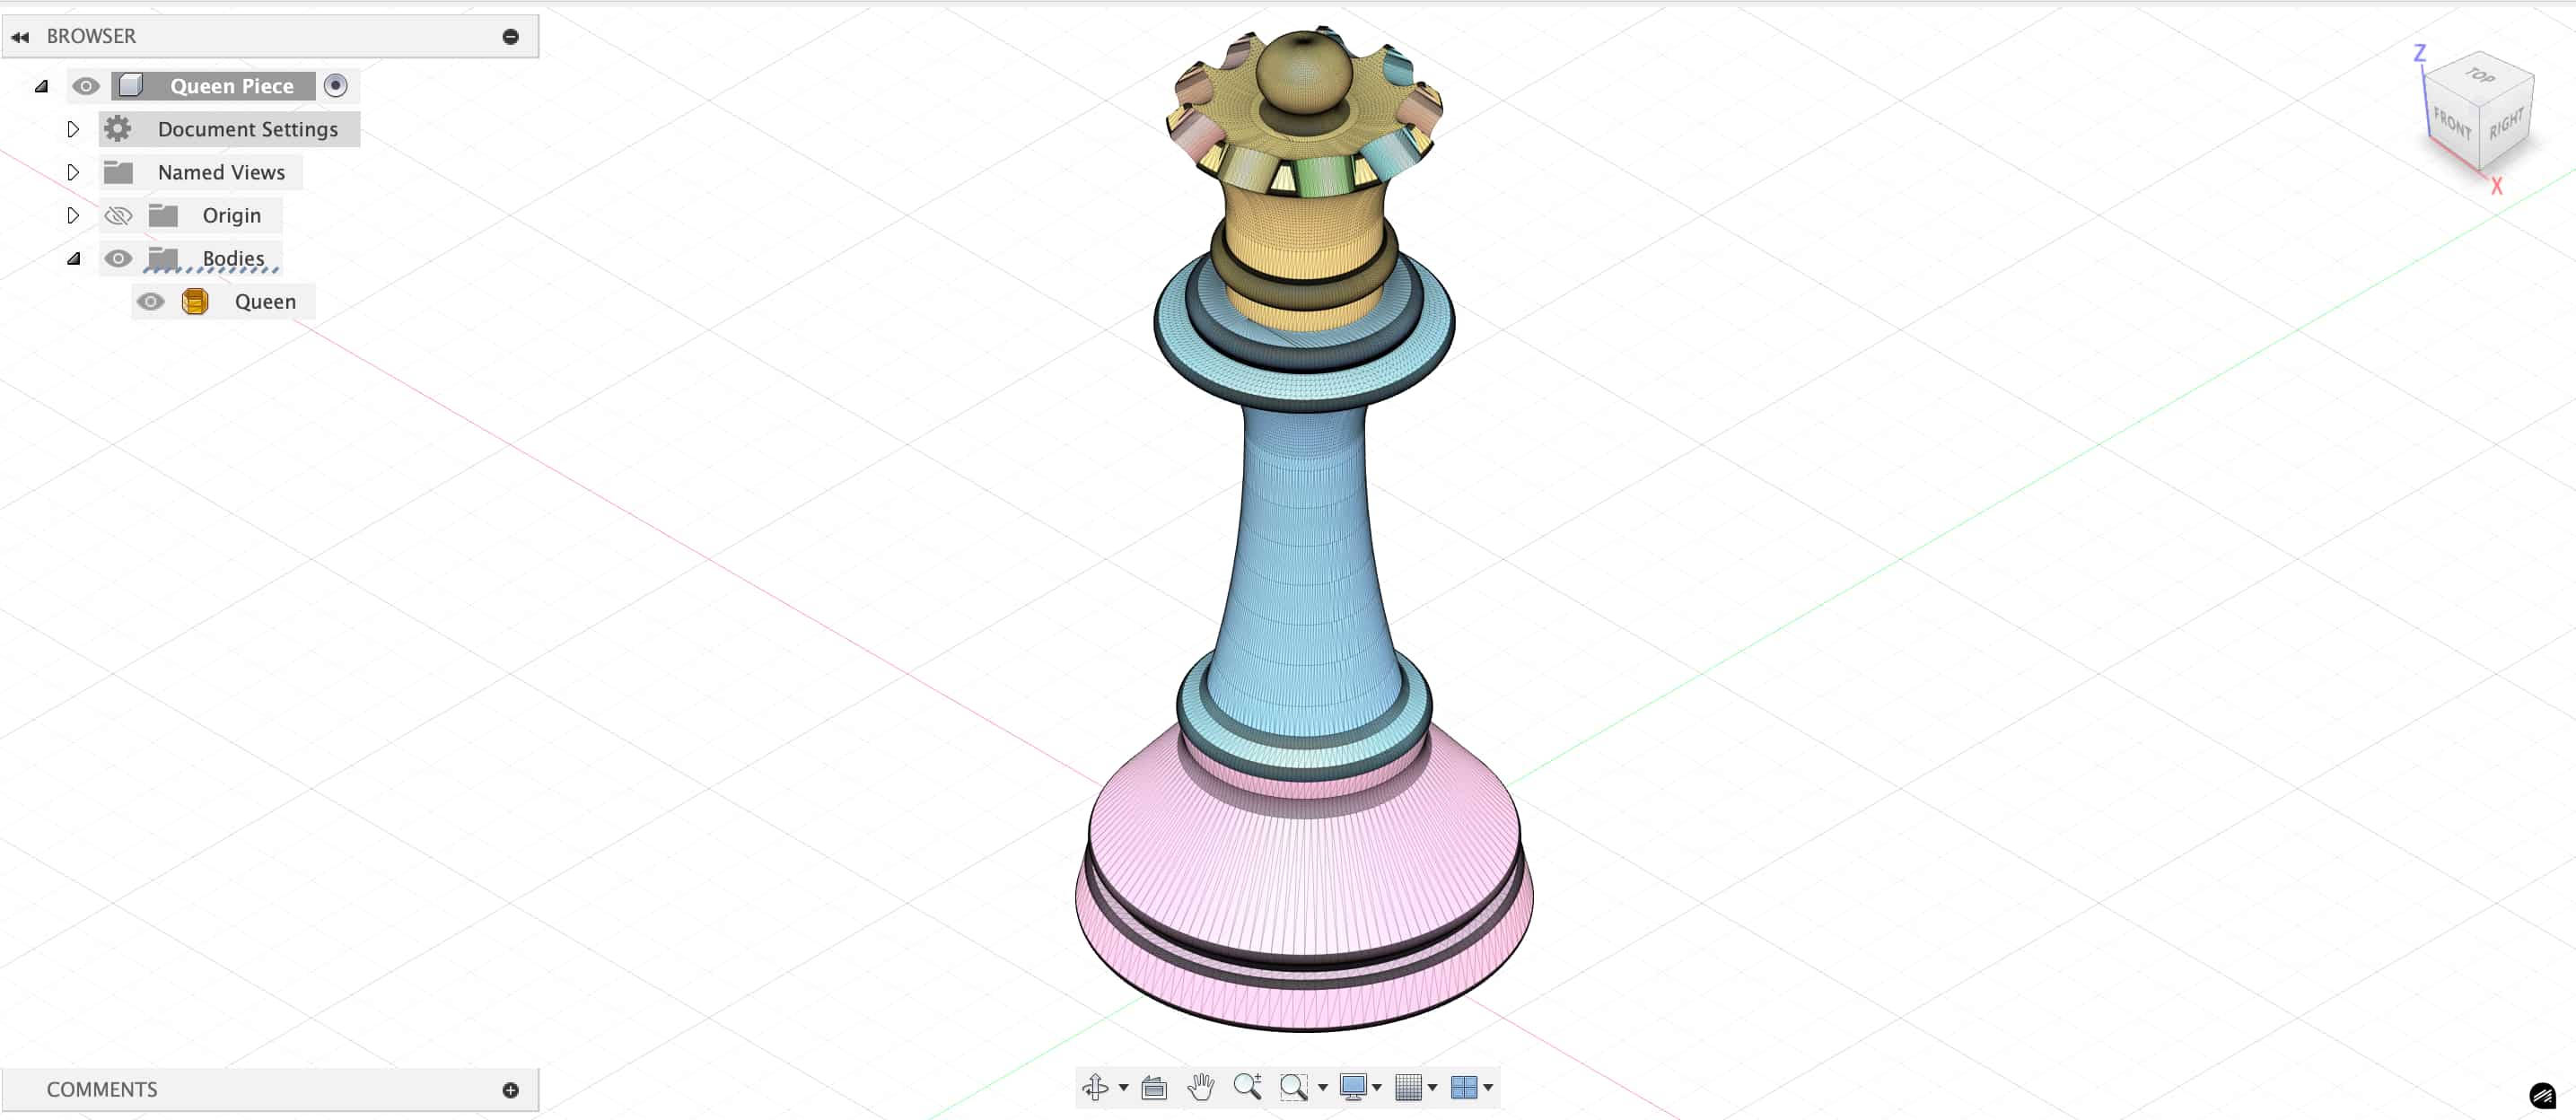
Making a complete chess set definitely takes way too much time, so I just want to make the most important piece in chess: the Queen piece.
3D Model Design
I downloaded the chess piece stl file from online at this link.
In fusion 360, I need to convert the downloaded mesh into solid following this tutorial. I prepared my mesh by generating the face groups, then used the convert mesh feature under modify tab.
However, the convert mesh wasn't great and took a long time because the 3D model I downloaded had 200,000 faces, which was too much for Fusion 360 to handle. So I downloaded a glb file here and used the decimate feature in Blender to reduce the number of faces to around 5000, which is much easier for Fusion 360 to handle.
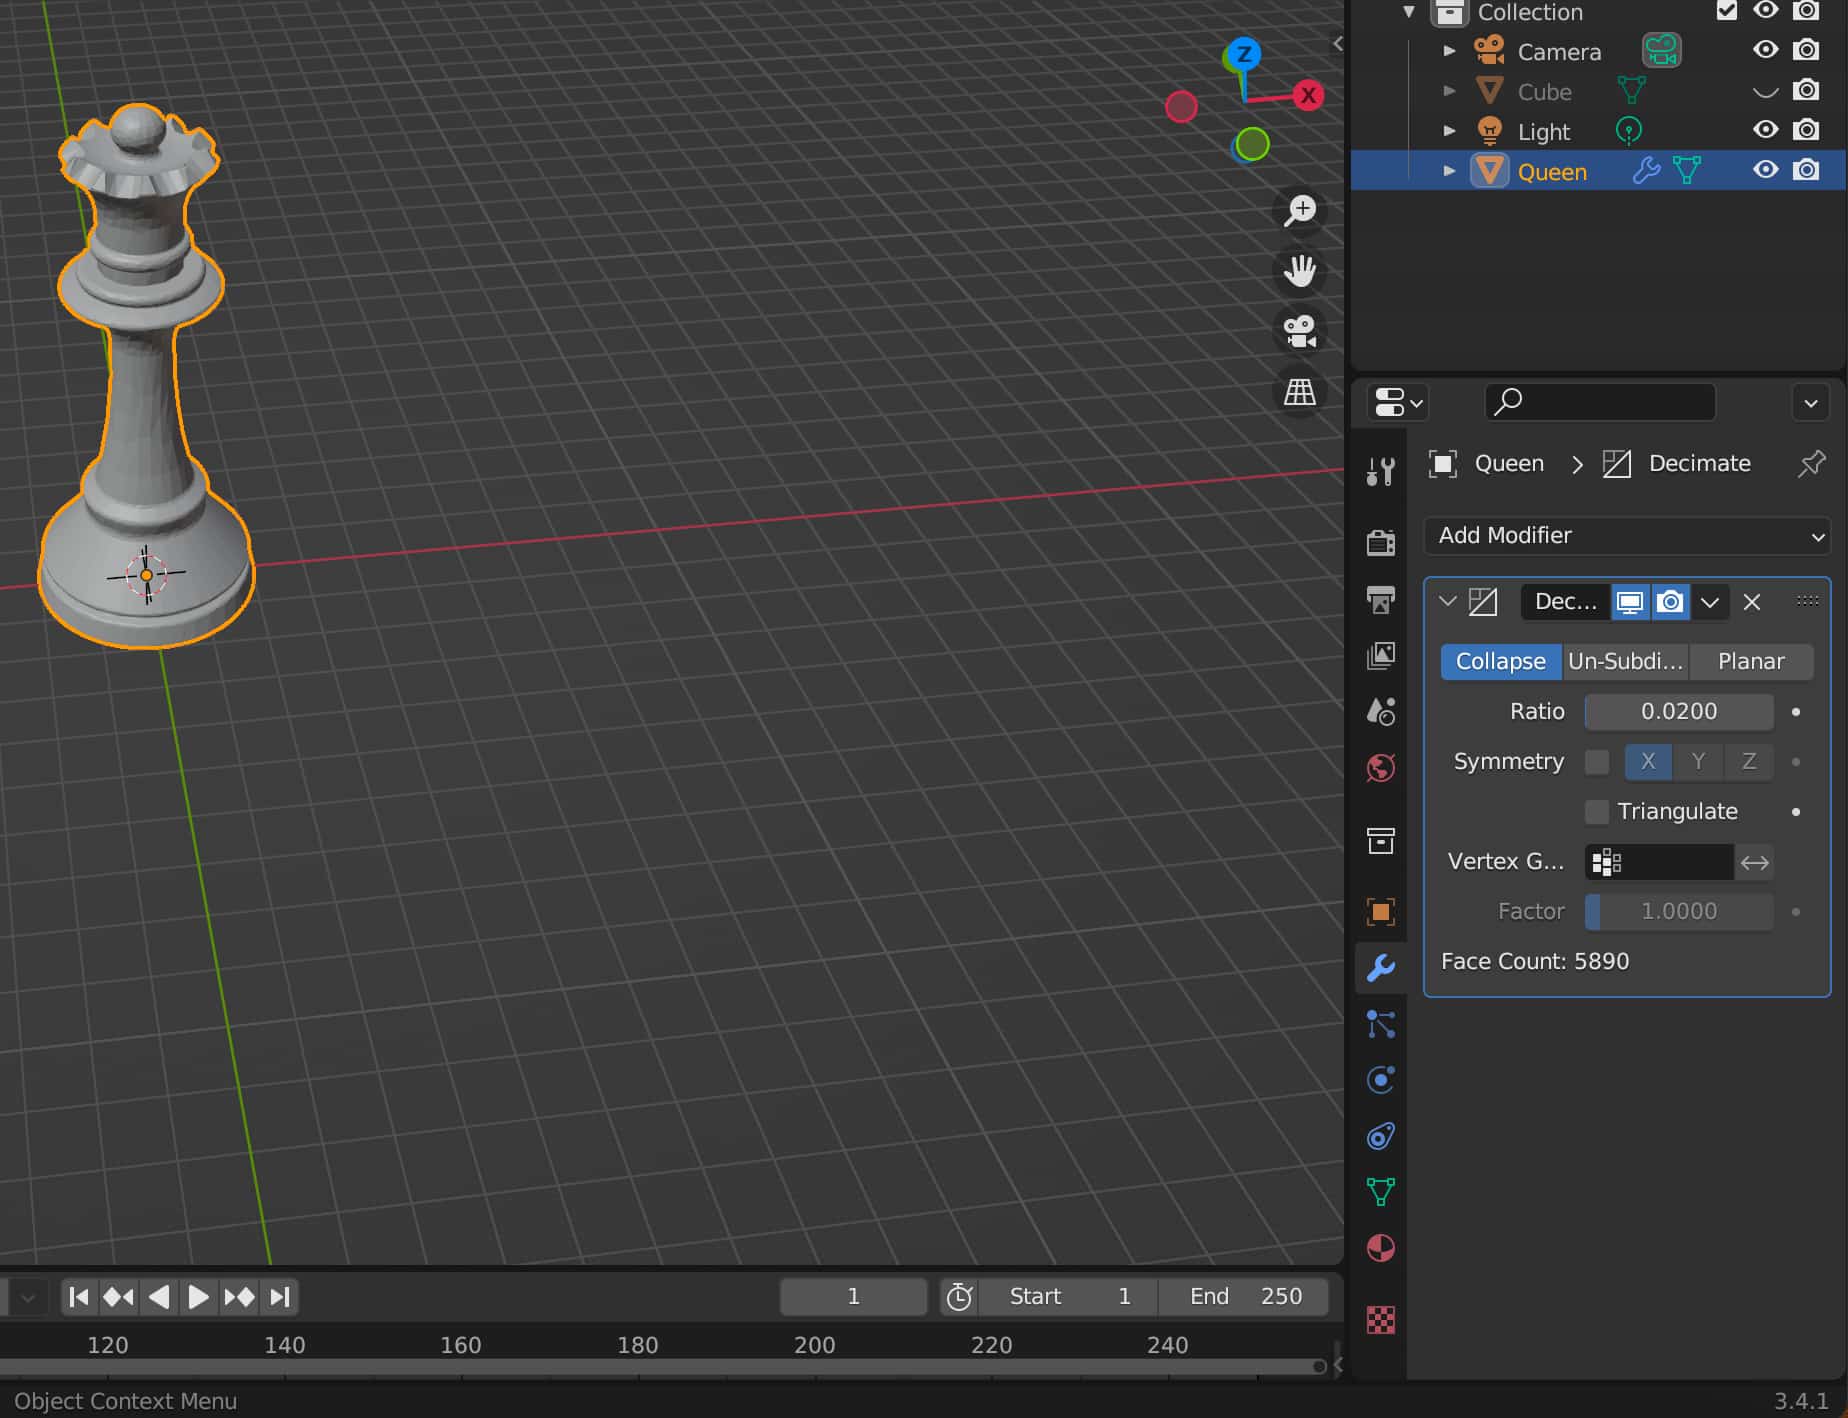
I then did the convert mesh feature with faceted setting to get my solid. This is still not perfect, as converting the mesh leads to a significant reduction in quality.
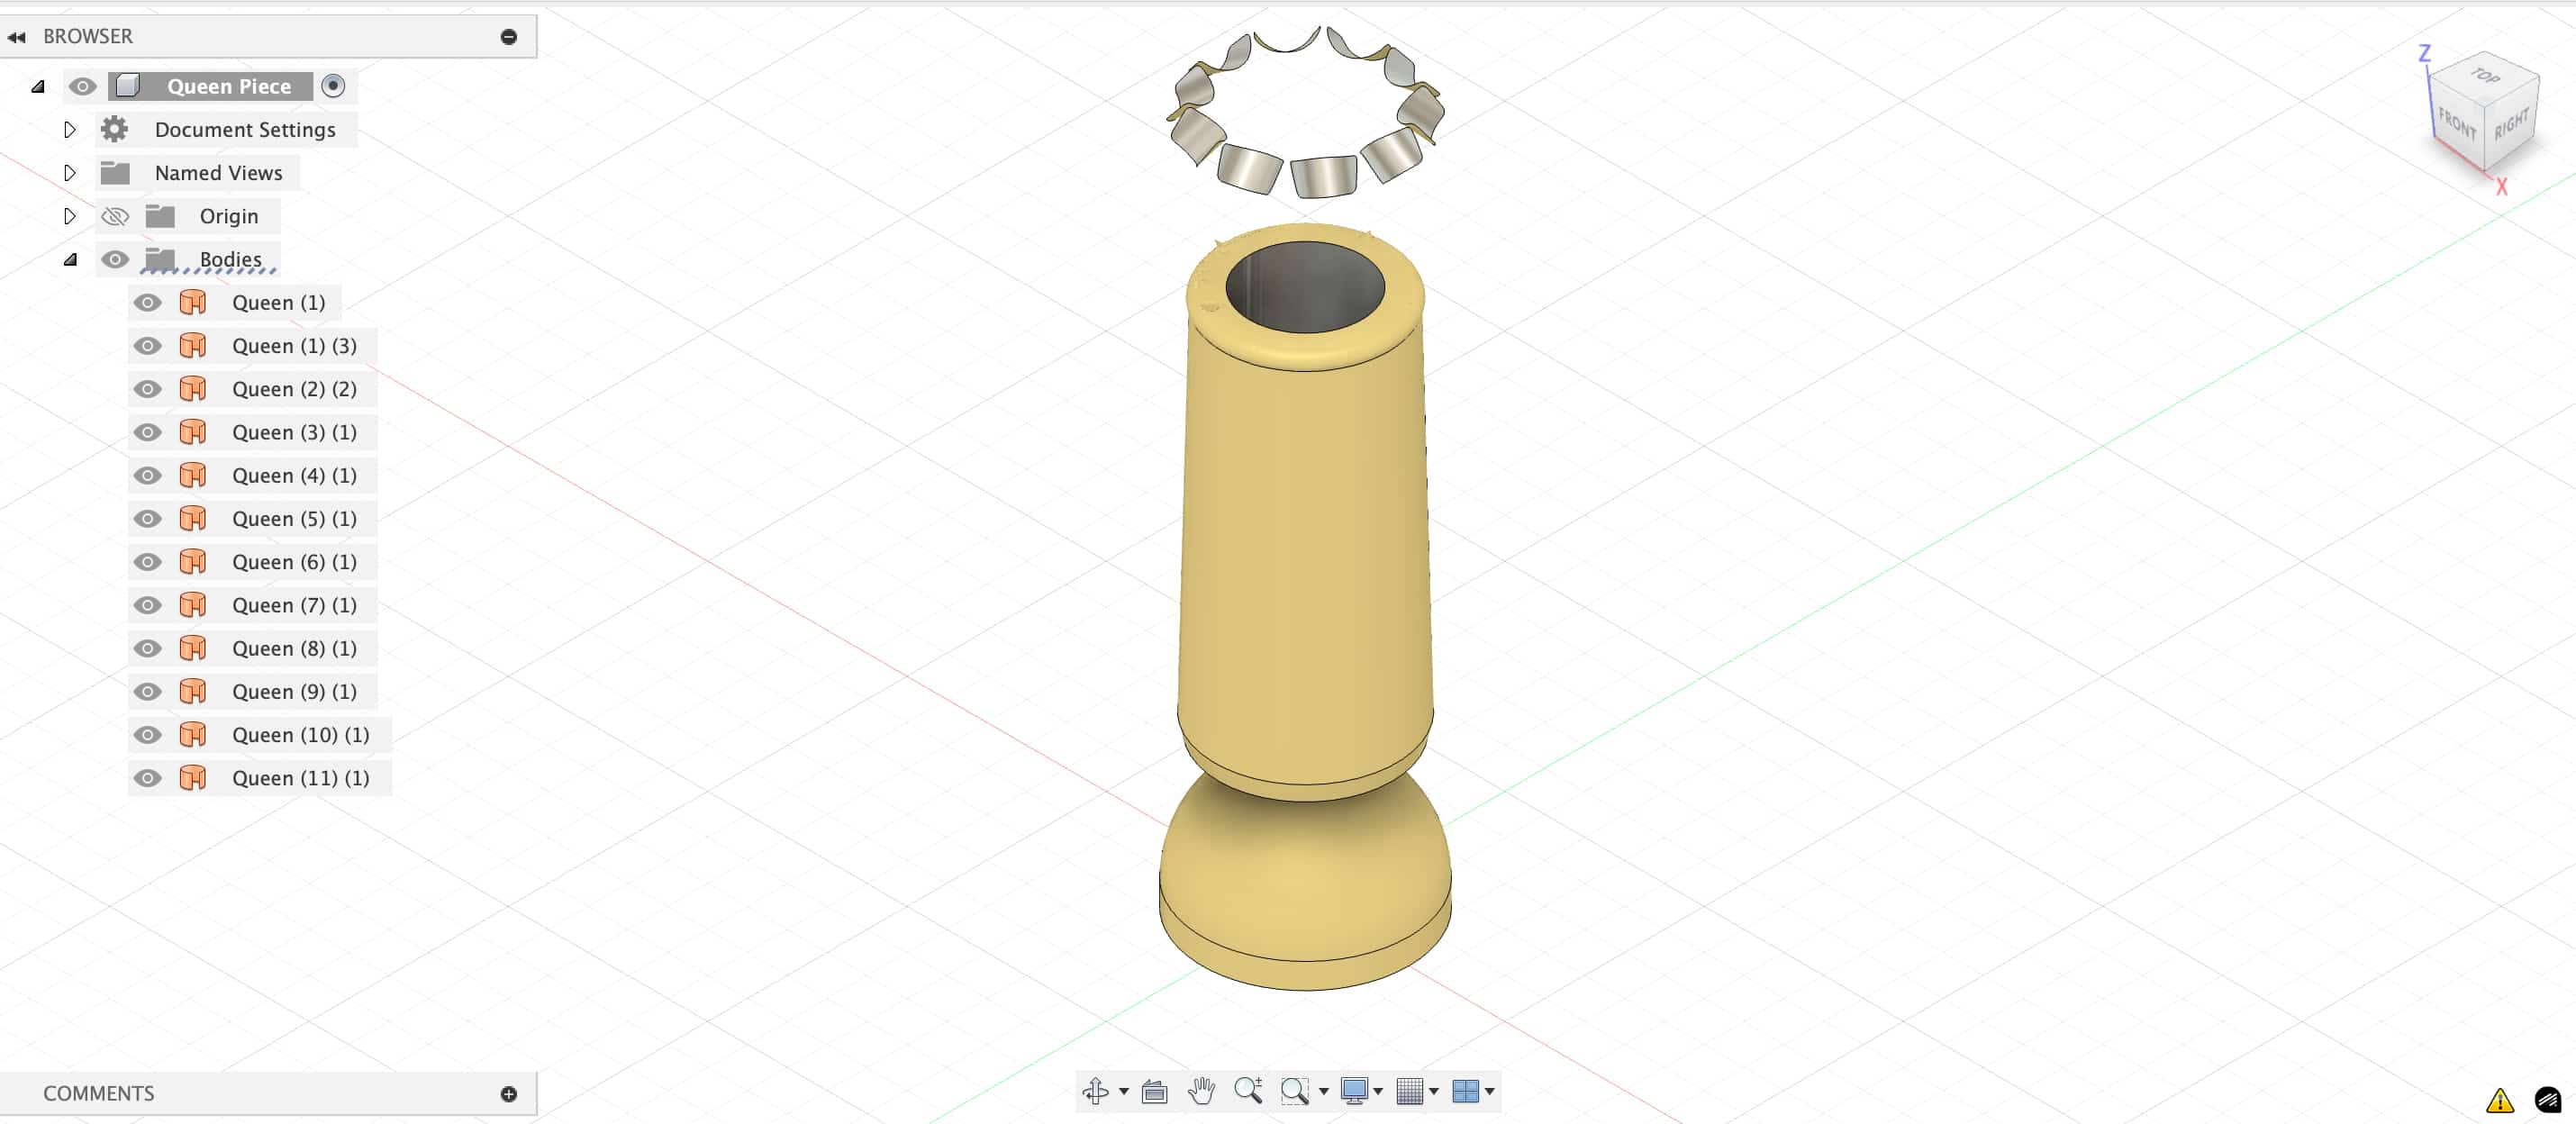
I then thought it would be easier if I can find a direct source to native Fusion 360 model. Fortunately, I found models for all chess pieces here
Preparing the Model for Print
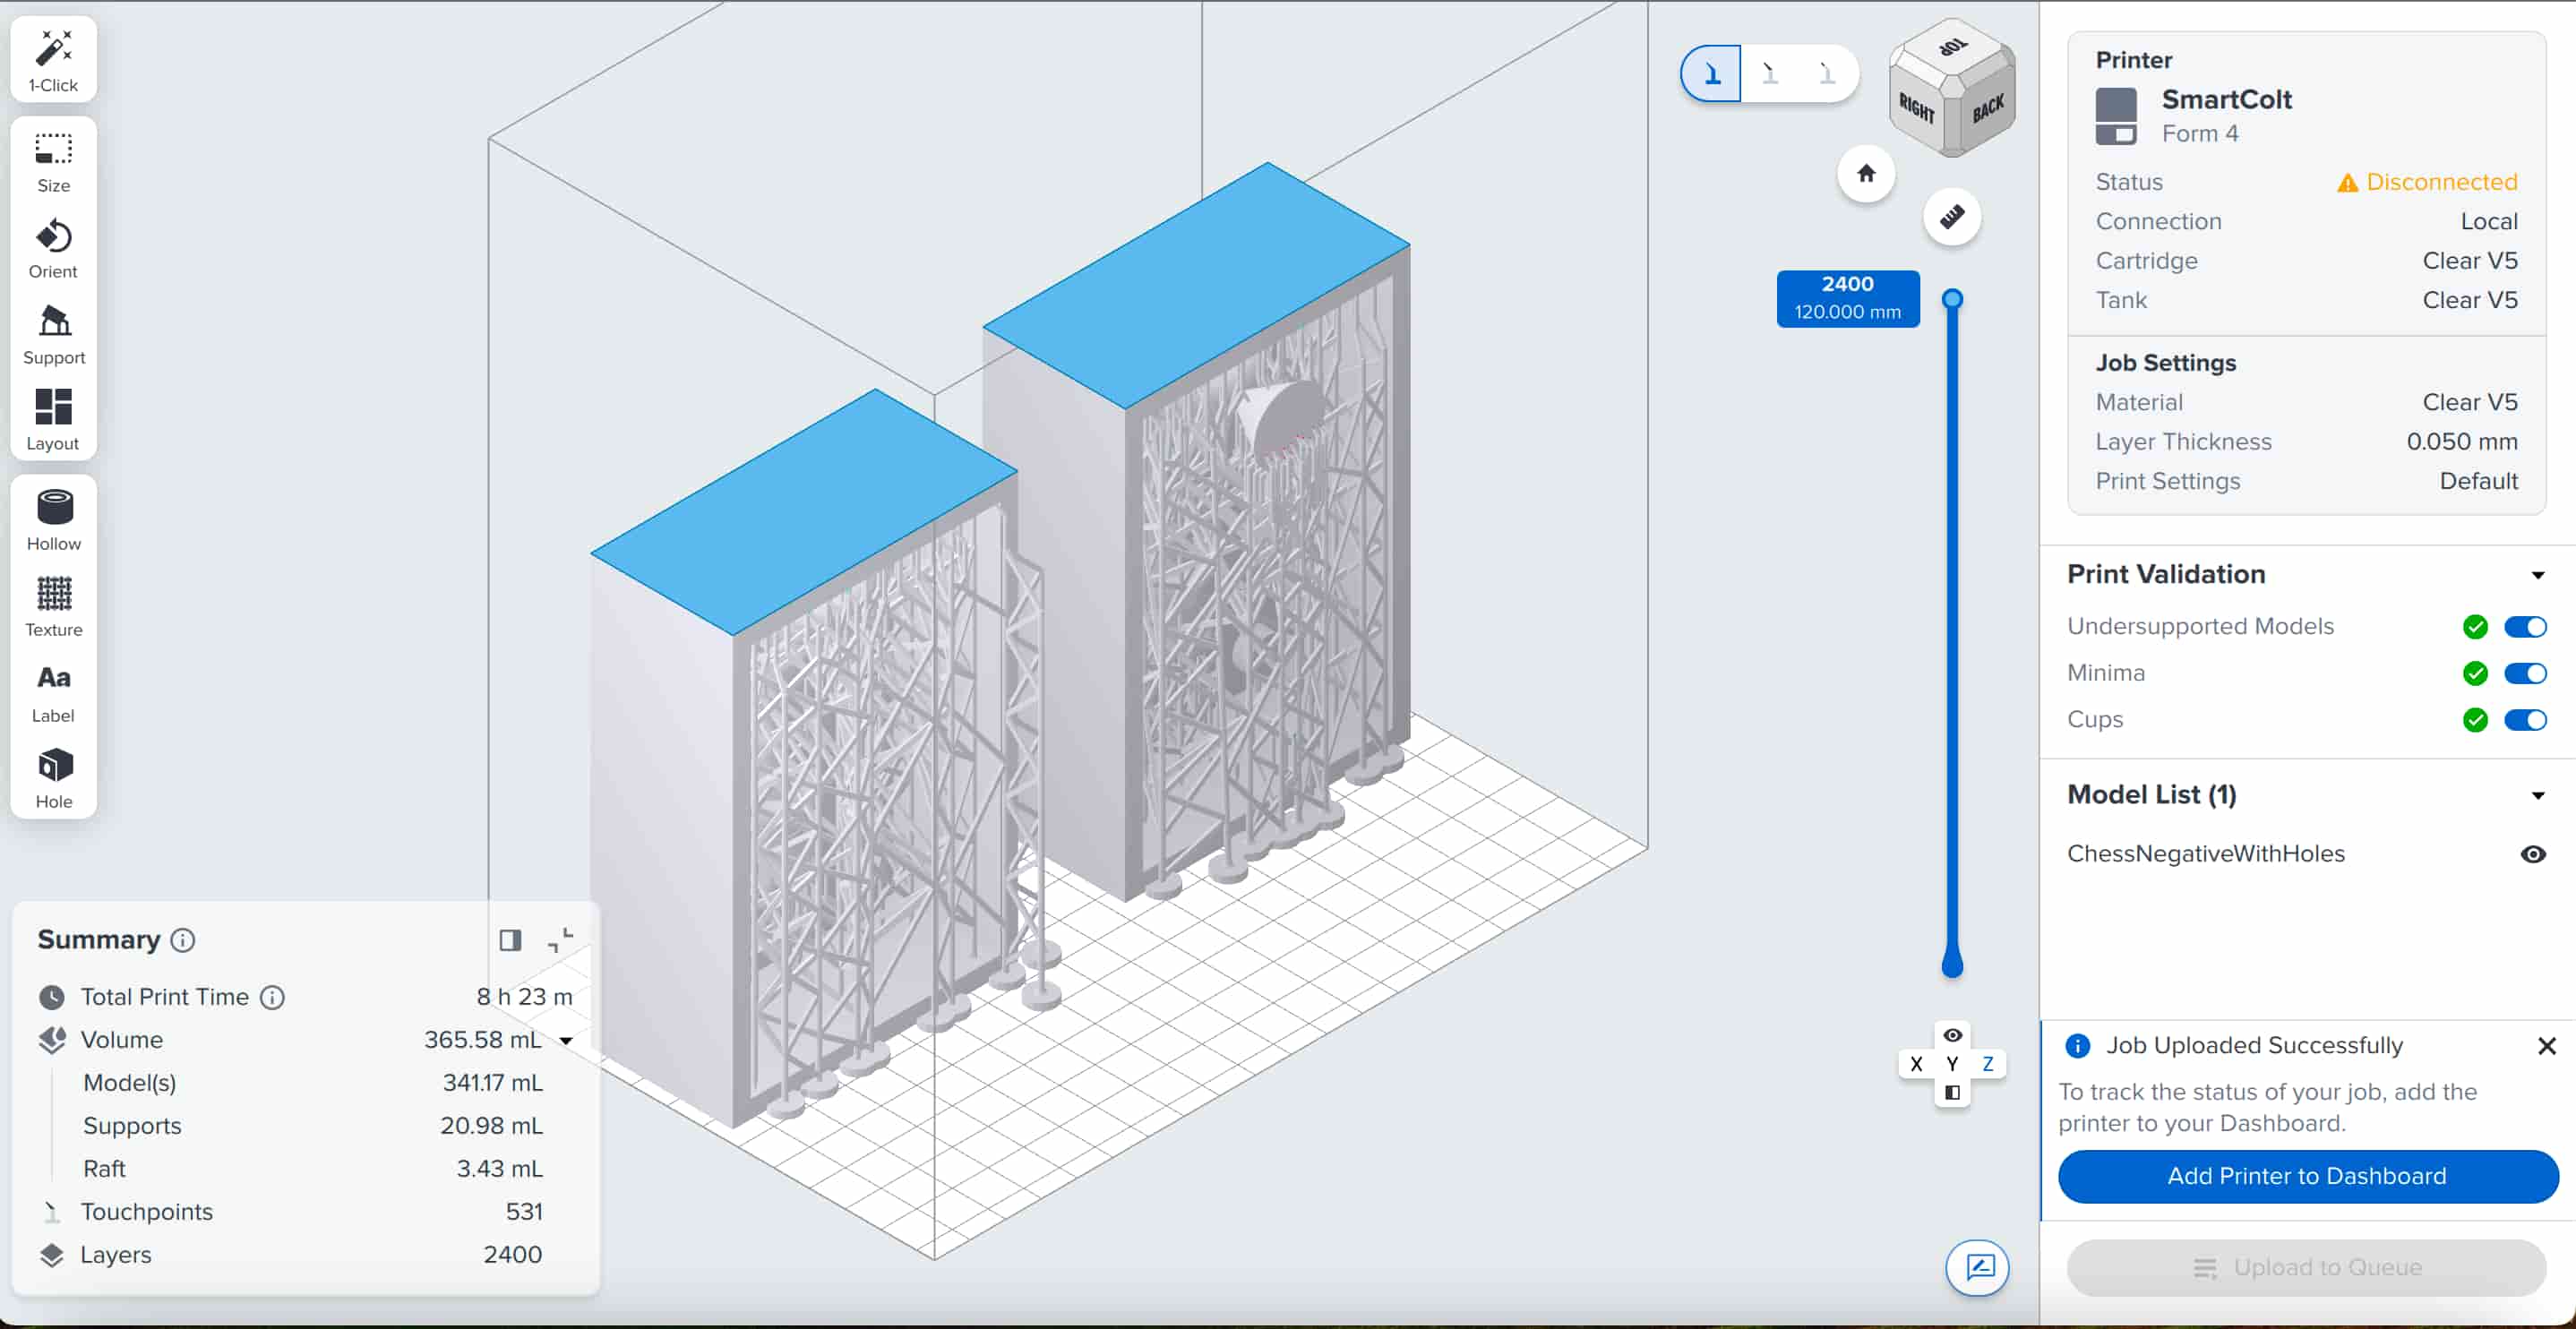
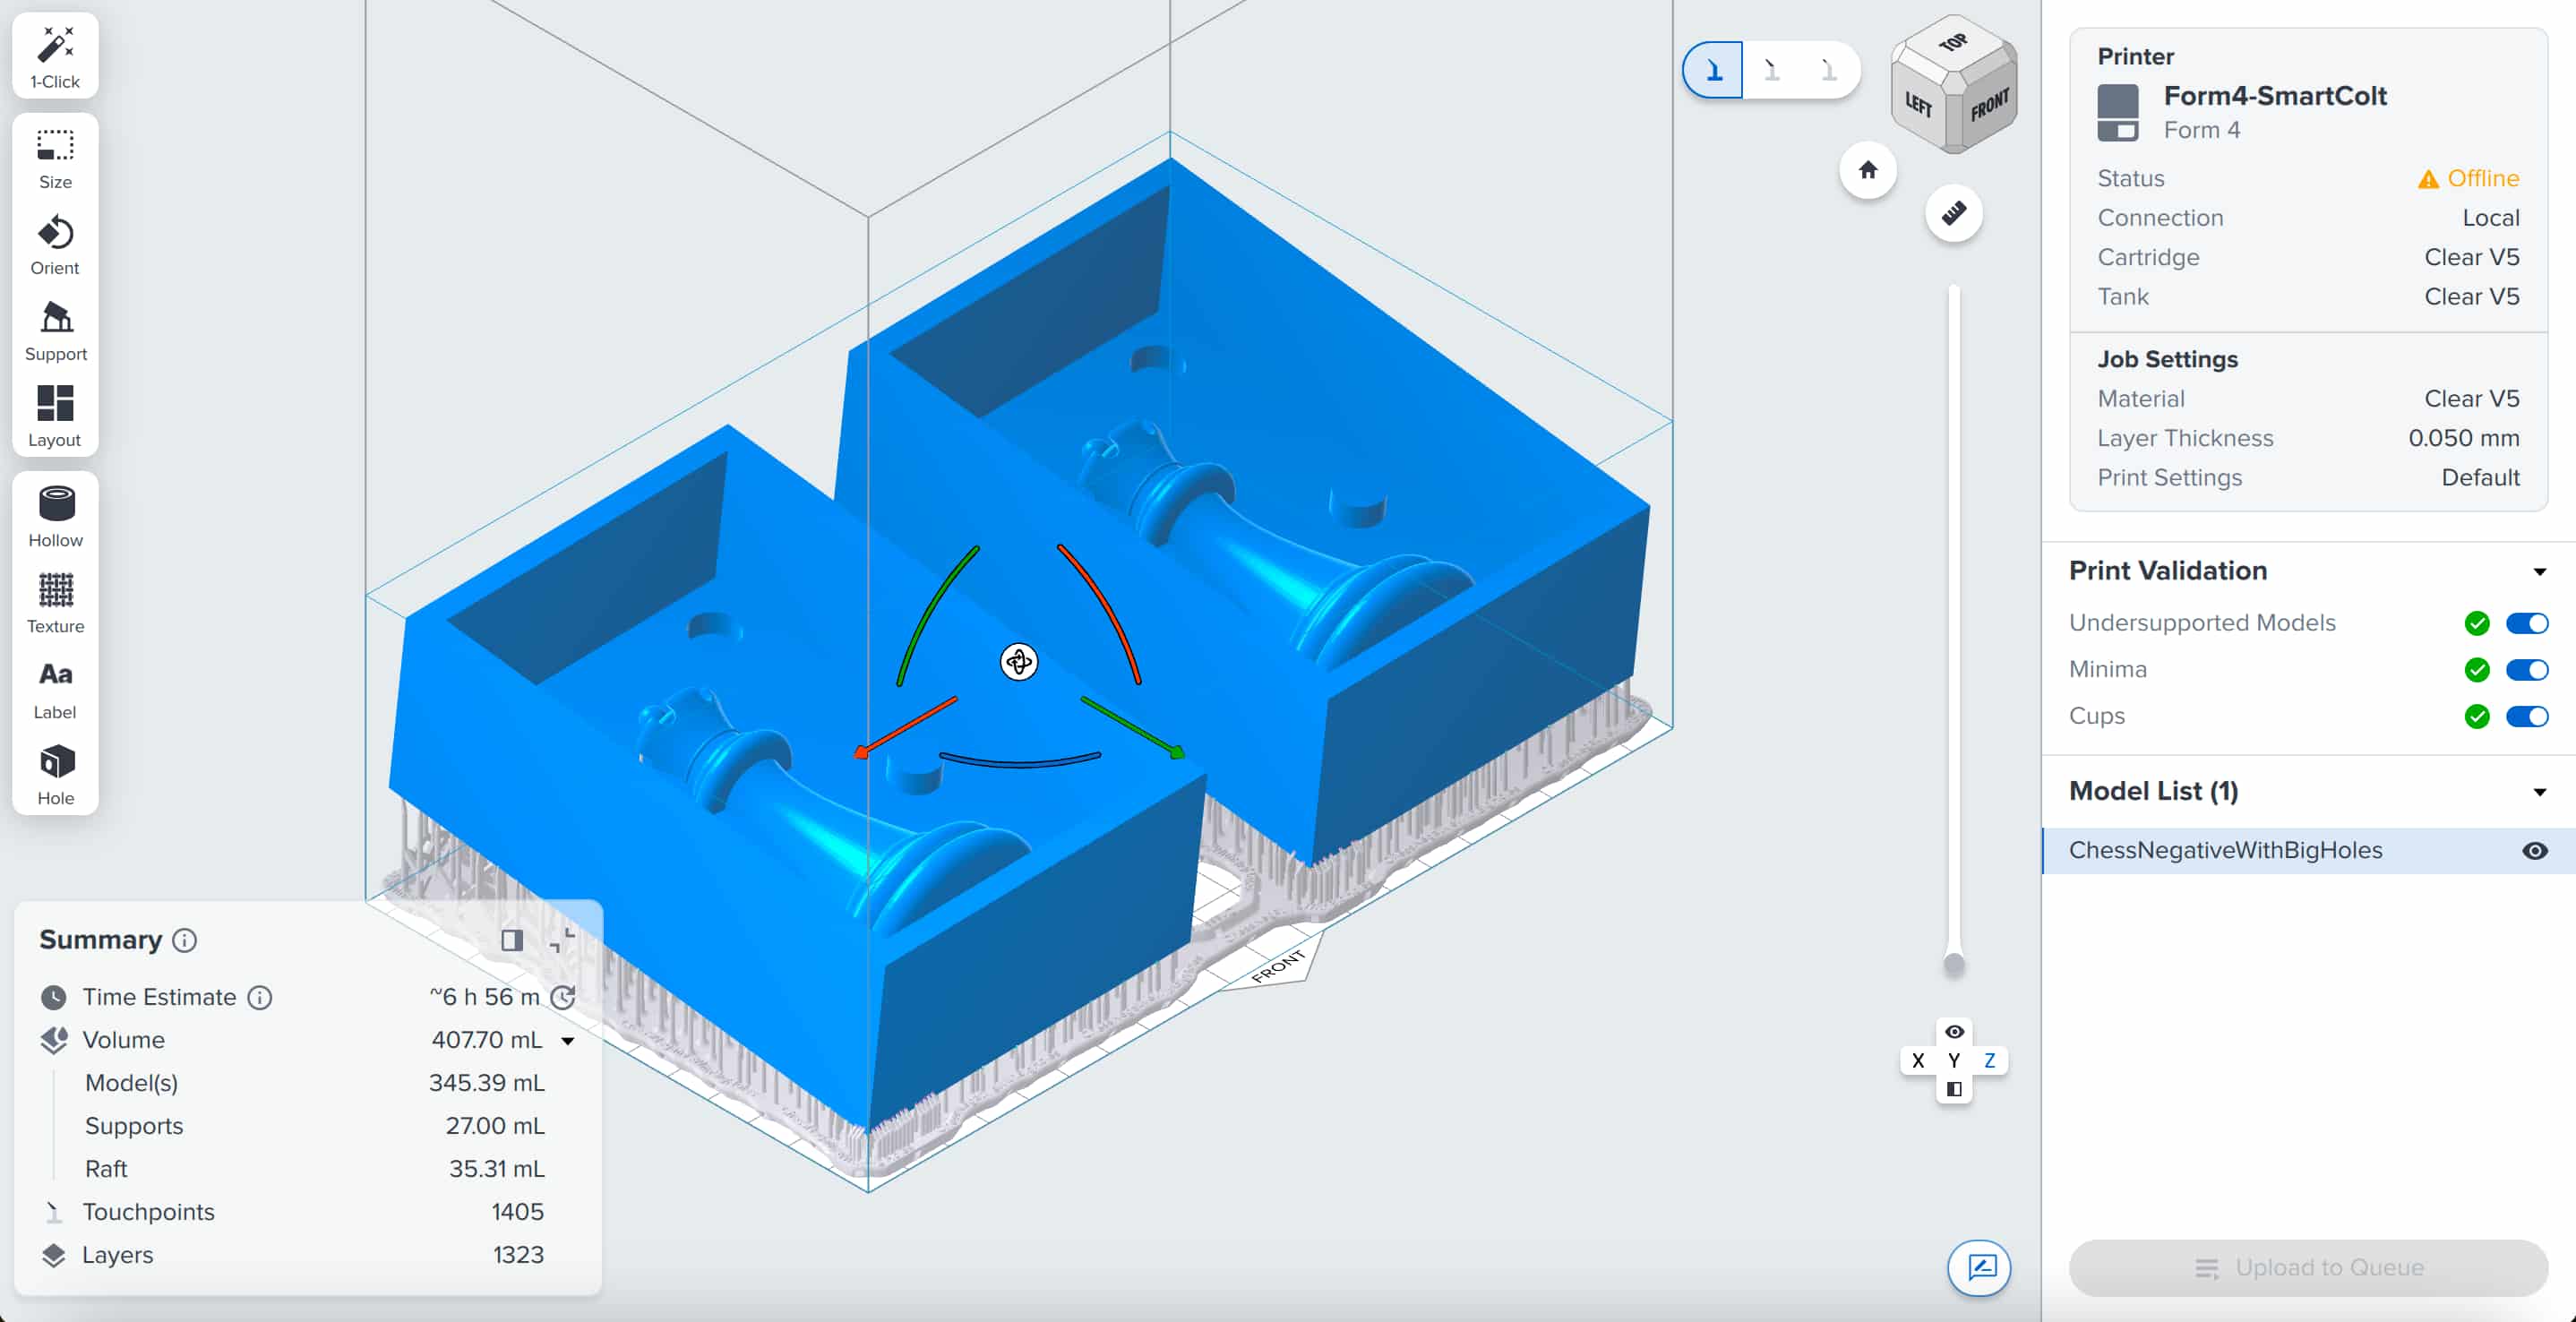
I first used the split body function to split my chess model in half. Then, I created the mold box around each half of my model. I also added registration holes to help each side of my negative mold fit together.
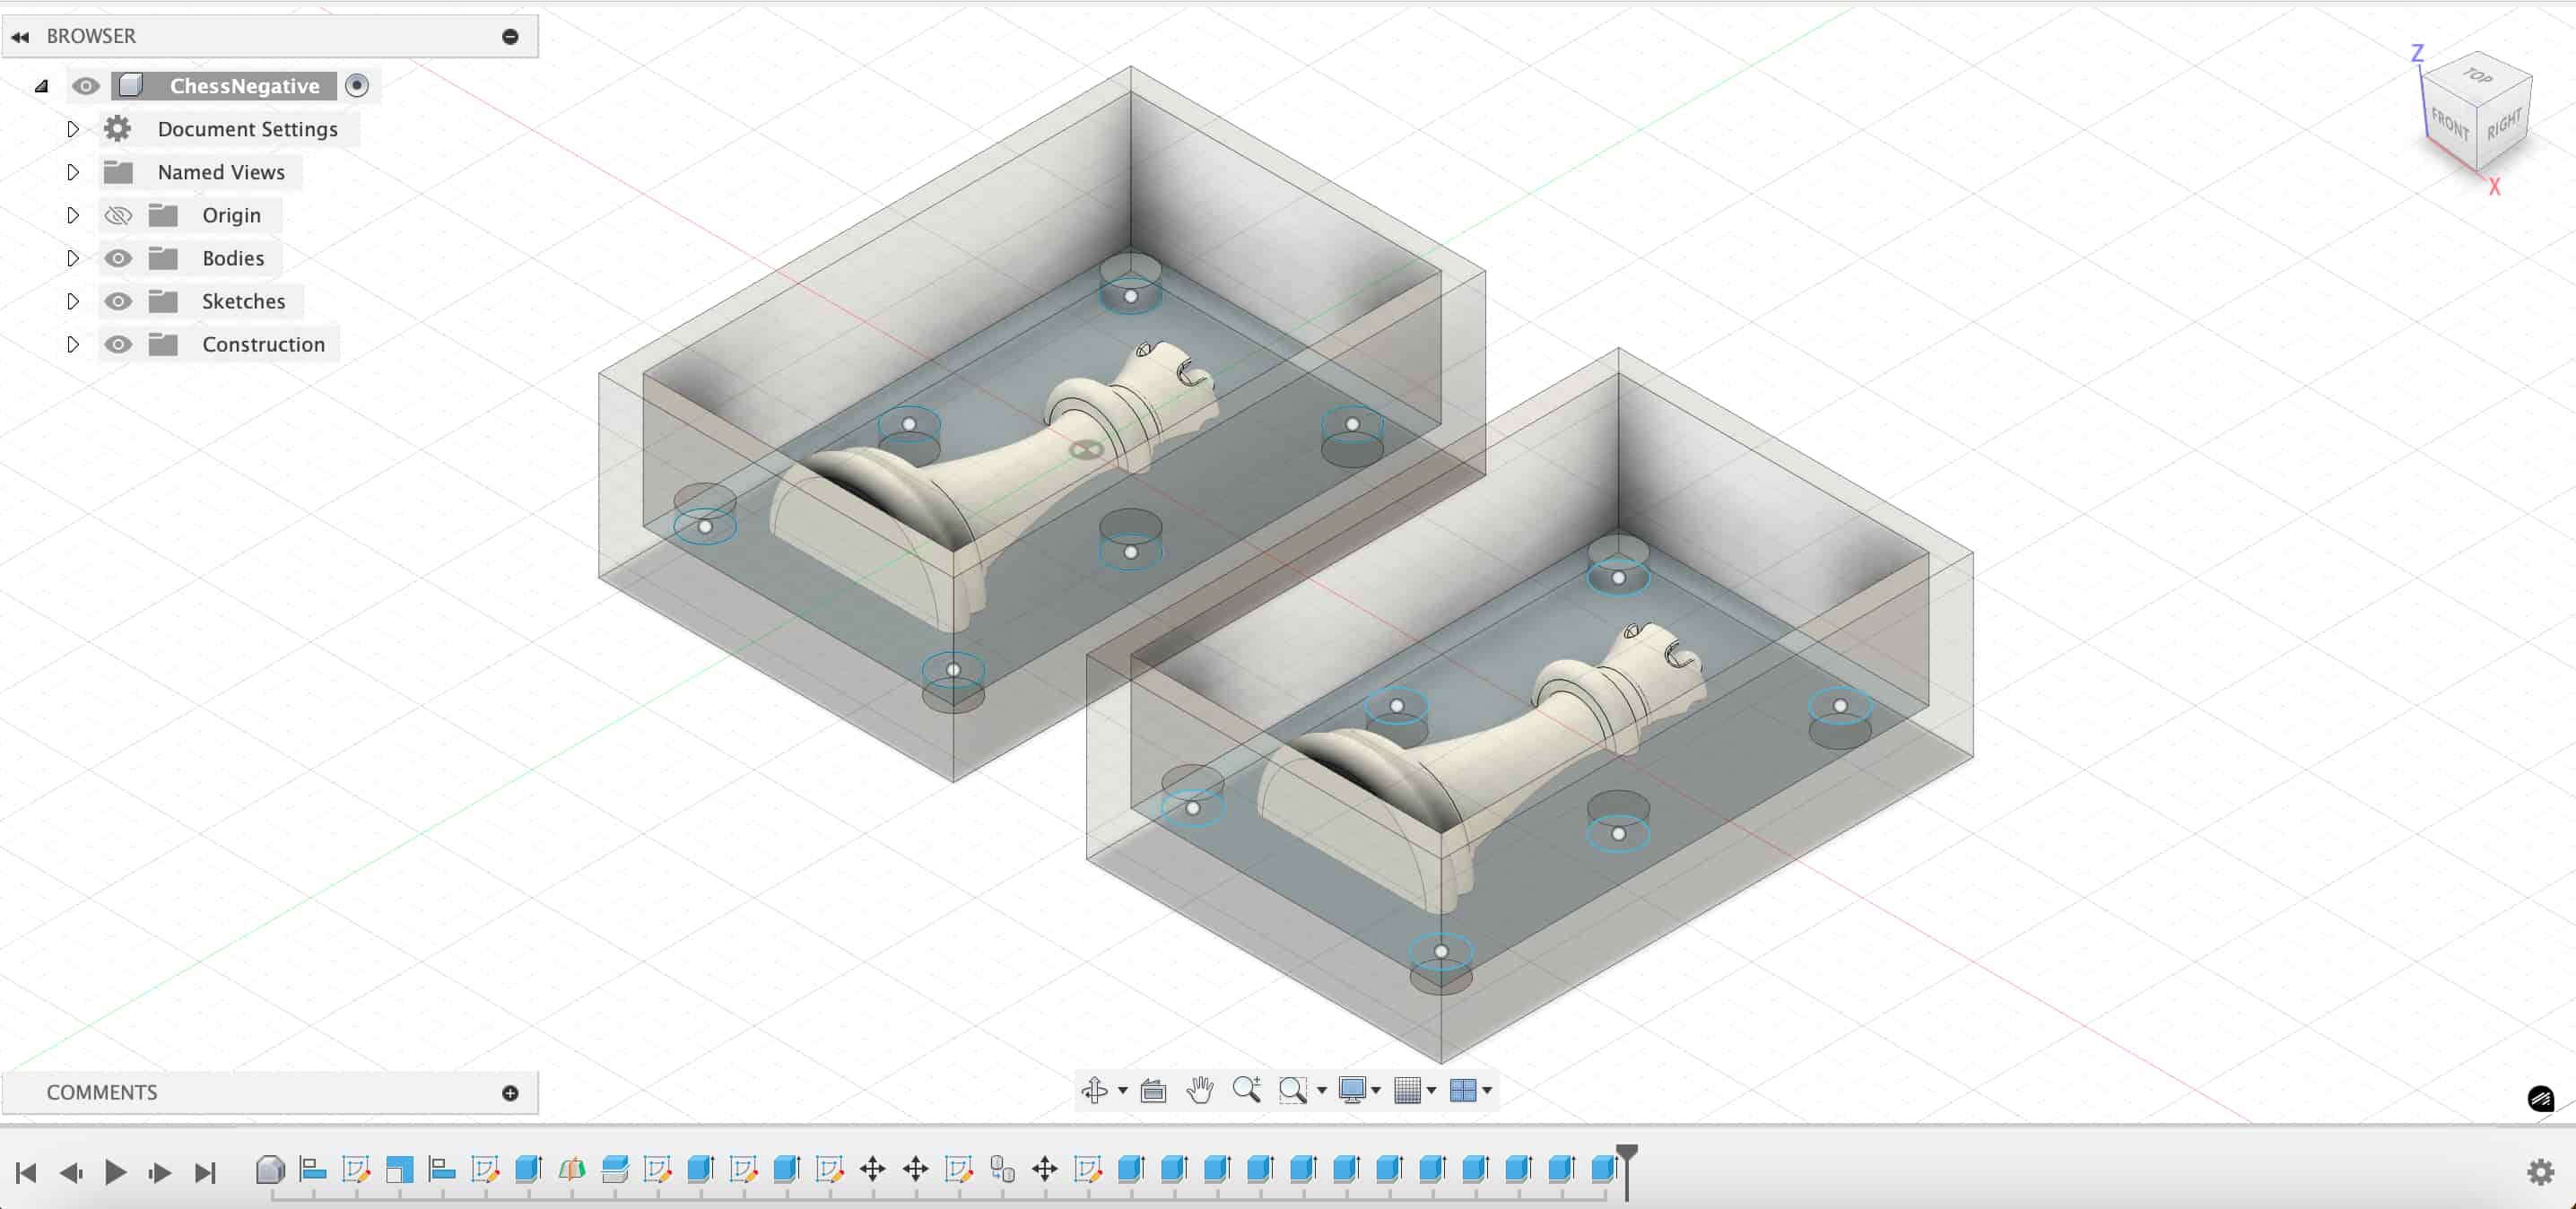
Using Preform's one click print setup, I noticed a warning that cup was detected because my box design could lead to water trapped during the print. I didn't want to add a hole and then glue it later on, so I made my print vertical. I am also using the Formlab's SLA printer with Clear V5 material.
Making my first mold
After a night's sleep, my print was ready. I washed them and then cured it.
Look at this disco setup!
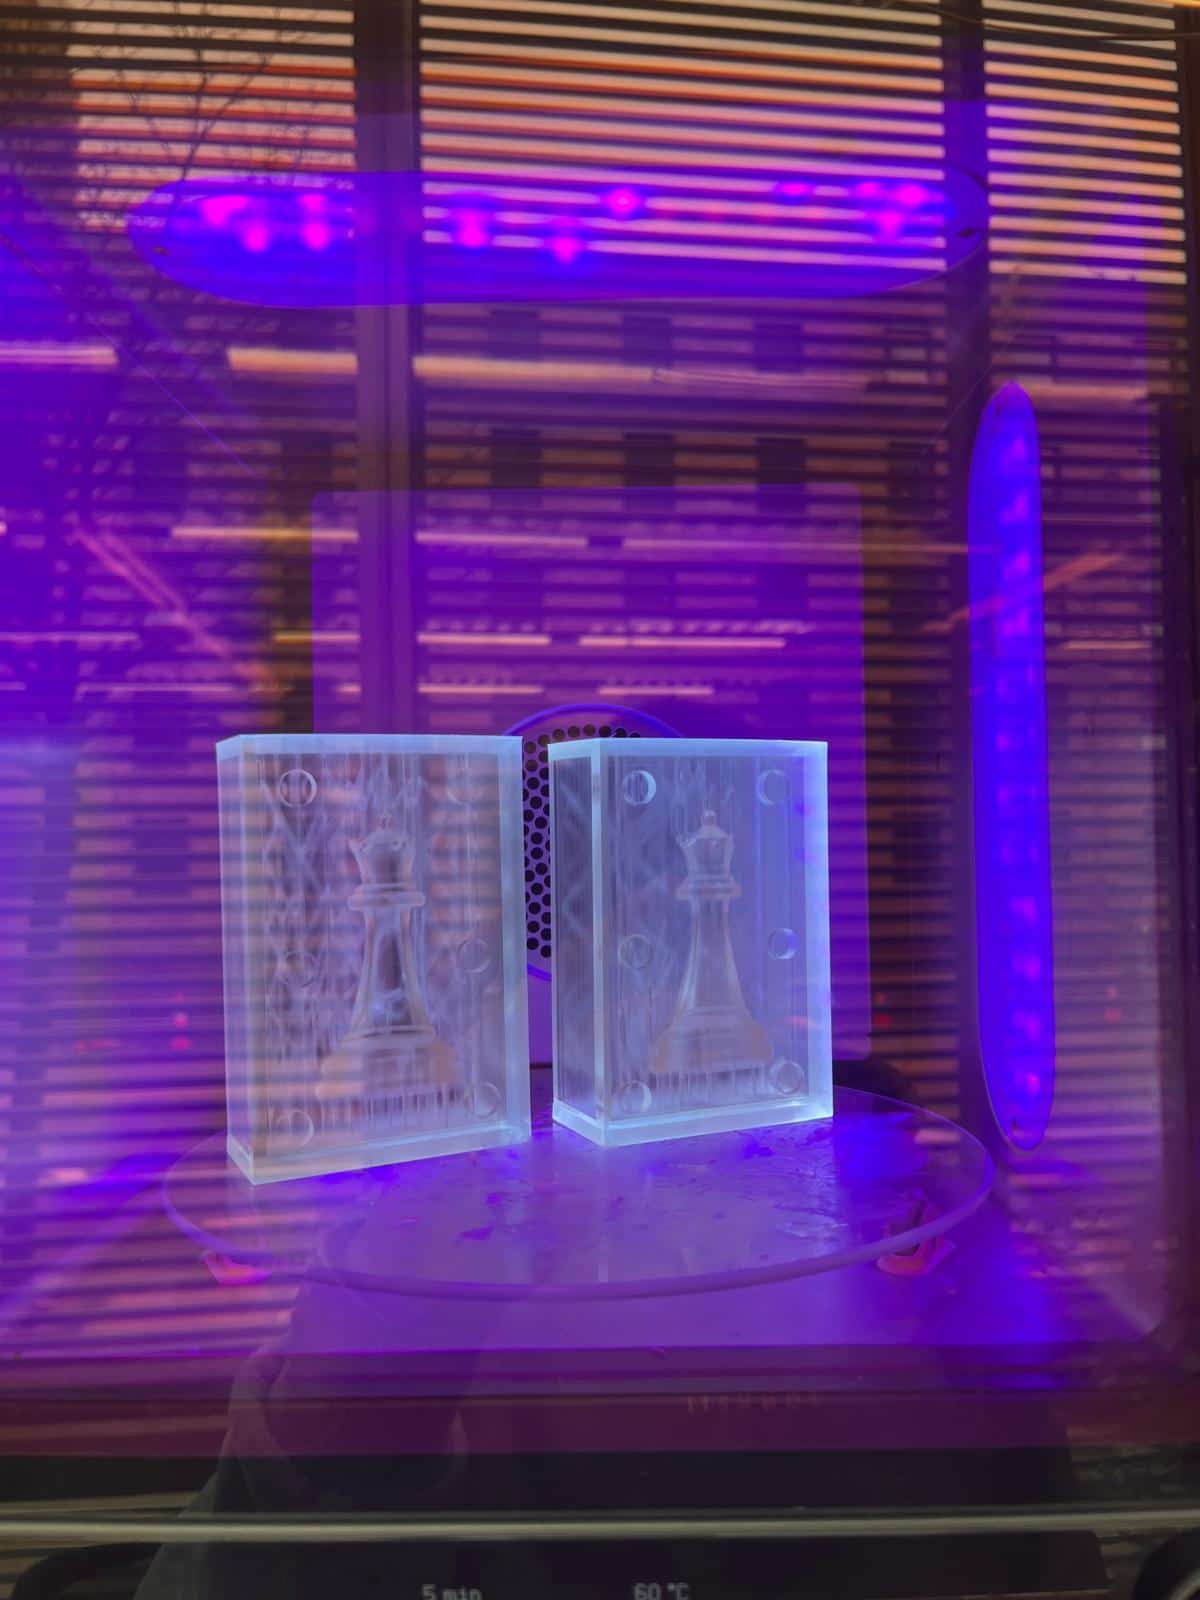
Since I printed mine vertically, there's more support to hold my chess pieces together. It was hard to remove the supports after I cured the model as everything hardened. After removing the supports, I also noticed some support was still stuck to the chess piece, which went against the "every print should be perfect" principle. Here's what my print looks like:
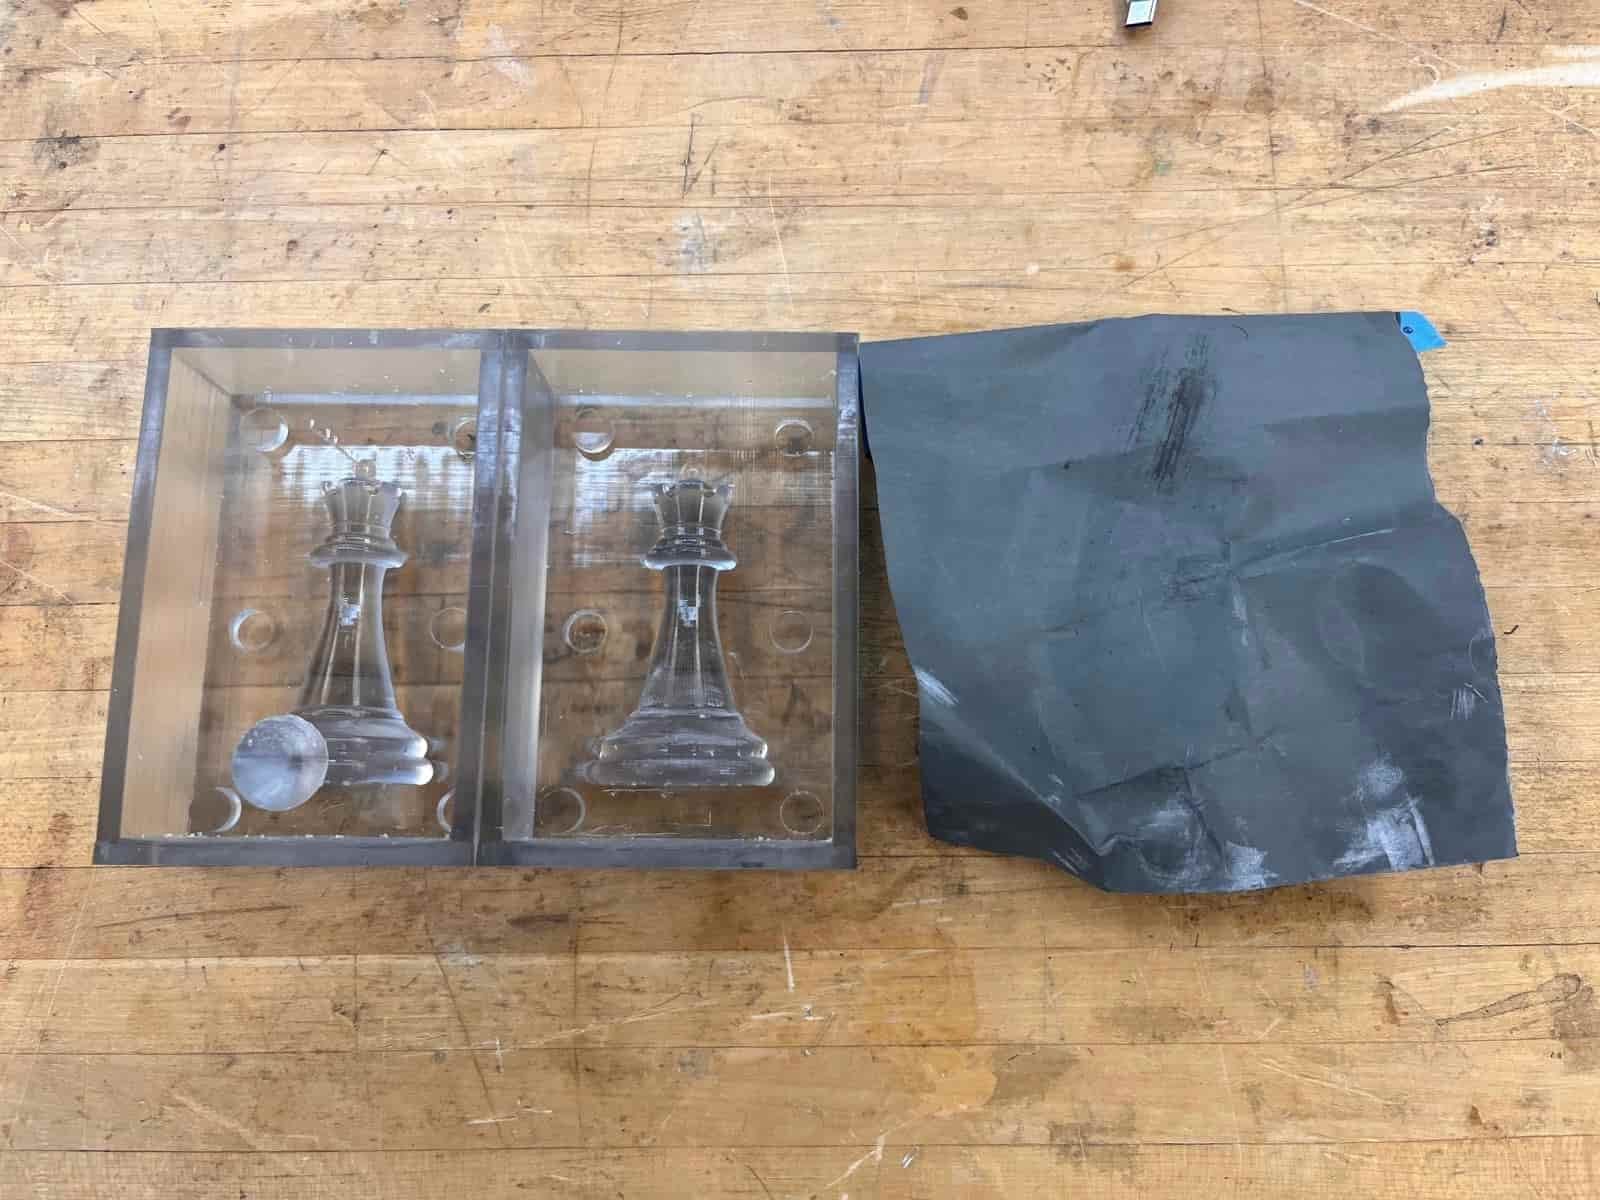
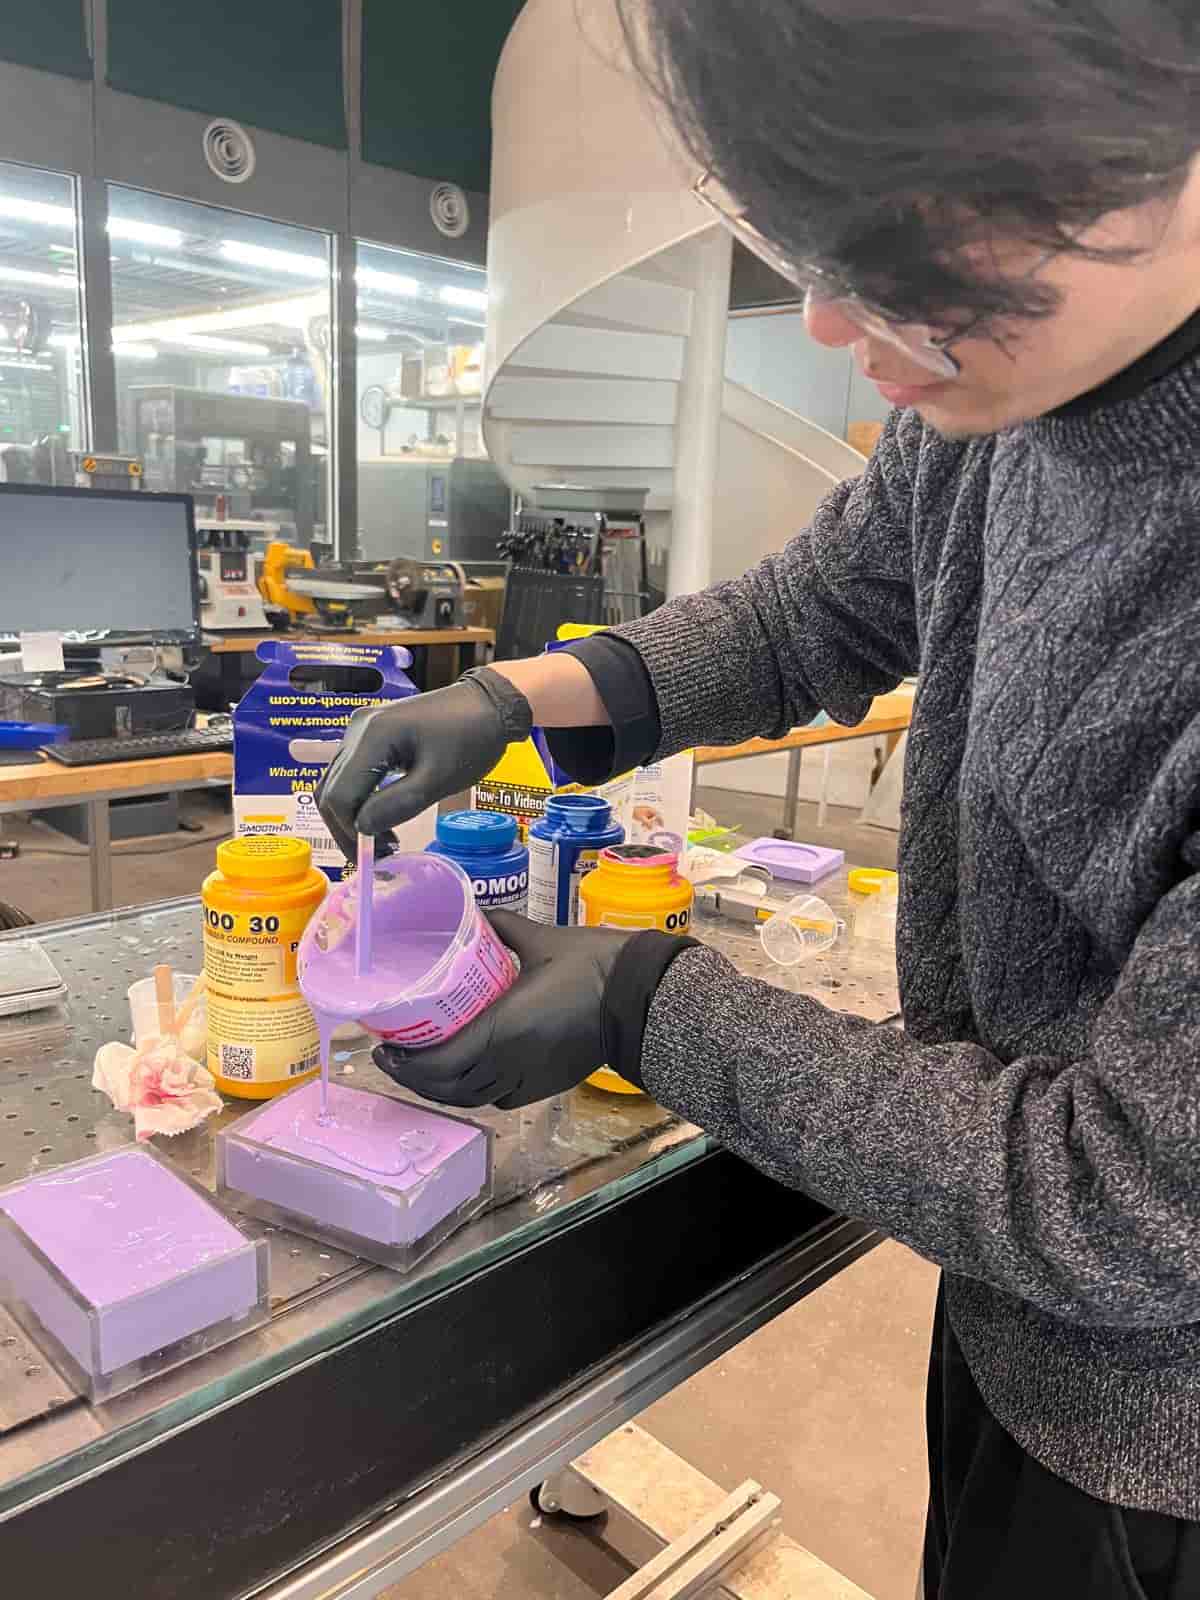
I thought I could use the sandpaper to refine it later on, so I went ahead with making the mold with Oomoo's silicon rubber mold.
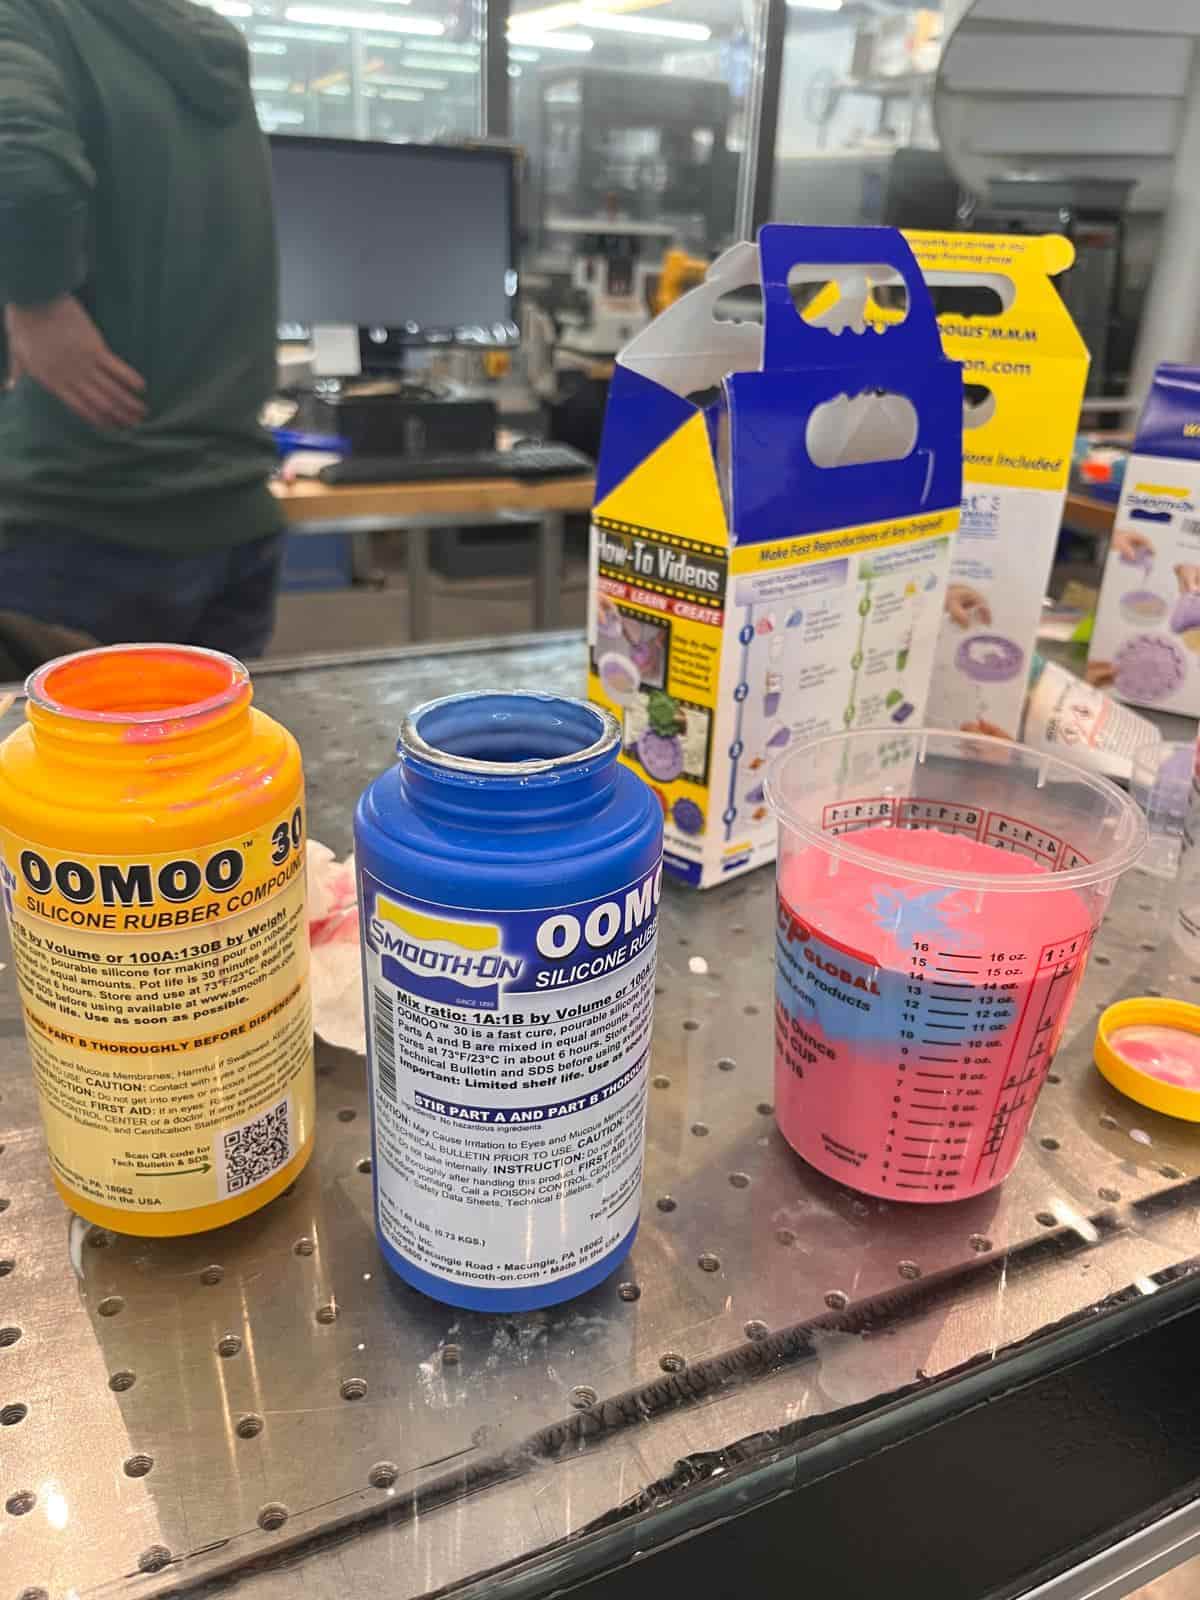
I mixed them with a 1:1 ratio and poured into my container box. I needed some extra so Rui shared some of his with me. Now it's time to wait for six hours.
Making my first cast
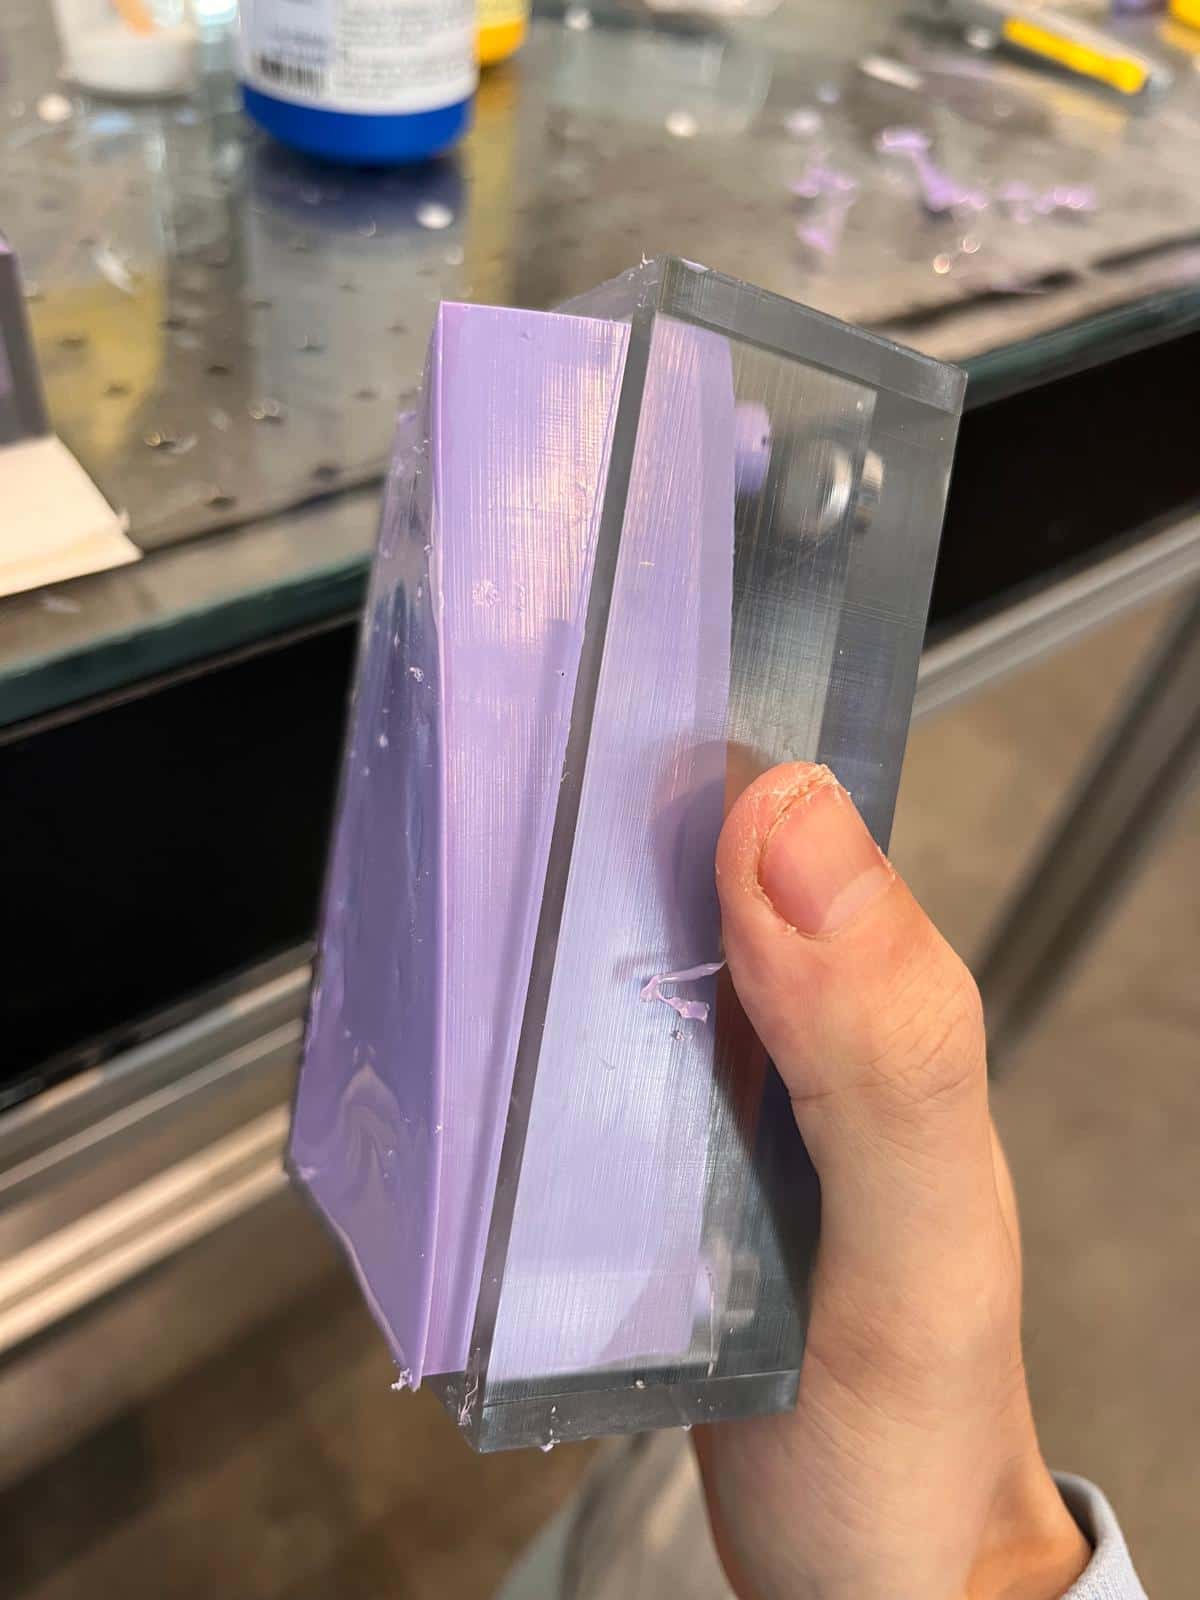
After six hours, it's time to check hold the negative mold turned out.
I wanted my chess piece to be transparent with some color filaments inside. I couldn't find the pigments so instead I grabbed some debris from the shopbot cutting the wax and mixed with my the transparent resin.
When pouring the resin into my mold, I noticed that the pour hole I designed was too small and the inflow speed was way too slow. I srambled around to try to drill a bigger hole to get the casting material in faster. However, the epoxy resin only has a pot life of 30 minutes, so it soon hardened and I couldn't do much to save it.
Modifying my design
I needed to make my pour hole bigger and also add a air hole for air to escape so that my cast doesn't have too much air bubbles. I also want to get rid of the support on my chess piece for a better print. Here's my new design:

I changed my print setup to slanted, which means I don't need support to hold my chess piece during the print. With lower height, it also helped to reduce the print time.
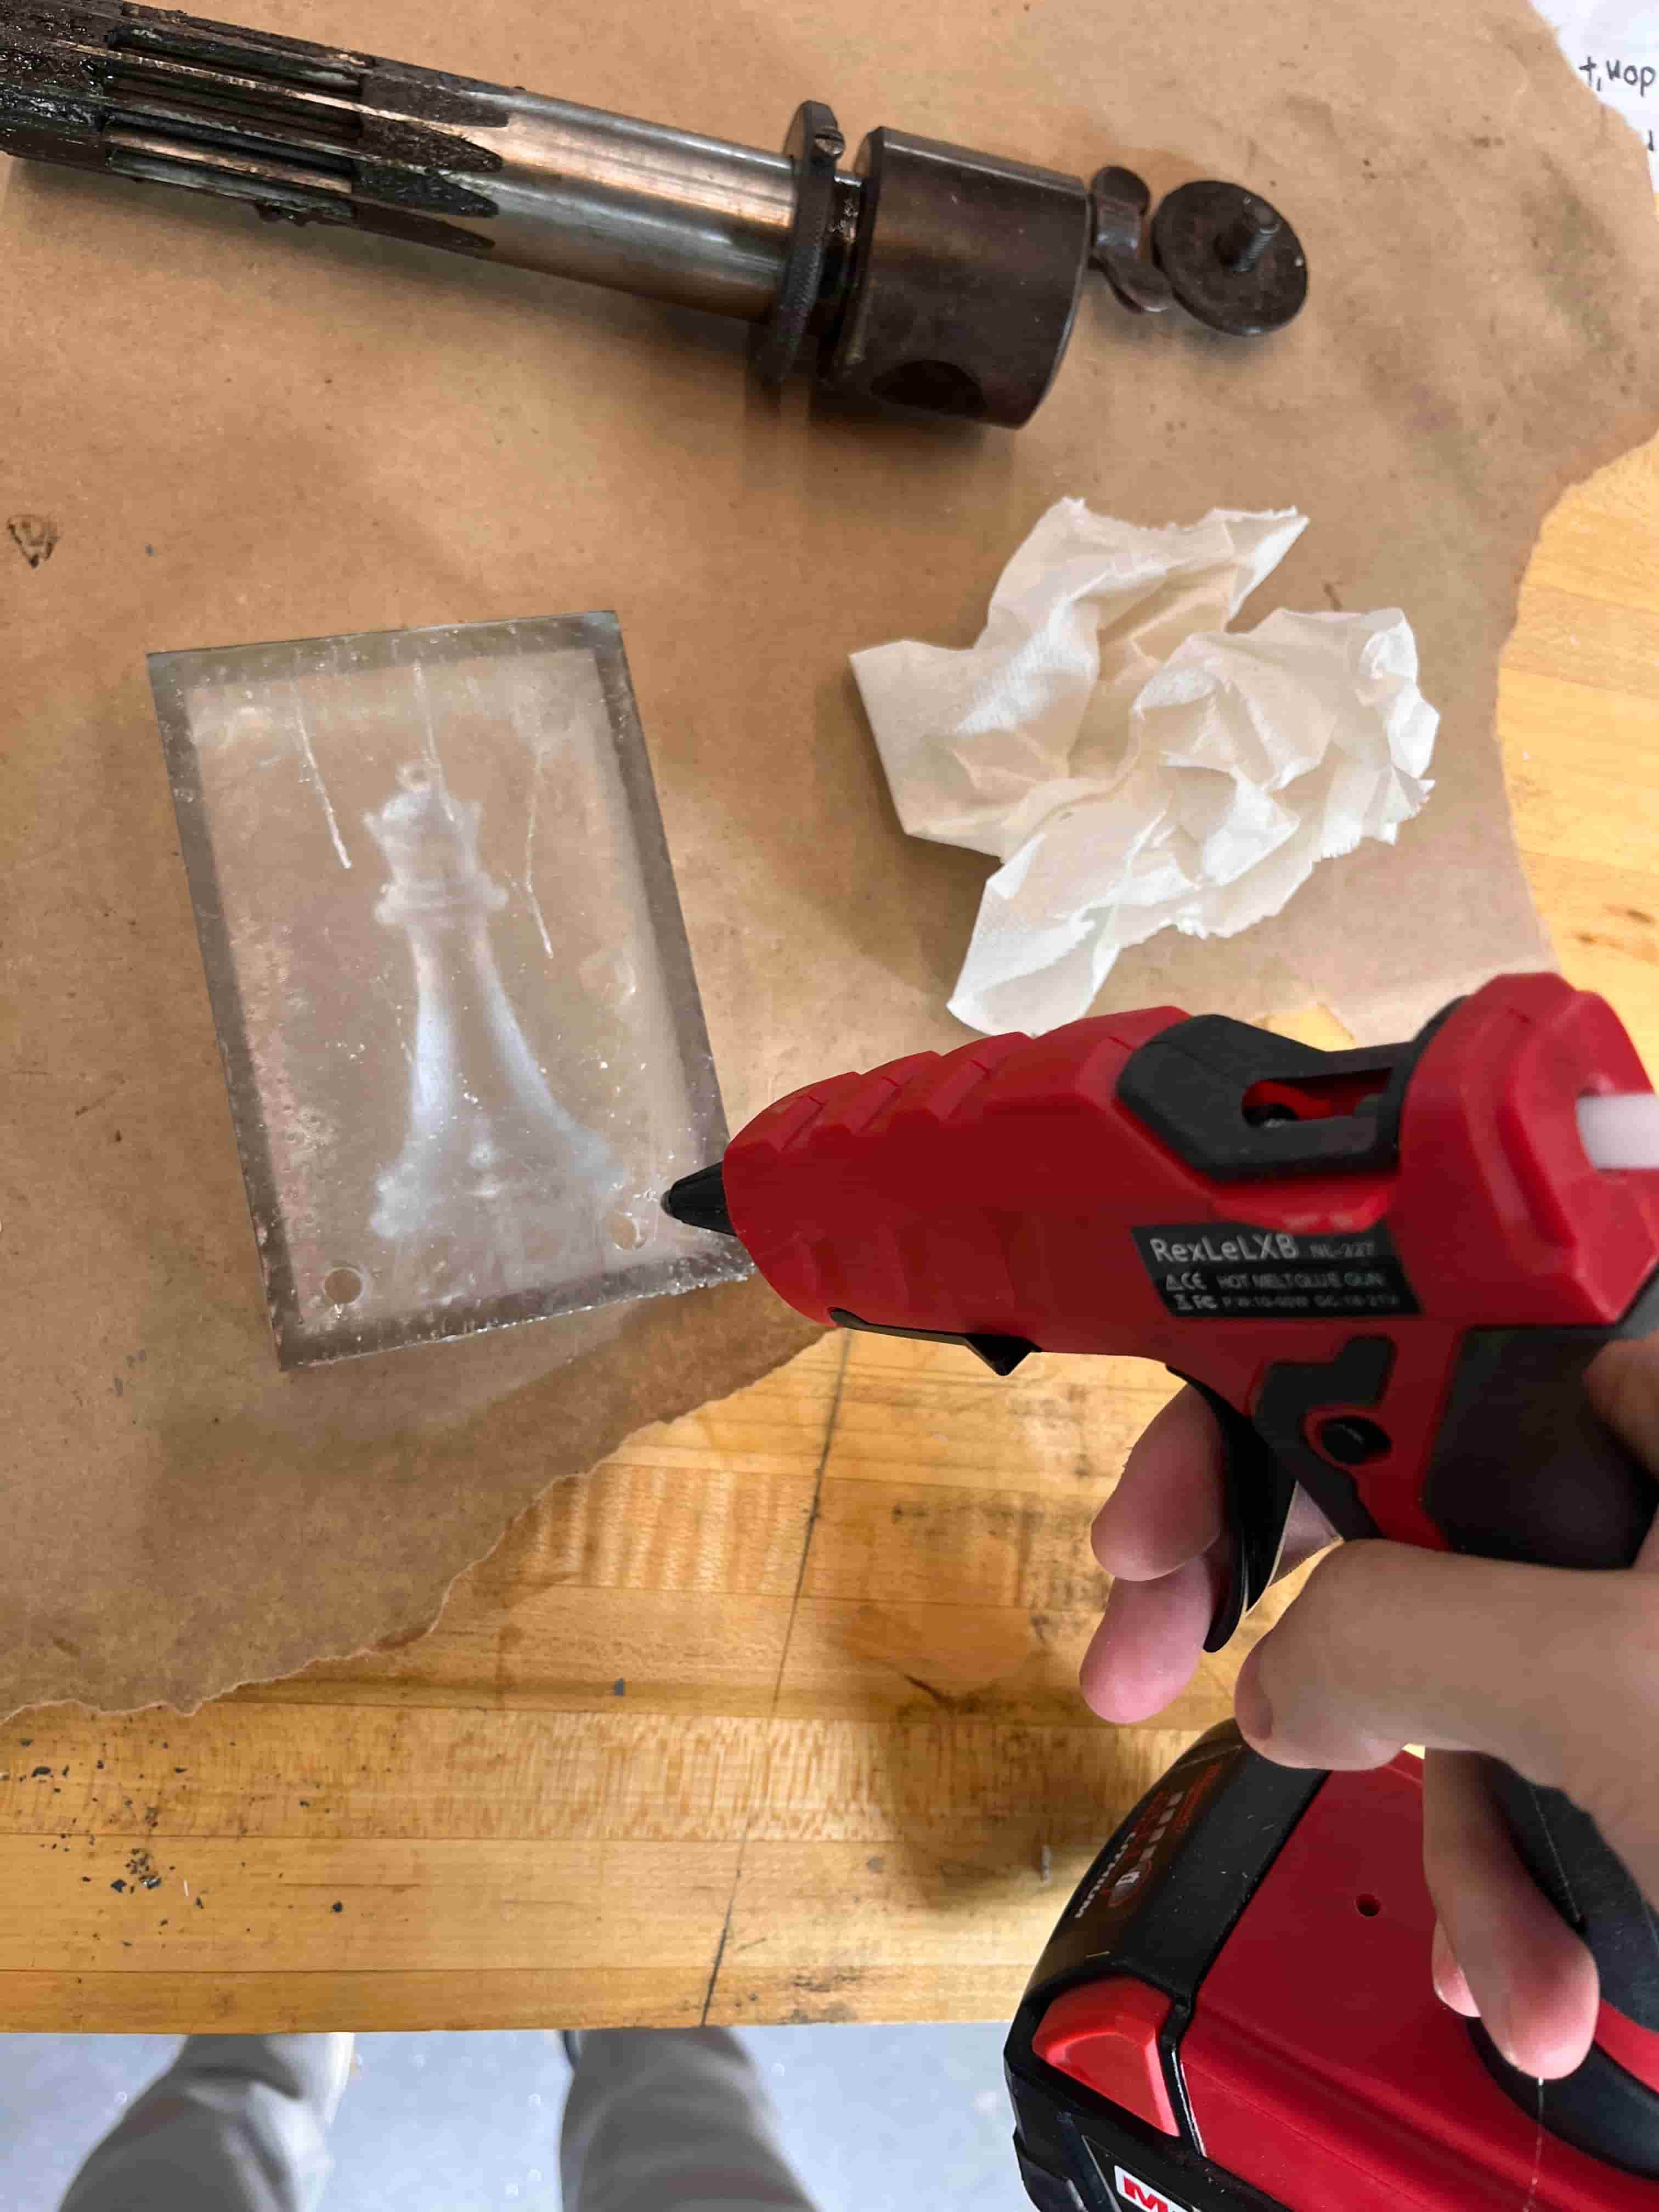
However, with this setup, Formlab will give the “cup warning" because there are areas in my model that could trap uncured resin. As a result, I needed to add drain holes towards the bottom of my mold box. After the print is finished, I need to use hot glue to seal the drain hole before casting.
Quick Cast
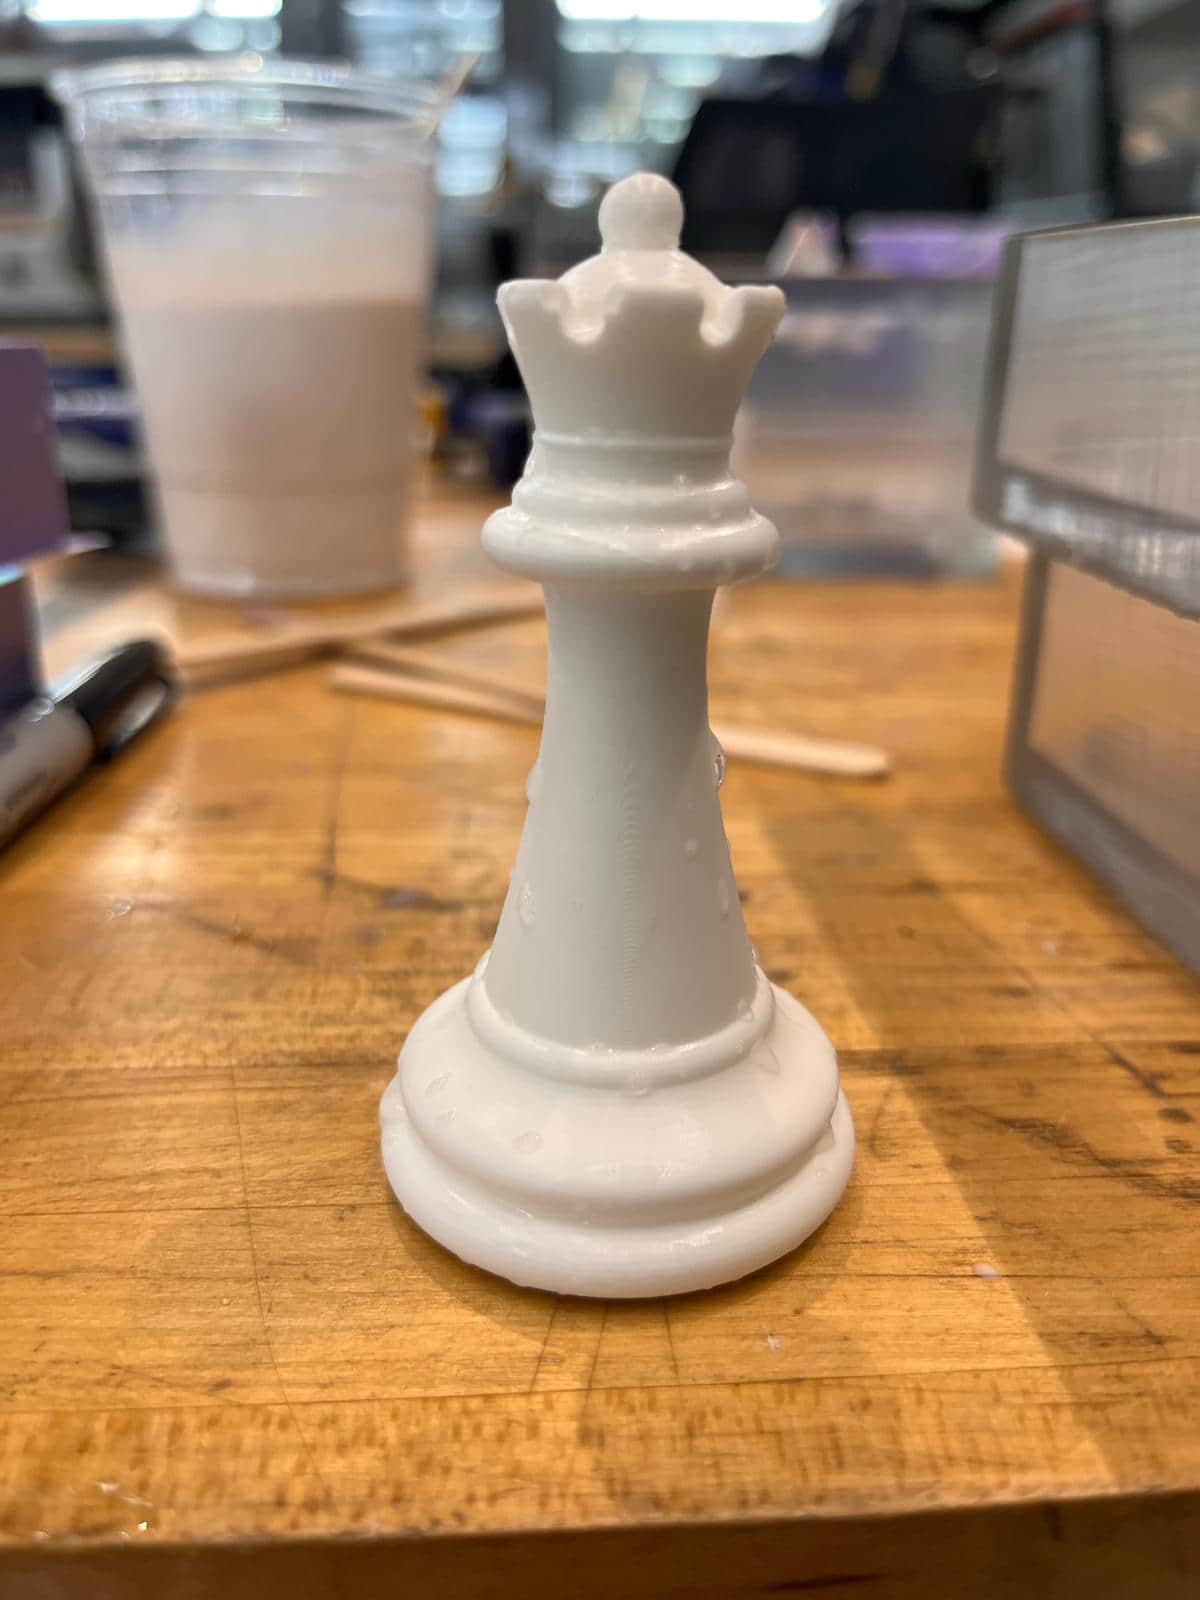
Here's the result with Oomoo's plastic material, which has a curing time of half an hour, perfect for quick iterations of casting. The cast wasn't exactly perfect, as the seam from the two part mold can still be seen. After using the sand belt to smoothen the surface a little bit, the result was much better.
Transparent Cast
I wanted to try the transparent cast again. This time, I also got the dry flower thanks to Matti's advice to use Amazon Prime, where I got the same day delivery treatment. But even after pouring in very slowly, creating bigger air holes, and spending almost an hour using the heat gun to heat at the cast in an attempt to remove the air bubbles, there are still bubbles left in the final cast.
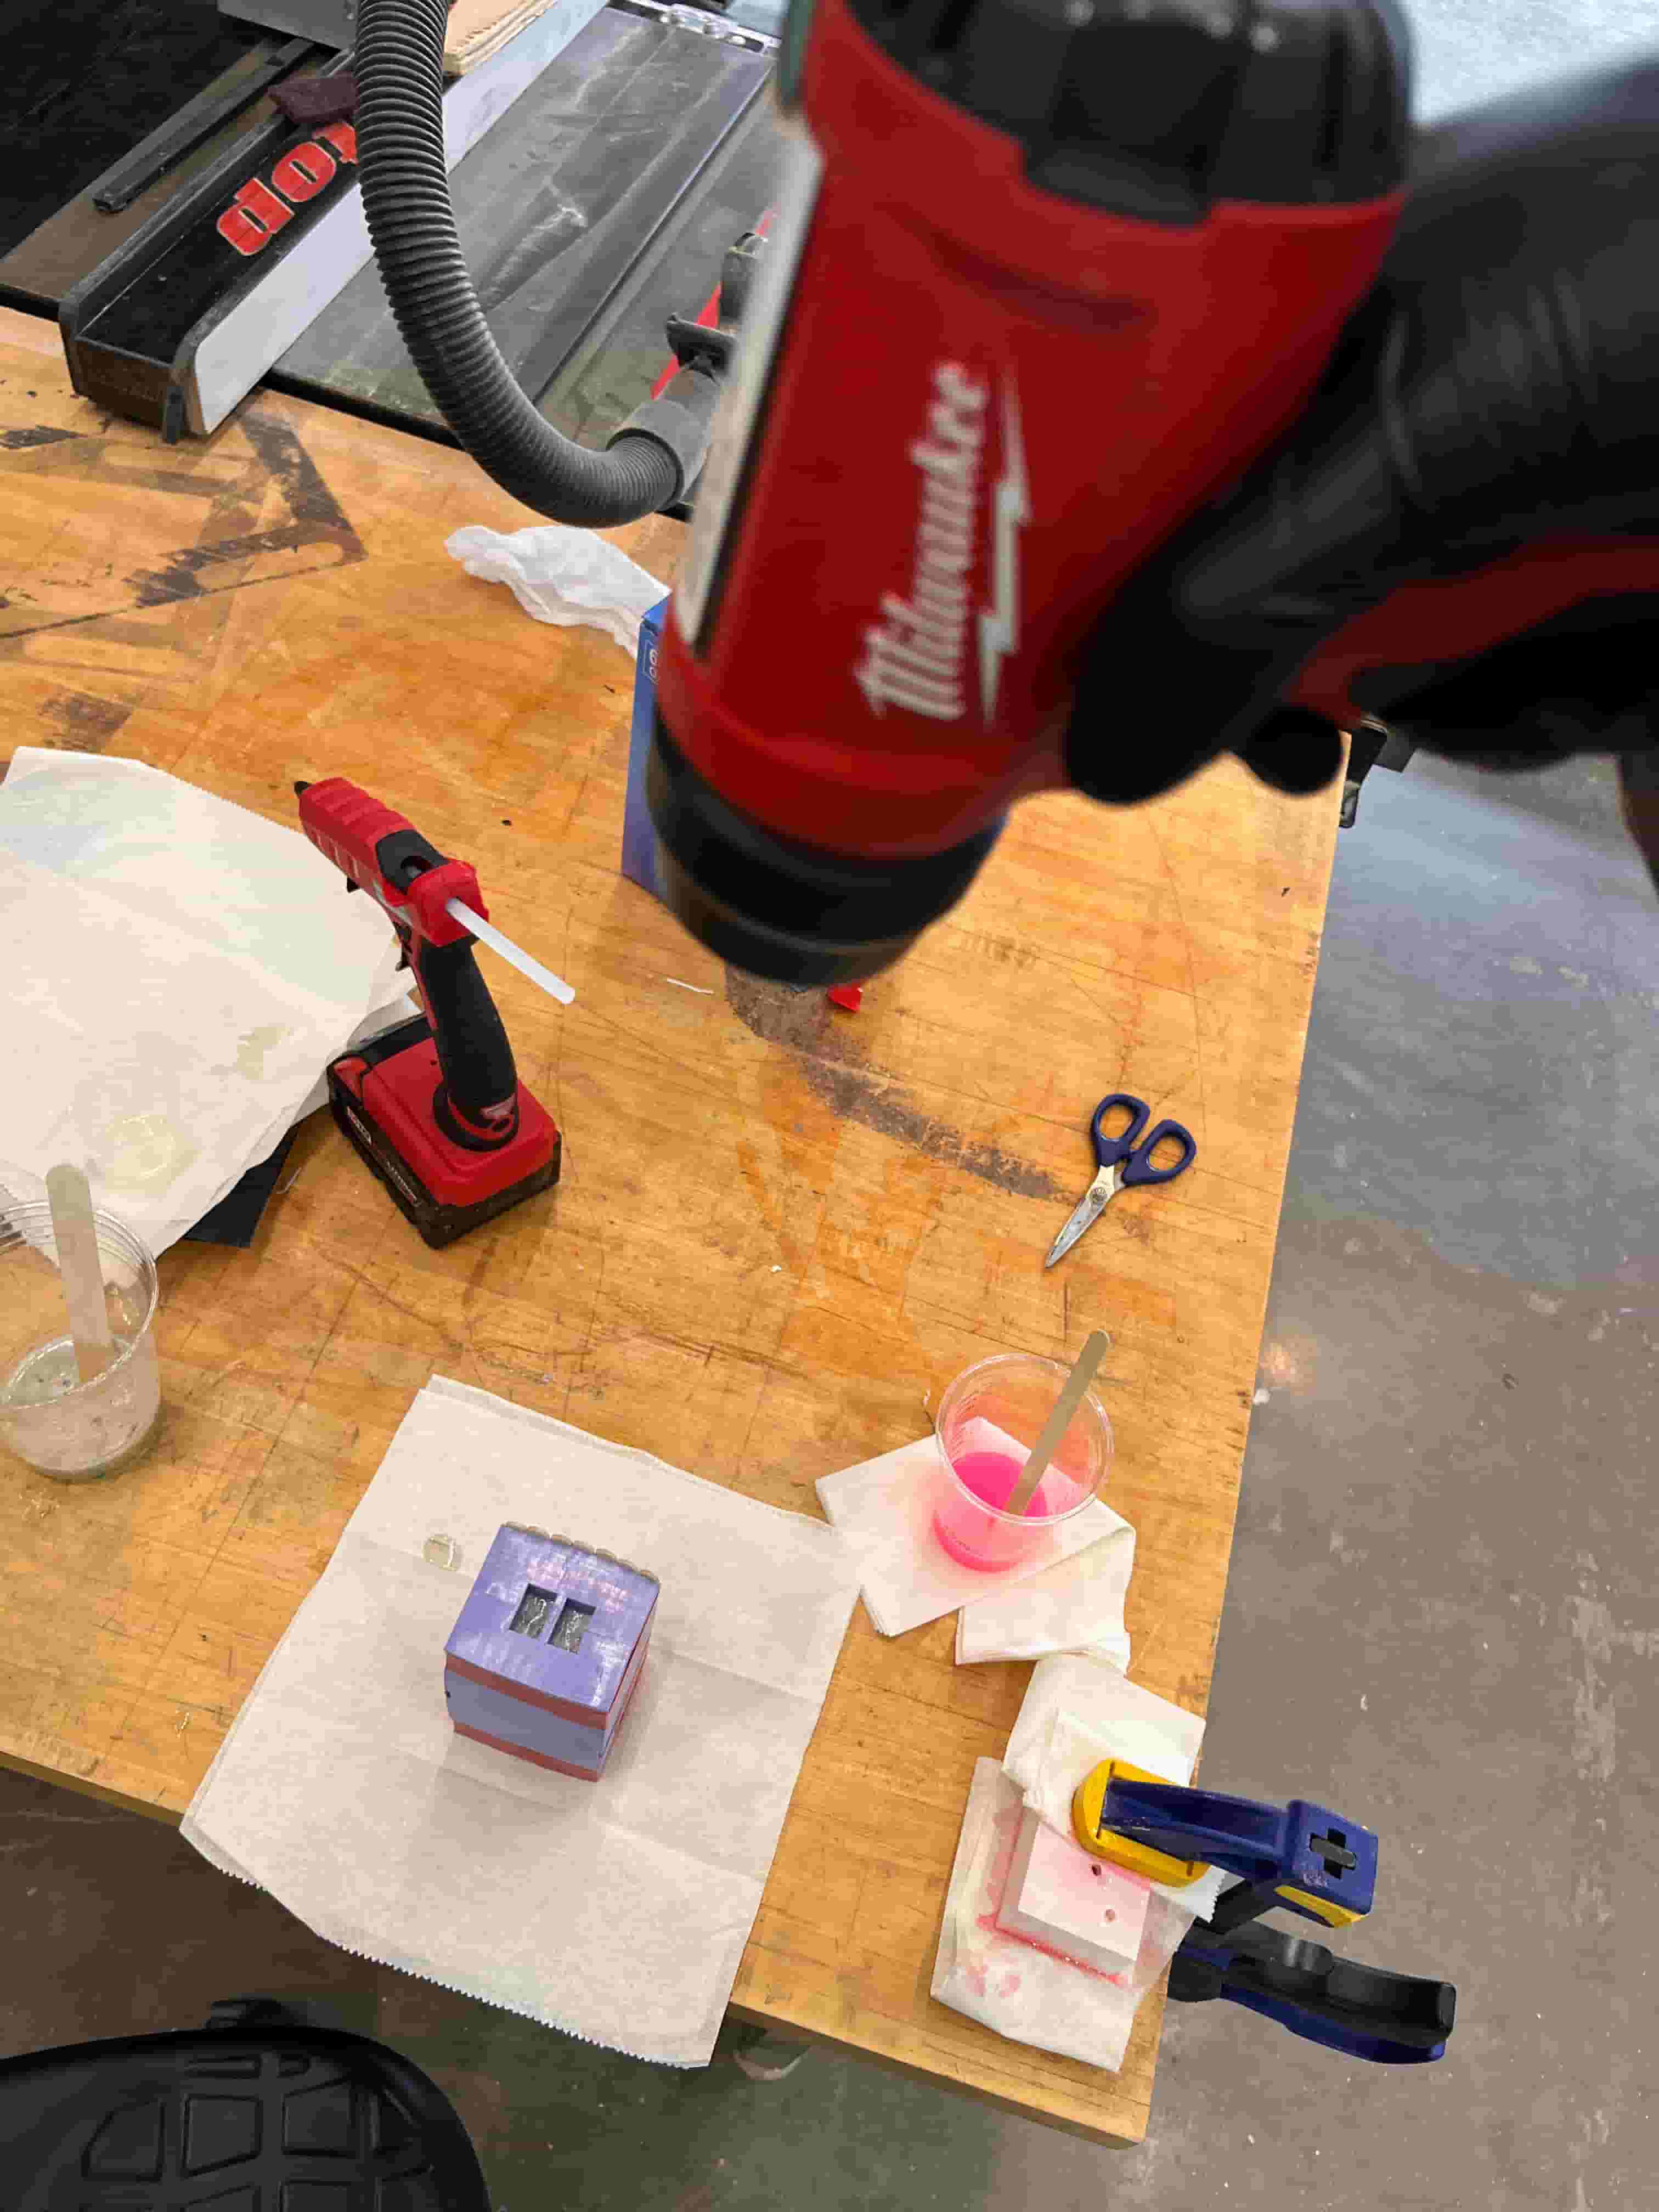
After waiting almost an entire day for it to form, the result was very disappointing, as many air bubbles persisted in the cast.
After consulting with Kat, I learned that the mixing process itself creates air bubbles that are hard to remove later on. So I needed to be more patient when mixing the casting materials to avoid too many air bubbles from forming. I also need to even slower in pouring now that I have bigger pour holes.
Resources and Acknowledgements
Tools used:
- Form 4
- ART 'N GLOW Epoxy Resin
- OOMOO 30
- OOMOO
- Fusion 360