Week 2
Vinyl & Laser Cutting
09/10/2025-09/17/2025
Group Assignment
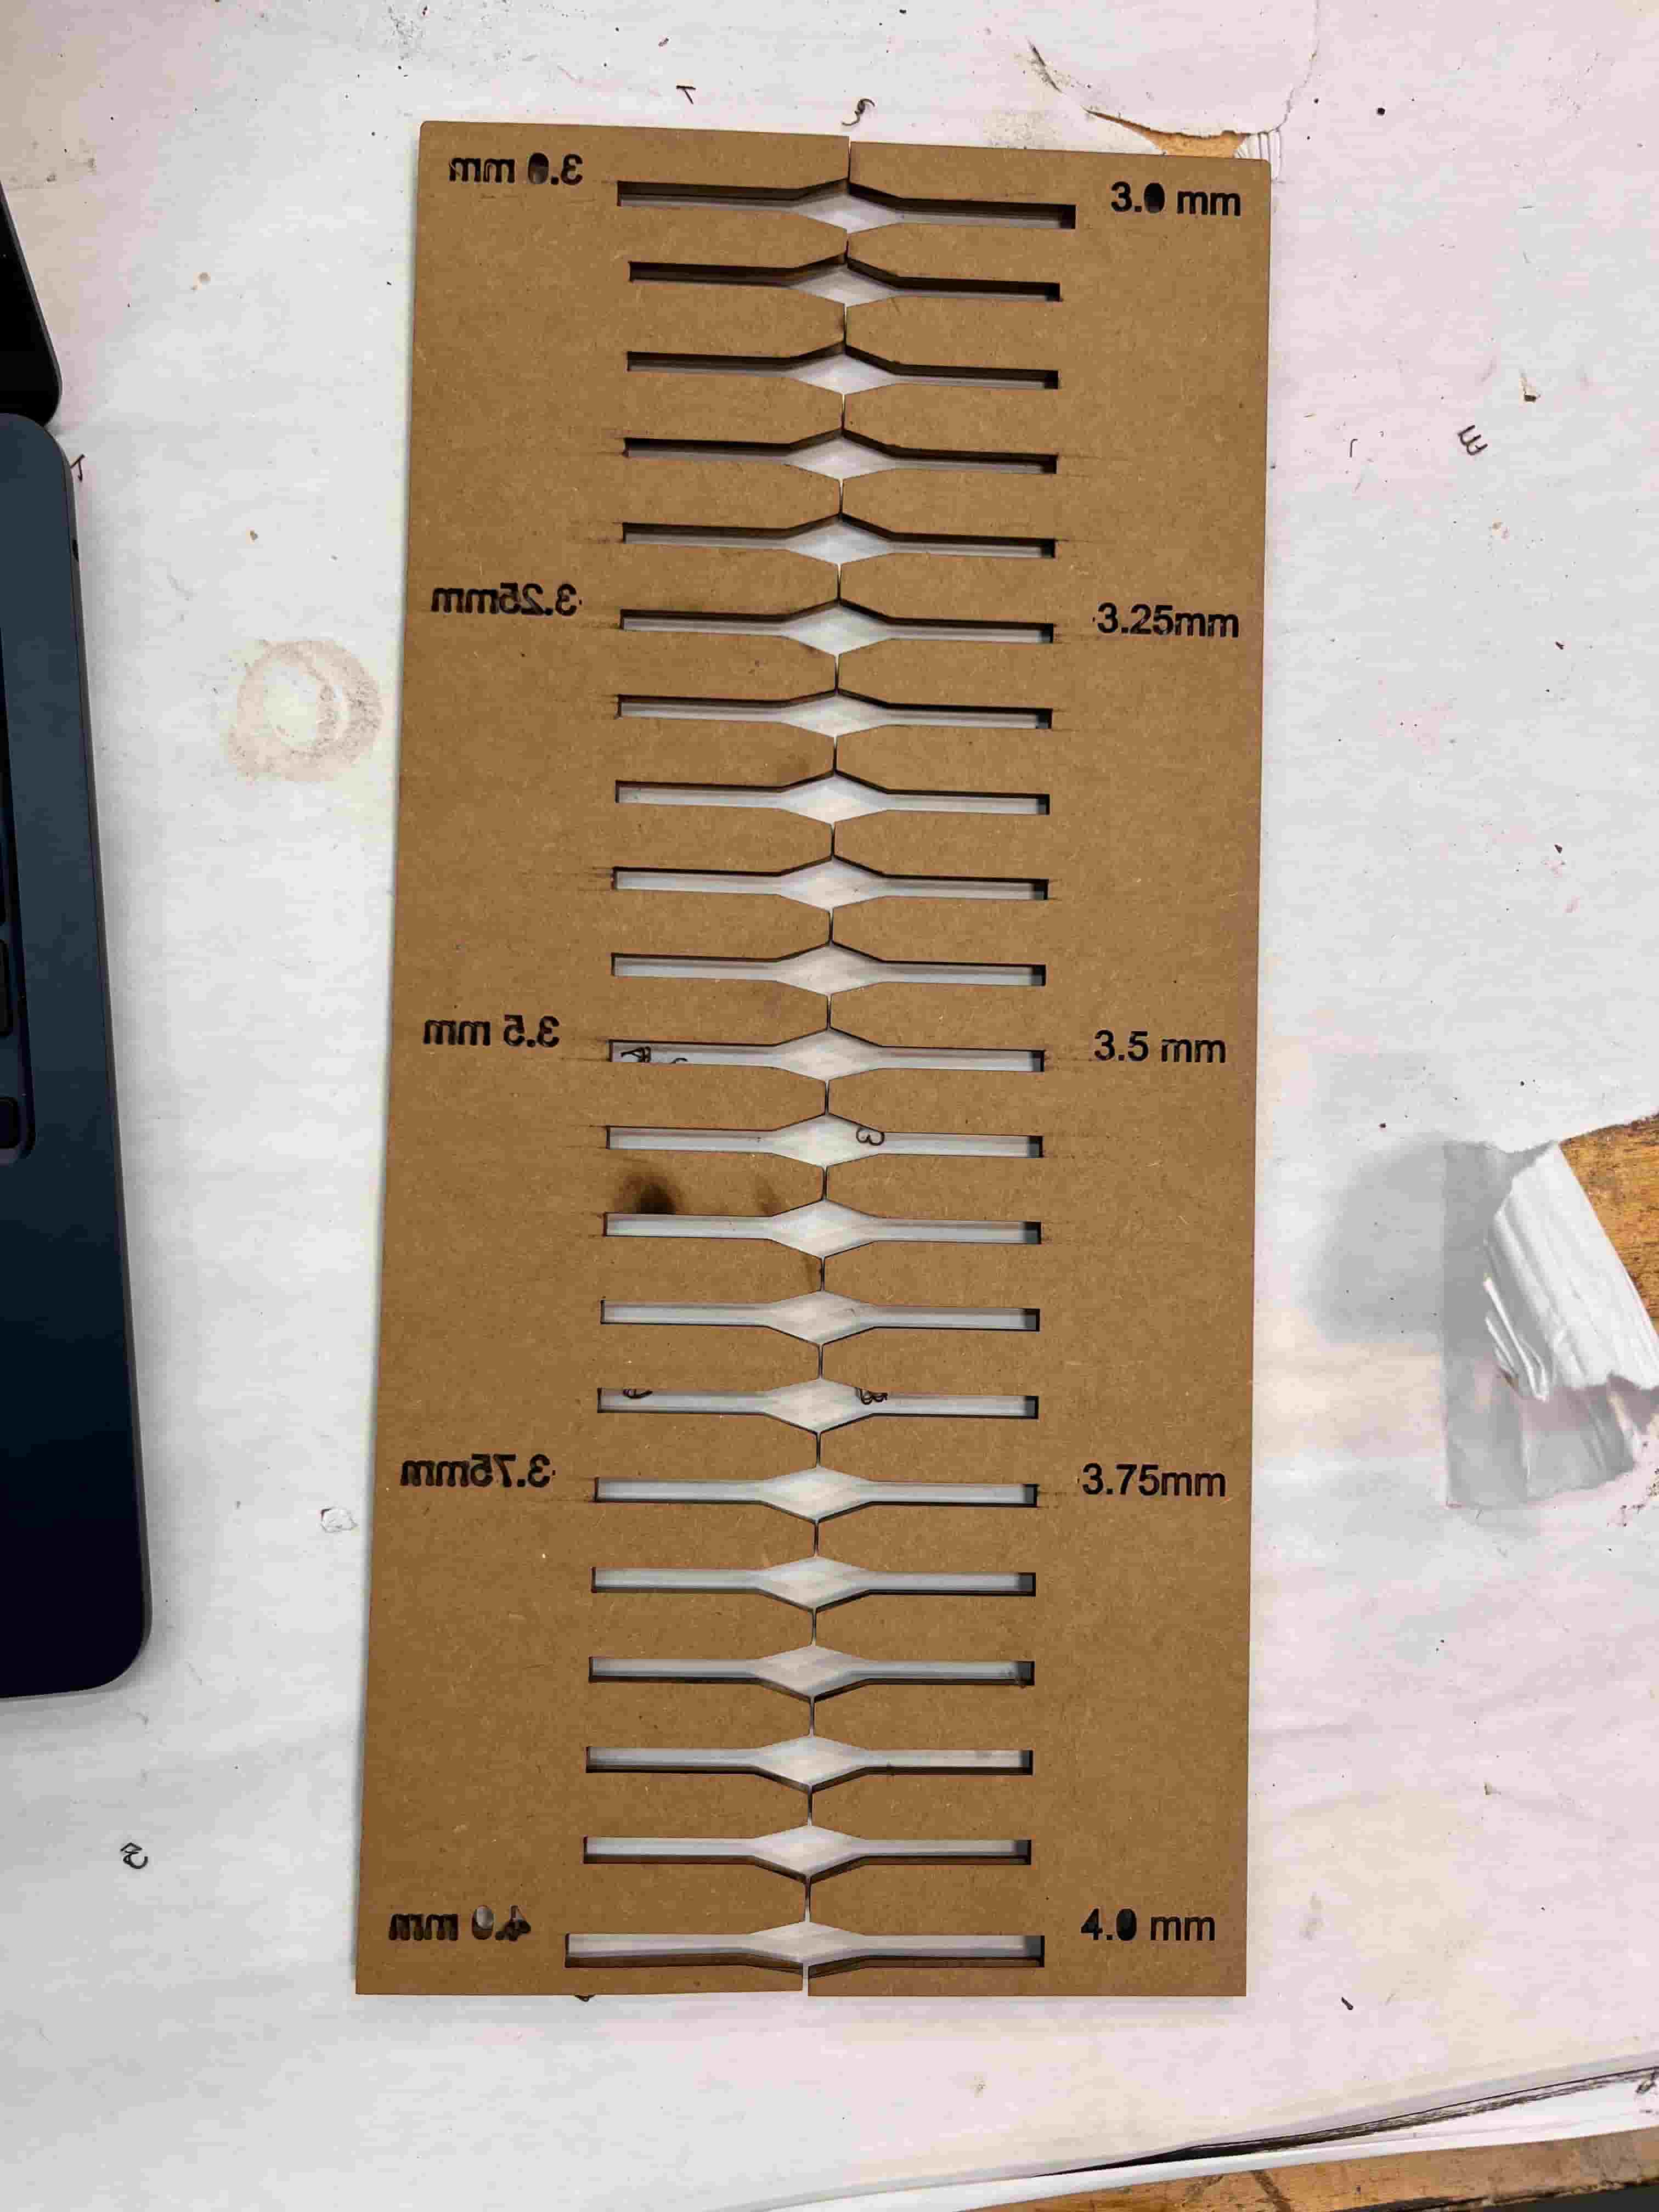
After learning about the safety training of the maker space, I worked with Ruipeng, Awu, and Charlie in testing laser cutting to determine the kerf.
After a series of testing, we found that the range between 3.2-3.6 works well for two cardboards to lock onto each other.

Vinyl Cutting
For vinyl cutting, I downloaded the design of Shanghai's F1 track from svgfind and added texts to it.
I imported the svg into Cricut Design Space and connected it to the Cricut Maker 3. Sara showed me how to align the mat and the vinyl, before sending my design to start a cut in the software.

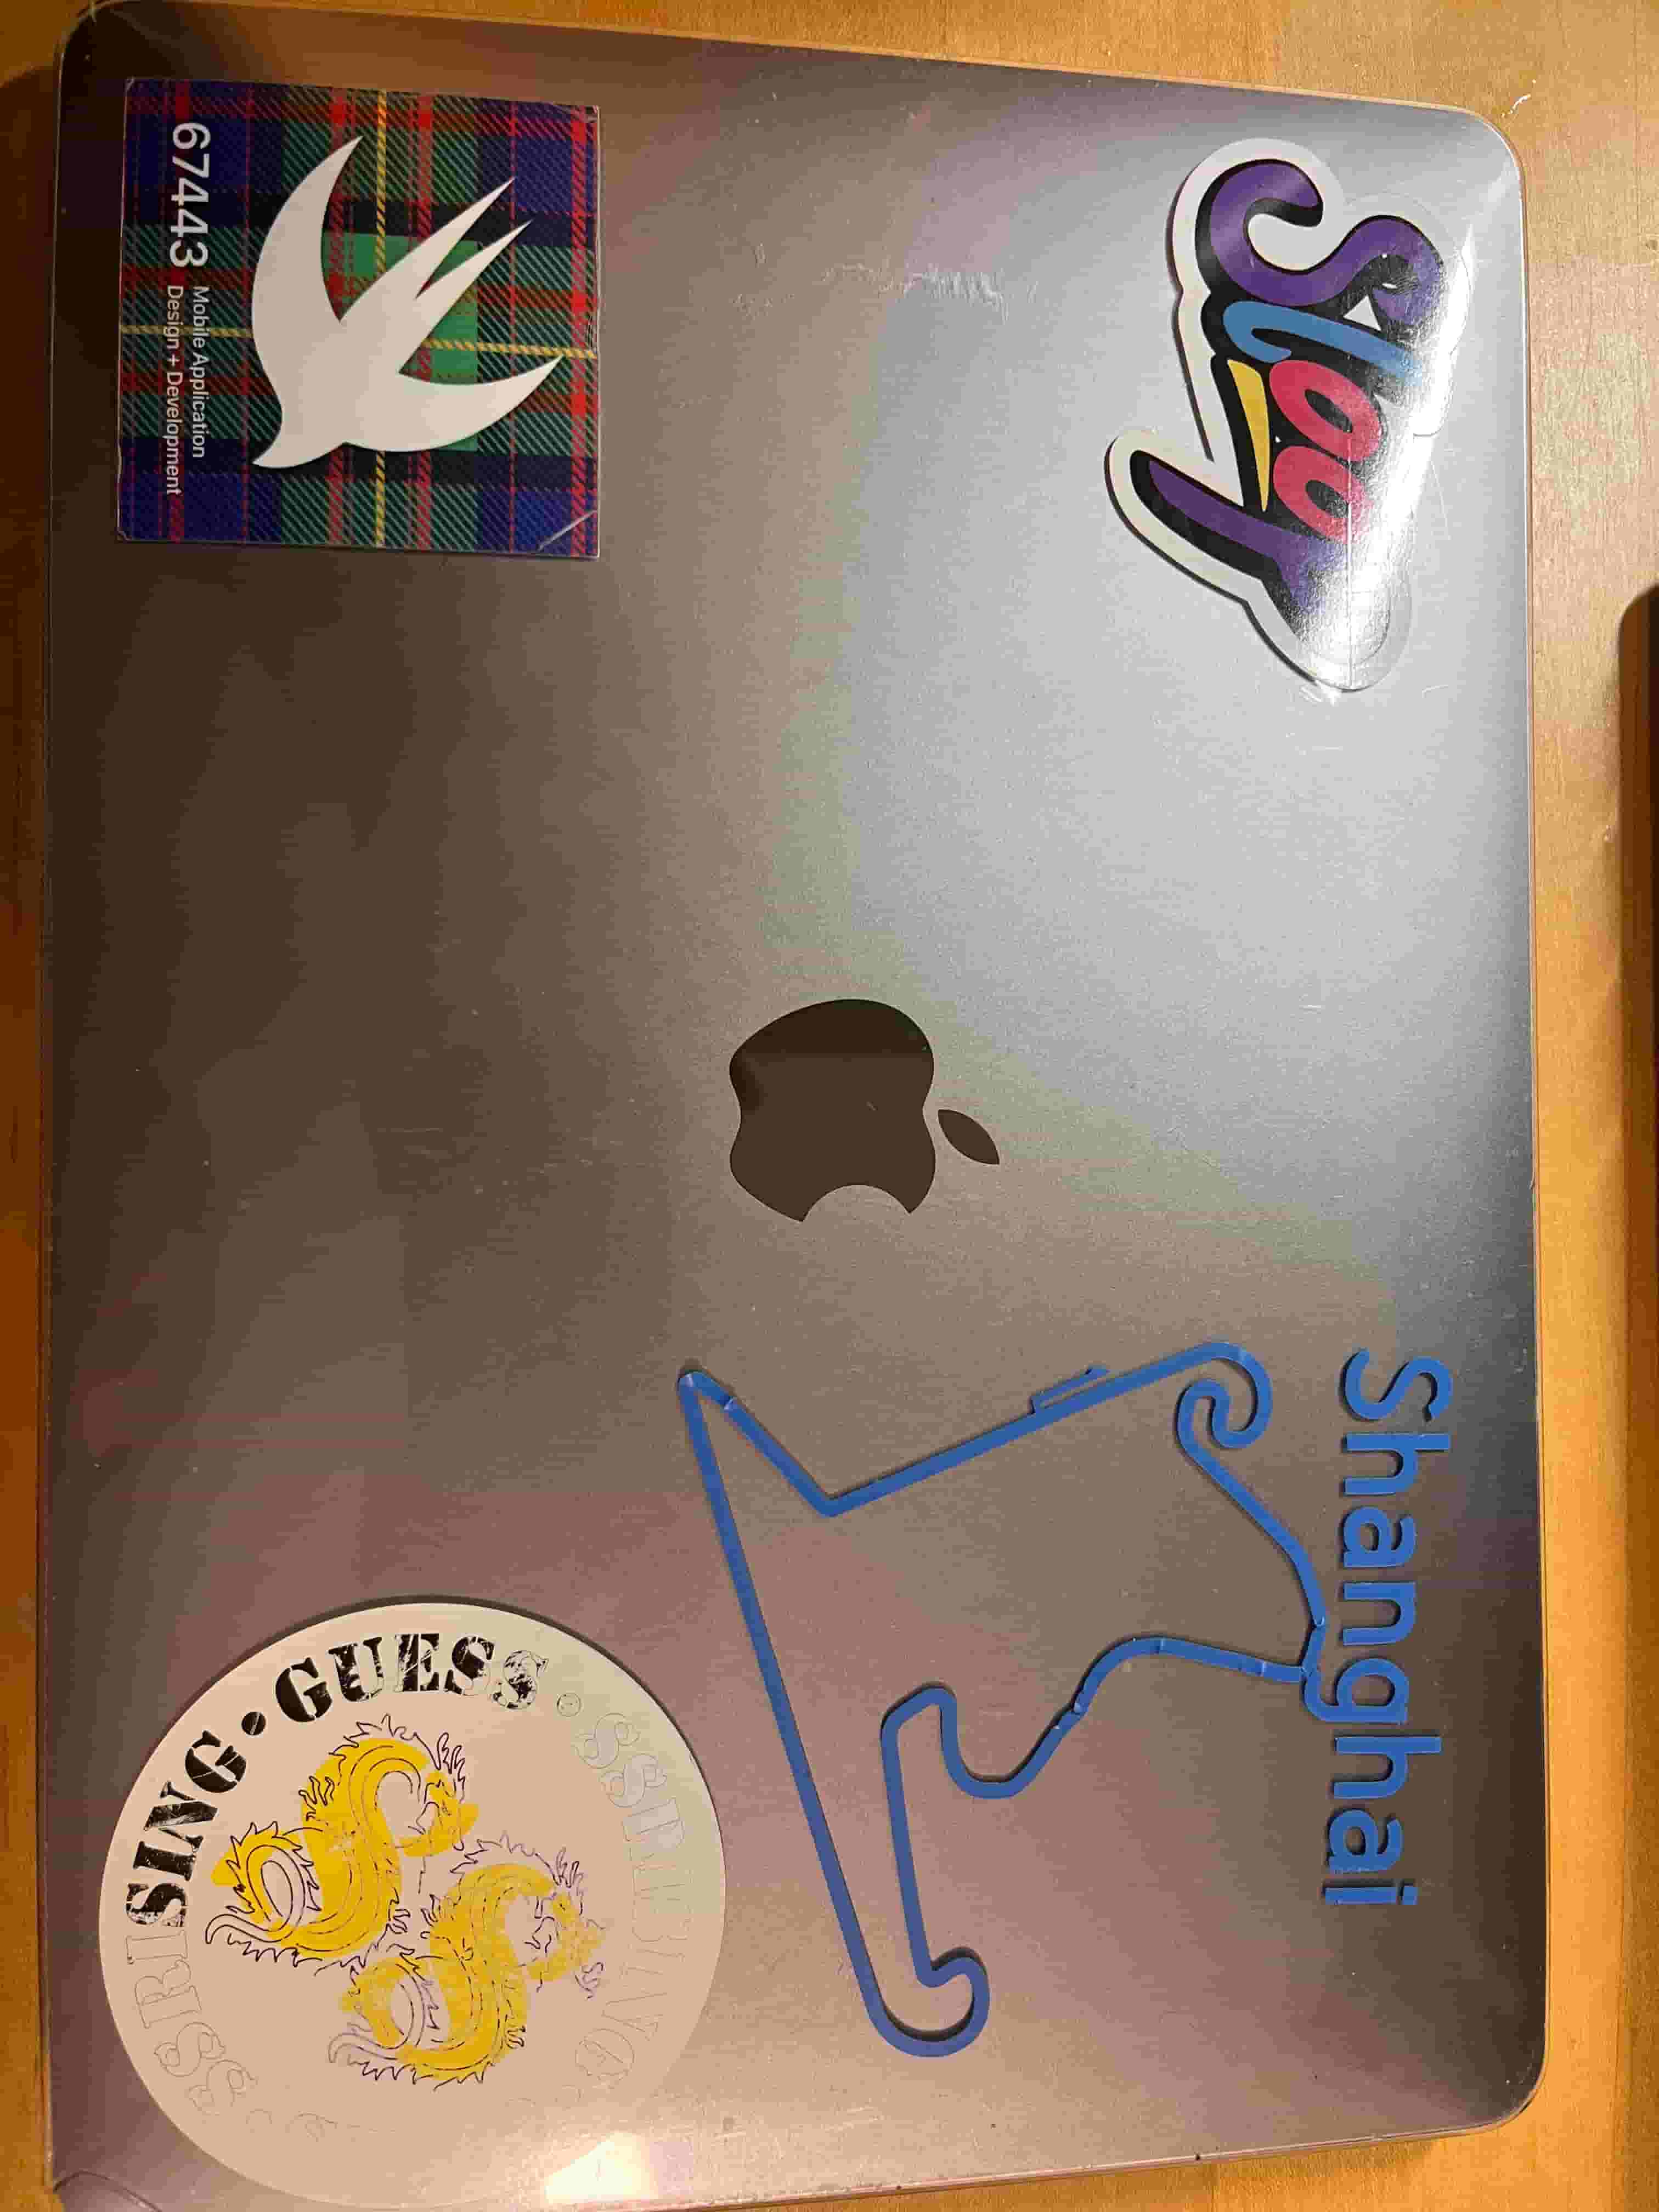
Peeling off the sticker was a bit of a challenge however, as the track is large and the path is thin. While moving the sticker to my computer, I messed up the shape of the track slightly. Looking back, I probably should've used the transfer tape for an easier transfer process.
Laser Cutting
For laser cutting, I got my inspiration from YouTube.
Bend Design
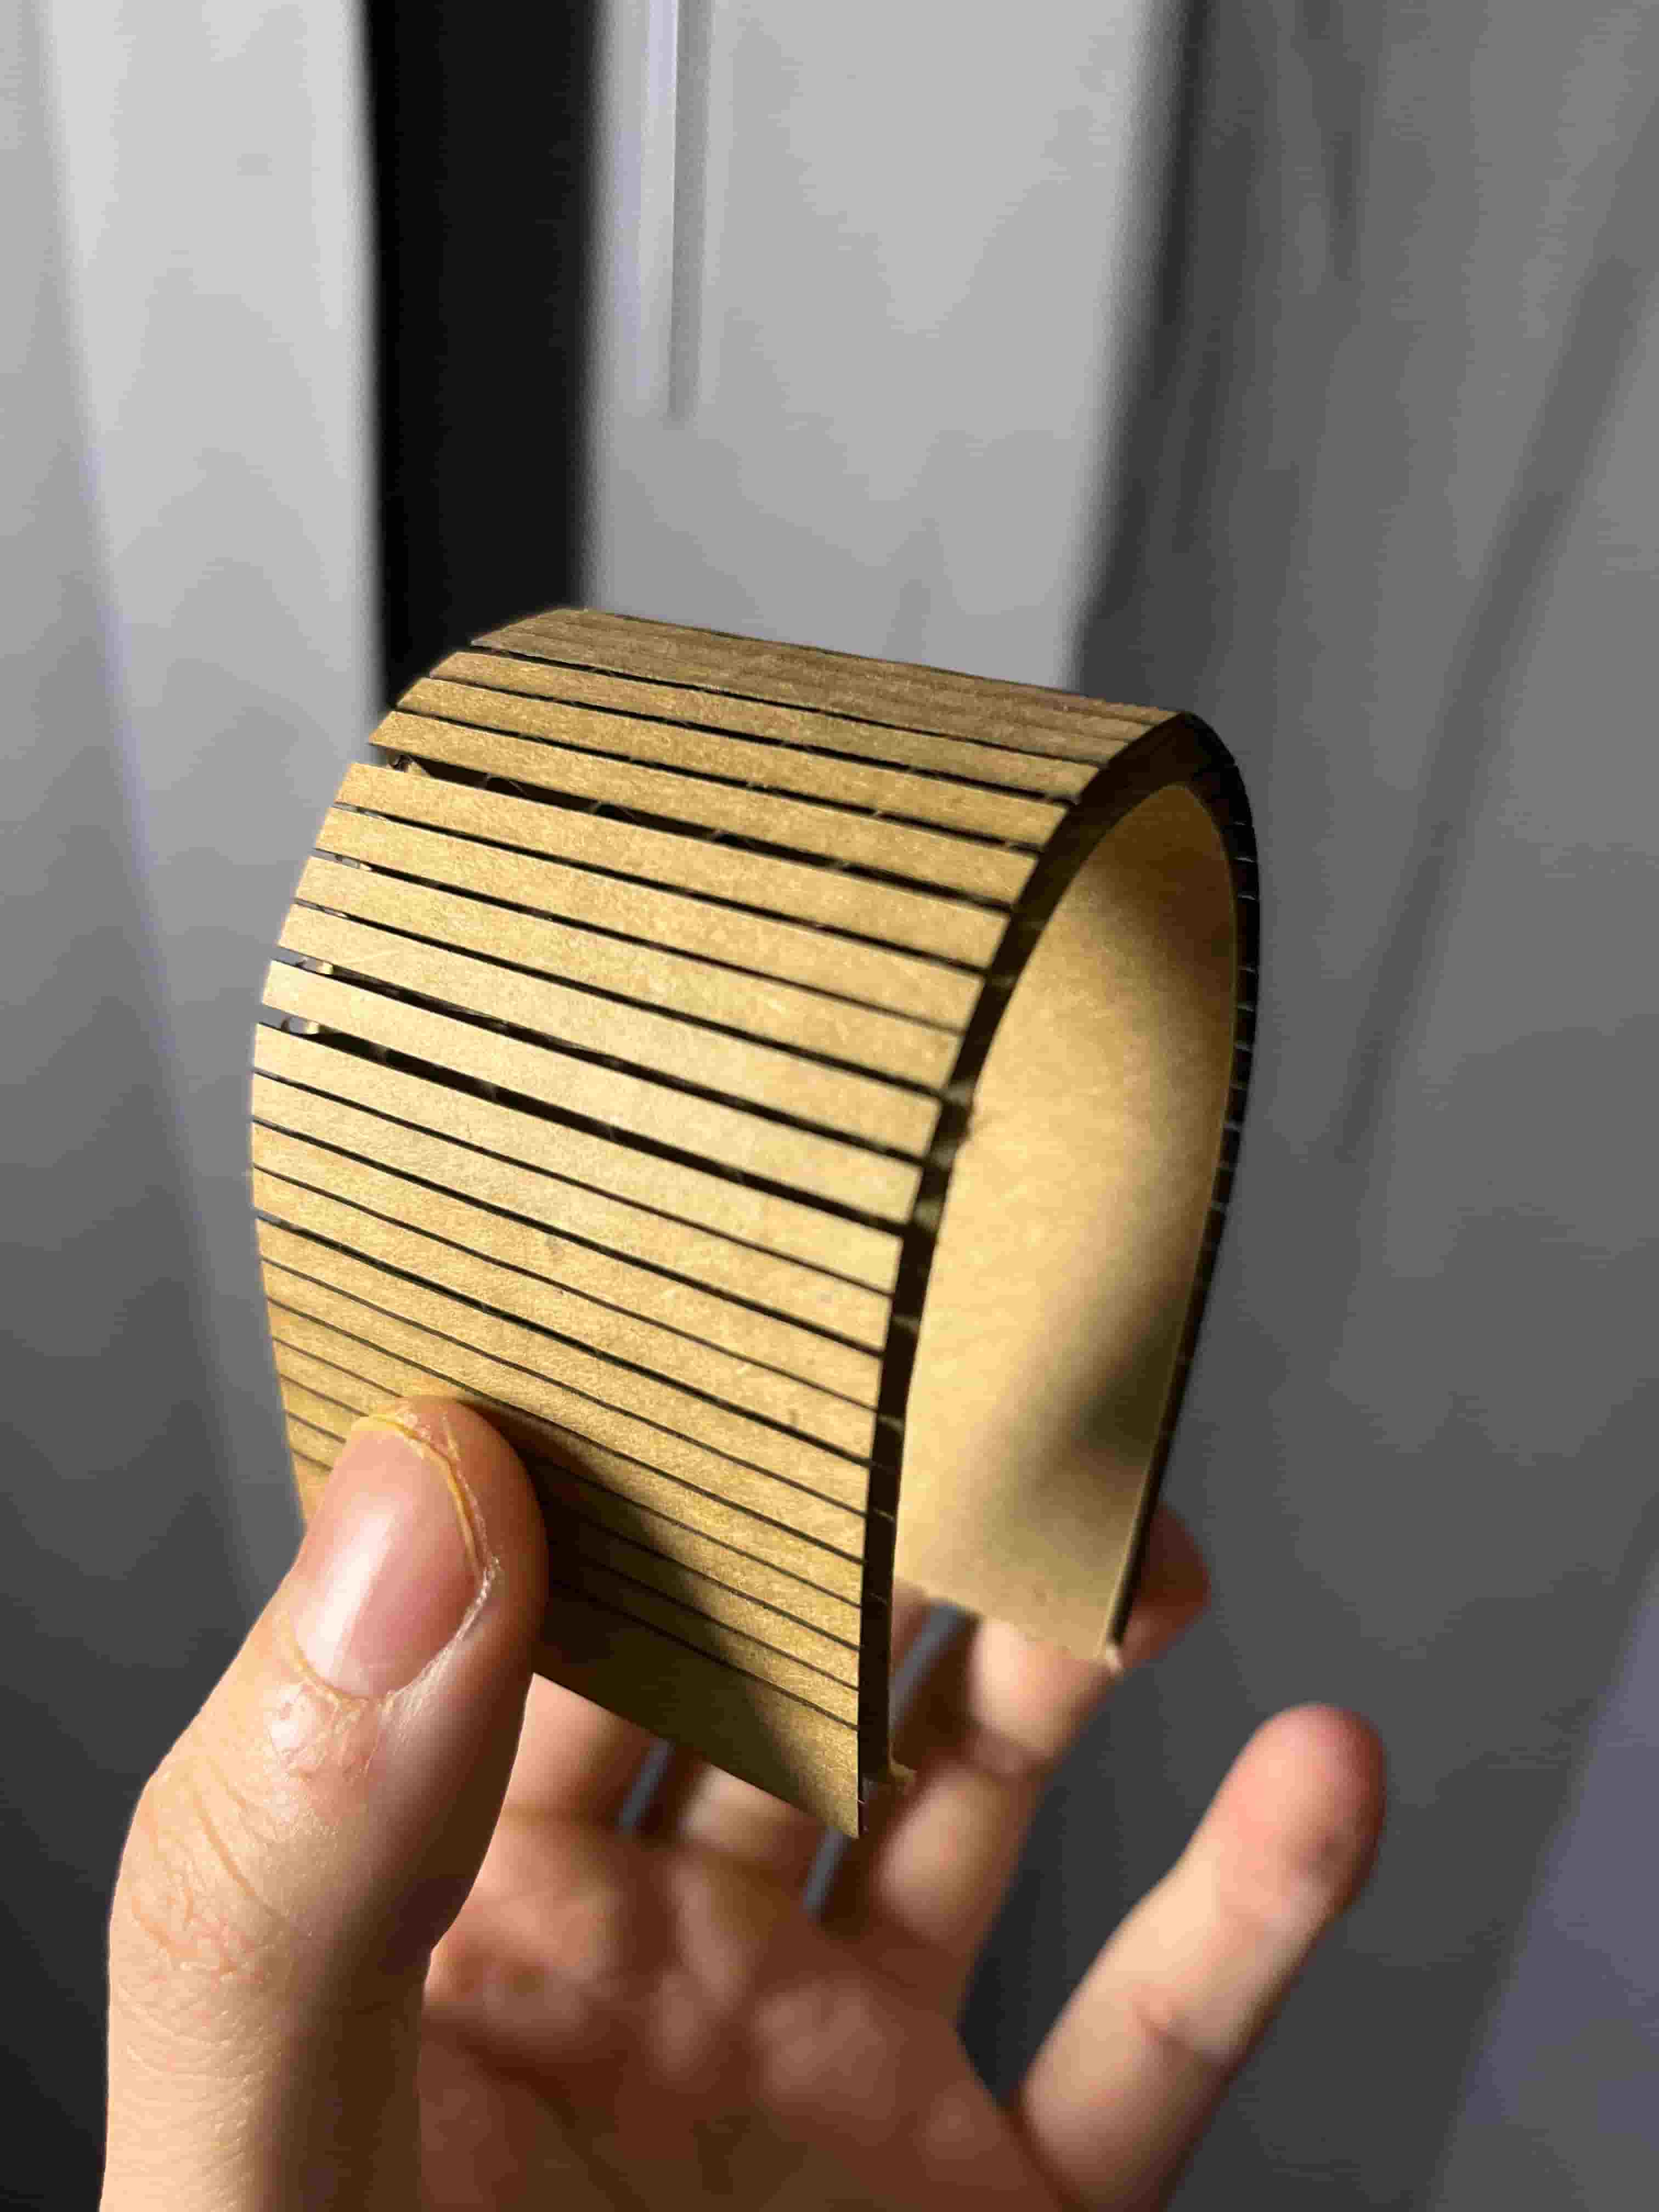
To build the bendable flexture designs, I first tested a common pattern found online. However, I find this pattern to be very flimsy. From my understanding, I was not executing the pattern correctly. I also learned that I have to reduce the power to not fully cut through the cardboard.
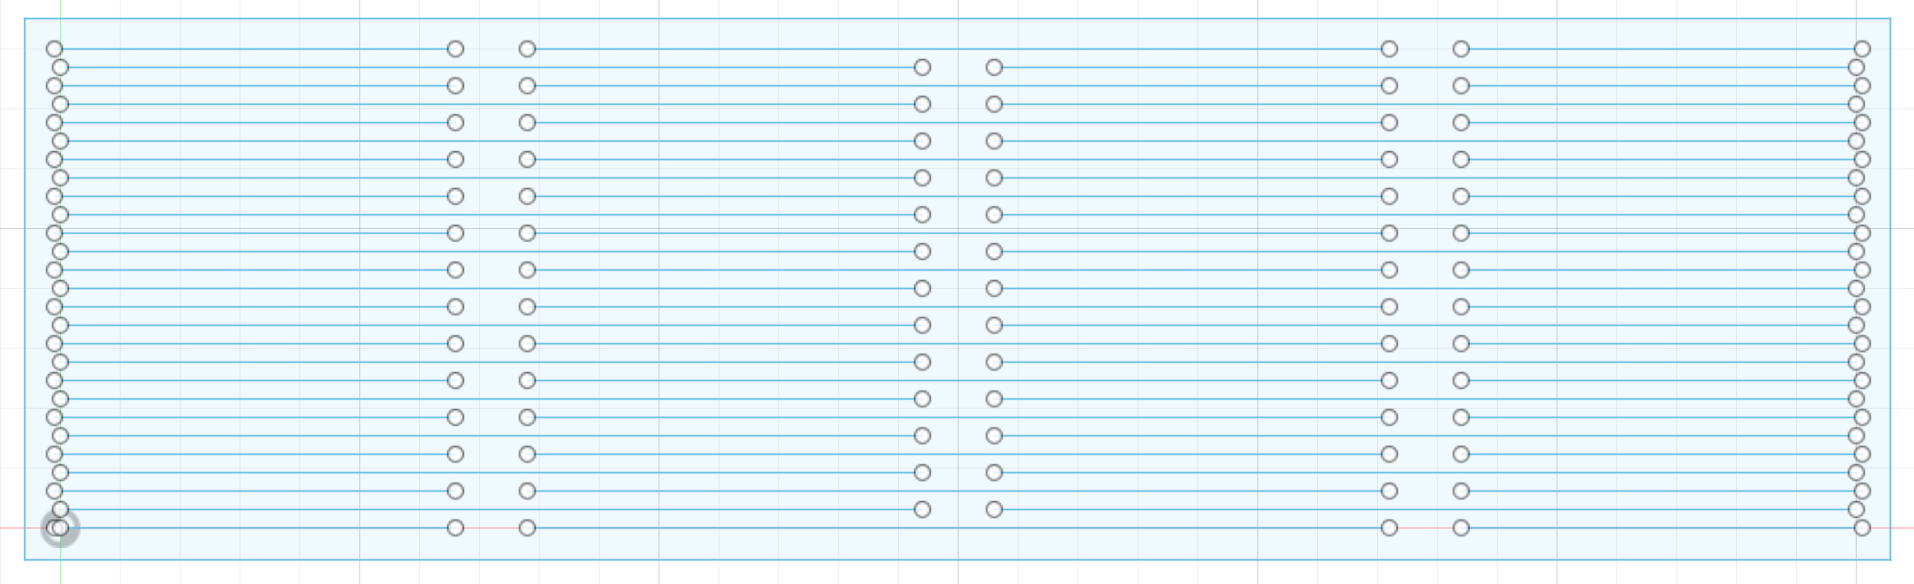
After a brief search on the CBA website, I arrived at Addison Spiegel's project from 2024, where he showed a successful bend design using simple straight line that doesn't fully cut through the cardboard.
After a few experiments, I found that the setting for engraving the cardboard.
- 37% power
- 75mm/s cut speed
For cutting through the cardboard, I used:
- 87% power
- 37mm/s cut speed
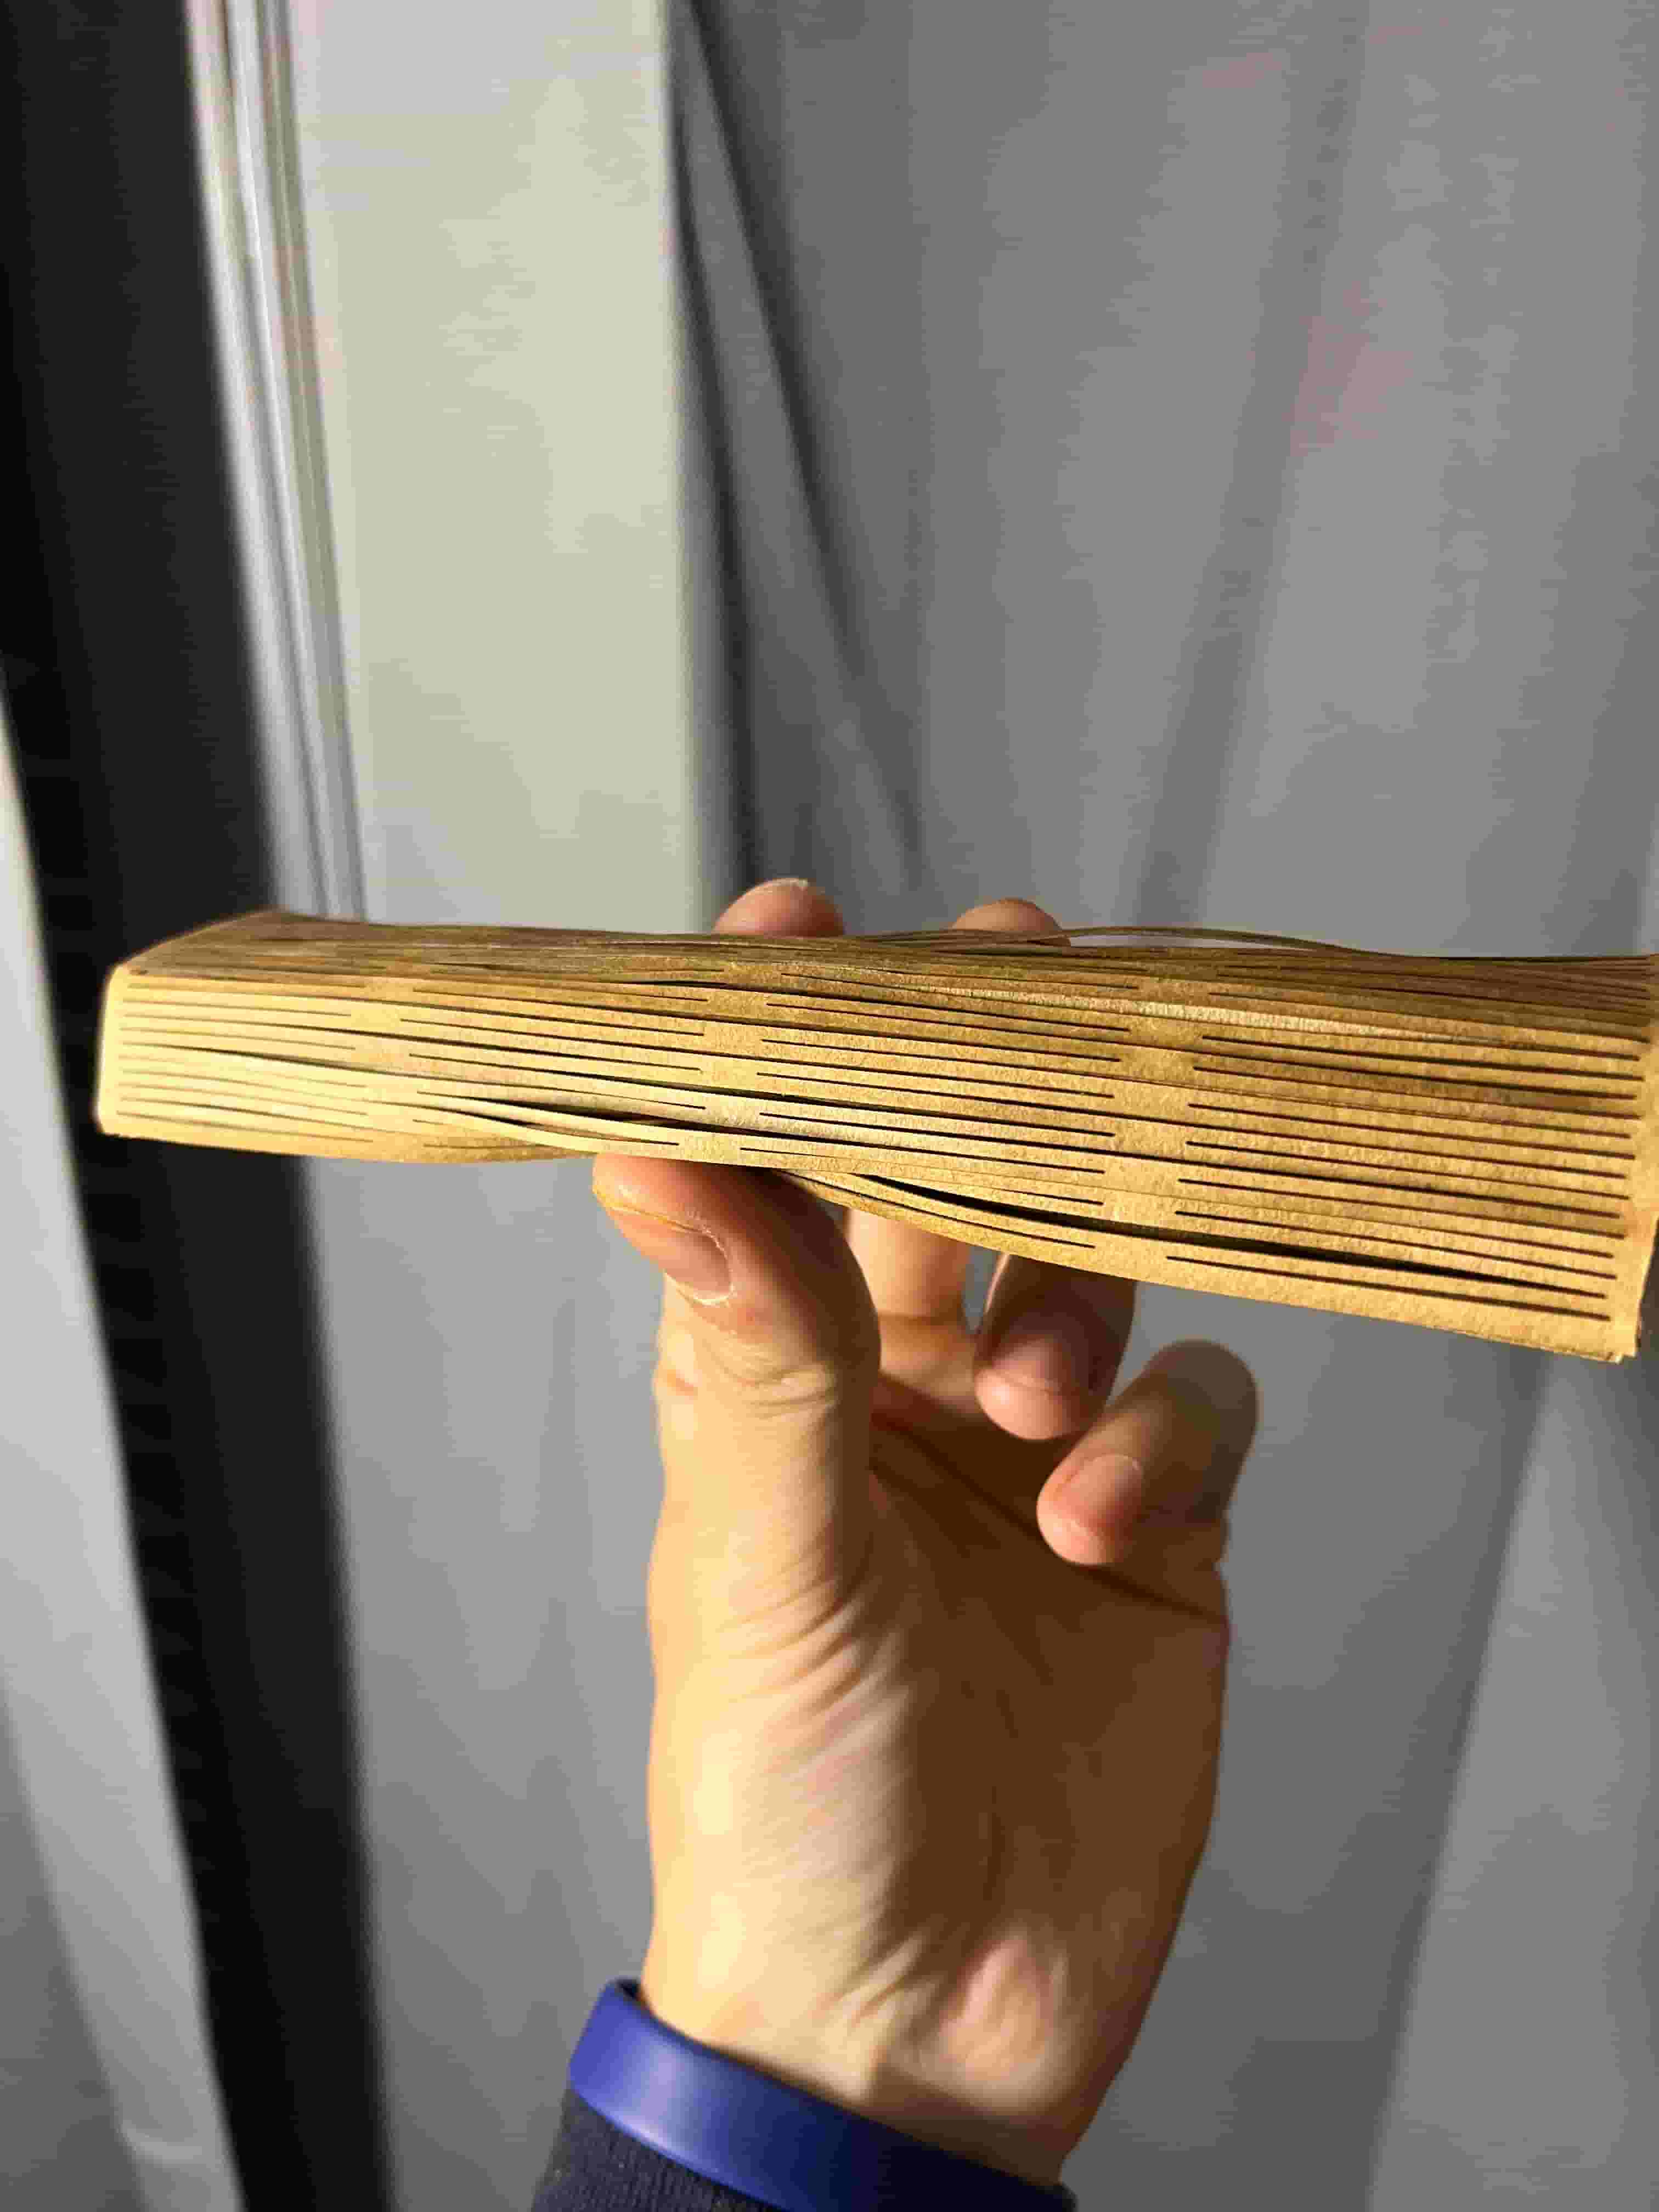
Here's a comparison of my old design and the new design inspired by Addison. It is quite clear that the new bend design has a higher flexibility.
Box Design
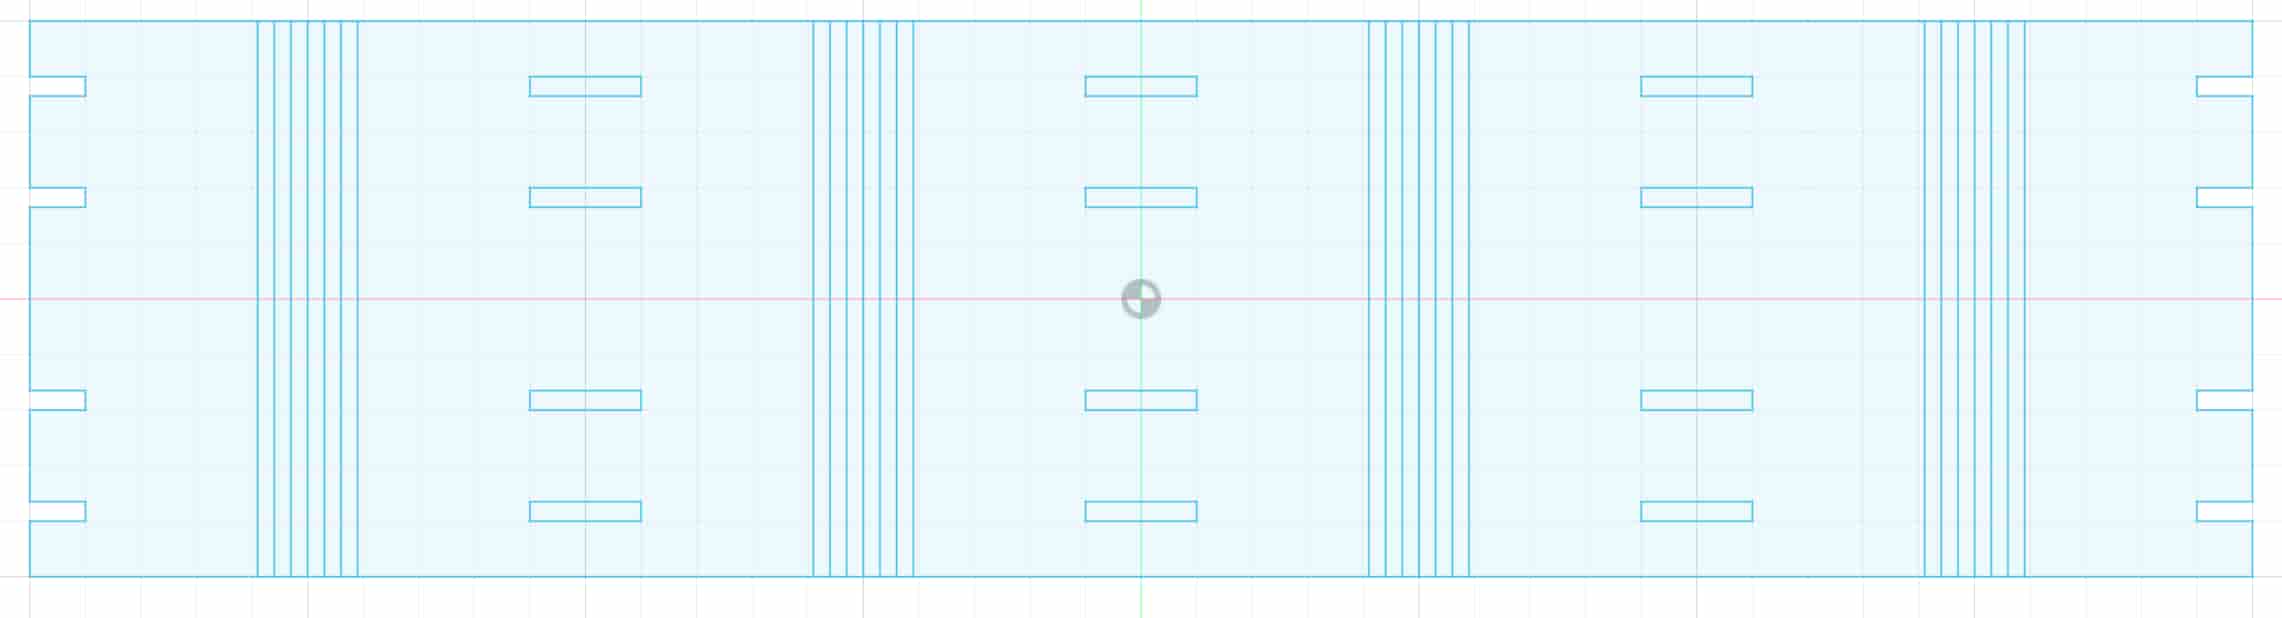
For the square box, I designed each side to be 82mm with a 18mm long bend connecting each side. In addition, I designed each hinge with dimension 3.5mm * 20mm.
The final result looks like this:
Content Design
For the content design, I chose to recreate some of the famous sceneries of Malaysia, a country with great food and city skyline. For the corners, I created a 90 degree arc with radius of 11.46mm, which is calculated based on the fact that 1/4 of the circle's circumference is 18mm.
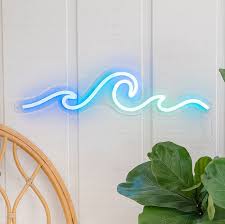
I found images online as references to insert into Fusion 360's canvases so that I can trace the contours for realistic scenaries. Here are the stock images I used:
Palm tree:
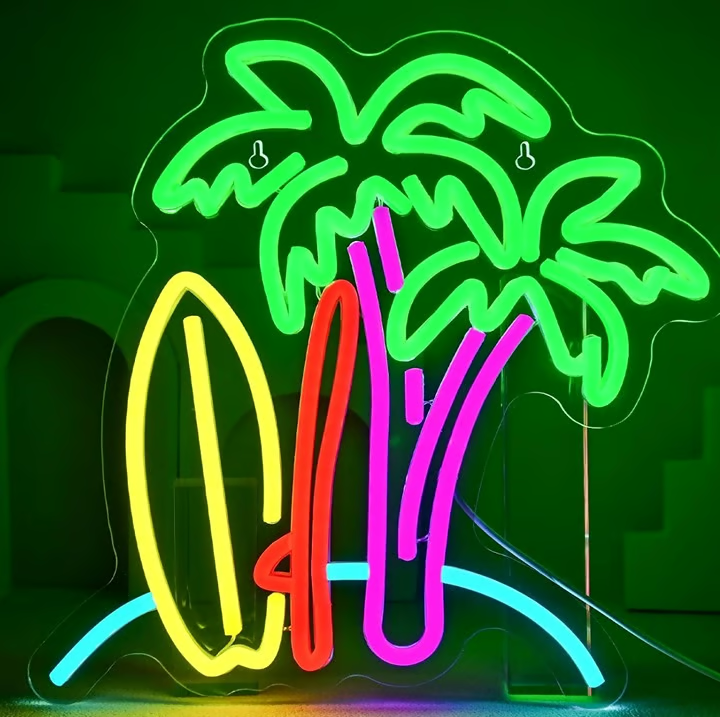
Waves:
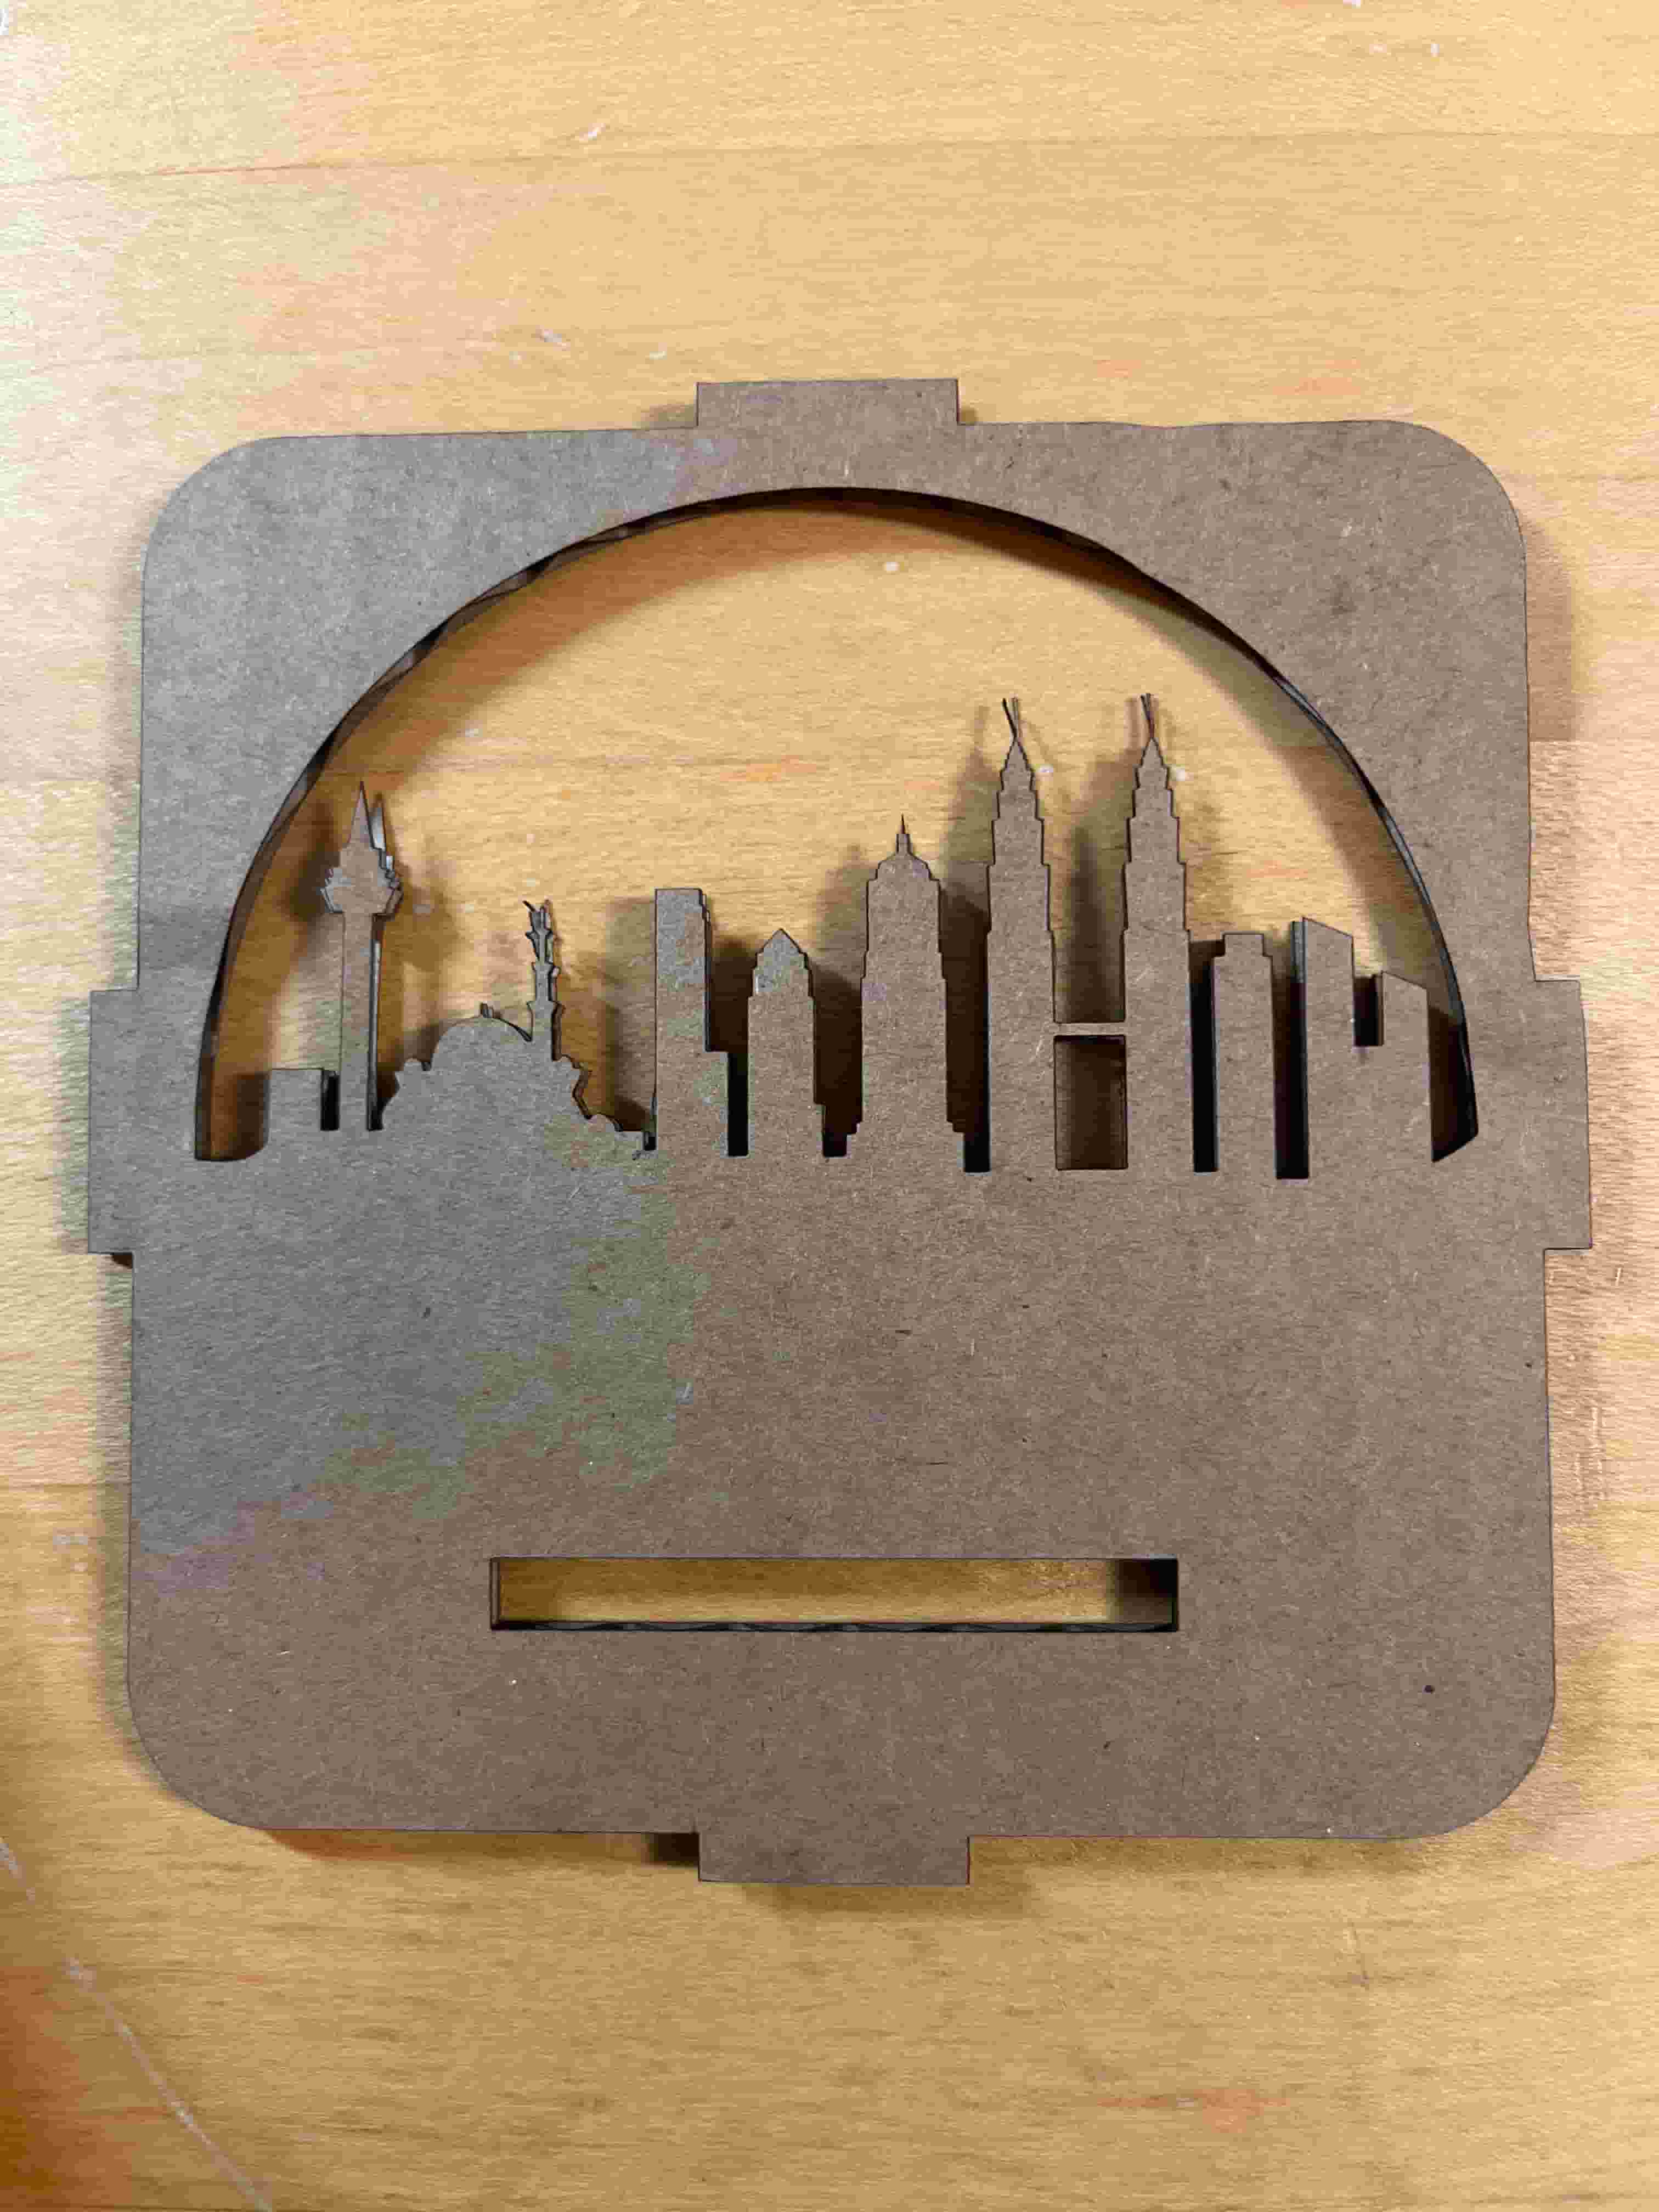
Malaysia Skyline:
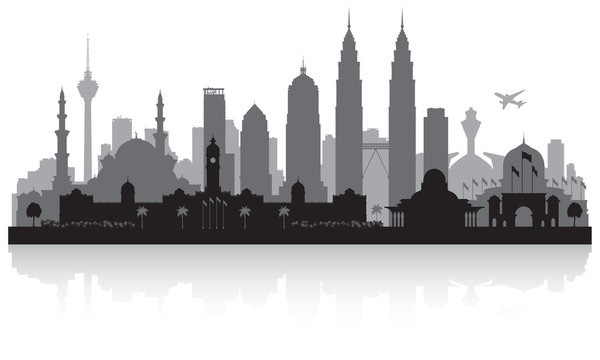
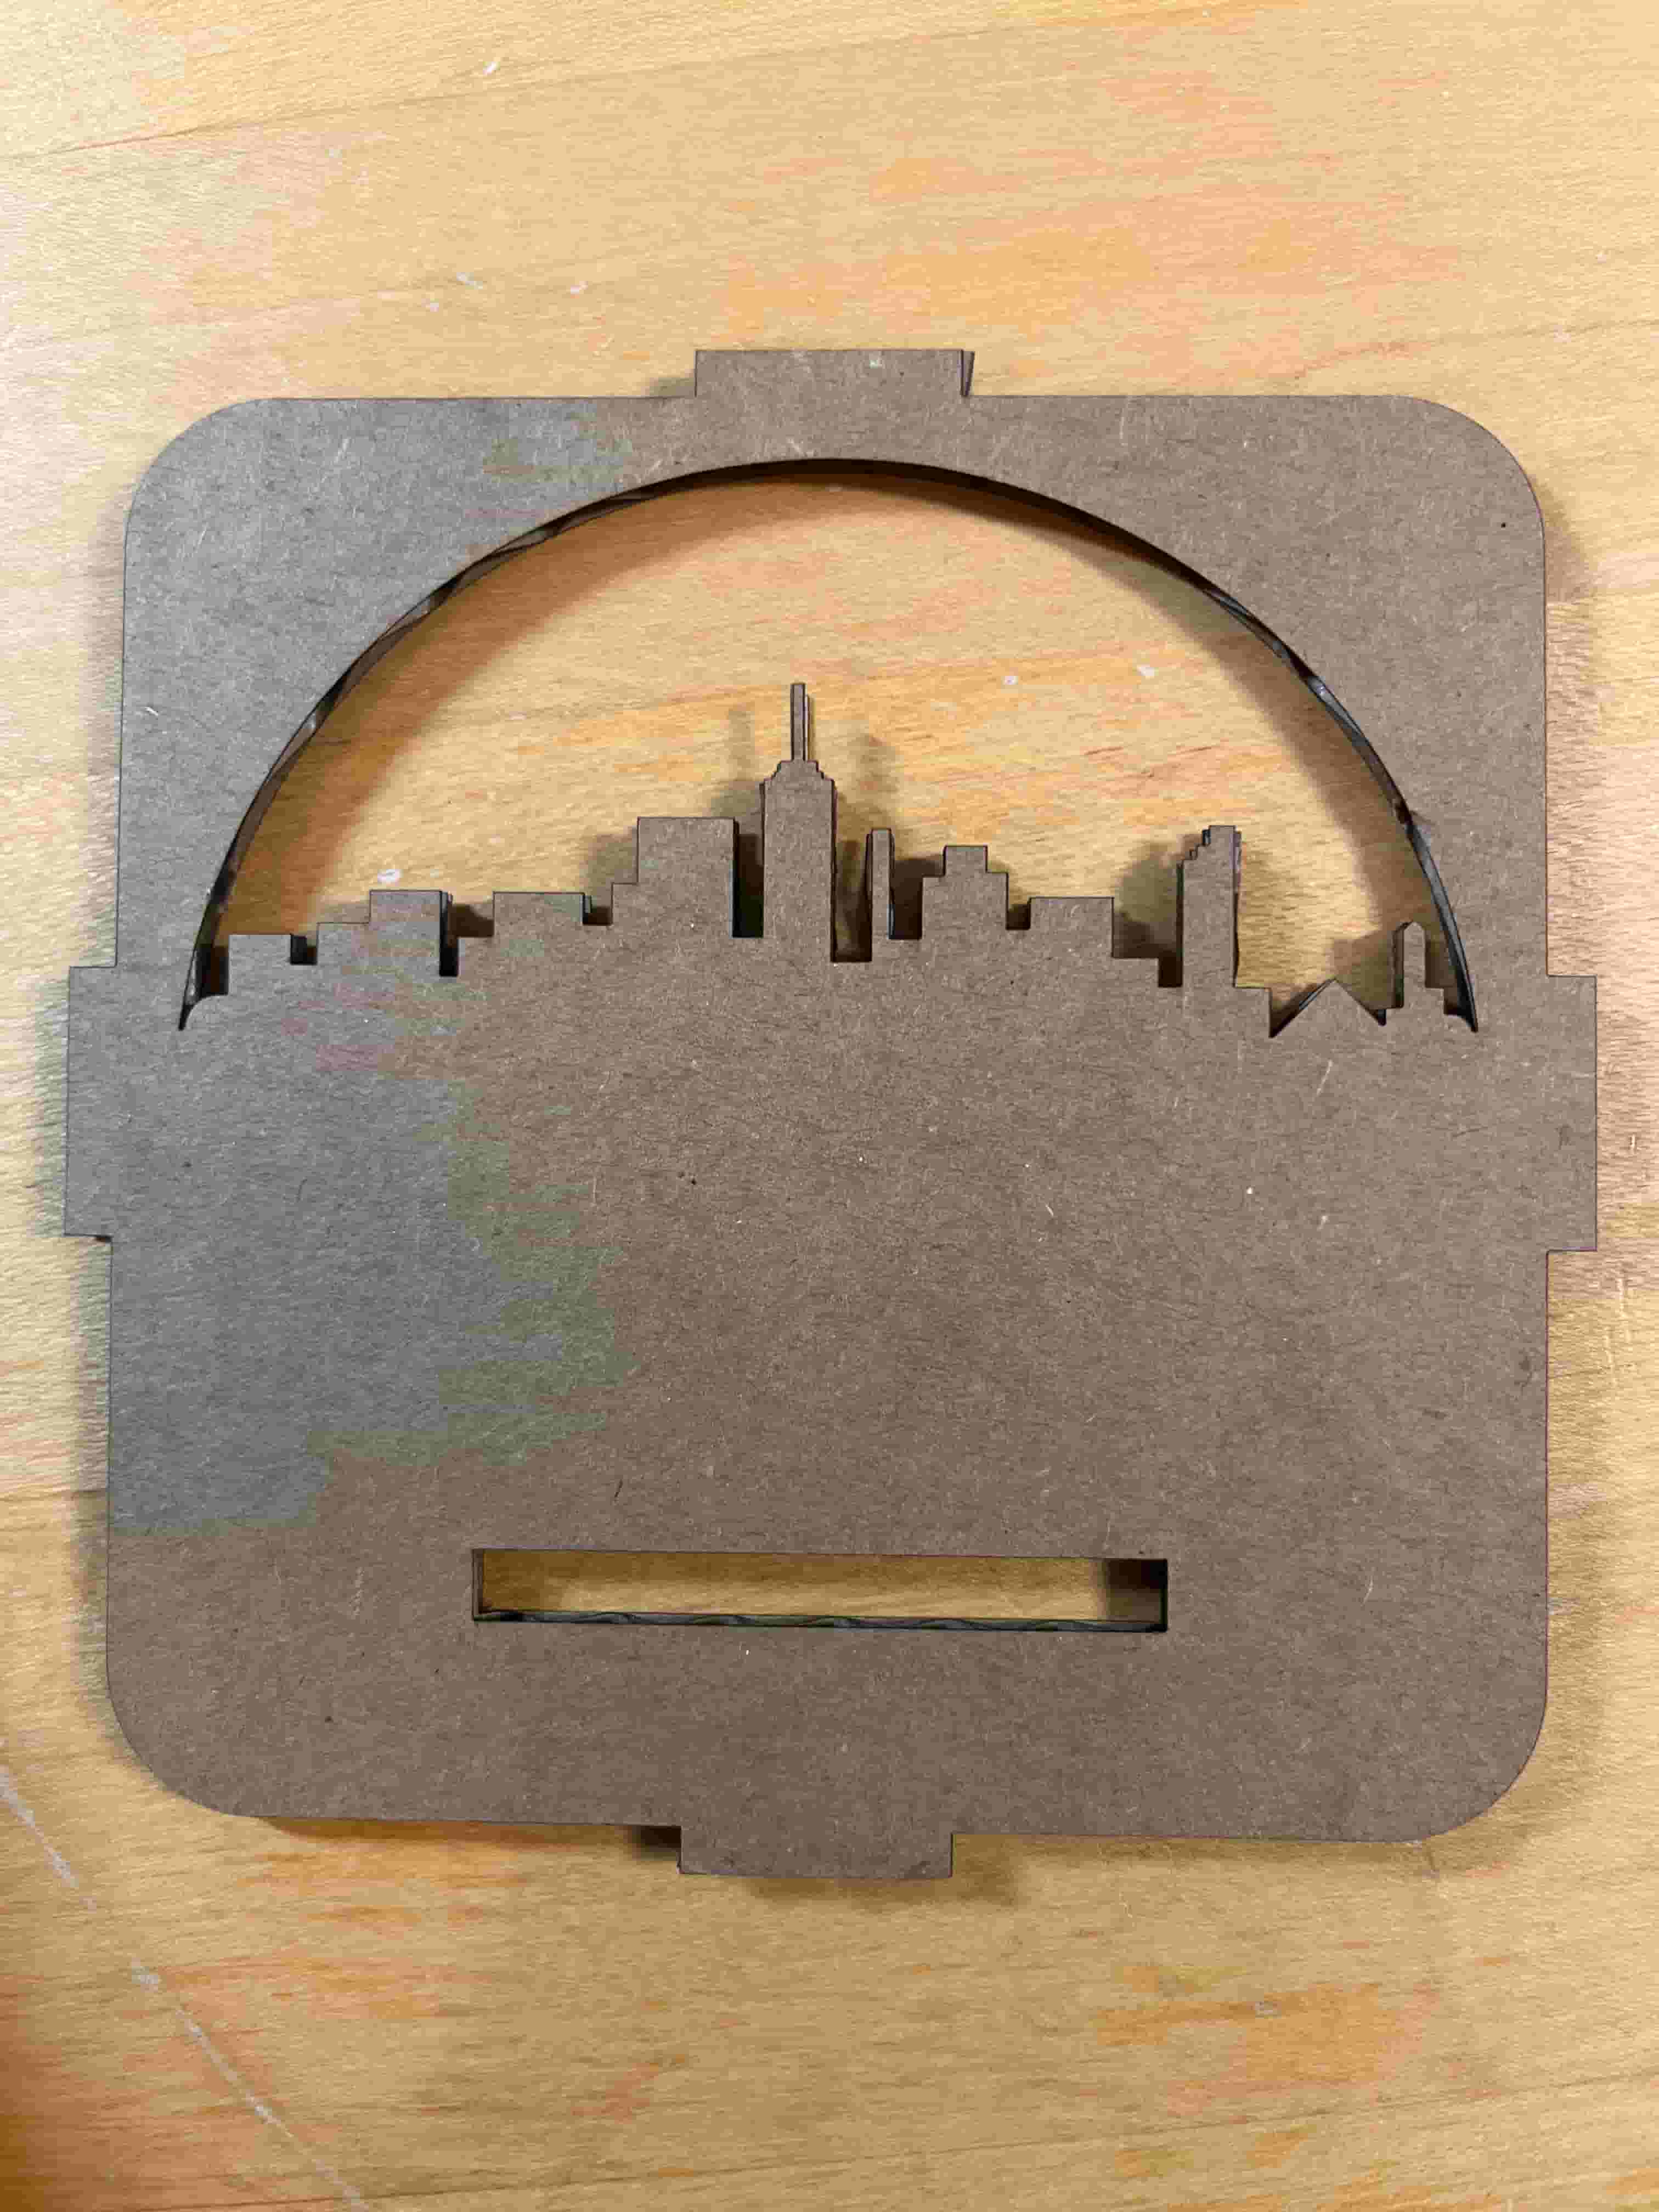
Generic Skyline:

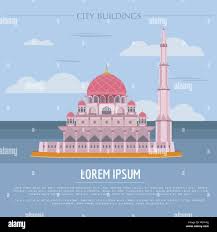
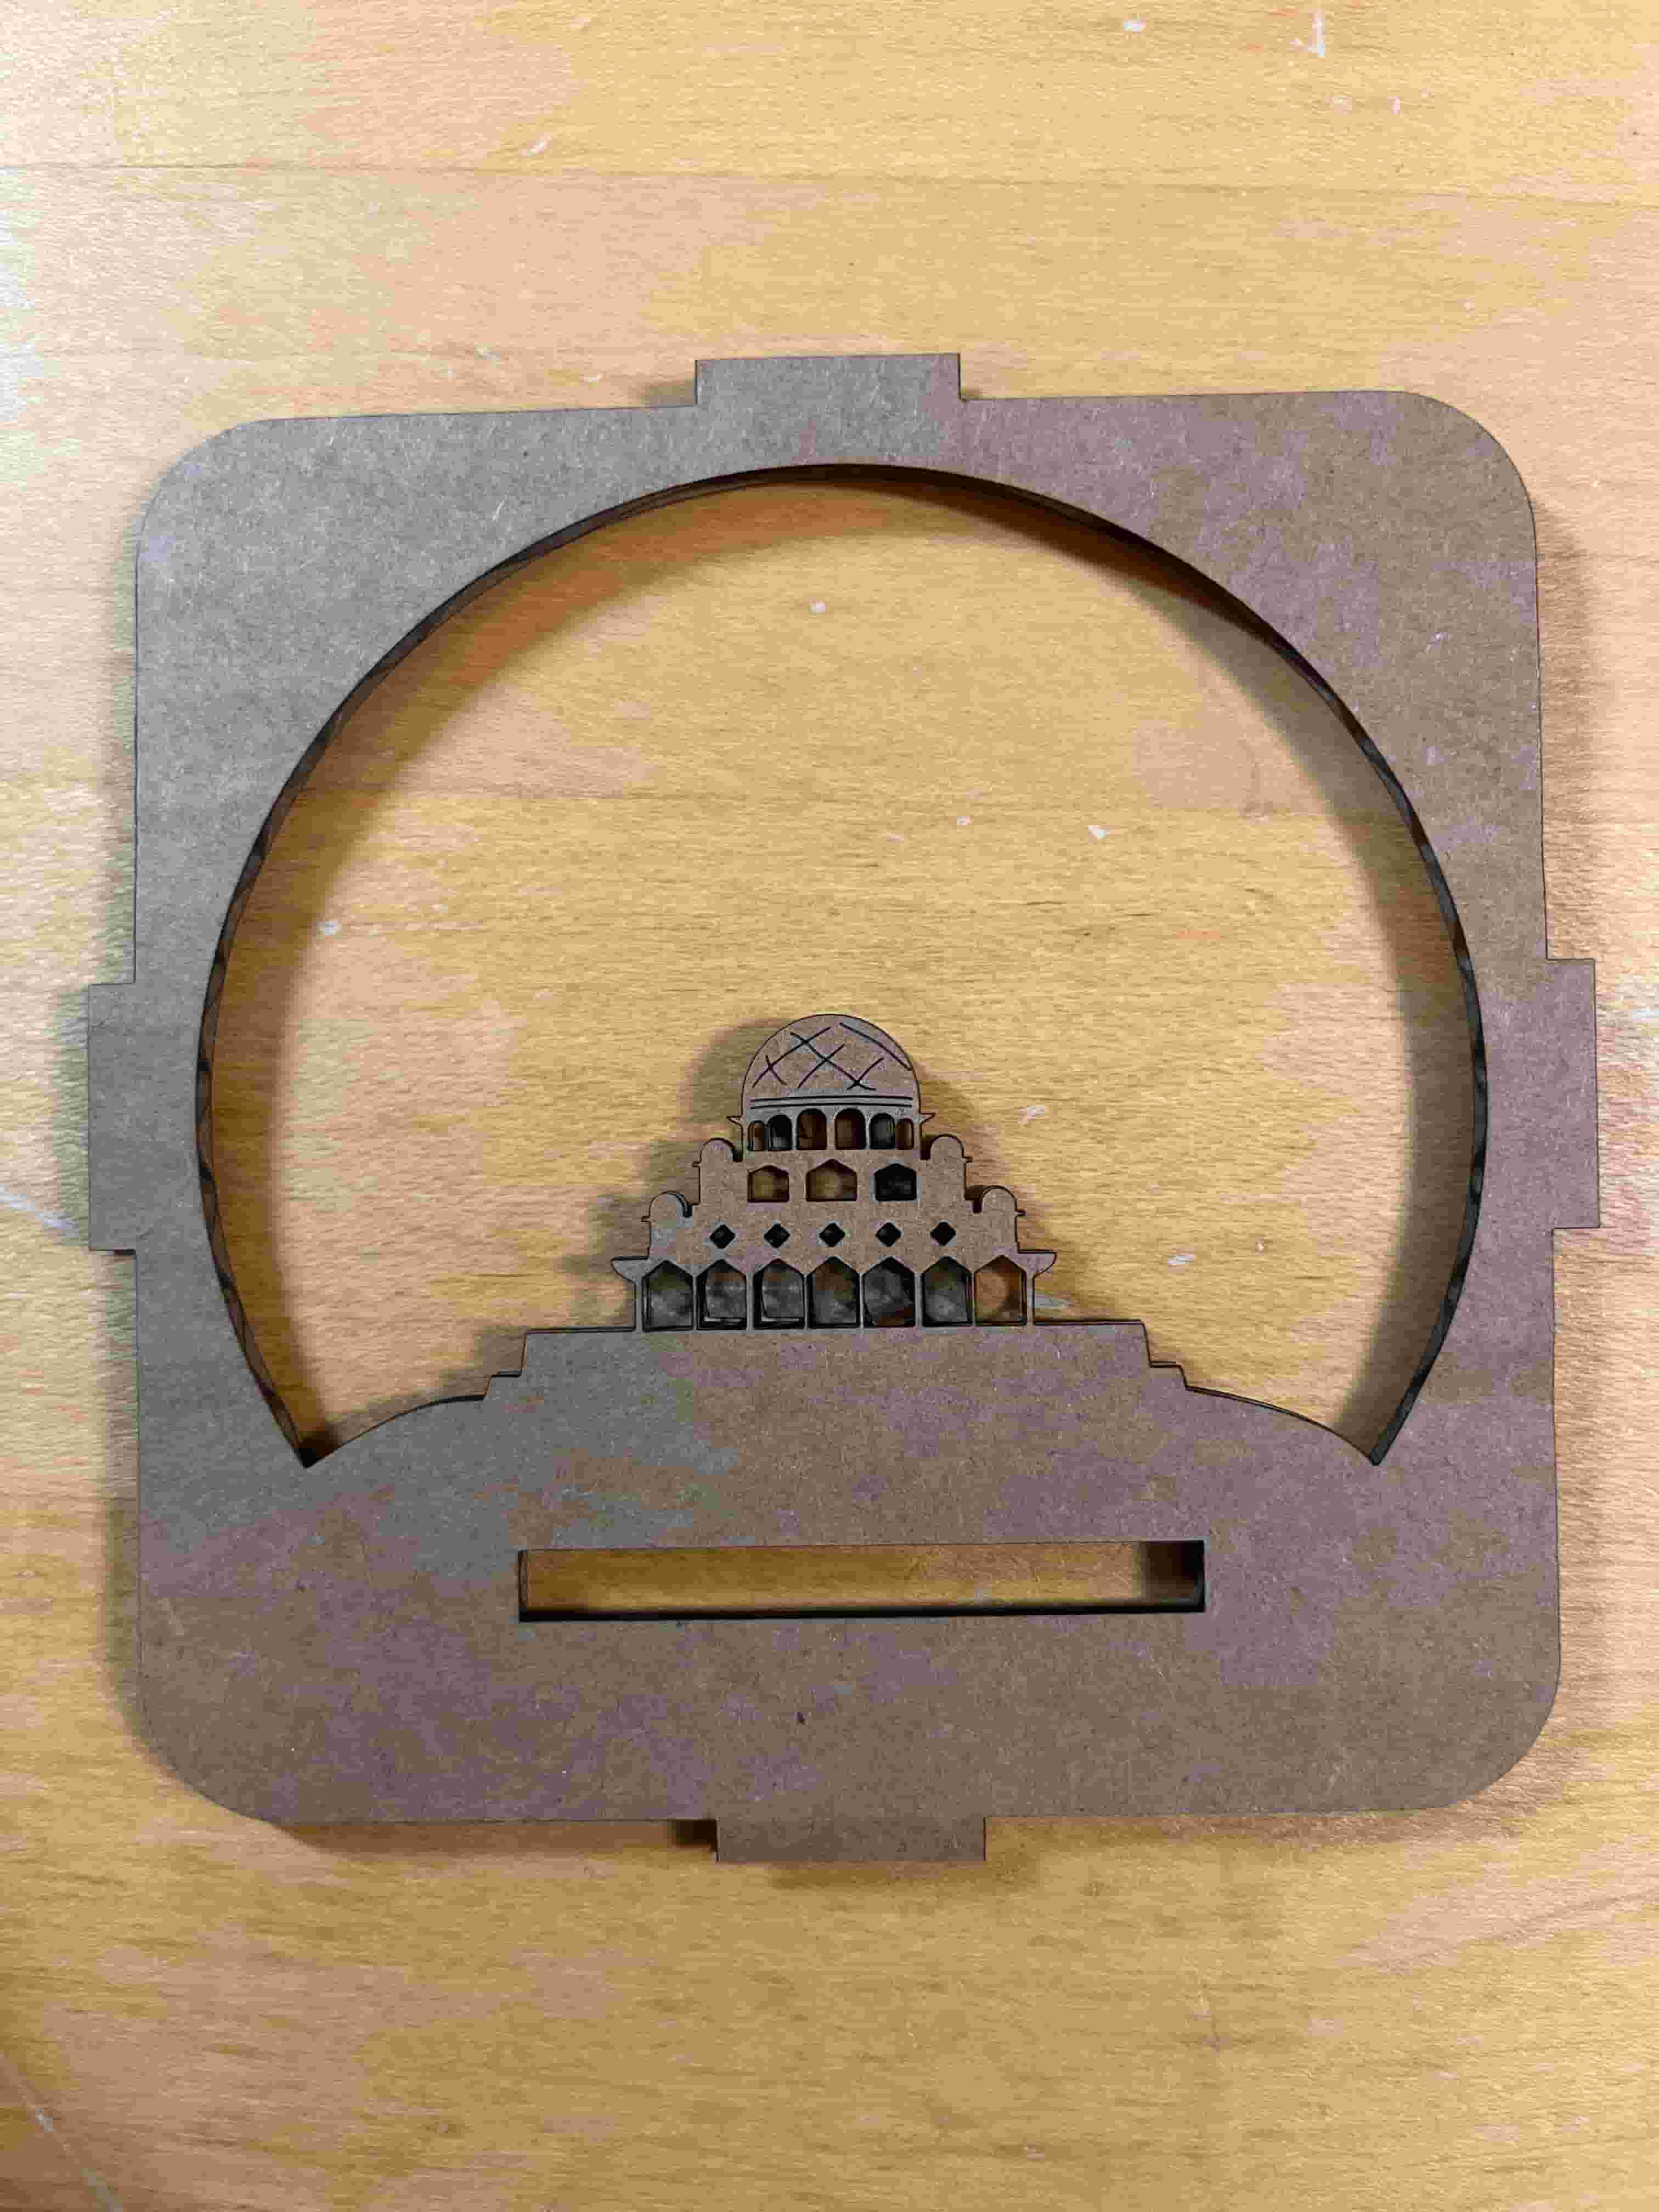
Mosque:
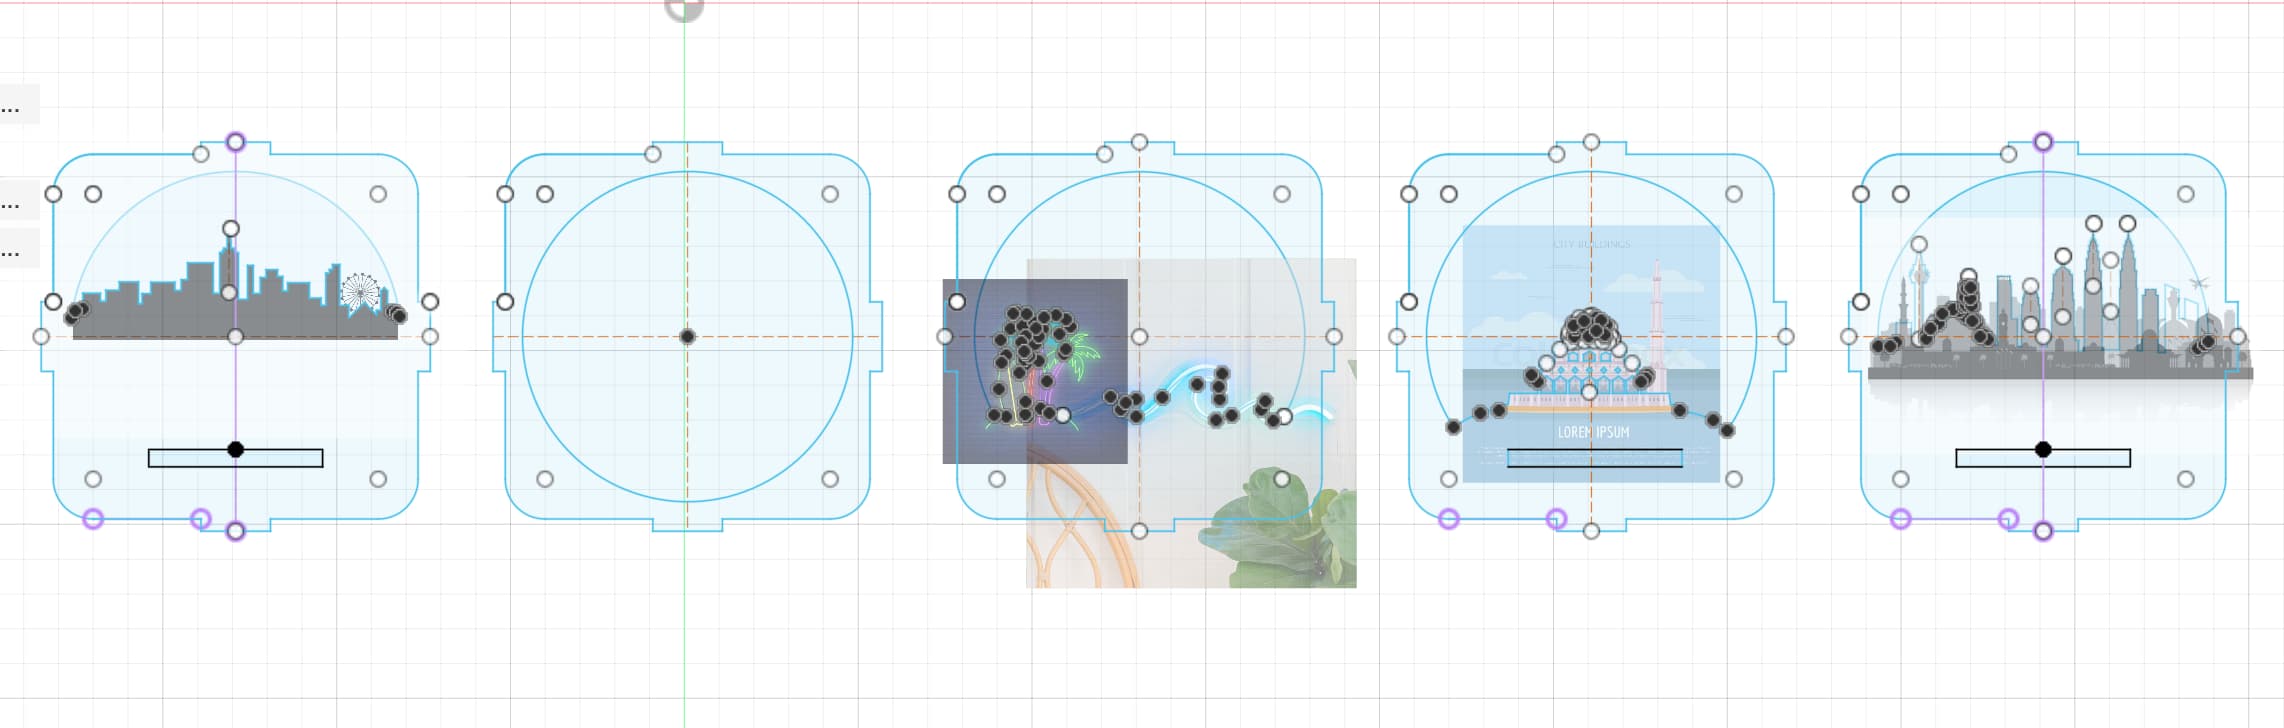
Here's how they are laid out in Fusion 360:
Laser Cutting
For cutting, I use the XTool P2 with the above settings with 87% power and 37mm/s speed, and I use the 37% power and 75mm/s speed to engrave the patterns for the dome of the mosque.
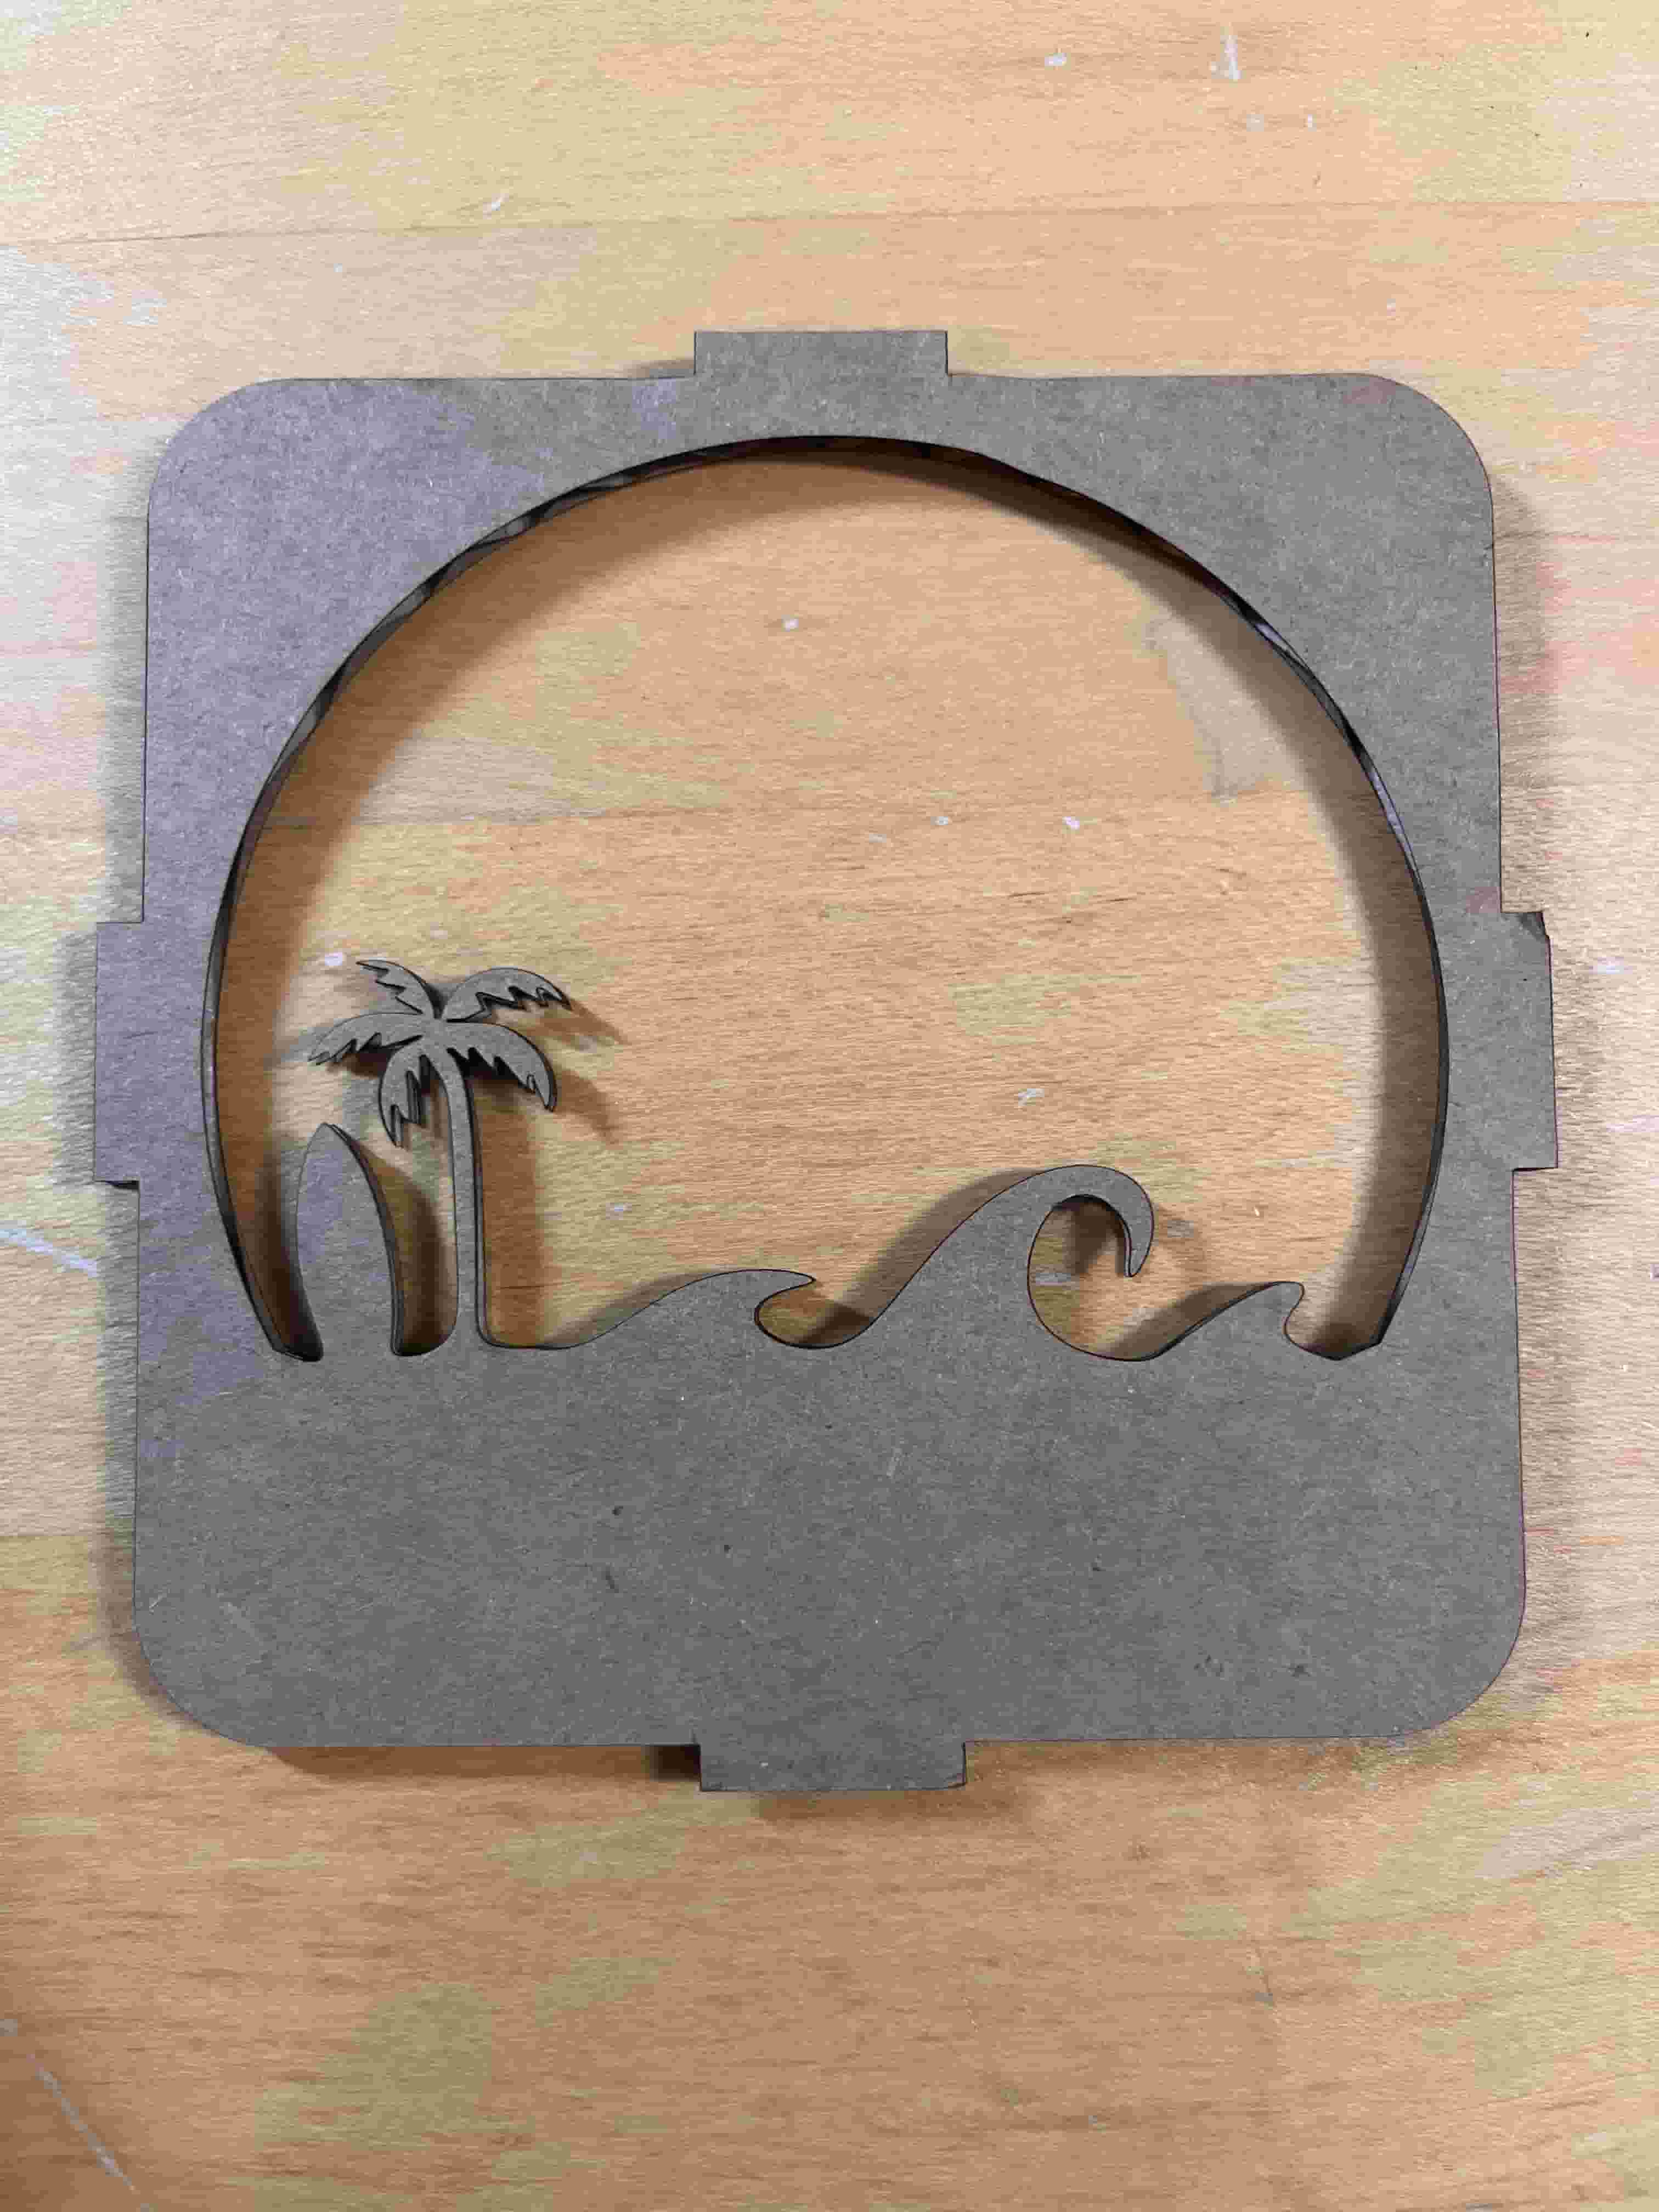
Assembly
At last, I assembled the pieces together and have a satisfying lightbox.
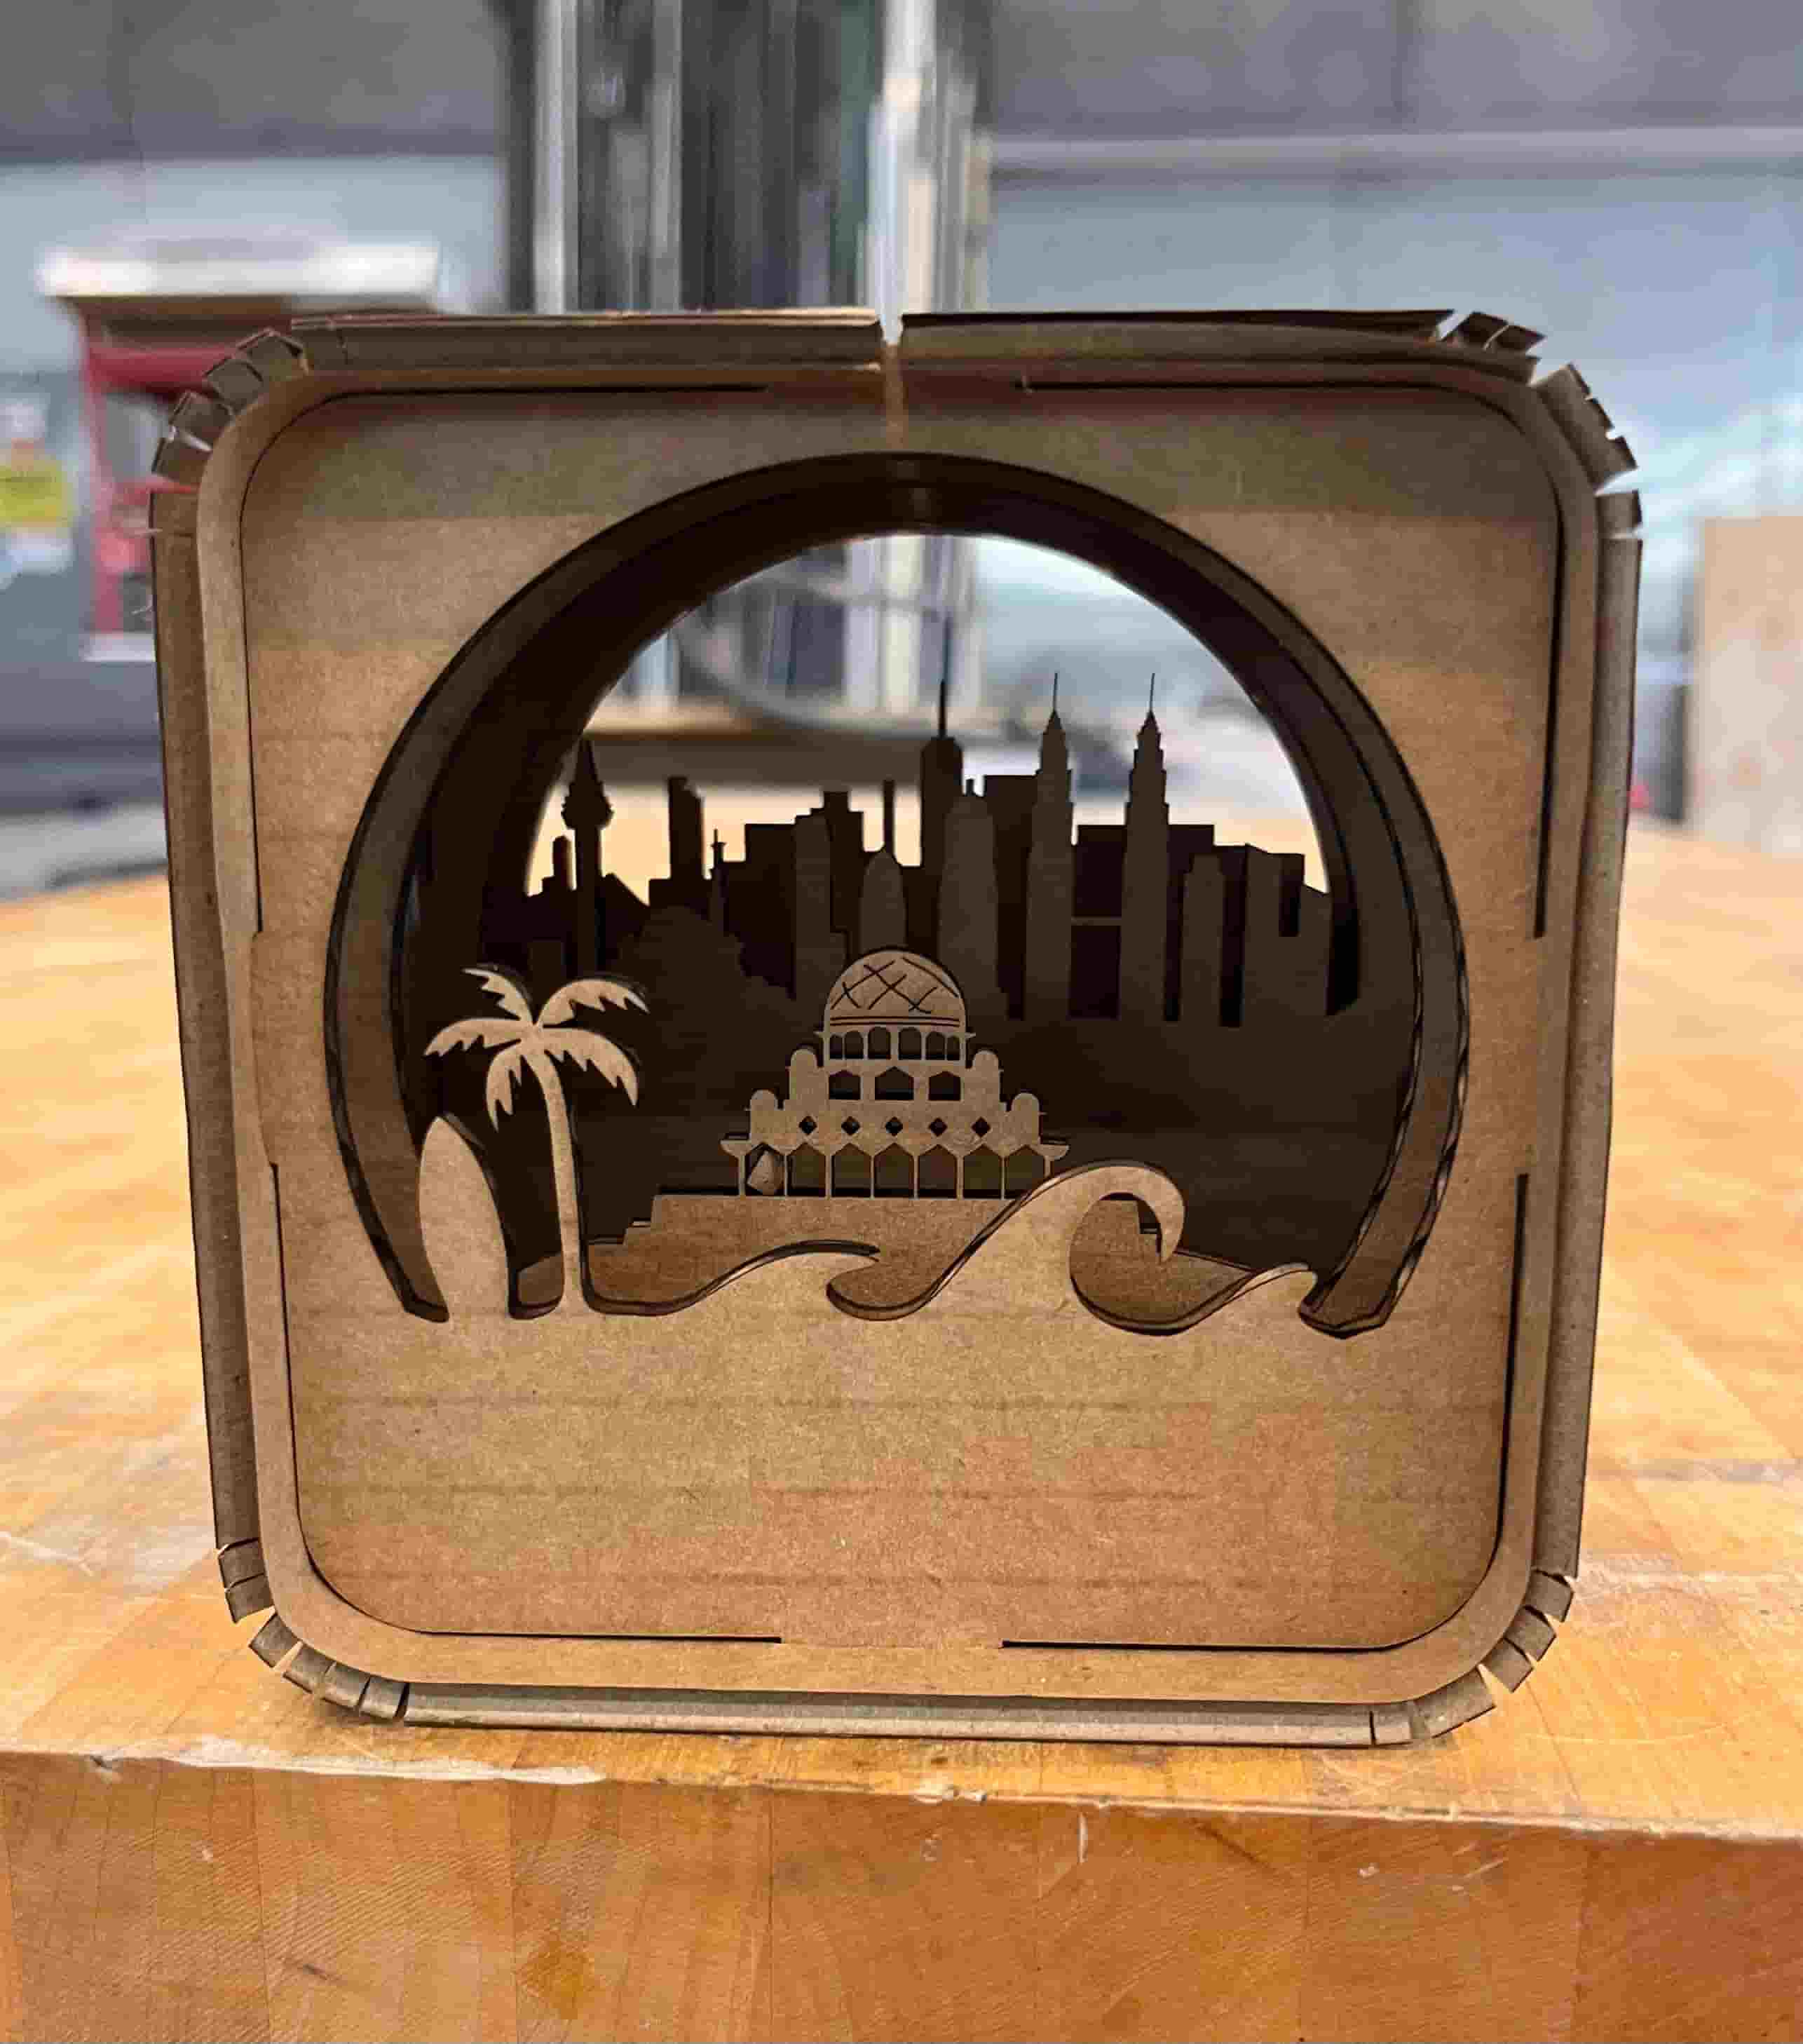
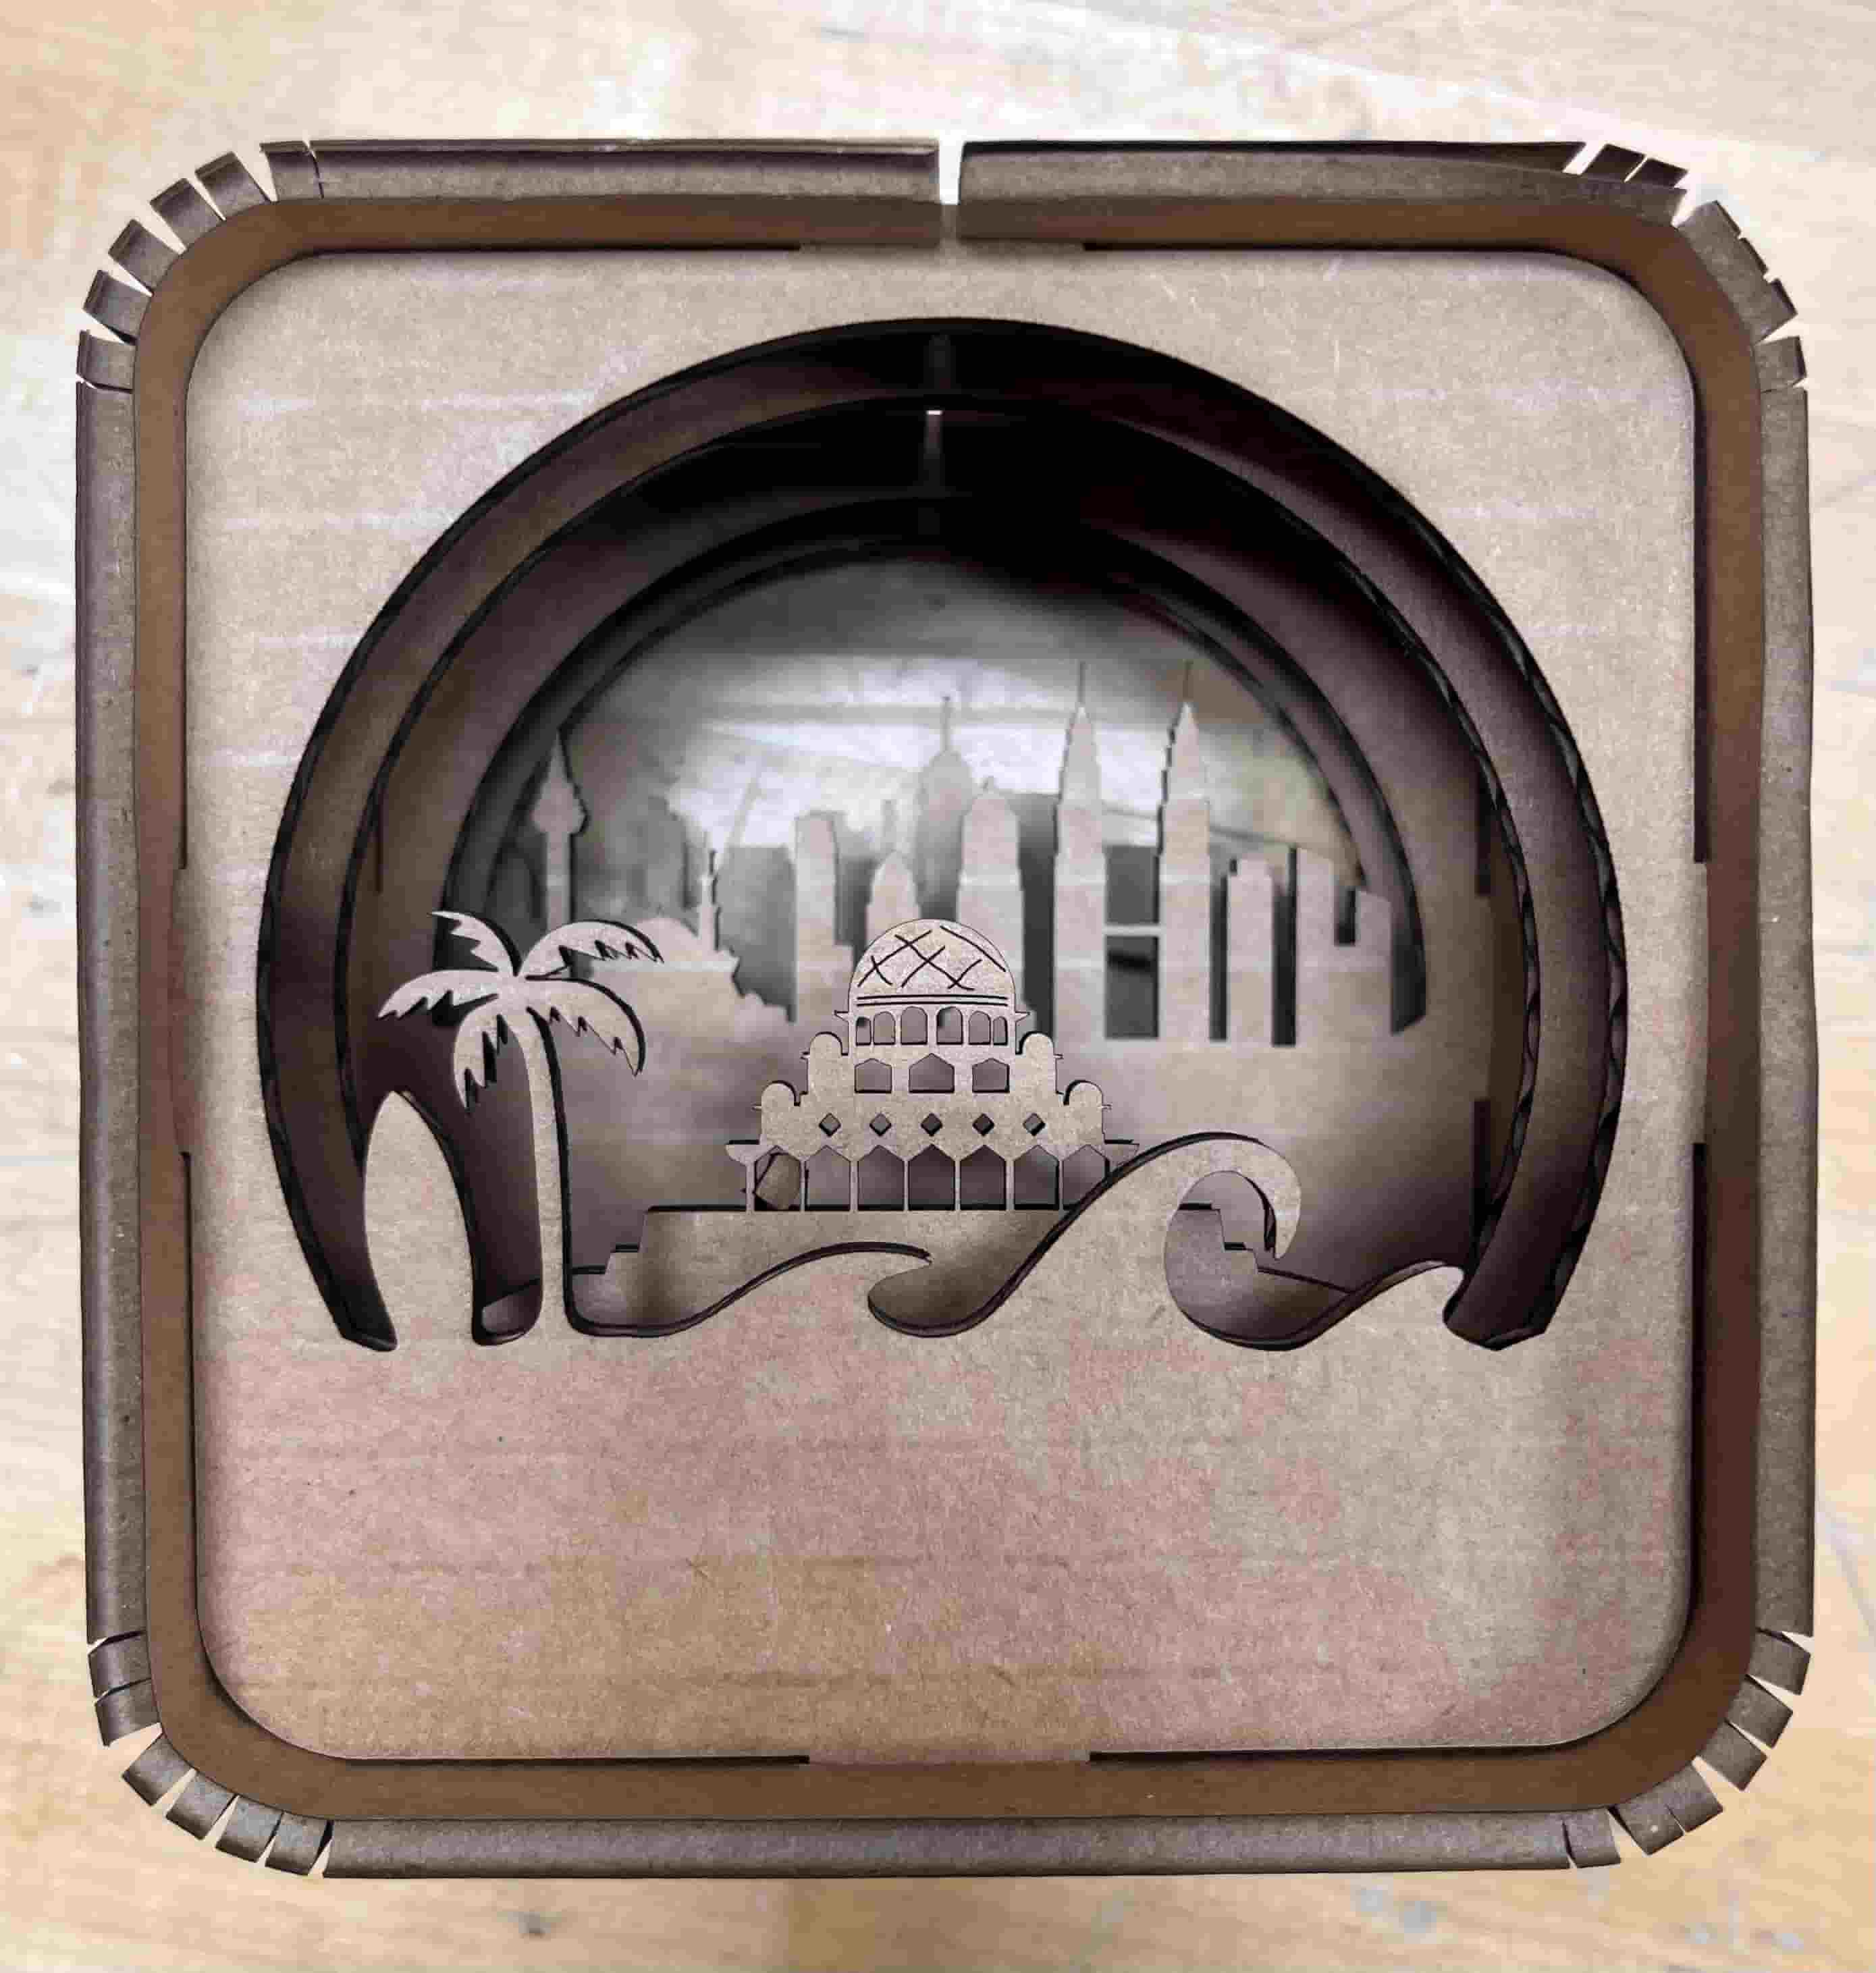
I accomplished both cutting with elements that aren't flat and using engraving to create the pattern on the mosque's dome. The box can also be assembled in multiple ways based on how people want the view to be structured. They can also cut personalized pieces for a more customizable view.
Resources and Acknowledgements
Thanks to Dan for showing us how to use the laser cutter.
Design Files
You can find the laser cut design files here