Week 3
Embedded Programming
09/17/2025-09/24/2025
Group Assignment
Here's the link to our group assignment: group assignment
We have not fully collaborated for this group assignment, but thanks to the people in my group for documenting and allowing me to learn from their documentations.
Data Sheet
I started by reading the RP2040 datasheet to gain a better understanding of the board.
I mainly looked at the pinout diagrams and the pin descriptions, because there are many things I don't really understand in the datasheet.
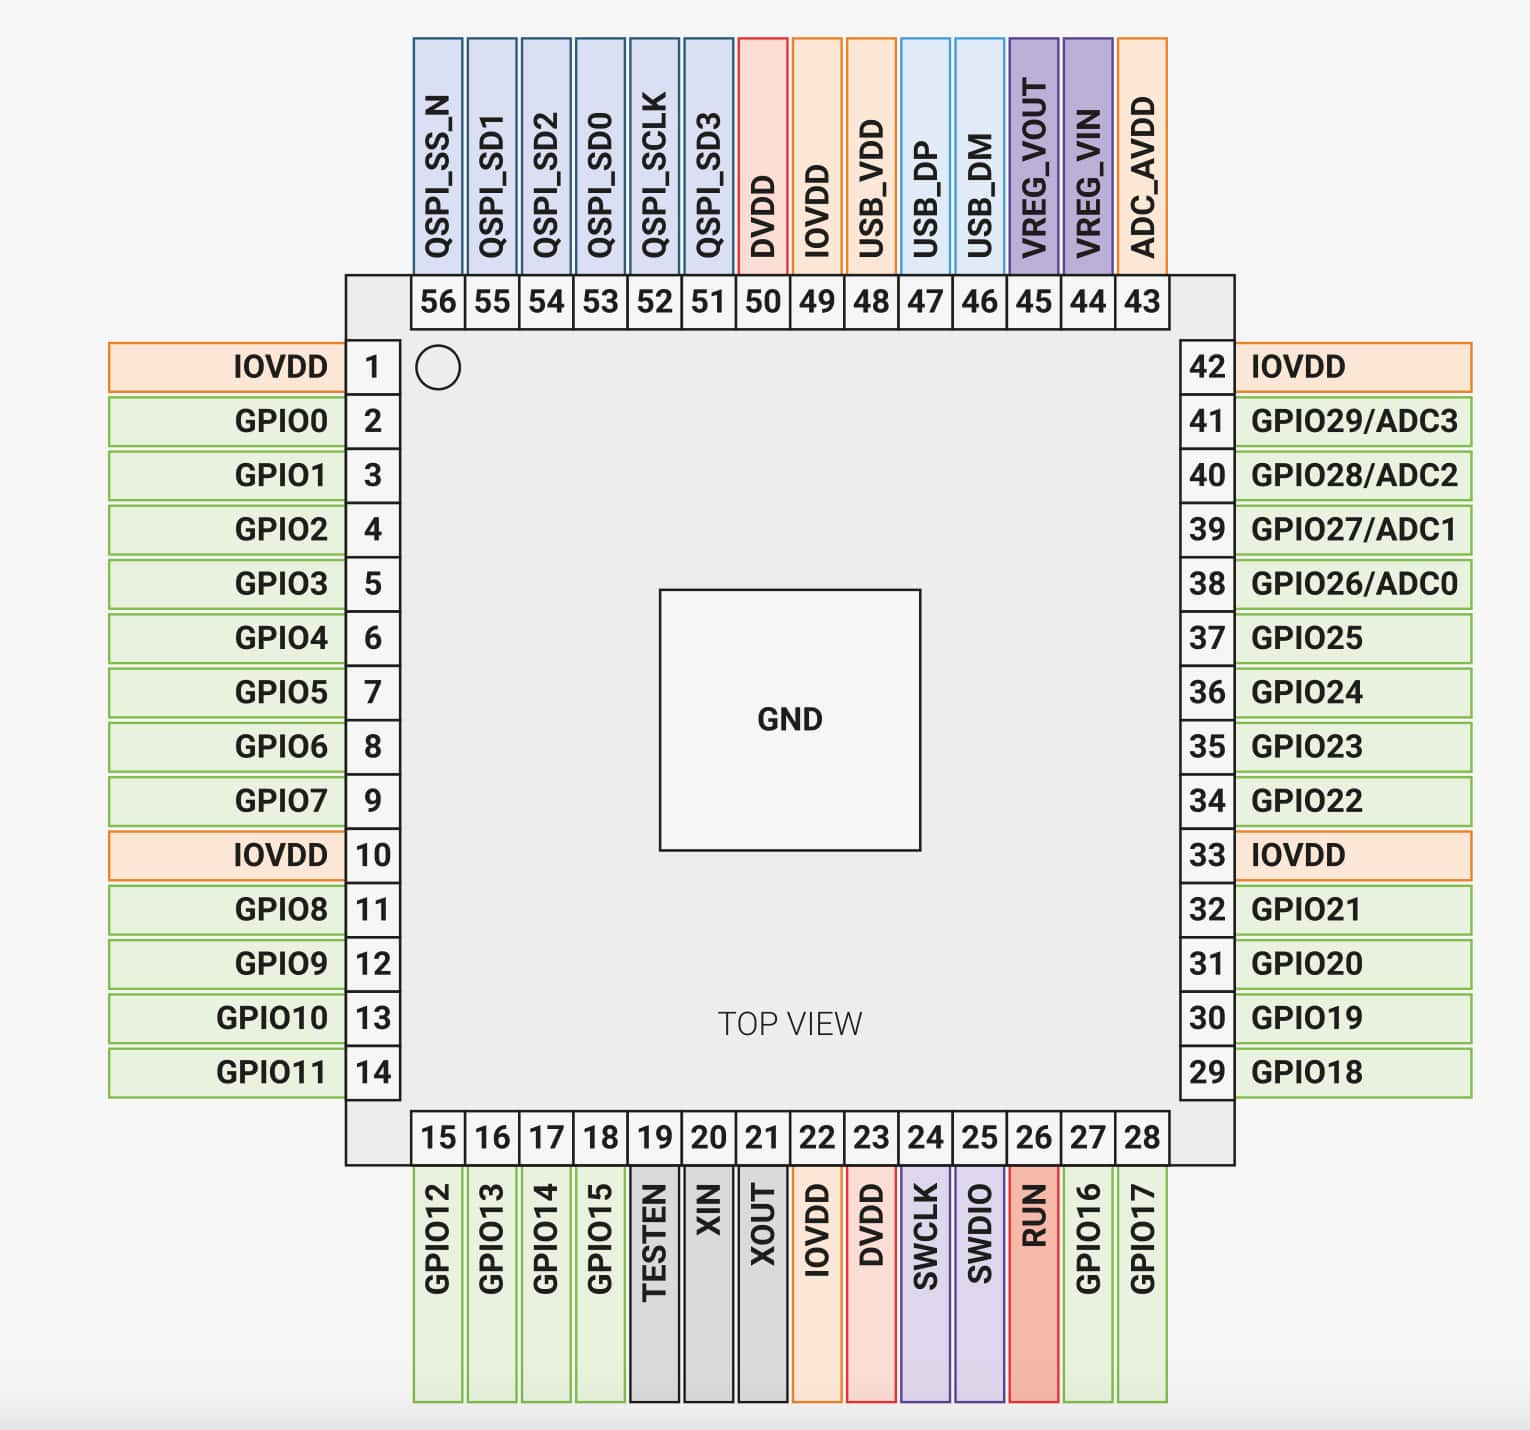
I also learned about some of the MCU designs of RP2040. For example, it is ARM-based with two Cortex M0+ cores. It has dual core and much higher frequency (133 MHz) with 264k of sRAM.
Building The Board
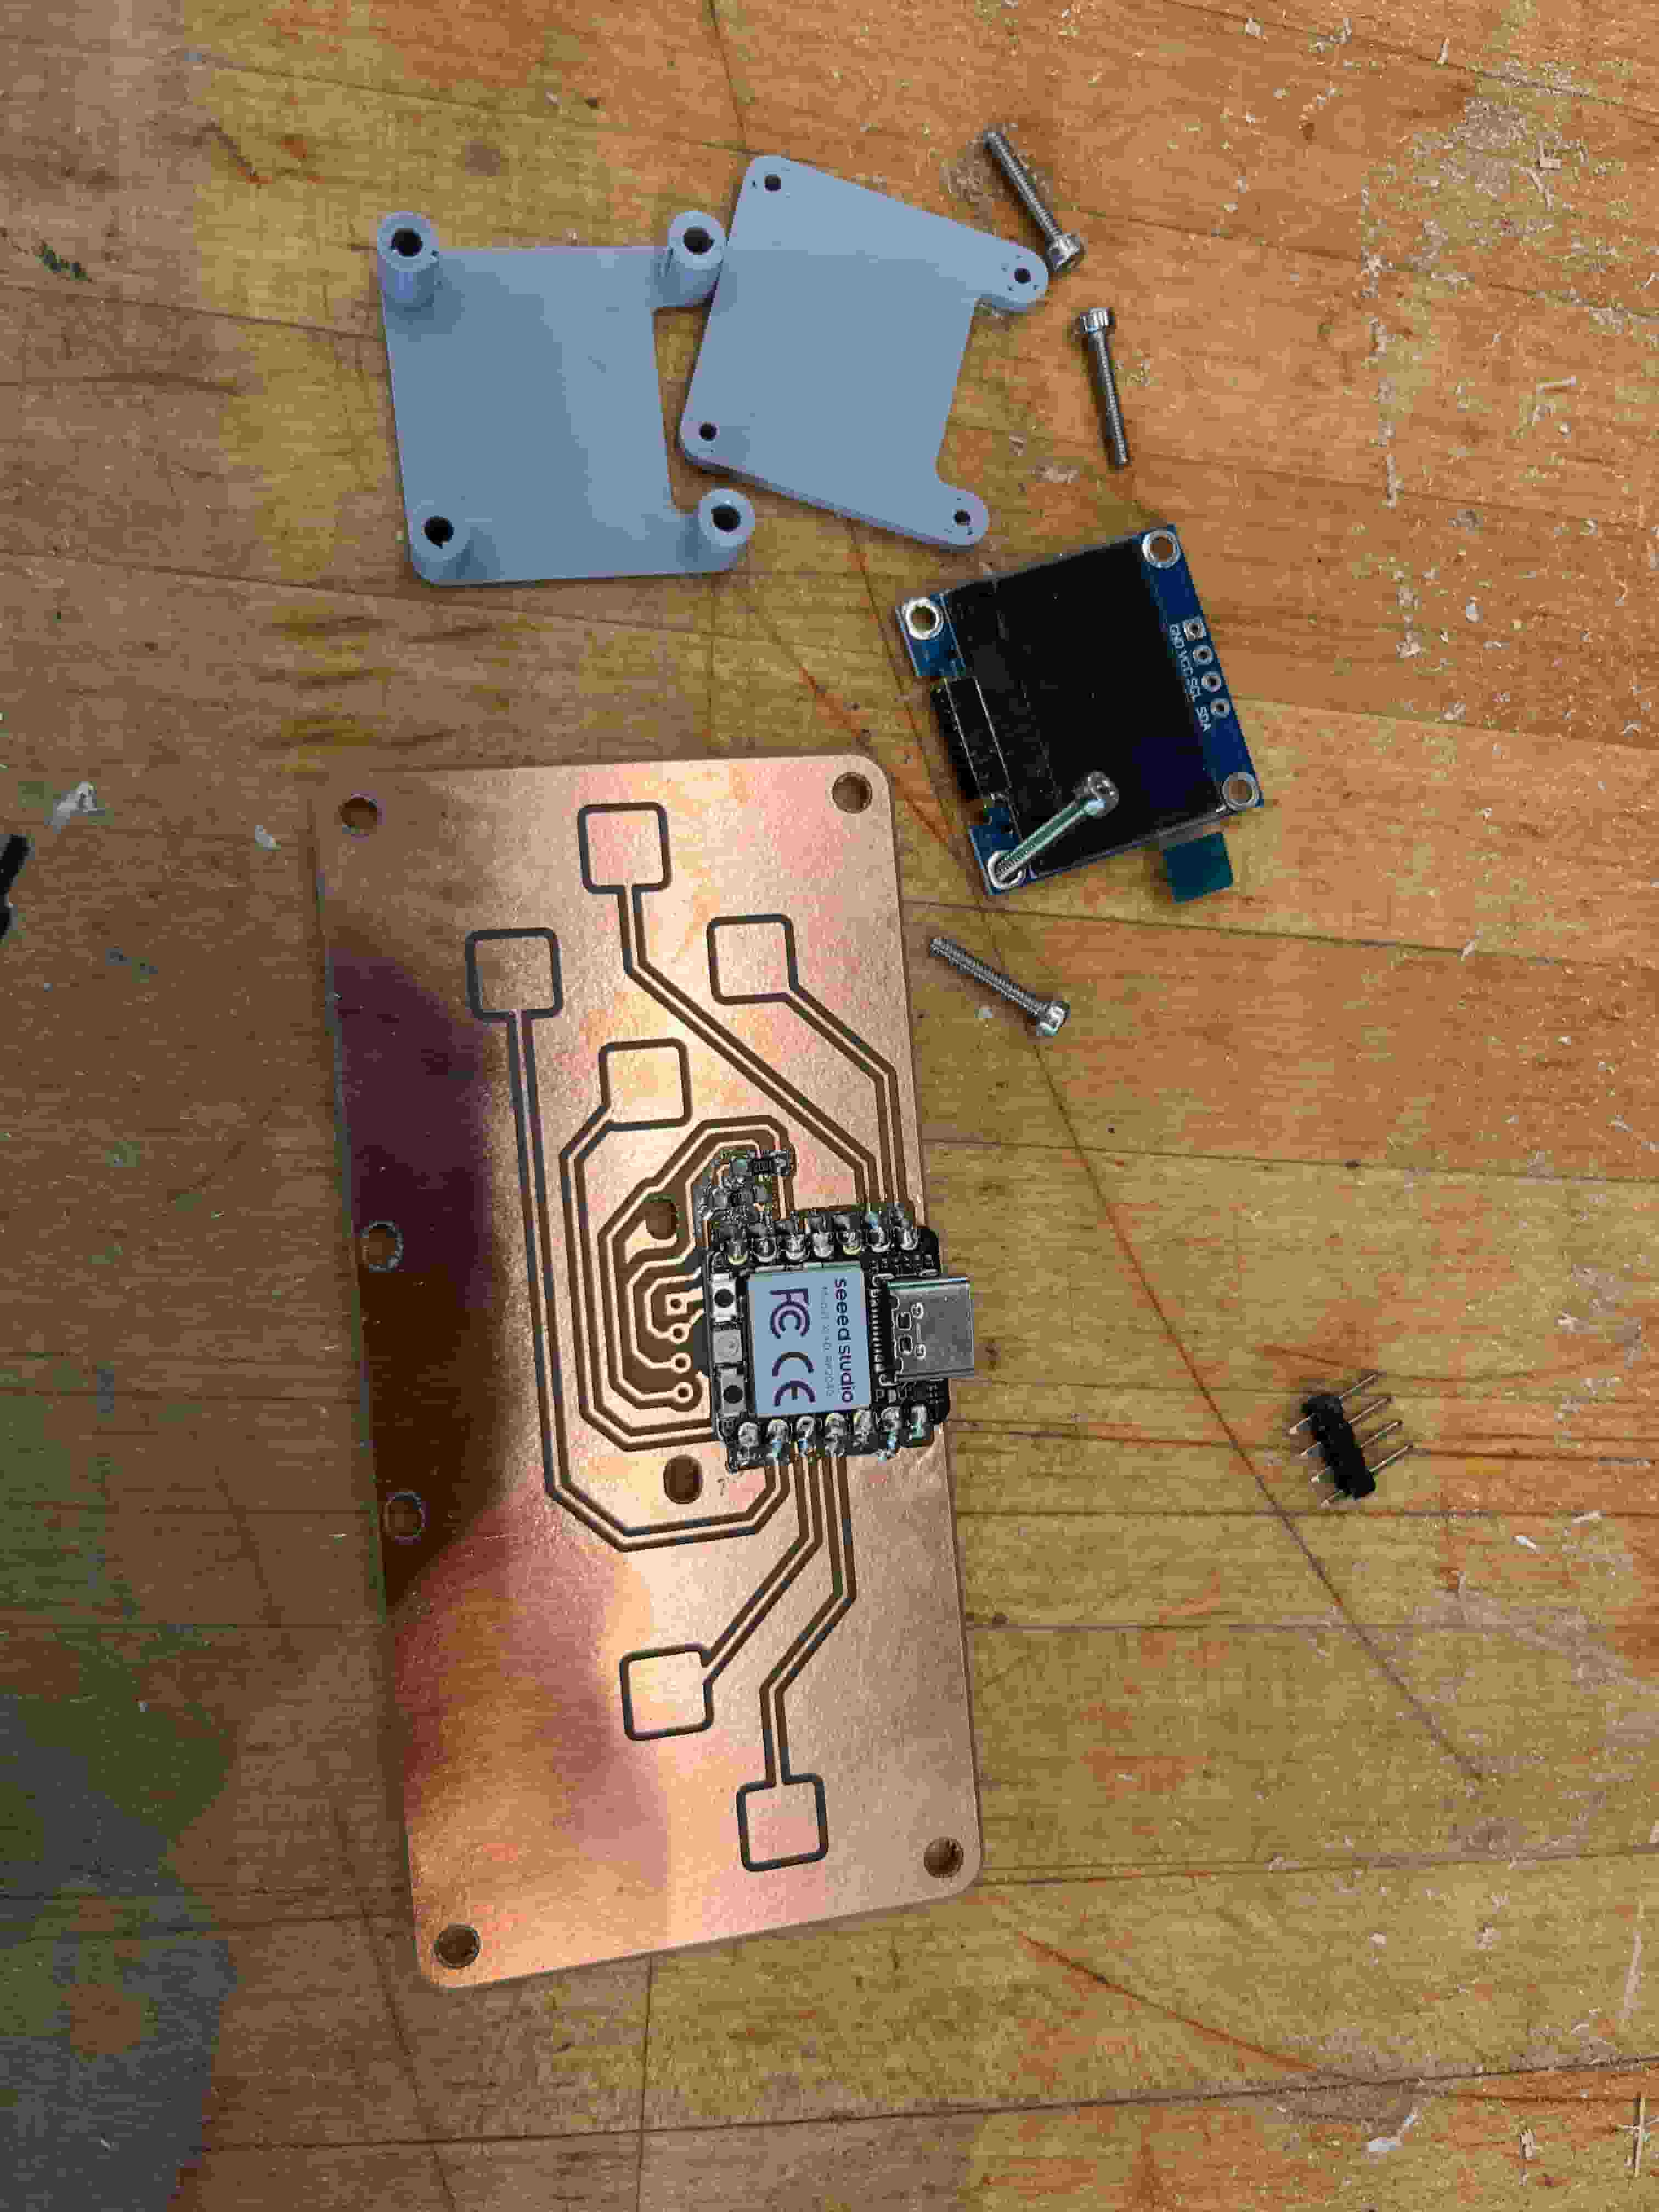
Before working with embedded programming, I first need to build a board that works. I chose to use the QPAD-Xiao based on RP2040, which is larger and easier for me to practice soldering.
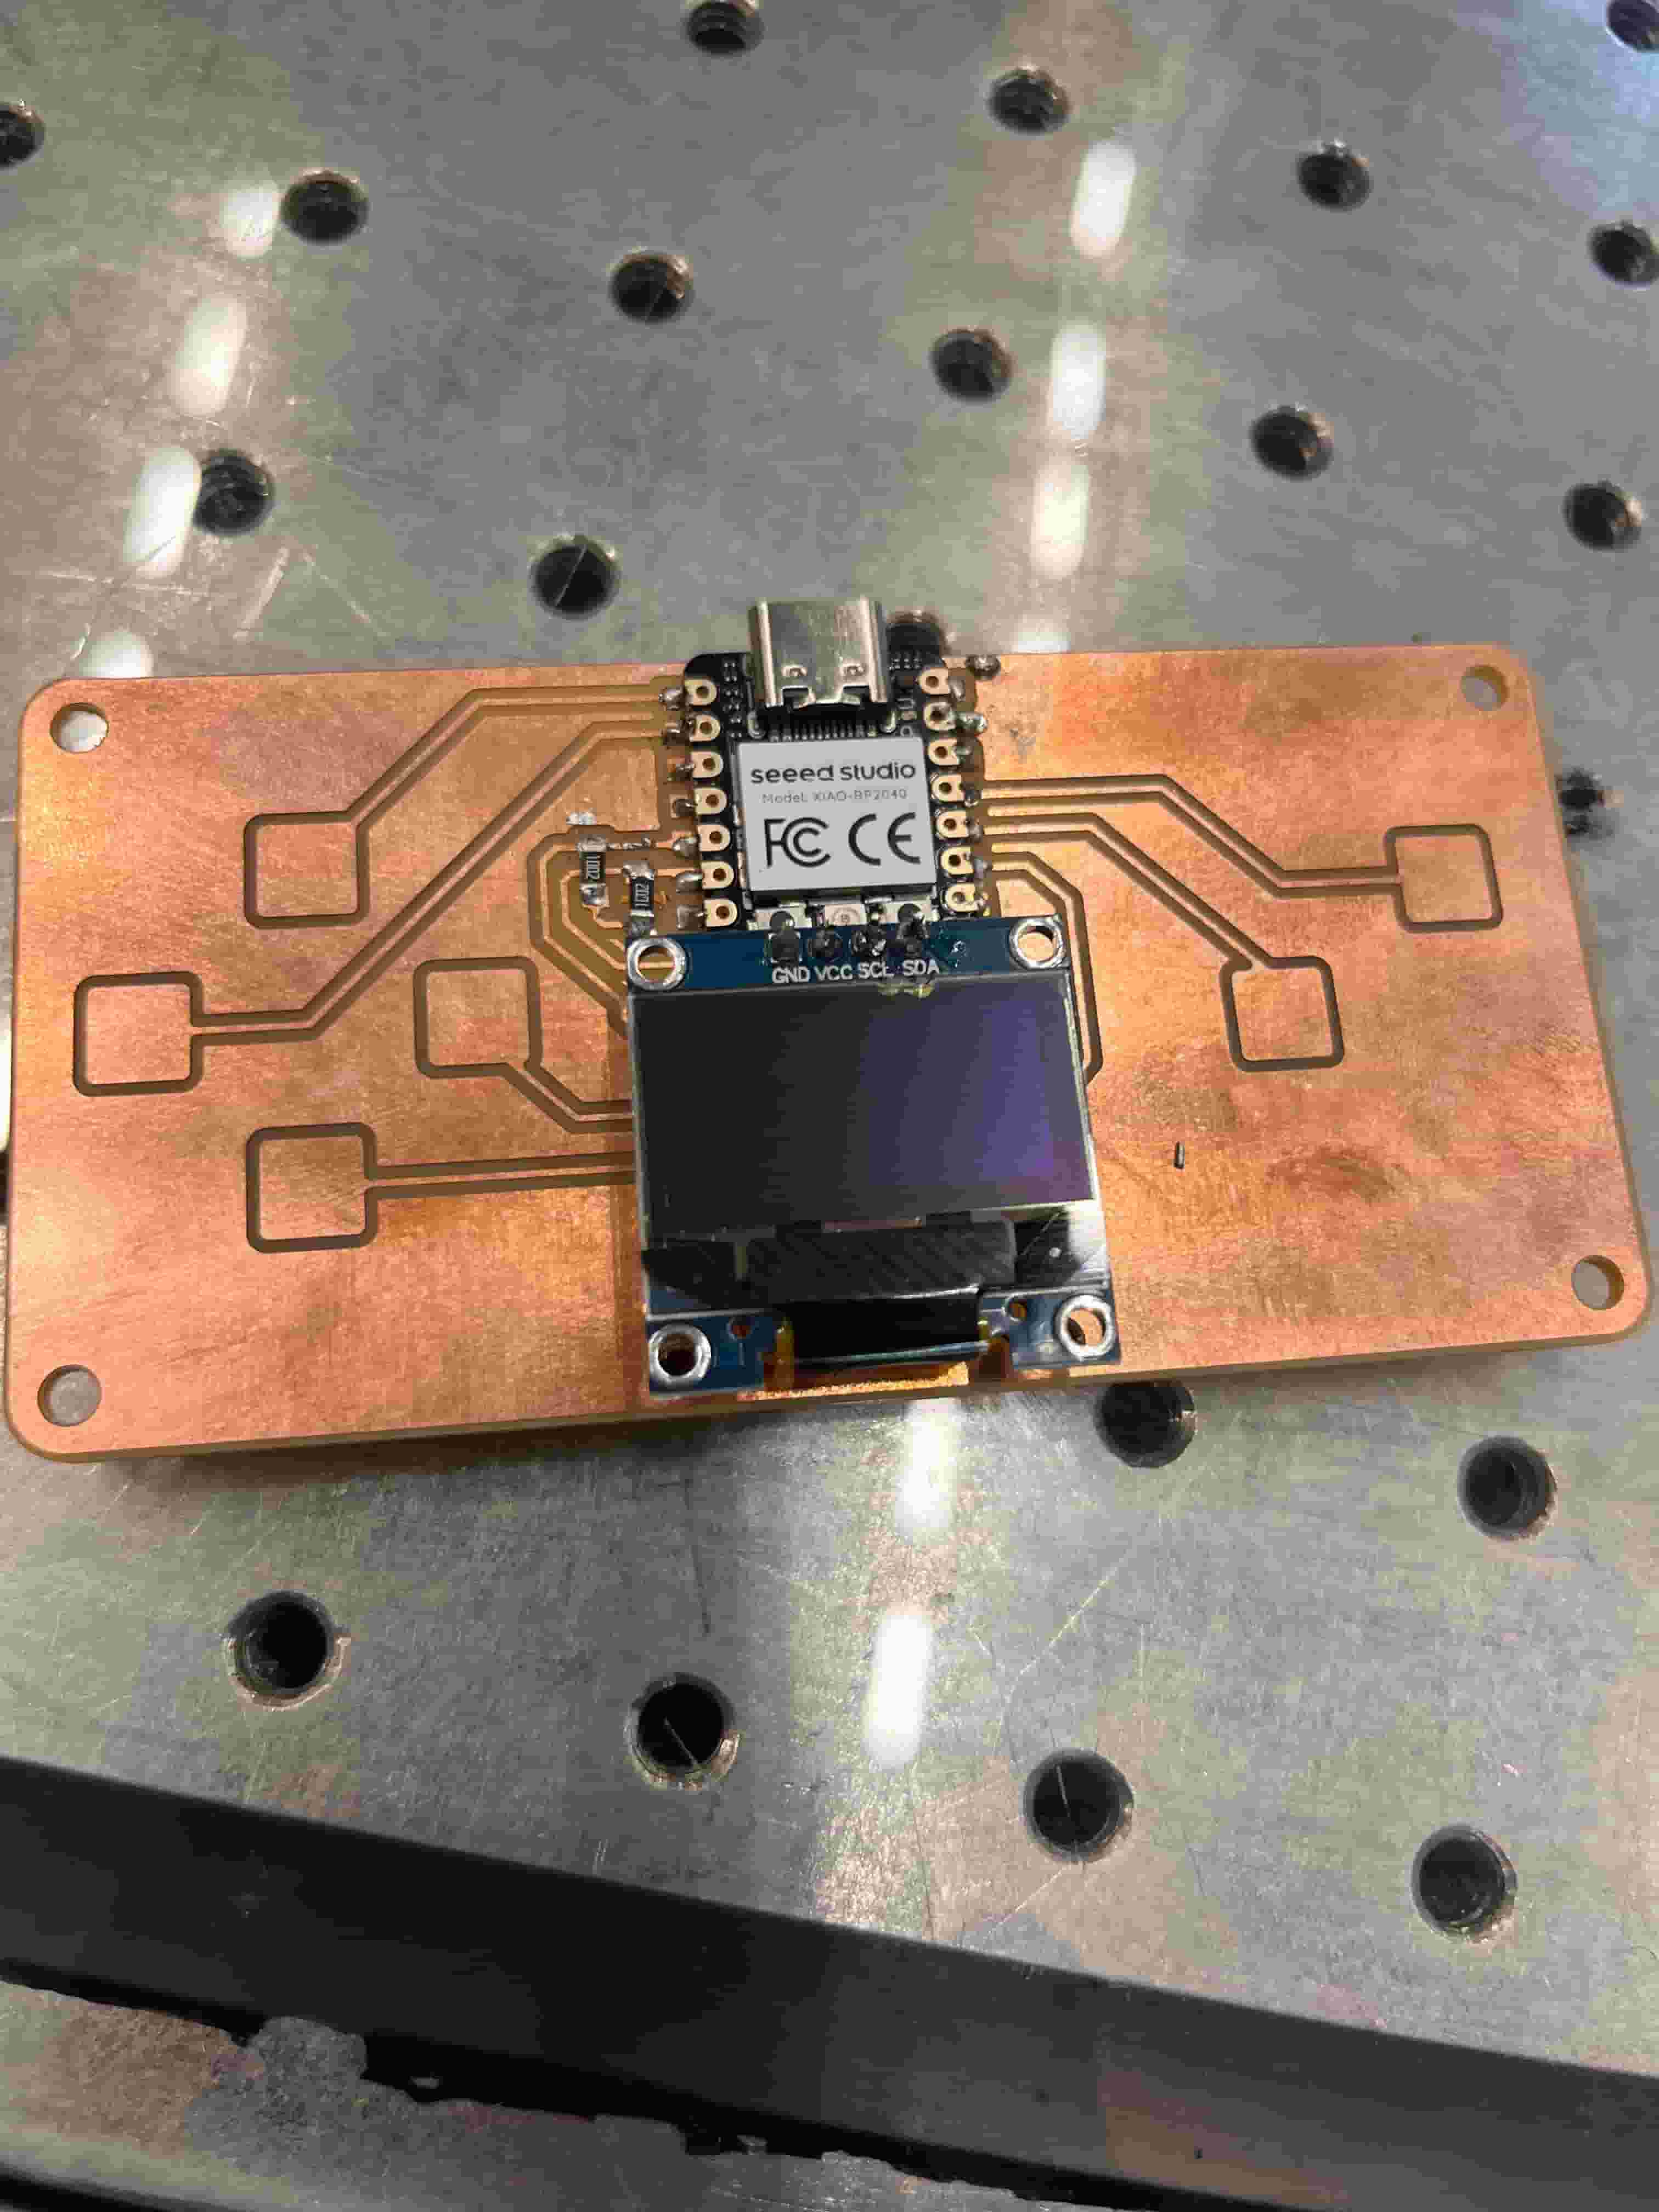
After building my first circuit board, I faced some challenges due to the suspending screen. The lack of support on one side of the screen caused the screen to move up and down easily, and eventually broke the soldering on my way home. Thus, I have to head back to the lab and reapply soldering.
I also realized that it is crucial to solder the bottom of the connector properly before adding the digital screen. I found that the connector and the board was shorted after soldering the screen onto the connector, which increased the difficulty as I had to work with the tiny space below the screen.
Testing The Board
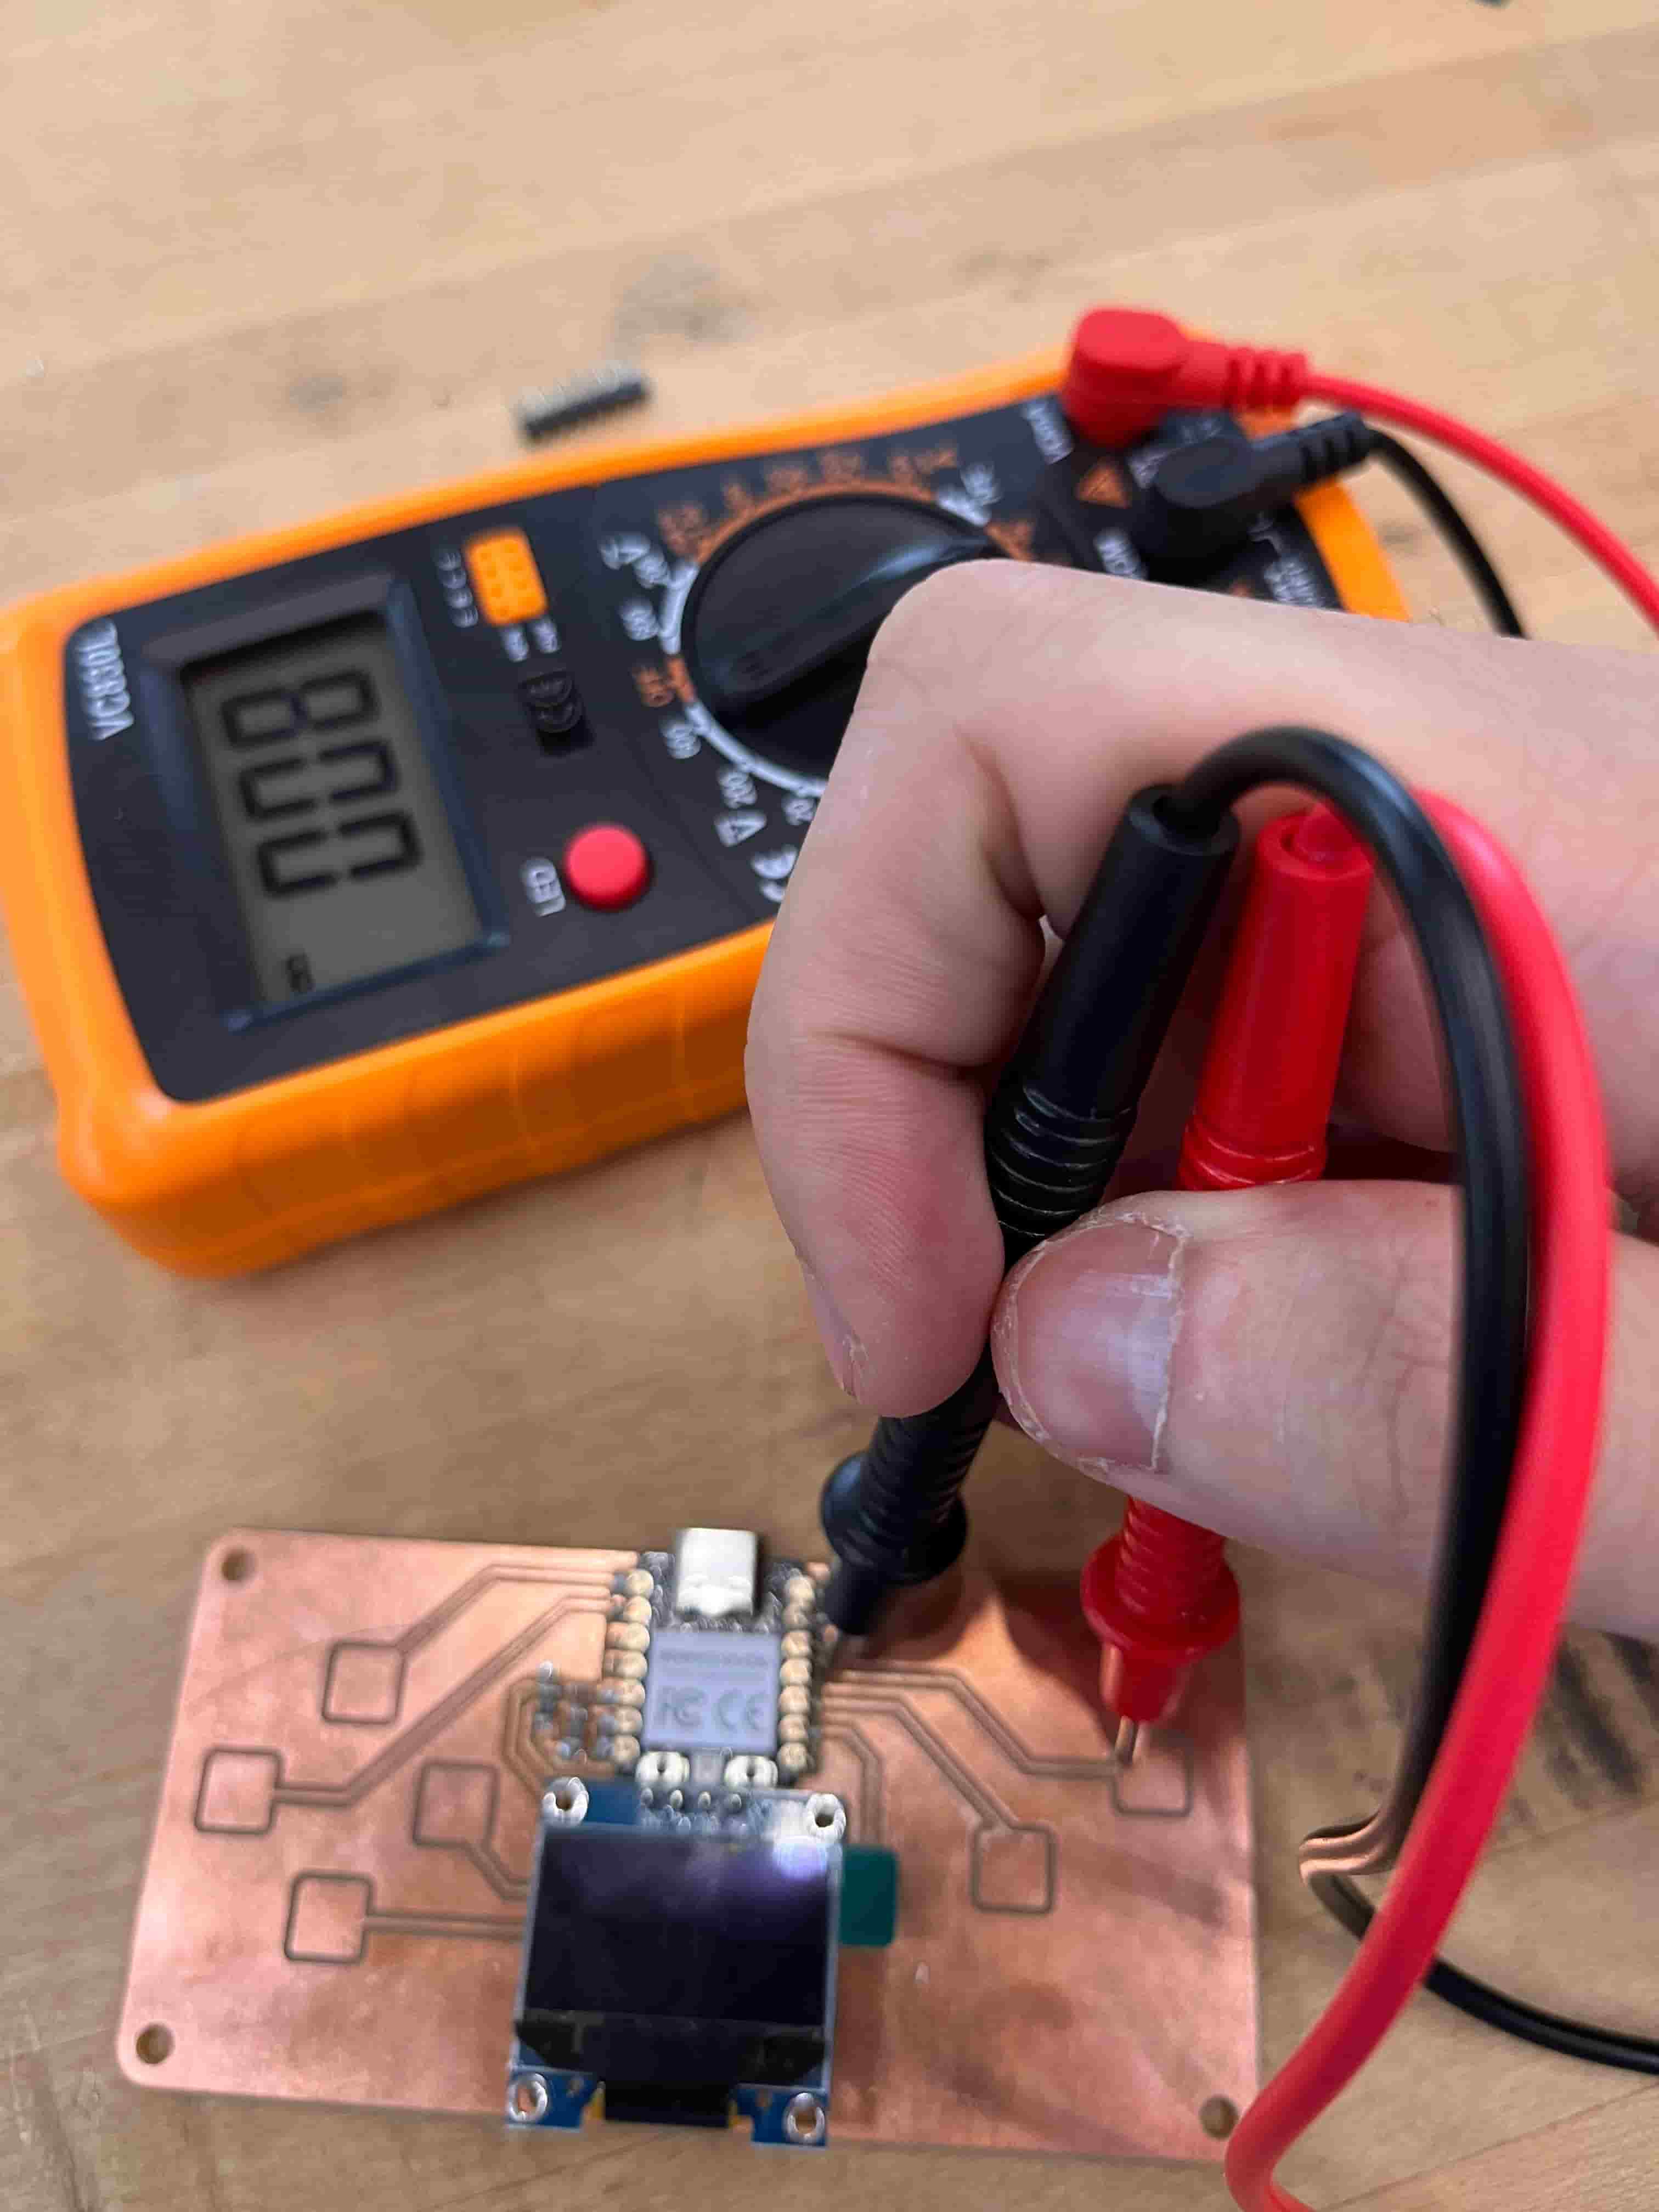
Before designing my own program, I wanted to test the sample program provided.
Here's testing the touch buttons and making the board blink:
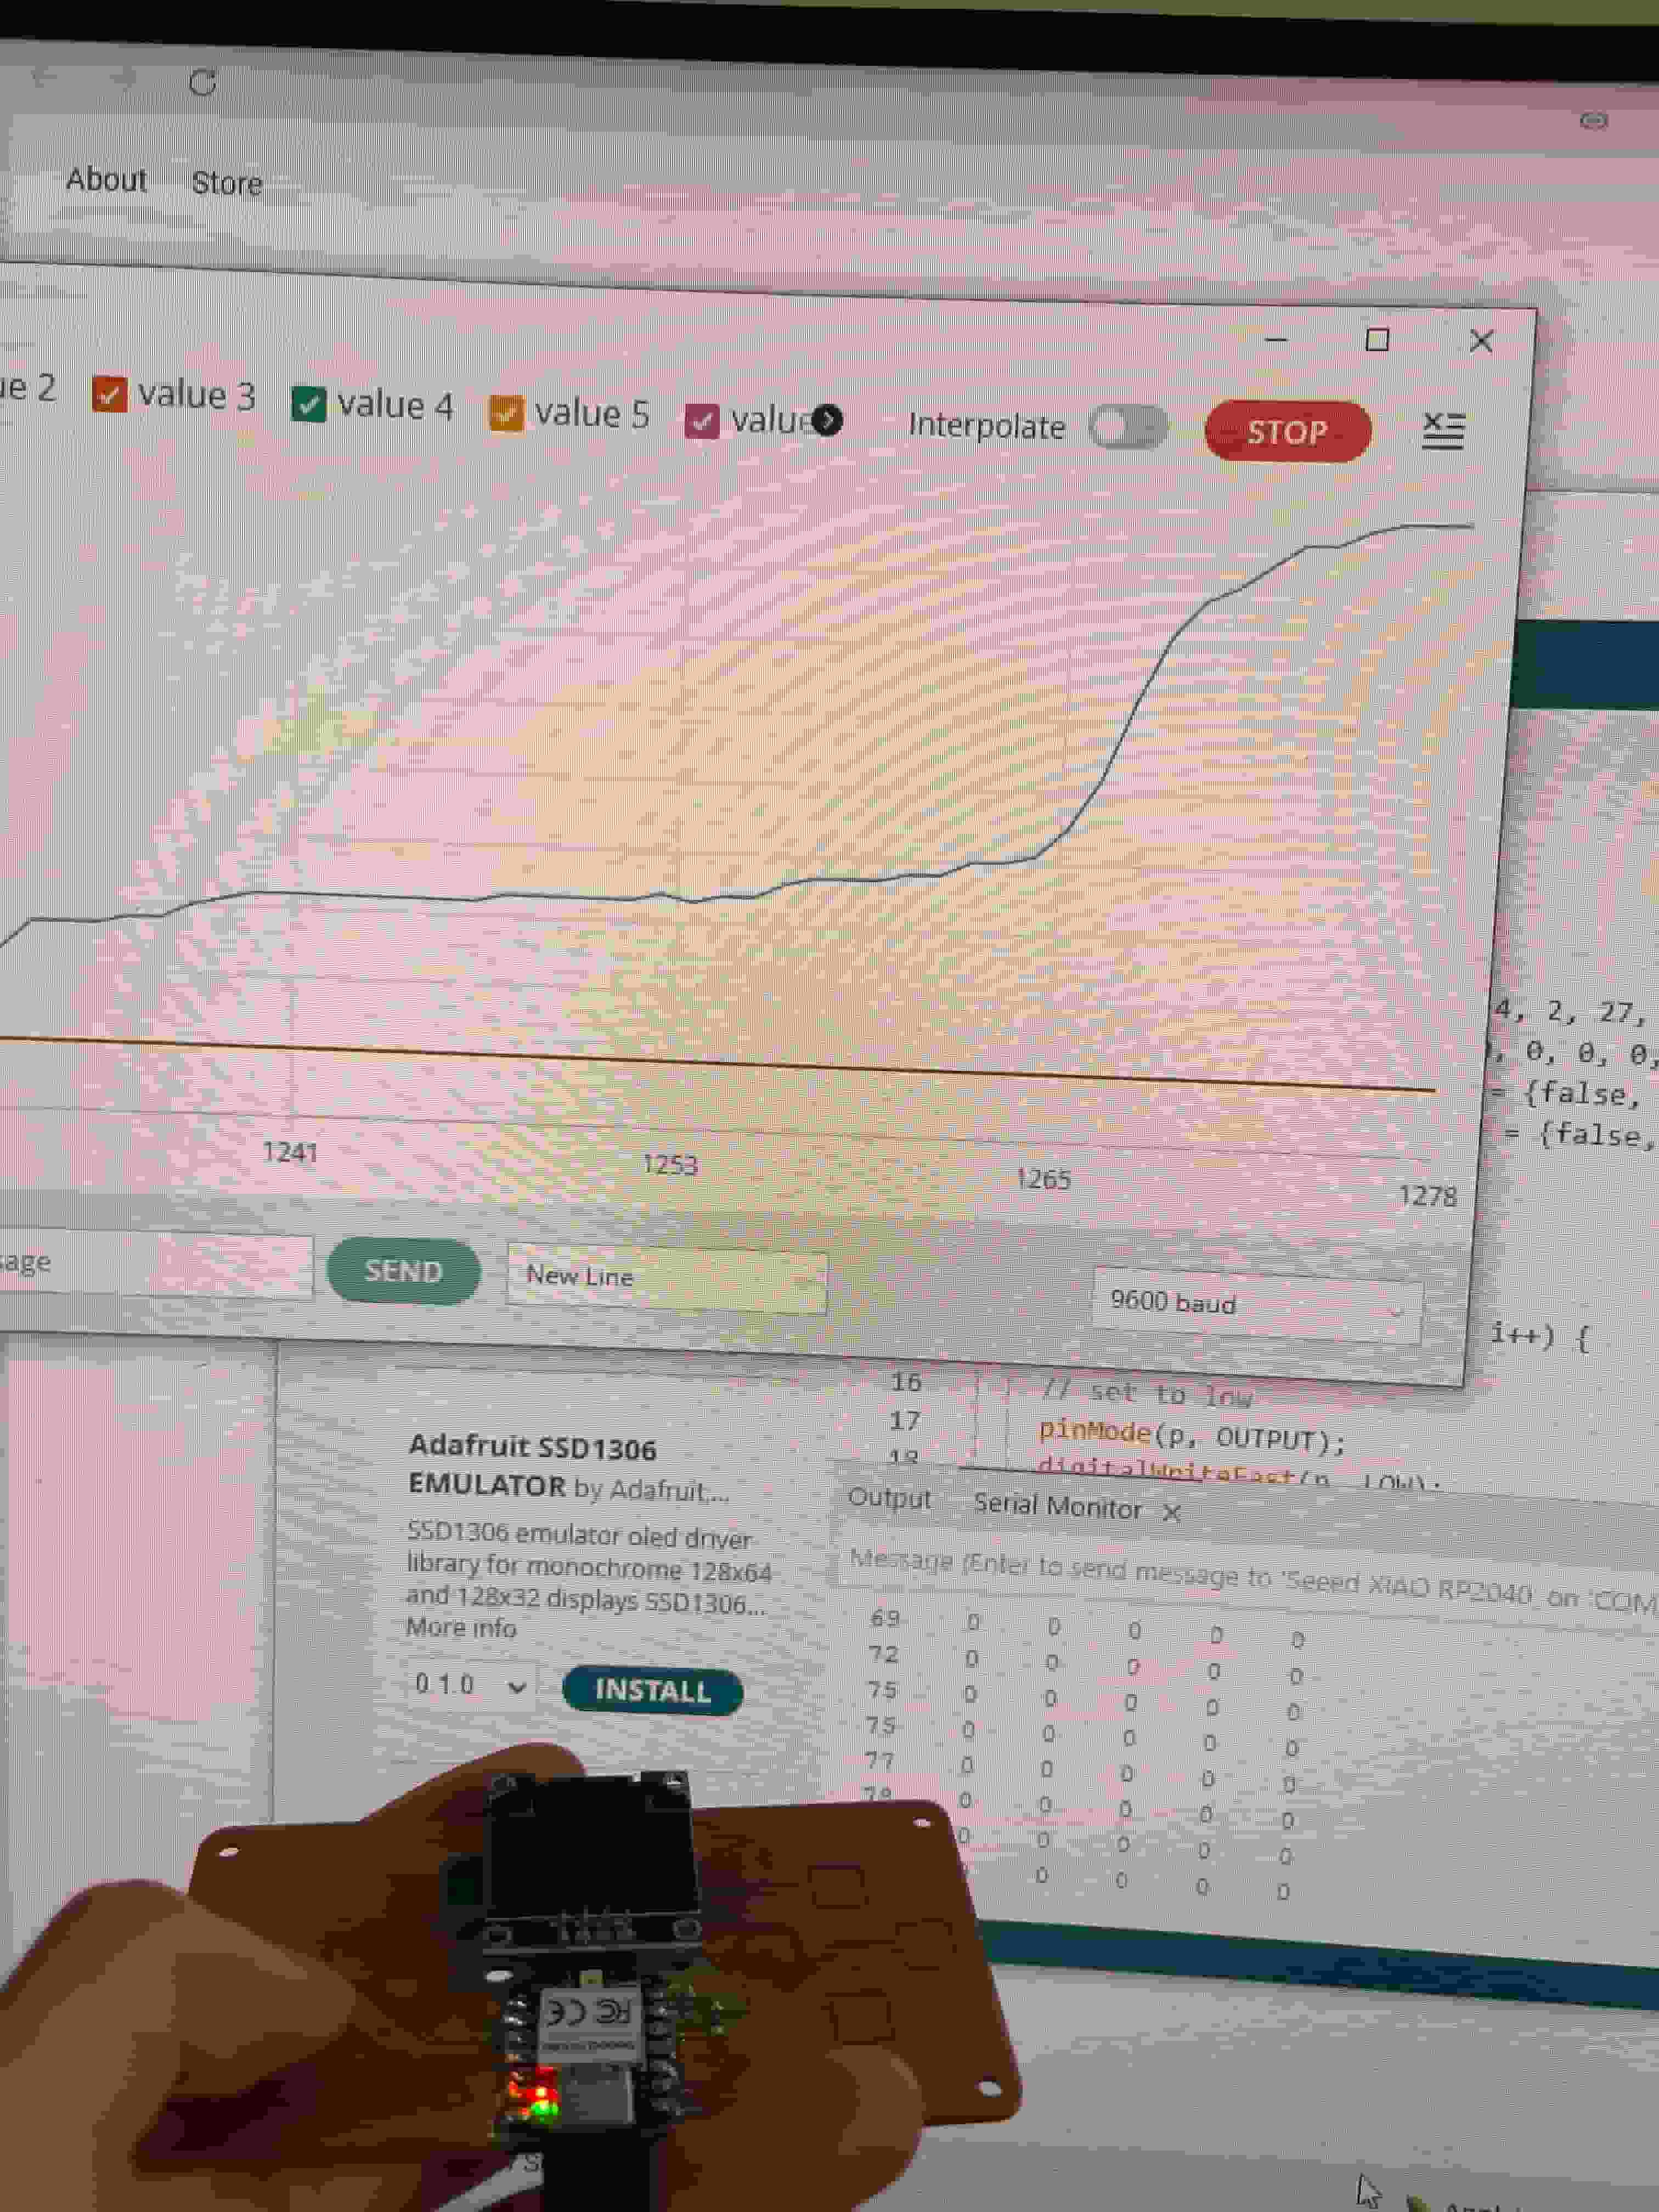
Here's showing text on the screen display.
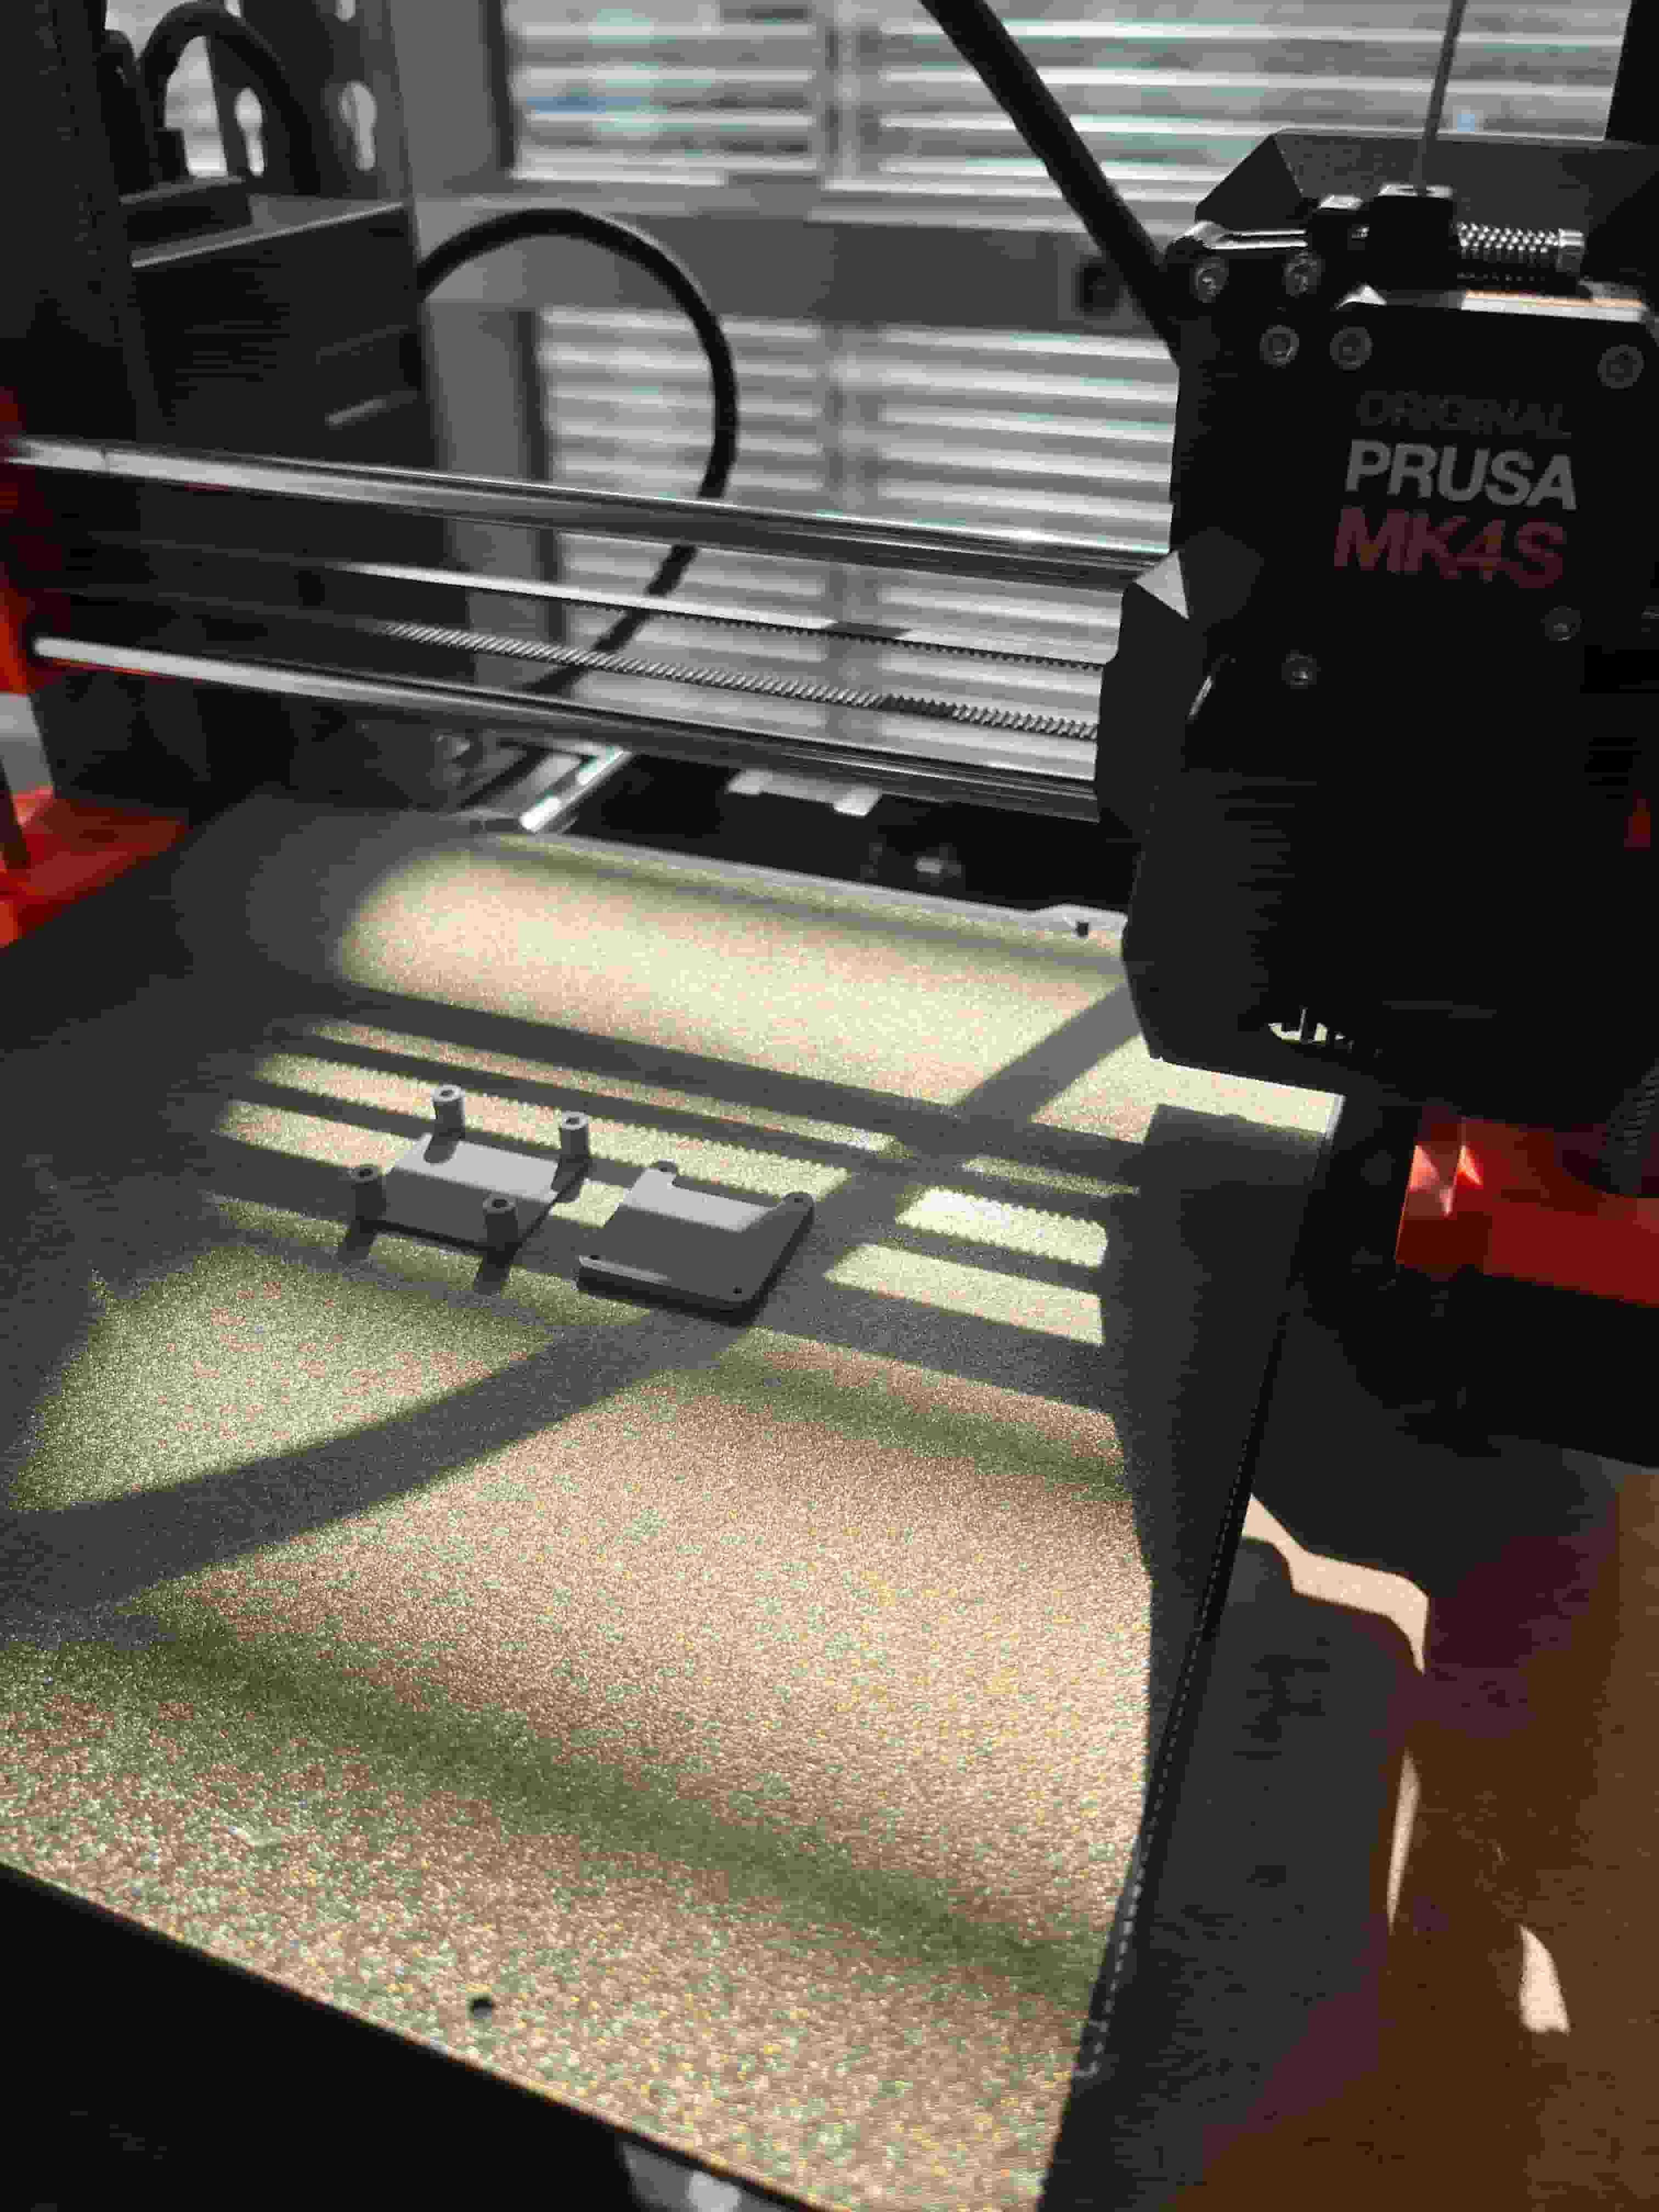
I actually realized that my screen is broken loose again on the way home. Thus, I came into the maker space on Monday to make a new board. Fortunately, thanks to the help of Quentin with designing a 3d printed shaft.
I ran into another problem that the log keeps reporting that my drive is being ejected. It turns out that I can't use my Mac charging cable to connect and instead need an actual USBC data cable. Then, I also ran into issues where I need to install the Adafruit GFX library, and Adafruit SSD1306 library.
Piano Tile Game
The first game I programmed was piano tile with Java. Now, I want to recreate this game on my board utilizing the touch buttons and the digital screen.
I took the sample code provided for "test_display_RP2040" and "test_touch_RP2040" and added the game relevant features.
I am pretty satisfied with how my code can run on the board. The next steps might be to add an audio output to play the songs and have the tiles drop according to the rhythm of the music. In addition, I might need to add some vinyl cutted stickers to indicate what each button is doing. Because I'm not 100% sure which button corresponds to which column. I also want to try if rust programming might work as well.
Piano Tile Game
The first game I programmed was piano tile with Java. Now, I want to recreate this game on my board utilizing the touch buttons and the digital screen.
Resources and Acknowledgements
ChatGPT was used to generate the starter code for the game.
Special thanks to Quentin and Alan for assisting in the soldering process and Quentin for designing and 3D printing the holder for the screen.
Design Files
You can find the embedded programming files for the piano tile game here