
Overview
This was a packed week - we needed to learn how to create a website, use the laser cutter to design a modular construction kit, and use the vinyl cutter to make a design of our choice. The assignment was:
- download, read, and sign the student agreement, and commit the file to your repo
- work through a git tutorial
- build a personal site in the class archive, describing you and your final project
- cut something on the vinylcutter
- design, lasercut, and document a parametric construction kit, accounting for the lasercutter kerf, which can be assembled in multiple ways
Project Files & Links
- Week 2 Lecture Notes
- Cardboard Puzzle DXF for Laser Cutting
- Cardboard Flame Phone Holder DXF for Laser Cutting
- MIT Building SVG for Vinyl Cutting
- Media Lab Logos SVG for Vinyl Cutting
- Link to the Moving Circles HTML Code
- PDF Cheat Sheet for Git Commands
Group Assignment
Our group assignment was:
"Characterize your lasercutter's focus, power, speed, rate, kerf, and joint clearance"
(Note from Future Eitan: We were still figuring out how to use our group website and coordinate group assignments, but I found that the best settings for my cardboard on the xTool P2 laser cutter was 87% power, a speed of 37%, one pass, and a kerf compensation offset of 0.1mm.)
Website Development
Let me take you on a journey of how I got here, starting with the website you're currently browsing. Despite being terminally online, I've somehow neglected to learn all that much about HTML, but despite the number of AI tools out there, I wanted to try to work on it myself first to see what I could accomplish on my own. The first step was opening the template Neil provided us.
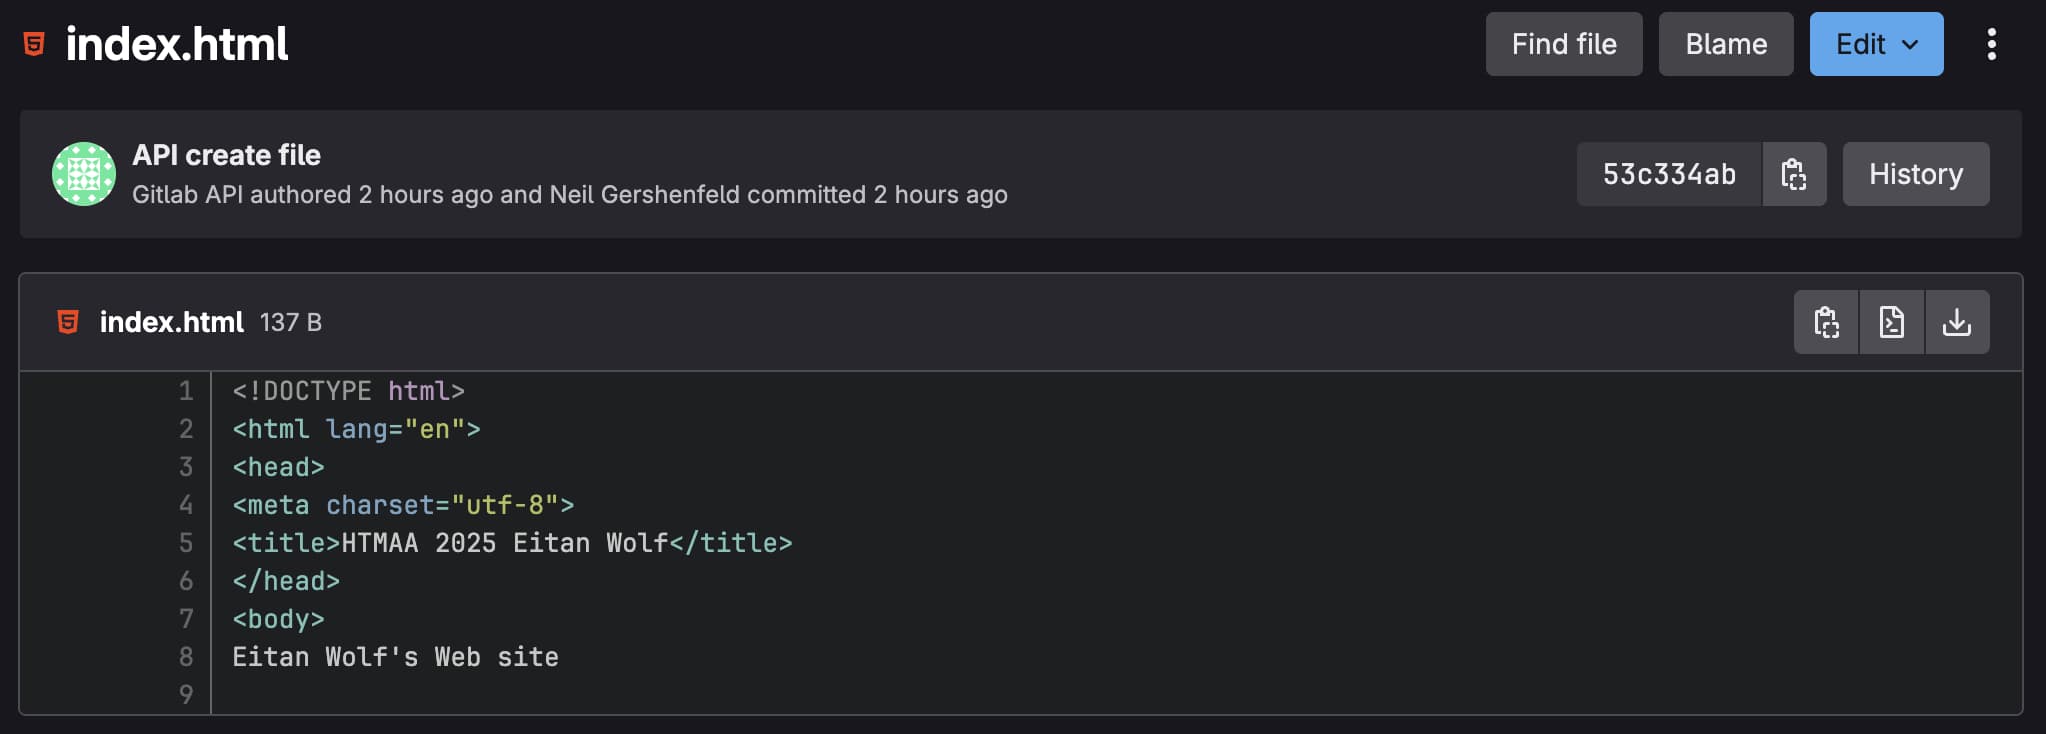
So let's start with something easy. I know the "body" portion was where the text on my page is from, so I made very minor changes by directly editing the "index" file in gitlab. Here's what that looked like:
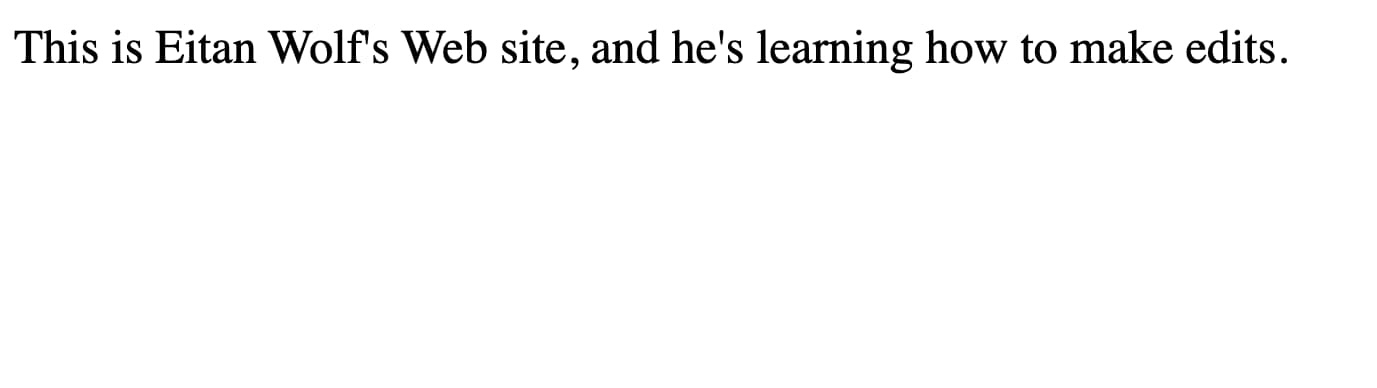
I know, it's beautiful, right?
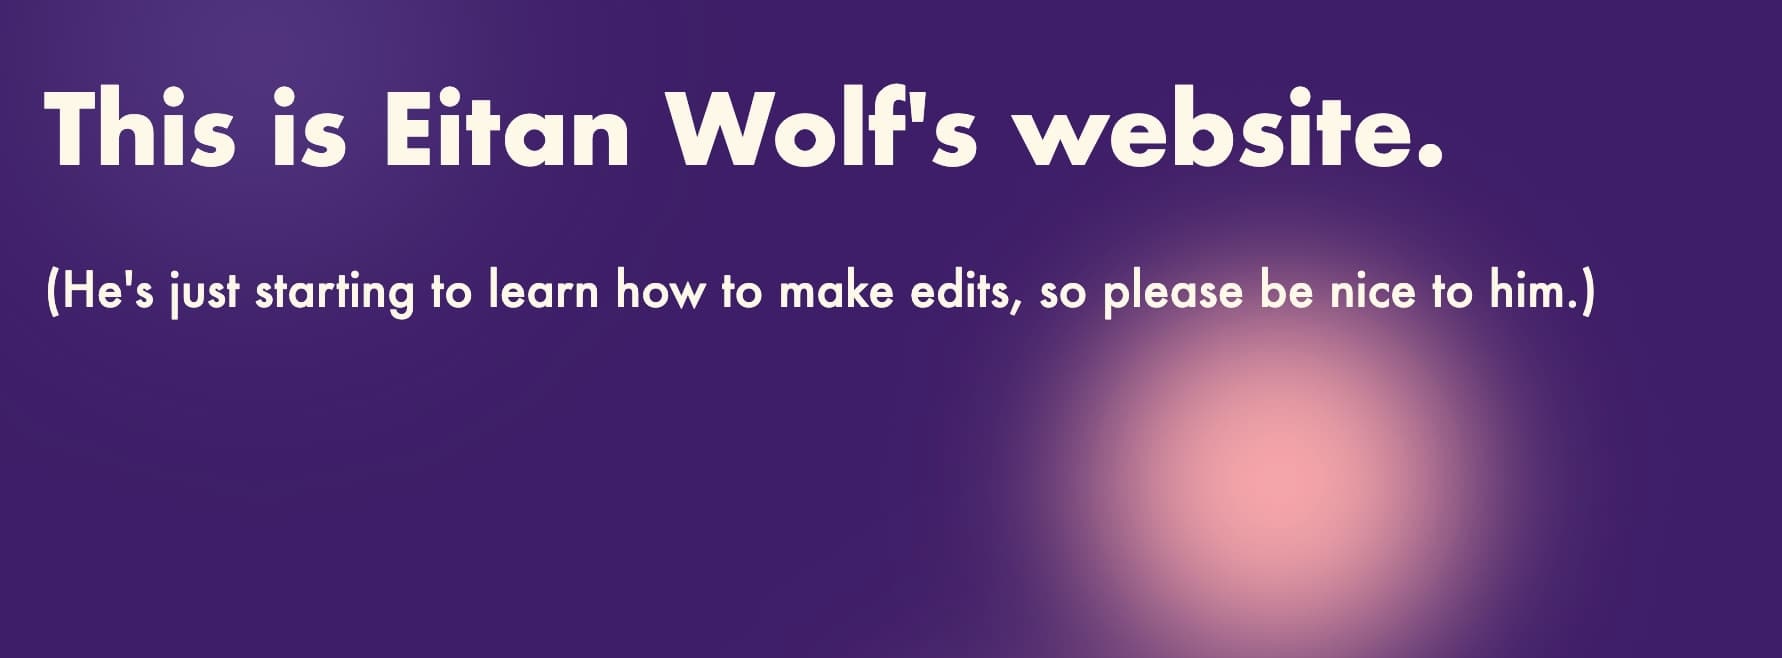
From there, I wanted to change the background color and font. I figured there was probably a place I could copy and paste some HMTL in from, and I was right! I also did a lot of Googling to figure out how to change the font - I figured a web-safe font would be better than a custom one, since I want to make this site accessible as widely as possible. Out of those, obviously Futura was the only choice. Here's what that looked like:
Remember what I said earlier about trying to hold off on using AI? Well, I was wrong. I absolutely needed help to even get to this point (plus some other additions), so if you're interested in examining the exact level of my incompetance you can view my conversation with ChatGPT here.
It's always good to be polite, even to AI. ;)
It ended up being very helpful to have something (someone?) I could ask questions to, and I ended up learning a lot more than I could have on my own. But it was time to level up. On fellow HTMAA/Media Lab student Miranda's recommendation, I downloaded Cursor to get a more advanced AI coding assistant that could help me create the different project pages. Unfortunately, there's a bug right now where I can't access previous day's chat history (I'm sorry Neil!!) but it essentailly boiled down to me asking "Please help me create different project pages for each week, including titles, images, captions, and paragraphs". What you see here is pretty darn close to what it generated.
As I started filling in images and descriptions, I used Cursor again to implement those changes. Here's the link to that chat.
And here we are! A functioning website, with a home page, project pages, and a very very real quote from Neil and the entire HTMAA class.
Let's move on the the real meat of the week - LASER CUTTING.
Learning Computer-Controlled Cutting
As with most other things in this class, I have no previous knowledge of CAD. Please enjoy a smattering of failed attempts at understanding how to use basic tools and paramatric paramterizing paramaters:

A fairly straight forward comb meant to test kerf. I agonized for a long time about how to auto-space each tooth (and being quite honest I still don't know).
Looks pretty good, right?
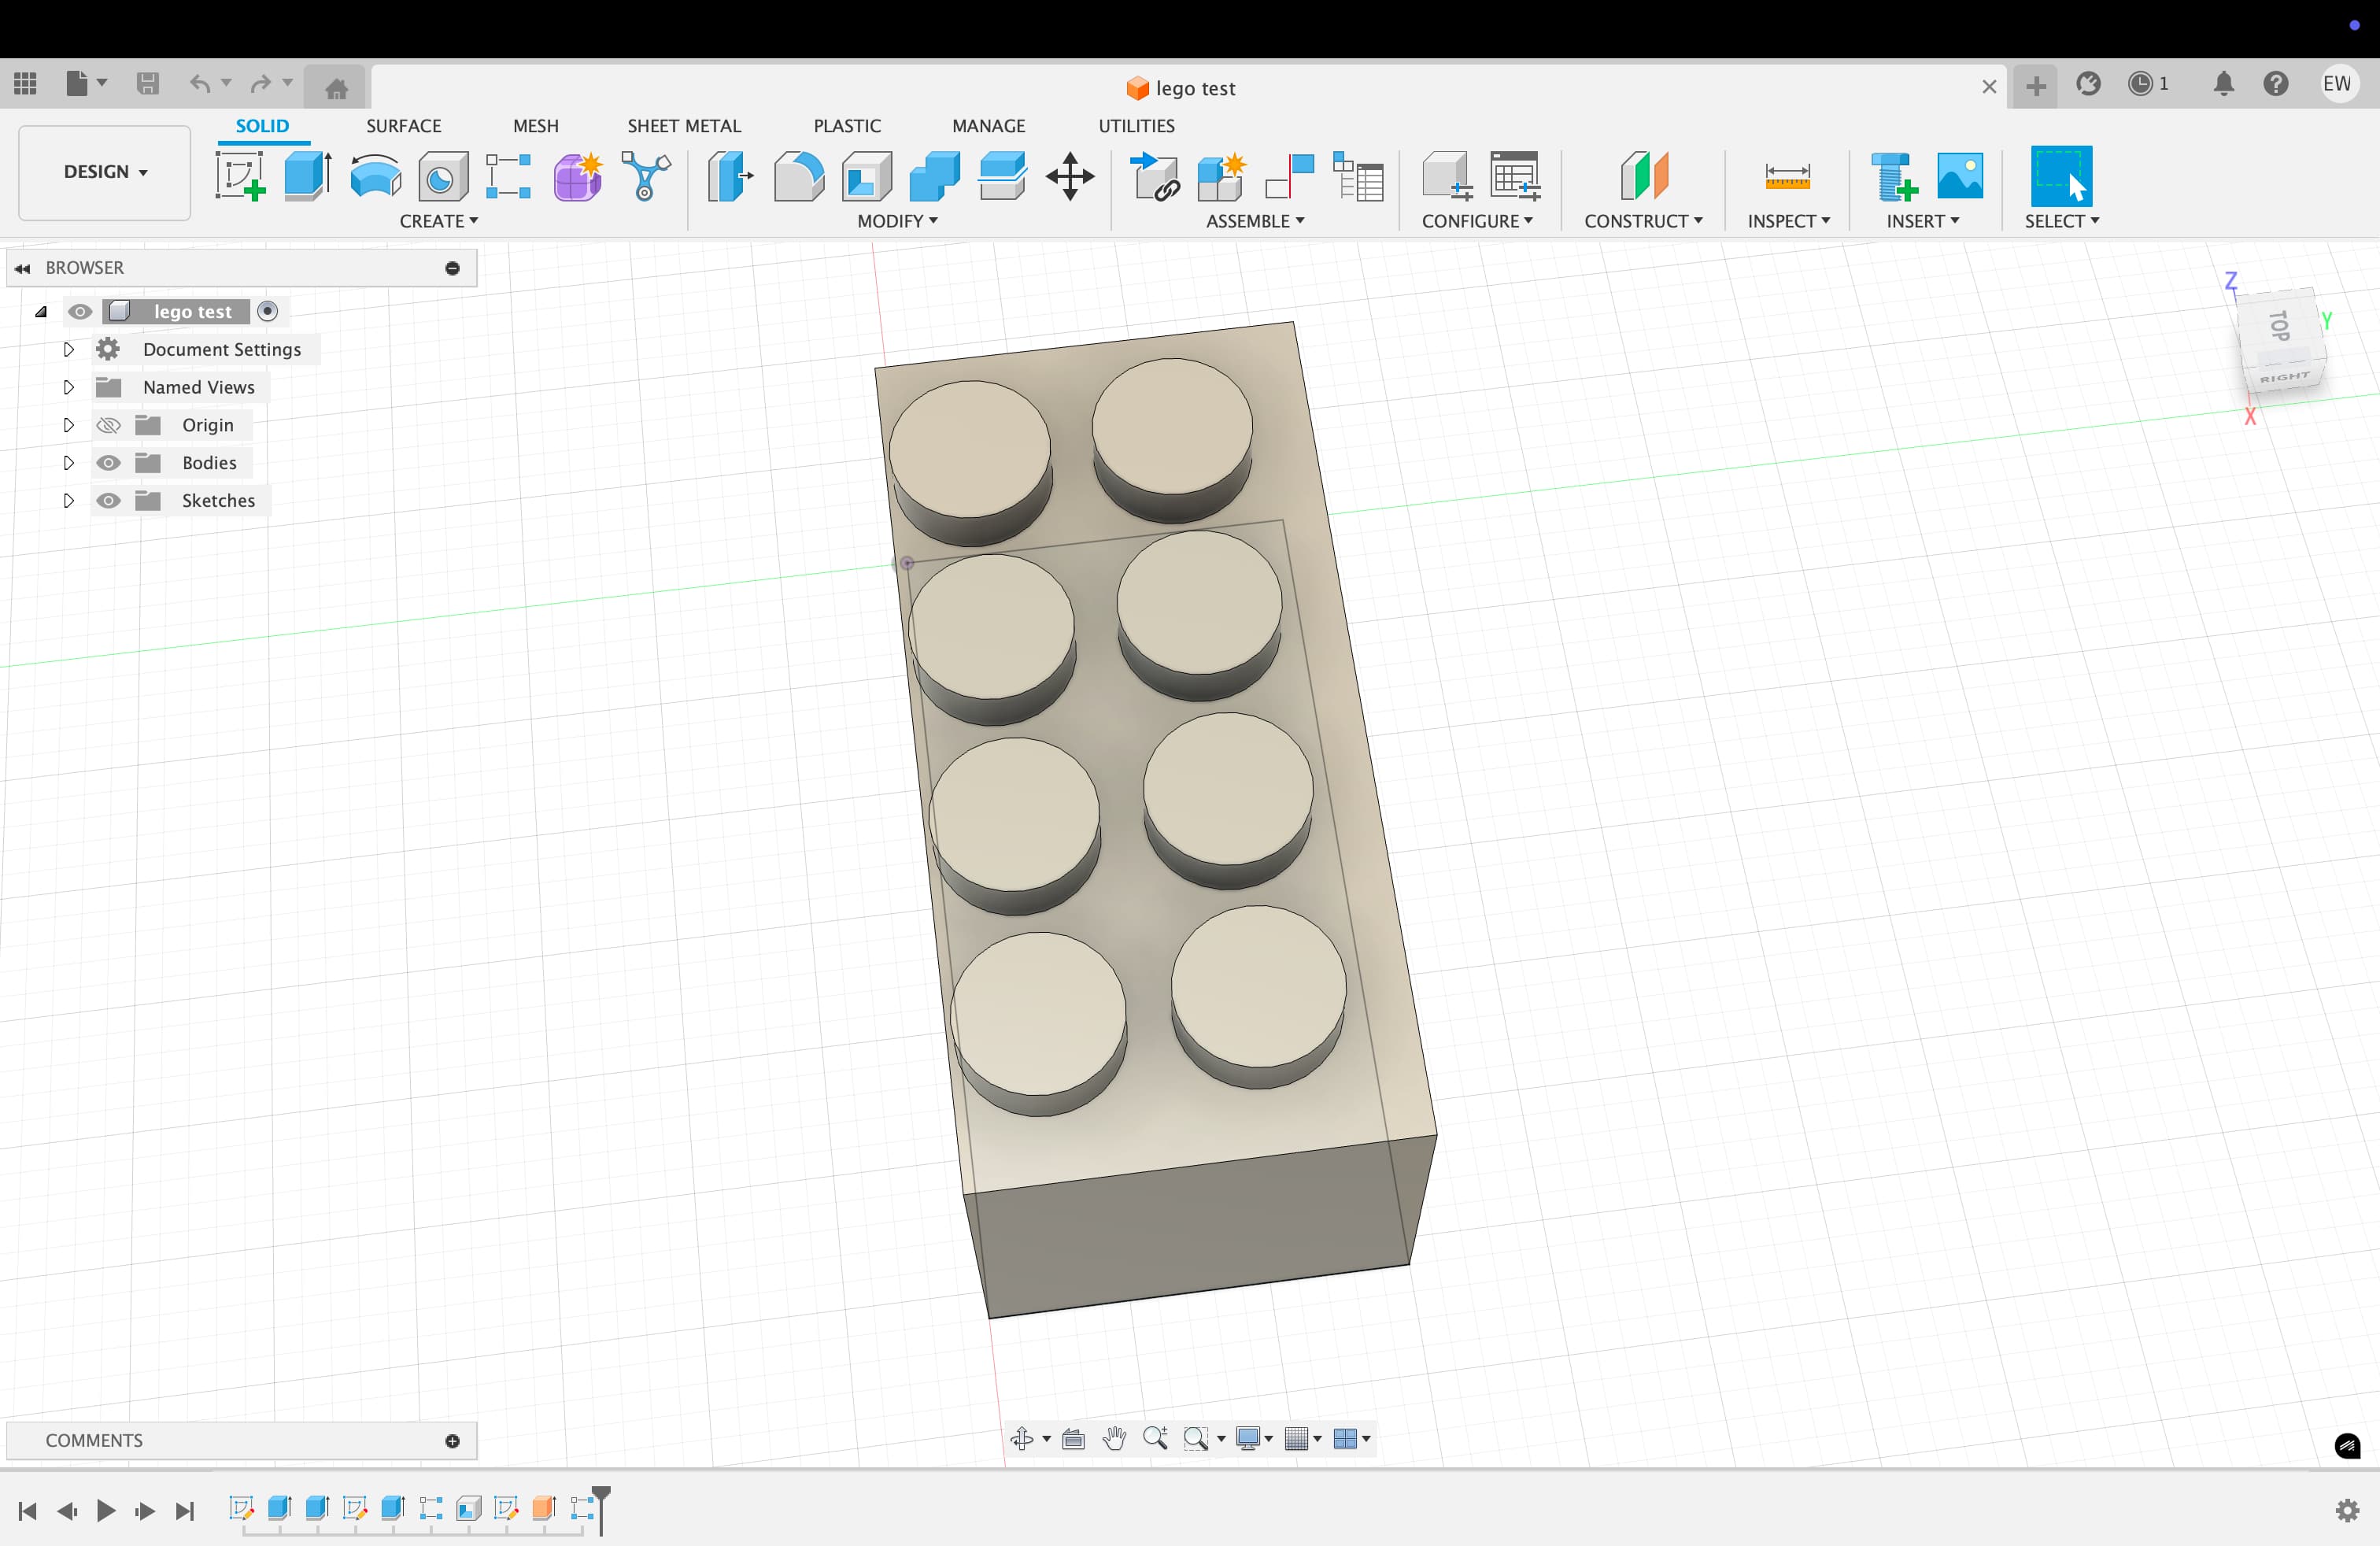
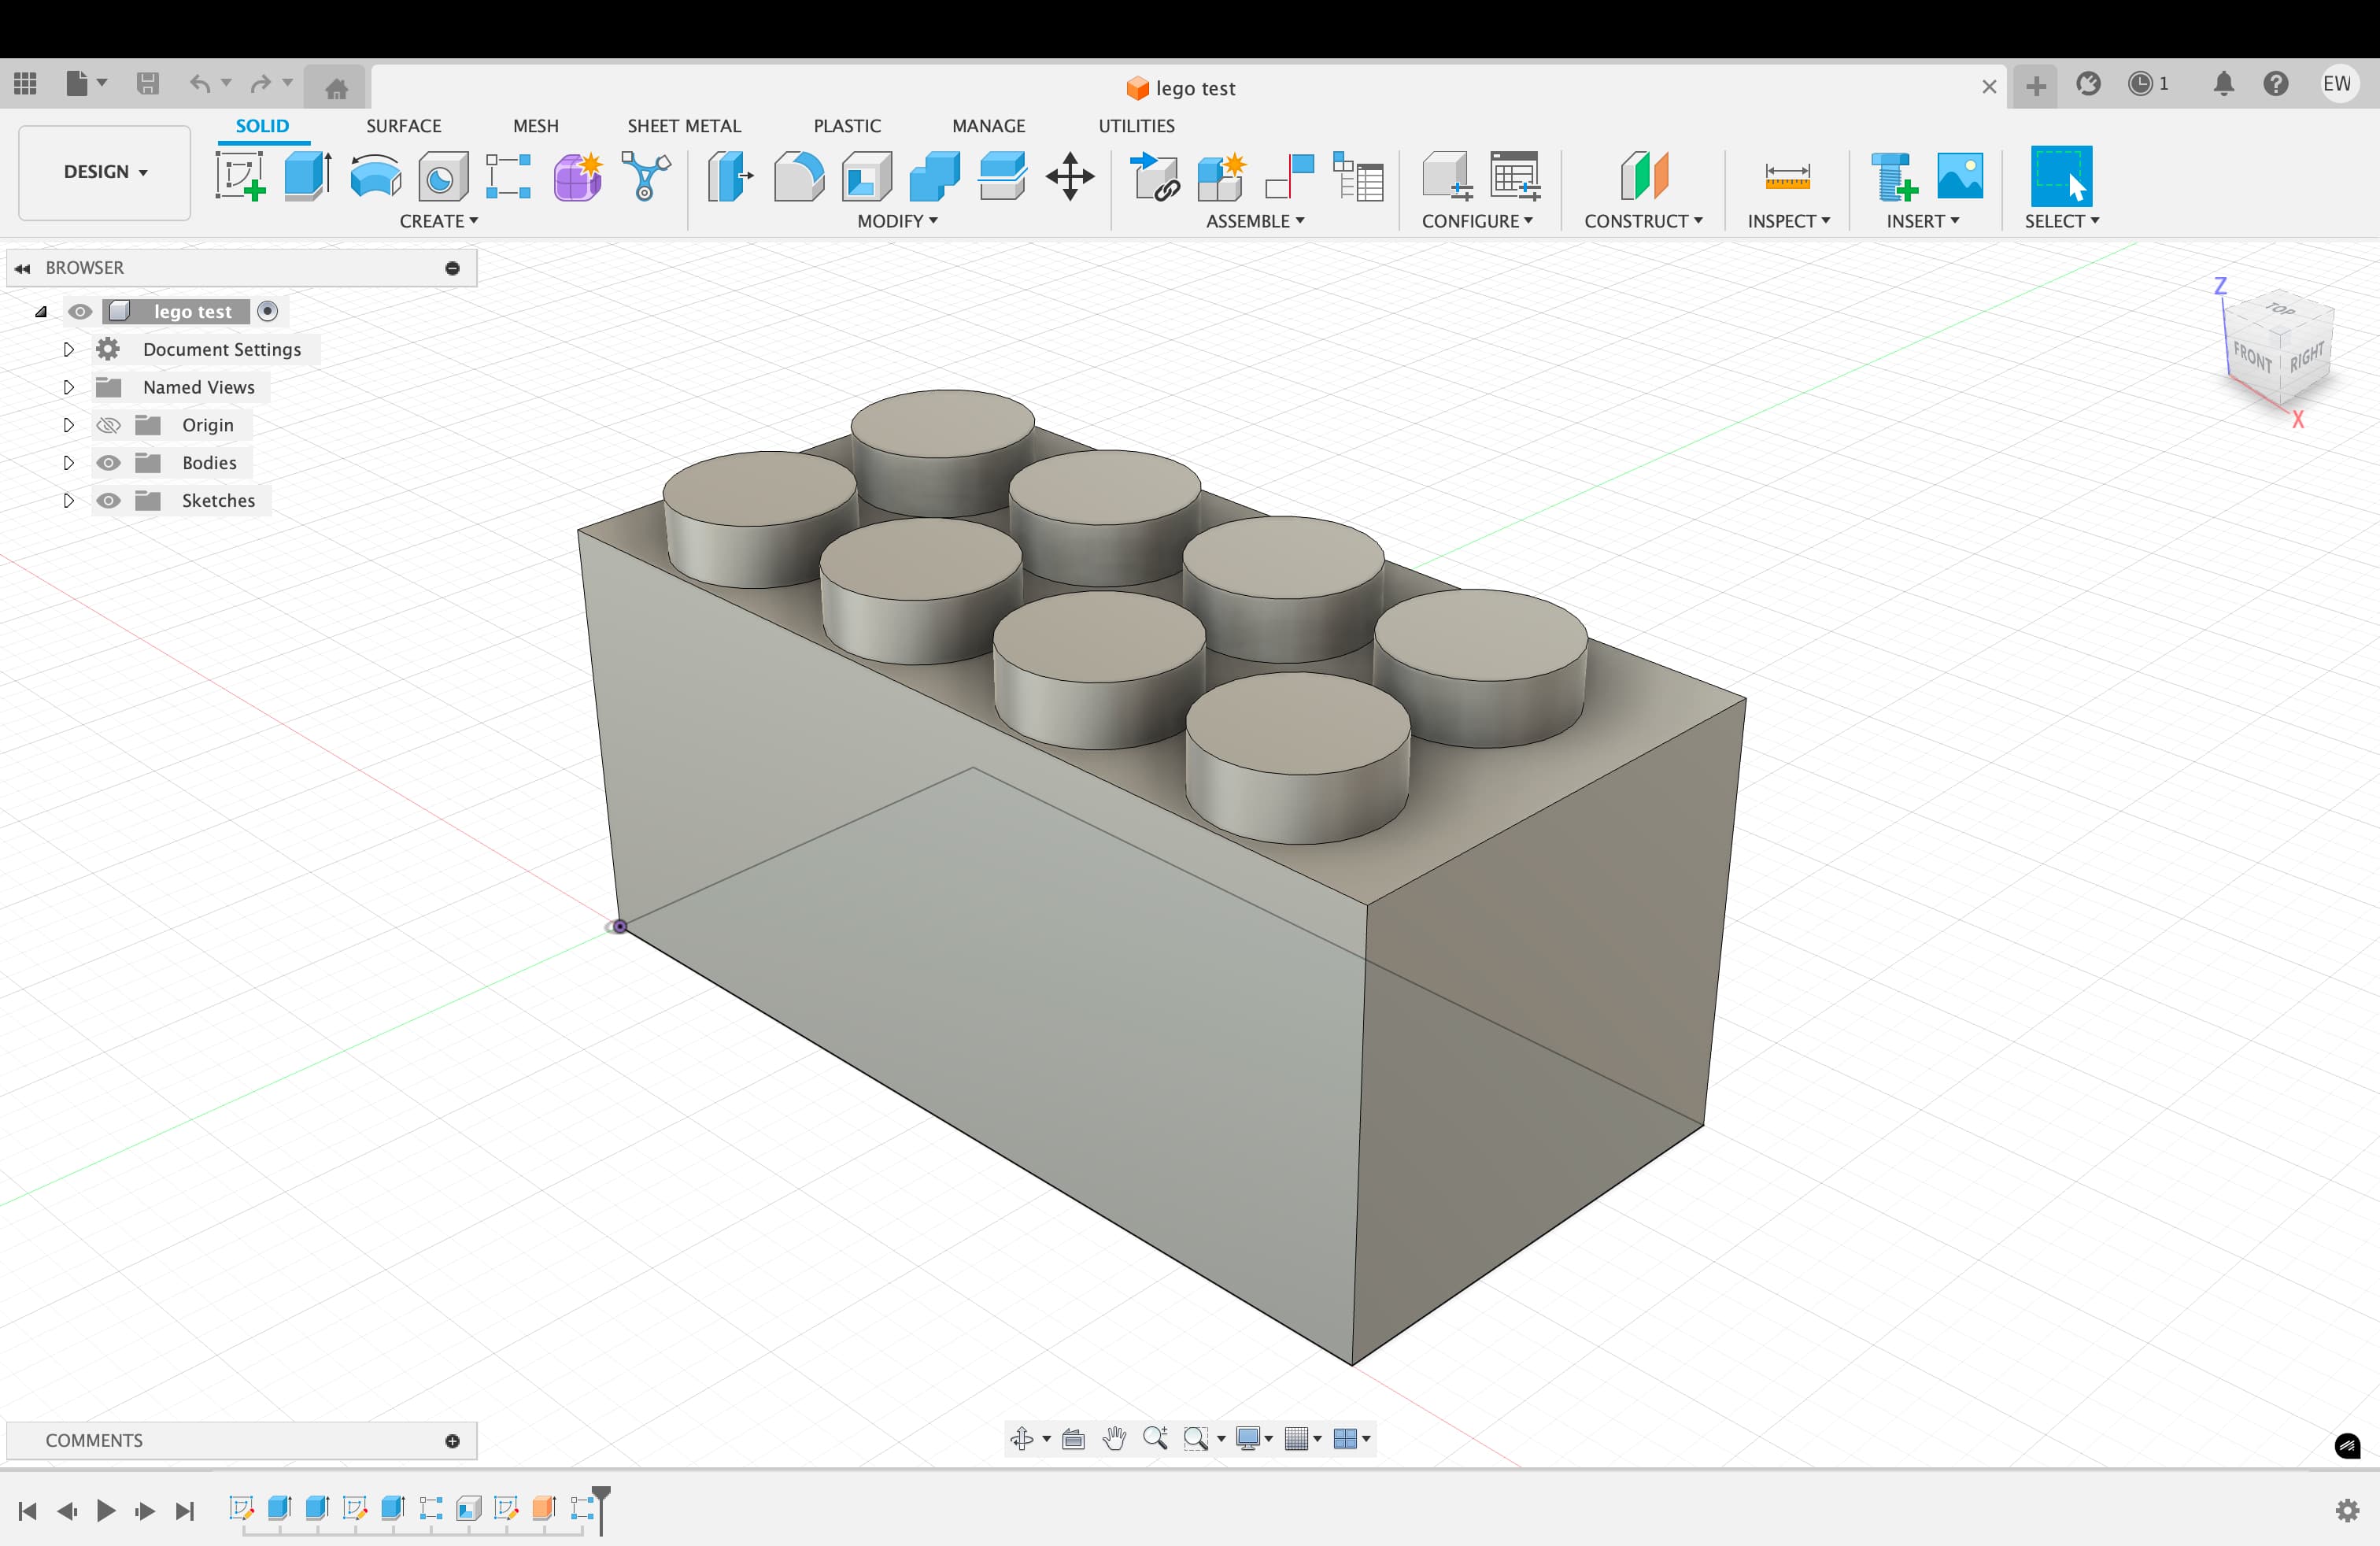
Wrong. Wonky as hell. These are the legos I deserve to play with.
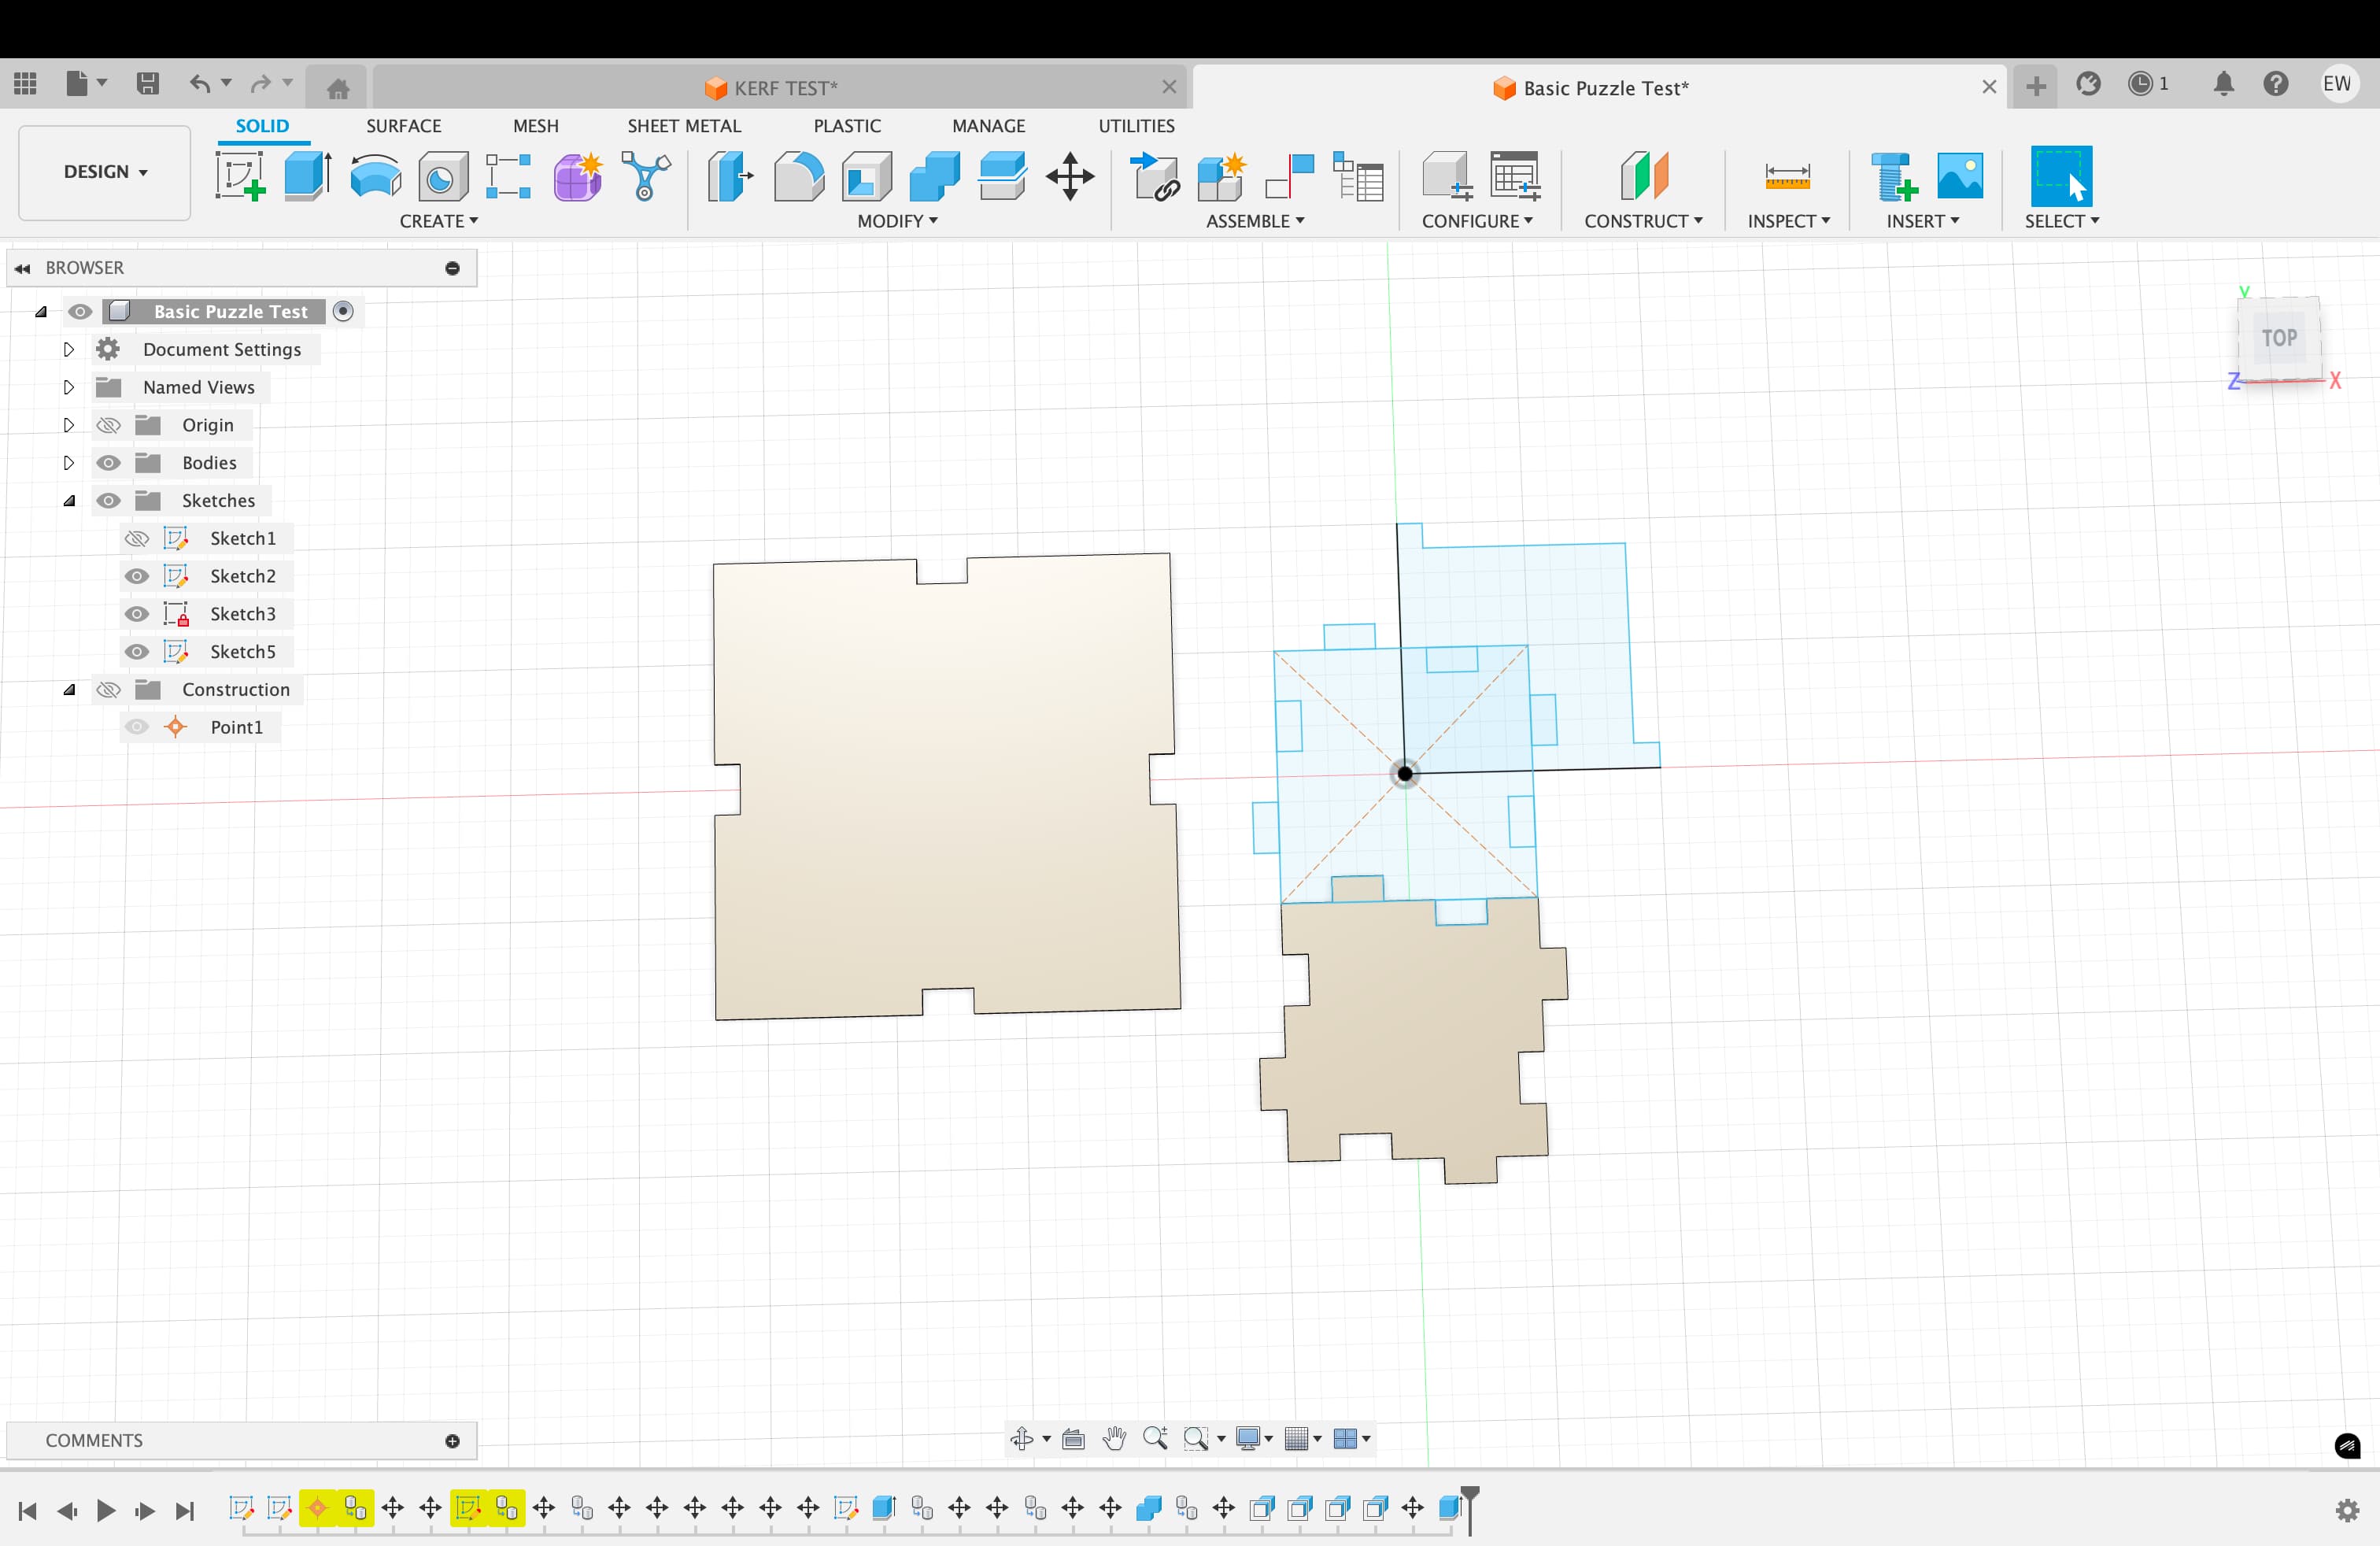
Now we're getting somewhere. I looked at a lot of incredibly impressive projects, from working gears to 3D spheres to entire cities... and thought I would make a simple puzzle. This is an example of attempting to work in "spirals" - i.e. start with something workable and go from there.

Alfonso helped me figure out how to manipulate pieces to see how they might fit into each other. And, well... they are not designed correctly at all. But I figured there'd be a lot to be learned from still trying to laser cut them, so I bravely charged ahead!
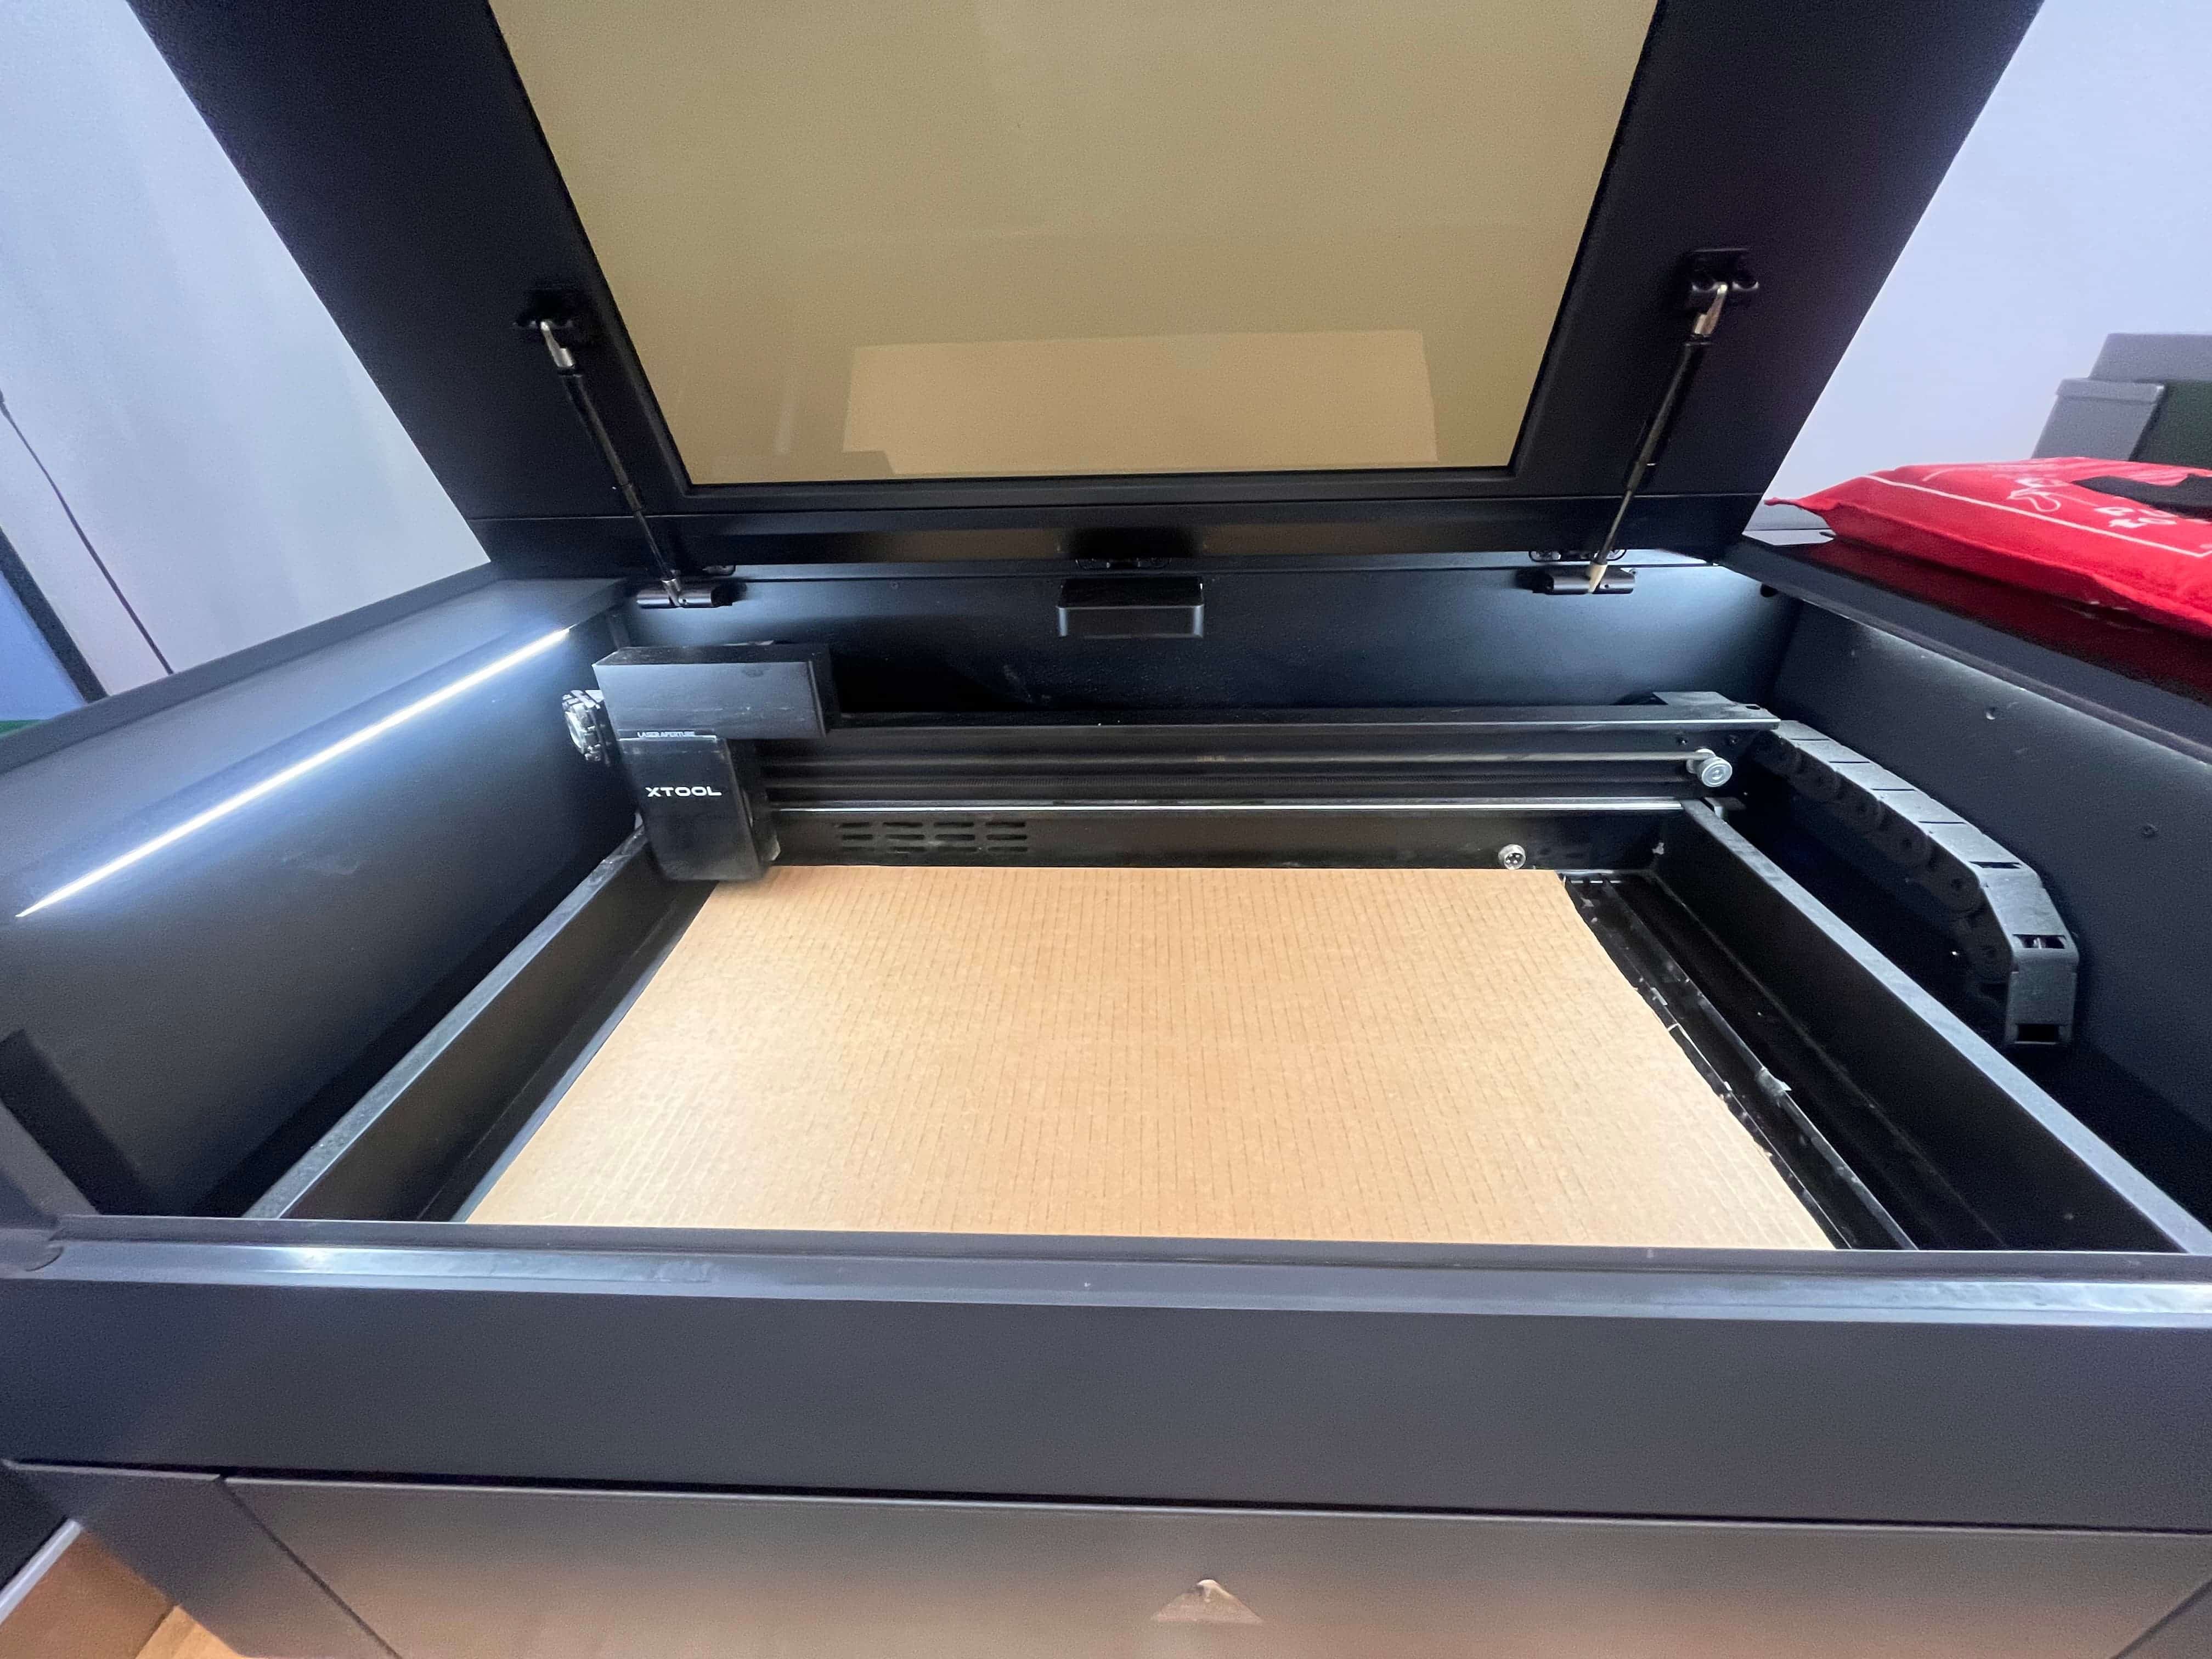
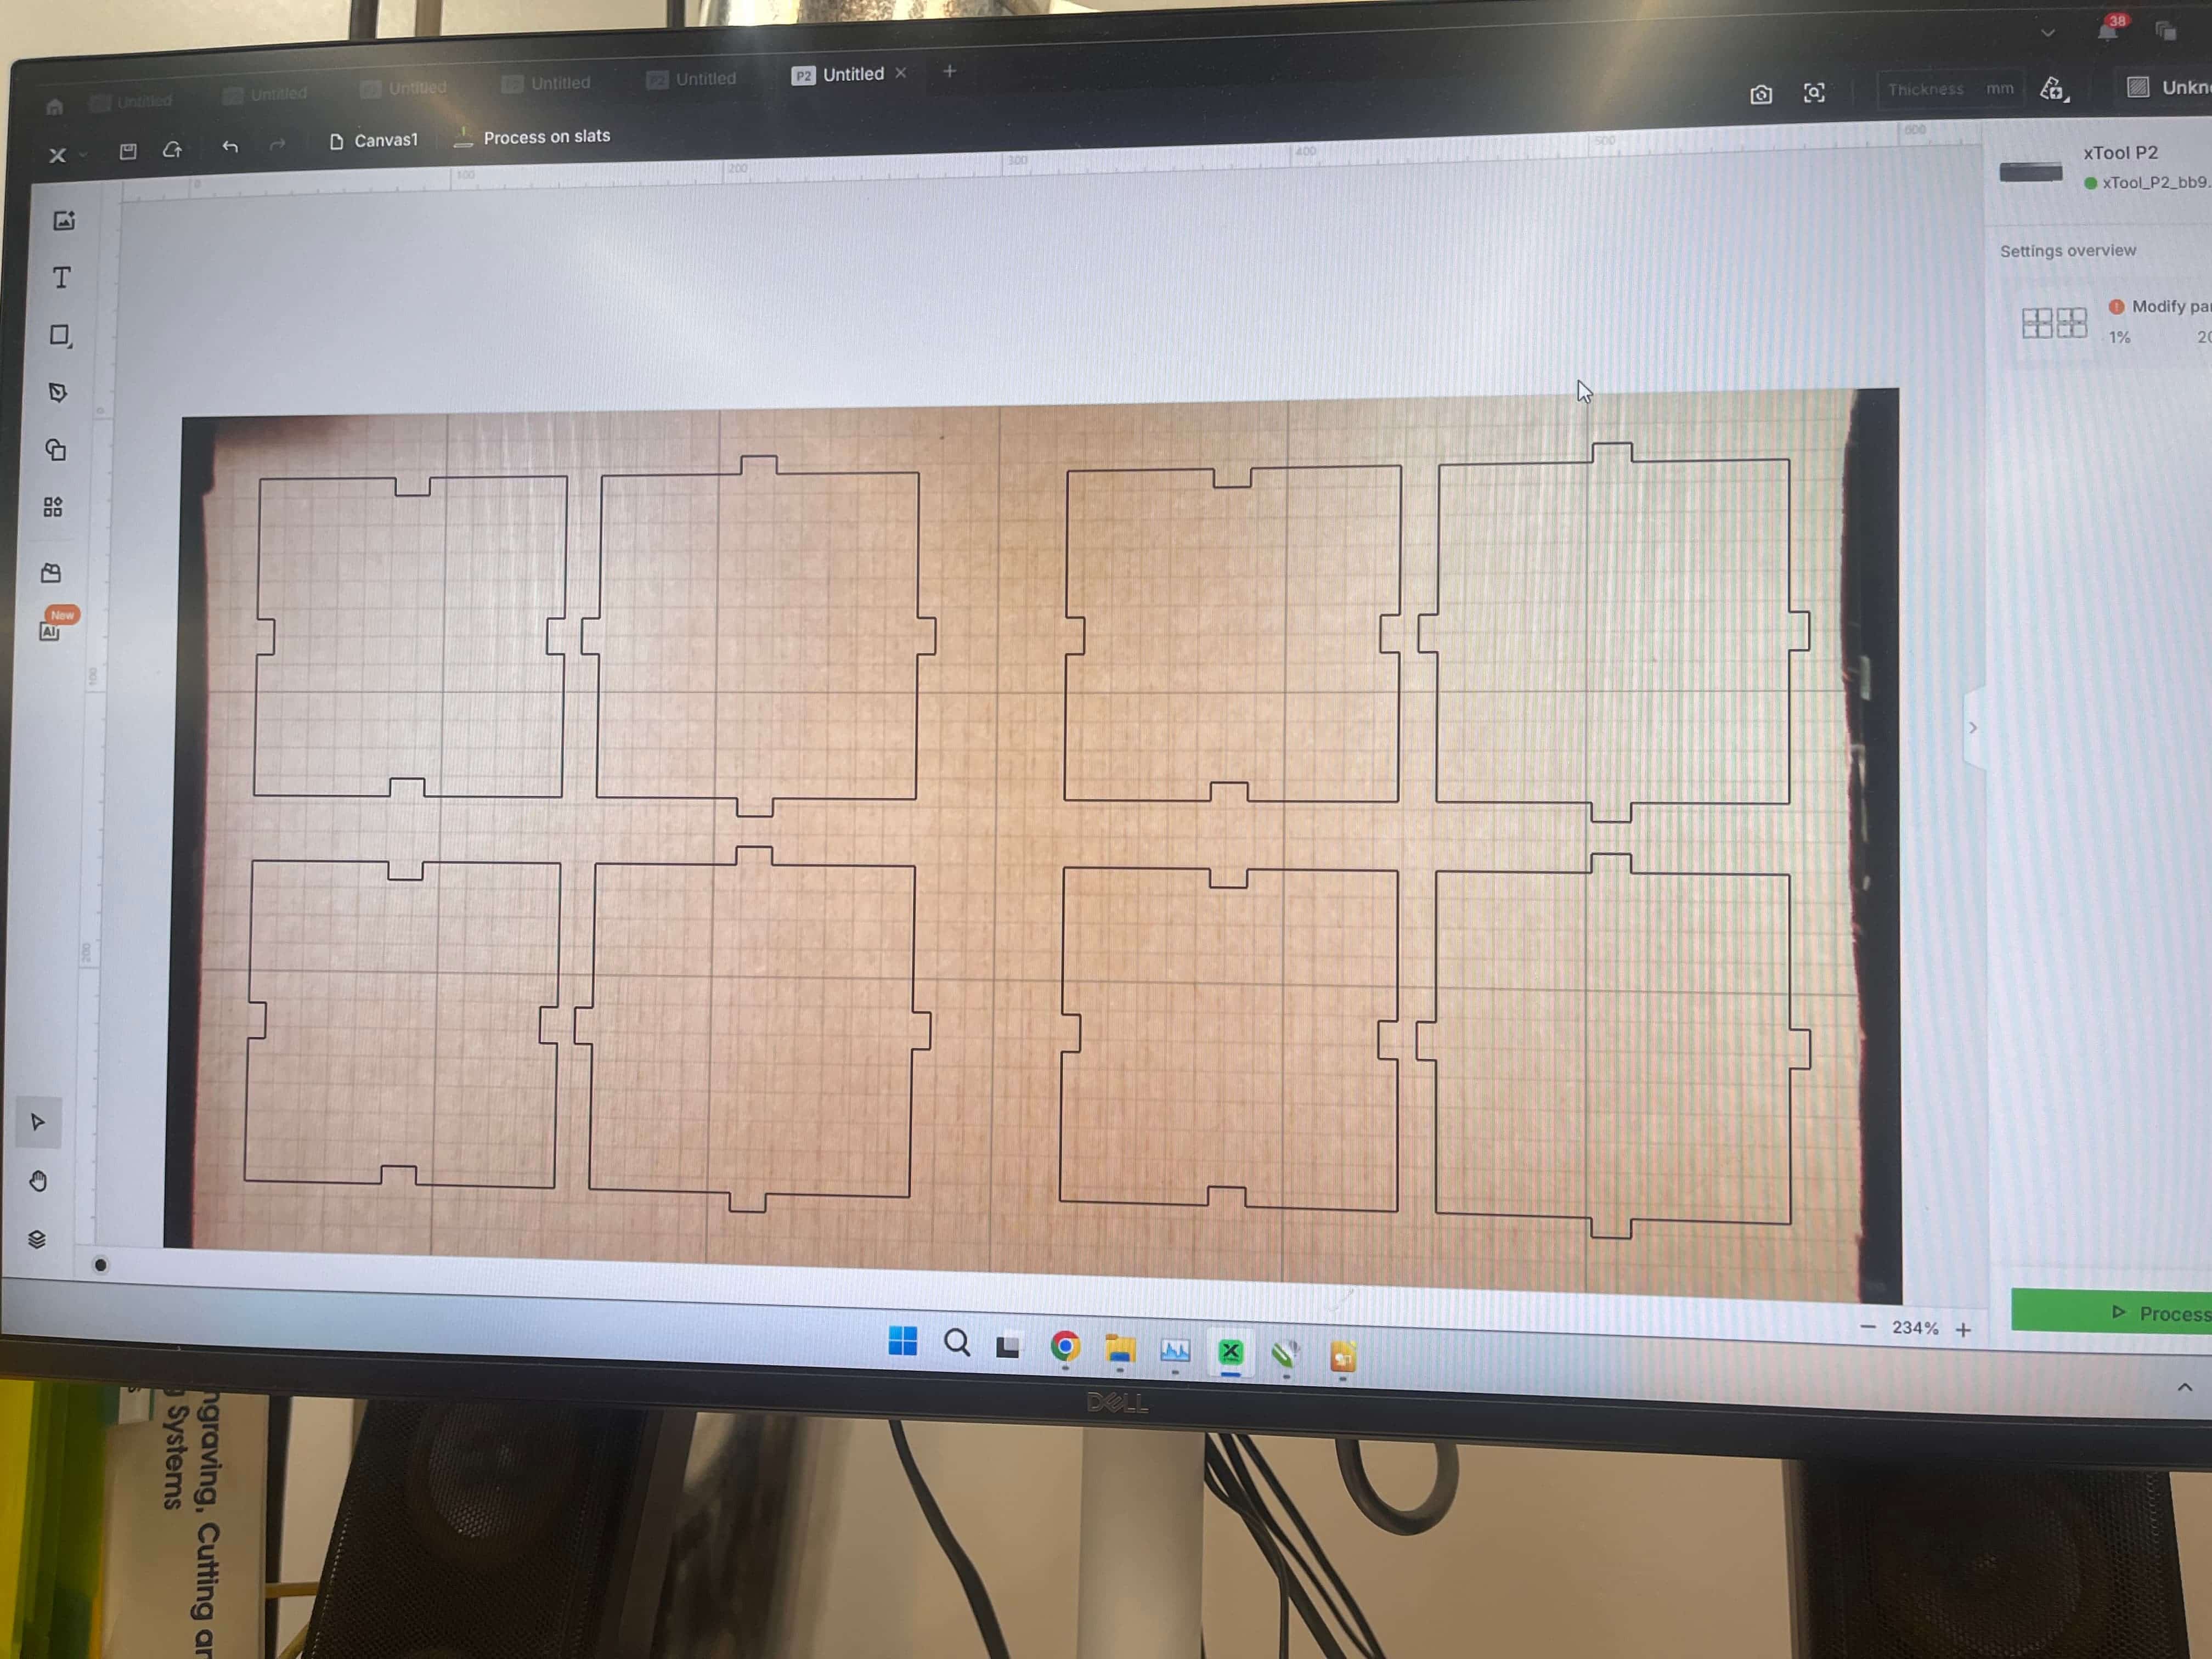
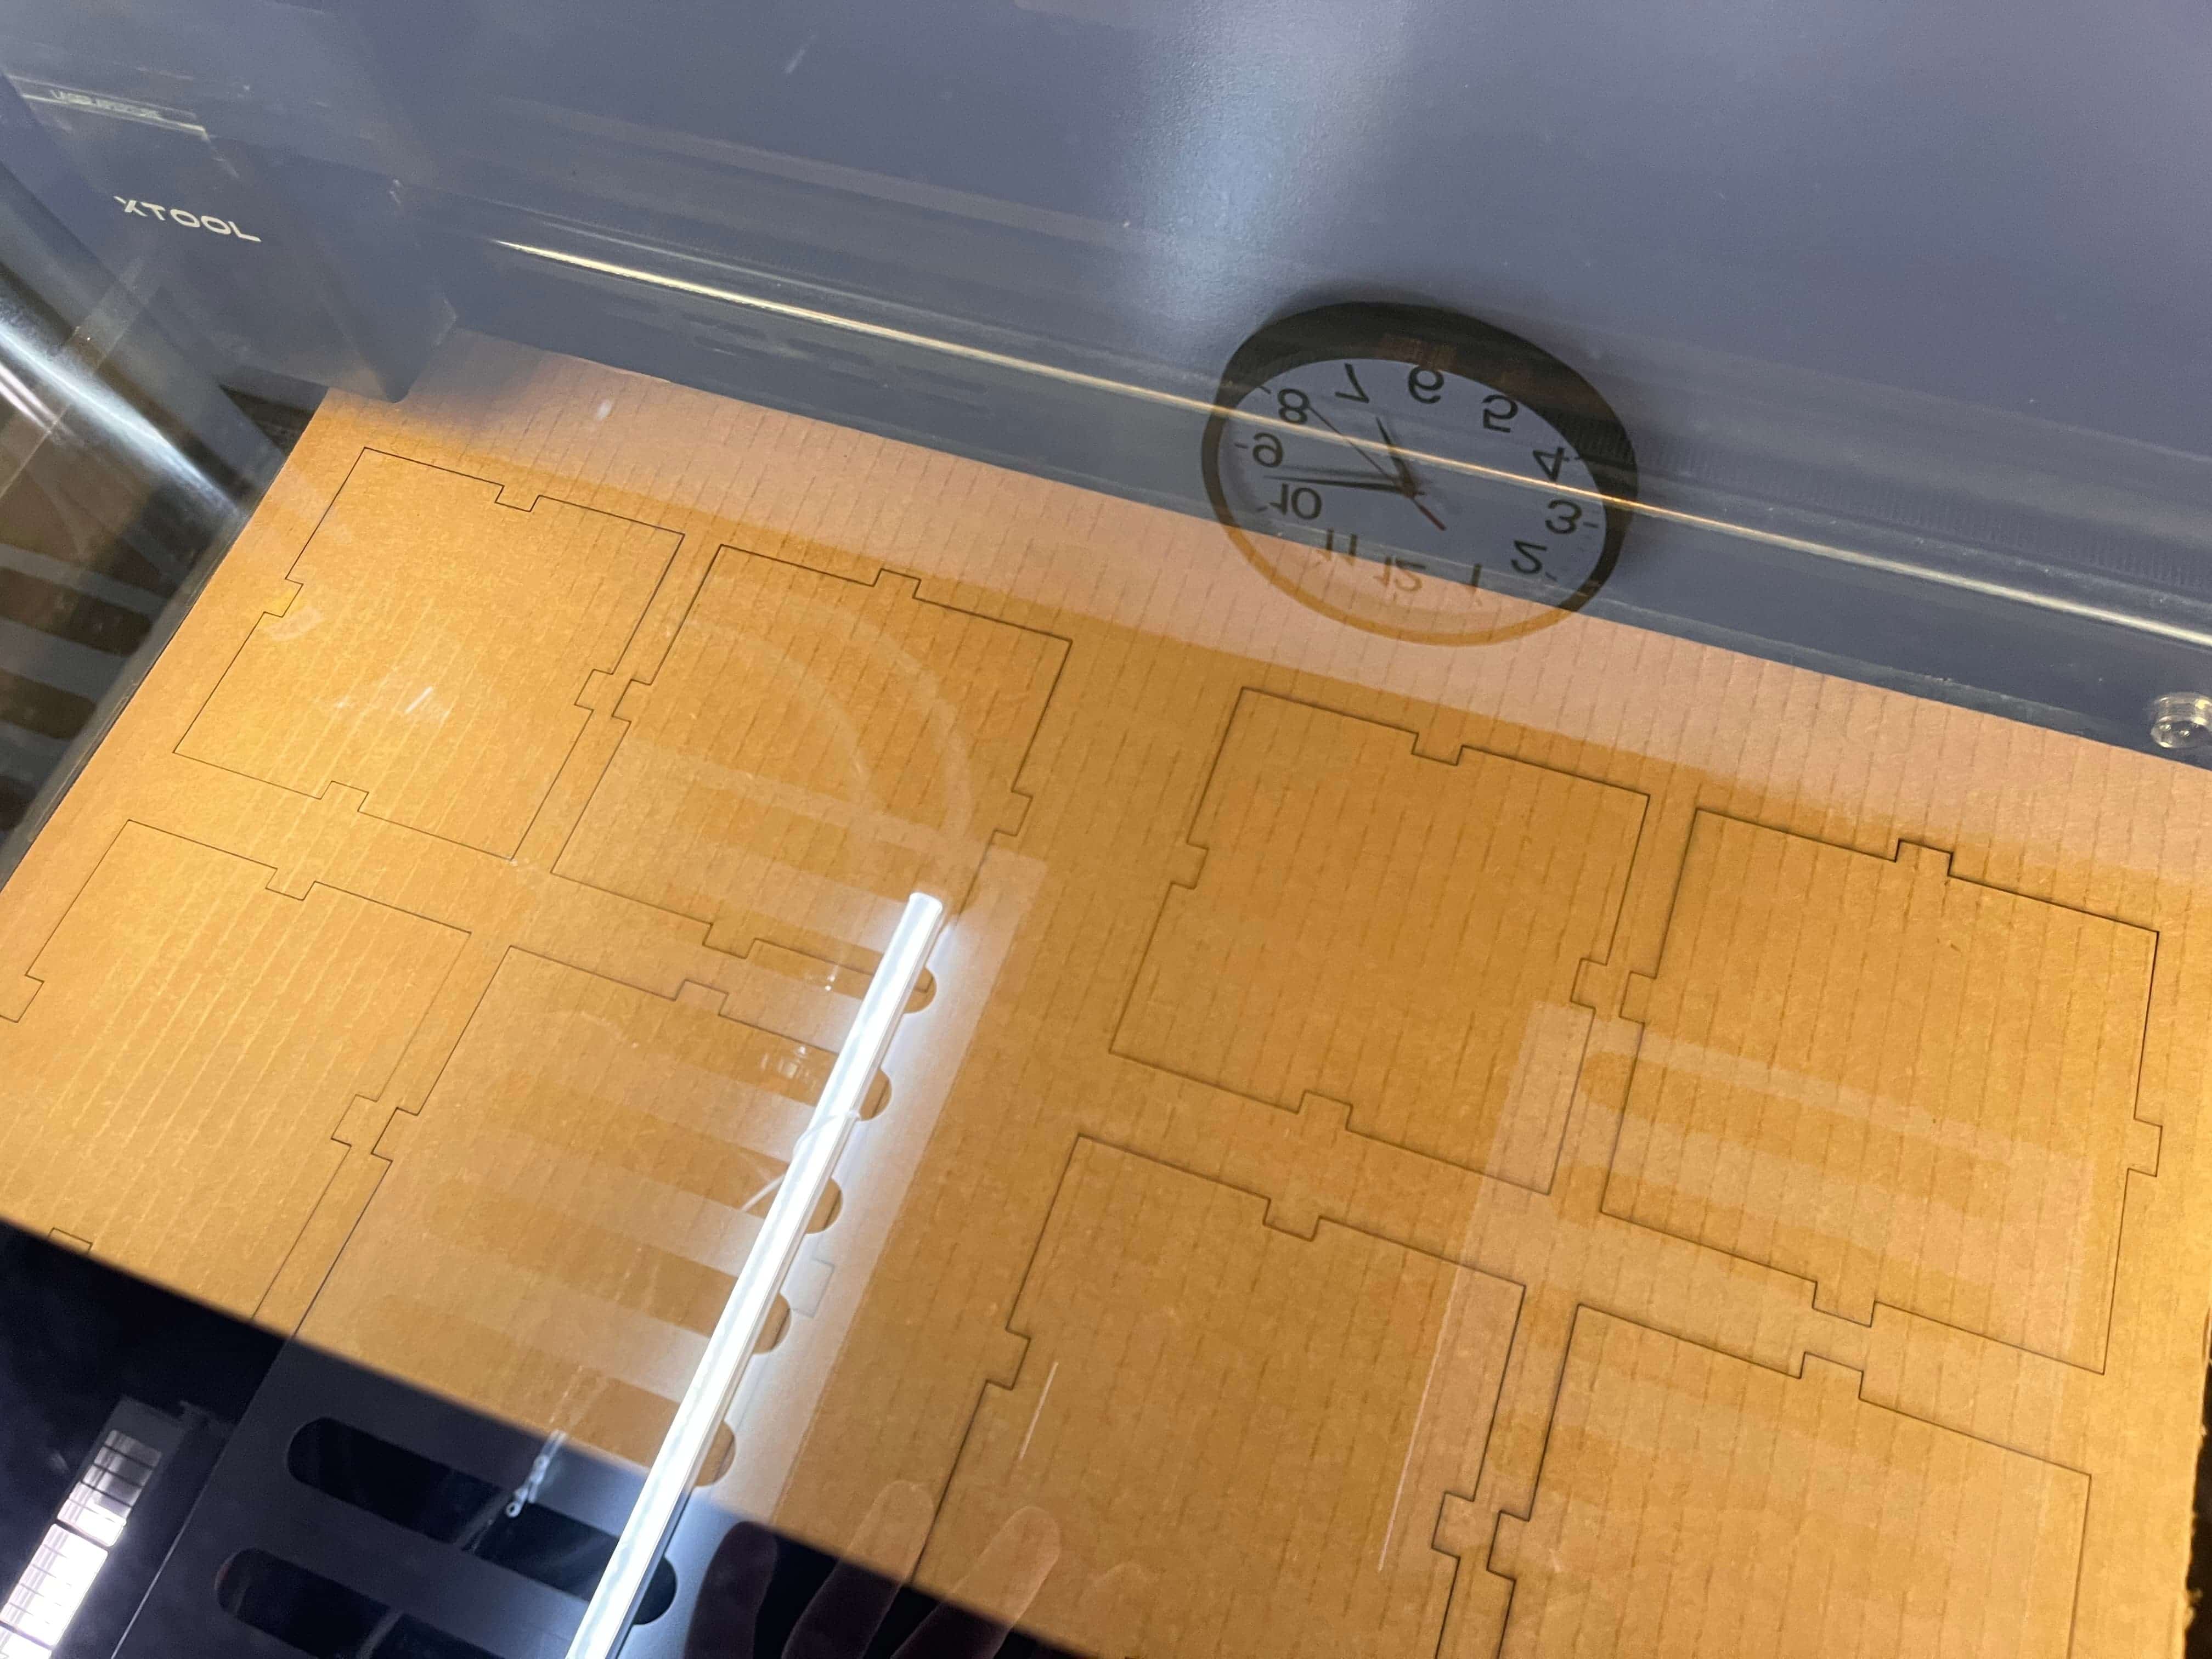
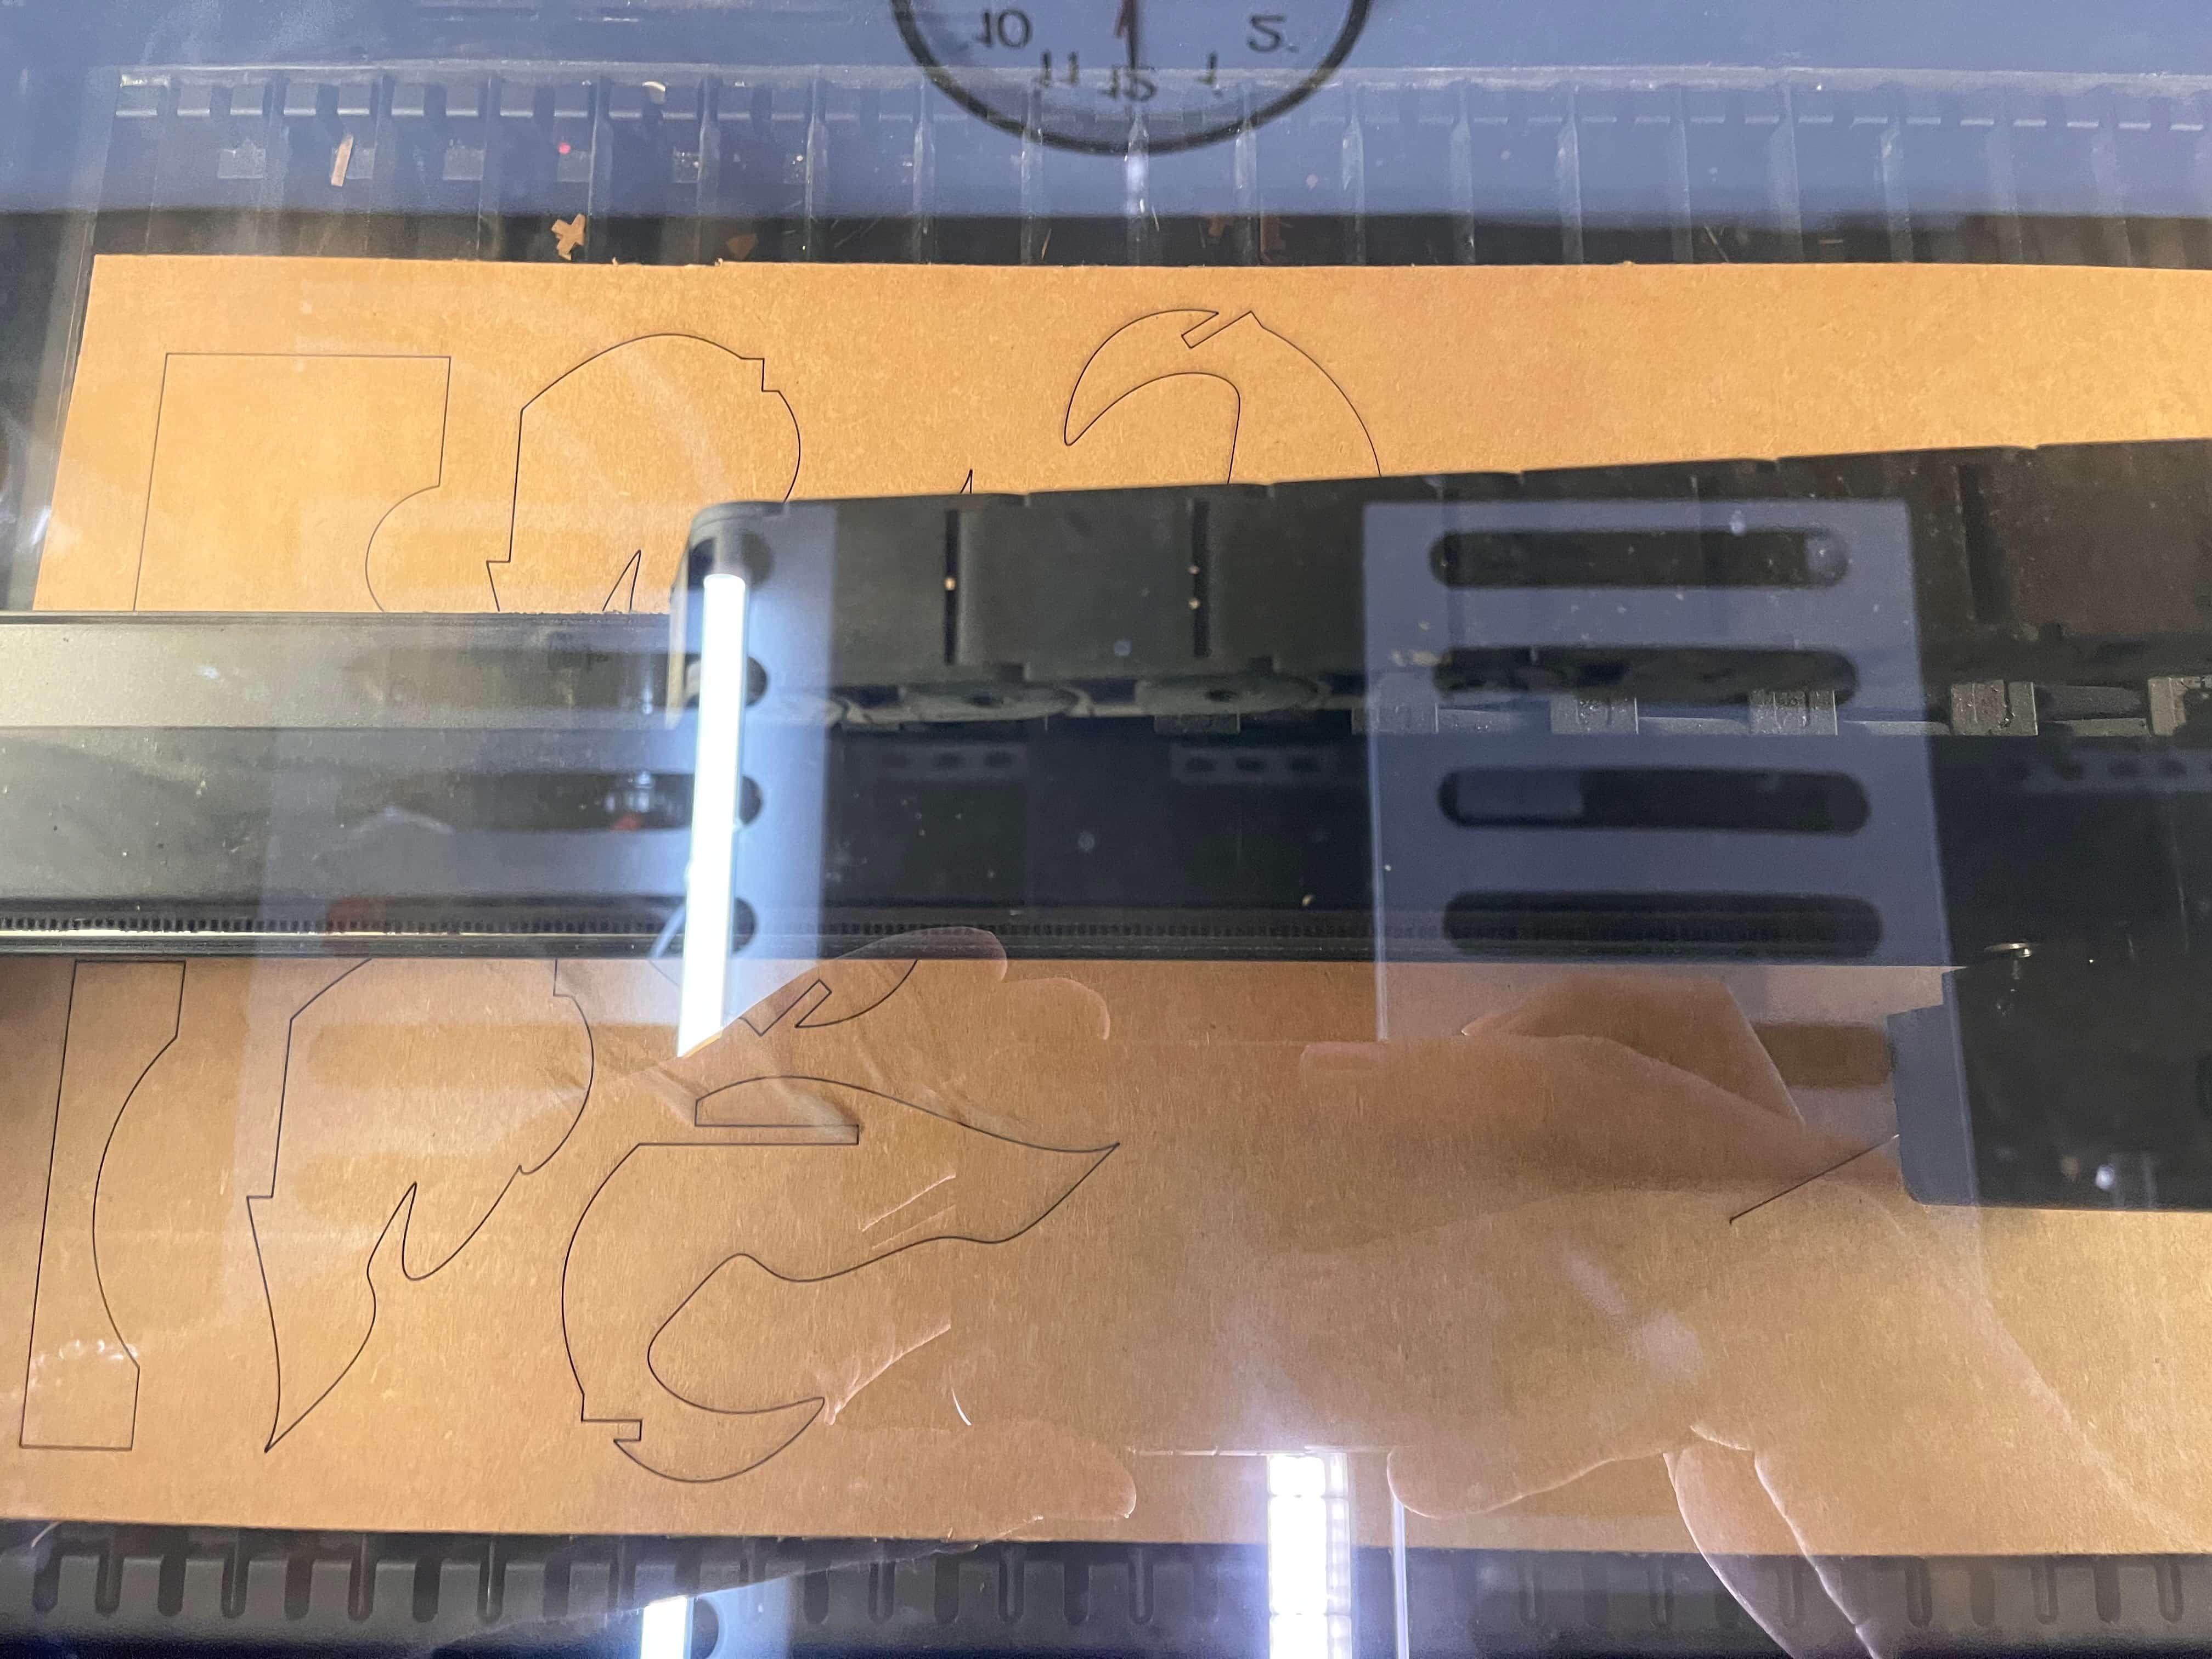
Loading in the cardboard I cut, adding the design into the laser cutting software, and watching it print! And how did it turn out...?
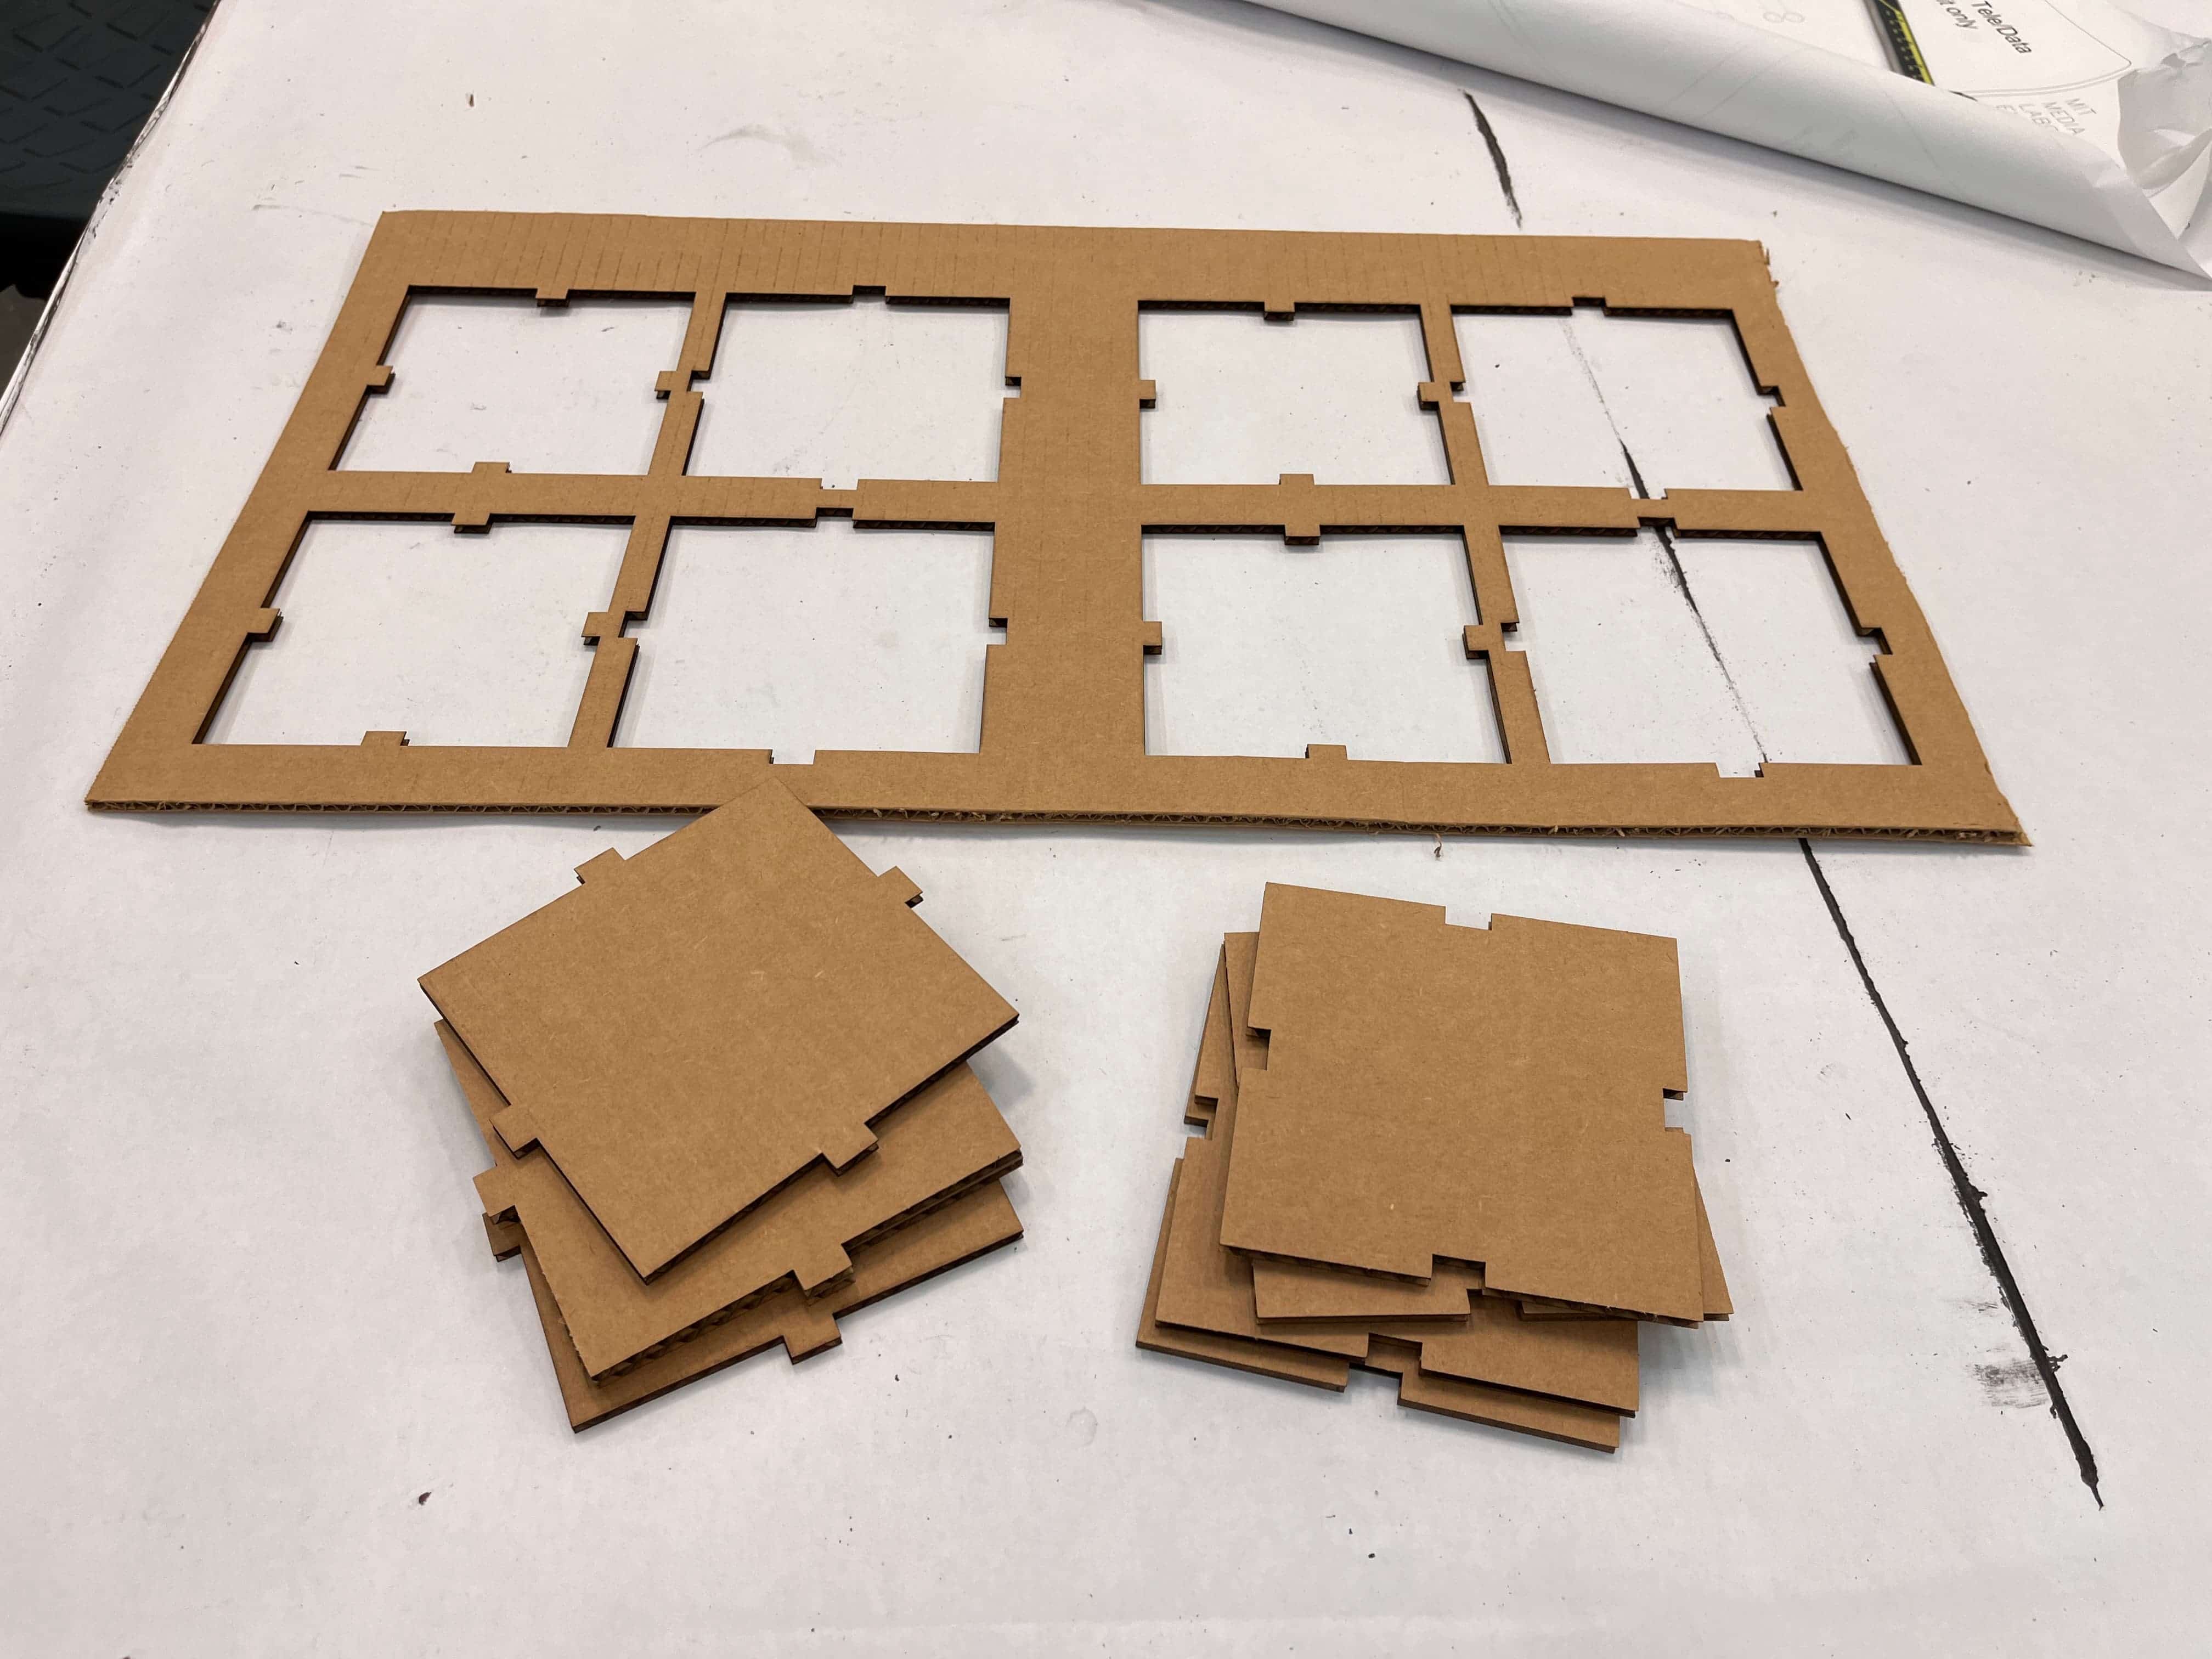
Pretty darn well! That said, they cannot overstate the smell - it really does smell like burning, and it sticks to your hands.
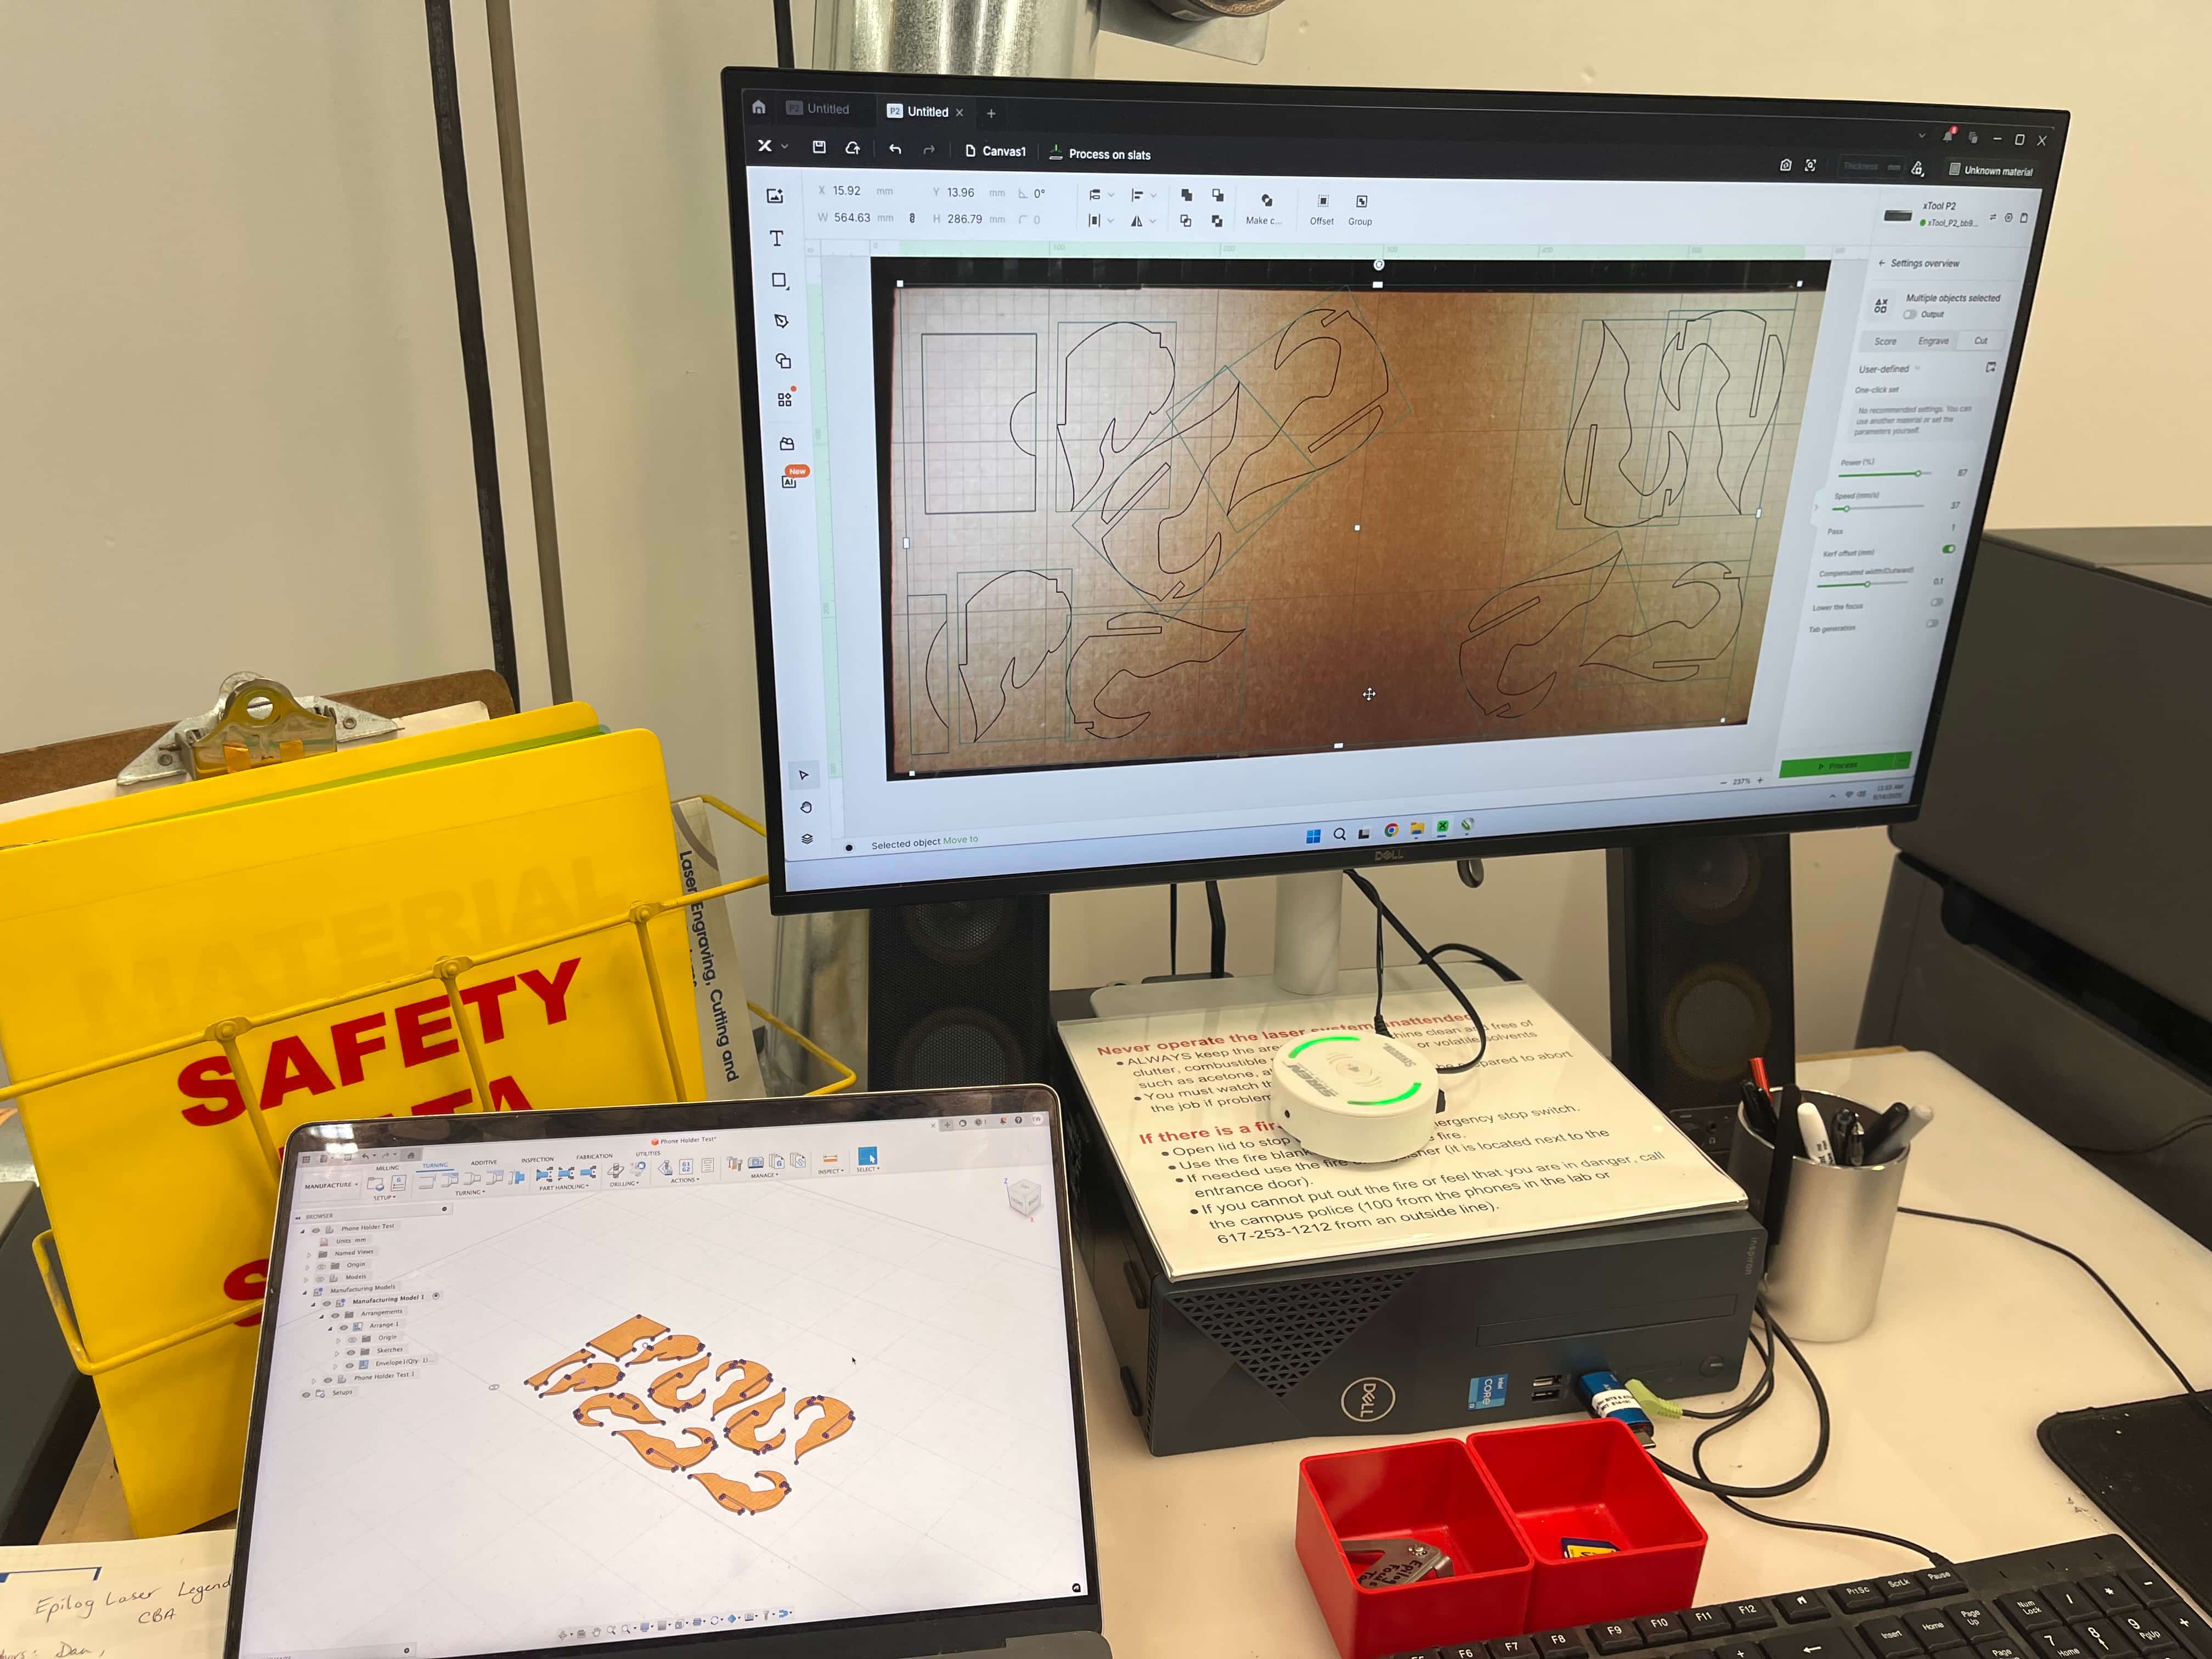
Making my Cardboard Construction Kit
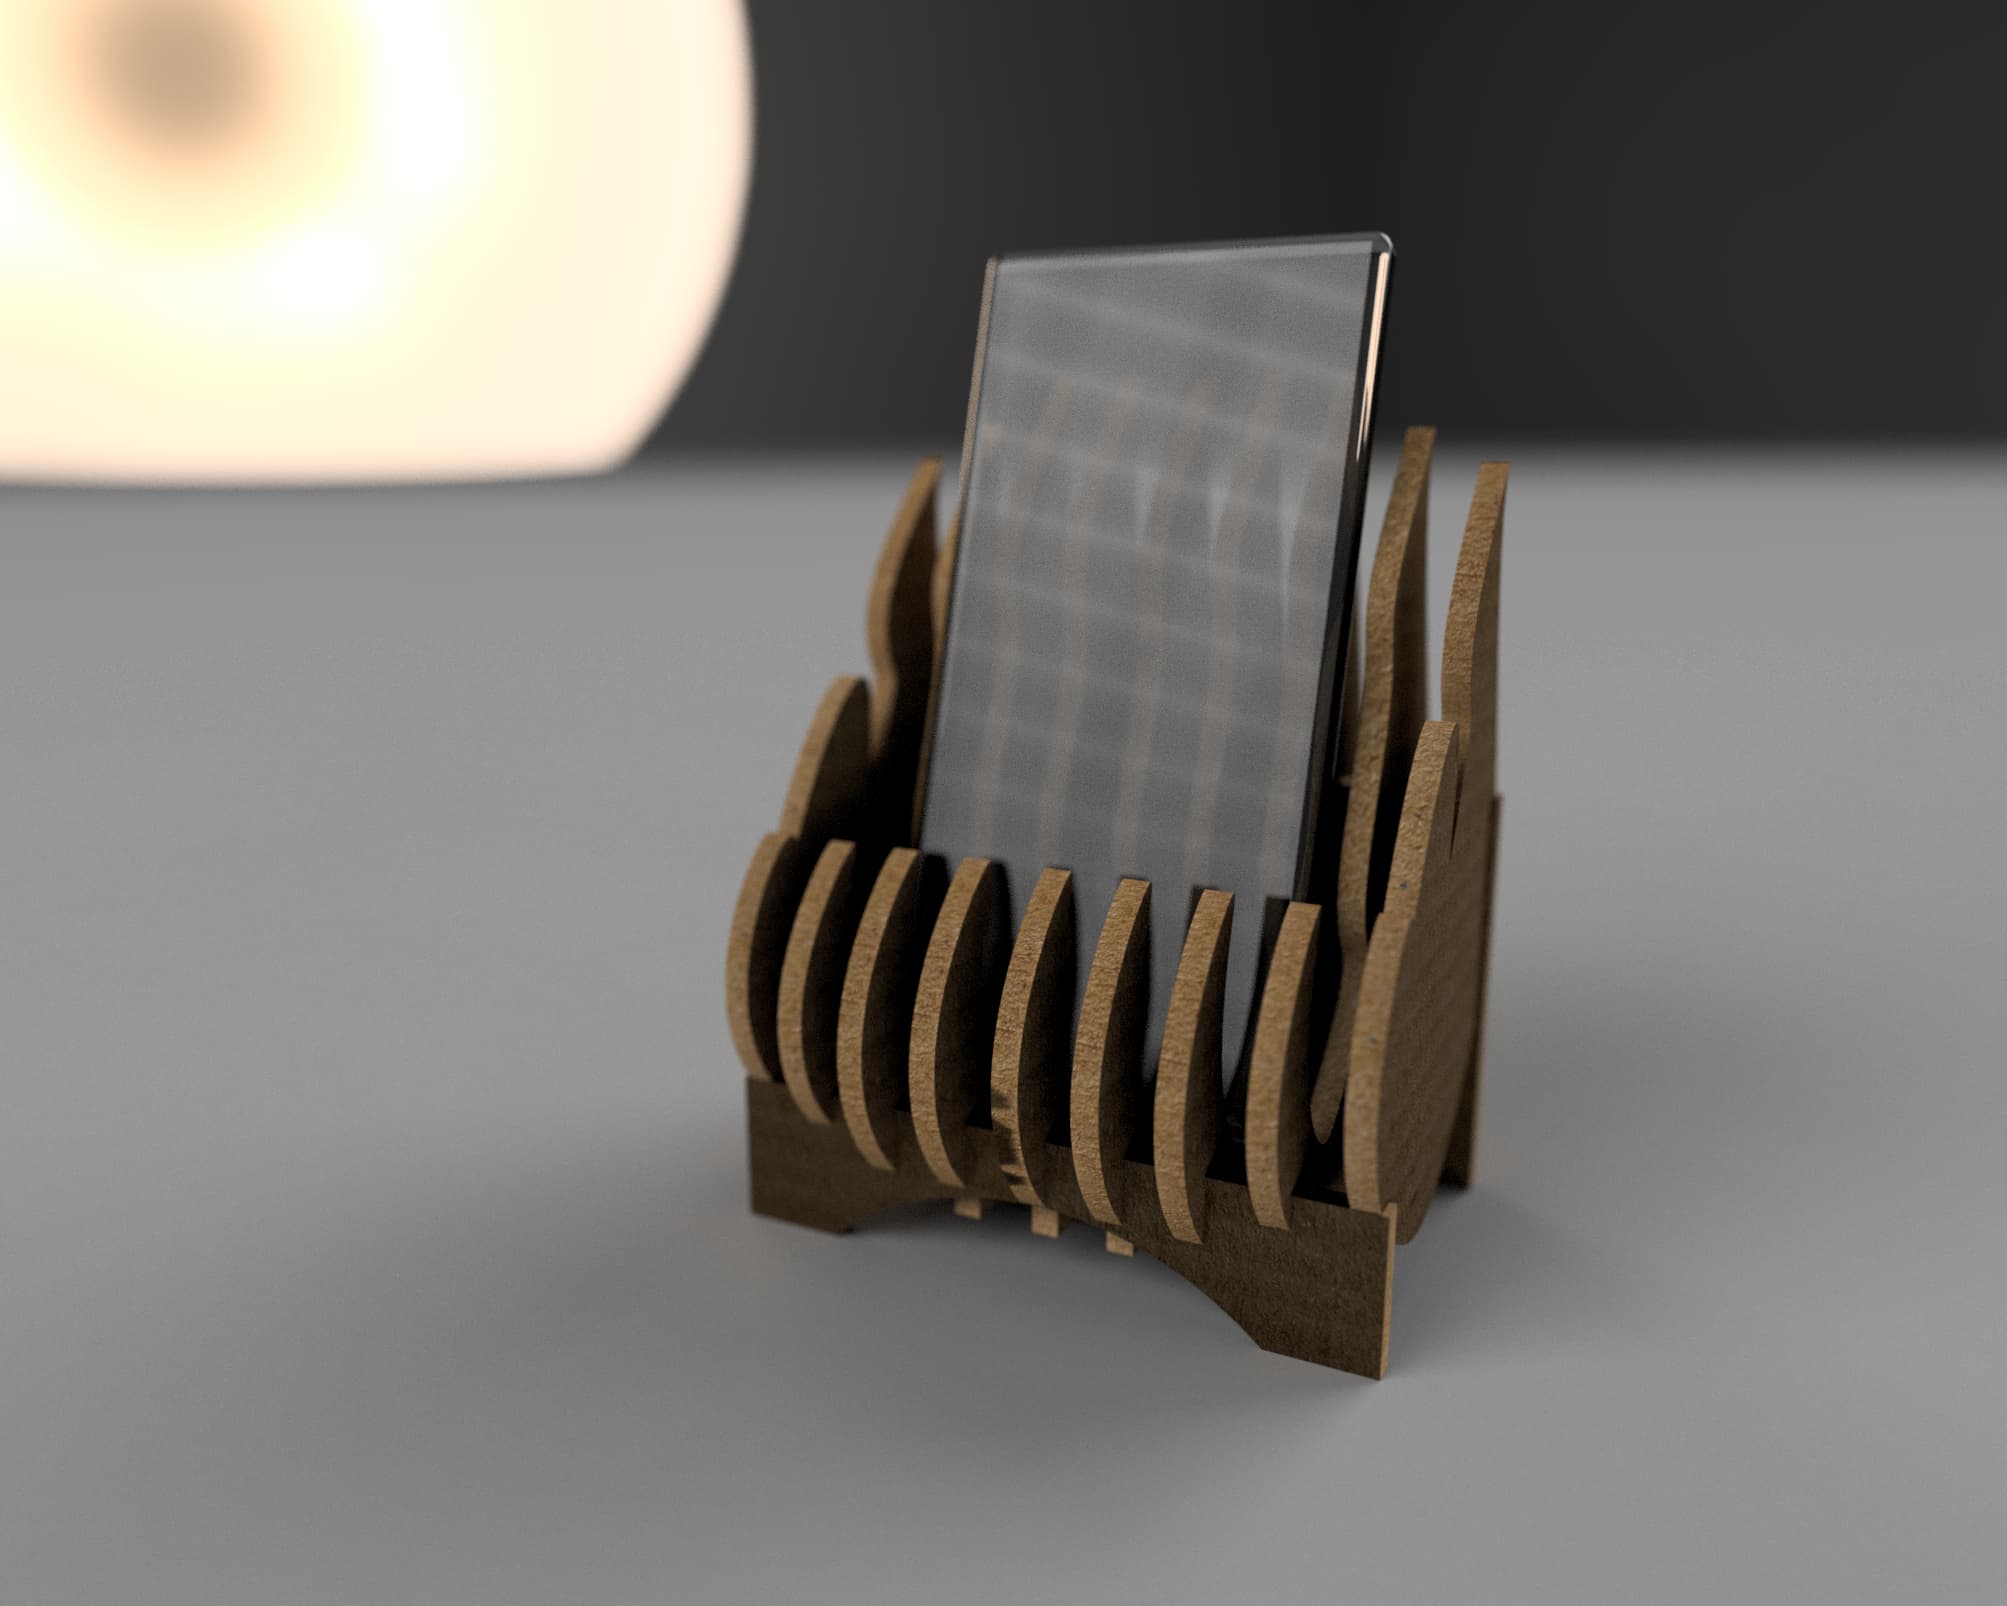
With some testing under my belt, I felt a little more comfortable in CAD. I started working with more organic shapes, and found one that felt like a flame; so I thought it might be fun to try to expand that into a little phone holder. I knew the width of the cardboard from previous group testing (4mm), so I made multiple flames at that width and added 4mm slots to connect them at the bottom. I also measured the width of my iPhone 13 to make sure it would fit. I made two more smaller flames to go on each edge, so it would feel like a more organic shape that would more naturally hold my phone.
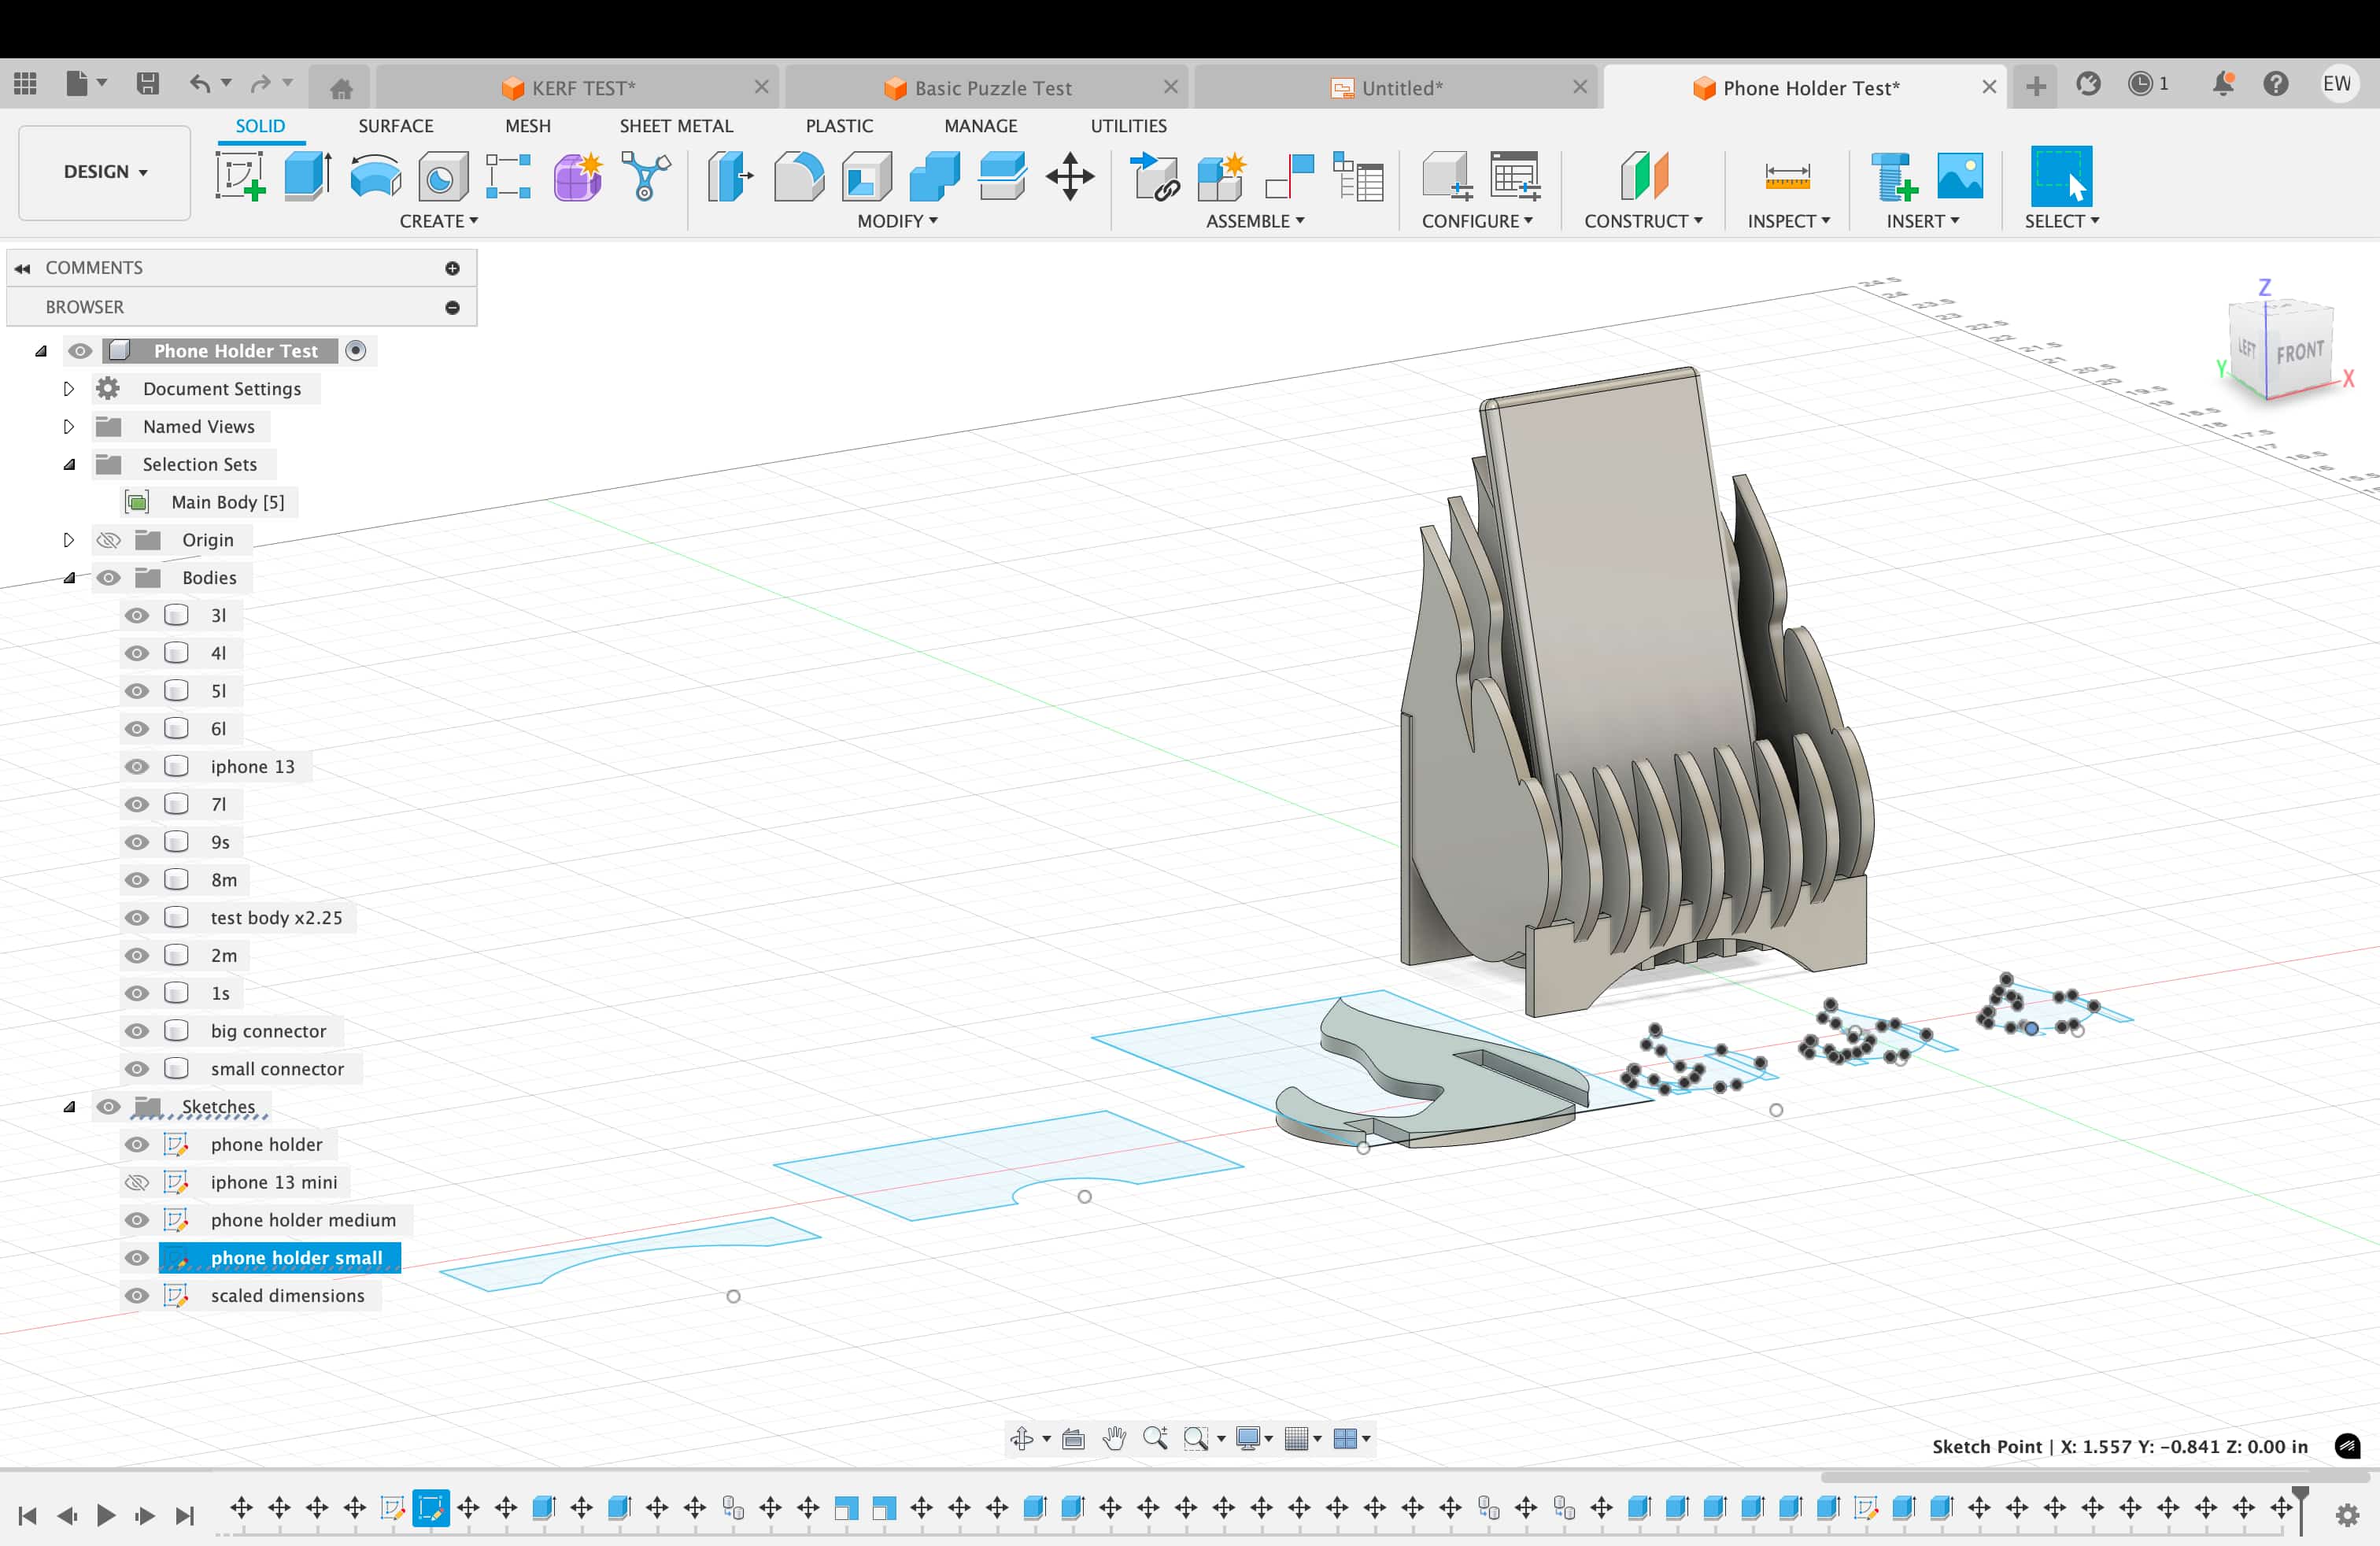
I used the "Simulation" tab to make sure the center of gravity would work, and used the "Rendering Tab" to make a few renders of what it could look like.
Then, I used the "Align" tool under the "Manufacturing" tab to automatically lay out all of my components into an easily printable format. I had a hard time figuring out how to actually export that layout as a .dxf file (as-is just makes a blank version), but you can just make a new sketch in this view and project the faces onto it. Finally, it was ready to cut.
Ultimately, it worked out even better than I could have hoped - but there are also many things to improve for next time: more paramaters, more customizability, easier fitting slots, different base sizes... lots to consider that I now have the knowledge to implement!
Vinyl Cutting
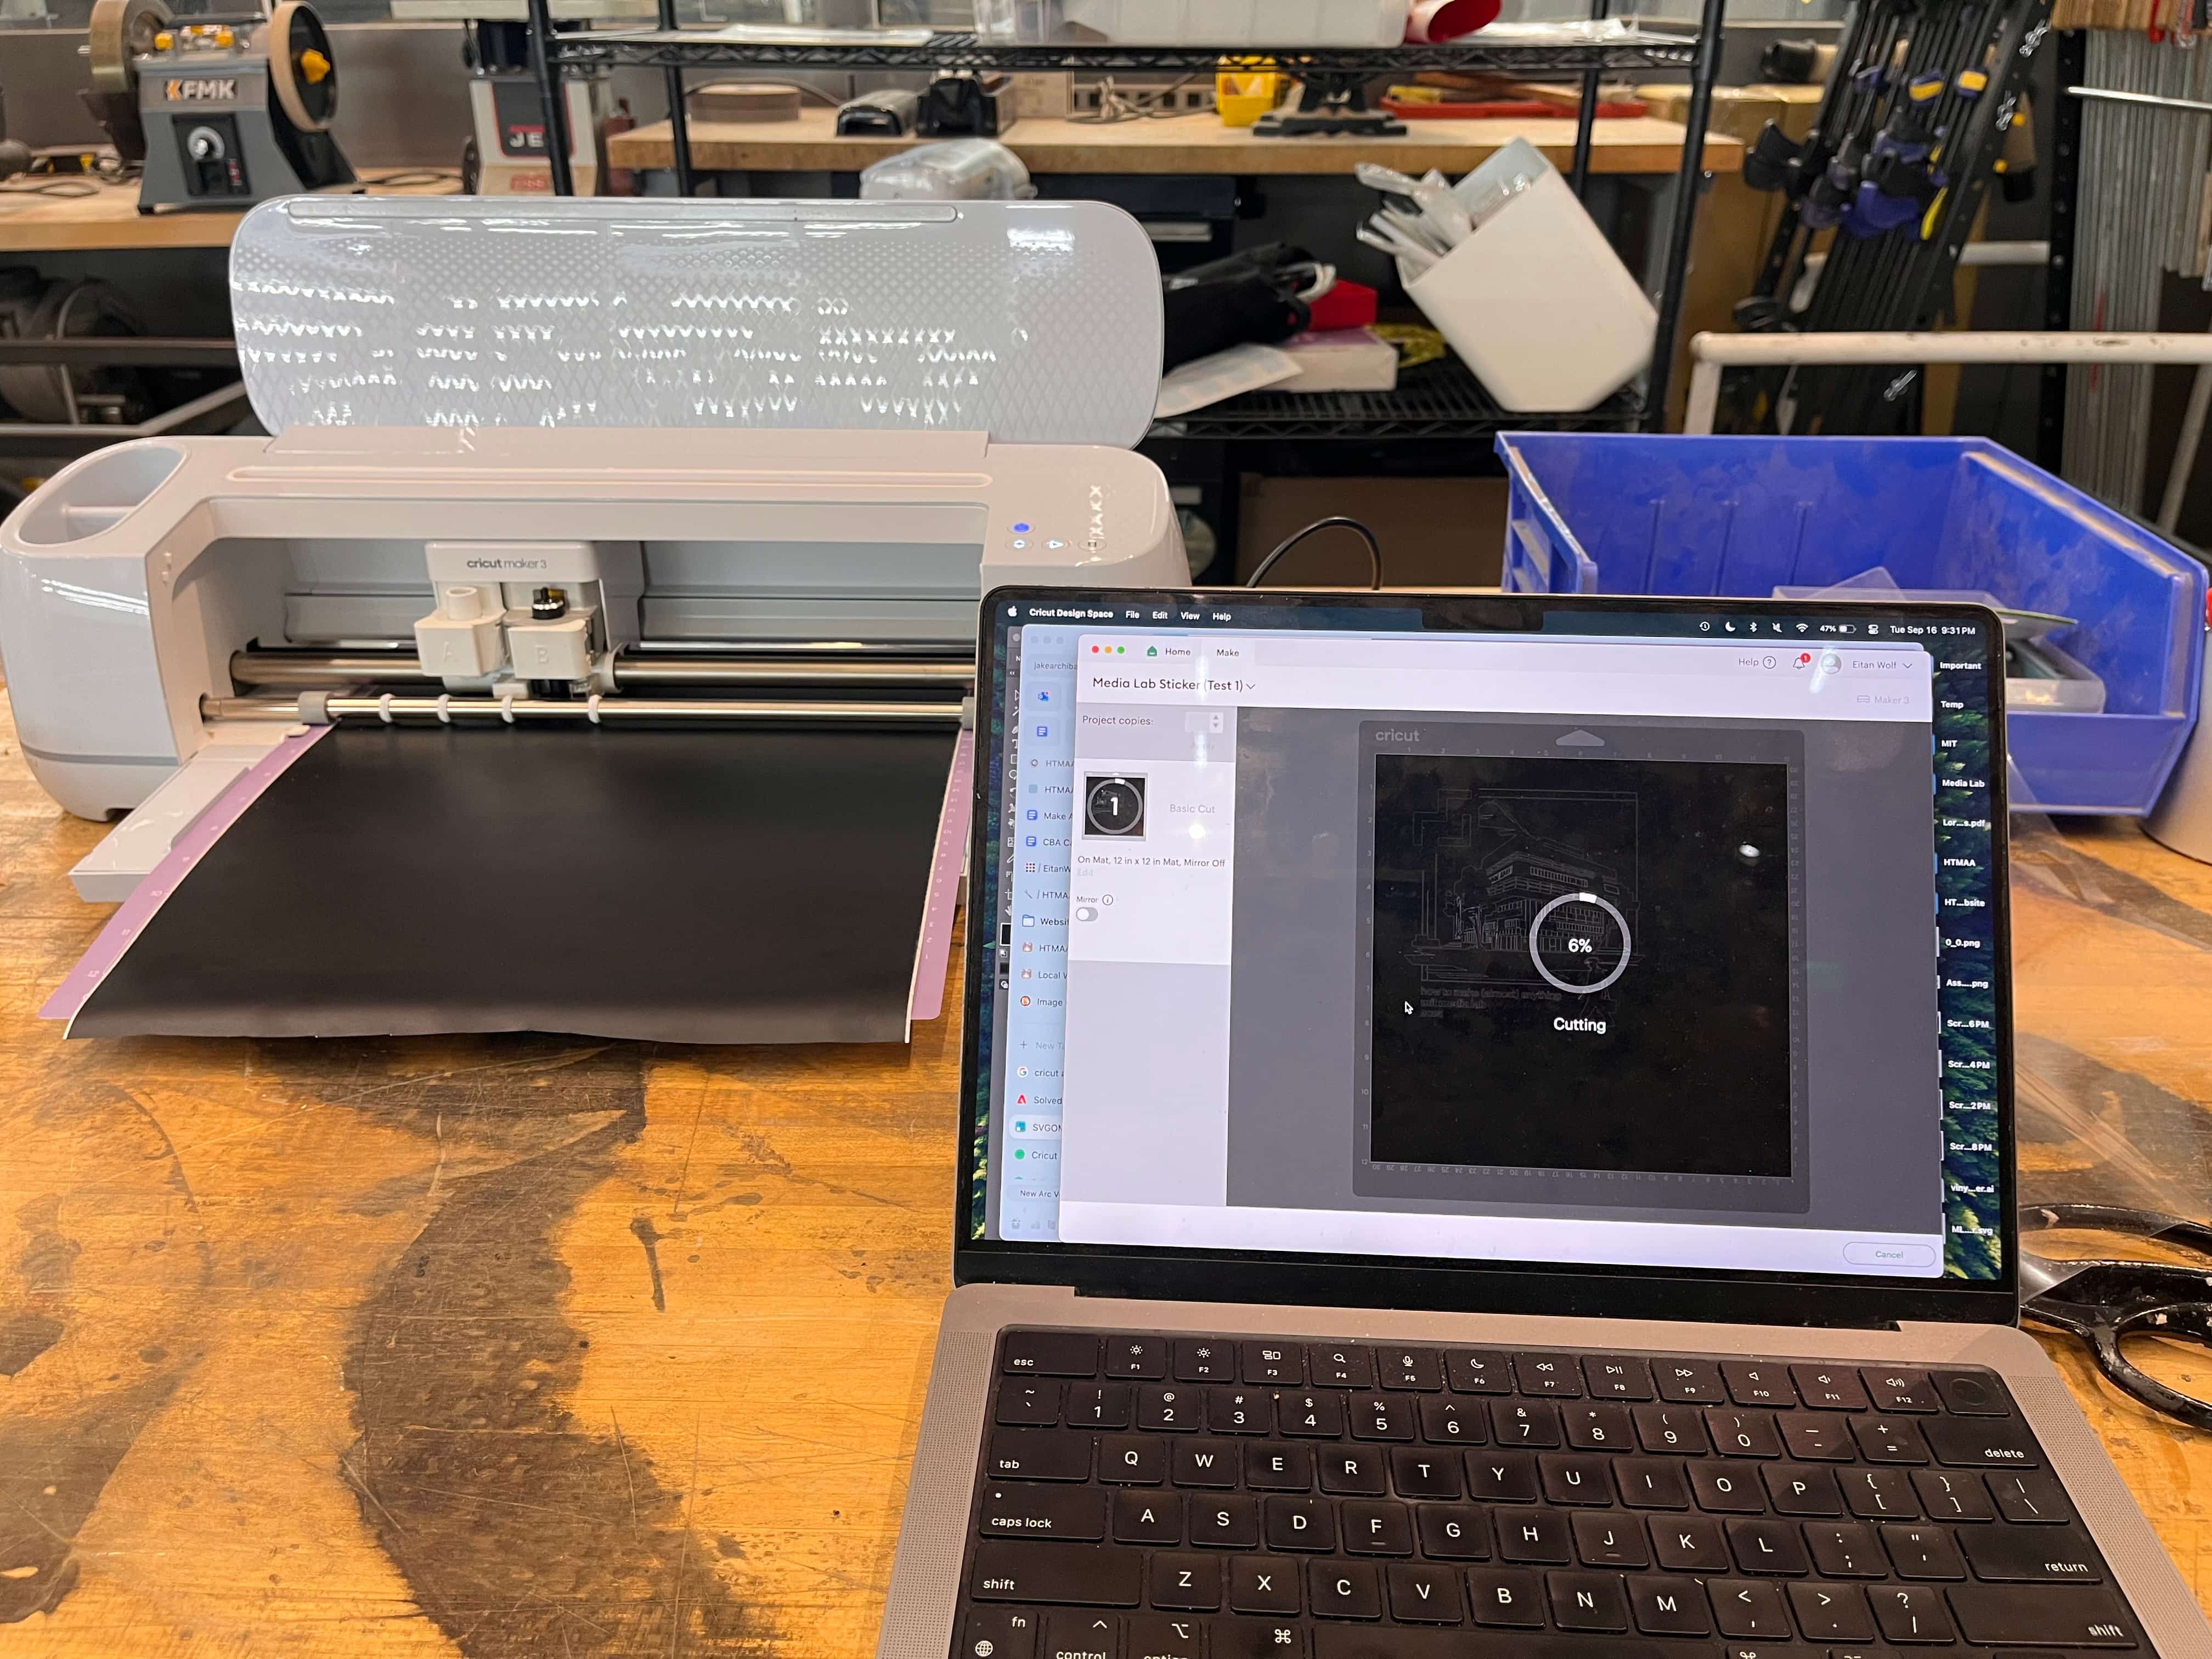
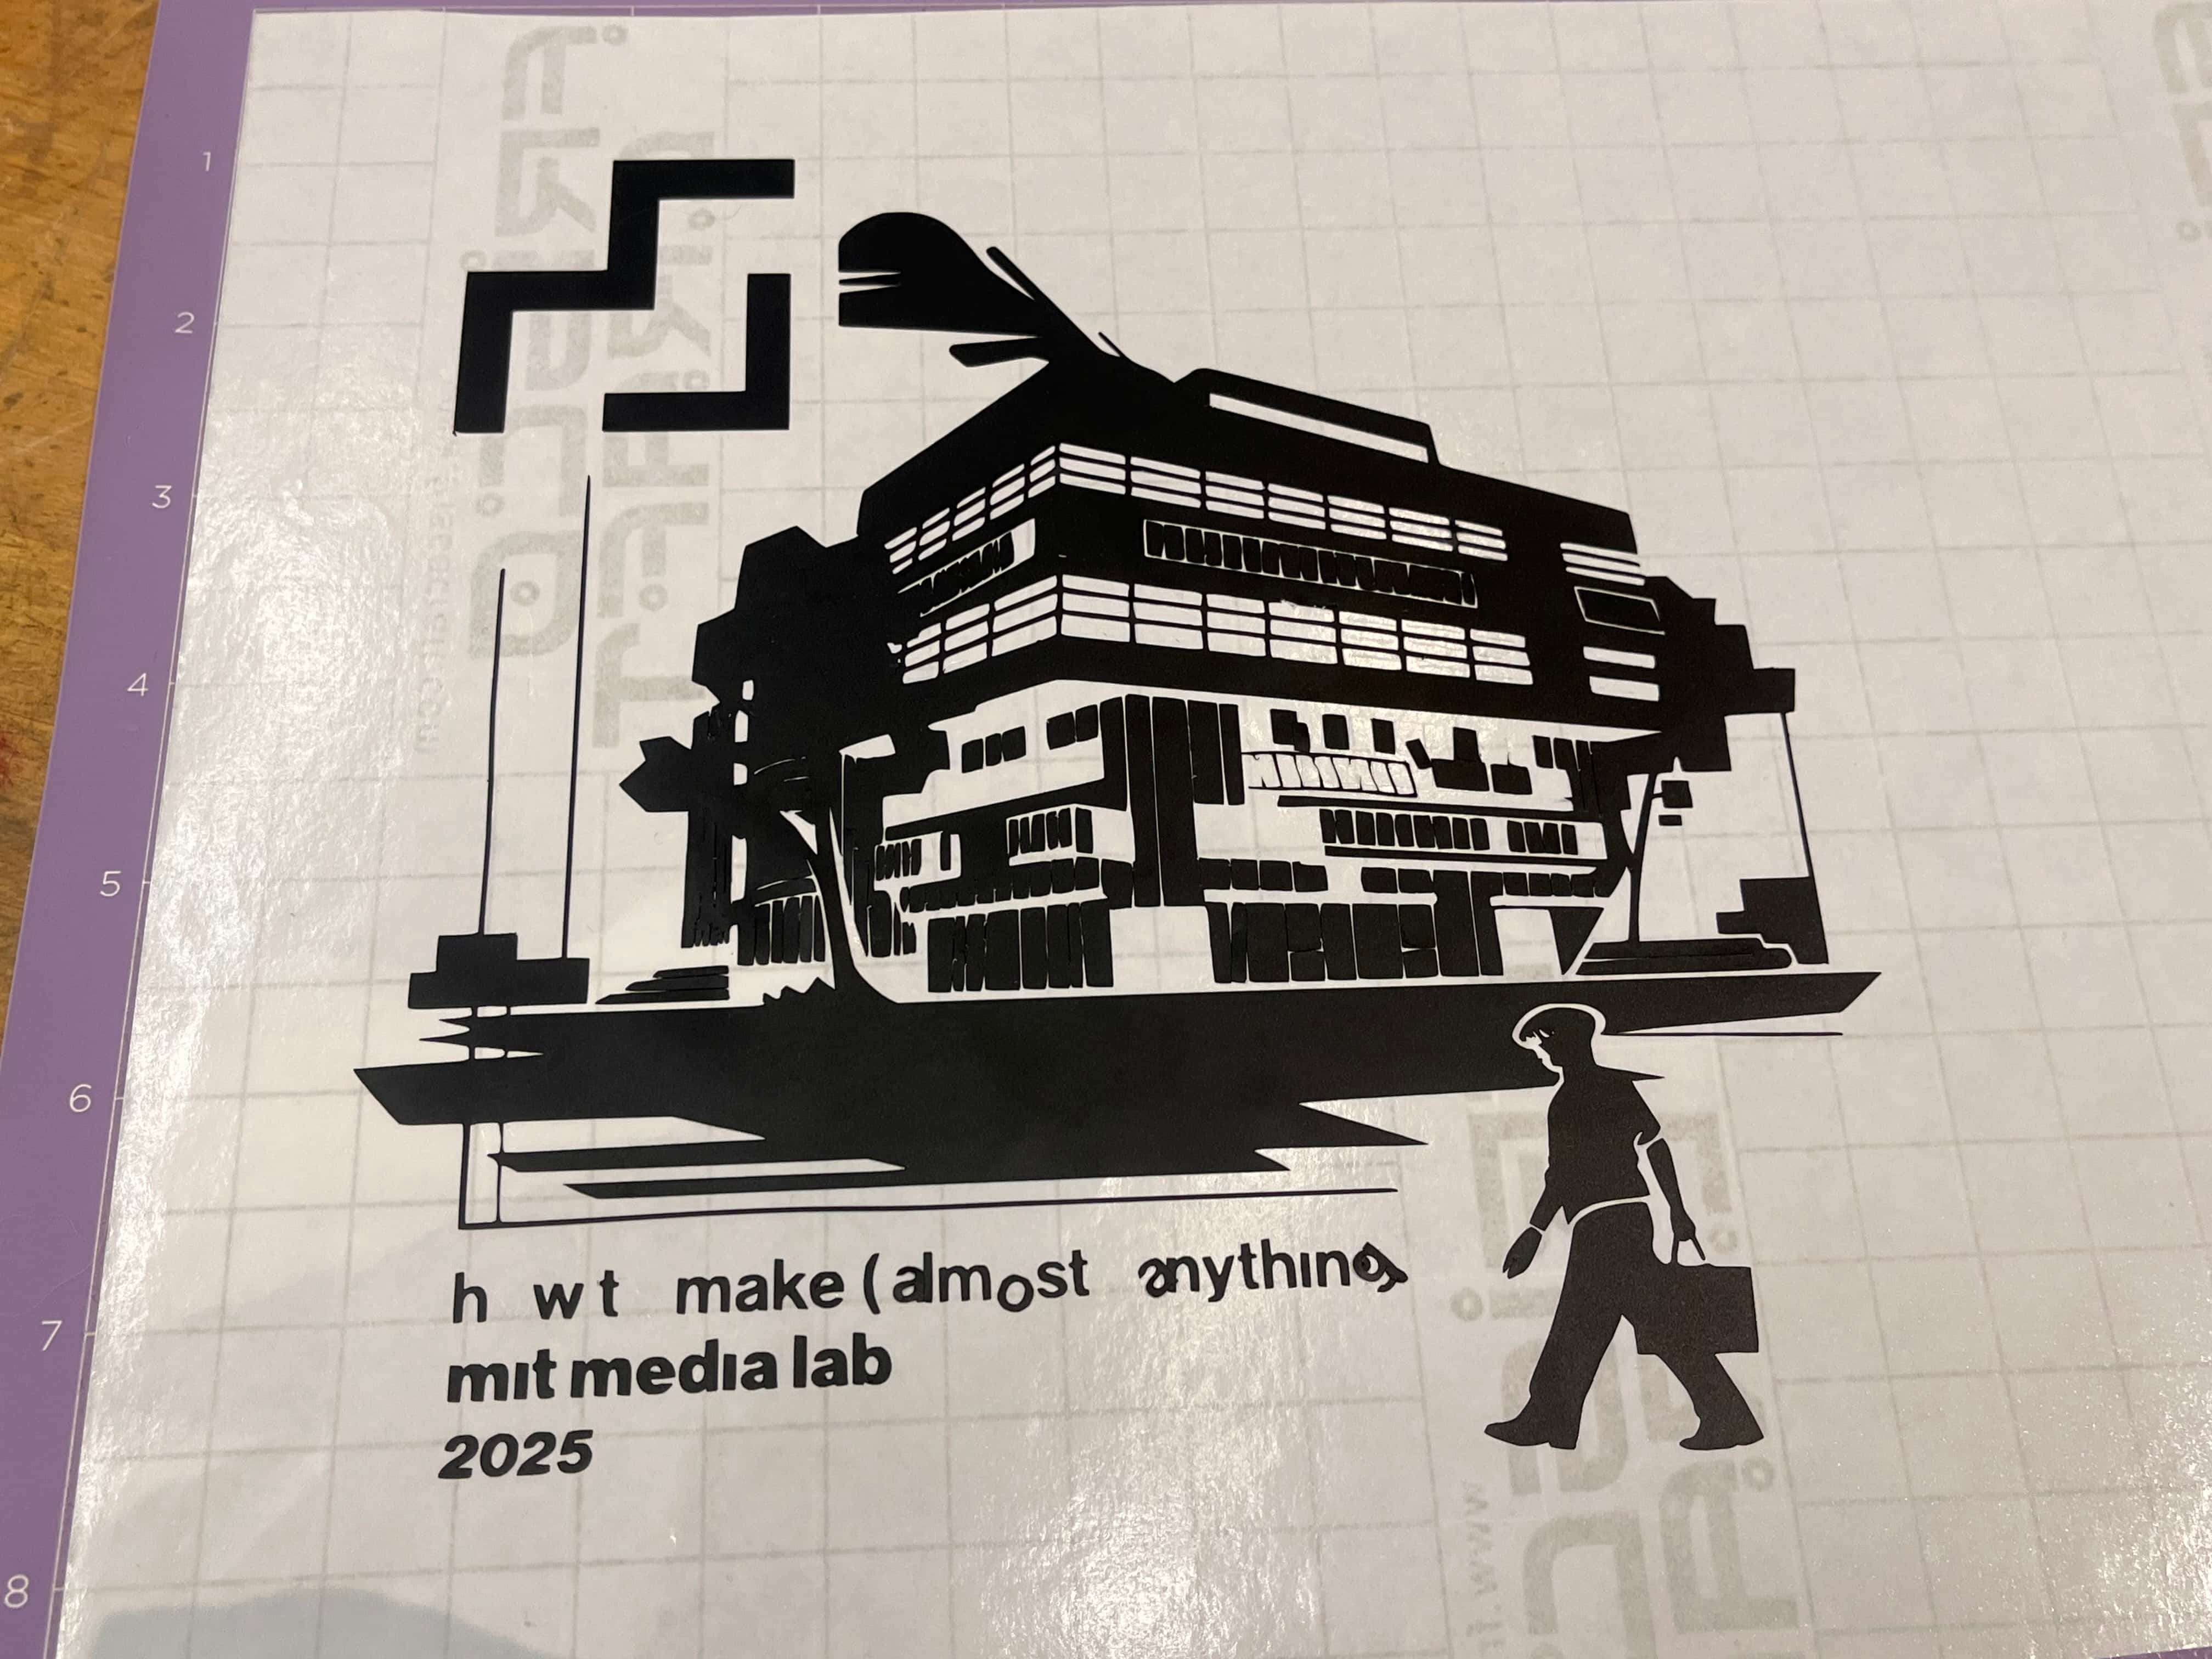
Lastly, I moved on to vinyl cutting. I wanted to make a cool MIT Media Lab sticker of the building, so I started with Midjourney to generate a good foundational image to edit.
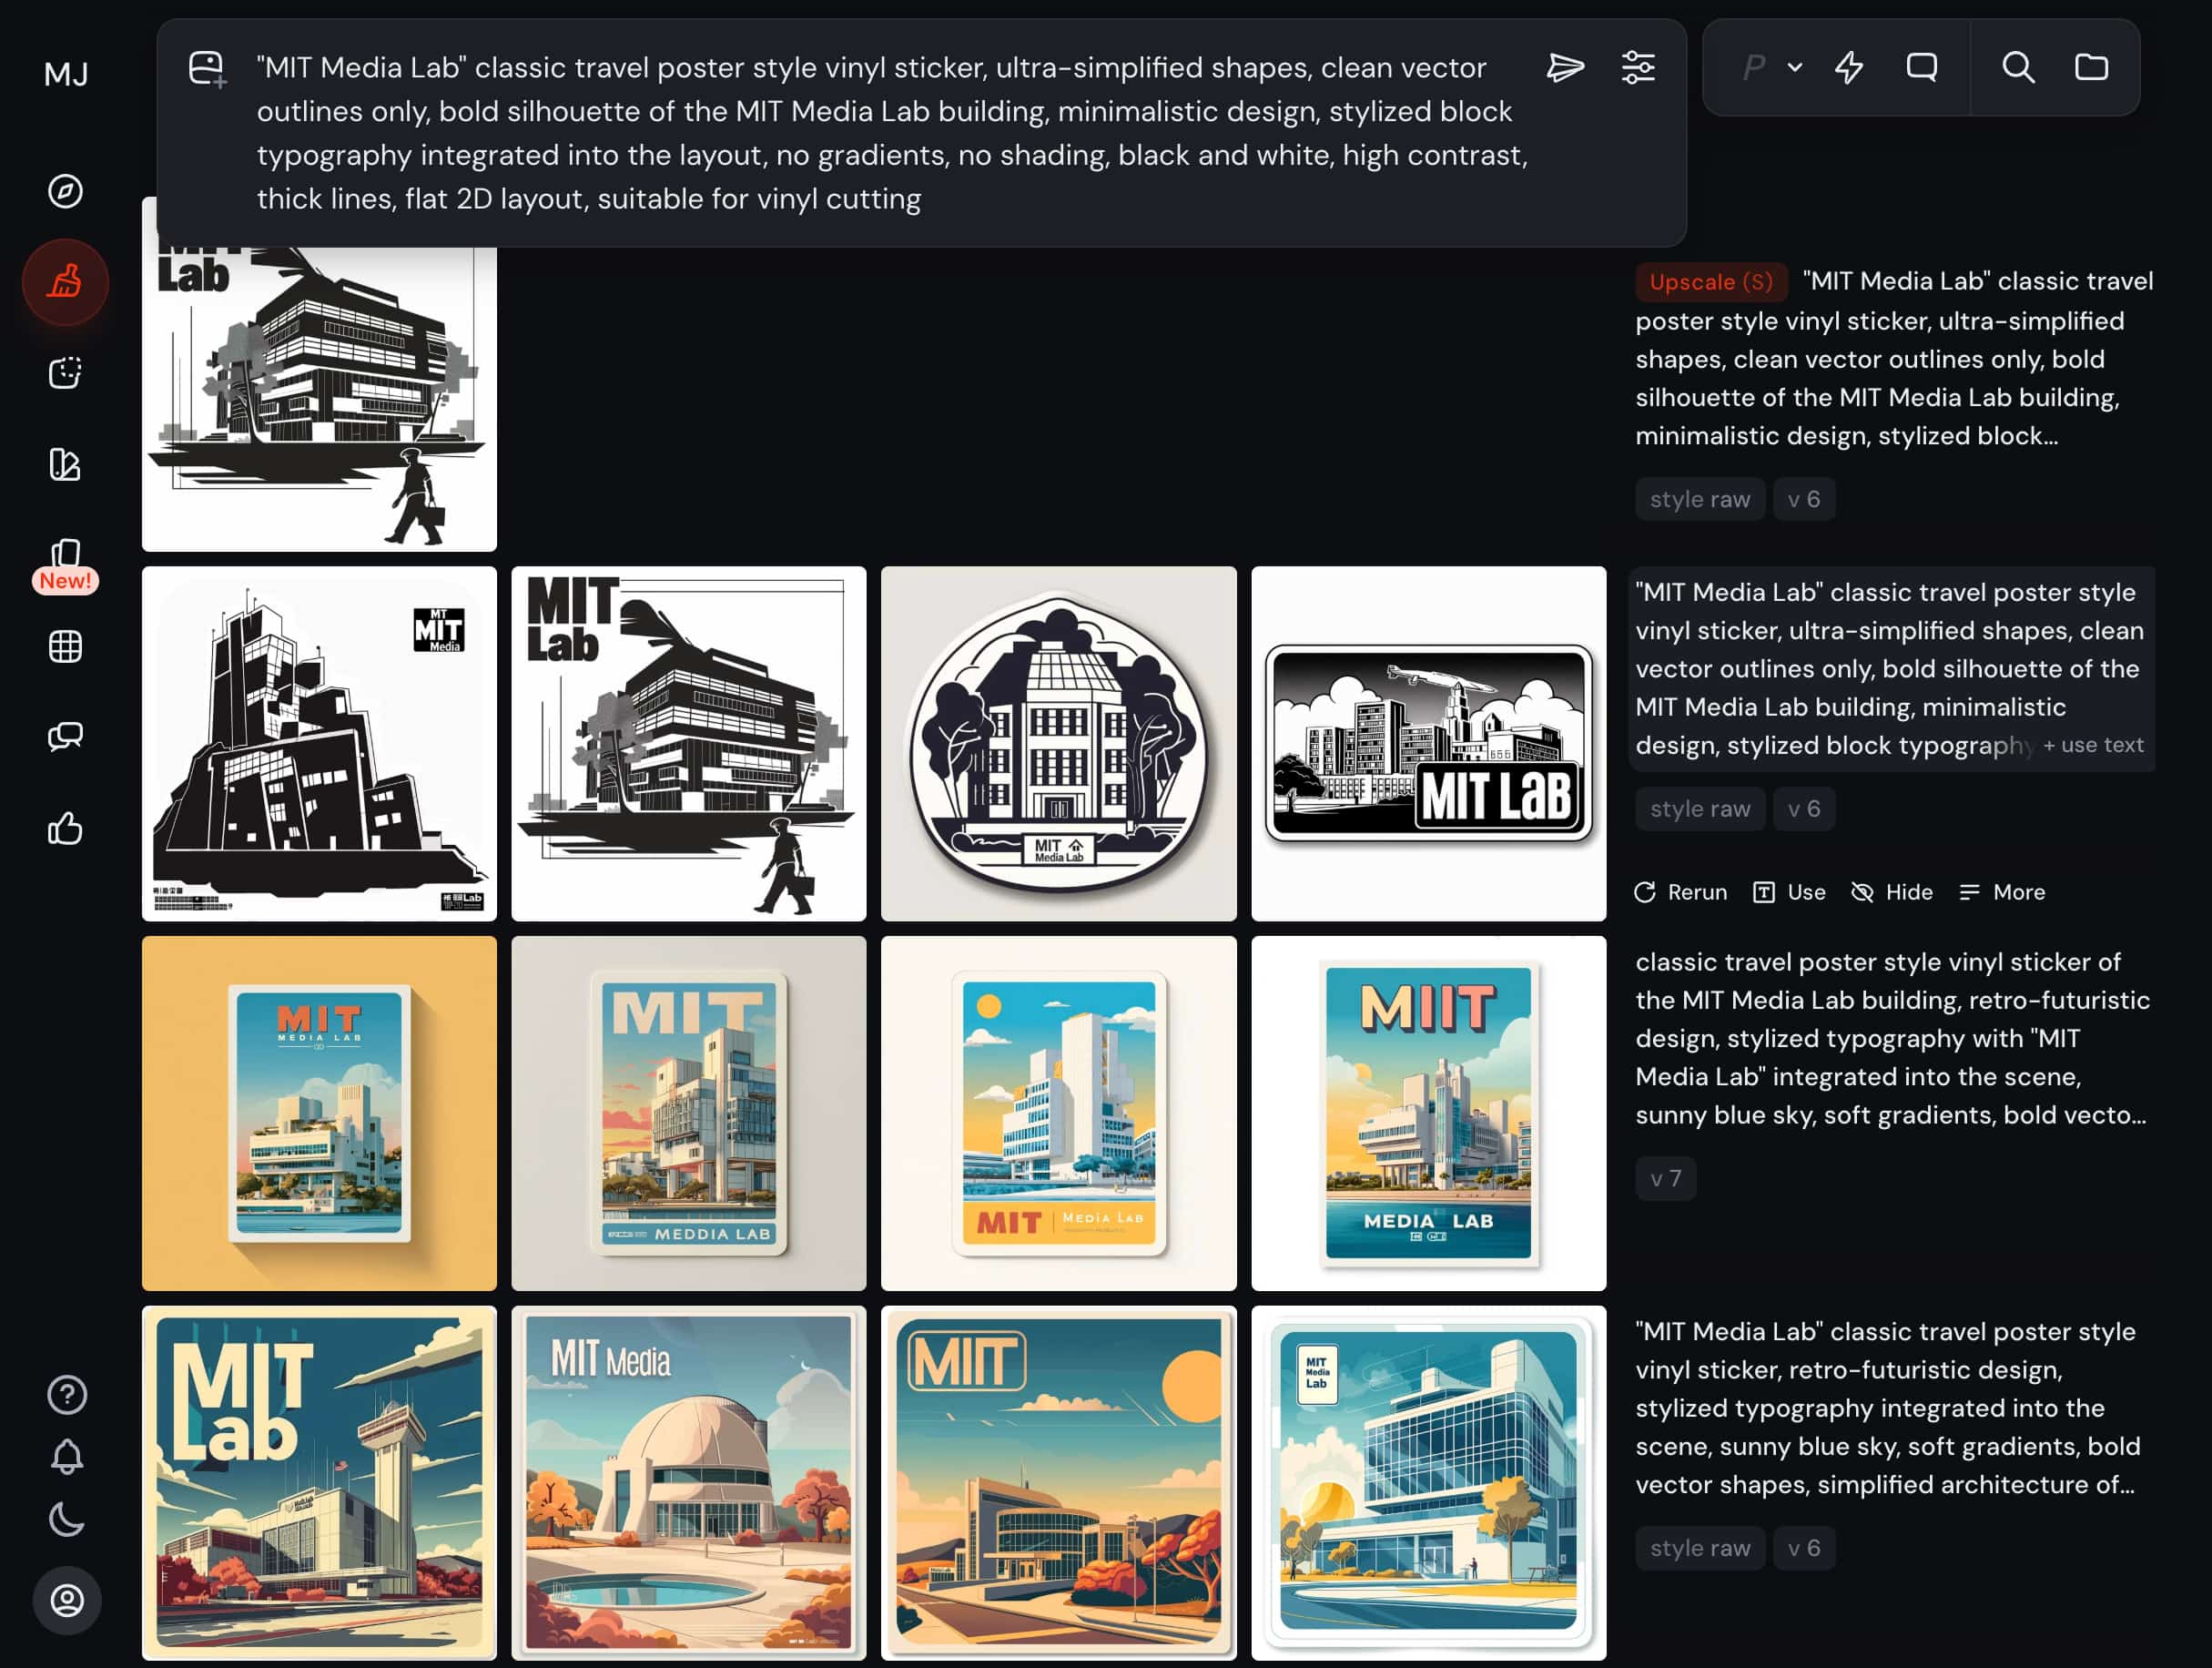
I brought that image into Adobe Illustrator, where I used "Image Trace" to expand it so I could export it as a vector / .svg file. However, image trace didn't capture the tree texture like I wanted, so I used the pen tool to outline those shapes, exported them, brought them into this vector halftone maker tool, exported that back into Illustrator, made a clipping mask to keep that halftone within the bounds of the trees, and FINALLY tried to export it as an .svg for vinyl cutting... only to learn that halftone didn't really export properly. Back to the drawing board!
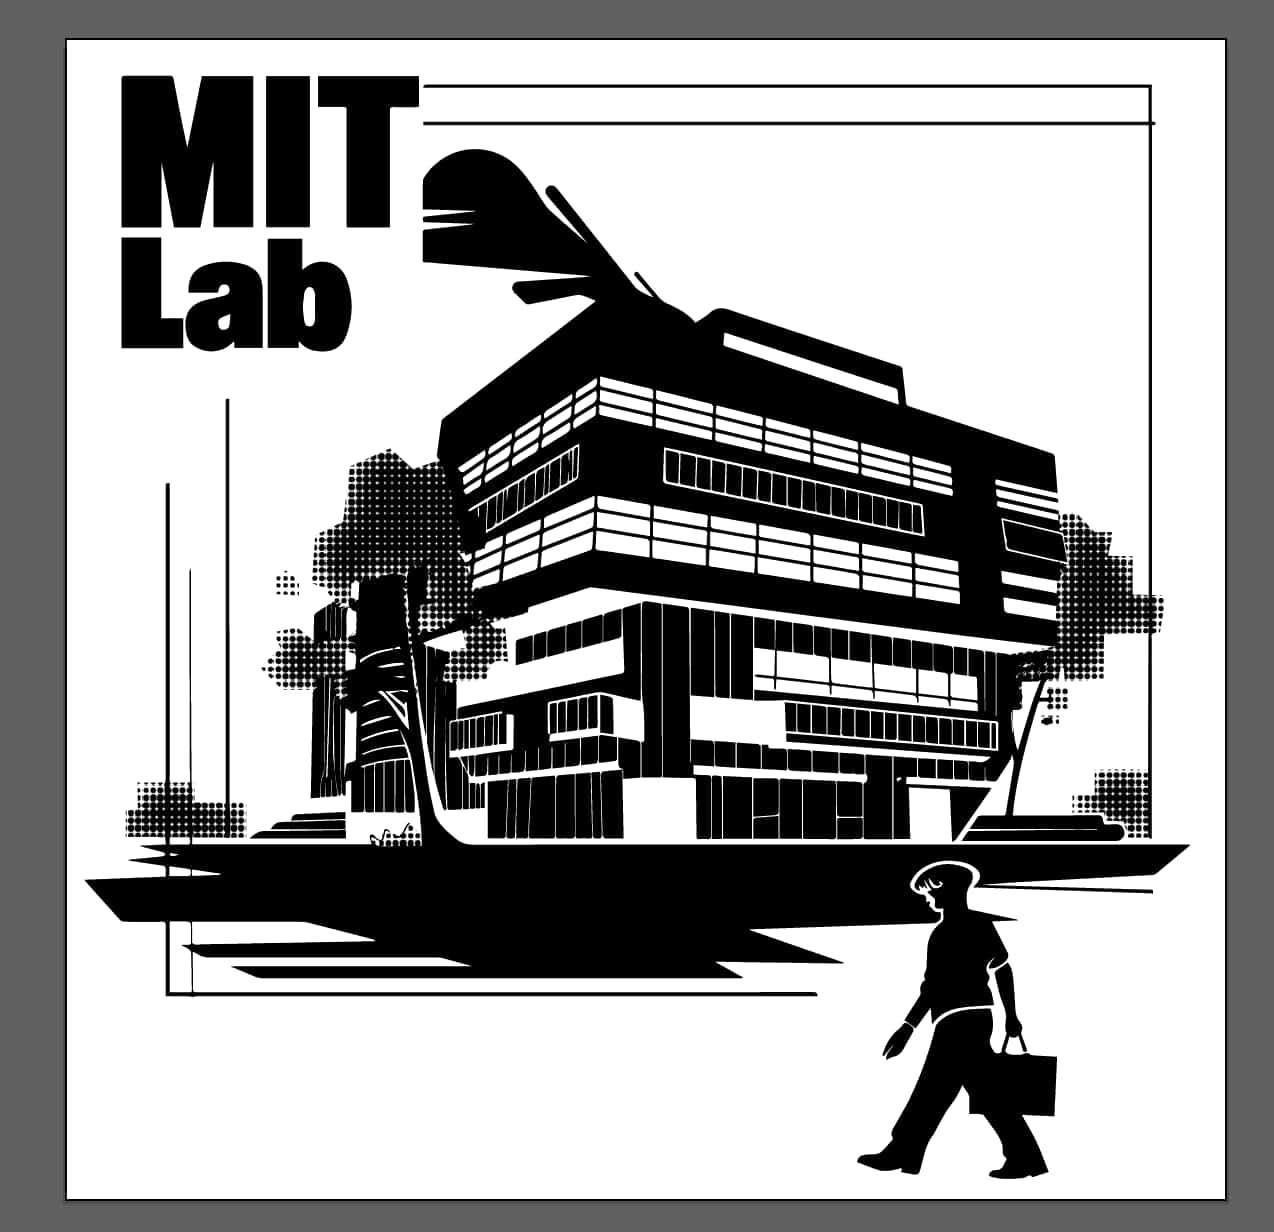
Once I'd replaced the leaves with filled in shapes, it was time to print. I uploaded the .svg to Cricut, and made the print.
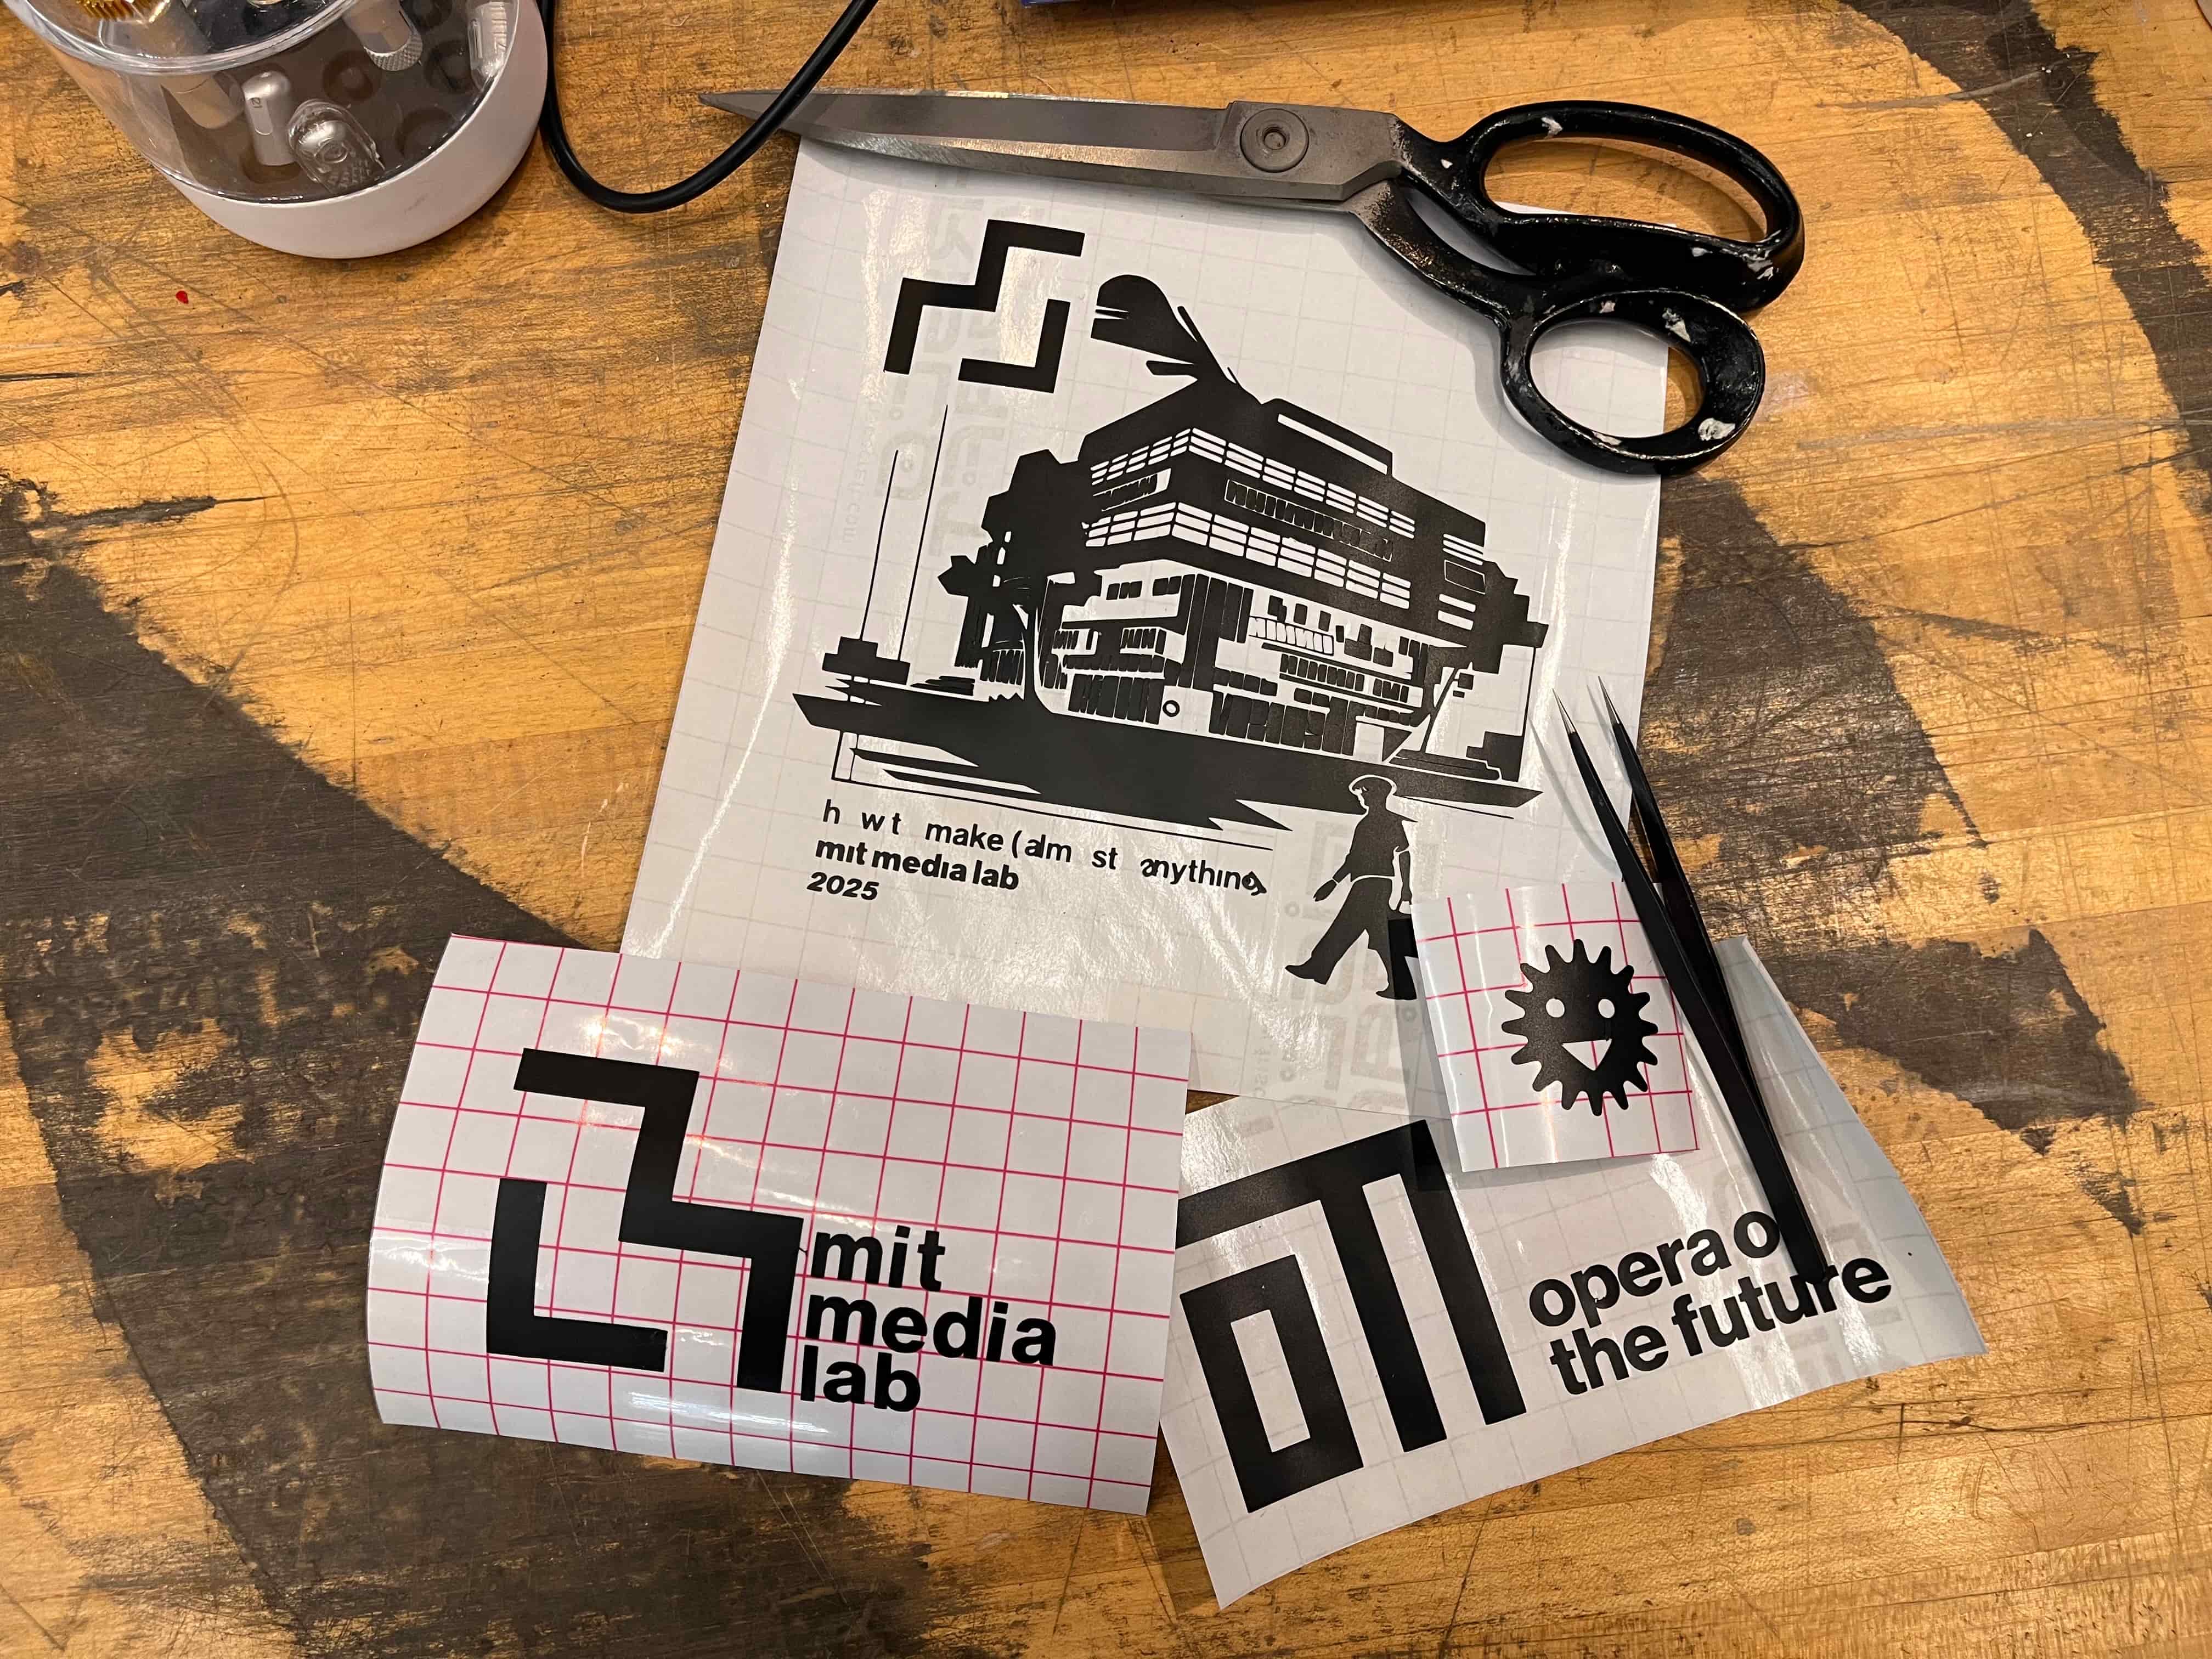
Only then did I realize how vinyl cutting actually works... I would have to paintstakingly peel pack every cutout for my final result. 15 minutes later... and we made it maybe 75% of the way there. I apologze for whomever's windows I accidentally removed, and a lot of the text didn't make it.
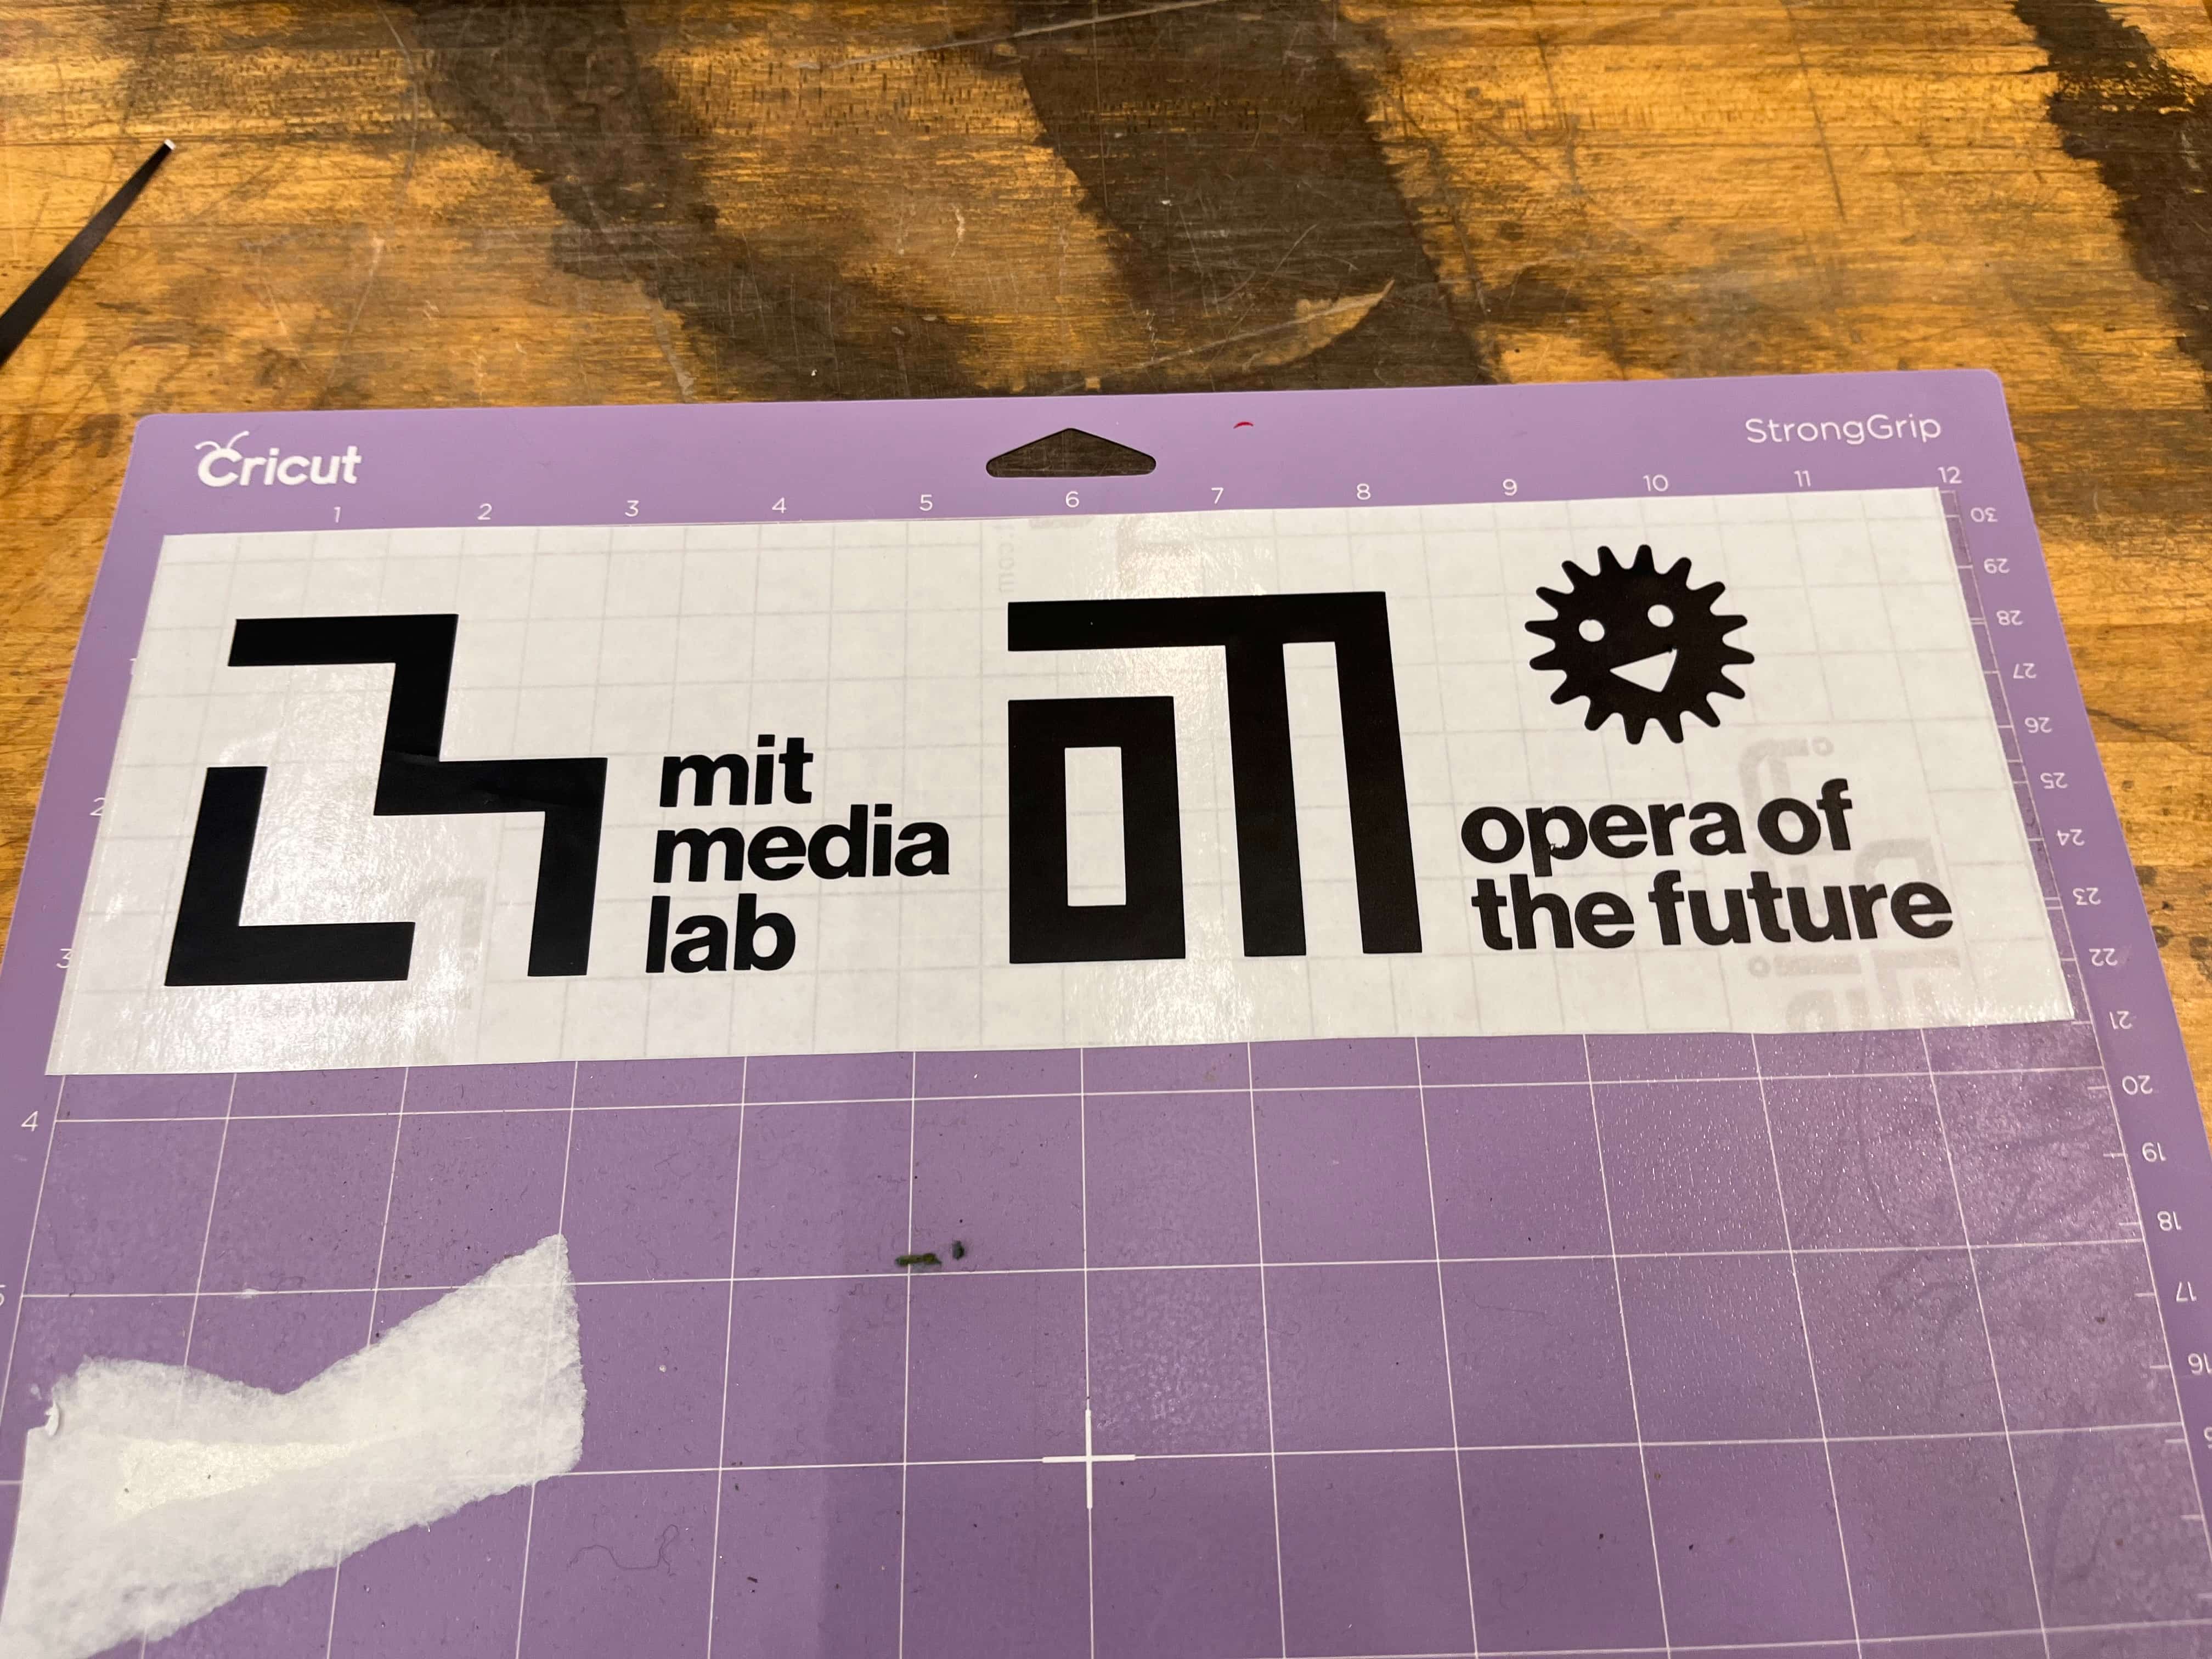
I still wanted to make something that actually worked, so I made a new (simpler!) design of the MIT Media Lab and Opera of the Future logos, plus a smiley face for fun. Much more successful!
Here's everything I made, bare for the world to see.
Learnings
So what did I learn? That I'm more capable than I thought at learning new tools; that you should avoid fine detail when vinyl cutting; and that it's really fun to actually make (almost) anything. I'm excited to keep iterating and make these even better.
Onward and upward!