Overview
This week, we learned about embedded programming – writing code directly onto a microprocessor. The assignment was:
- browse through the data sheet for a microcontroller
- write and test a program for an embedded system using a microcontroller to interact (with local input &/or output devices)
- and communicate (with remote wired or wireless connections)
Project Files & Links
- Week 3 Lecture Notes
- Week 3 Recitation Notes
- Week 3 Lab Notes
- .ZIP of All Arduino Programs
- ChatGPT Prompts & Conversation
Group Assignment
Our group assignment was:
"Demonstrate and compare the toolchains and development workflows for available embedded architectures."
You can find what our group did to complete it here.
Details
Our assignment was to simply write a program for an embedded system that interacts and communicates.
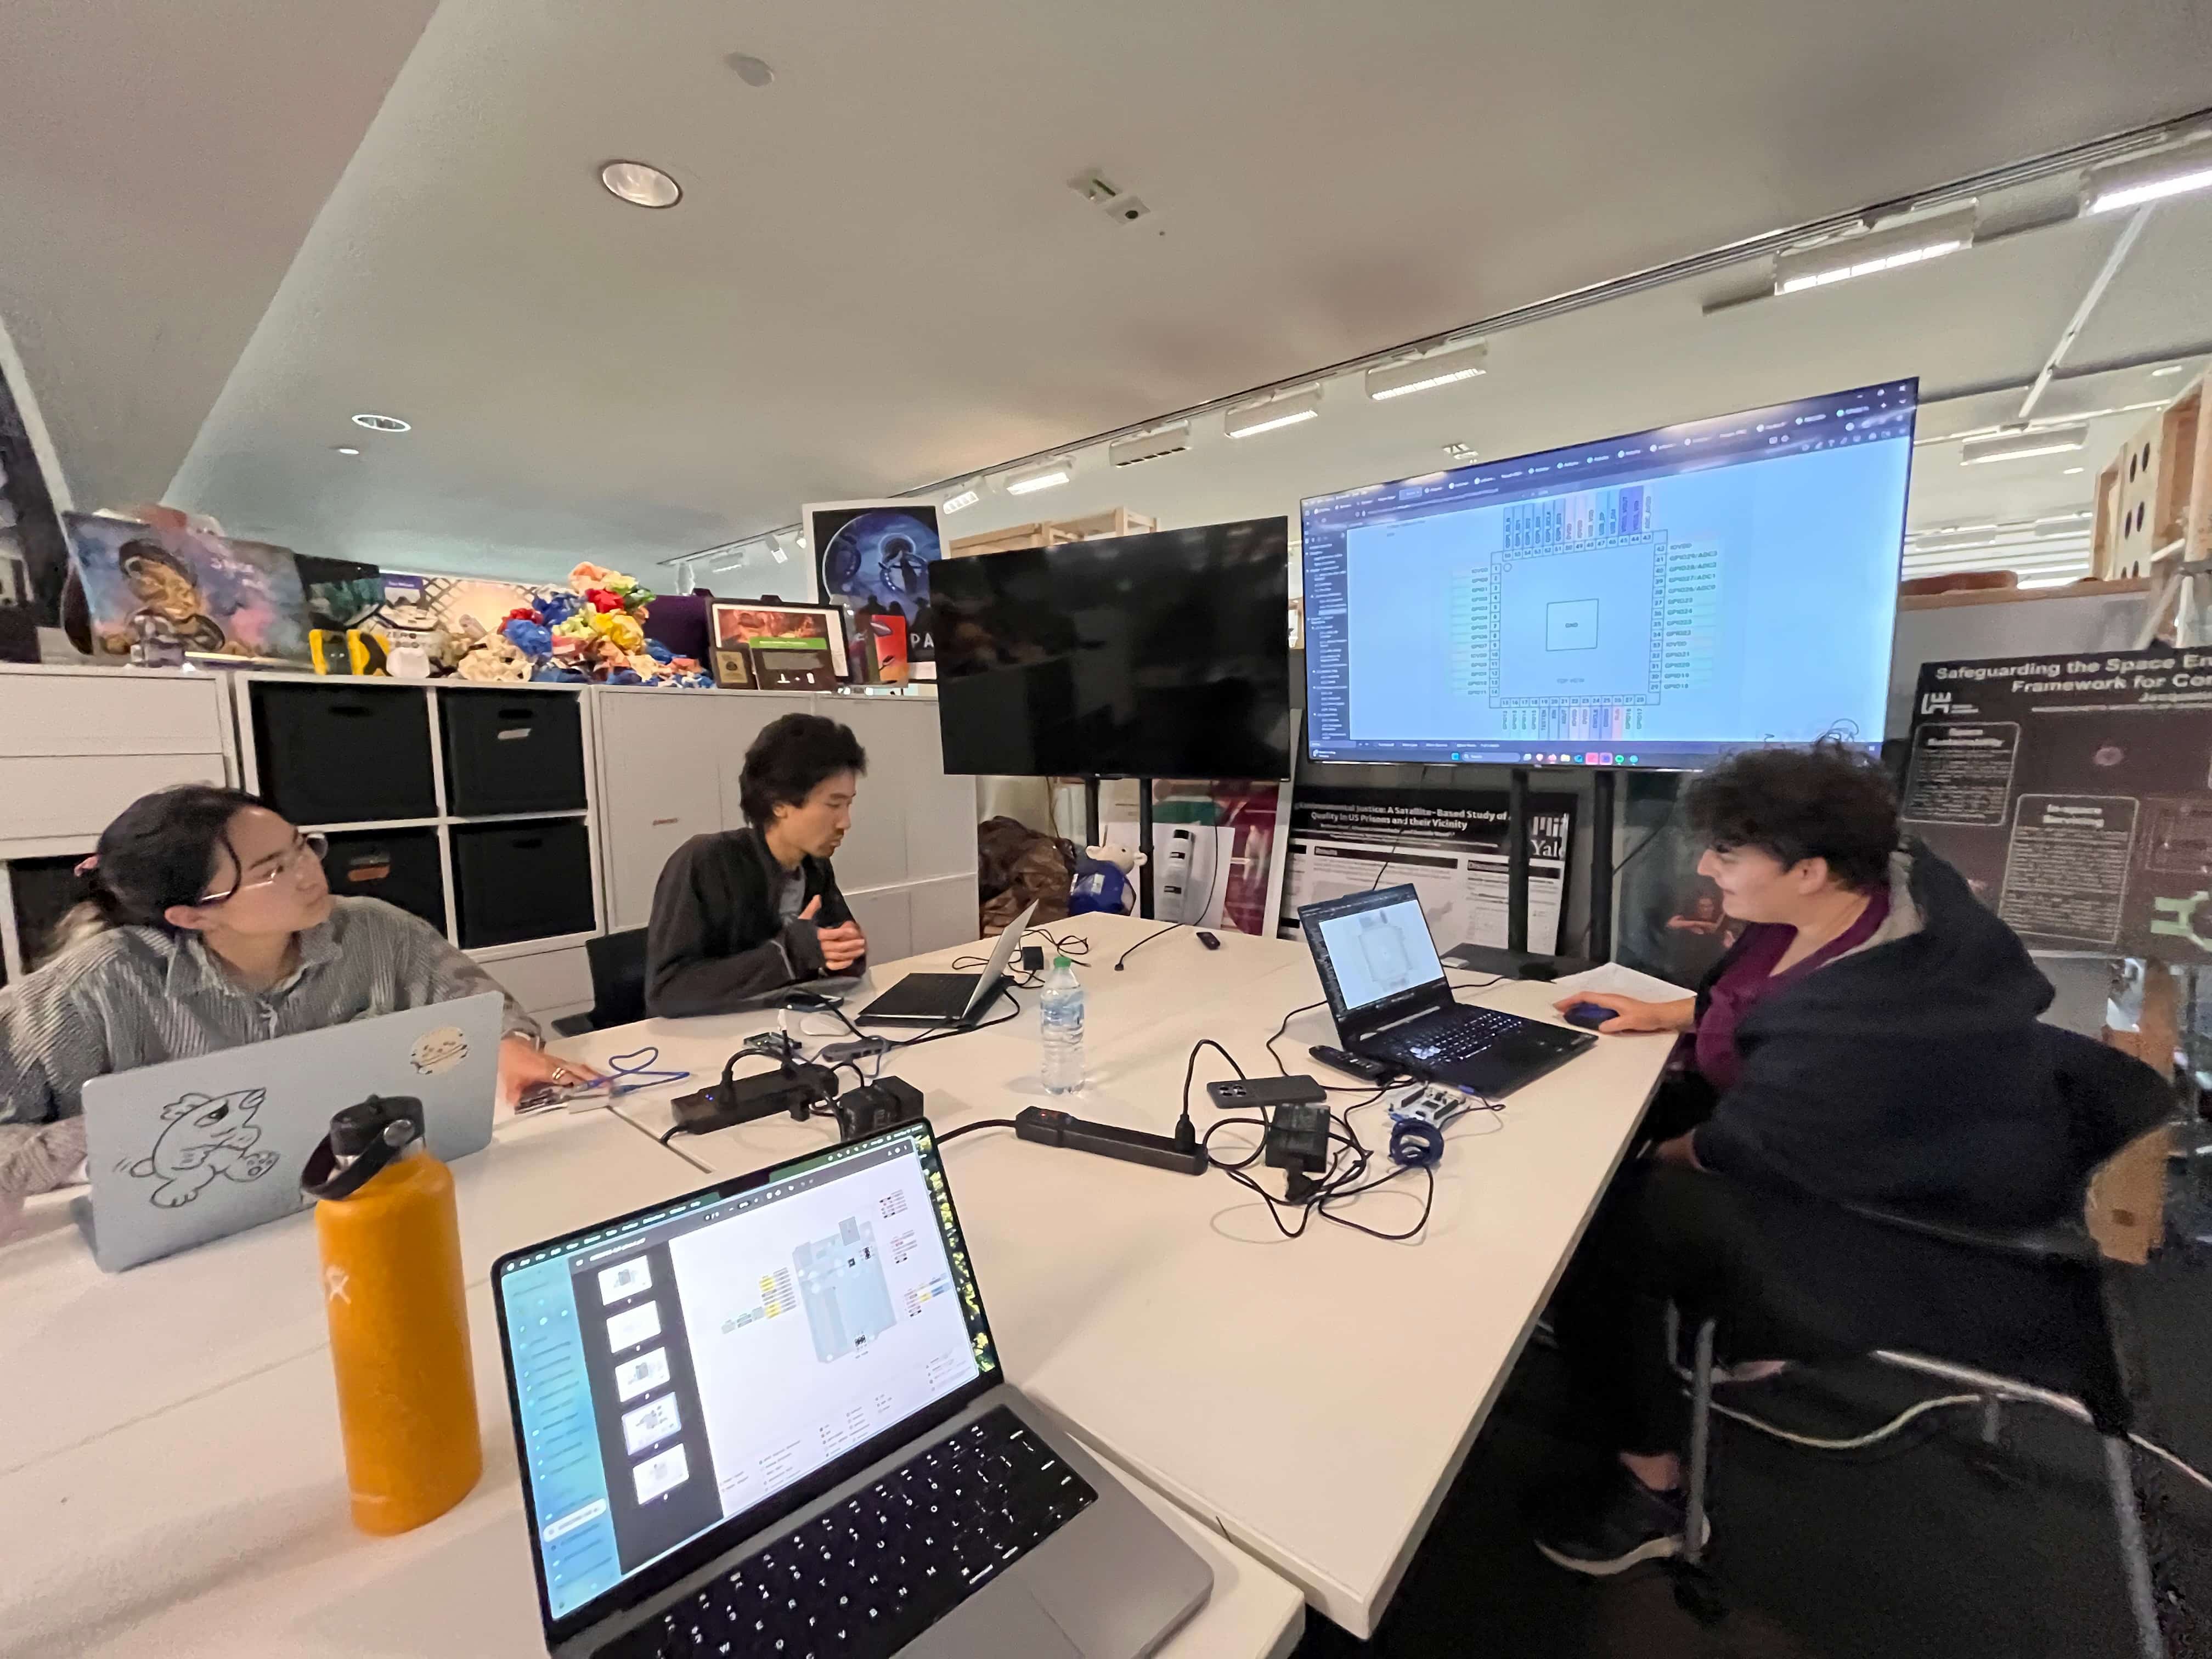
This is one I'm actually excited about – I've always wanted to learn how to solder, and I have (admittadly limited) experience with Arduino, so I'm not starting totally from scratch. But before we went to the official lab, a few of the Media Lab cohort got together for an unofficial recitation, led by the amazing Ceci.
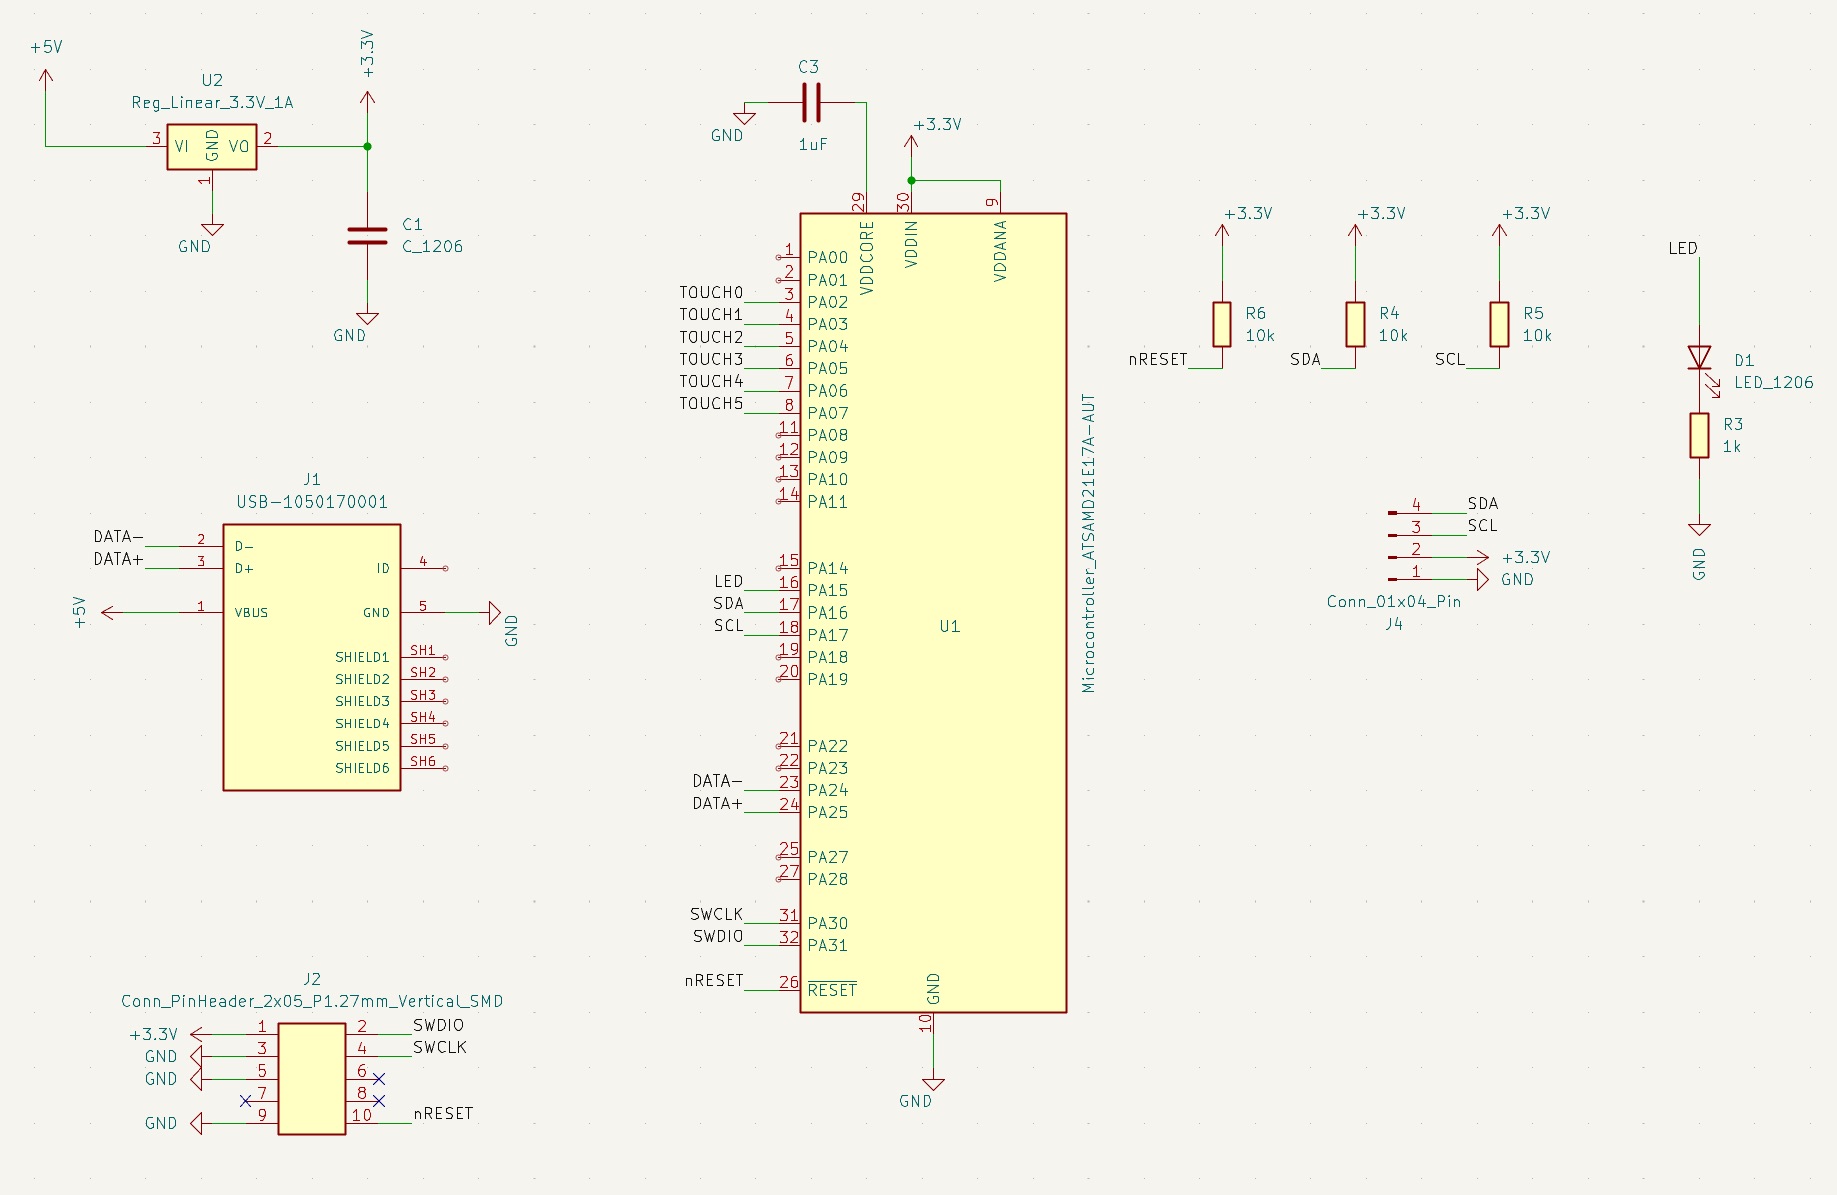
Ceci gave us a quick overview of how to read PCP schematics, how to attach and use our Arduino boards, and what things to look out for and avoid (for example, I accidentally almost shorted the entire board by letting a loose wire dangle. Oops!)
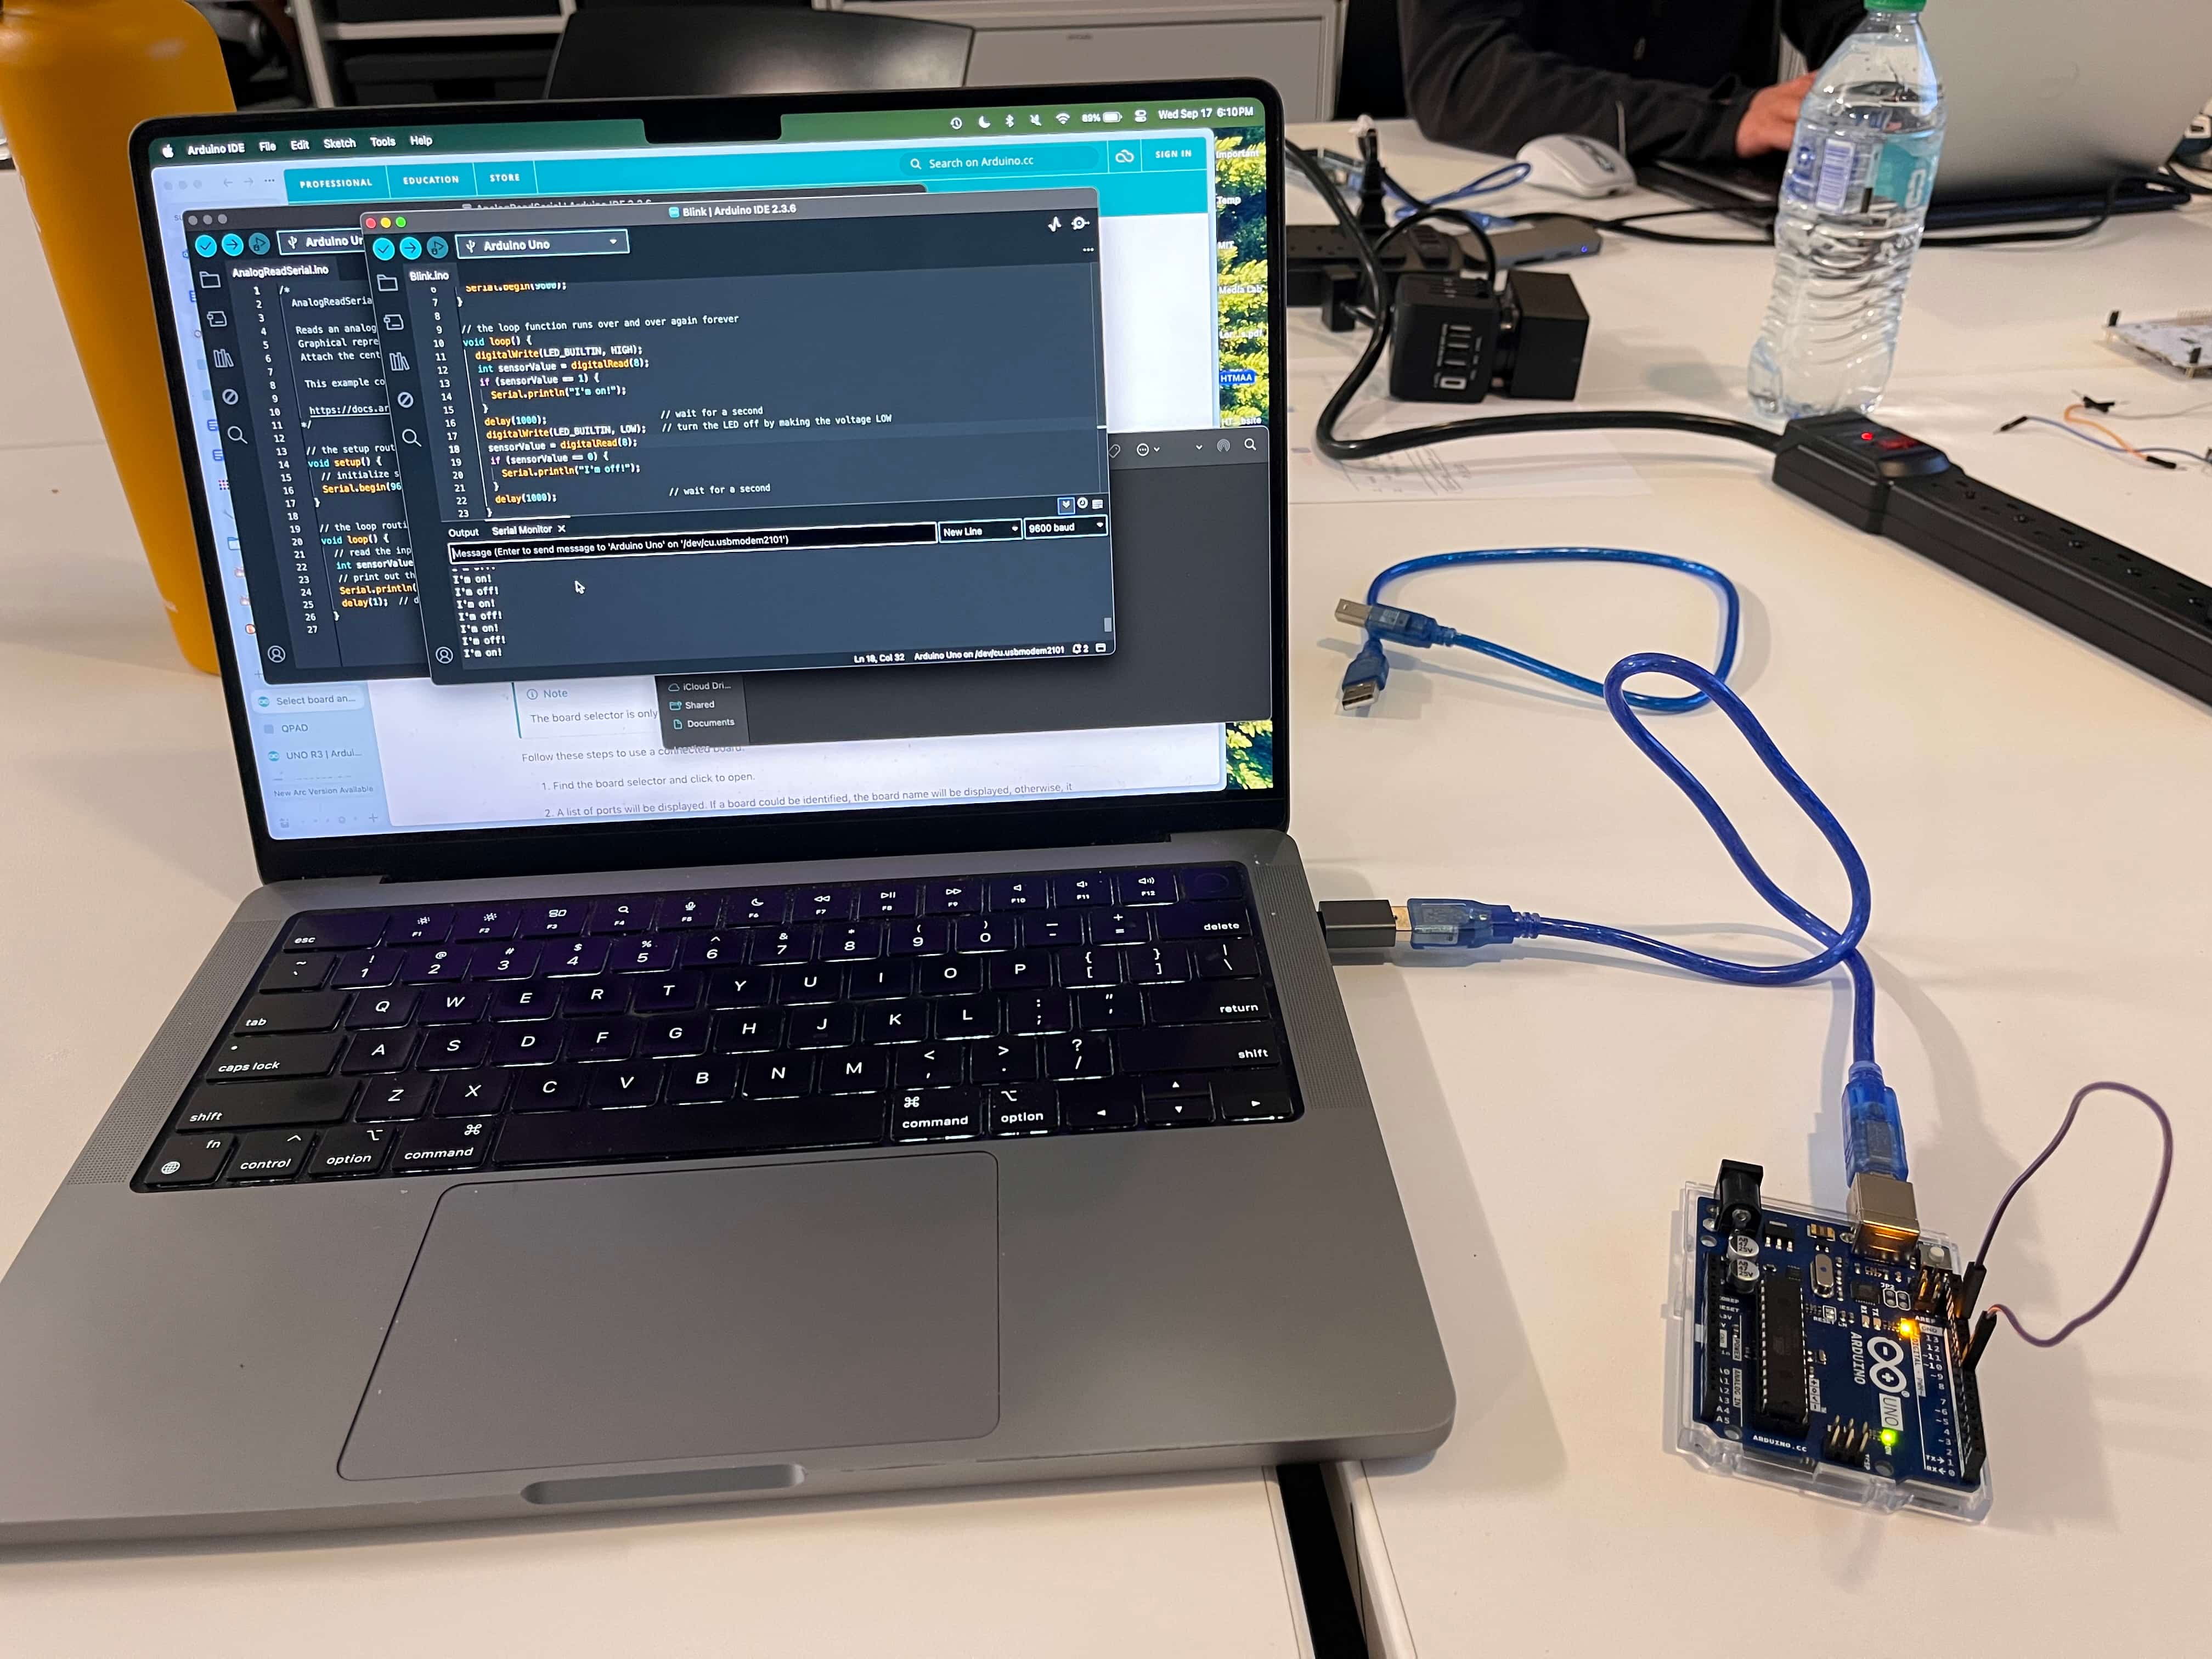
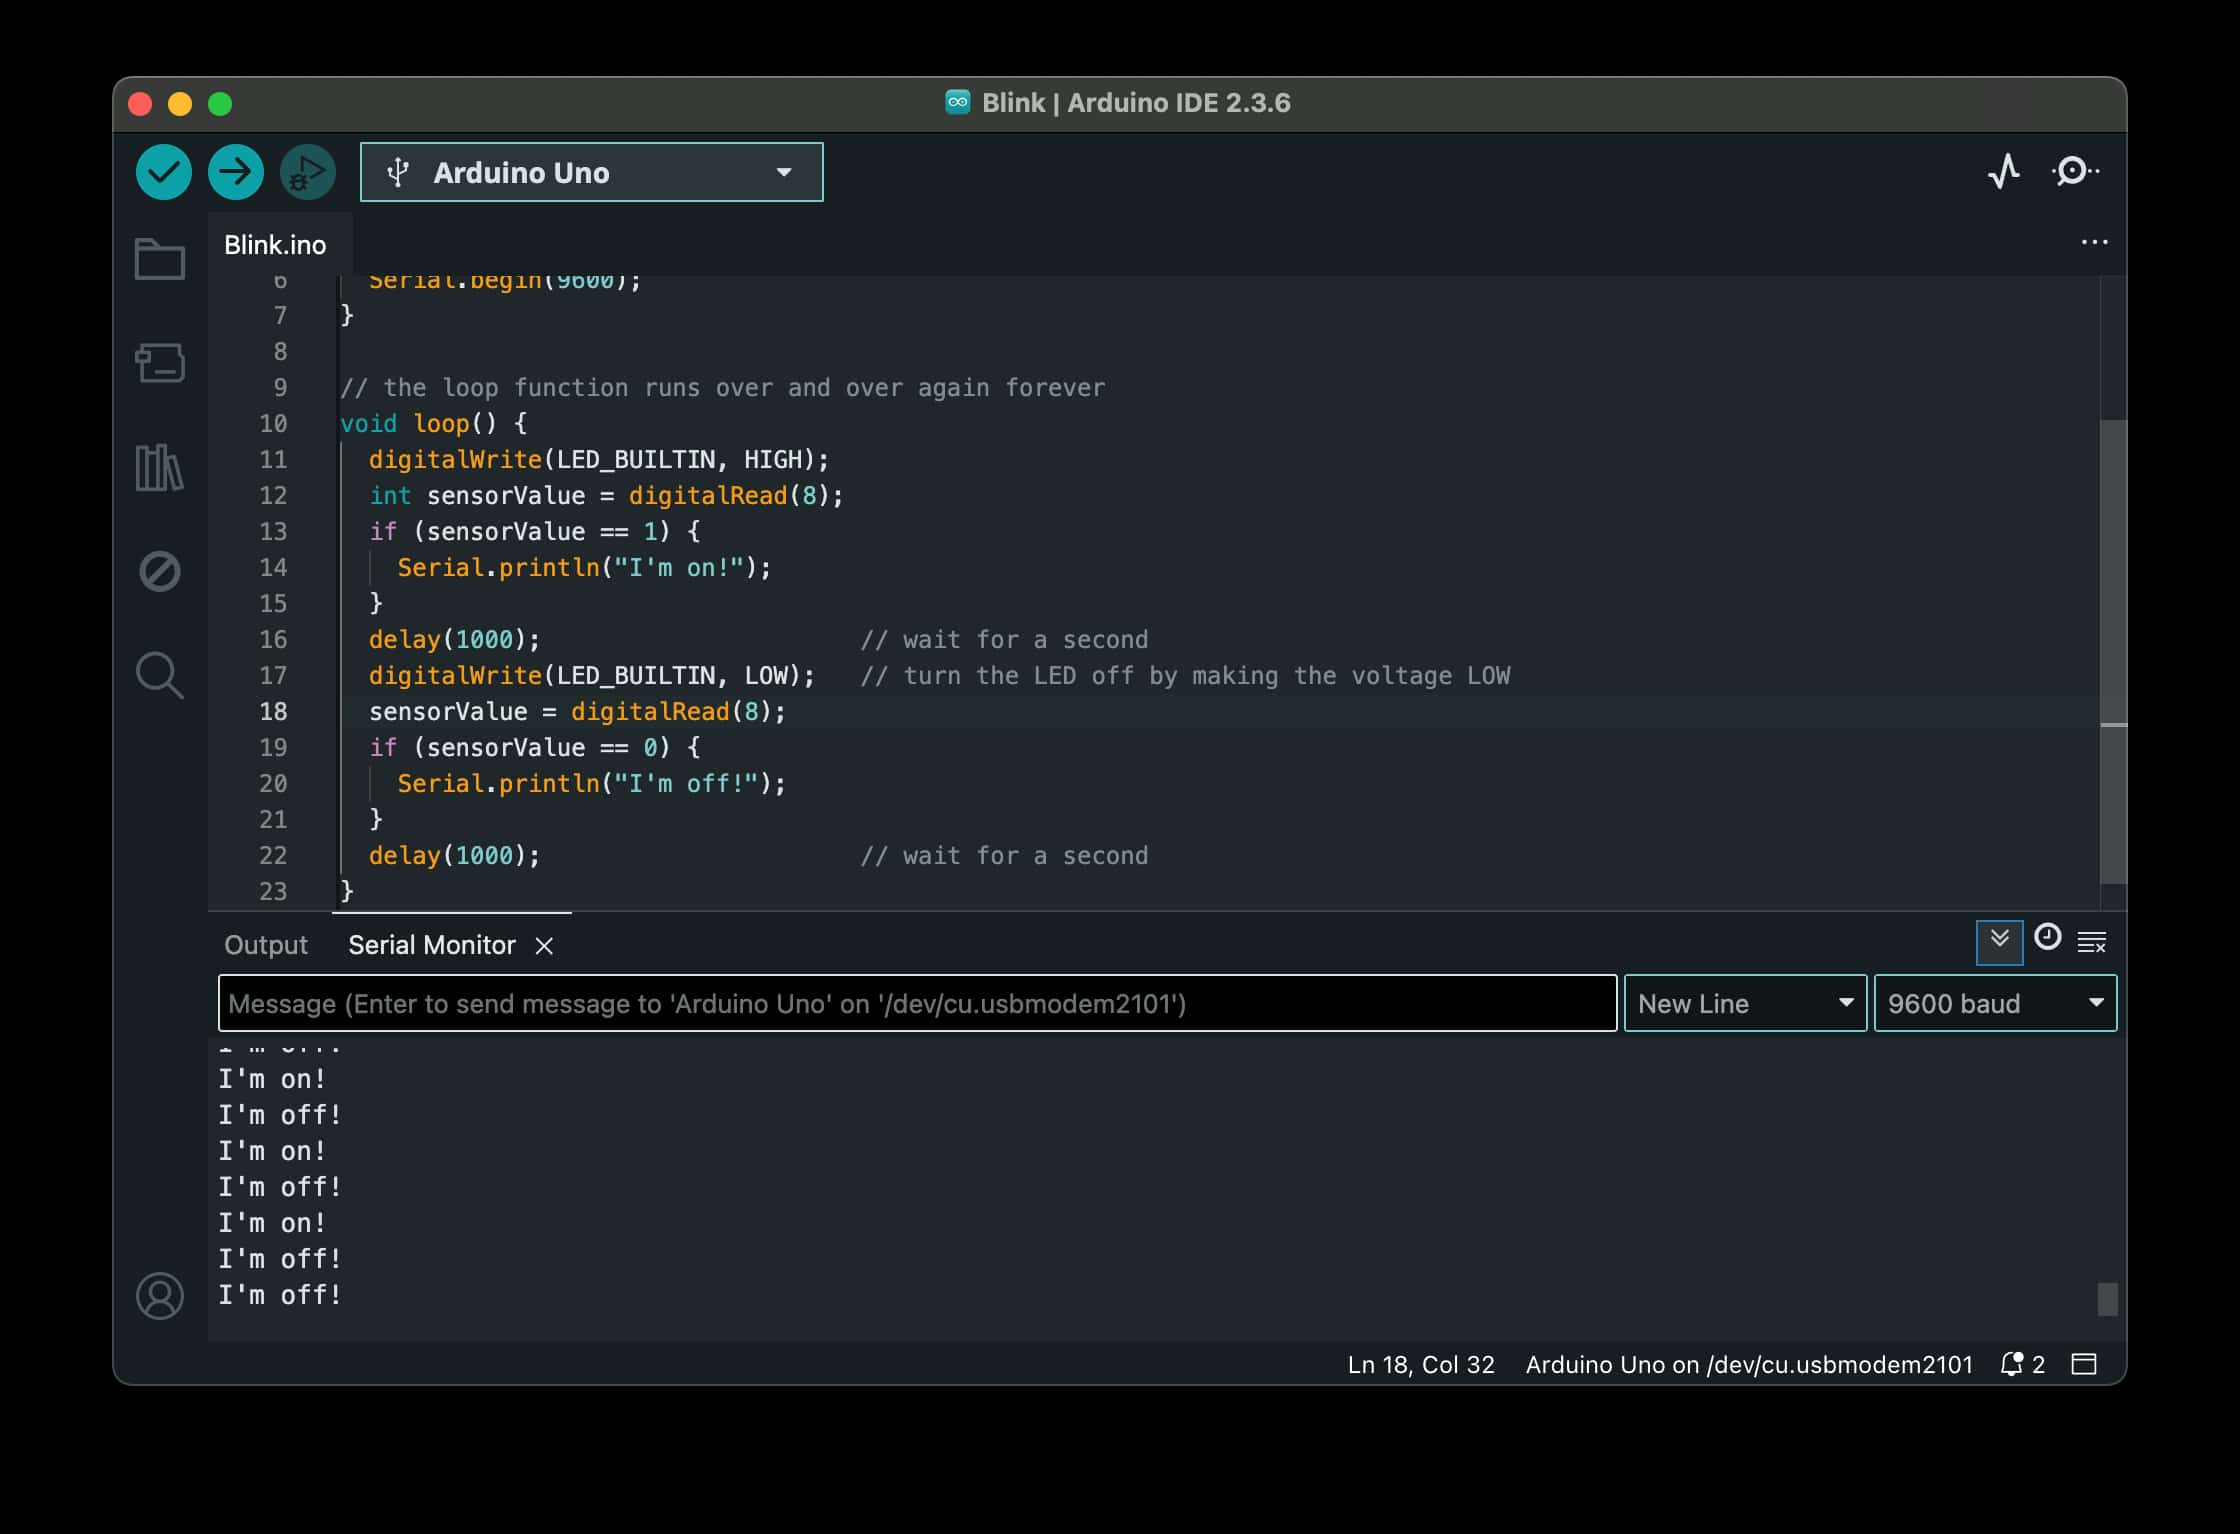
I started with somethign simple - getting the microprocessor to say "I'm on!" or "I'm off!" every time I connected the jumper cable to either 5V or Ground. Basically, treating the jumper cable as a button. Here's that code:
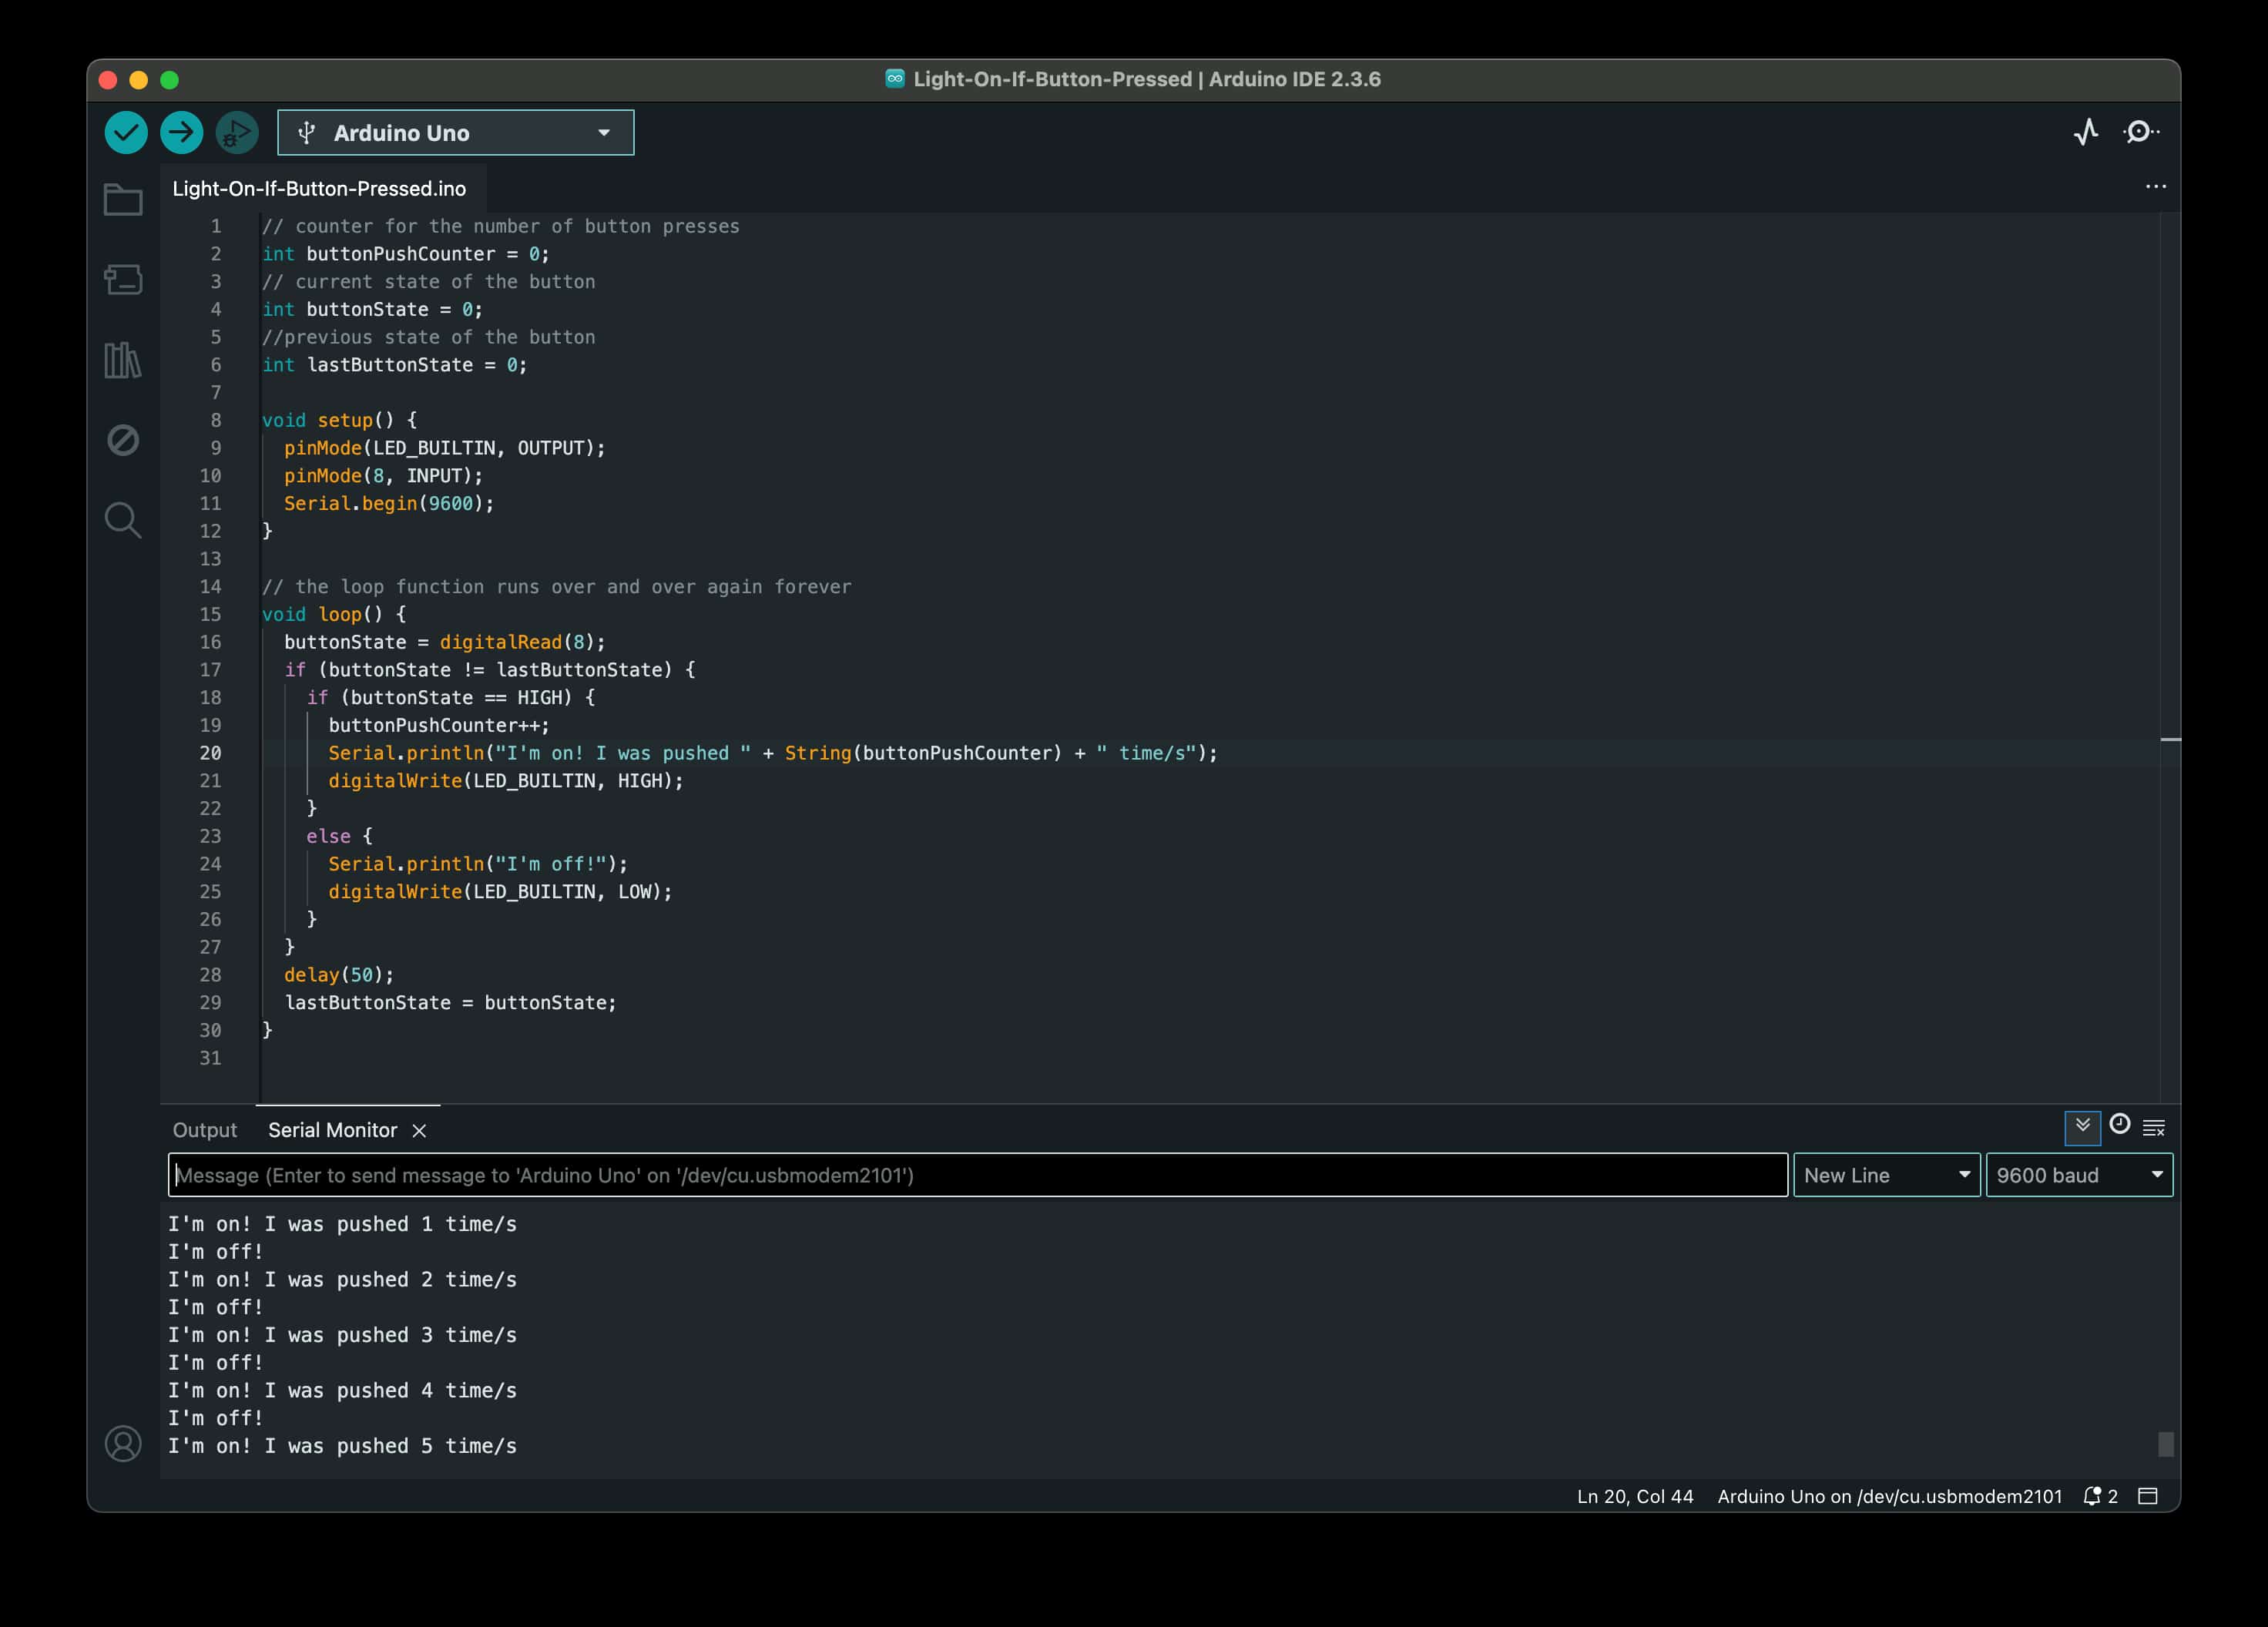
But I wanted to go further. With the group's help, I figured out how to make it so that it would actually keep a counter of how many times I connected the wire. Here's what that looked like:
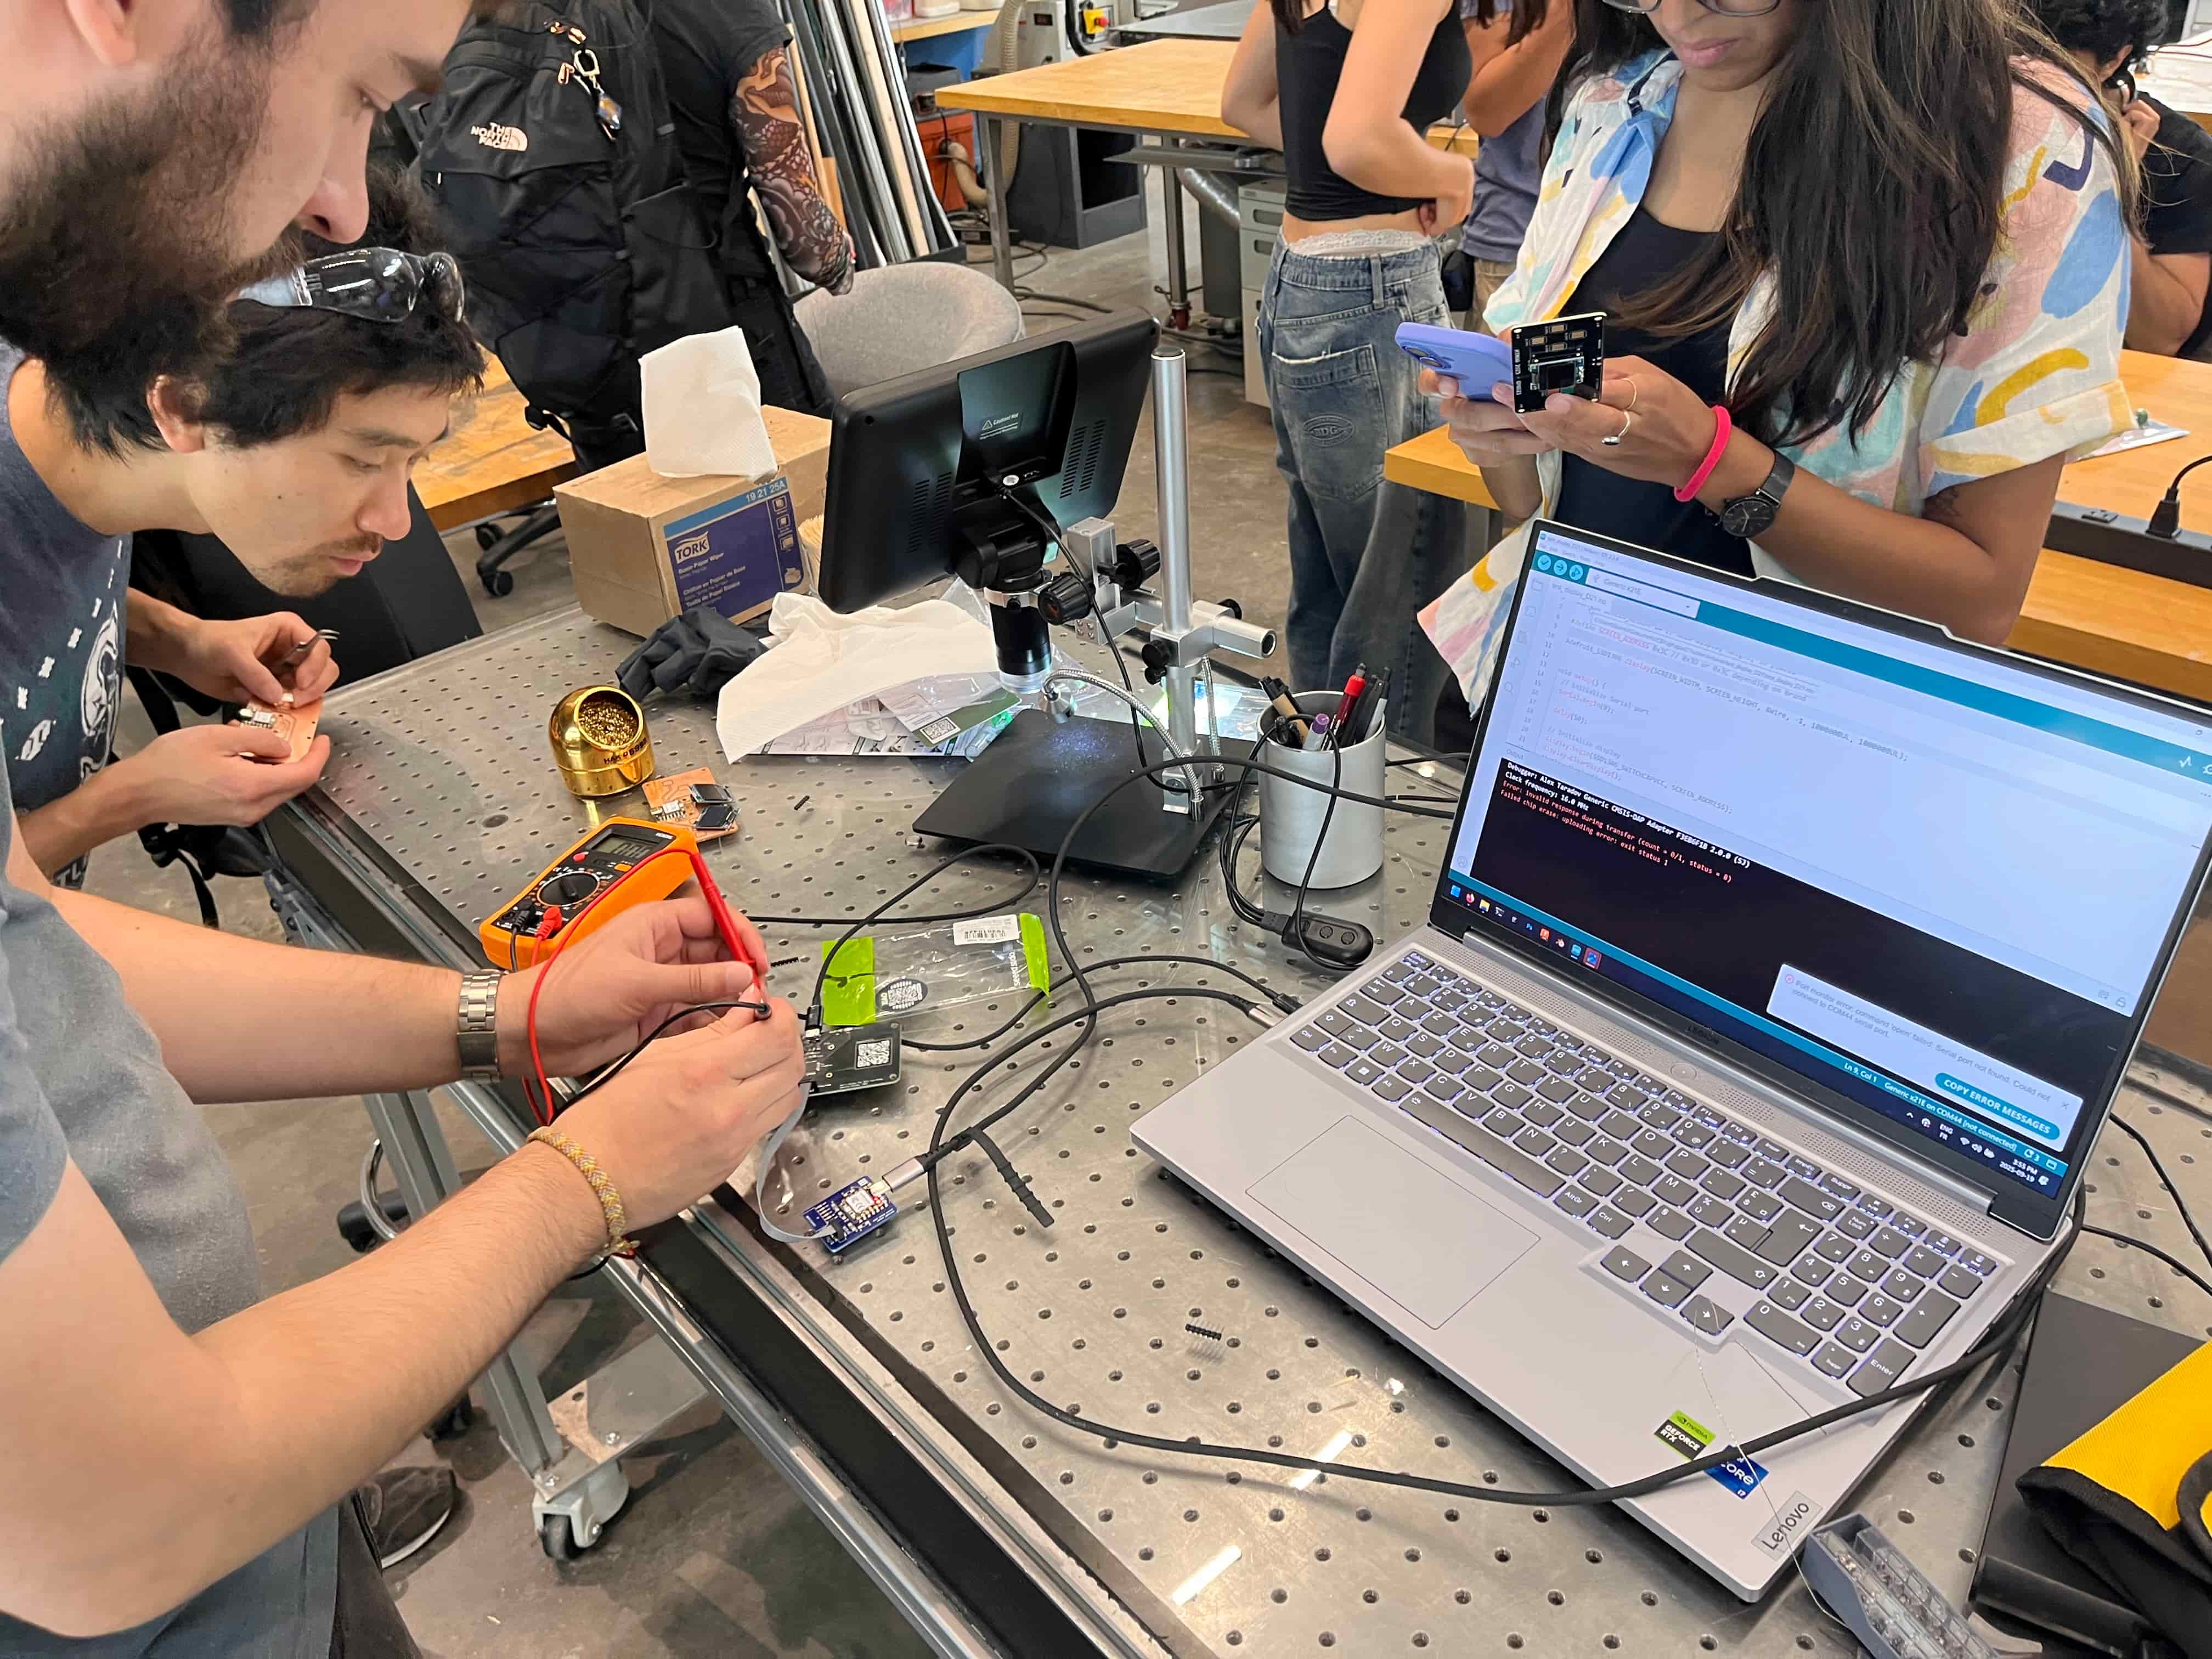
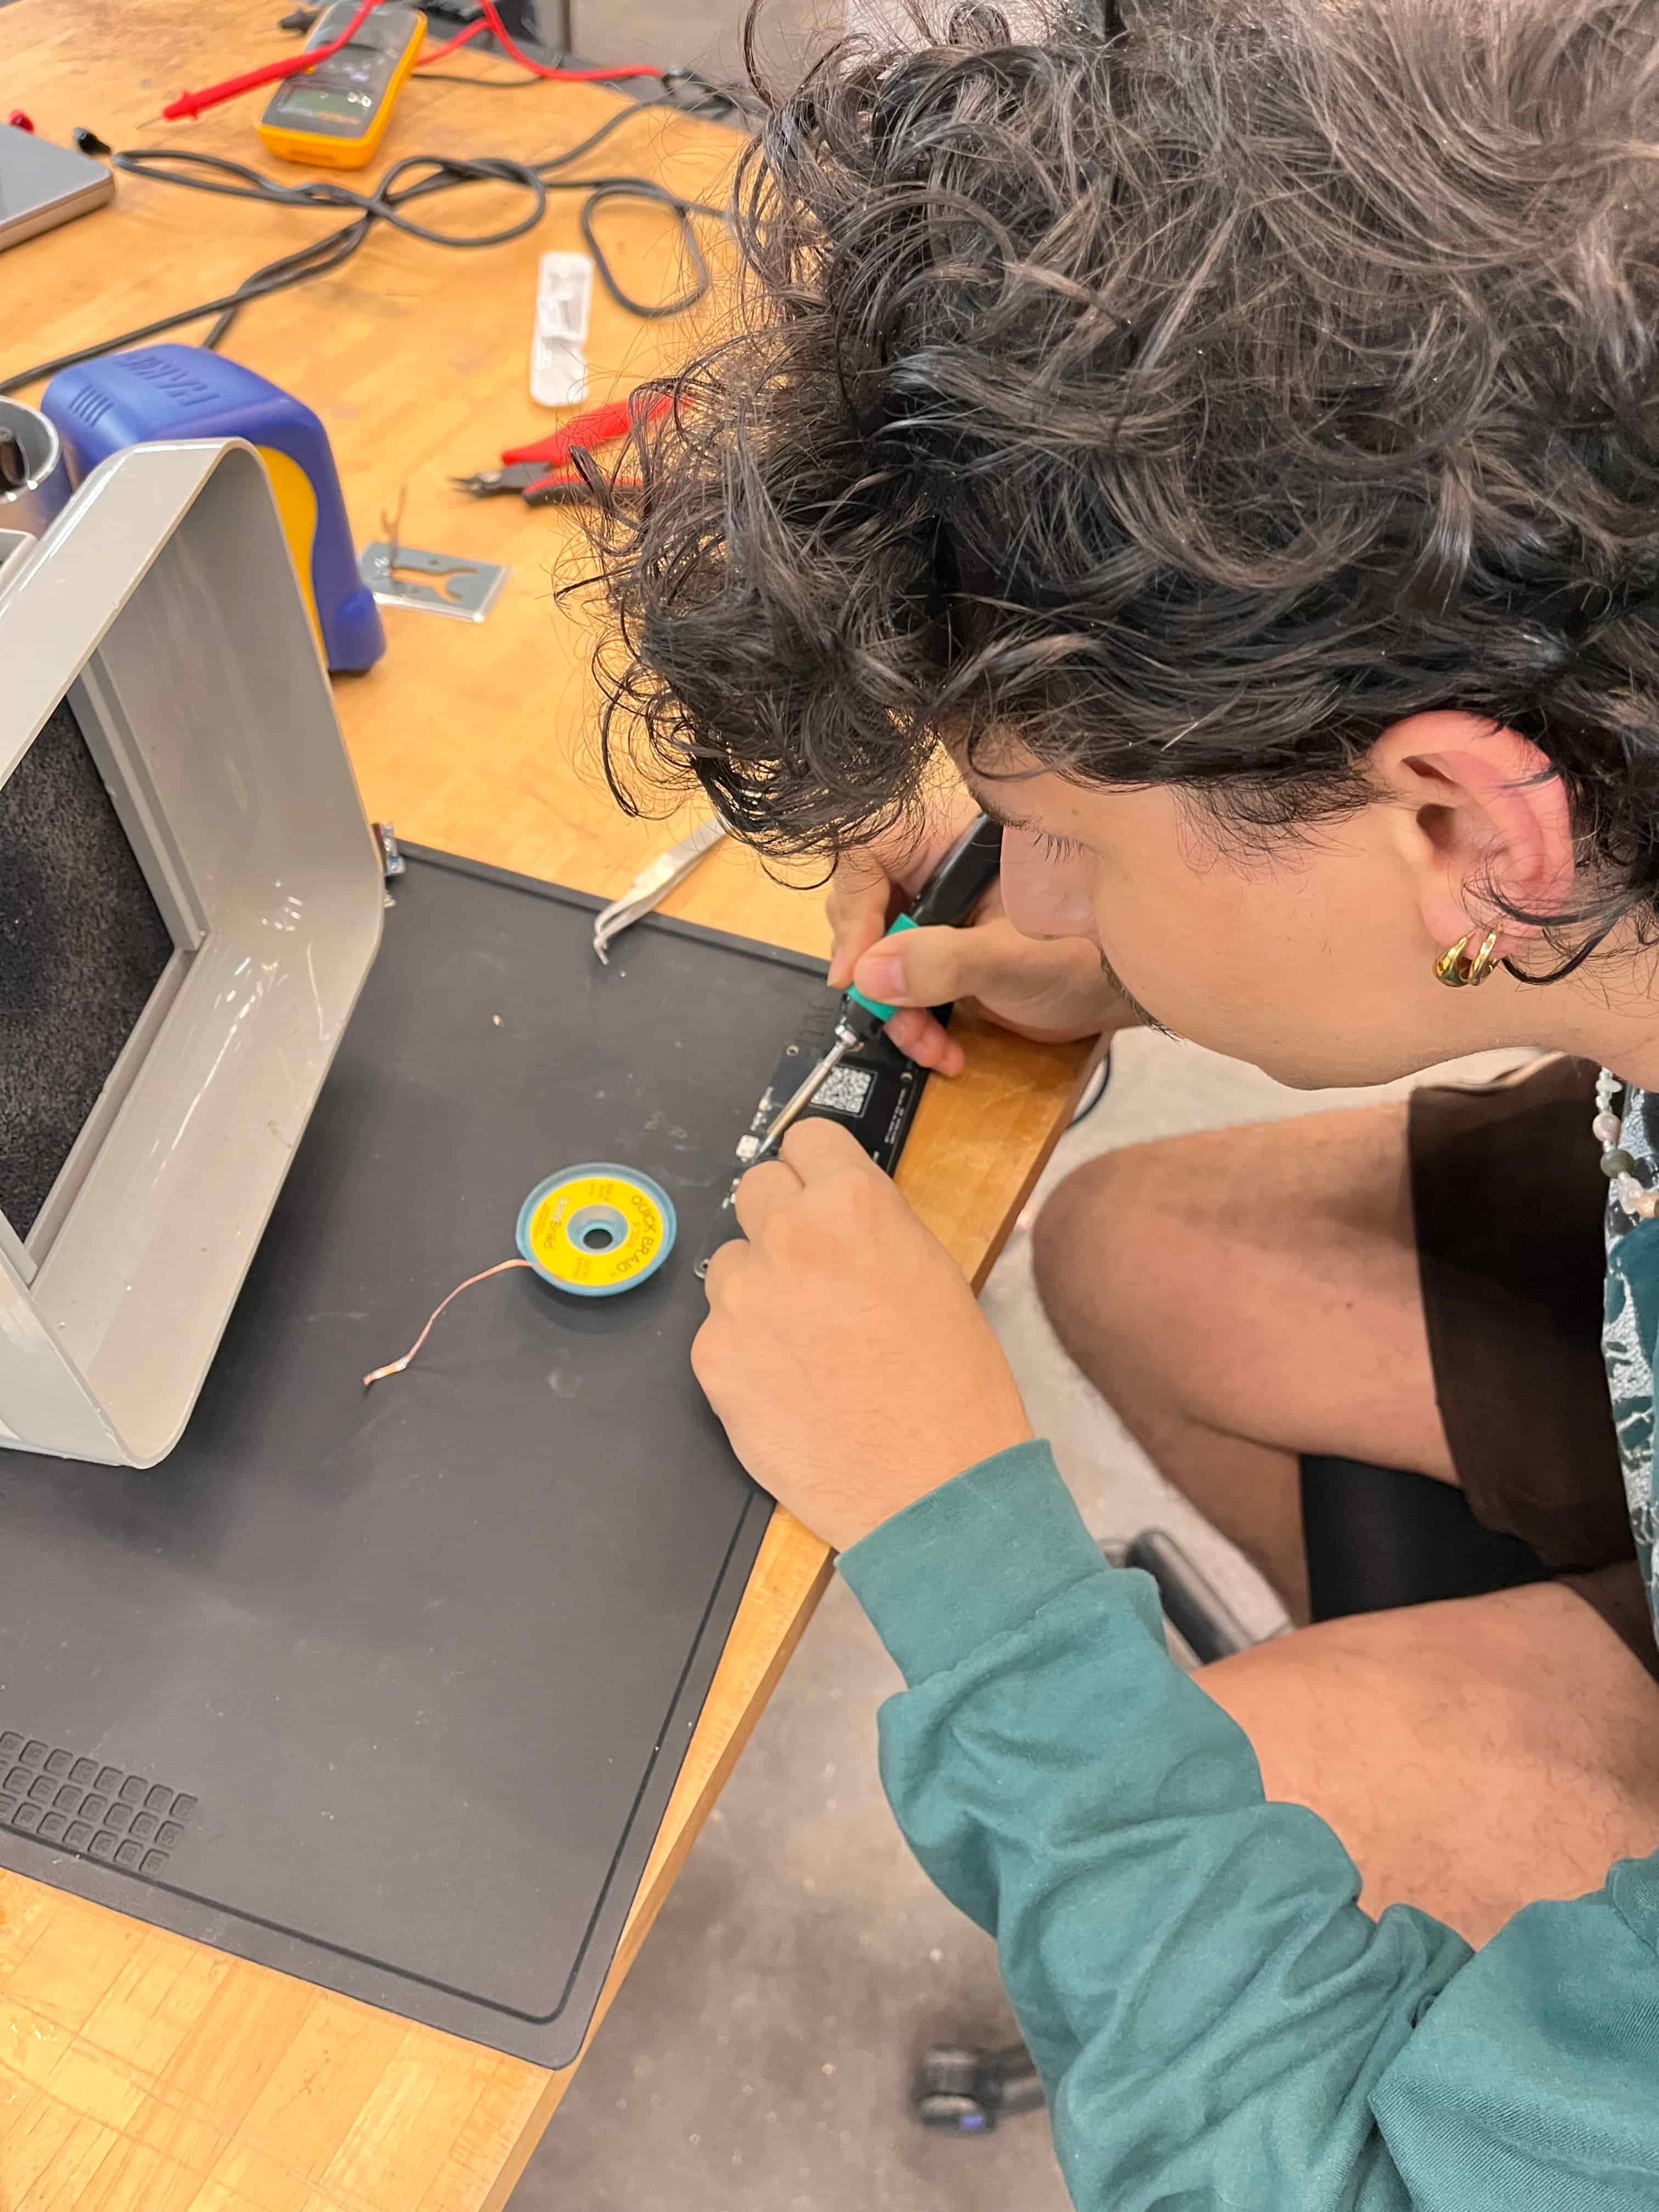
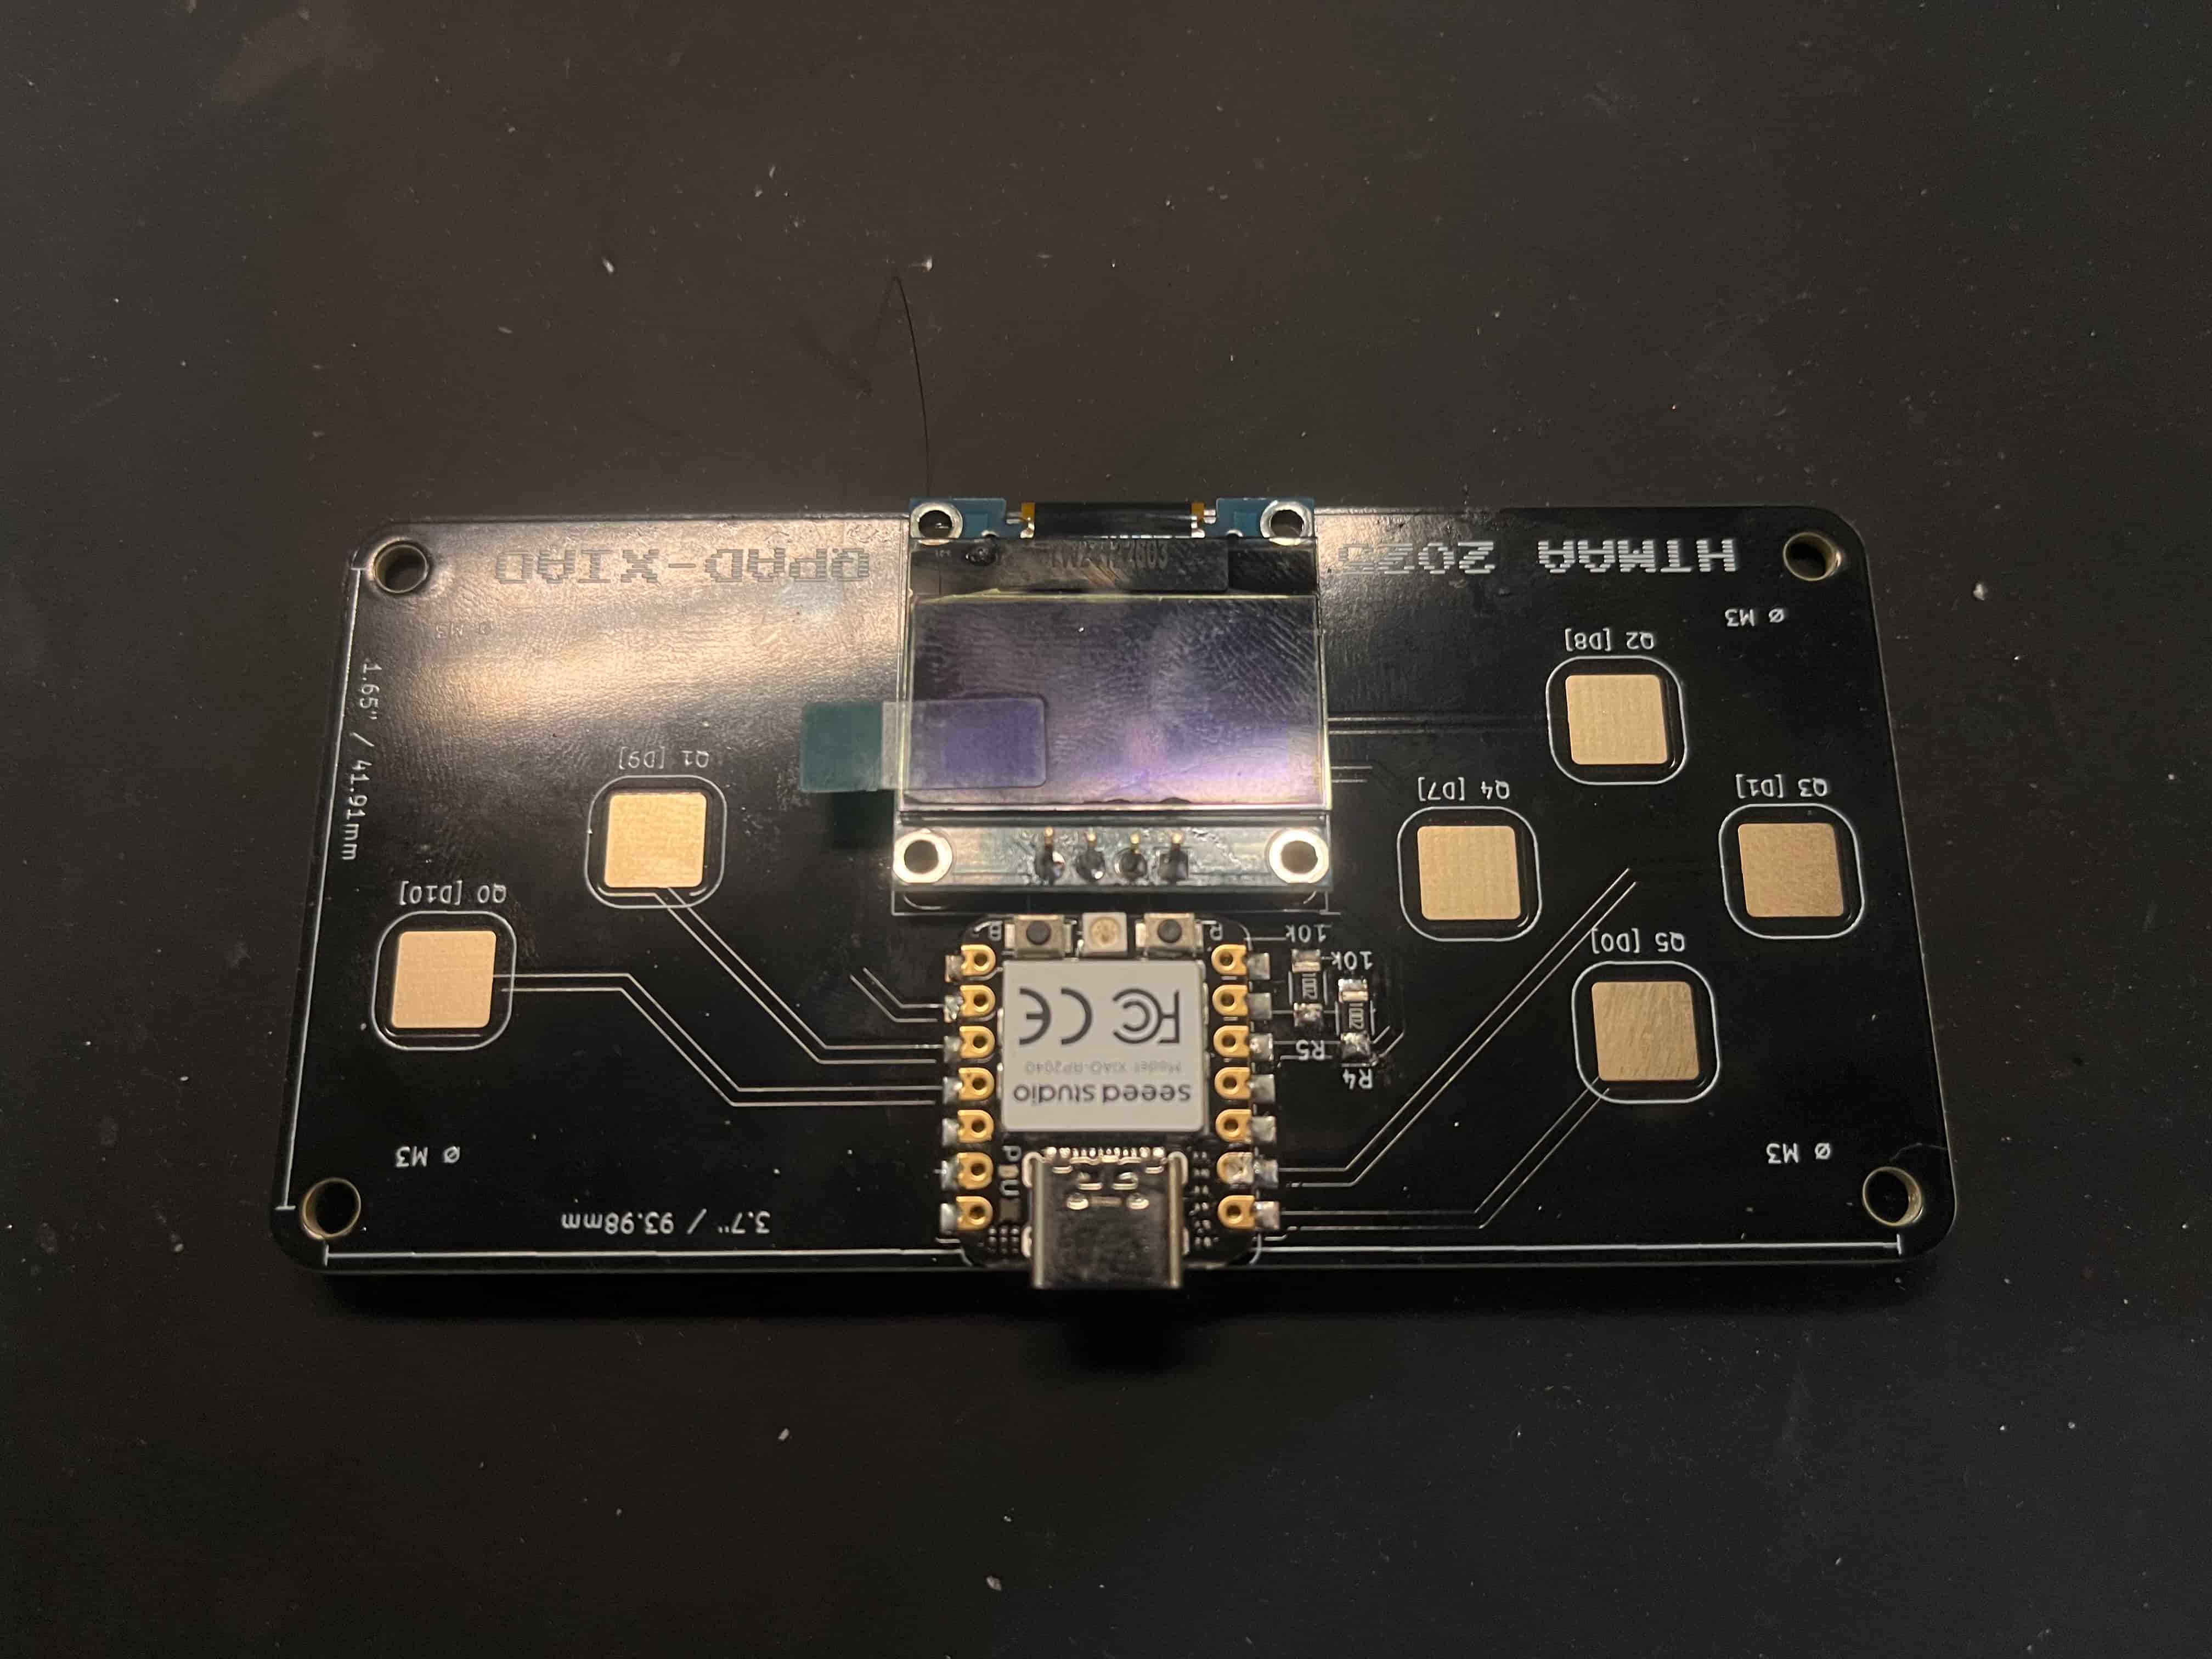
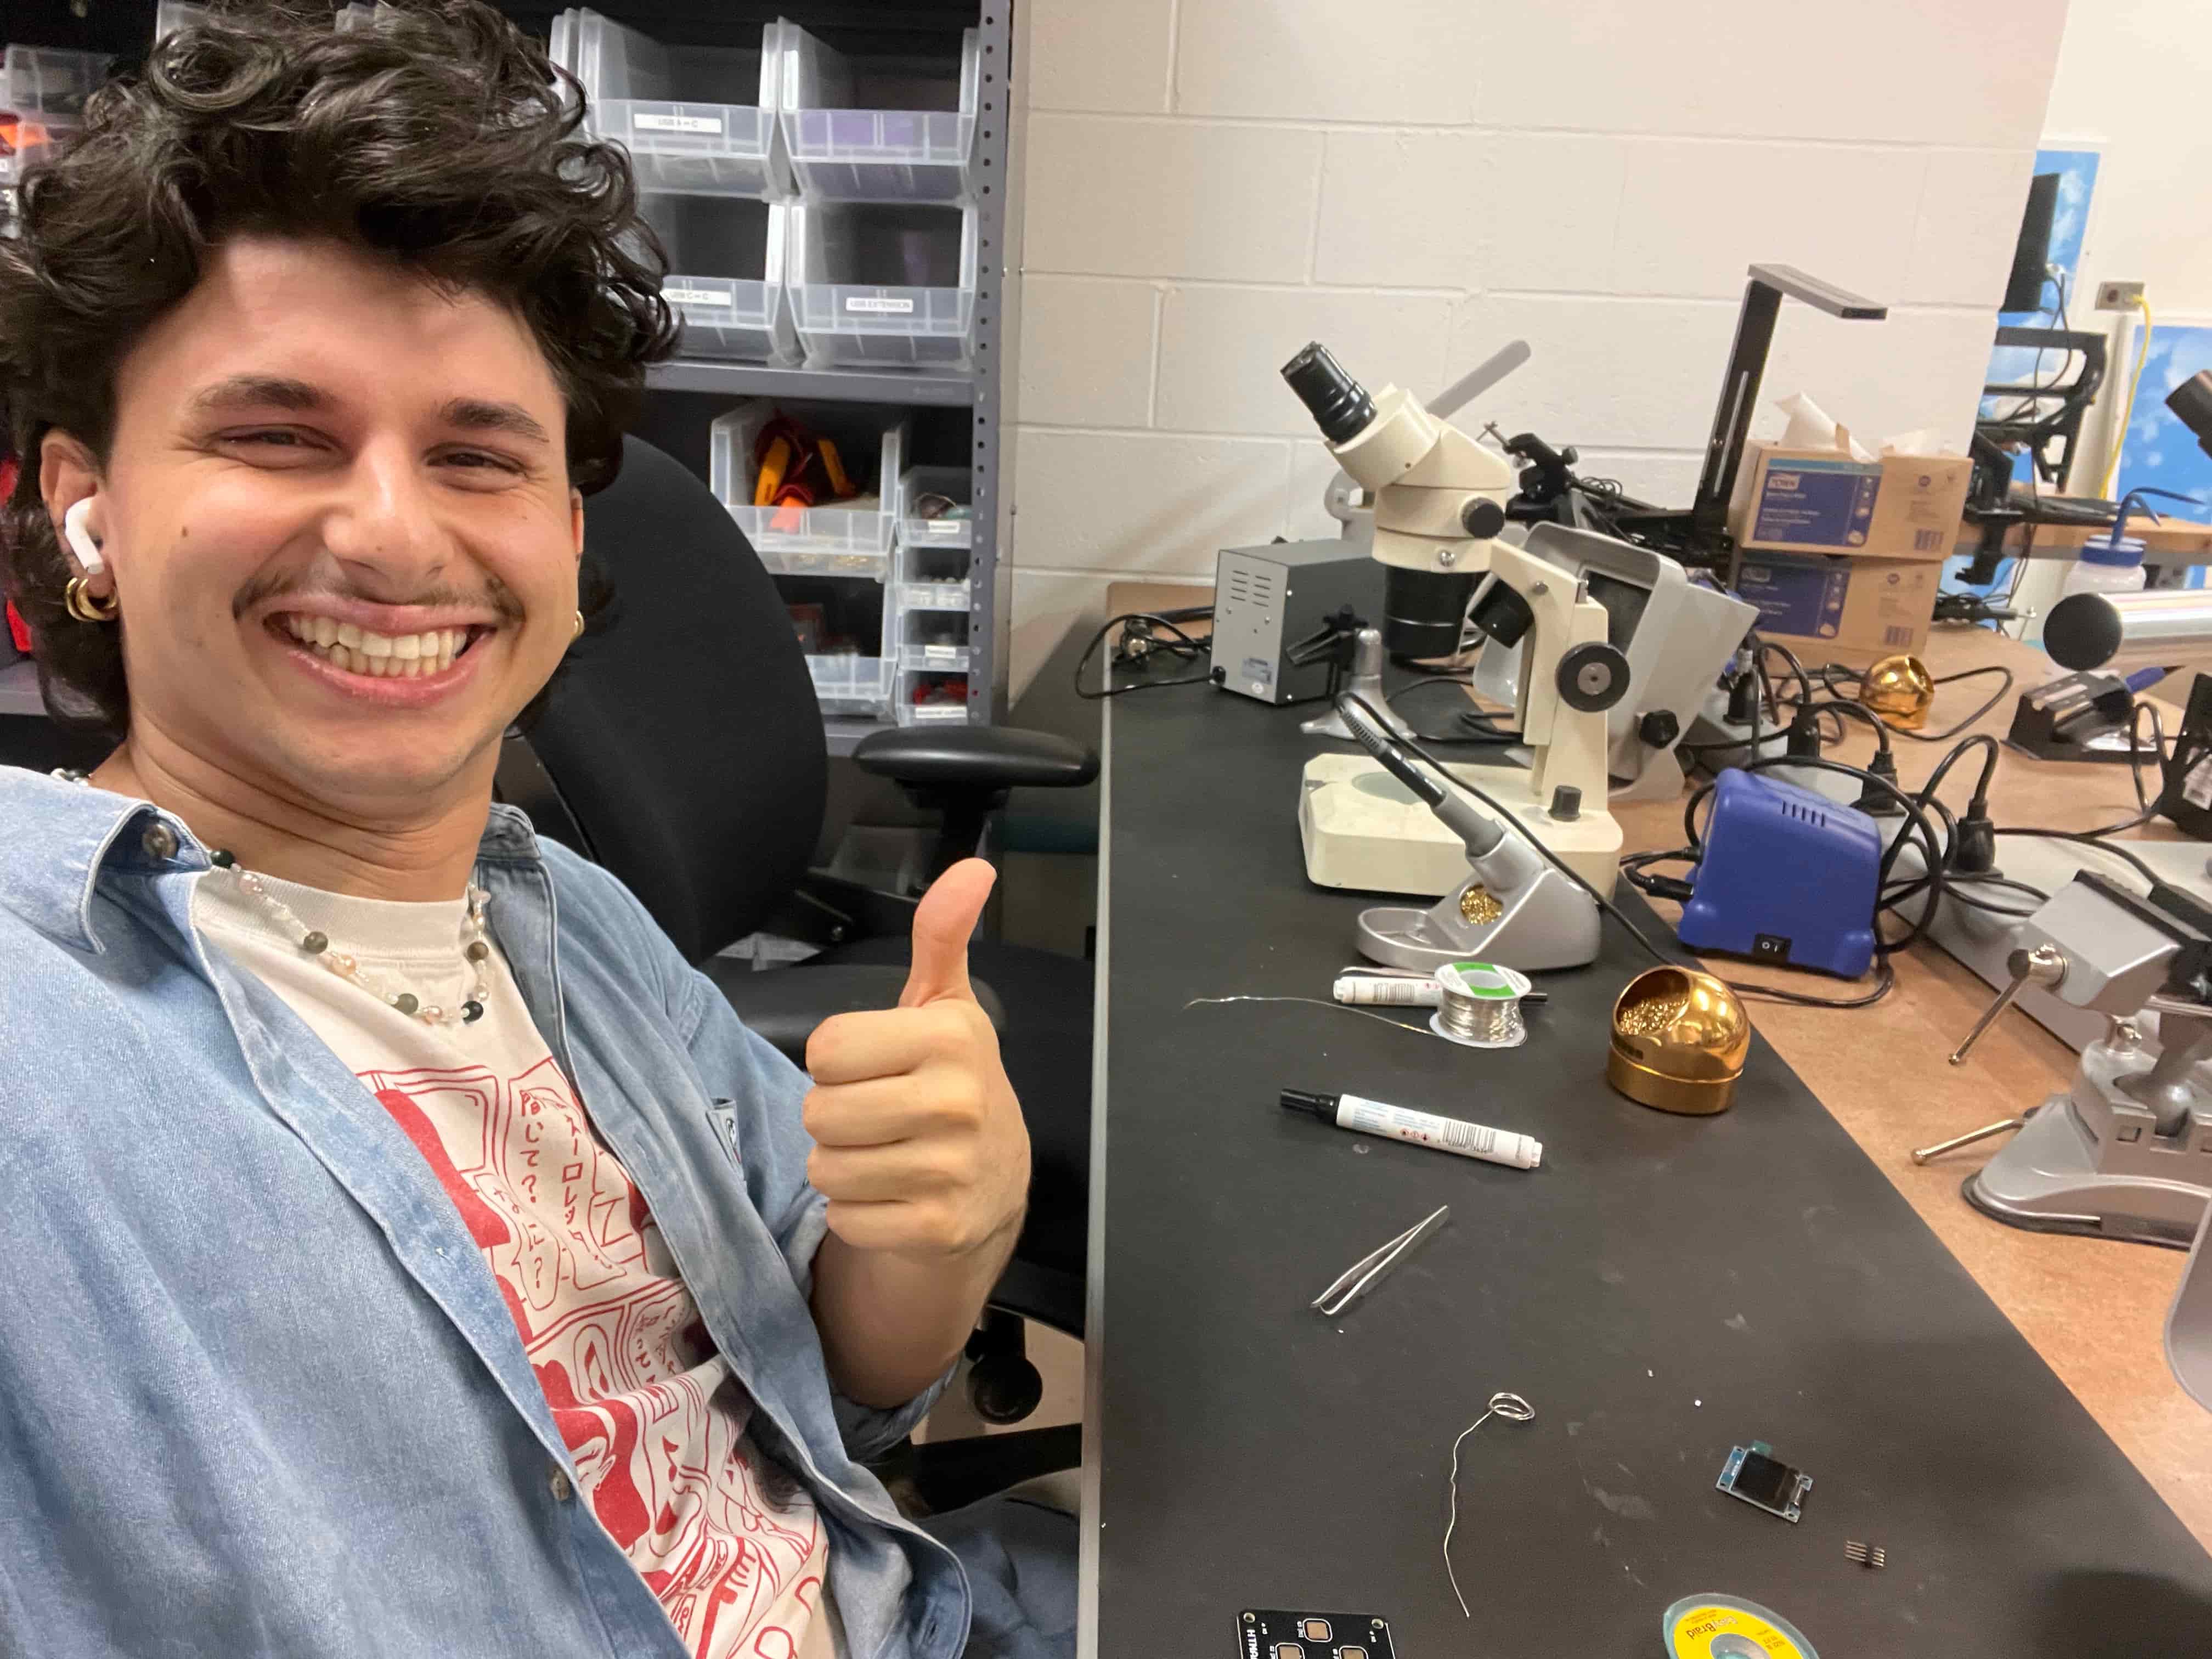
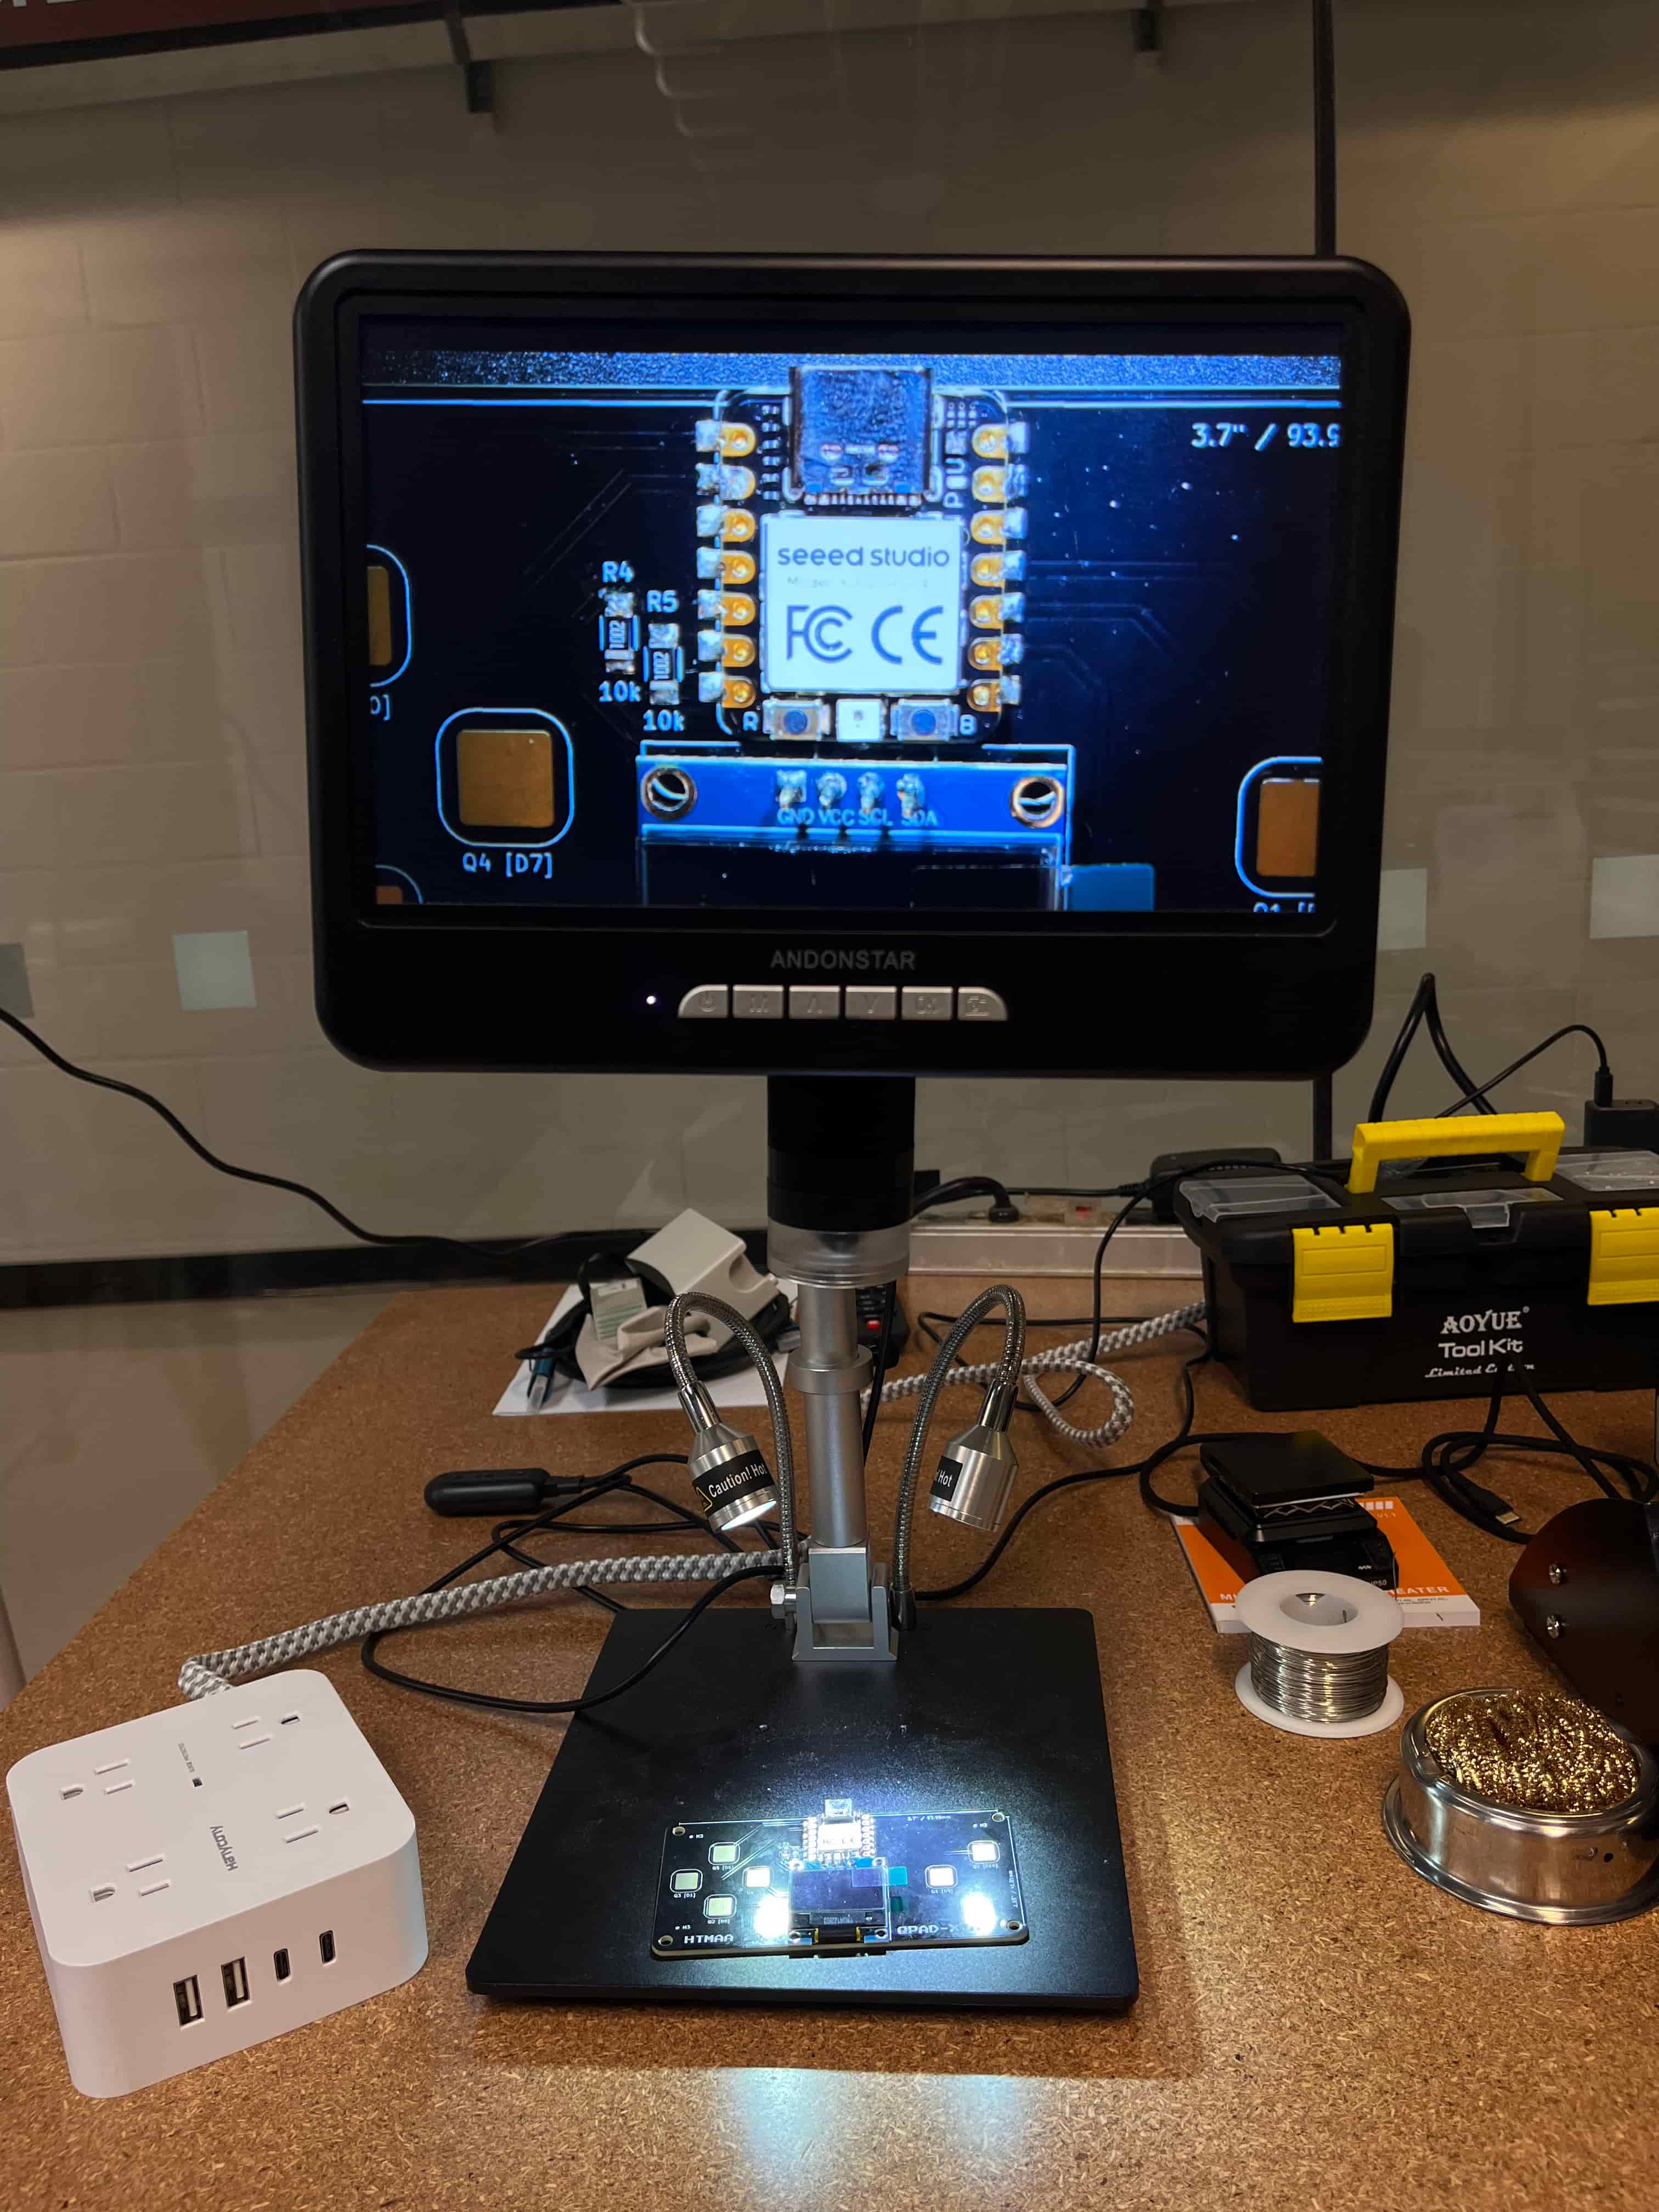
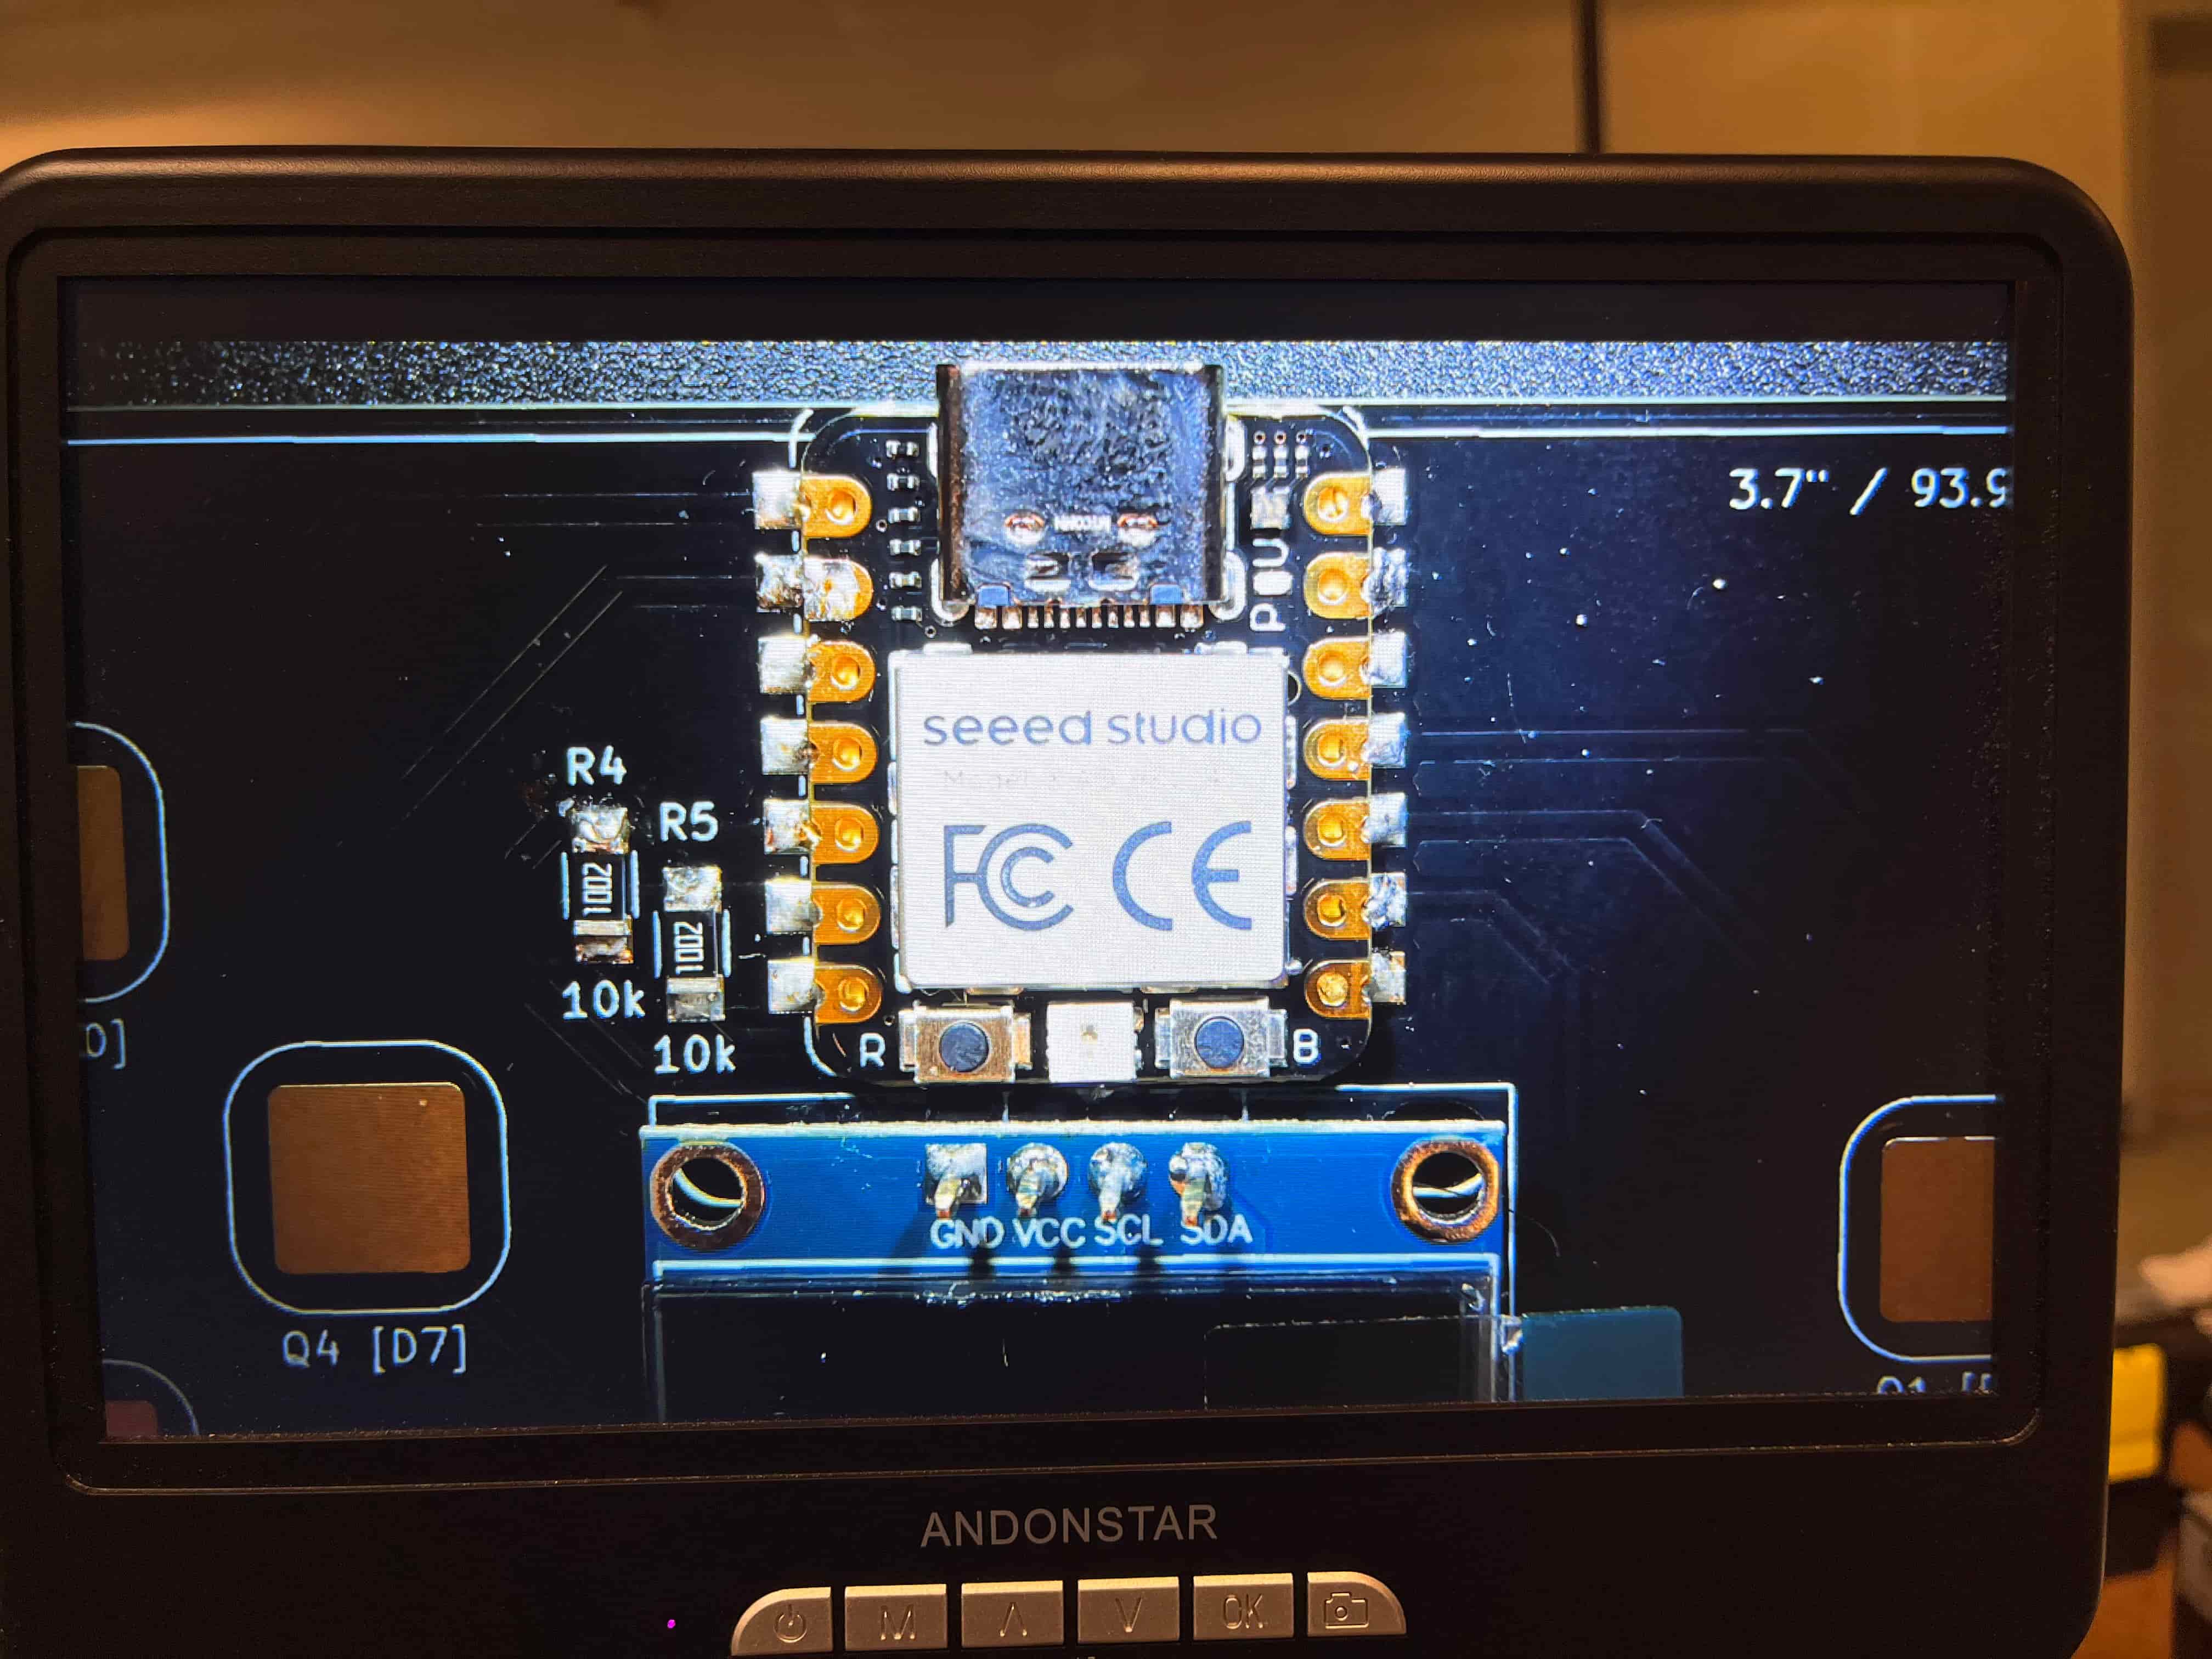
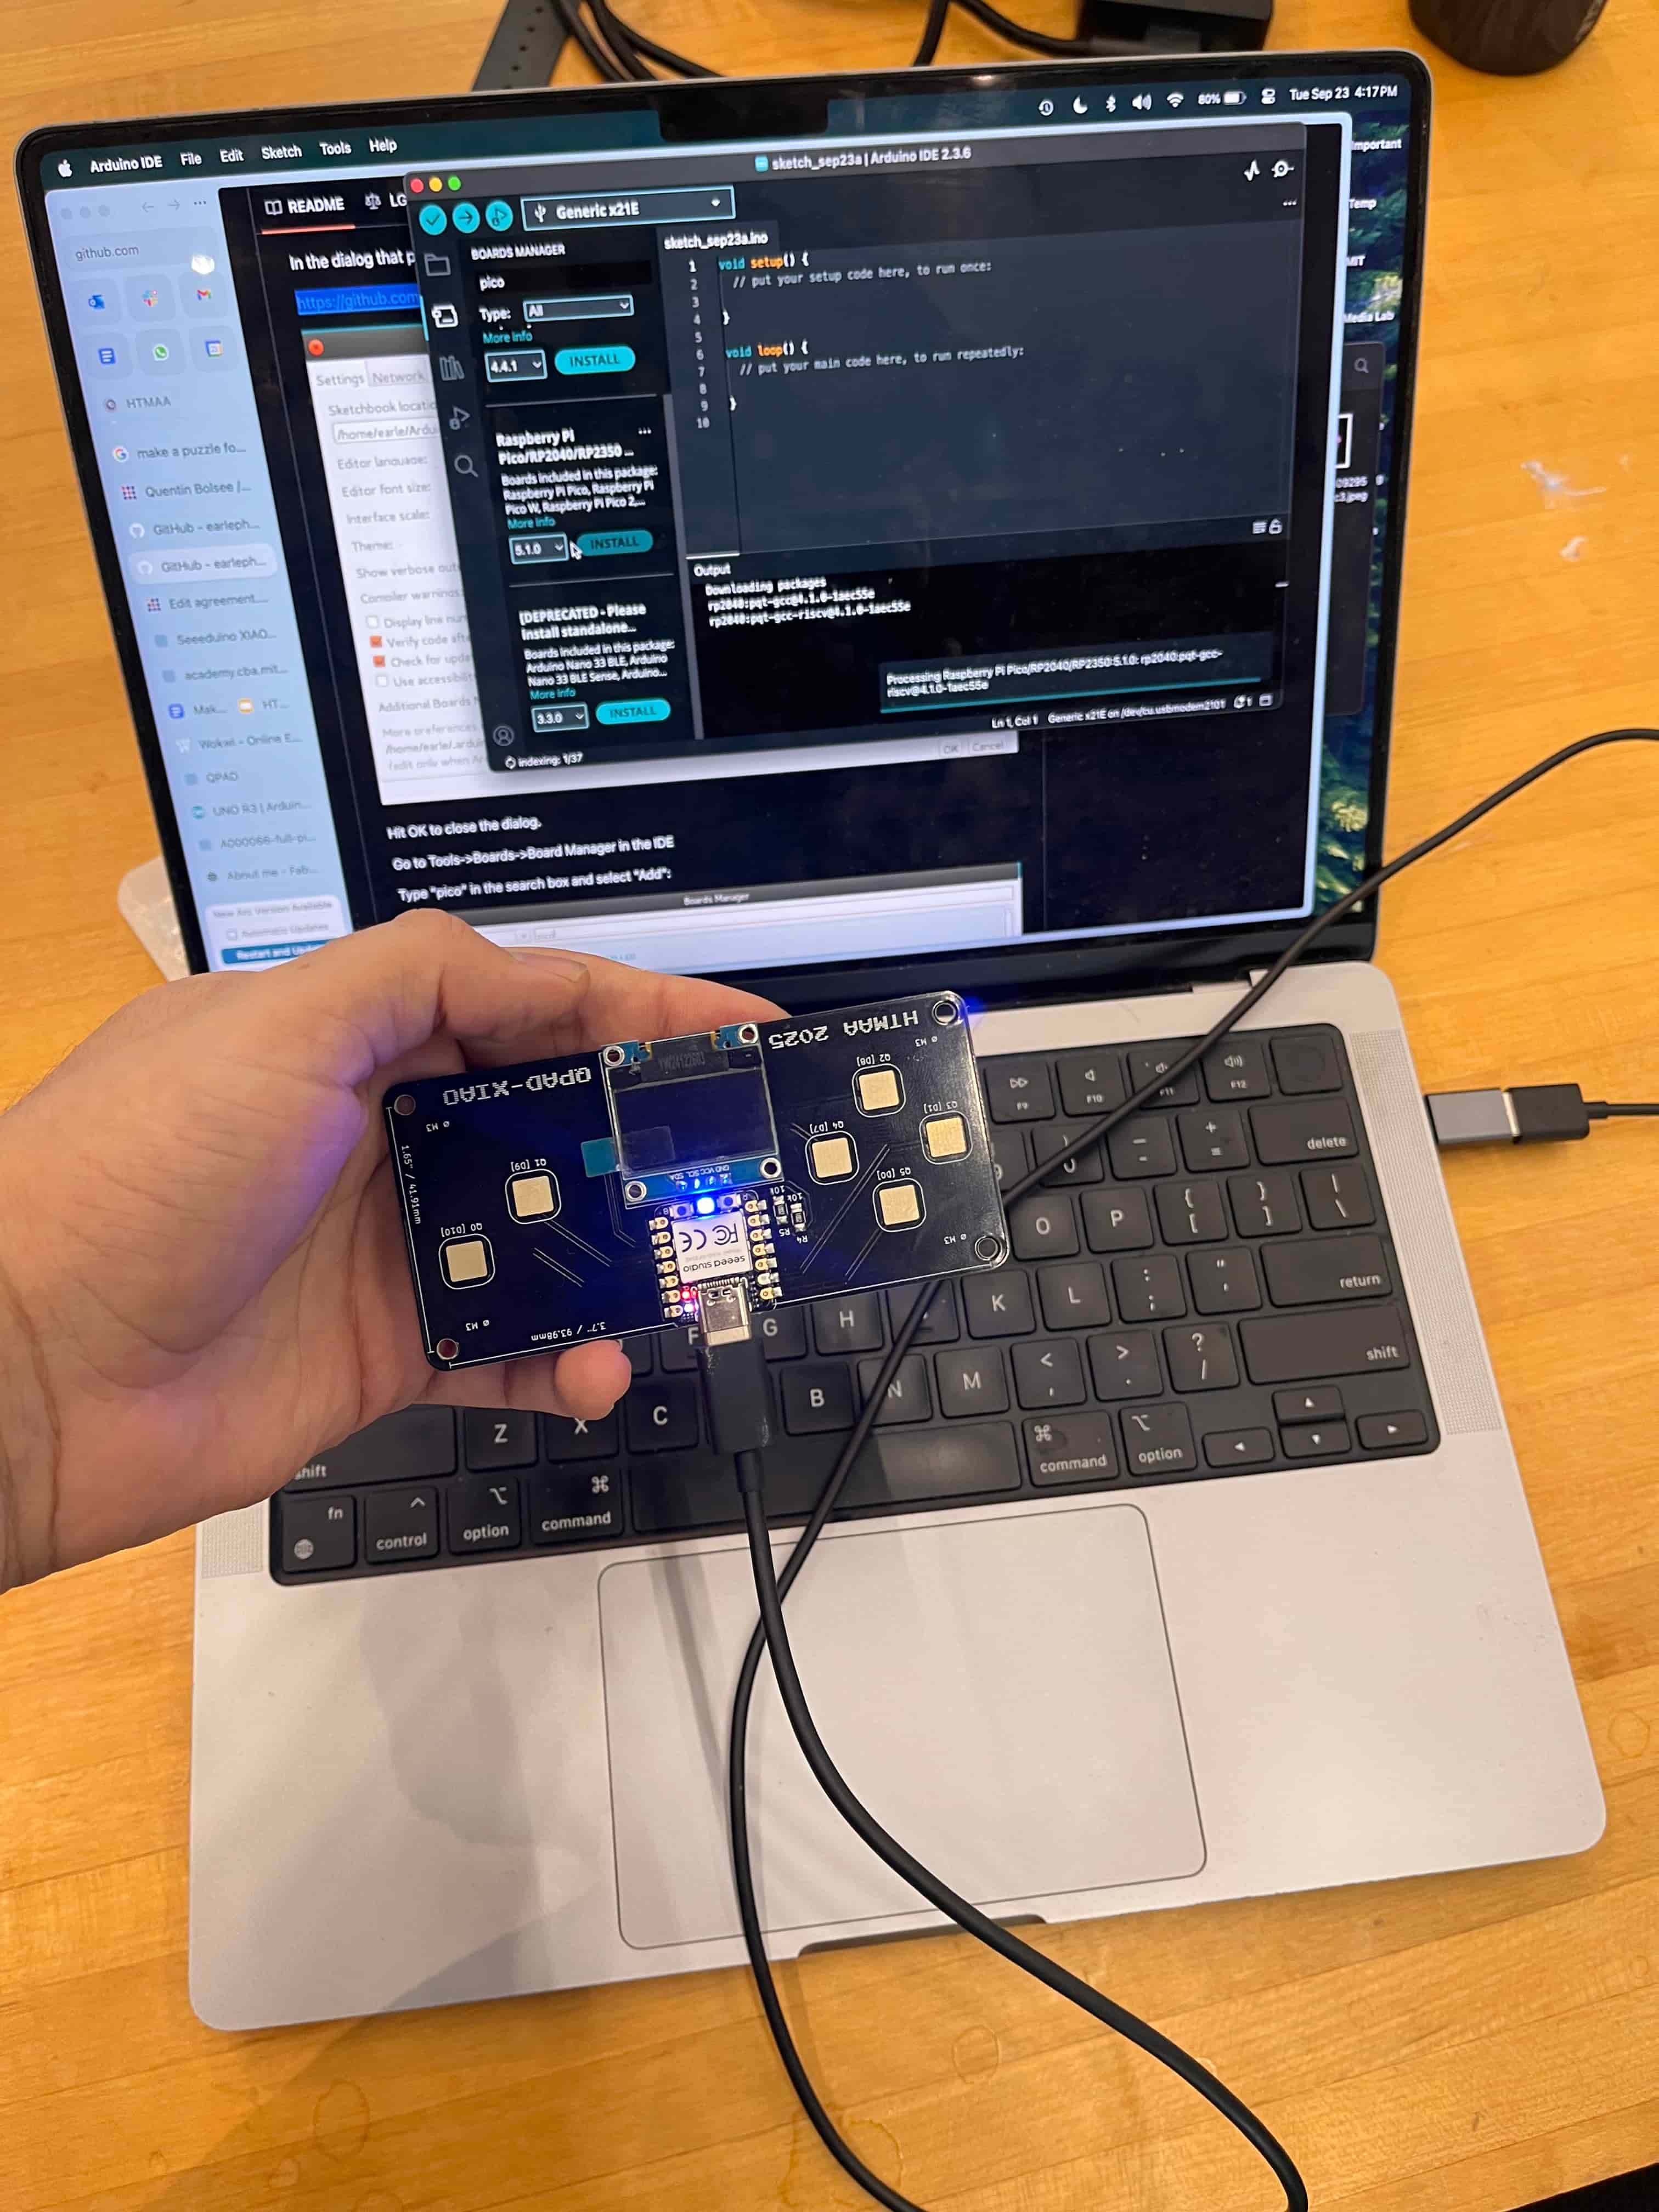
Future Eitan Here: I've come back to add more documentation for what we did through the rest of the week! We had a group lab where Quentin and Alan taught us how to solder – we used the QPads Quentin made for us, which was an excellent primer to how the process should work. I really, really liked this lab format, and think it should be replicated for future weeks! You can see the XIAO RP2040 version I soldered (the first thing I've ever soldered!) below. That original one was a Micro-USB, but I wanted to get more practice, so I also worked on the USB-C version, which I soldered down in the electronics lab. I used ChatGPT to help me write some code to connect it to Ableton and send out MIDI through each of the touchpads, and have included the prompts and conversation above for reference. You can see how that turned out in the video below!