
Overview
This week, our focus was learning about 3D printing and scanning techniques. I've been an admirer of Valdemar's "Organs Without Bodies" project, so my overall goal was to find some ways to make my own generative AI models to 3D print. The assignment was:
- design, document, and 3D print an object that could not be made subtractively (small, few cm3, limited by printer time)
- 3D scan an object (and optionally print it)
Project Files & Links
- Week 4 Lecture Notes
- Week 4 Recitation Notes
- Organic Guitar STL
- Organic Guitar 3MF Files
- Tree Scene STL
Group Assignment
Our group assignment was:
"test the design rules for your 3D printer(s)"
My contribution to the group assignment this week was studying the anistropic qualities of different print angles. I created a set of "dogbones" printed at different angles, and tested the tensile strength of each with the Instron Tensile Tester.
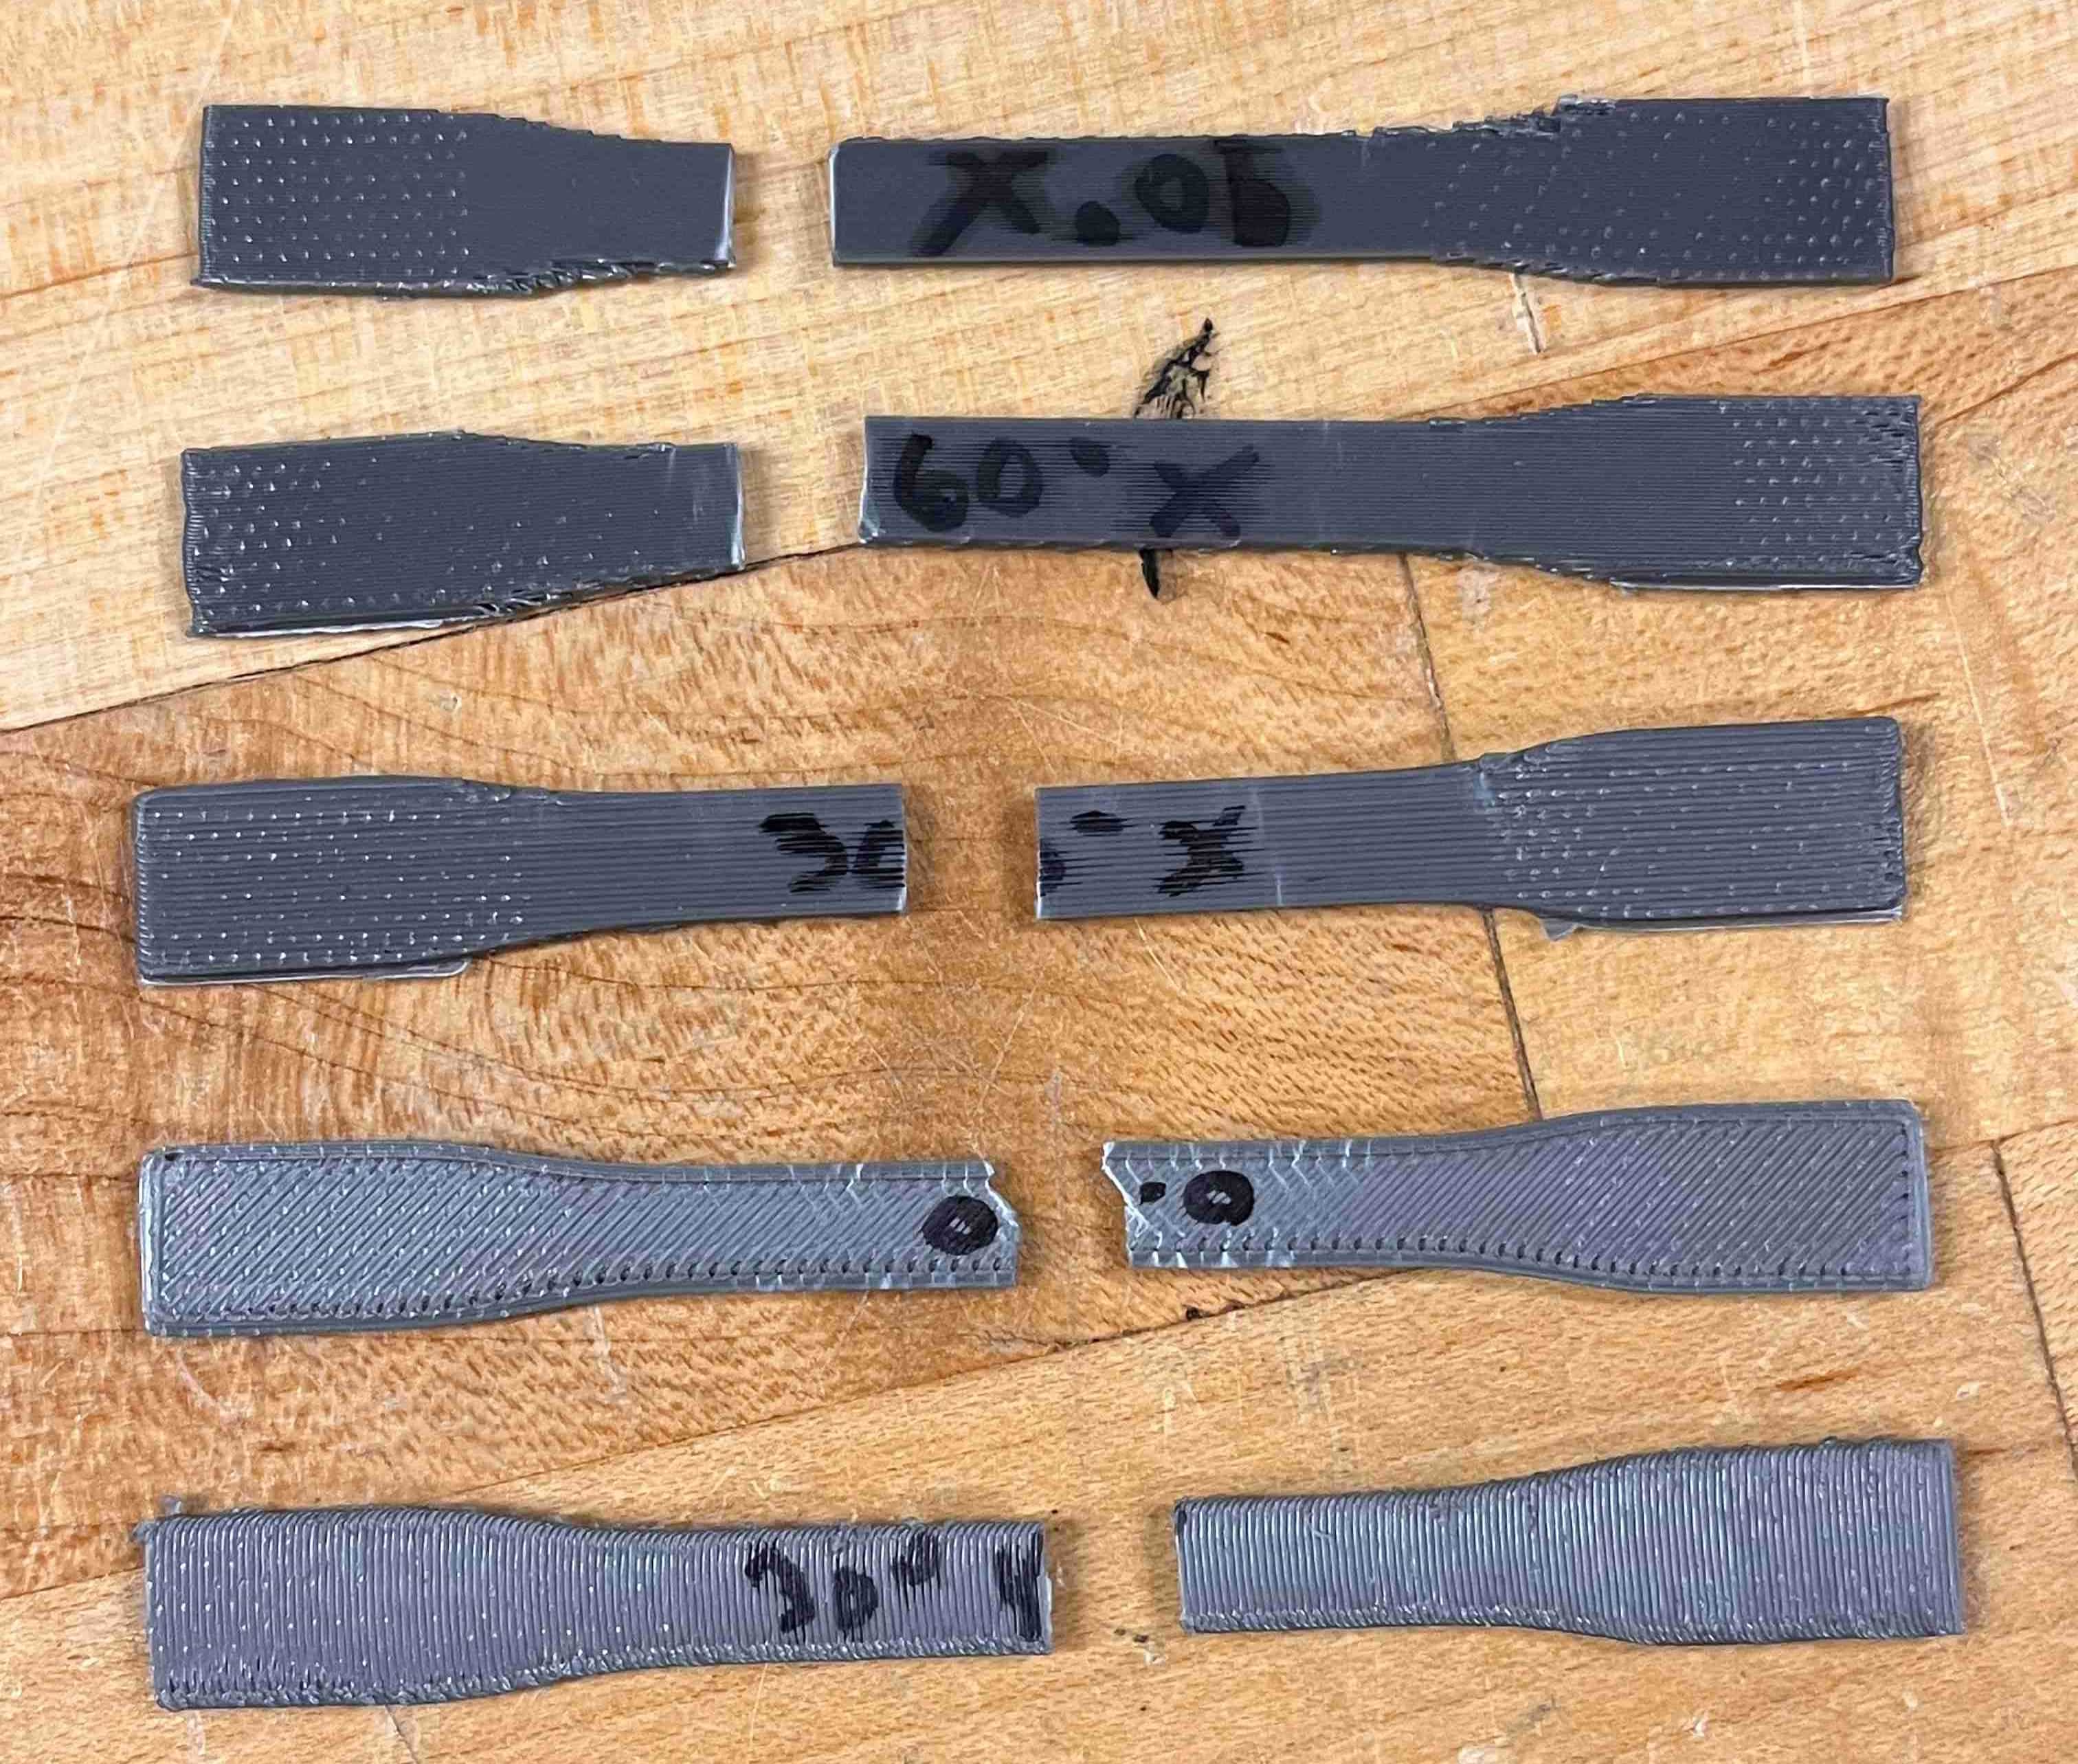
You can find more information about that, and what the rest of our group did to complete the assignment, here.
Learning the Basics
But before any of that, I needed to learn the very basics. How do we 3D print anything at all?
The main set of 3D printers in the CBA shop are Prusa printers, so I went to prusa3d.com and downloaded the latest version of PrusaSlicer (in this case 2.9.3).

Here's what that looks like when it opens – the plate for printing front and center, model controls on the left, and print settings on the right:

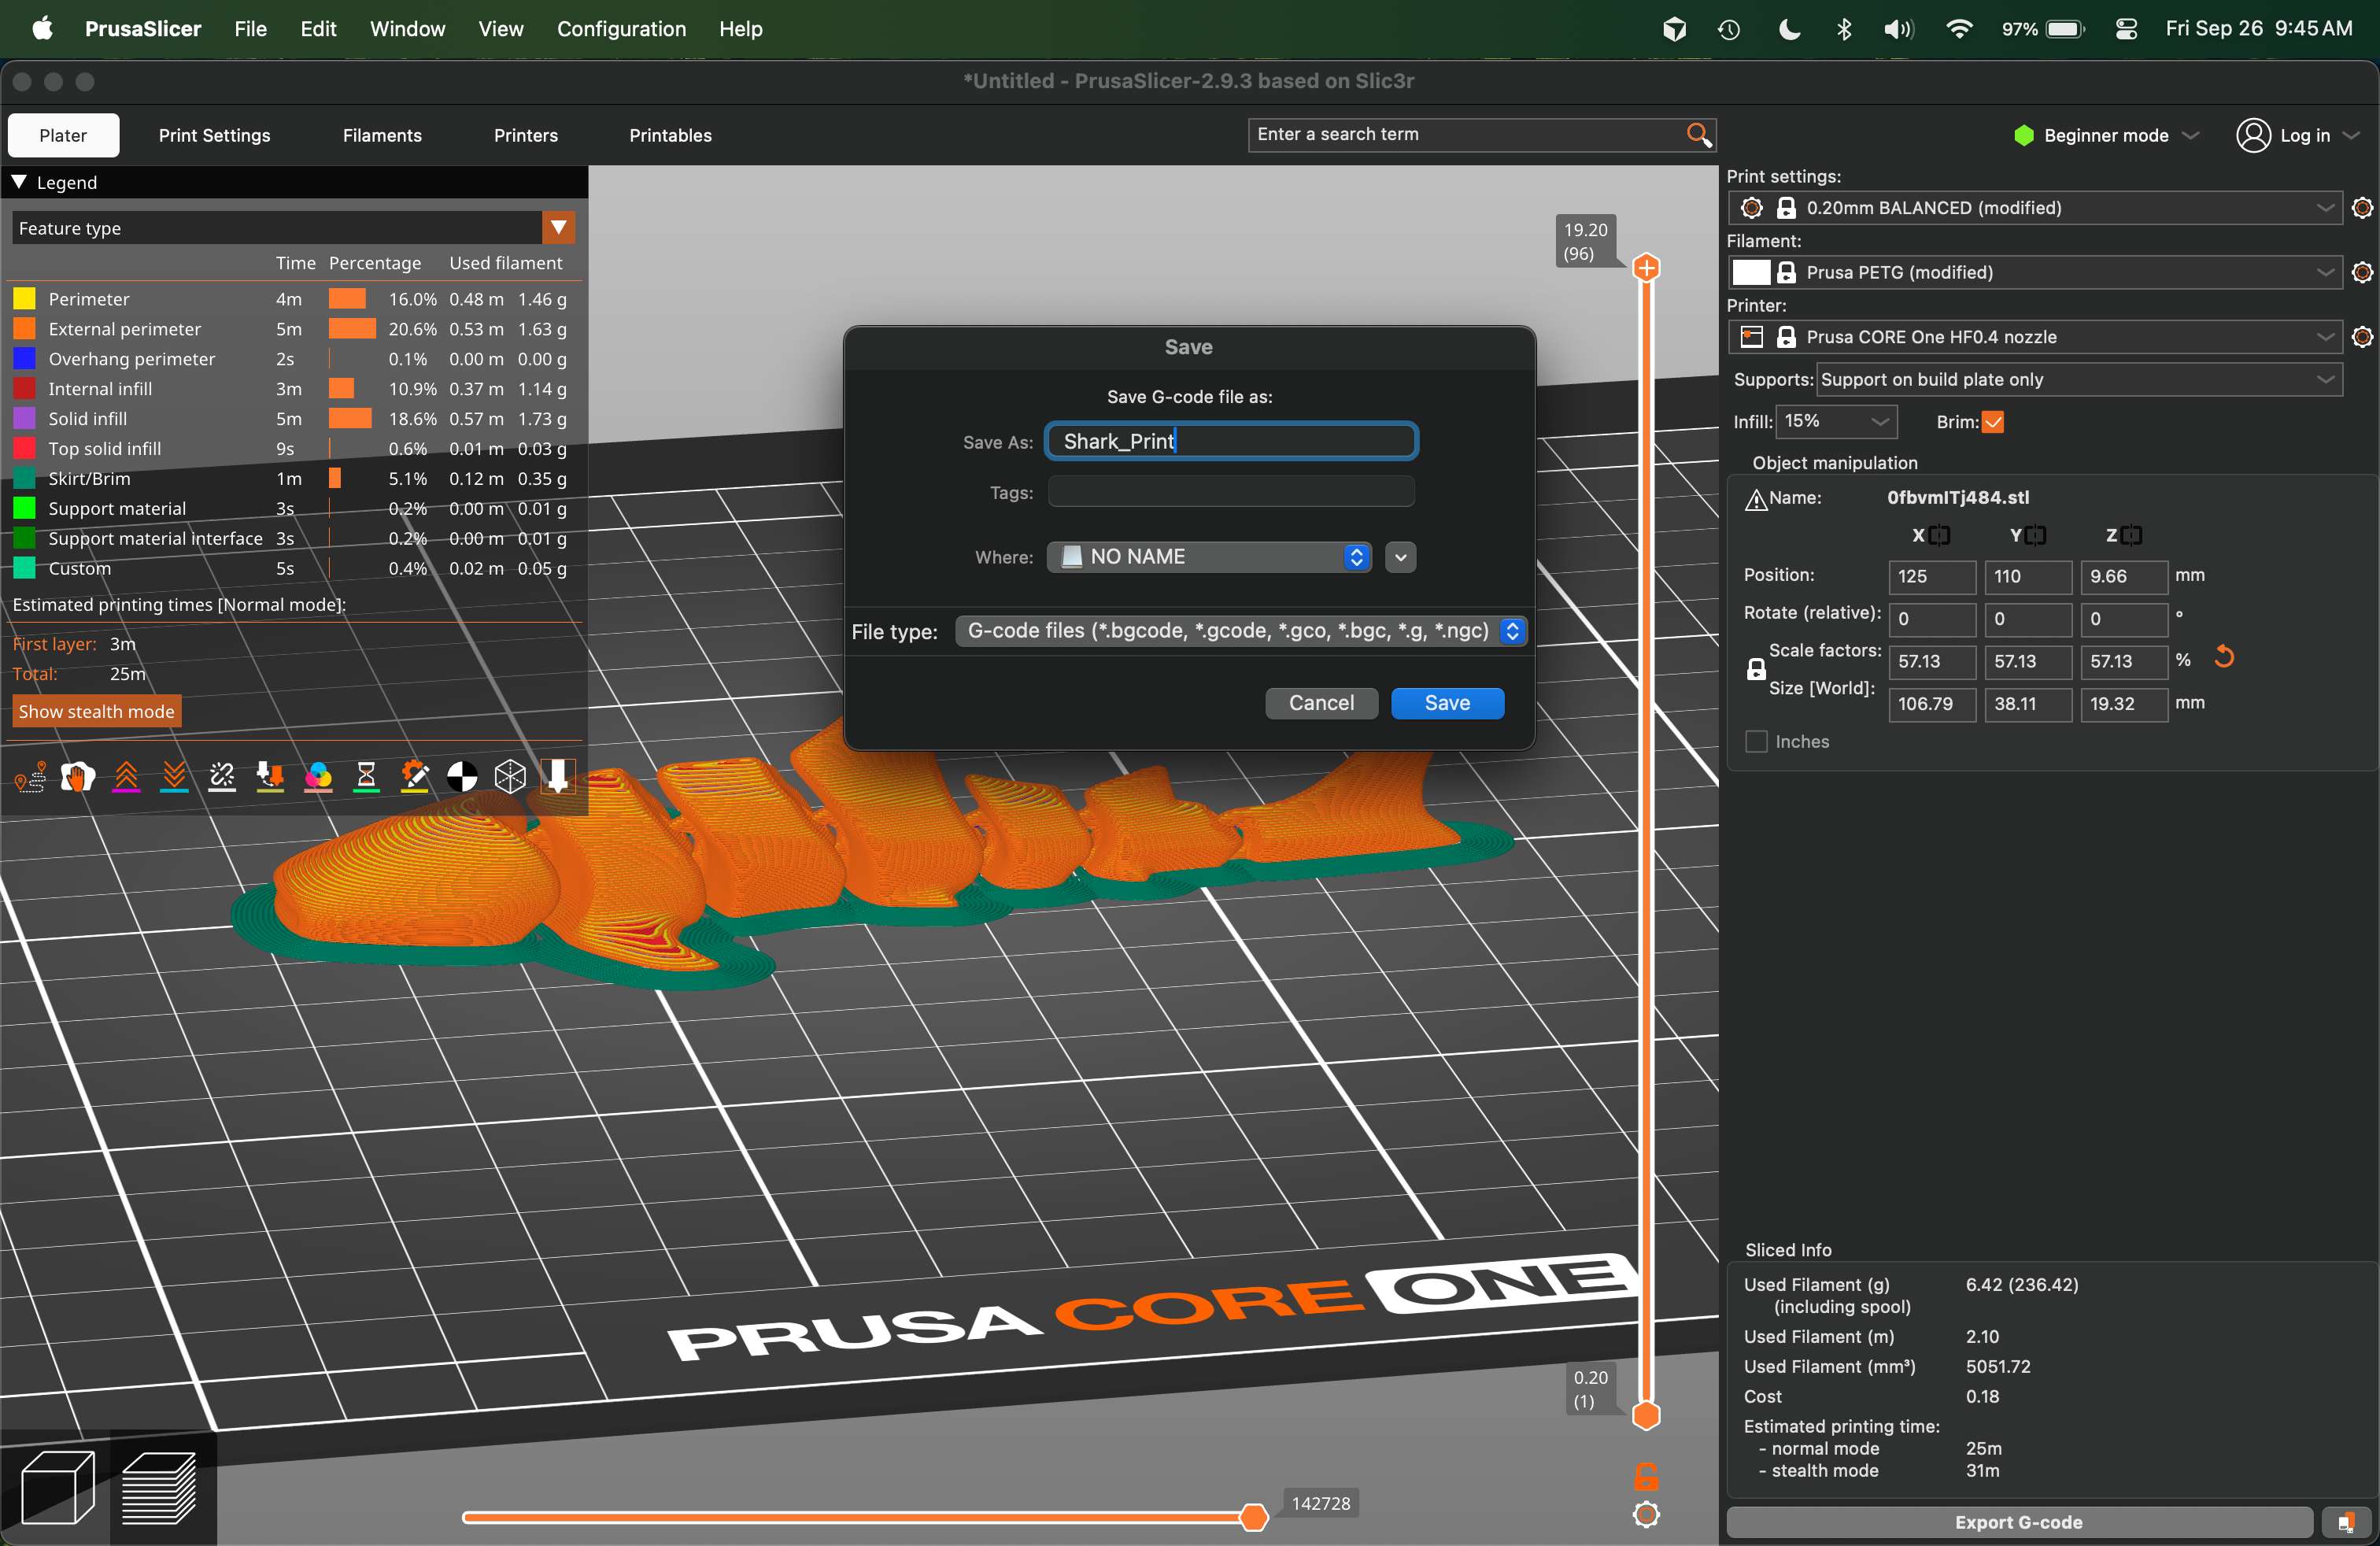
So let's find something fun and non-subtractive to print. One of the sites I'd heard about was Thingiverse, and after some searching I found a cute whale shark to test with and just dragged and dropped it into Prusa:

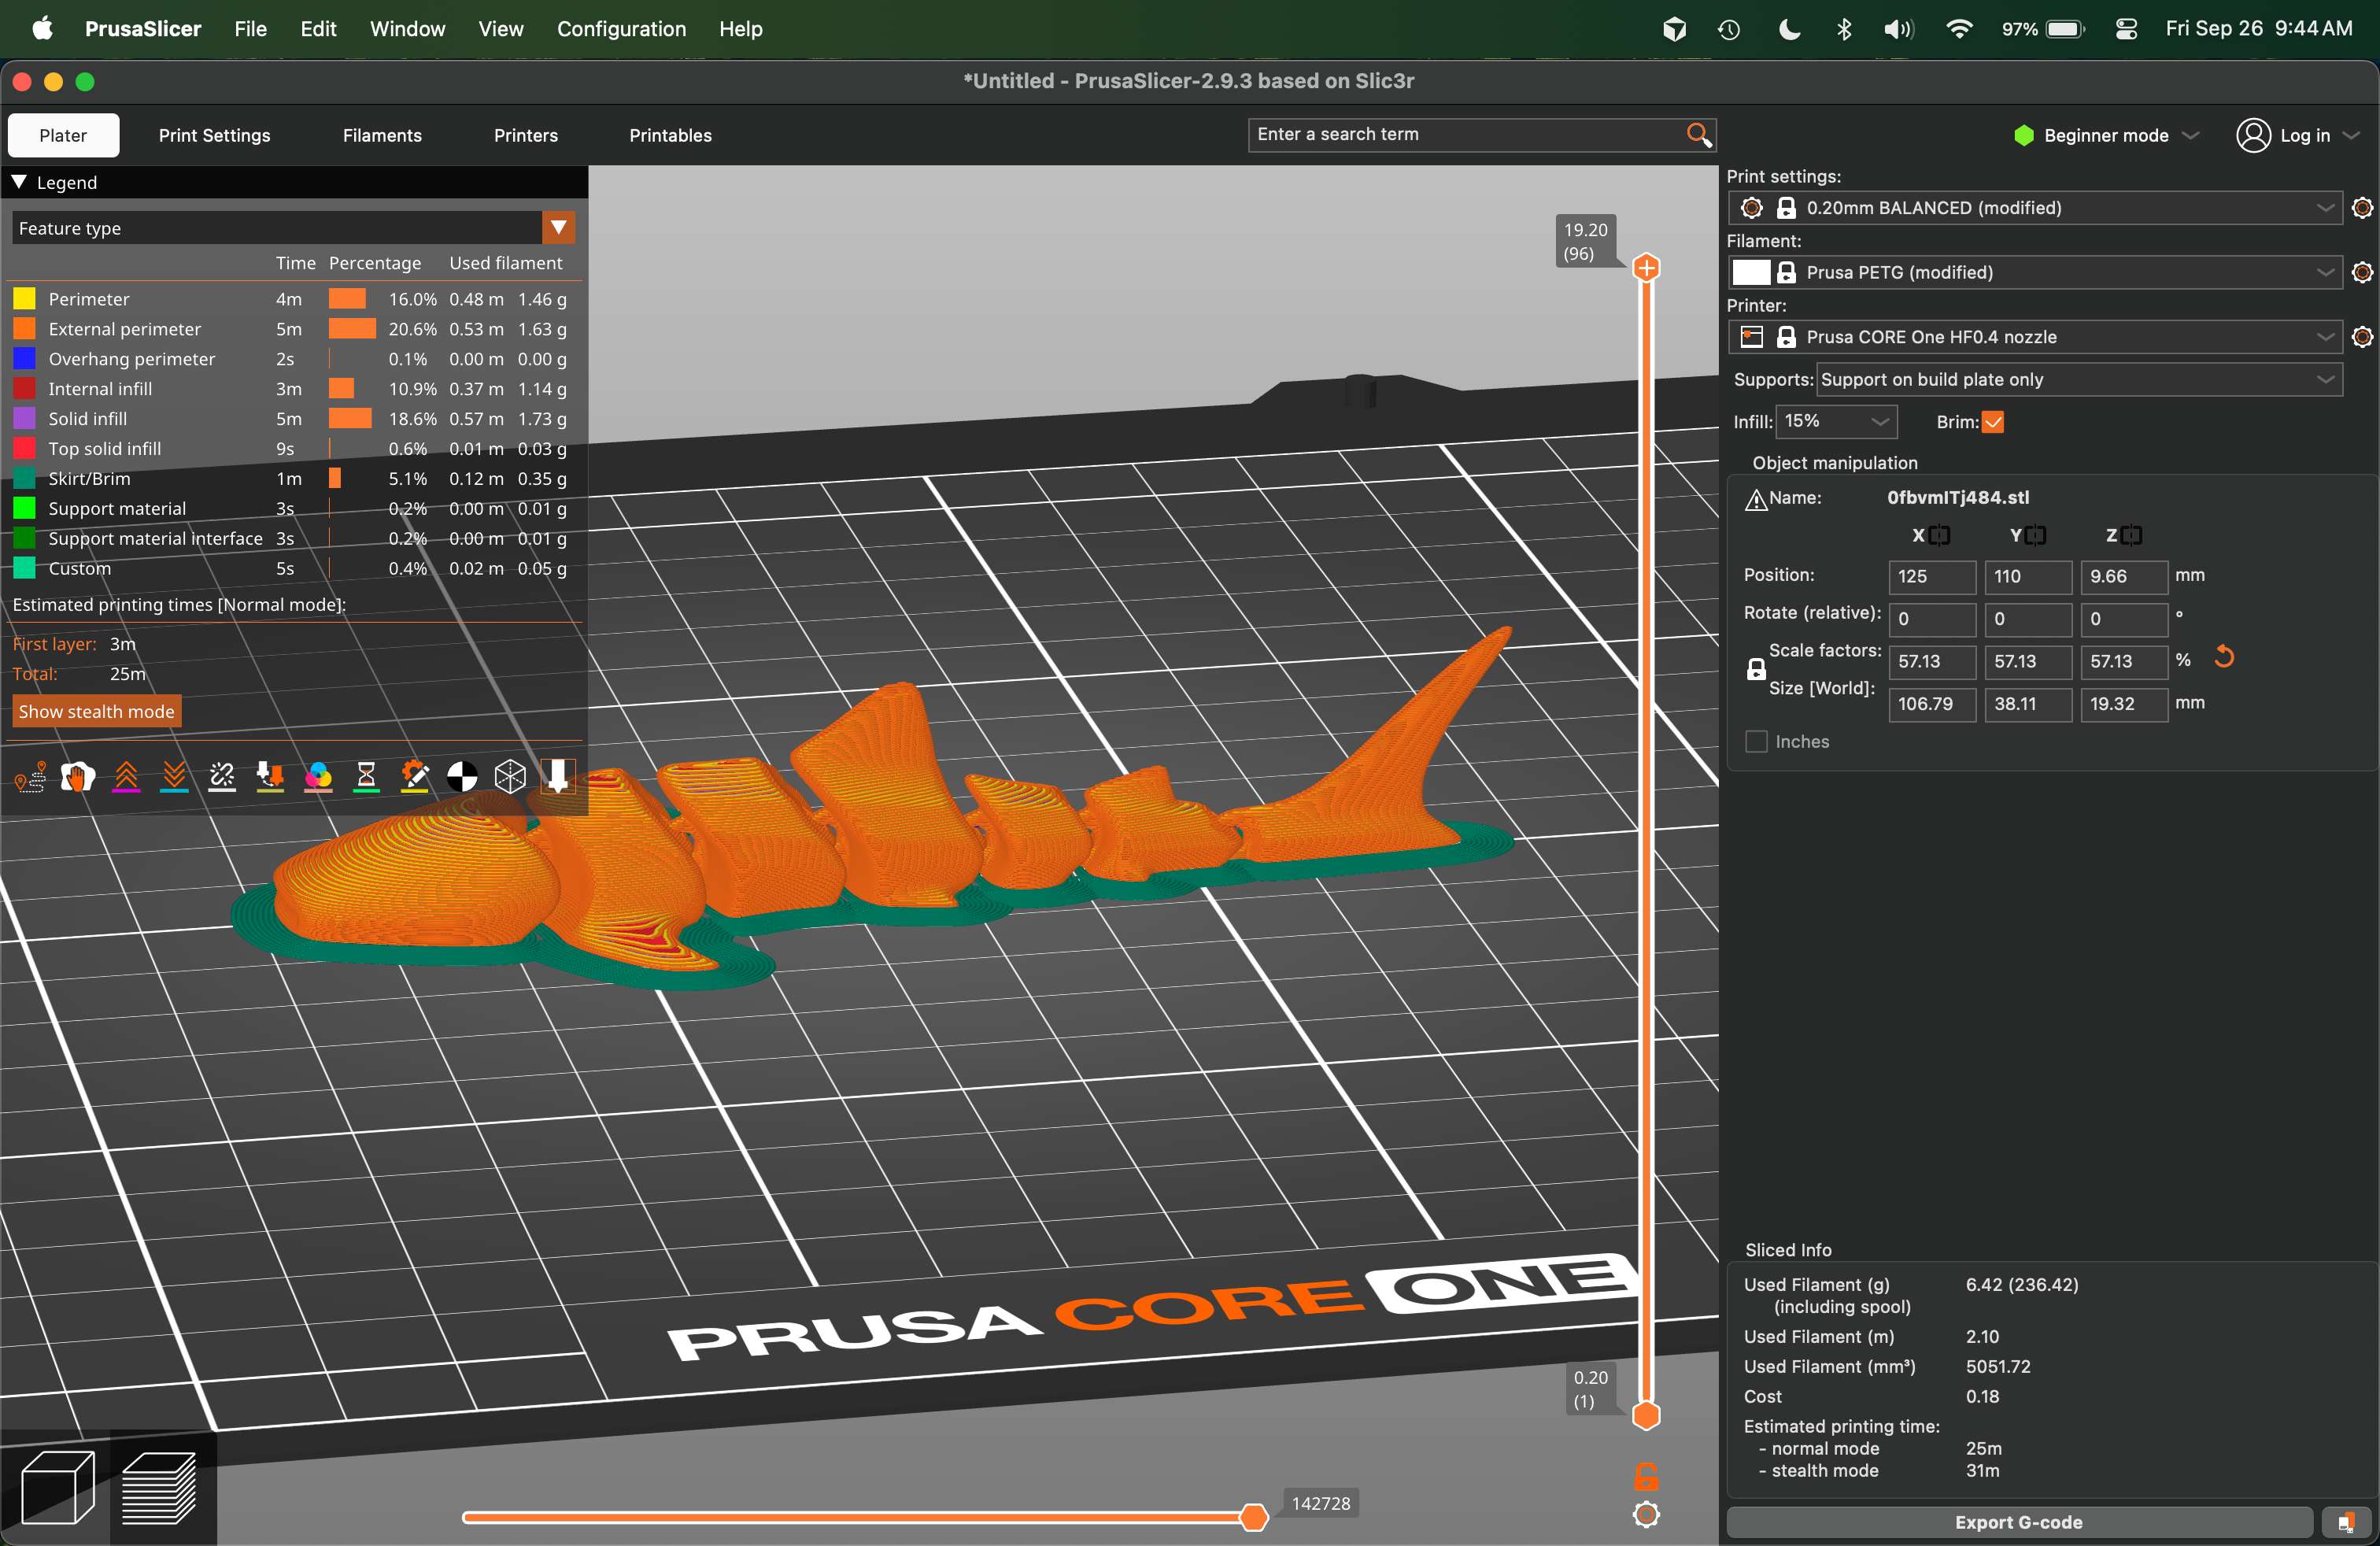
I missed documenting a step, which was clicking the "Slice Now" button that appears after dropping the model in. This just tells Prusa "figure out how to print this". However, you'll notice that it's flagging some issues at the bottom – I need to enable some options to help support the model as it prints. So let's go ahead and click that "Brim" box in the settings.
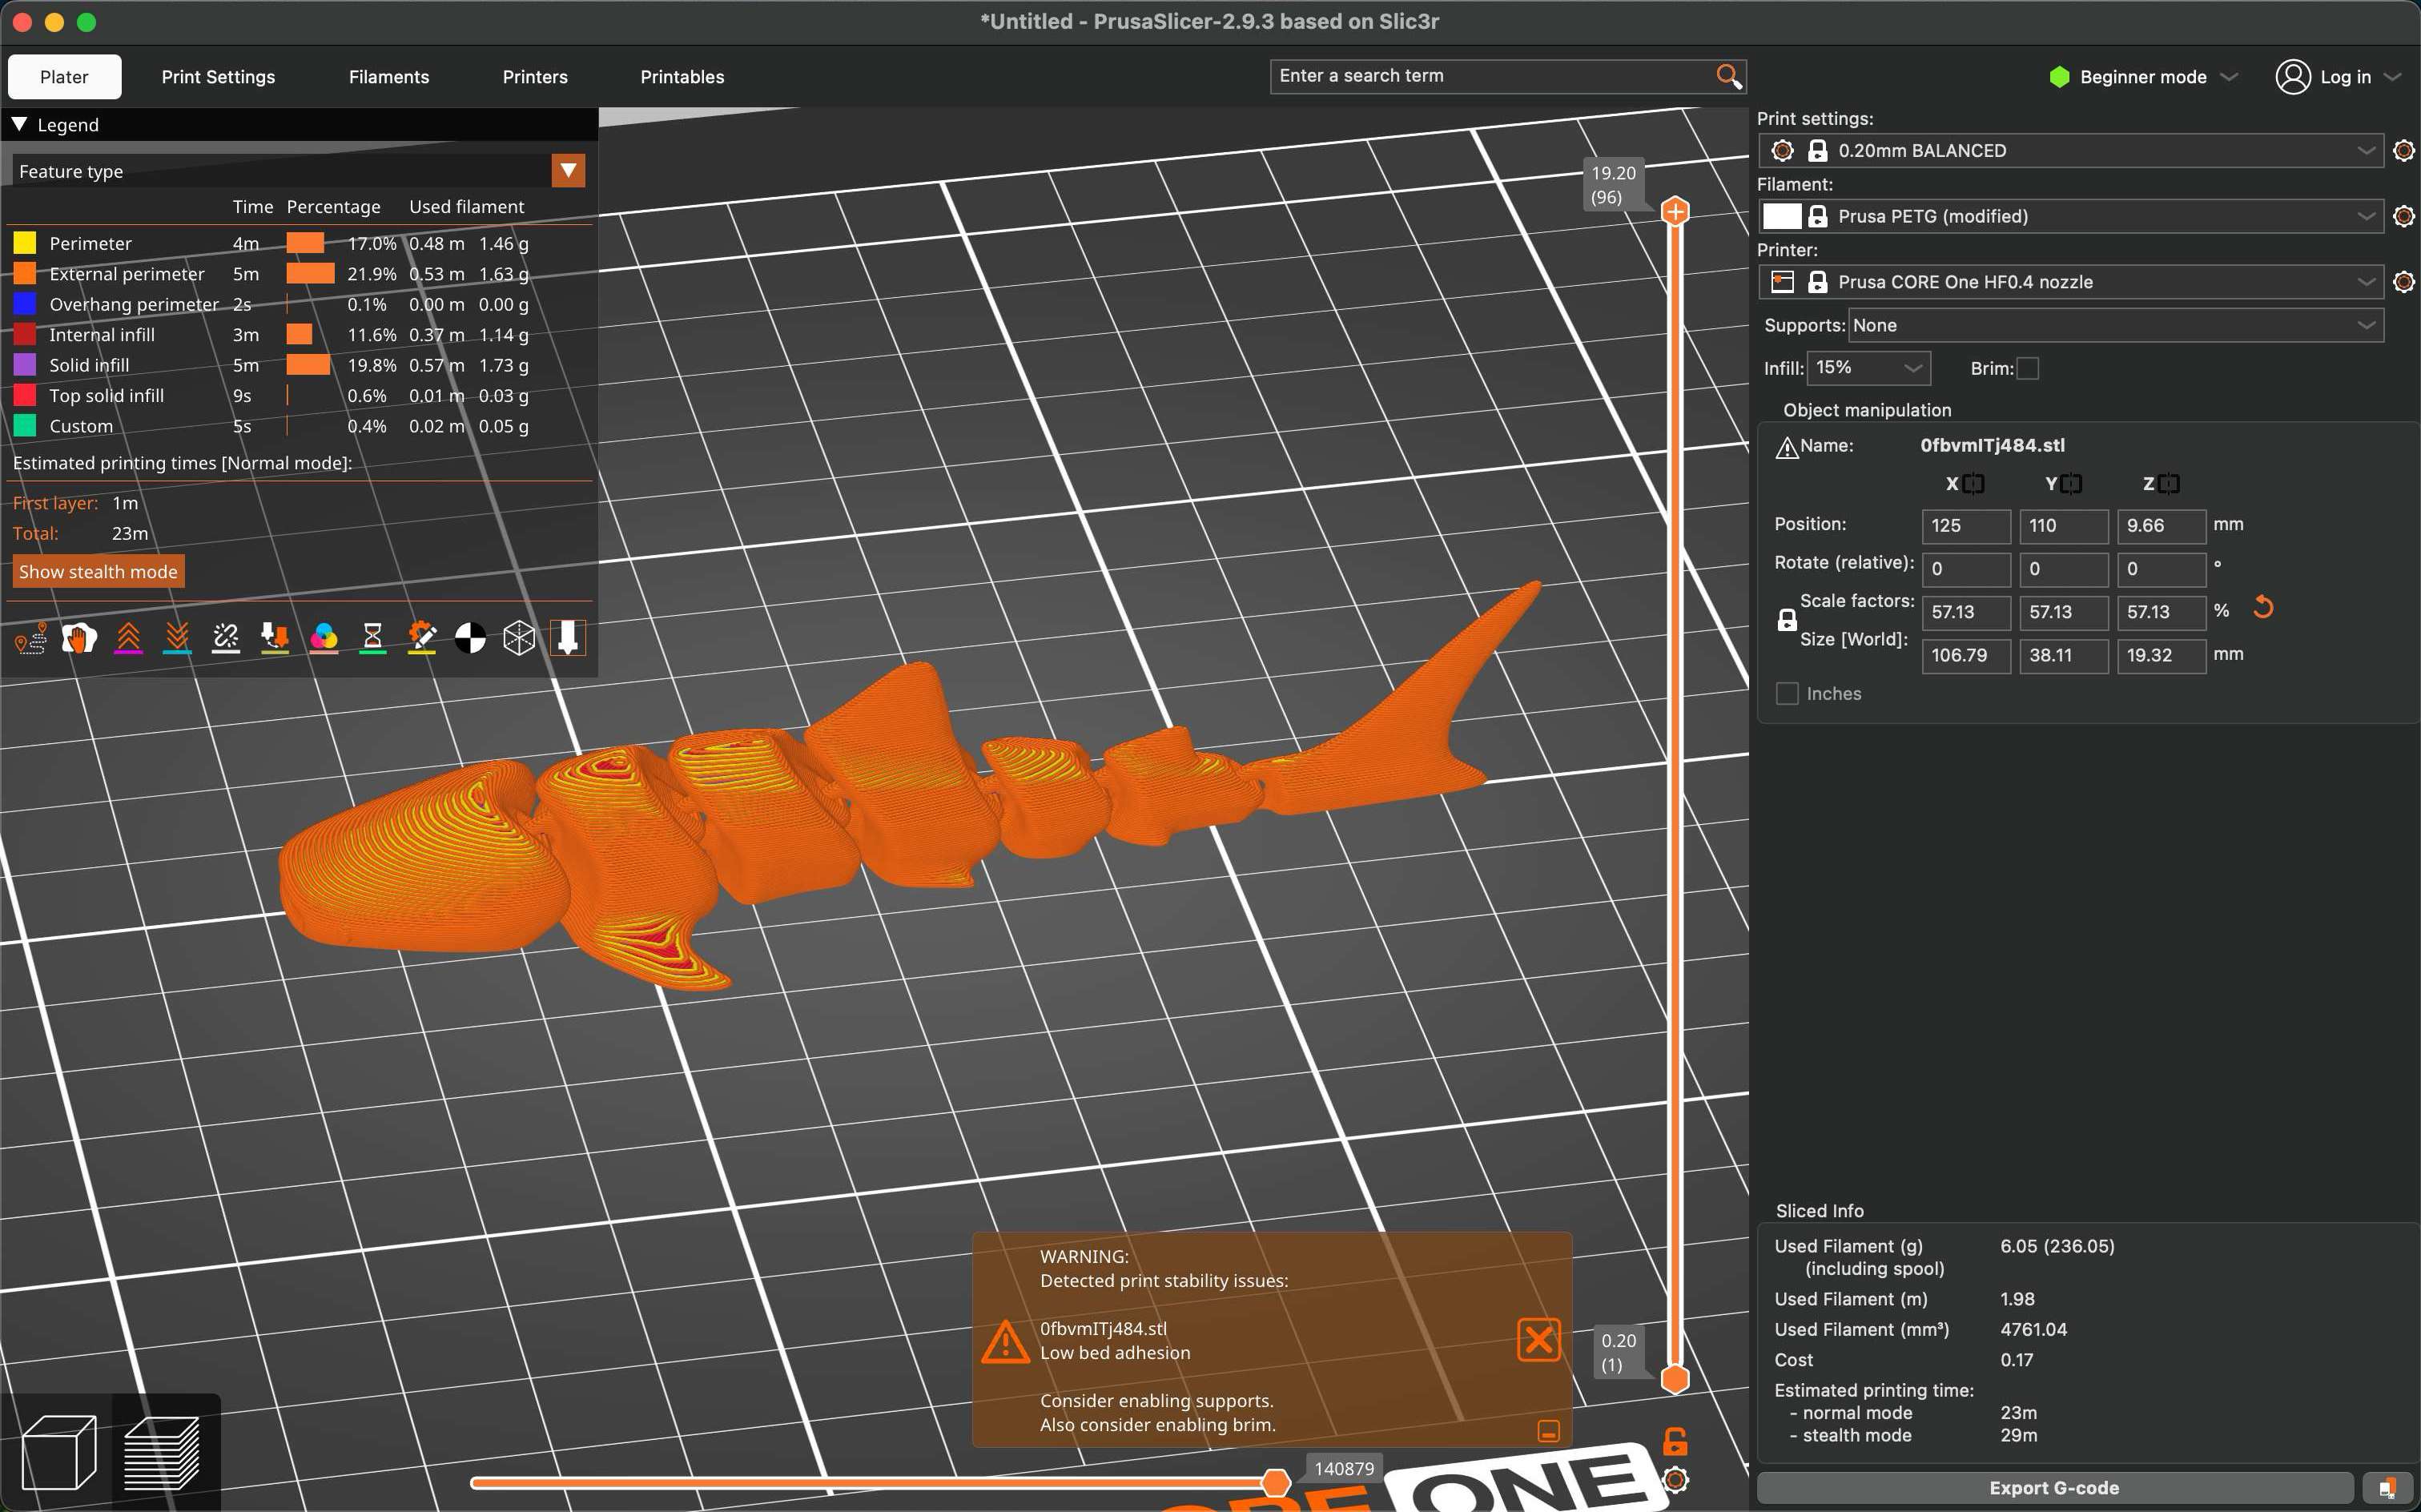
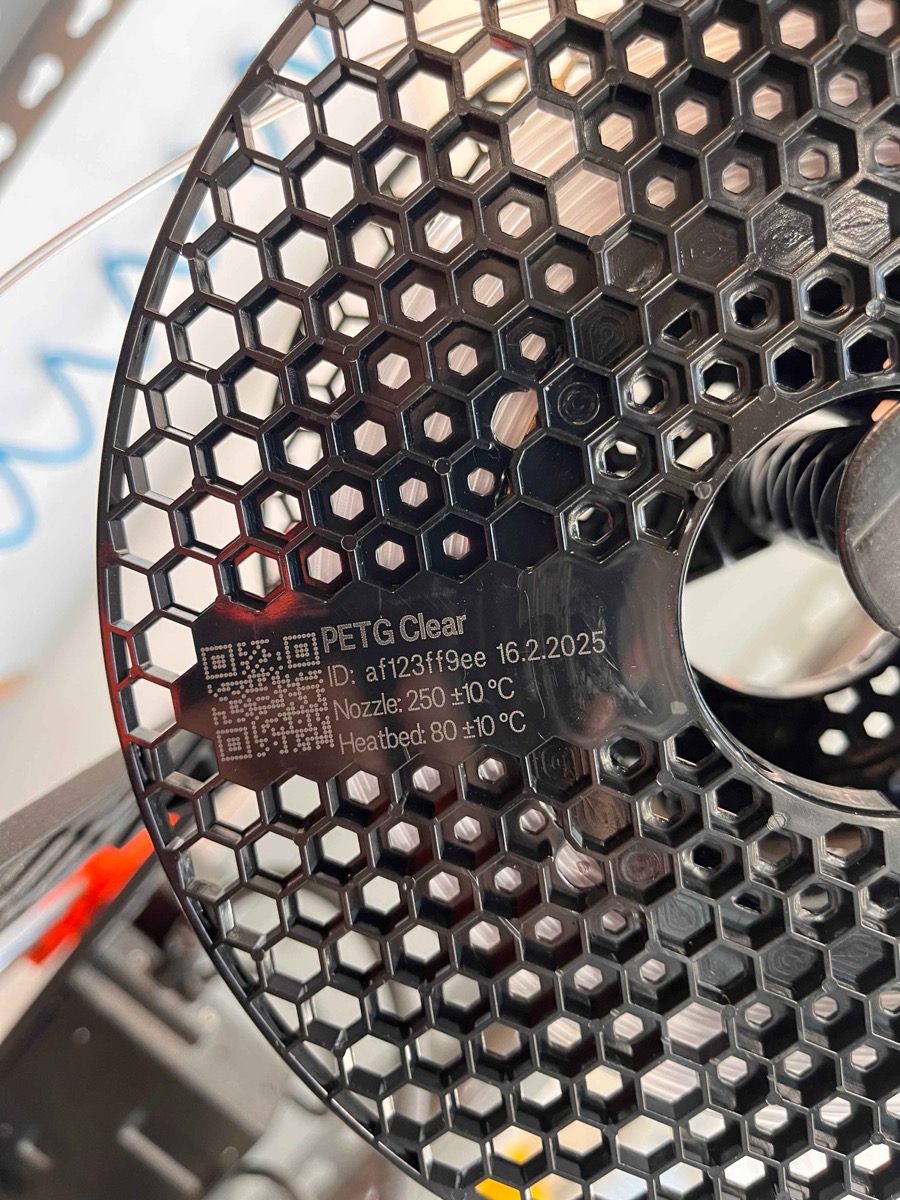
Now you can see a base appearing under the shark, like a little tray. This will help the print stick to the base as the model layers get printed! Now all we need to do is export the file onto an external drive, and plug it into the printer. Here's the printer I'm going to use, and a close-up of the printing filament:
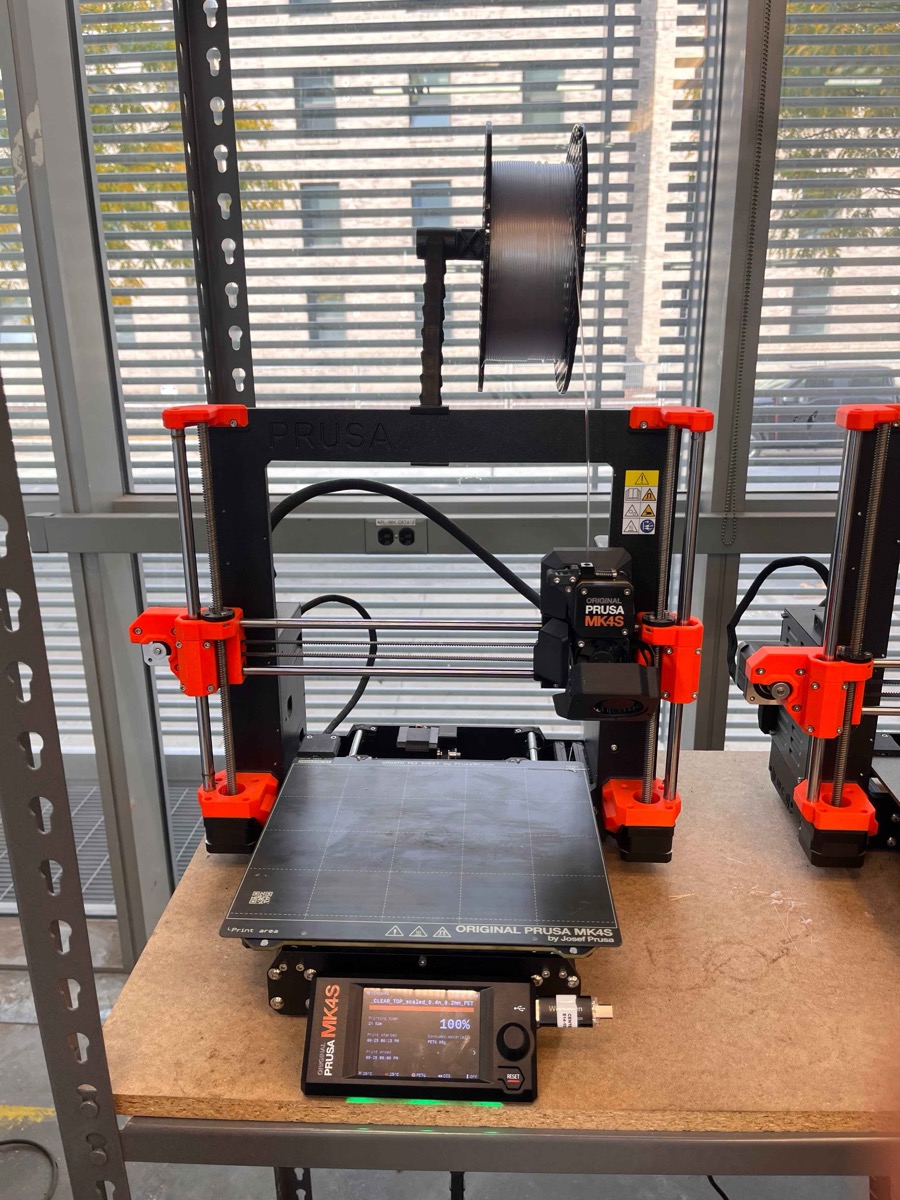
Now all we need to do is export onto a USB, plug it into the machine, and click print!
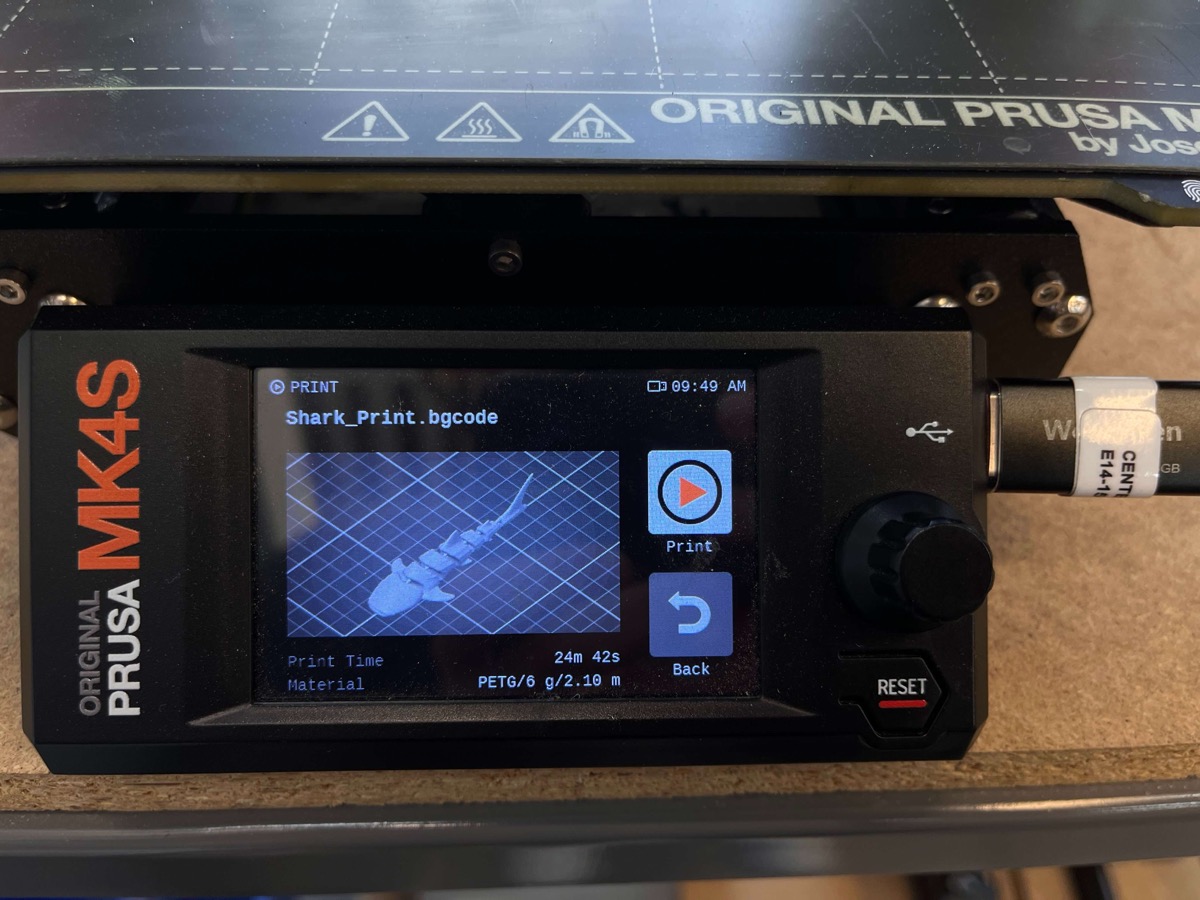
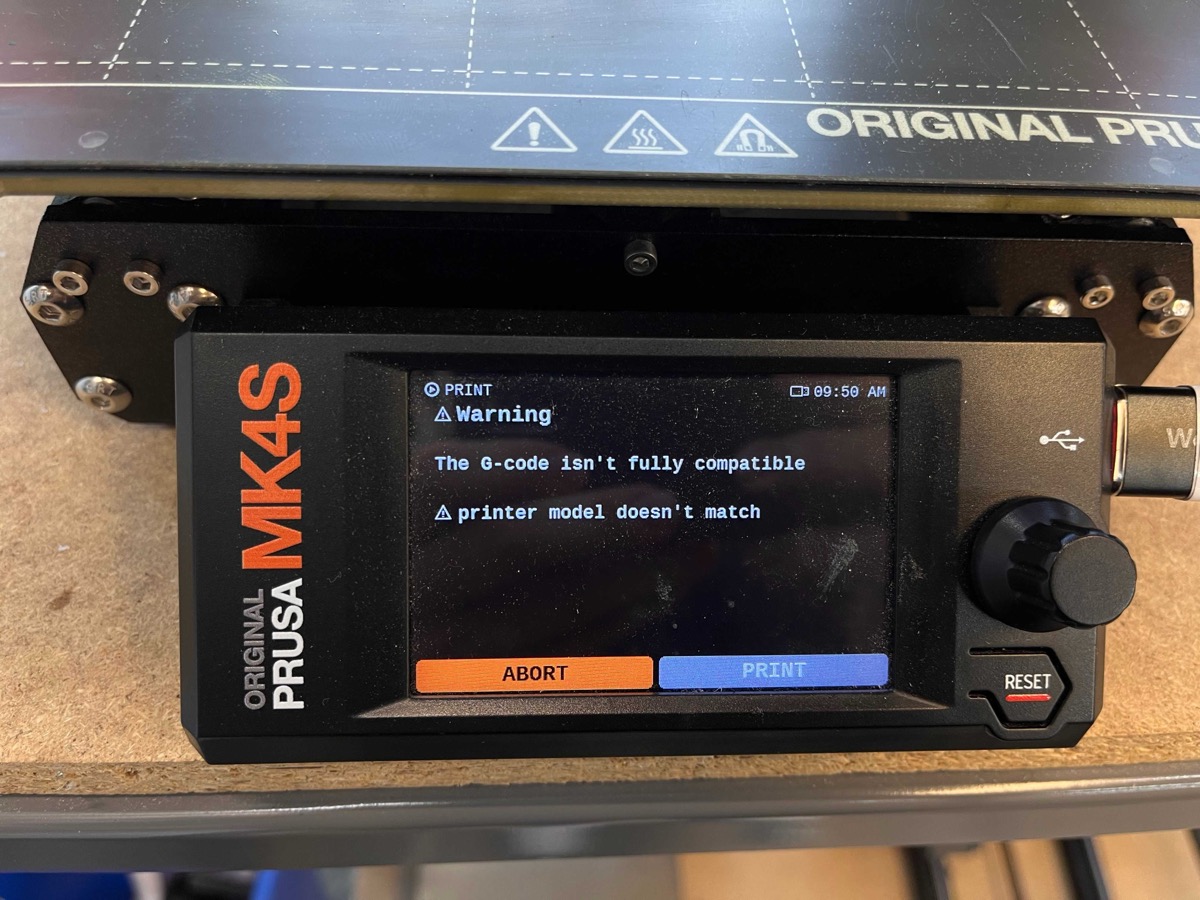
...oops. Turns out I'd picked Prusa MK4, not MK4S. Very important difference. After re-exporting with the correct printer selected, we were off to the races!
Not too shabby! Now on to the real fun...
Generative AI & Printing
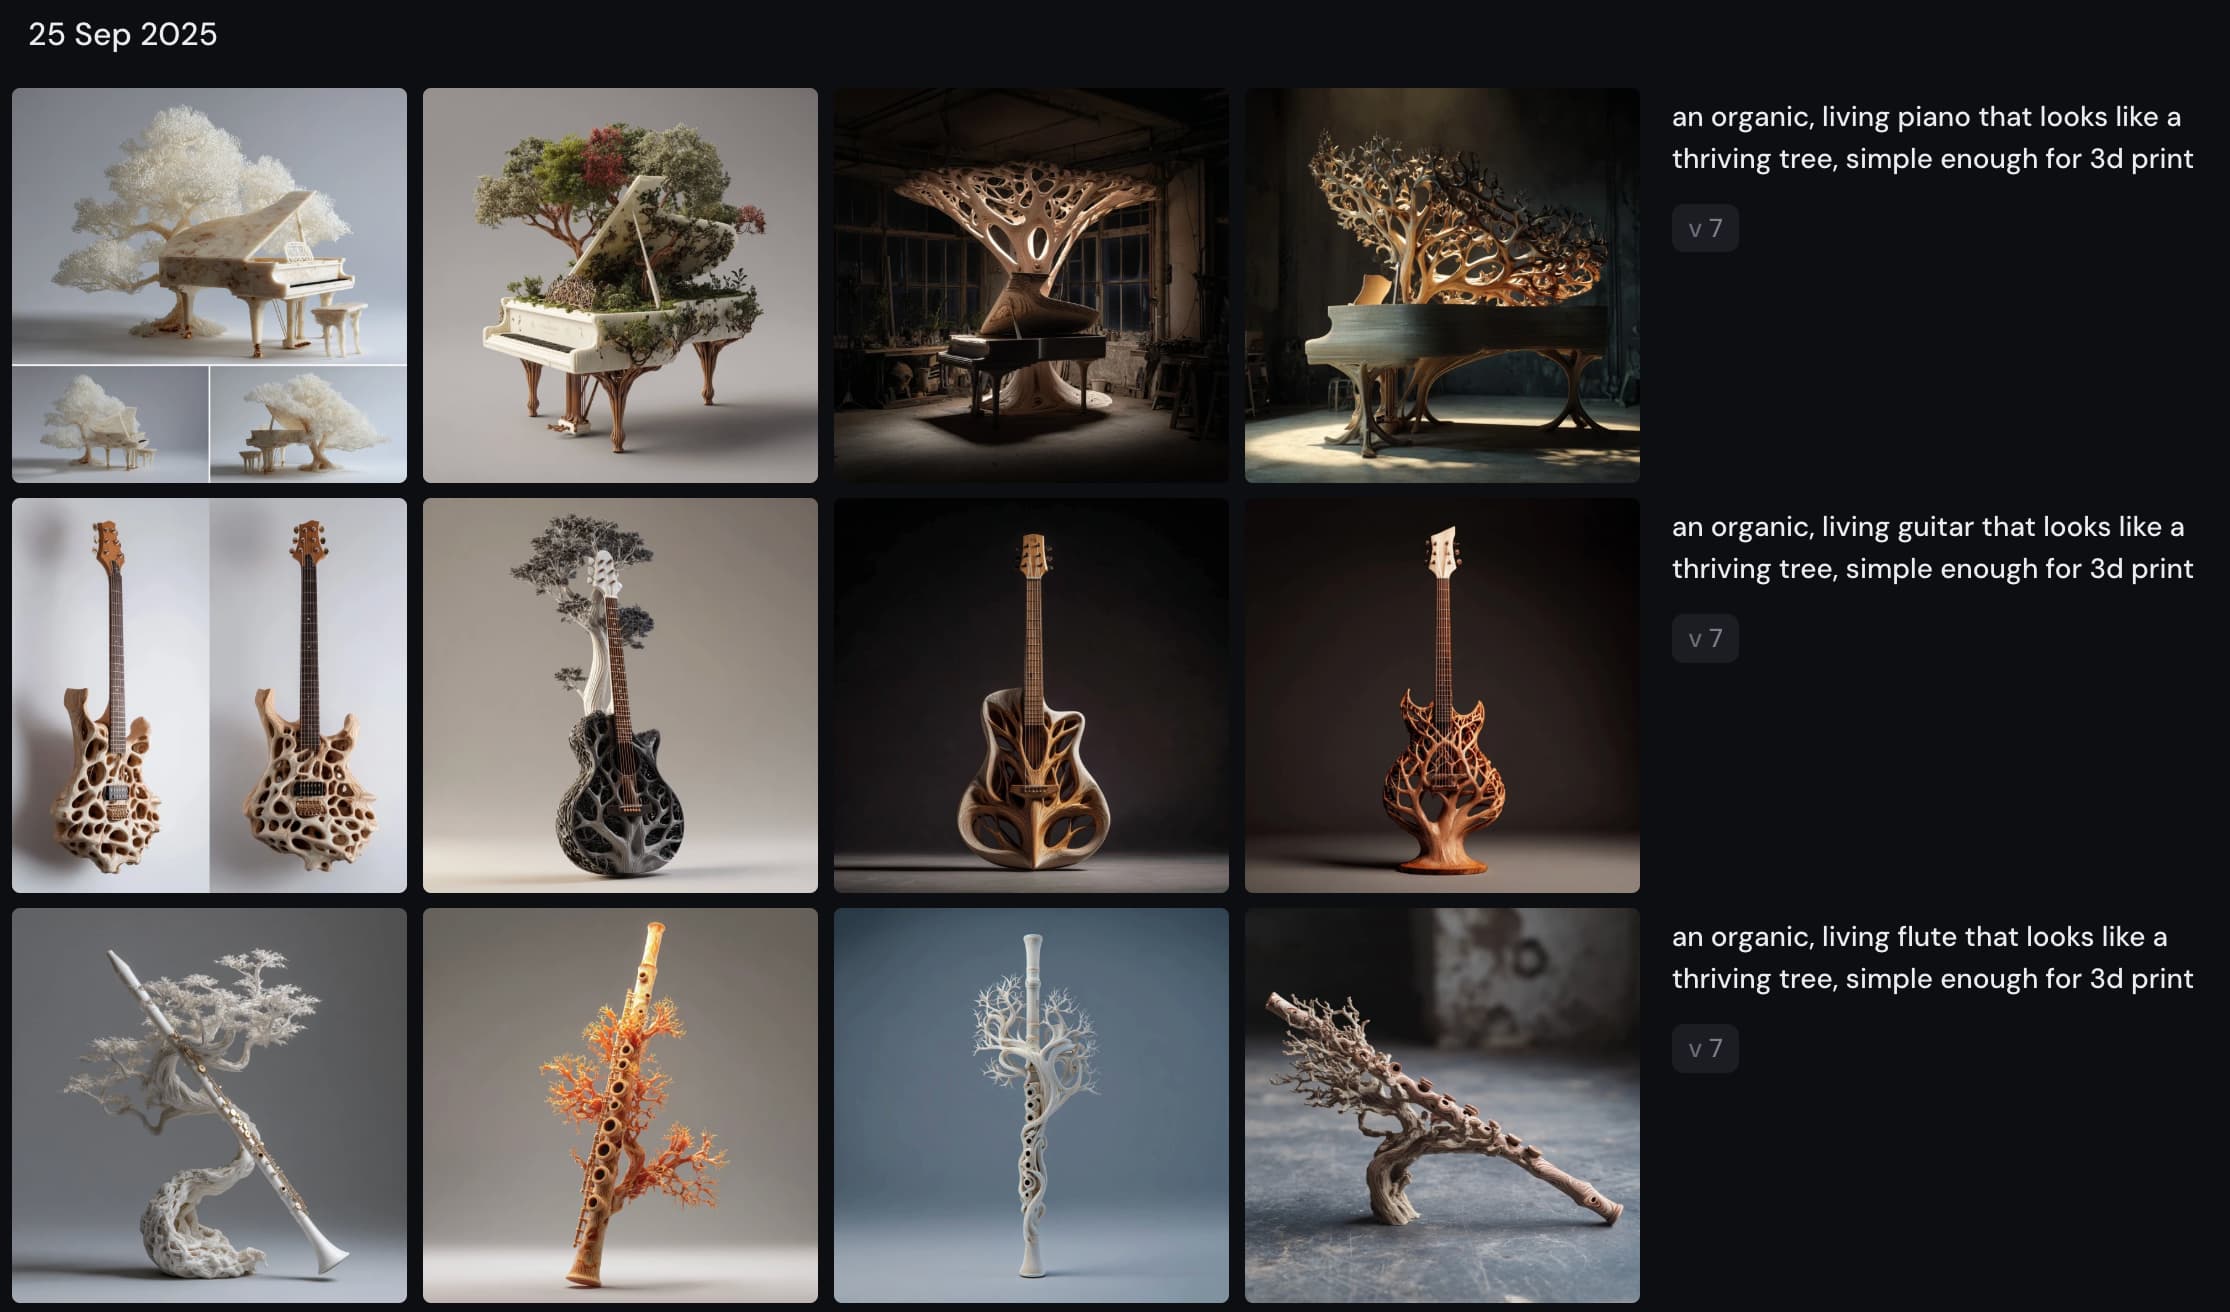
This is where I really wanted to experiment. As mentioned, I love the previous projects that incorporated AI into 3D printing, so I first started by generating some ideas with Midjourney. Instead of human organs like Valdemar's project, I wanted to make something that felt more organic and inspired by nature. I settled on the idea of a set of organic instruments, which you can see below:
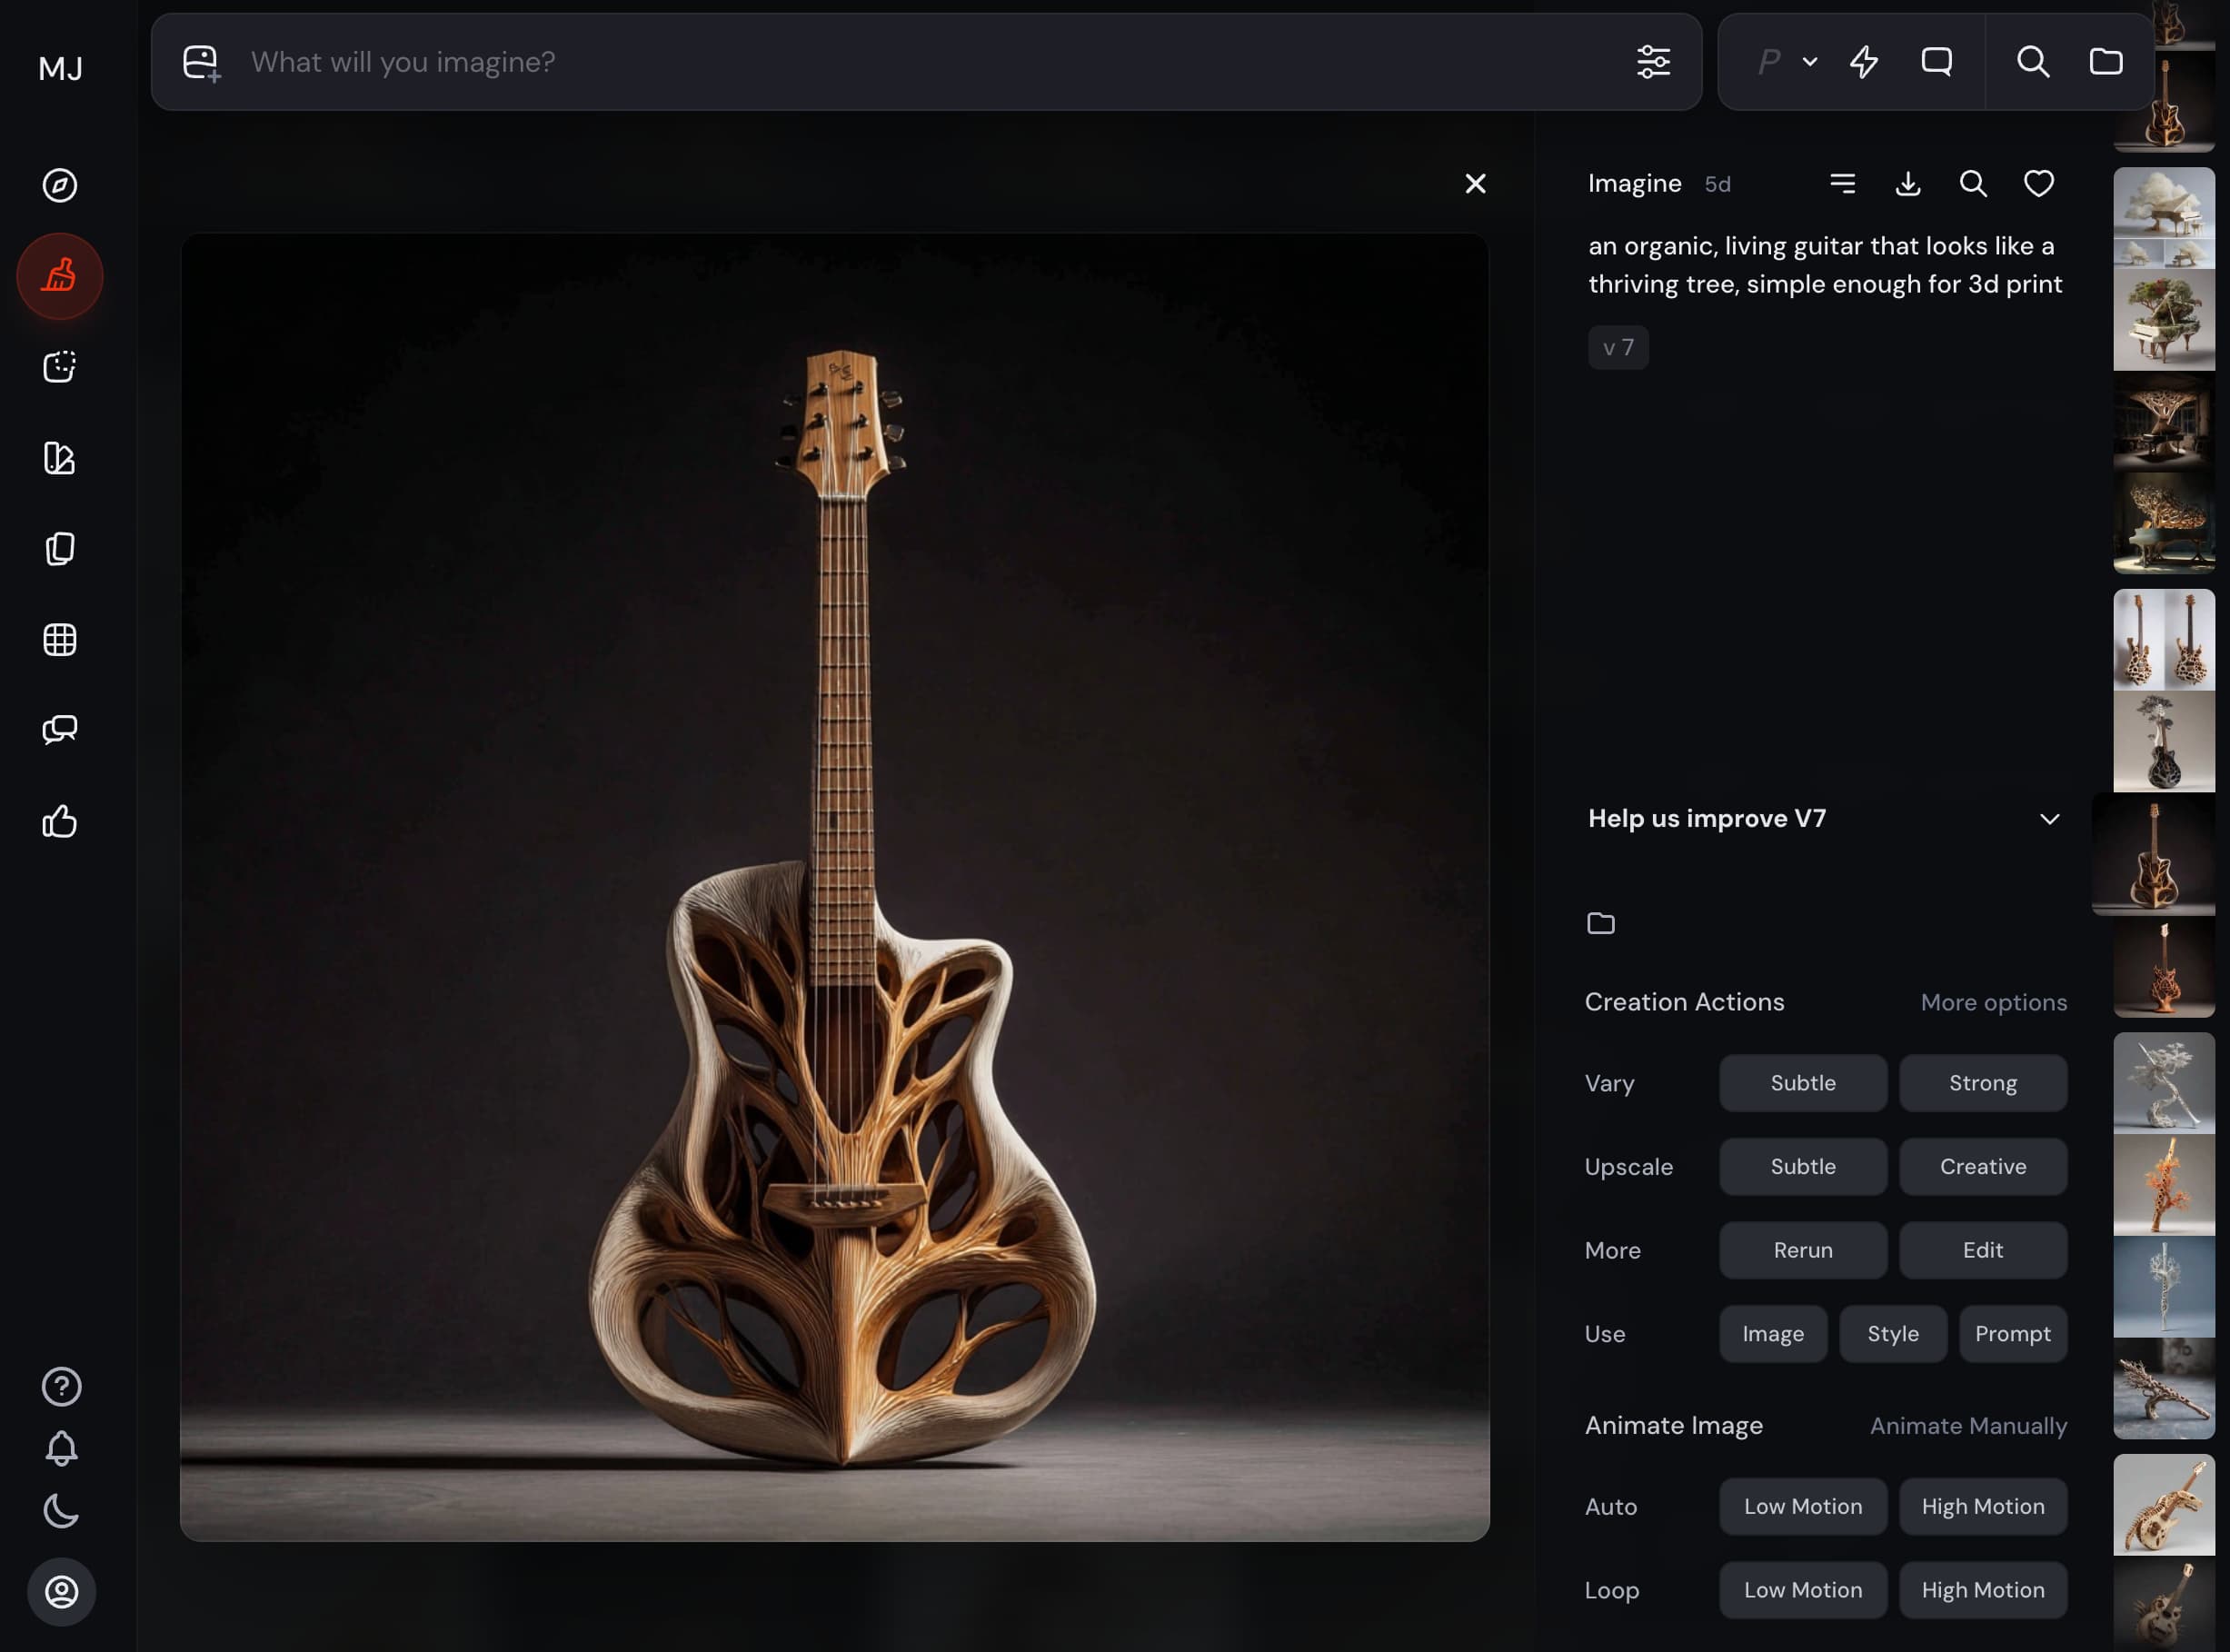
I settled on trying the guitar, using Midjourney v7, with the prompt "an organic, living guitar that looks like a thriving tree, simple enough for 3d print"
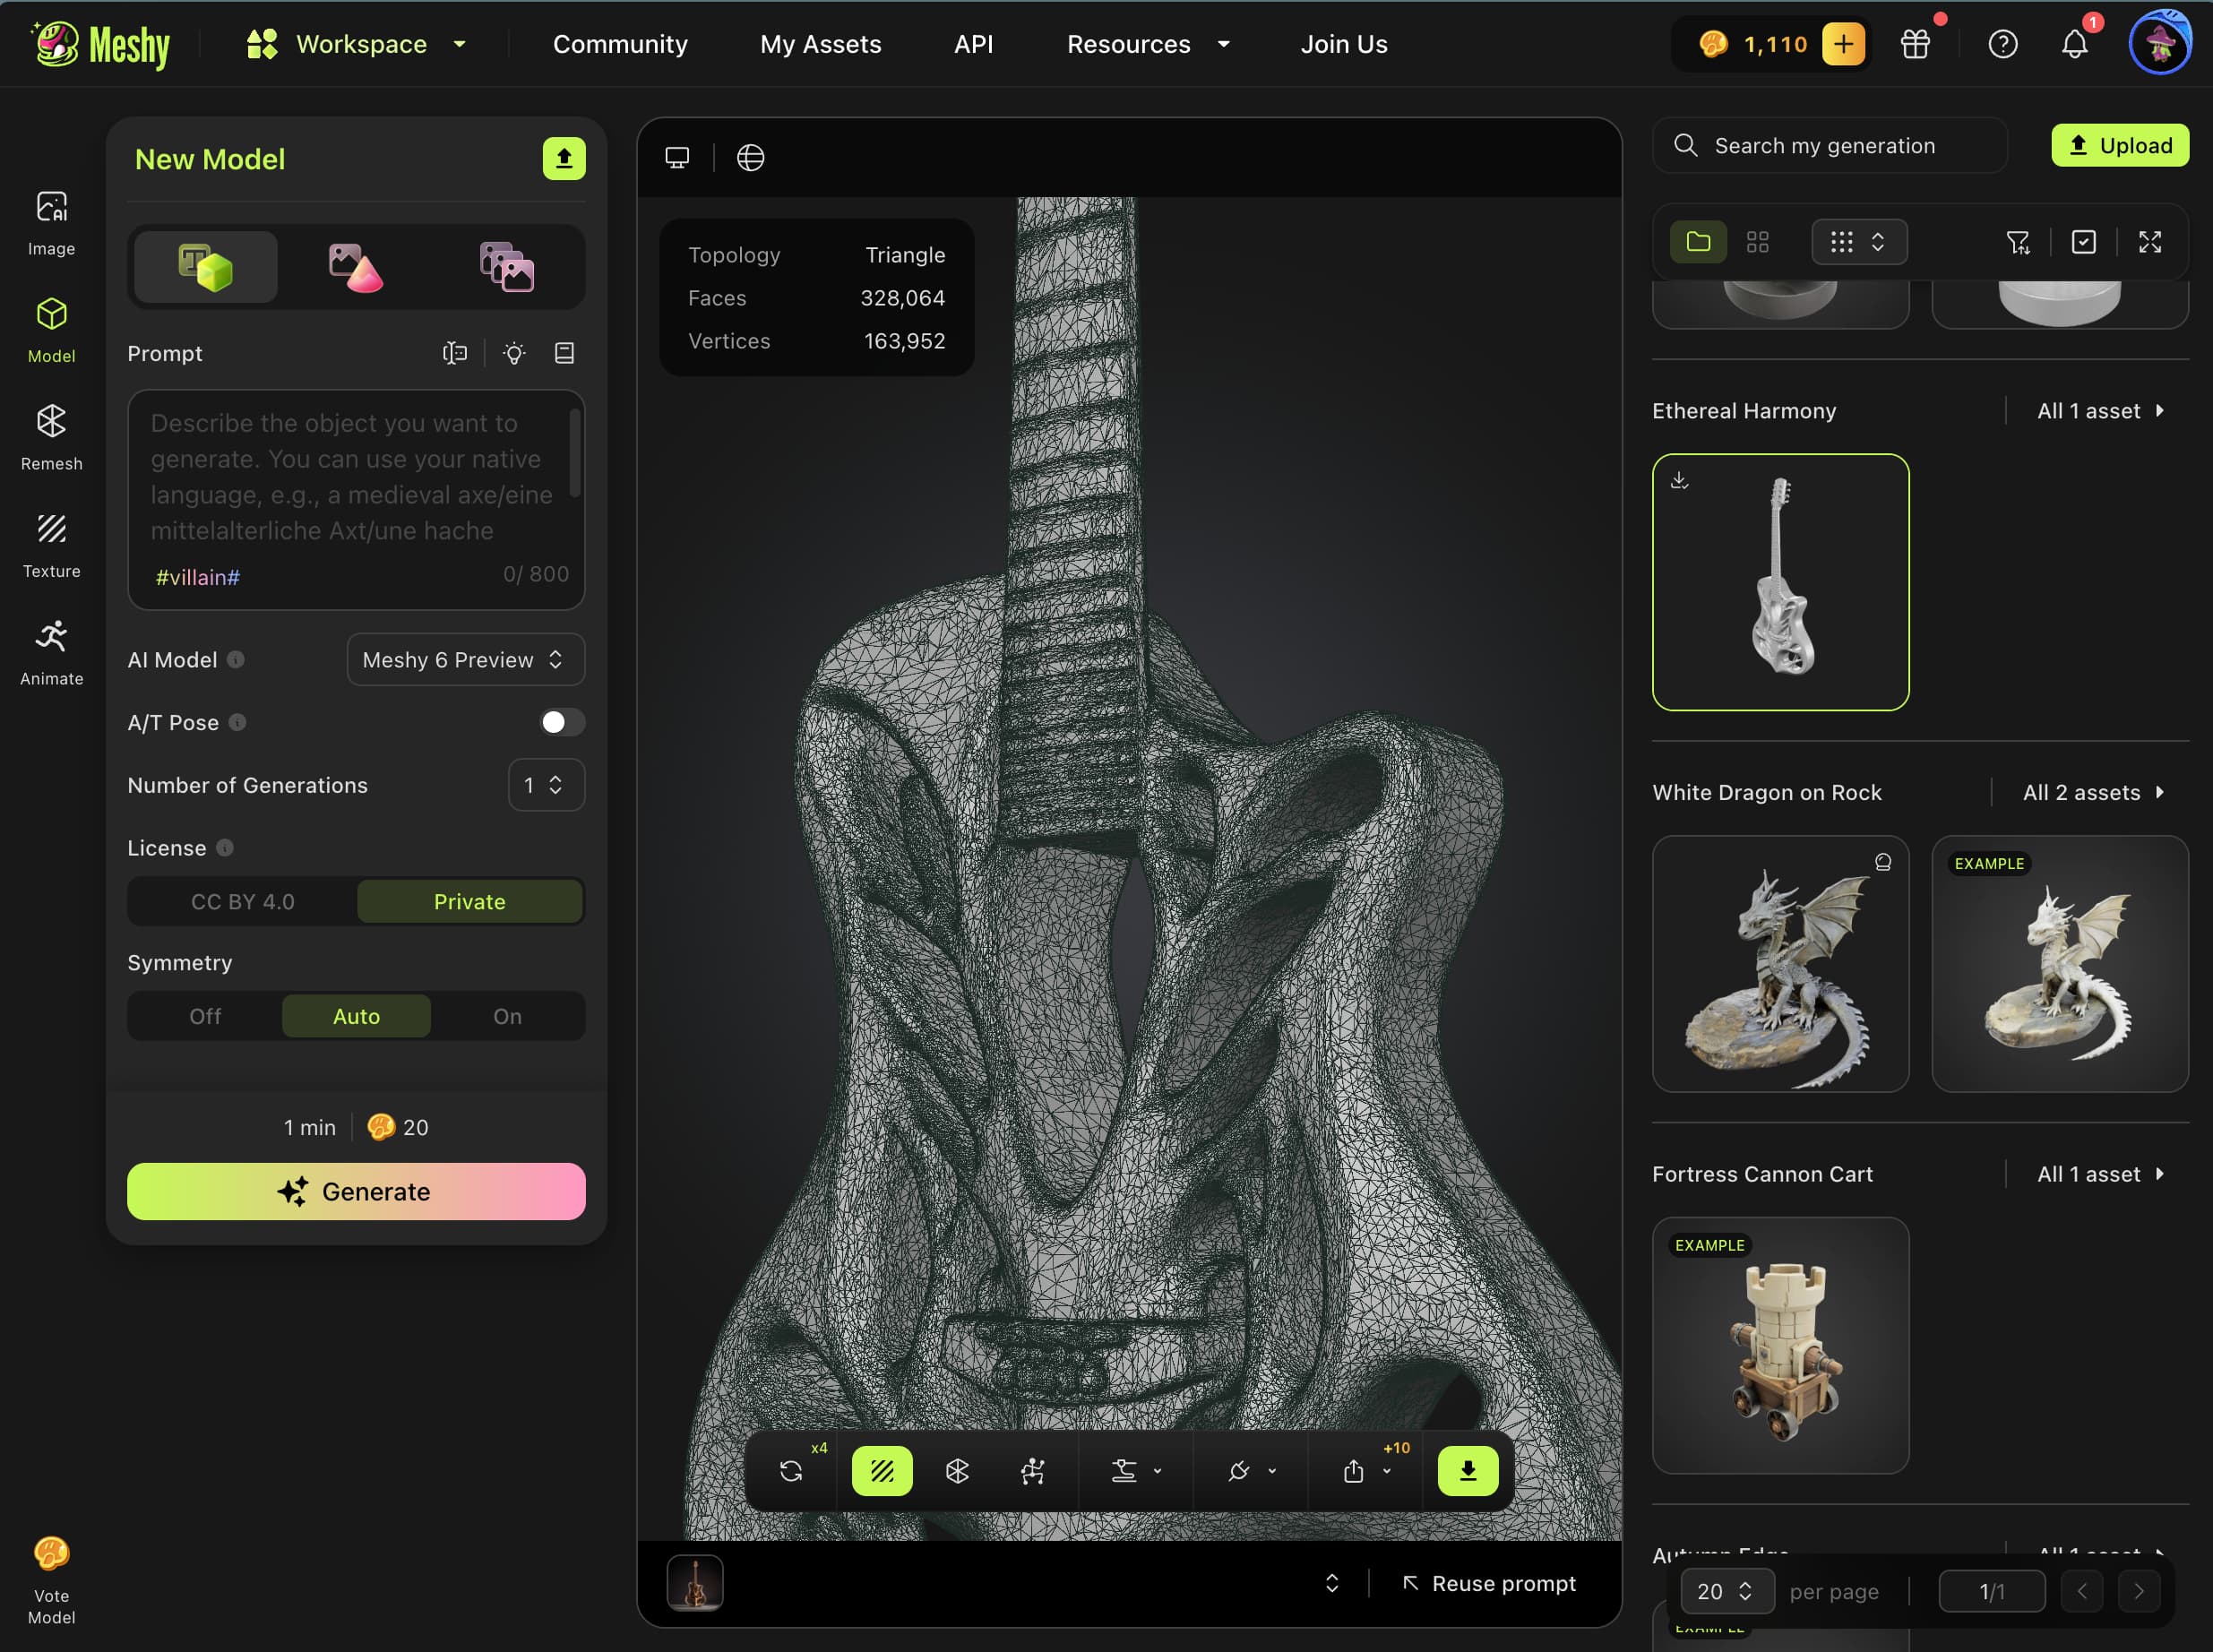
From here, I dropped the image into Meshy.AI, using their "Image to 3D Model" tool. Surprisingly, it worked fairly well!

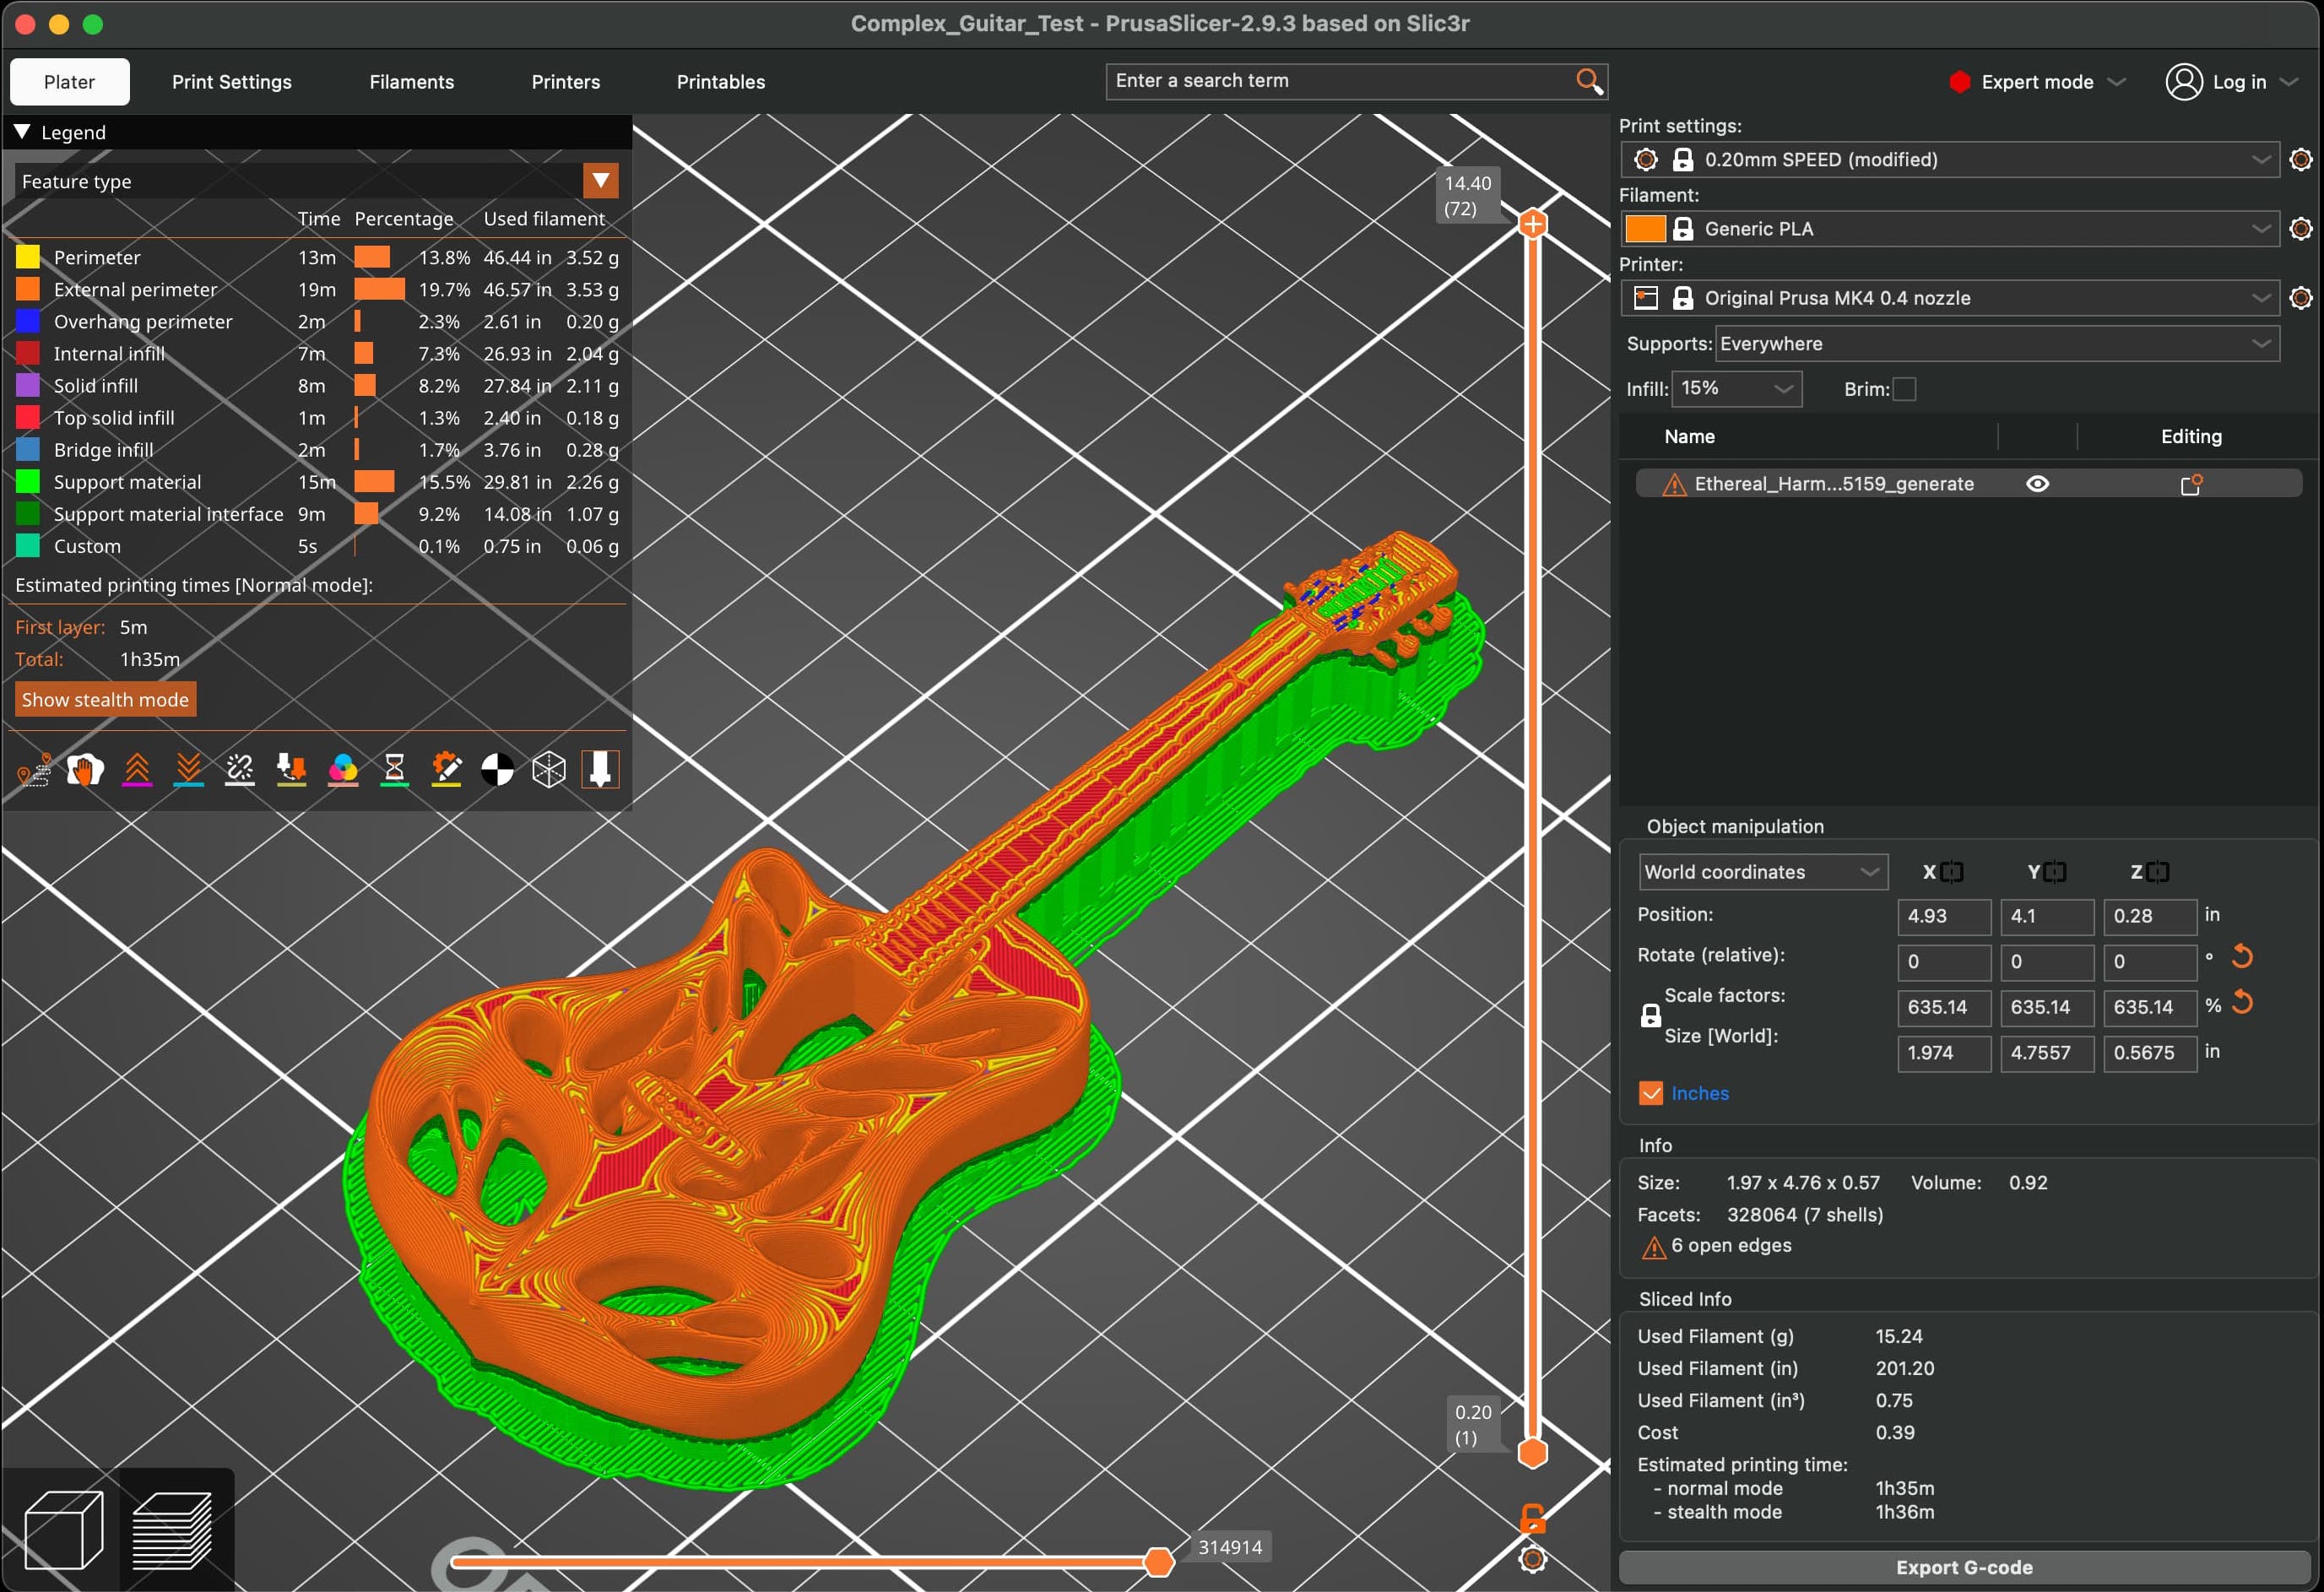
...Except the topology is a mess. Let's see how well it'll print without reducing the number of polygons and vertices. I exported directly from Meshy as a .3mf file, opened it in PrusaSlicer, and added some auto-supports:
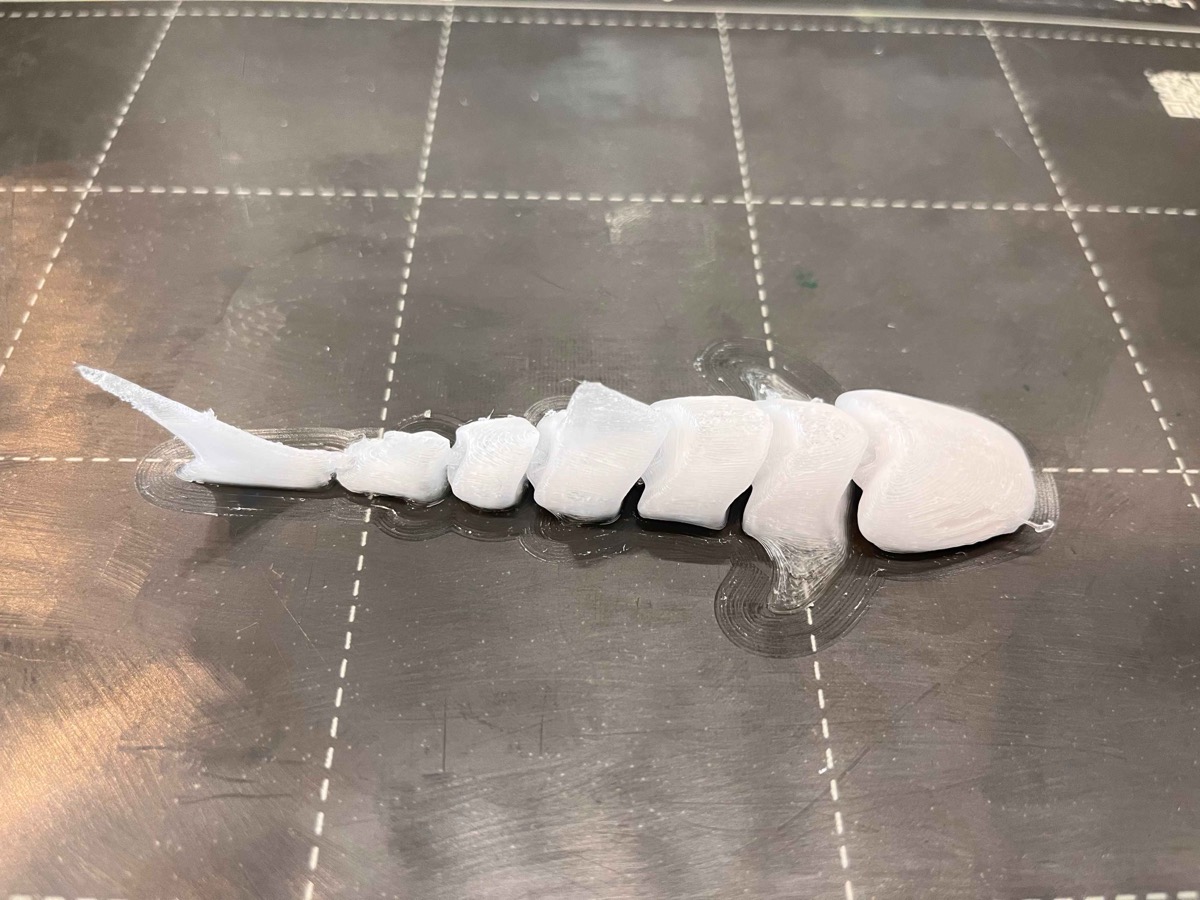
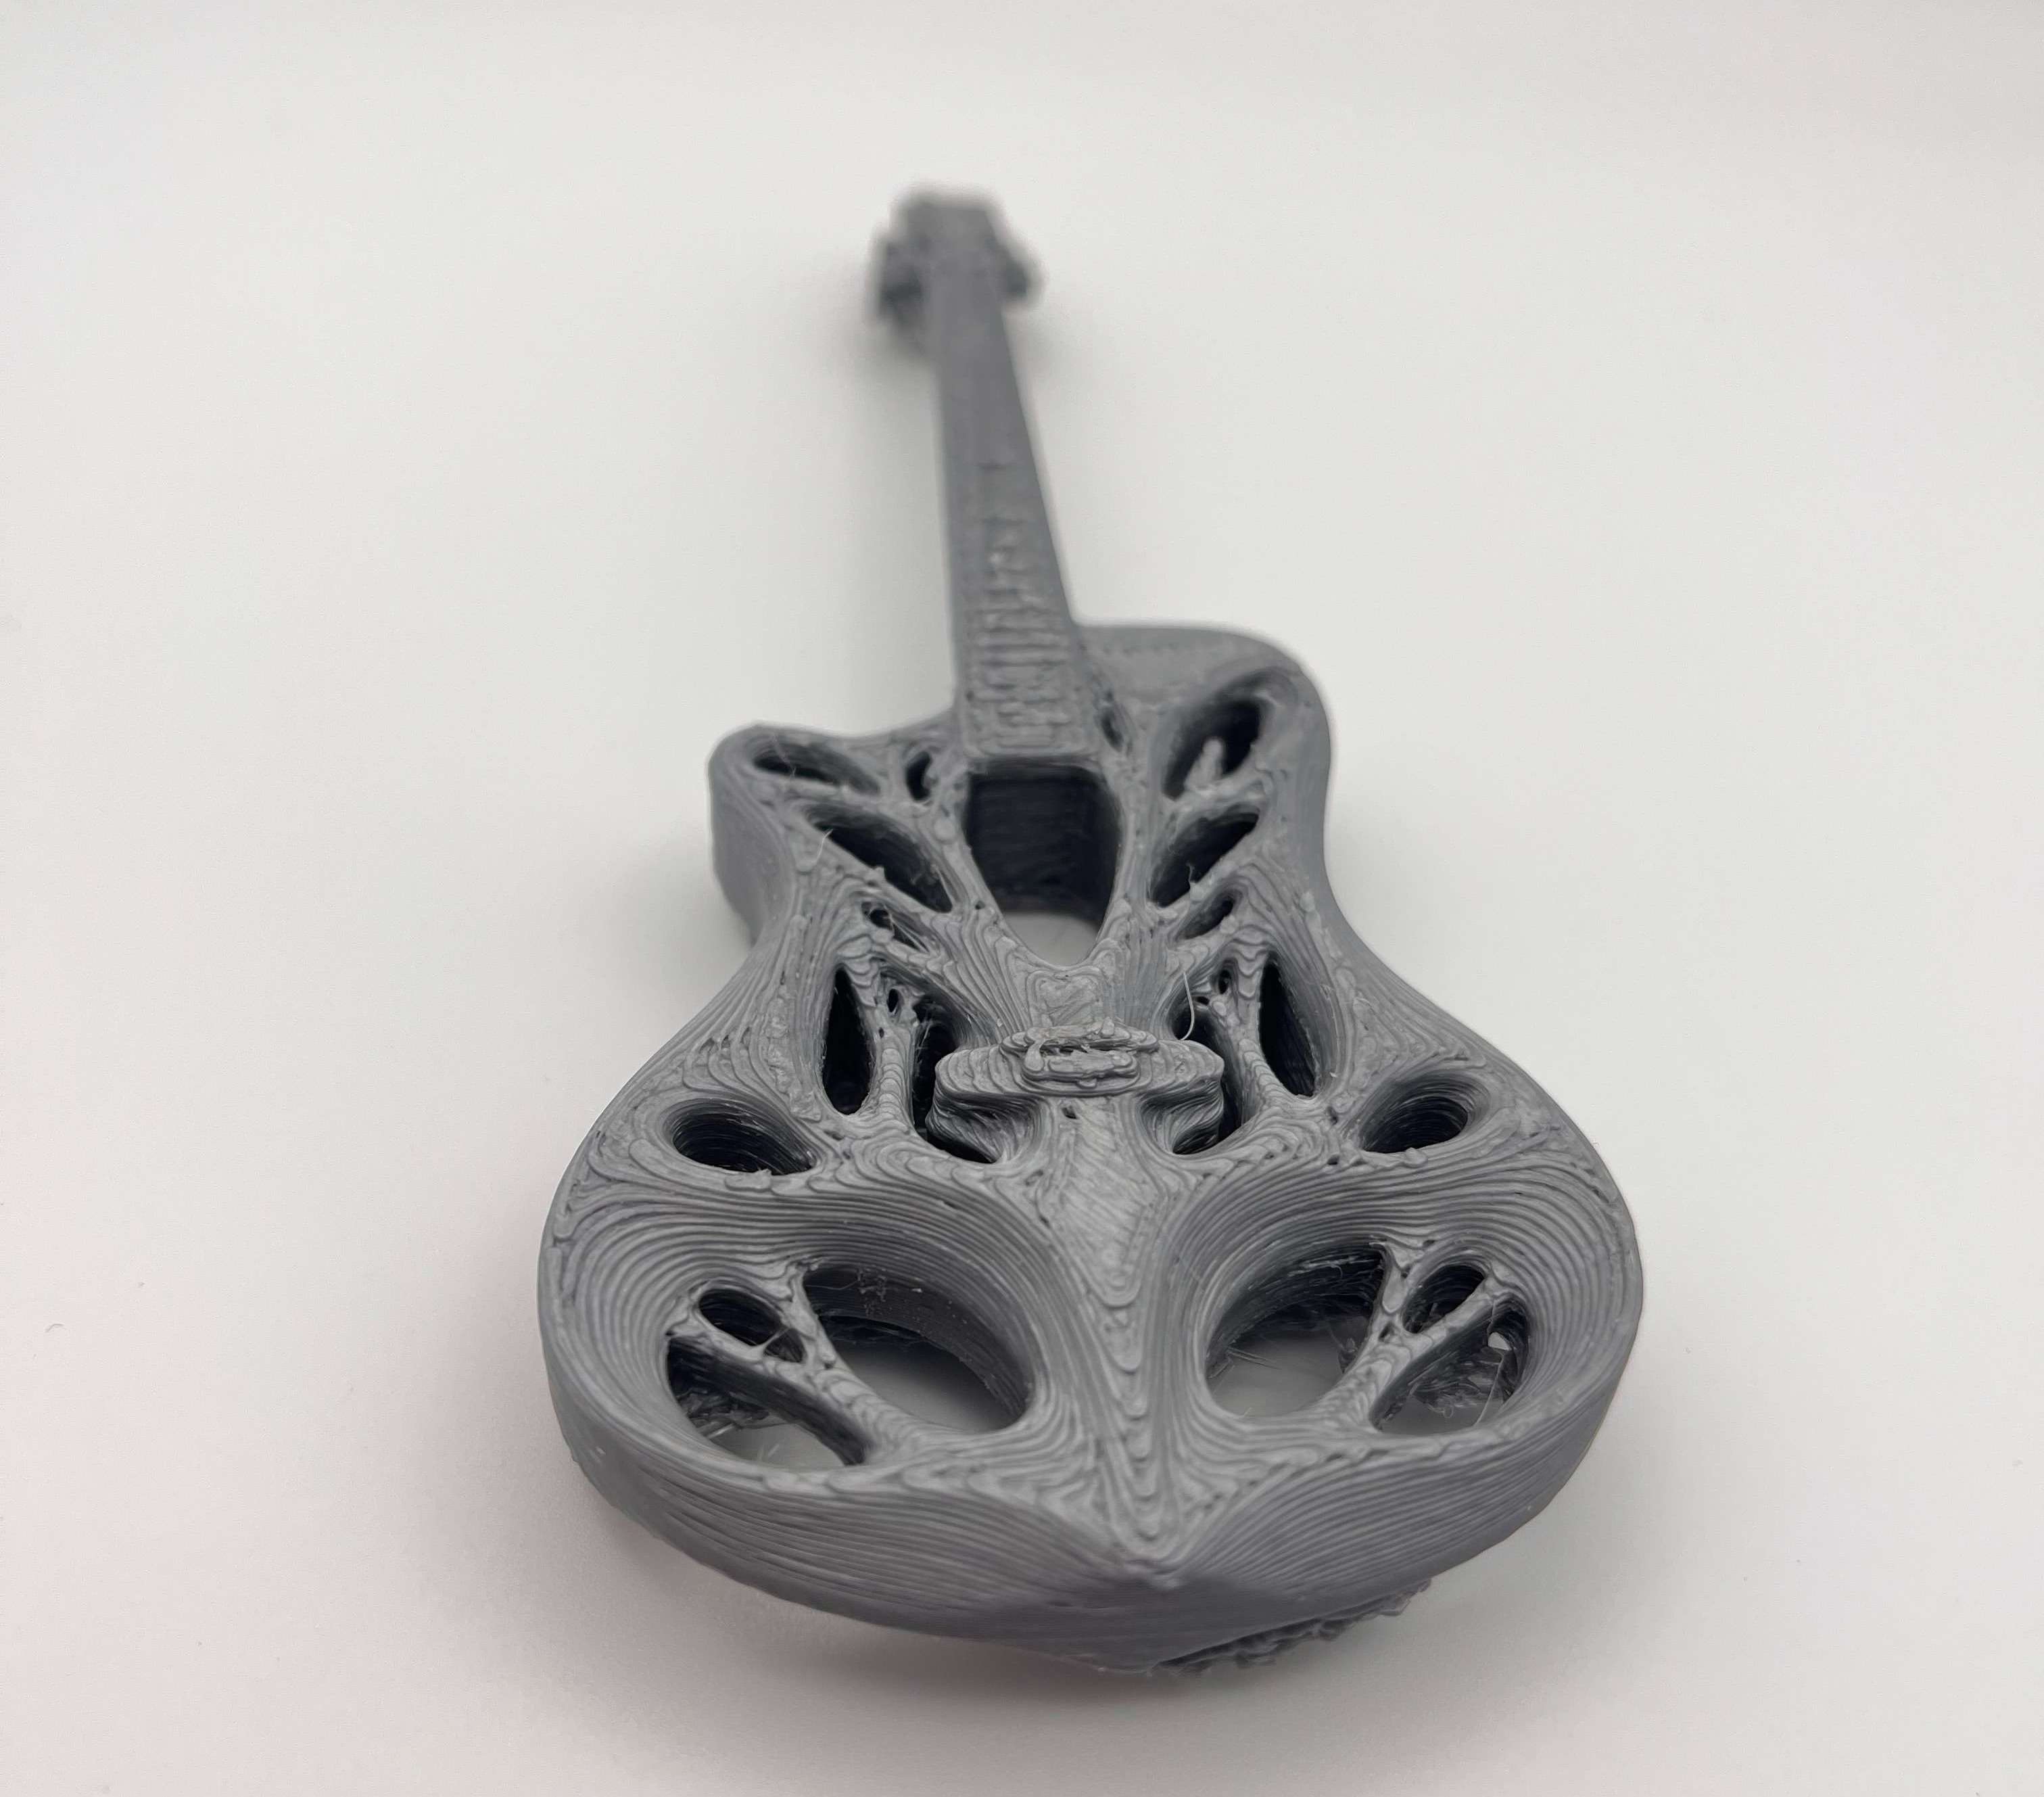
Here's how that print turned out. Looks pretty good, right?
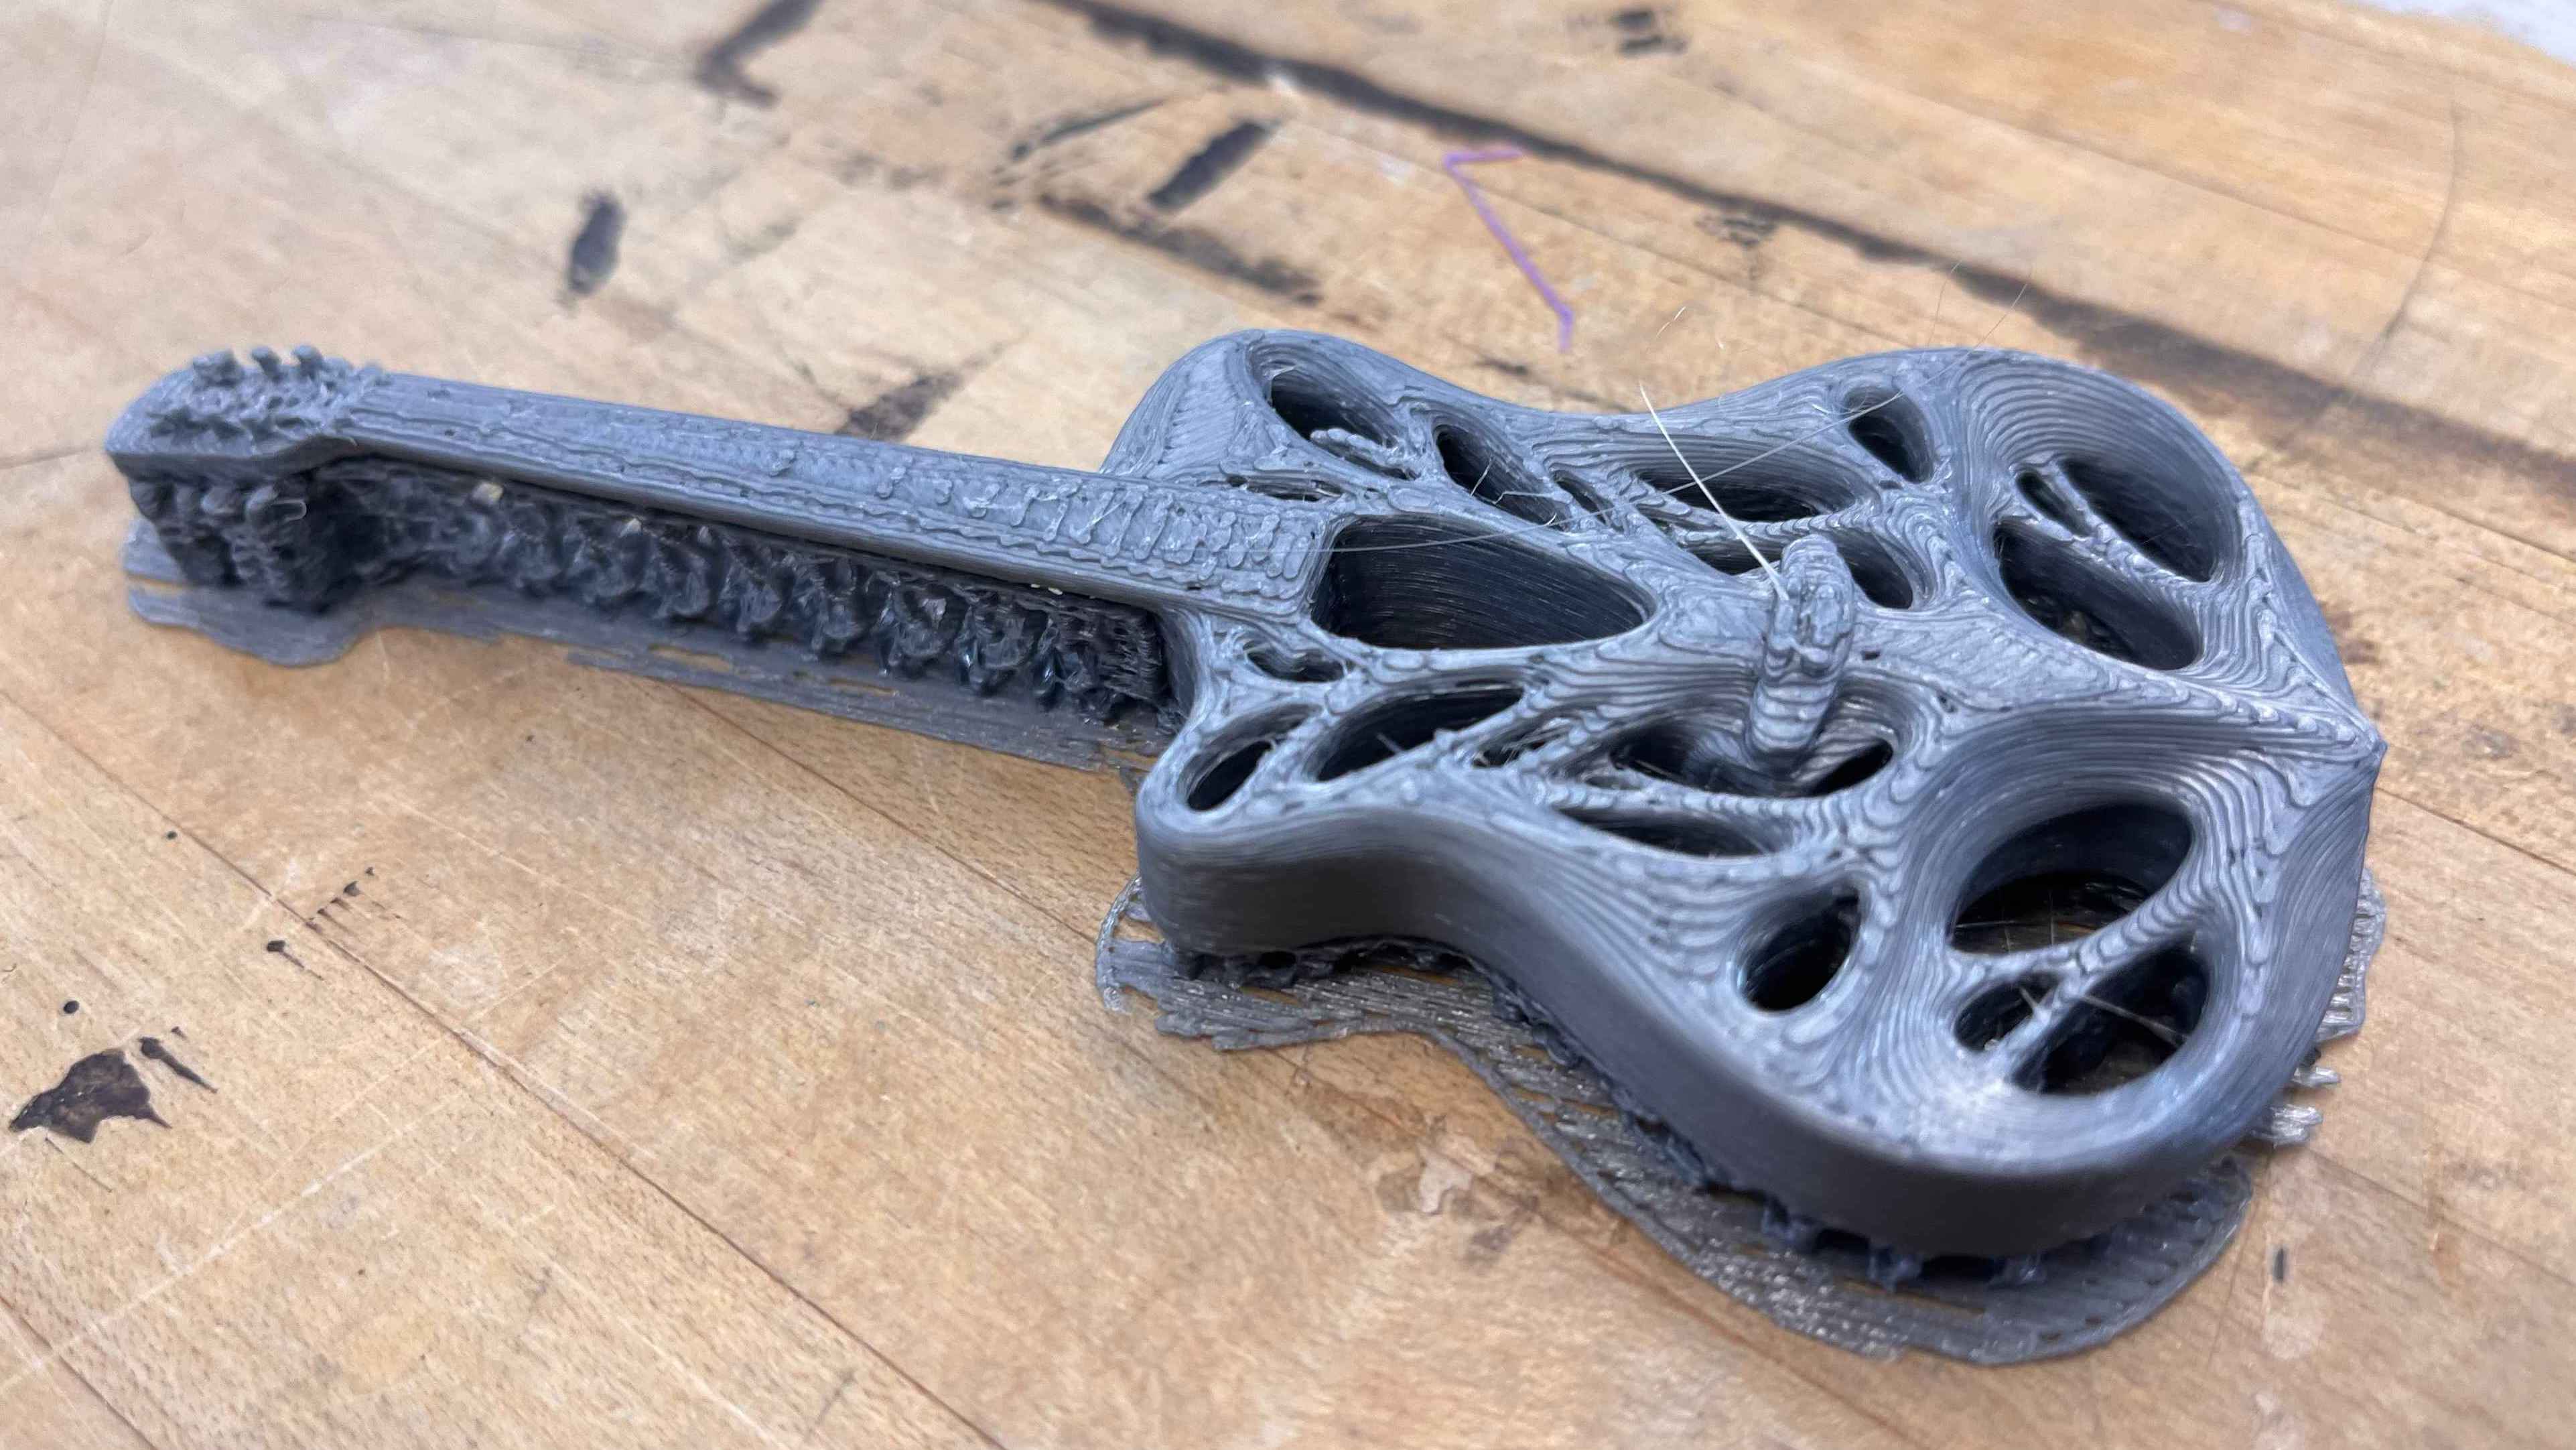
As it turns out, getting the supports off proved quite difficult. Don't turn it over, please.
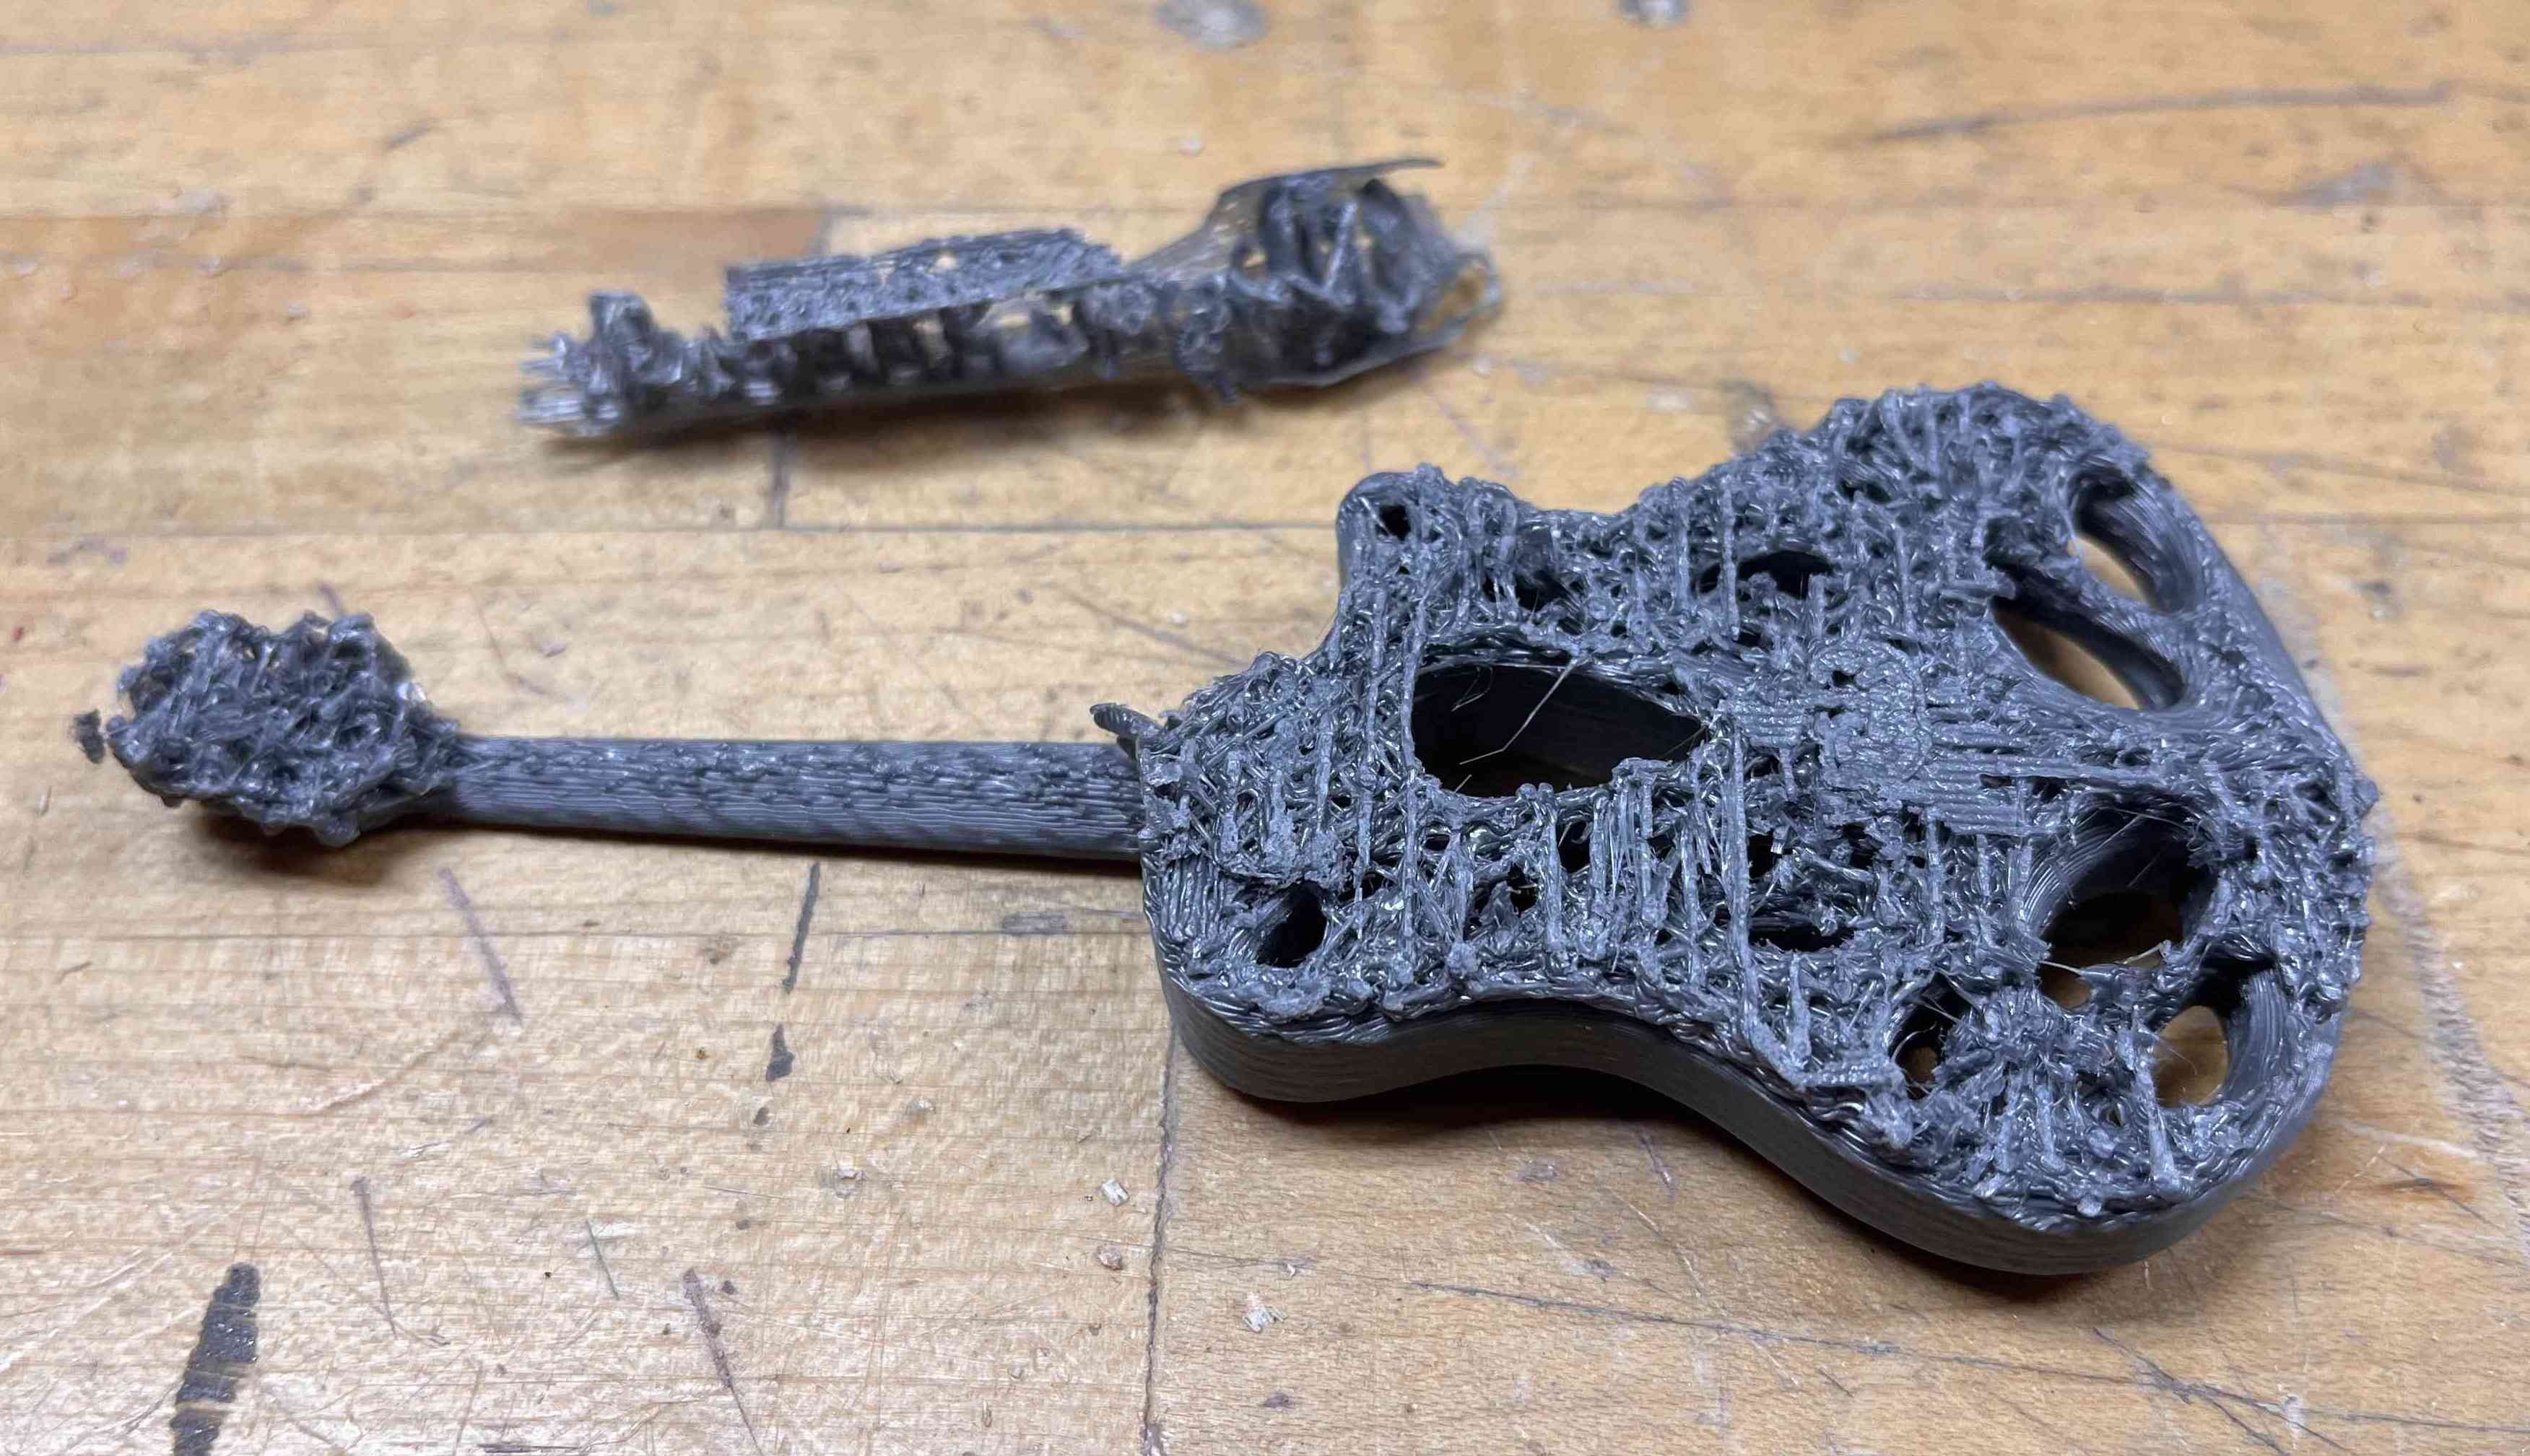
However, after some painstaking plying and a little filing, it's not bad!
Creating a 3D Scene
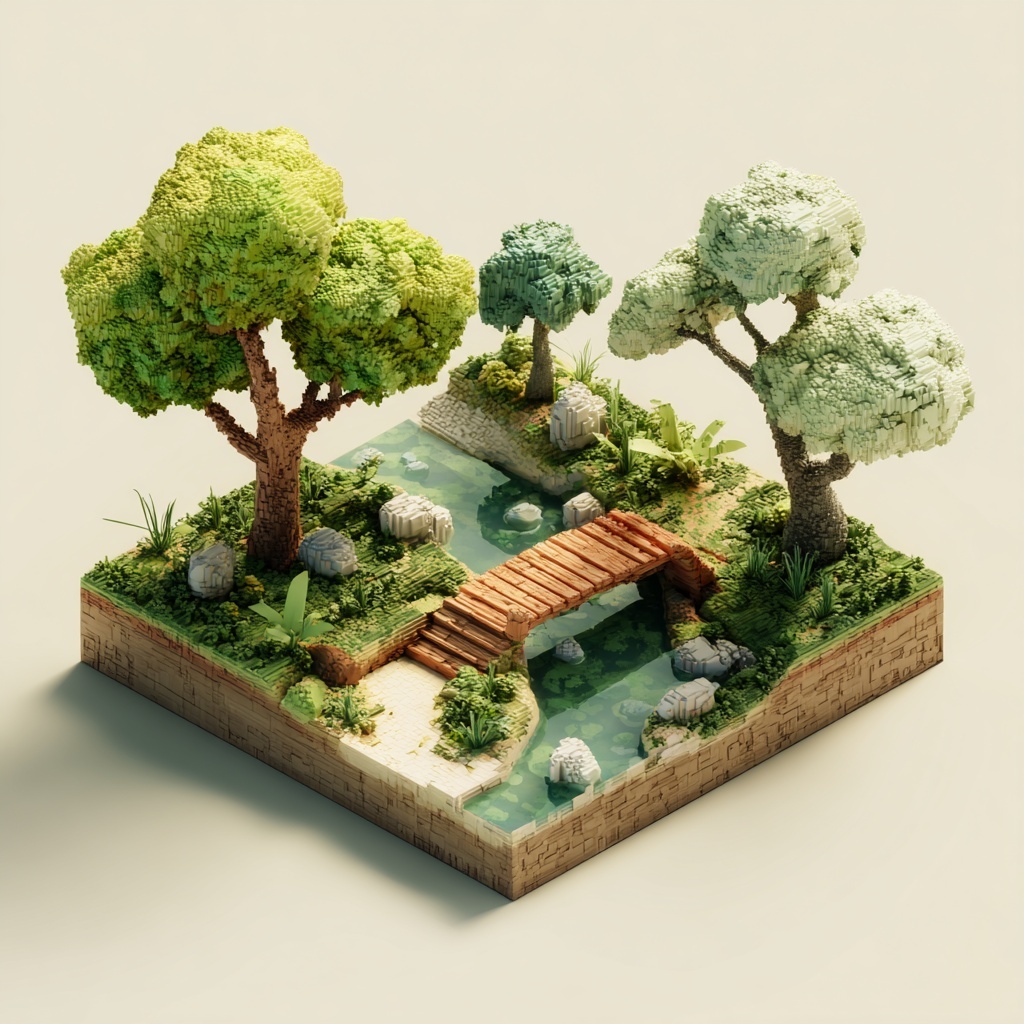
With one AI instrument under my belt, I wanted to try something a little different – a full AI-generated scene. Sticking with the nature theme, I yet again turned to Midjourney (model v7) to generate a beautiful little isometric park with trees, a stream, and bridge using the prompt "a small isometric scene of organic, living thriving trees, with a small river and bridge, simple enough for 3d print".
Here's what the image looked like:
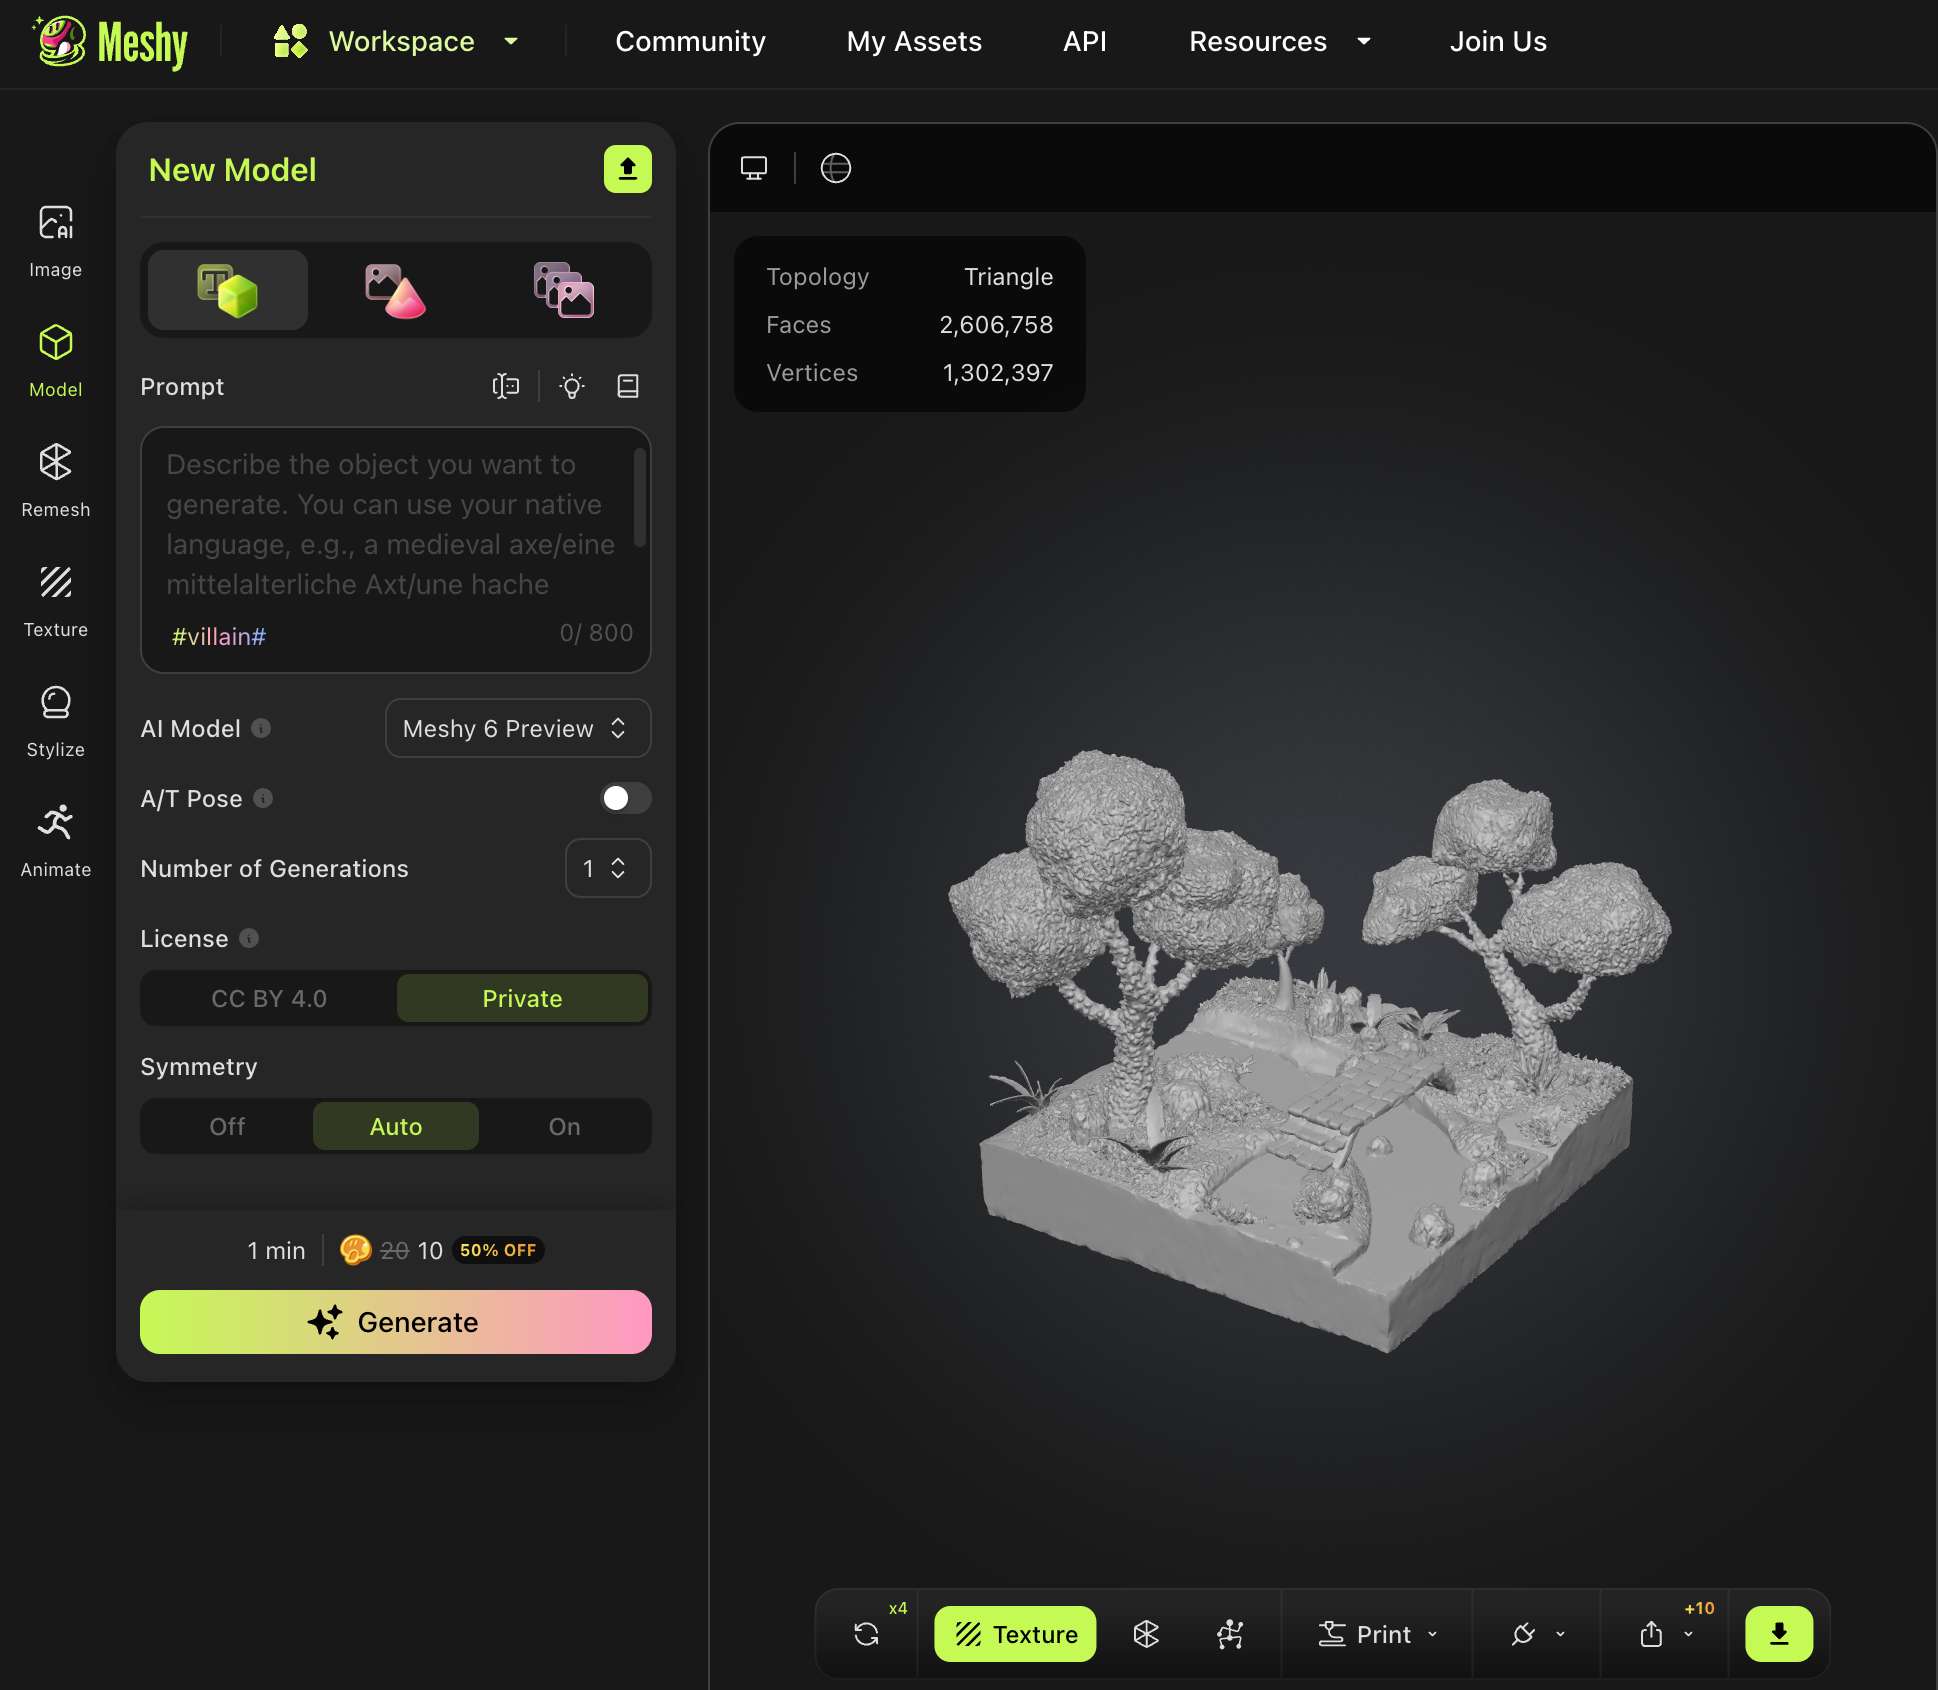
Using the same process as before, I brought it into Meshy and used the "Image to 3D Model" tool. However, this time I knew the complexity might be an issue, so I brought it into Blender by exporting it as a .obj file.
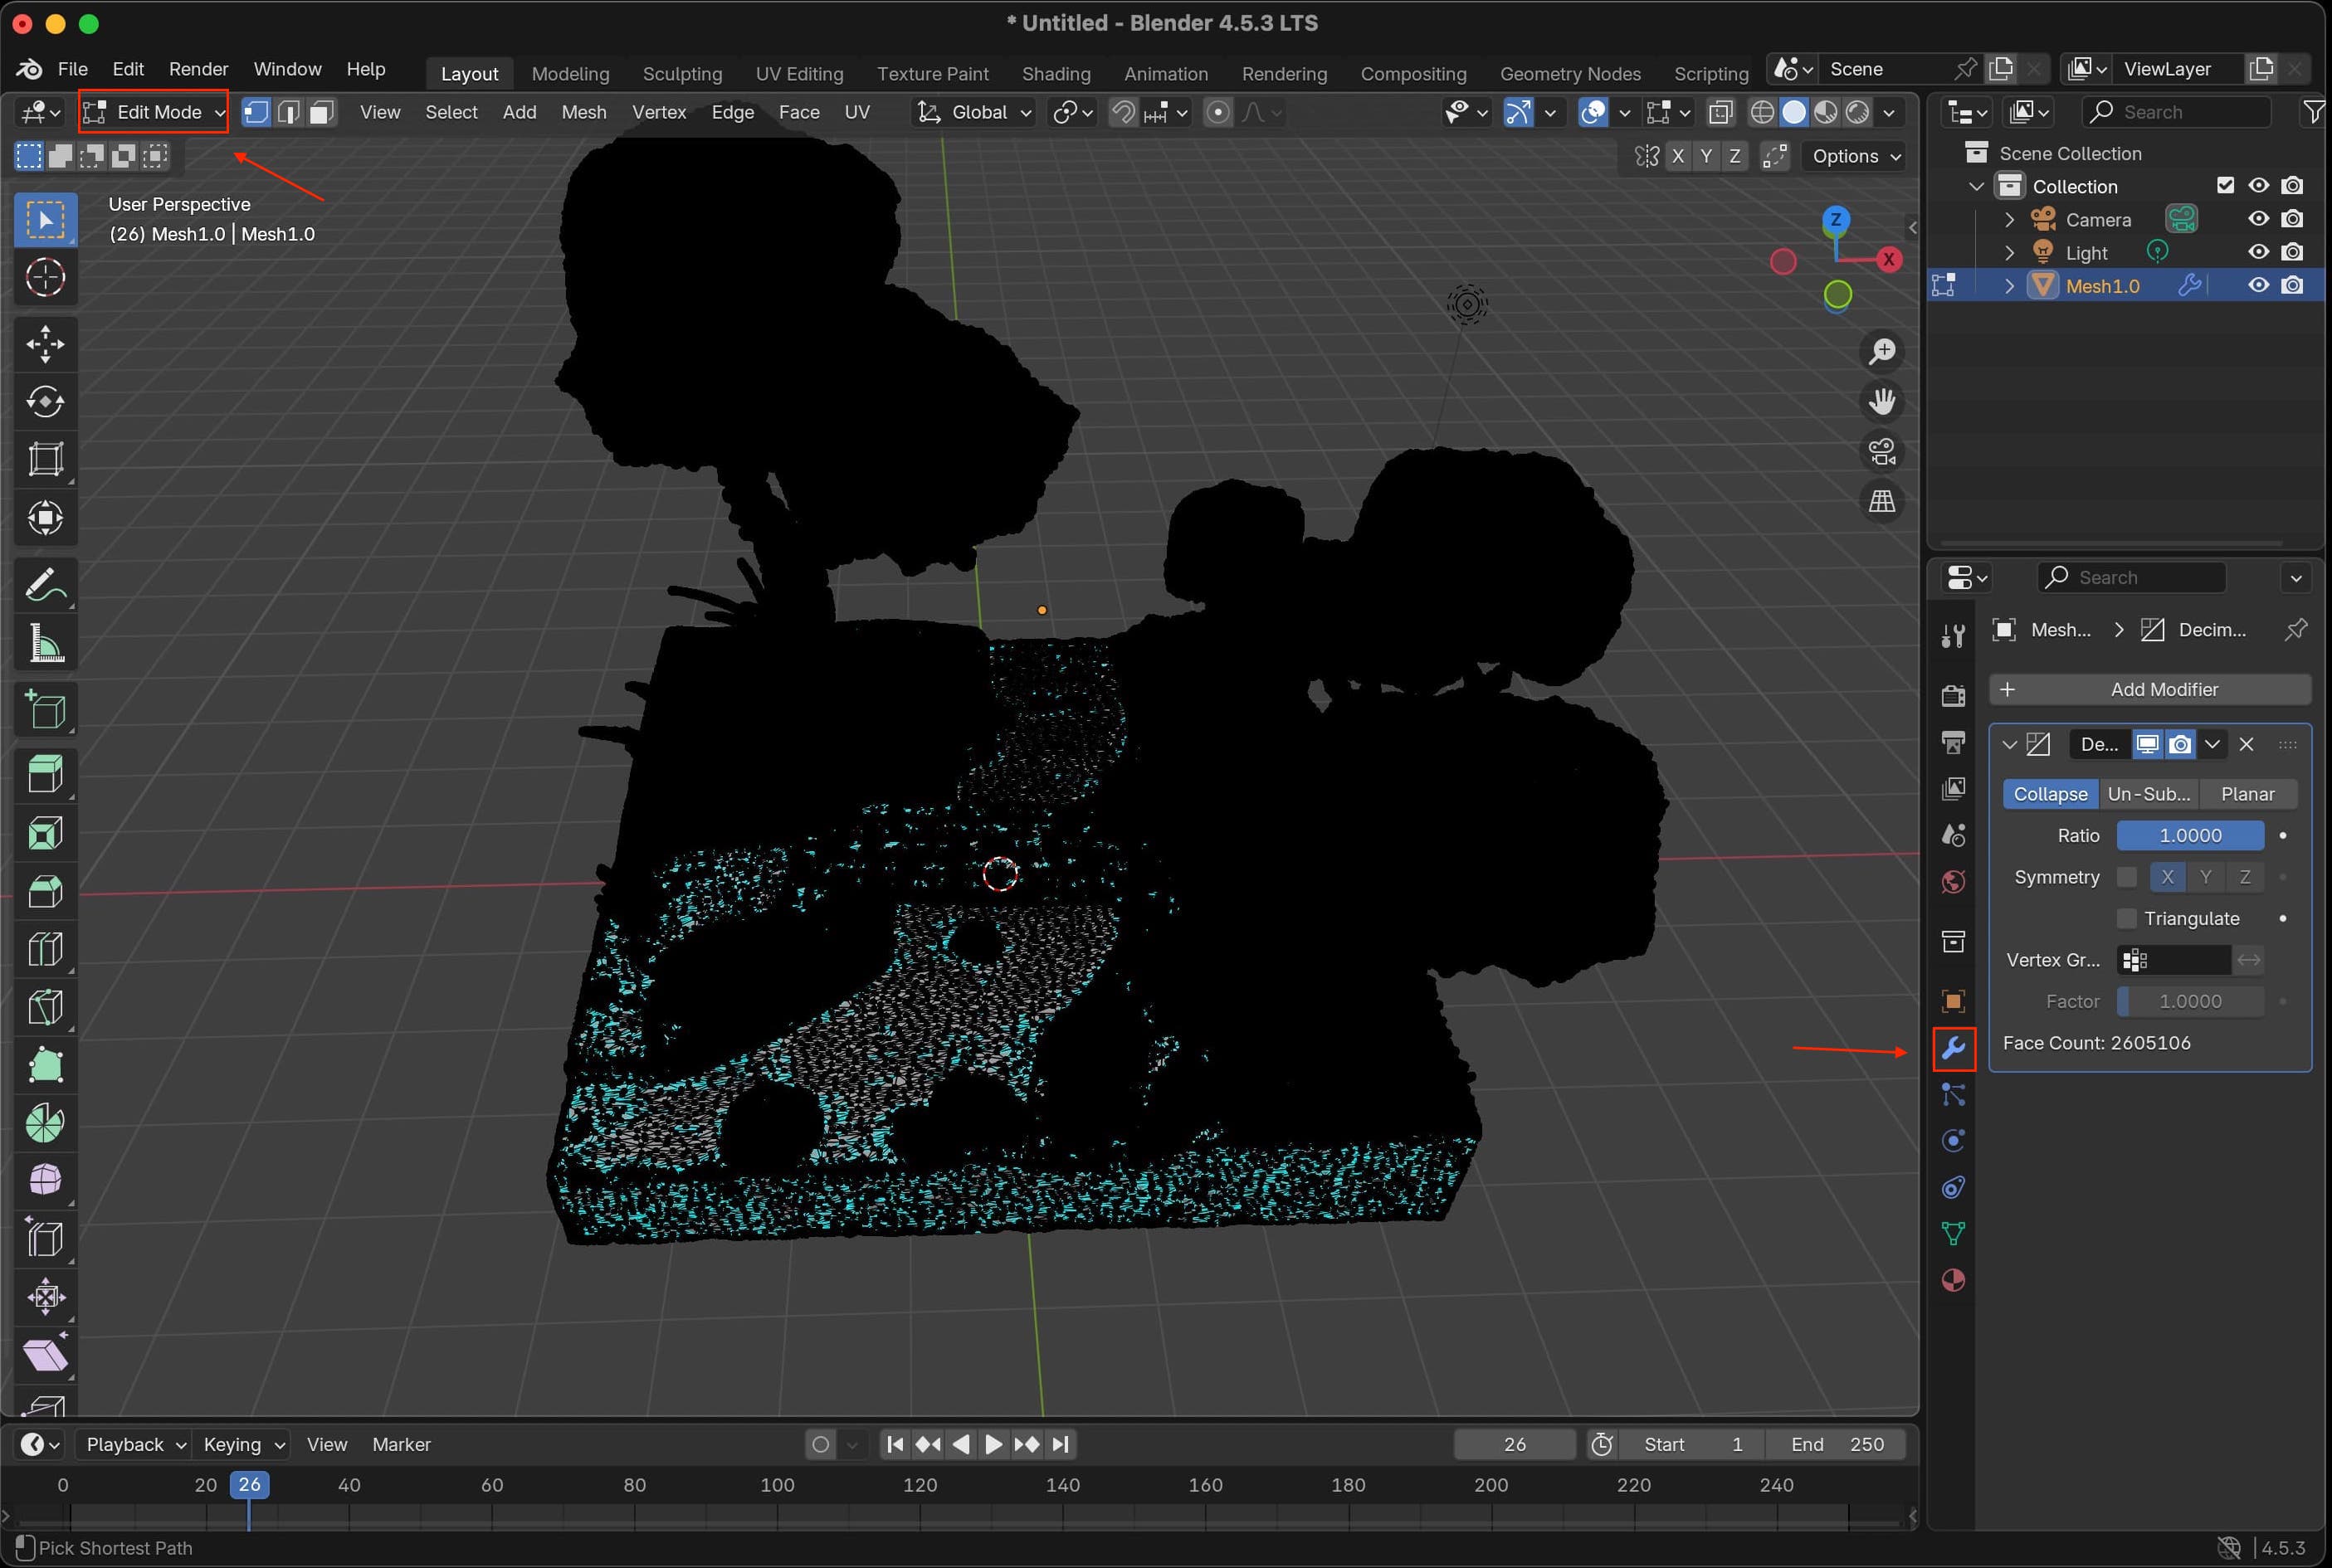
Here's what it looks like once the model was brought into Blender:
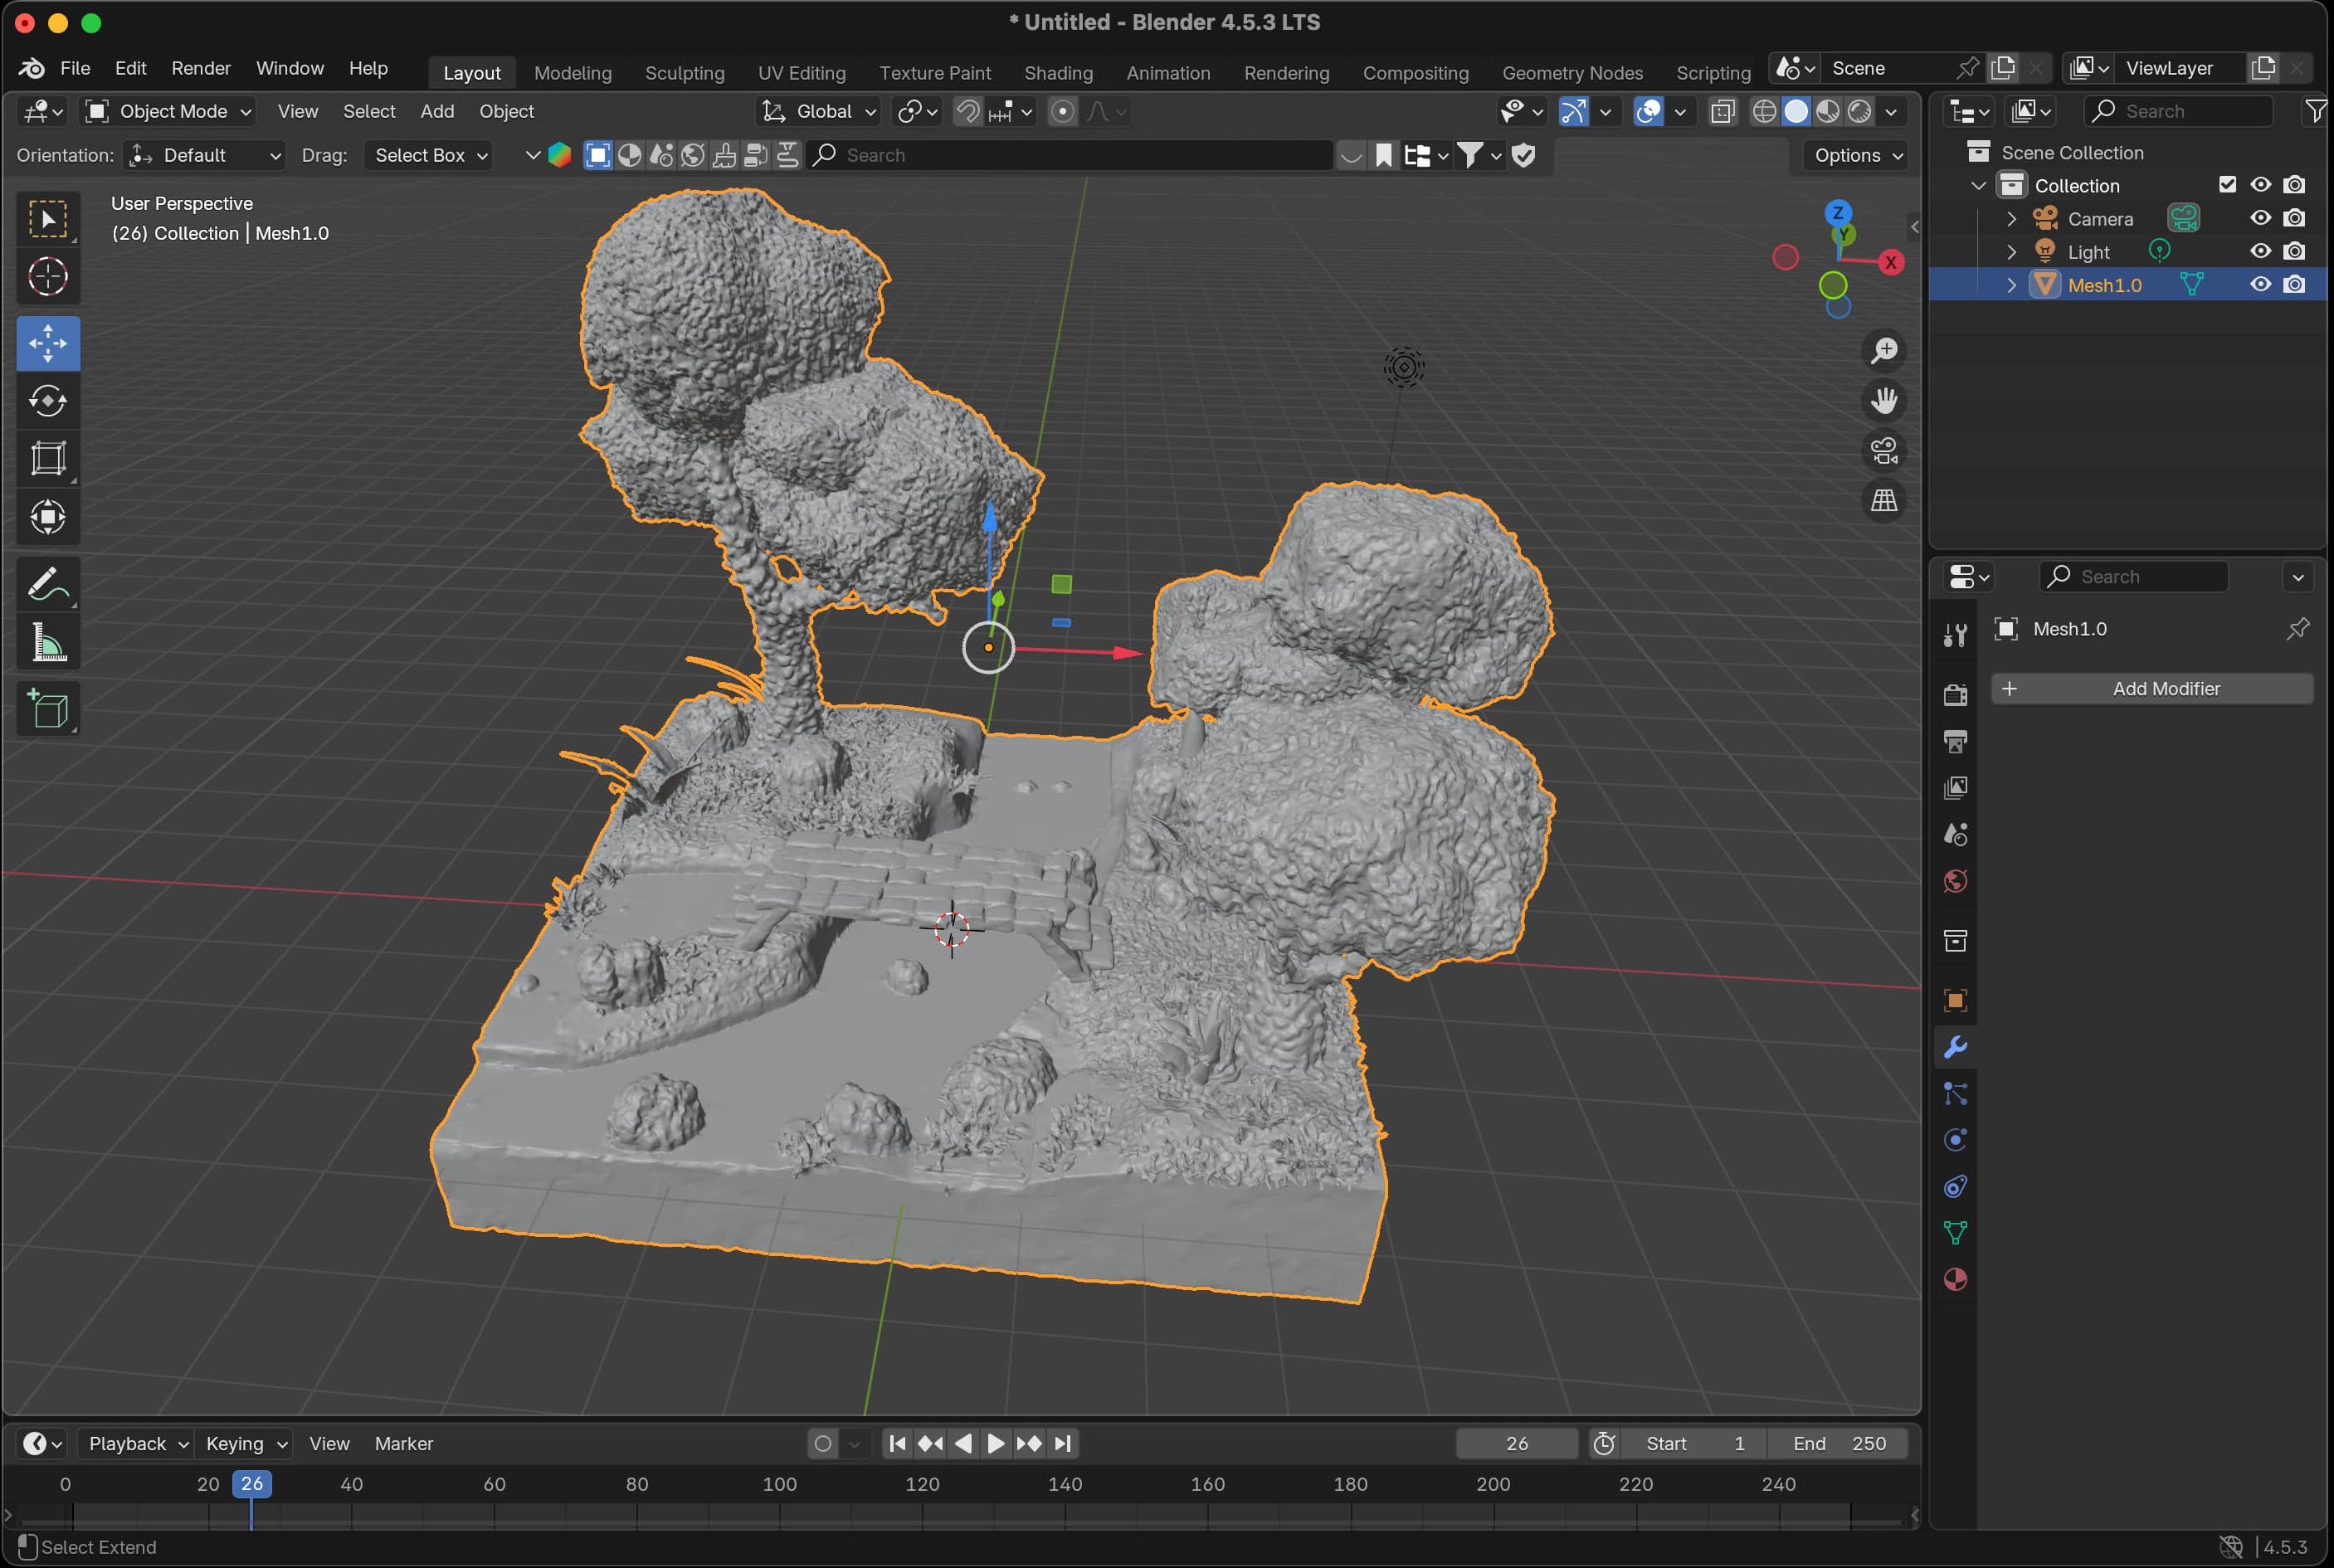
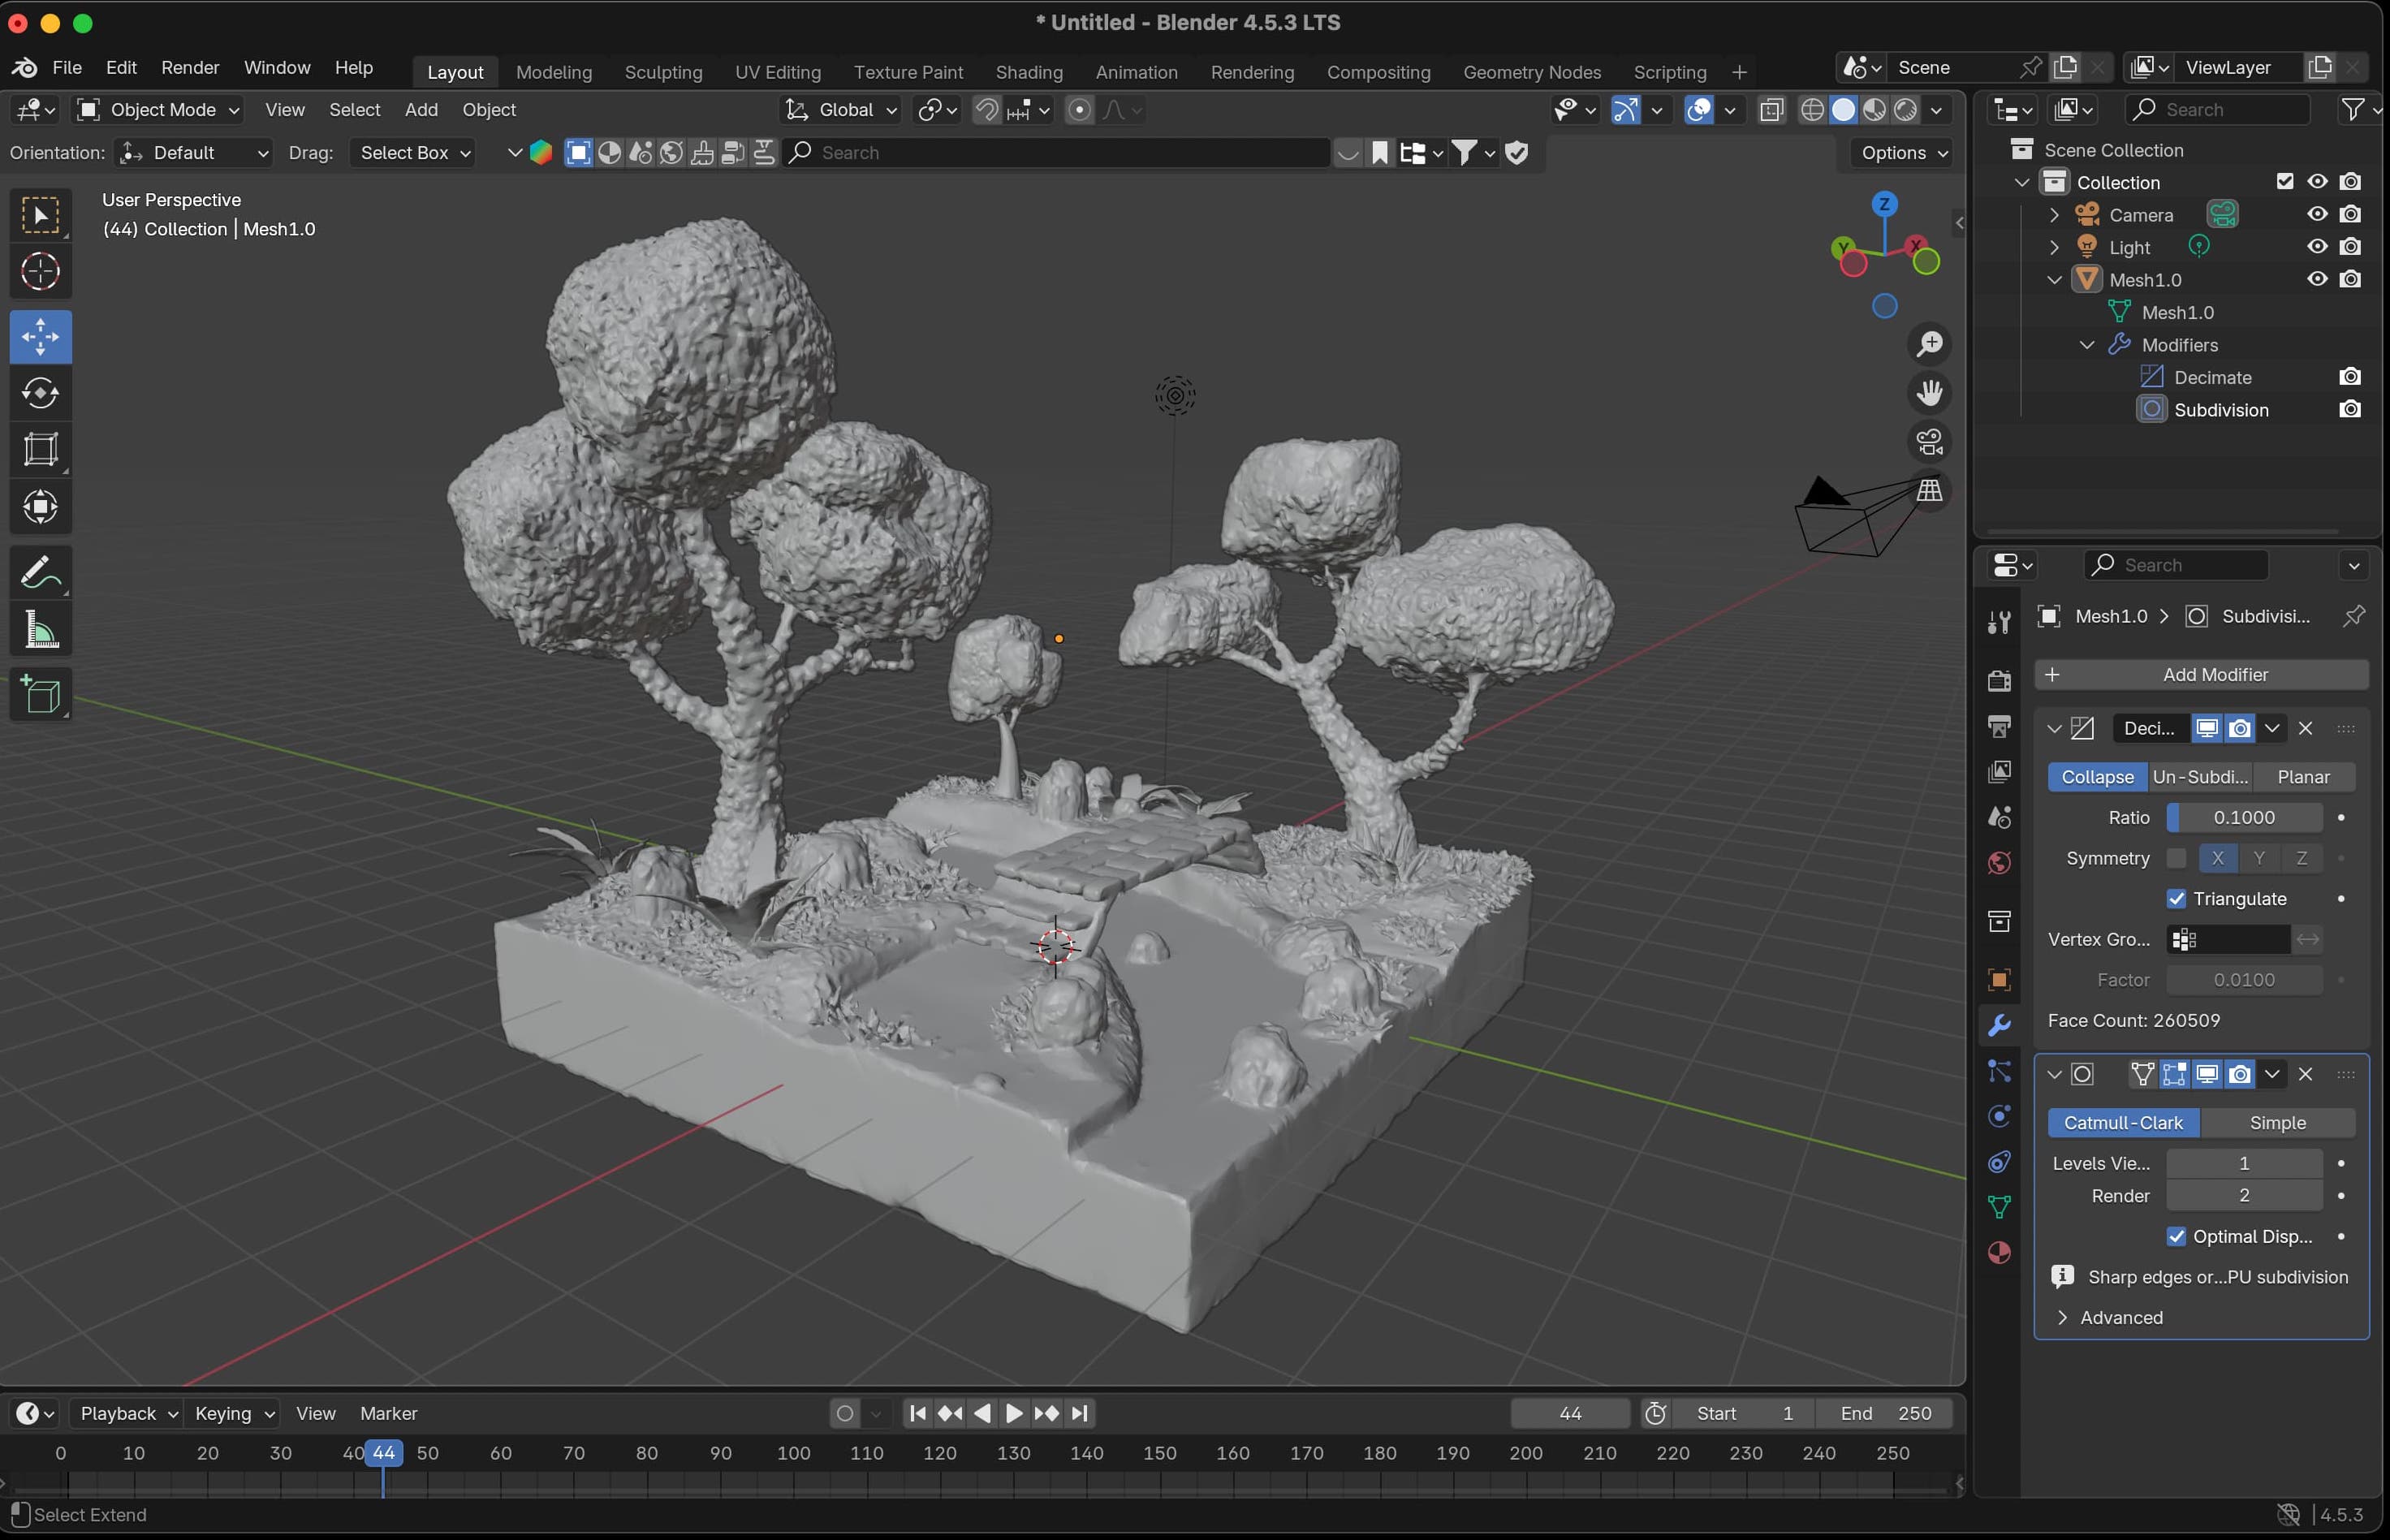
Once it's in Blender, you can switch to "Edit" mode and use the "Decimate" modifier to reduce the amount of faces/planes/vertices (I clearly need to figure out exactly how it works, but learned this was effective at simplifying the model thanks to Matti!).
Here's what the scene looks like once you switch back into "Object" mode:
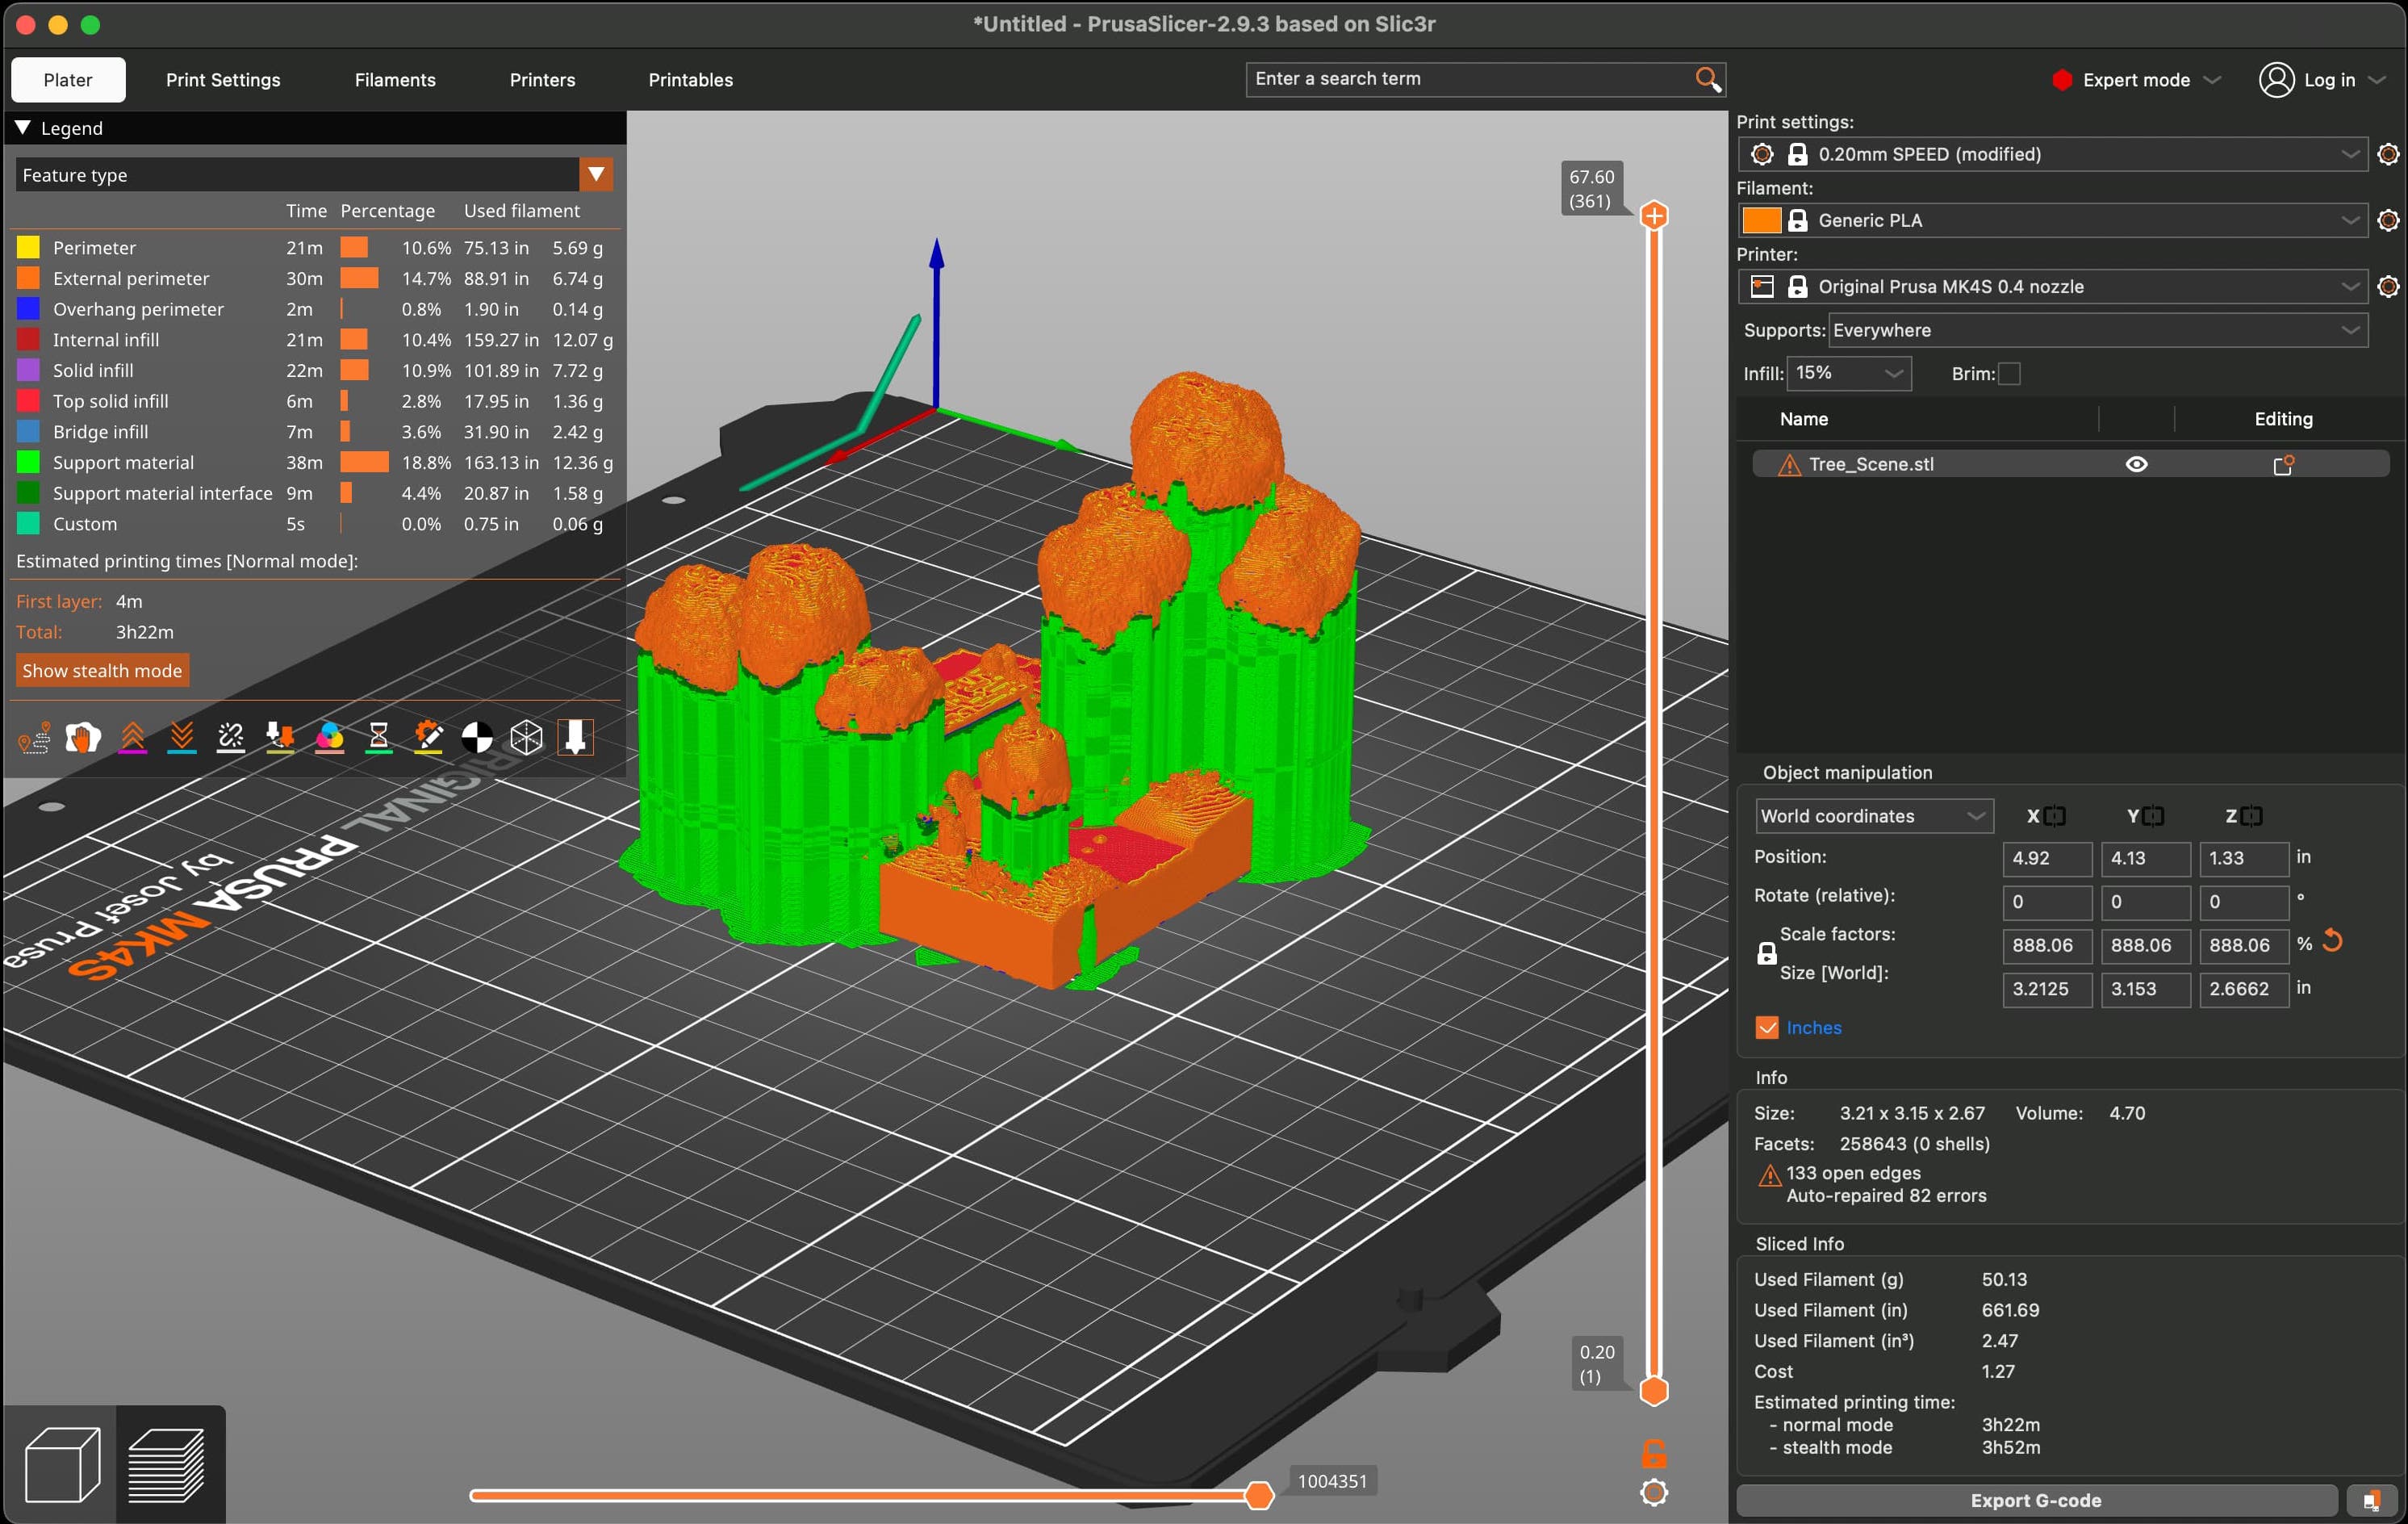
Unfortunately, Blender does not natively export as a .3mf file. However, it can export as a .stl file, which PrusaSlicer still takes in. With that, I set up the scene to add organic supports, and began printing!
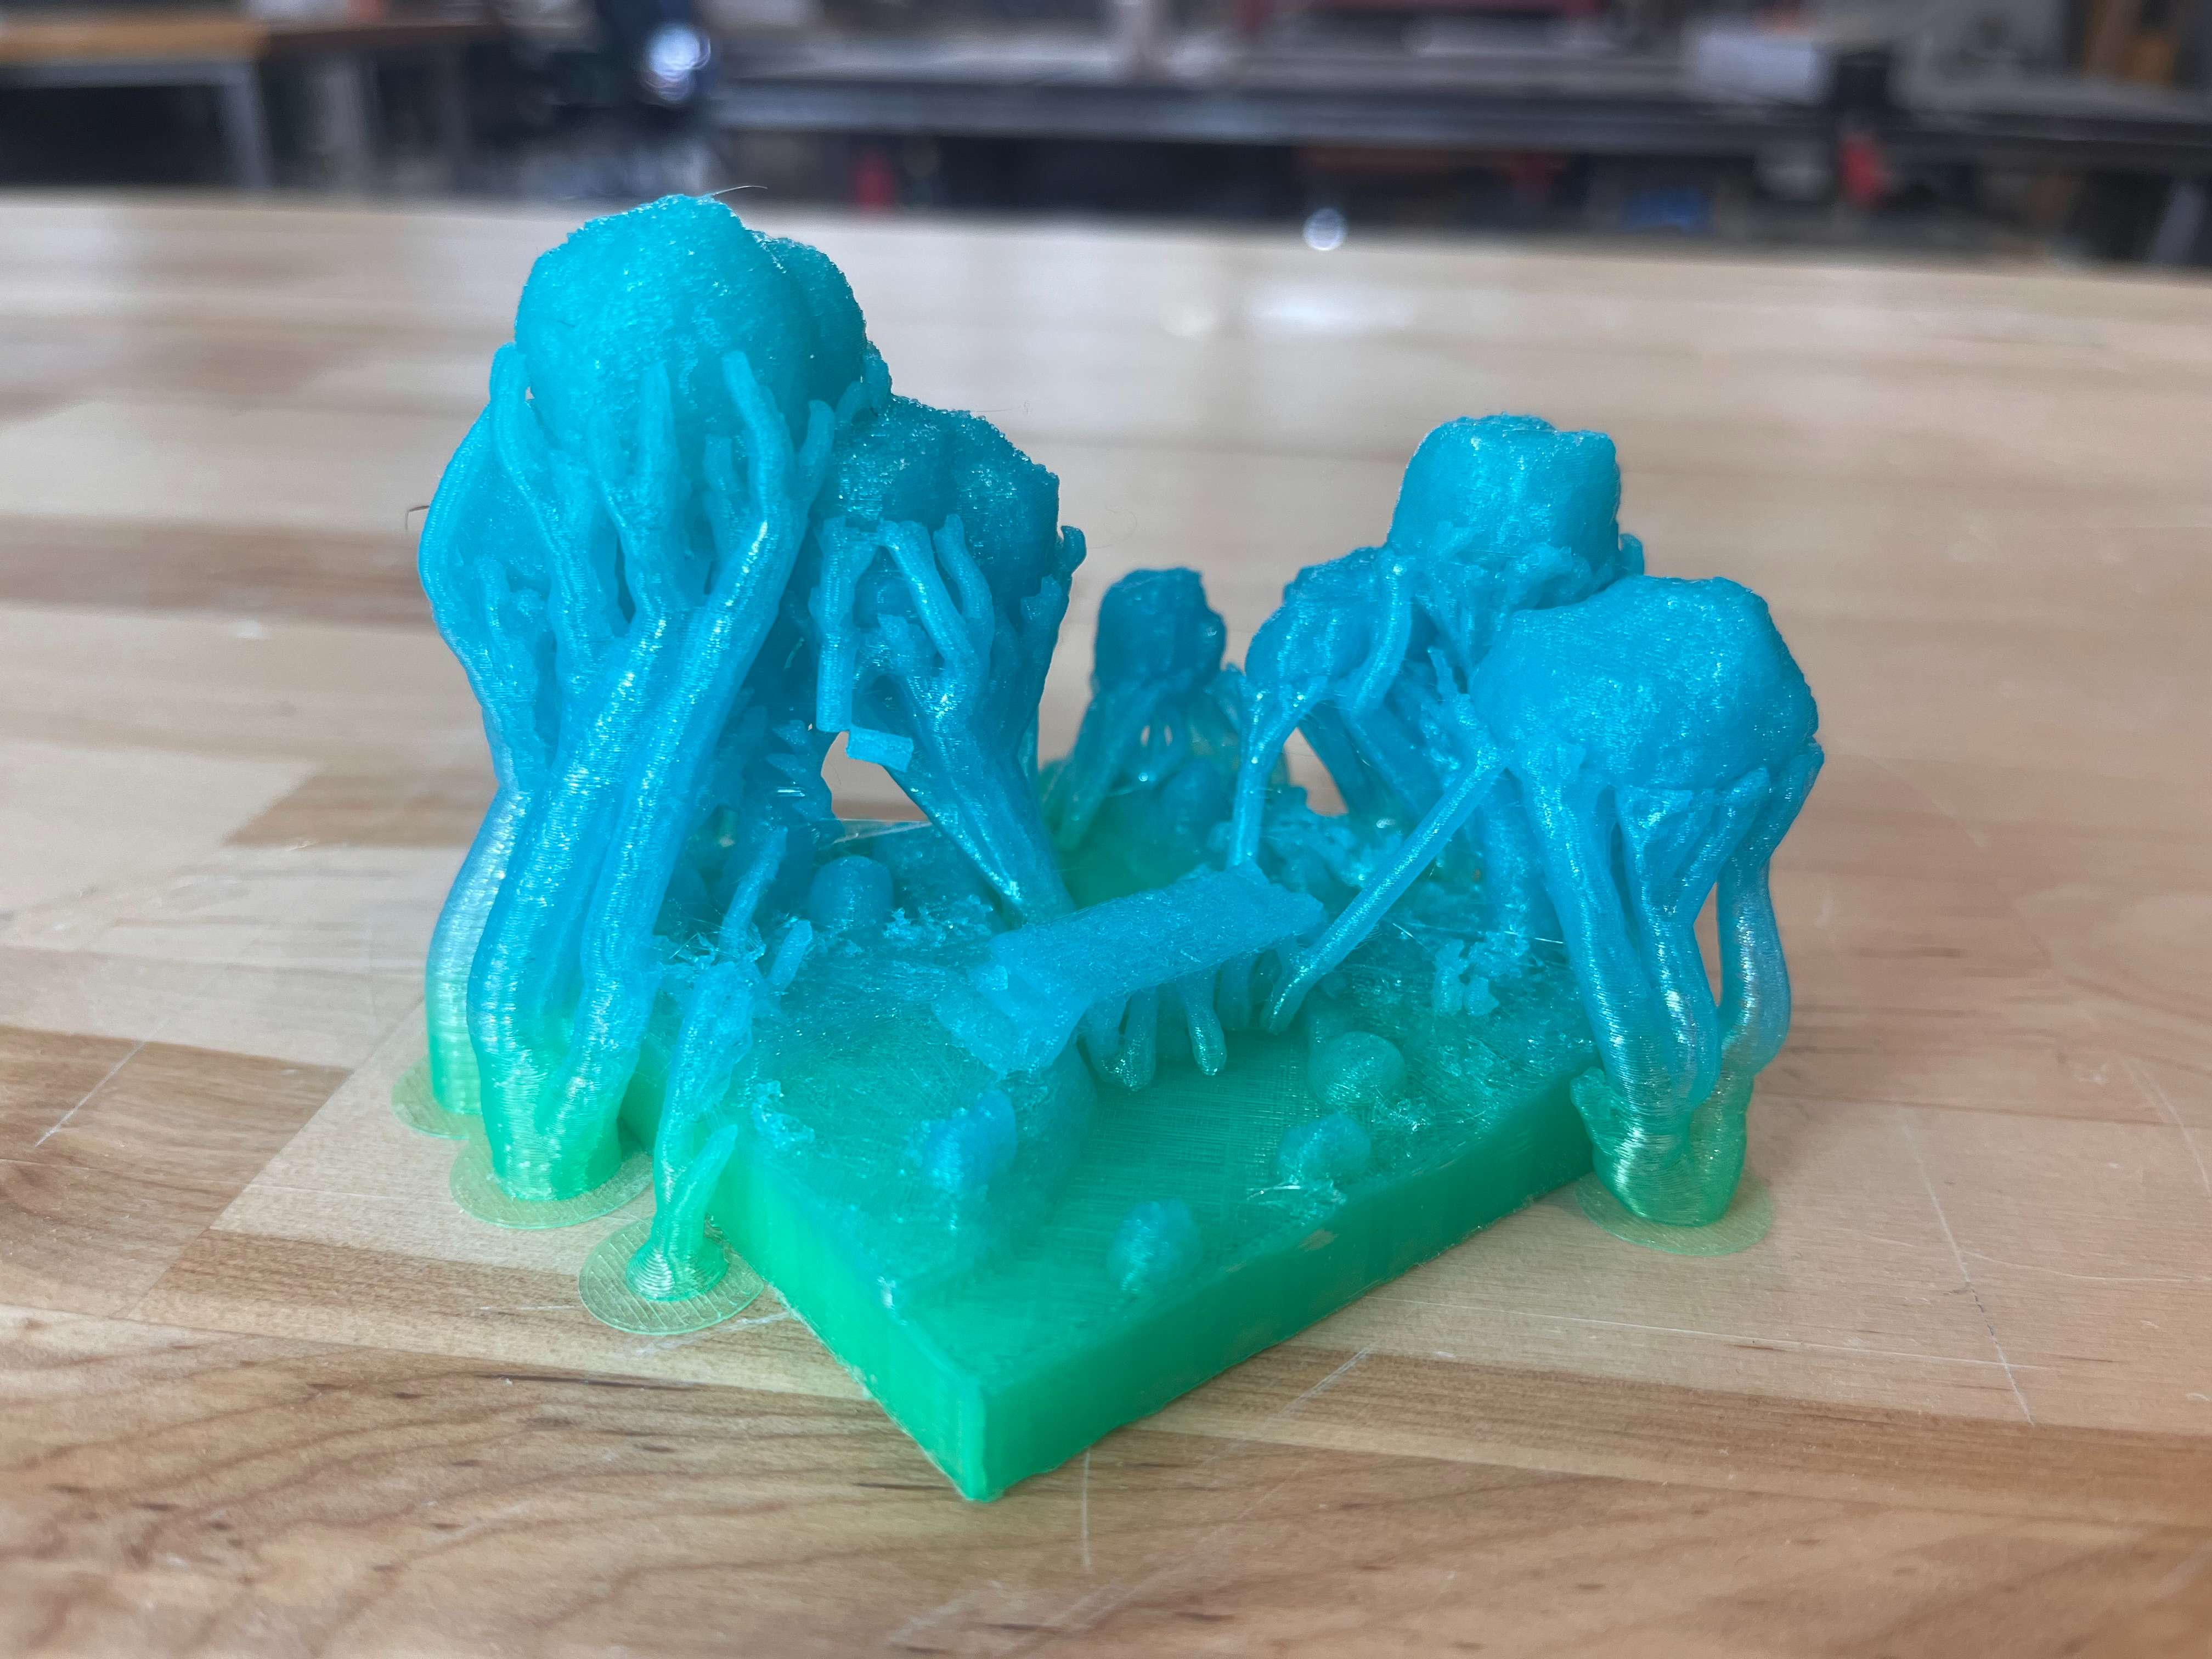
Here's what it looked like right out of printing:
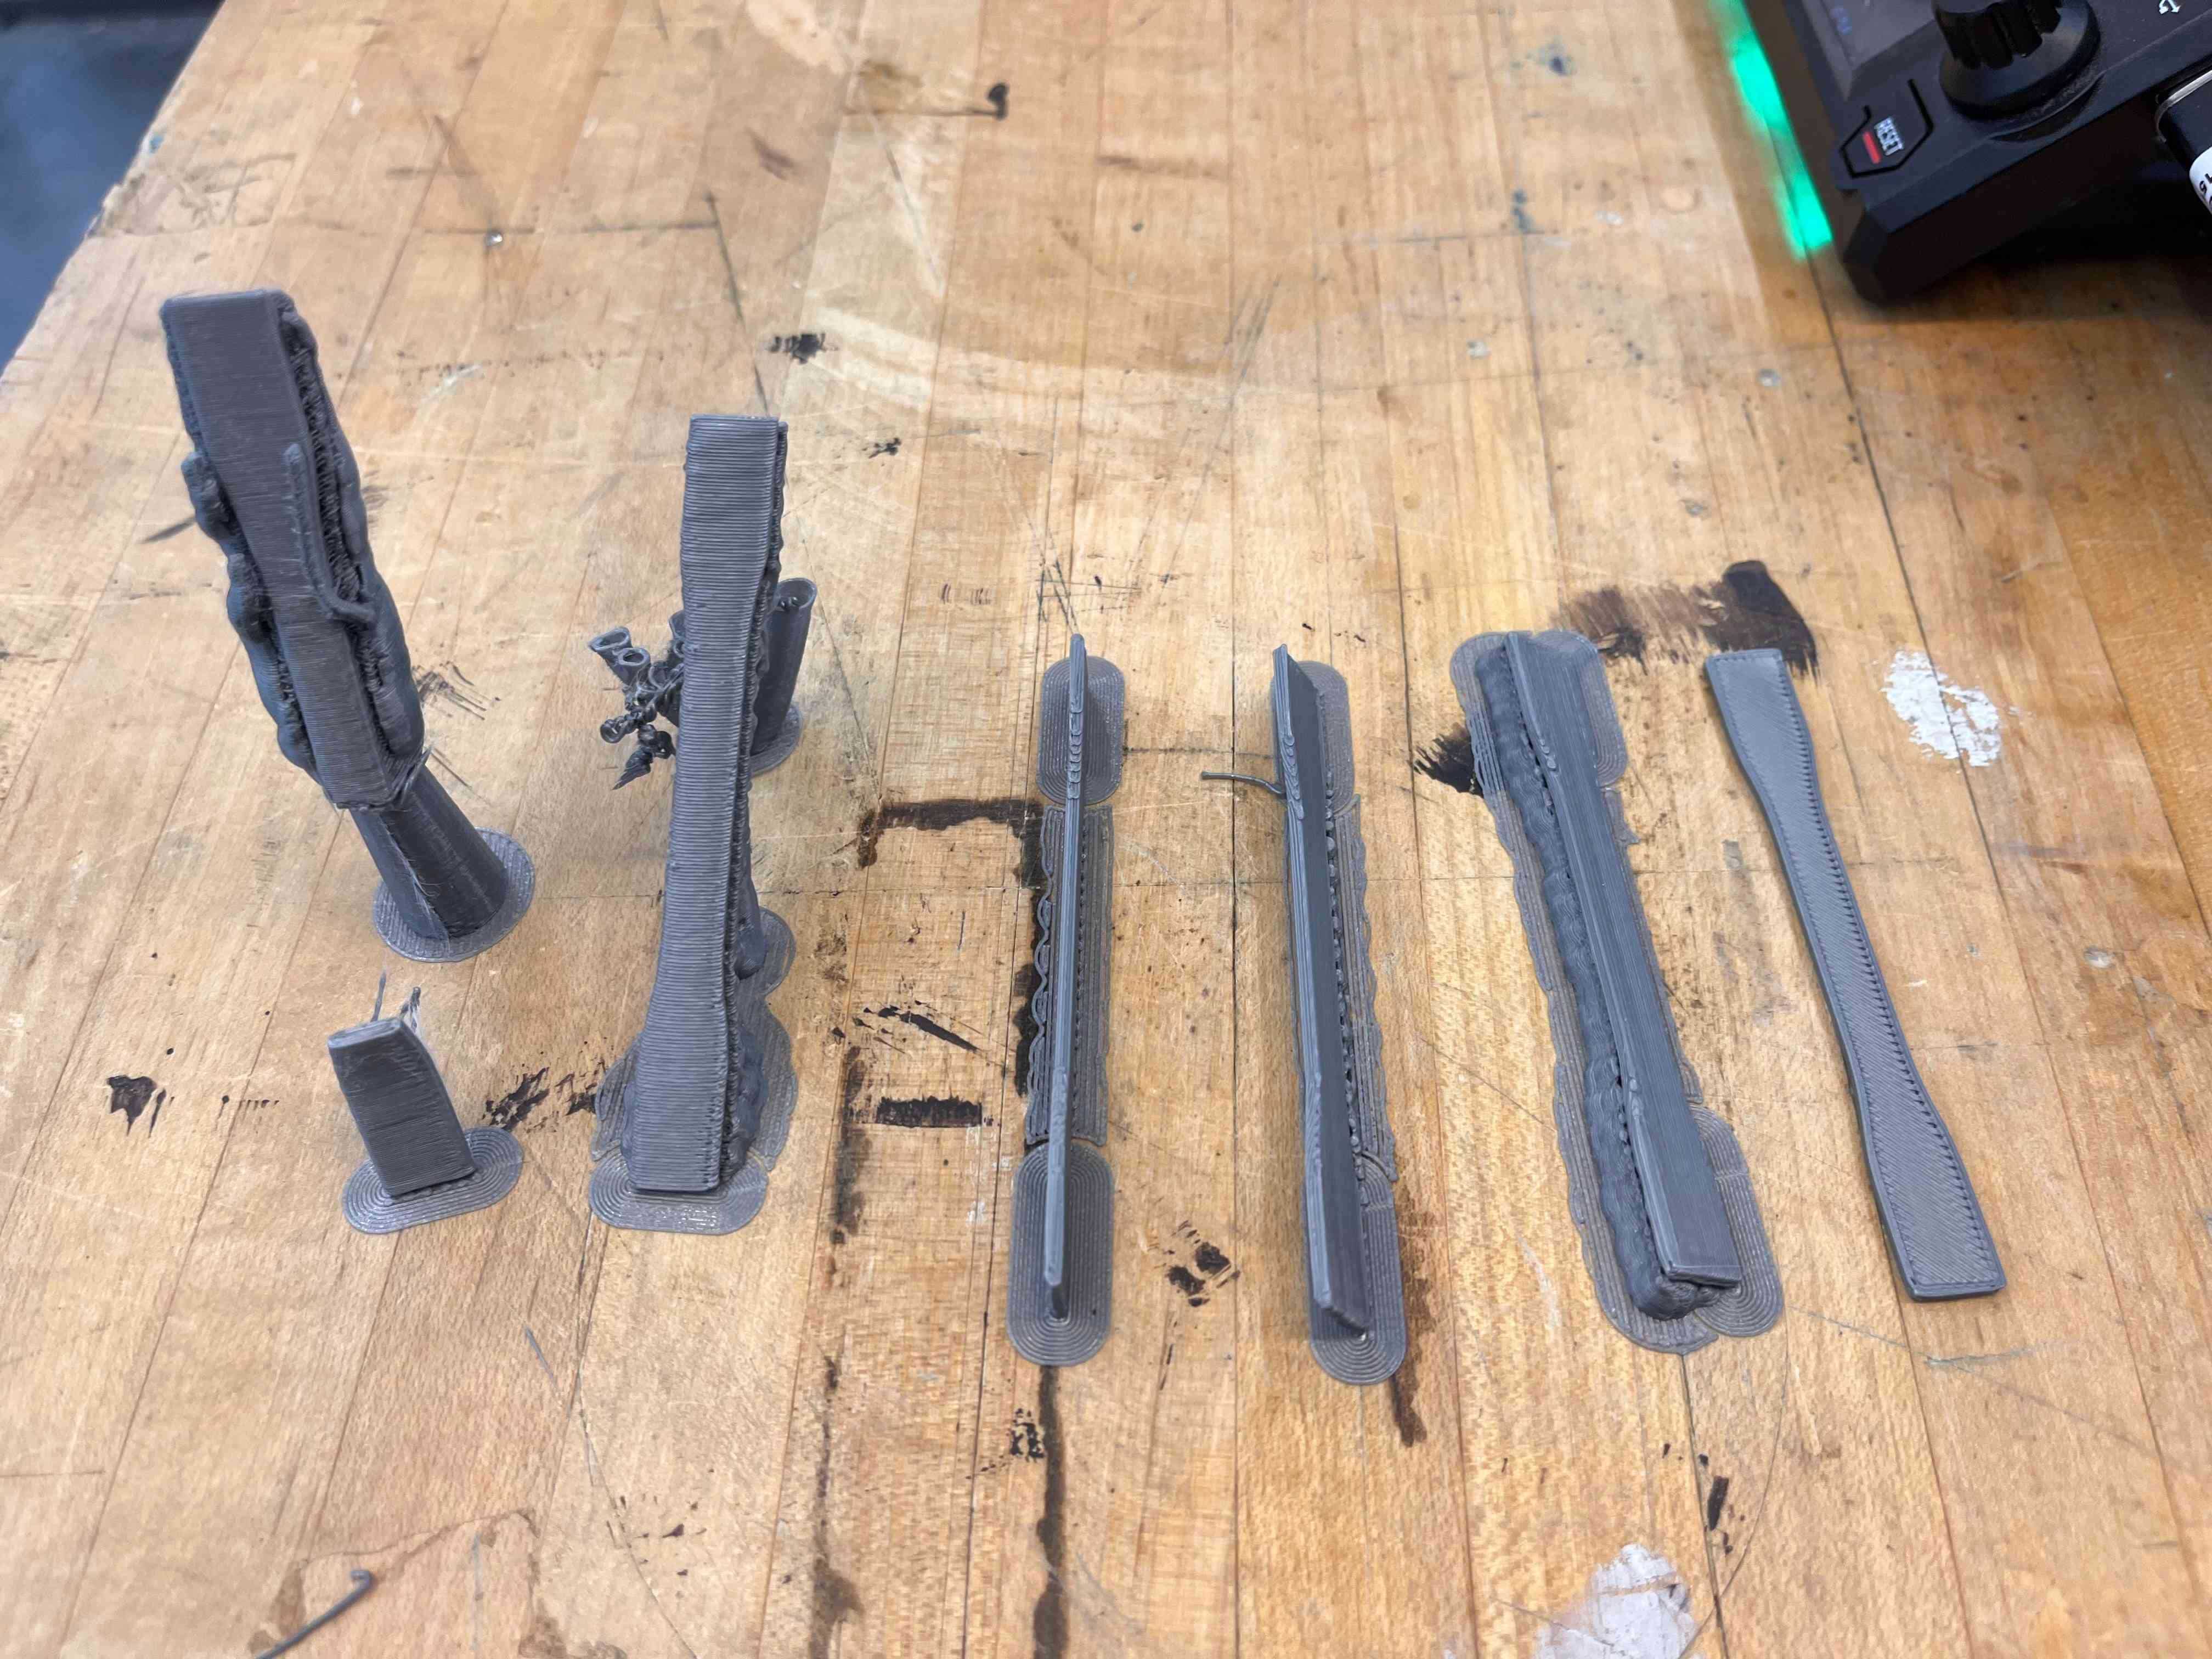
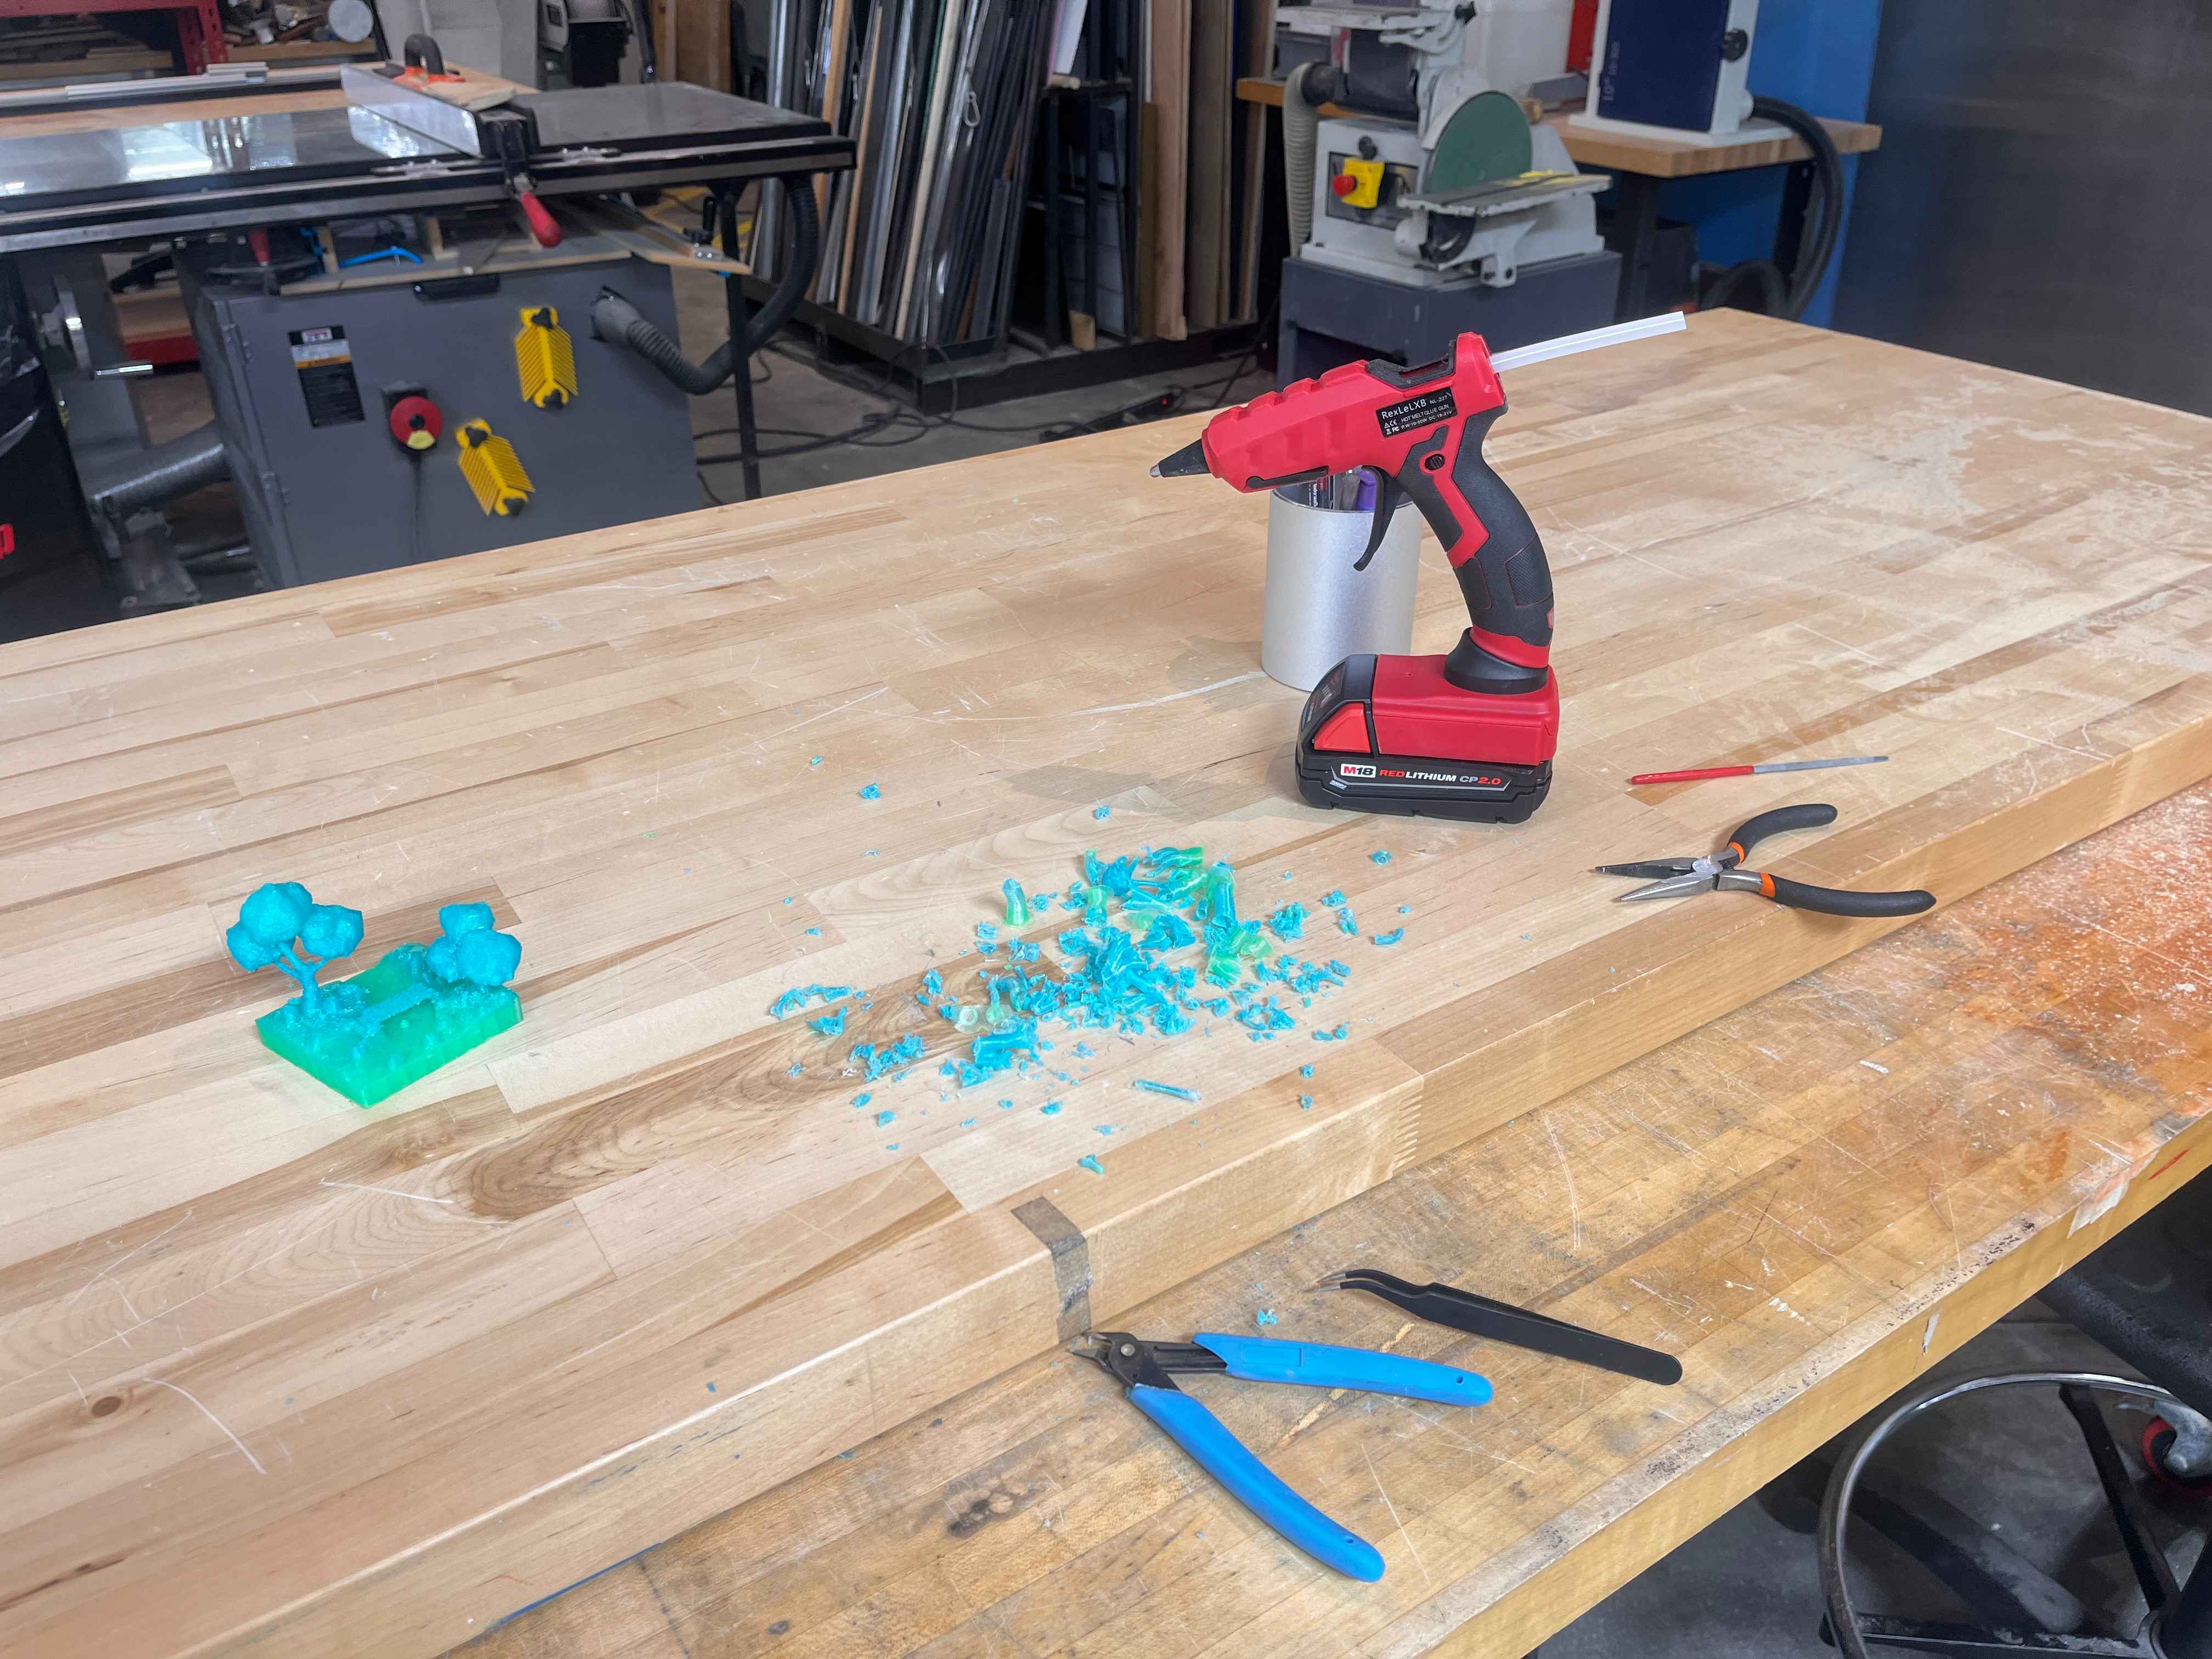
Here are all of the tools I used to remove the supports (a very long and careful process!):
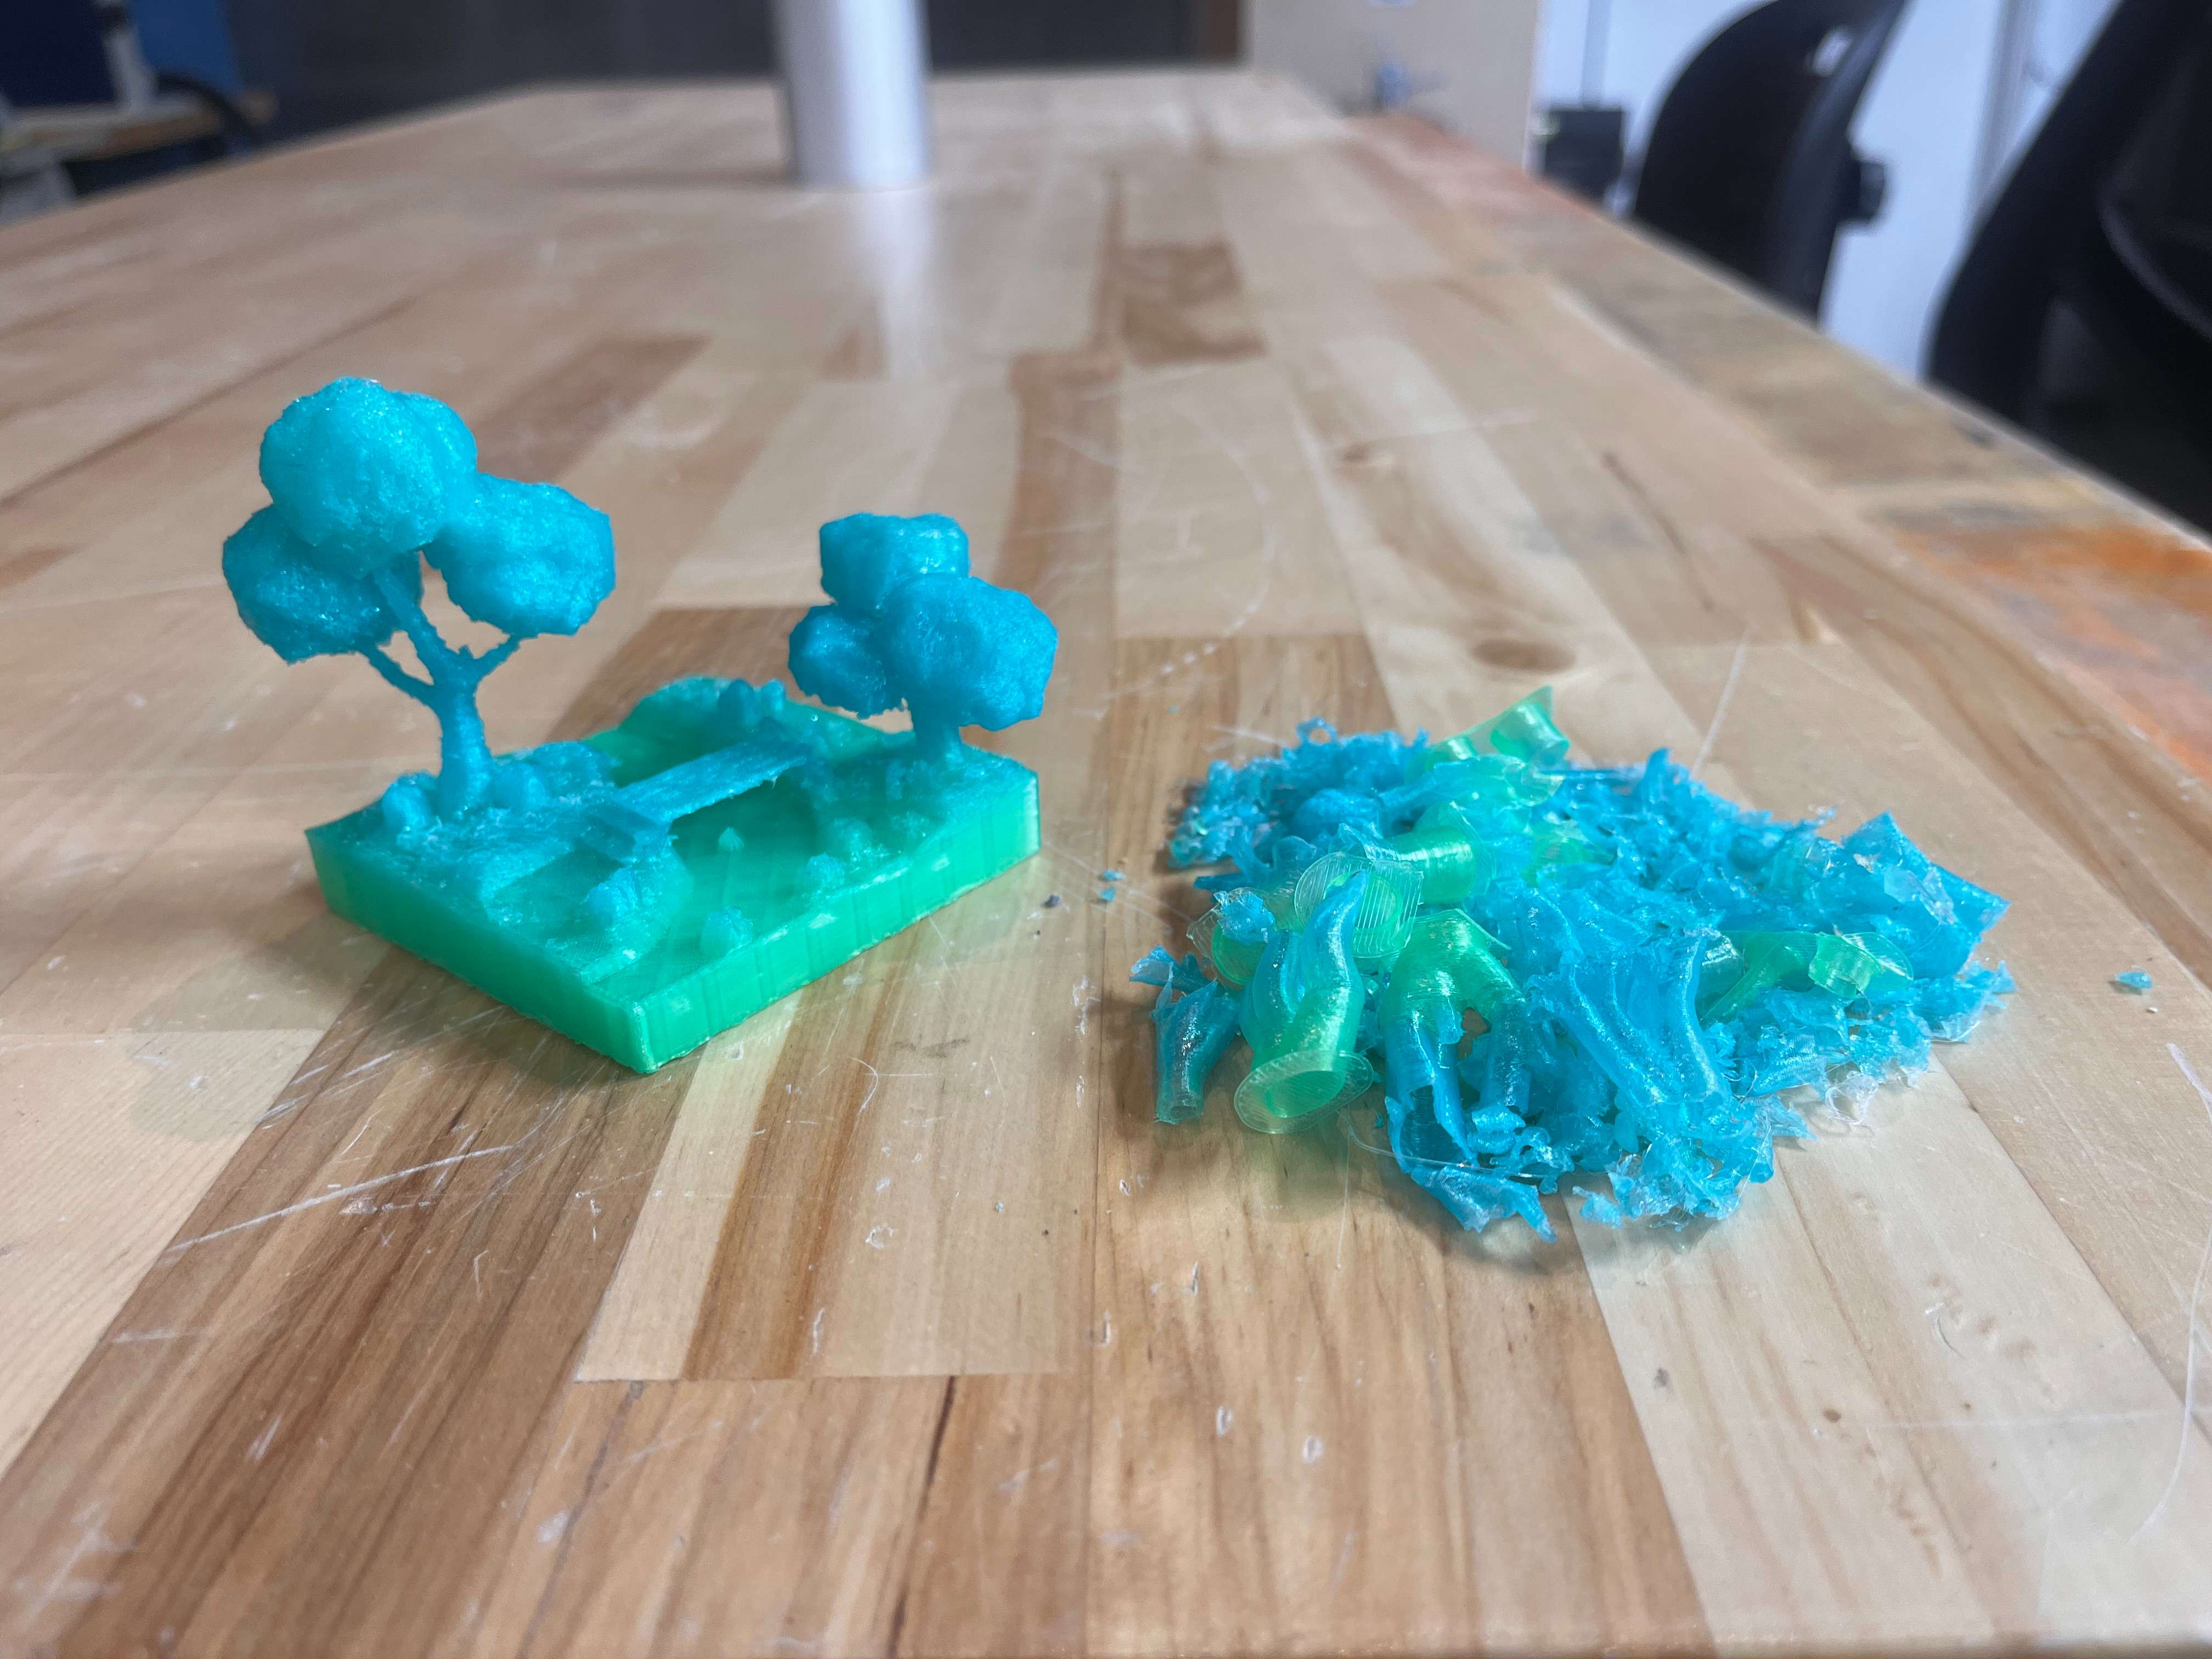
And here is the massive pile of removed material next to the final print:
Upon further review, I accidentally completely snapped off the small tree in the back. But on the whole, I think it looks pretty good!
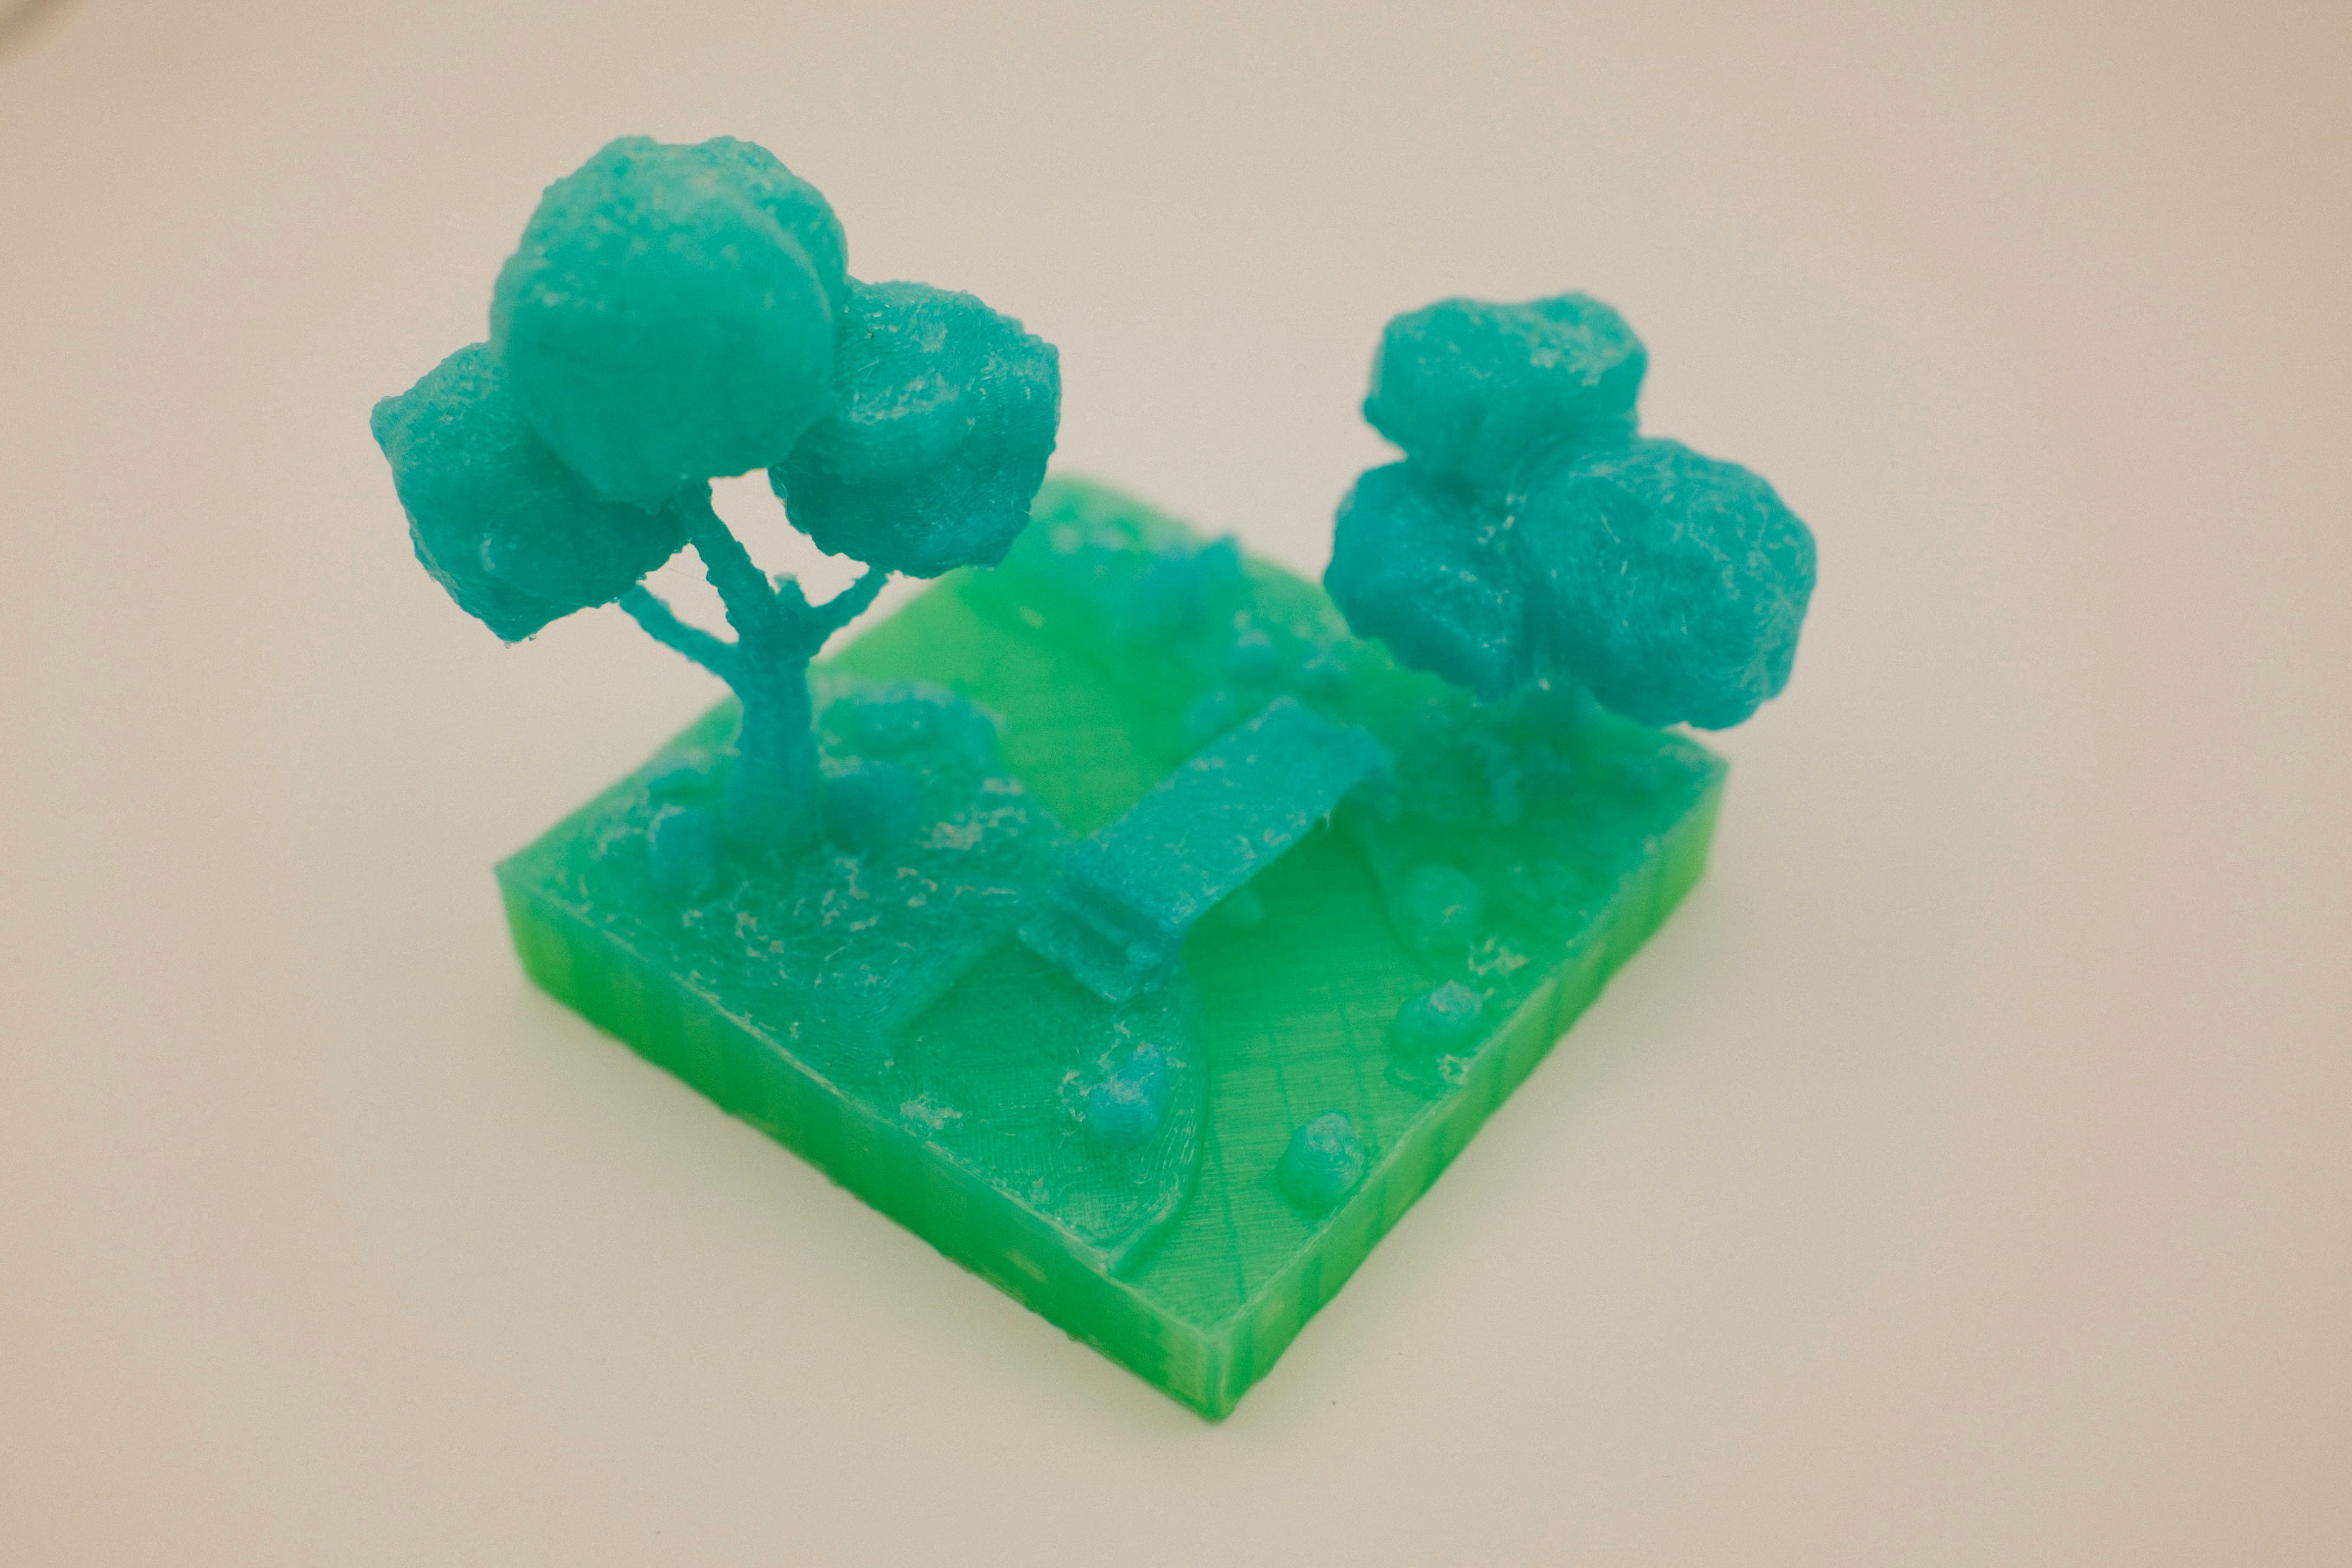
(just don't look at the super-glue, please.)