Overview
This week, we learned about computer-controlled machining – using CNC machines to create large-scale projects out of wood. The assignment was:
- make (design+mill+assemble) something big (~meter-scale)
Project Files & Links
- Week 7 Lecture Notes
- Skee Ball Fusion File
- Skee Ball ShopBot Milling File
- Ramp Prusa 3D File
- Half Ball Prusa 3D File
- Media Lab PDF for Laser Cutting
- Skee Ball PDF for Laser Cutting
Group Assignment
Our group assignment was:
- do your lab's safety training
- test runout, alignment, fixturing, speeds, feeds, materials, and toolpaths for your machine
You can find what our group did to complete it here.
Brainstorm & Design
This week, we were tasked with "creating something large" out of wood. As someone with very little experience in construction ( outside of the occasional IKEA build), I needed to think of the right thing to build for my skill level. At first, I was thinking something simple –– a chair, a table, a plant stand –– but instead, I wanted to challenge myself and make something fun. What was something with an easy enough shape, that's interactive and would be fun to watch Neil and other play?
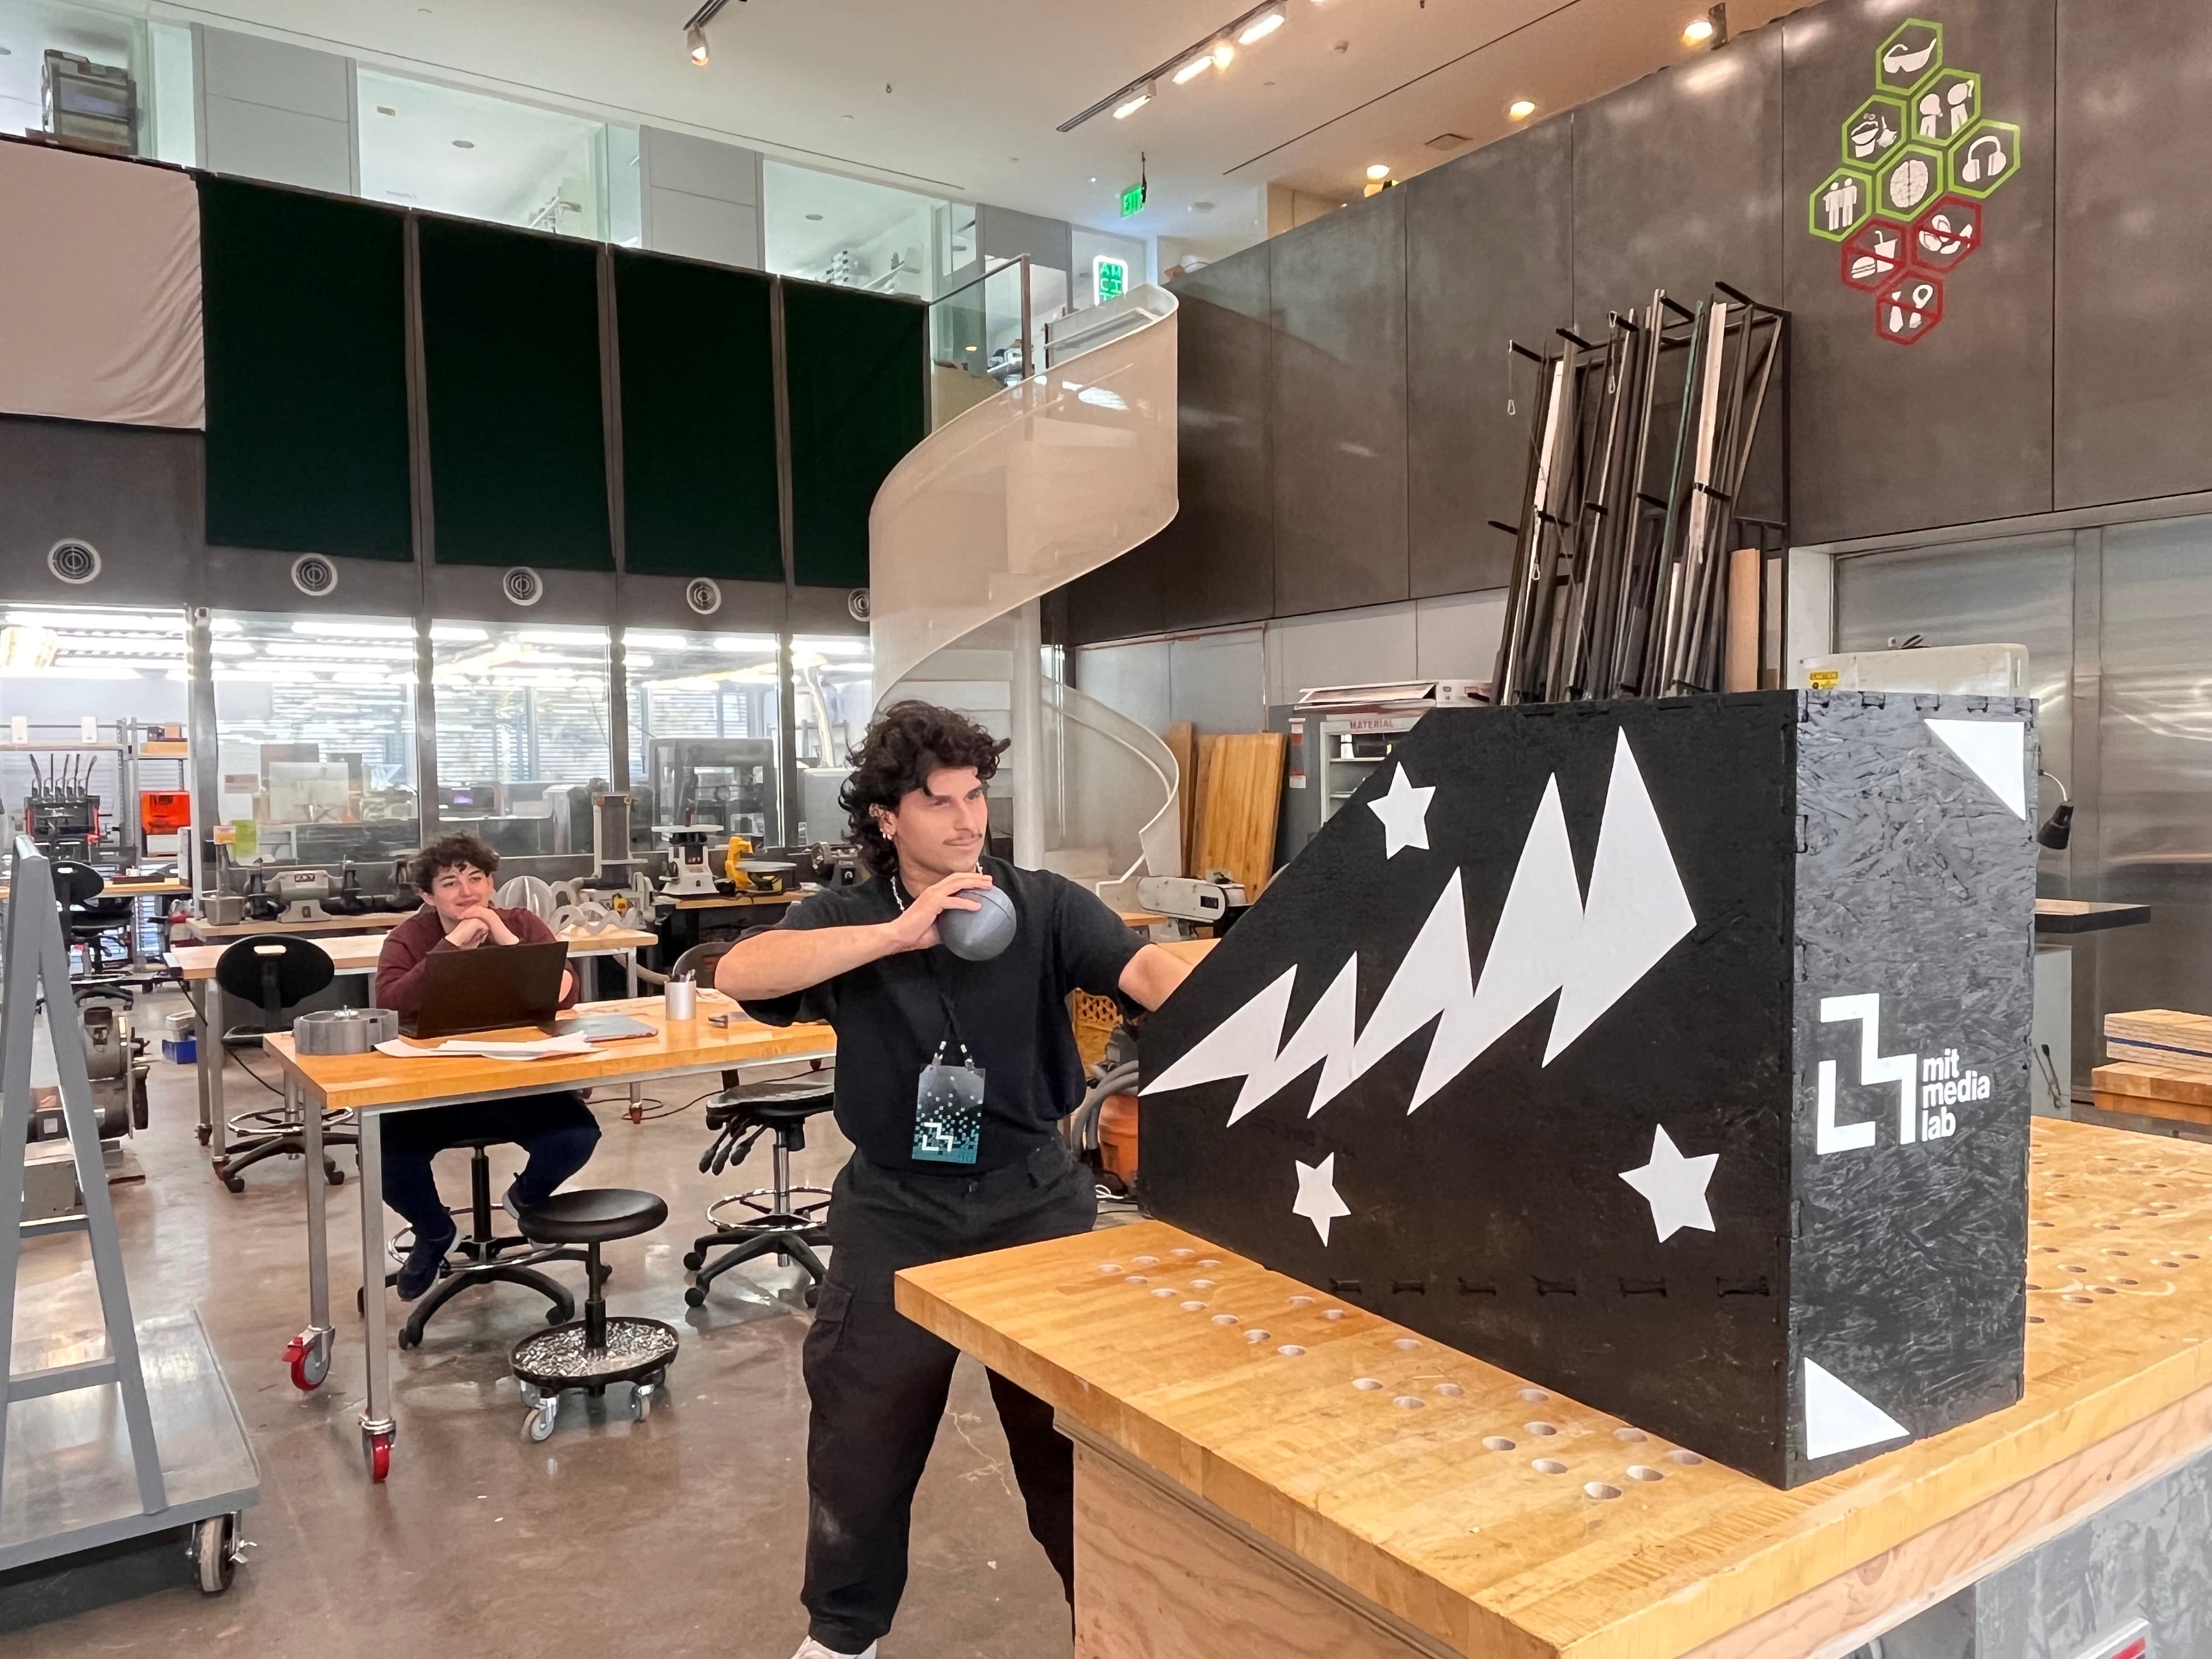
The answer, of course, is SKEE BALL.
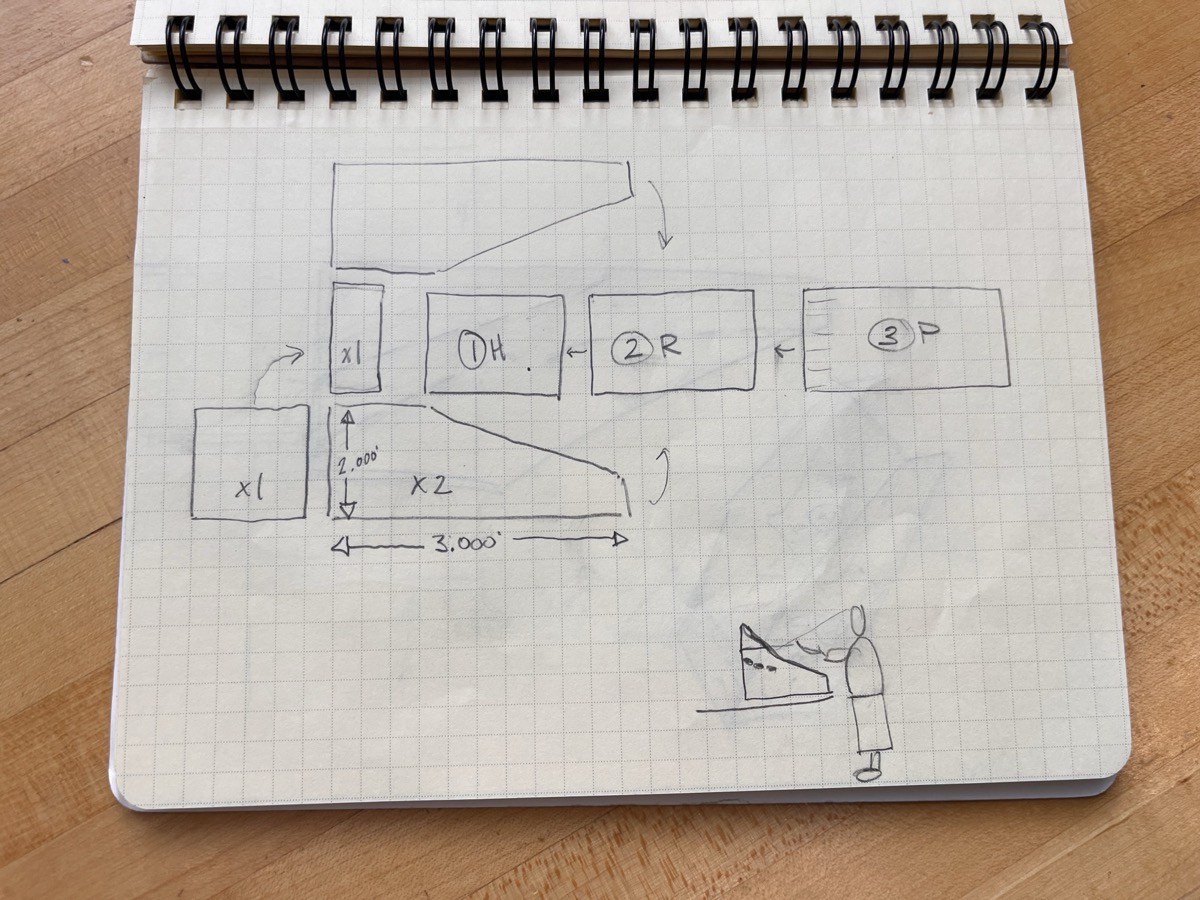
So I began sketching it out. I knew we had a 4' x 8' piece of wood, so on my graph paper I made each square half a foot and drew out my canvas. I tried many versions, erasing and re-drawing, but ultimately landed on a decent enough sketch.
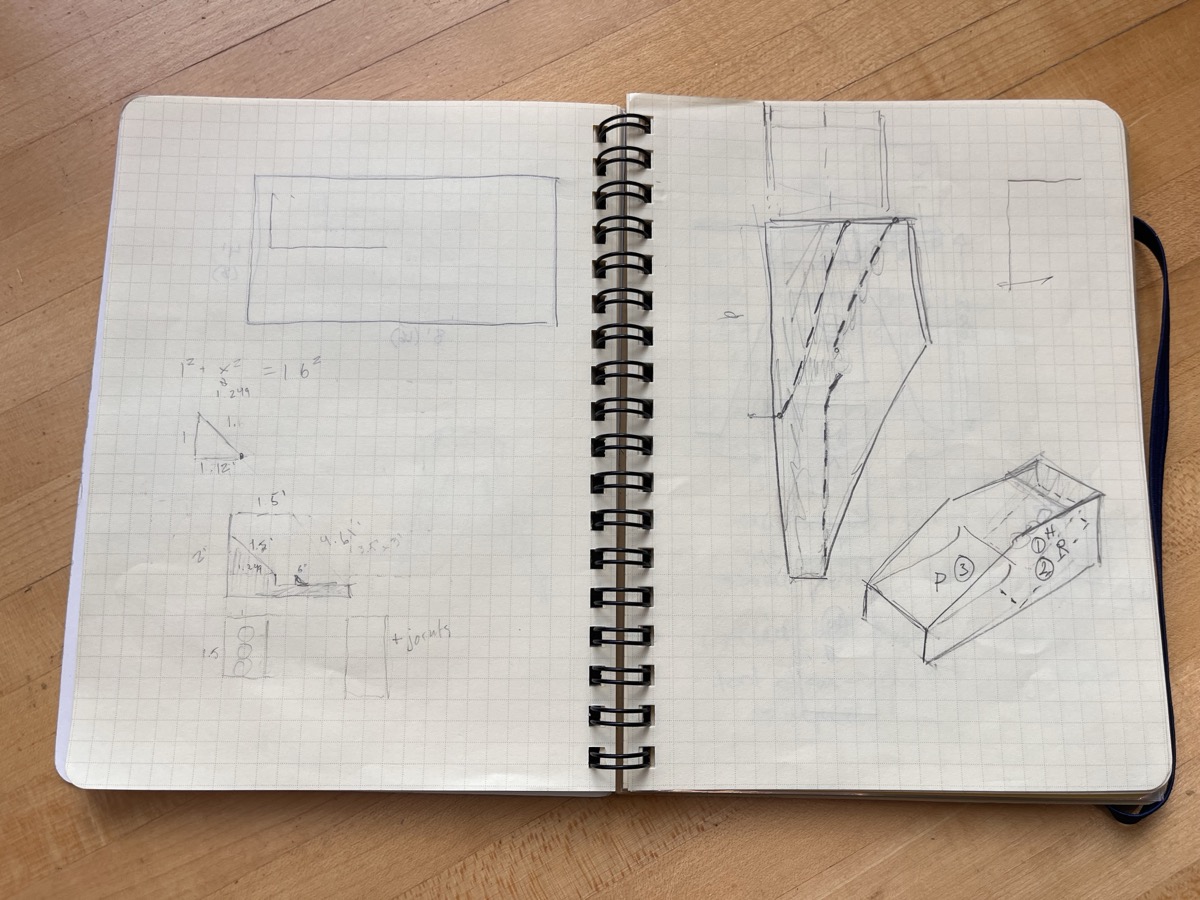
However, it was my time to cut, and I had barely begun modeling it in Fusion. With Dan's help (shoutout Dan!!) we broke the pieces down into discreet pieces, giving me enough confidence to begin modeling.
CAD-ing It Out
...however, that didn't go too well, and I spent the better part of half an hour trying to sketch it out. Then a shining light appeared –– the man, the myth, the legend himself, Alphonso. He described his process, and how it is sometimes much easier to just start immediately working directly in 3D, allowing you to visualize how the pieces fit together a lot easier. So we started building.
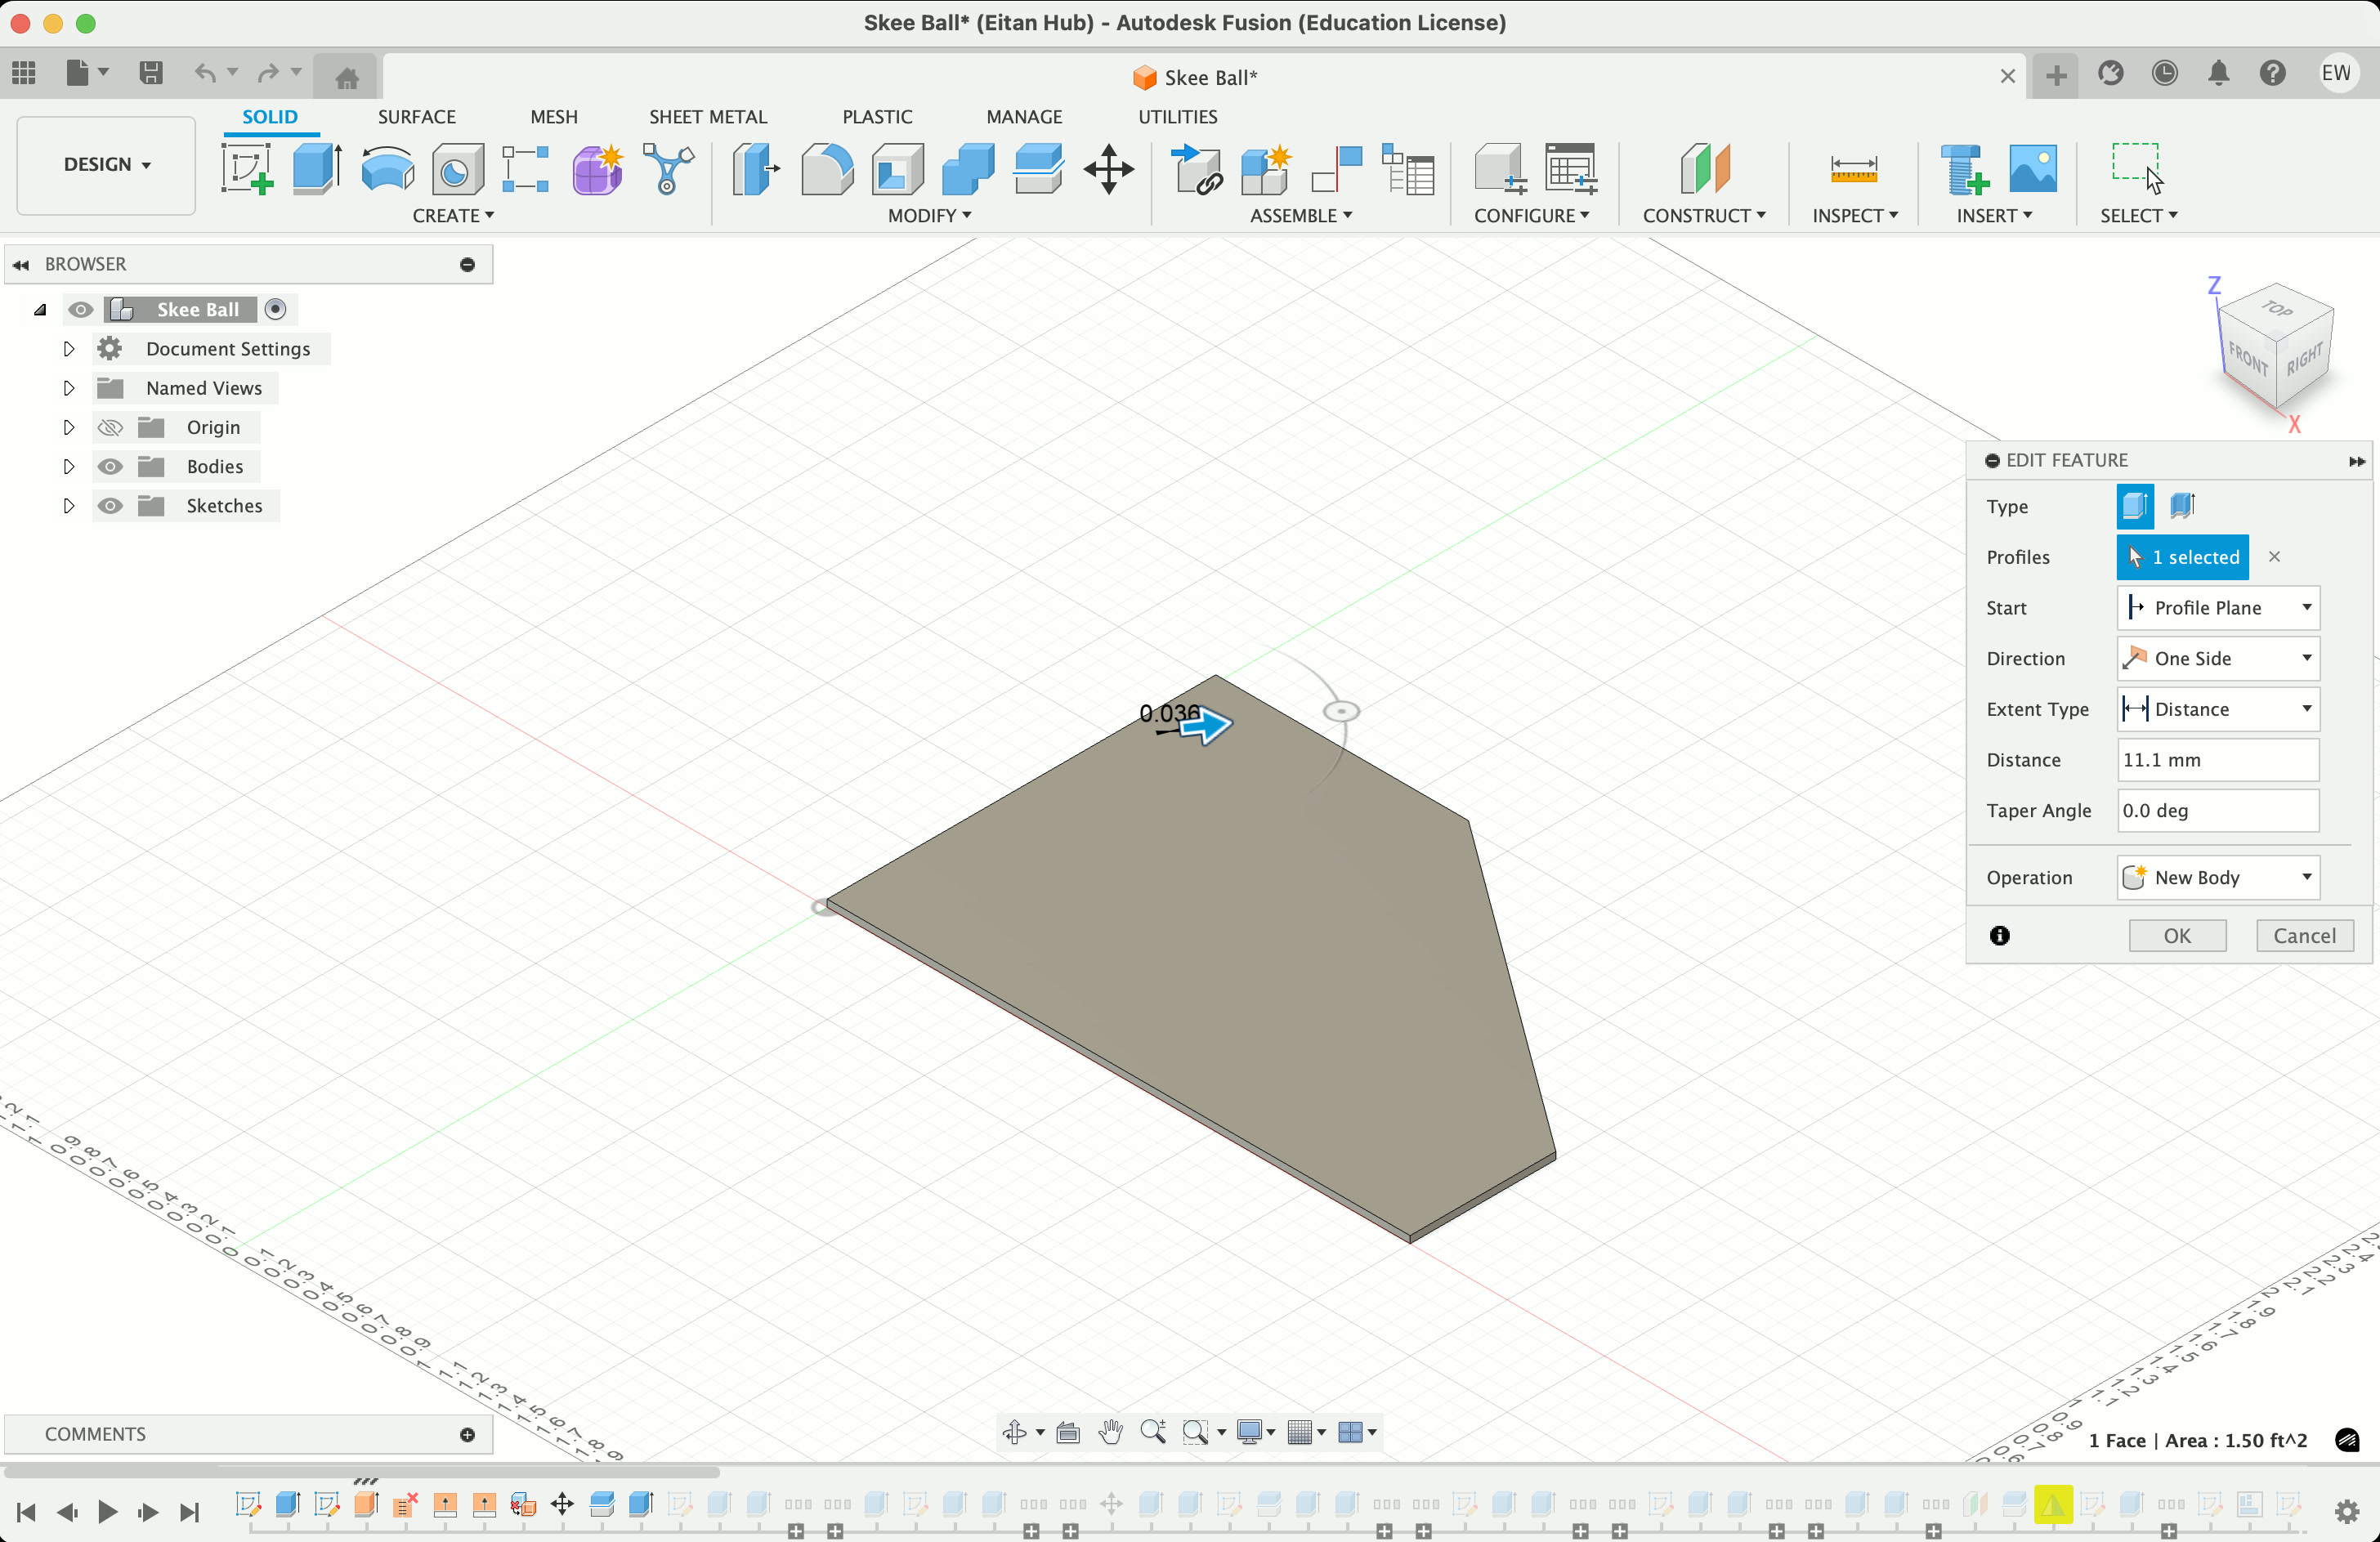

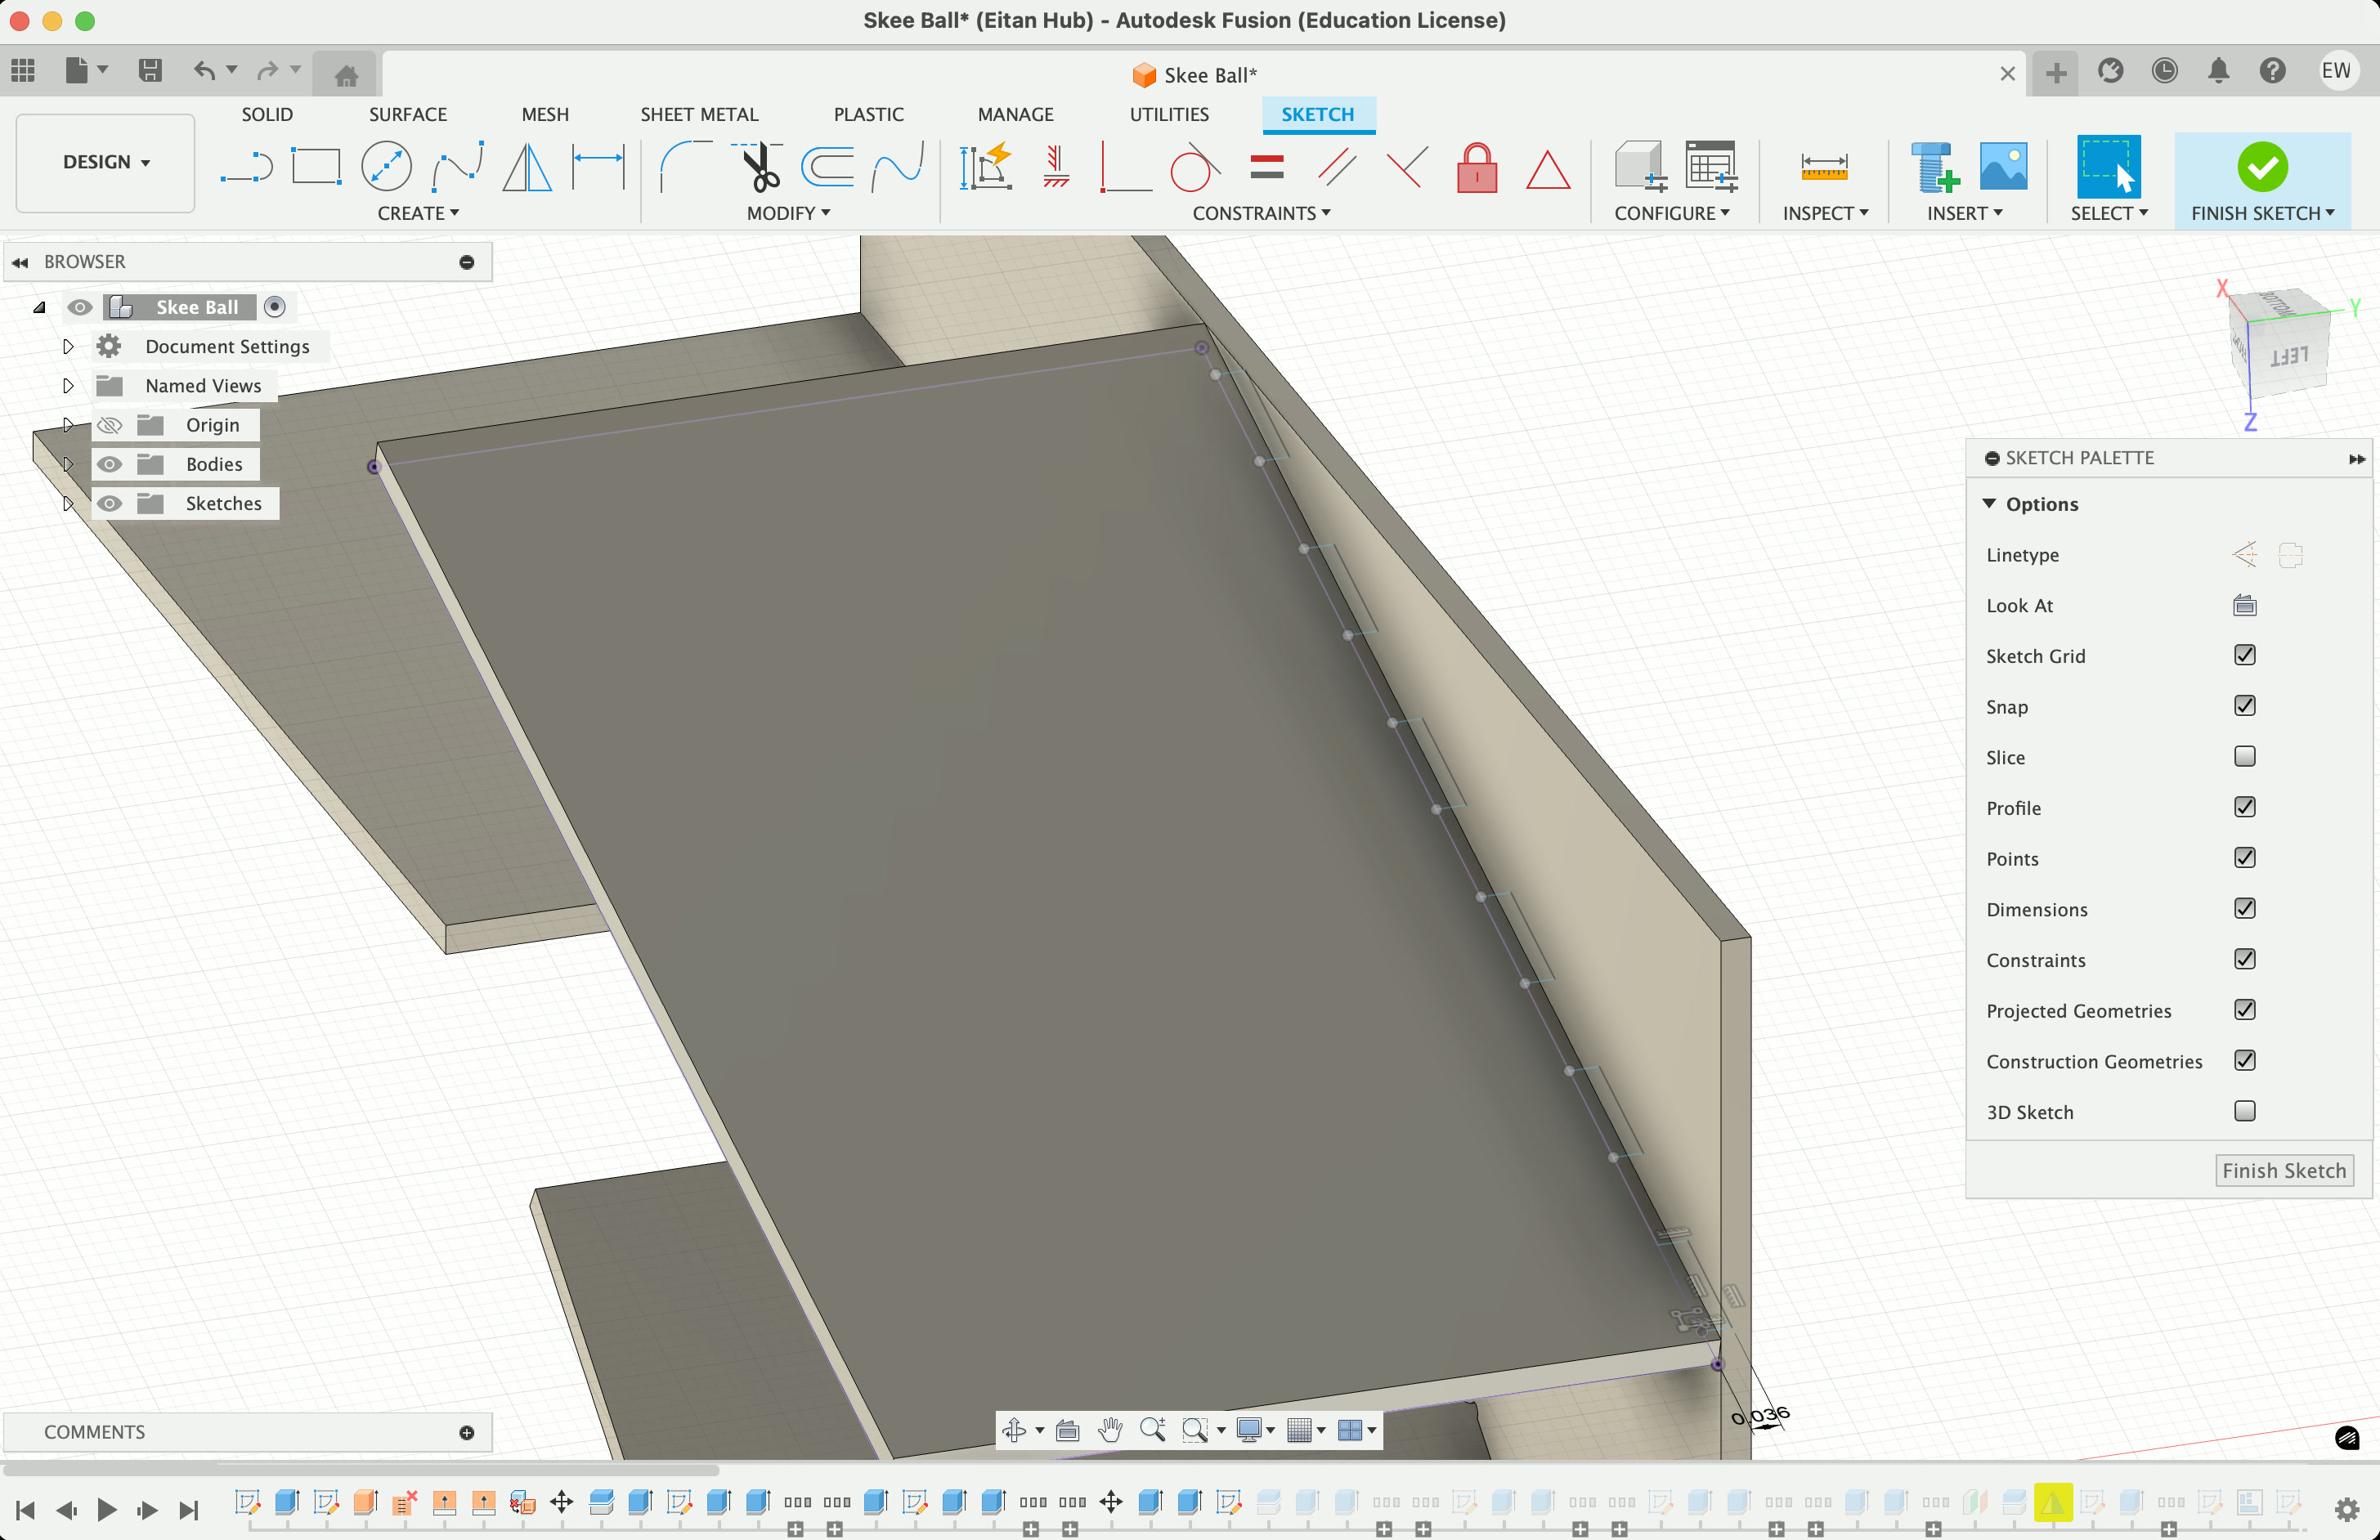
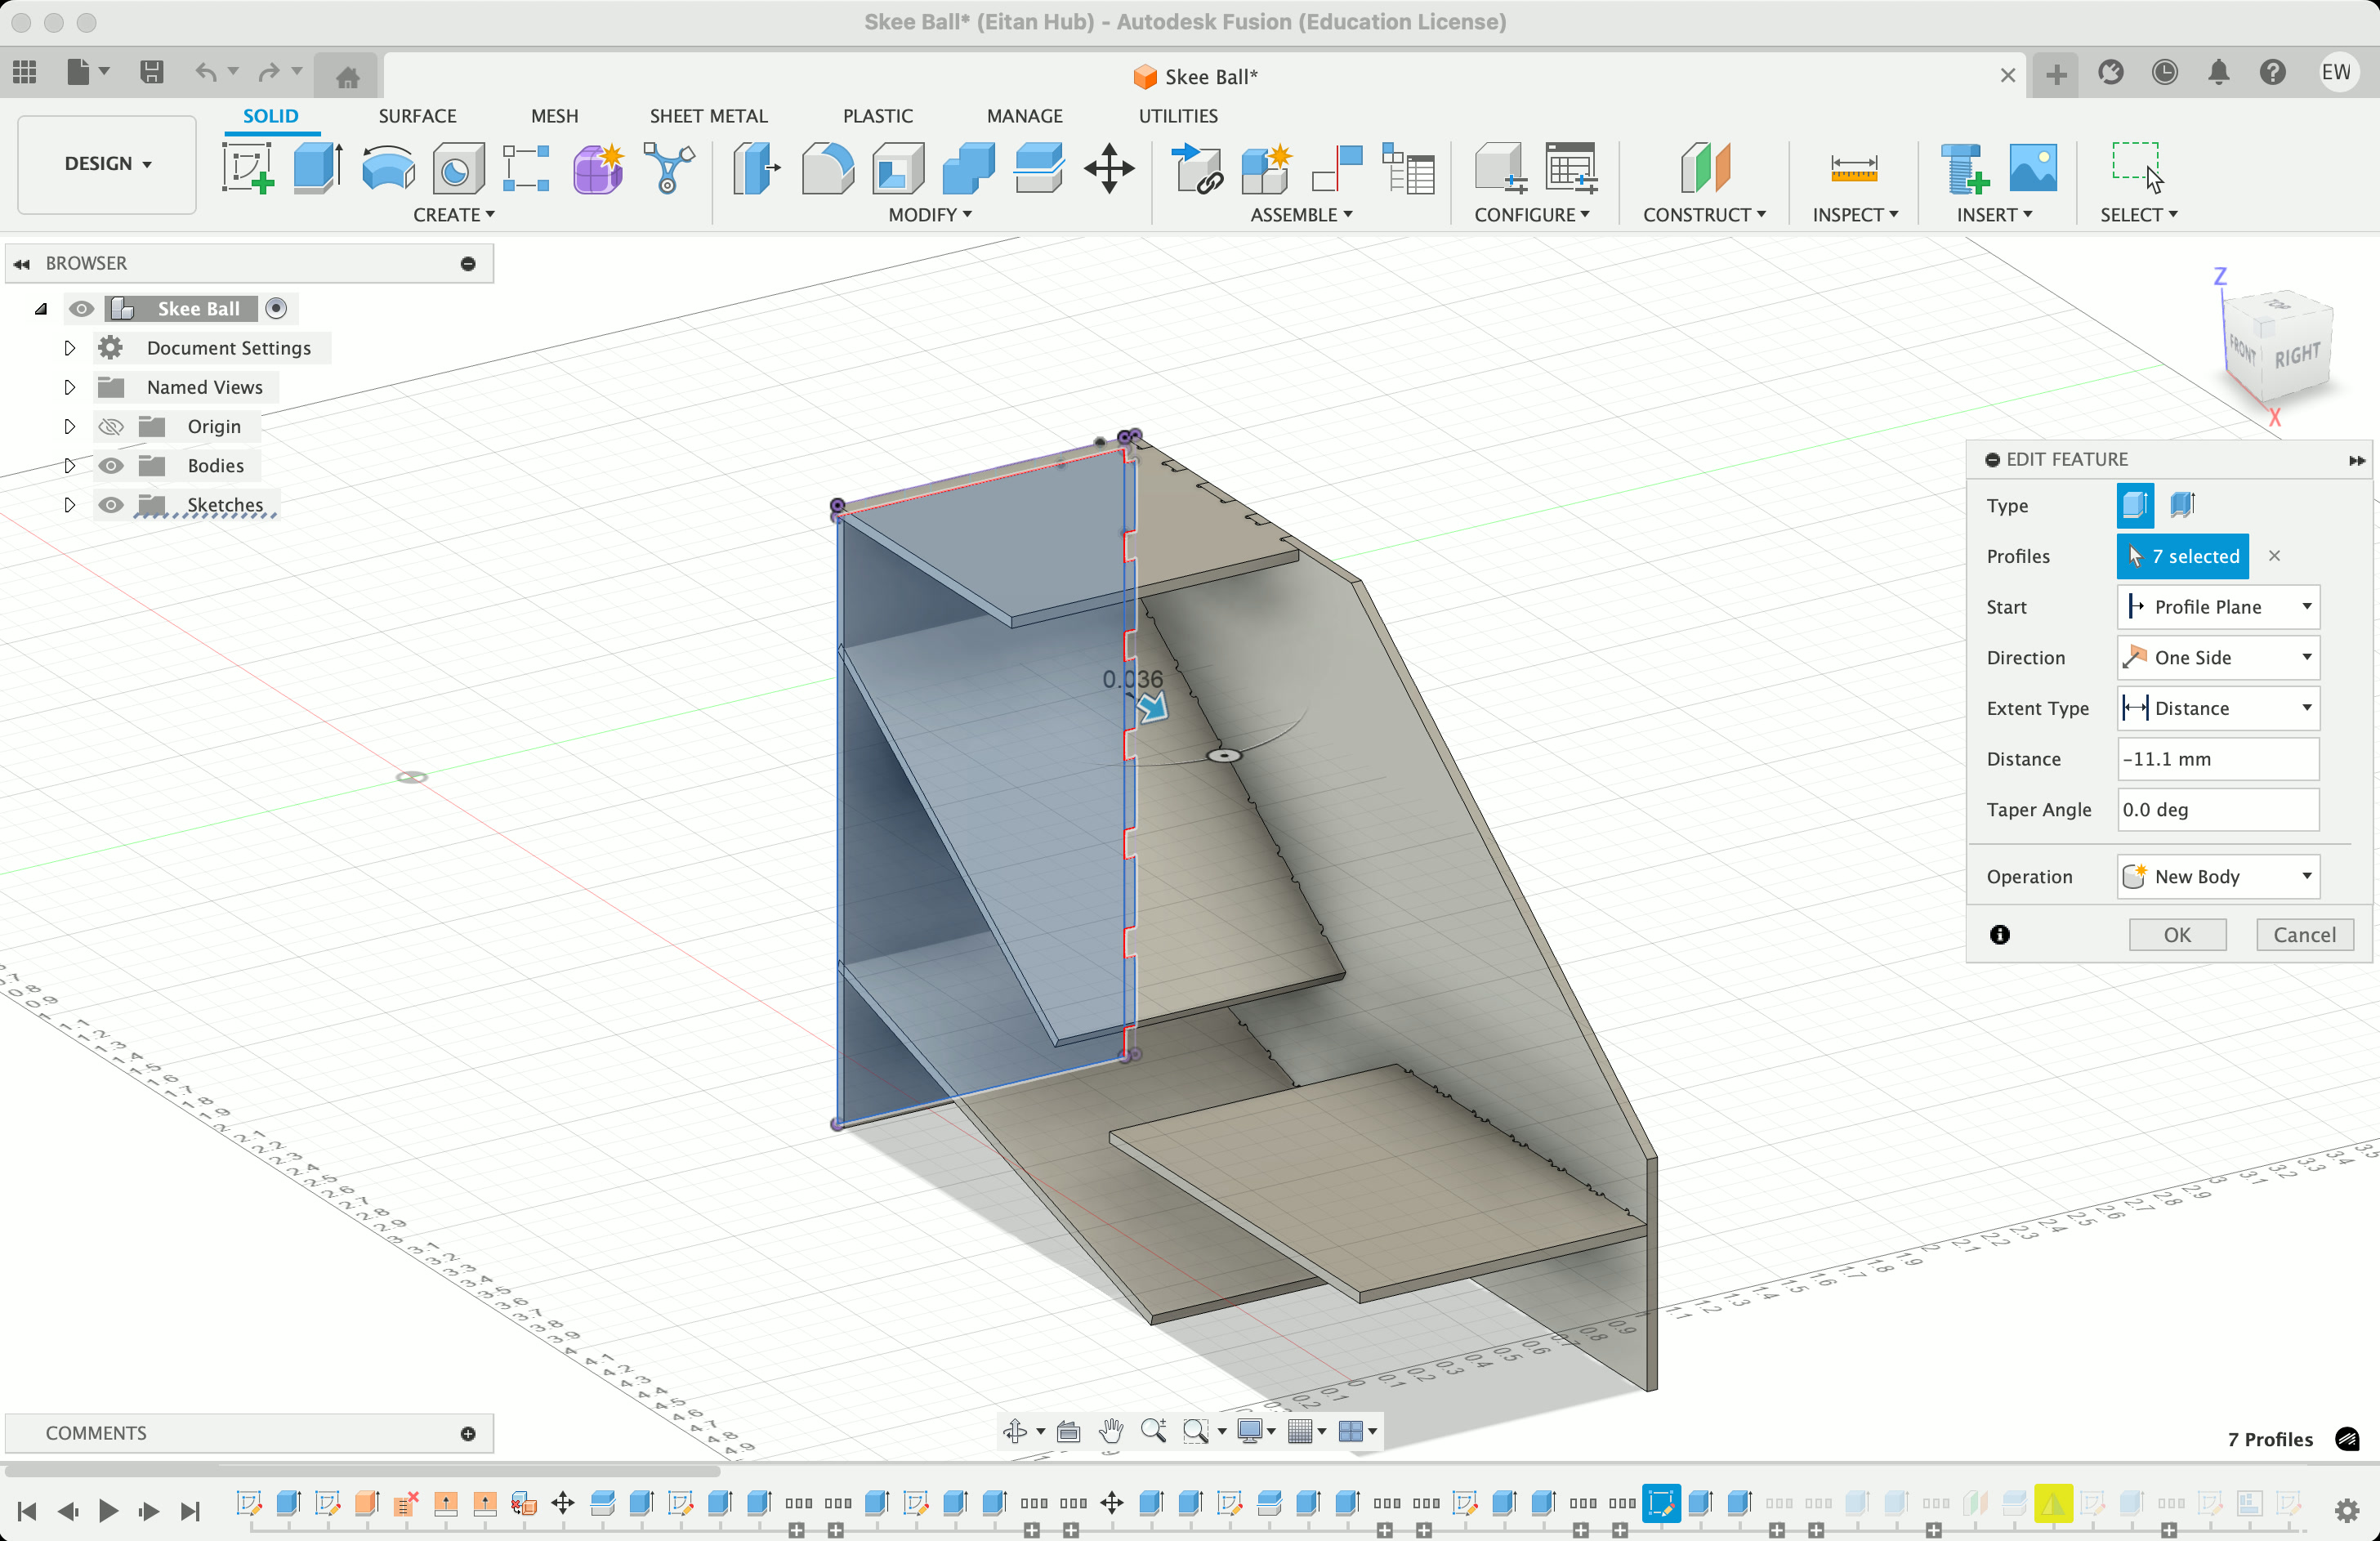
The other thing Alphonso taught me is that, as much as possible, you can save a lot of work by thinking through what can be eventually mirrored, saving yourself a lot of time and energy. This is us reflected what I'd modeled so far along a plane:

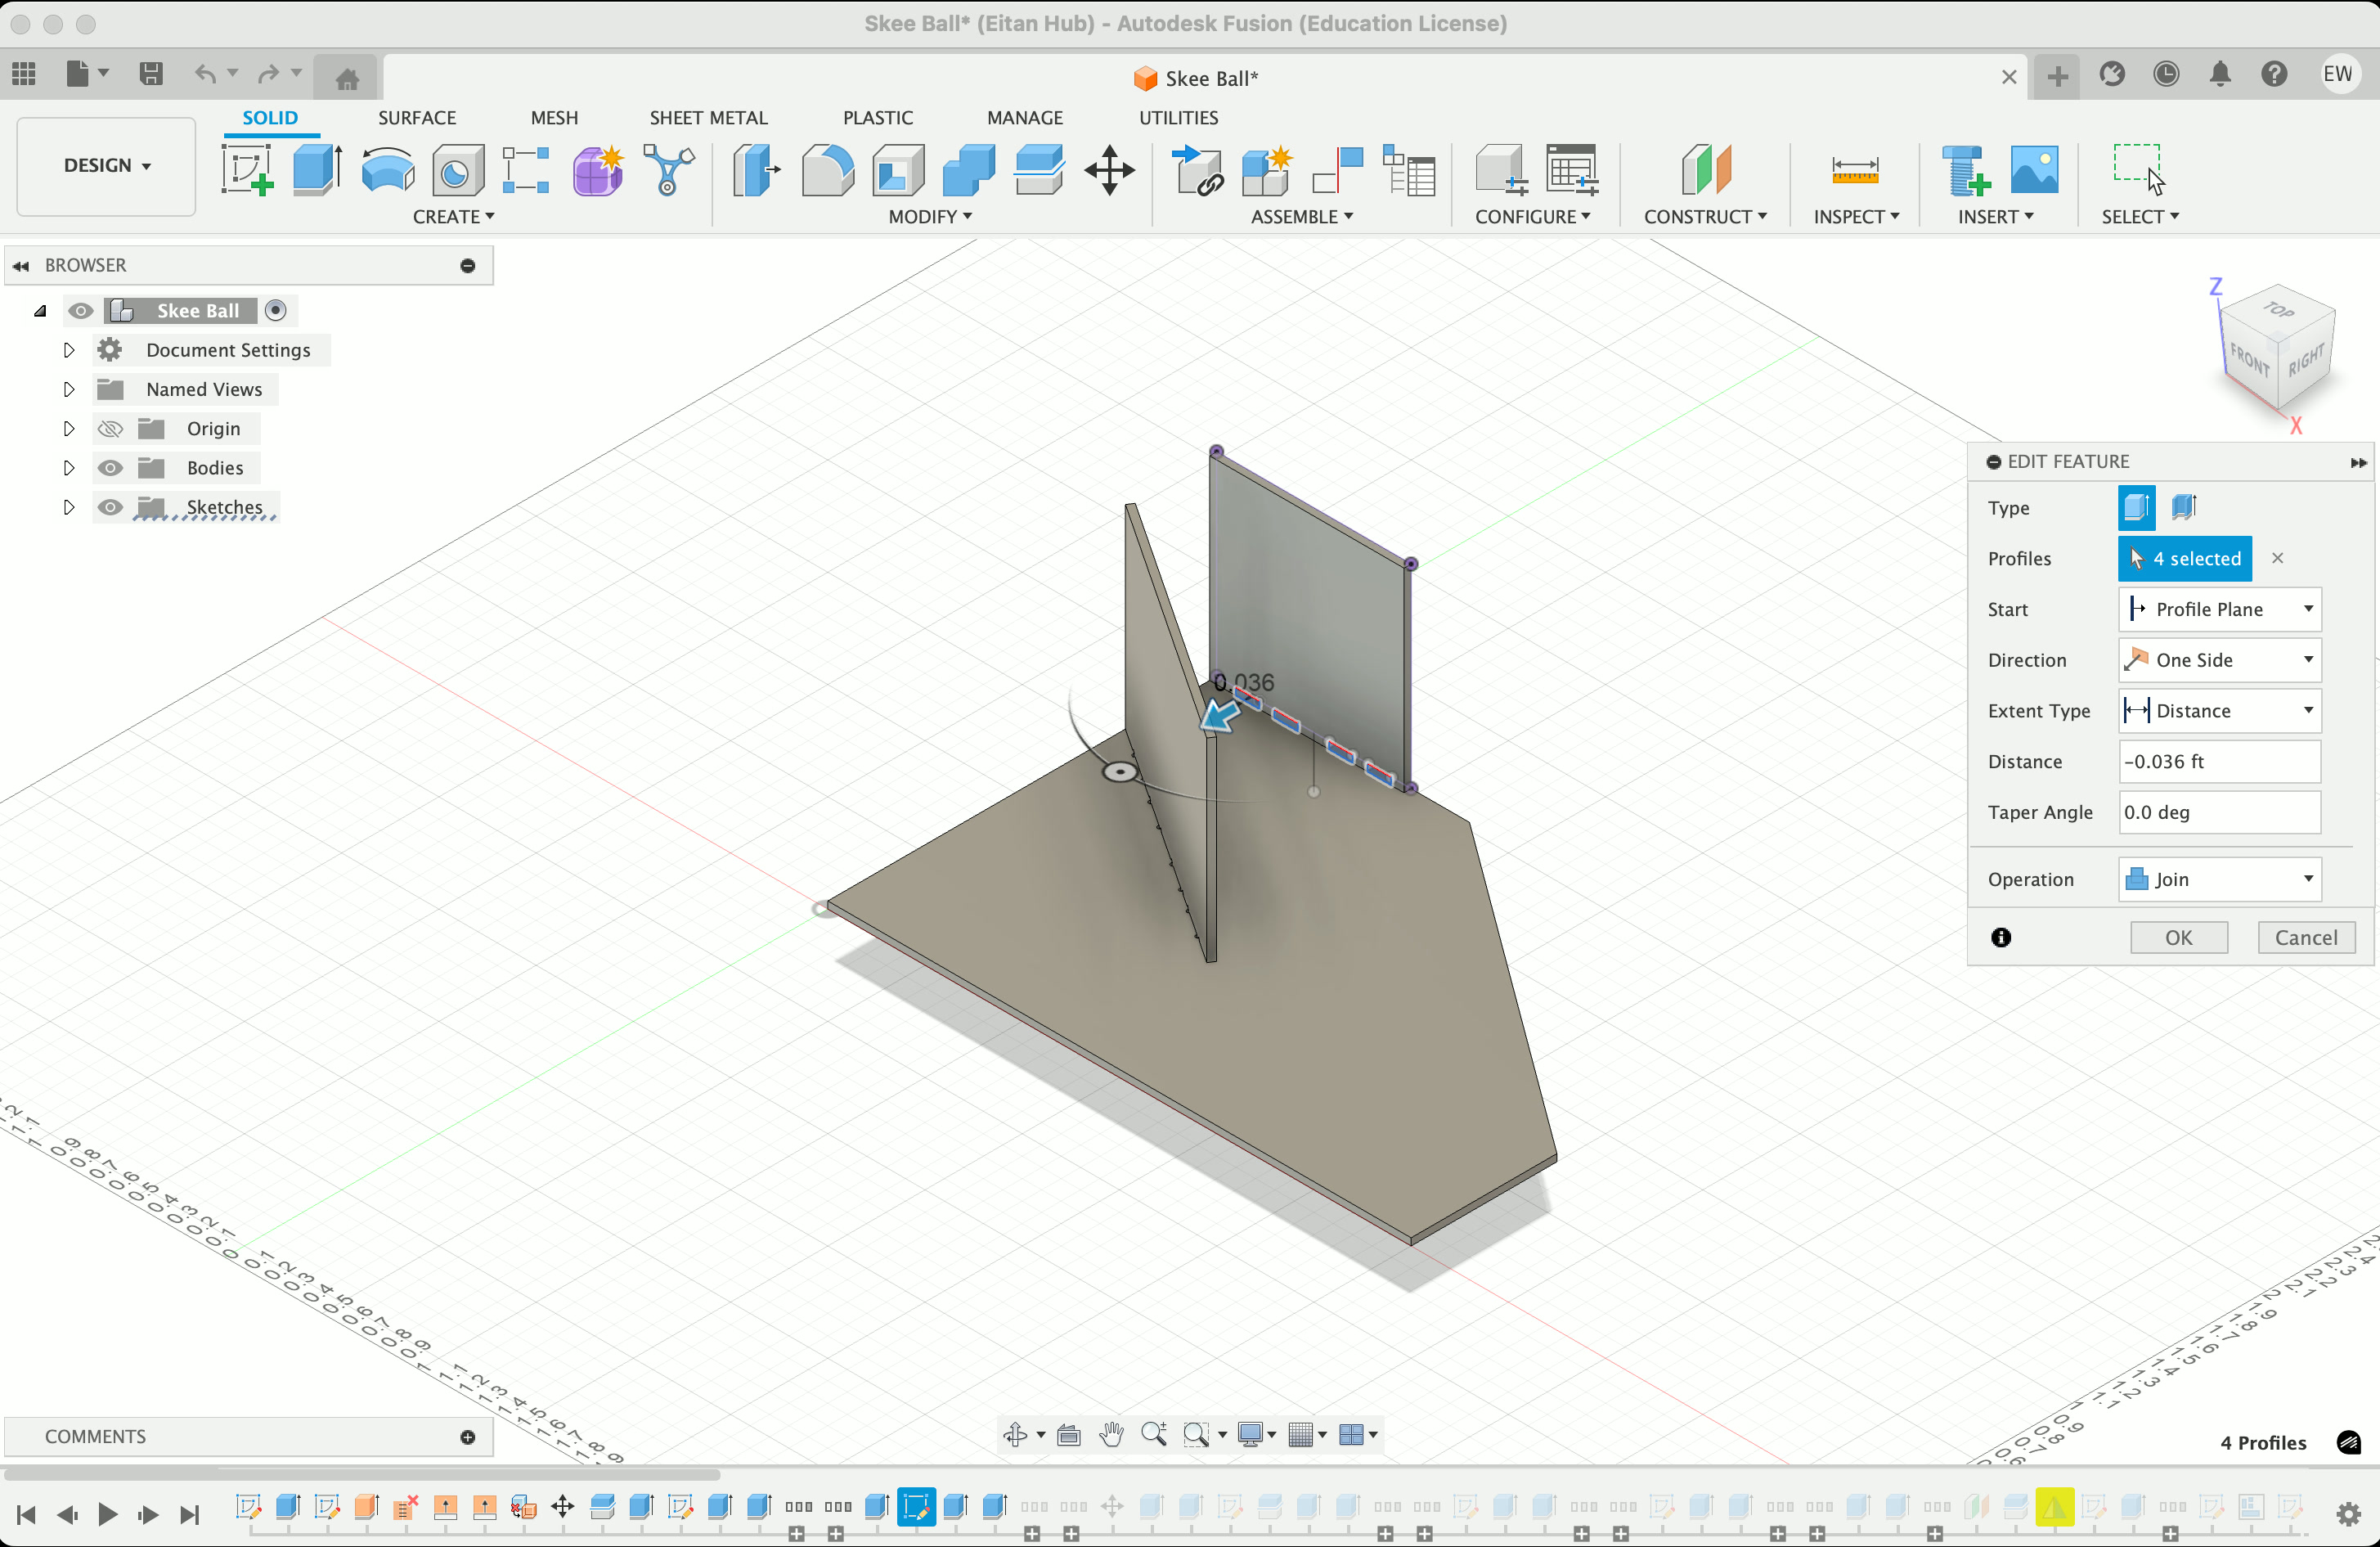
With that (and some great help from the Nifty Dogbones plugin, highly recommend), we created tabs to each piece and added dogbones so the wood wouldn't fly out of the machine as it cuts.
We then needed to lay it out properly on the stock to be cut. A neat trick is that you can create an extruded plane to represent your stock (in this case, a 4' x 8' sheet of wood at an 11.8mm thickness), then select all of your bodies, right click to turn them into componenets, and use the "Arrange" tool while selecting your stock to automatically lay them all out for you.
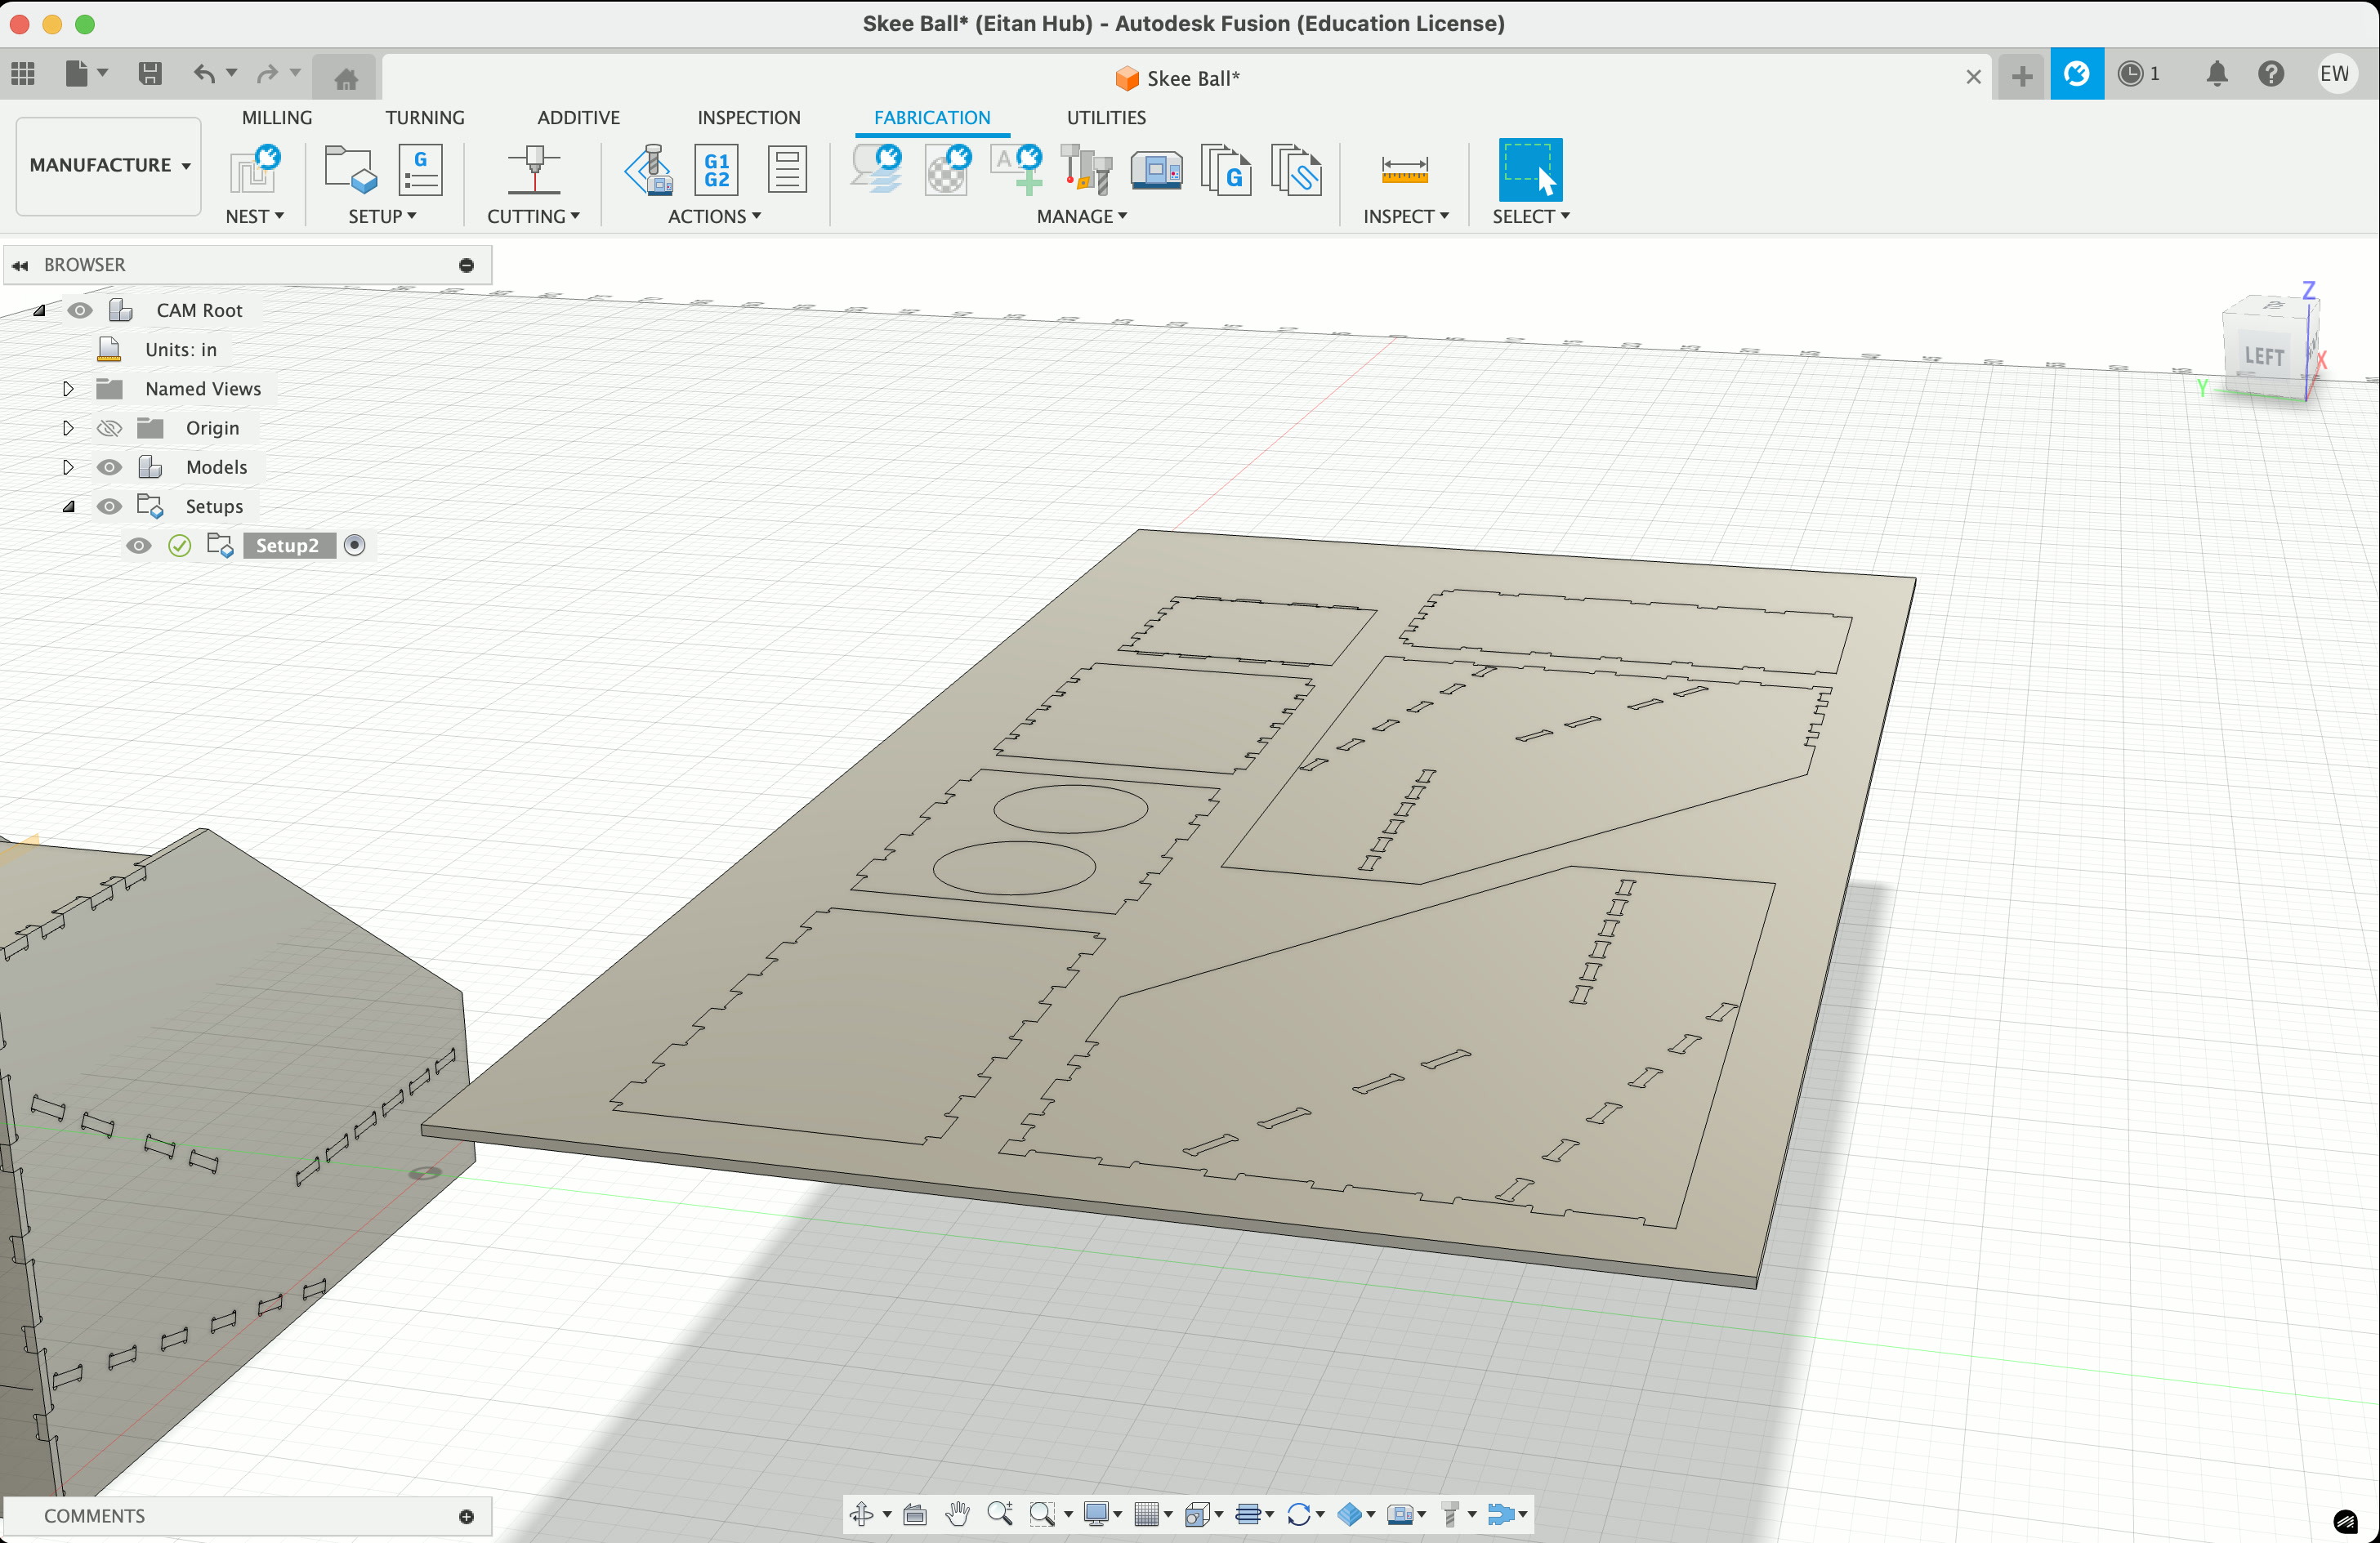
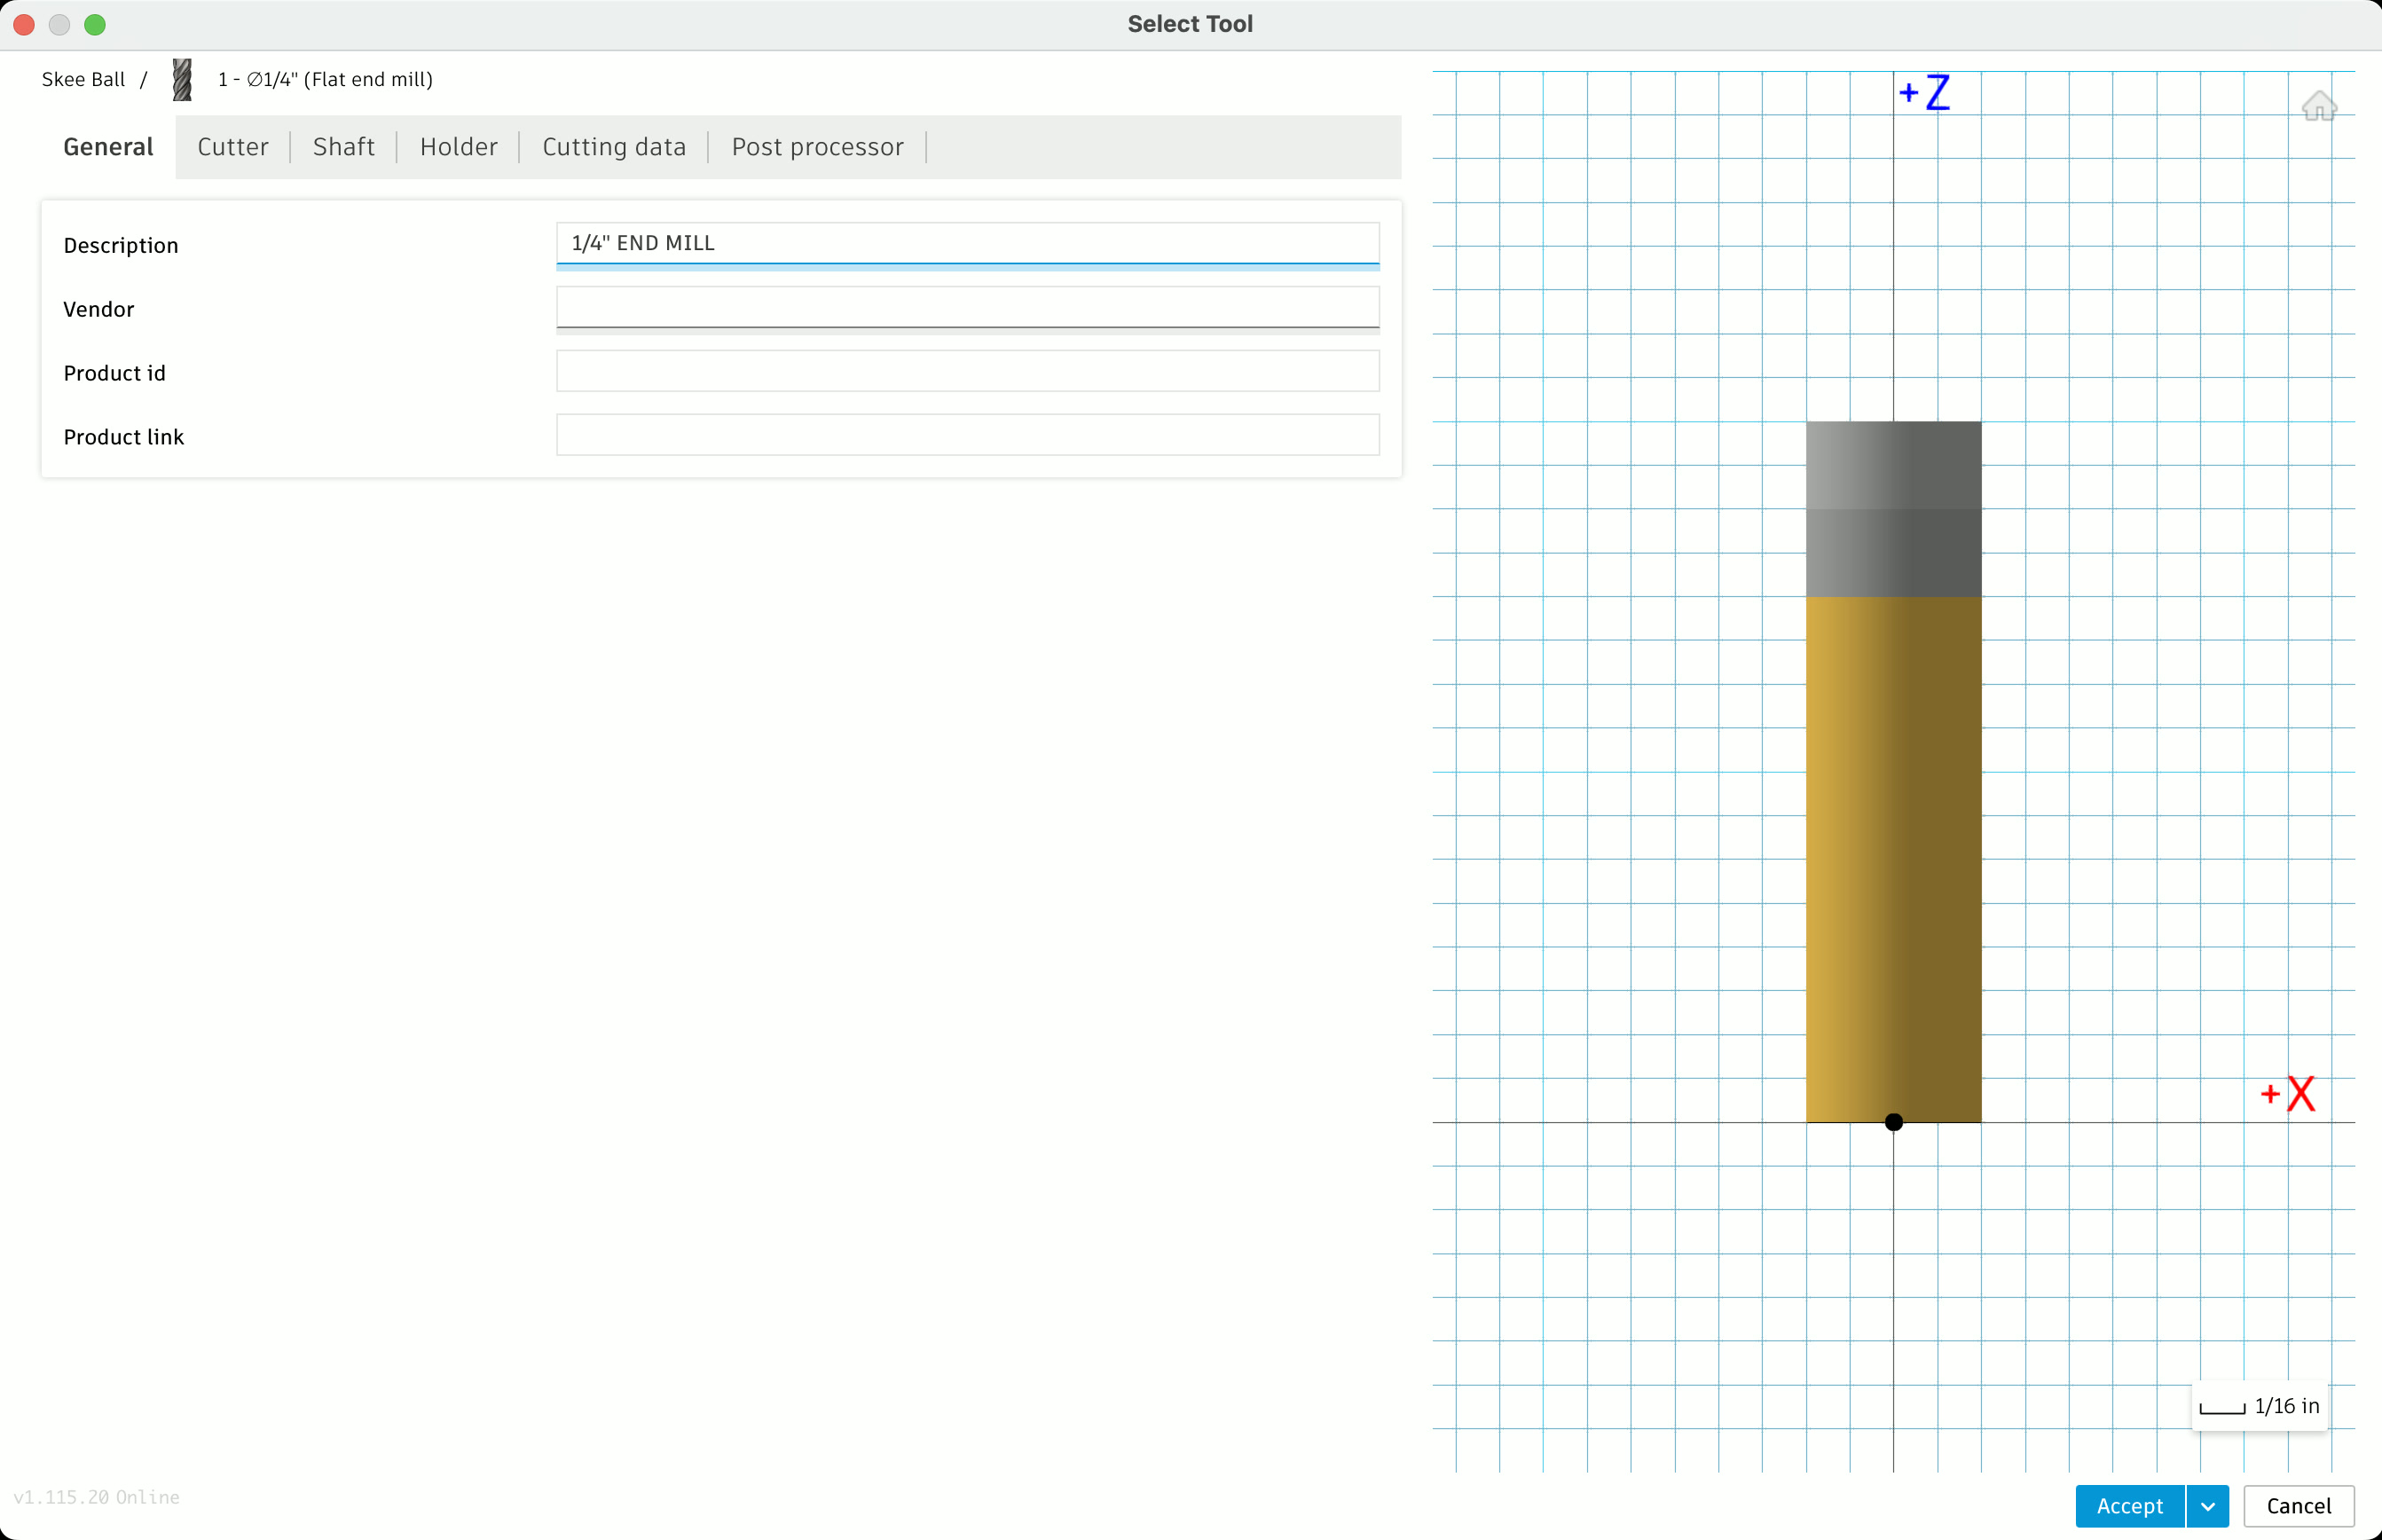
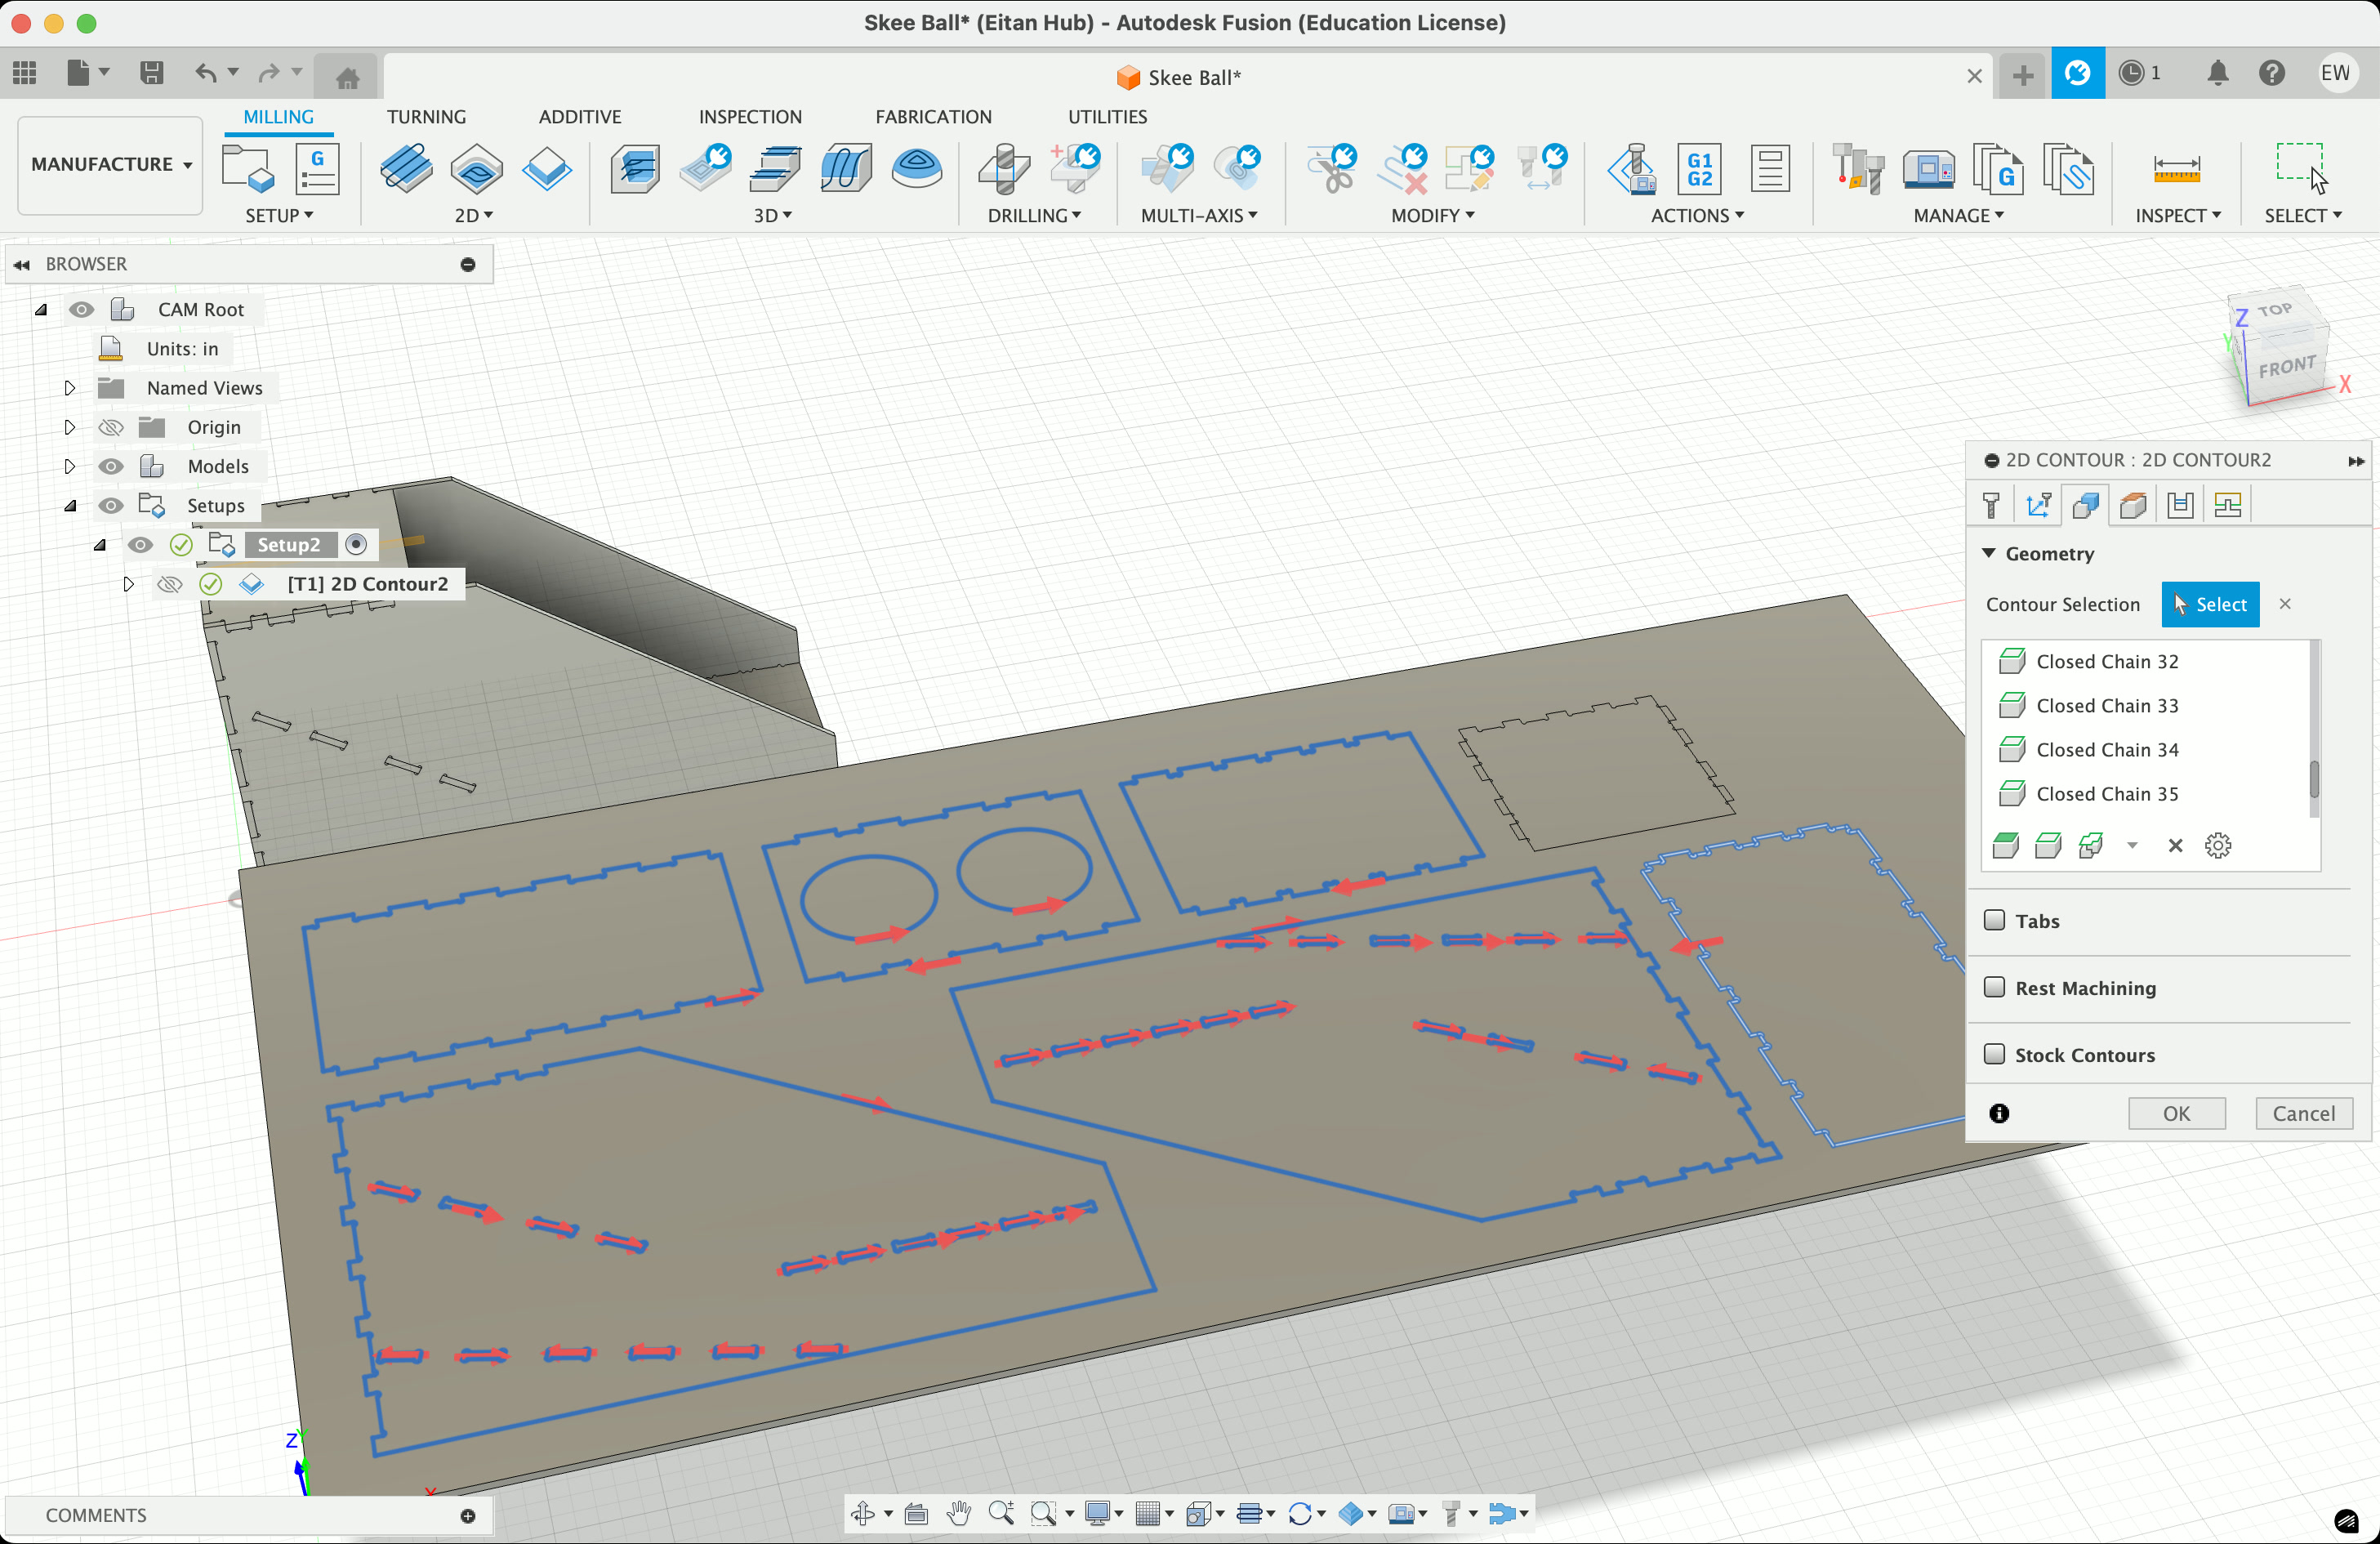
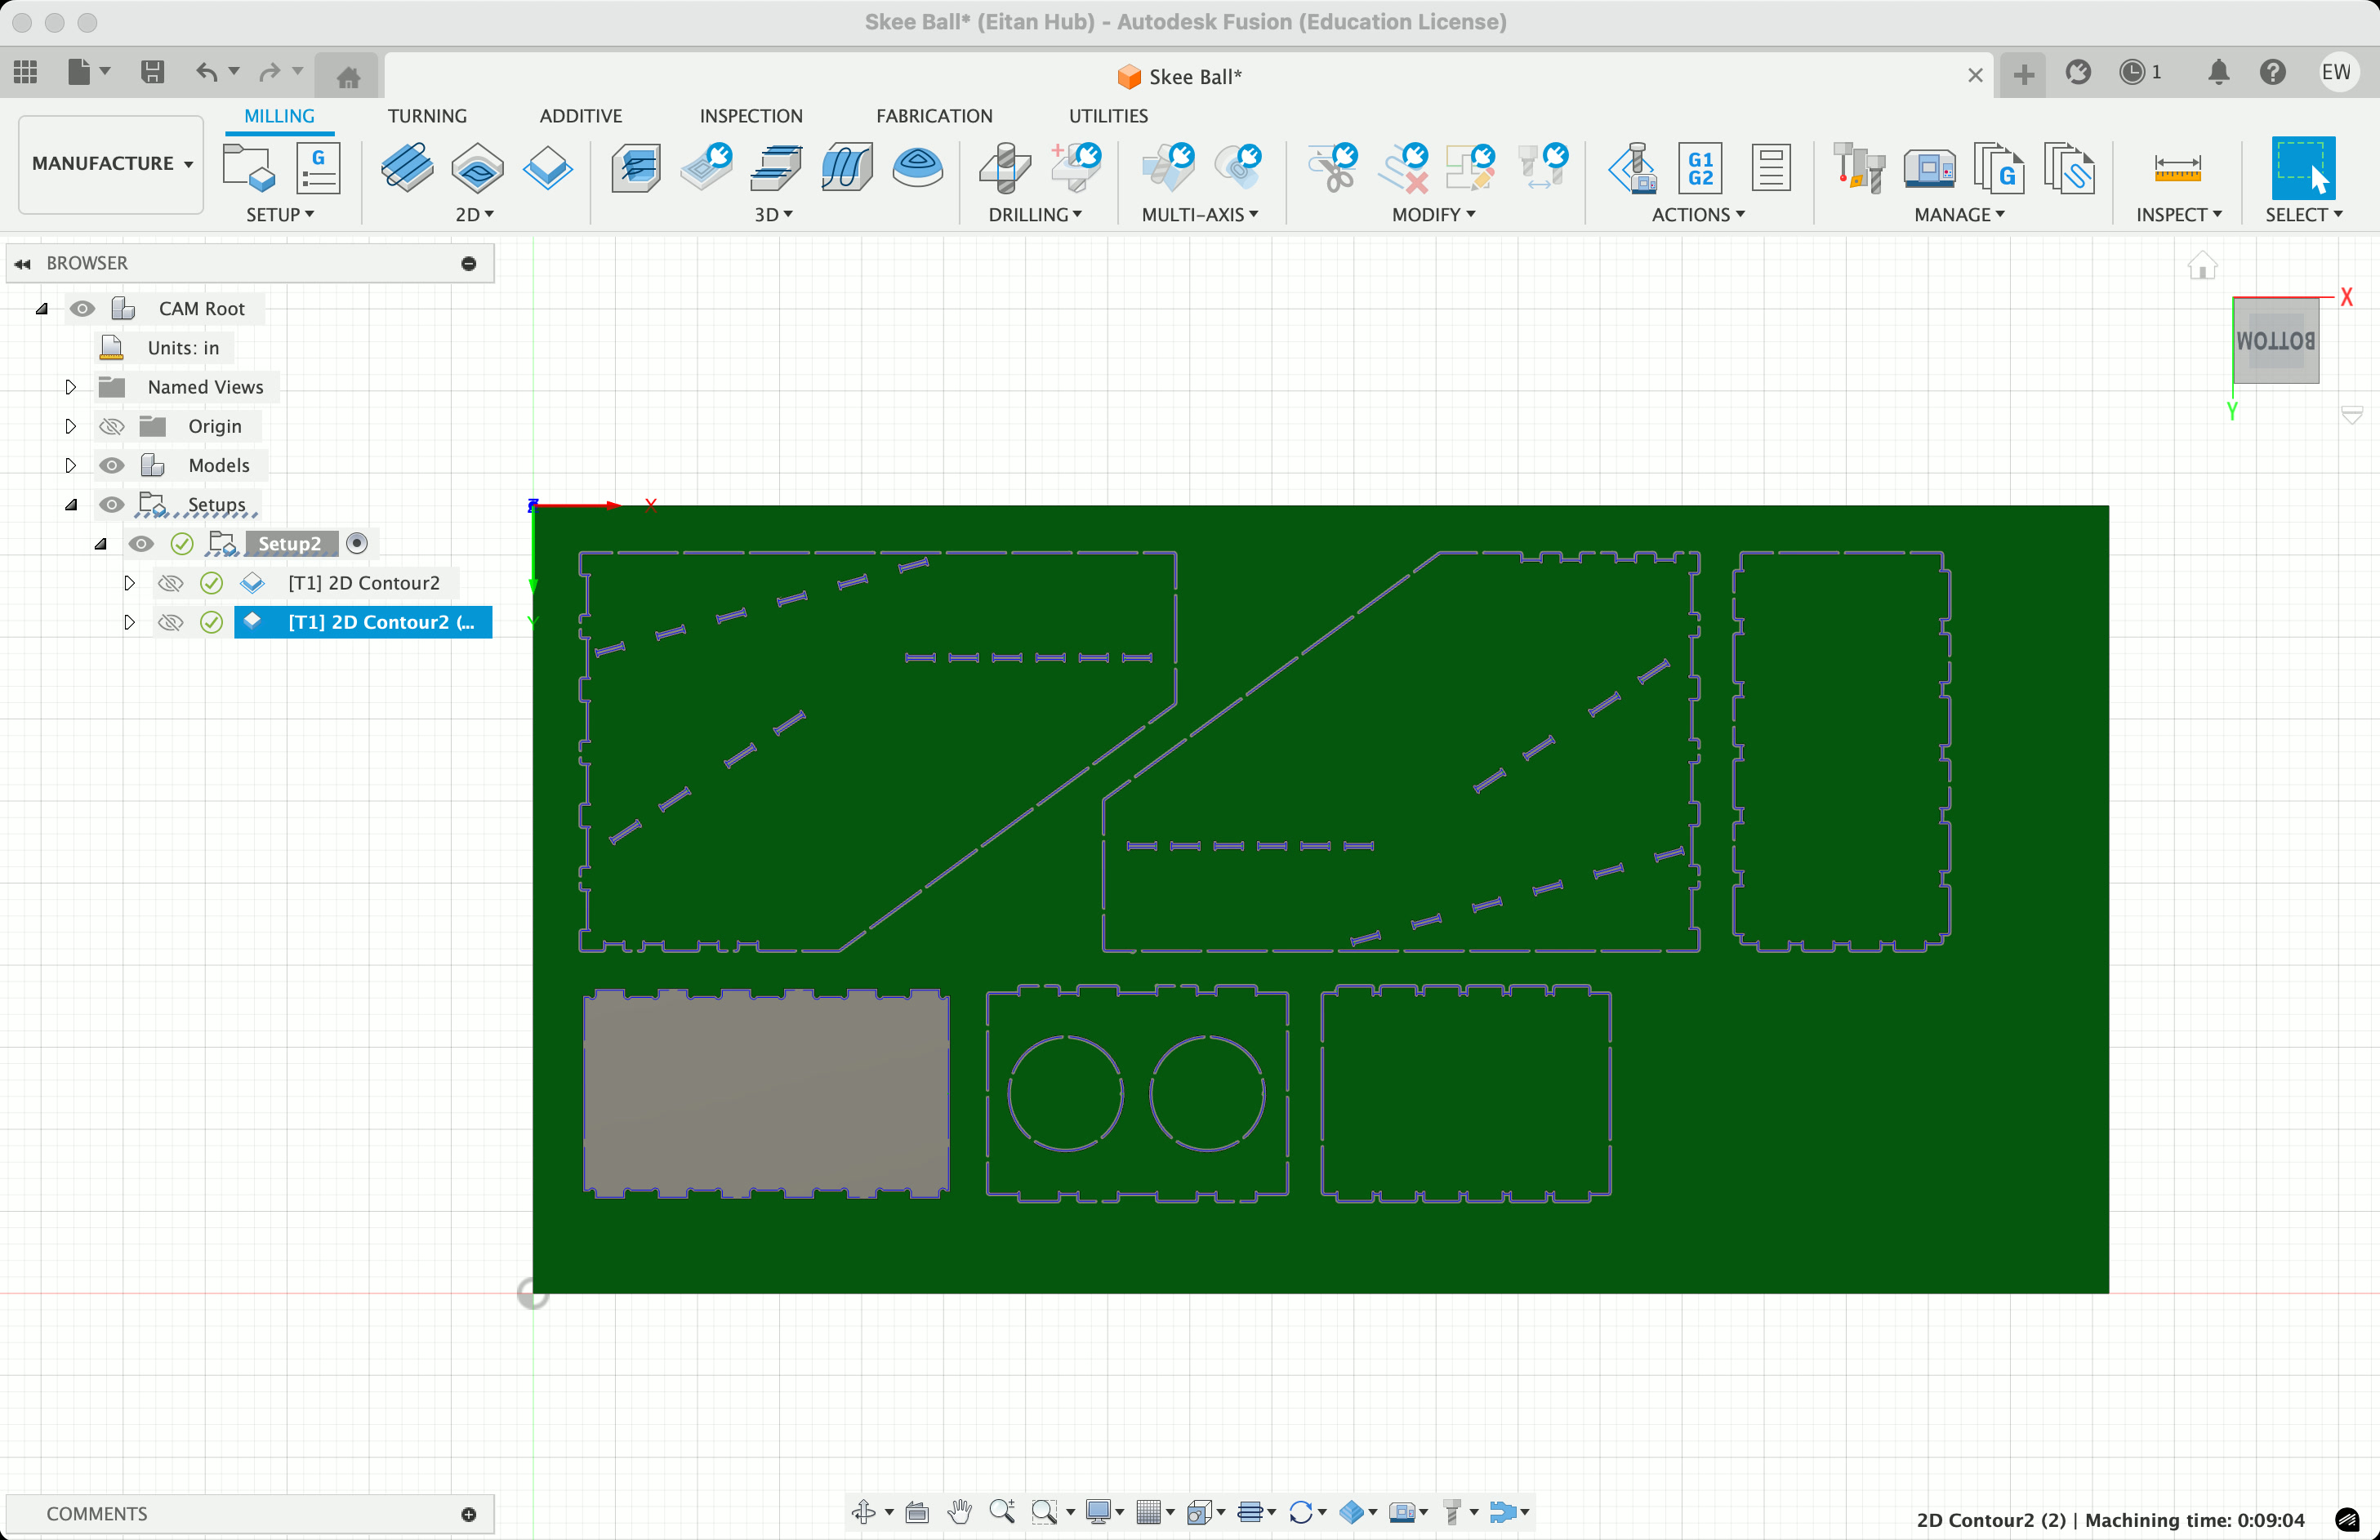
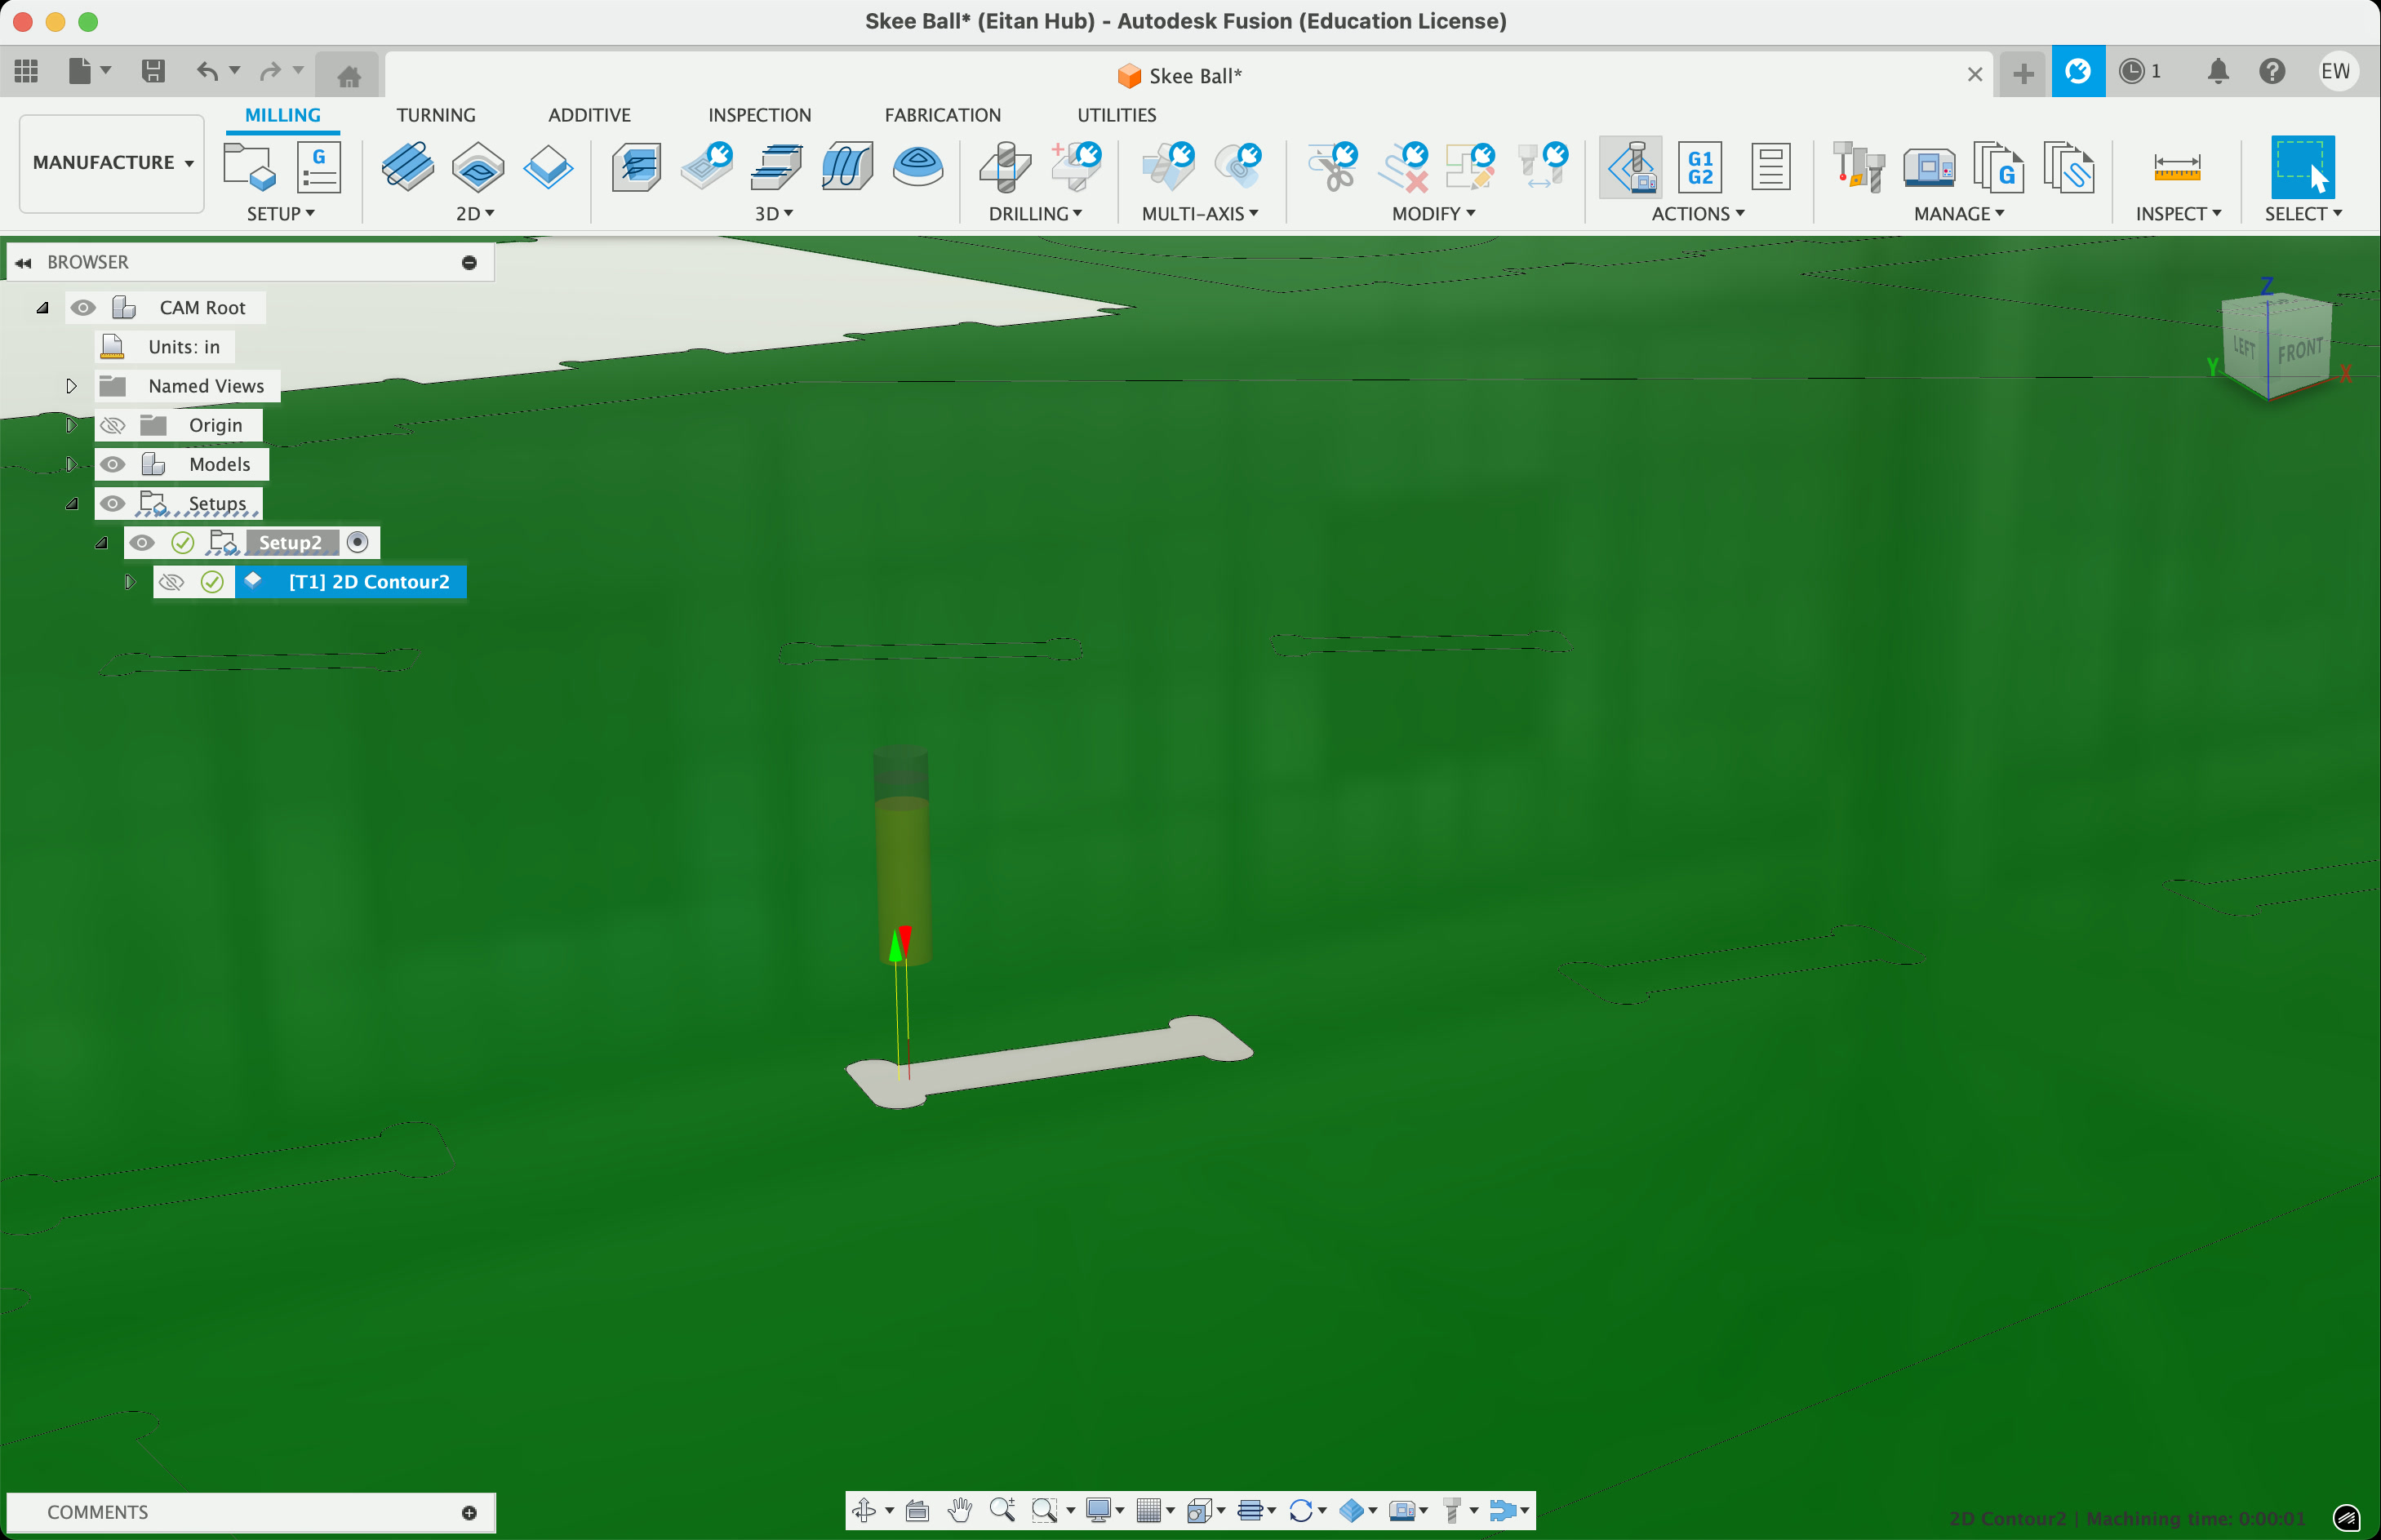
We then move into the "Manufacturing" tab, and create a new setup for milling, adding a new 1/4" end mill as the tool. Use the "2D Contour" tool and select all your edges, then use the "Simulate" tool to make sure the intended cutting path looks about right. Make sure to zoom in and slow down the simulation speed to ensure it's actually milling all the way through, that nothing is left out, etc.
Export your setup, and move it to the ShopBot milling machine!
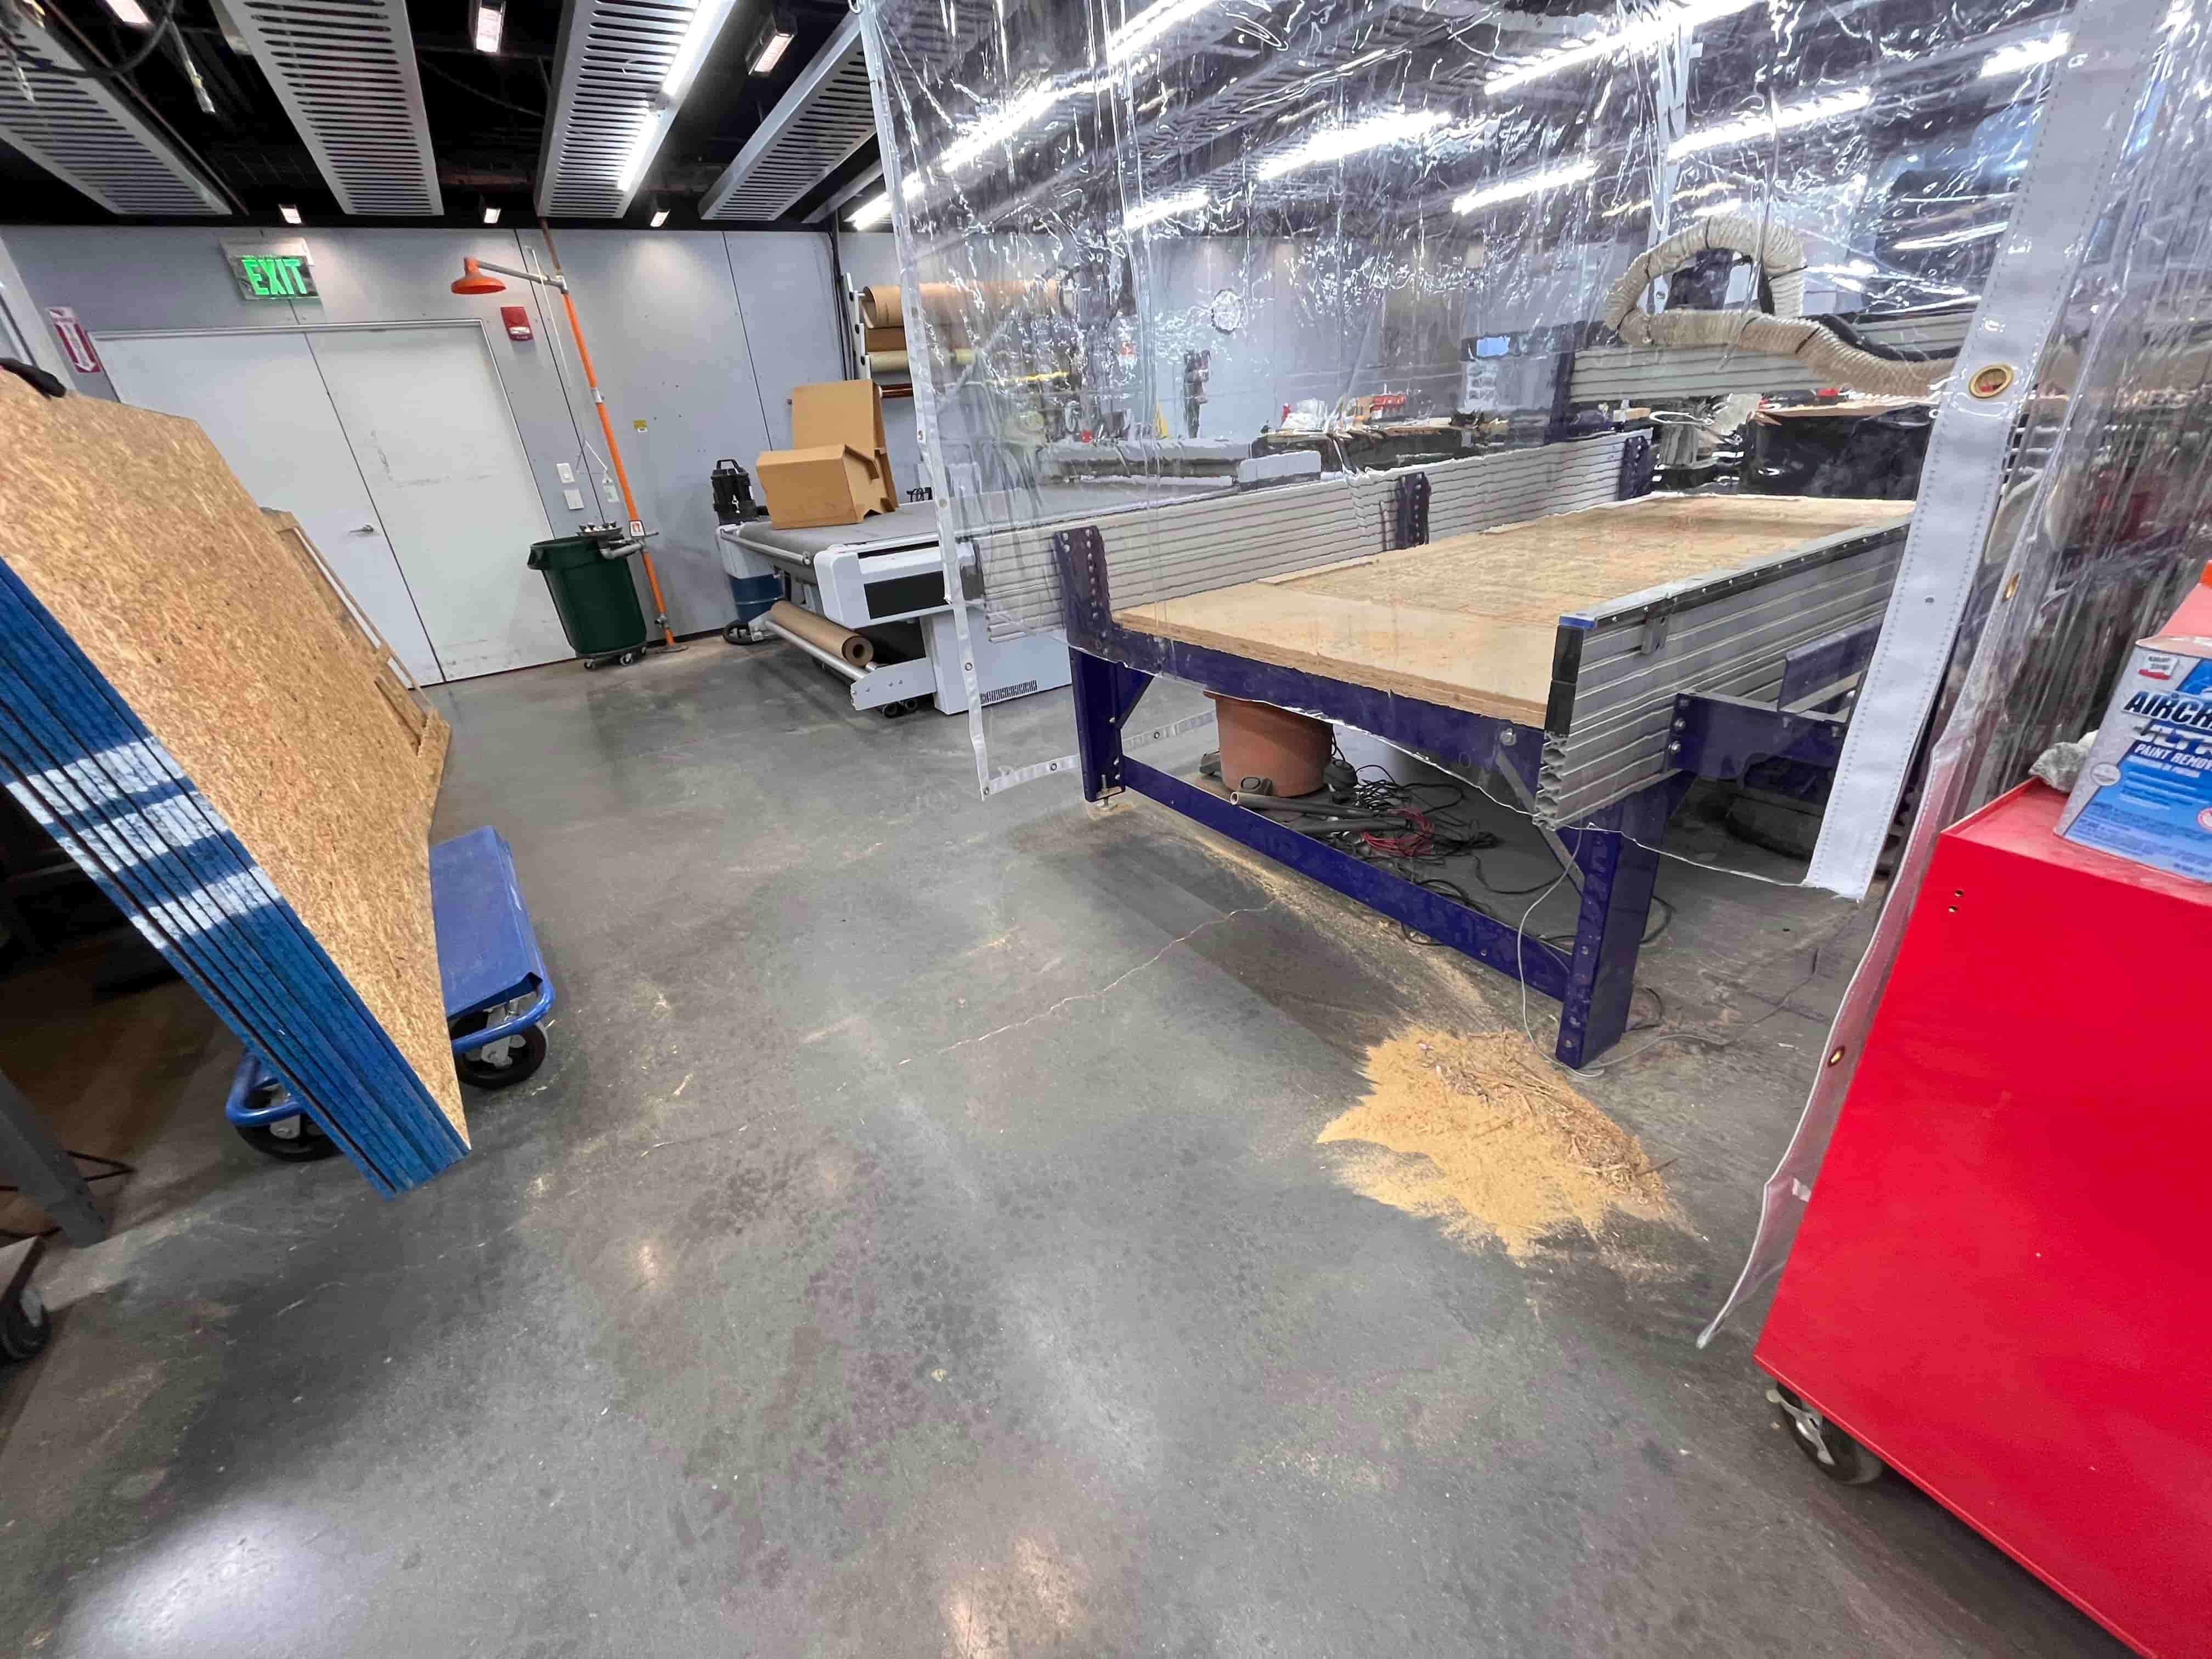
Cutting The Wood
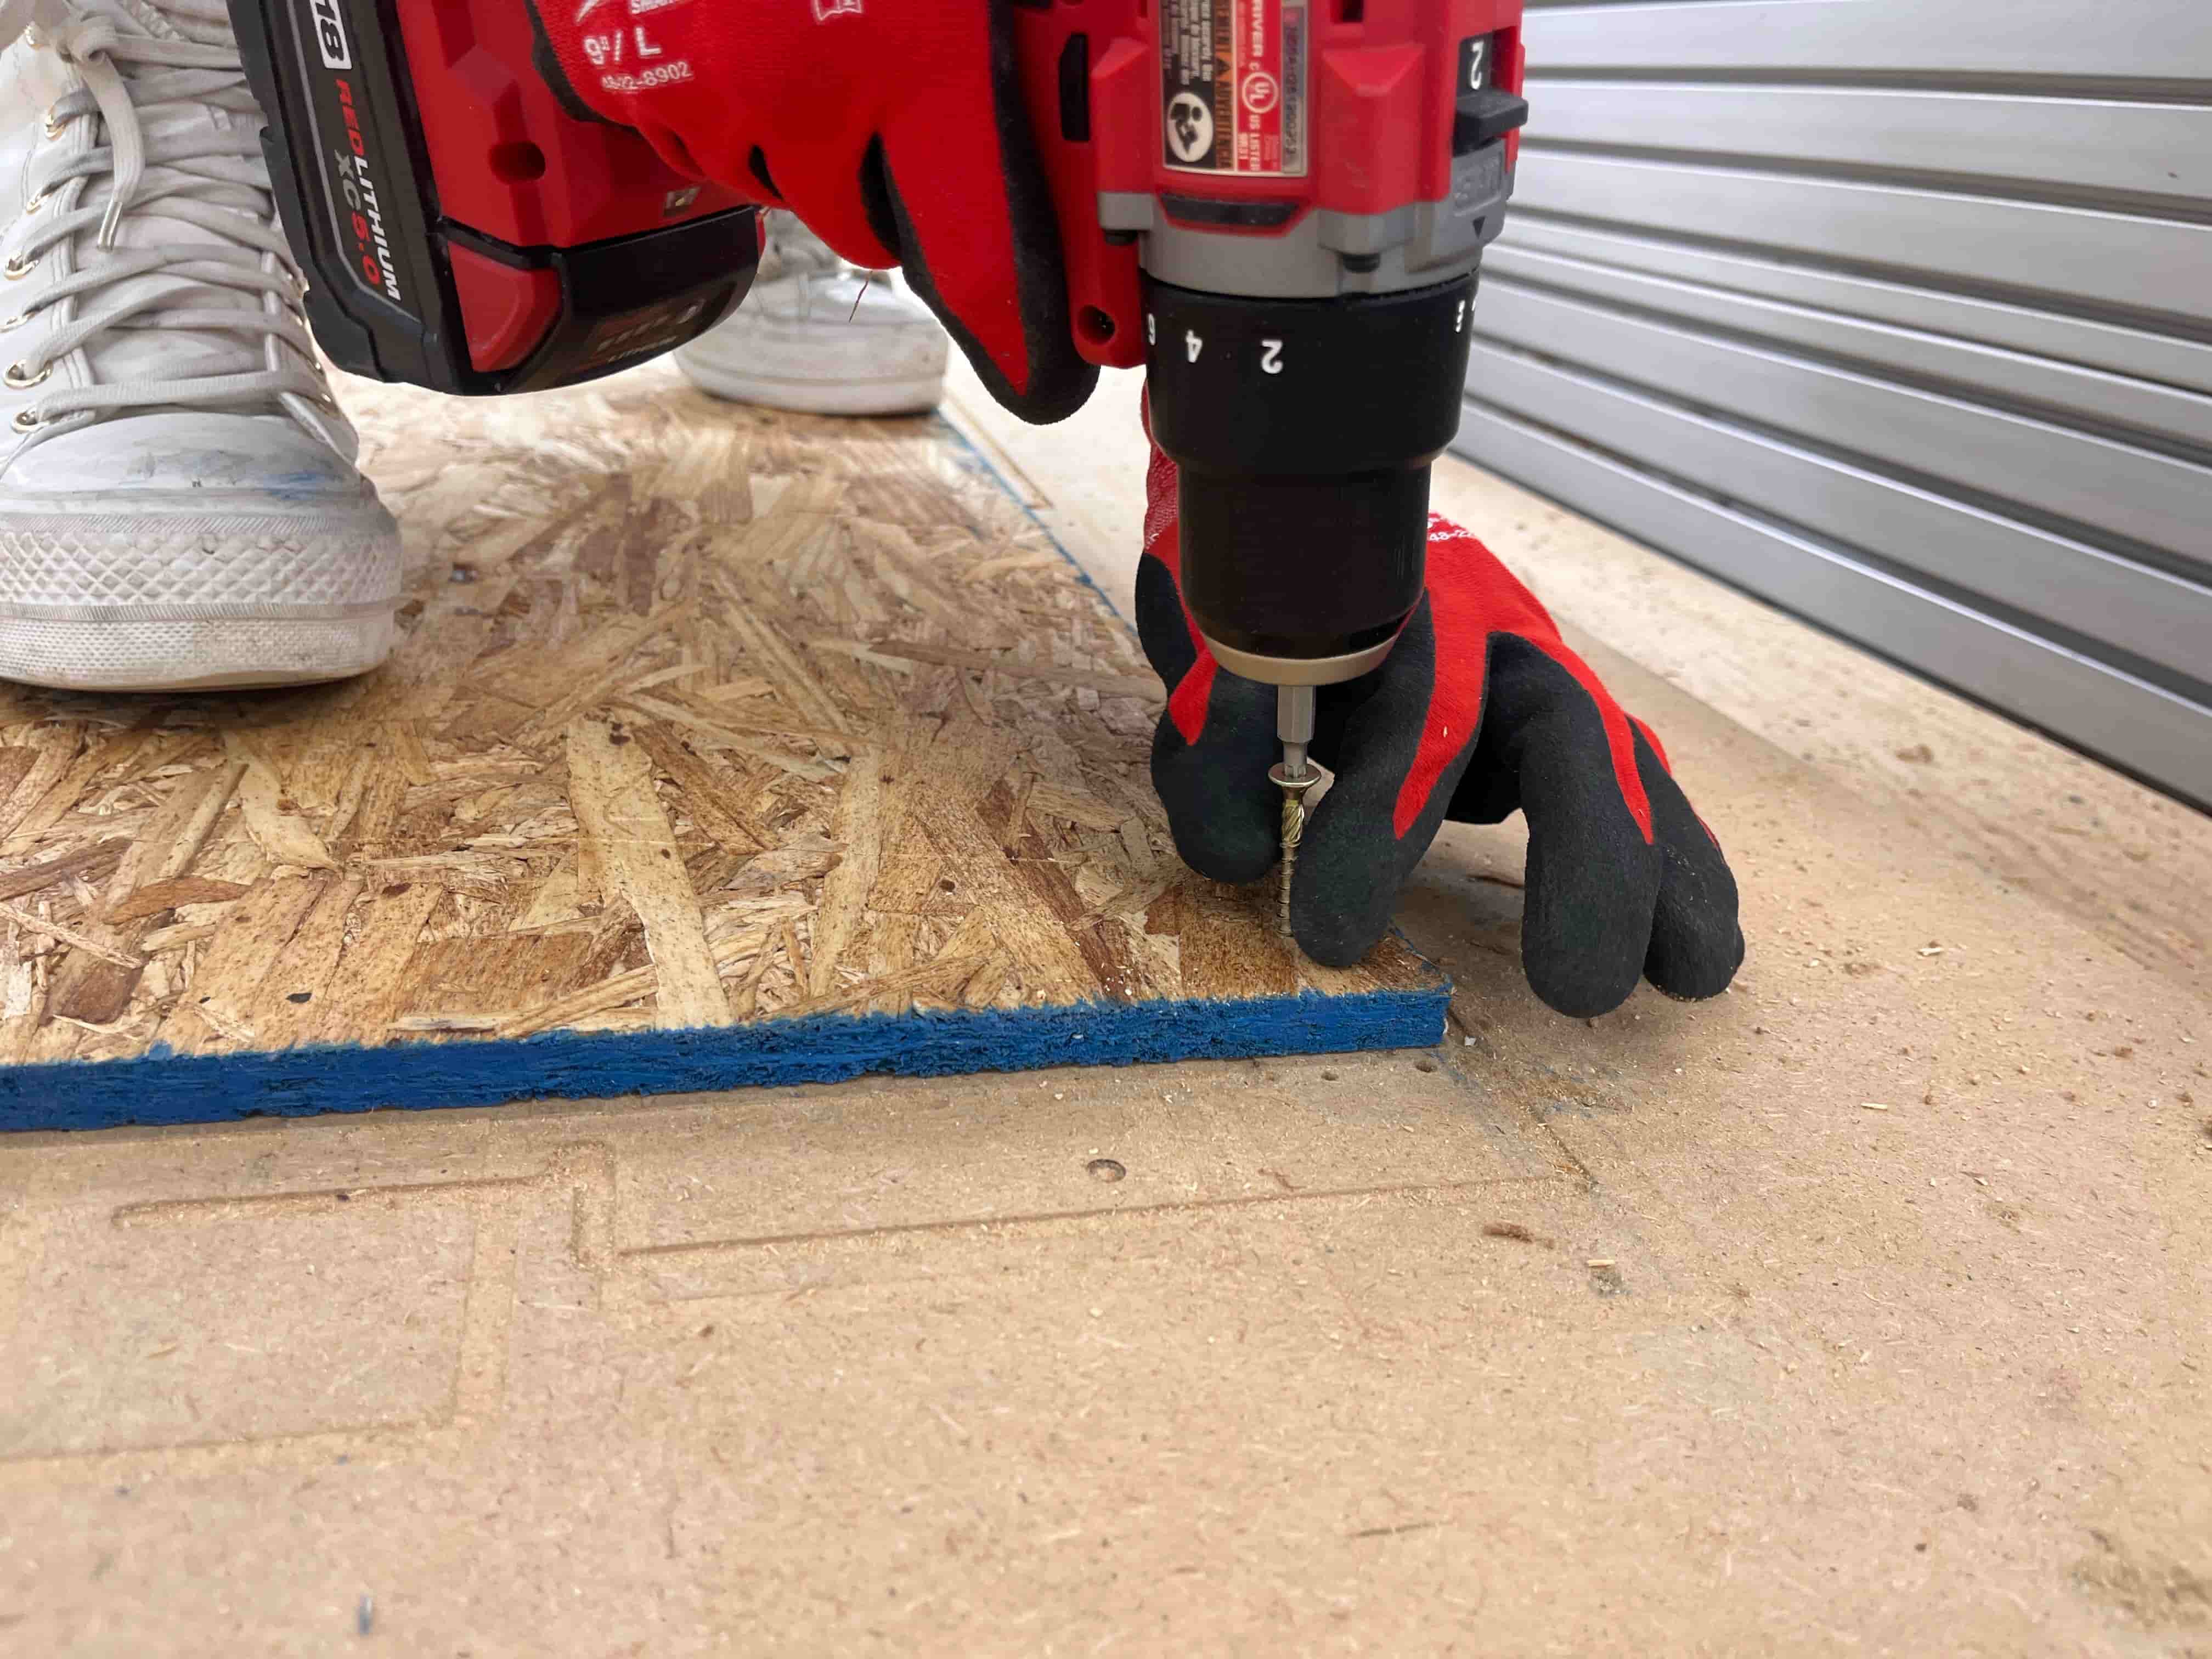
First things first, we need to make sure the wood is secure on the ShopBot. The best way to do this is to screw it in around the edges, making sure you're accounting for those in your milling setup – the last thing you want to do is run the end mill into one of the screws.
So we screwed in the wood (about 8 screws in total) around the edges and measured to make sure my clearance was ok:
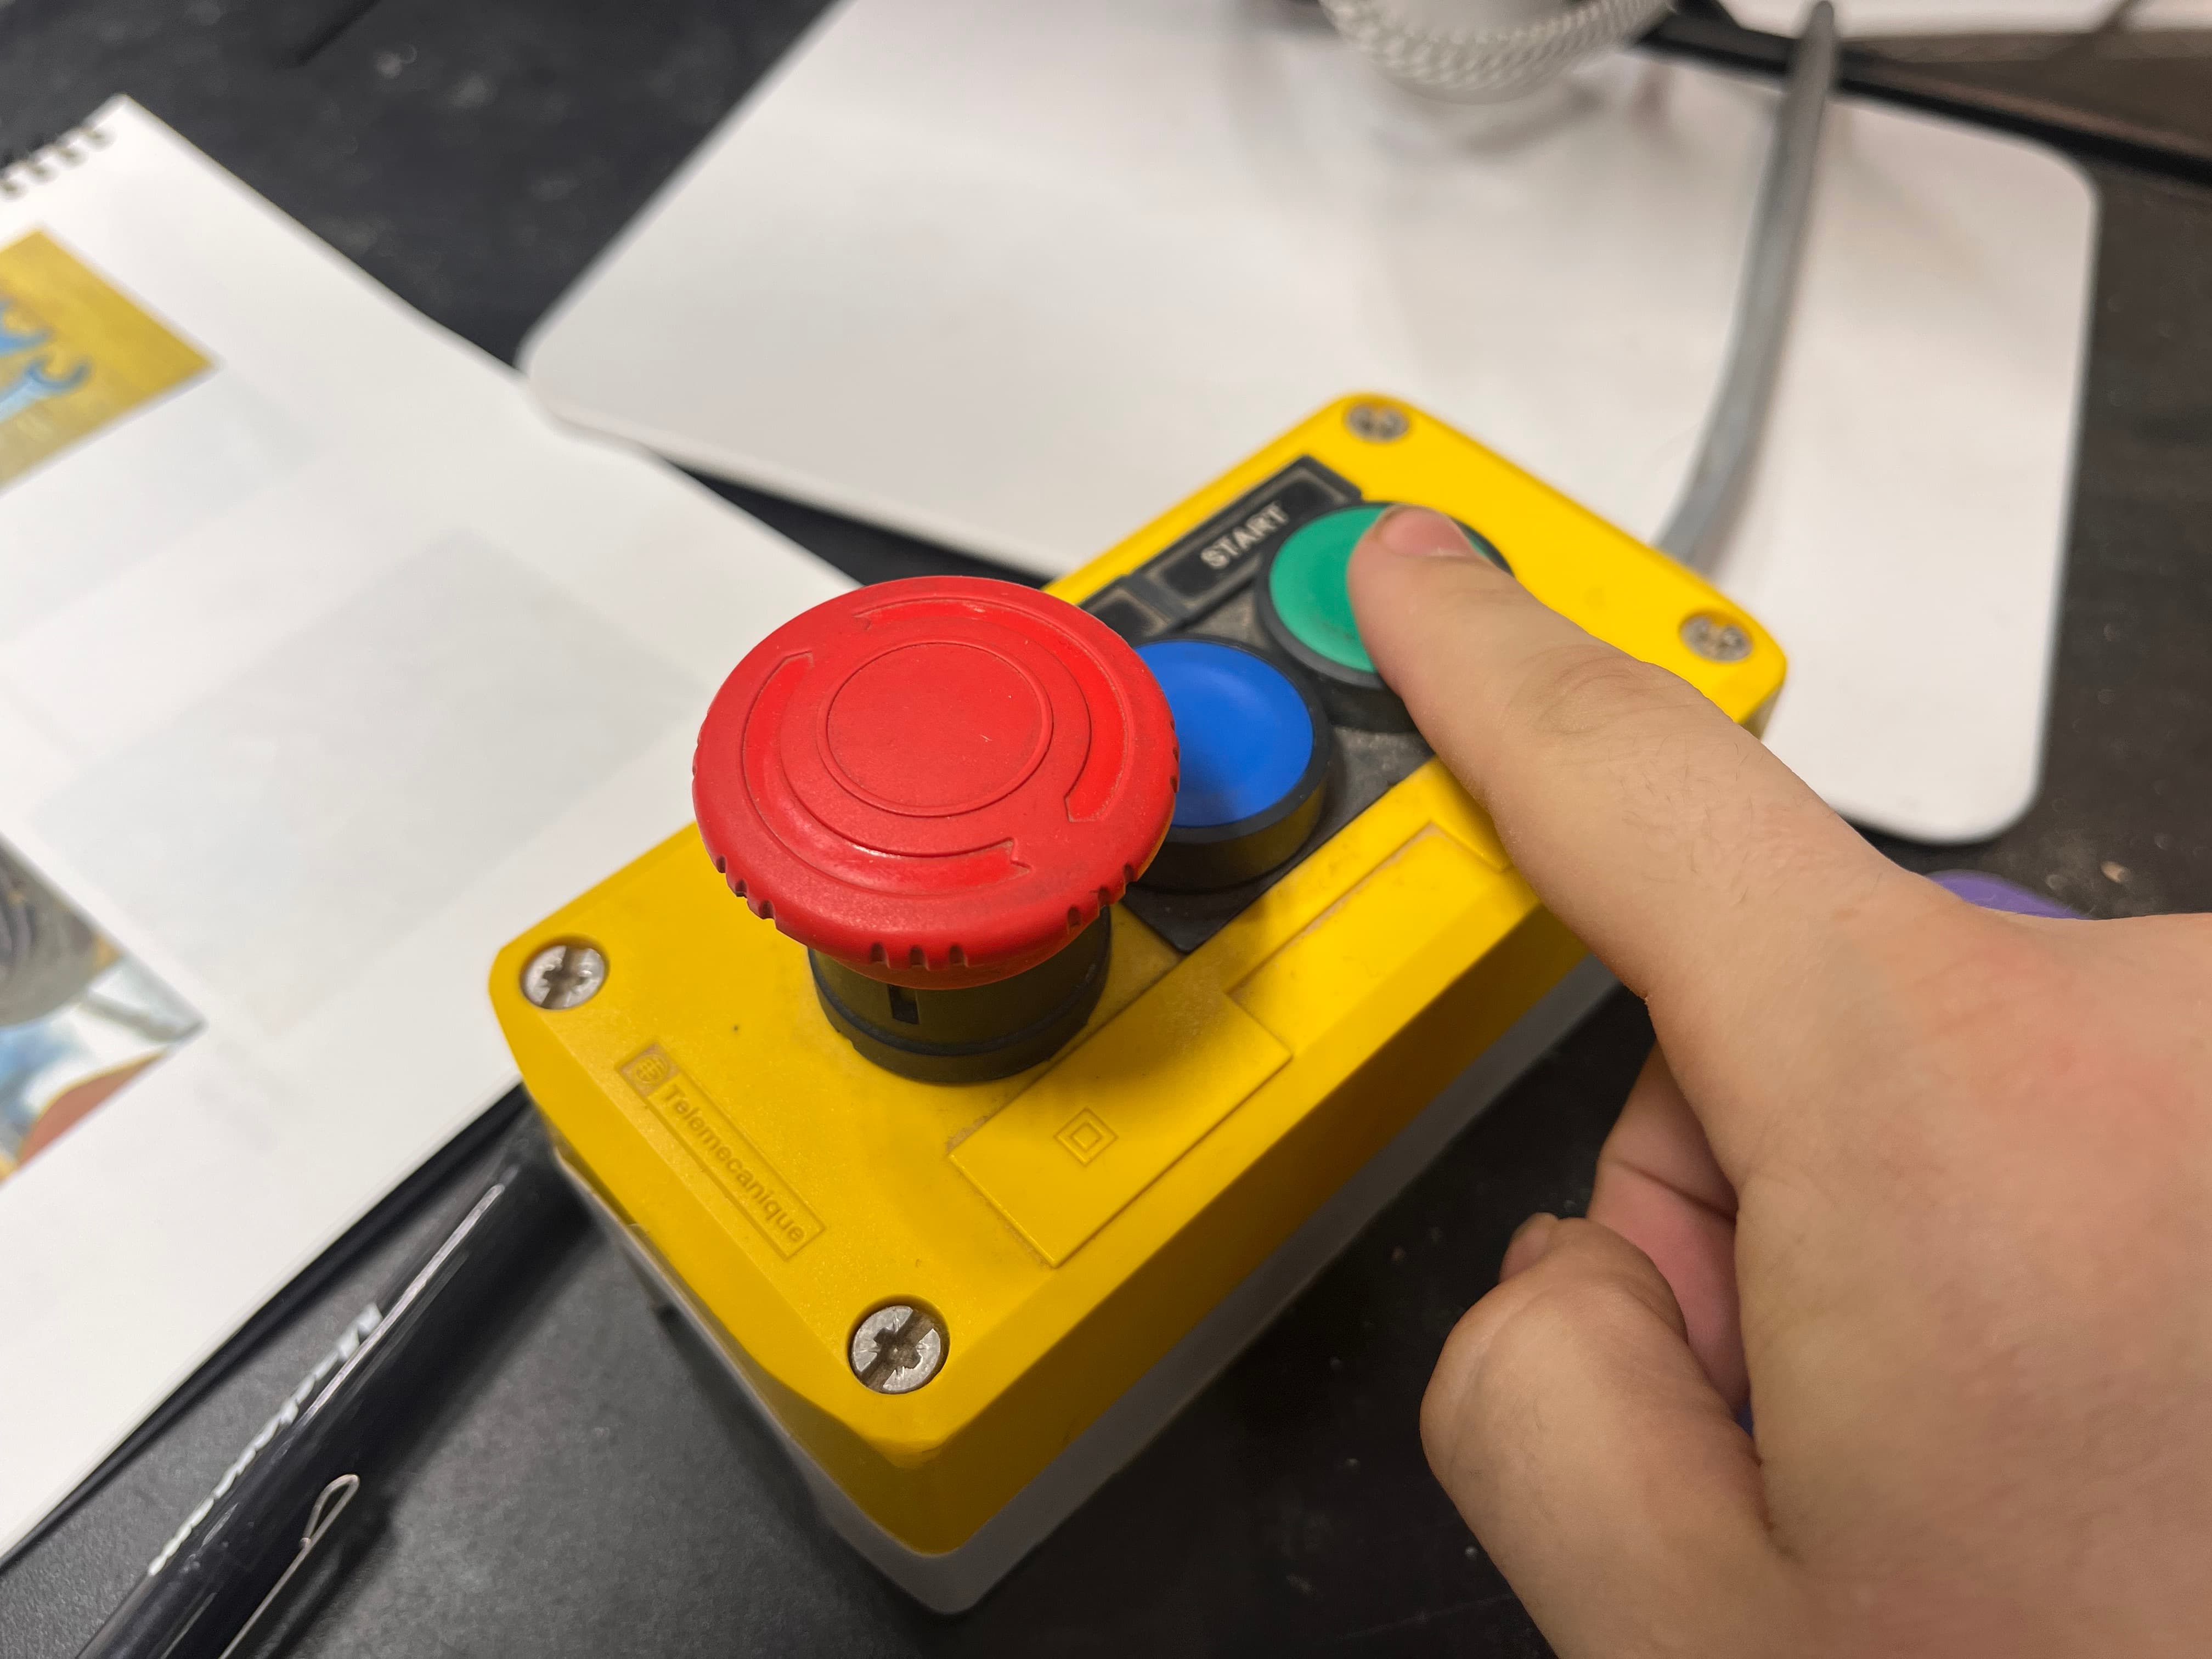
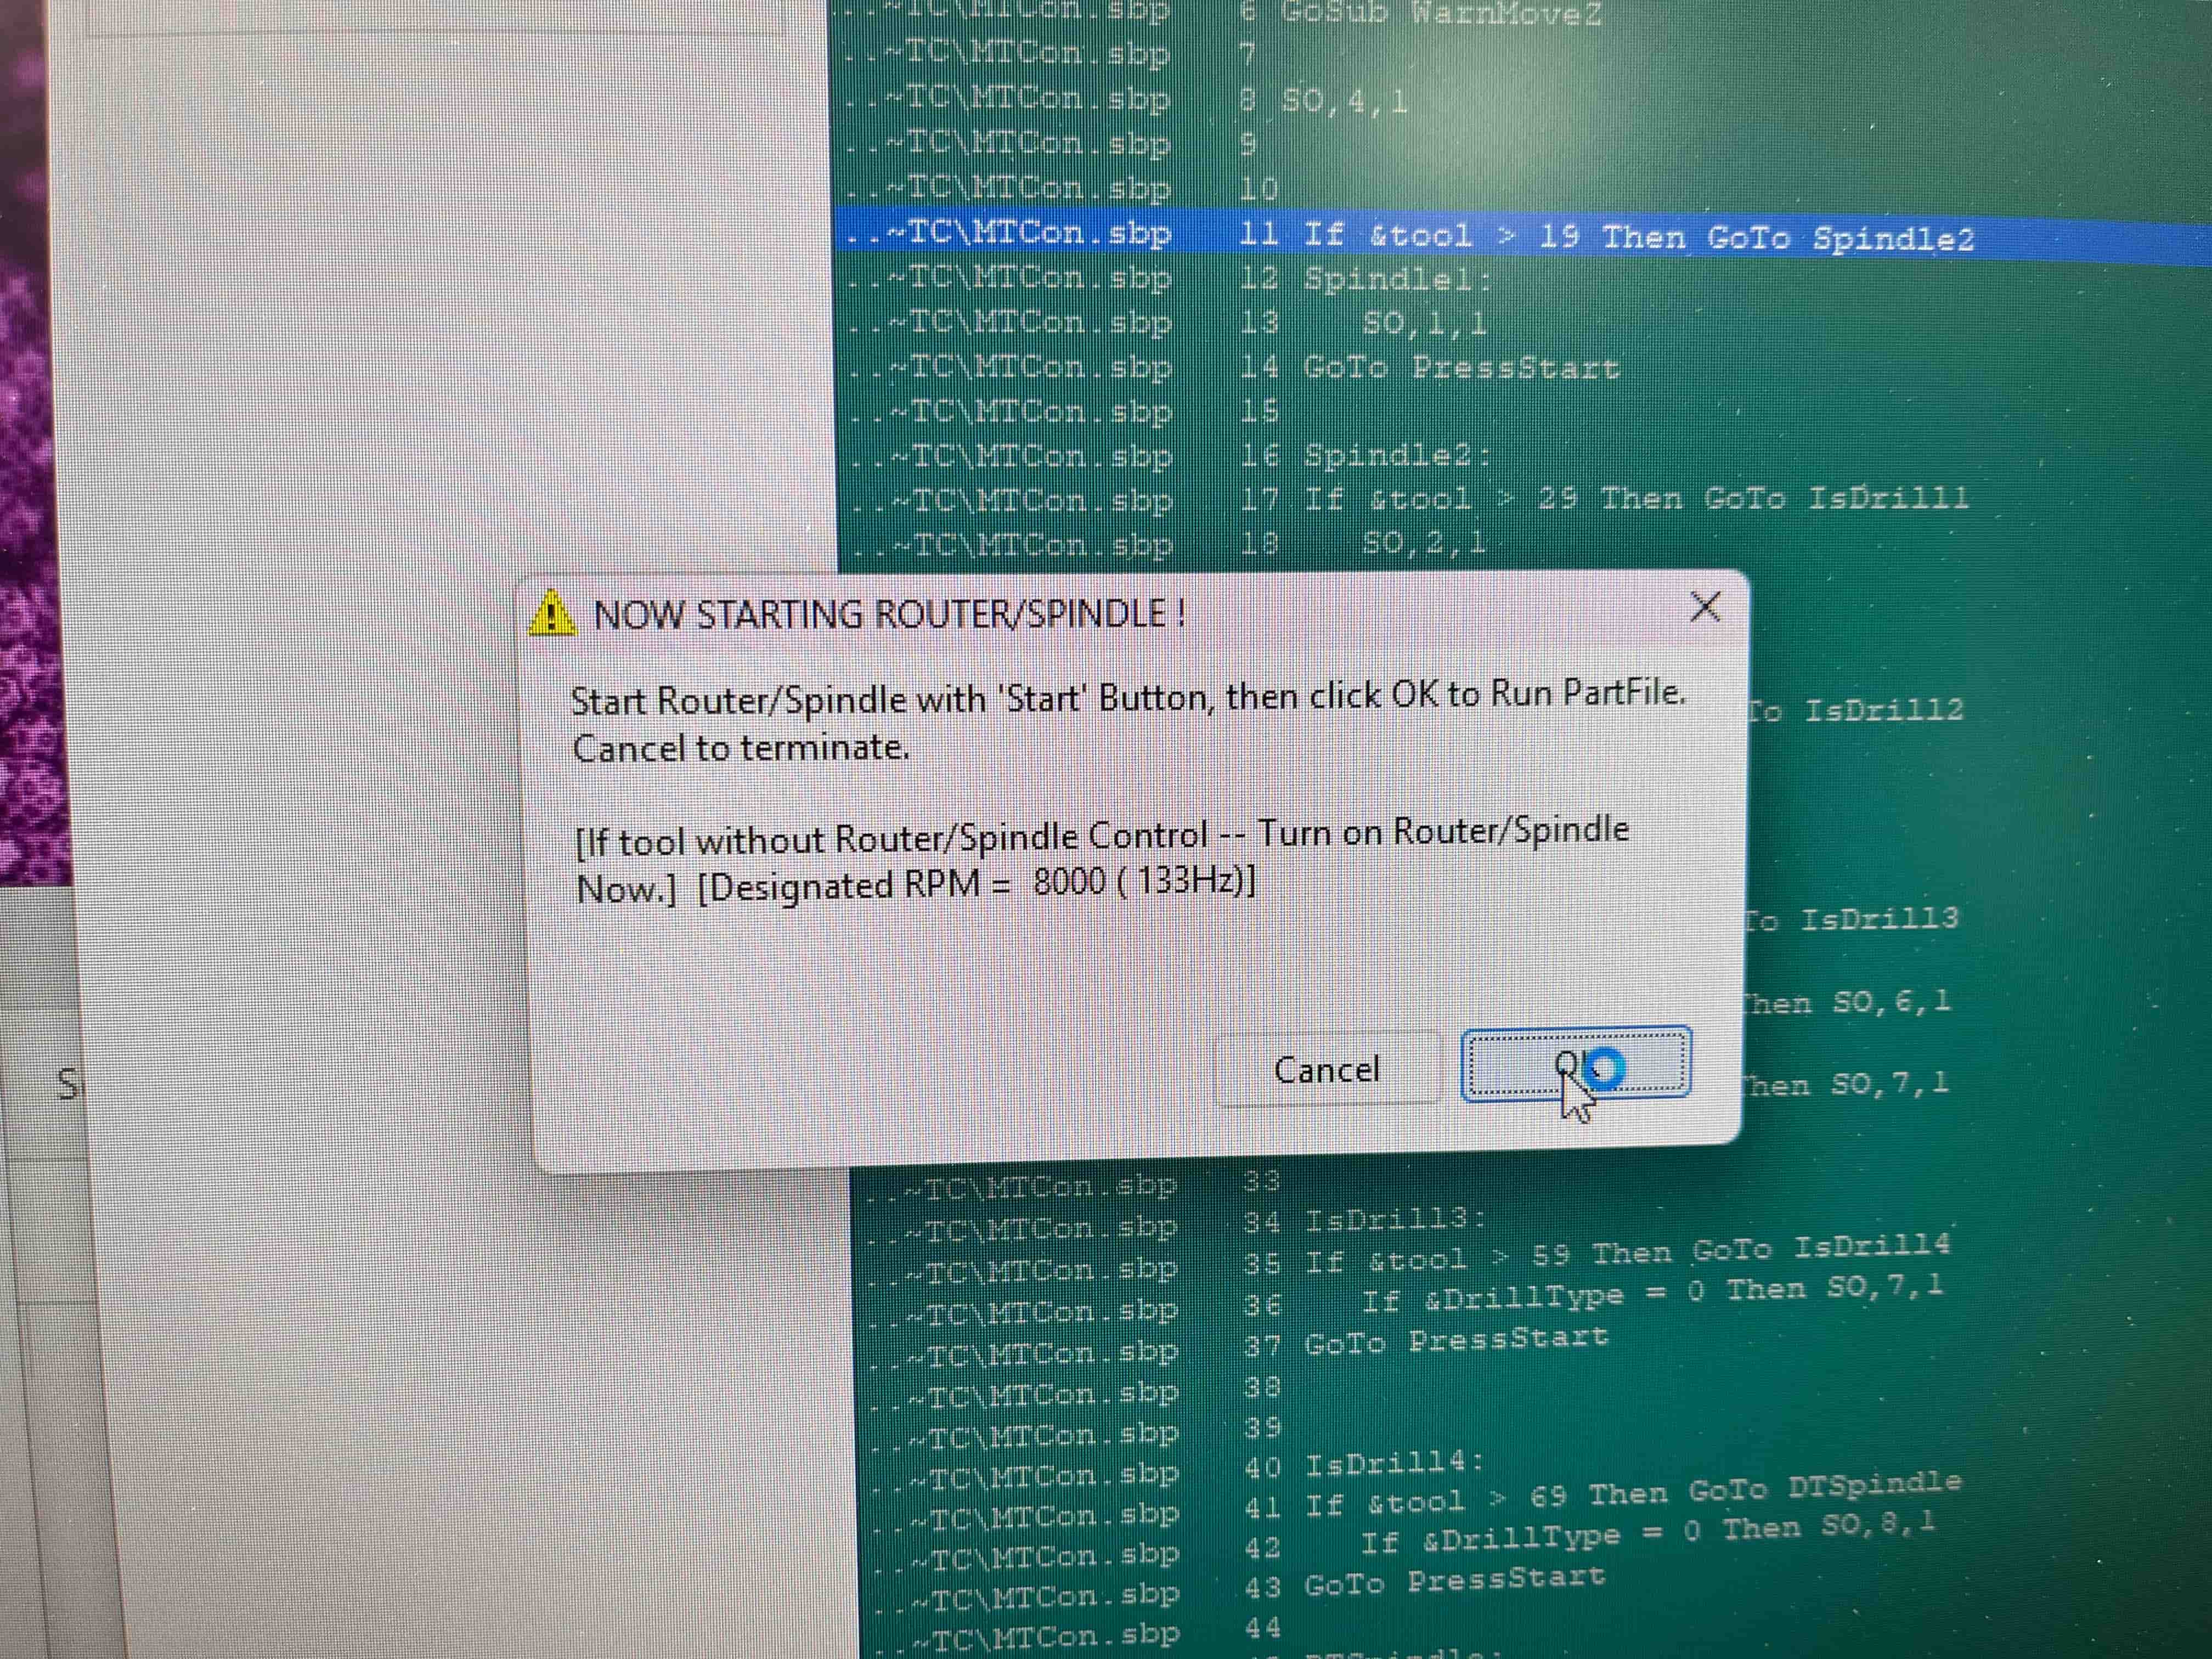
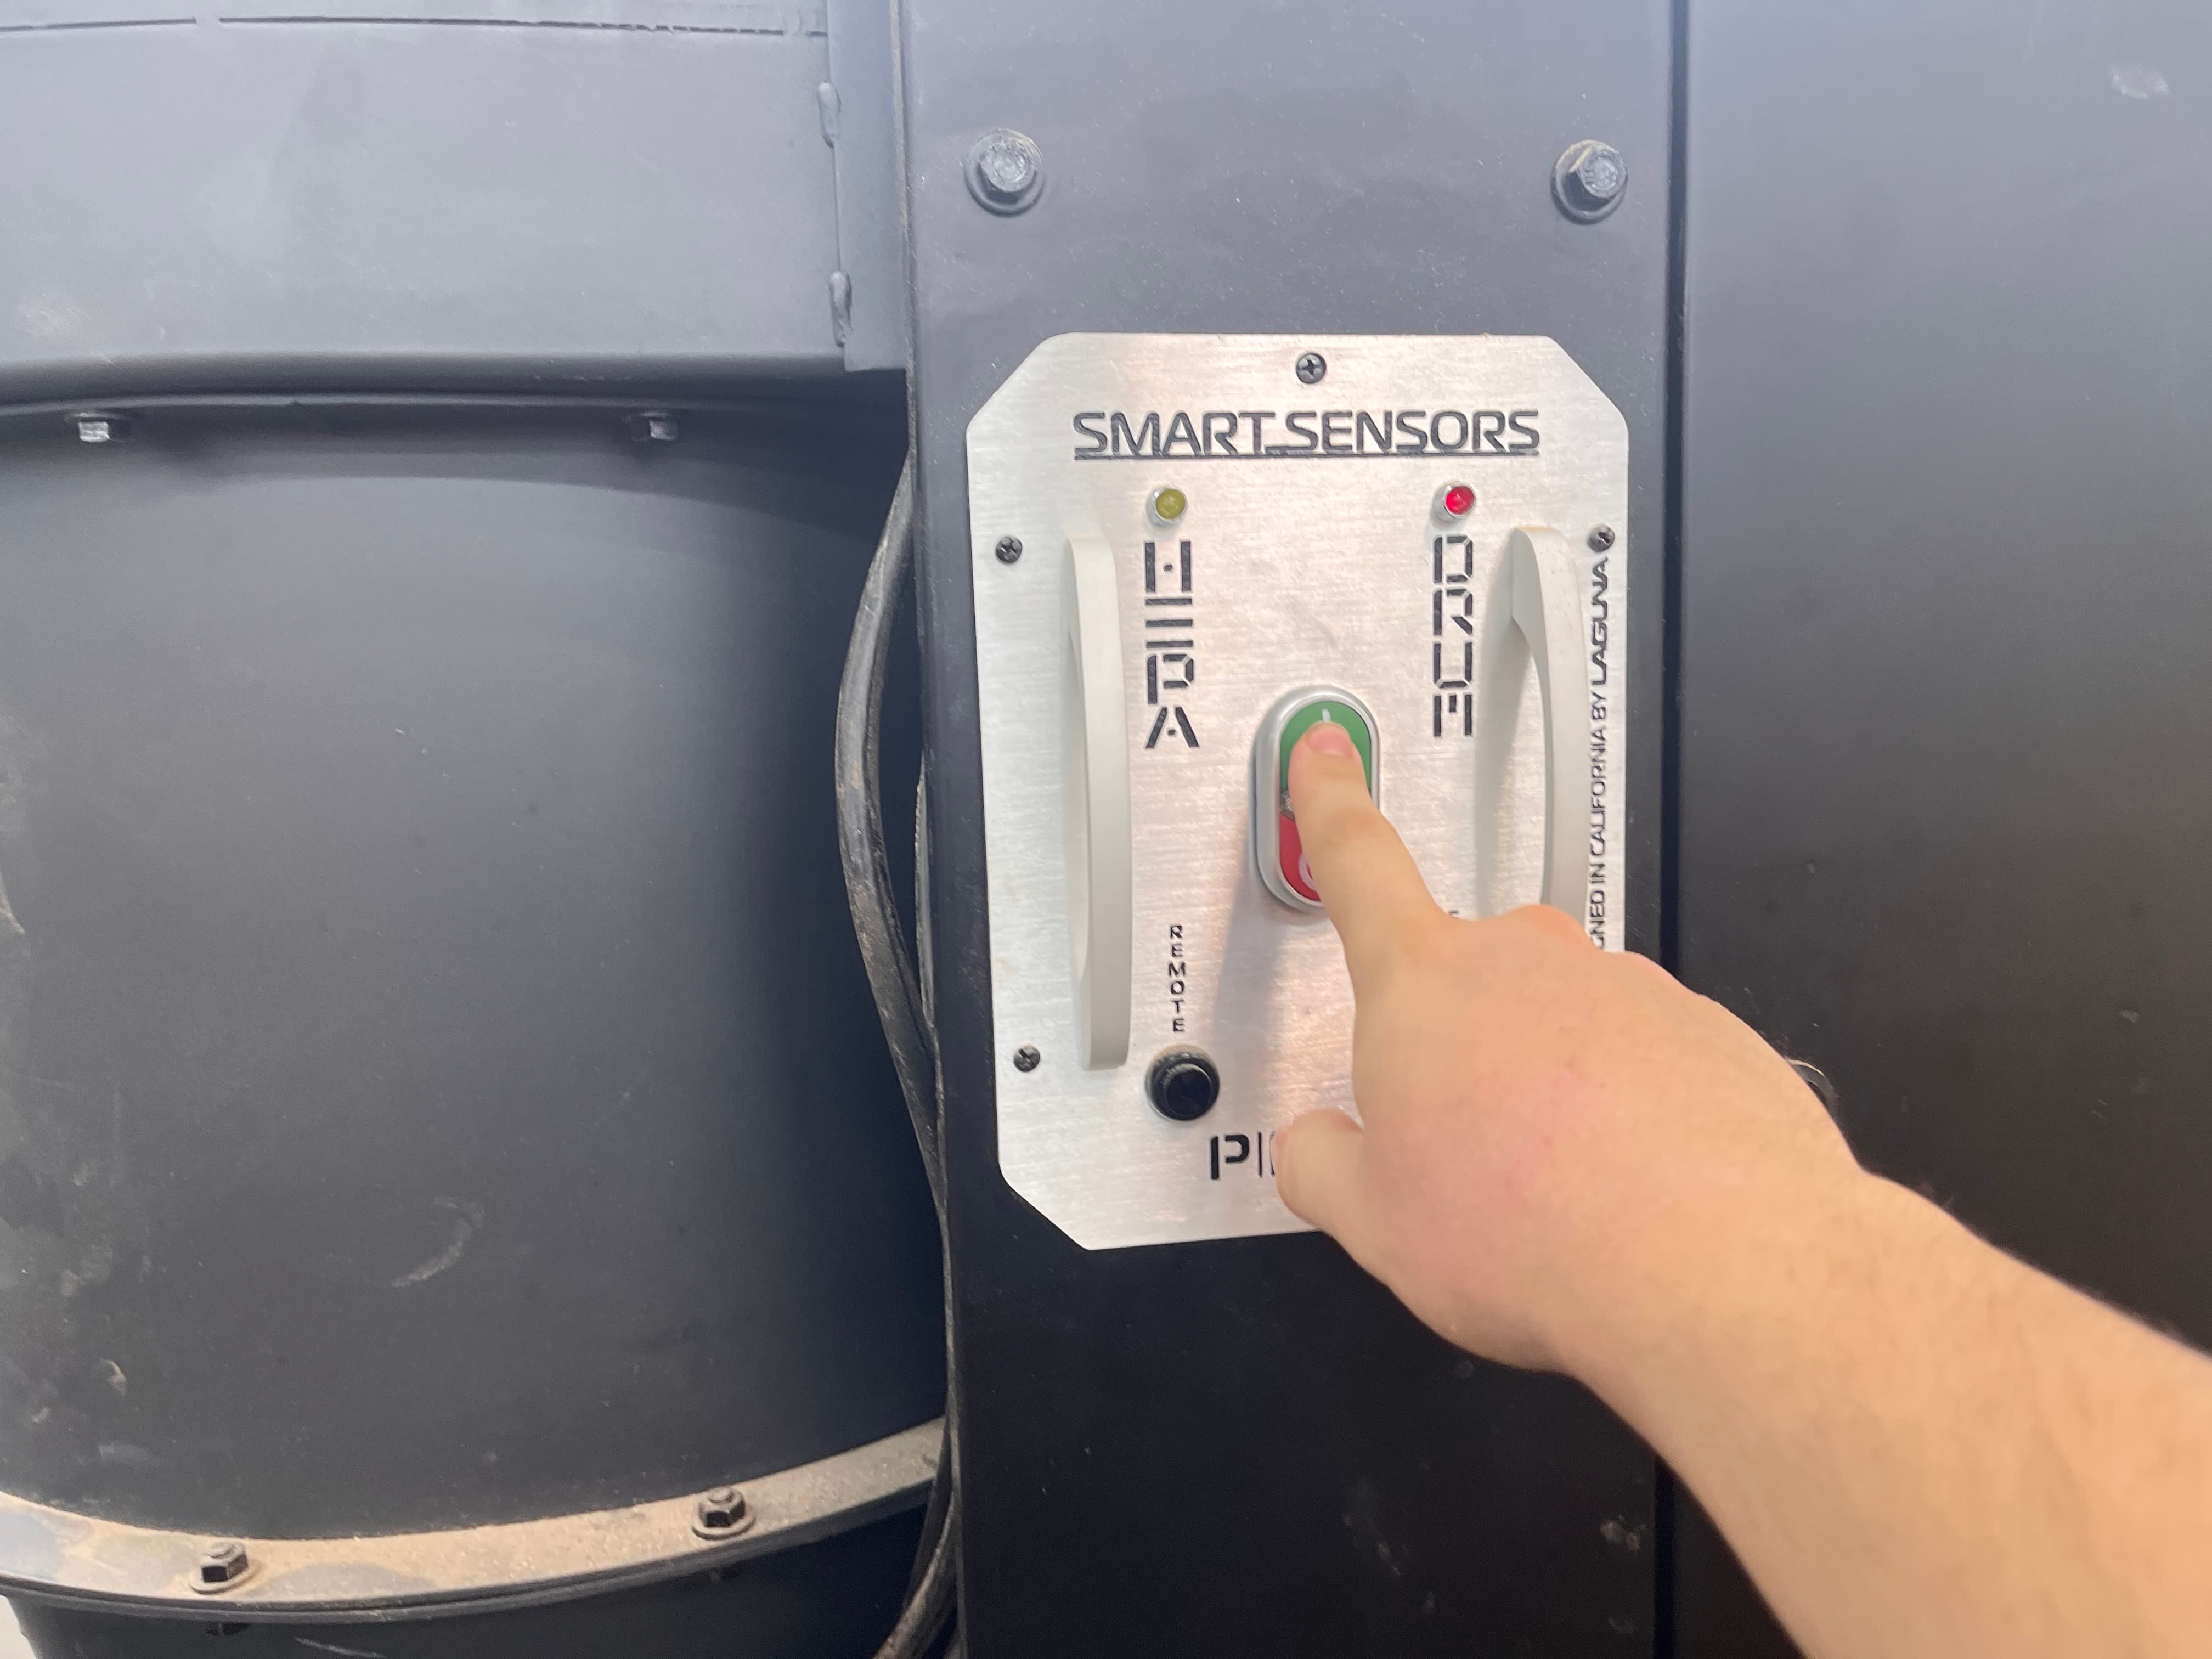
We then needed to make sure the ShopBot was good to go. This involves prompting it to probe the height, connecting the clamp to the end mill and allowing it to slowly push down onto the metal plate. From there, all we needed to do was follow the start instructions: click start, press the green start button, hit ok, and turn on the big vacuum:


And always remember to clean up!
Sanding, Filing, & Painting
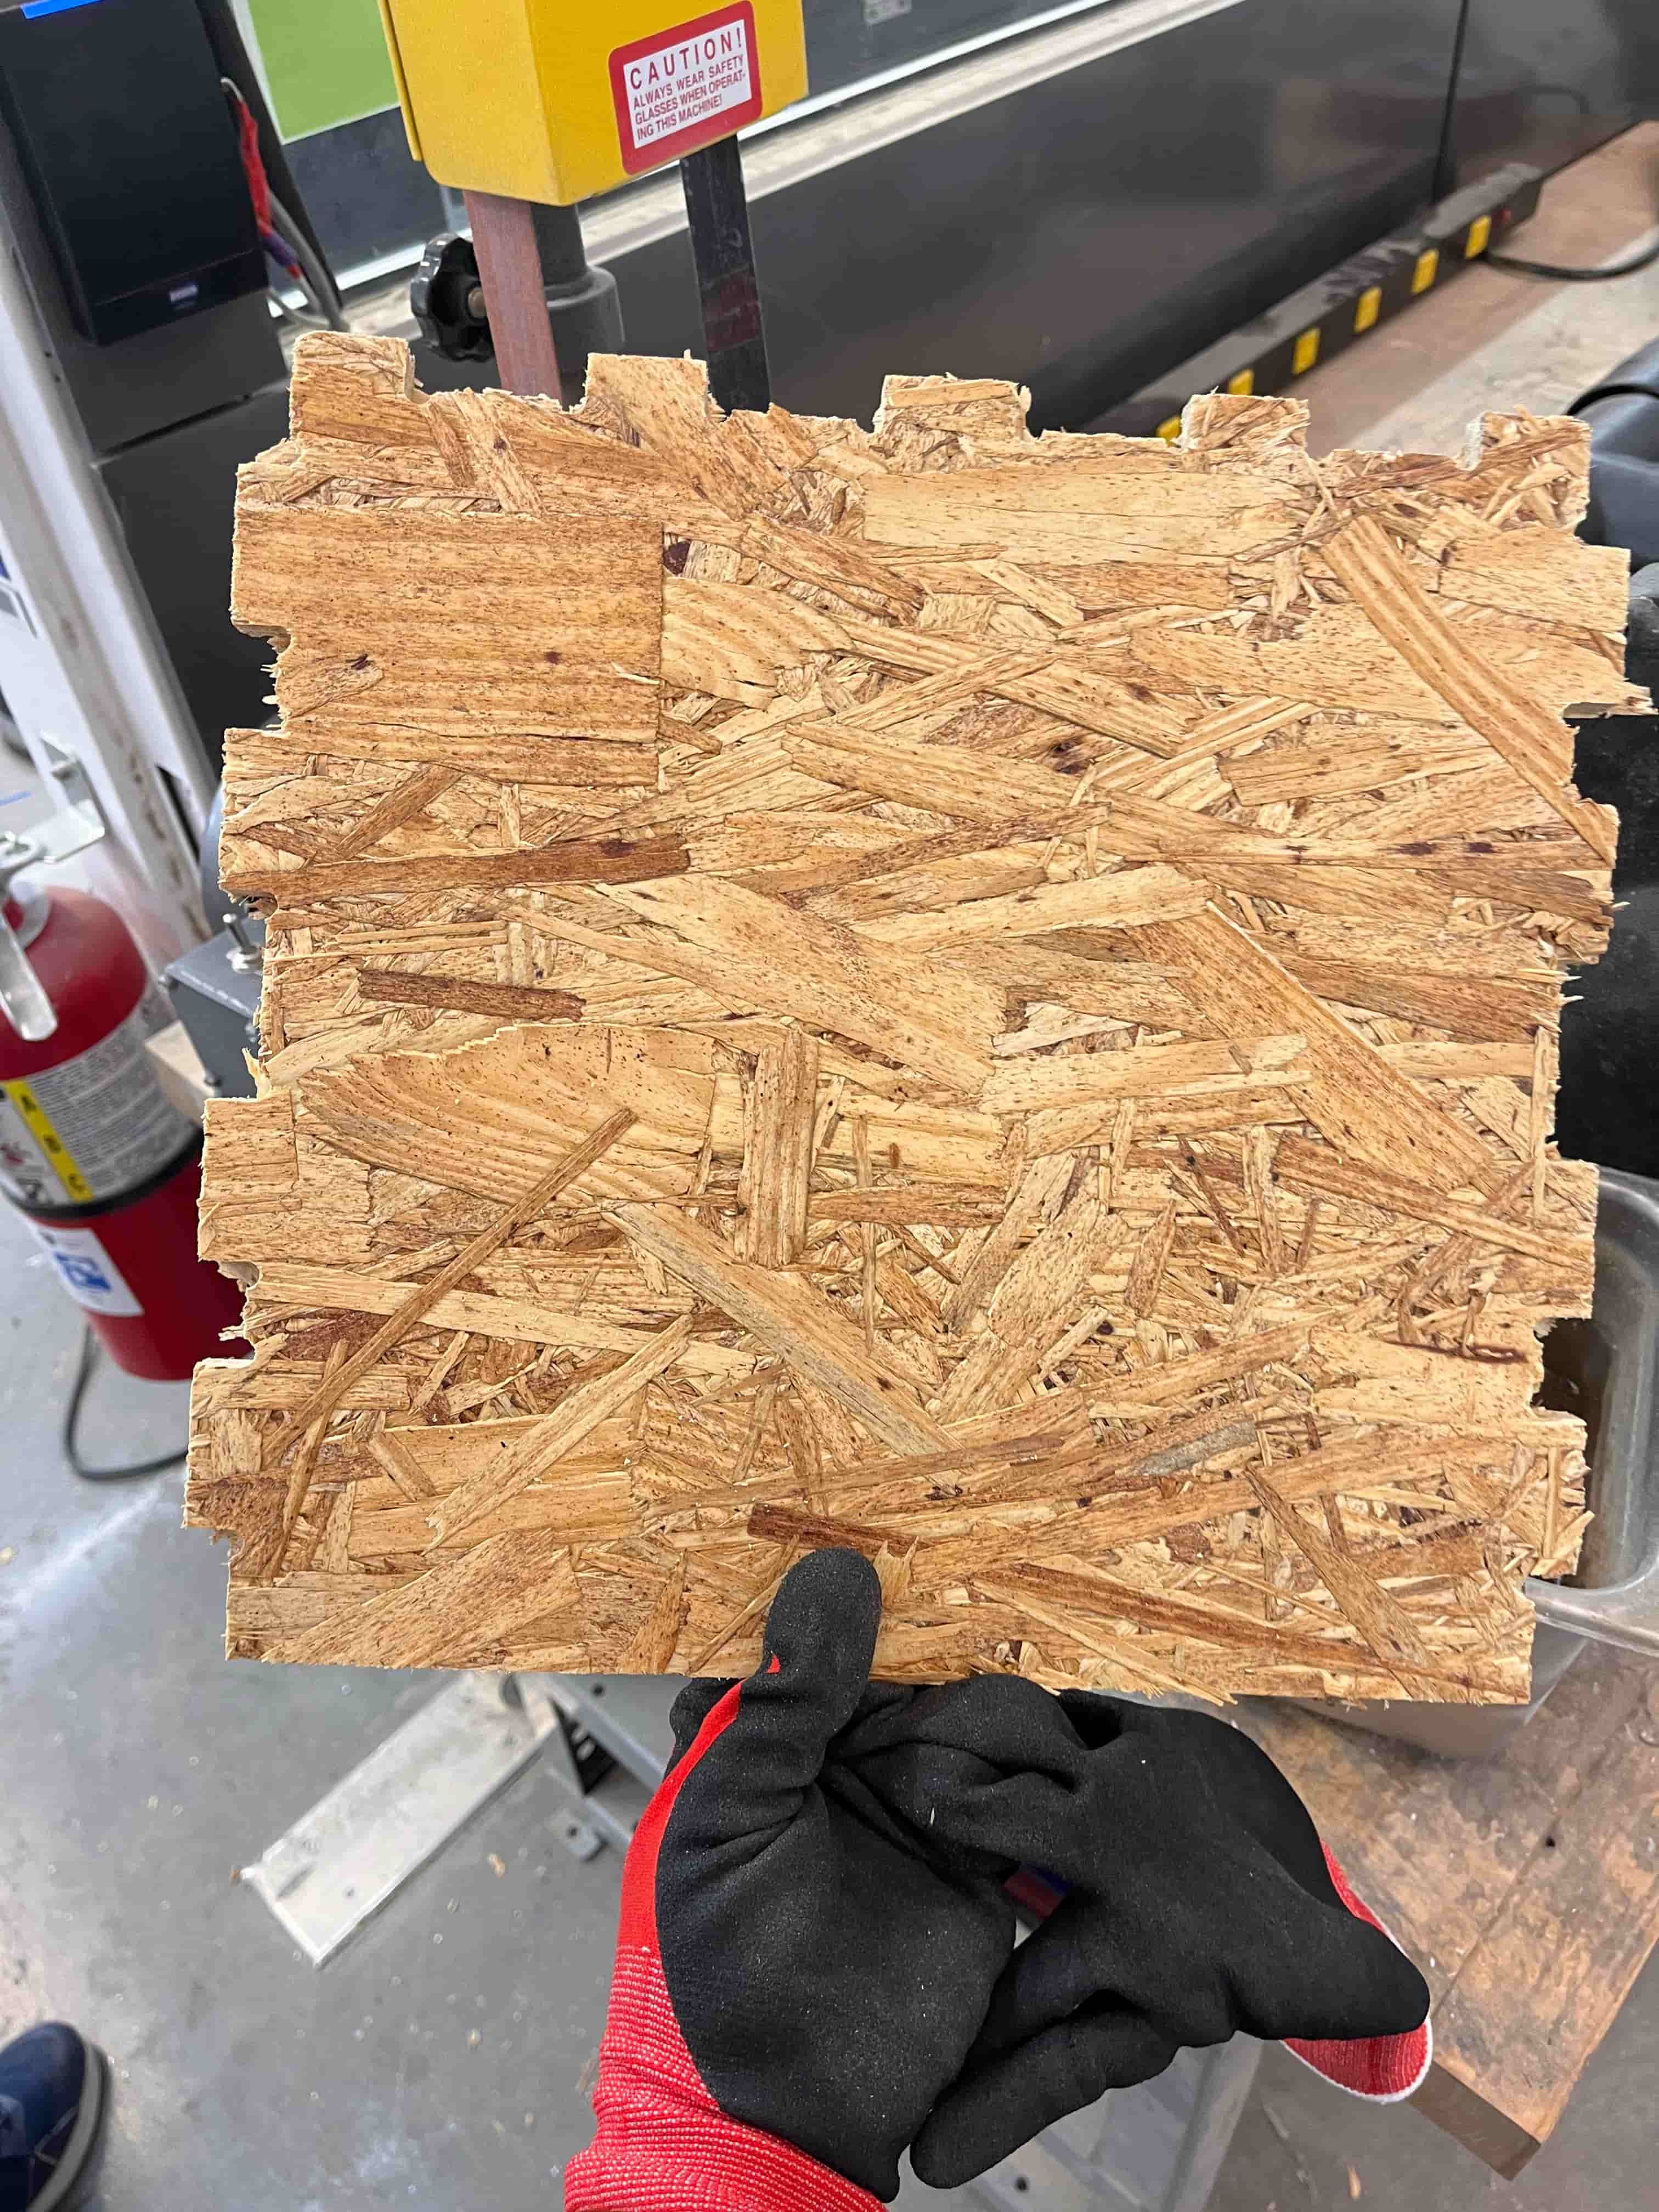
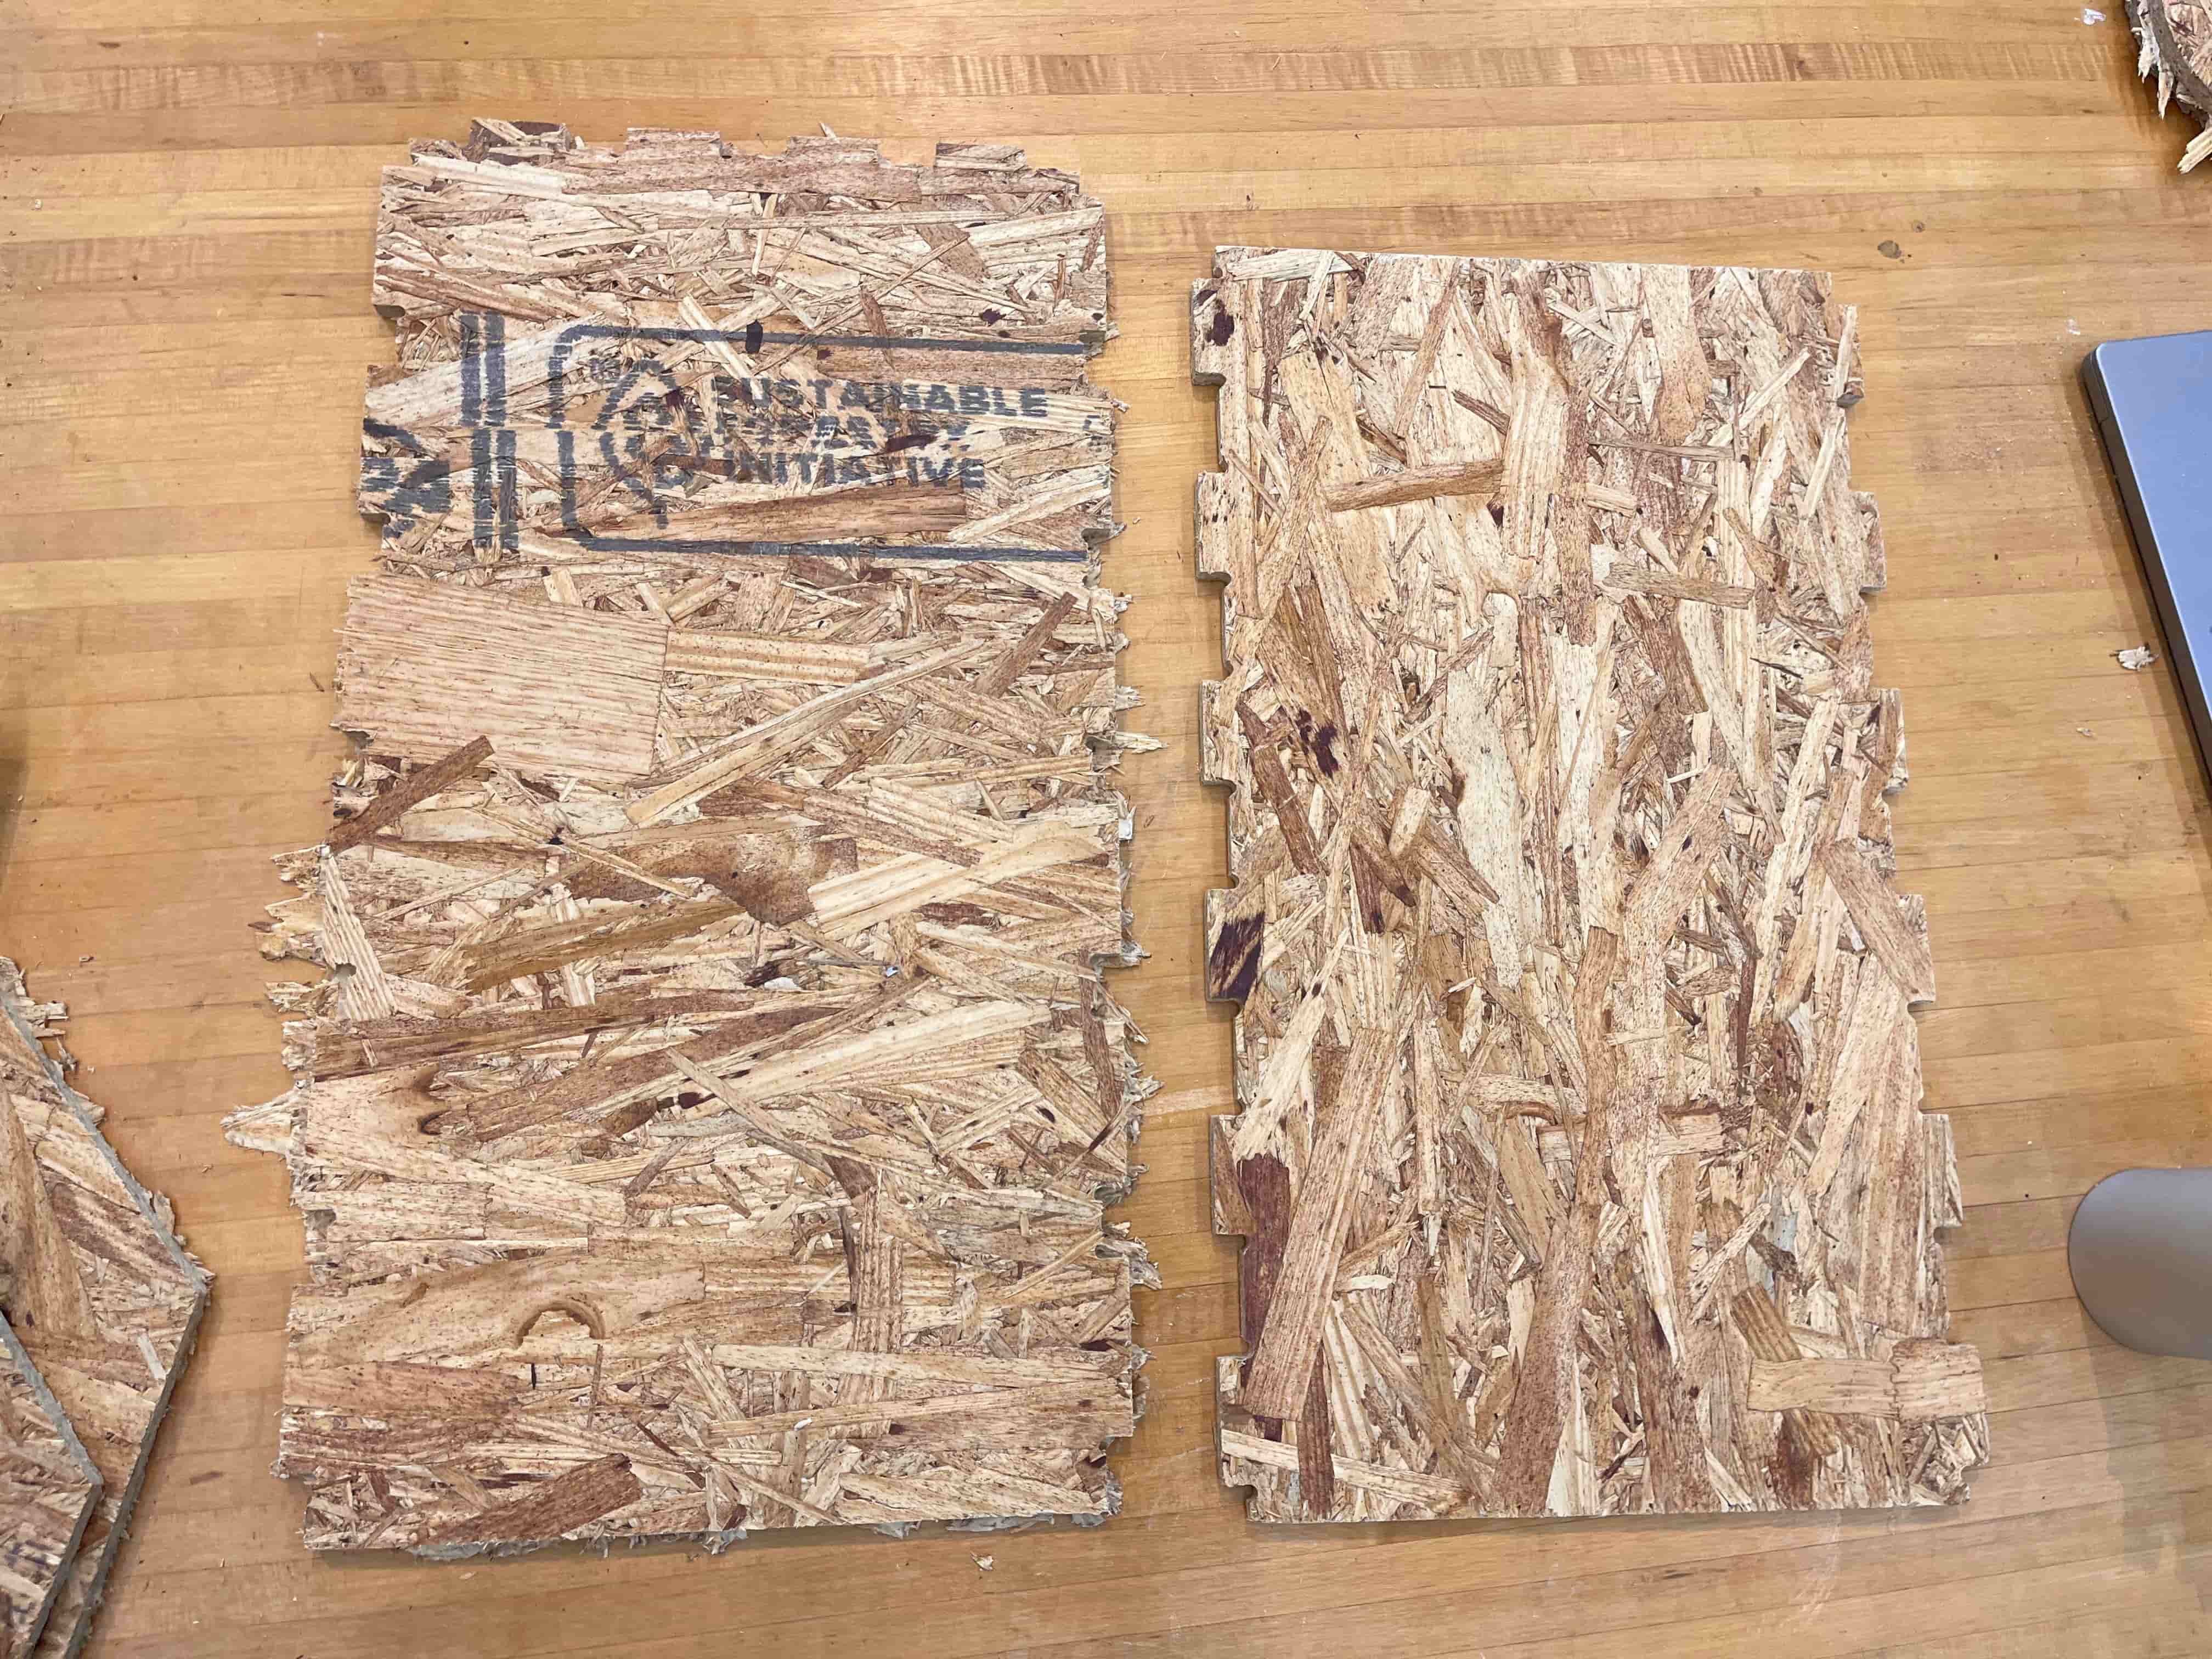
Now that all the pieces were cut/punched out, we had some work to do before fitting them together. Using various filing tools and the small belt sander, I whittled down the sharp edges to make them smooth.
Here's before:
And here's after:
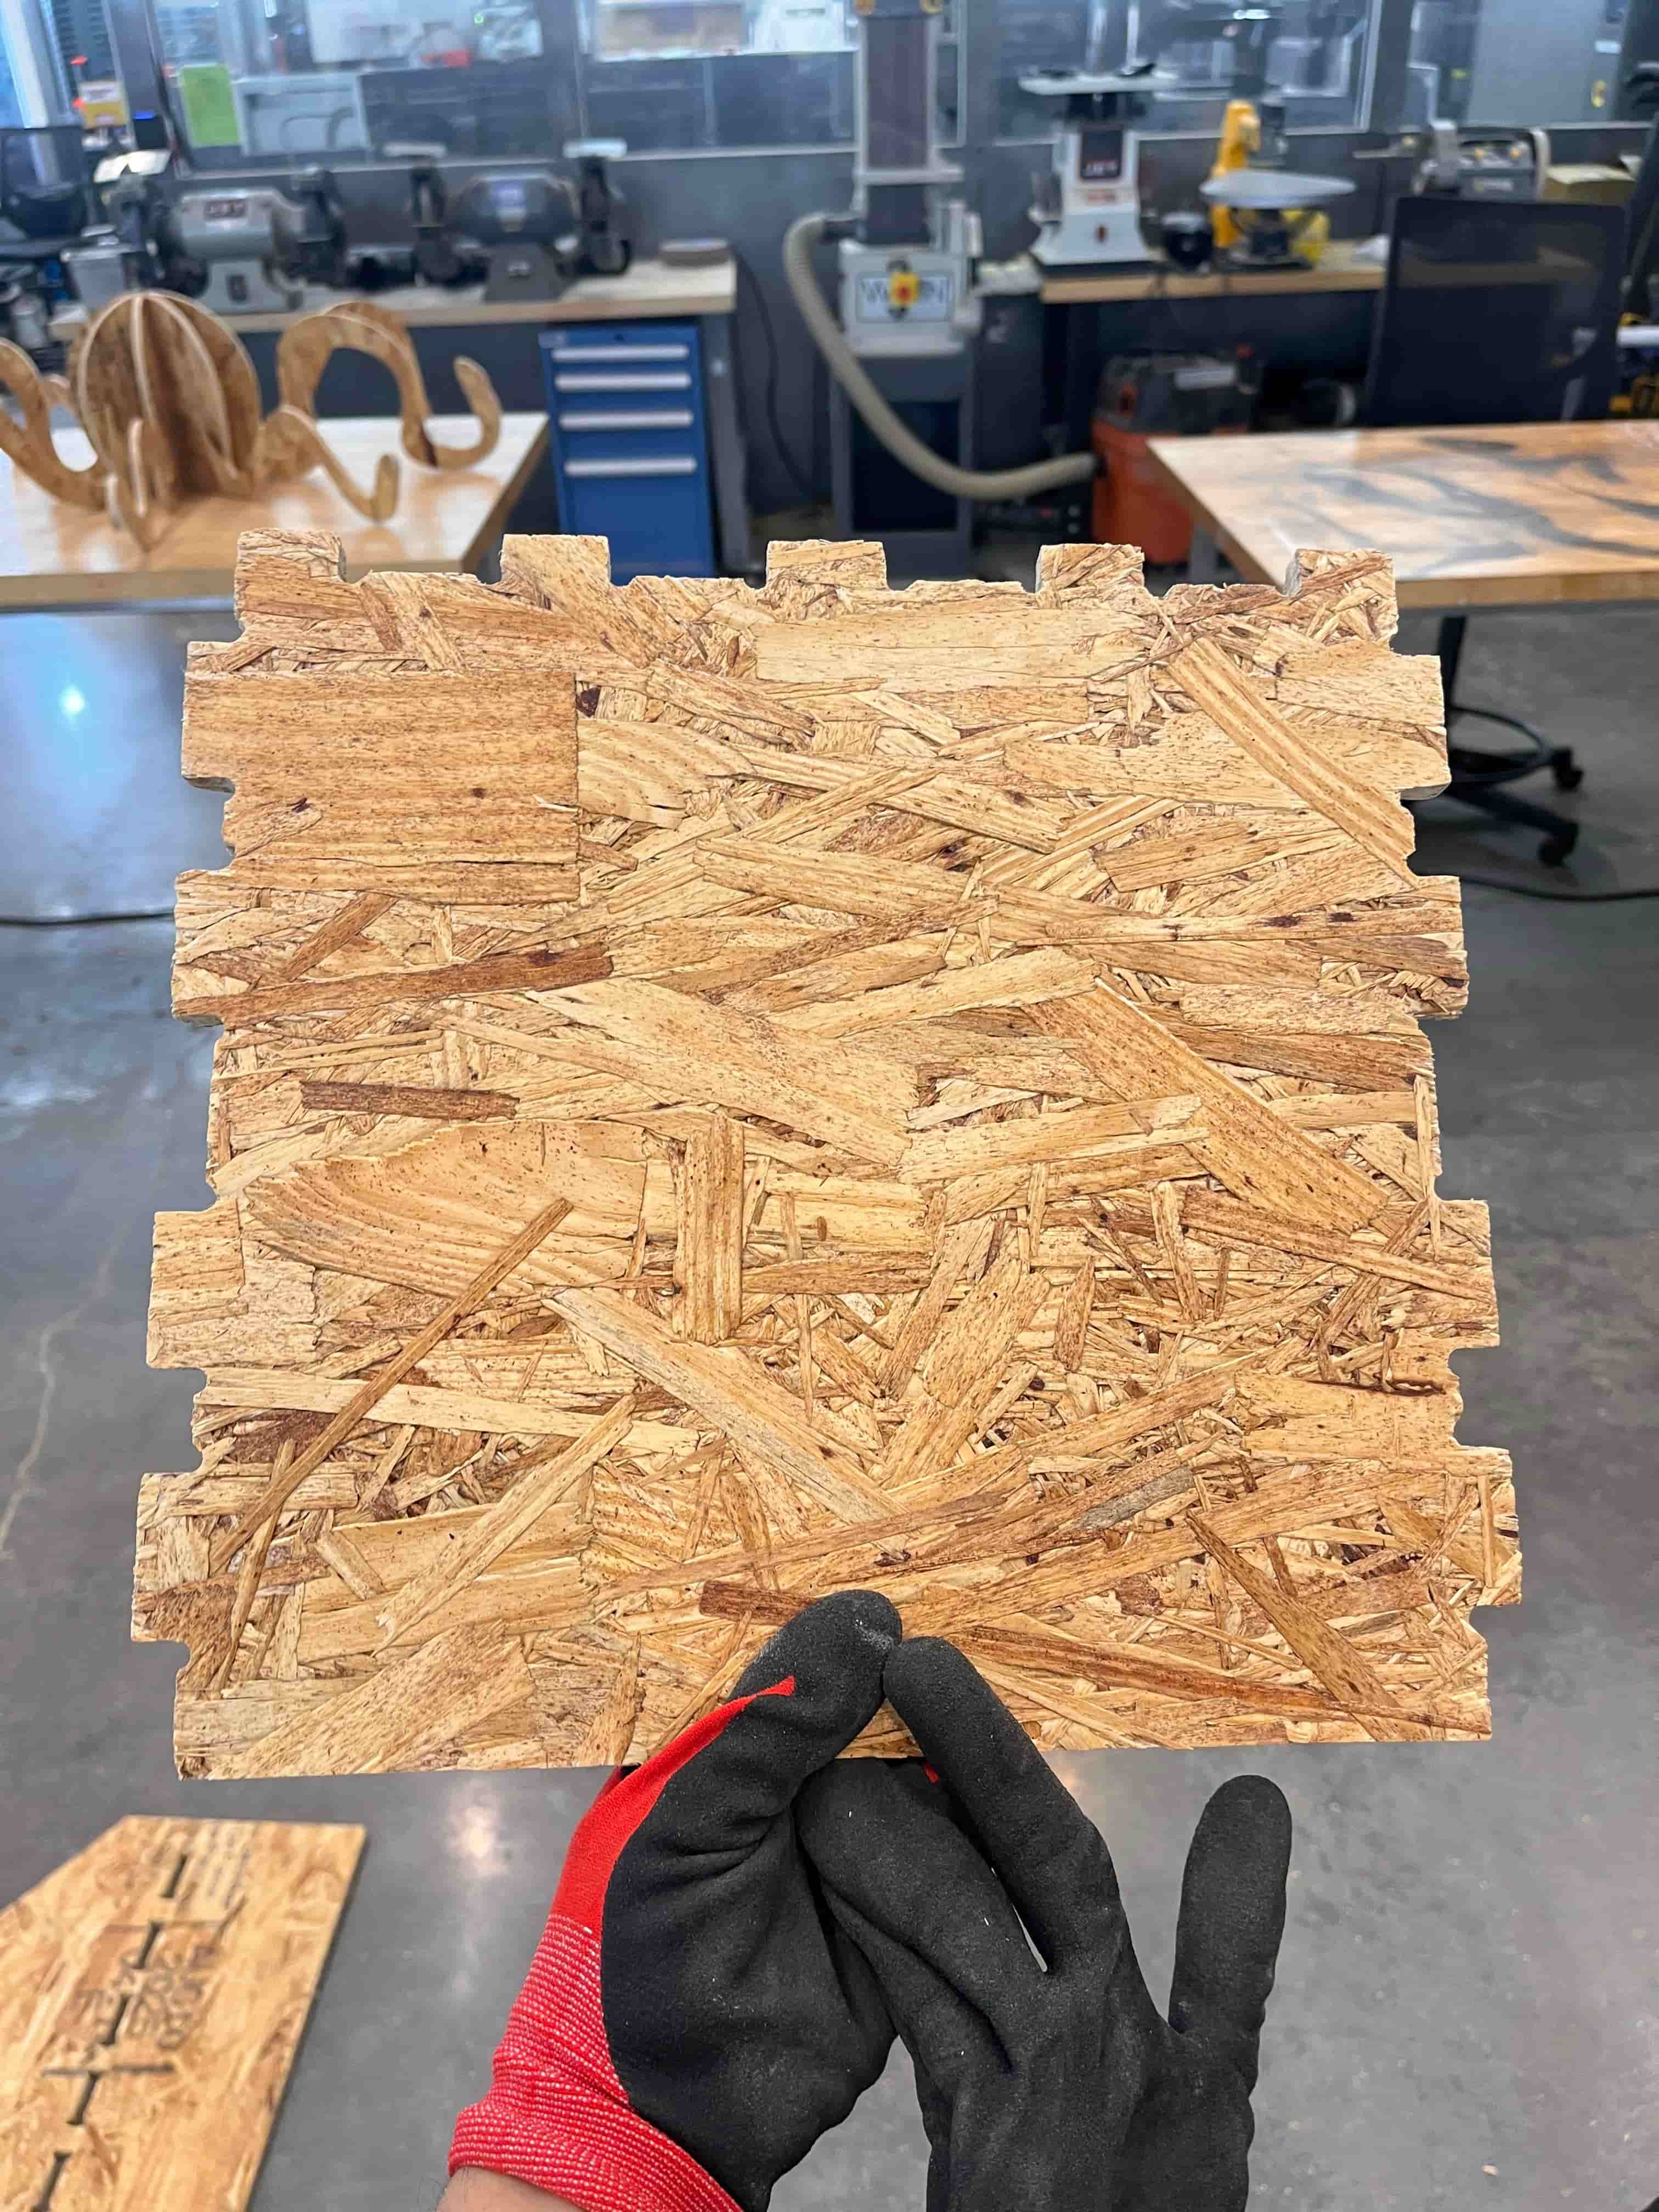
Another side-by-side:
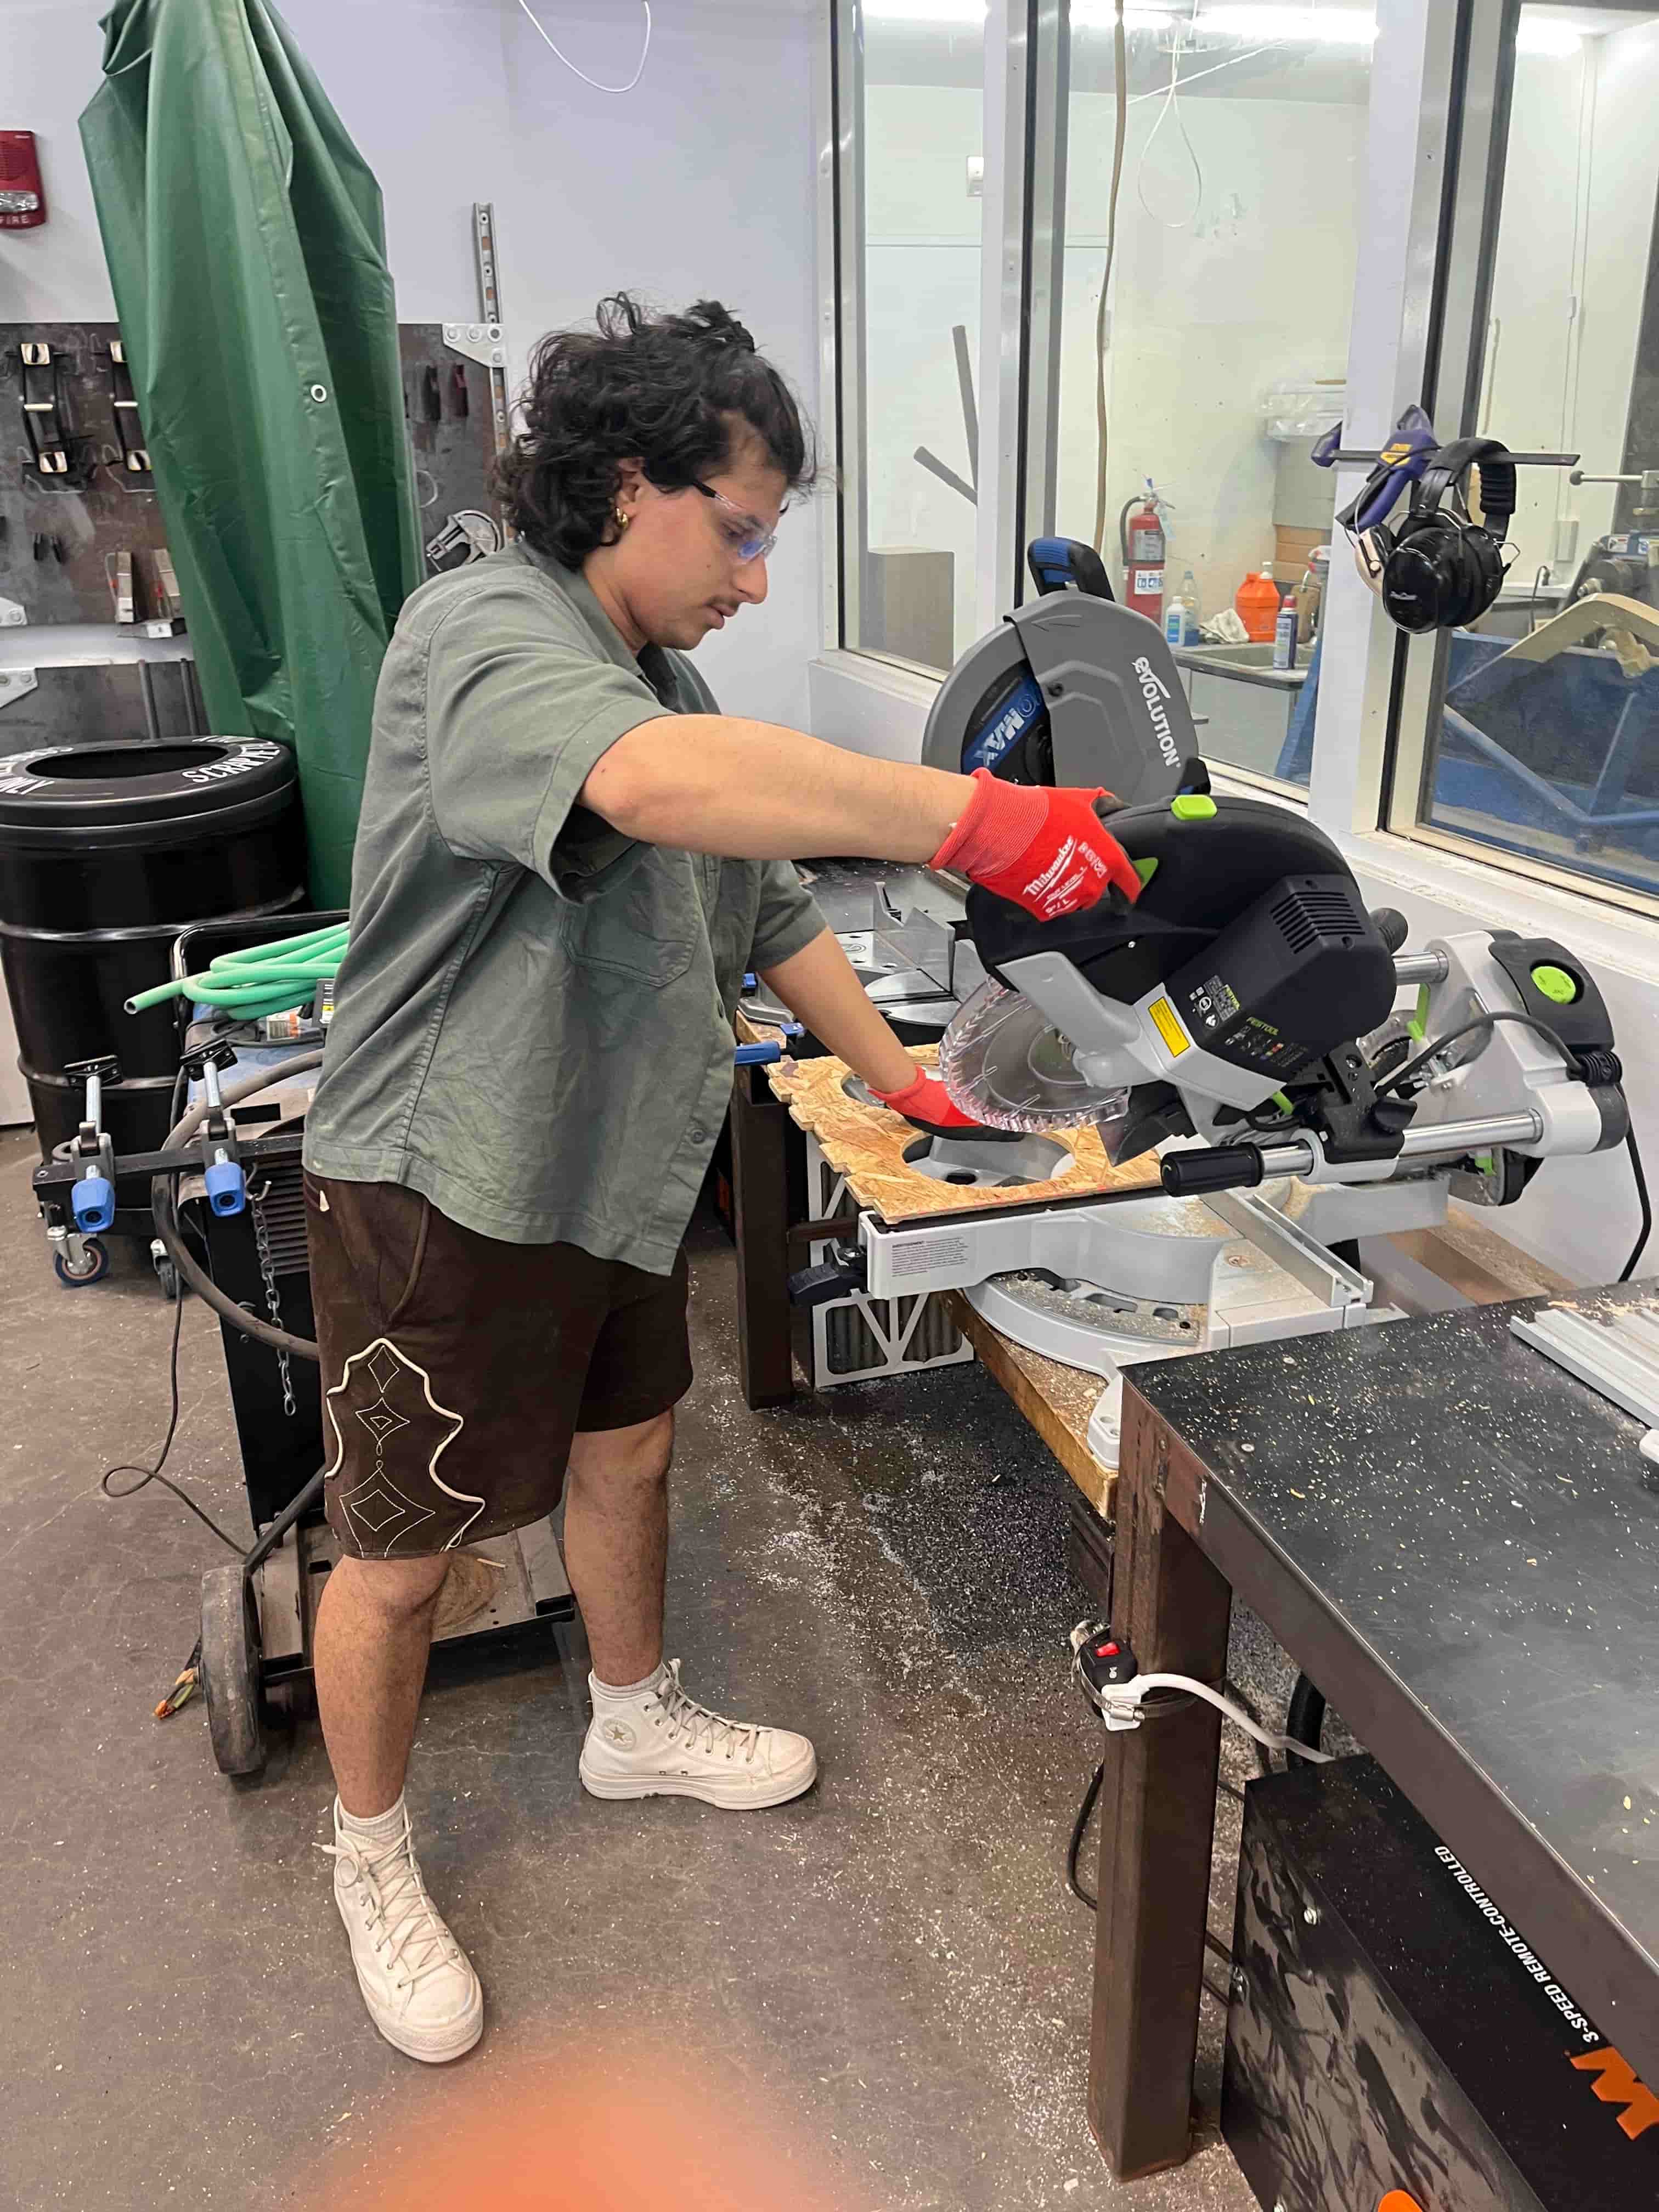
Then it was time to try and fit my pieces together. Unfortunately, I'd miscalculated, and needed to cut a few small angles to make it fit:
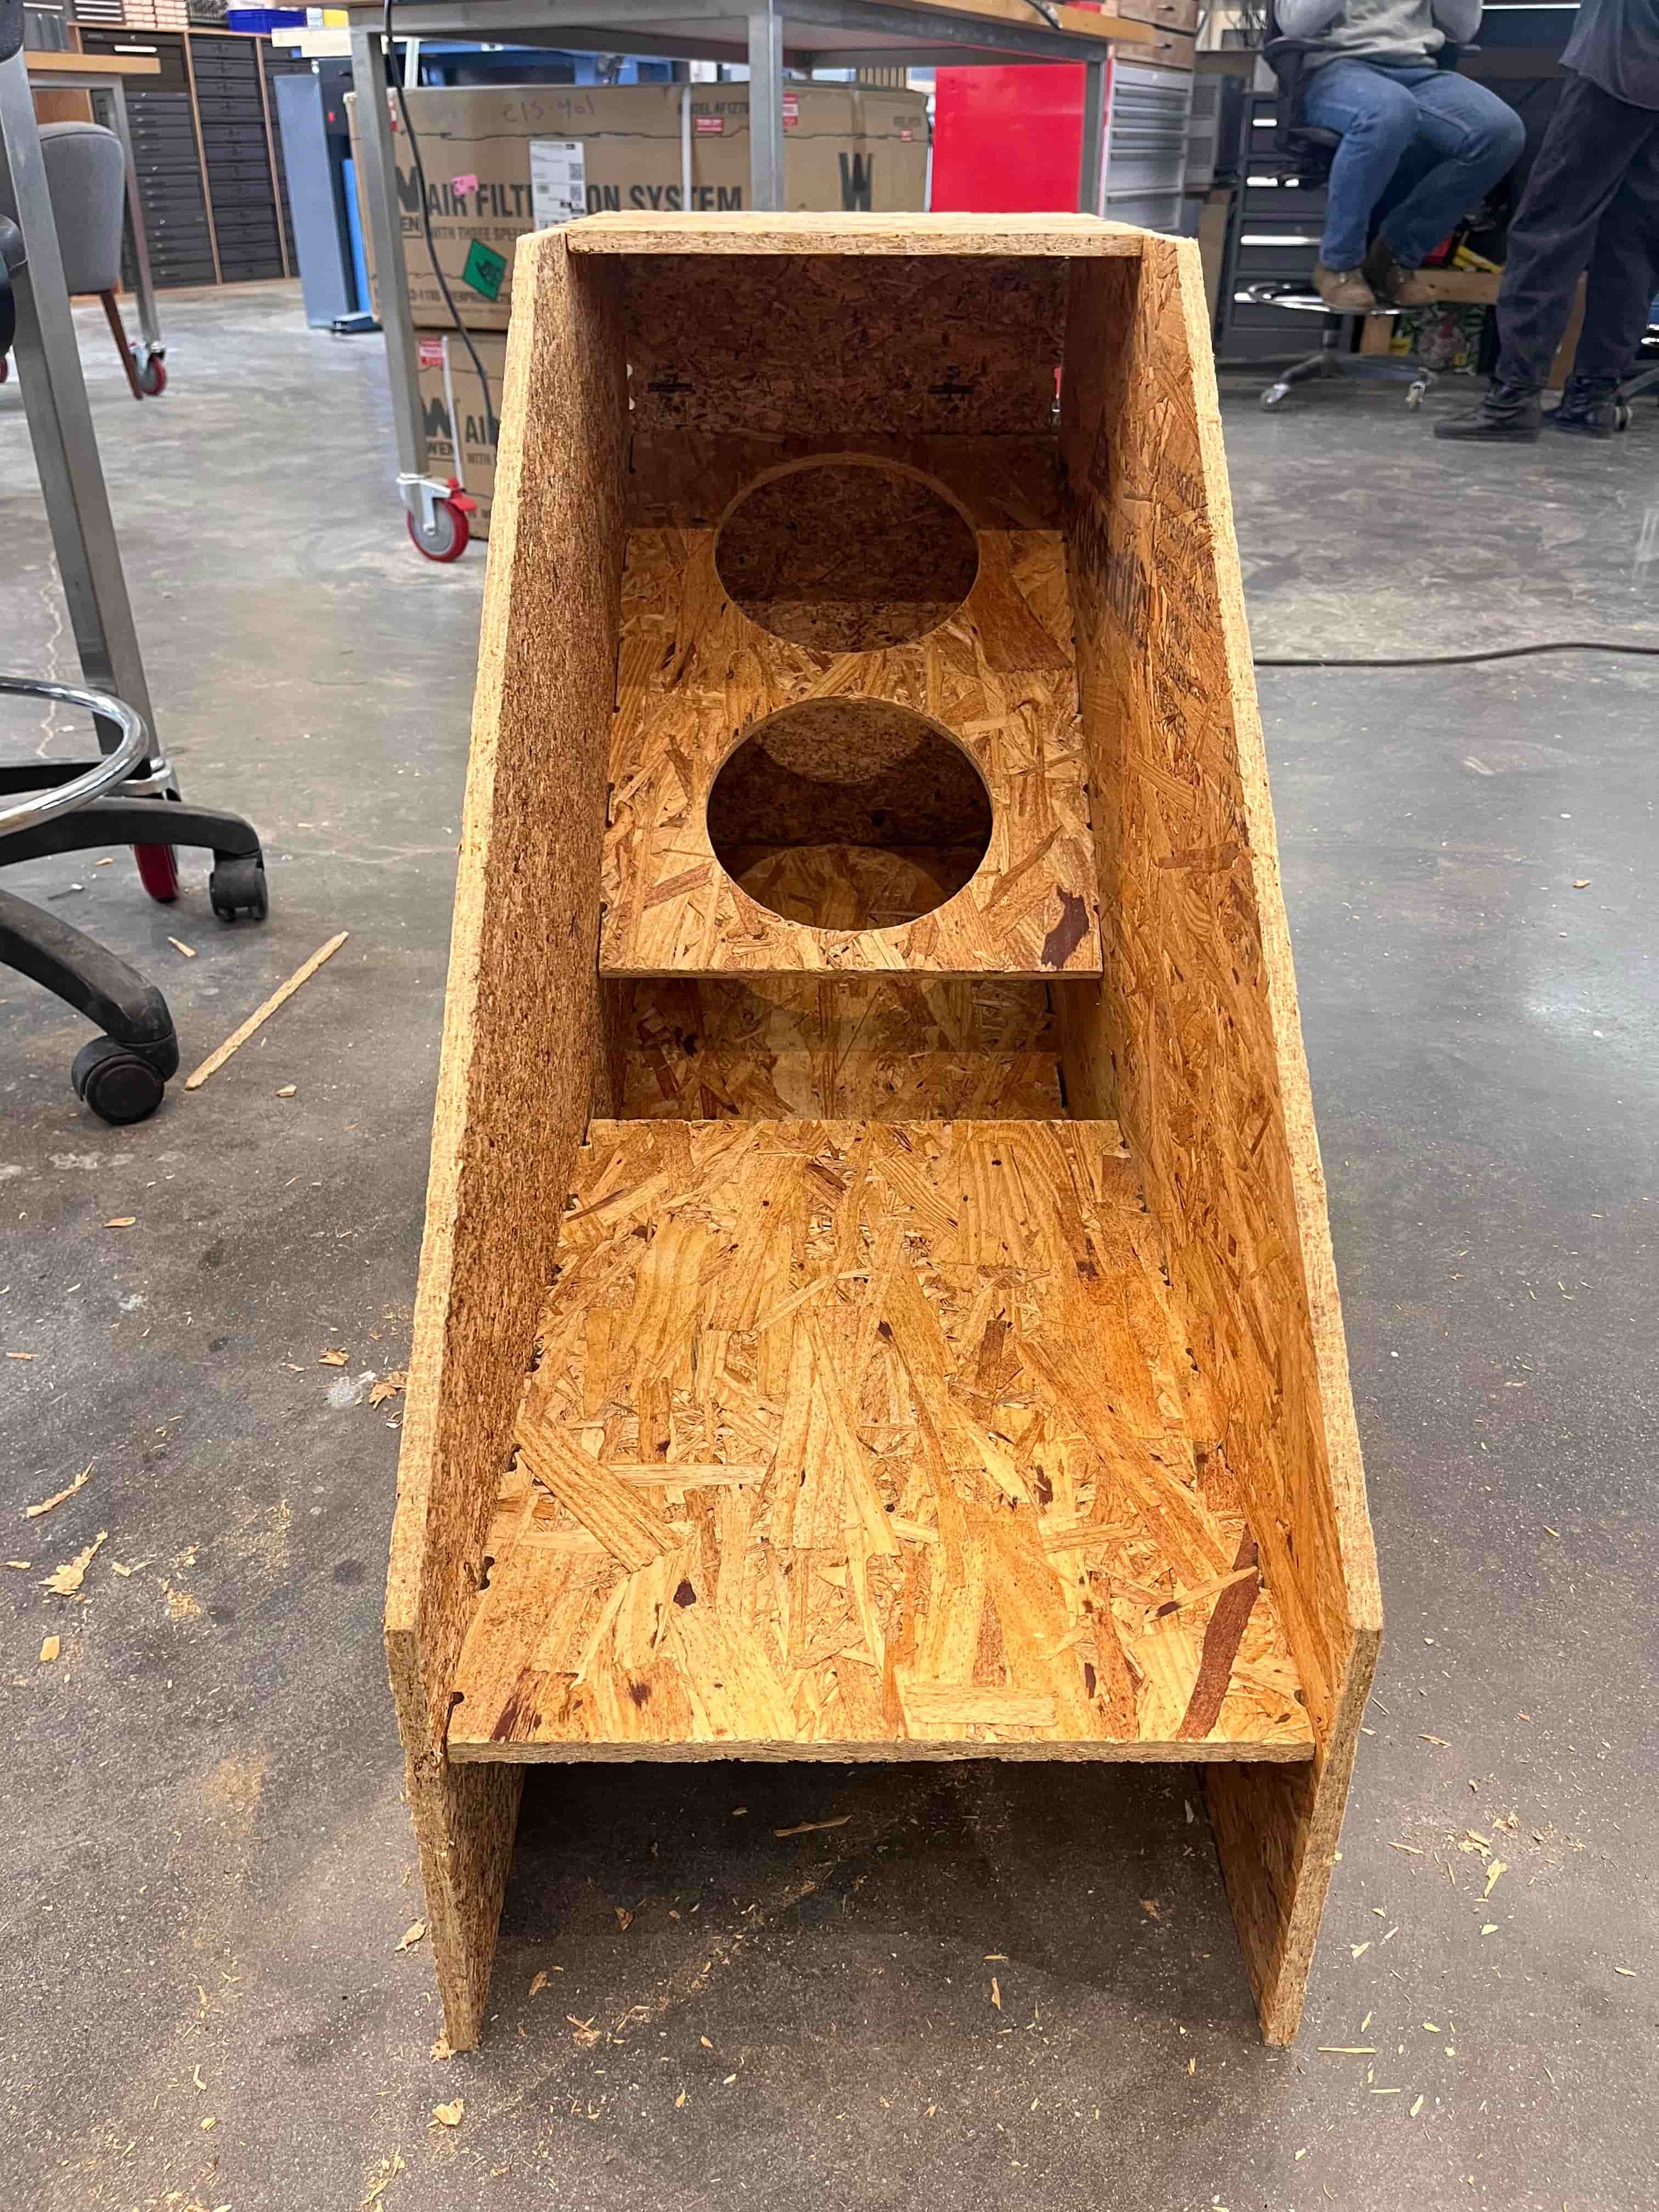
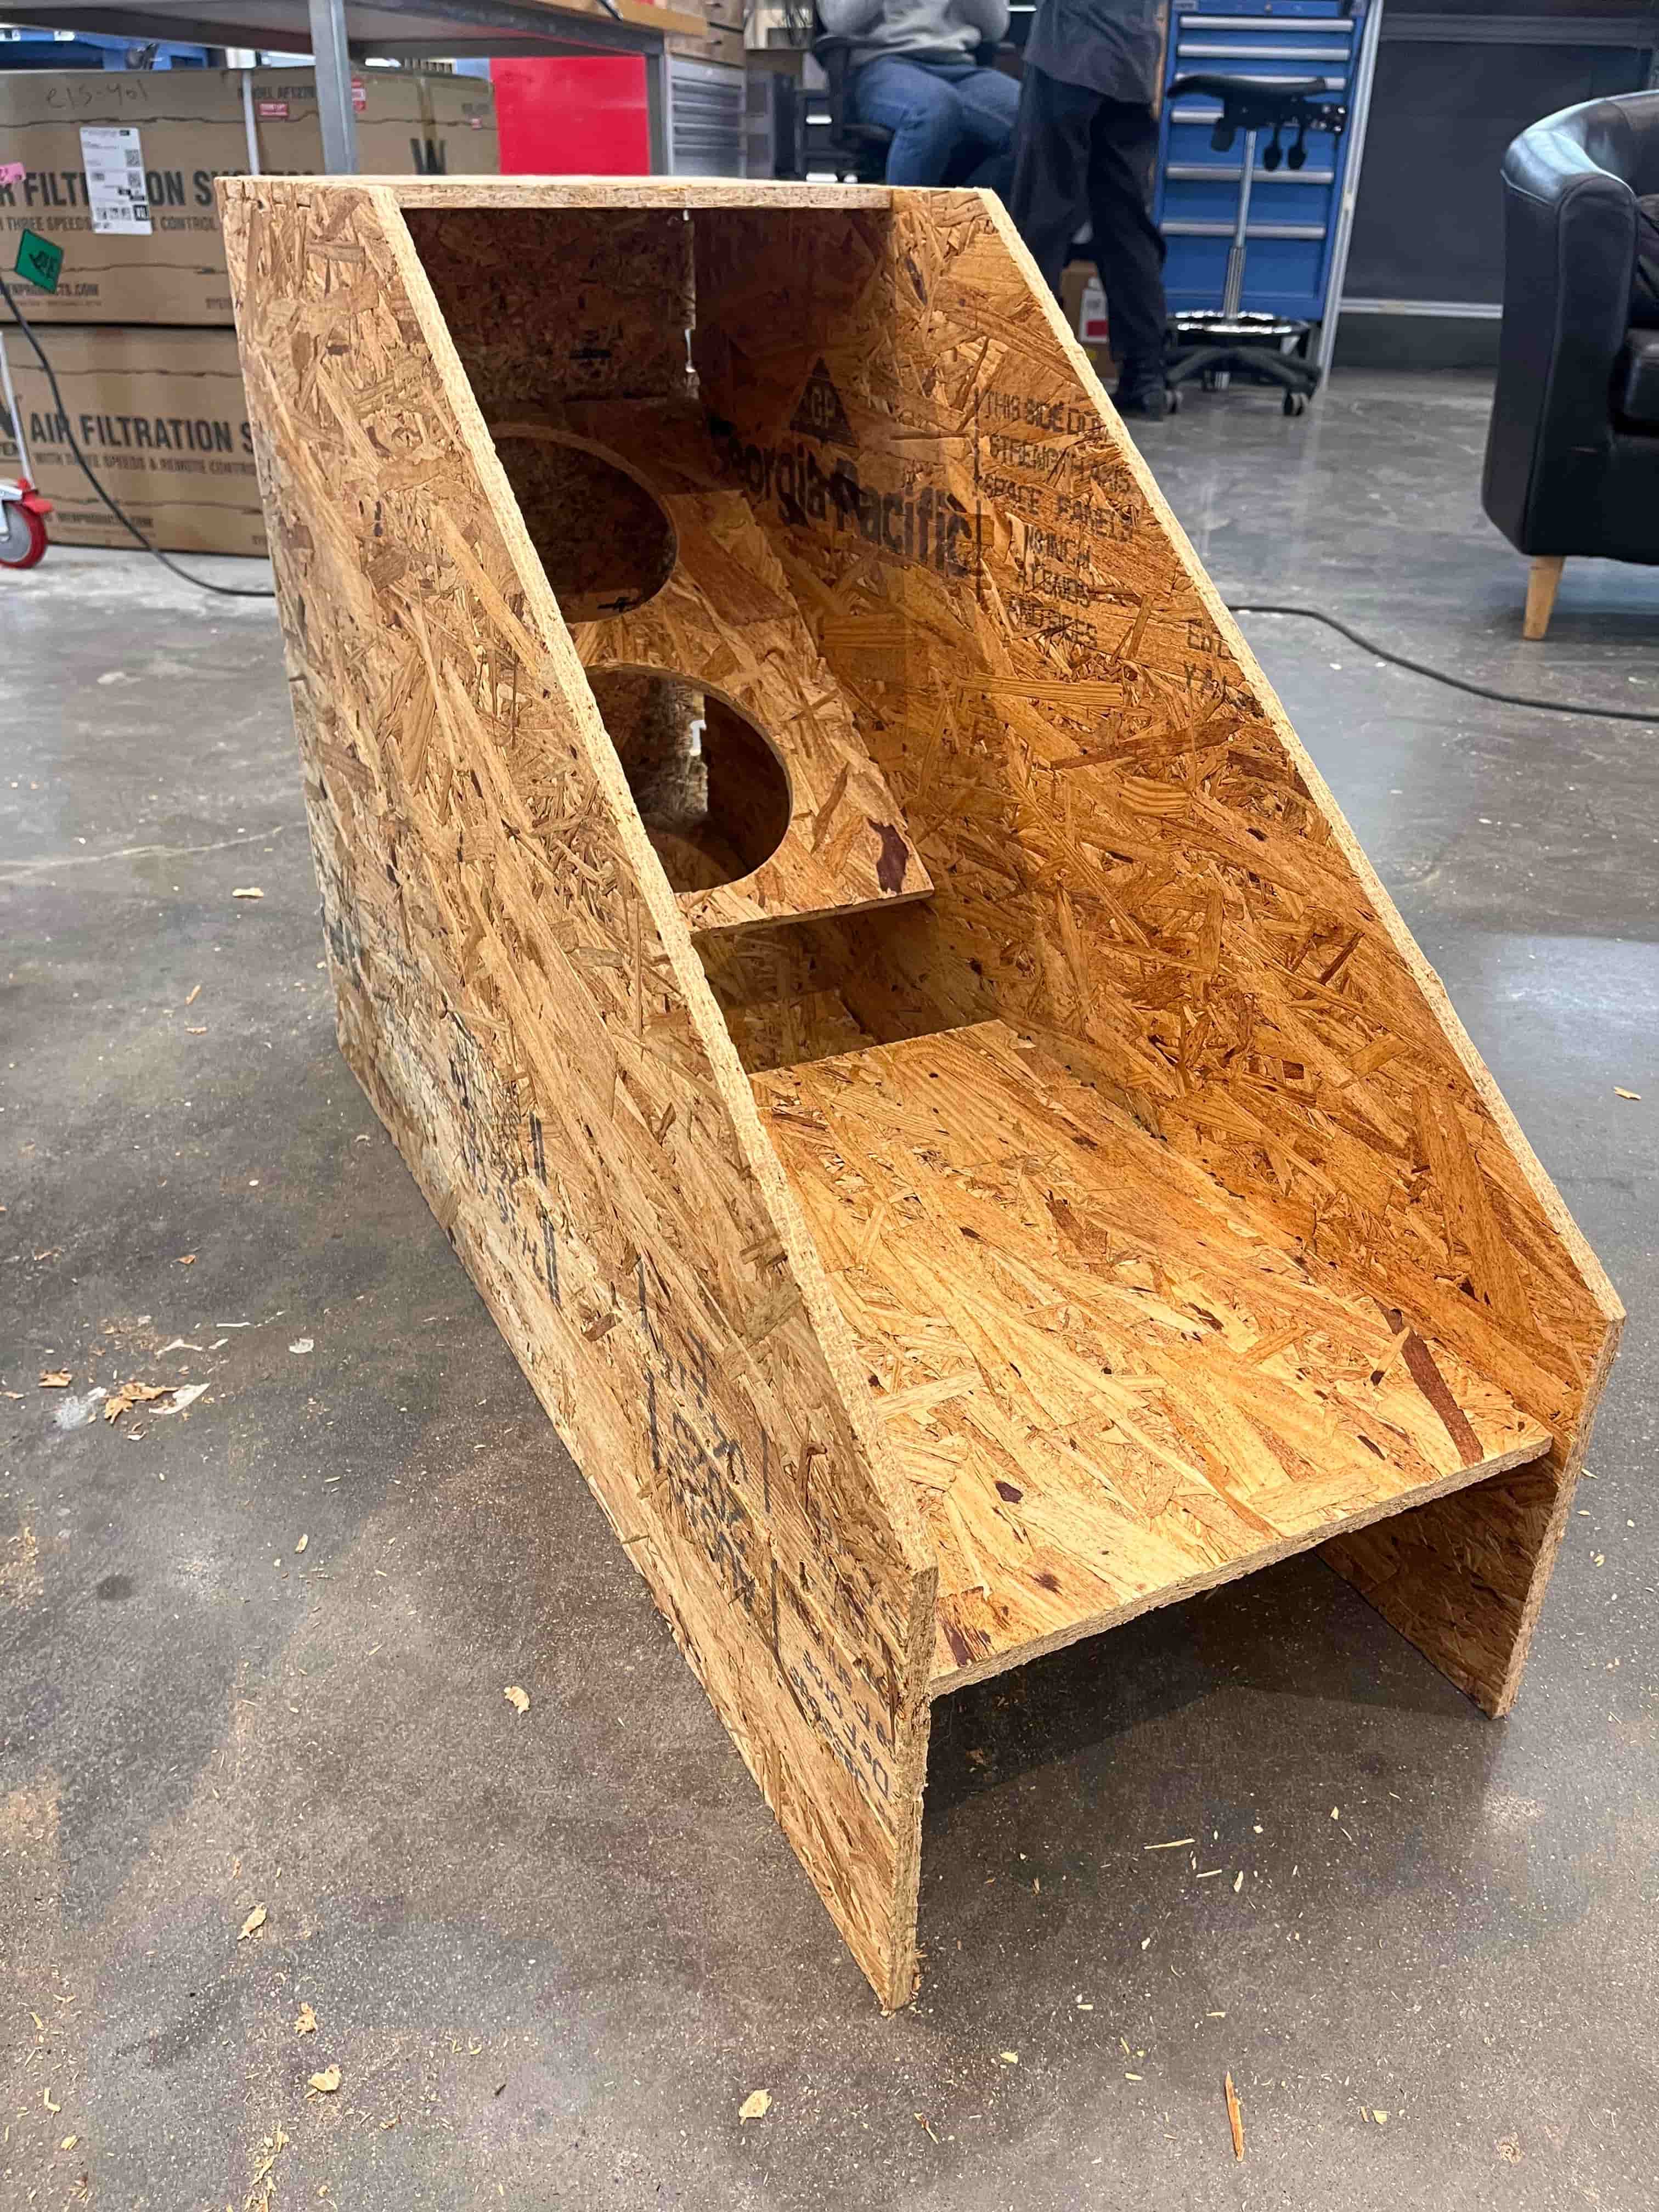
But then – behold! It actually fit together! Thanks to some hammering and a little whittling, the main build structure was ready.
Here are a couple pictures, and an interlude of ~cool guy Dan~ testing it out:
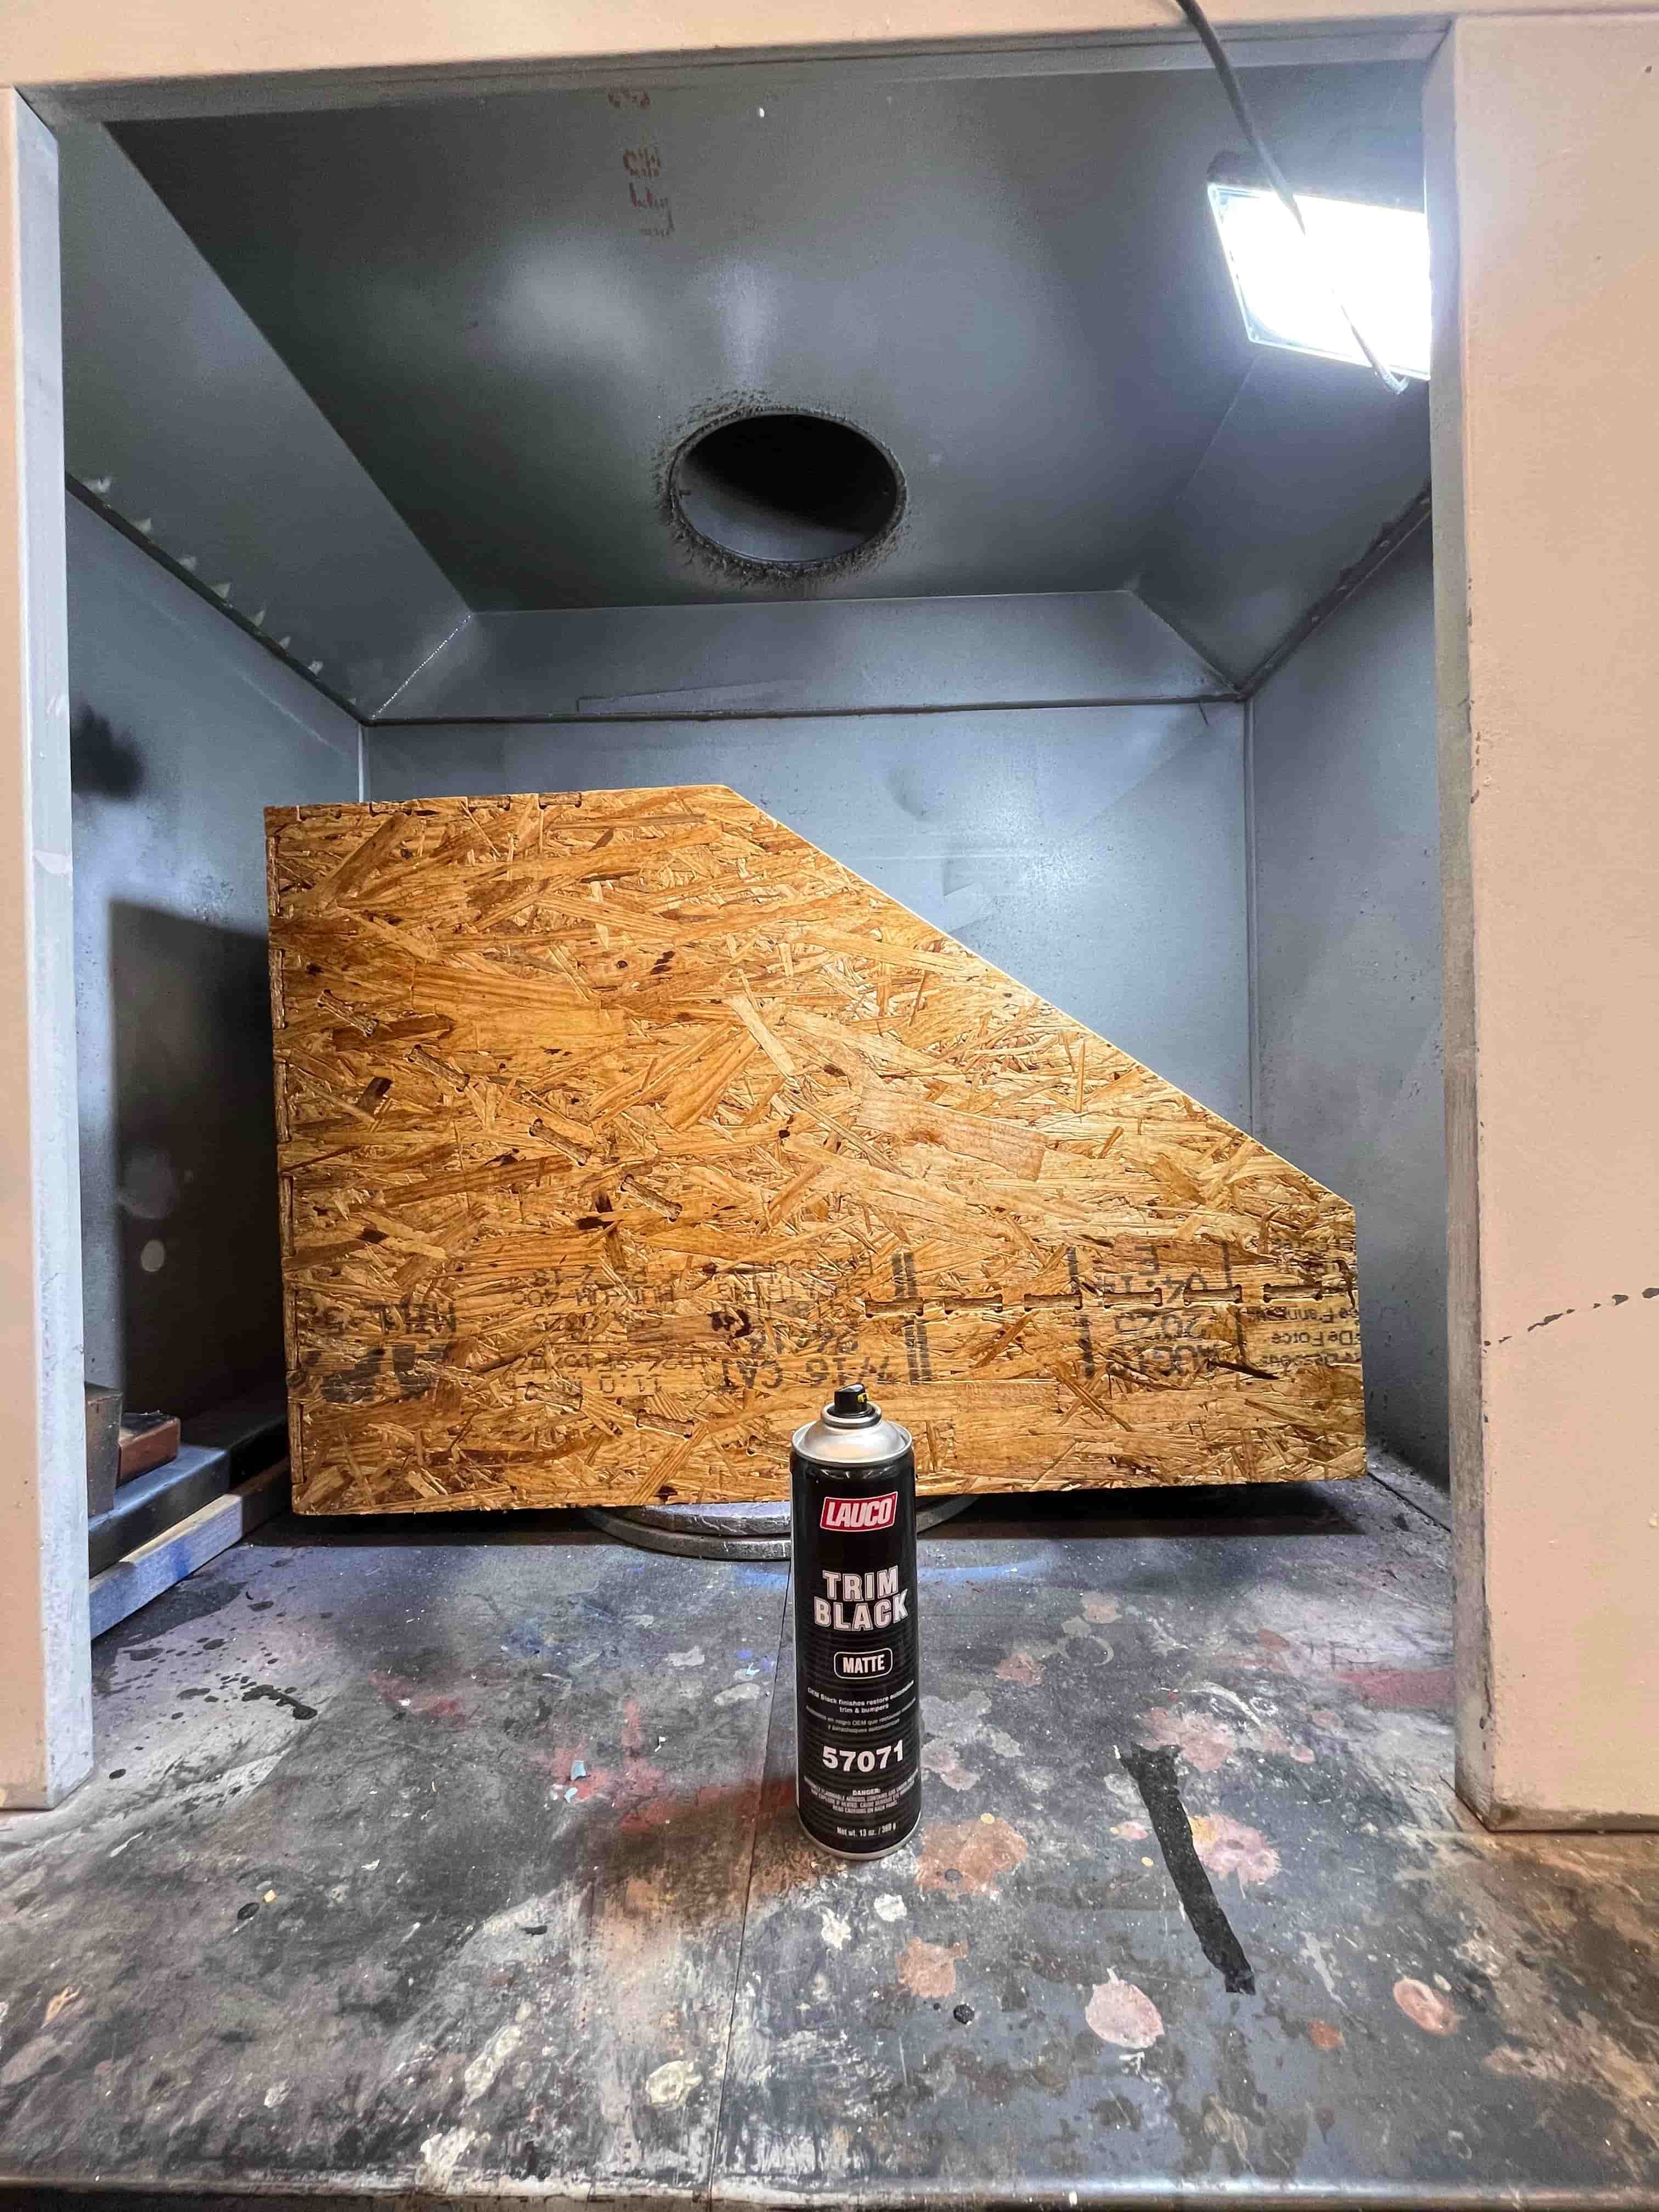
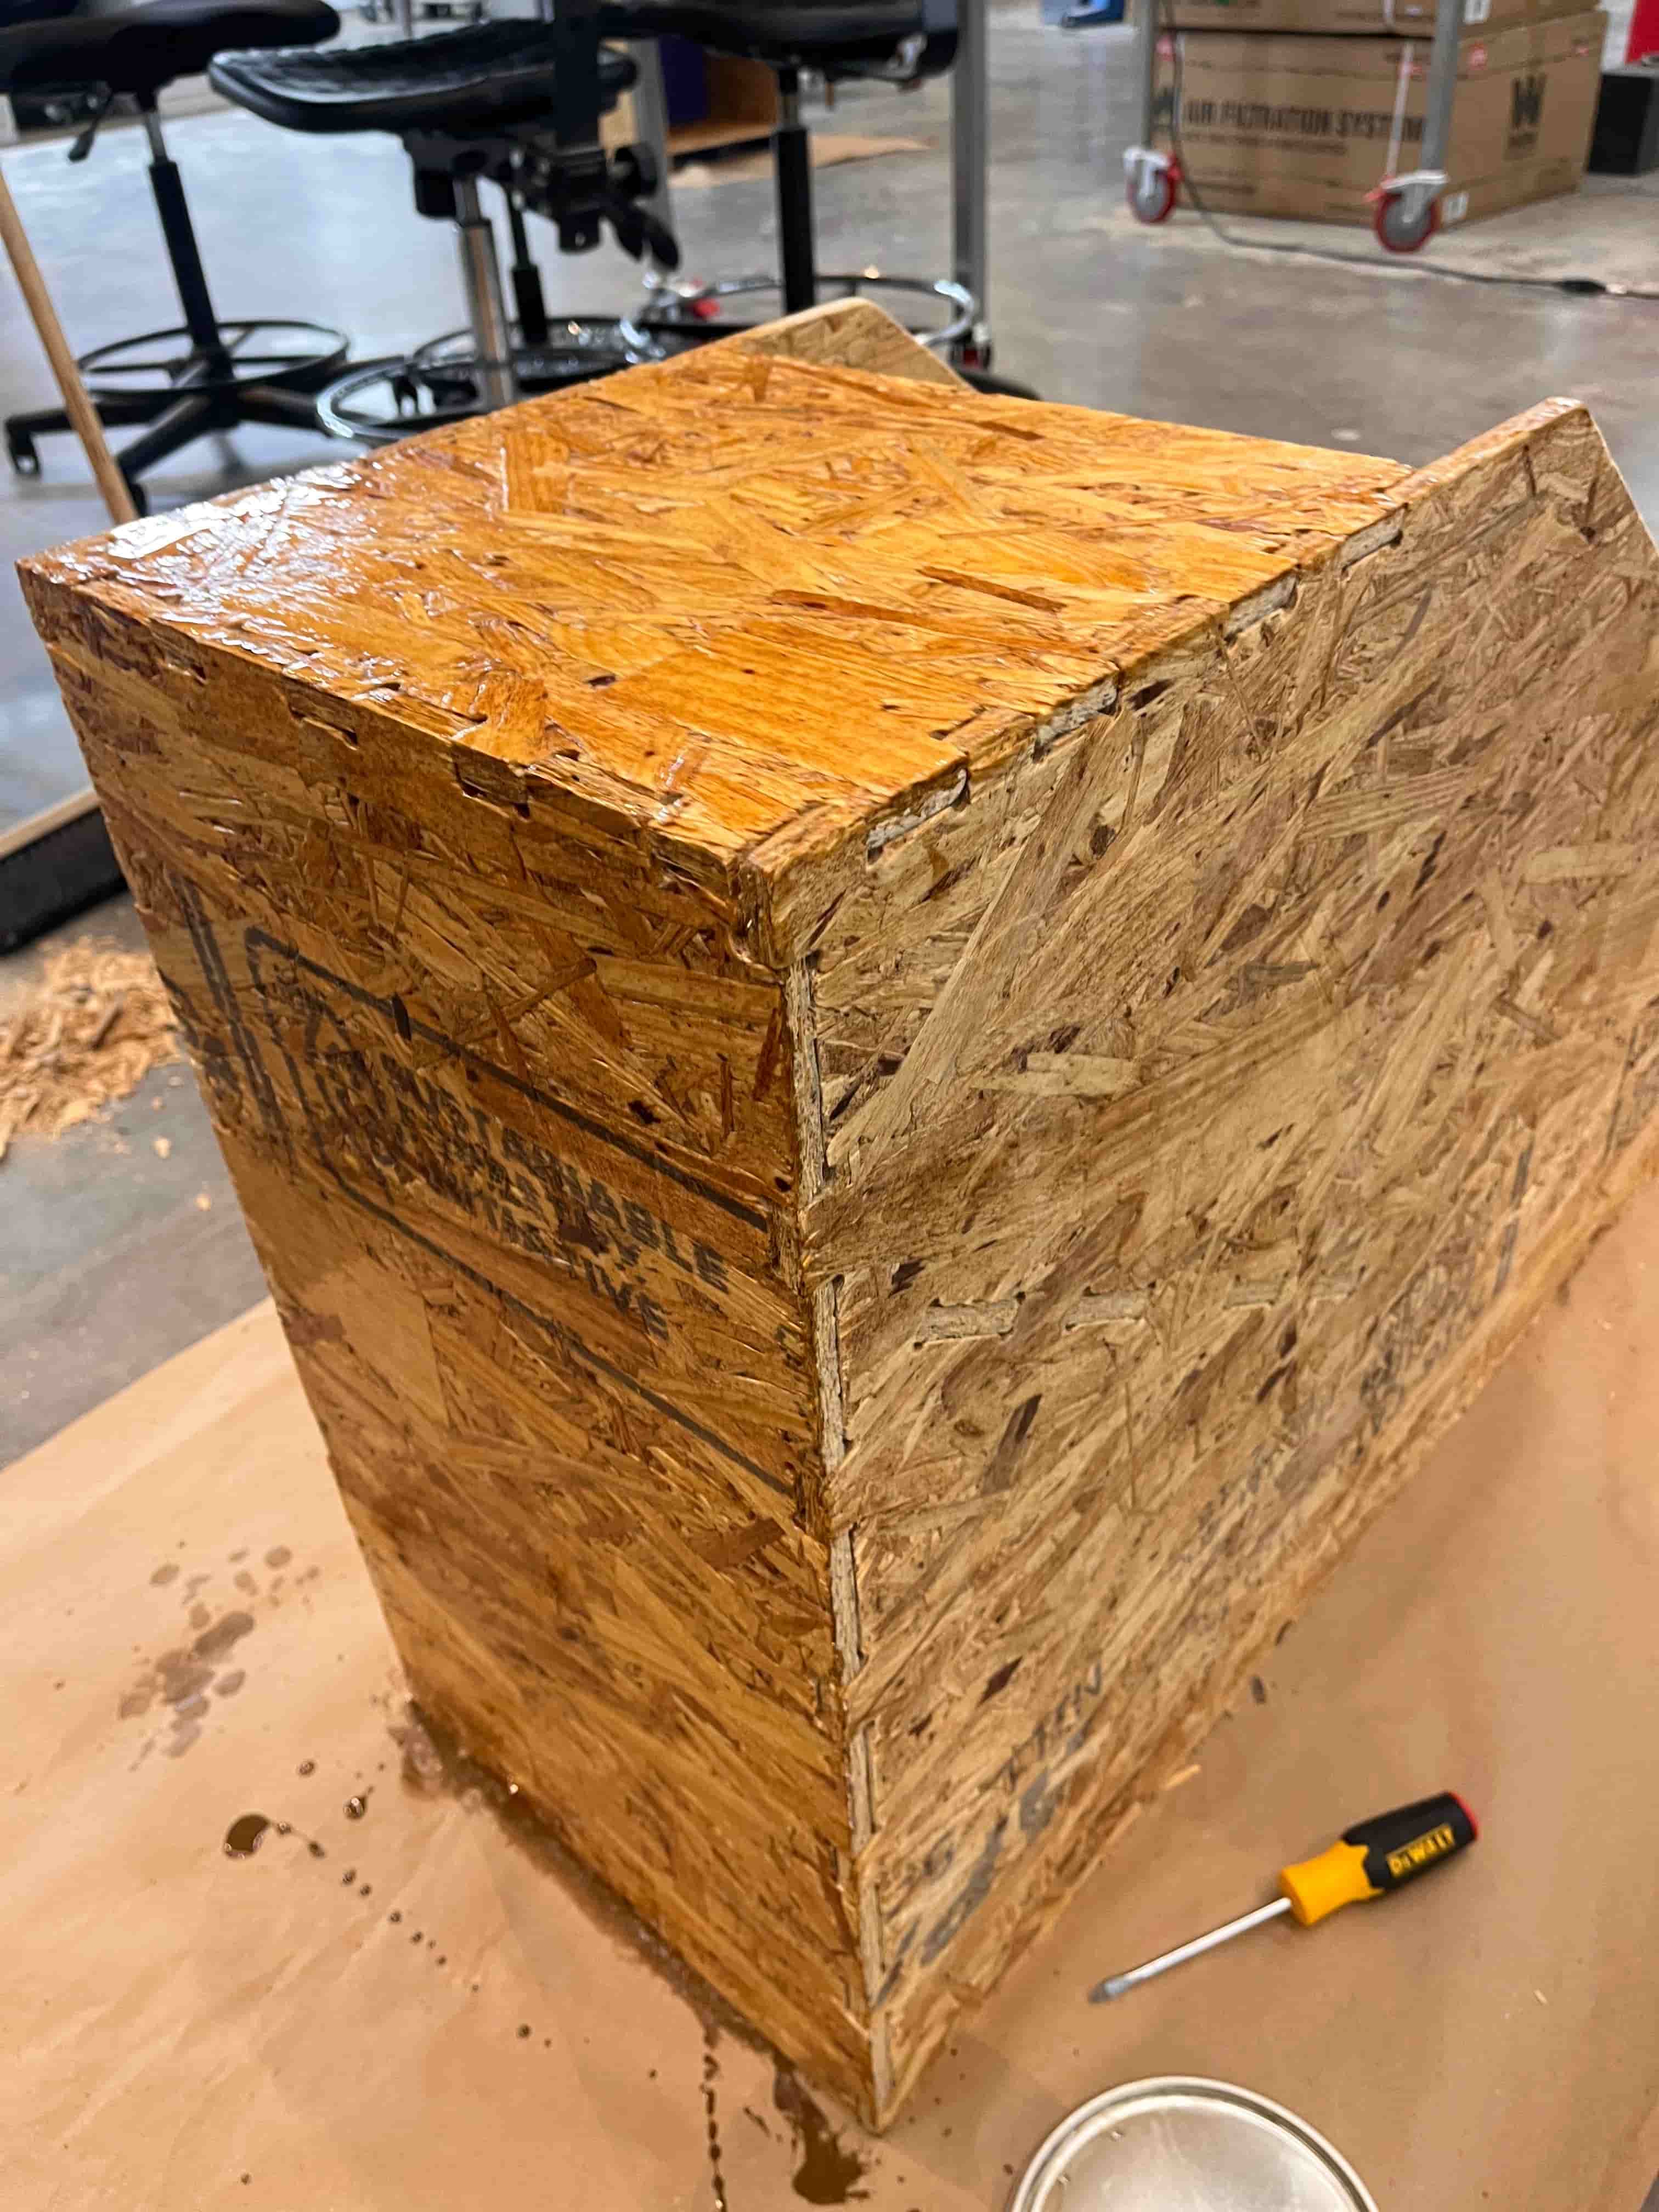
Last but not least, I added a couple coats of polyurethane to seal it, and spray painted it black.
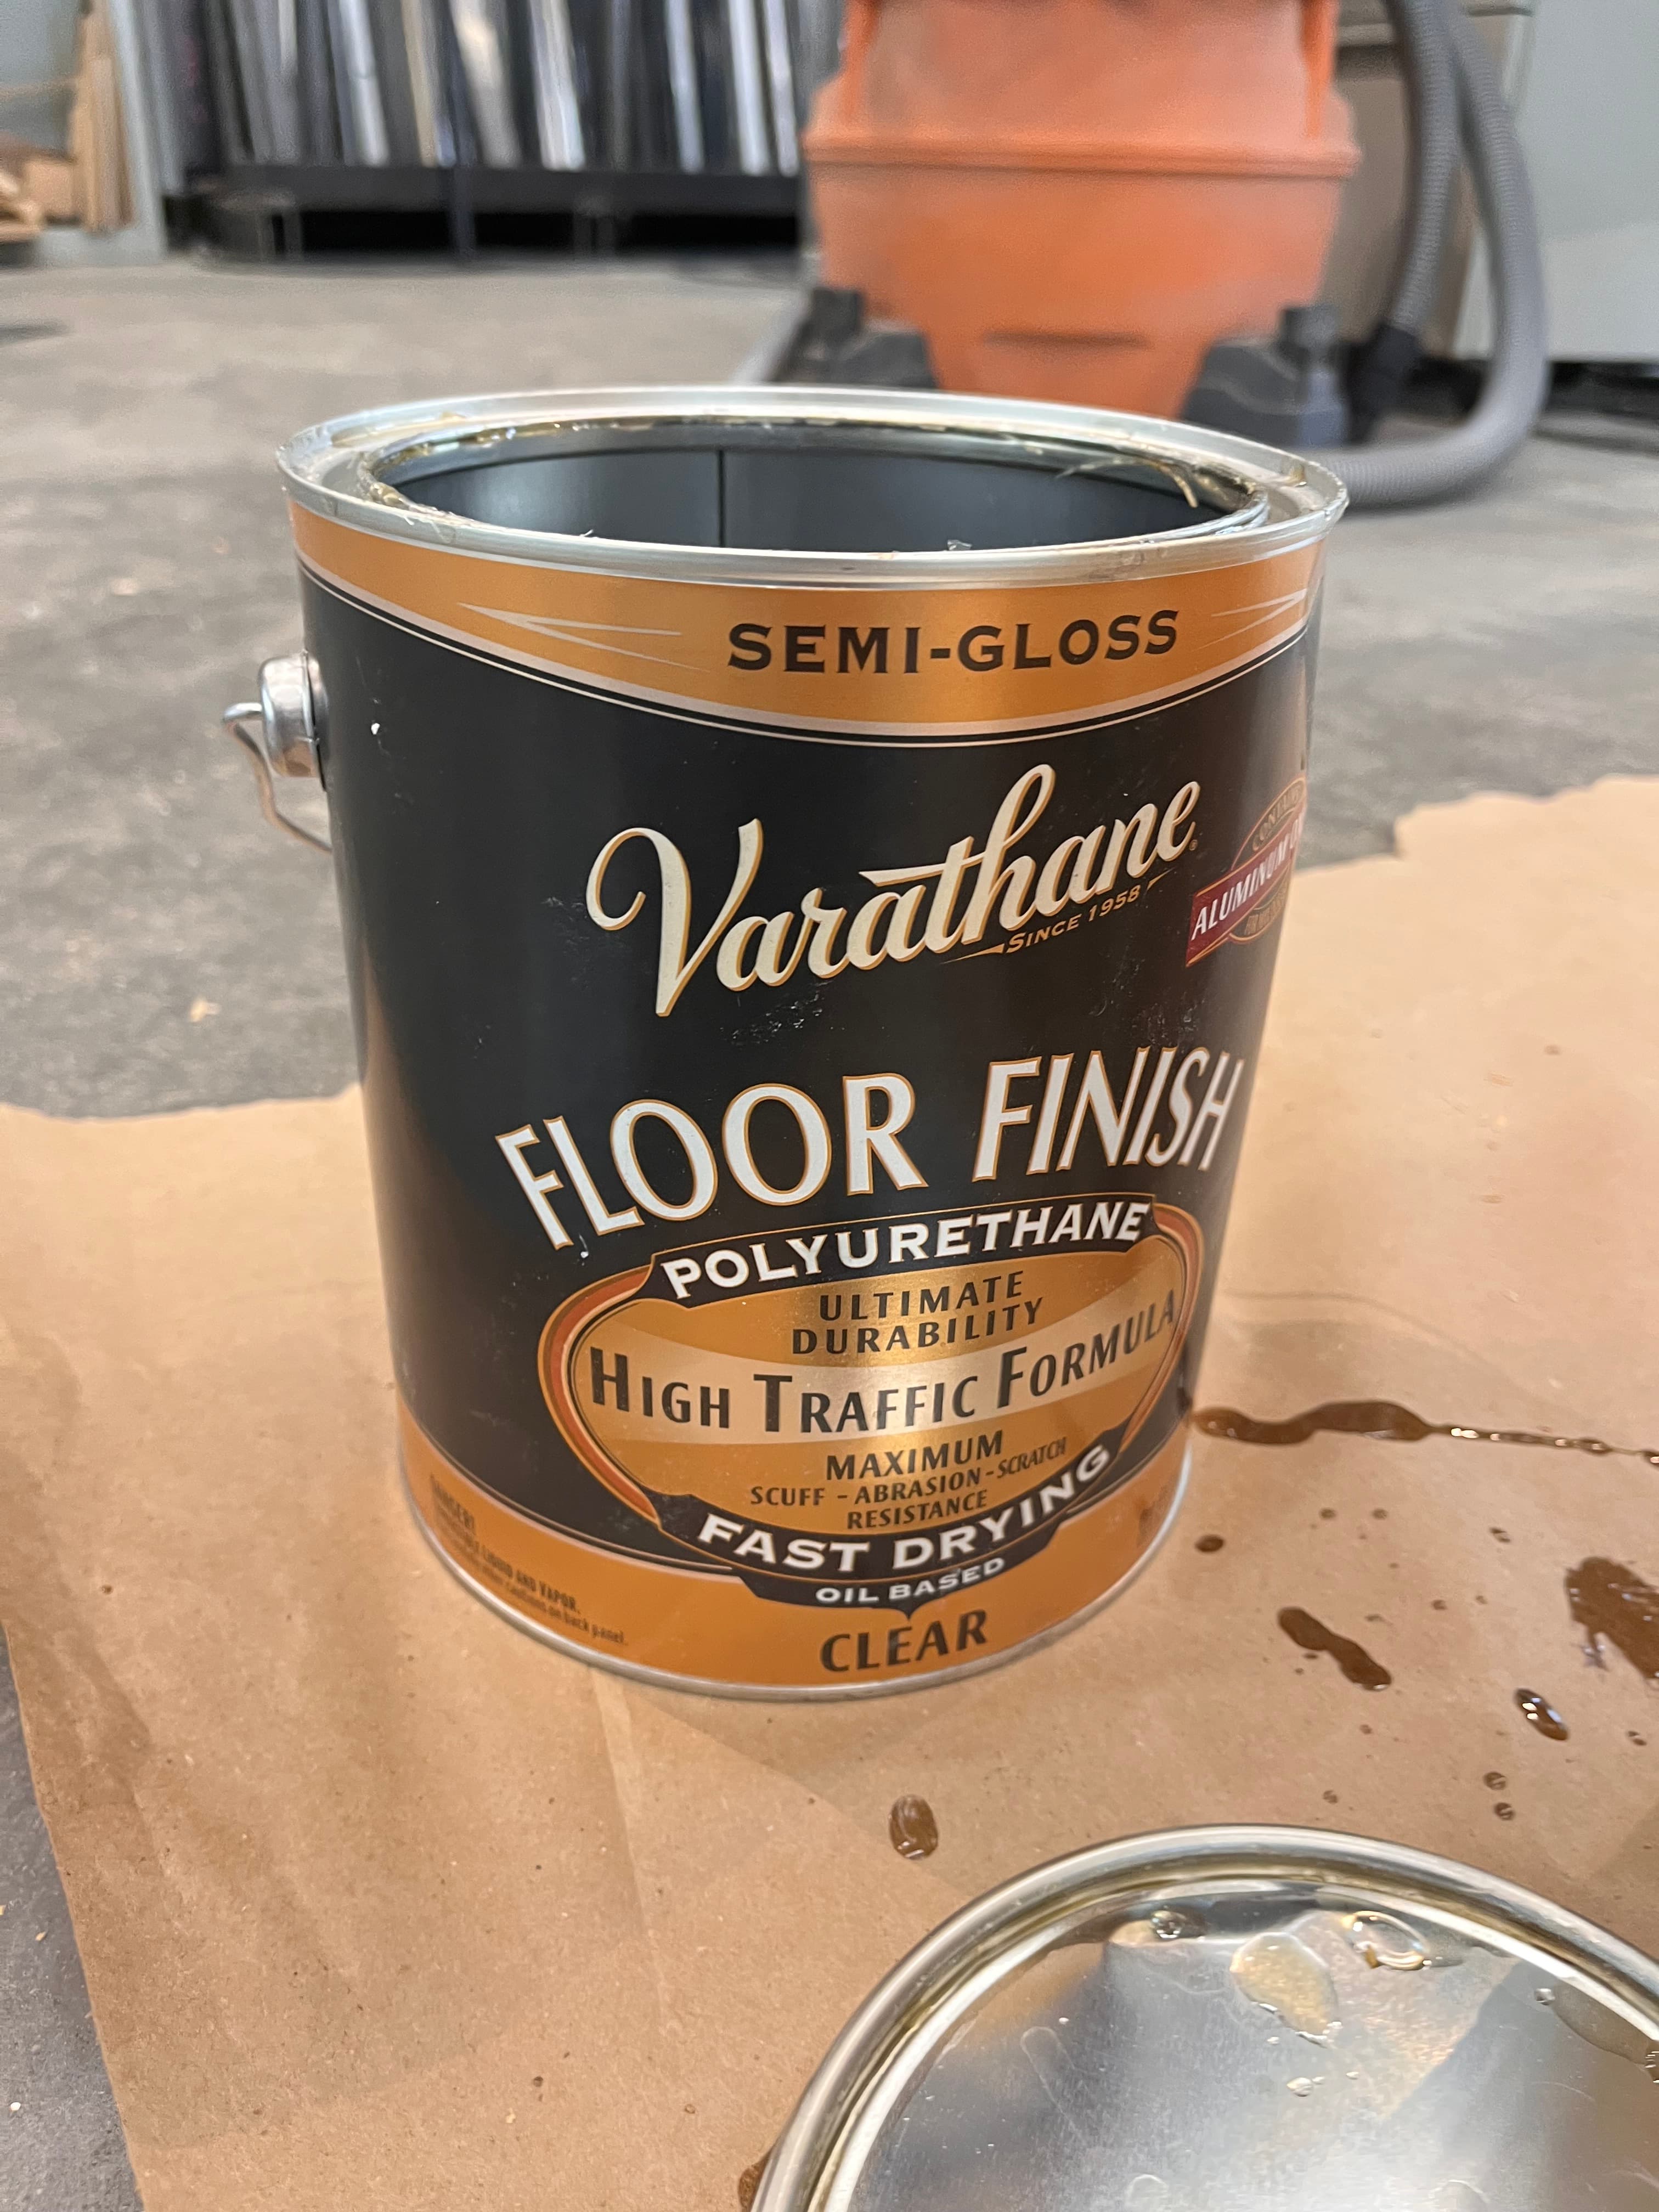
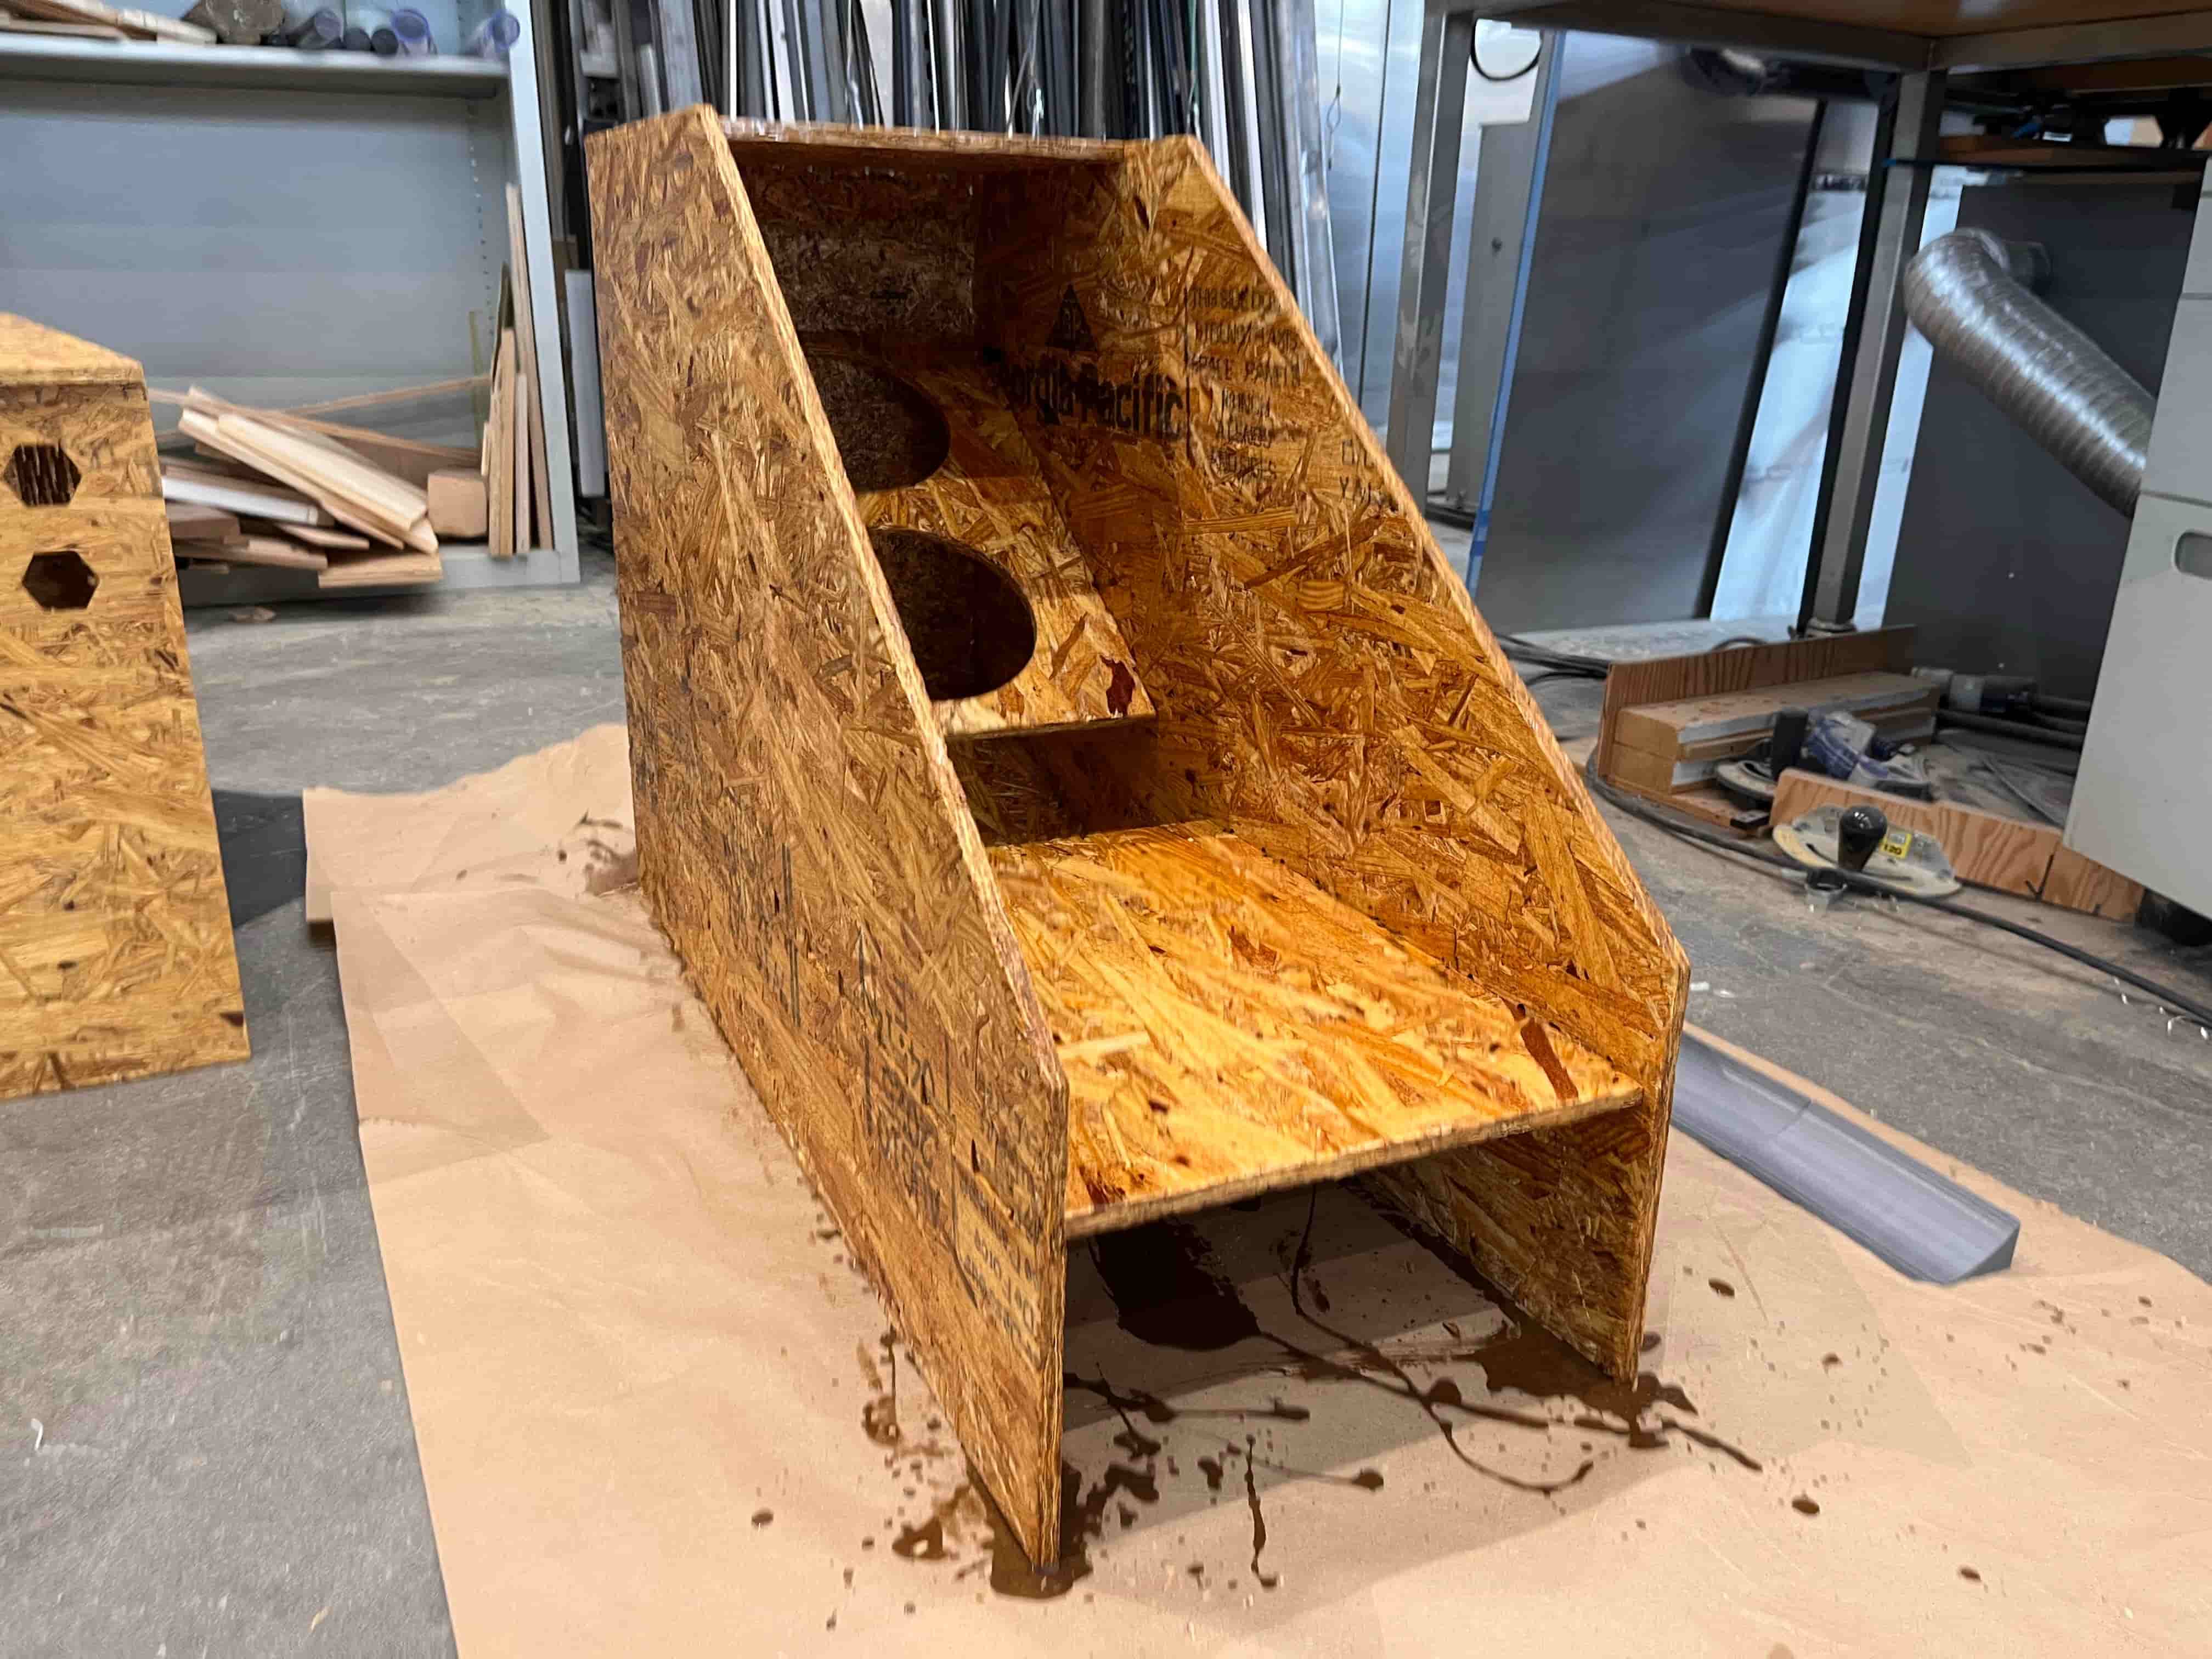
You can see the comparison with and without the polyurethane on the left and right of this image:
3D Printing
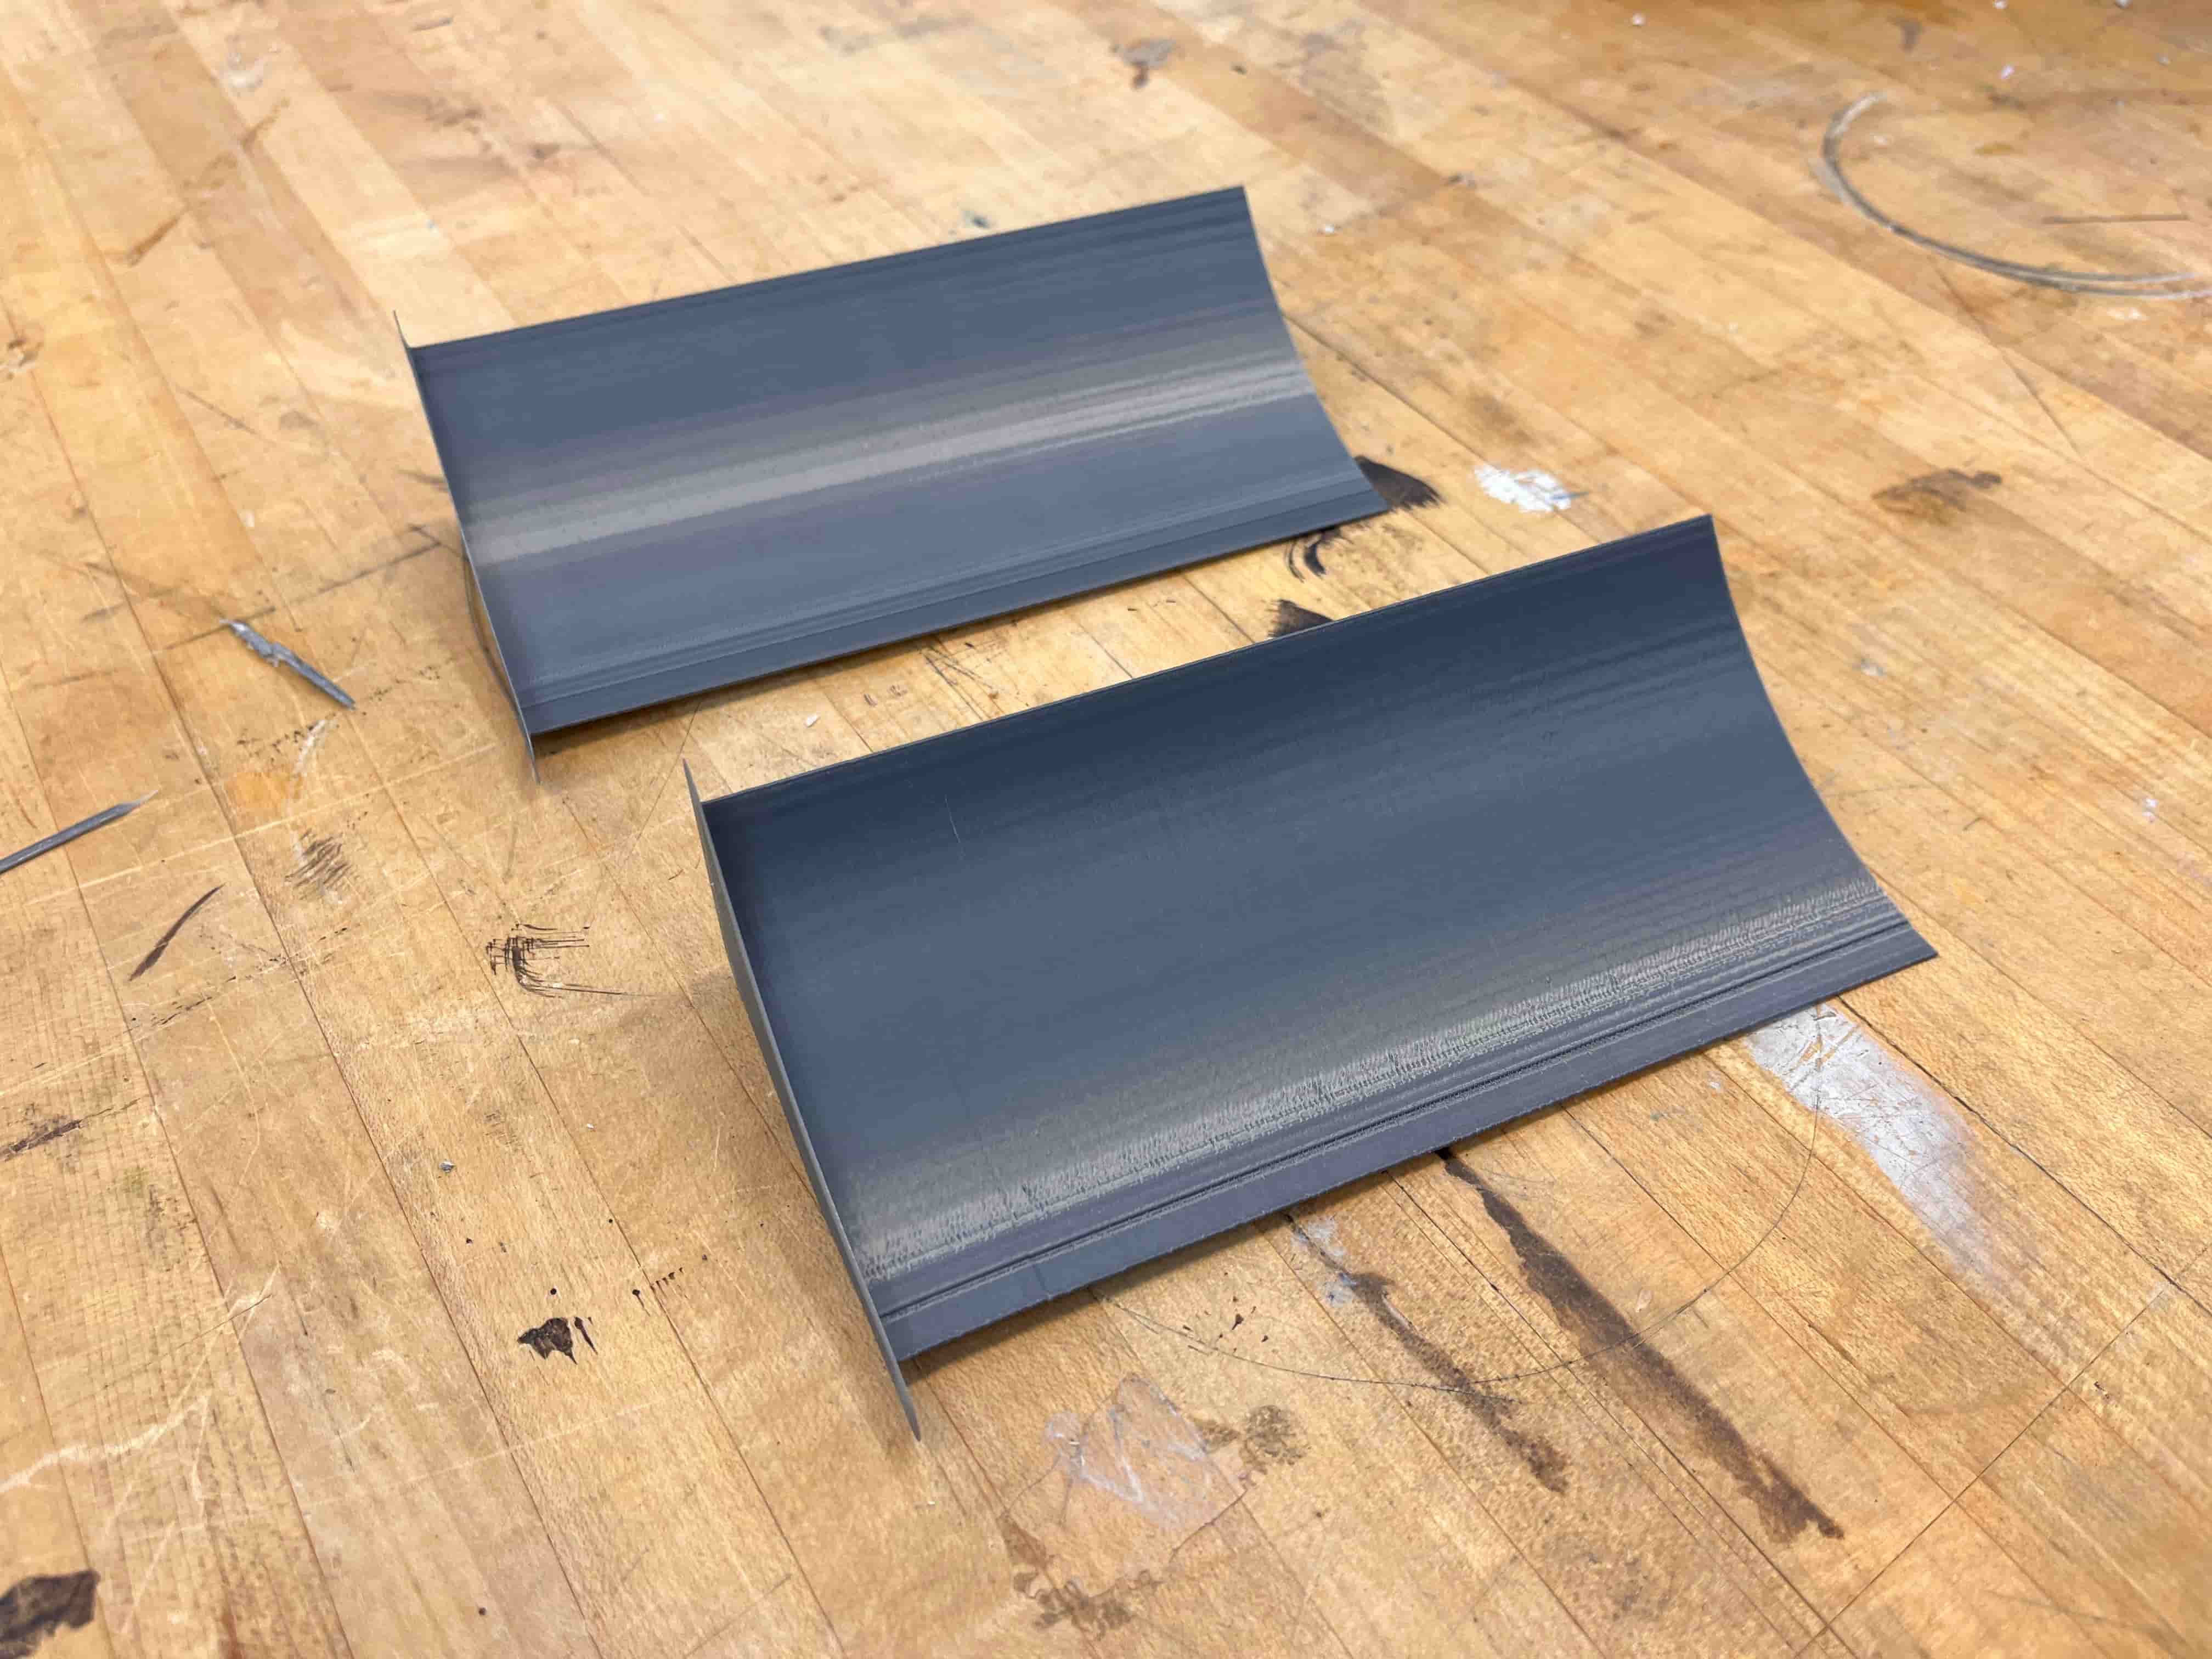
While the build looks really nice, the ShopBot wasn't going to work for the ramp portion of my Skee Ball build. So I decided to 3D print it, and just exported the ramp model from my Fusion file into Prusa.

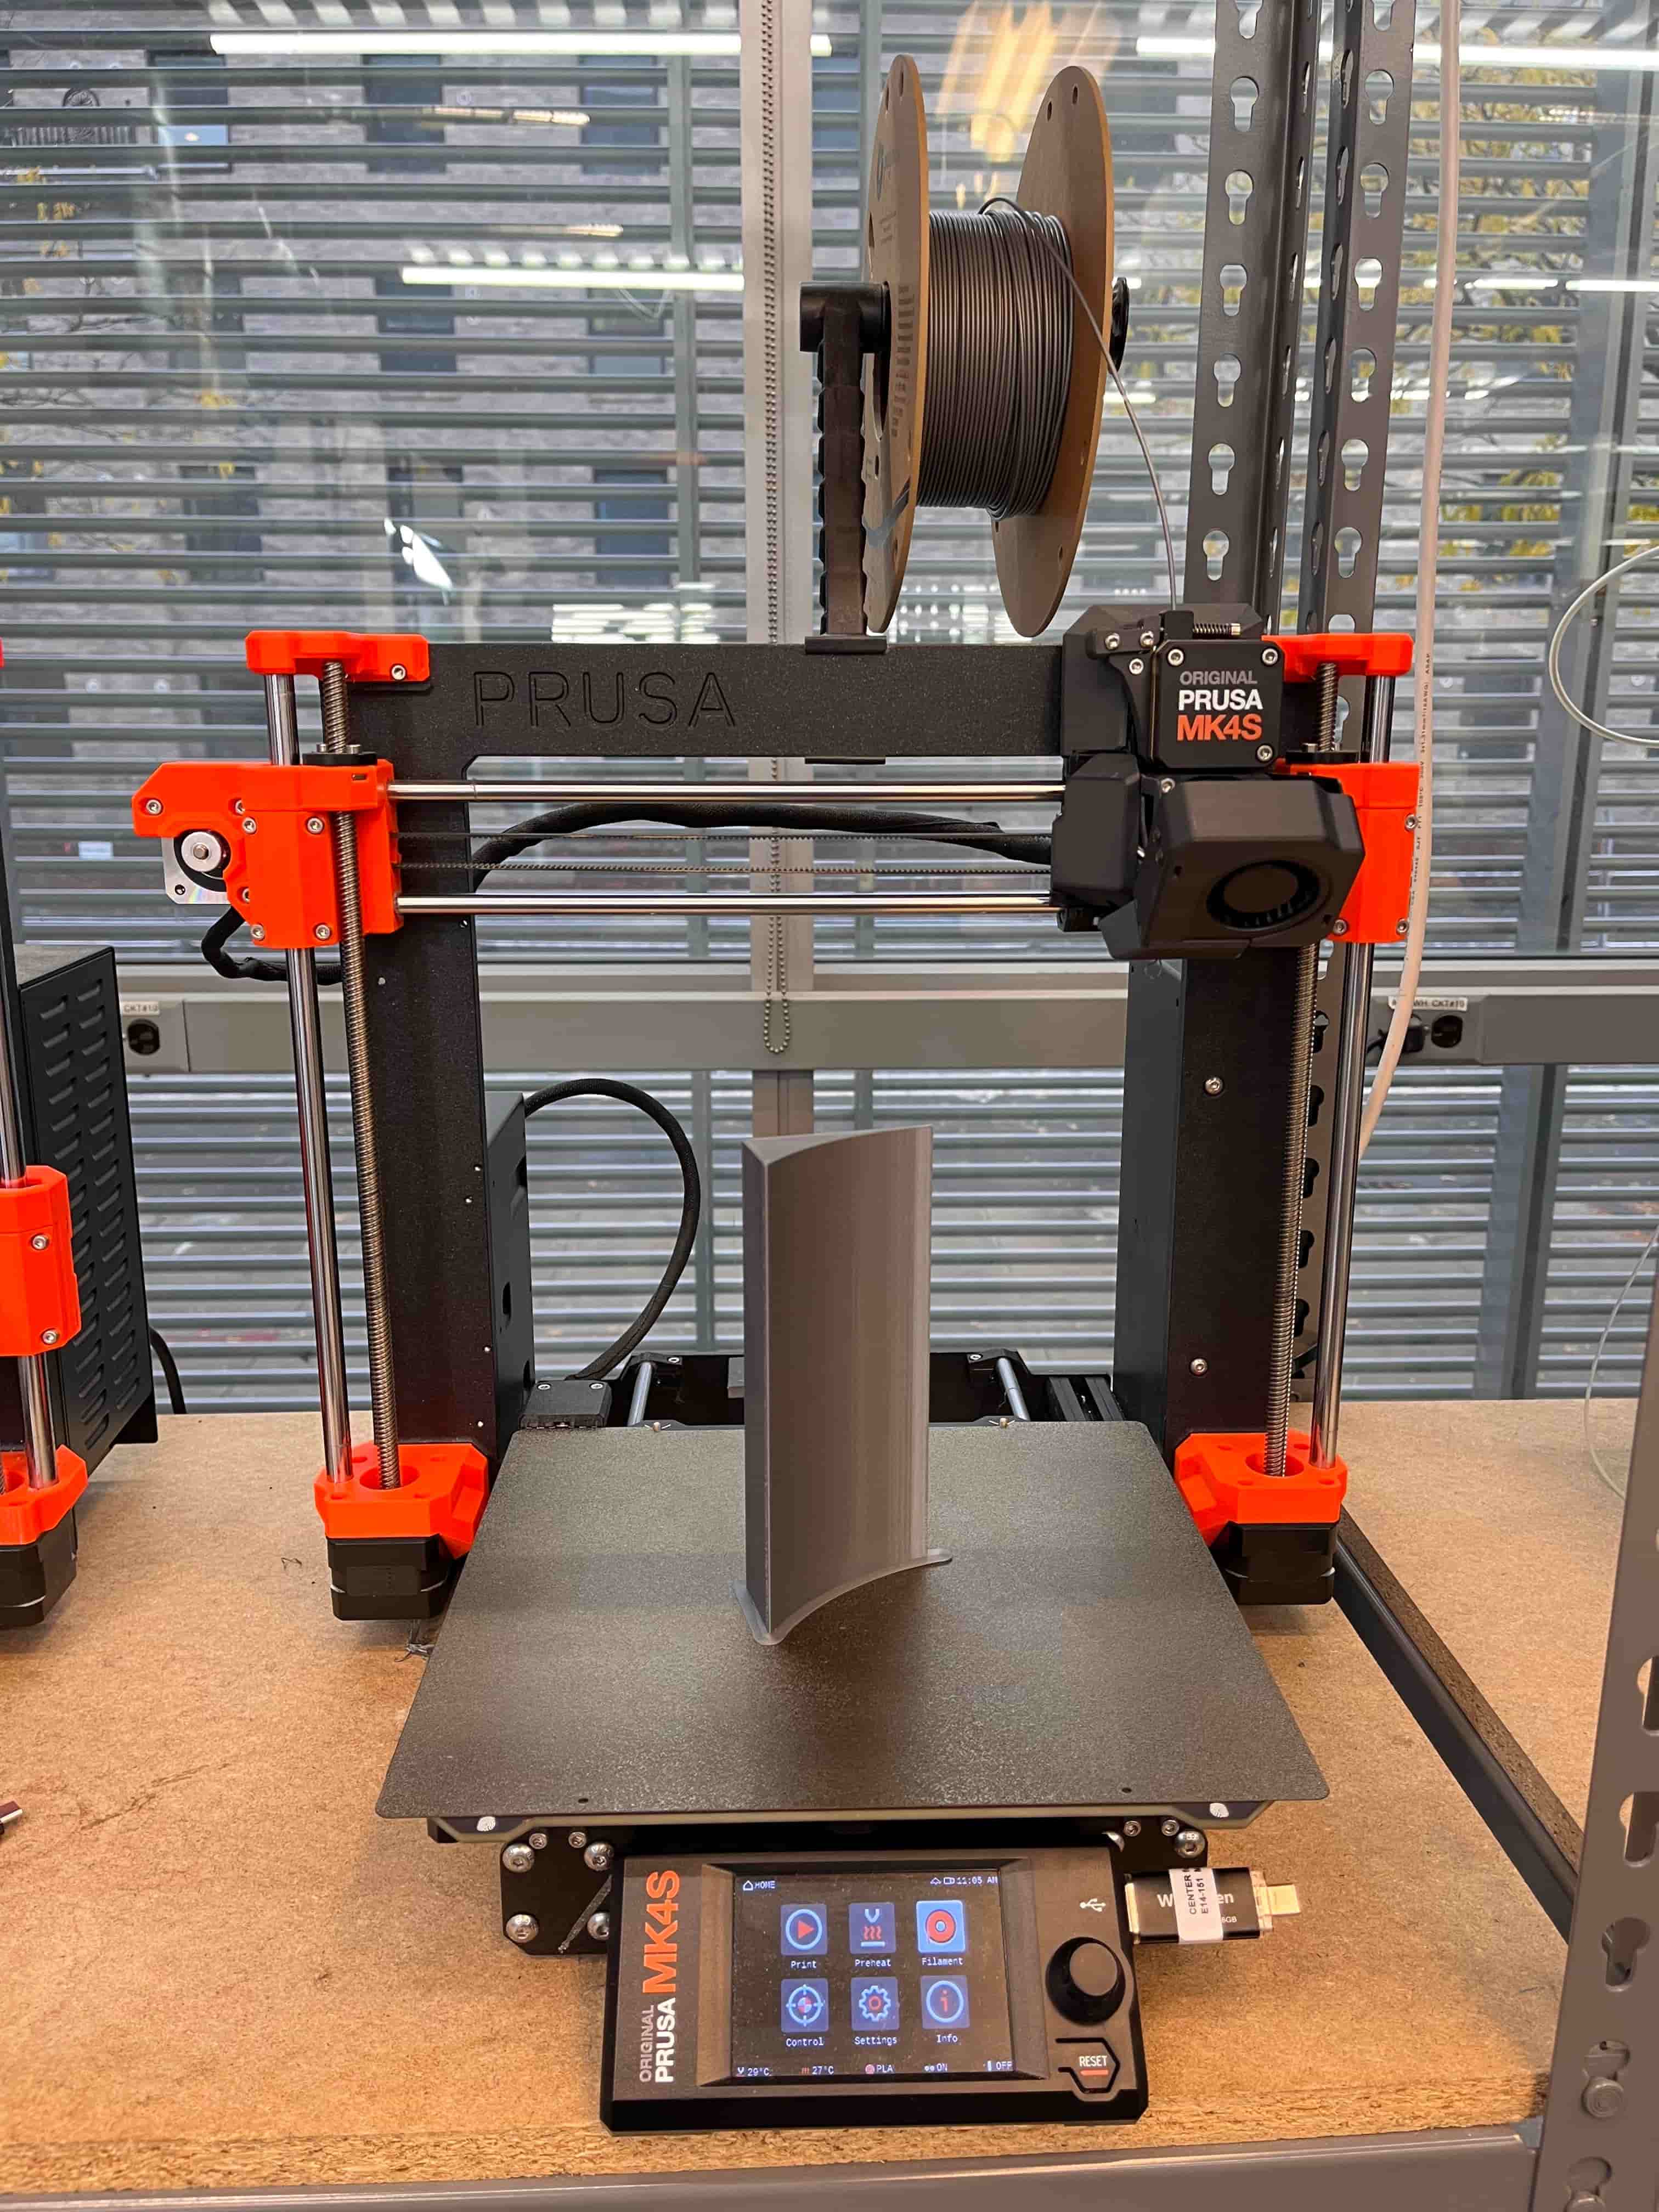
I knew it would be ~1ft long, so I split it into two parts. Turned out pretty well!
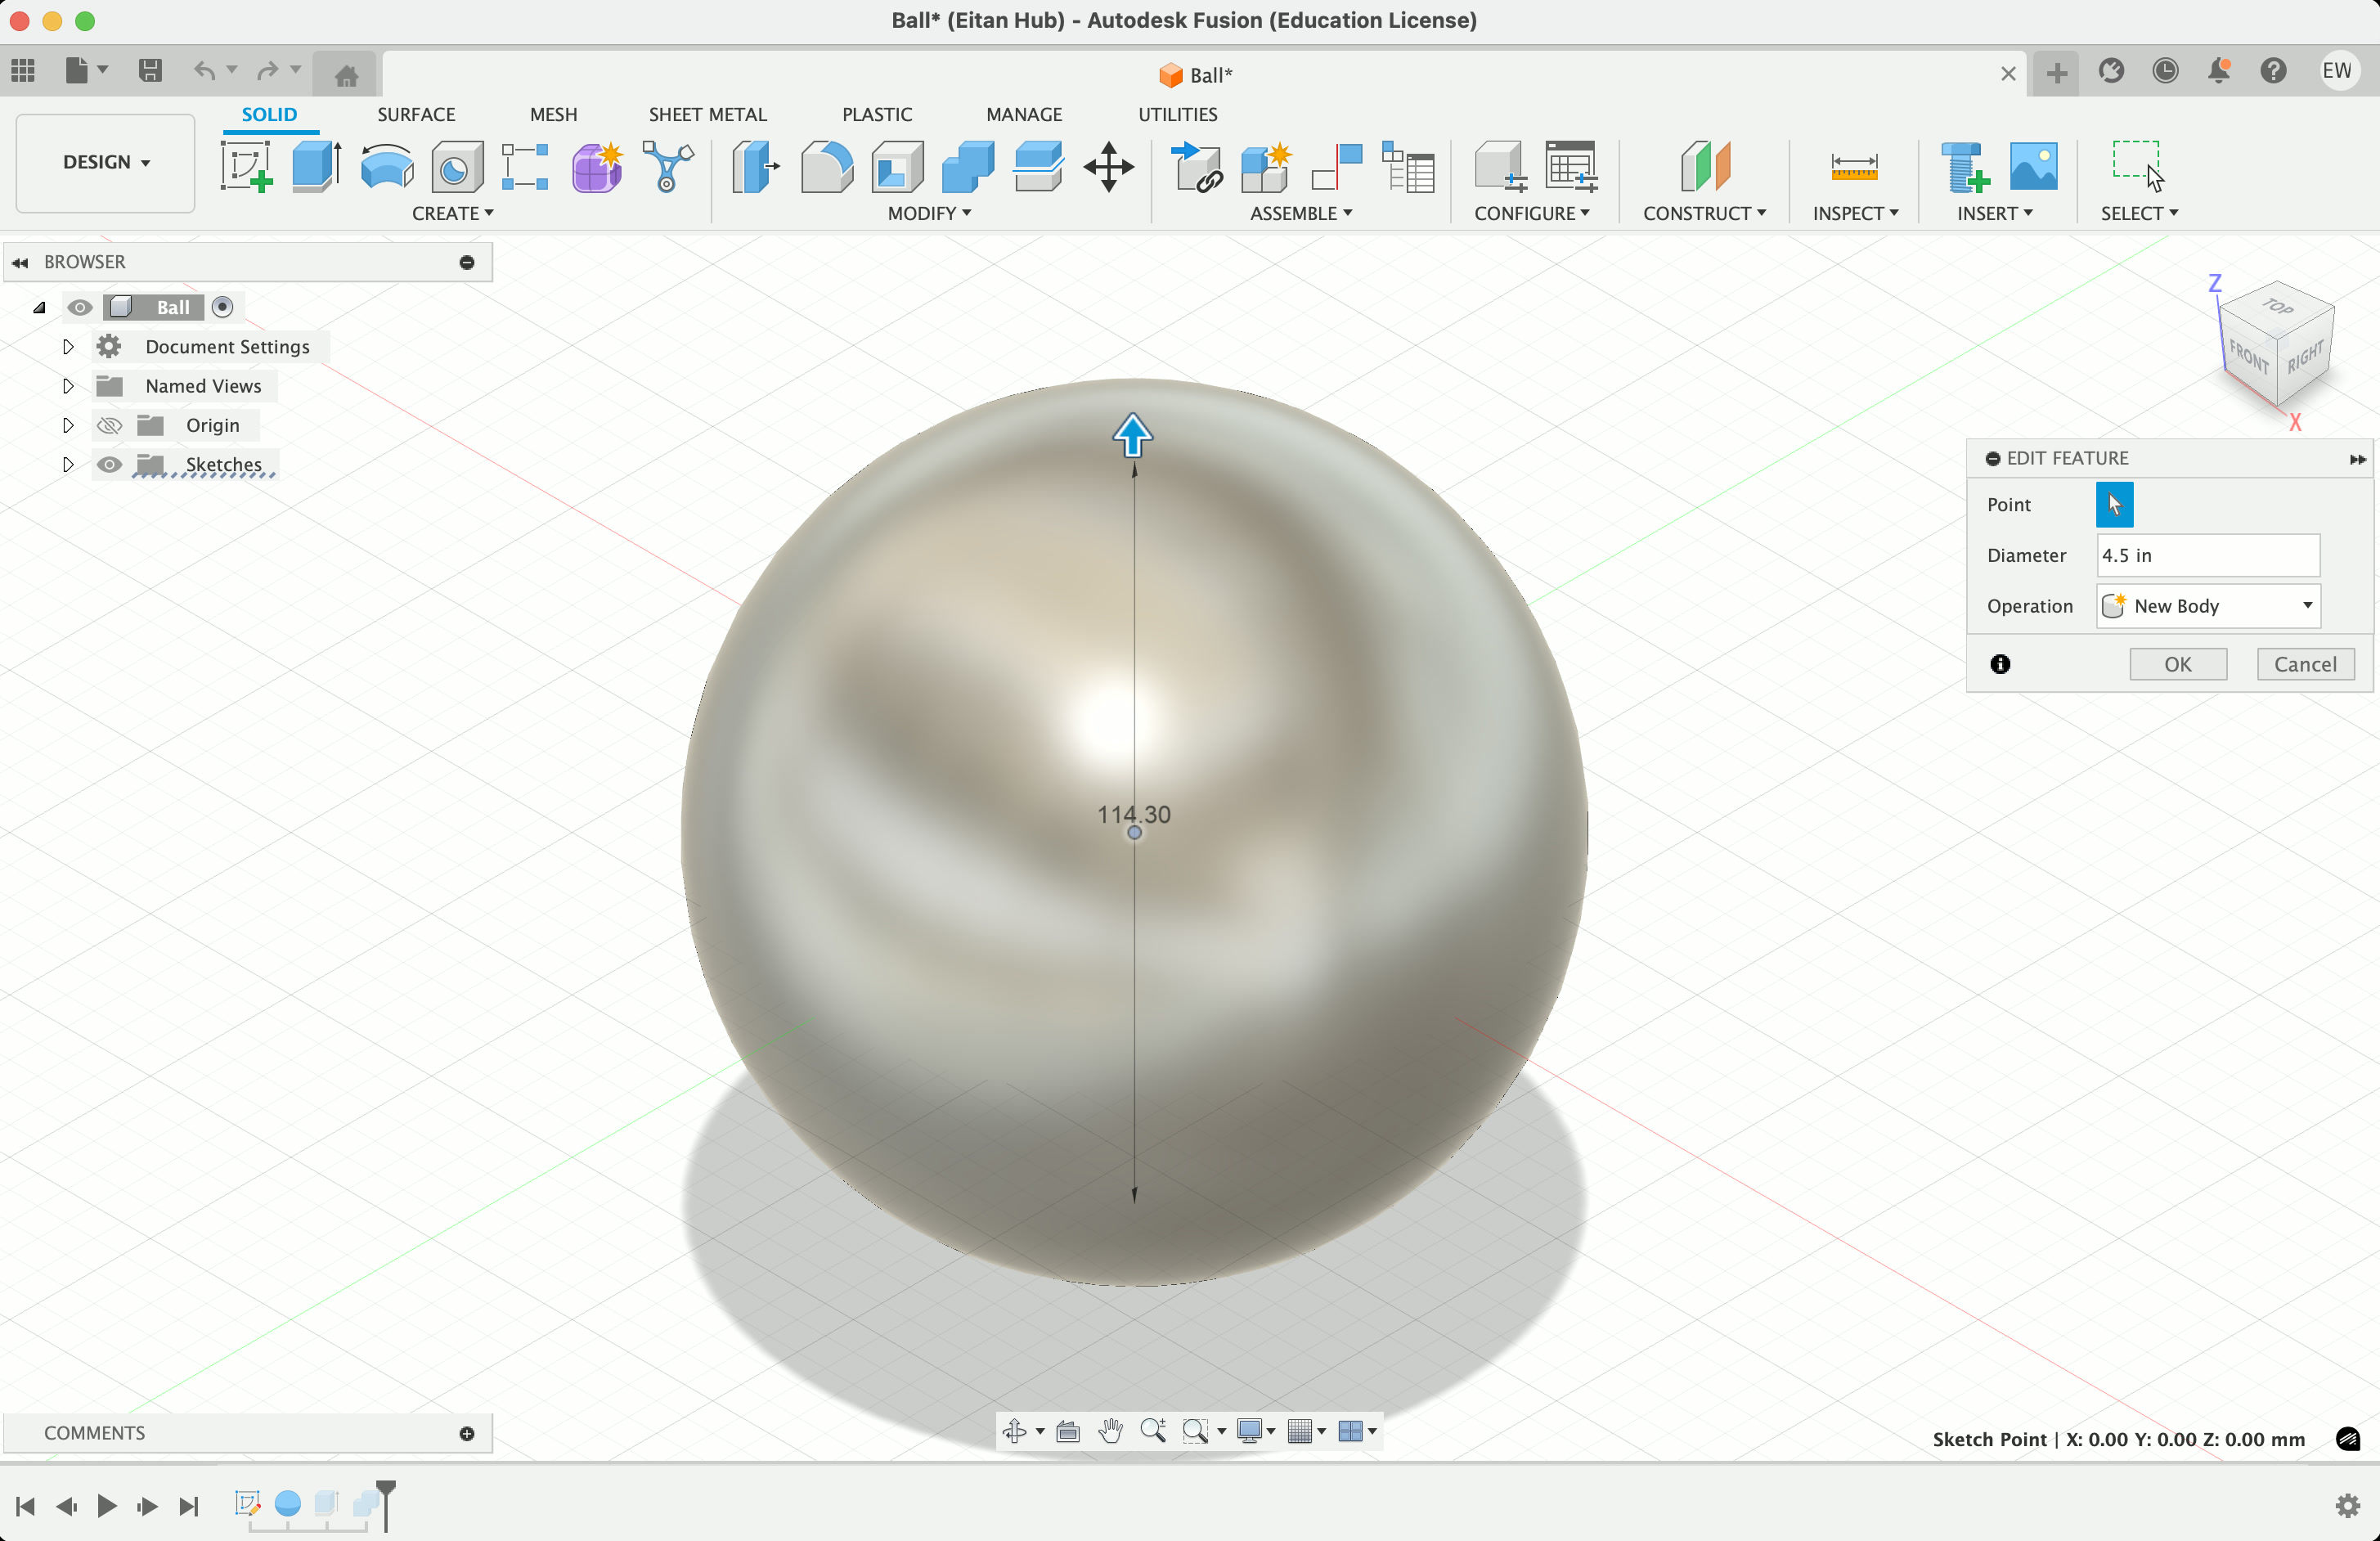
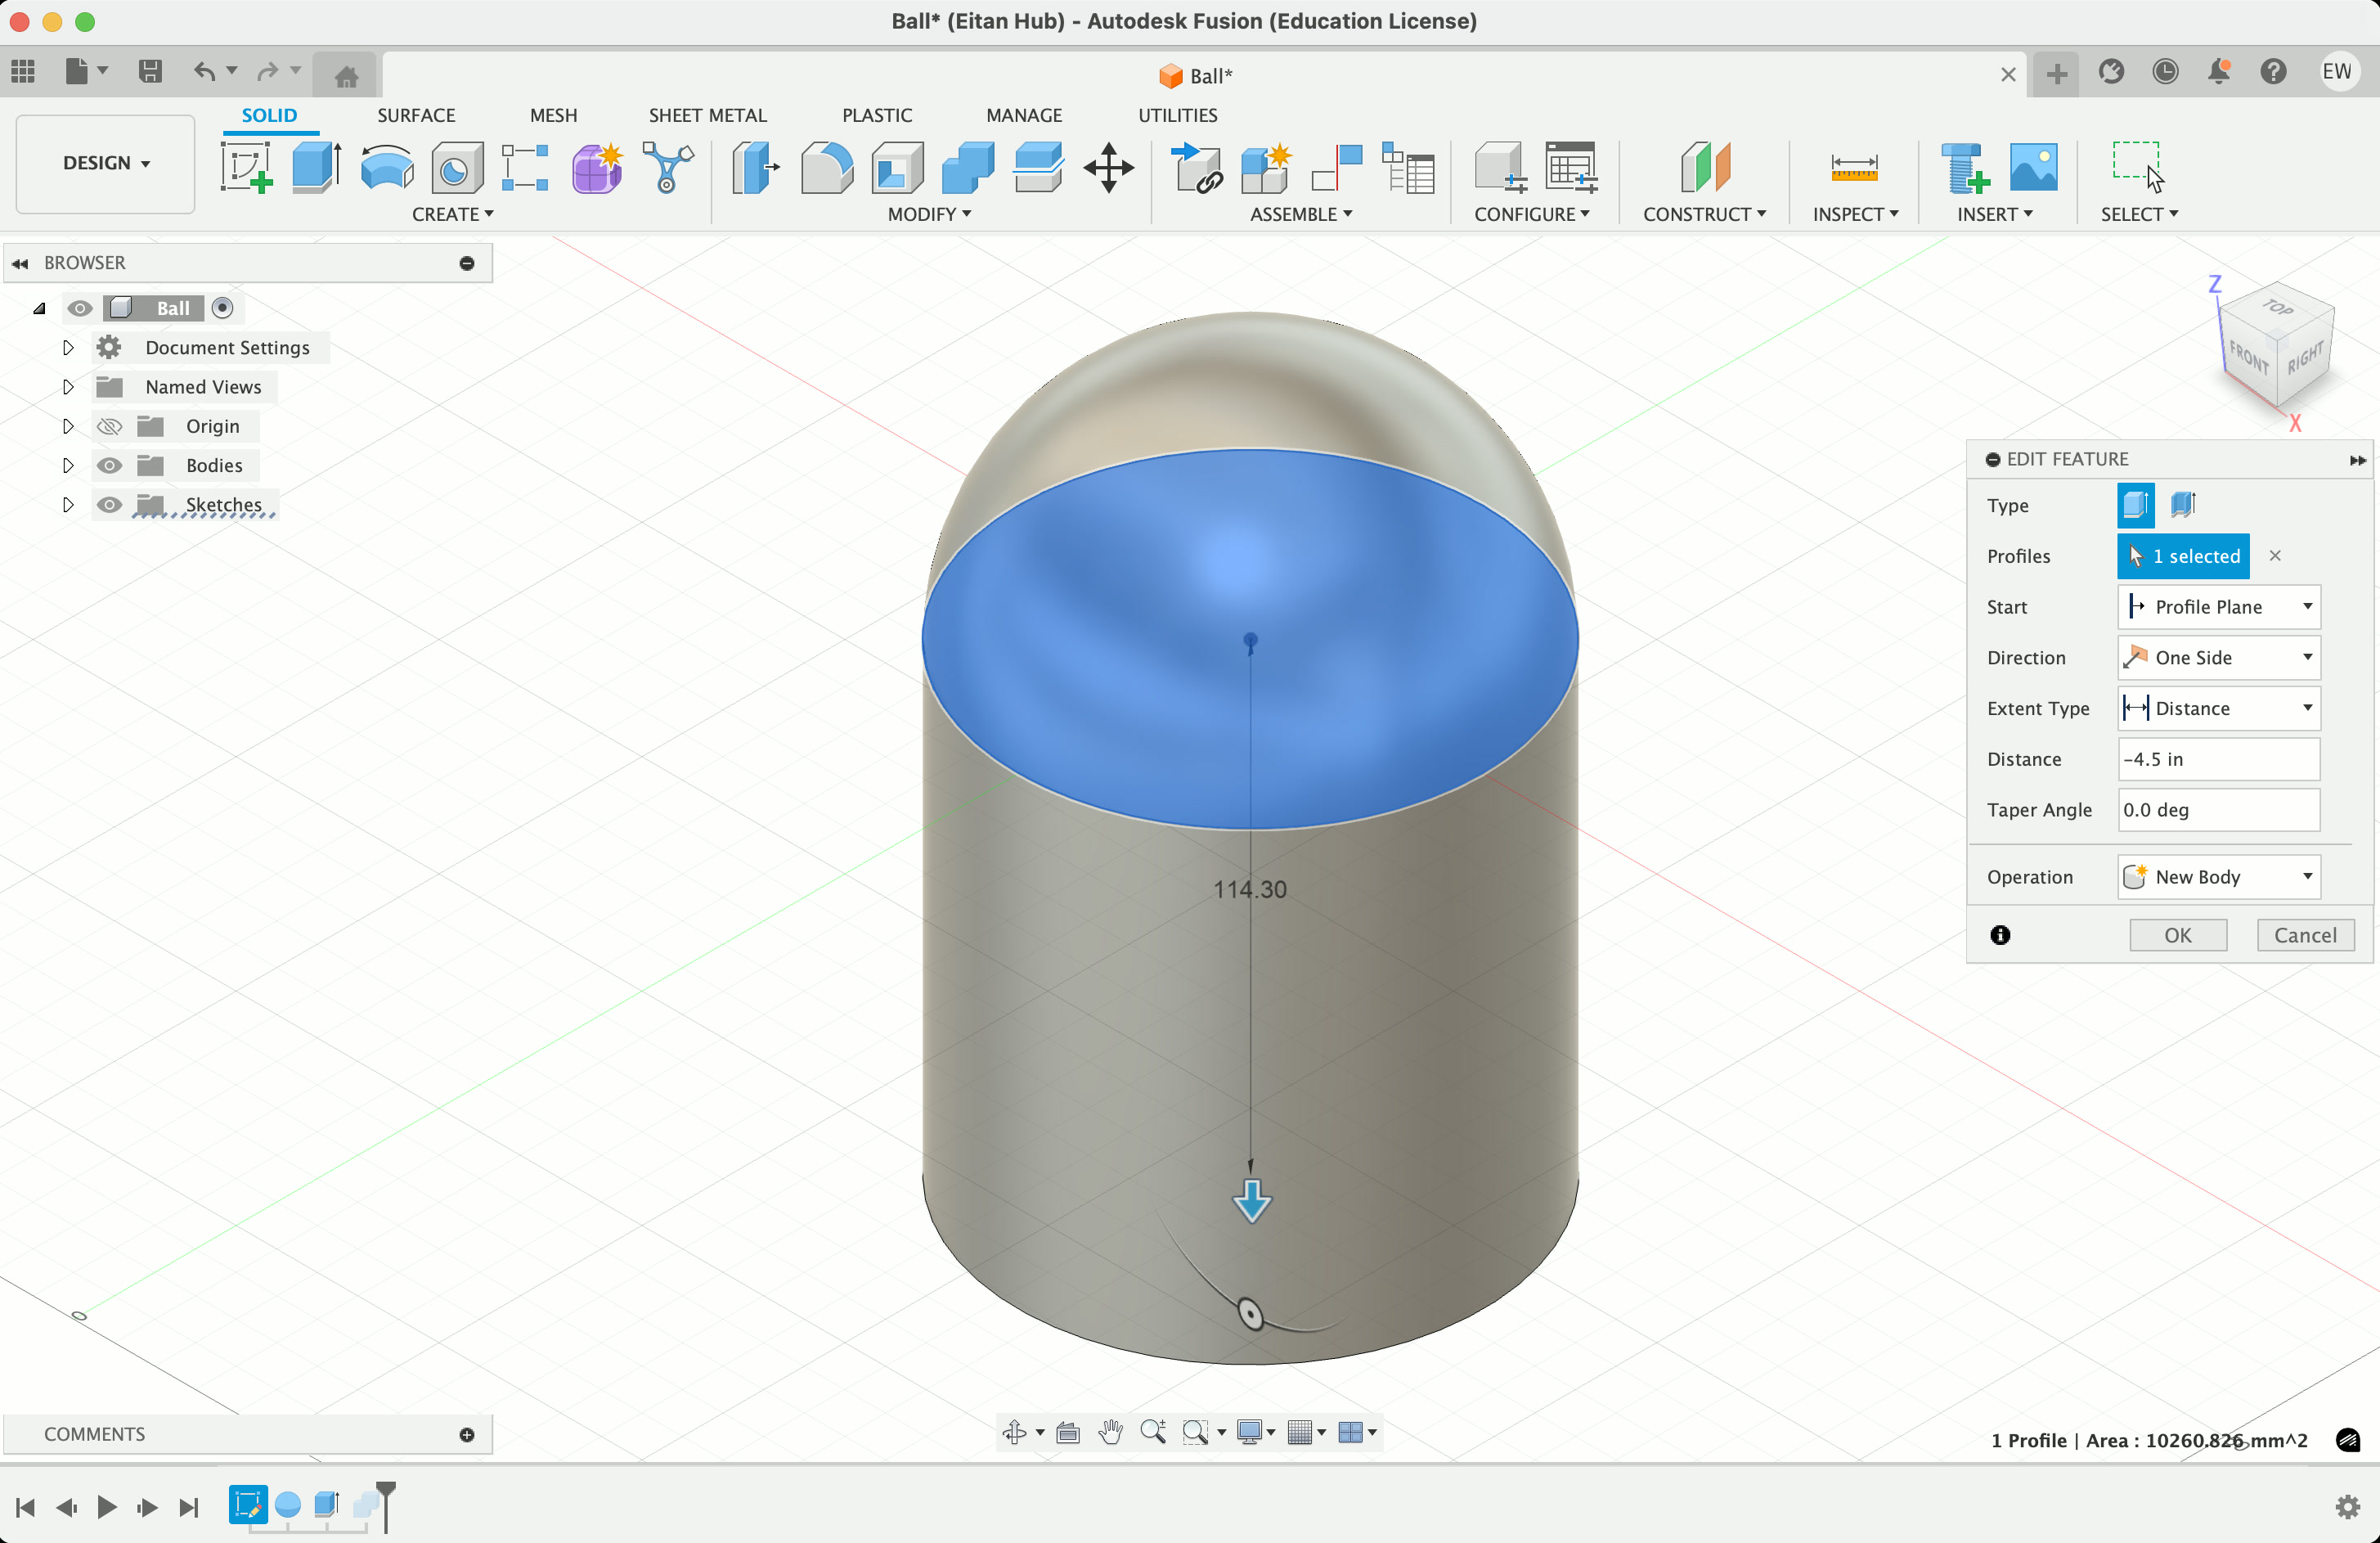
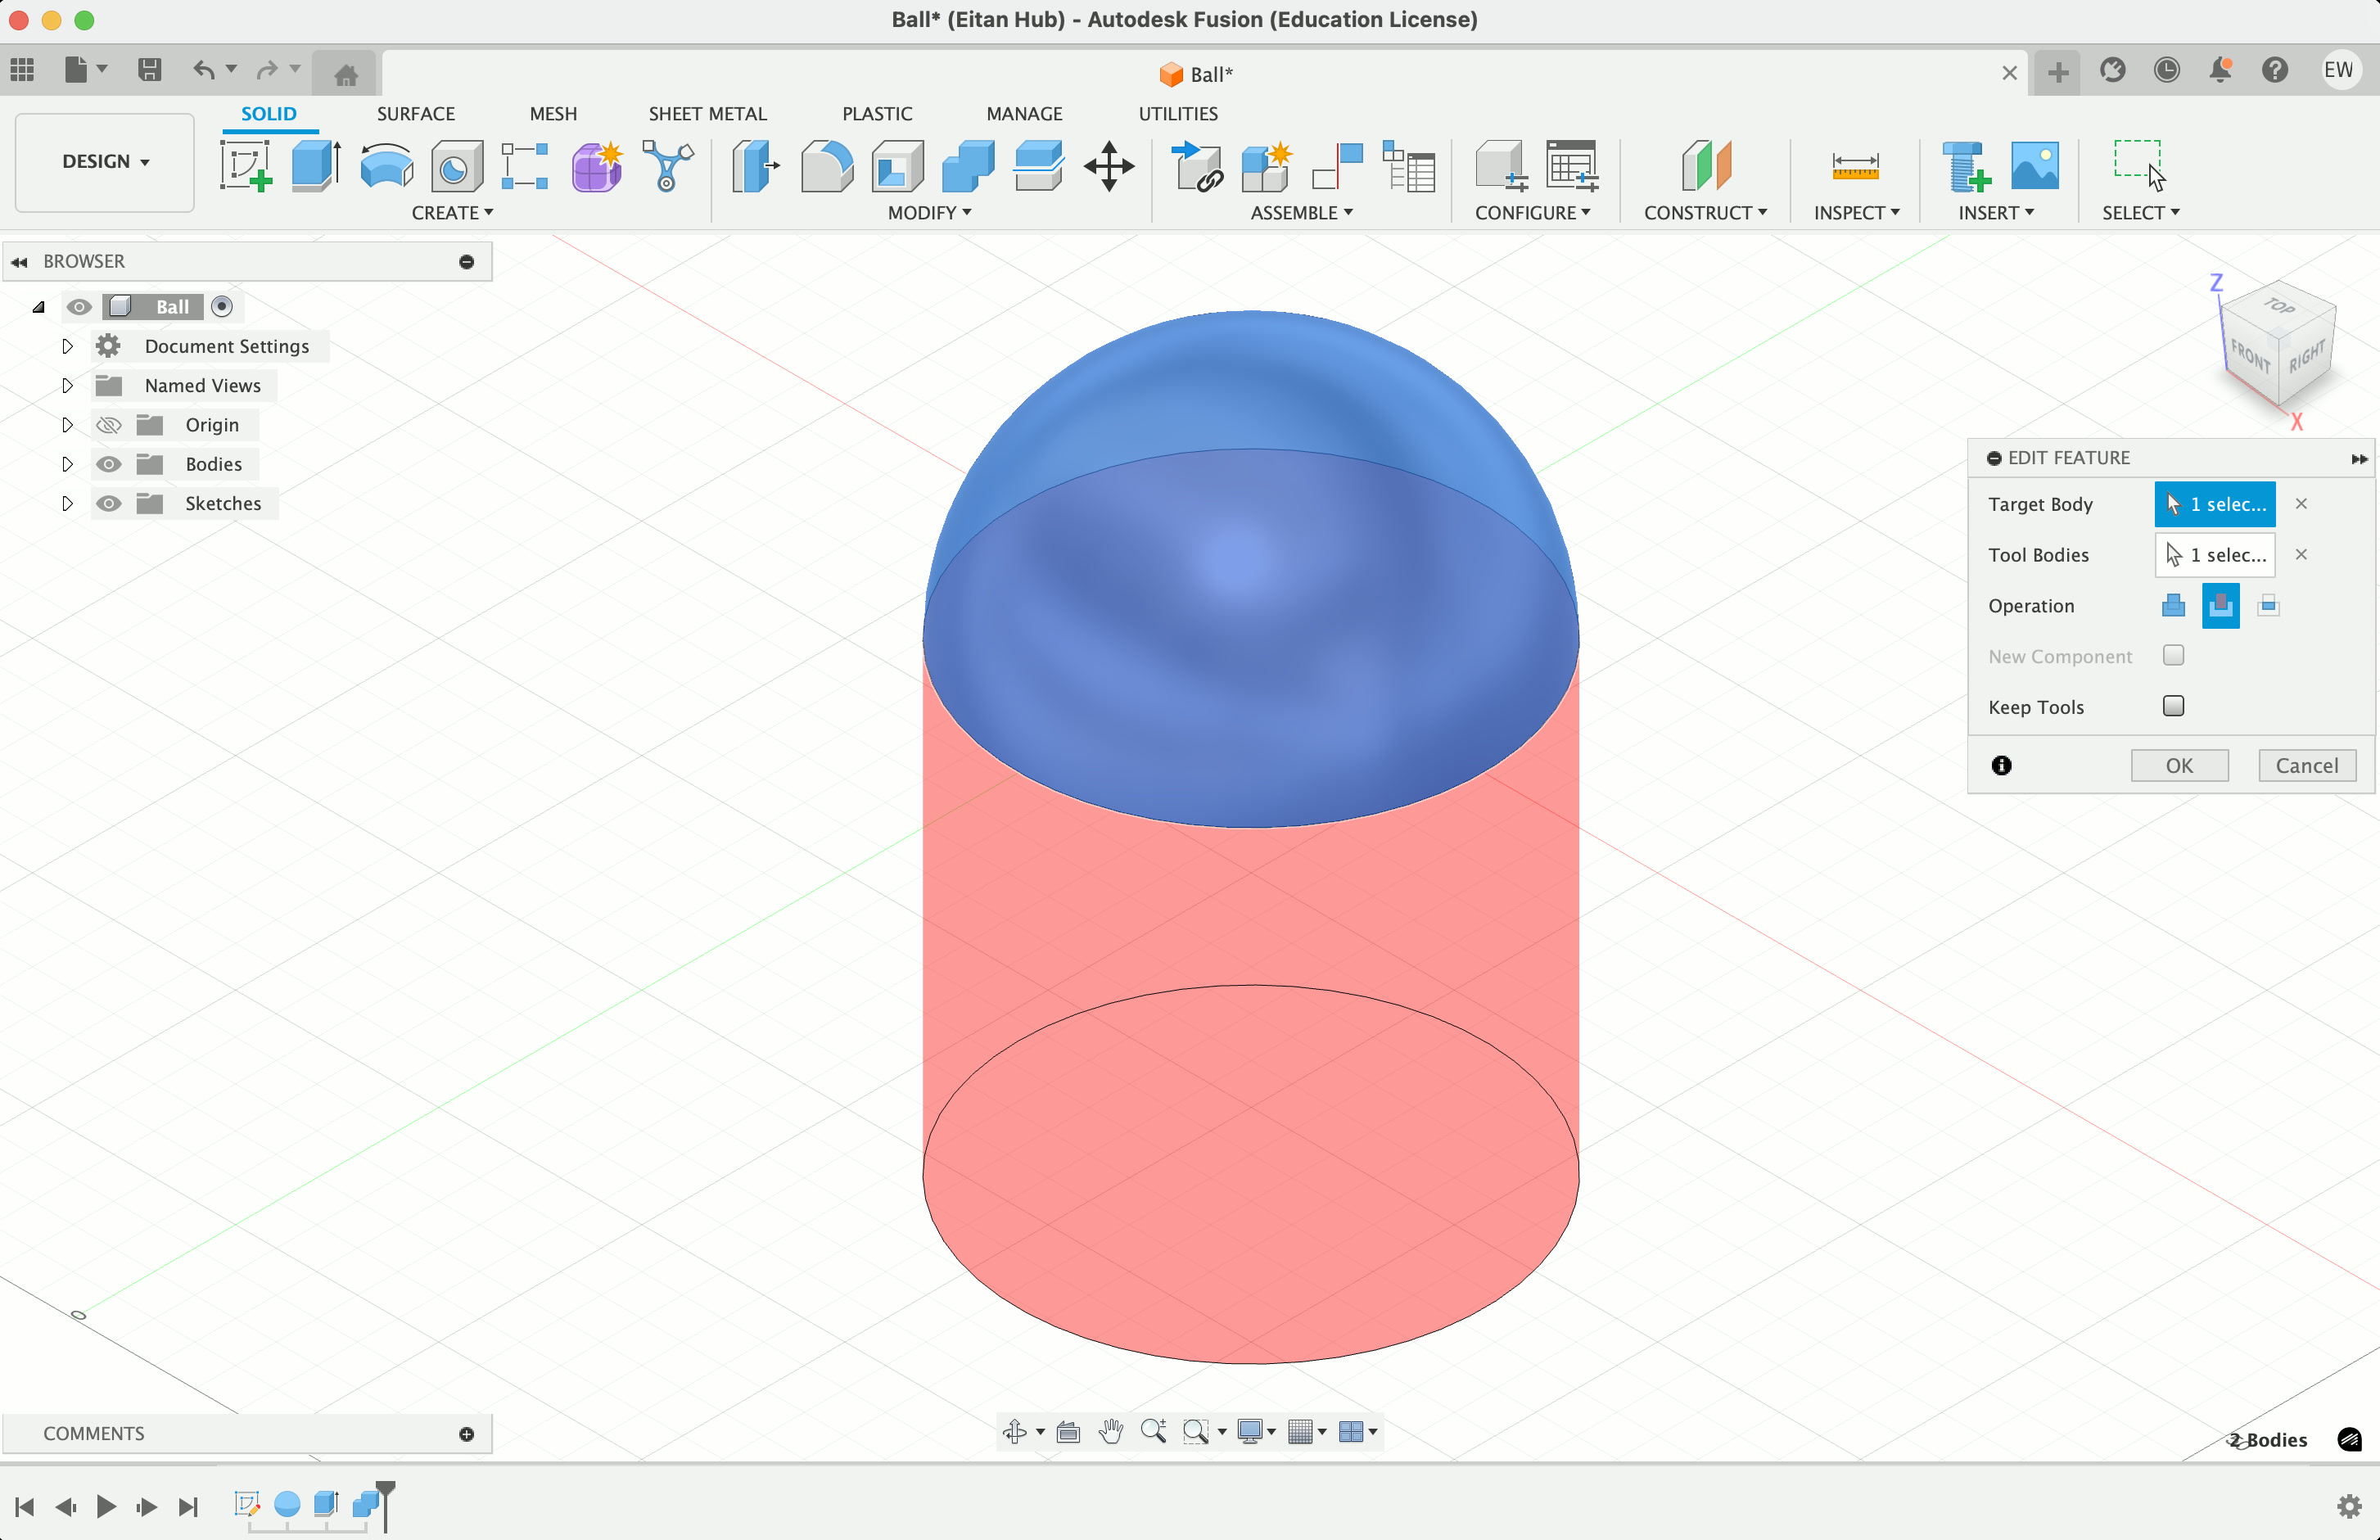
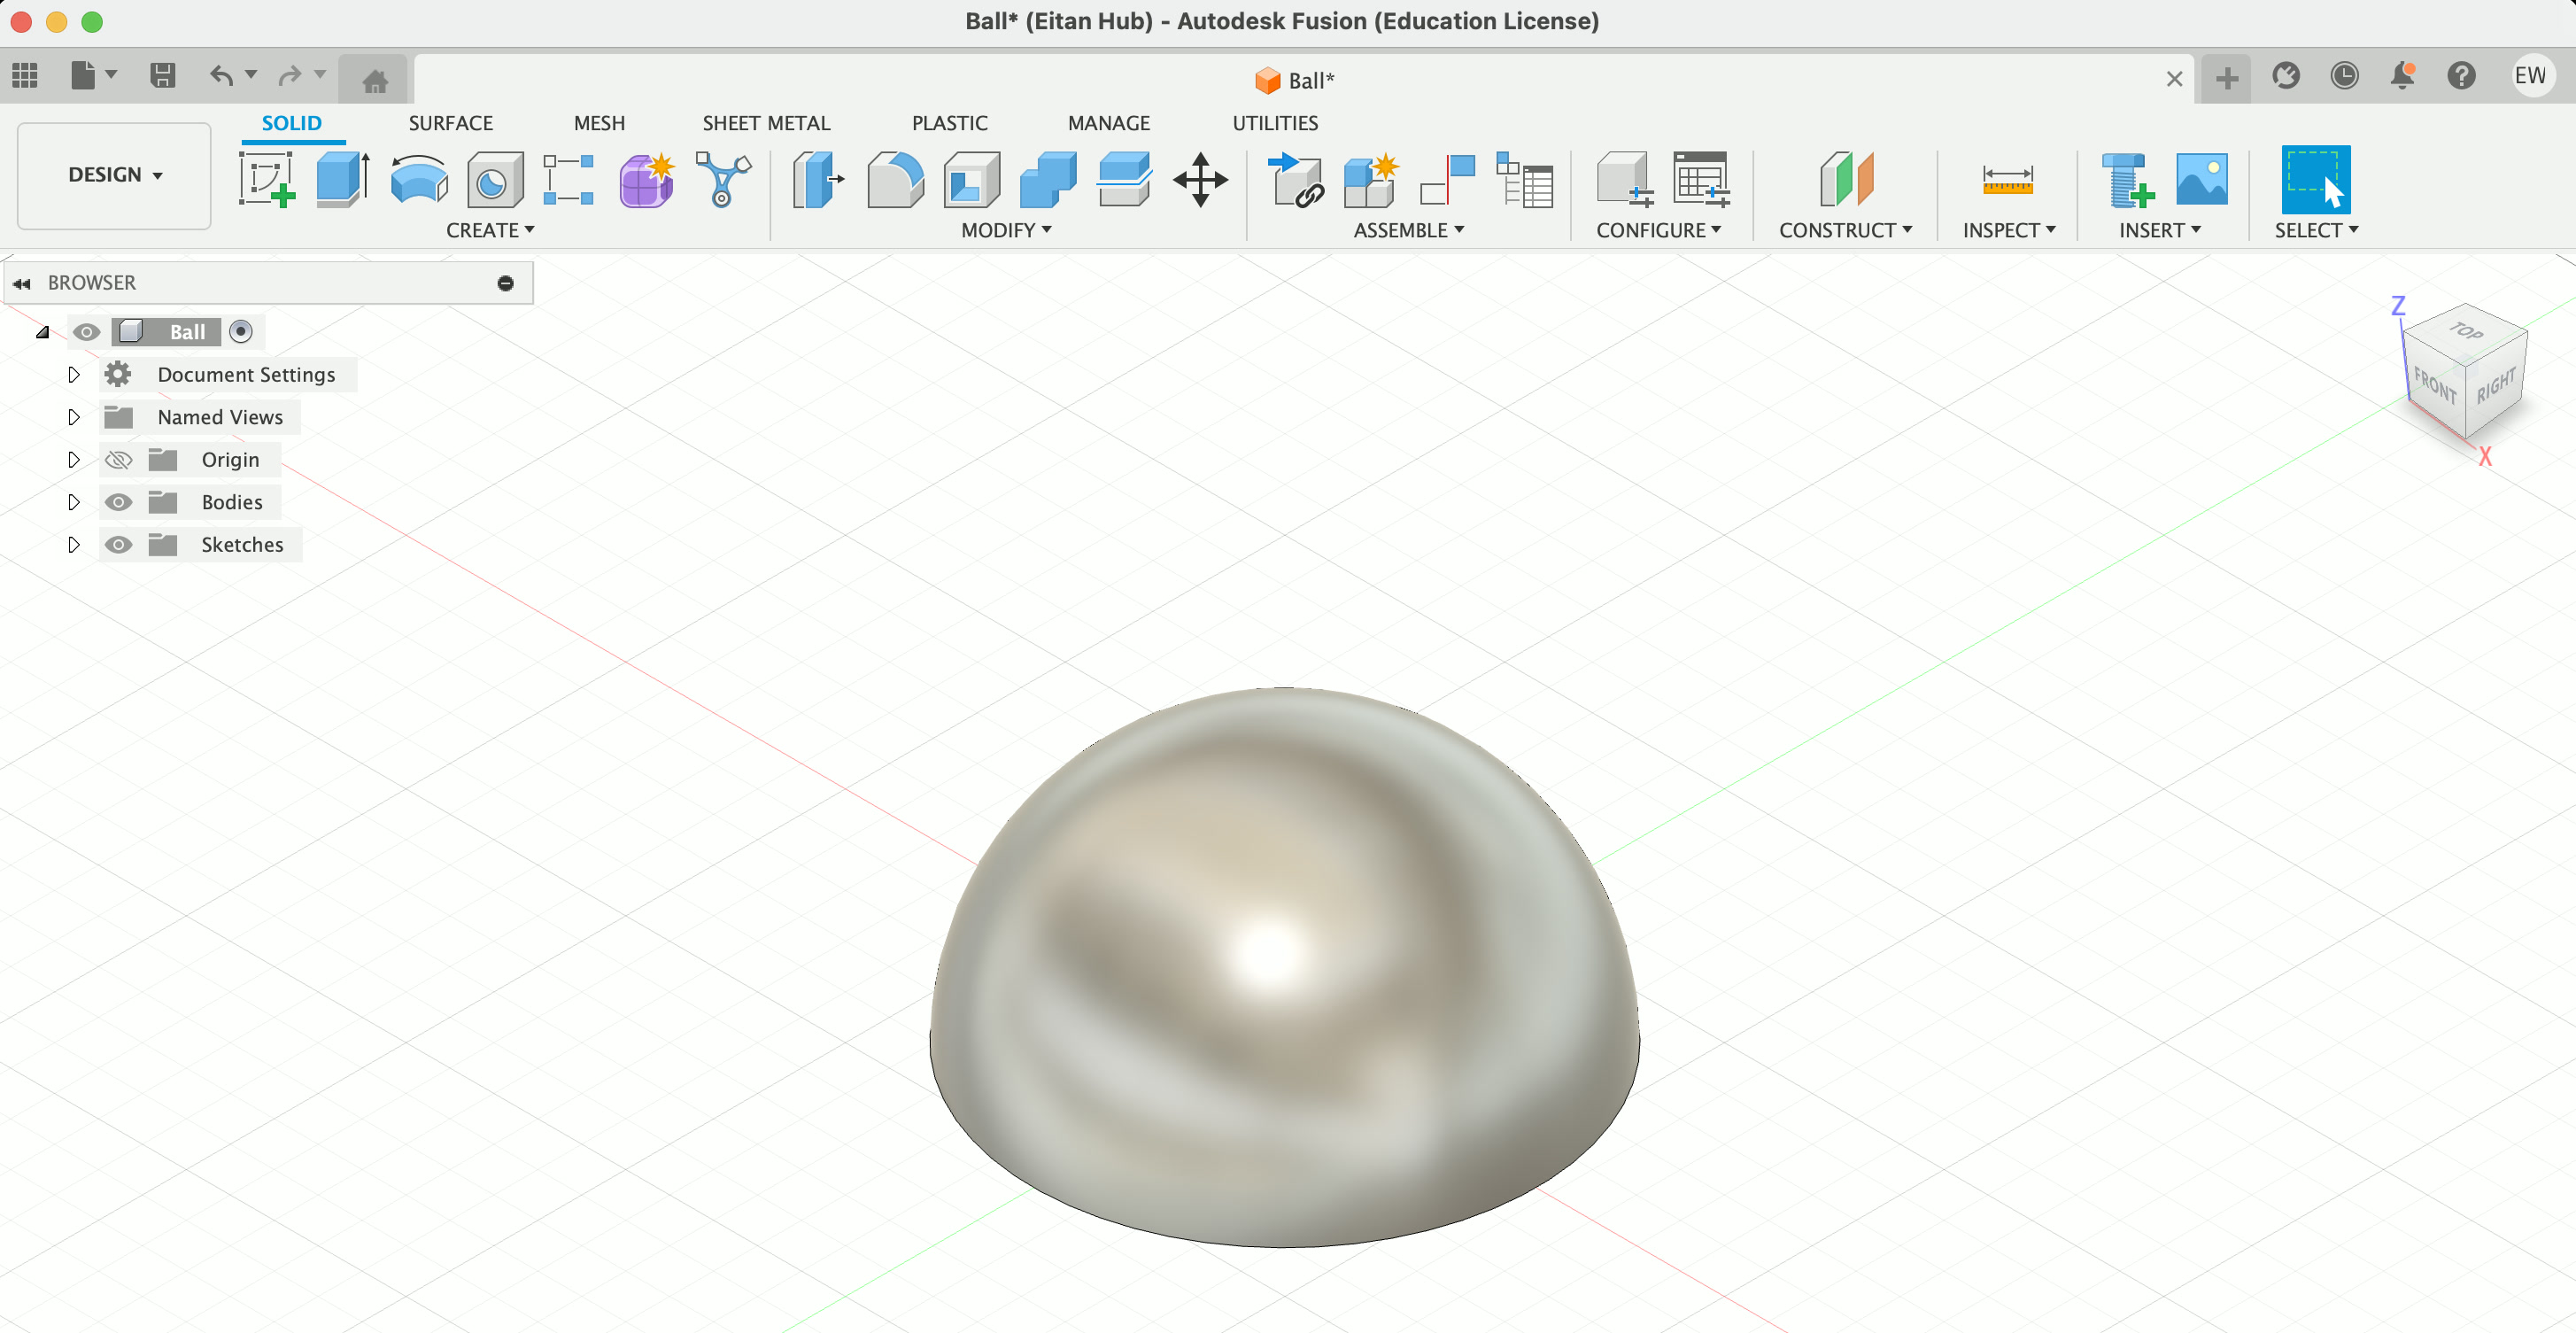
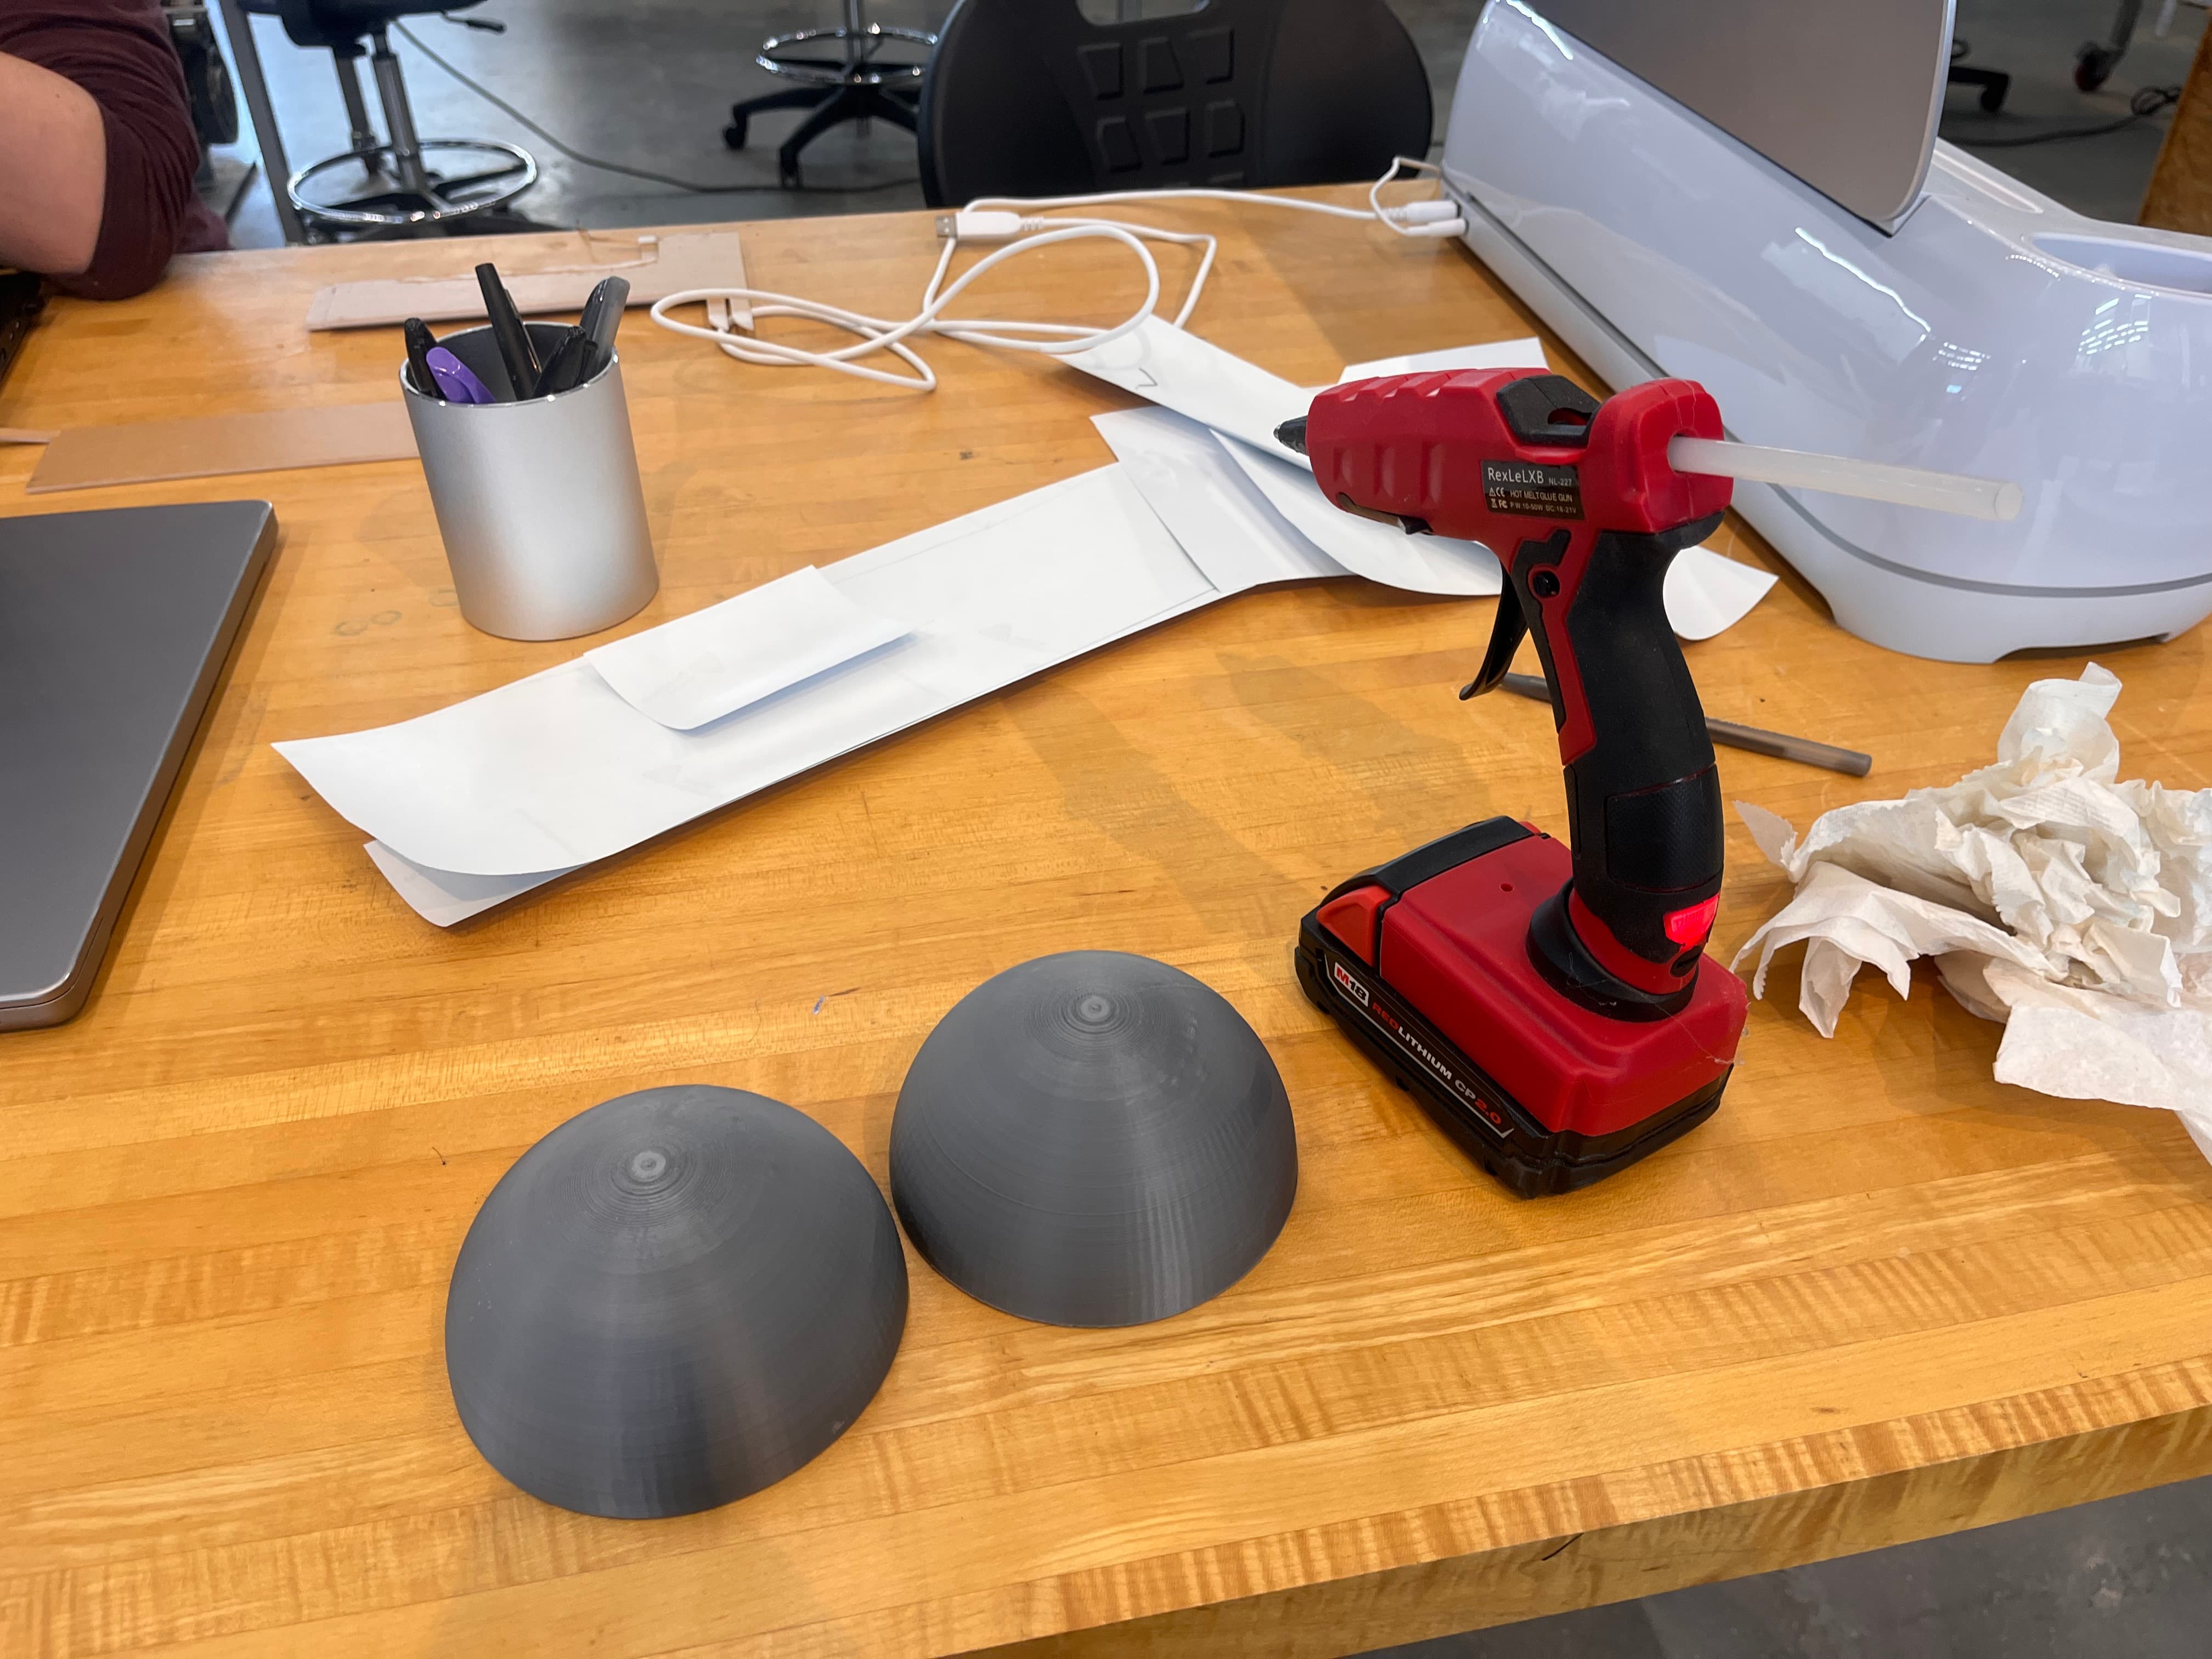
I also decided to 3D print my ball, as the bouncier one I had earlier wasn't quite what I needed – I want it to roll up the ramp, not bounce. So I went into Fusion, made a circle about ~4.5" wide, added a sphere on top of it, extruded the circle into a cylinder, then used it to split the sphere in half. There's probably a smarter way to do this, but I was having a suprising amount of trouble, so i was happy this worked.
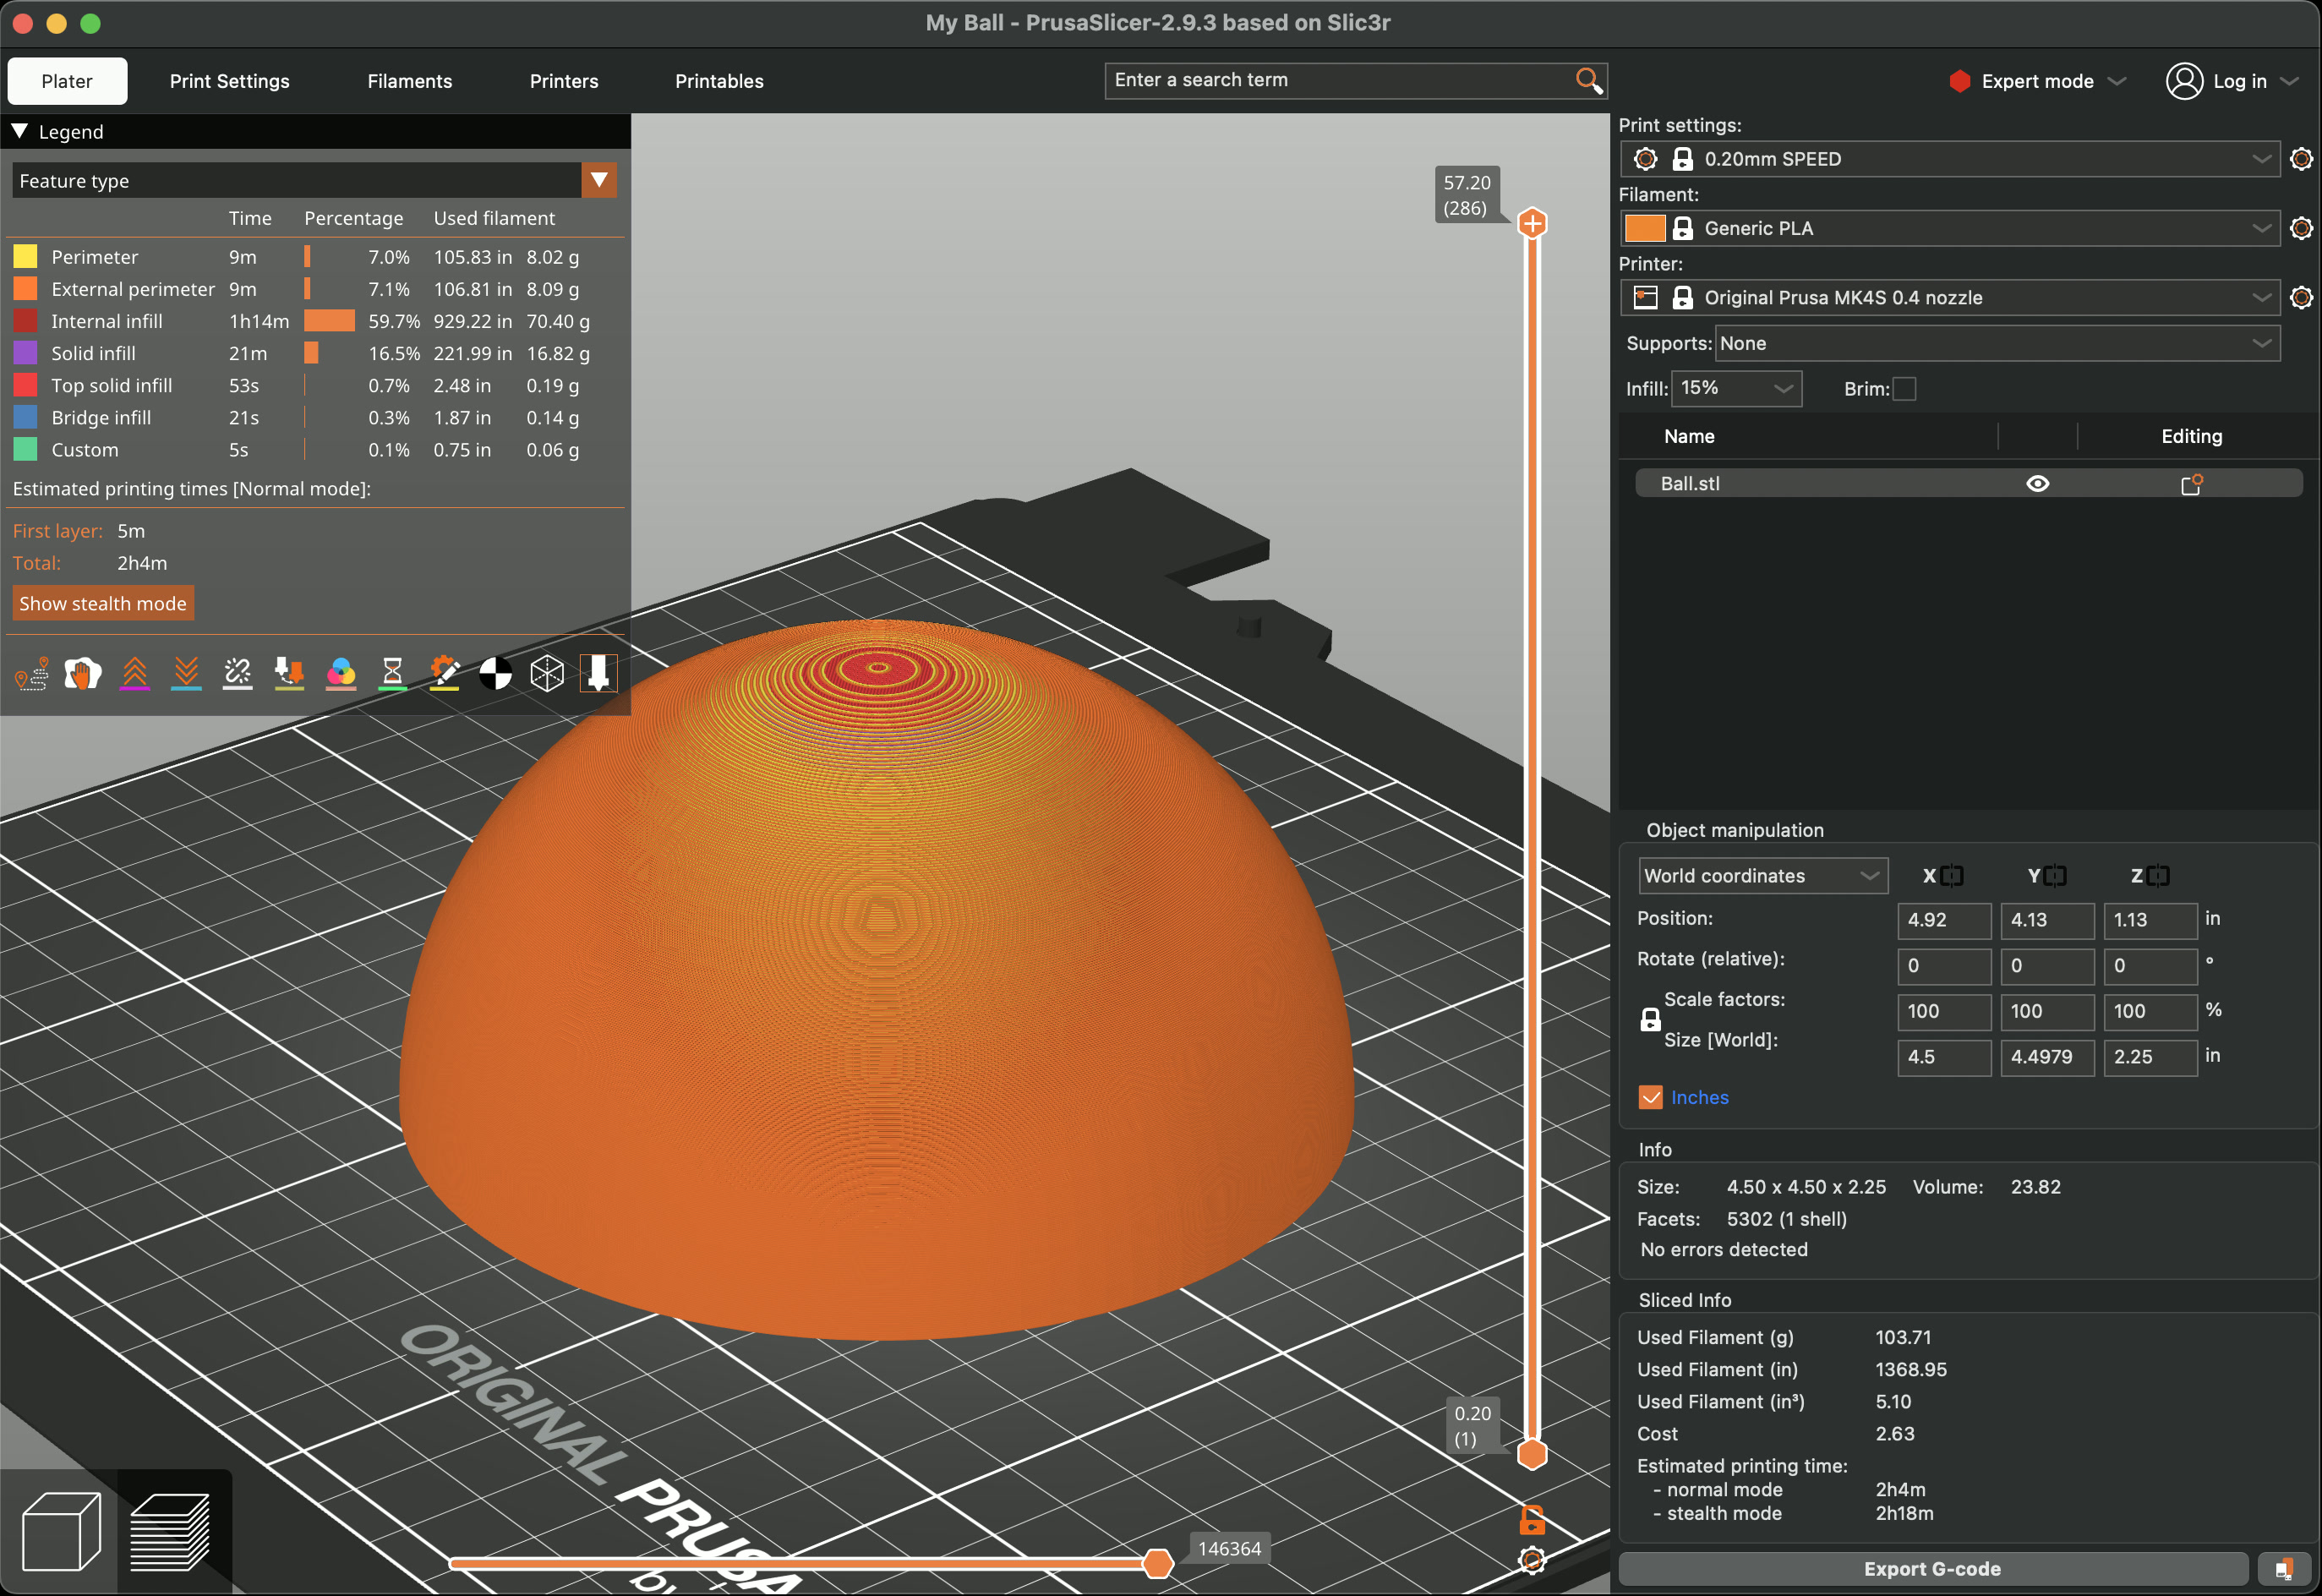
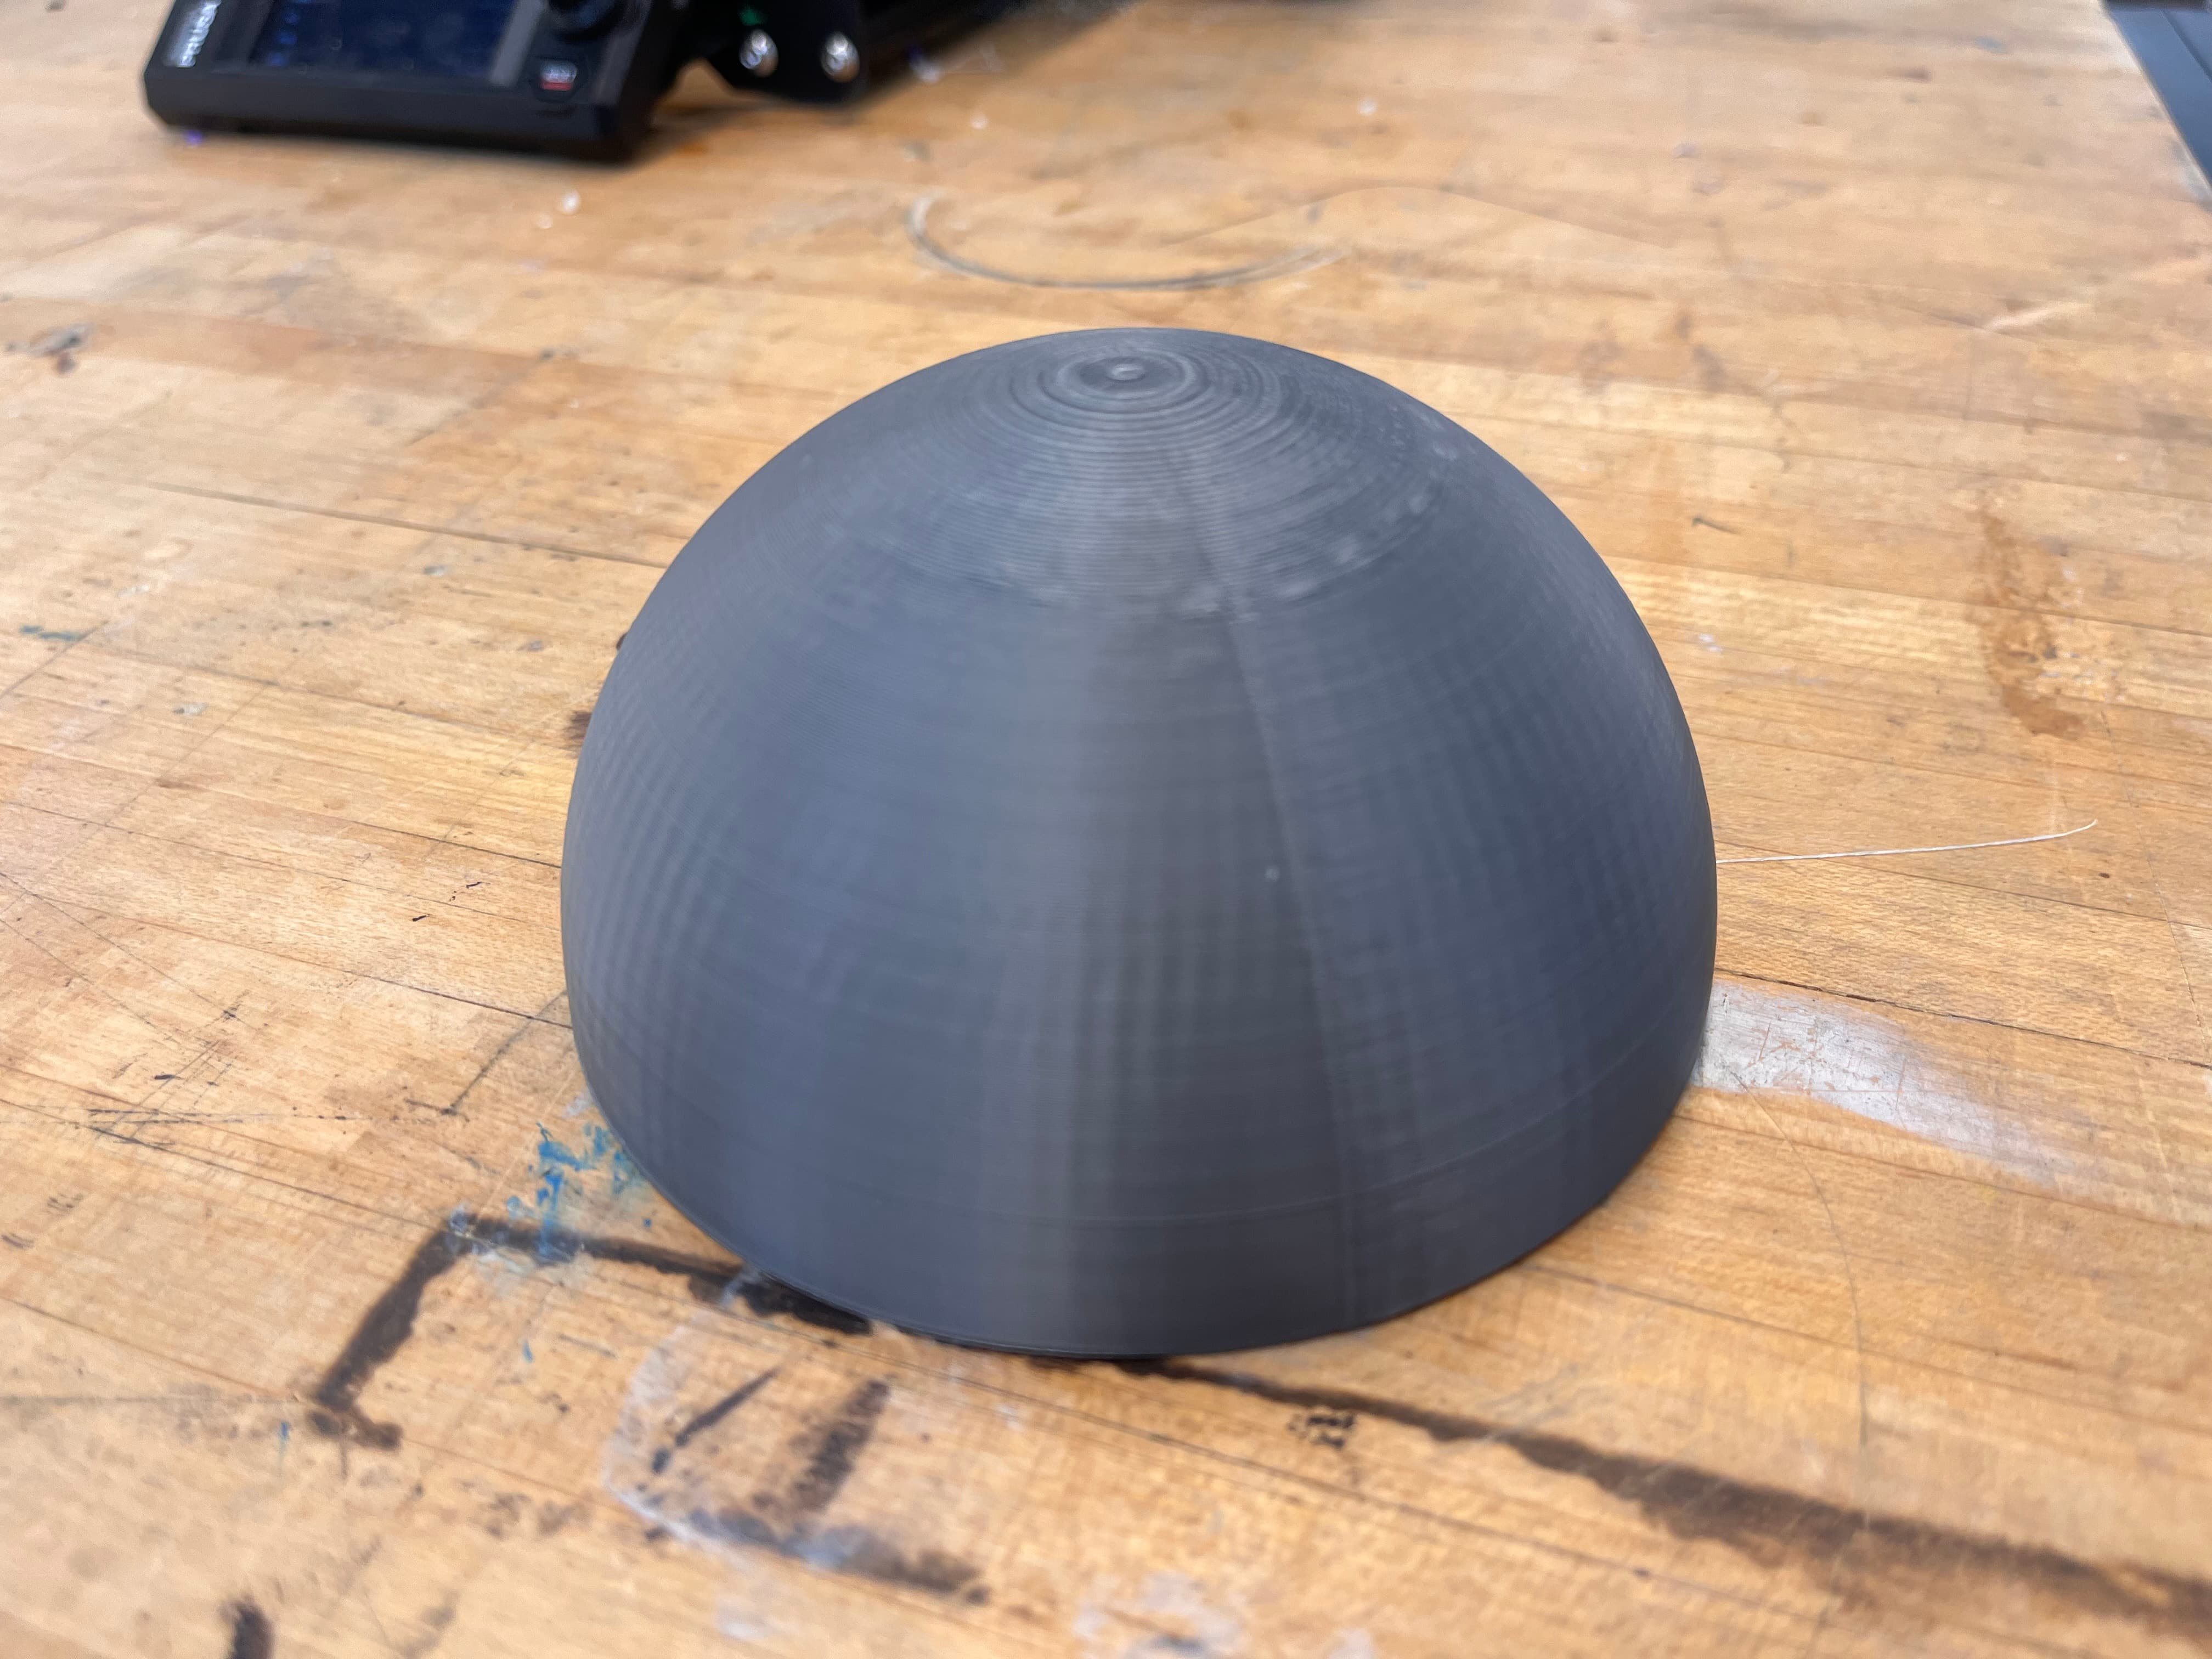
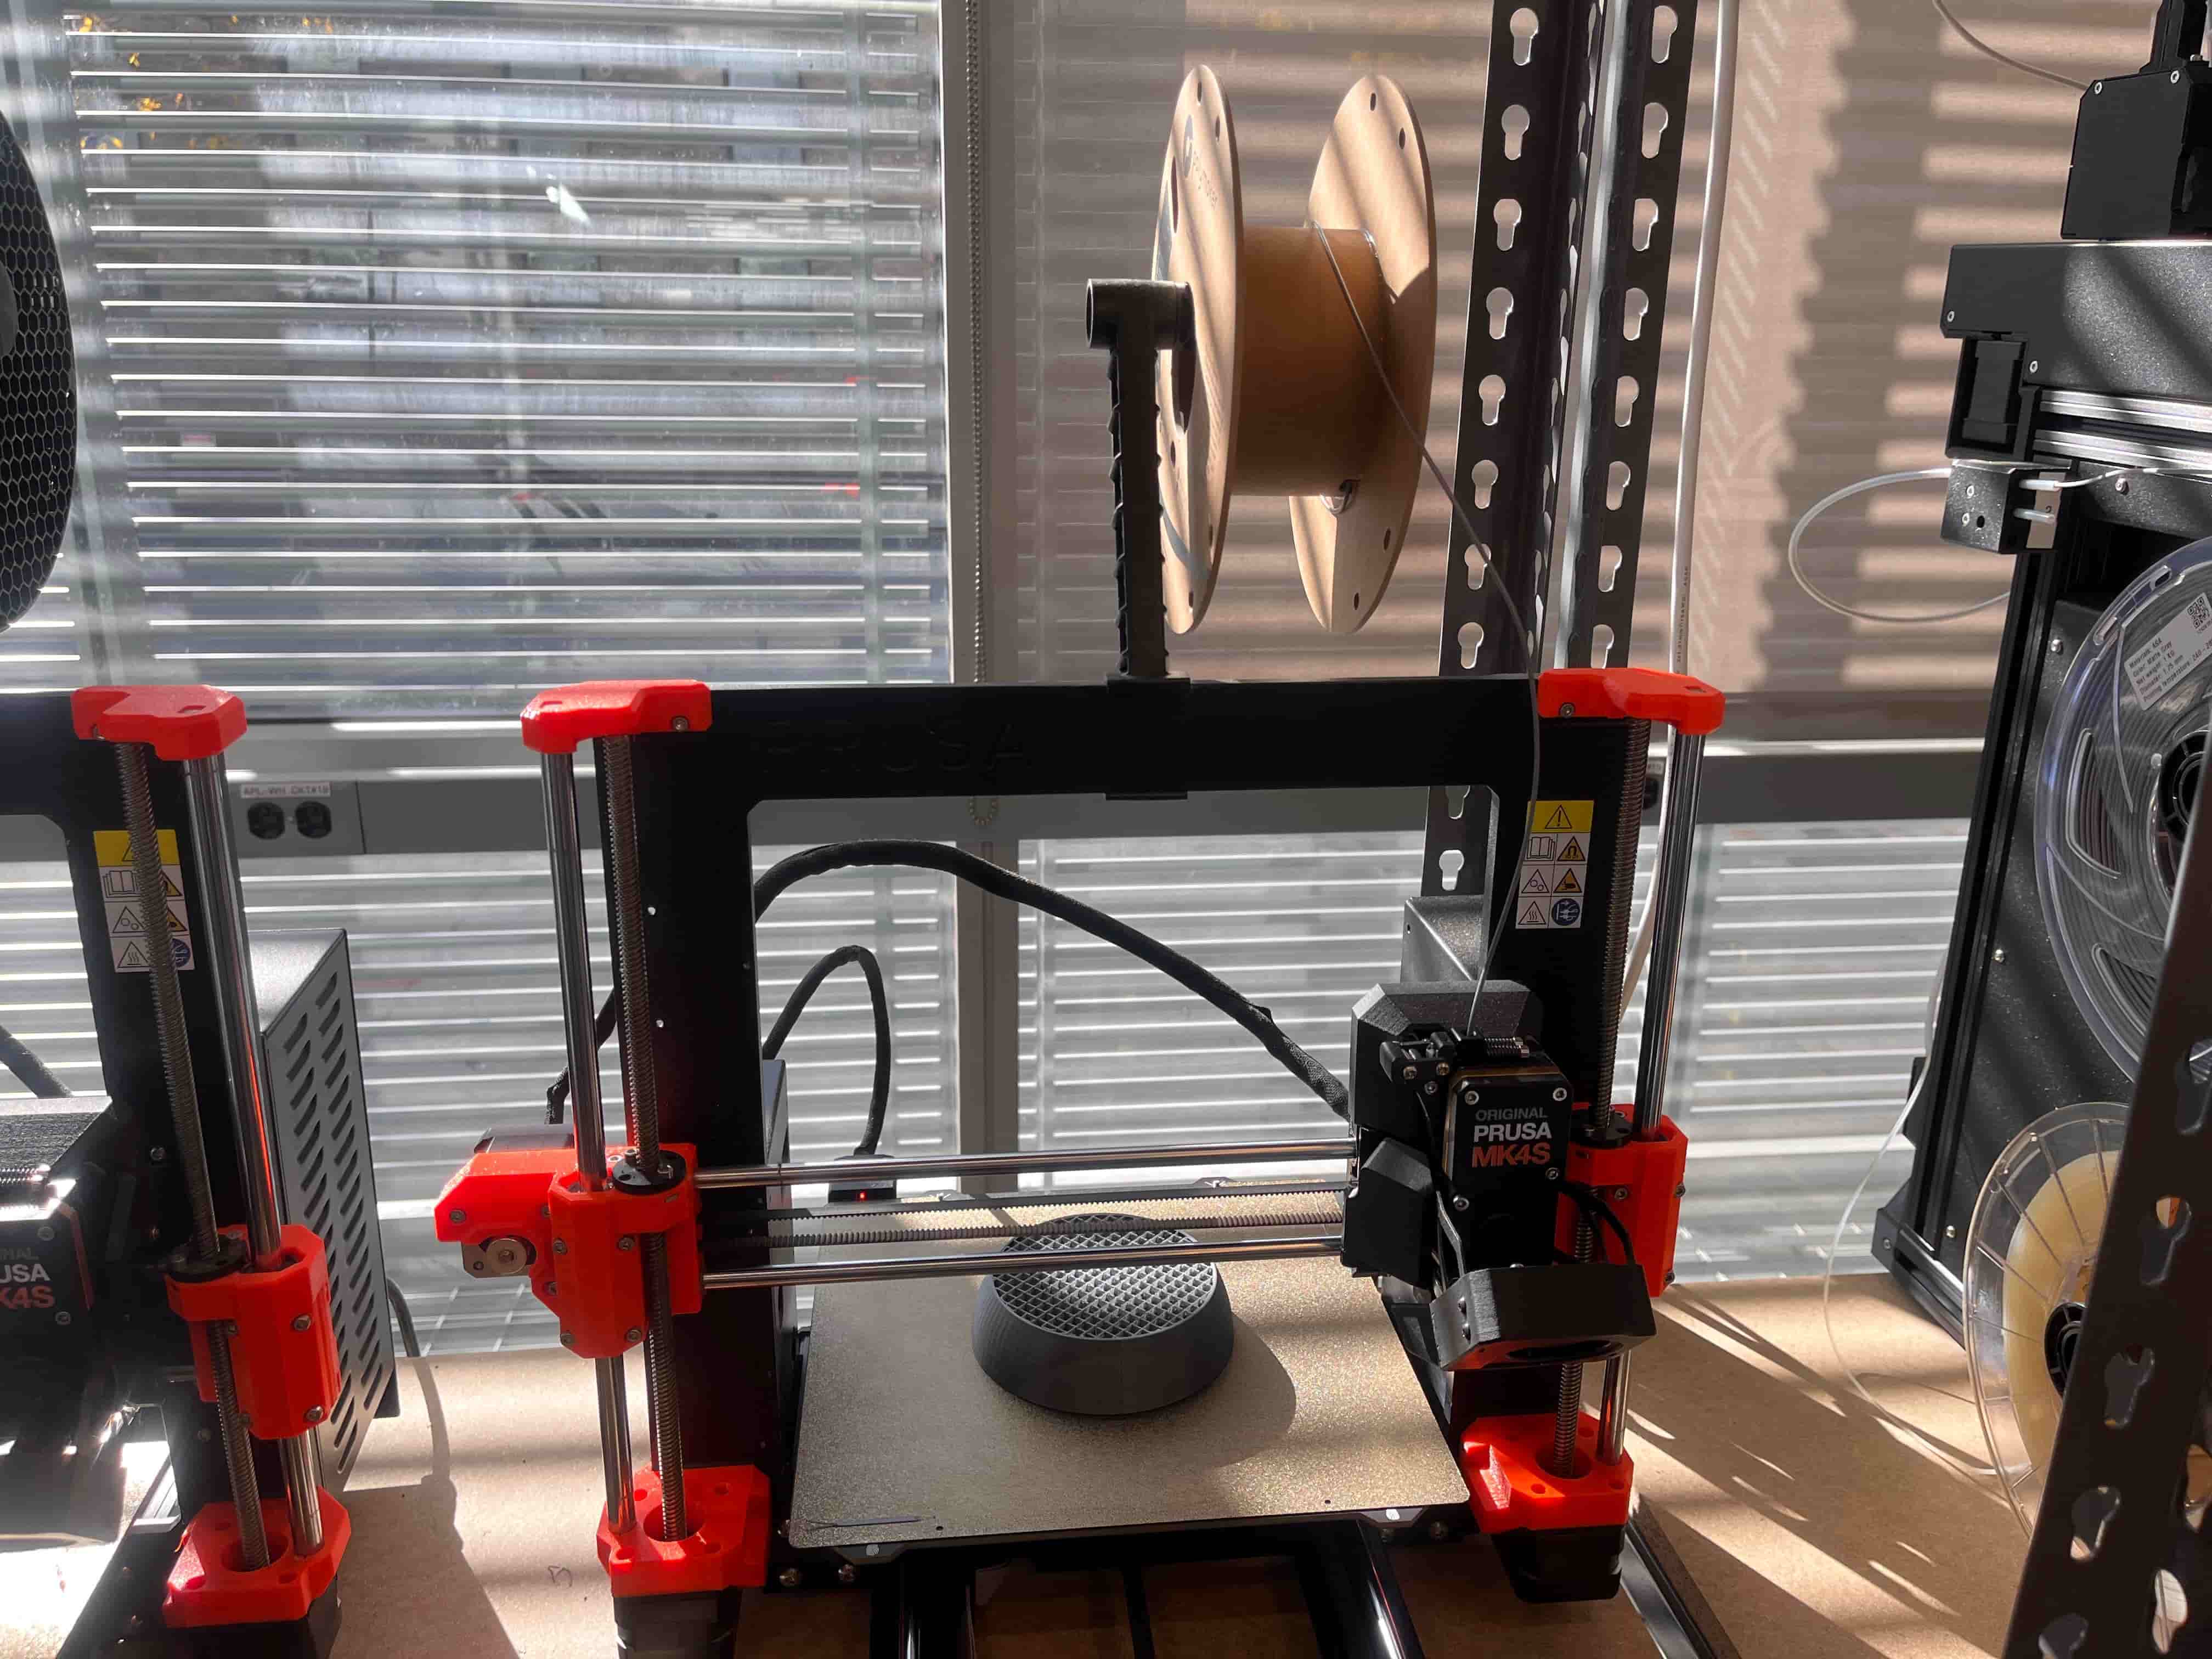
Then I brought it into Prusa and began printing on two machines! Unfortunately, in the middle of one the filament ran out, but I was able to wait until the first was finished, remove the filament from that machine, and bring it back up to finish the first. Once they were both done, I just hot-glued them together and clamped it until I thought it dried.
Also turned out pretty good!
Finishing Touches
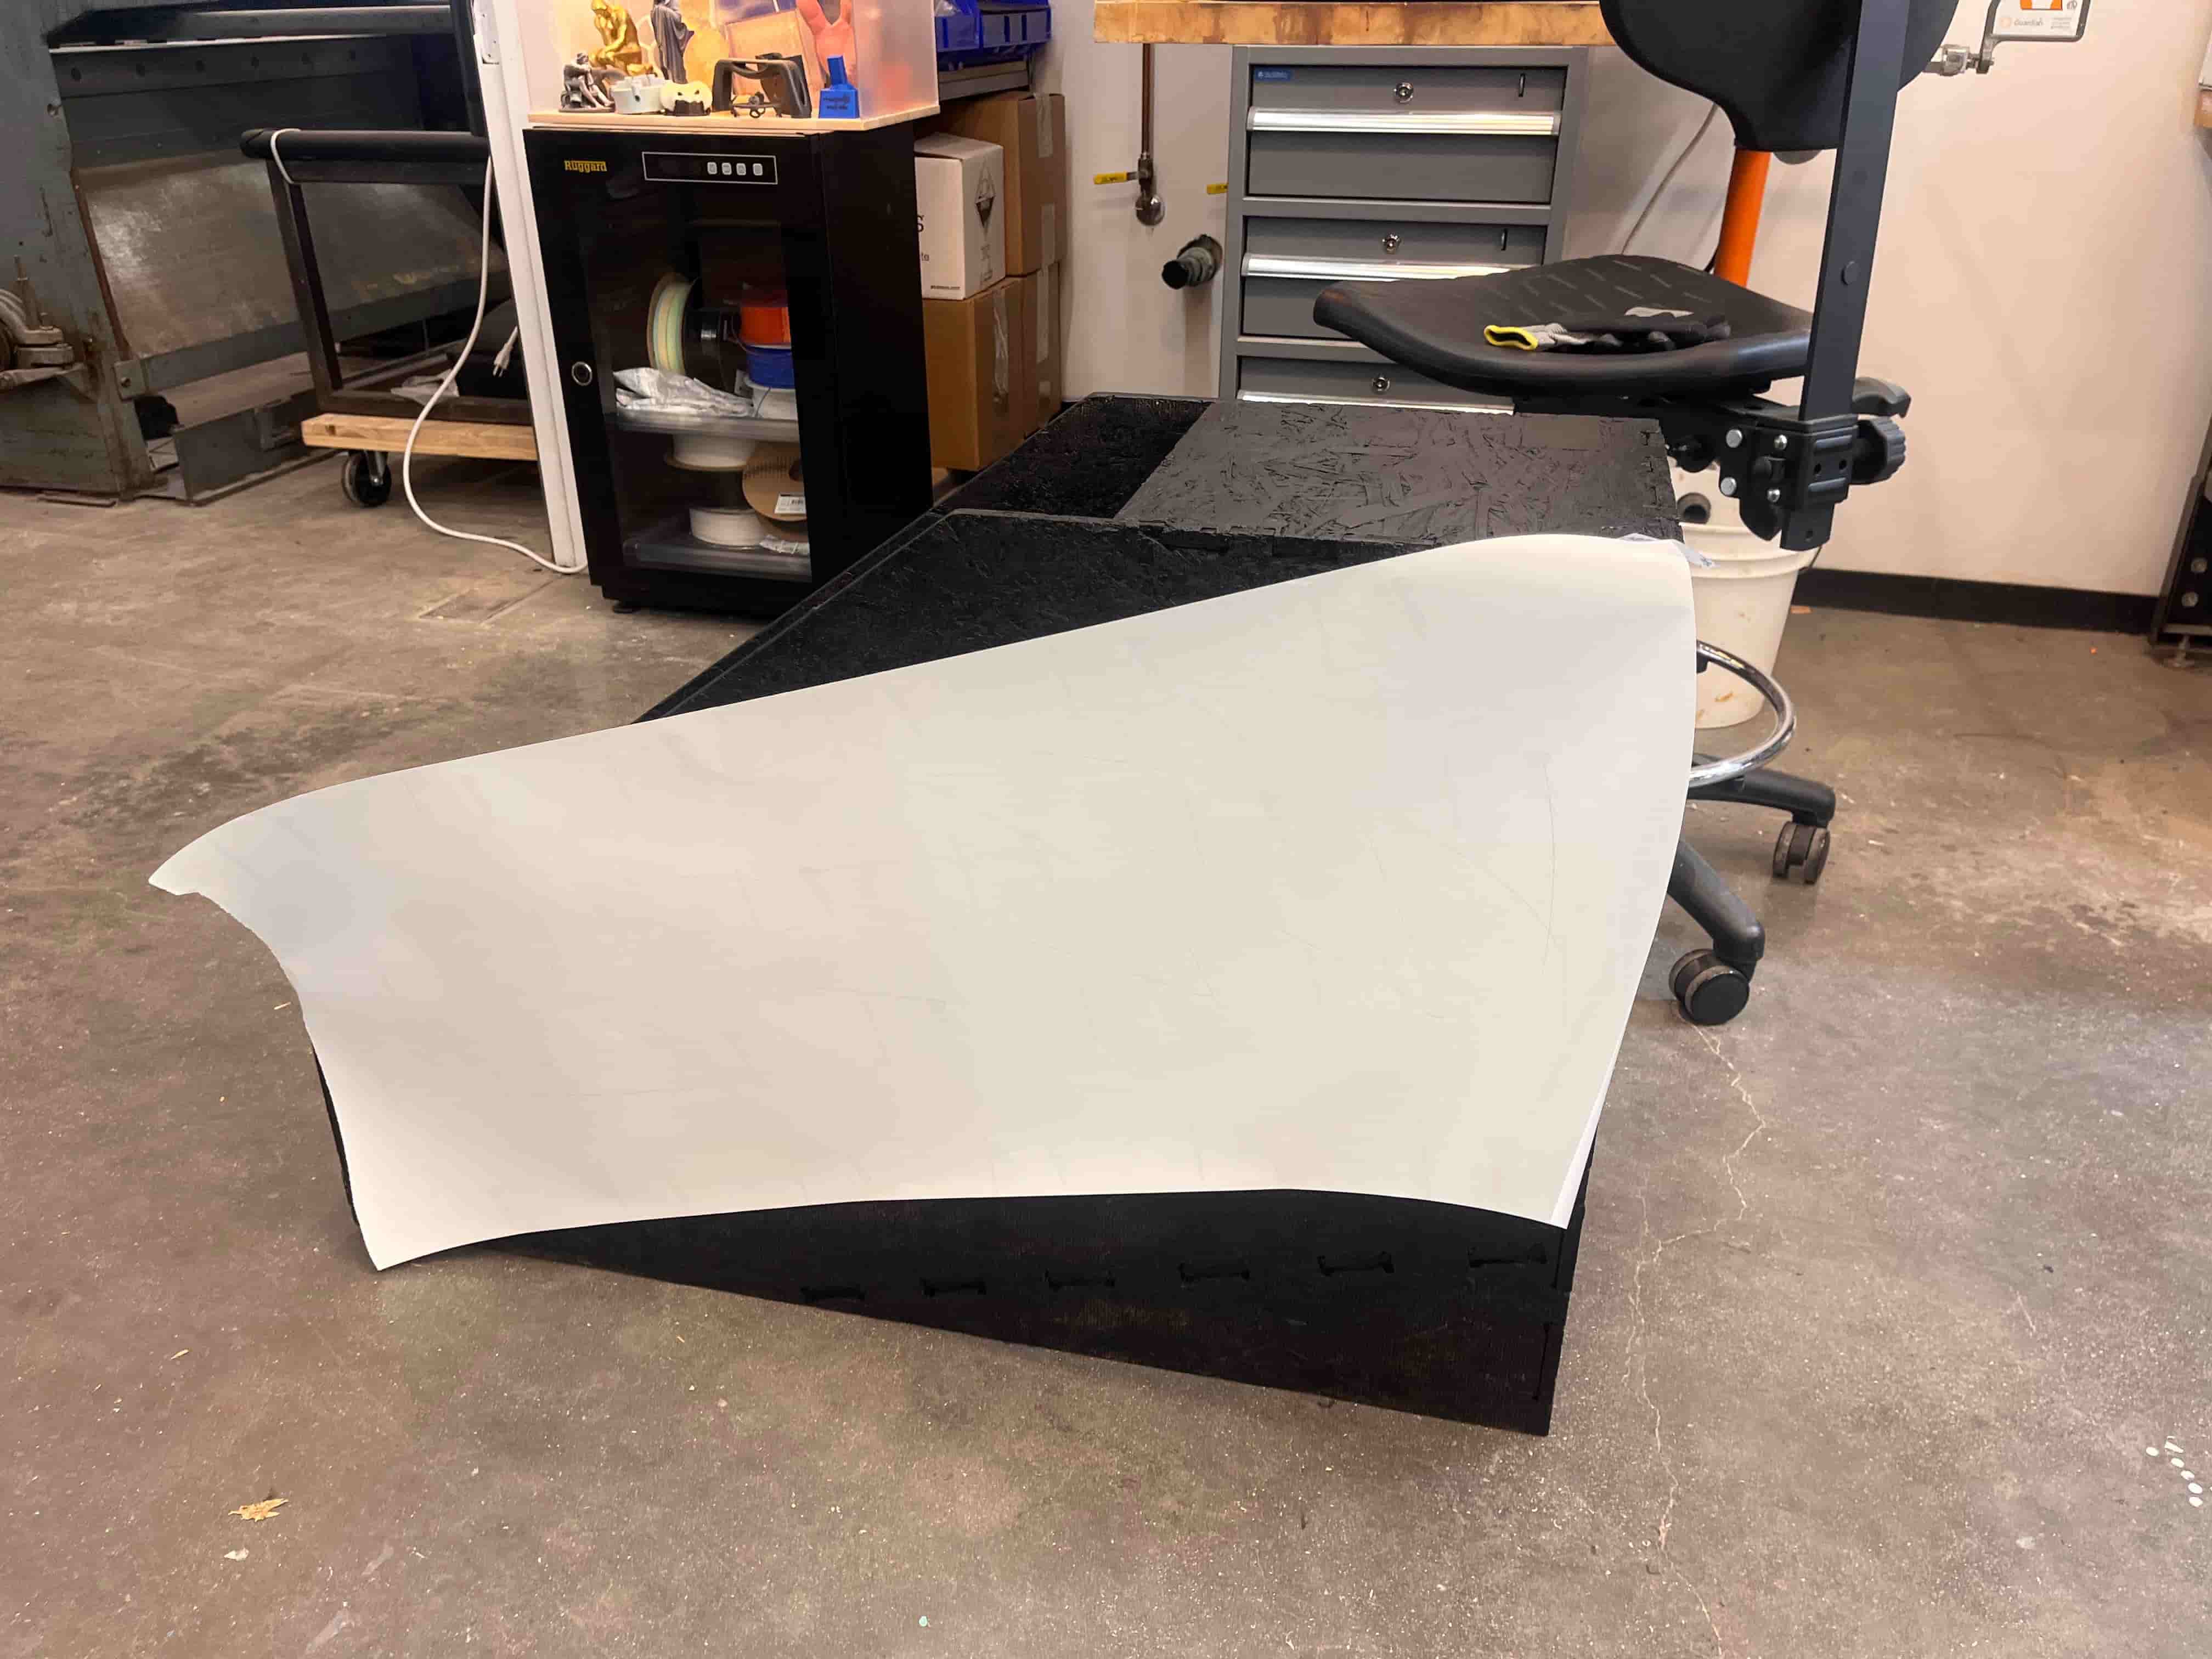
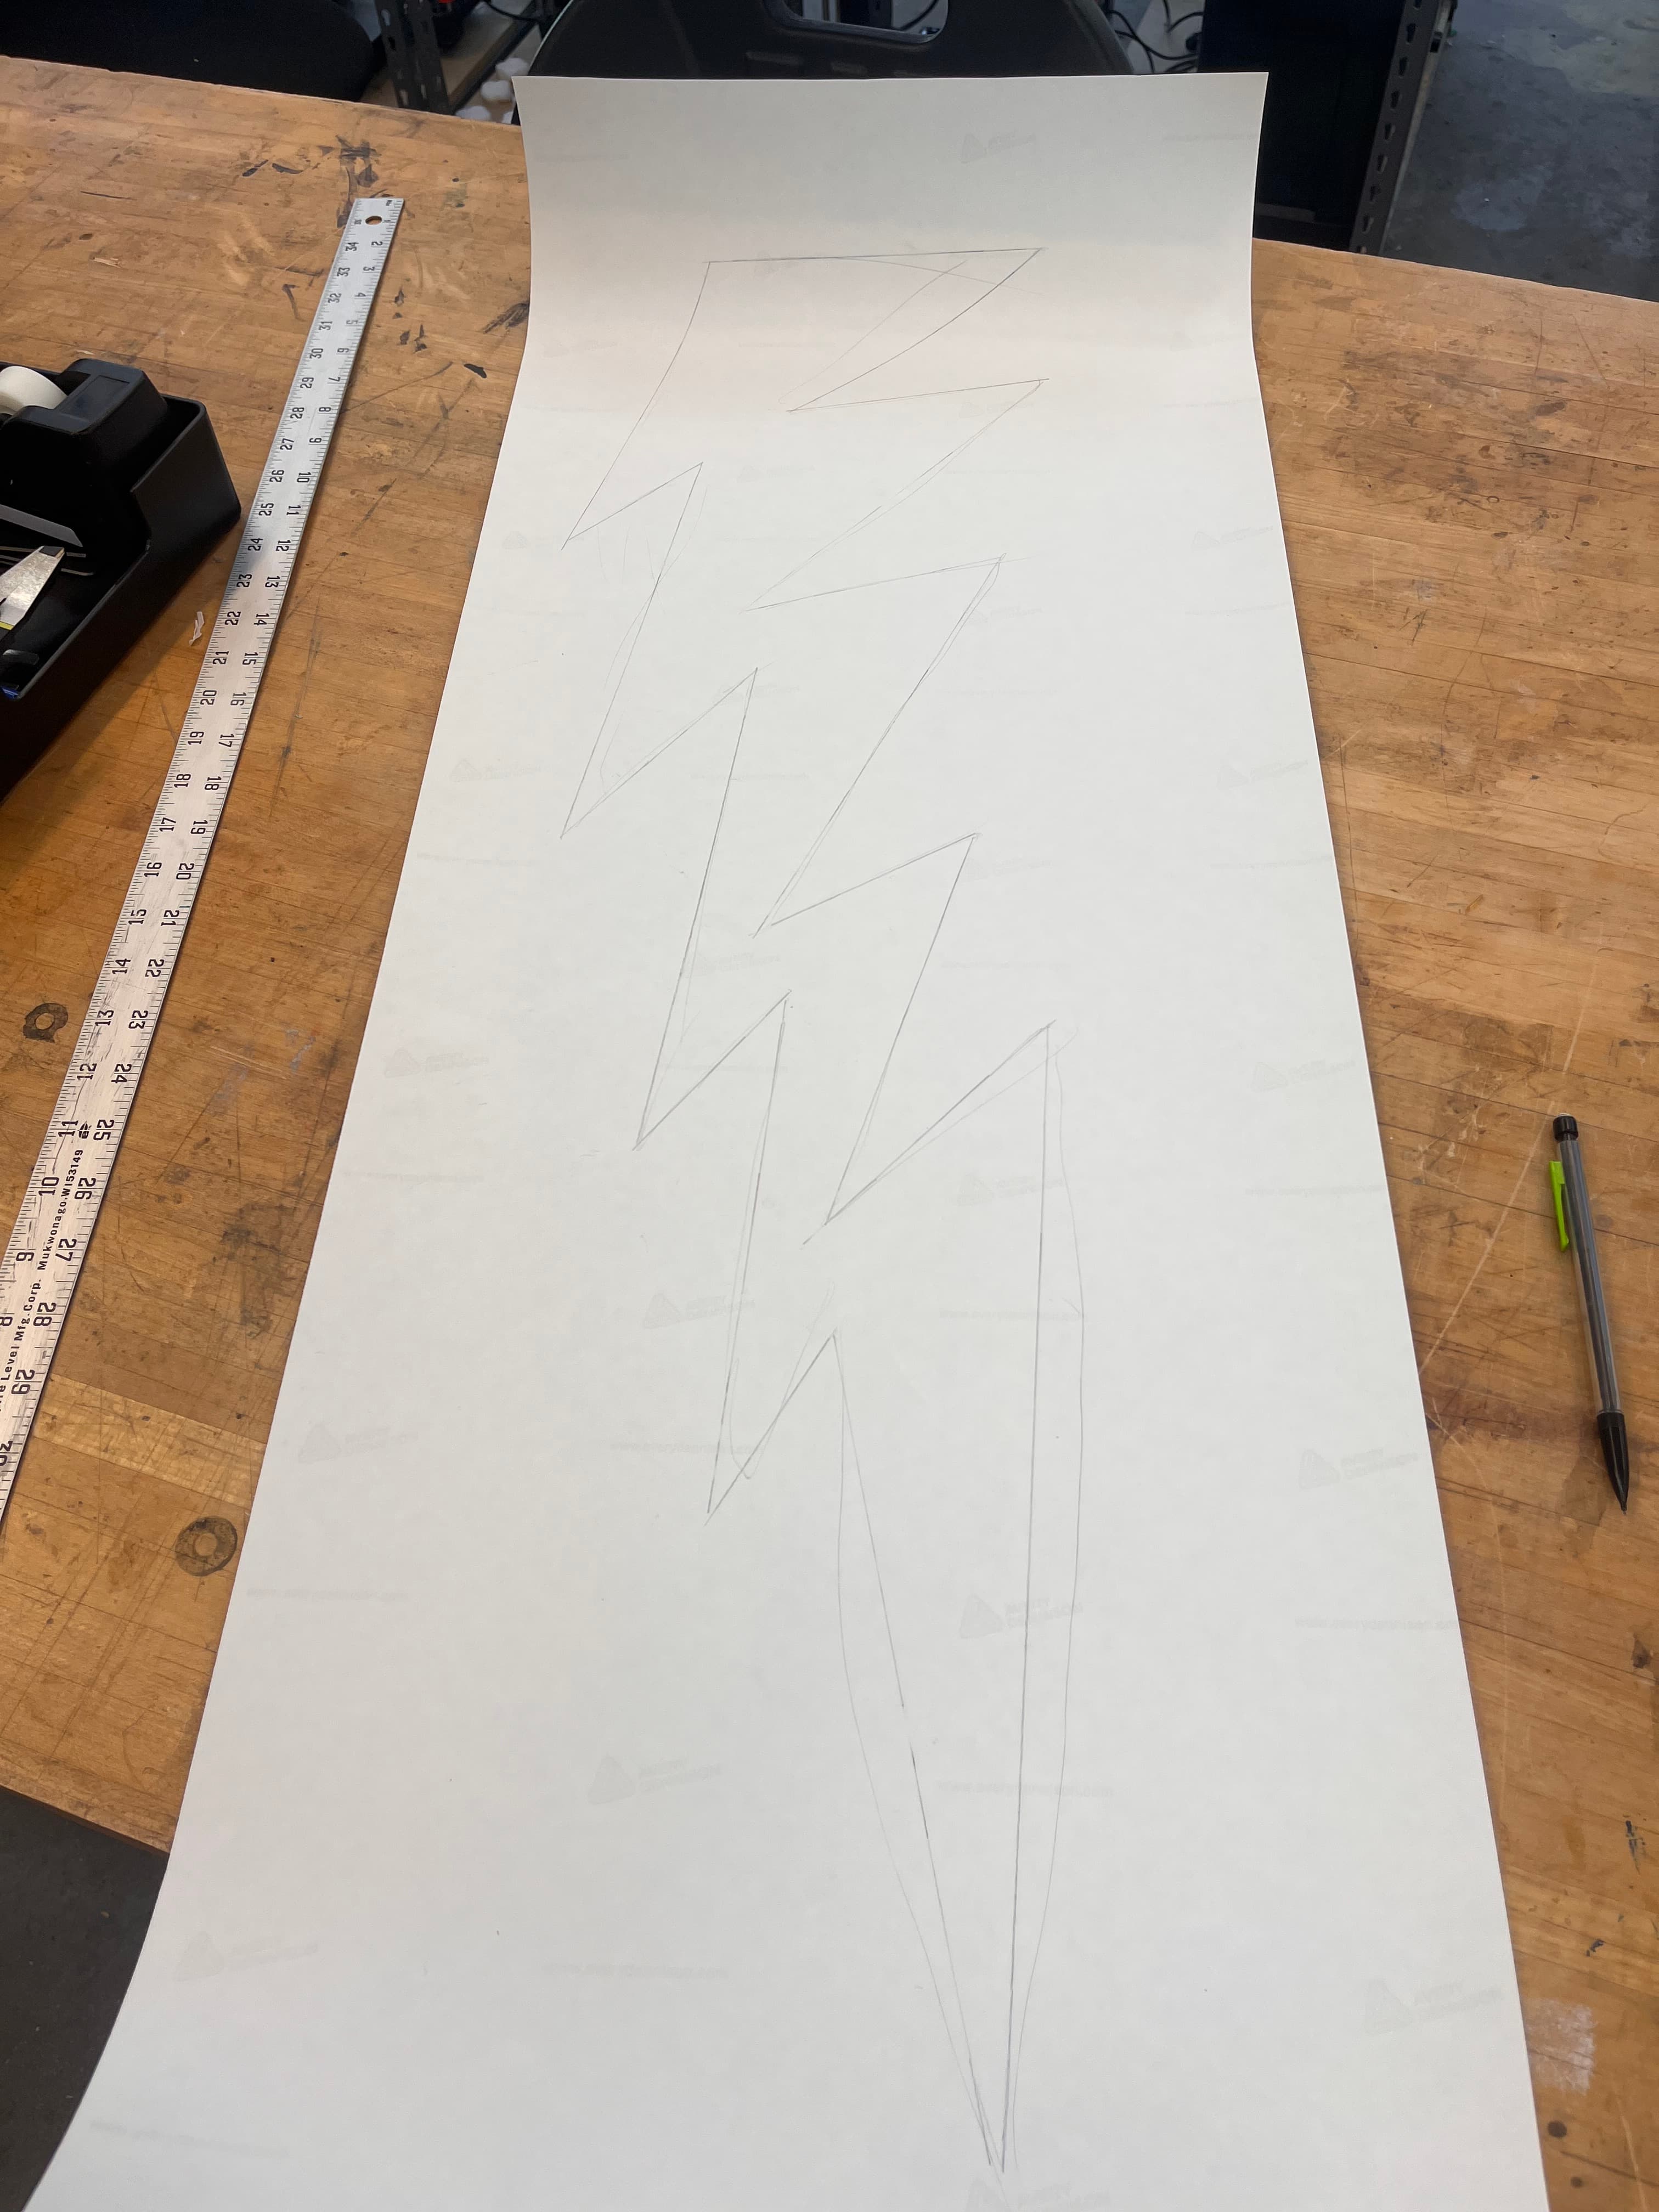
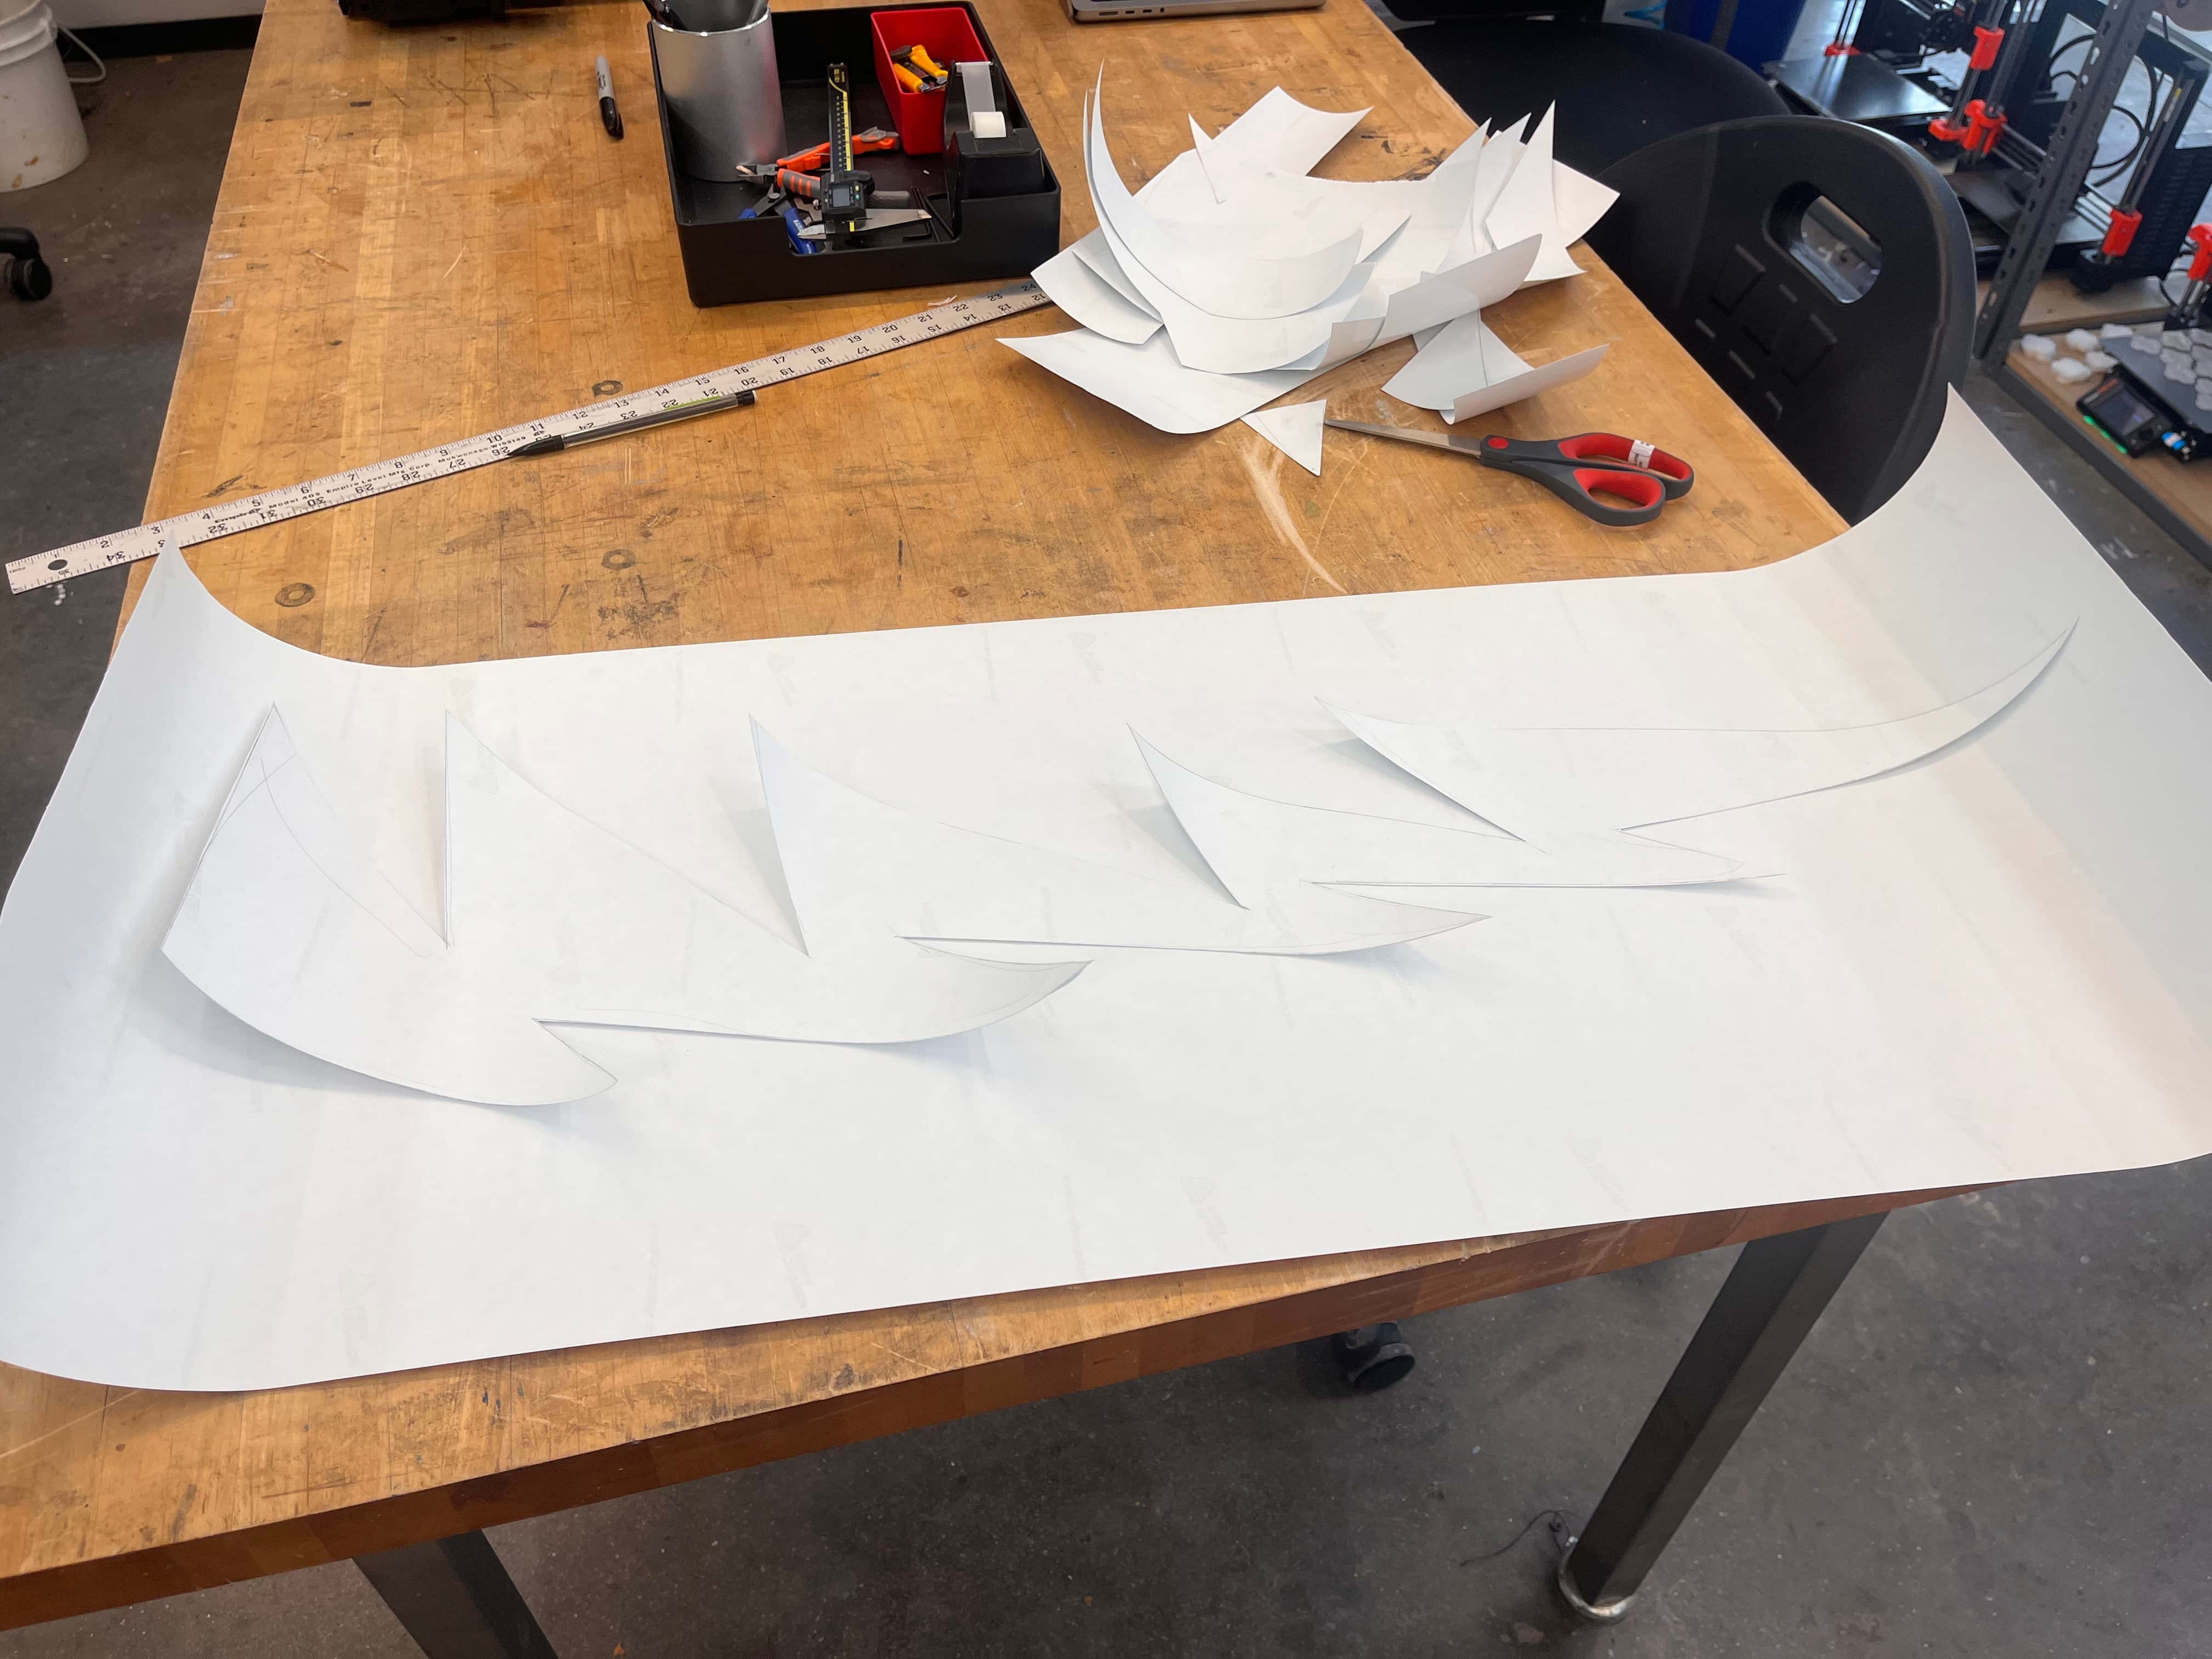
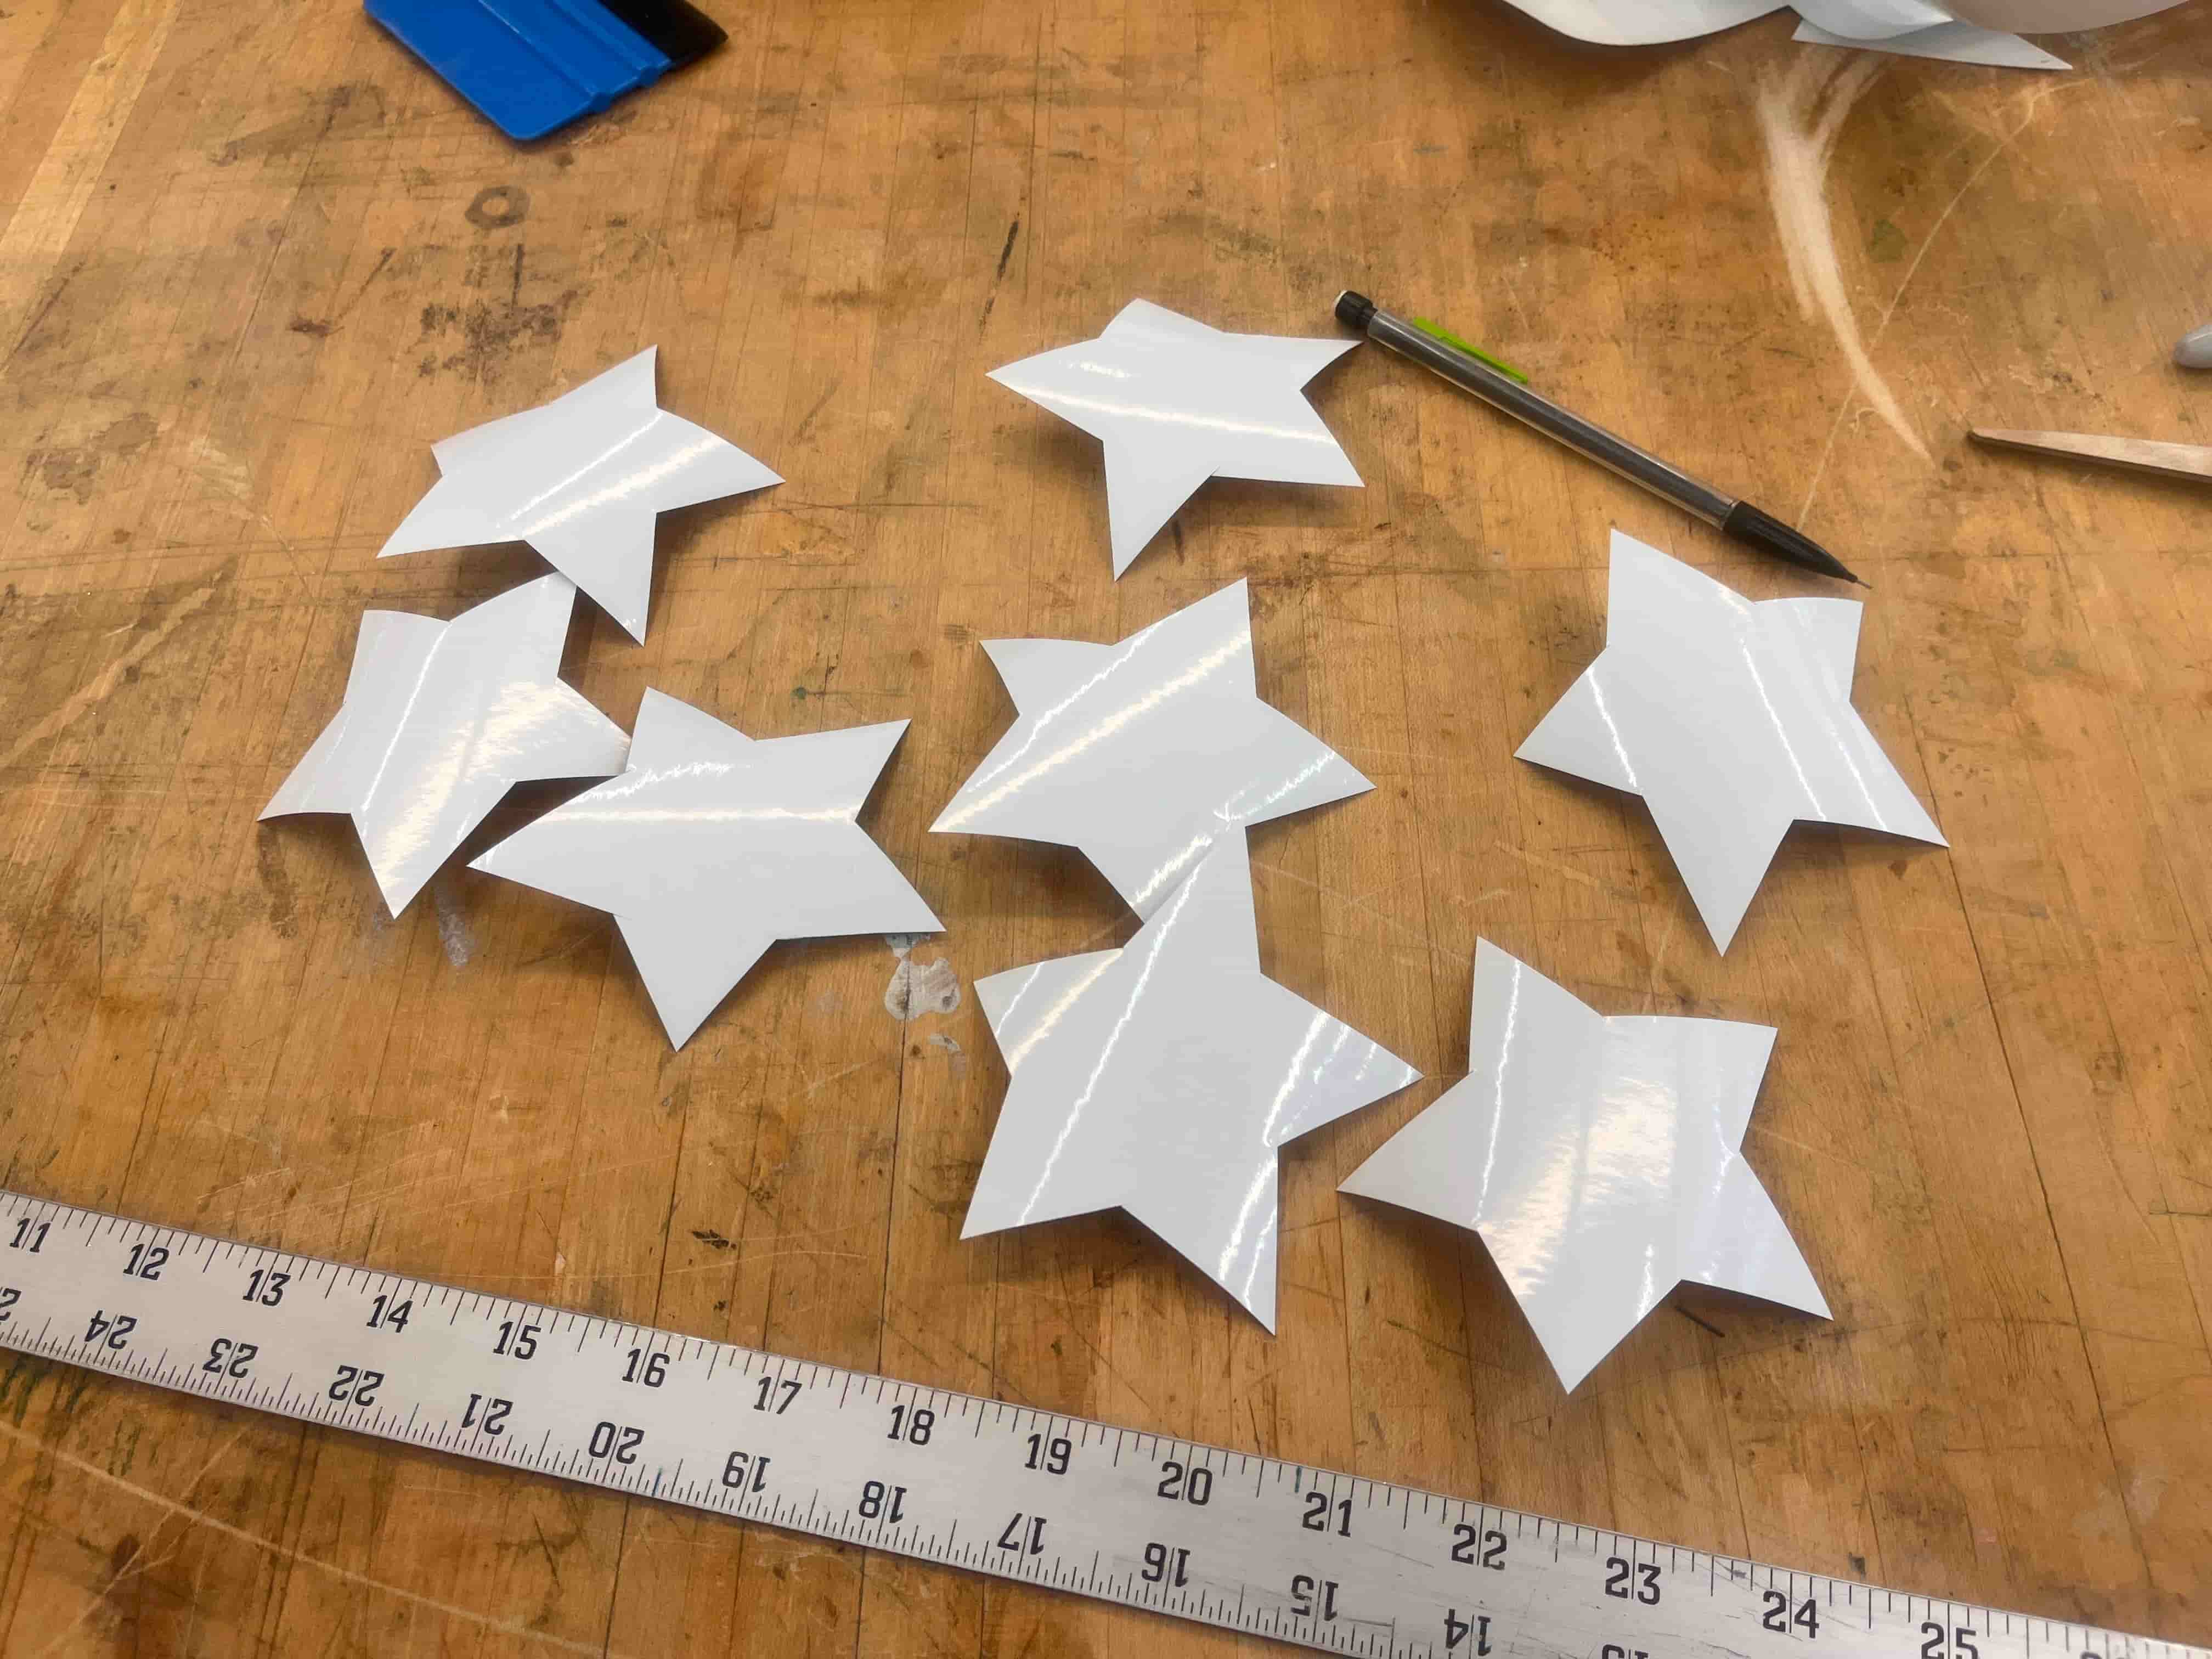
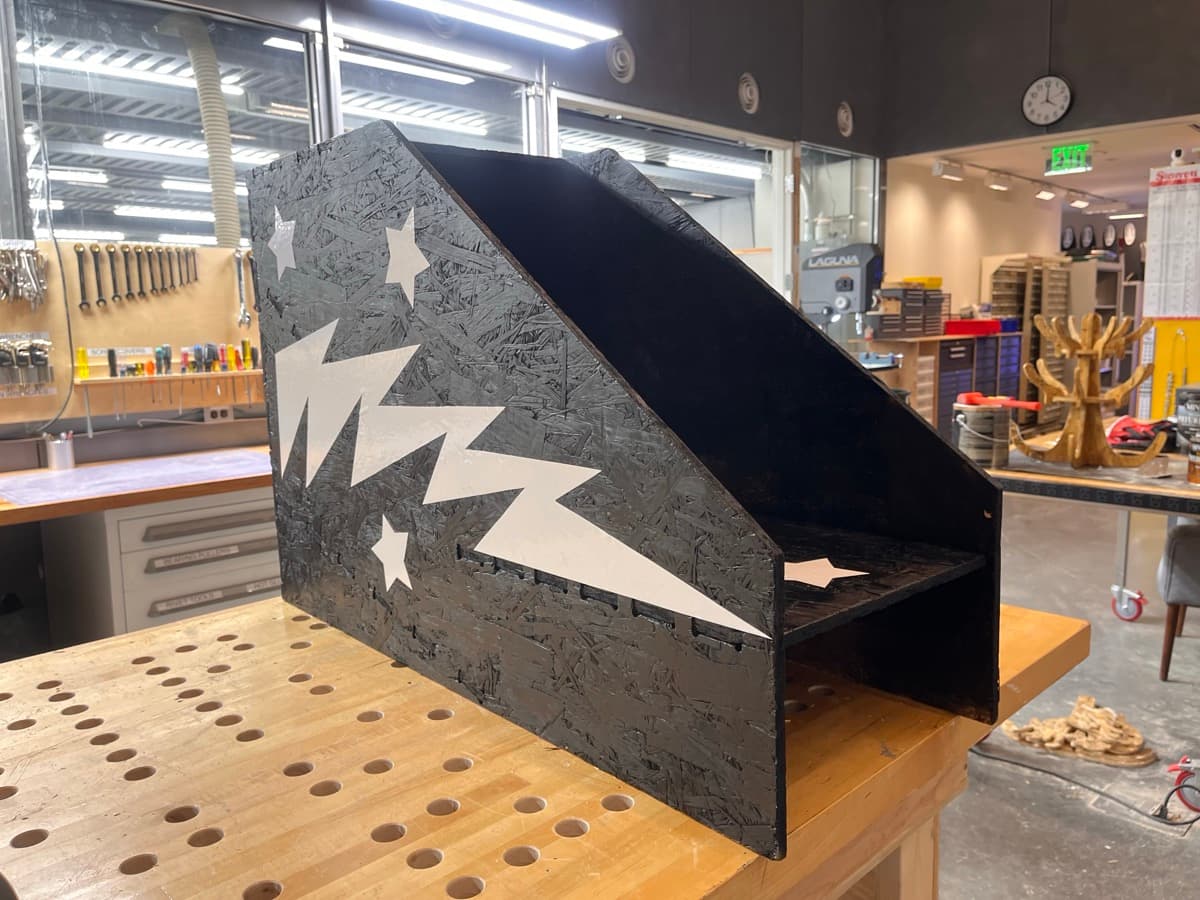
Now that I had all the pieces, and a wonderful painted structure with a ramp, I wanted to spruce it up a bit. I cut out some vinyl, taped it to the side, sketched out a lightning bolt, hand cut it with scissors, used it to trace another matching one on another piece of vinyl –– technically a mistake - you want to mirror it! but whateva it's still cool –– and cut out some stars from the scrap vinyl.
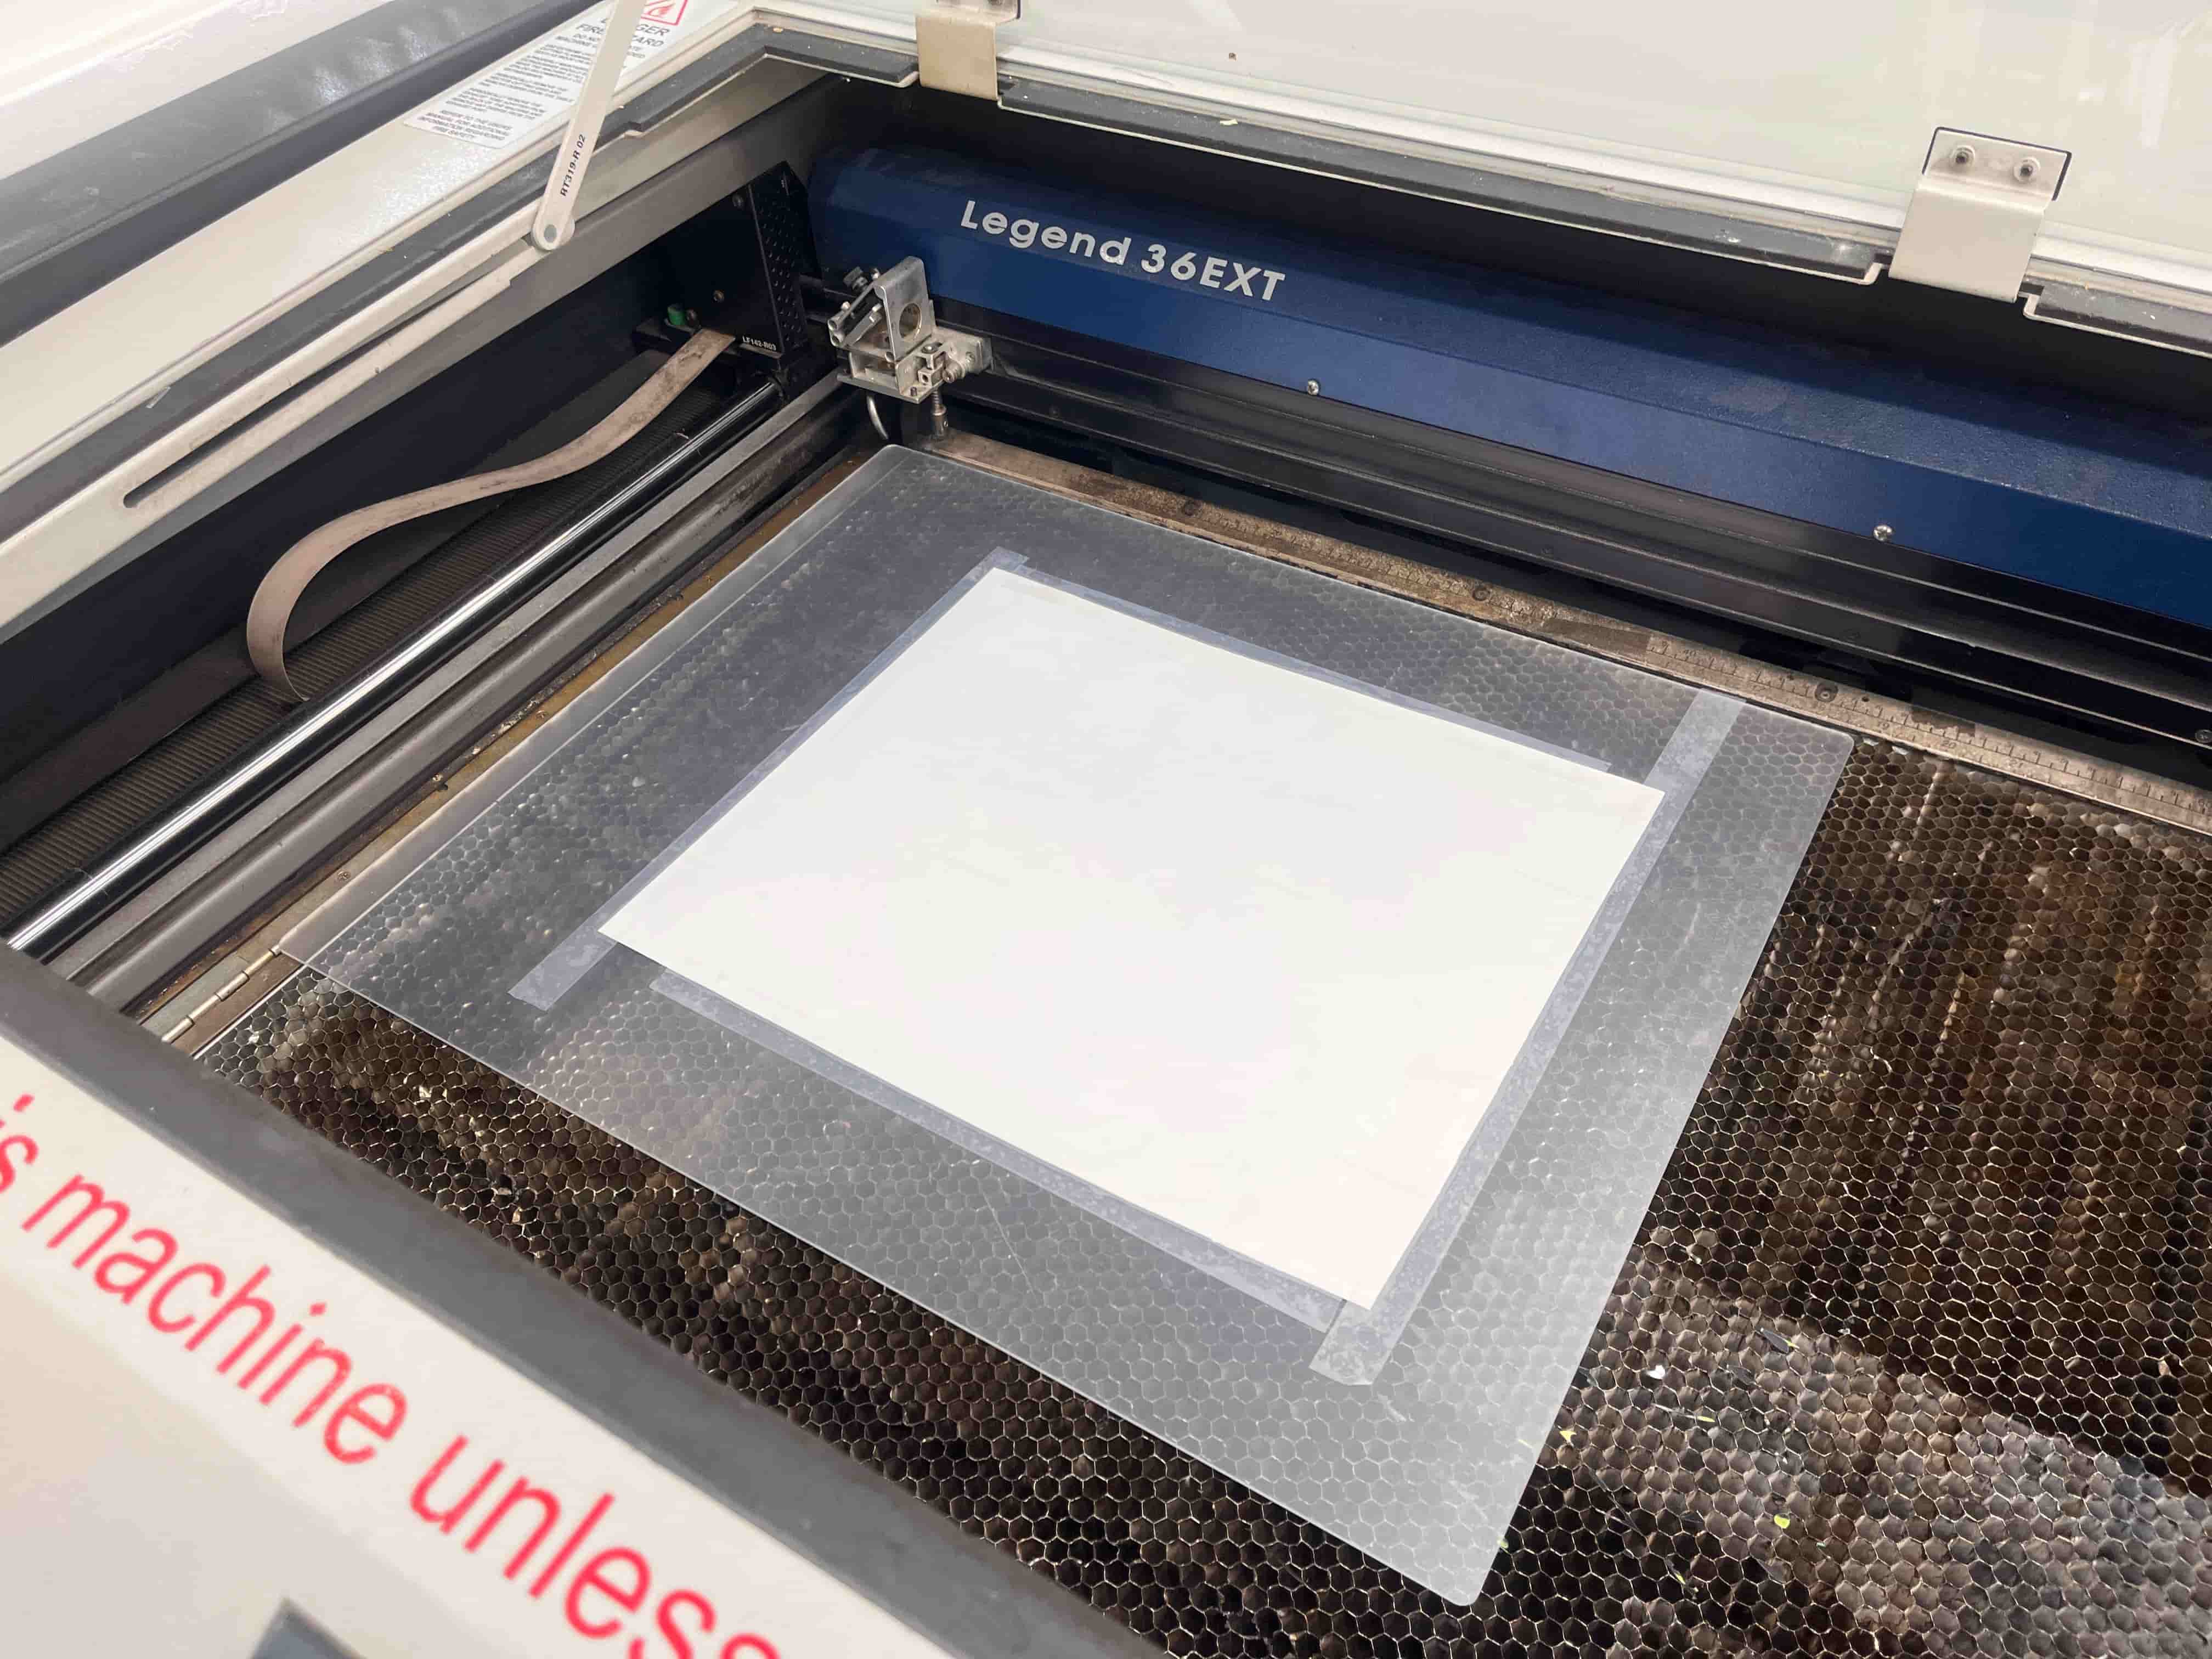
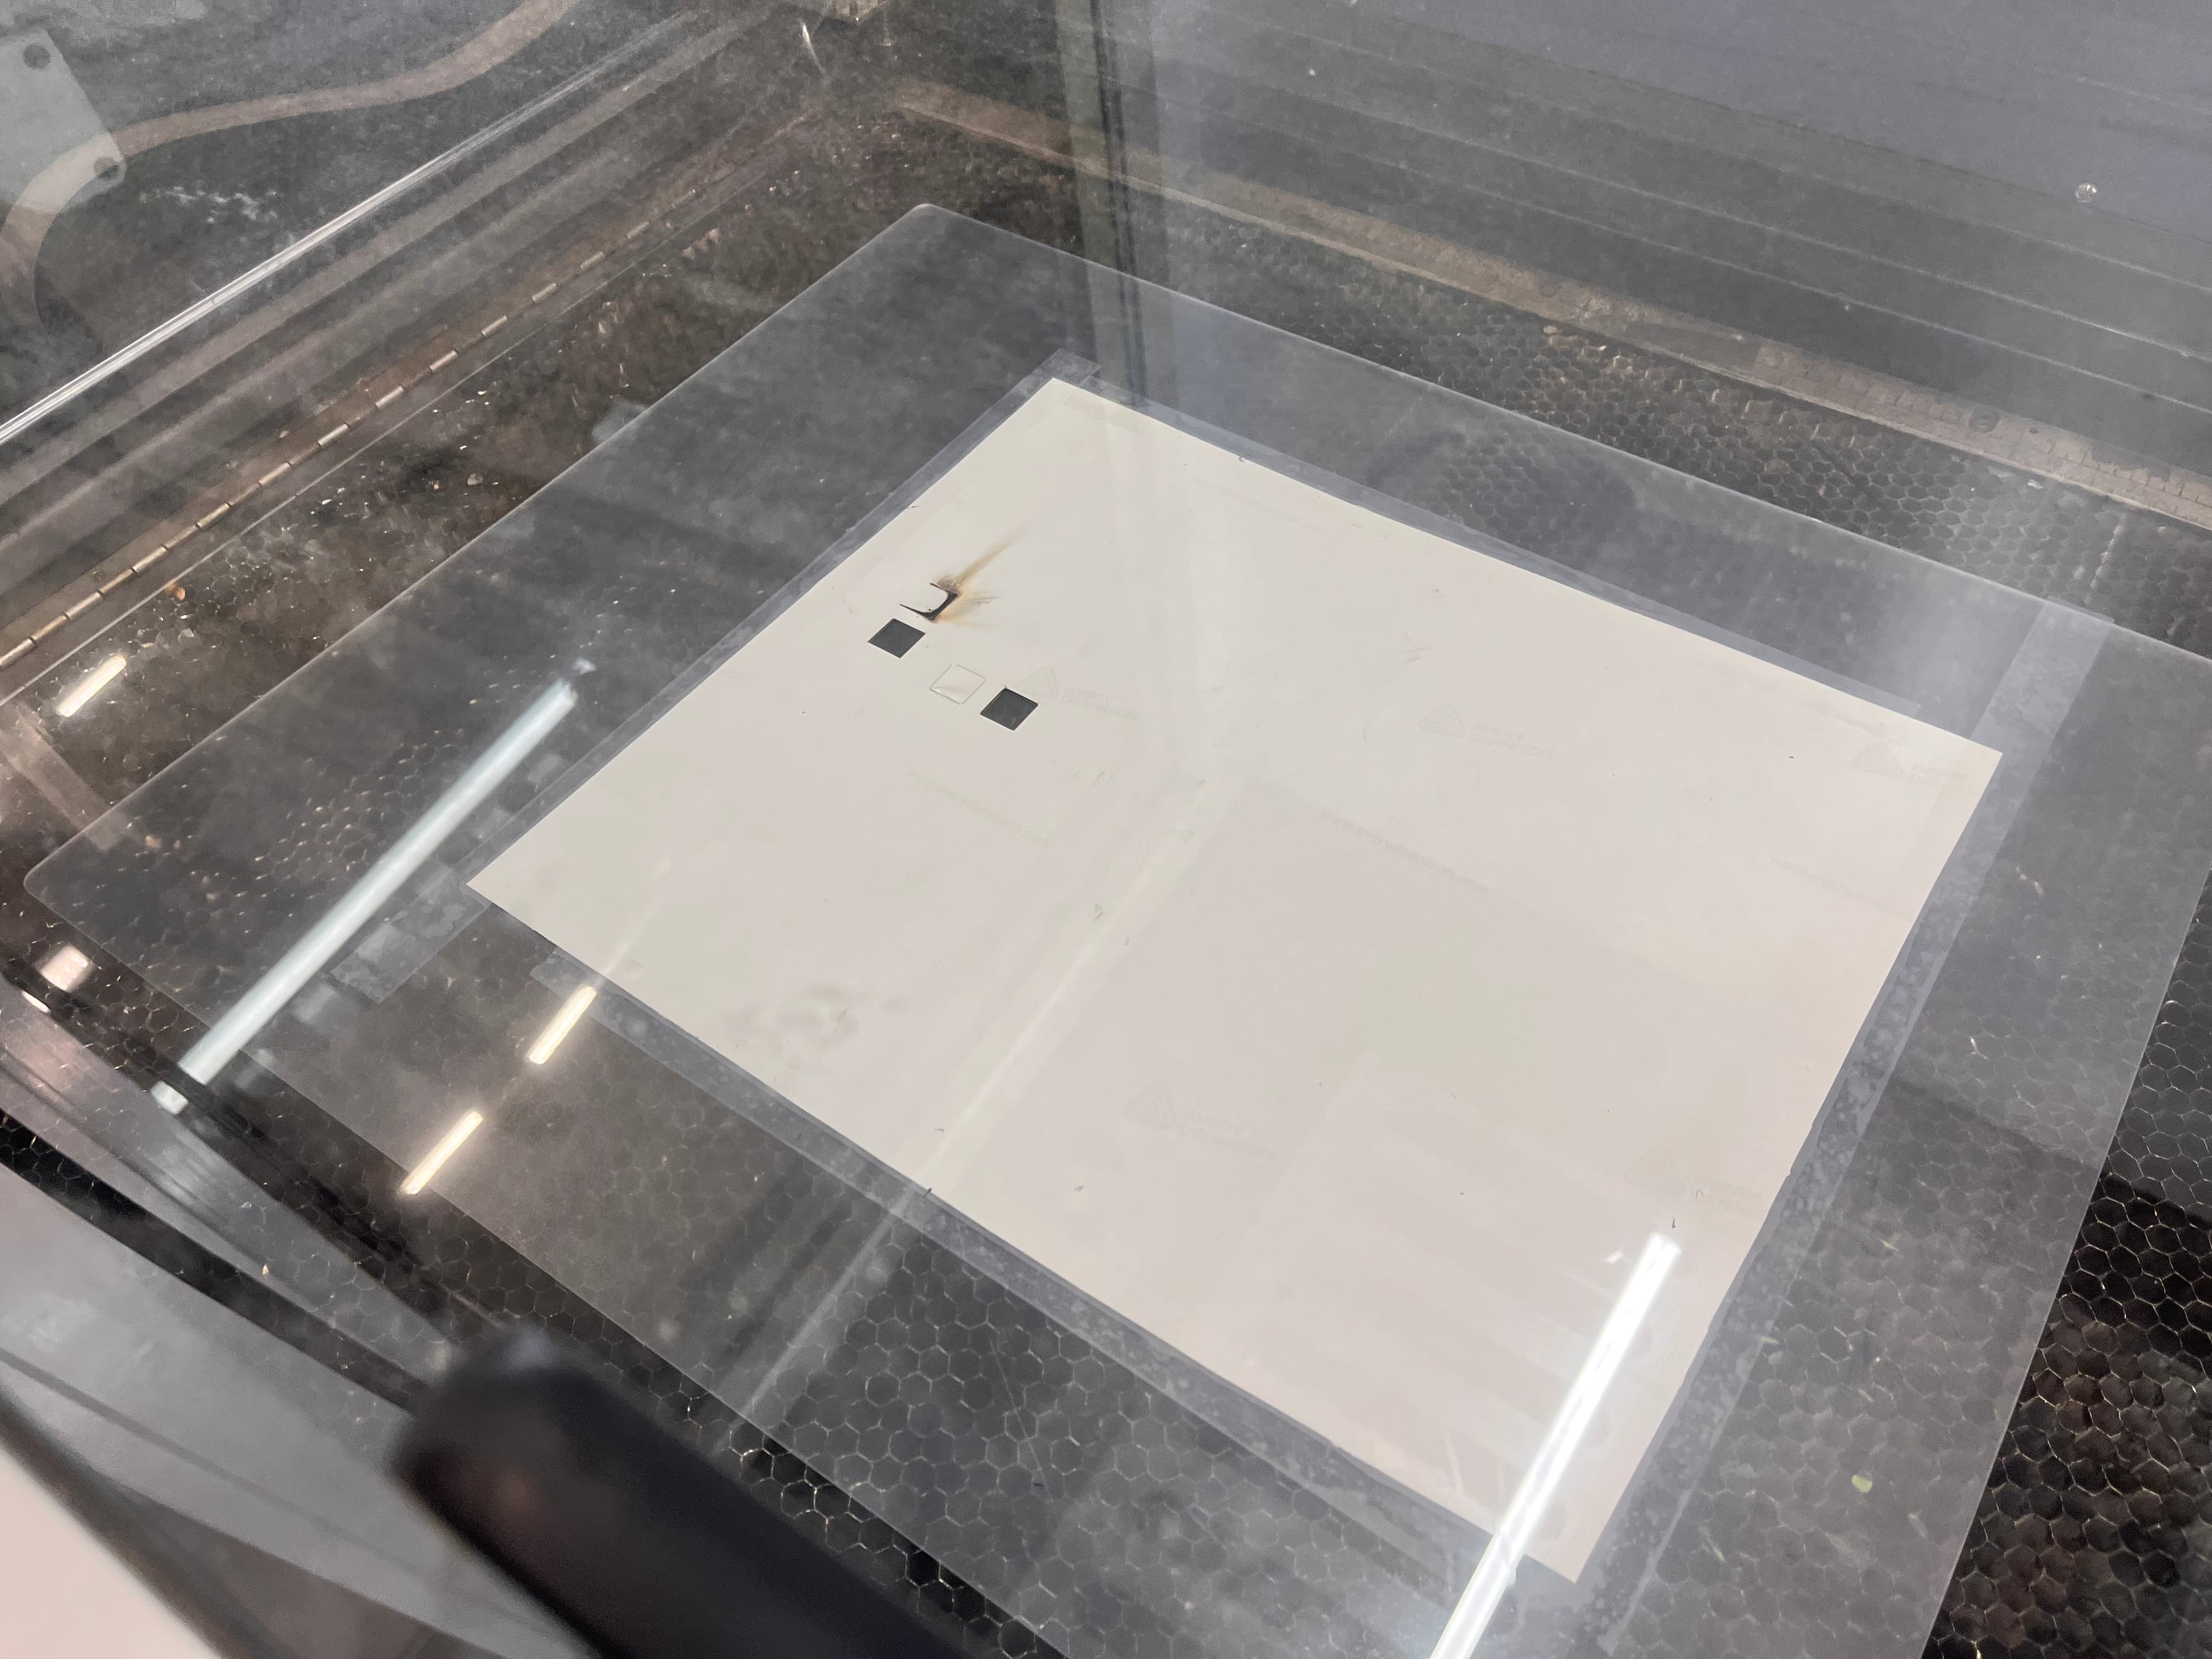
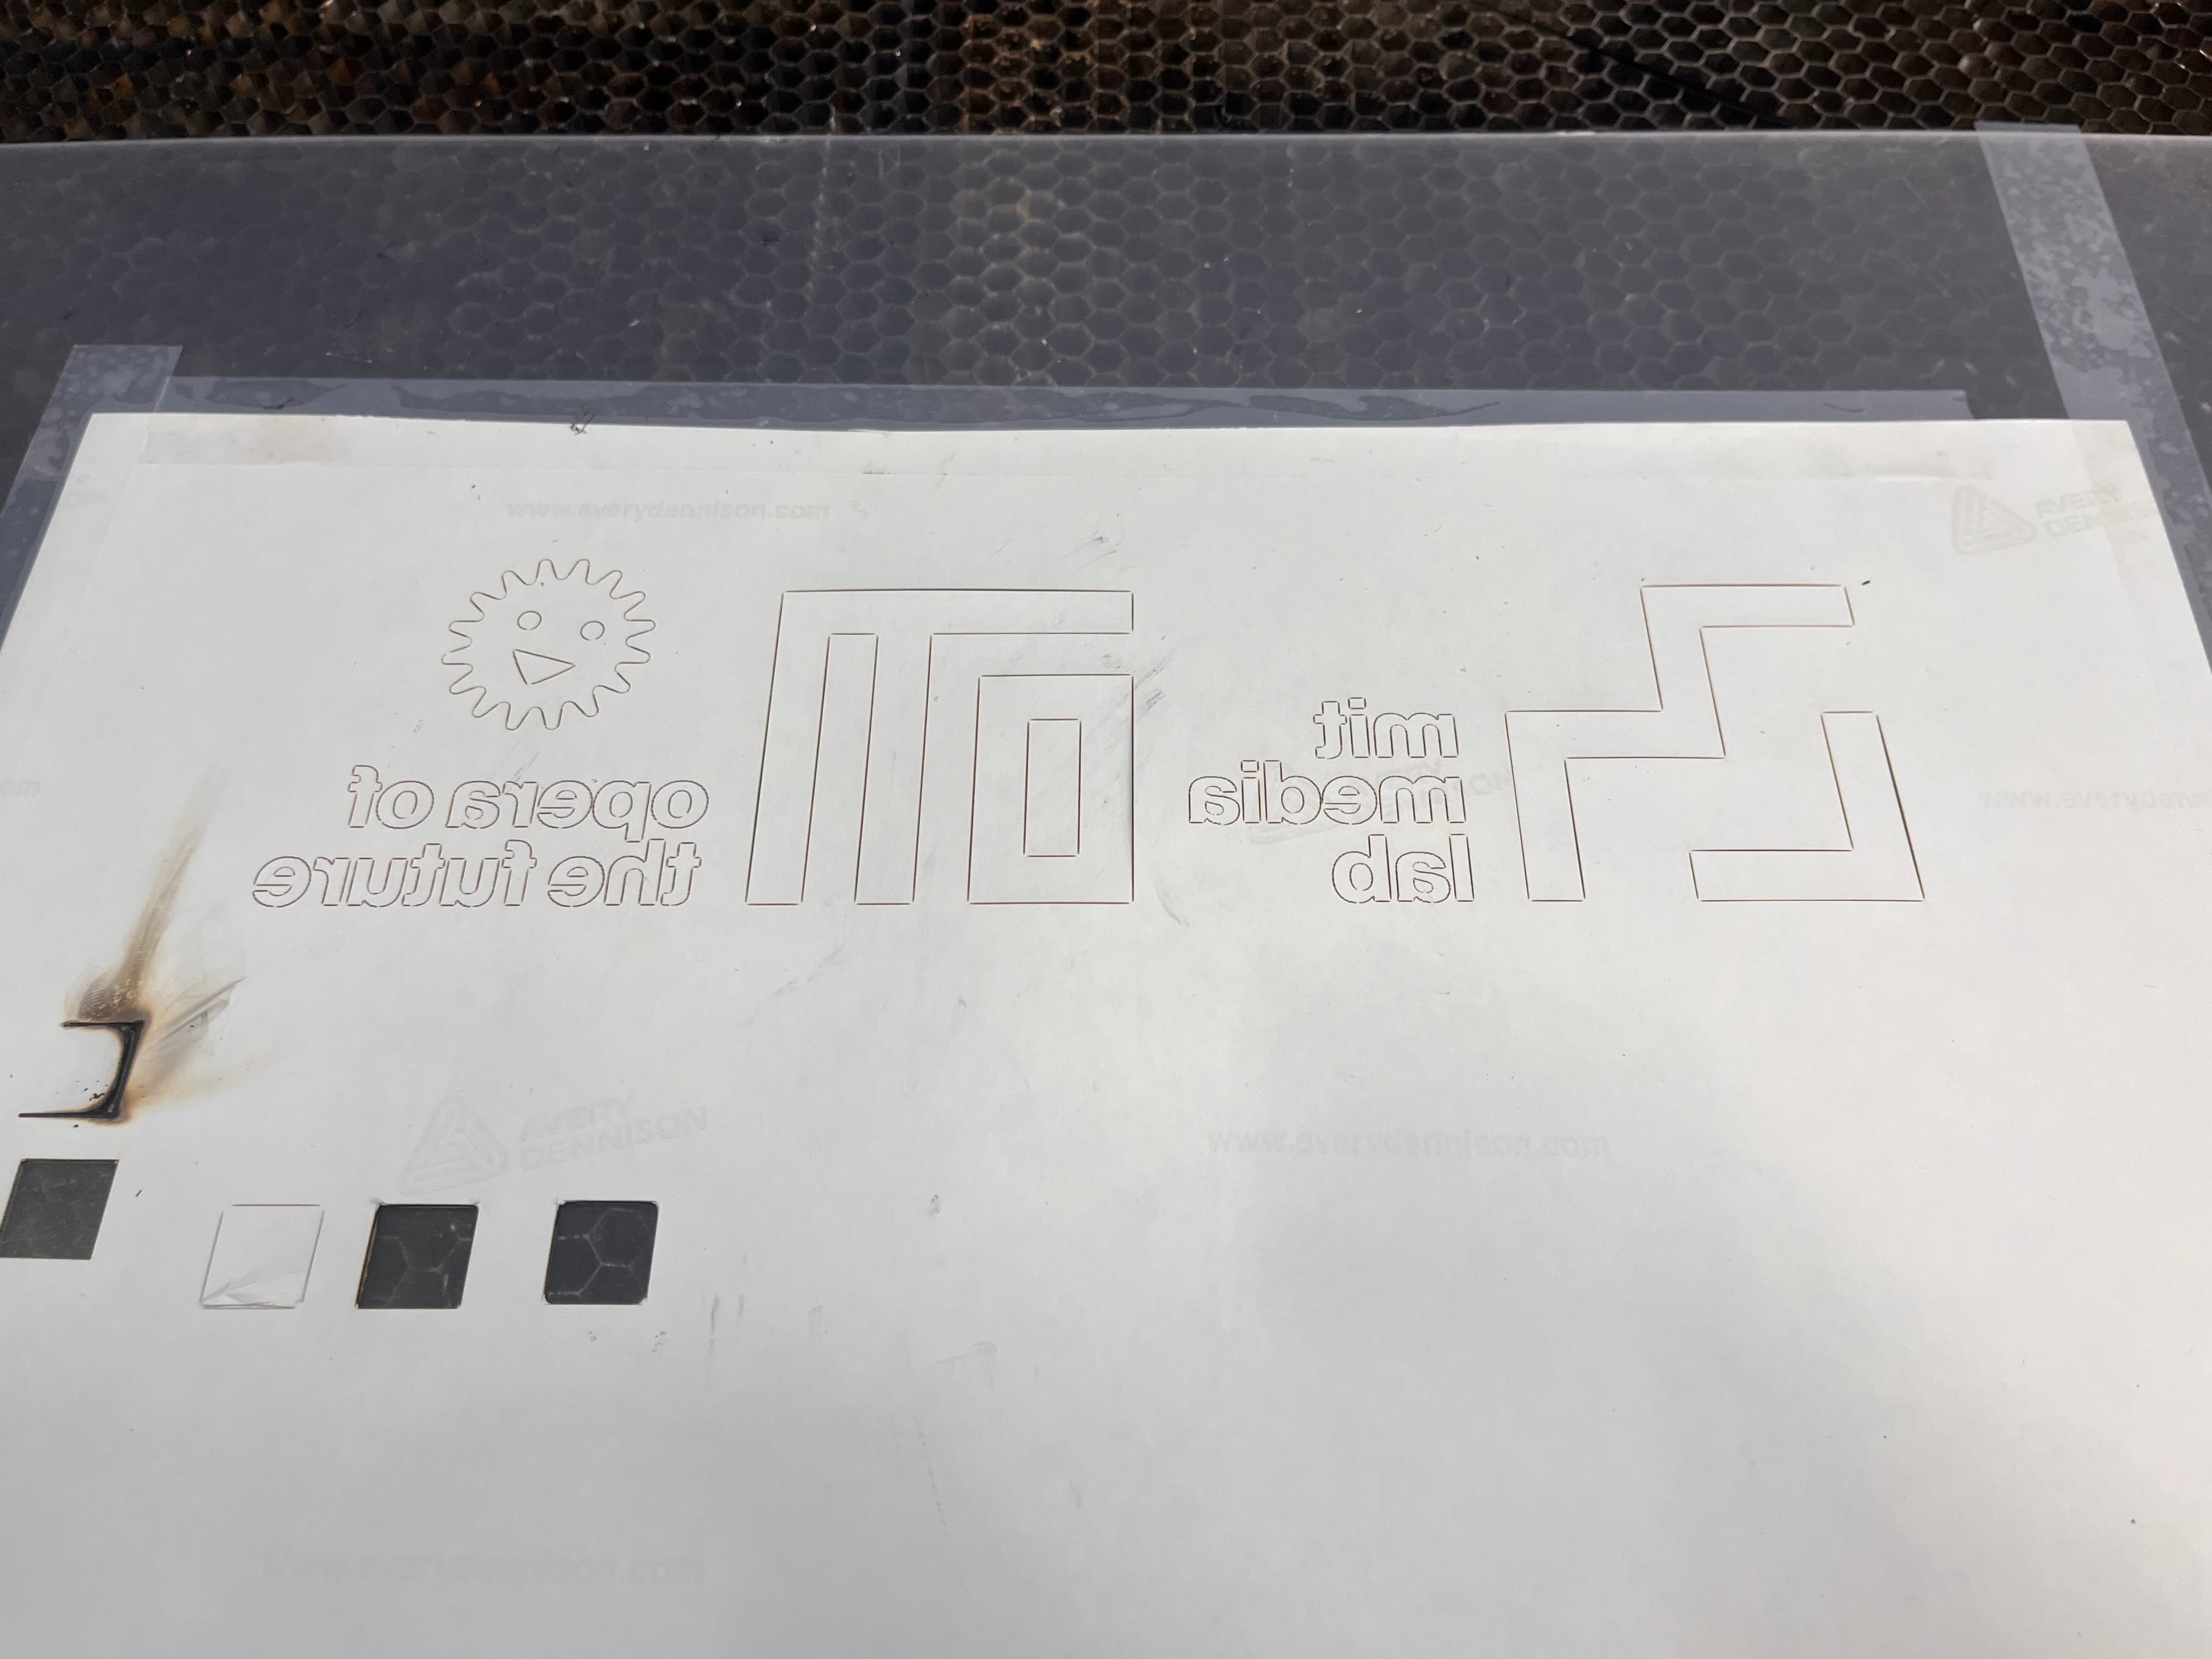
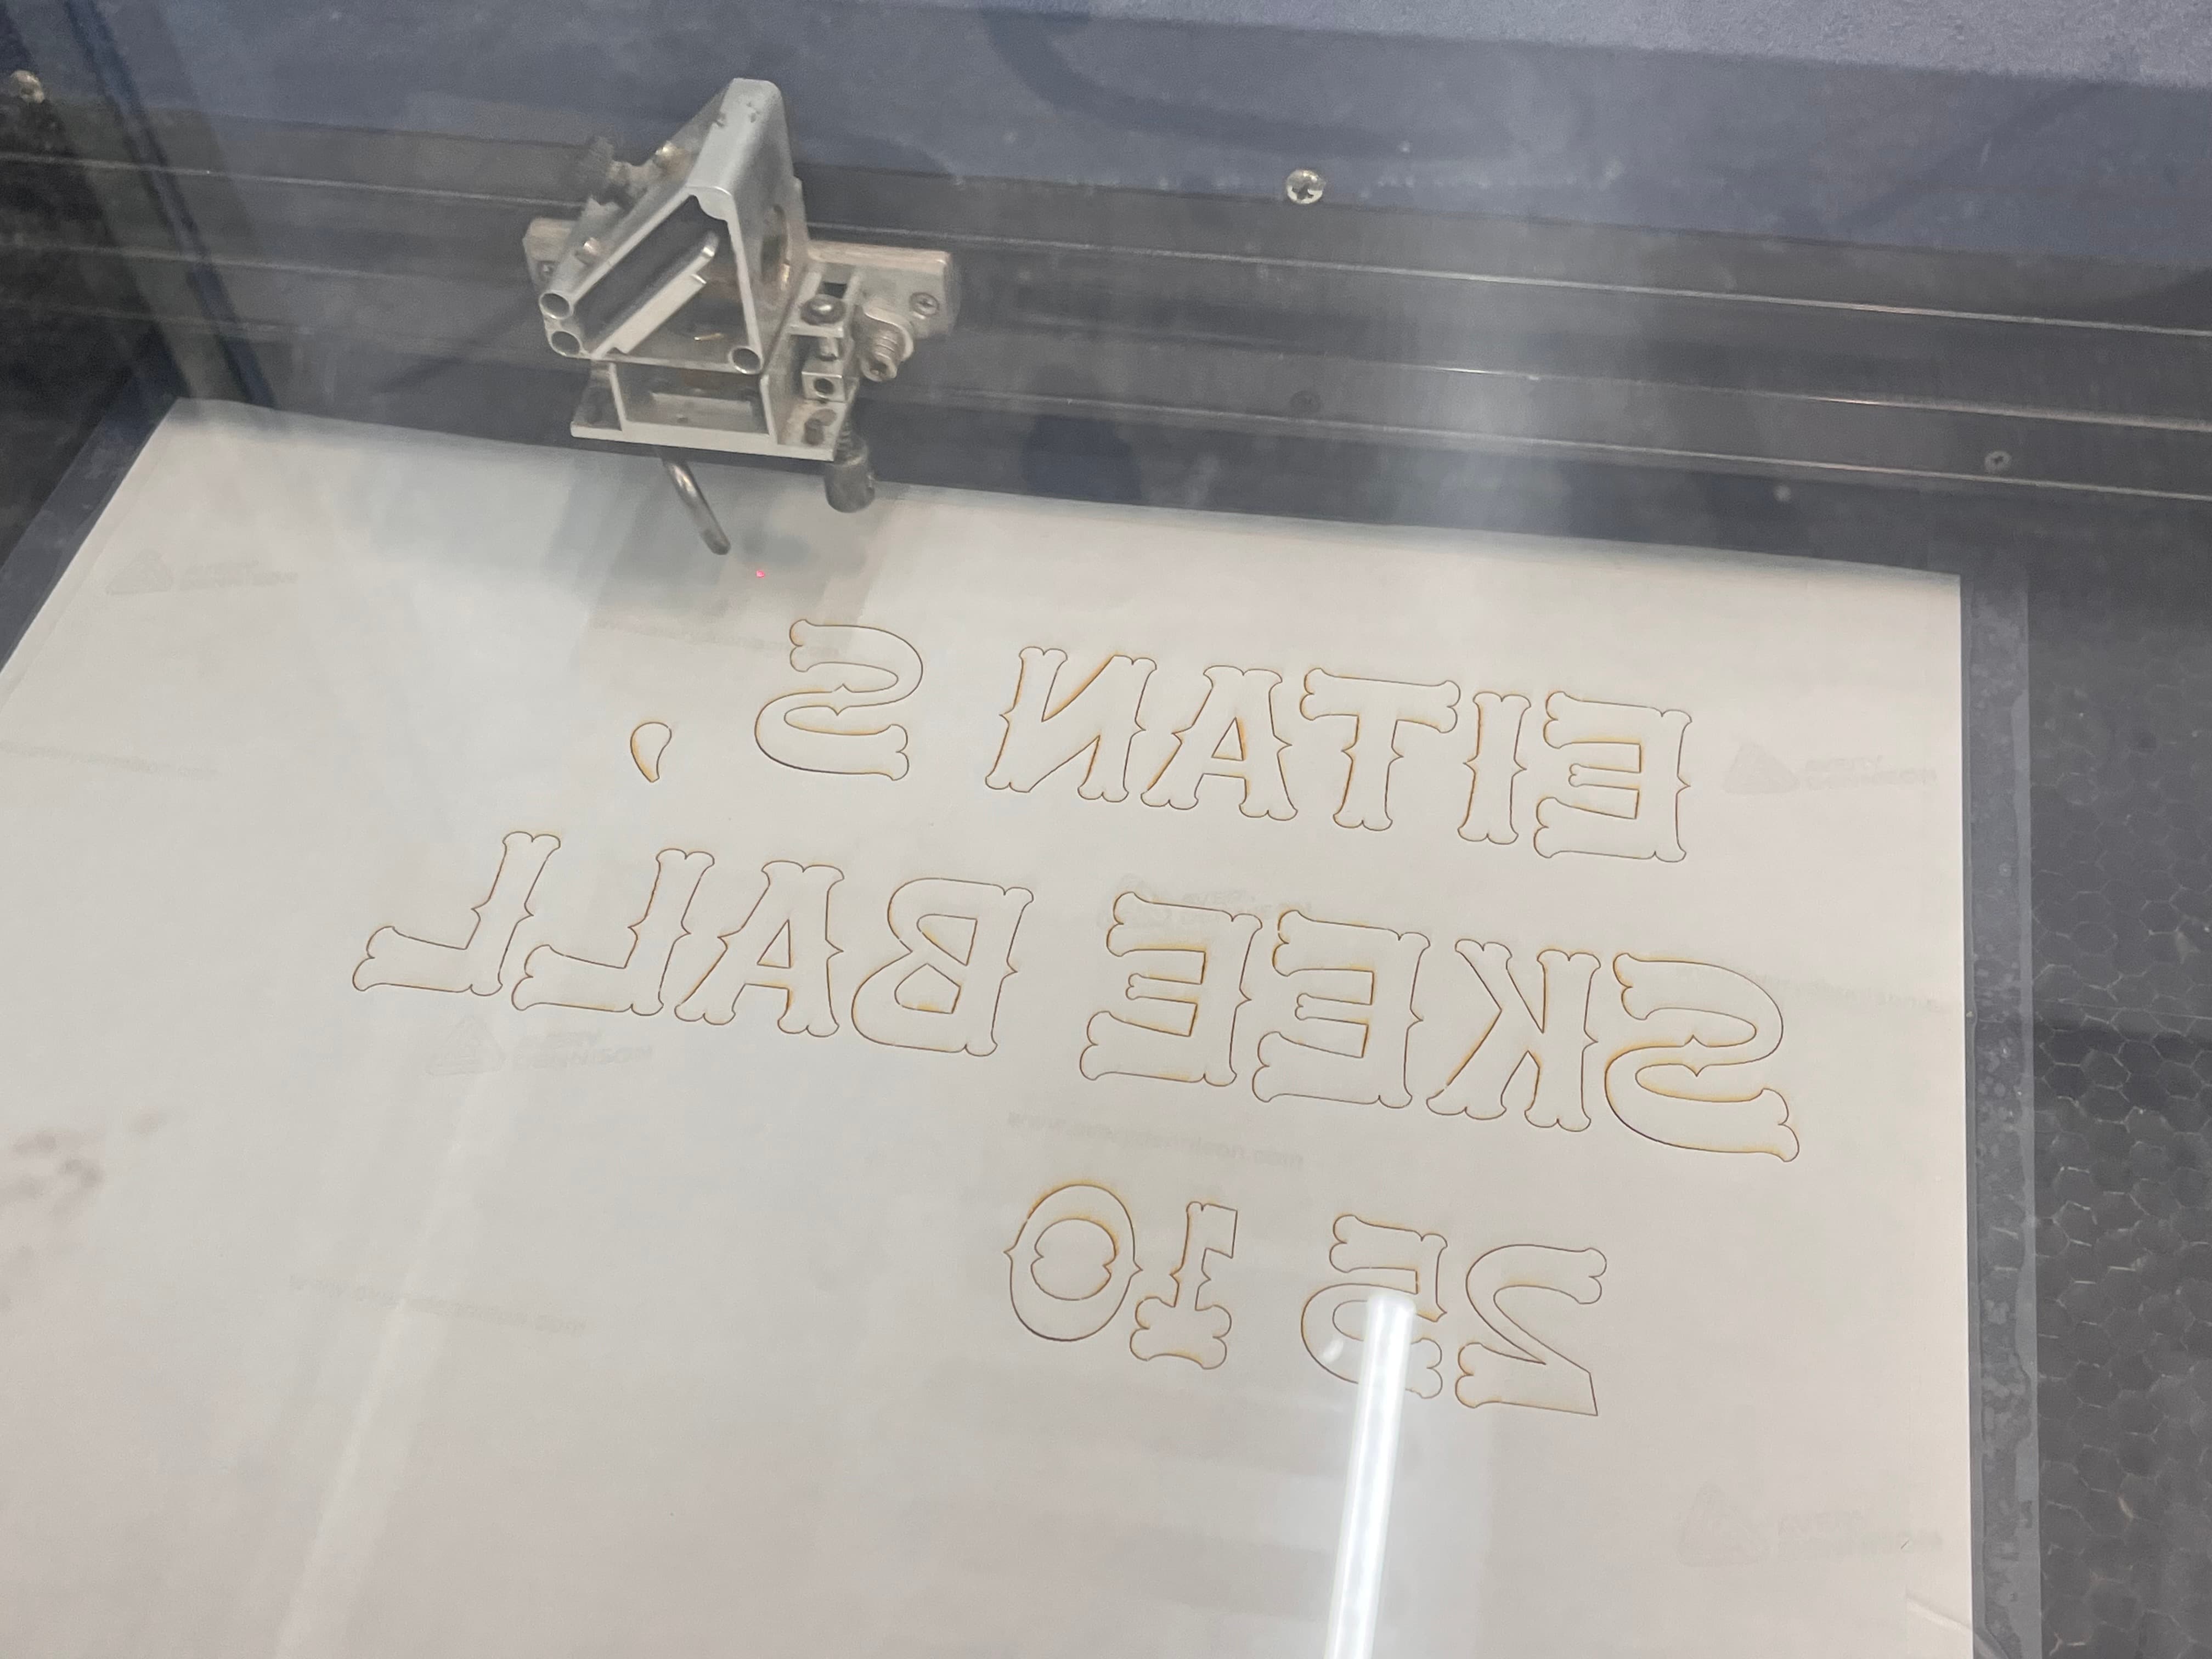
I also wanted to add some lettering and scores for the holes. Using the laser cutter, I taped some vinyl to an acrylic sheet, did a couple tests of laser speed and strength (final was 100% speed, 15% strength), and cut out the media lab logo as well as some additional letters. It was then a breeze to remove them and apply it all to the build.
Final Result
Here's how it turned out!
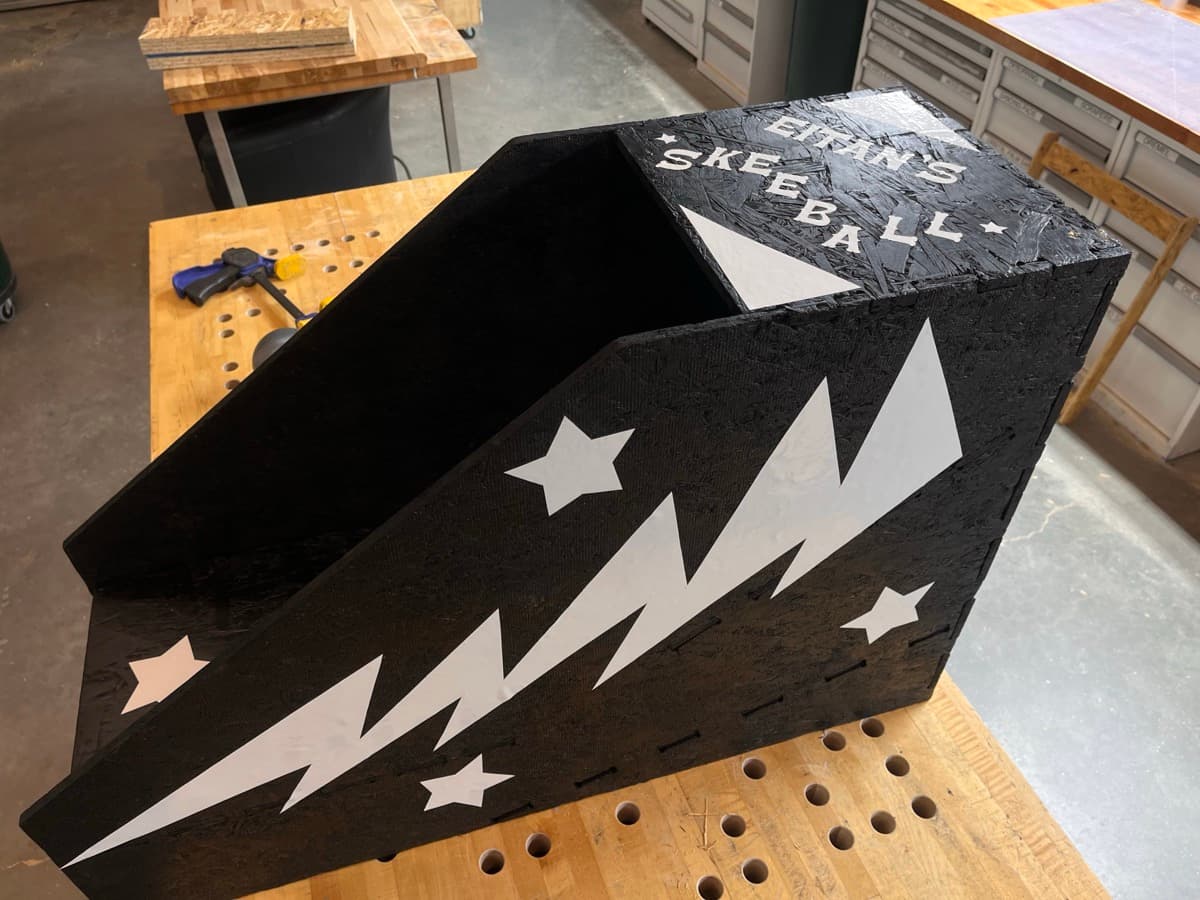

All in all, I'm incredibly happy with how this turned out. It involved modeling, milling, sanding, filing, painting, coating, 3D printing, drawing, cutting, 2D design, laser cutting, and assembling, so I definitely feel like I'm learning many skills that build on each other. I'd do a lot differently next time, but I'll leave you with this playtest:
Thank you SO much to Ceci, Miranda, Alfonso, Wedyan, Dan, Kristof, and everybody else who helped me get over the finish line.
See you next week!